DocRob
-
Posts
7,045 -
Joined
-
Last visited
Content Type
Profiles
Forums
Events
Gallery
Everything posted by DocRob
-

Renault RE20 Turbo - Tamiya - 1/12
DocRob replied to DocRob's topic in LSM 1/35 and Larger Work In Progress
It's newish for me too, Phil, but I have a the 1/24 Ford GT II and a 1/12 Ducati Panigale under my belt. Building and painting sequence is quite different from planes and armor and I have to study the manual closely to find my own approach. The Ducati was a bit similar with building it from the inside to the outside and the inside is not a mere cockpit. I choose the Renault out of my brief 1/12 stash, because I never liked the Turbo philosophy a lot. Tiny engines superblown, but somehow this weird machine appeals to me. Cheers Rob -
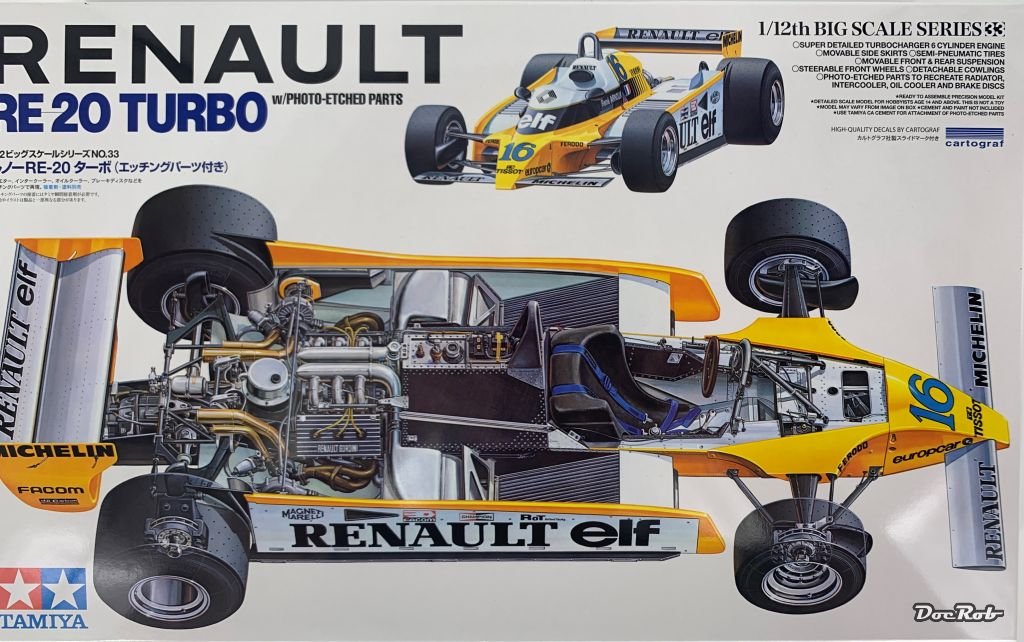
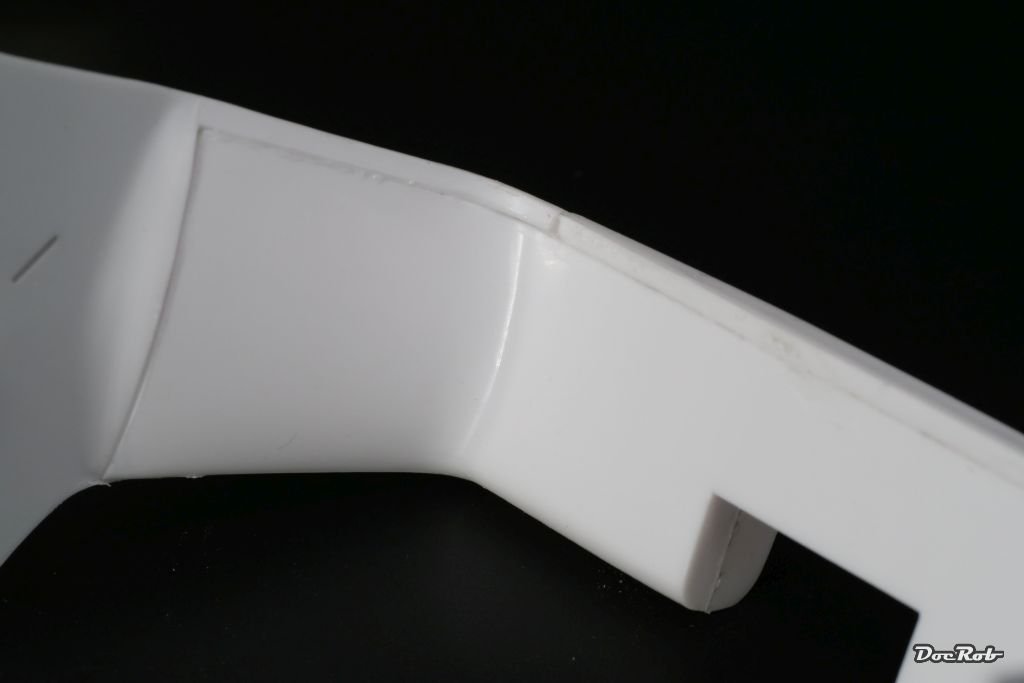
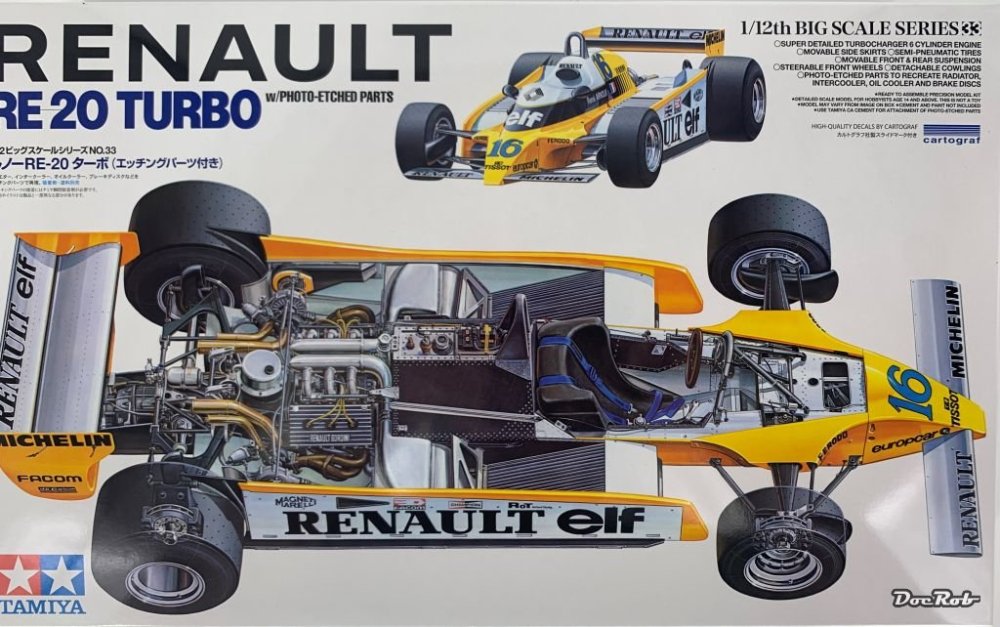
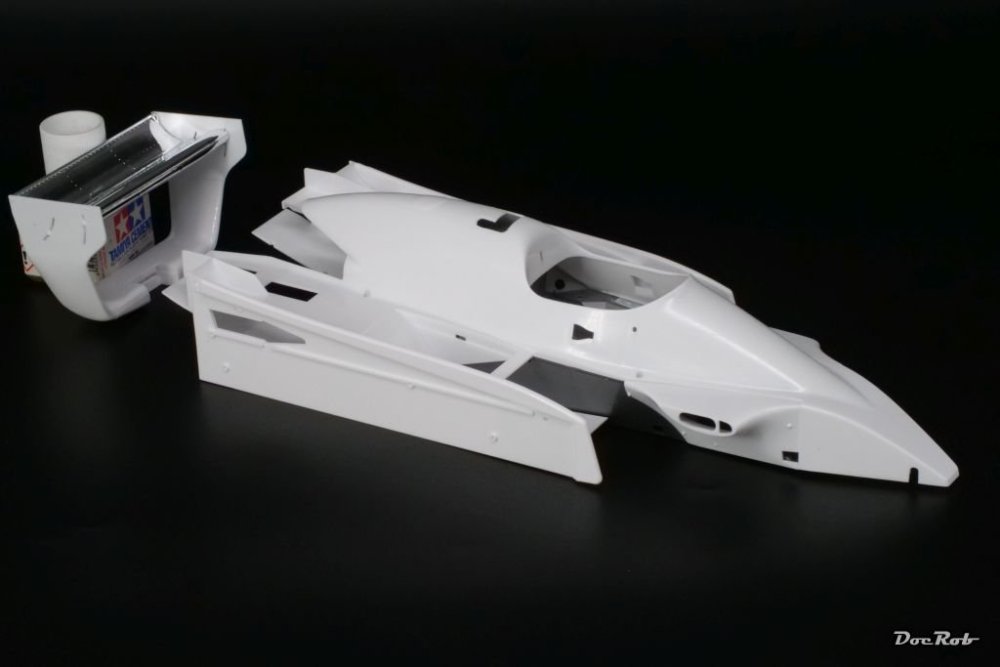
...and now to something completely different. While choosing my actual summer build, I opened a lot of stashed boxes lately and got stuck with the large colorful ones. I have three of the old Tamiya 1/12 car kits and the Renault was picked over the Porsche 935 and the Brabham BT44, because I liked it less than the others. Large scale car modeling is new to me, so if I disappoint myself, the damage is easier to cope with. I wanted to have this kit, even if I disliked these turbo testosteroned mini engines, as the Renault looks like a gentle Frankenstein in formula one standards. The yellow and white paintjob does enough of a job, to conceal that a bit, The kit dates back to 1981 and this is clearly visible, while inspecting the parts. There is flash, parting lines, burr and crude looking parts. This kit for sure is not up to standards of modern Tamiya kits and needs some extra attention. Don't get me wrong, it doesn't look like a bad kit, but I guess, there will be some unwanted surprises hidden on the sprues. The ancient kit received PE for grills and brake disks and decals printed by Cartograph. First, I cleaned the main body parts and this was not done in a blast. It took some hours with the blade, chisel and sanding sticks to get rid off the multiple burrs all around. I want to paint the body parts early, that in case of failure, the expense in time and effort wouldn't be too great. The rear wing base construction is a four part U-shaped affair, which I guess should be flush all over. To reach that goal, there will be needed a lot of filler, as you can see on the picture. Another decision to make son, is about the chromed parts for the wings and rims. The provided chrome doesn't look too bad, but I will compare it with photos of the real thing and decide then, if I strip and repaint these parts. Cheers Rob

-
Wow, the cat is a stunner and a winner . The good thing on these easy going Tamiya kits, you can fully concentrate on painting and weathering and here is where your bird shines, Gus. Cheers Rob
-
Nice progress Gary, I always use a drop of something like tan in the white and maybe two drops of Nato black in the black to reduce the super harsh contrasts a bit. Works perfectly for me. Cheers Rob
-
Thanks Ernie, I have to confess, I'm actually a bit proud to have pulled through with the build. It was not the easiest one, but motivating nonetheless. I always wanted a Nachtigall for my shelf, done now, check mark . Cheers Rob
-
Thanks Gary, the antler antennas are from a Master set made in brass. The kit ones are not shabby, but the Master set is much finer and a bit more robust on such a prominent place. Cheers Rob
-
Congratulations guys and a big thank you to Ernie for being so generous and also managing the GB so well. Cheers Rob
-
The result looks absolutely fantastic, but your processual planning seems to be a bit on the weak side, or was that only to have an excuse to miss the deadline of the GB, Hubert? I can feel all the pain you went through and my nerves wouldn't have kept up with it, I guess. Cheers Rob
-
"Alert 1 to Eagle 1, splash the Zeros!"- Tamiya F-14
DocRob replied to BlrwestSiR's topic in Let’s Get Wet Group Build.
Looking great Carl, but will it be finished in time? Are you going 24h for the rest? Cheers Rob -
What a nice break from the usual planes Peter. I think, we need more cars and bikes here for a change. Your Thunderbird's underskirts look wonderful. BTW, I started a car kit myself yesterday. Cheers Rob
-
Thank you Carl, not sure about the next one, I was preparing the 1/72 resin kits of a Gee Bee racer and a Doodlebug fuel transporter and also a 1/12 Tamiya Renault RE-20 formula one car, lets see... Cheers Rob
-
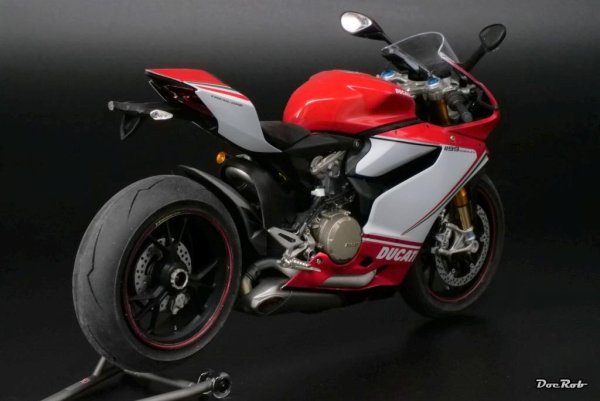
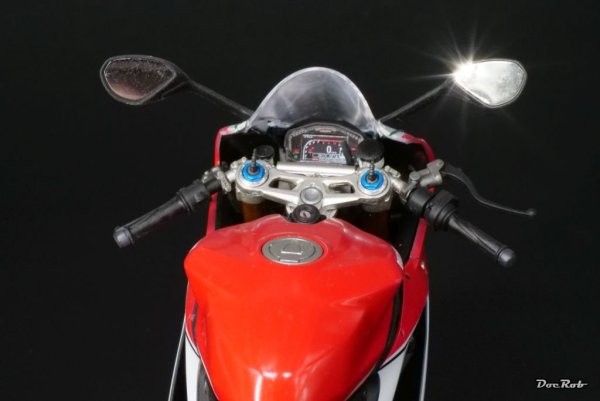
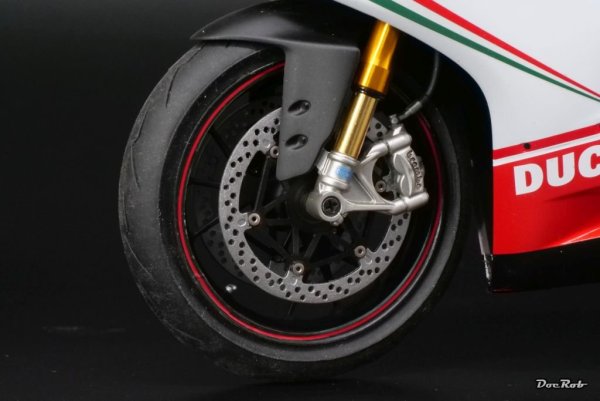
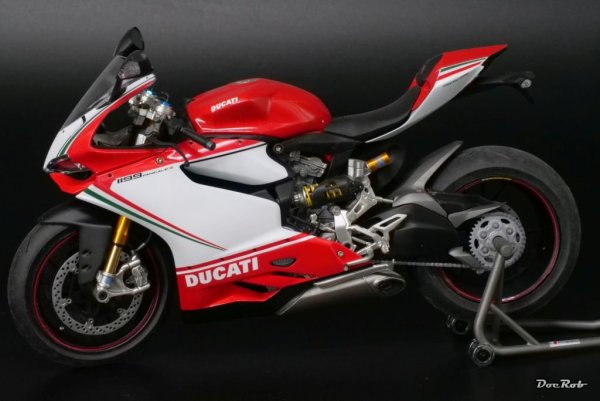
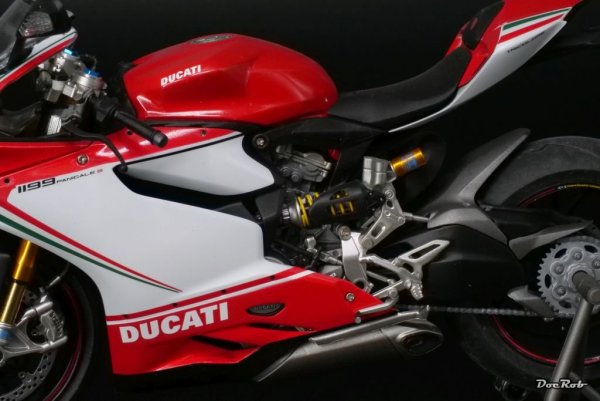
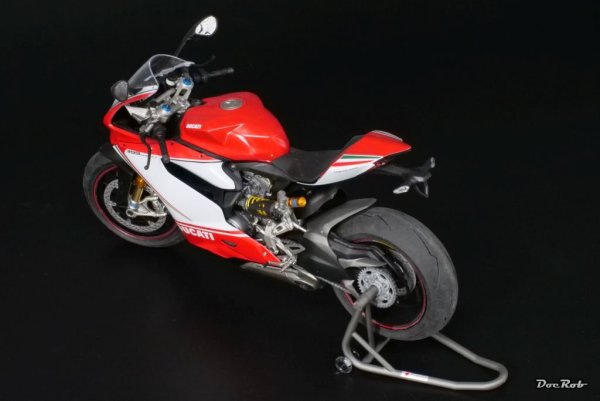
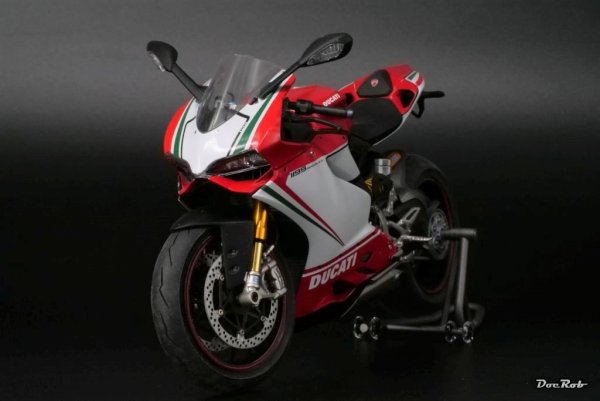
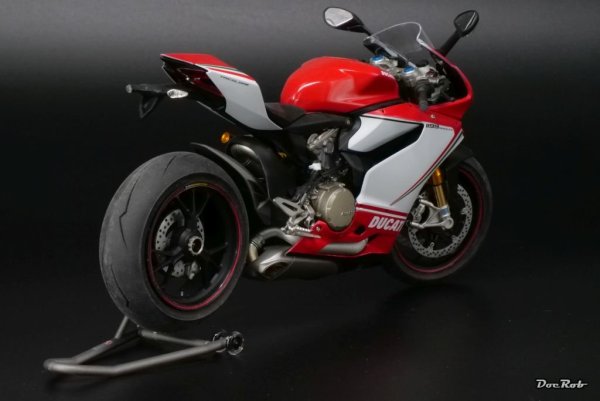
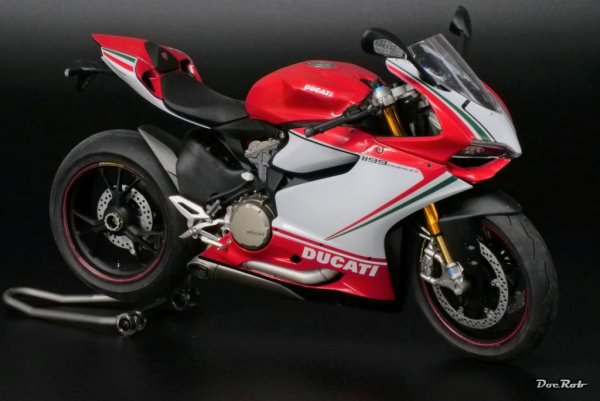
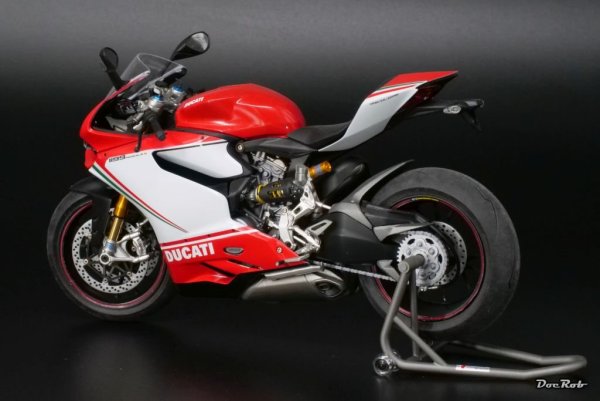
Ducati 1199 Panigale S Tricolore - Tamiya
Images added to a gallery album owned by DocRob in Non-Aircraft/Armour COMPLETED models
Relaxing build, with some modifications, like metal fork and drilled out brake disks. It was a great training canvas for replicating different metals and other materials. Cheers Rob -
-
From the album: Ducati 1199 Panigale S Tricolore - Tamiya
-
From the album: Ducati 1199 Panigale S Tricolore - Tamiya
-
From the album: Ducati 1199 Panigale S Tricolore - Tamiya
-
From the album: Ducati 1199 Panigale S Tricolore - Tamiya
-
From the album: Ducati 1199 Panigale S Tricolore - Tamiya
-
From the album: Ducati 1199 Panigale S Tricolore - Tamiya
-
From the album: Ducati 1199 Panigale S Tricolore - Tamiya
-
From the album: Ducati 1199 Panigale S Tricolore - Tamiya
-
From the album: Ducati 1199 Panigale S Tricolore - Tamiya
-
From the album: Ducati 1199 Panigale S Tricolore - Tamiya
-
Thank you Kevin and Rod, it was a long journey, but worth it. I learned a lot through this build and am not frightened enough to consider a second one sometimes. It will be a single seater than without night fighter equipment, way easier to build. Cheers Rob
-
1:32nd scale Hansa-Brandenburg W12
DocRob replied to sandbagger's topic in LSM 1/35 and Larger Work In Progress
I built this kit some years ago and I have to say, it's a true gem, Mike. You'll have fun with it. I choose a scheme from Sylt, because I have been there often. Cheers Rob -
Arado 234 Nachtigall on Speed
DocRob replied to DocRob's topic in LSM 1/35 and Larger Work In Progress
Thank you Peter, it was indeed a long journey and I am relieved that the Arado is done. I started to get a bit careless with the build, a clear sign to close the book. In the end, I like most of the result and I am a bit proud to have pulled through. Cheers Rob