belugawhaleman
-
Posts
2,665 -
Joined
-
Last visited
Content Type
Profiles
Forums
Events
Gallery
Everything posted by belugawhaleman
-
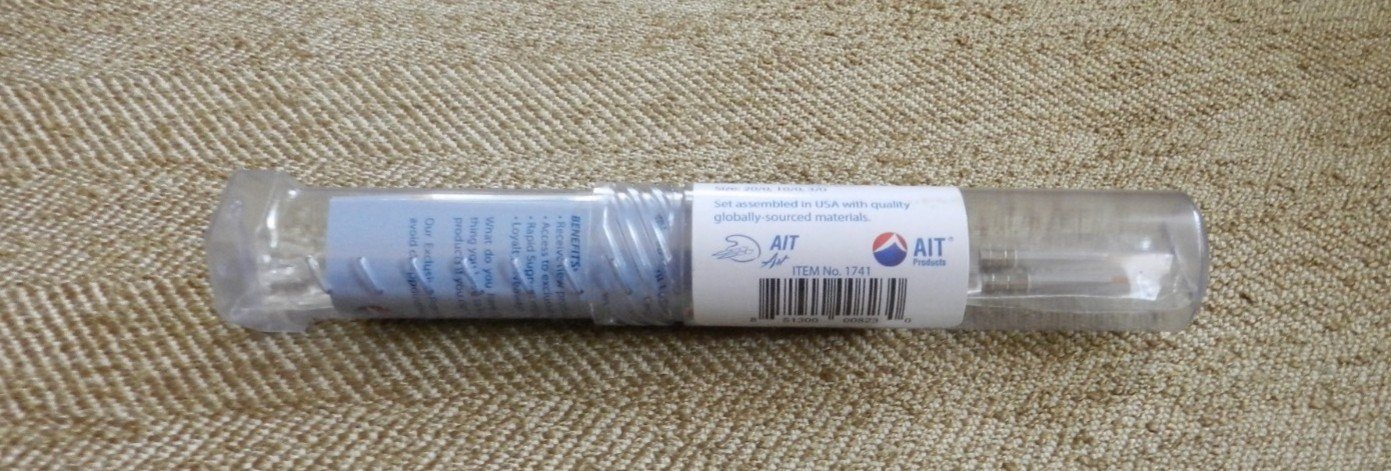
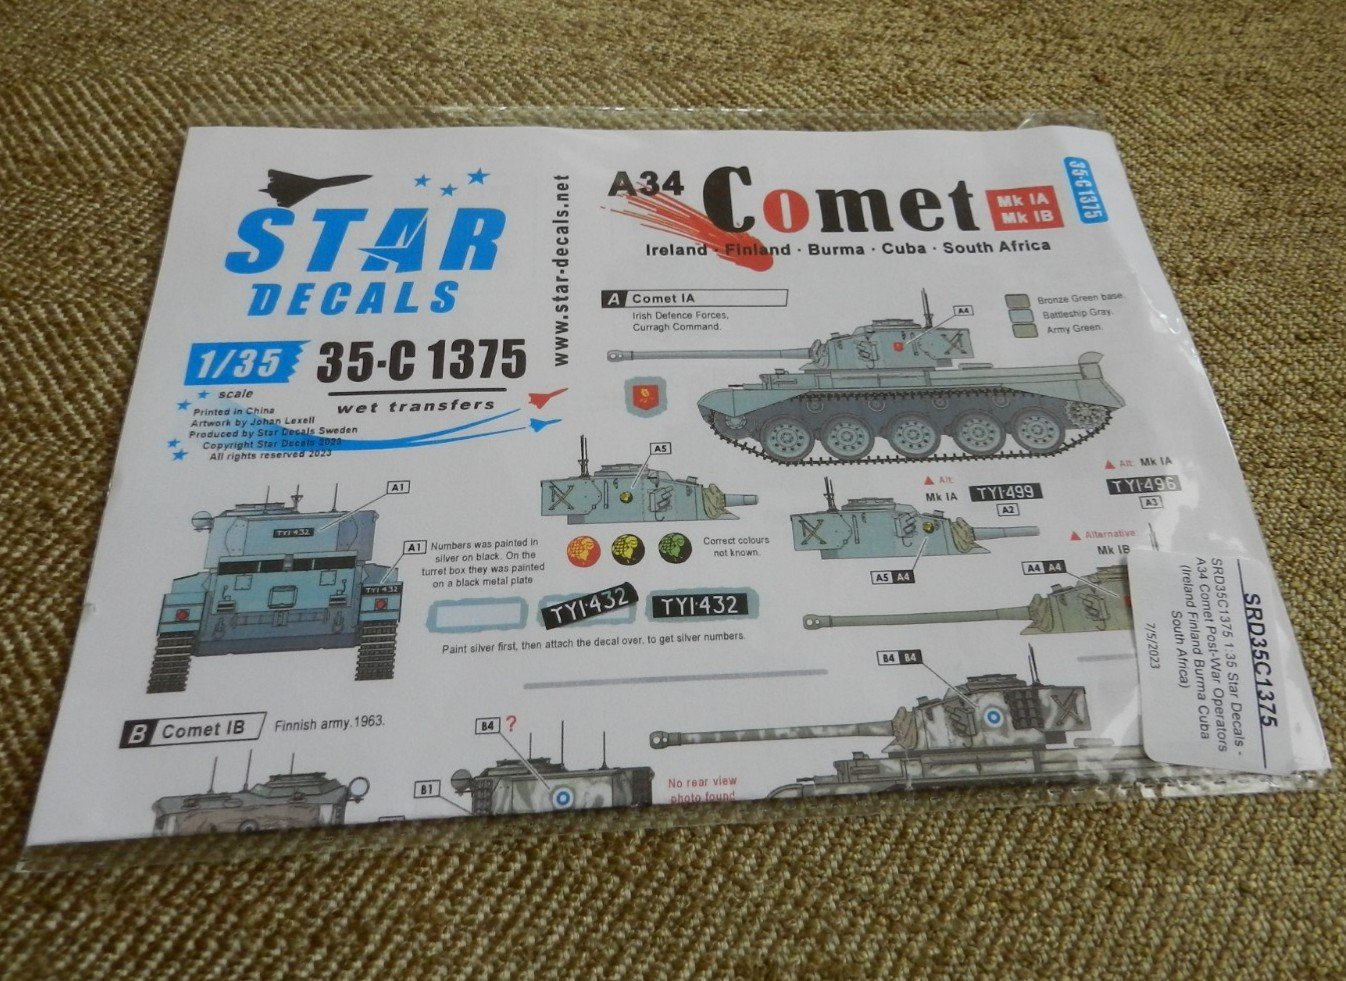
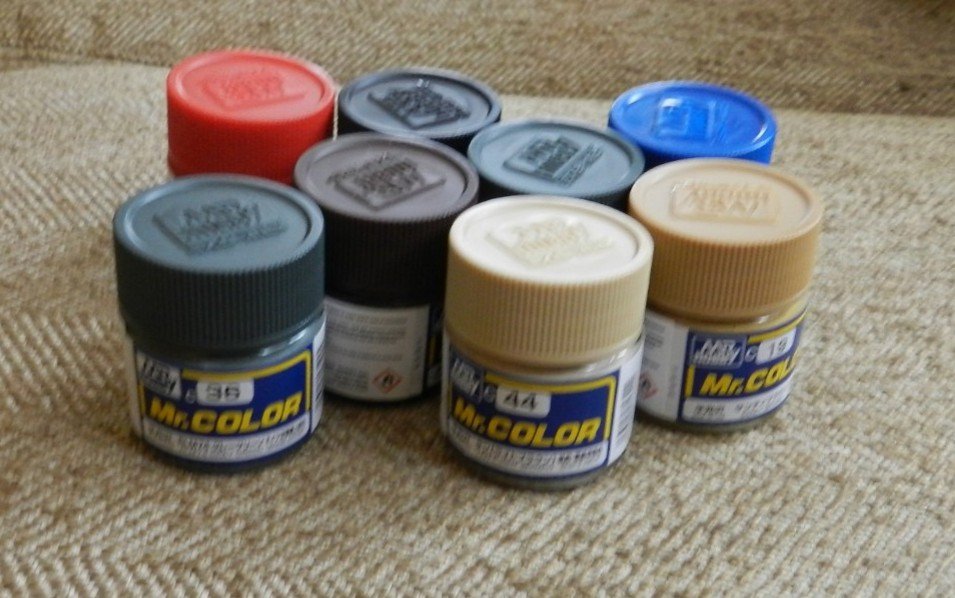
On Monday, these came......... Some Mr Color paints for future Egg Girl endeavors. A set of three paint brushes from AIT. Decals from Star Decals ; decals for Comet Tanks used by Ireland, Finland, Burma, Cuba, and South Africa for my Tamiya kit.


-
The merriest Christmas and happiest New year to one and all !
-
Thunder Model also makes some German WW II boxcars including This one; https://www.scalemates.com/kits/thunder-model-35902-gueterwagen-gr--1145460 I have this one in my stash...it just looked interesting. It is very detailed.
-
Hope you do.....I would like to see one of those being built!
-
Love it! I recently made one in 1/35, but yours is just plain cool!
-
I think Trumpeter is the only Swordfish in 1/32. The 1/48 Tamiya Swordfish is very nice.
-
I've Been eyeing that Puma for some time....perhaps one day.
-
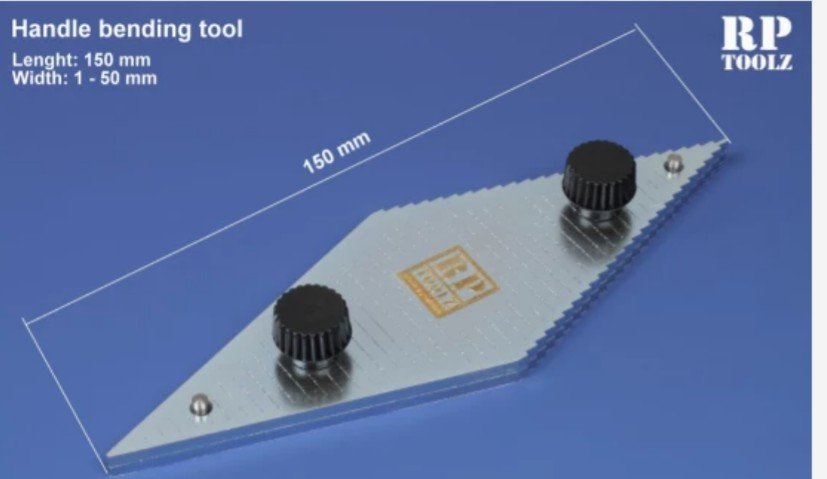
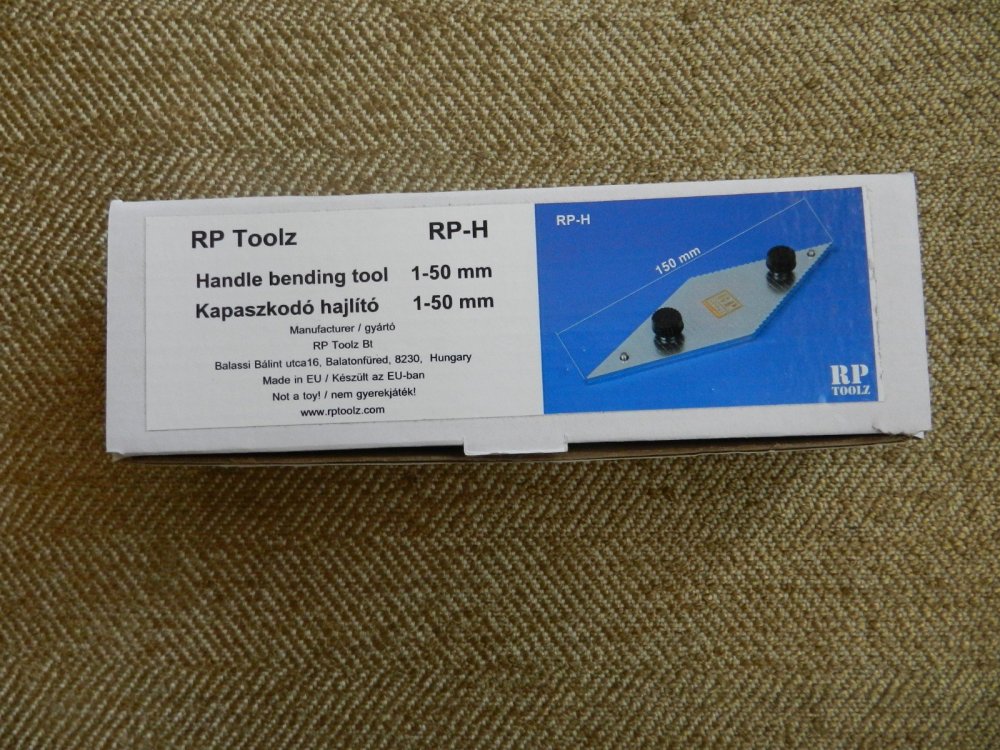
I think 2mm, as there are 25 pairs of "steps"on one side of the tool. However The opposite side has no steps and I suppose any size between 1 mm - 50 could be formed.
-
I bought that kit recently. I'm looking forward to seeing what'll do with it. I like your chosen scheme as well.
-
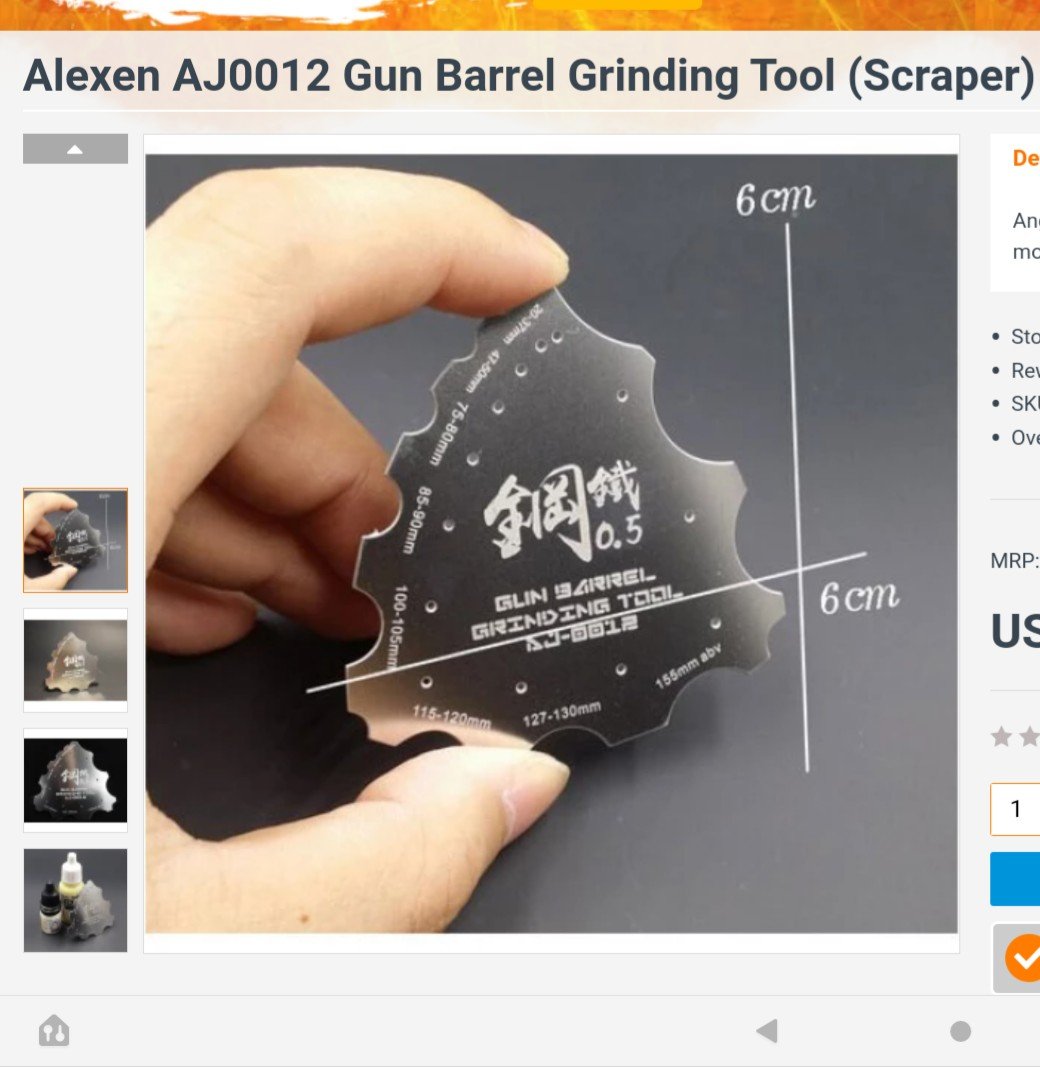
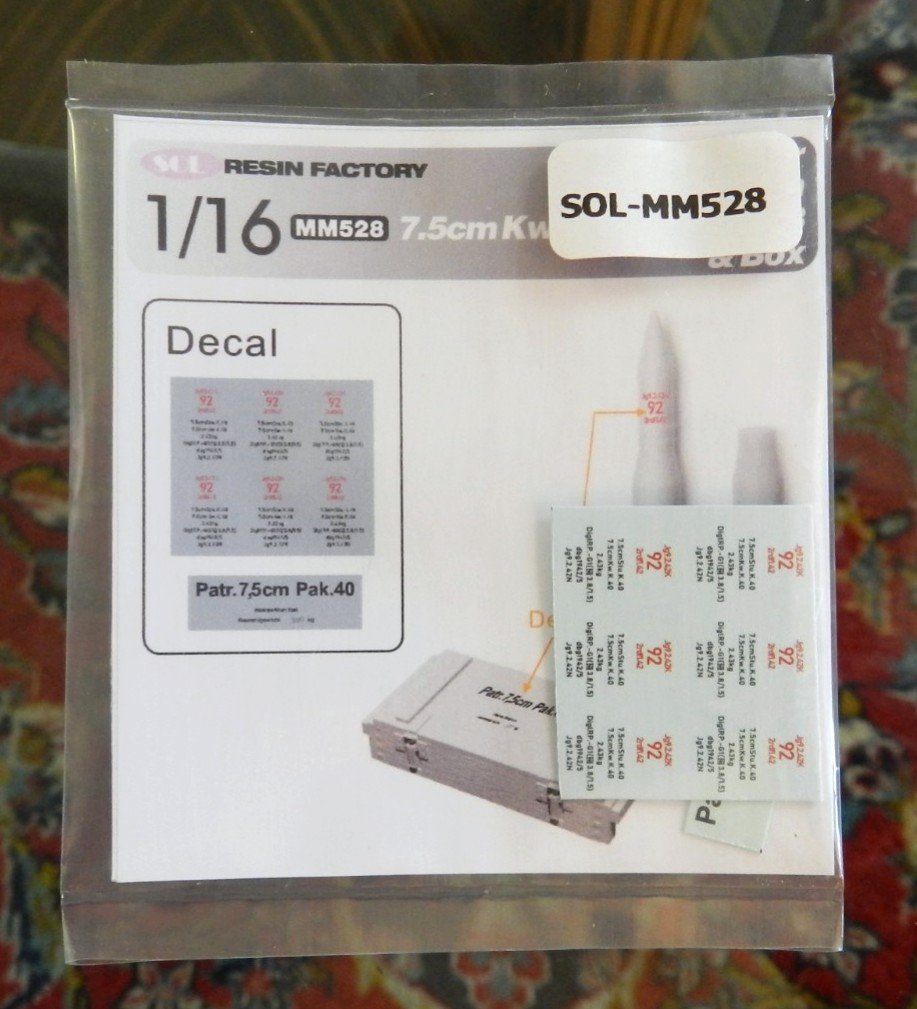
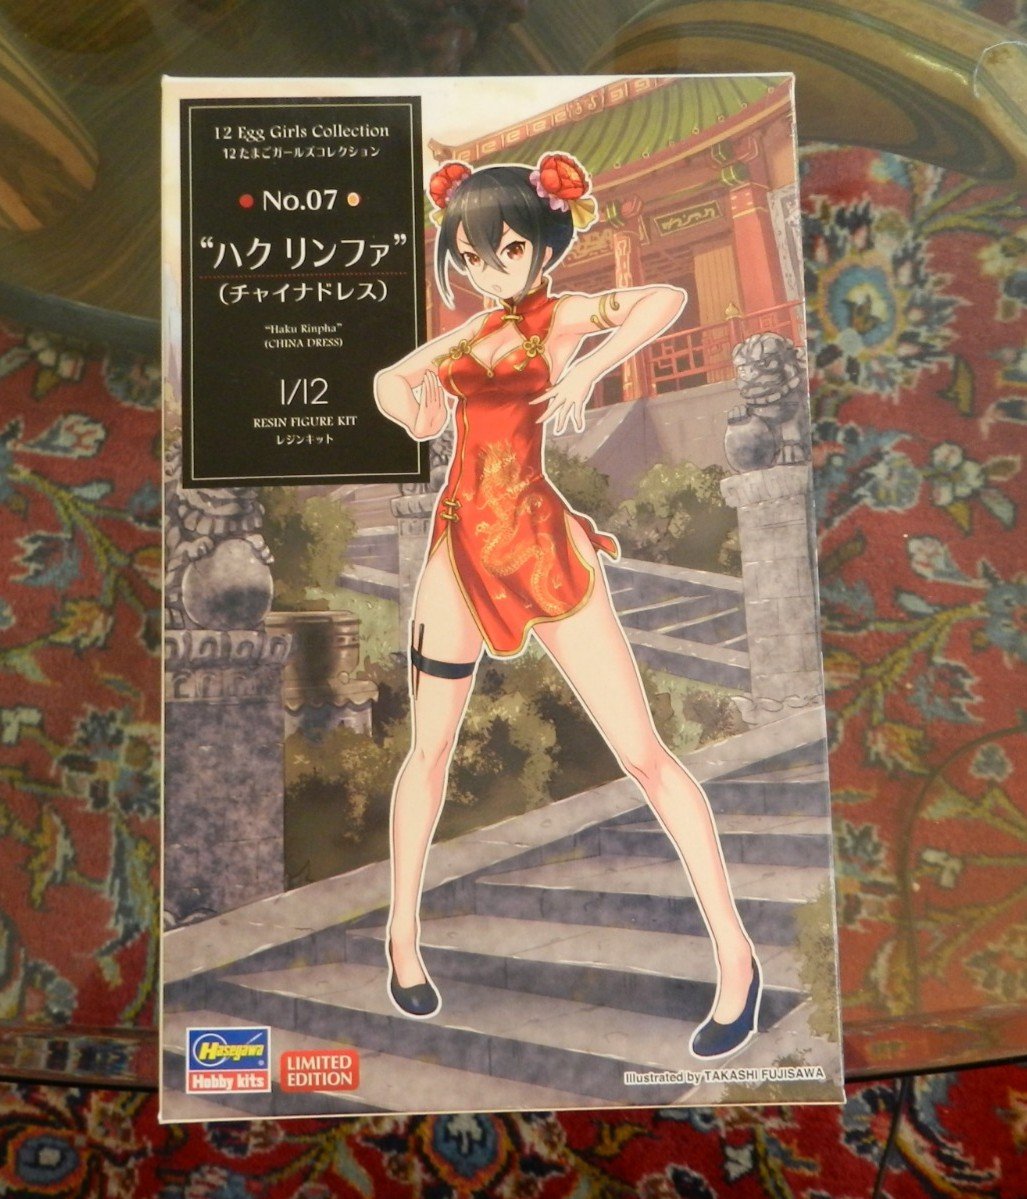
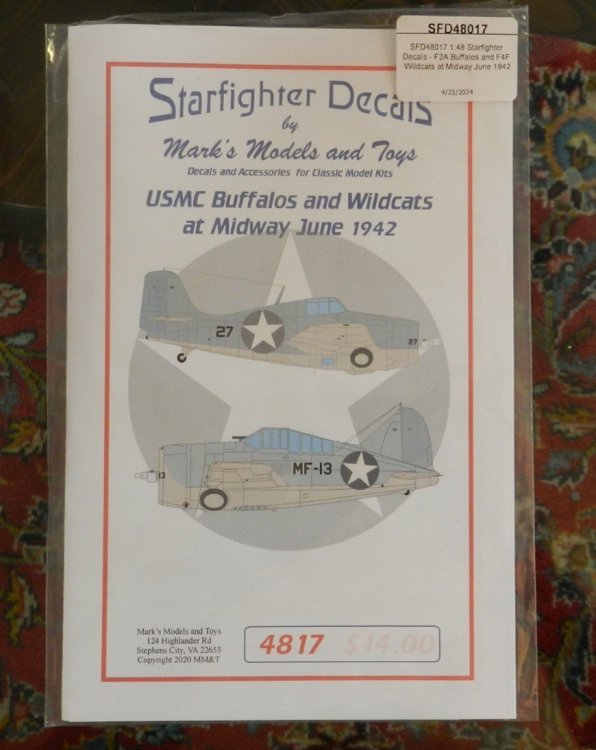
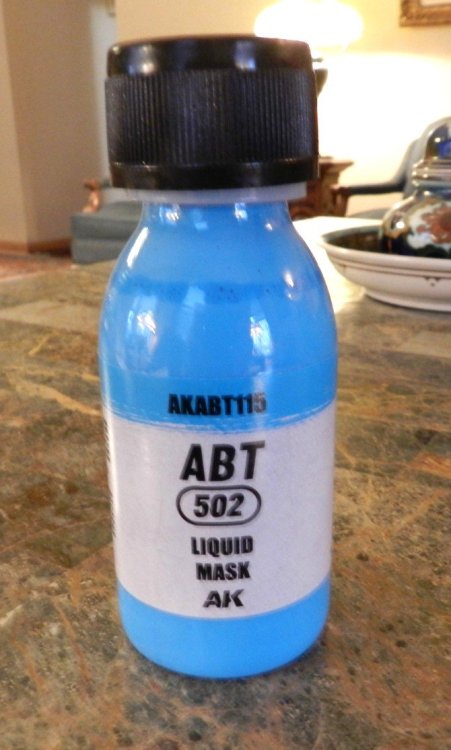
Some items today...... From RP TOOLZ, their Handle bending tool 1-50mm (RP-H) From SOL ; Some decals in 1/16 for the ammunition used in the Stug III. (SOL-MM528) for my Das Werk kit. From Starfighter Decals; some decals for 1/48 USMC Buffalos and Wildcats that fought at Midway. For my Tamiya kit. From Alexen Model; A scraper thing made of stainless for gun barrel seams. (FG-AJOO12) And last; Another "Egg Girl" resin kit from Hasegawa. In 1/12 It's "Haku Rinpha" (China Dress).


-
Such sad news. Sorry to hear of your loss Carl. Your pictures made her a part of this forum. We're glad you shared them with us.
-
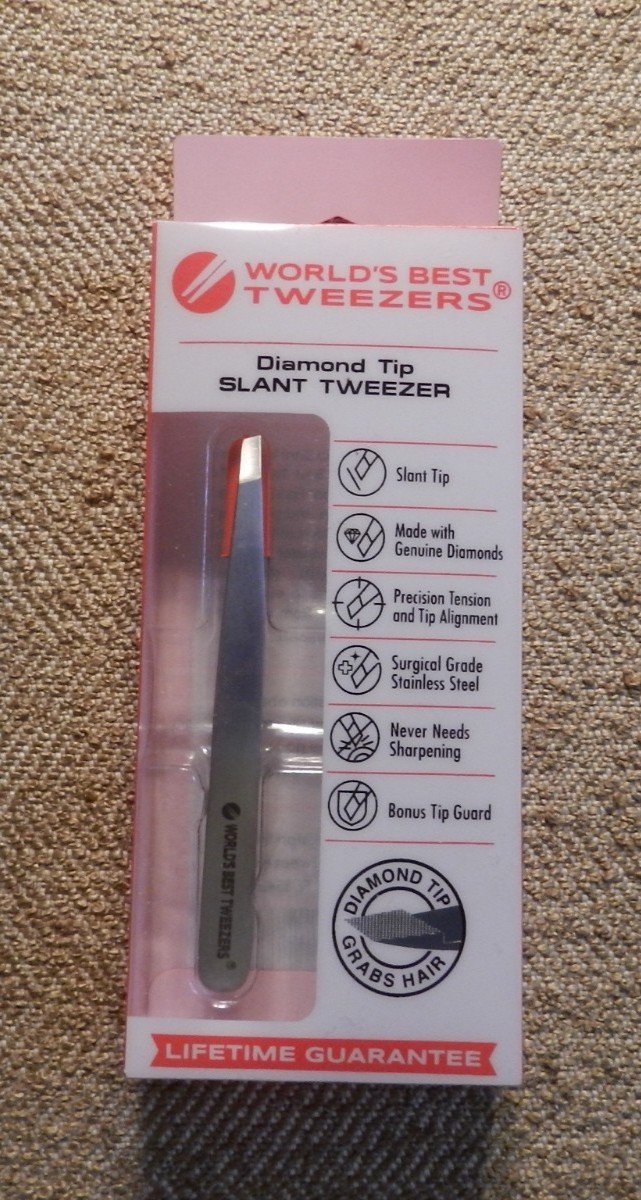
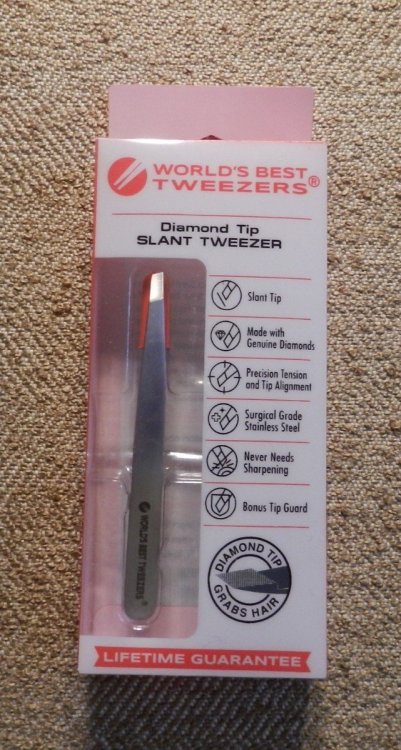
https://www.amazon.com/gp/product/B099KRNP78/ref=ppx_yo_dt_b_search_asin_title?ie=UTF8&psc=1 https://www.amazon.com/gp/product/B08DJBTR7B/ref=ppx_yo_dt_b_search_asin_title?ie=UTF8&psc=1 Not really modeling tweezers, but they work really well. They are shorter than my other tweezers making them handle better. . The diamond grit coated tips prevents them from launching small parts across the work bench and into oblivion. The pointed tweezers tips are sharp, rigid and grip well.
-
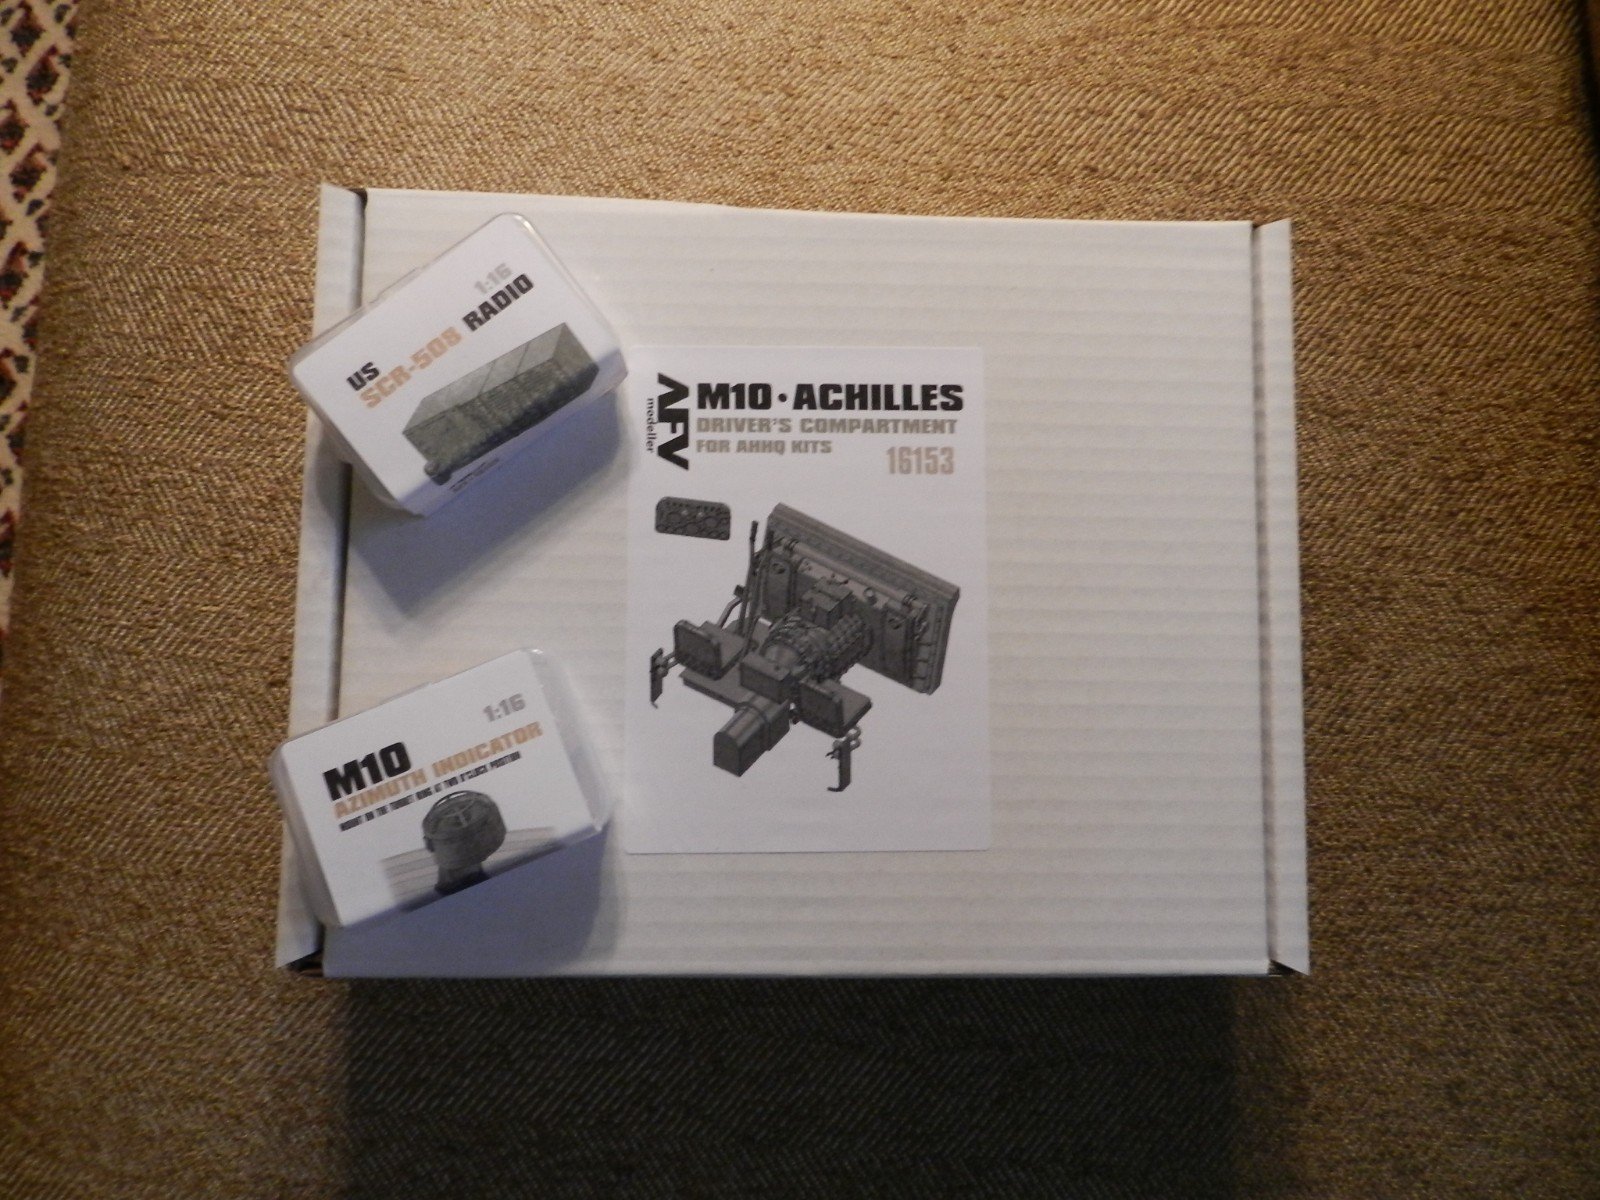
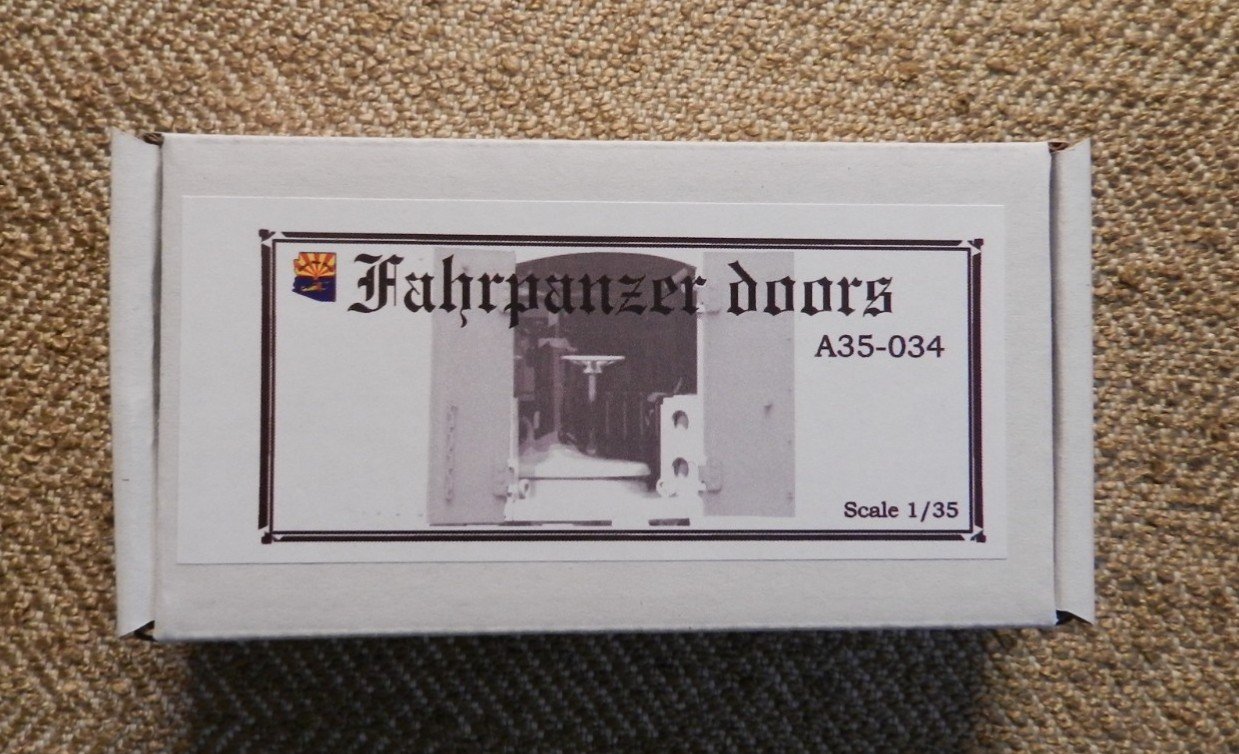
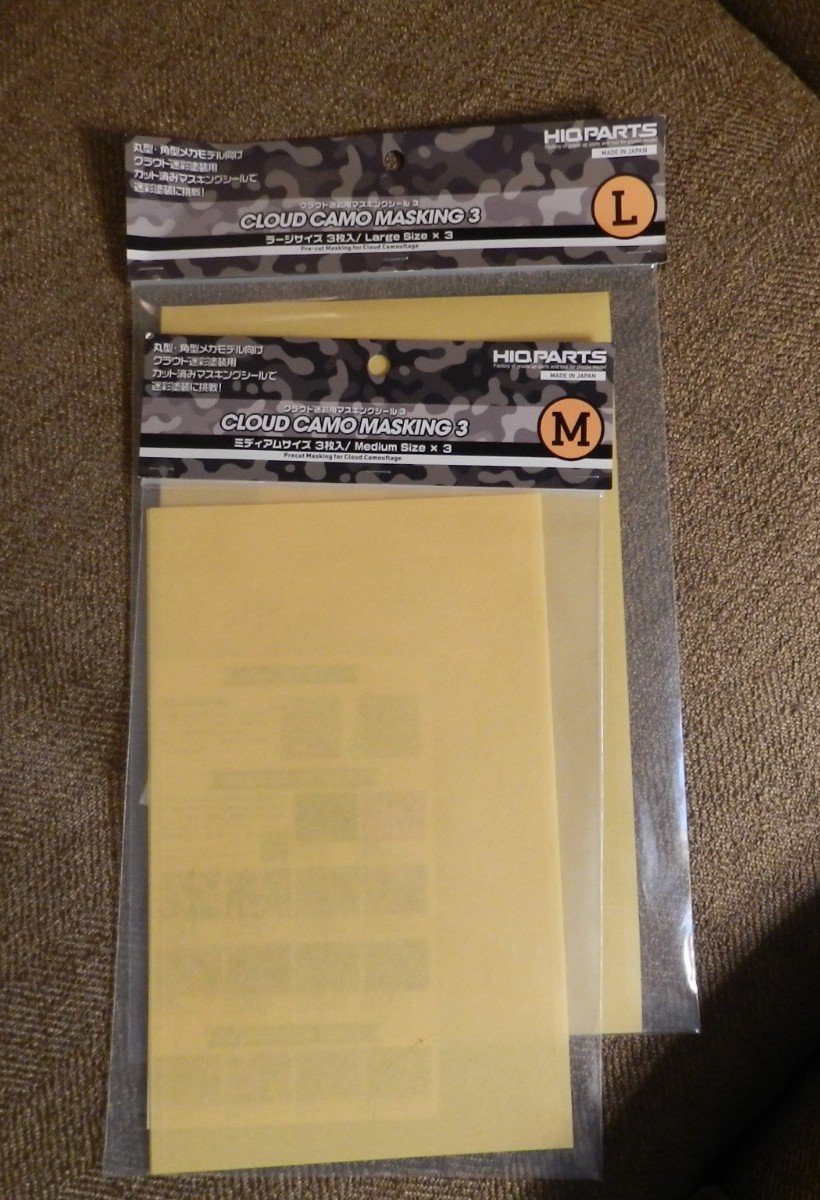
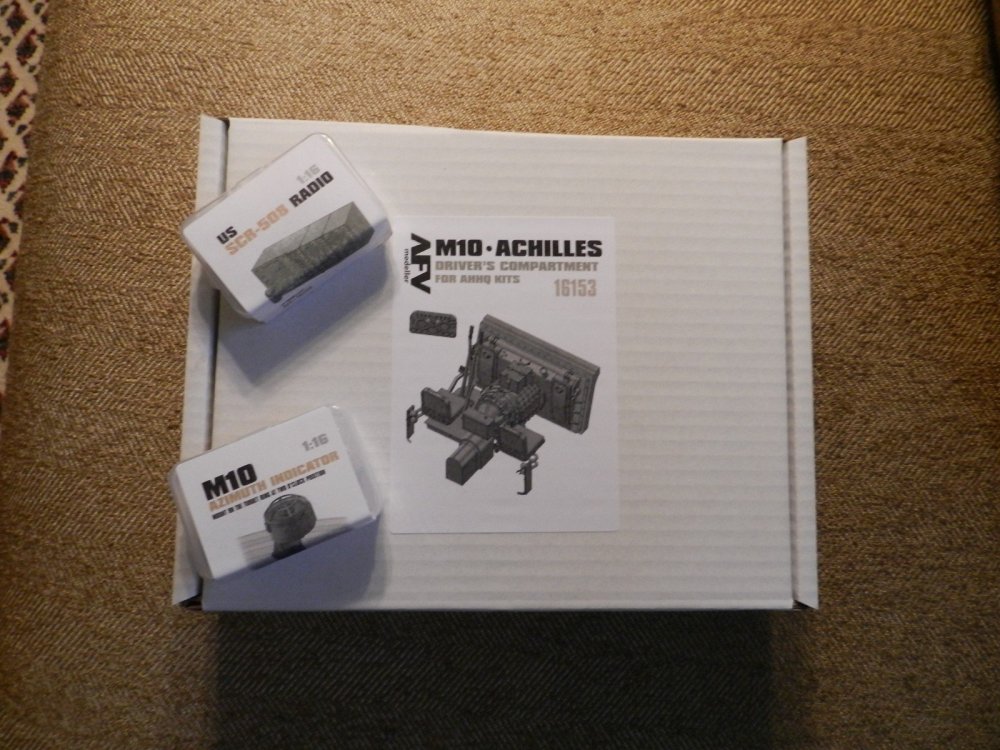
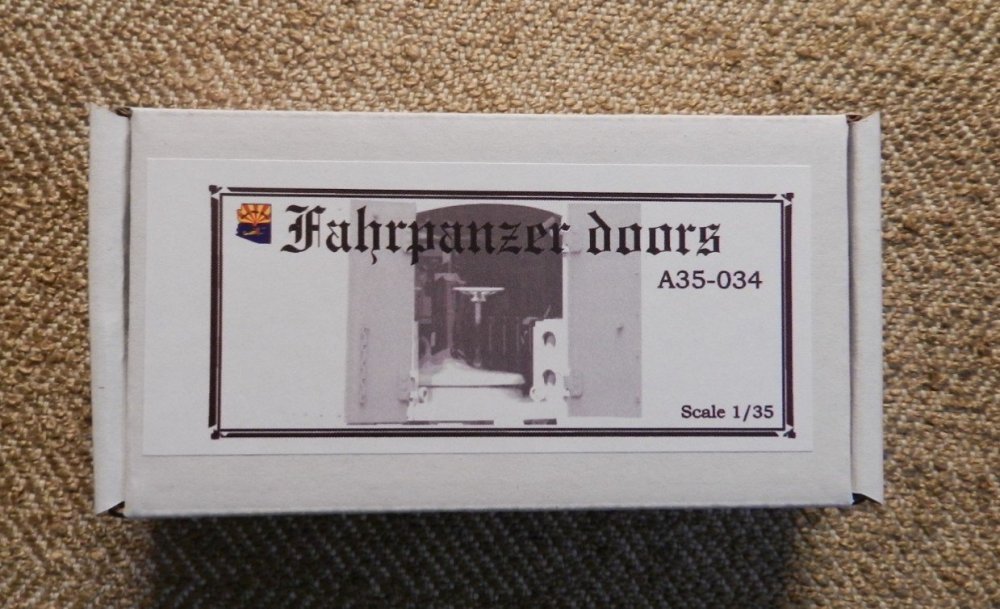
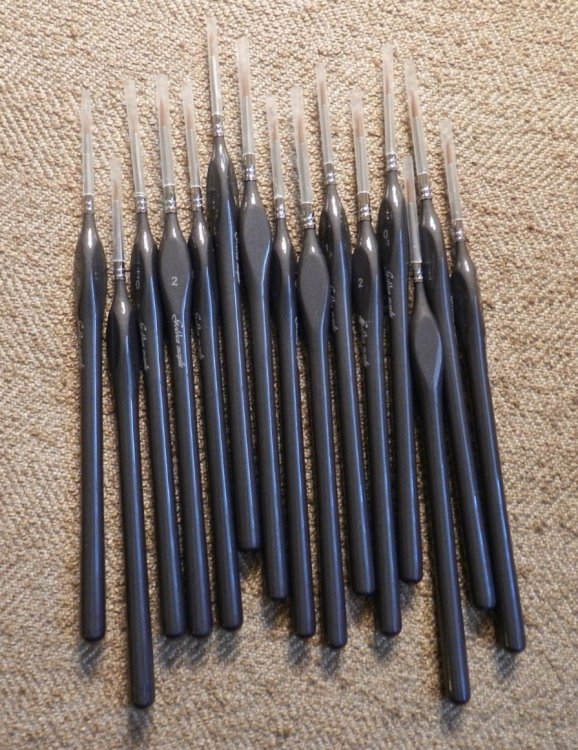
Some recent items.......note; No model kits! Some resin aftermarket for The Andy's big M 10 from AFV, and from CSM, doors for their Gruson Fahrpanzer...the kit doors have tools molded in.....these don't... I didn't want to use the kit doors. Also some tweezers...these have diamond grit coated tips. I bought a set of these before with pointed tips....I found them to work great! These have slanted tips. Also bought two sets of "cloud pattern" pre-cut masks....thought I'd give them a try. Some Masking solution it took more than two weeks to arrive ! The first week was spent moving around New York state.....Then It spent a week stuck in Indianapolis..... Then, it took 3 days to get to my address !...... WTF ! Also a set of brushes......15 in all.

-

McLaren MP4/6 Ayrton Senna Fujimi 1/20
belugawhaleman replied to DocRob's topic in LSM 1/35 and Larger Work In Progress
Try using Walthers Solvaset.......Very Strong!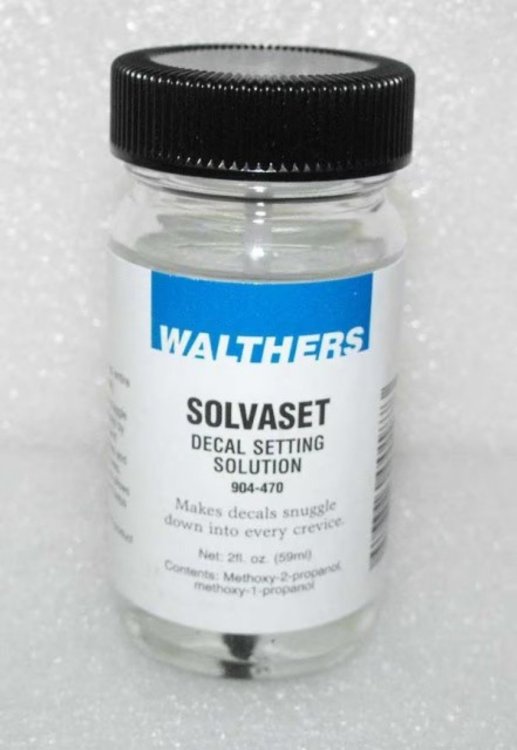
-
Wonderful ! Everything has come together beautifully.
-
McLaren MP4/6 Ayrton Senna Fujimi 1/20
belugawhaleman replied to DocRob's topic in LSM 1/35 and Larger Work In Progress
Nice work Rob! -
Not to mention decal aftermarket possibilities for all the countries that used this thing! There are already a number of accessory figures and stowage options on Andy's site. I just looked up the M 163 variant. That would be cool!
-
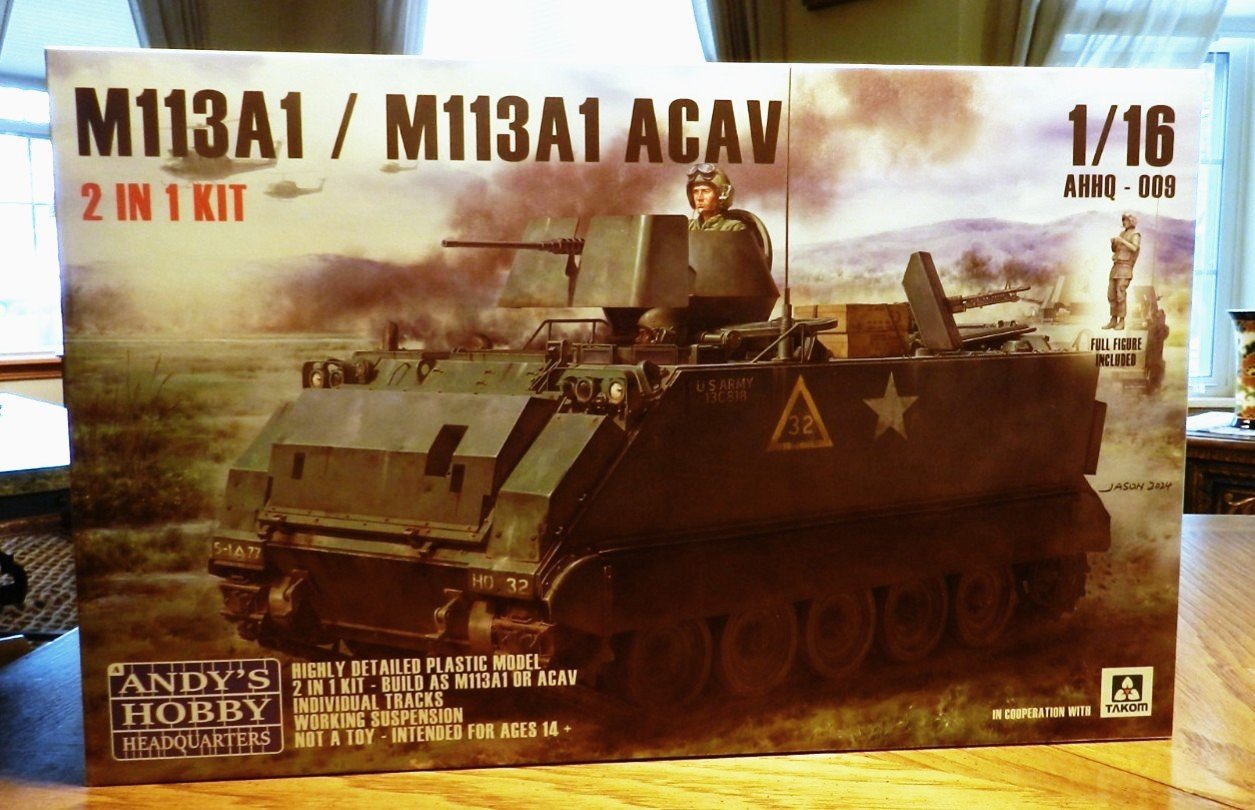
Well, it finally came! ' Been waiting since April for this one. It's Andy's M113A1/M113A1 ACAV 2 in 1 (AHHQ-009) in 1/16 scale. A look at the instructions and inside the box .....And it looks like an excellent kit with a lot of detail. There's photo-etch, working suspension, a full interior, some cable, decal stencils for every bit of equipment, and a figure. I'm really excited about this one. And the best part-----it's Huge !

-
Looking great so far..still watching!
-
1934 Ford Pickup Hotrod Christmas Tree Delivery
belugawhaleman replied to denders's topic in Non LSM 'WIP
Nice, cheerful subject and fitting for the season. Well done! -
I admit I Just had to look up puking cat gravy boat on Amazon😀
-
Nice haul Kevin!
-
I picked up one of those a while back. I've found it to be useful. Hope you enjoy yours. BTW , I hope you enjoy your retirement... Congrats! I hope that it results in seeing more of your work on the forum.