HubertB
-
Posts
2,990 -
Joined
-
Last visited
Content Type
Profiles
Forums
Events
Gallery
Everything posted by HubertB
-

Sikorsky JRS-1 with AM (Eduard) 1/72
HubertB replied to Landlubber Mike's topic in The Great Twins Broup Bluild
Great result Mike ! Love it 😍 ! Hubert -
Heller 1/48 Sepedog Jaguar 1/48
HubertB replied to PanzerWomble's topic in The Great Twins Broup Bluild
Can we say it’s OK-ish ? Just asking for a friend 🤔 Hubert -
The theme is going to be « Sandbox ». Of course, I’ll let Martin precise the rules, but my take is that any subject related to, or used with, or in contact with, sand is good to go. See the thread « Upcoming group poll », where I, among others, posted some « inspirational » pics. Hubert
-
Sikorsky JRS-1 with AM (Eduard) 1/72
HubertB replied to Landlubber Mike's topic in The Great Twins Broup Bluild
Great-looking bird ! You can’t get enough yellow wings, IMHO. Hubert -
1:32nd scale Phönix D.I
HubertB replied to sandbagger's topic in LSM 1/35 and Larger Work In Progress
Very convincing result 👍 ! Hubert -
Sorry for that, Chris, but unfortunately, this is something that hits all of us, old men 😉 … Although serious, it seems things got put back in order quickly, thank god. As for cleaning the bench, I induced myself into a « keep-it-clean » discipline. Which means I force myself to put back in its place - almost - immediately any instrument I have no immediate use of (yes, some scalpels get in and out of their slot in the Hobbyzone module probably 10 times a day), and I clean the bench at least once a day, at the end of my modelling session. It can be more if it’s been a « dirty » session with lots of sanding dust or shaving scraps. I have a small hand-held vacuum-cleaner next to the bench. It may sound a bit monomaniac, but, once ingrained, it’s a mind-relieving practice Hubert
-
It’s just another health setback….got worse today. Now it’s better!
HubertB replied to ScottsGT's topic in General Discussion
Best wishes to recover quickly, Scott. Hubert -
Someone (Reskit ?) has released a fully detailed cockpit set for this one … Worth a search. Hubert
-
With my « training » in technical drawing, I design parts from a 2D technical drawing mindset. Hence my appreciation of Solidworks, and now Alibre. I found difficult to get used to the interface of Fusion 360, but then maybe it’s just me. Fusion 360 has a free licence for hobbyists, and modellers produce great designs with Fusion 360 - see what Peter / Airscale is doing, or JayW now on LSP, with his 1/18 P-51 B. As for Blender, this is completely alien to my mindset. It’s very good for CGI, I understand, and creating organic shapes. But I could never understand how to create even a simple part. Not good at all for modelling, IMHO, but if you want to give a try, go for it, and tell us about your experience. Hubert
-
Well, a few days before the GB starts. I received mast week the kit ( resin, of course - what else could you expect from me ? -) I want to build for this GB, and I took a head start by starting designing in 3D some of the parts I will need to convert the kit to the required version. After a fairly long hiatus with 3D-designing, and a change of software - from Solidworks to Alibre Design - in the meantime, which, although having the same « feel » as Solidworks, has some different features, I am happy that the proficiency is coming back . This is not quite like bicycle, but finally, once you have learned the 3D-design trade, you never really forget it … Oh, and the Cutlass is still under way. It also got the 3D-design treatment as, between filling and sanding sessions, I designed some accessories for the display, namely a tow-bar, wheel-chocks and a boarding ladder … Hubert
- 125 replies
-
- 10
-

-
What is on your bench right now ? Share a picture :)
HubertB replied to Martinnfb's topic in Modelling Discussion
What a great tip ! I’d never have thought about it. I found some on my local Amazon. Look for « nail art brushes ». Hubert -
Superbly realised vignette ! Bravo ! (I am still wondering whether a submerged U-boat had the speed and momentum to get out of the water like that - unlike modern nuclear subs -, but the dynamism of the scene makes it totally convincing) Hubert
-
+1 ! Nicely done, Kevin 👍 Hubert
-
I believe Fisher made some cowlings and improvement parts for the Heller kit, but unfortunately, those are gone with the destruction of Paul’s house and workshop in the Paradise fires. Maybe you can find some on eBay and the likes, but all Fisher items now call for insane prices… HTH, and, btw, Hubert
-
Beautiful painting job, Kriss ! Hubert
- 18 replies
-
- 2
-
-
- caproni ca.100
- fly
- (and 1 more)
-
Easy-peasy : no cockpit detailing, no markings, tape on the joints … and I was about to write no weathering, but then I saw the second one from the bottom right corner 🙄 and then the seventh one in the same row ... Damn ! Another good idea bites the dust sand ! Hubert
-


-
Academy 1/35 AH-1Z Viper
HubertB replied to Peterpools's topic in LSM 1/35 and Larger Work In Progress
Cockpit looks good, Peter 👍 ! Looking more closely at your pics, the seat-belts look realistically thin, not the bloated look of their previous prints. In 1/32, a belt should be about 0.12 mm / 5 thou thick, which is the thickness of a paper sheet. Hubert -
Love that truck / Mi-8 👍 ! Hubert
-
I’ll go French. I still have to choose between two versions. Hubert
-
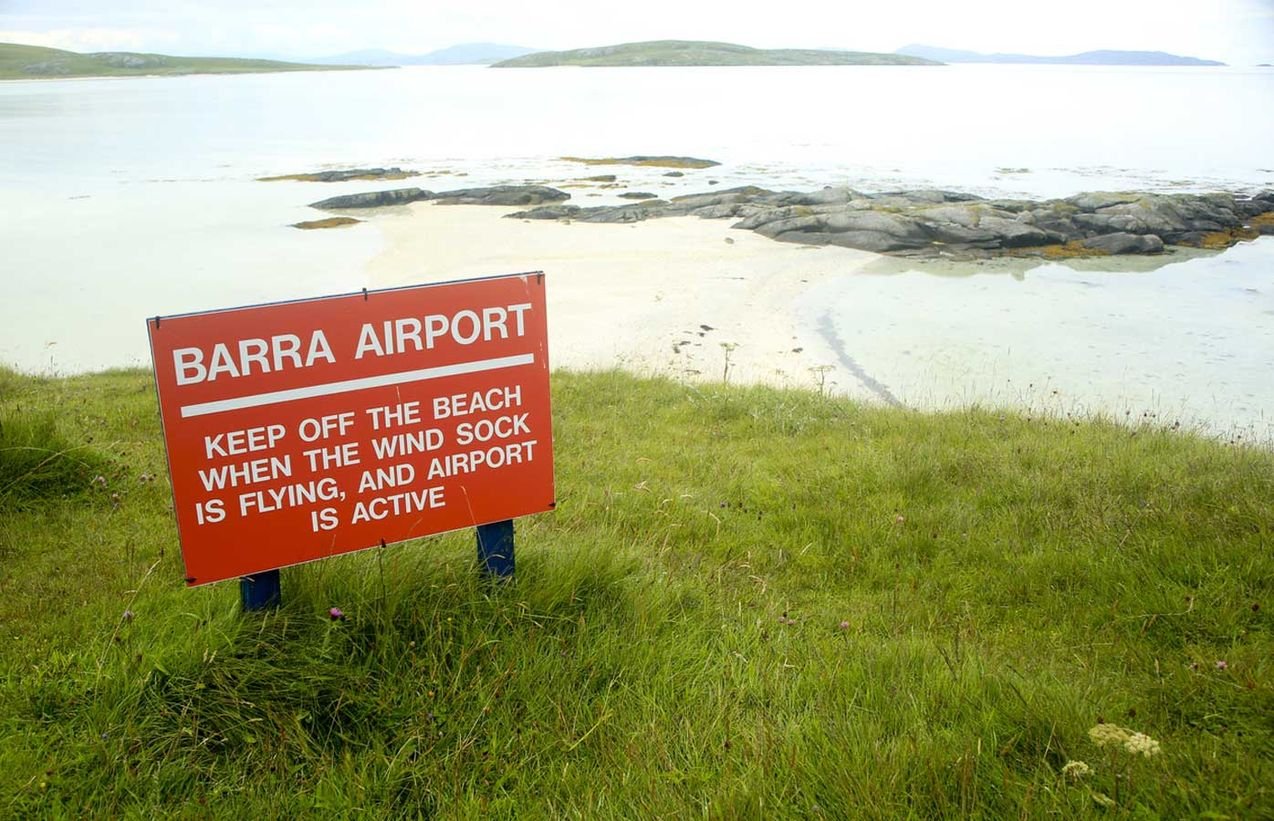
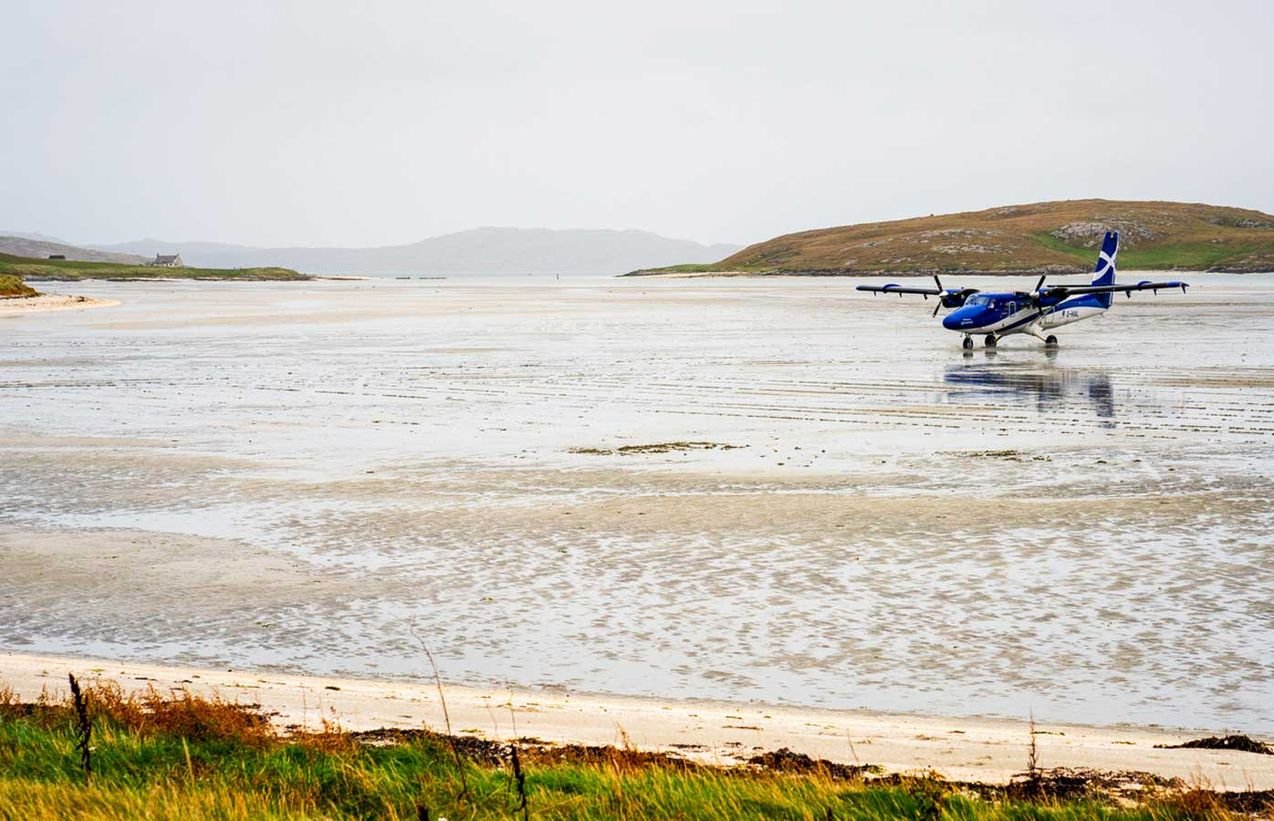
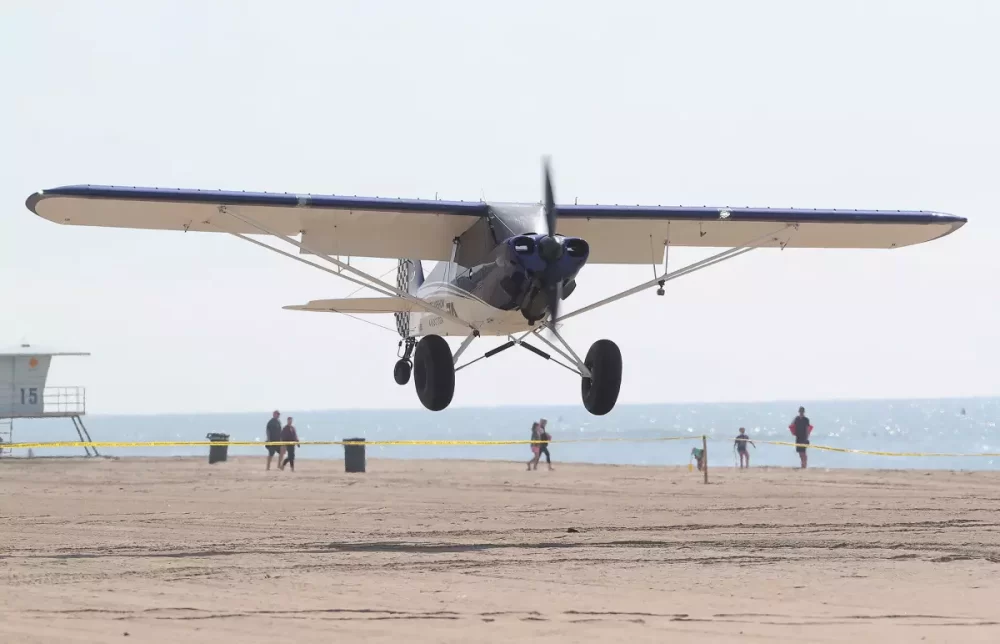
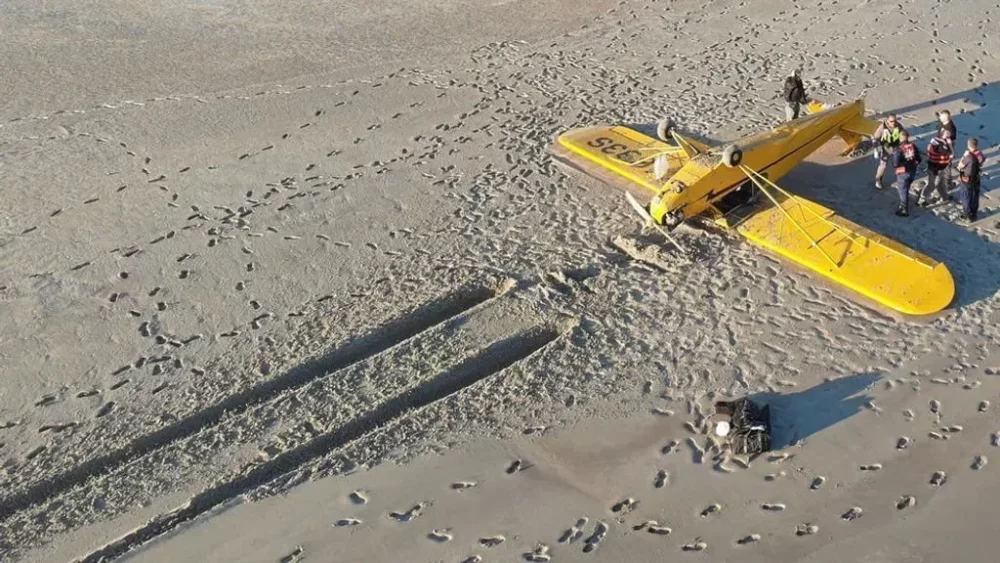
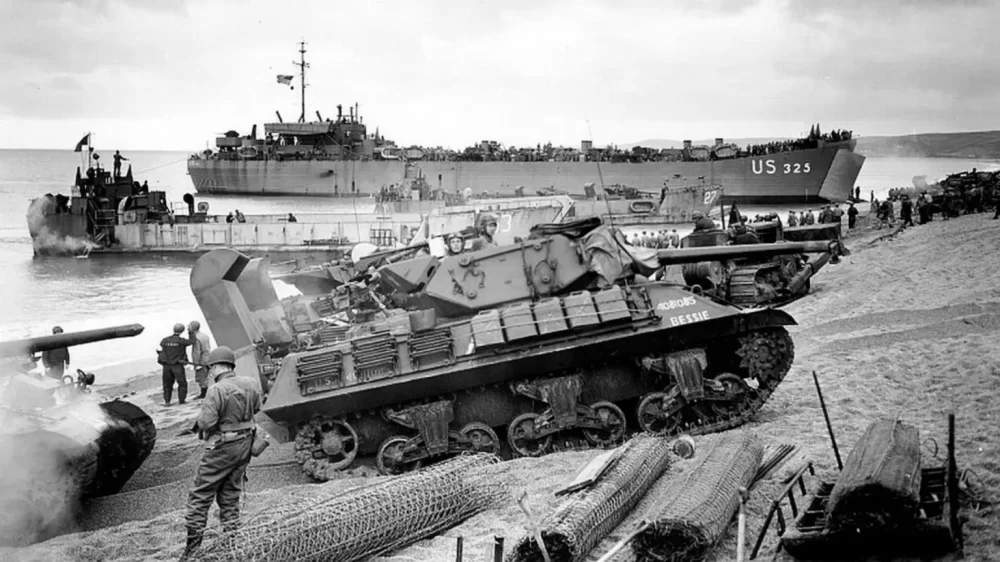
Then there is also these :

-
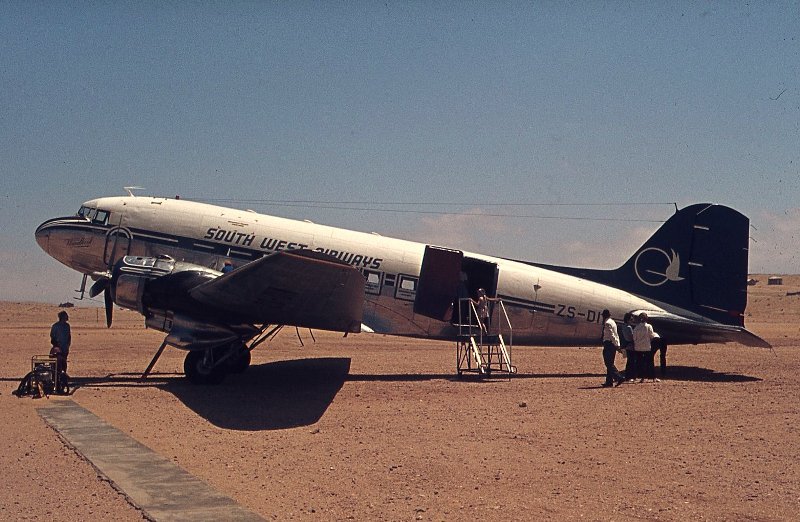
And, not so long ago, from Mike (Sandbagger) and posted here : Hubert
-
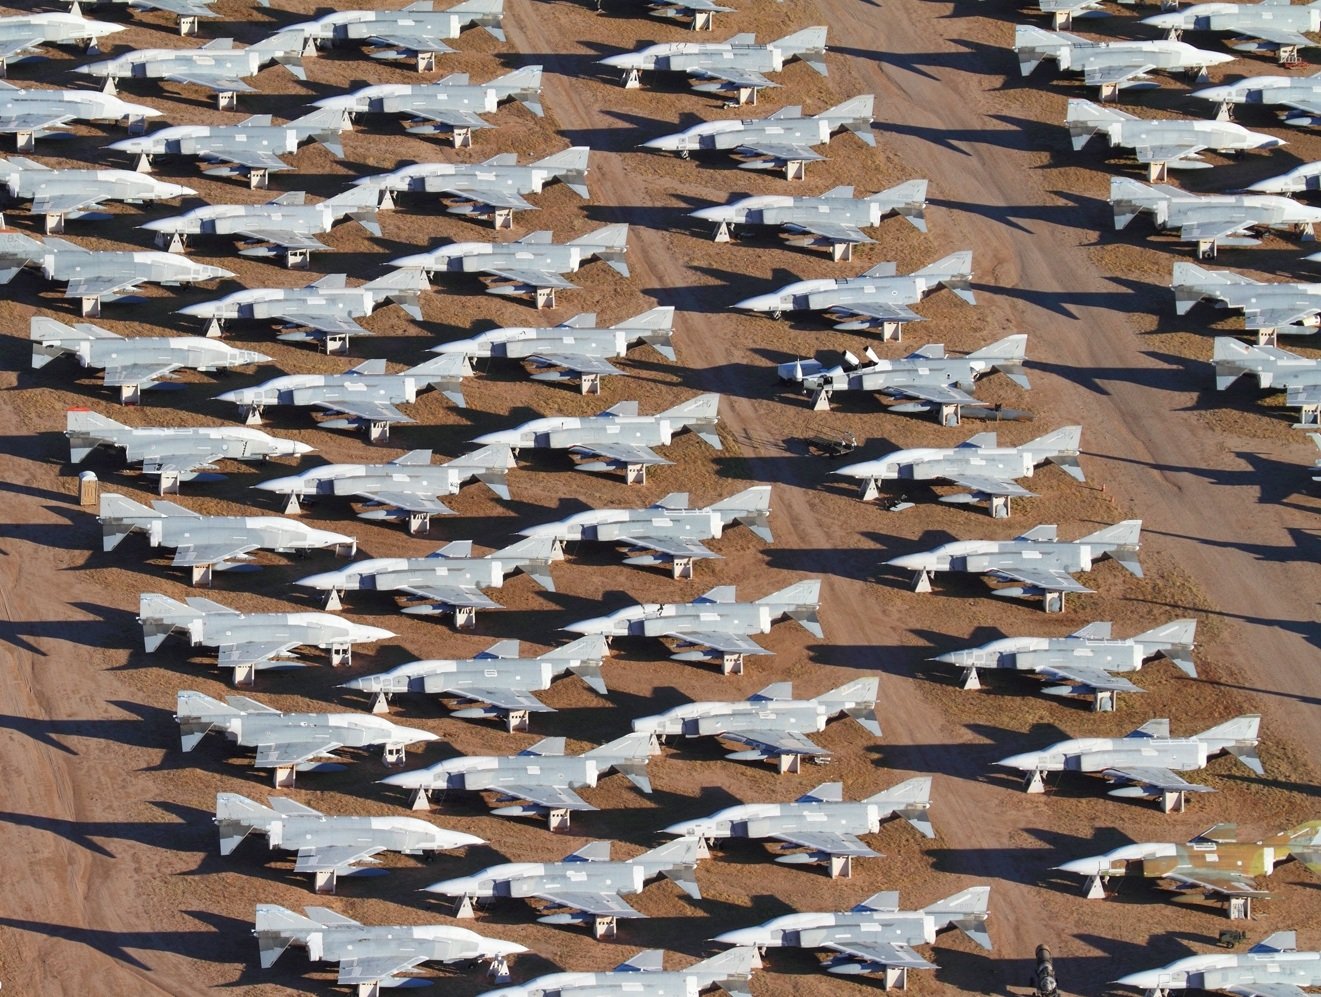
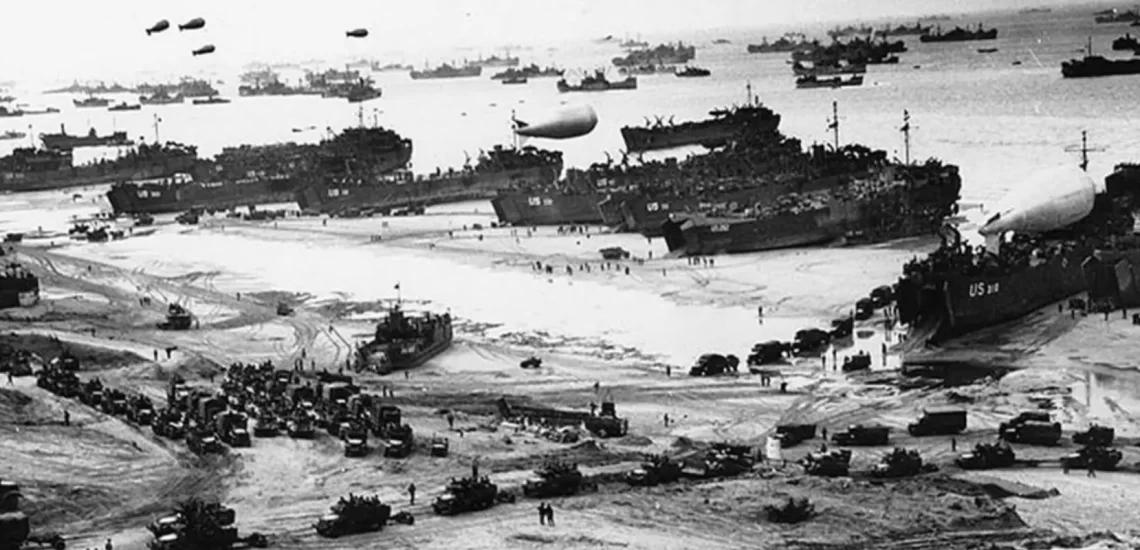
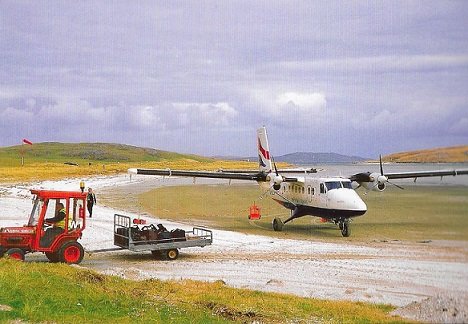
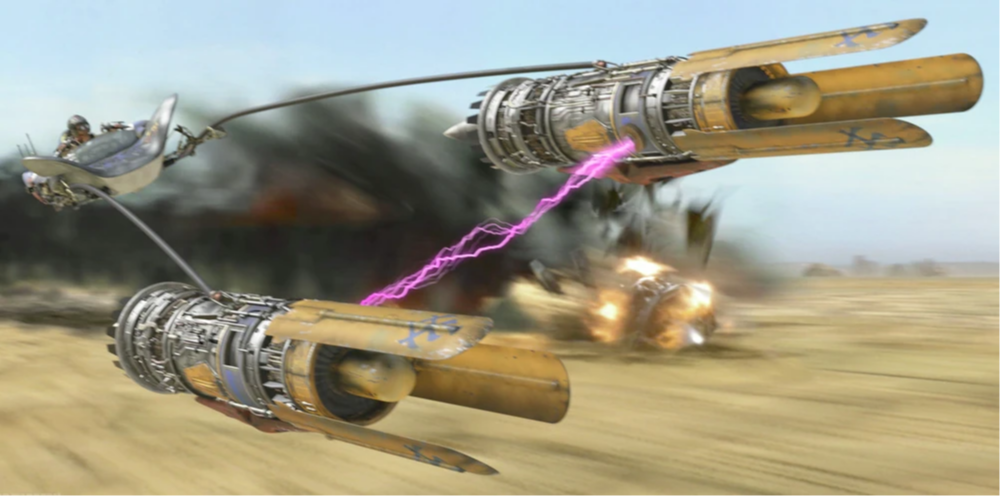
Not that I have anything against the 109 in the Lybian desert, but there is more to « sandbox » than the WWII MTO. May I suggest that we post inspirational pics in the next days ? Here is my first (small) contribution … Hubert


- 125 replies
-
- 11
-
-
Is there a decent 1/72 B-52 G/H kit out there?
HubertB replied to CANicoll's topic in Modelling Discussion
Quite the contrary … in loaded flight, they are flexing up. Hubert -
What is on your bench right now ? Share a picture :)
HubertB replied to Martinnfb's topic in Modelling Discussion
You mean you … and … Martin … a couple ? (confused) Hubert 😳 🤔 😂🤣😂😉