

Bill_S
-
Posts
990 -
Joined
-
Last visited
Content Type
Profiles
Forums
Events
Gallery
Everything posted by Bill_S
-
I've got no immediate use for this yet, but I'm supposed to give a seminar to my club next month on preventing tail sitting.
-

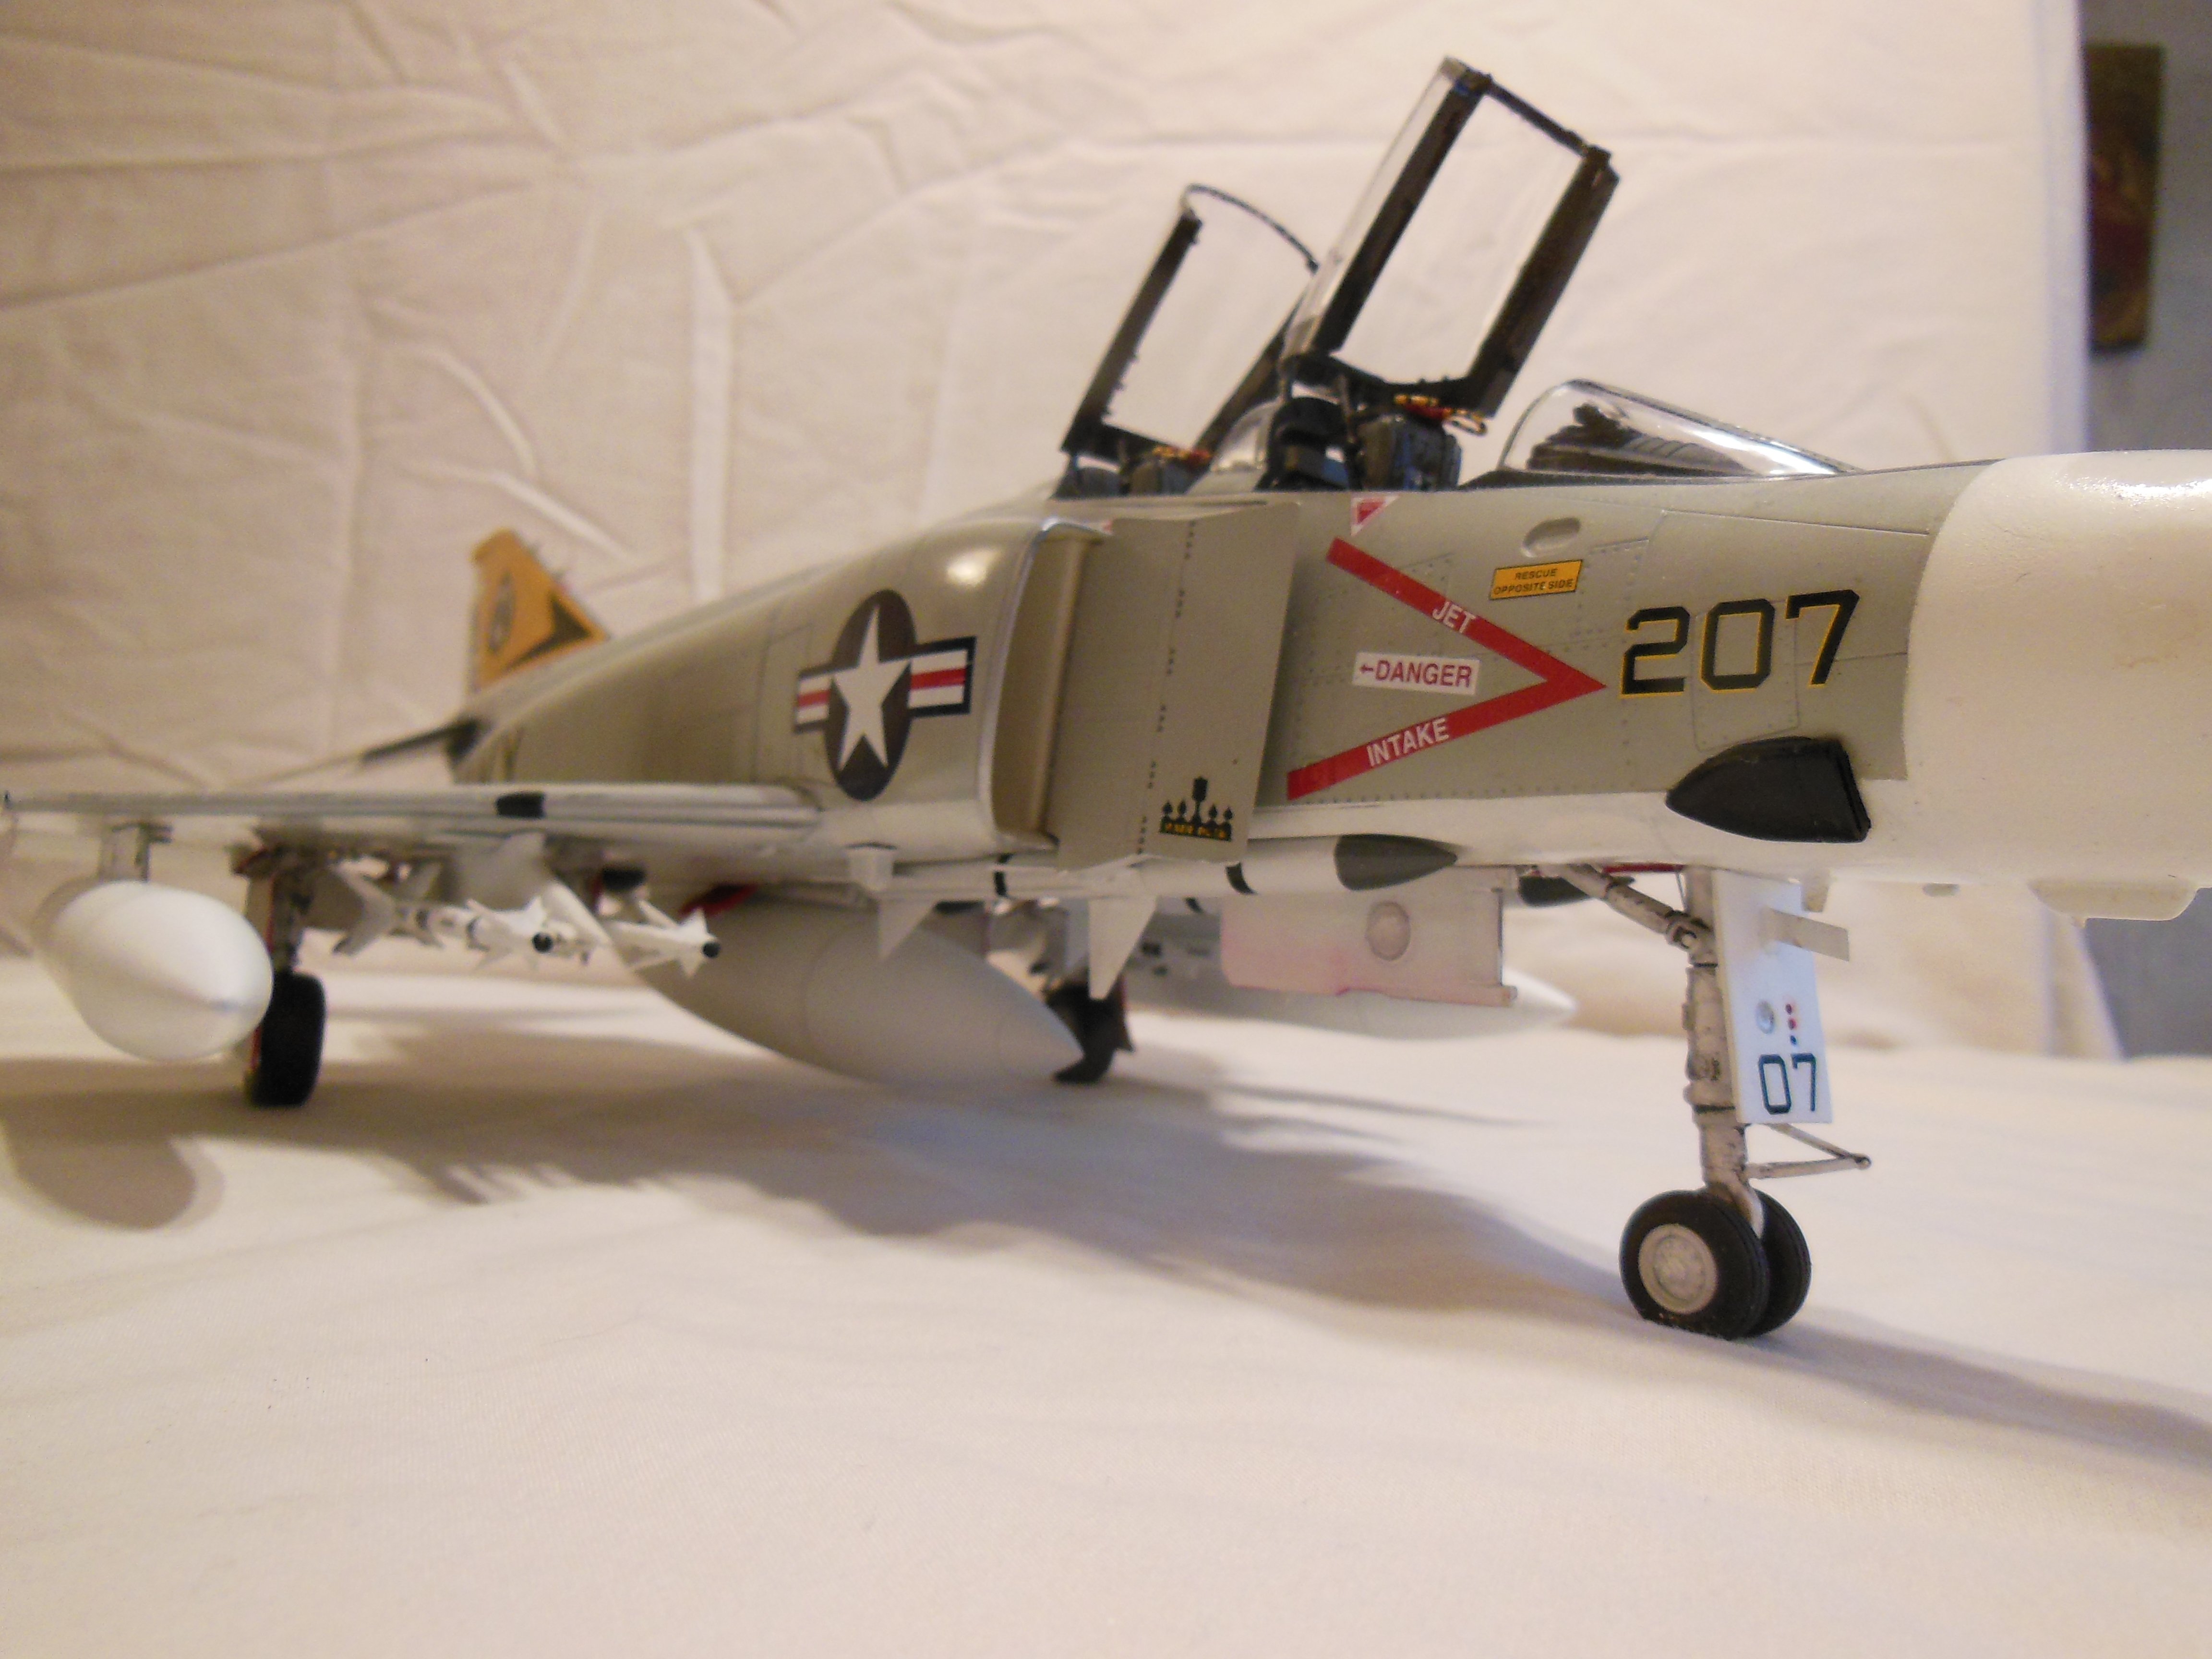
What is on your bench right now ? Share a picture :)
Bill_S replied to Martinnfb's topic in Modelling Discussion
Nothing like a coat of silver to show wandering scribe marks. Filled with Tamiya putty and sanded. Every time I look at it, I see more screw ups. -
It's a narrow time window for these cruises. They're all booked for this year.
-
Happy birthday, Martin!
-
It was supposed to be a nice relaxing Alaskan cruise. We got to Newark, NJ without incident. Severe weather in Newark meant we spent 8 hours in a plane on the ground. Each passenger in economy got a meager 6 ounces of water over the course of that time. No air conditioning; it was stifling in that plane. By the time the crew timed out and we made it back to the terminal, there was not a hotel room to be had anywhere. No rental cars were available, either. We spent the night in the airport. The next day, we managed to leave Newark and make our way to O'Hare in Chicago. We spent two days in Chicago - flight after flight was cancelled. We had to cancel the cruise; after multiple phone calls and a local airport visit, we have no idea where our luggage is. To top it off, I managed to pick up Covid.
- 7 replies
-
- 17
-

-
Members completed Fisher builds only
Bill_S replied to JohnB's topic in LSM 1/32 and Larger Aircraft Ready for Inspection
All are stunning builds! I have Paul's Sea Fury in my stash; I would love to get my hands on a Skyray. -
N1K1-Ja Shiden Takara/Revell 1:32
Bill_S replied to shadowmare's topic in LSM 1/32 and Larger Aircraft Ready for Inspection
Thanks for posting this. It prompted me to pull mine off the Shelf of Doom - it's 90 percent complete. Scratch built cockpit, and the gear bays are recasts from the Hasegawa N1K2 kit (they fit quite nicely). -
A little progress. I had to finish the Kingfisher, and I'm packing to leave on an Alaskan cruise next week. Got the upper wing fillets all situated. They fit like a glove! I had some small gaps at the belly. I put some shims from sheet styrene to fill the gaps. I'm not quite sure why that happened, but I'm convinced it was my fault. Installed the main LG, too. The upper fuselage has to slide into its mating part. I have it cemented at the front; I've yet to do it all the way along its length. The fit is outstanding.
-
N1K1-Ja Shiden Takara/Revell 1:32
Bill_S replied to shadowmare's topic in LSM 1/32 and Larger Aircraft Ready for Inspection
Now, there's one you don't see very often. Beautifully done! -
Have I mentioned how much I love lacquer paints?
Bill_S replied to ScottsGT's topic in Modelling Discussion
I too am a believer in Mr. Color lacquers. I'm gradually switching over as my MM enamel supply dwindles. -
So sorry to hear this, Ron. He was way too young.
-
I ordered these cast struts from Aerocraft. Less than a week from placing the order to delivery (they came from UK). I'm impressed with both the quality and the promptness. They're for the MikroMir Fokker E.V/D.VIII kit.
-
Simply fantastic, Scott!
-
What is on your bench right now ? Share a picture :)
Bill_S replied to Martinnfb's topic in Modelling Discussion
Now that the Kingfisher is done, I've pulled this one out of mothballs. I hope to have this one ready before my club's show in September. -
Finally! Here's a link to the build log: Kingfisher WIP
-
A Sea King in 1/32 would be awesome.
-
It's definitely a build! OOB, though I may see about doing something with the door hinge pins - a weak point in the kit as I recall.
-
I got a decent price for this off Amazon... A Facebook post from my LHS informed of new stock; this kit brings me back to when I was 10 or 11 years old. I had to have it.
-
Looking great, Scott! I find it amazing just how little paint you need when black basing.
-
Visibility is better than that here, but the sky has been quite hazy the past couple of days. We can smell the smoke, too - and I'm a long way from Long Island!
-
That bent winged bird is looking sweet!
-
I've found Roy's stuff to be nothing short of top notch. Those Corsair and Mustang cockpit decals really make the front office pop! It's a shame there aren't similar sets for the plethora of Spitfires out the there. Even some generic data placards would be most welcome.
-
Beautifully done! I might have to repaint mine now... Nah.
-
Don't be afraid of Wingnut Wings. Any of the Fokker Eindeckers are enjoyable builds; although the rigging looks intimidating at first, you don't have to deal with rigging between wings. Do not start with a Dh.2, Fe2.b, or any of the multi-engine birds.
-
Instrument panel installed. With the PE attached, the base of the IP was too thick to fit into the slot provided in the cockpit floor. I has to sand material off the back side of the base of the IP (sorry, no picture). Z-M's instructions would have you cement the upper wing fillet to the wing prior to attaching the upper wing. I found that the fillet could slide along the wing join. I taped the upper wing in place, and test fitted the fillet. It snaps into place. I'll attach the fillet AFTER I cement the upper wing on.
- 46 replies
-
- 10
-


