
TJTX
-
Posts
1,005 -
Joined
-
Last visited
Content Type
Profiles
Forums
Events
Gallery
Everything posted by TJTX
-

Hasegawa Nakajima Ki-84.
TJTX replied to Sir Desmond Glazebrook's topic in LSM 1/35 and Larger Work In Progress
That really does look VERY good Dale. -
Dale, I'm so very sorry to hear that. I've absolutely come to enjoy seeing all your post, and laughing at your wonderful wit. Please do stay around here and keep posting. You may not believe it but your an incredible inspiration to many of us and someone we definitely call a friend.
-
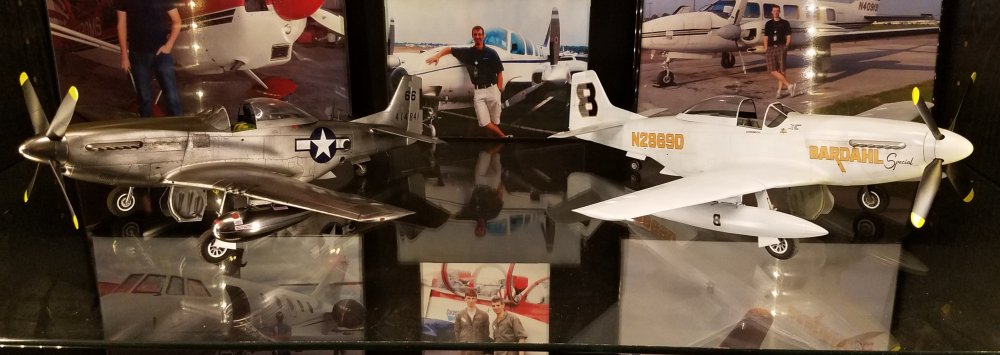
And next to her older sister:
-
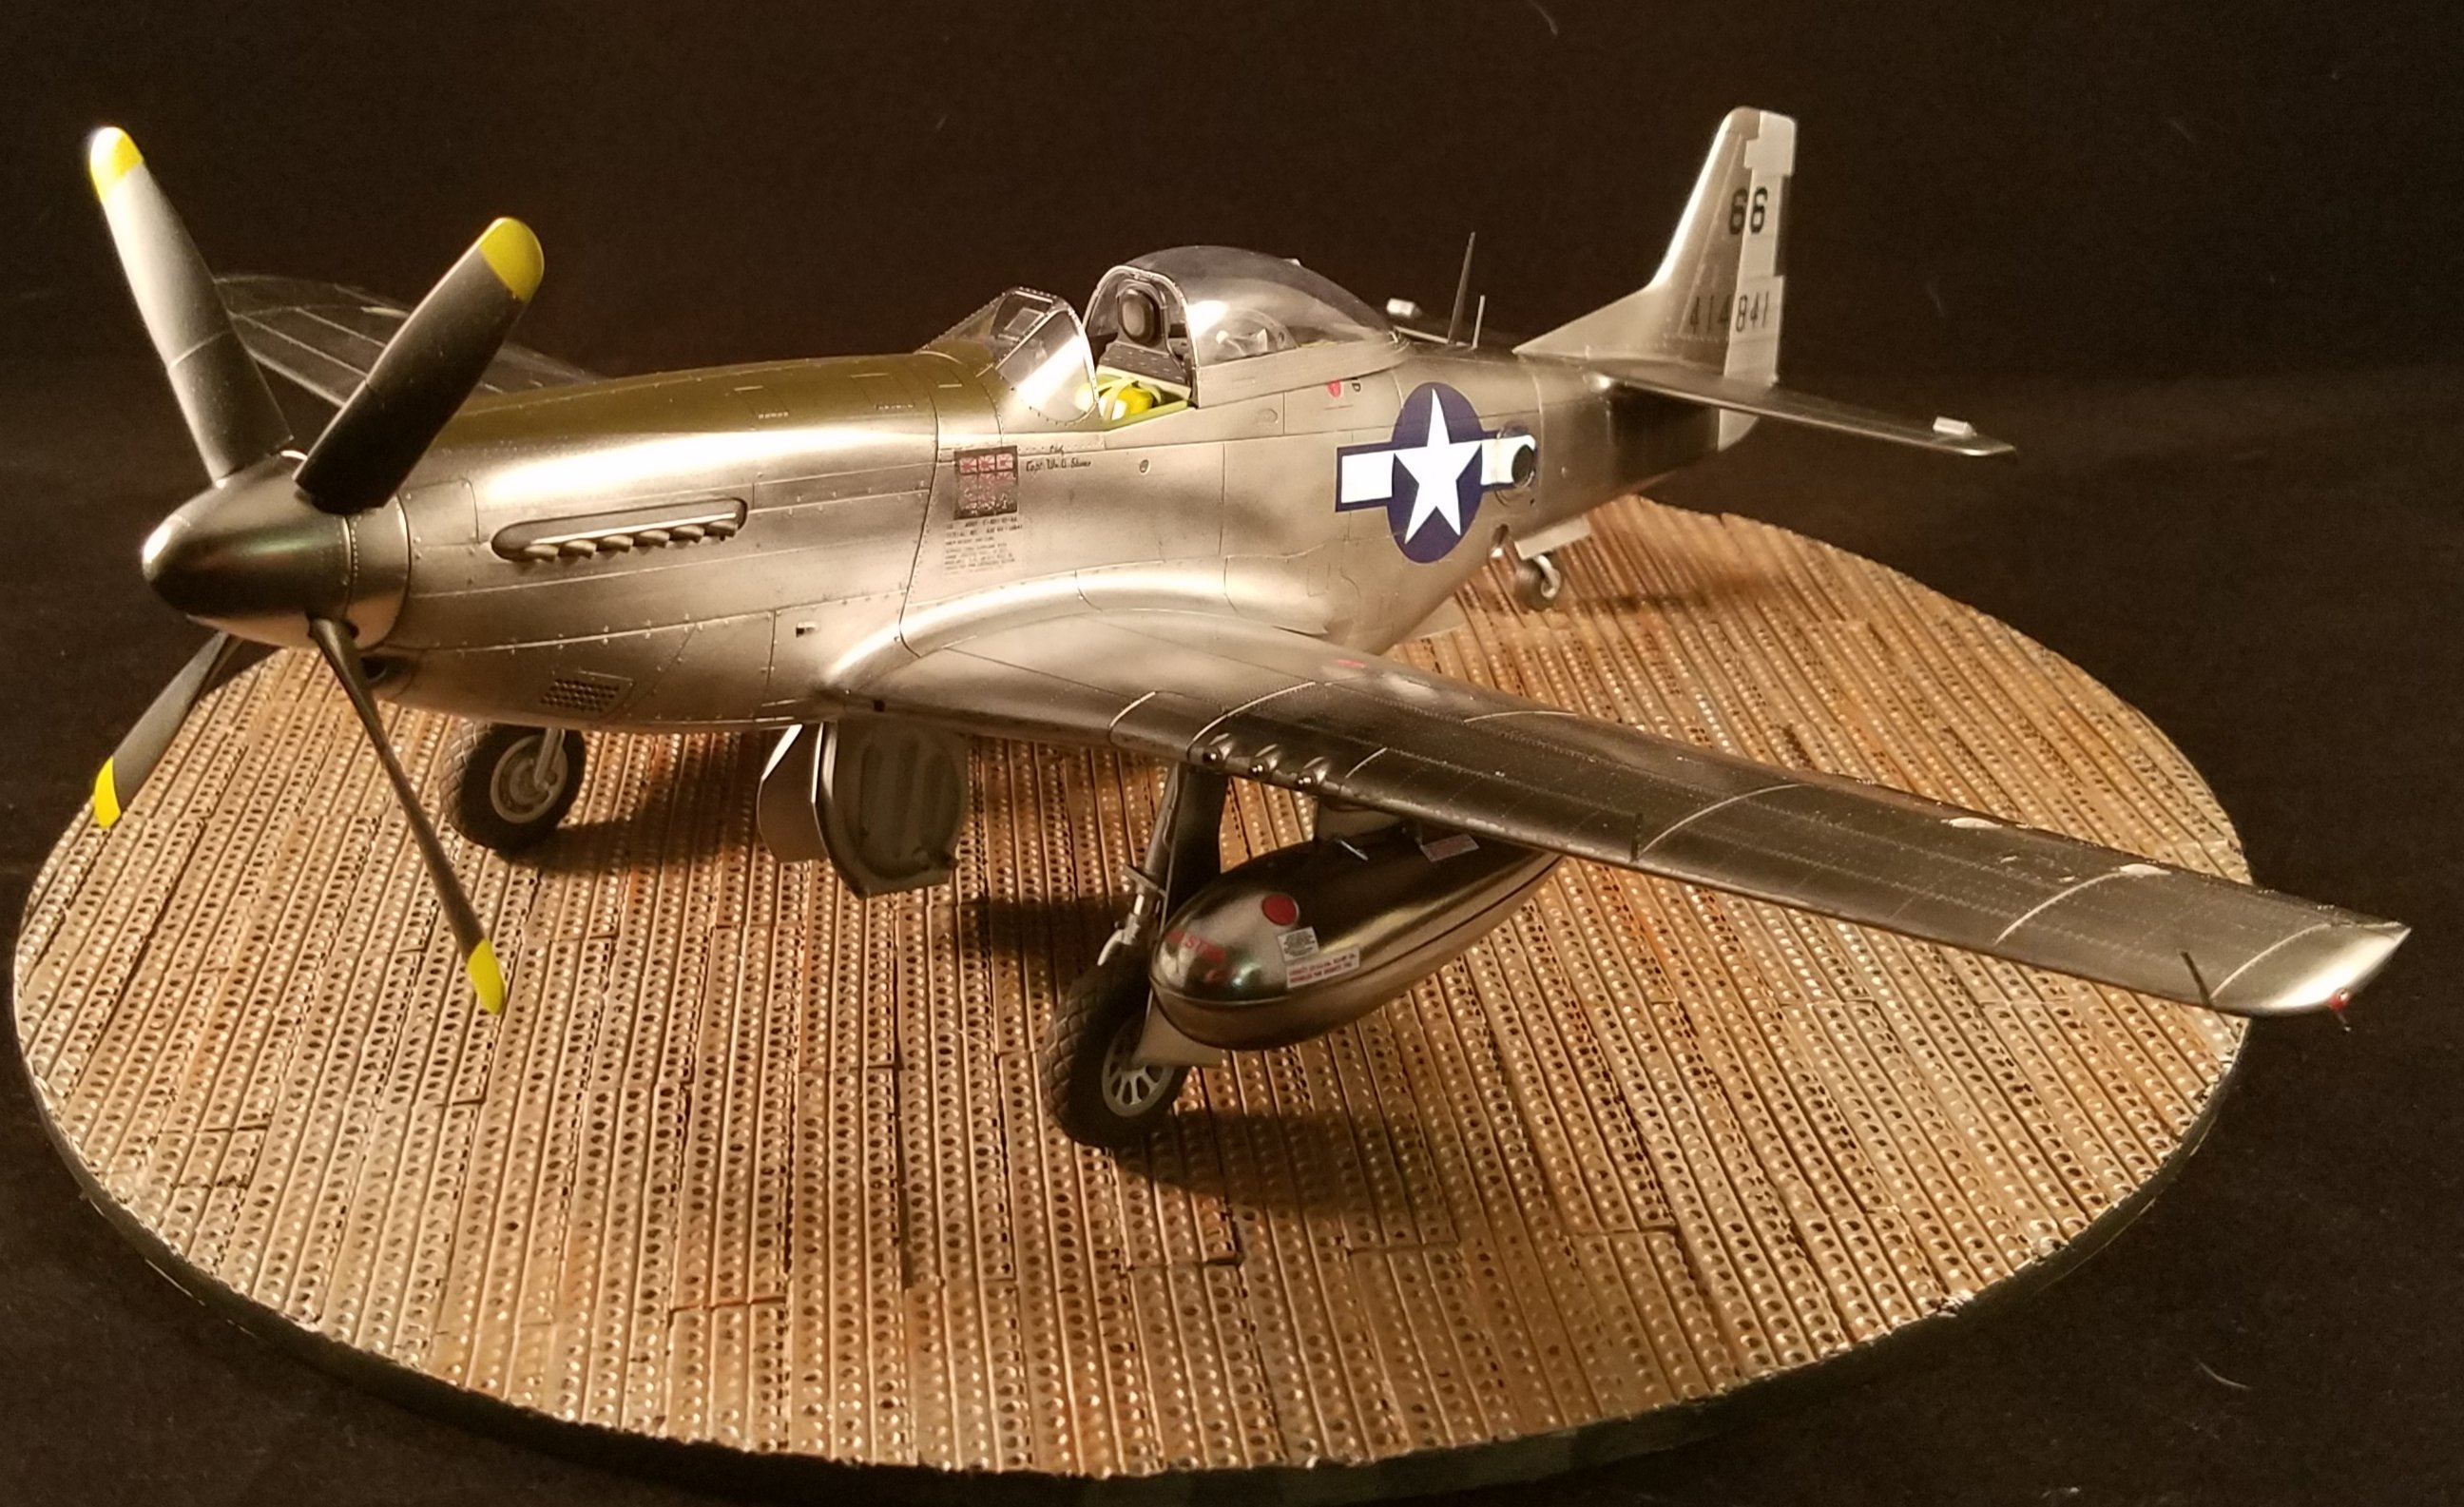
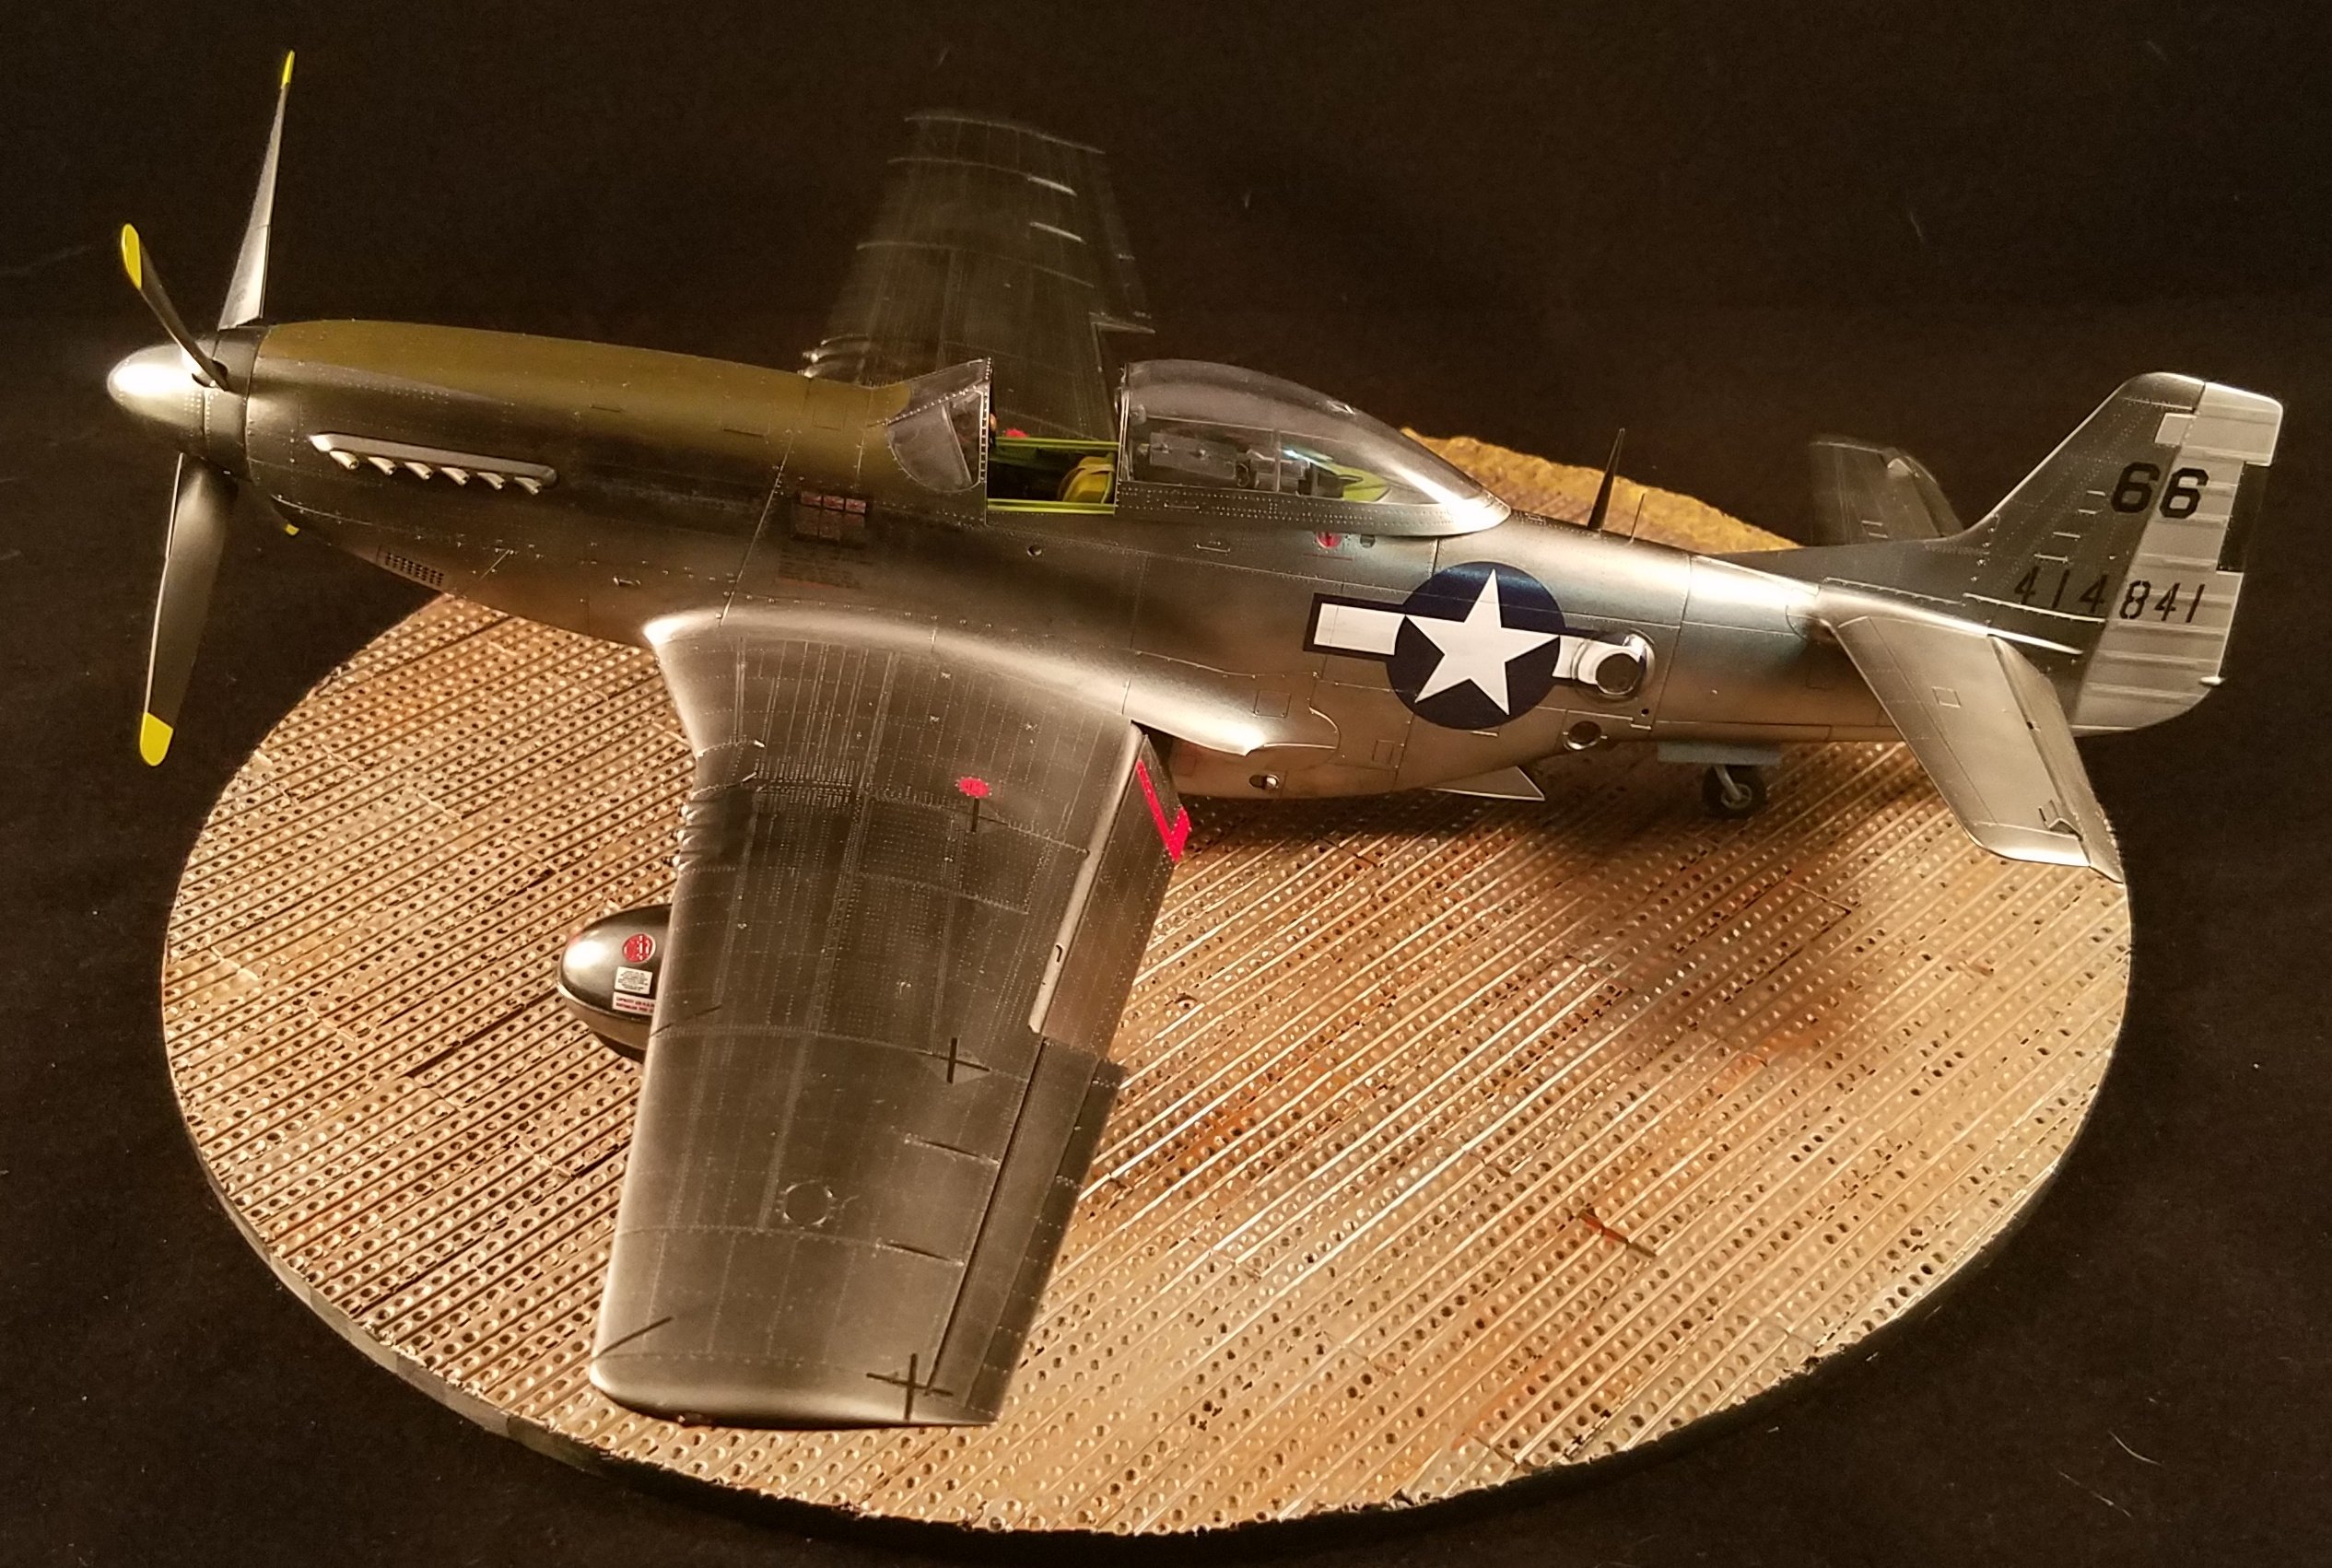
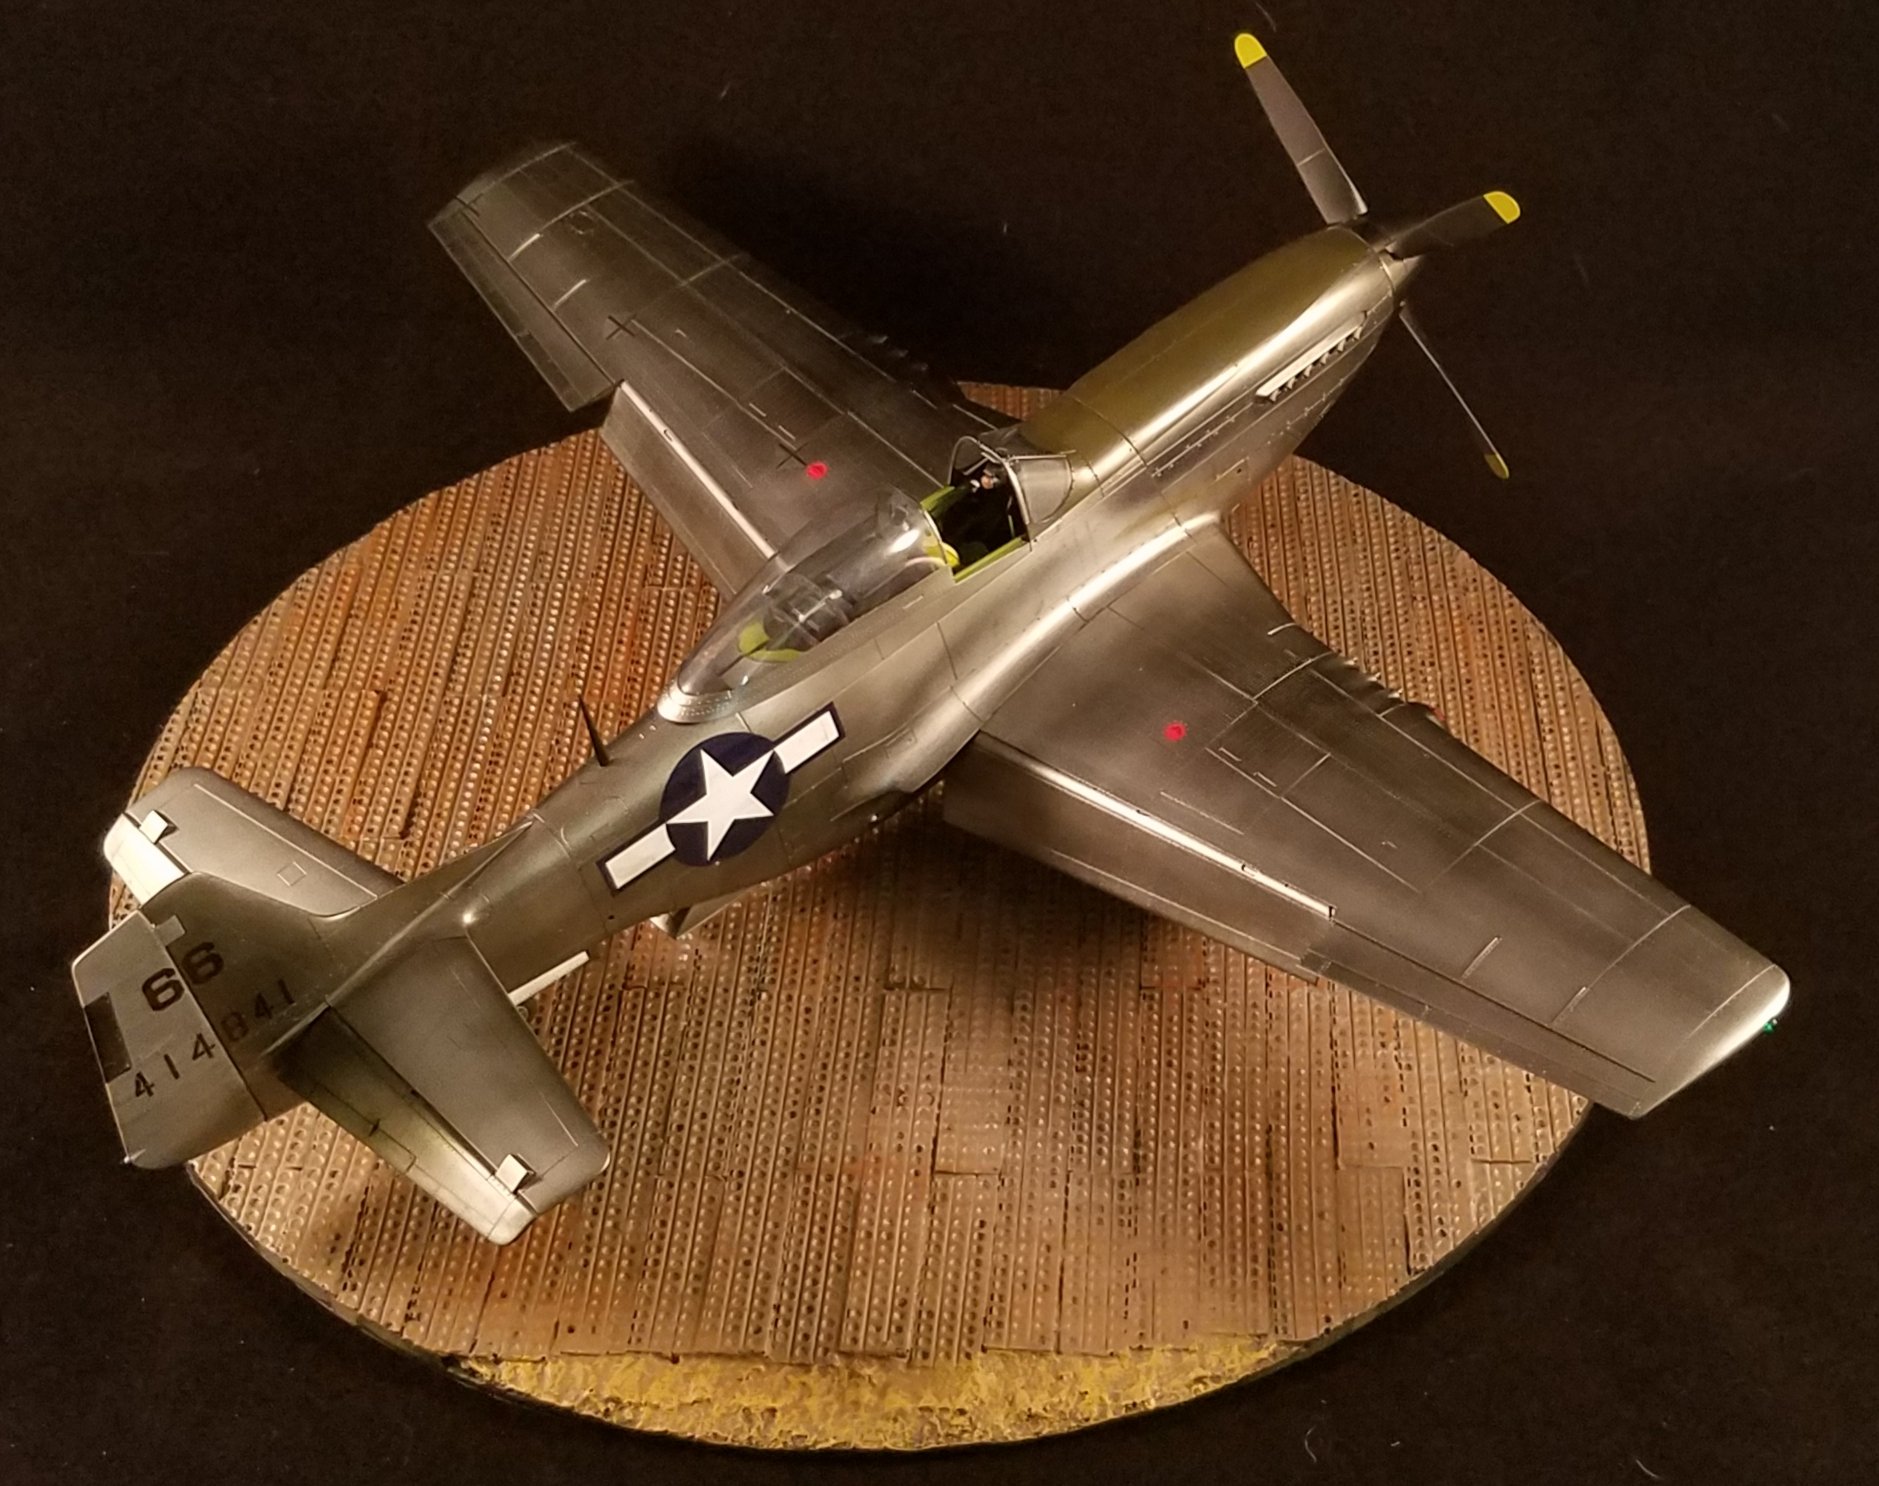
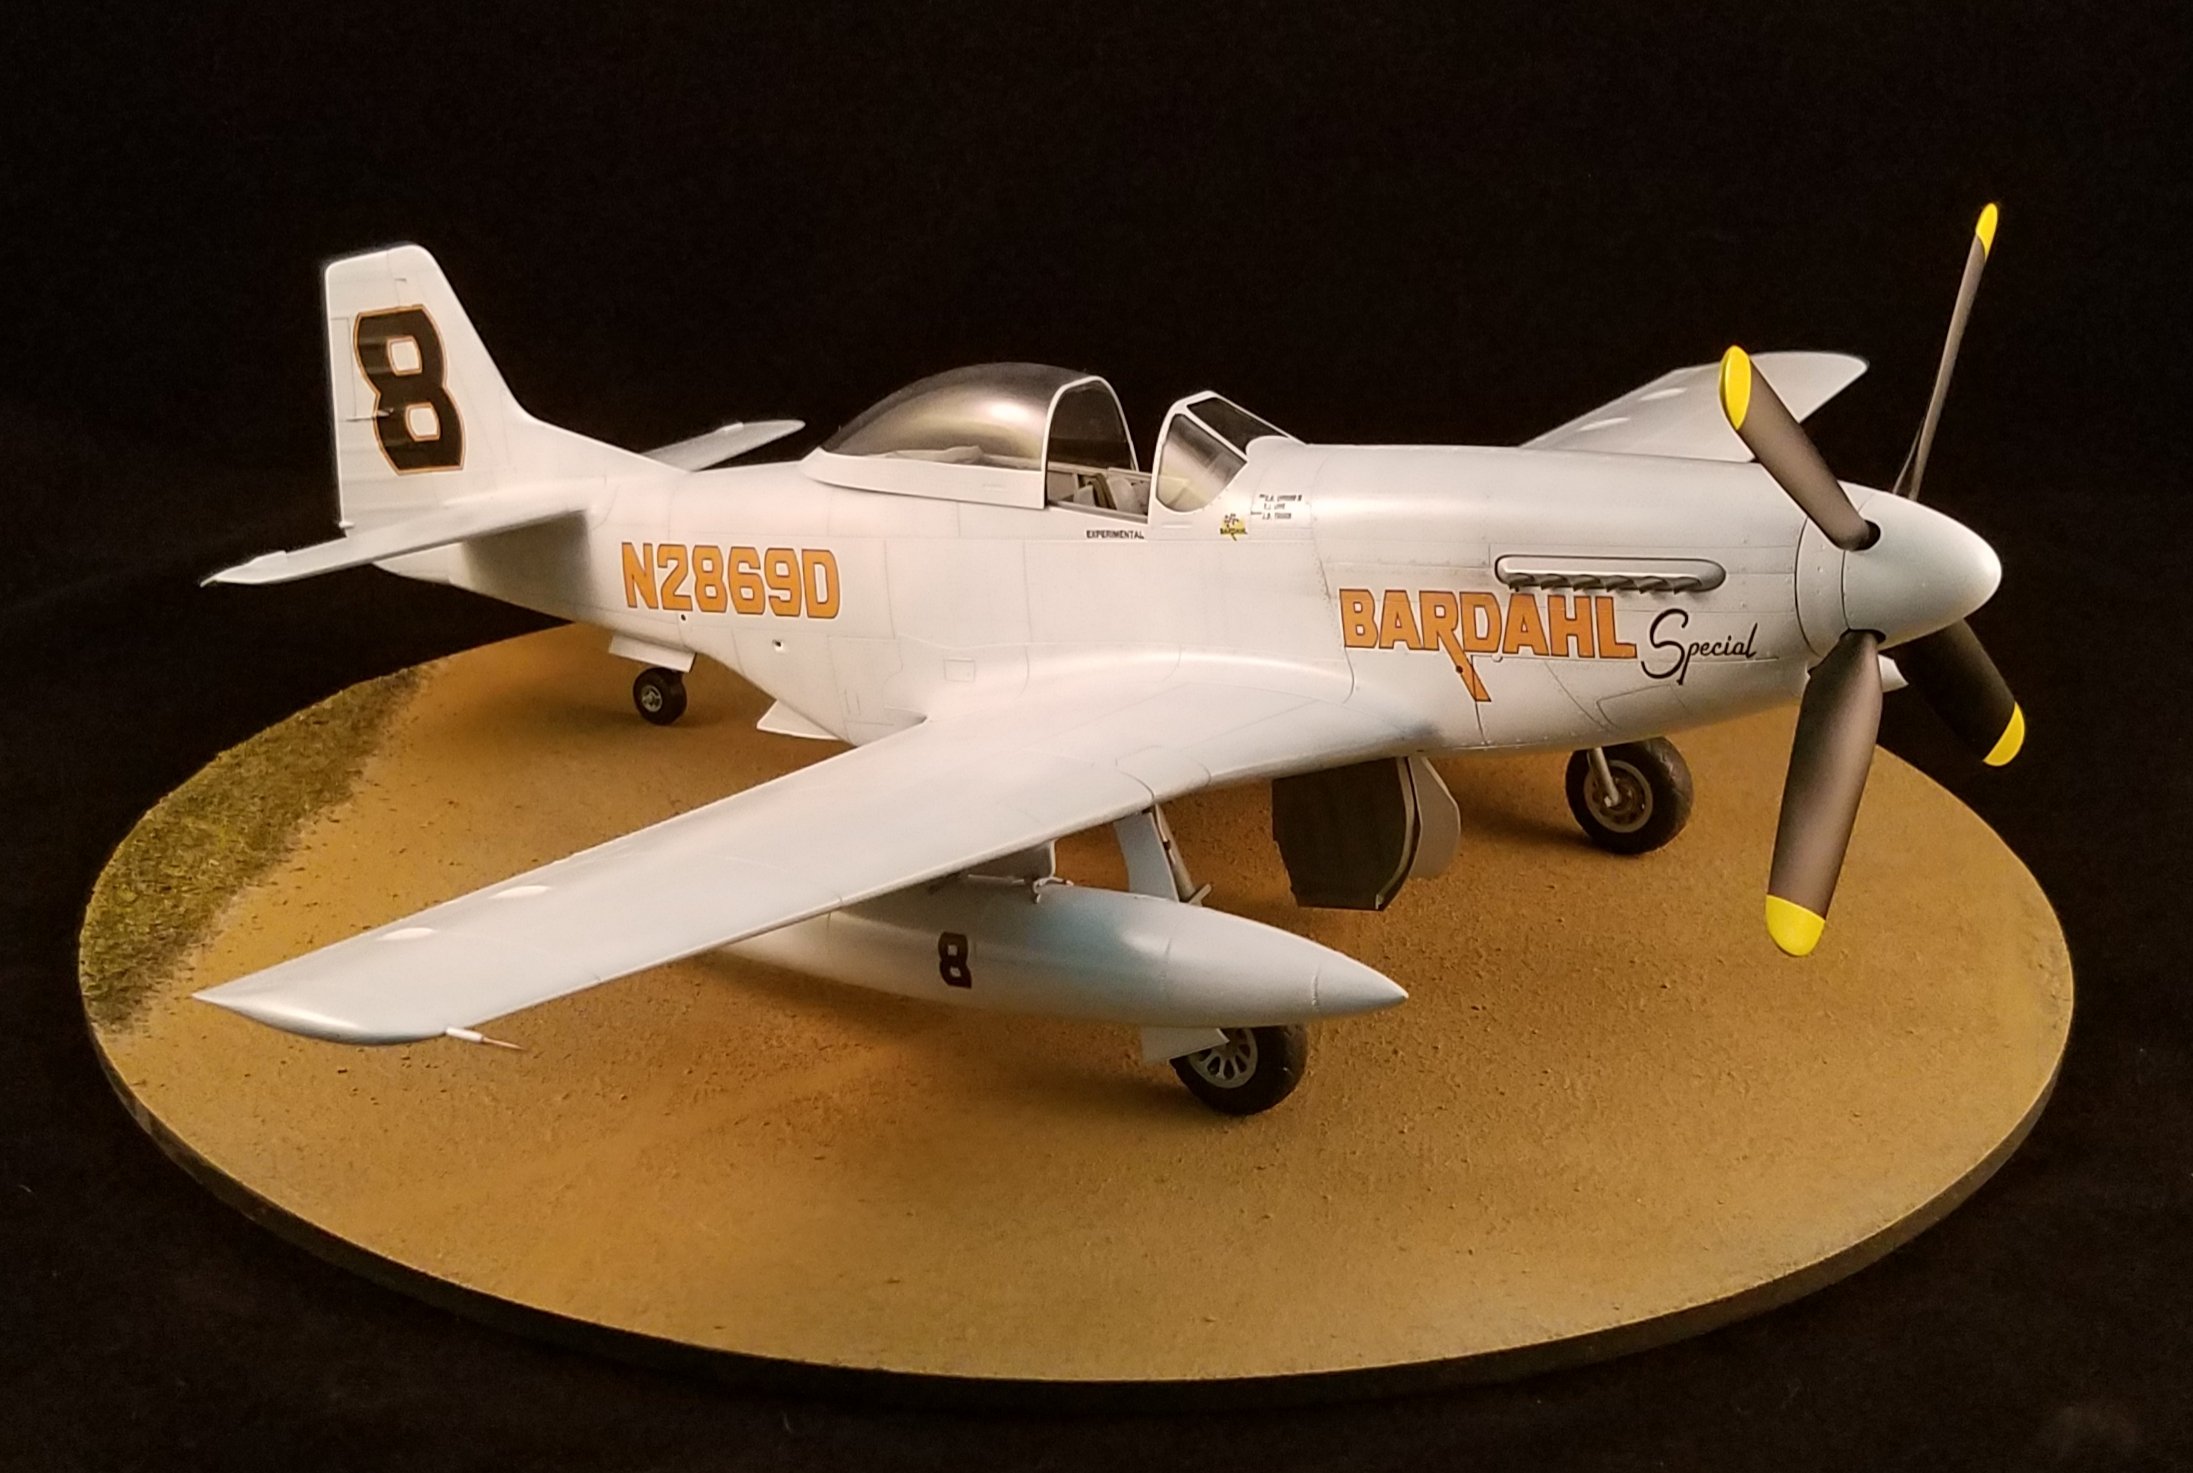
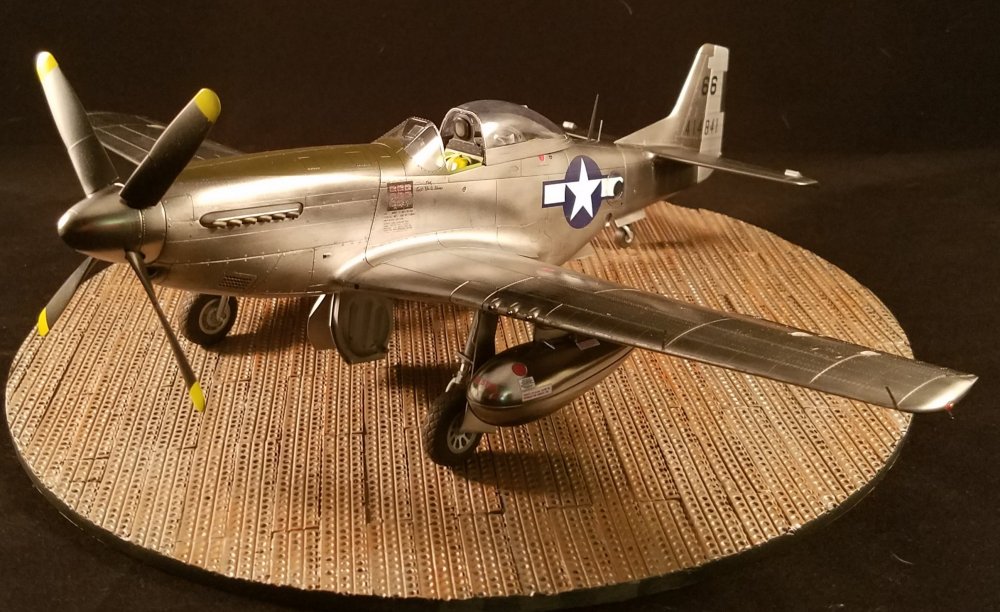
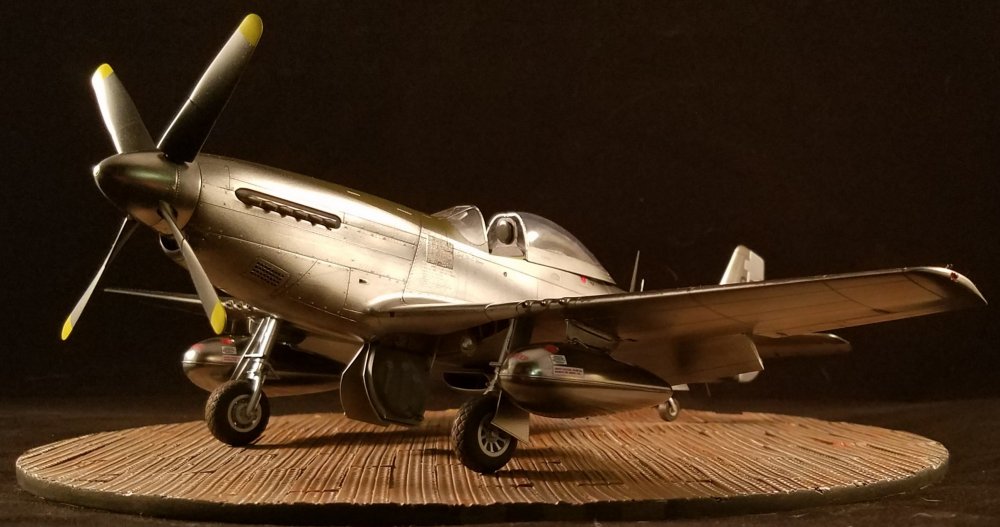
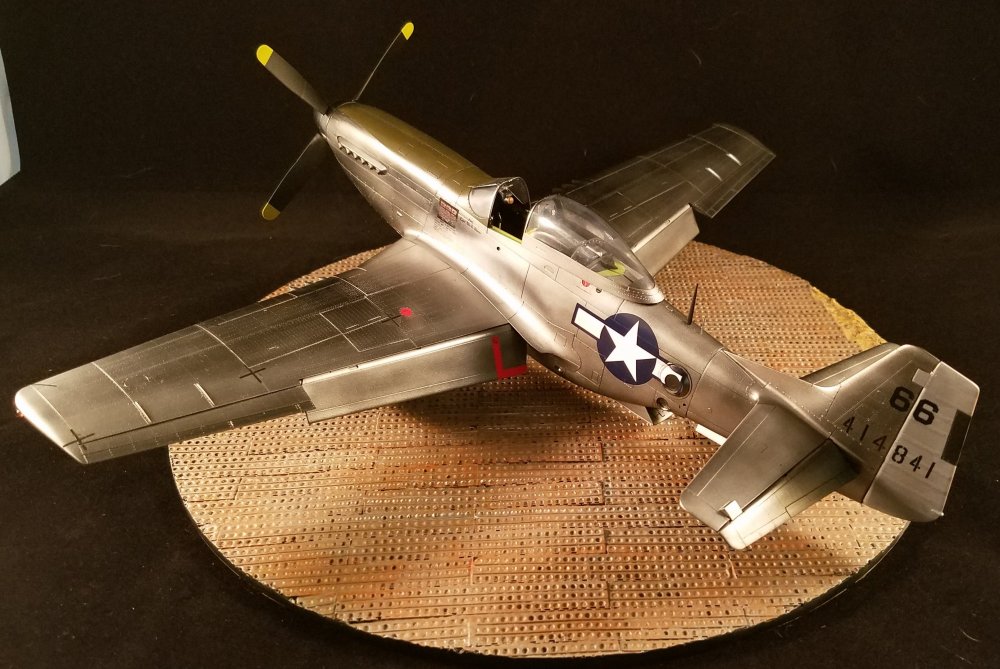
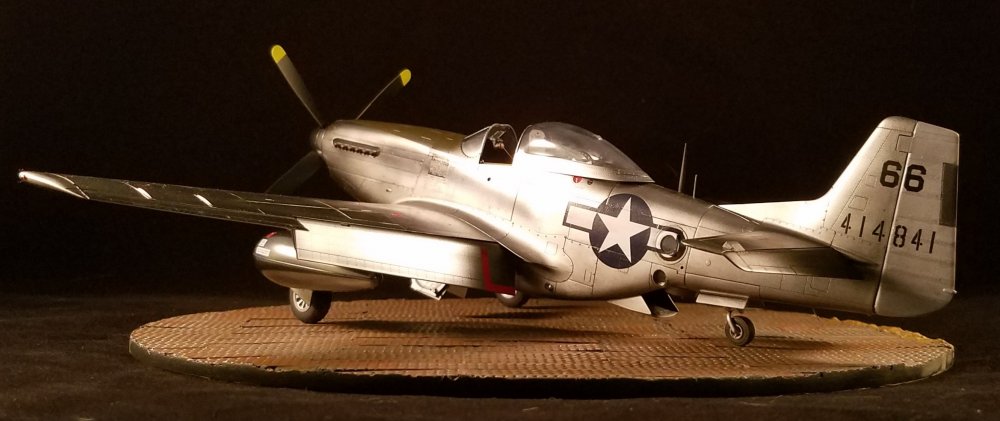
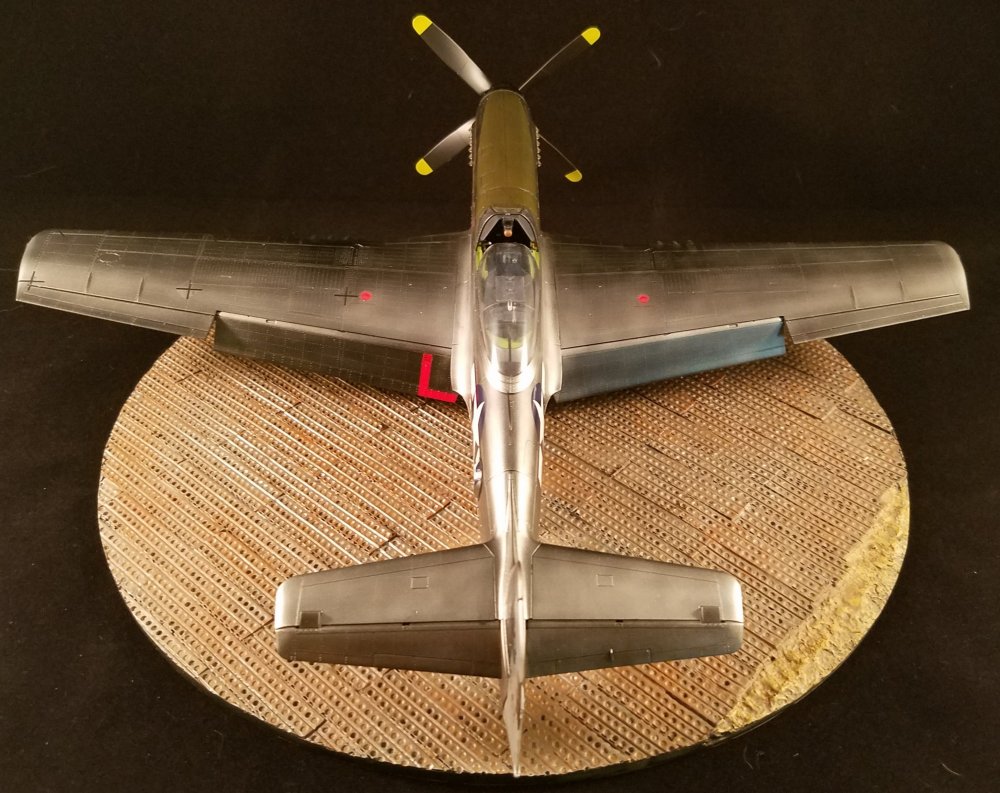
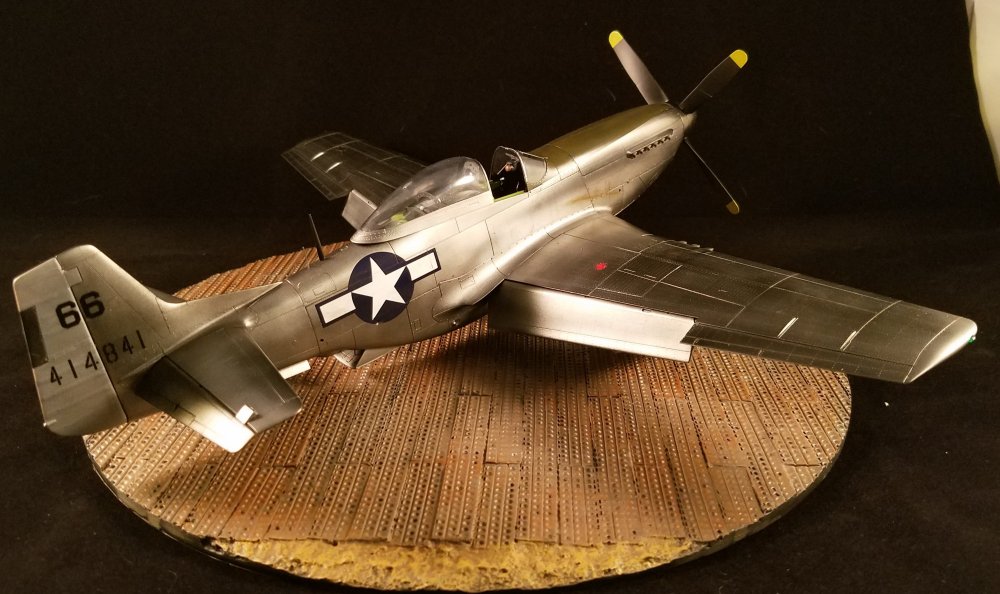
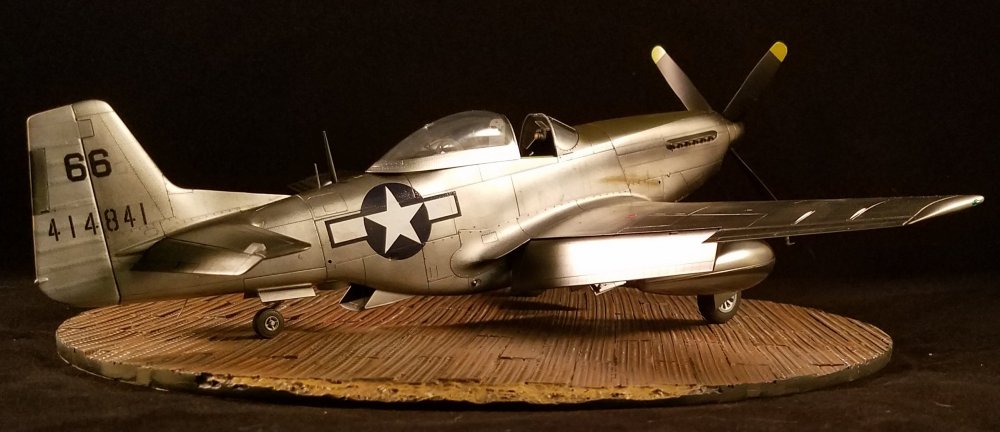
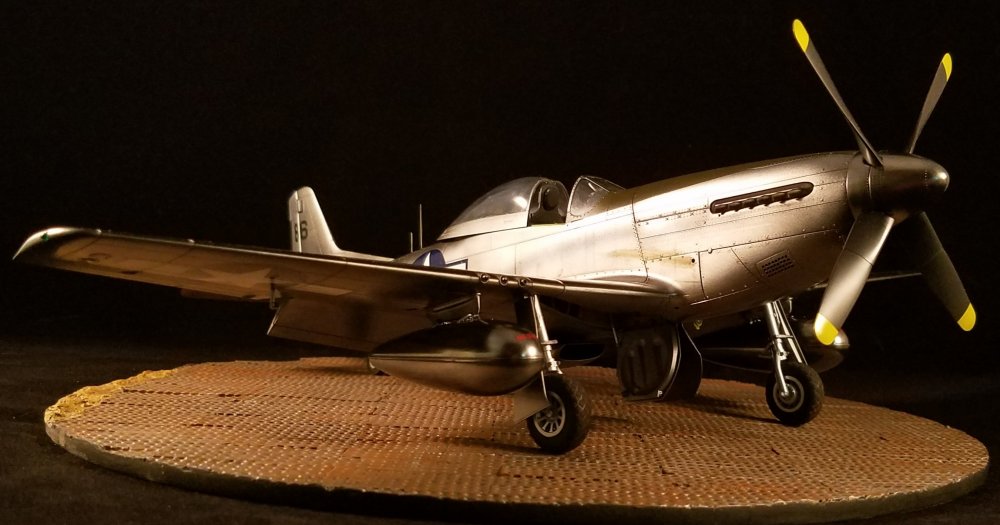
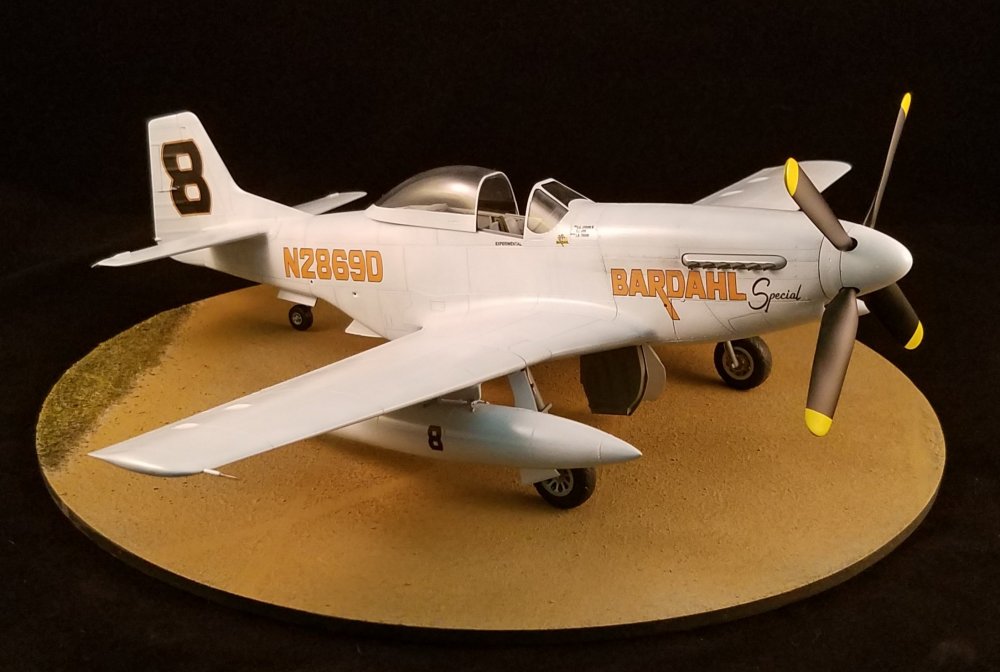
This didn't come out exactly as hoped and it almost ended up in the trash can once, but here she sits. Not an award winner but a wonderful exercise in learning Alclad and gaining confidence in working with it. I didn't forget the upper wing insignia, this bird didn't wear them. Next up is a few less complicated builds.


-
Hasegawa P-47 in a week?
TJTX replied to Clunkmeister's topic in LSM 1/35 and Larger Work In Progress
Lovely idea Ernie. -
What is on your bench right now ? Share a picture :)
TJTX replied to Martinnfb's topic in Modelling Discussion
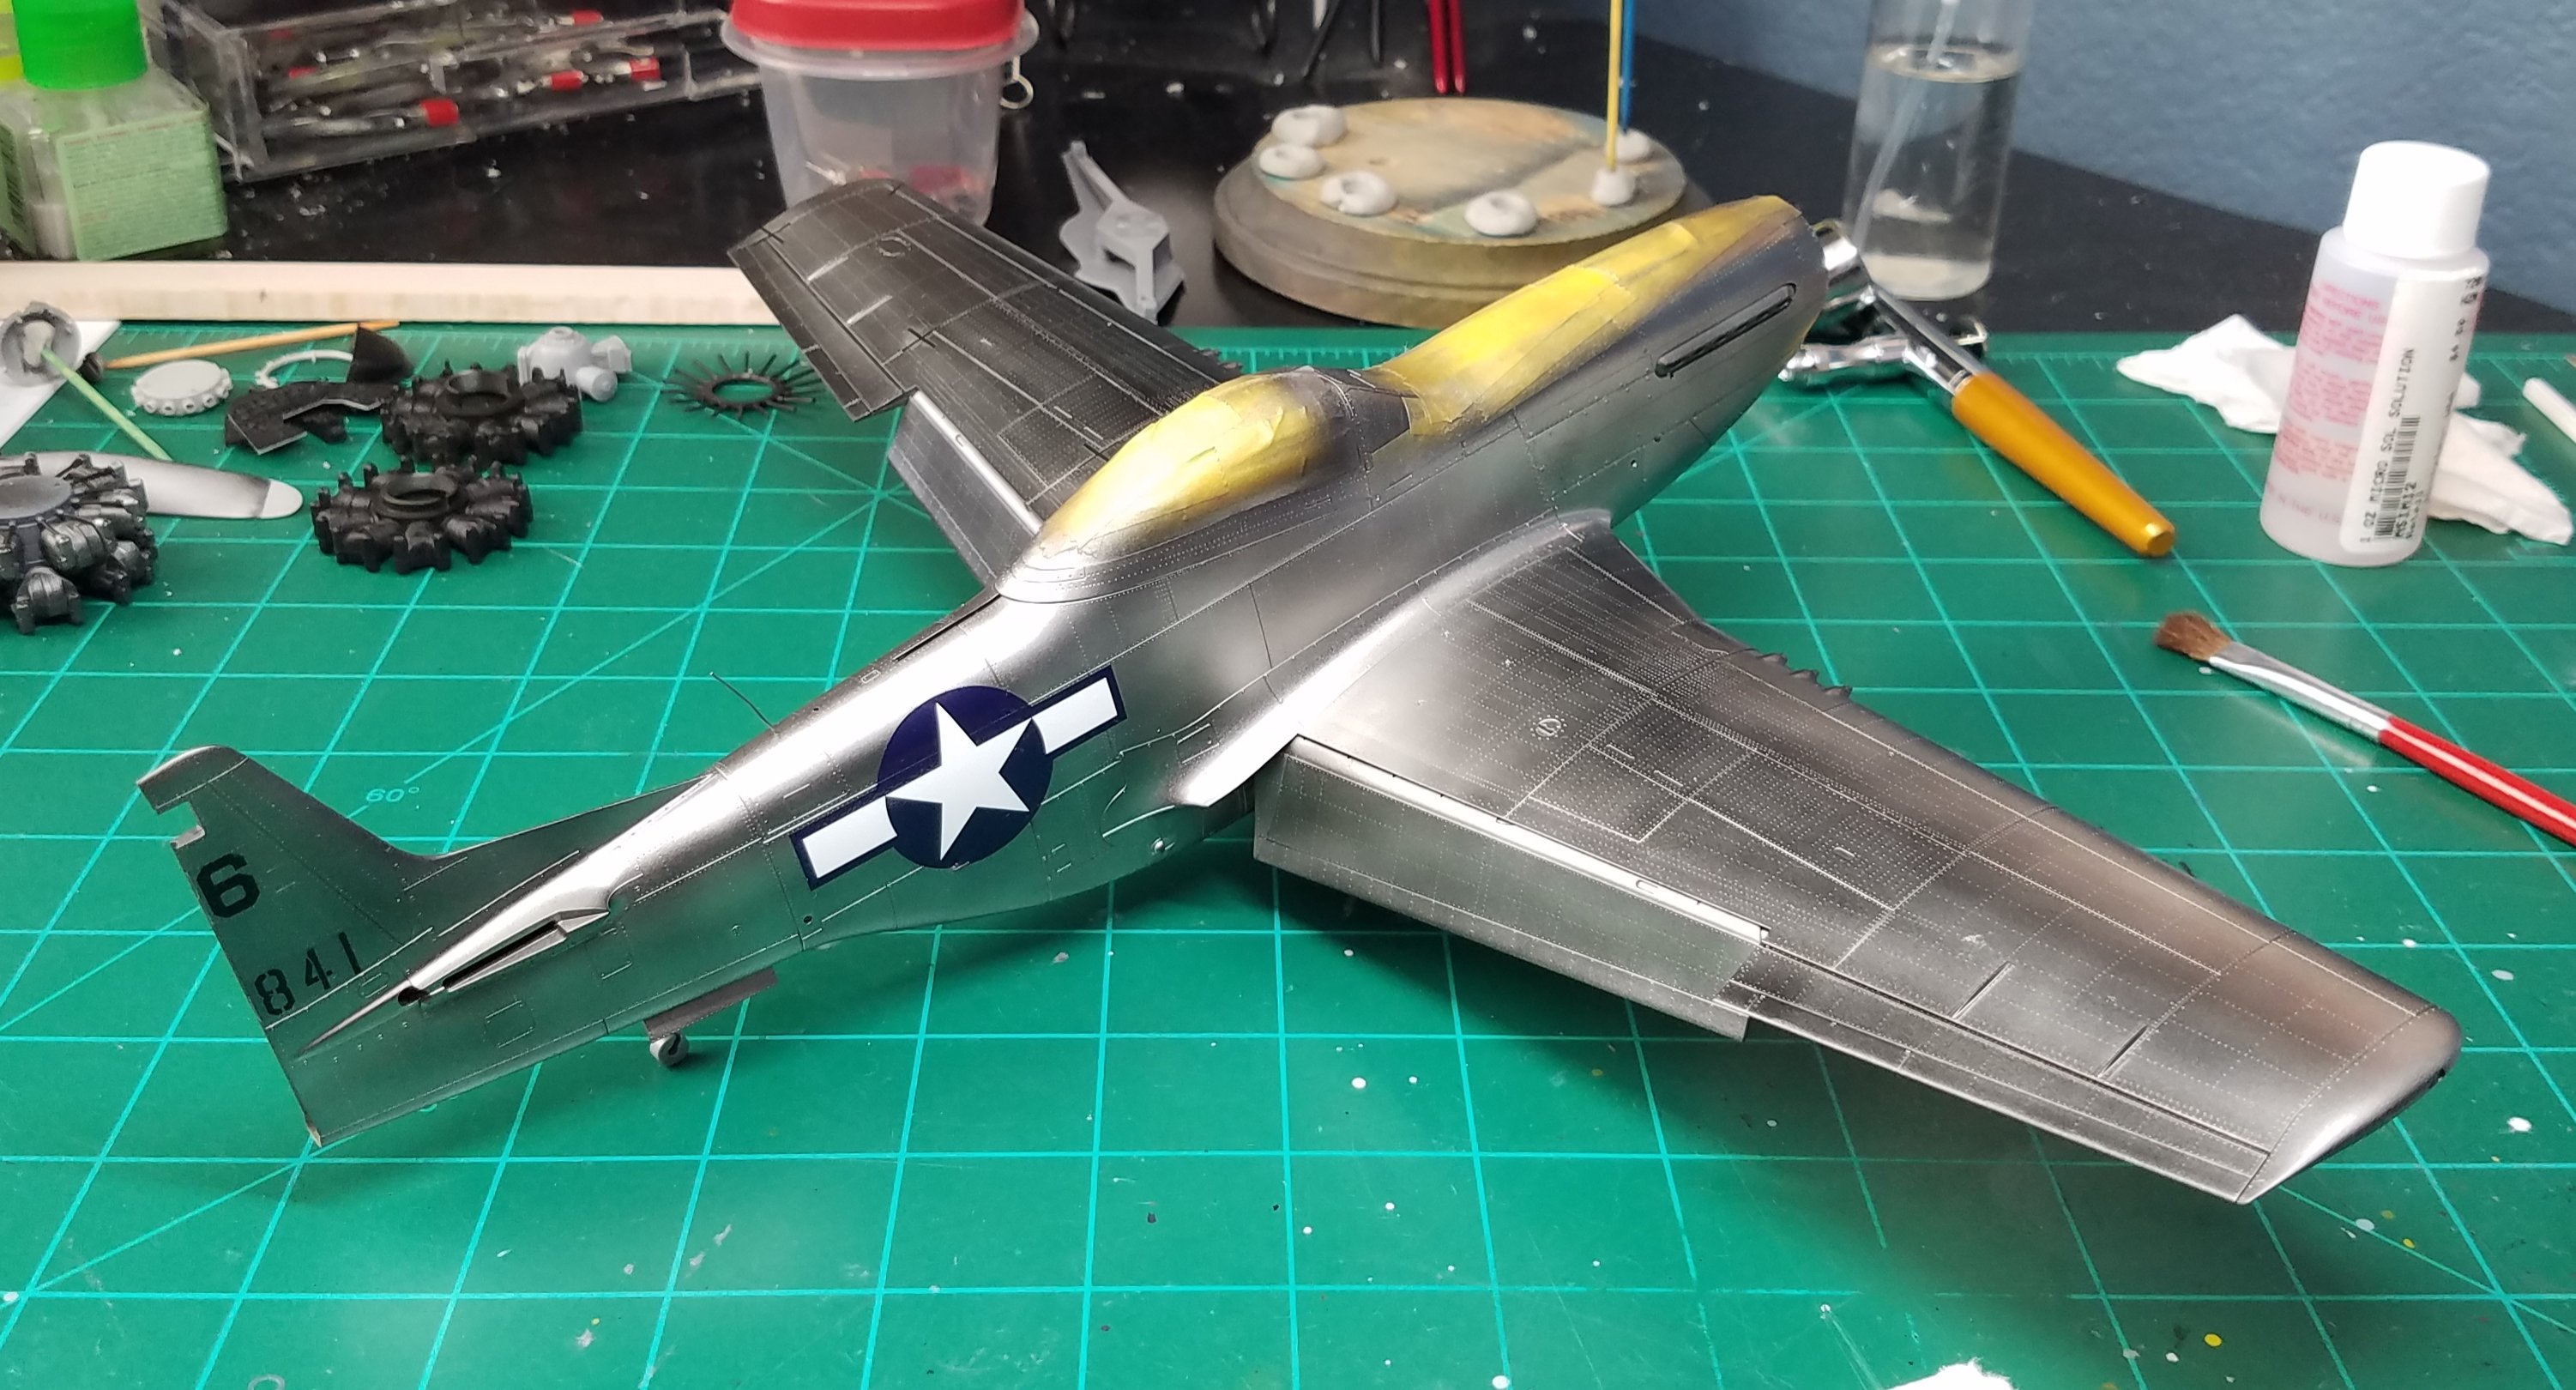
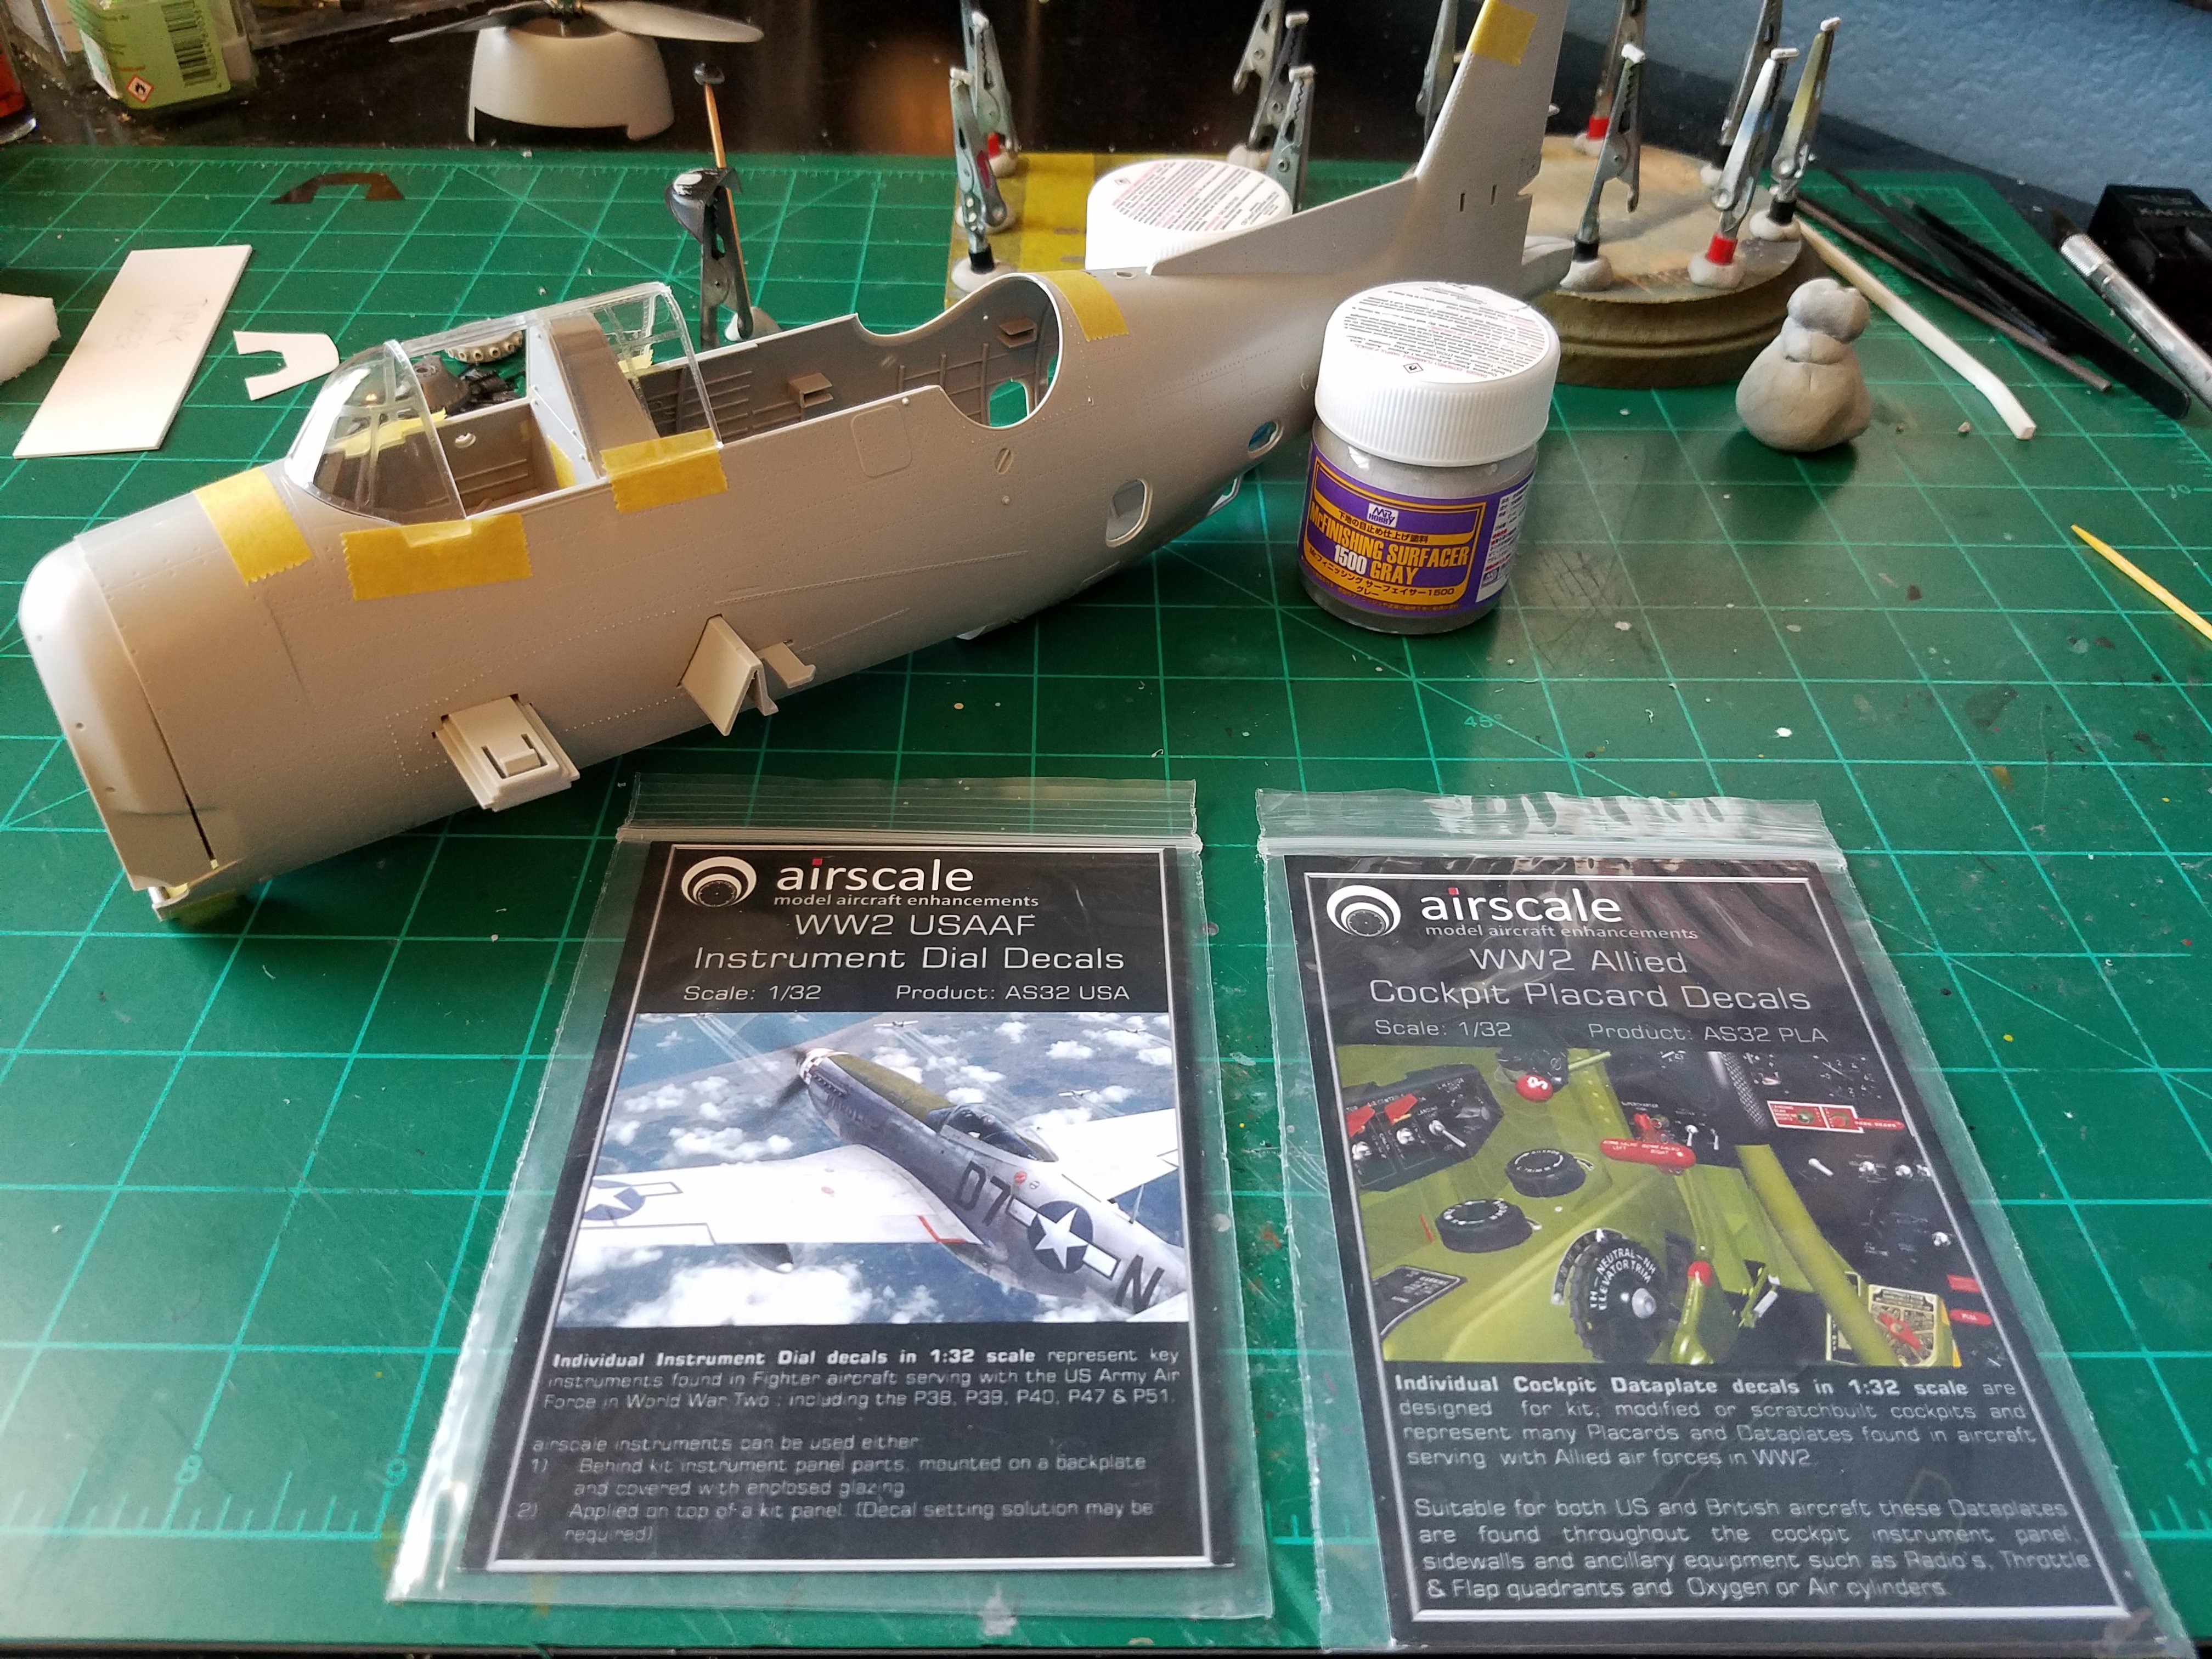
Been extraordinarily busy as of late, but there has been a bit of progress on my bench. After this I'll be taking a break from big complicated builds and putting together a few Hasegawa kits to remember the fun of just building for fun.
-
MiG 21 is 61 years in service. Thoughts on the MiG 21?
TJTX replied to Sir Desmond Glazebrook's topic in General Discussion
There was one for sale a few years back for something like 70k. It needed a bit of work, but man was I tempted to try and find some cash. I woulda had a blast running the airshow circuit. -
So,... any interest in a mojo restoring, quick little fun build?
TJTX replied to Clunkmeister's topic in Modelling Discussion
Dont use all that junk on the inside of the Trumpy P-47 and it's an easy really good build. Only fit issues are the gun doors. I have a Has P-47 I may jump in with. I'll need to see what my schedule is like.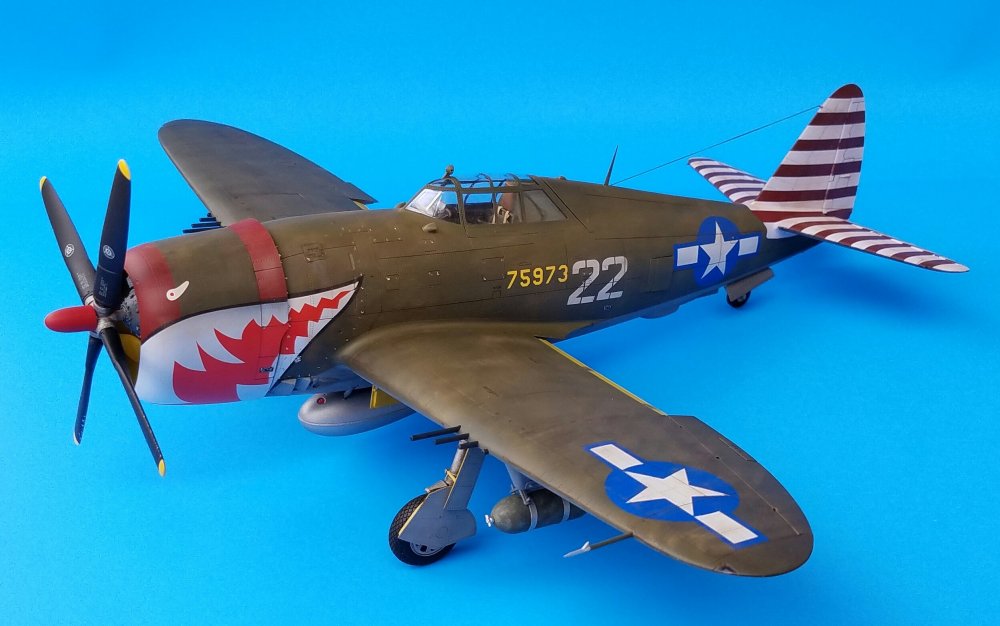

-
Hasegawa Nakajima Ki-84.
TJTX replied to Sir Desmond Glazebrook's topic in LSM 1/35 and Larger Work In Progress
Tail planes look WAY better Dale. Keep it going your motivating me for my build. -
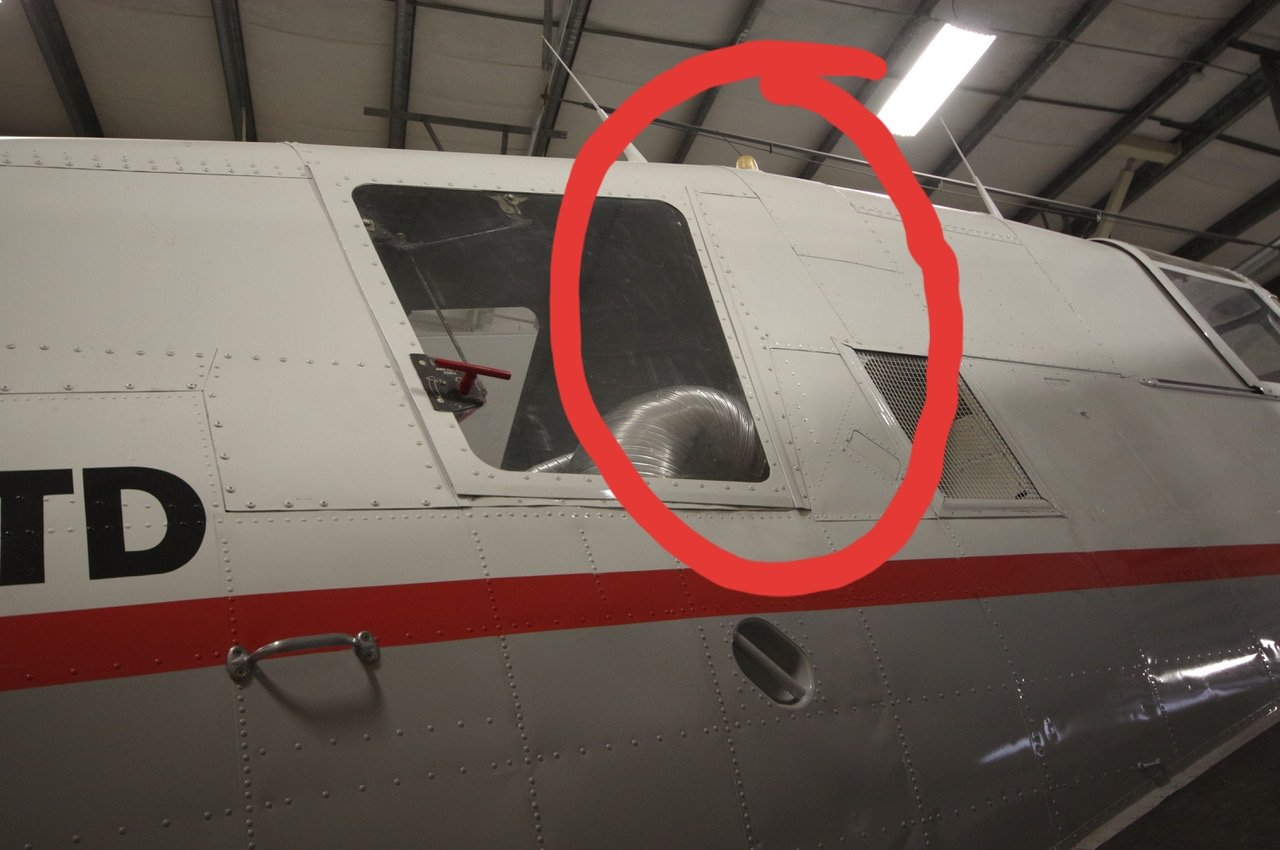
Yea, I've been over the outer airframe with Jeff and Mario from FPL. There a couple vents. 1 on each side and two forward of the tank under the nose. 22 had the rear "door" painted over so you can't really see in there. I'm going to open up the vents and use mesh and plasticard to build the side vents. I'll run a but of internal plumbing to show the vent heading into the fuselage. Also, great catch on the handle there Mark. I may have to move that lower.
-
You'll love them Hubert. They really spice up your display case.
-
Thanks Harv. Its been fun digging into the airframe and problem solving the how tos.
-
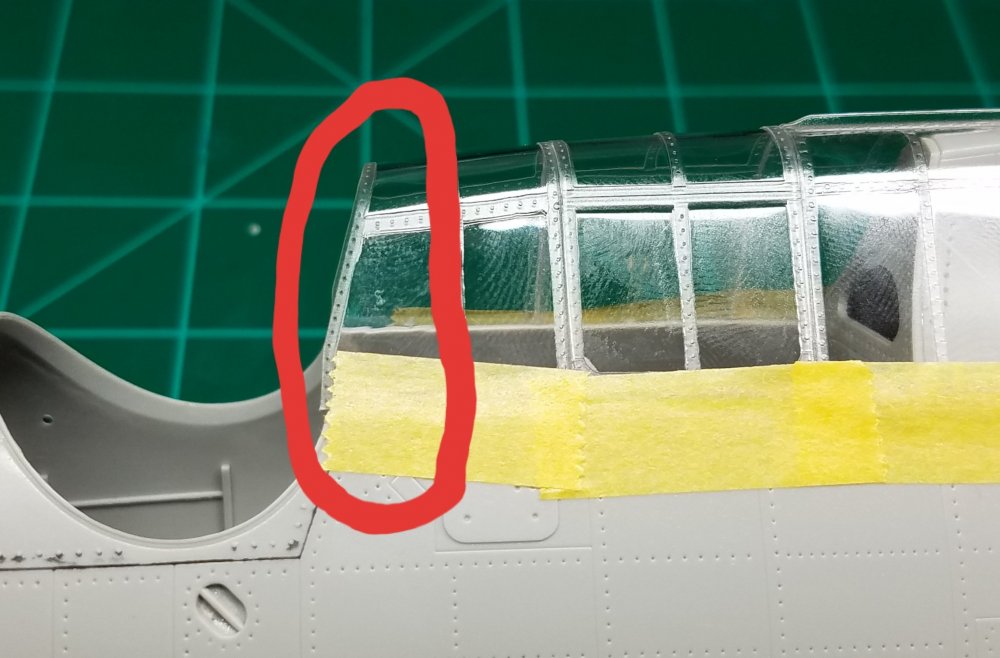
Thanks for all the kind words and supportive suggestions. You guys are helping immensely. I mocked up the canopy and noticed I'll need to trim the last frame of the rear canopy. The rear door area angles up and forw6and "eats into" the old greenhouse. I also see in the photos some of the framing was removed/covered a little more forward. All this will be done in time. Below is the areas of note.

-
I cant agree more. I was talking with my wife the other day about the guys here and the support and friendships I've built. You guys are more awesome than you know and I'm truly happy to be here, a proud member of the squirrel mafia! The administration here run a wonderful place and I'm glad we're all here.
-
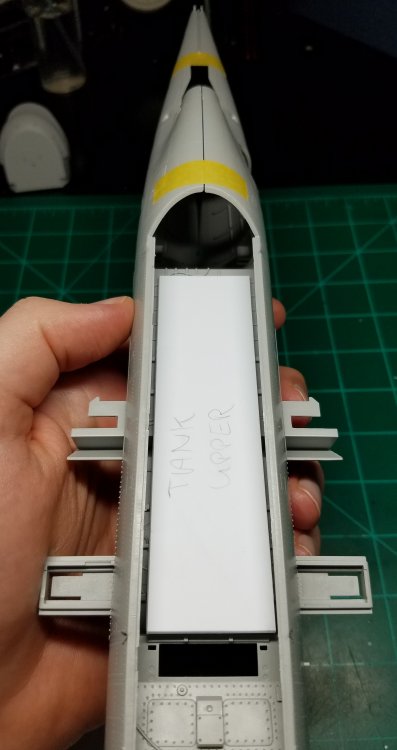
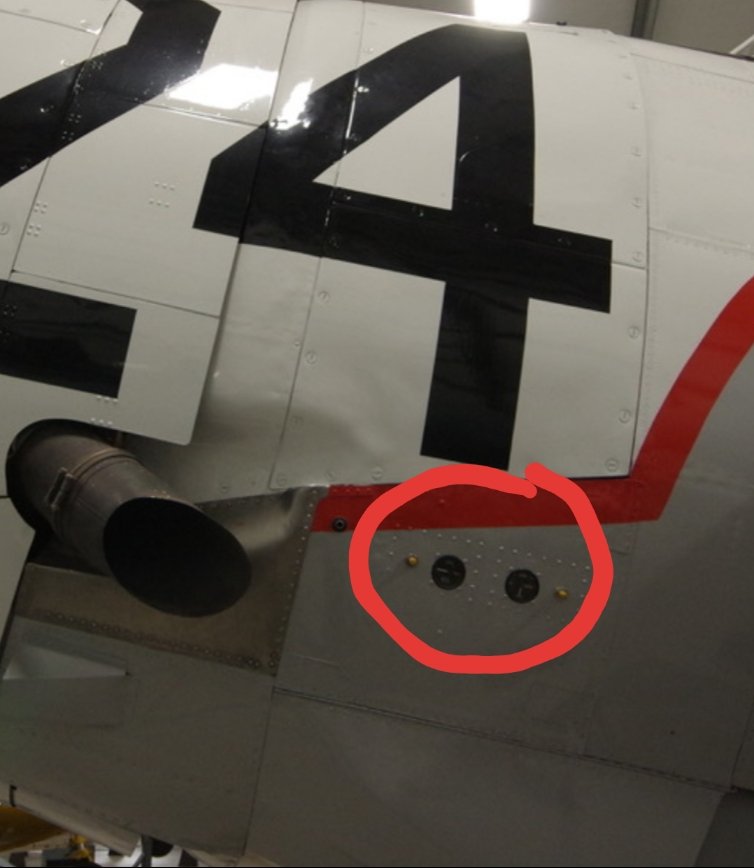
Jeff tracked down the manual for the tank mods but I haven't seen anything for the Canadian mod. I mocked up the fuselage and canopy to see how much you can see of the internal fuselage. The good news is none! So I dont need to worry about what back there. All the external photos have shown what I need to know for mods such as a few external gauges as seen below. You'll also see the slightly modified area around the exhaust stack. That's something I haven't figured out if I'm able to tackle yet or I'll leave it be.

-
Dont go Greyhound. They're not exactly luxury travel....
-
Now it's a party, I've got the good stuff!

-
It's a short drive, I'm just waiting to see if life will allow it to work out.
-
I've got a room reserved, but I'm still on the fence to see if I'll be able to get there.
-
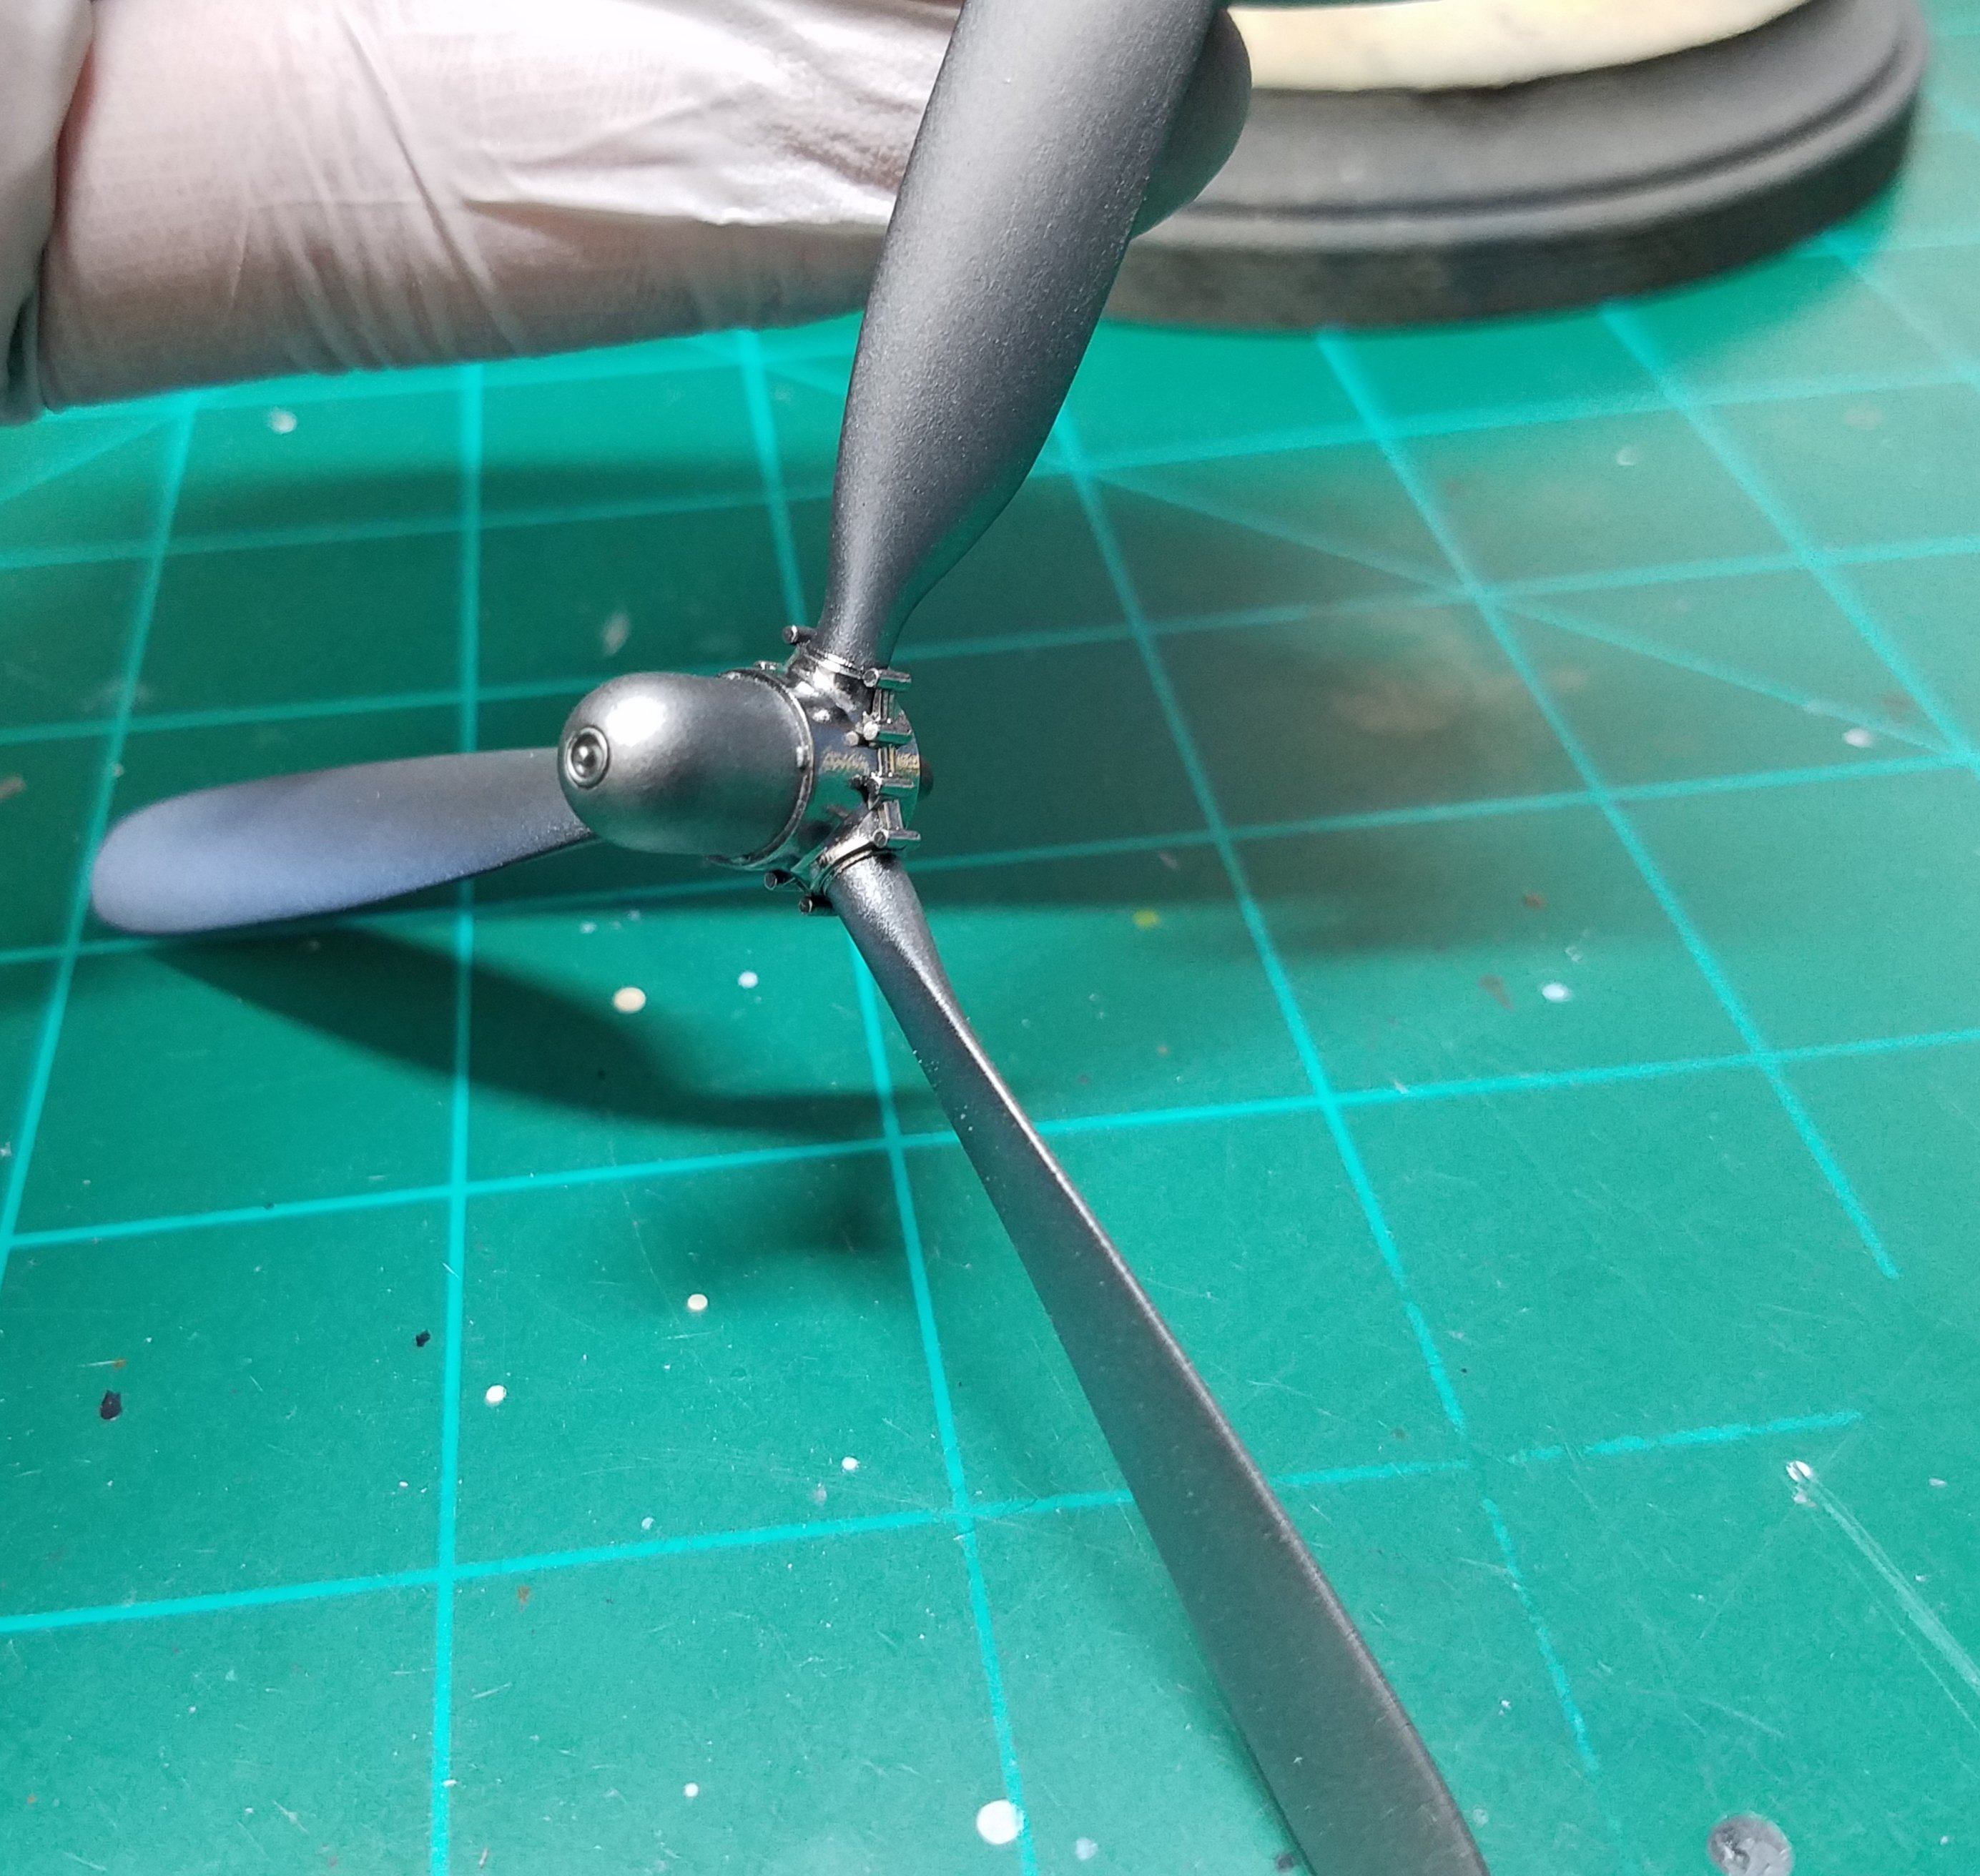
Yea. The black anti-glare paint it on the top half of the prop. I'll paint that on last.
-
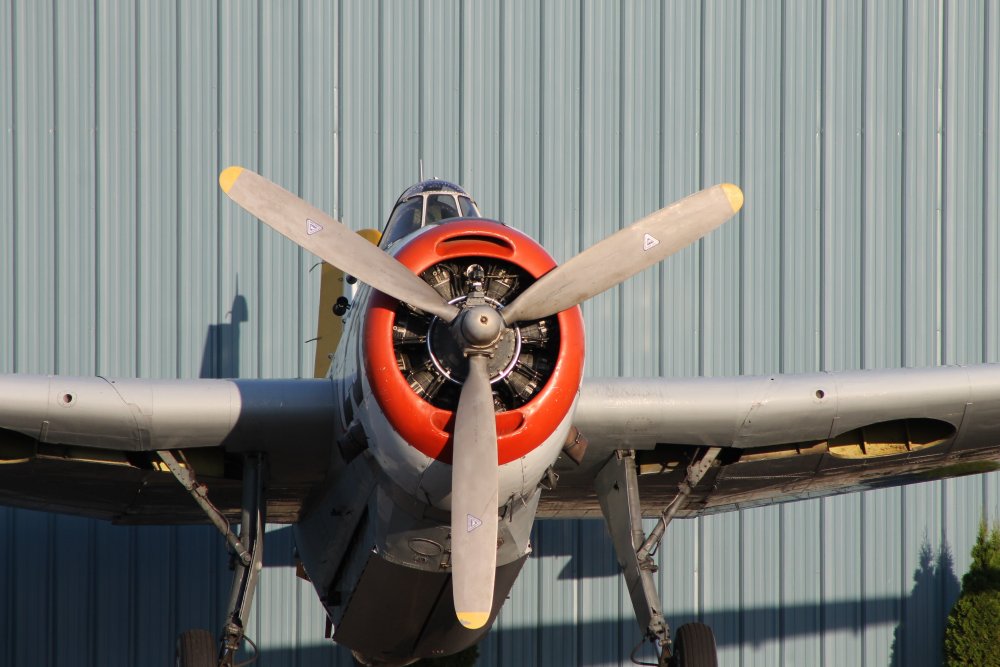
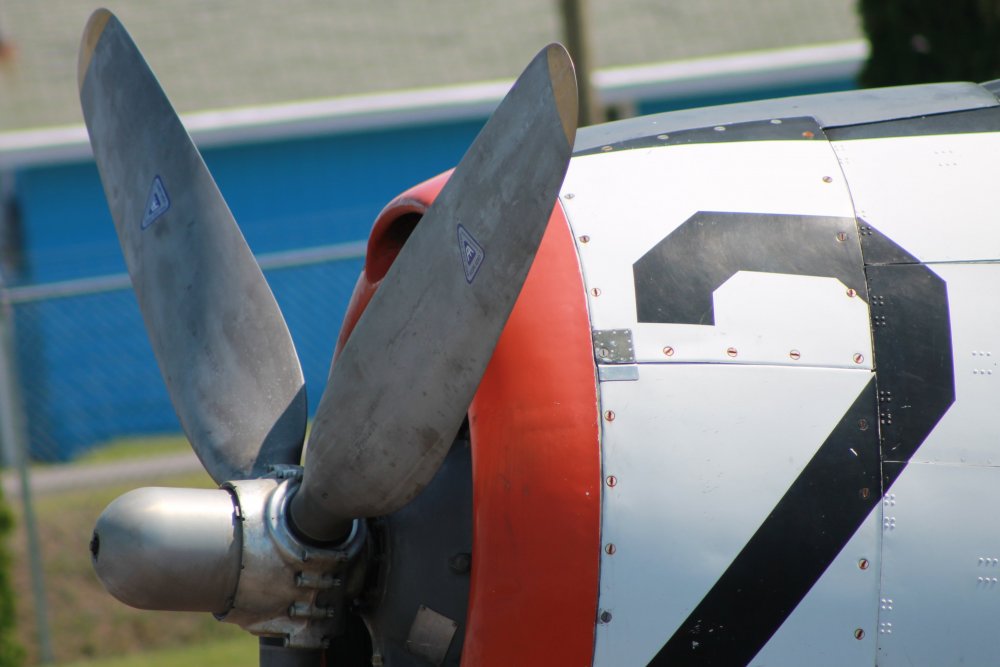
Worked a bit on the prop today. Theres a few different metal "looks in the rerearereal deal I'm trying to replicate. The blades are very worn down and oxidized looking with a little shinier hub. I'll go back and spray a very thin coat of grey on the blades to try and get a better replication of the real deal, then add the yellow tips and black on the back half. I'll also knock down the shine on the hub a bit with a wash. The two photos are straight from FPL themselves. They've been a phenomenal help in research.

-
Due to a job change and starting some more complex subjects than normal, I only completed two.

- 39 replies
-
- 11
-

-
Wonderful stuff. I'm working on my TBM engine and came here for ideas and inspiration. I love the way you've brought the engine to life and especially the wiring harness.
-
Ok, that paint work and engine detailing is absolutely incredible!!!! The skill on this forum is mind boggling.
-
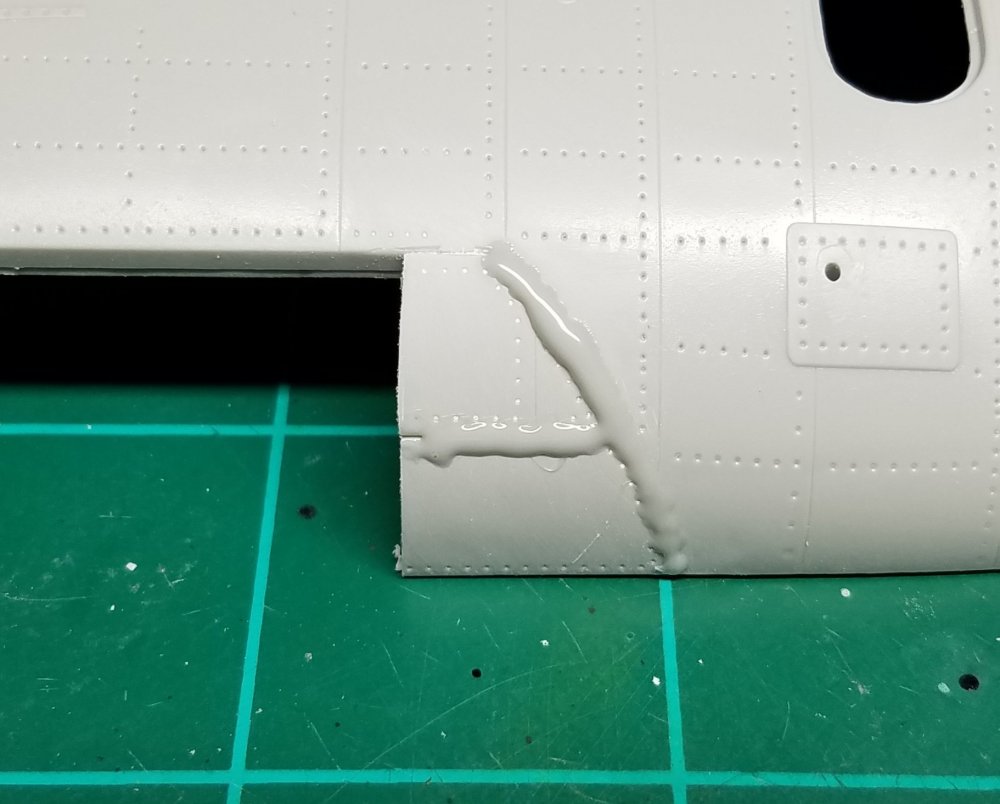
Jeff had a brilliant idea to use the bomb bay doors as a basis for the rear bomb bay aerodynamic fairing. Worked a charm and will be perfect after clean up and sanding. Of course it looks a little rough right now. I also began work on the tank....