GazzaS
-
Posts
6,396 -
Joined
-
Last visited
Content Type
Profiles
Forums
Events
Gallery
Everything posted by GazzaS
-
Thank you!
-
Thank you! I'm at the point where I'll try anything. I just refuse to buy a prop that somebody has done with laminated wood and machine tools.
-
Thank you,Kai. I haven't put it aside for any other reason that I was tired, and I like to let the paint harden before I mask over it.
-
Thank you, Rob. I used both, actually. I drew it with the Mig dark rust pencil, then painted the dark segments with Mig Orange brown. I did some streaking with the pencils, but is didn't survive well.
-
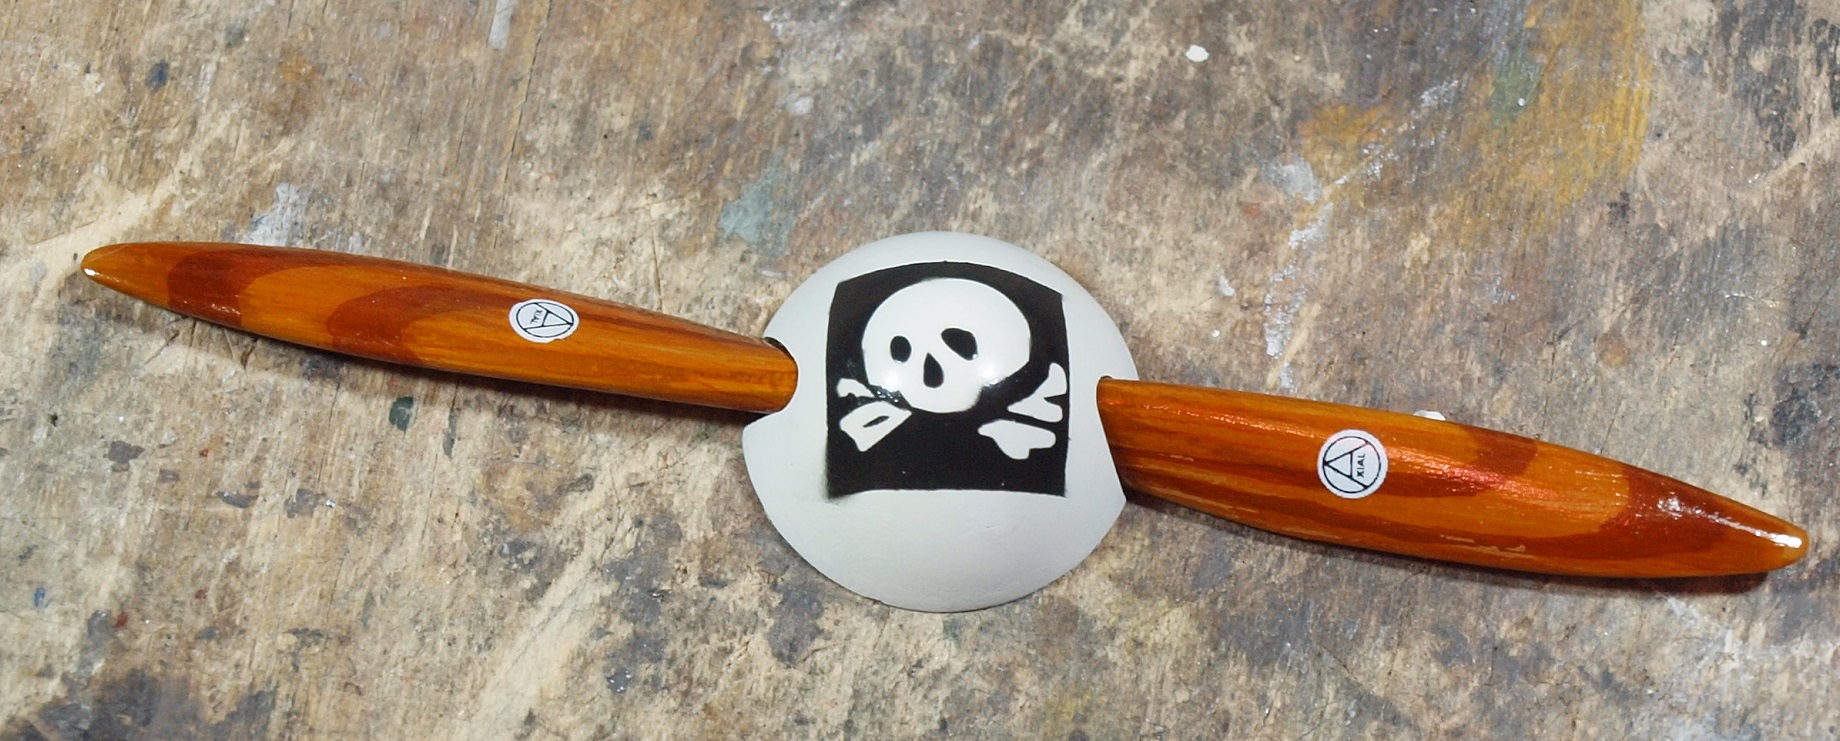
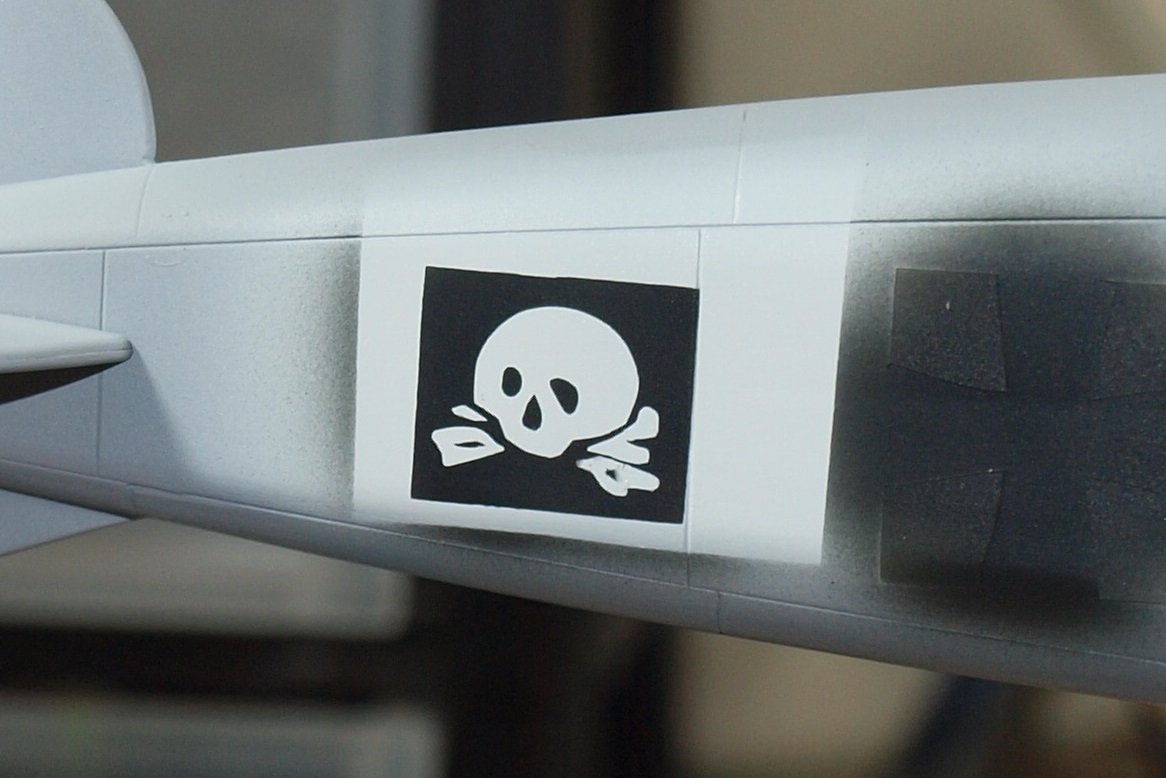
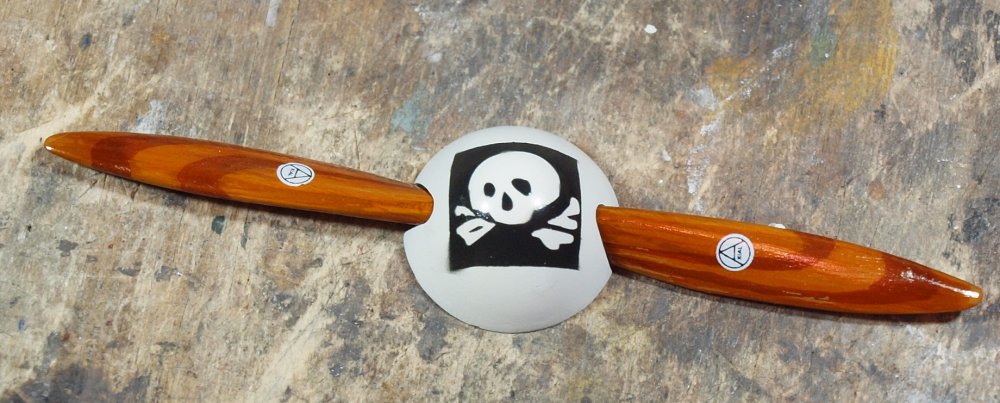
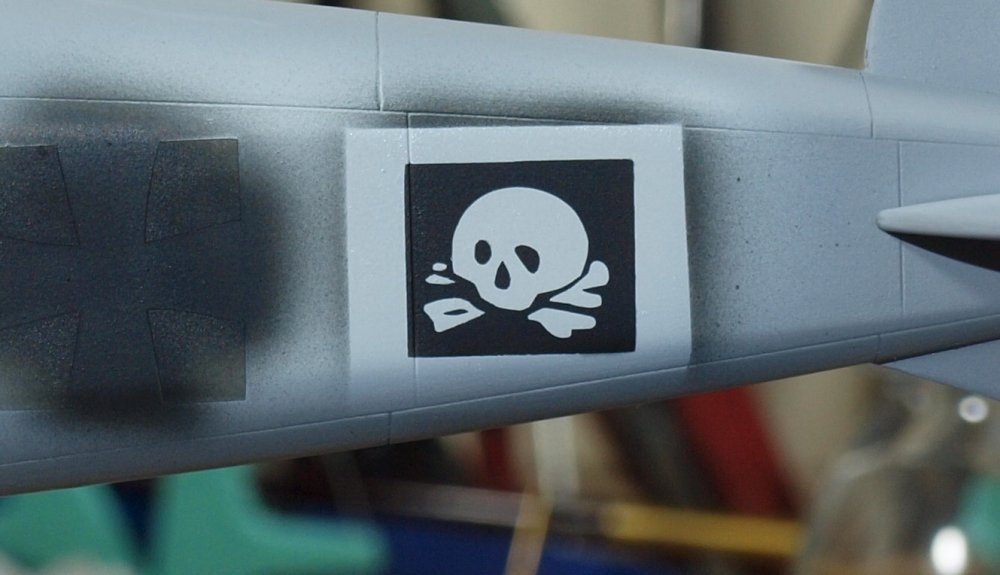
Quick update for tonight. Got a little bleed where I didn't want it on the spinner. I'll ruminate on the best way to rid myself of it. In the past, I've made masks for the wood laminations and never been satisfied because the masks just don't like to wrap around the blade. So... instead of buying a prettier, nay perfect propeller from somewhere else, I drew and painted by hand. I also played mad scientist. I used clear yellow at first, and it was too yellow. Then I sprayed clear orange... didn't like that either. So, I decided to make clear brown. To do this, you add clear blue to the clear orange. But it is too easy to go to a ugly green. So... What to do? Added clear red and got this lovely shade. Now... you may notice some scratches. In all of my test painting, the color got ugly and too thick. So I tried to gently sand some off... with 2000 grit wet/dry and water. Too much too fast... you can still see the scratches. But...I decided to keep them. I think they add character. The Axial decals are the roden decals. On second thought, I should have grabbed something from my WNW boxes. I also unmasked the fuselage skulls: I'm feeling lazy, and have put the plane in it's dustproof container. Happy modelling!

-
 Bummer! Thank god my dog hasn't exhibited any interest in Styrene.
 -
SBD-3 clear Edition Trumpeter OOB
GazzaS replied to Martinnfb's topic in LSM 1/35 and Larger Work In Progress
Oh no! -
Israeli Mirage III C with Atar9C
GazzaS replied to Kaireckstadt's topic in LSM 1/35 and Larger Work In Progress
Great looking gear! I have to admit... getting those brake lines to stick in place... drives me mad. -
Thank you, sir!
-
Don't be talking about gear levers, now.... ...or floss.
- 2,035 replies
-
- 6
-

-
- car related stuff
- anything about cars
- (and 6 more)
-
I absolutely hate working on cars. But I do like looking.
- 2,035 replies
-
- 6
-
-
- car related stuff
- anything about cars
- (and 6 more)
-
Thank you, Rob! The mask cutter is the best thing for a modeller. No decals, no problem! Not much use for tiny stuff... But eminently useful.... especially for those troublesome propeller spirals.
-
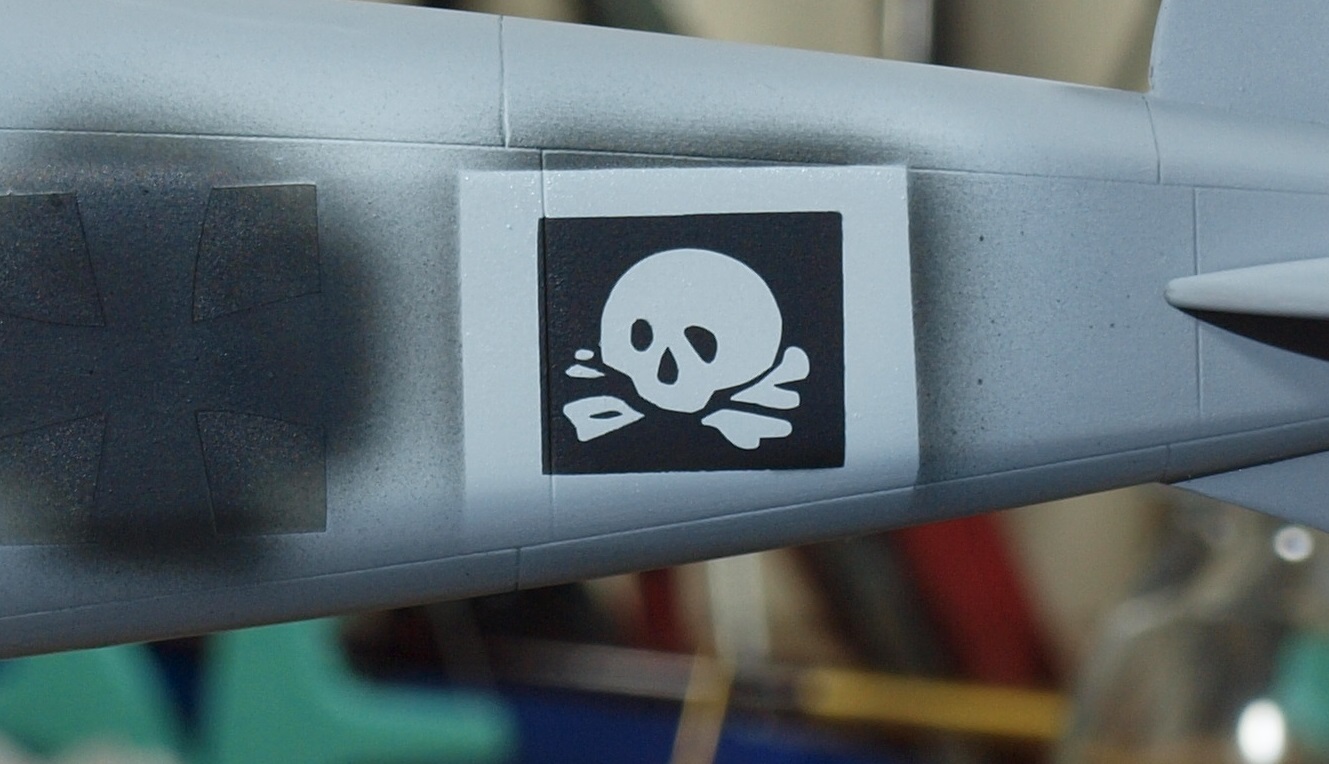
Thank you, Kai! I'm not really that fast. We had a public holiday on Monday, and I had a couple more days-off which I arranged into a 5-day weekend. Back to work tomorrow. After setting the Albatros aside to dry, I worked on the small things. Propeller, Spinner, and other details required painting. I even tried to place one of the skull decals on the spinner as shown in the artwork. Unfortunately, the decal would not respond to decal softener and had to be removed in fragments. Now... I will have to mask it, and somehow make it square. Sometimes I wonder about that skull on the spinner. I haven't seen it in any photos.
-
Very nicely done!
-
Congratulations, Tony! I'm glad to see you living your dream!
-
Masking... Once painted, will give it an overnight dry. Then I can start with the color.

-
Thank you, Jeff.
-
Nice clean work, Peter. Reminds me... I could use more reverse tweezers.
-
Thank you, Peter. I am amazed that a plane after WWII still used bungee cords. Already done. I also made the masks in the Silhouette software. I'll cut them tomorrow.
-
Thanks Rob, I never even considered it when I built my (3 so far) WNW kits. Never even entered my mind. Sometimes there is something to be said for easy steps. But I can see that it is one more way to improve on an already fabulous kit.
-
Thank you. I'll be glad to help.
-
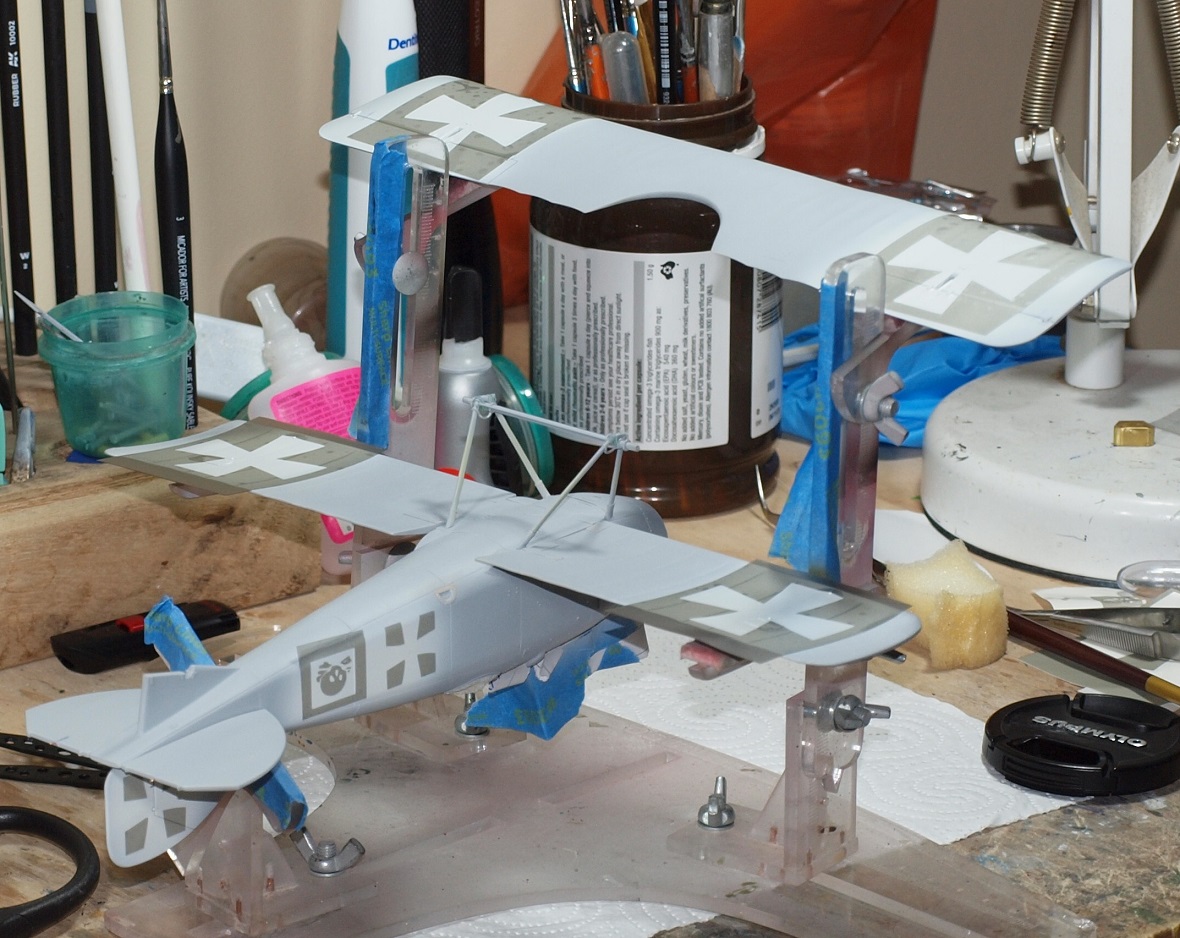
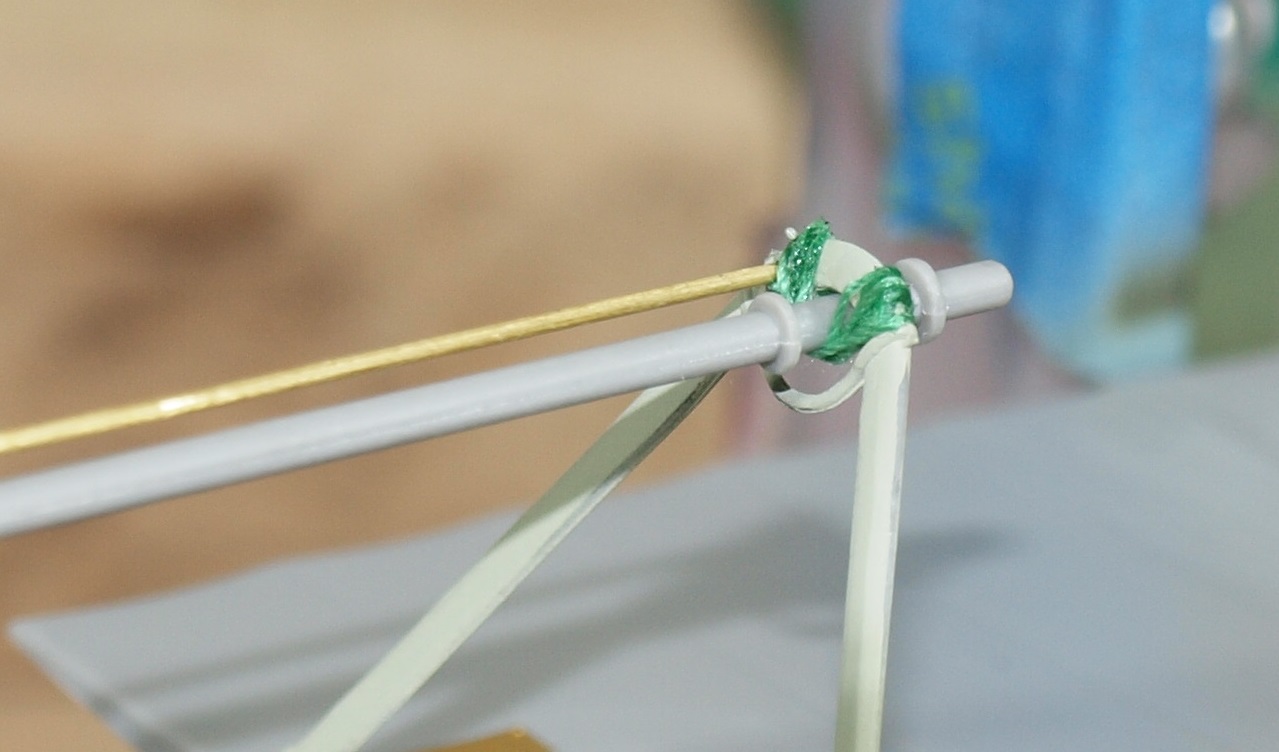
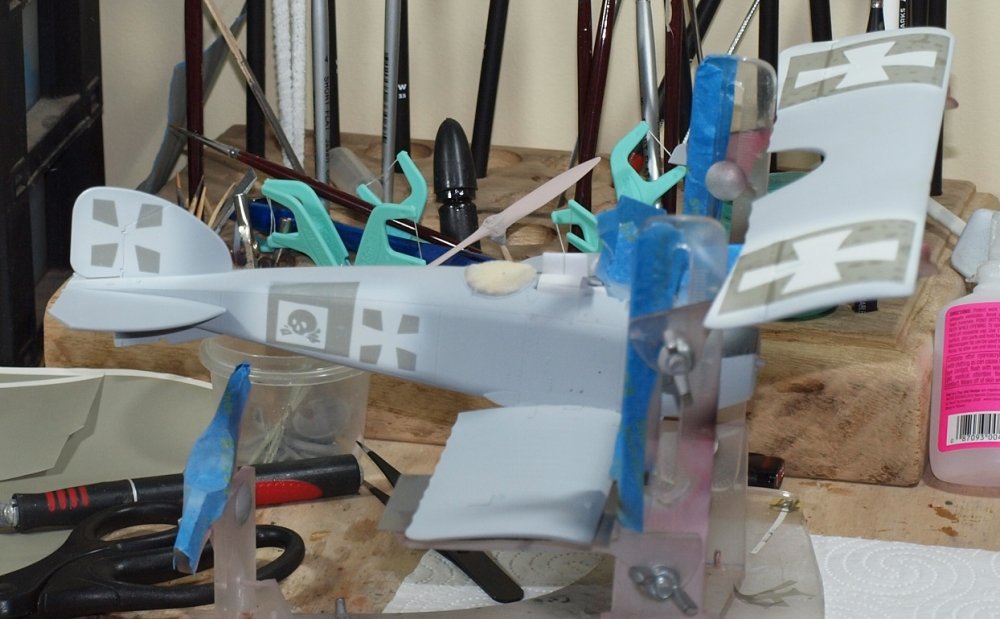
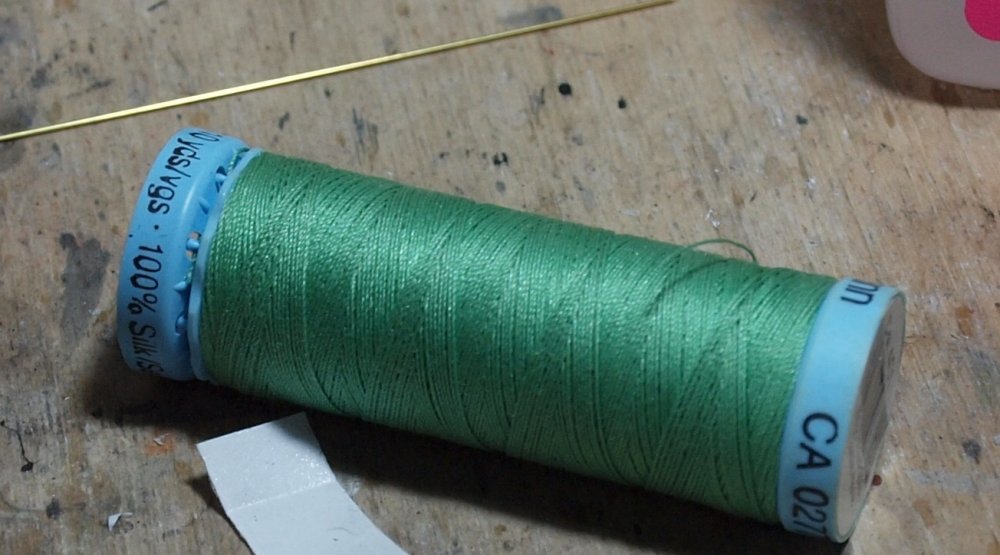
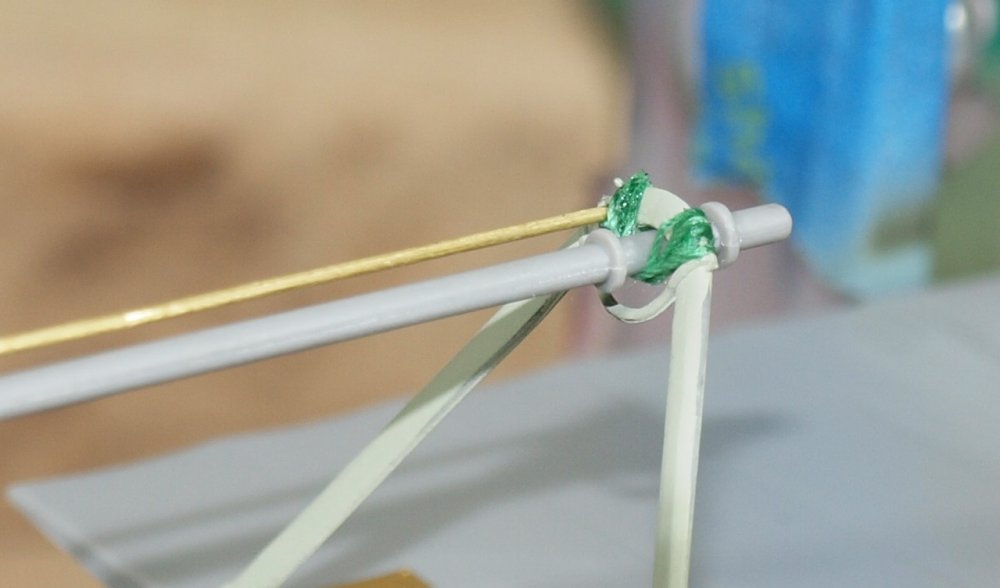
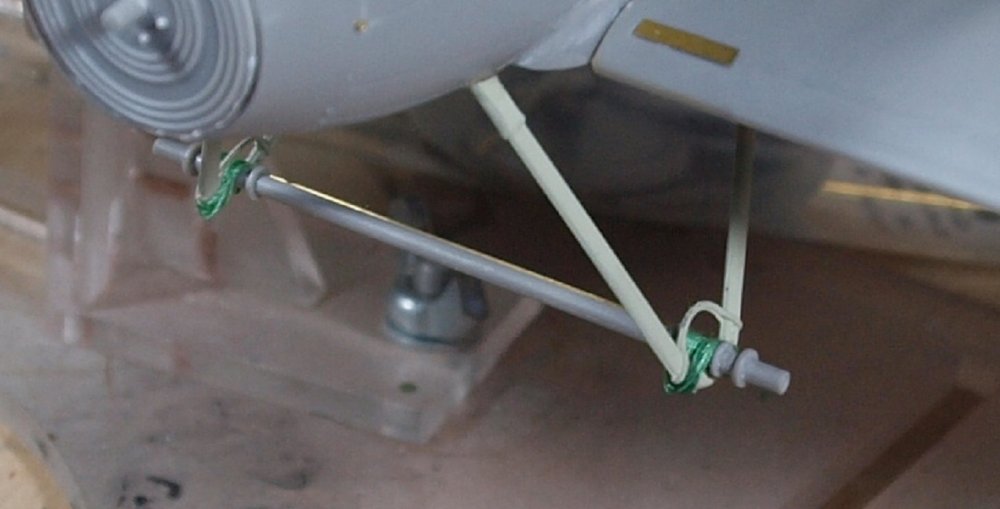
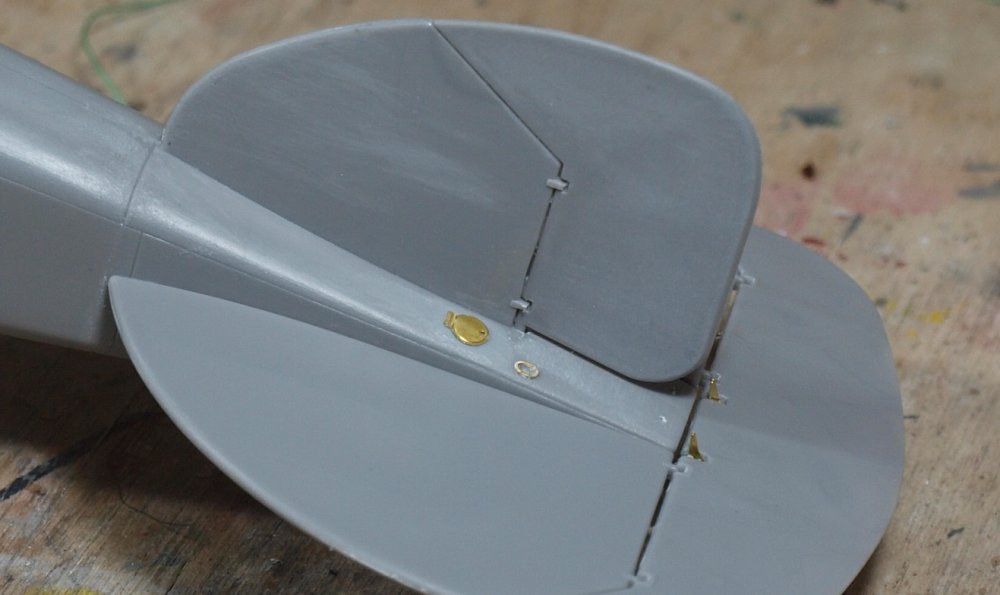
Morning update: Oh... rude of me... Hello everyone! Anyway... the color scheme affords me the rare WWI-modelling luxury of attaching the LG legs prior to main painting. It's a complicated process as you try to bring angles and materials into line with your way of thinking. One interesting material is silk Thread. Silk is less fuzzy than cotton, and any frizz can be quickly burnt of with the quickest lick of flame. And you have to be quick! CA hates flame, and you know about styrene already. WWI aircraft were very simple. The shock absorber of the day was bungee cord. It was looped around the axle and LG struts to soften the shock of landing and taxiing. On a WNW kit, the bungee is represented with some wavy plastic with a hole for the axle. On the Roden kit, nothing is supplied, and there isn't even a spot in the directions telling you what you must do. However, a good result with the technique shown does look better than the WNW way. But nobody really notices...lol The end result is a rock-solid structure if you used as many brass pins as I have. If you don't pin it... it will eventually collapse. I also worked on the empennage. And finally, she can sit on her own. Now we can start thinking about paint... Glorious paint! Now... the paint plan: I have to place the white areas for kreuzen and skull markings. I could try the decals. But I'm never really confident about Roden decals.


-
Israeli Mirage III C with Atar9C
GazzaS replied to Kaireckstadt's topic in LSM 1/35 and Larger Work In Progress
Nice details, Kai. A dark wash will set everything into relief. I remember being under the Wheel Well of an F4 Phantom. As a modeller, we see these as small parts. But IRL... they are quite massively thick. -
HI Peter, Thank you! Here are a couple tools I have learned to use to make things easier: Sticky toothpick: A toothpick with a tiny gob of blue-tack on the end. Much more dependable/sticky than a wax pencil. Electric toothbrush with 2-sided tape and sandpaper: I use this to sand of the tiny bit that I can't cut off with a blade. I find it helps me avoid twisting the part... and it's damn fast! Tamiya PE pliers: I use these to hold the part and keep it flat while sanding away the excess with the toothbrush.
-
Danke!