GazzaS
-
Posts
6,396 -
Joined
-
Last visited
Content Type
Profiles
Forums
Events
Gallery
Everything posted by GazzaS
-
Thank you, Kai! I will give that method a go!
-
 Very nice, indeed! Damn my eyes... can;t read the plaque.
 -
Hah! Had to go back to realize it was the same squirrel.... he gets around!
-
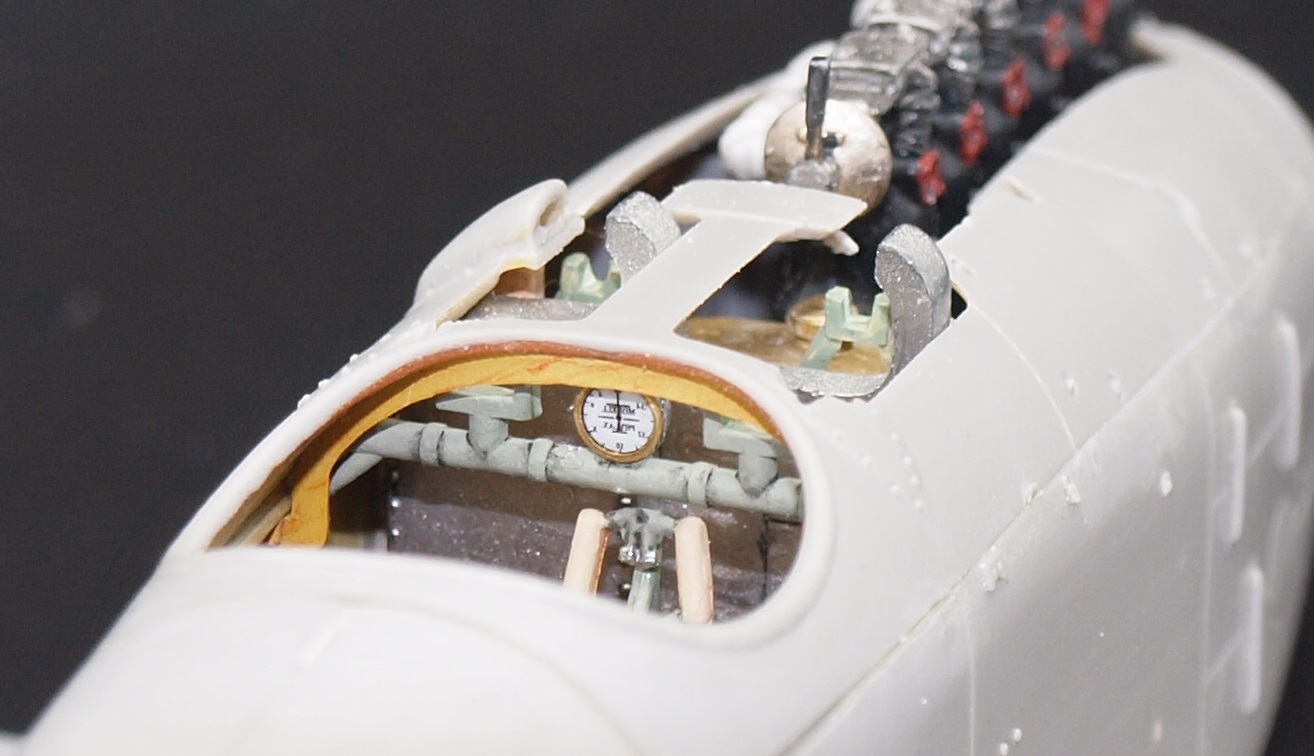
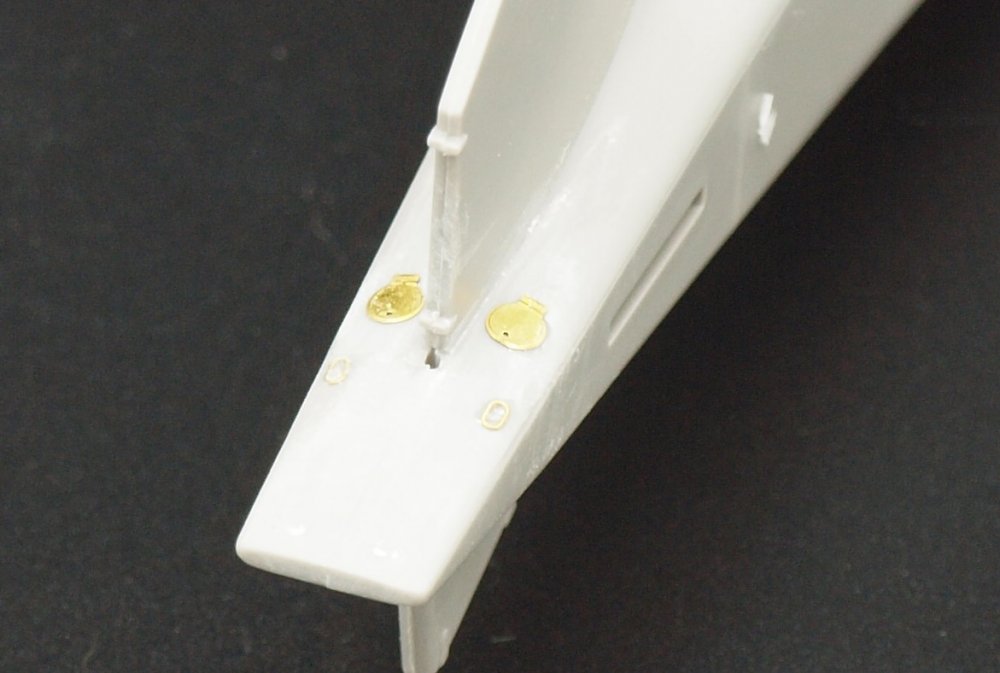
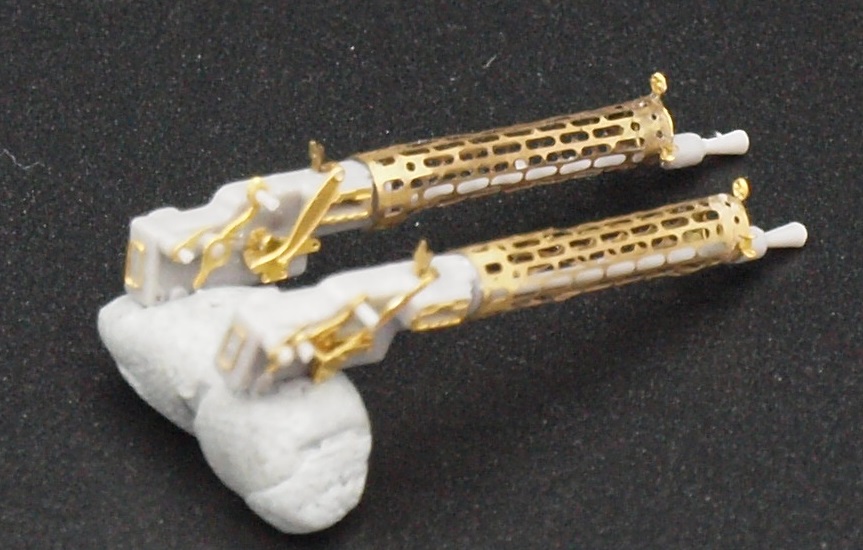
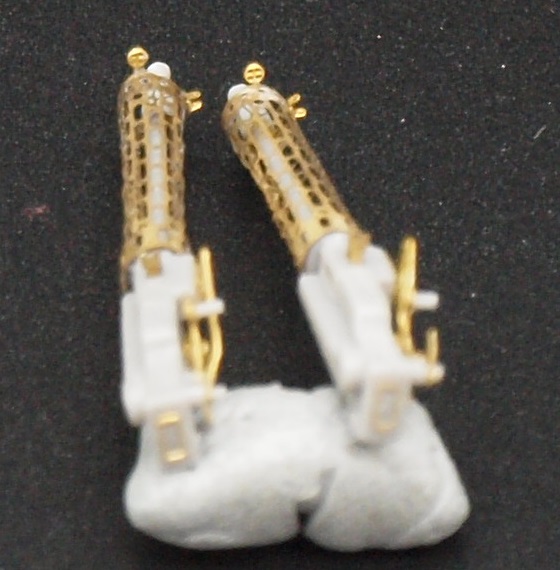
Thank you, Peter! And they are coming. Tons of Time on PE. I find the big parts easiest because they want to stick. But the little bastards... They're the opposite. The stern: Amidships: These two pics remind me I need to do a little work with clear yellow in the pit. Abaft the beam: Of course.... gotta see the guns as often as possible.... And finally... below the waterline... I used whichever parts I thought would enhance the build (regardless of size) and didn't use the rest. I even built both ear radiators. One with CA and the other with solder. The one built with CA might be passable after some clean up. However, the one I attempted to solder got all twisted as I struggled to hold the joints together whilst operating the soldering iron. In some ways, the Eduard and WNW PE is nicer. However the Part sets have much more to them. Including wiring harnesses, spoked wheels, and every conceivable detail you might want to replace. I think all I have left for PE is the rudder and elevator control tabs... or whatever you call them things that the control cables hook up to. Happy modelling!
-
Easy as: http://www.part.pl/
-
Never had one.
-
Israeli Mirage III C with Atar9C
GazzaS replied to Kaireckstadt's topic in LSM 1/35 and Larger Work In Progress
Kai, The improved LG look great! I'm not surprised about the fuel tank. The kit is a lemon. -
That's a great idea!
-
Thanks Rob. There is still quite a lot of PE to do. It's not just about this model. It's about subsequent models, too. Practice, Practice, Practice. I have a 109 I want to do with a lot of PE in the cockpit and canopy. I don't want that build to be flawed.
-
Thanks Kai. Hopefully someday I'll be good at these ultra tiny parts.
-
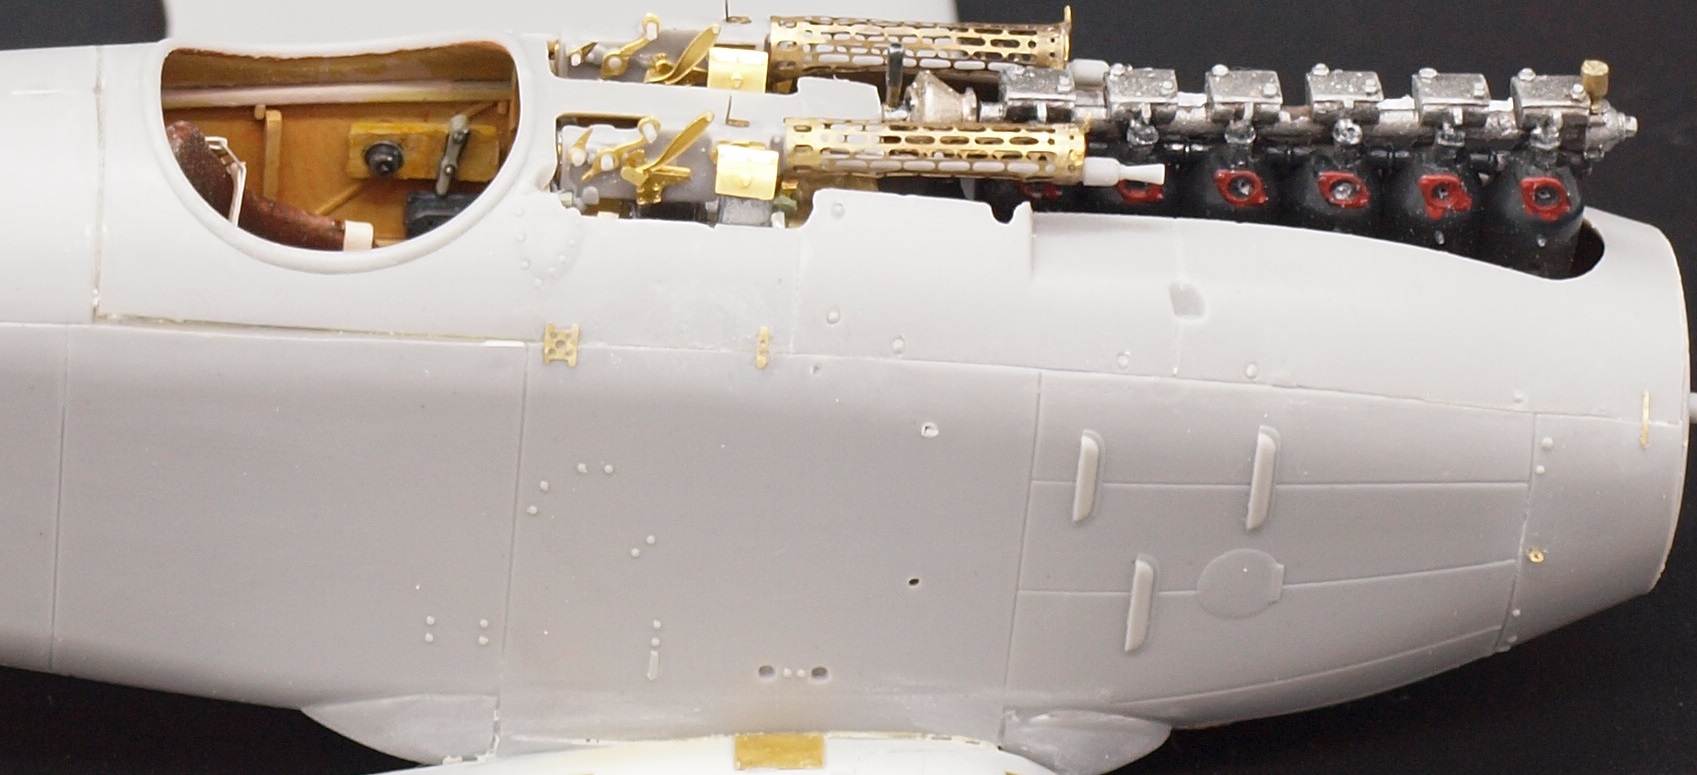
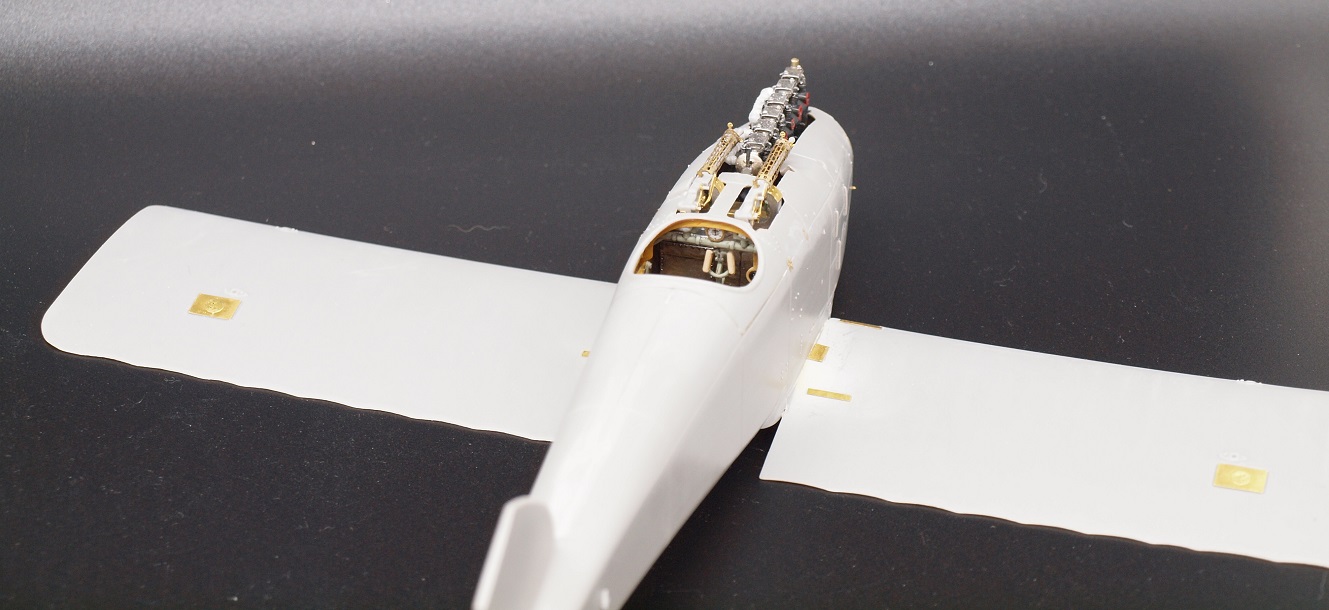
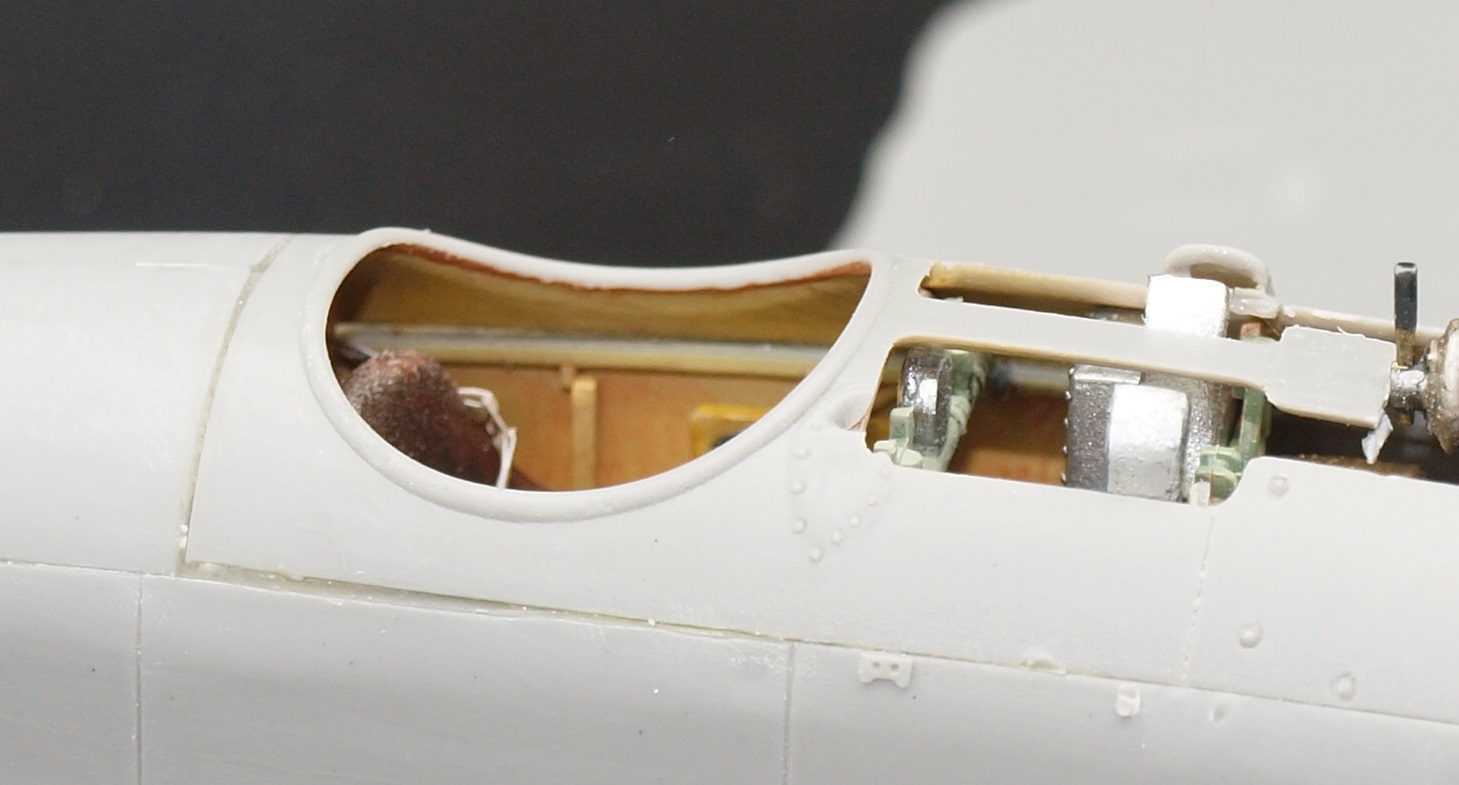
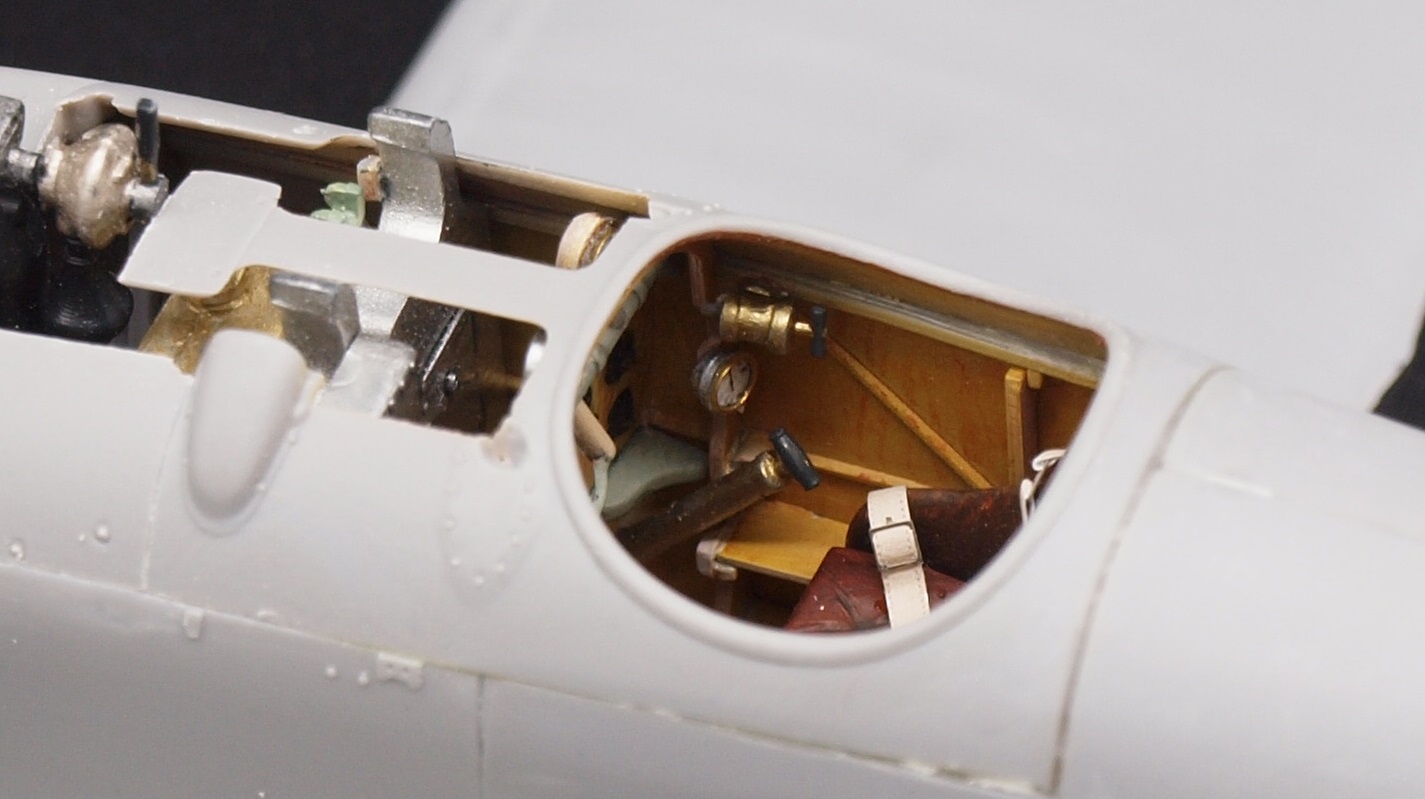
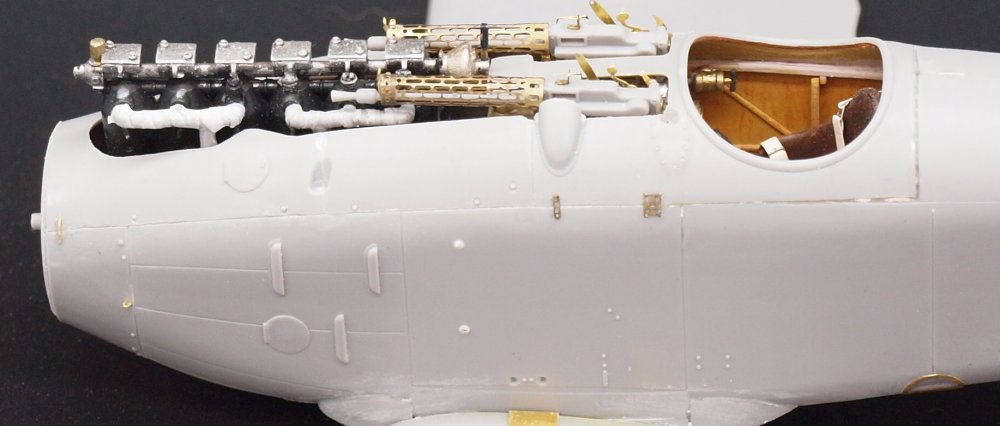
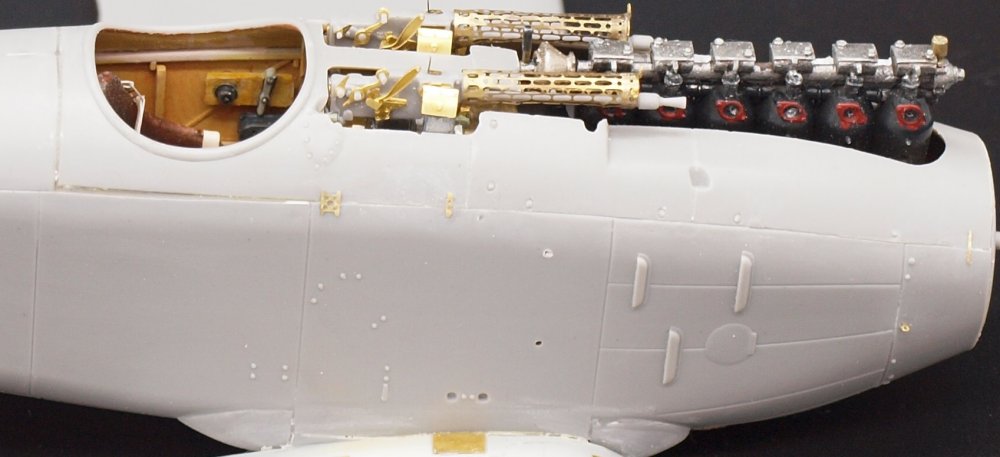
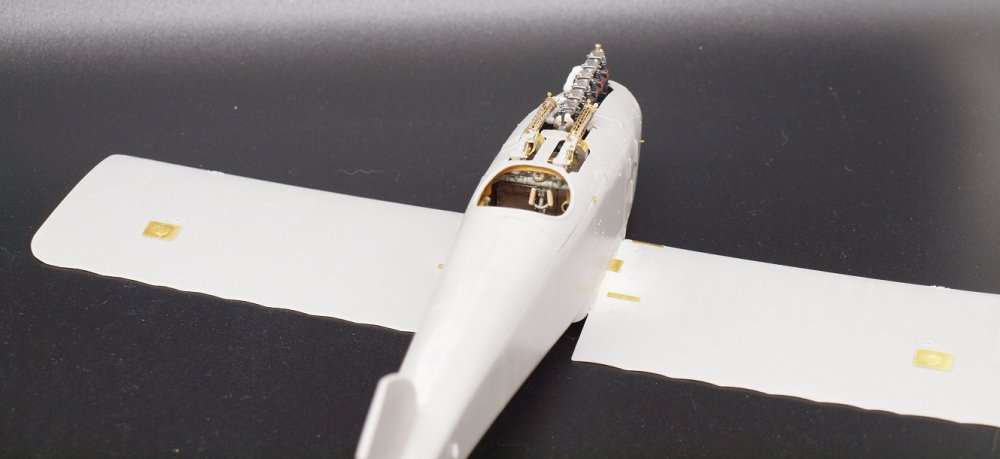
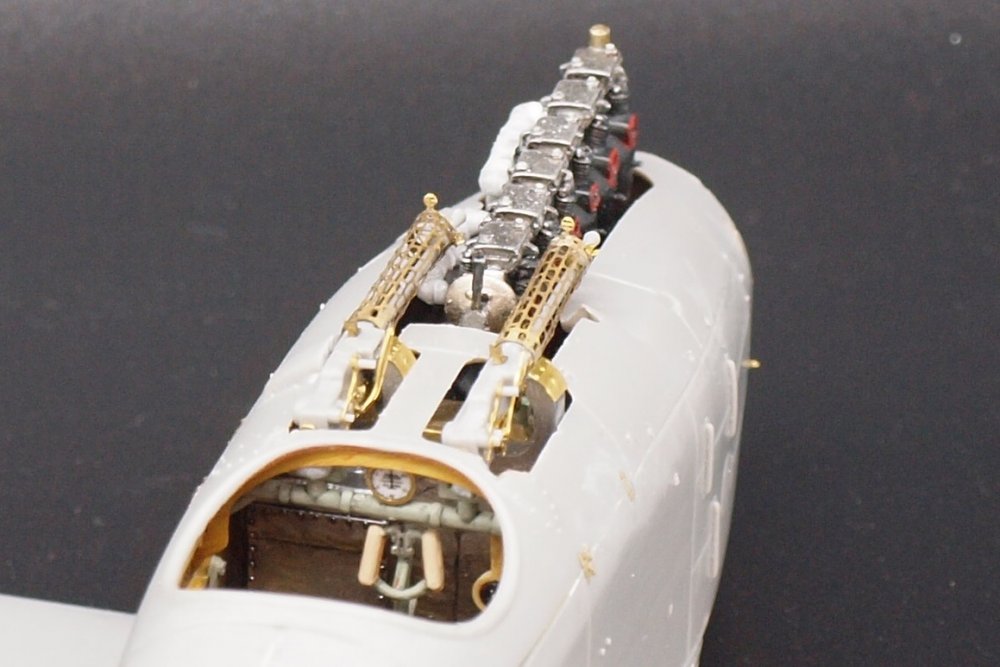
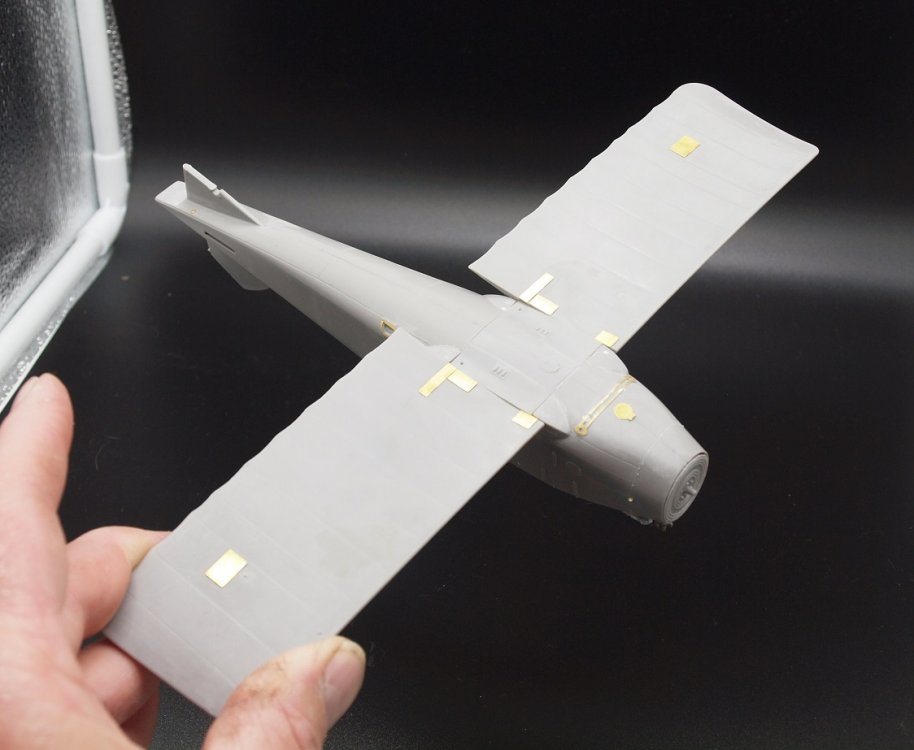
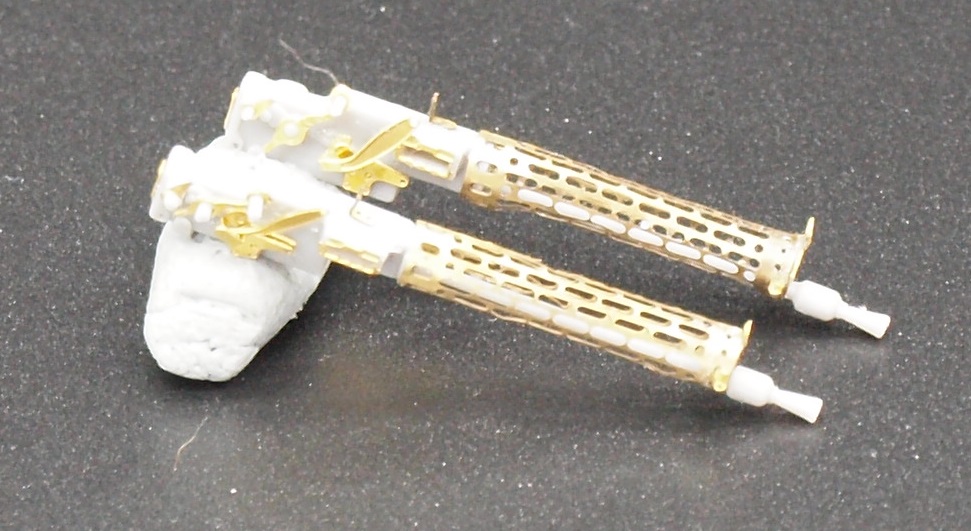
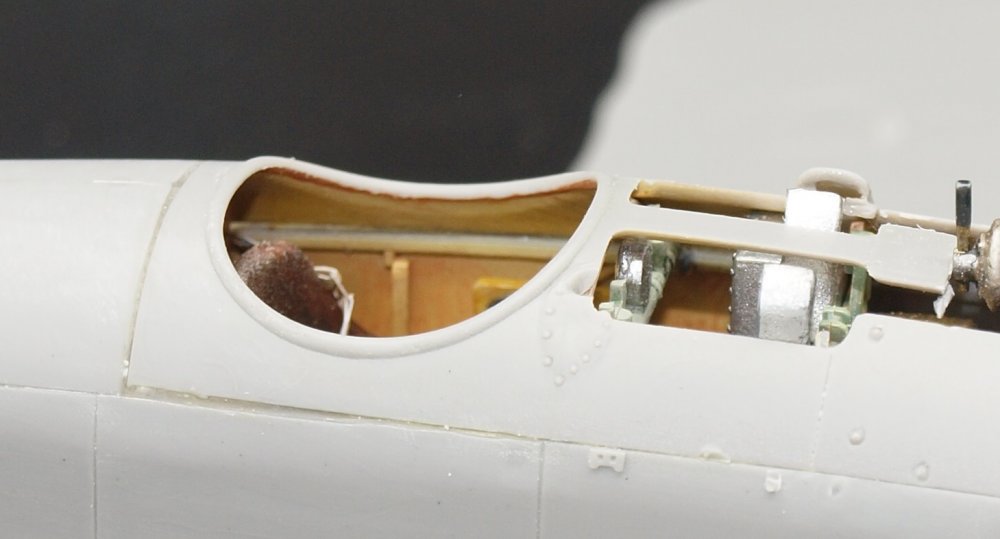
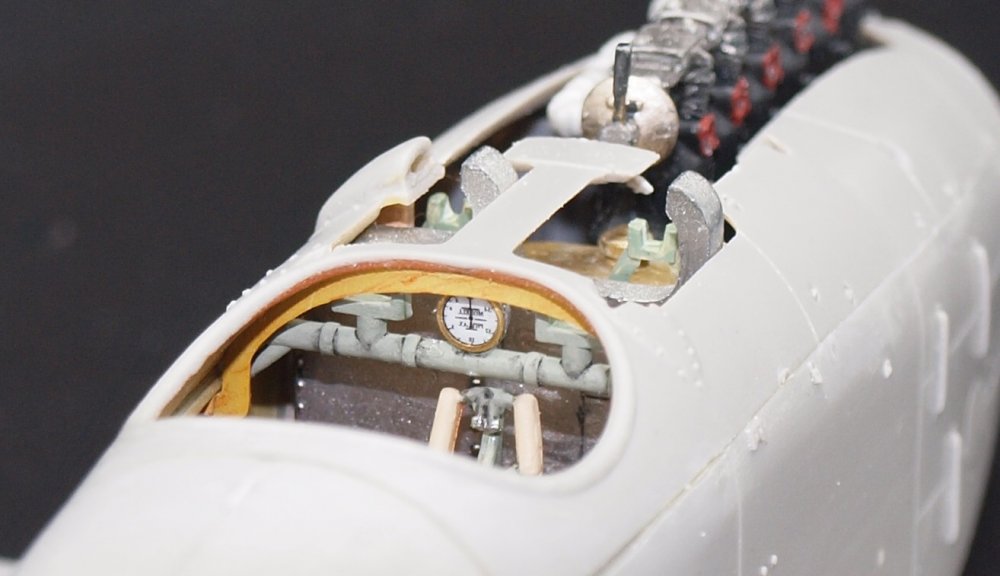
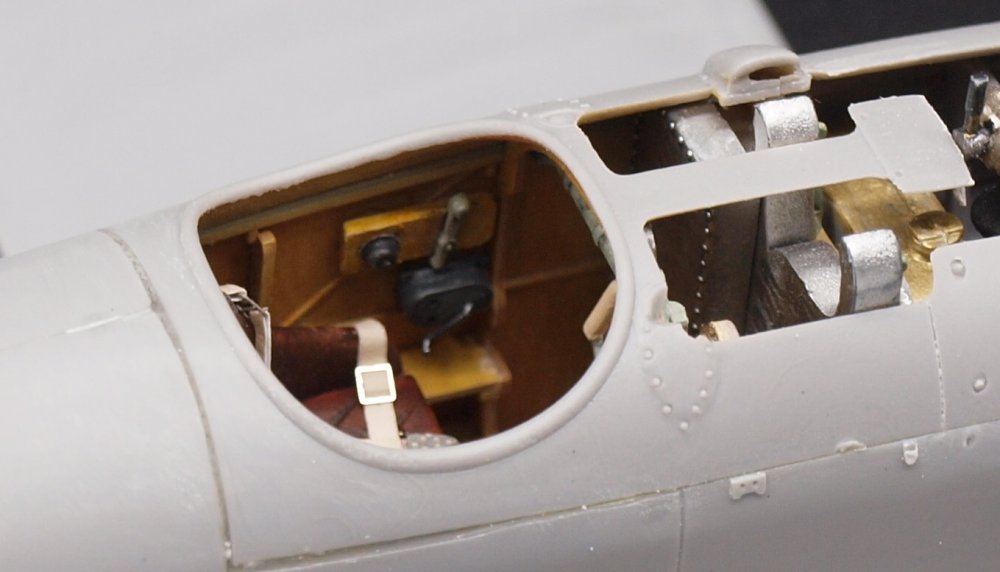
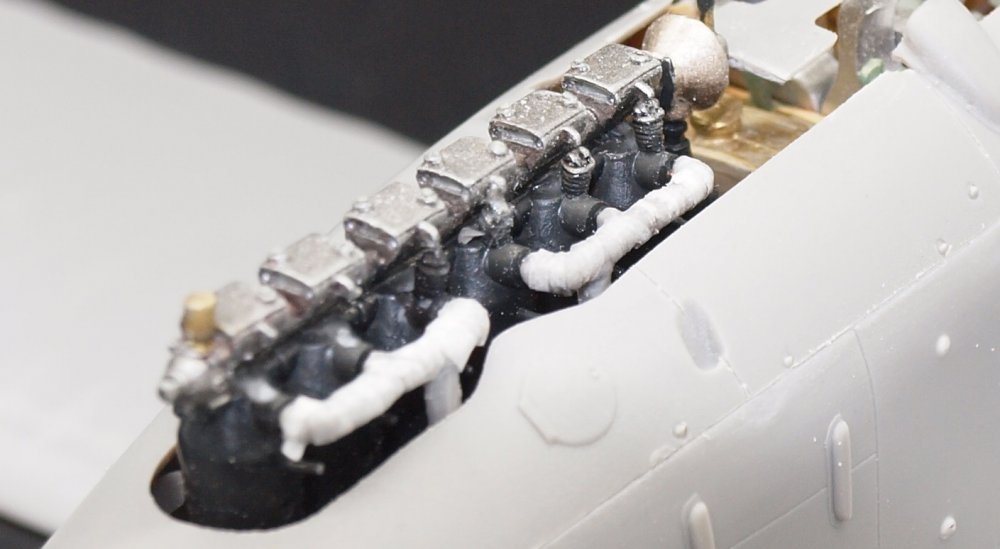
Well.... here we are again. On small sessions this week, I faired in the turtleback. Then, last night... Friday evening I decided to adress my greatest weakness. Photo etch. What WNW did with a couple pieces of plastic and two pieces of PE, Roden and Part did with many pieces of PE and some so-so plastic. The part directions weren't totally clear, and whilst completing the second gun, I realized that the directions omitted an important part. But by then... I didn't feel like tearing apart the guns. The photos are pretty bad, but hopefully, there is enough good in each to show you the parts. Sadly... due to the extended amount of handling, the jackets of the guns look like hell. But there is really no going back to fix them without major disruption. You see, even the ring sites are separate pieces. Fairing in the fuselage went well. I didn't have to lose any plastic material. I will need to use a bit more interior color, though. I rescribed as necessary, but I think the kit is missing a line or two in places. I supplied a few more closeups. Every surface detail you can see could be replaced by a PE part. But I will use them judiciously. some parts are just too difficult to get right.

-
Fantastic!
-
Israeli Mirage III C with Atar9C
GazzaS replied to Kaireckstadt's topic in LSM 1/35 and Larger Work In Progress
Your exterior looks great! I really like the guns and dampeners. Good luck with not knocking off that pitot tube. -
Looks good!
-
Looks fantastic, John!
-
What is on your bench right now ? Share a picture :)
GazzaS replied to Martinnfb's topic in Modelling Discussion
No picture of saw? -
Tamiya Sturmgeschutze IIIG with Ostketten
GazzaS replied to GazzaS's topic in LSM Armour Finished Work
Thank you, Harv! -
Atlas Cheetah E Scaleworx Conversion
GazzaS replied to GusMac's topic in LSM 1/35 and Larger Work In Progress
Nice work on the office. -
Bent wing bird- Tamiya F4U-1A
GazzaS replied to BlrwestSiR's topic in LSM 1/35 and Larger Work In Progress
Great to see an update, Carl! Engine looks nice tucked in there! -
Whoa! that cockpit is smokin'!
-
Exactly! Sorry...it was really just a poor excuse to interject some TNA into the forum.
-
OK... reread the OP... how's this? You might find more you like at Skytamer.com. https://www.skytamer.com/1.1.htm
-
Sorry... the best I could do.
-
I know... it's a bit hard to see... and there are some distractions.... But...what the heck is it?