ScottsGT
-
Posts
2,766 -
Joined
-
Last visited
Content Type
Profiles
Forums
Events
Gallery
Everything posted by ScottsGT
-
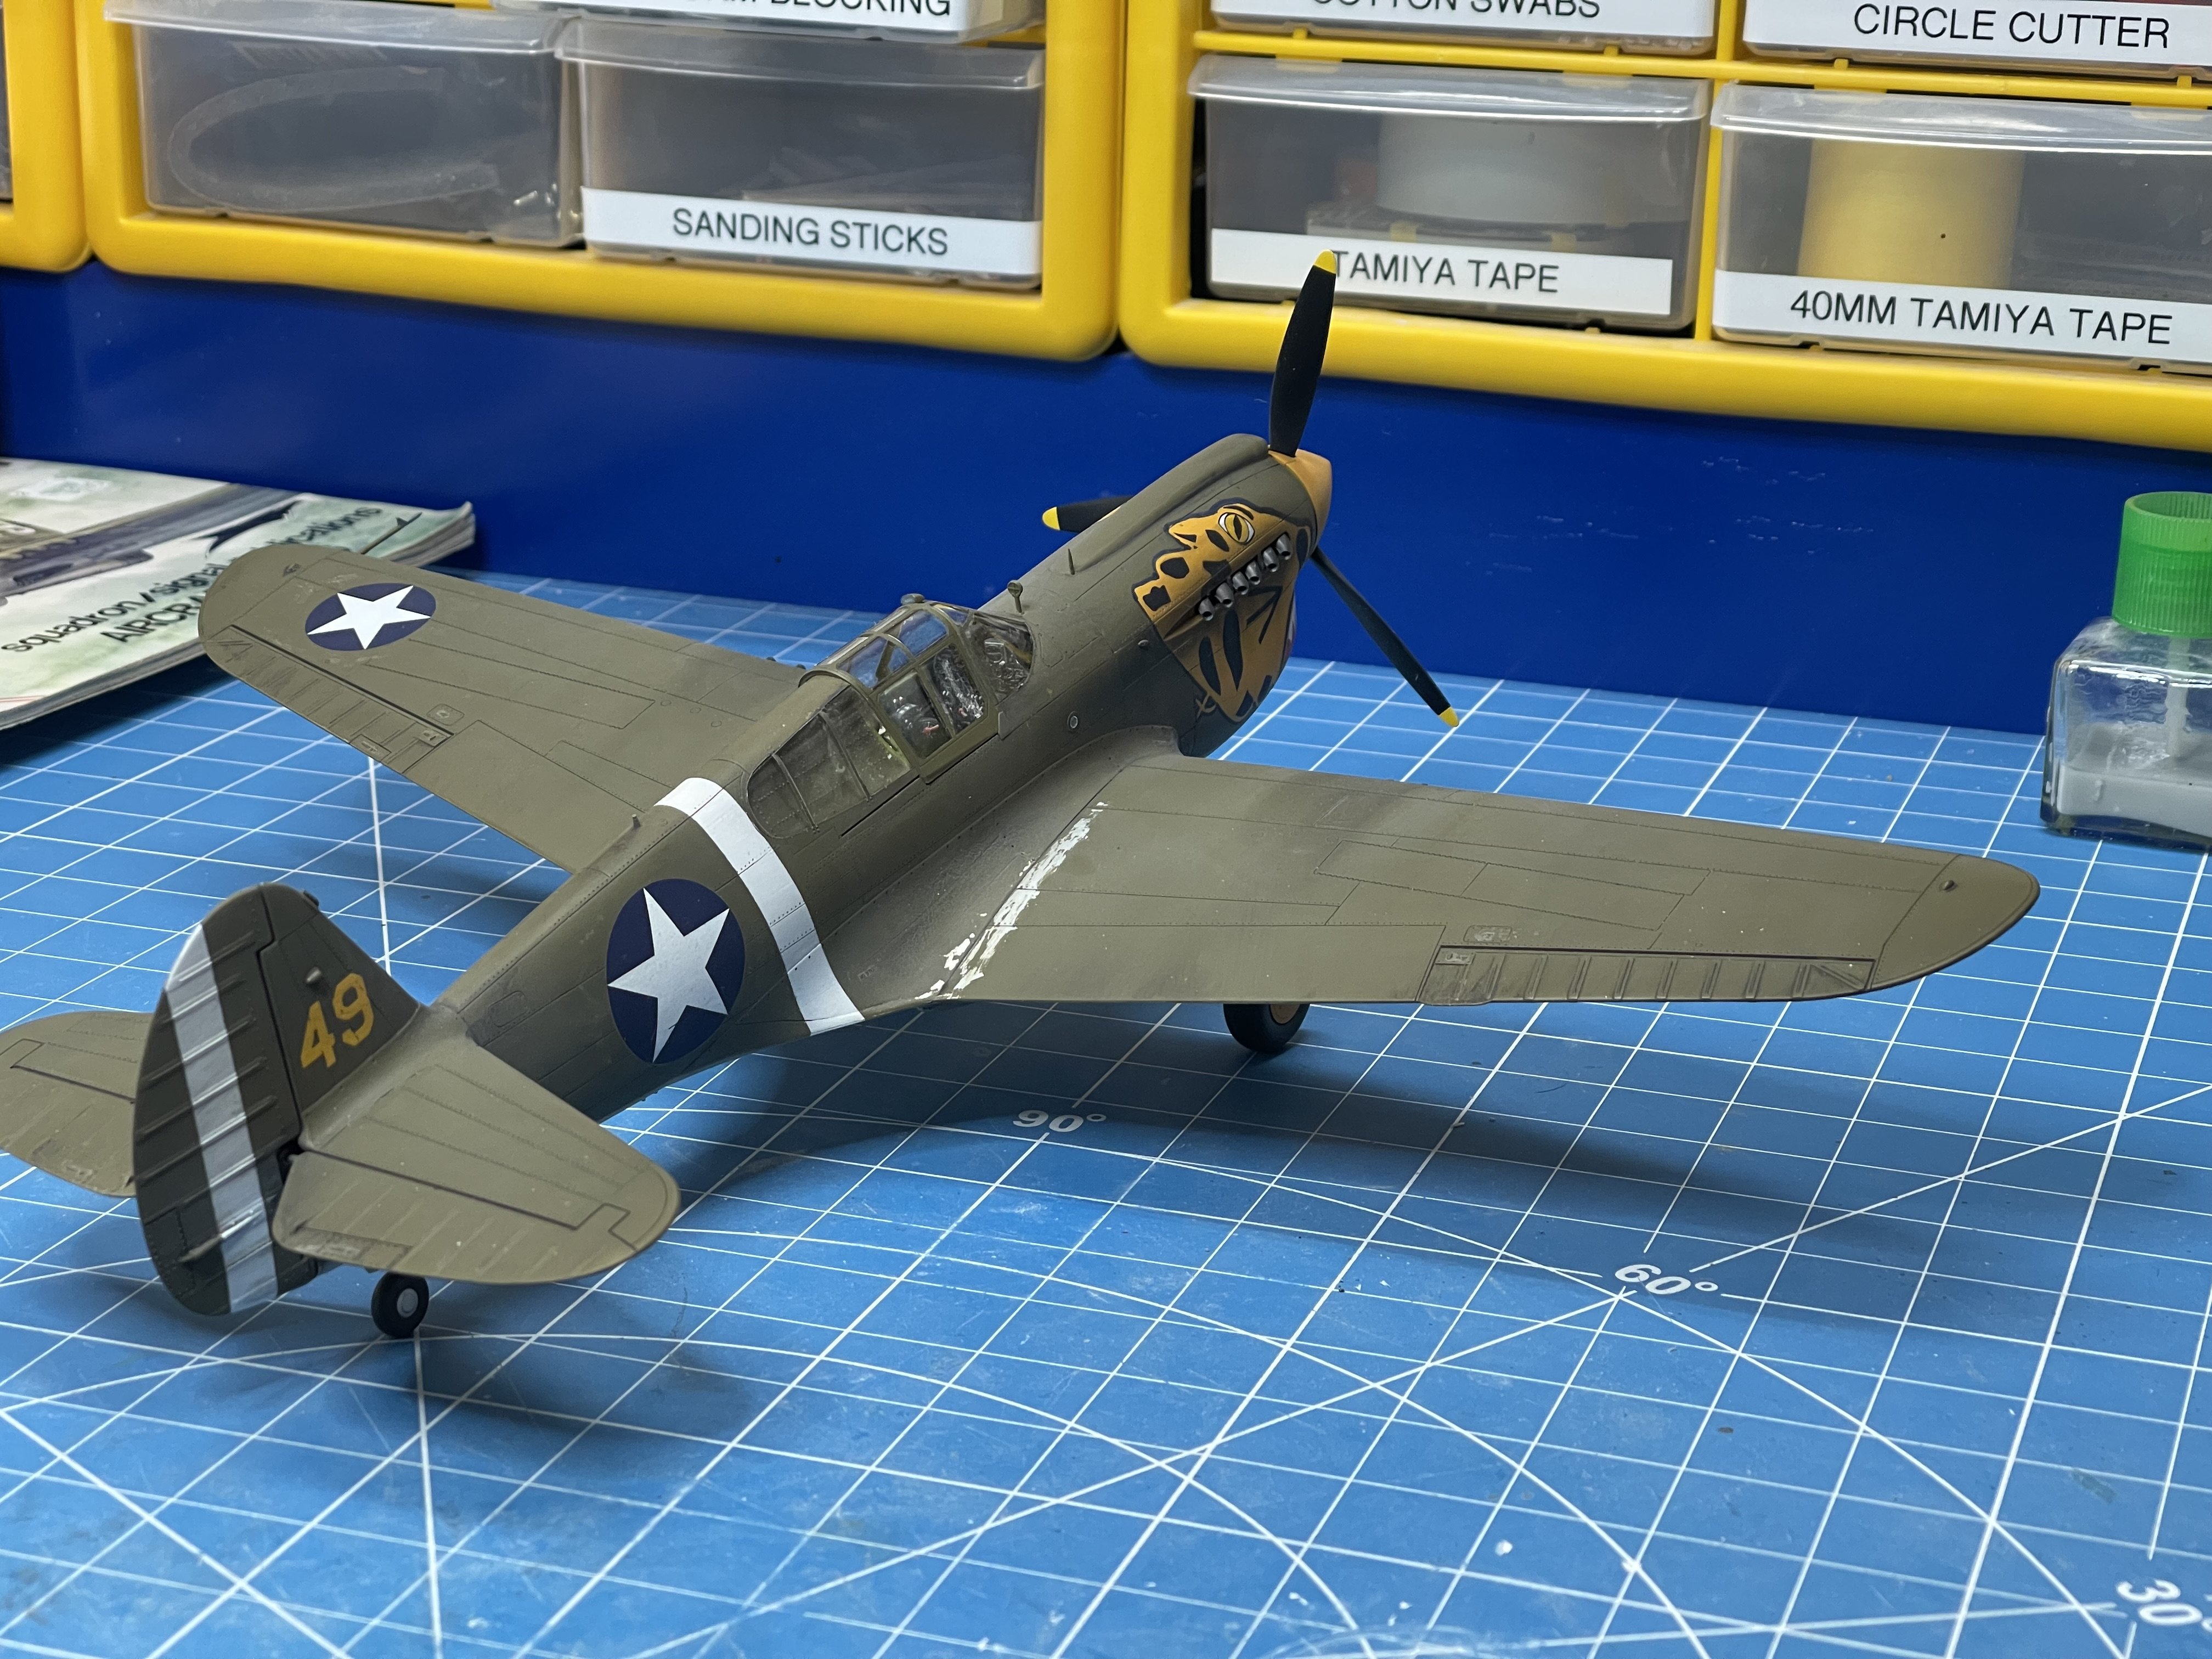
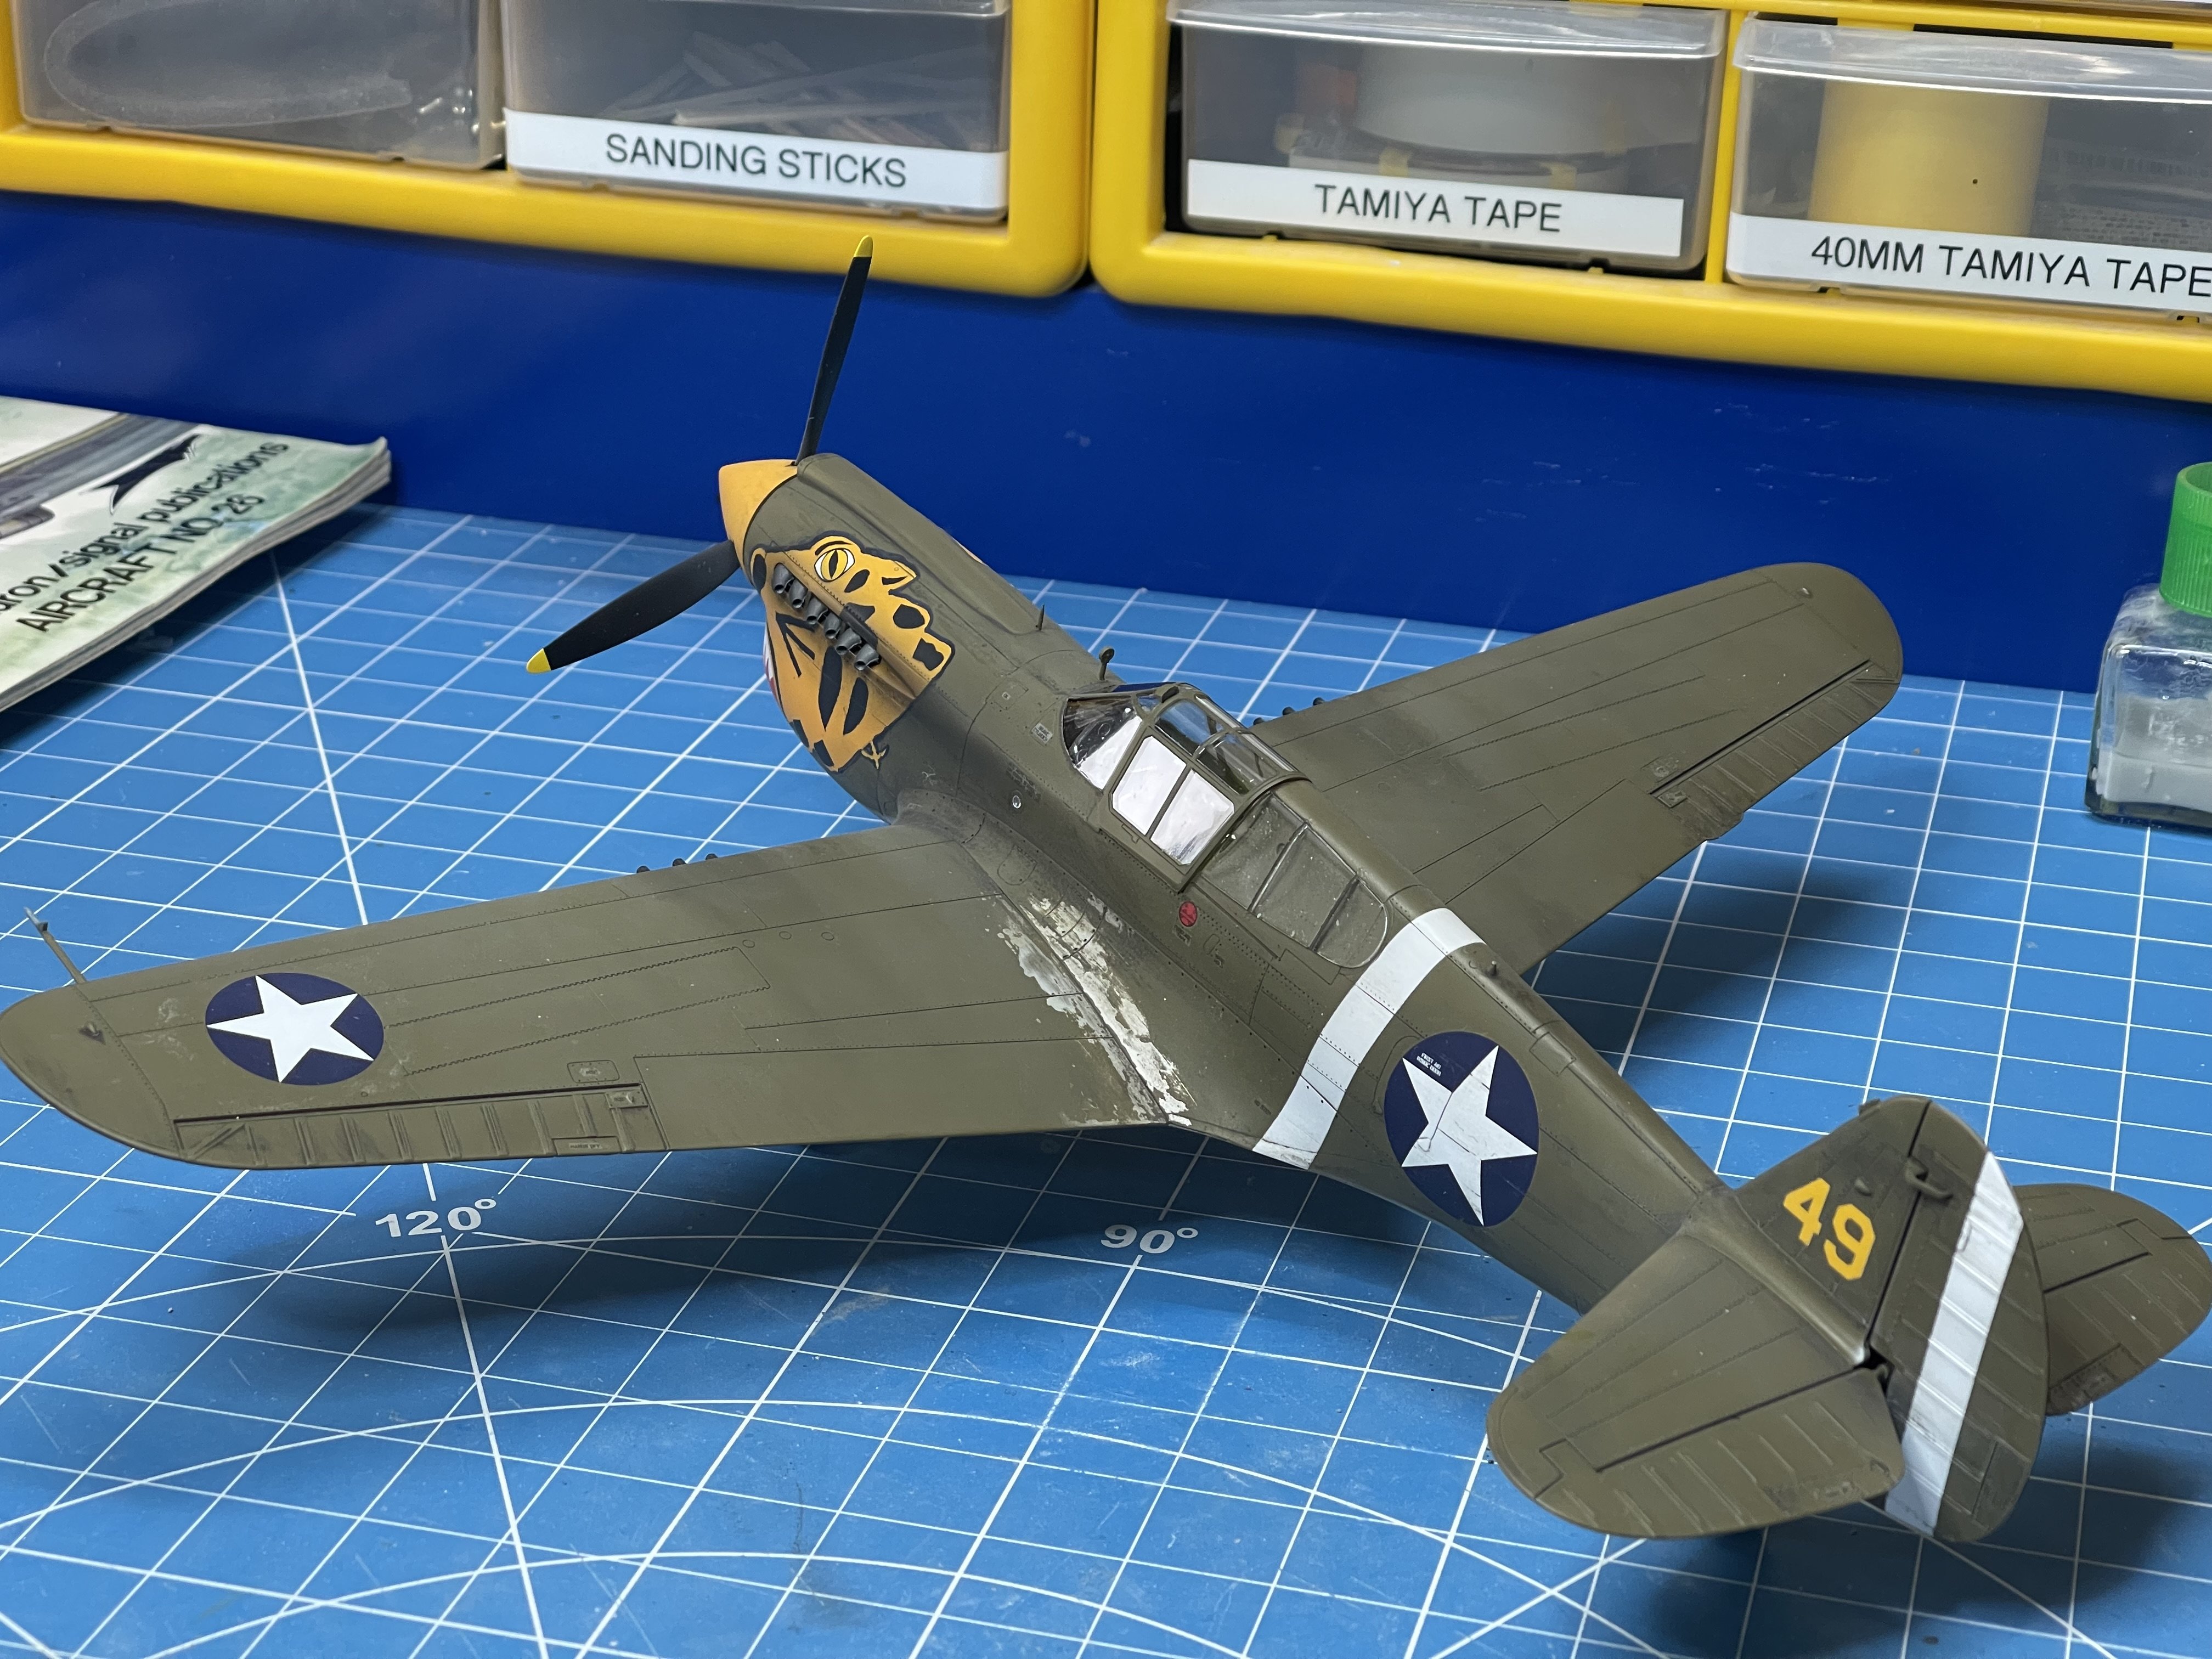
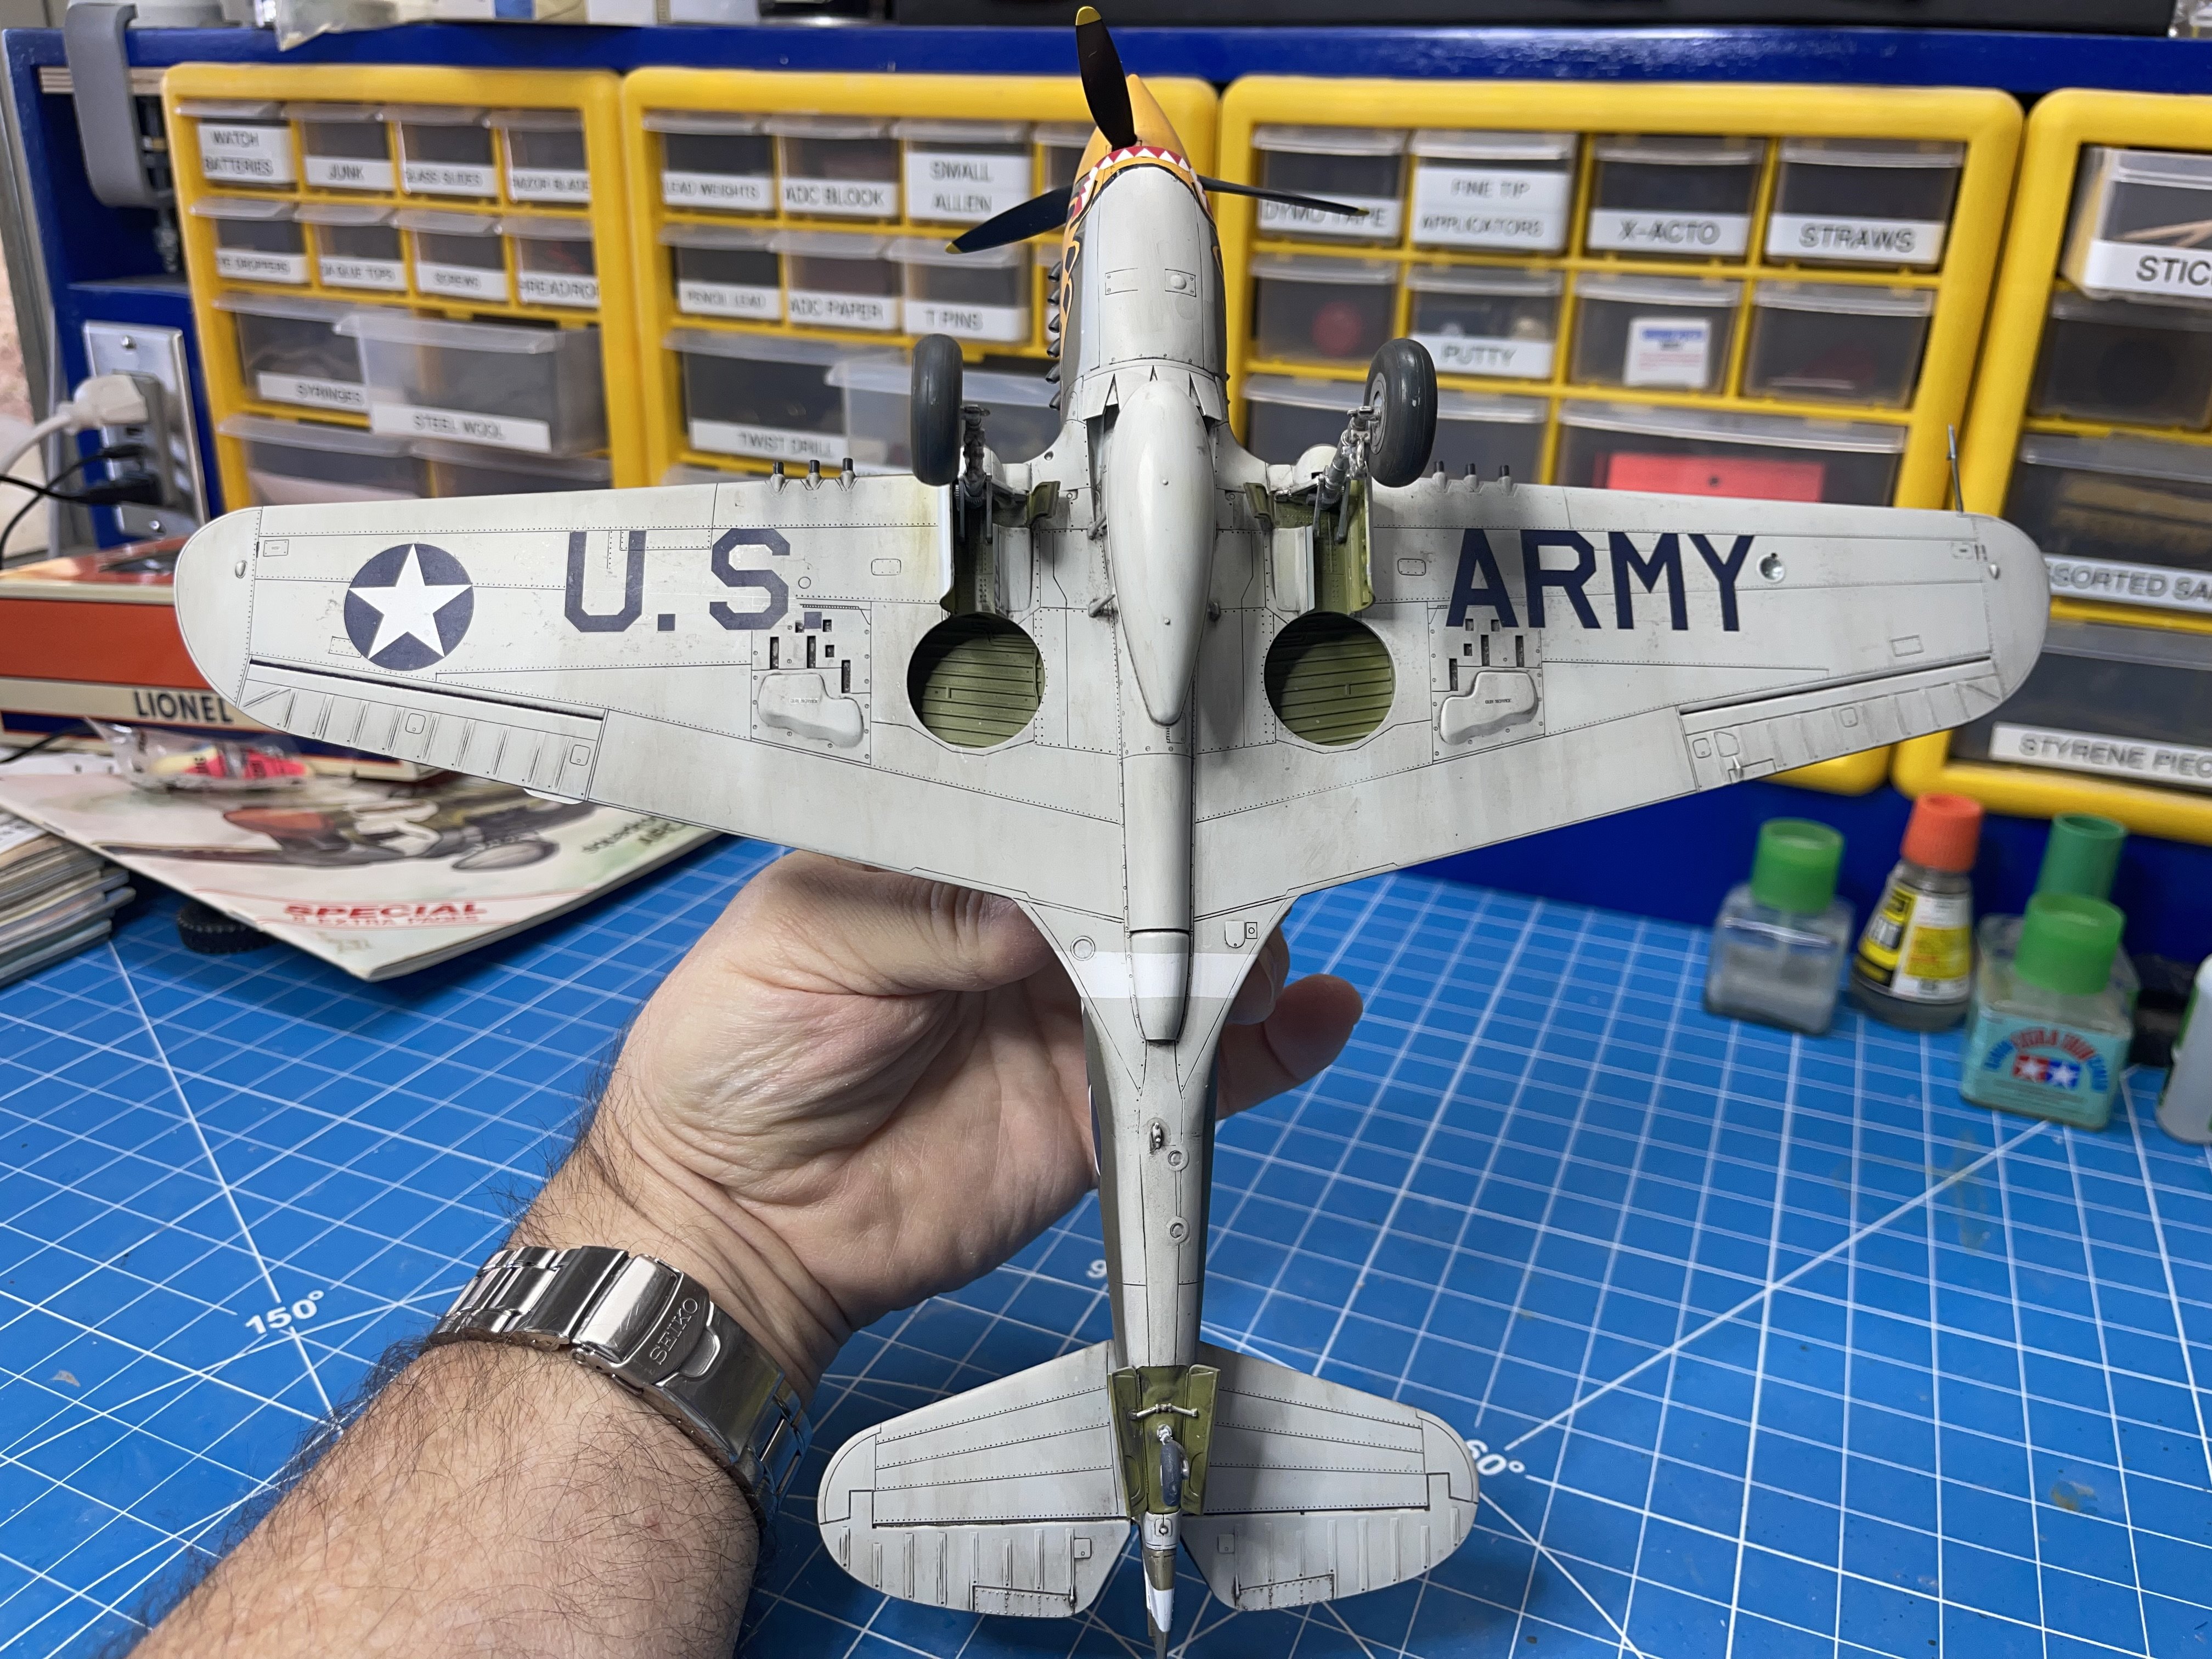
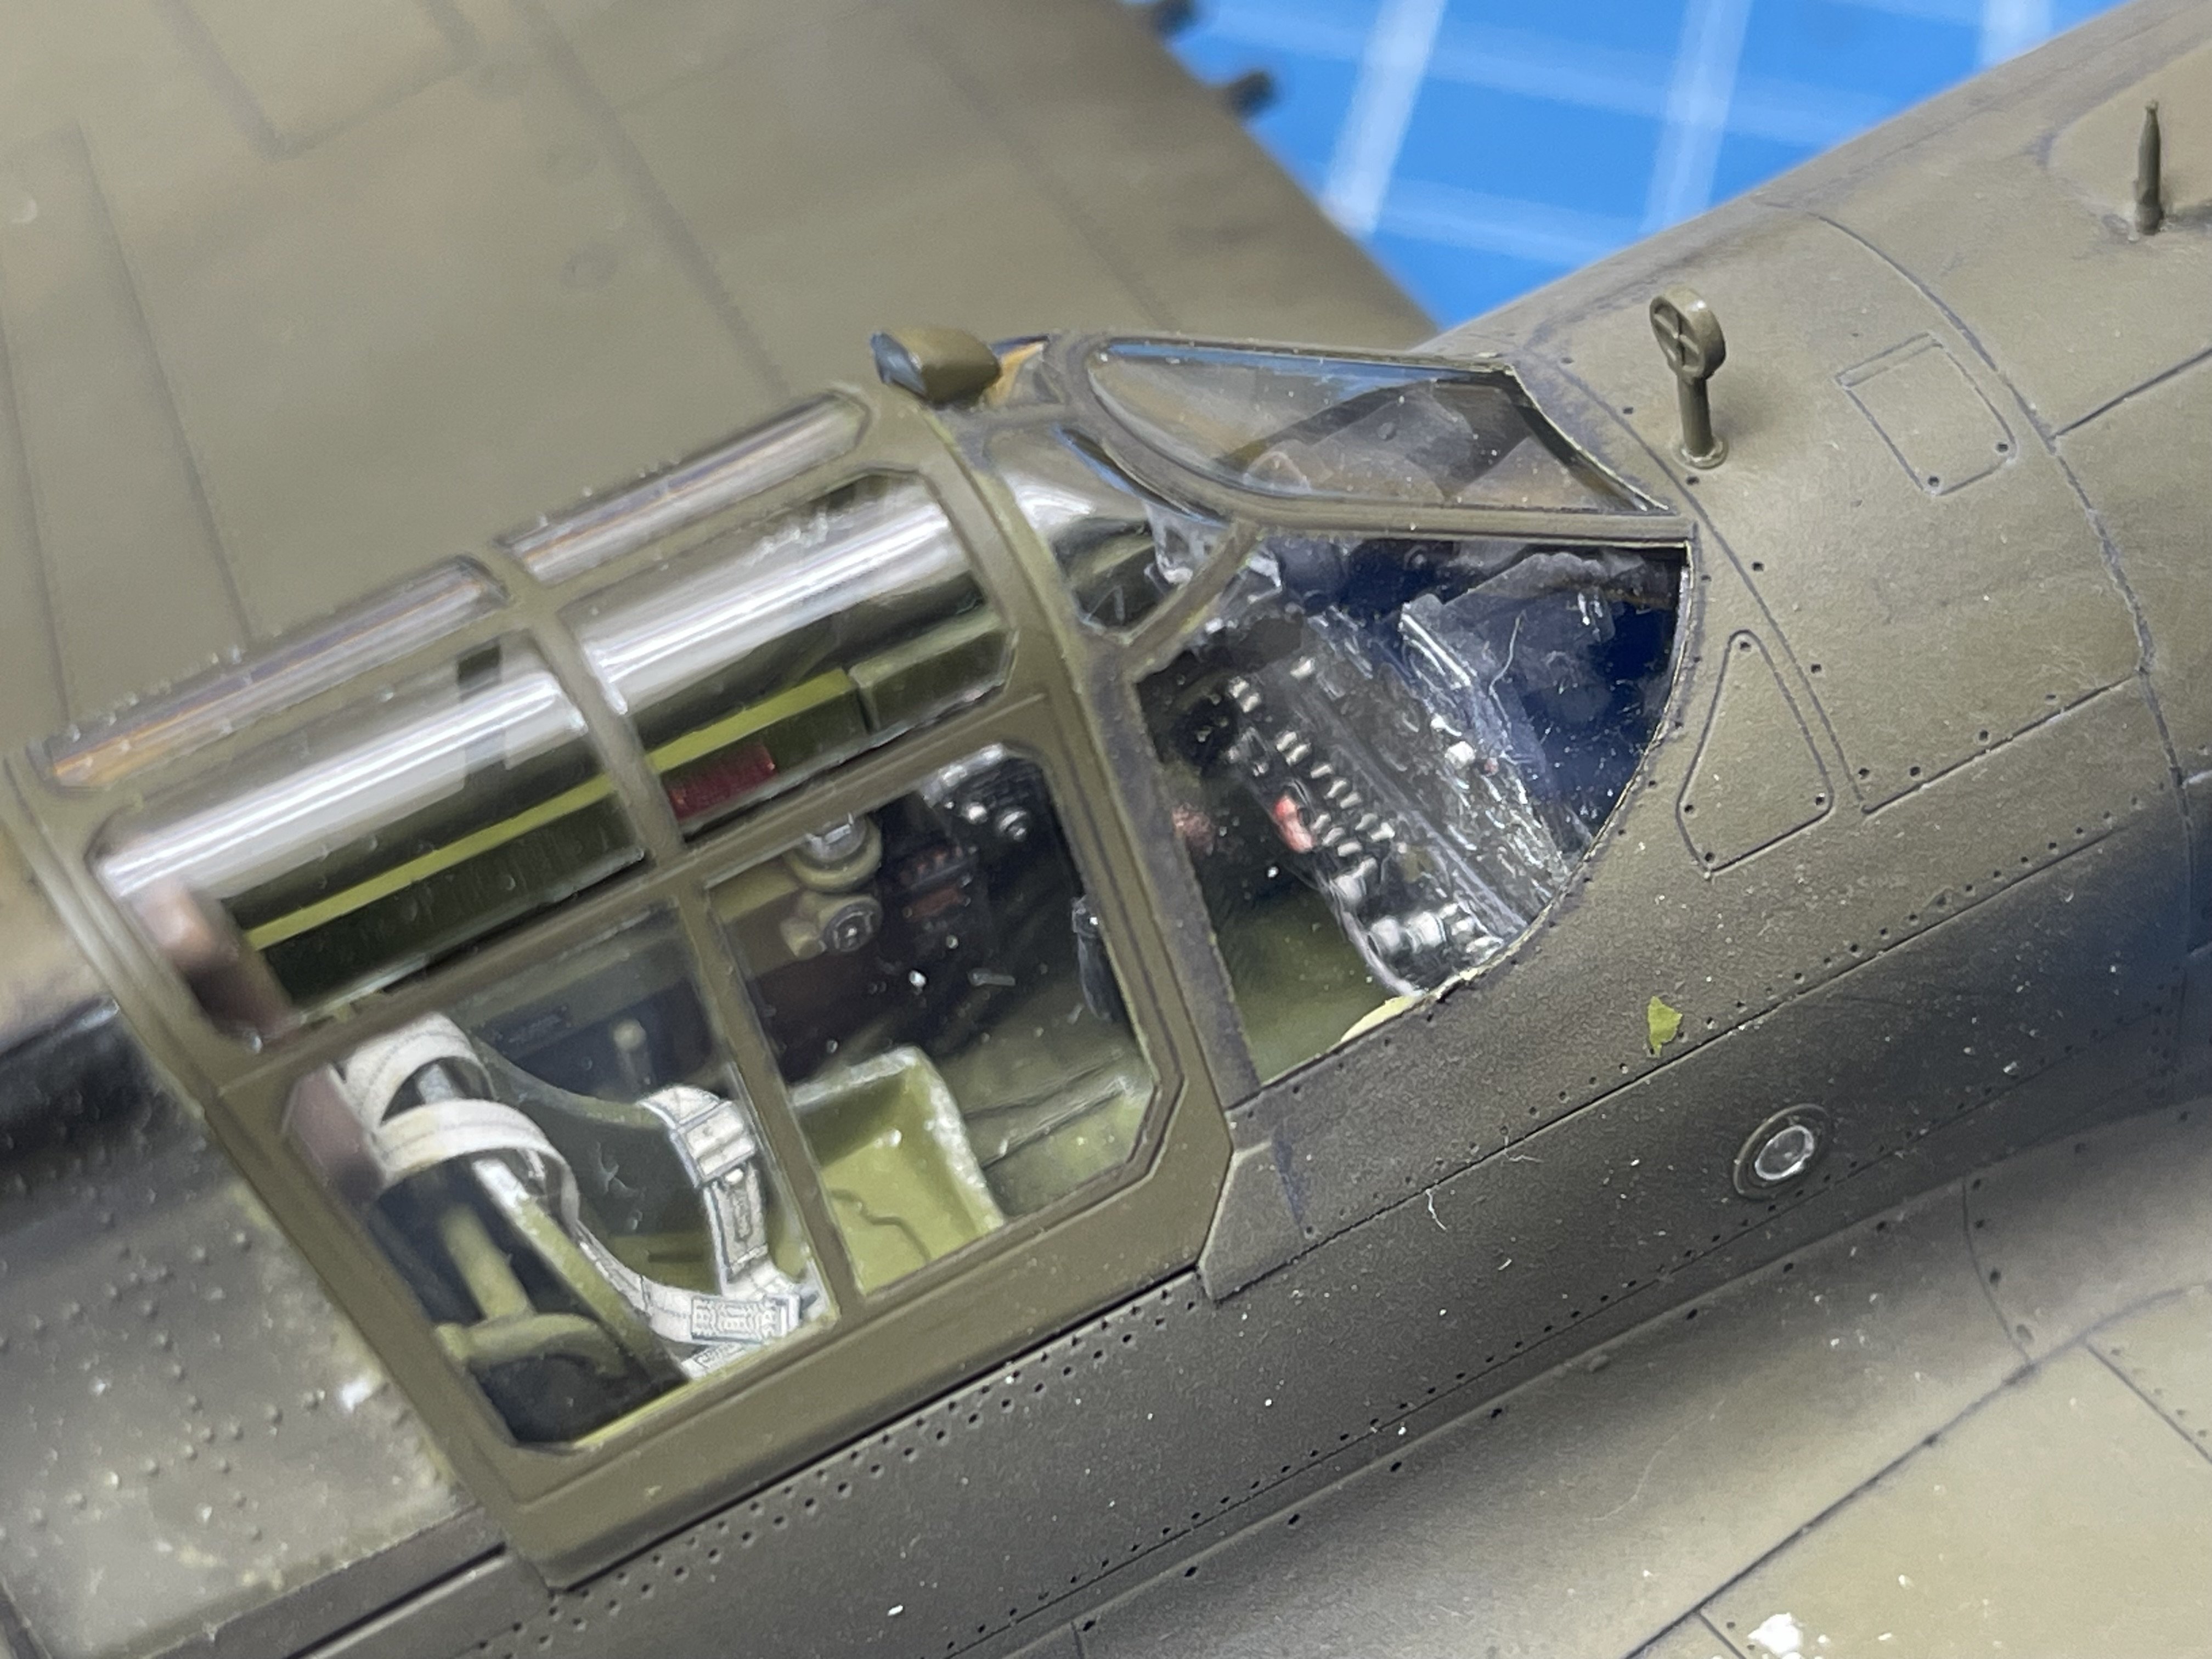
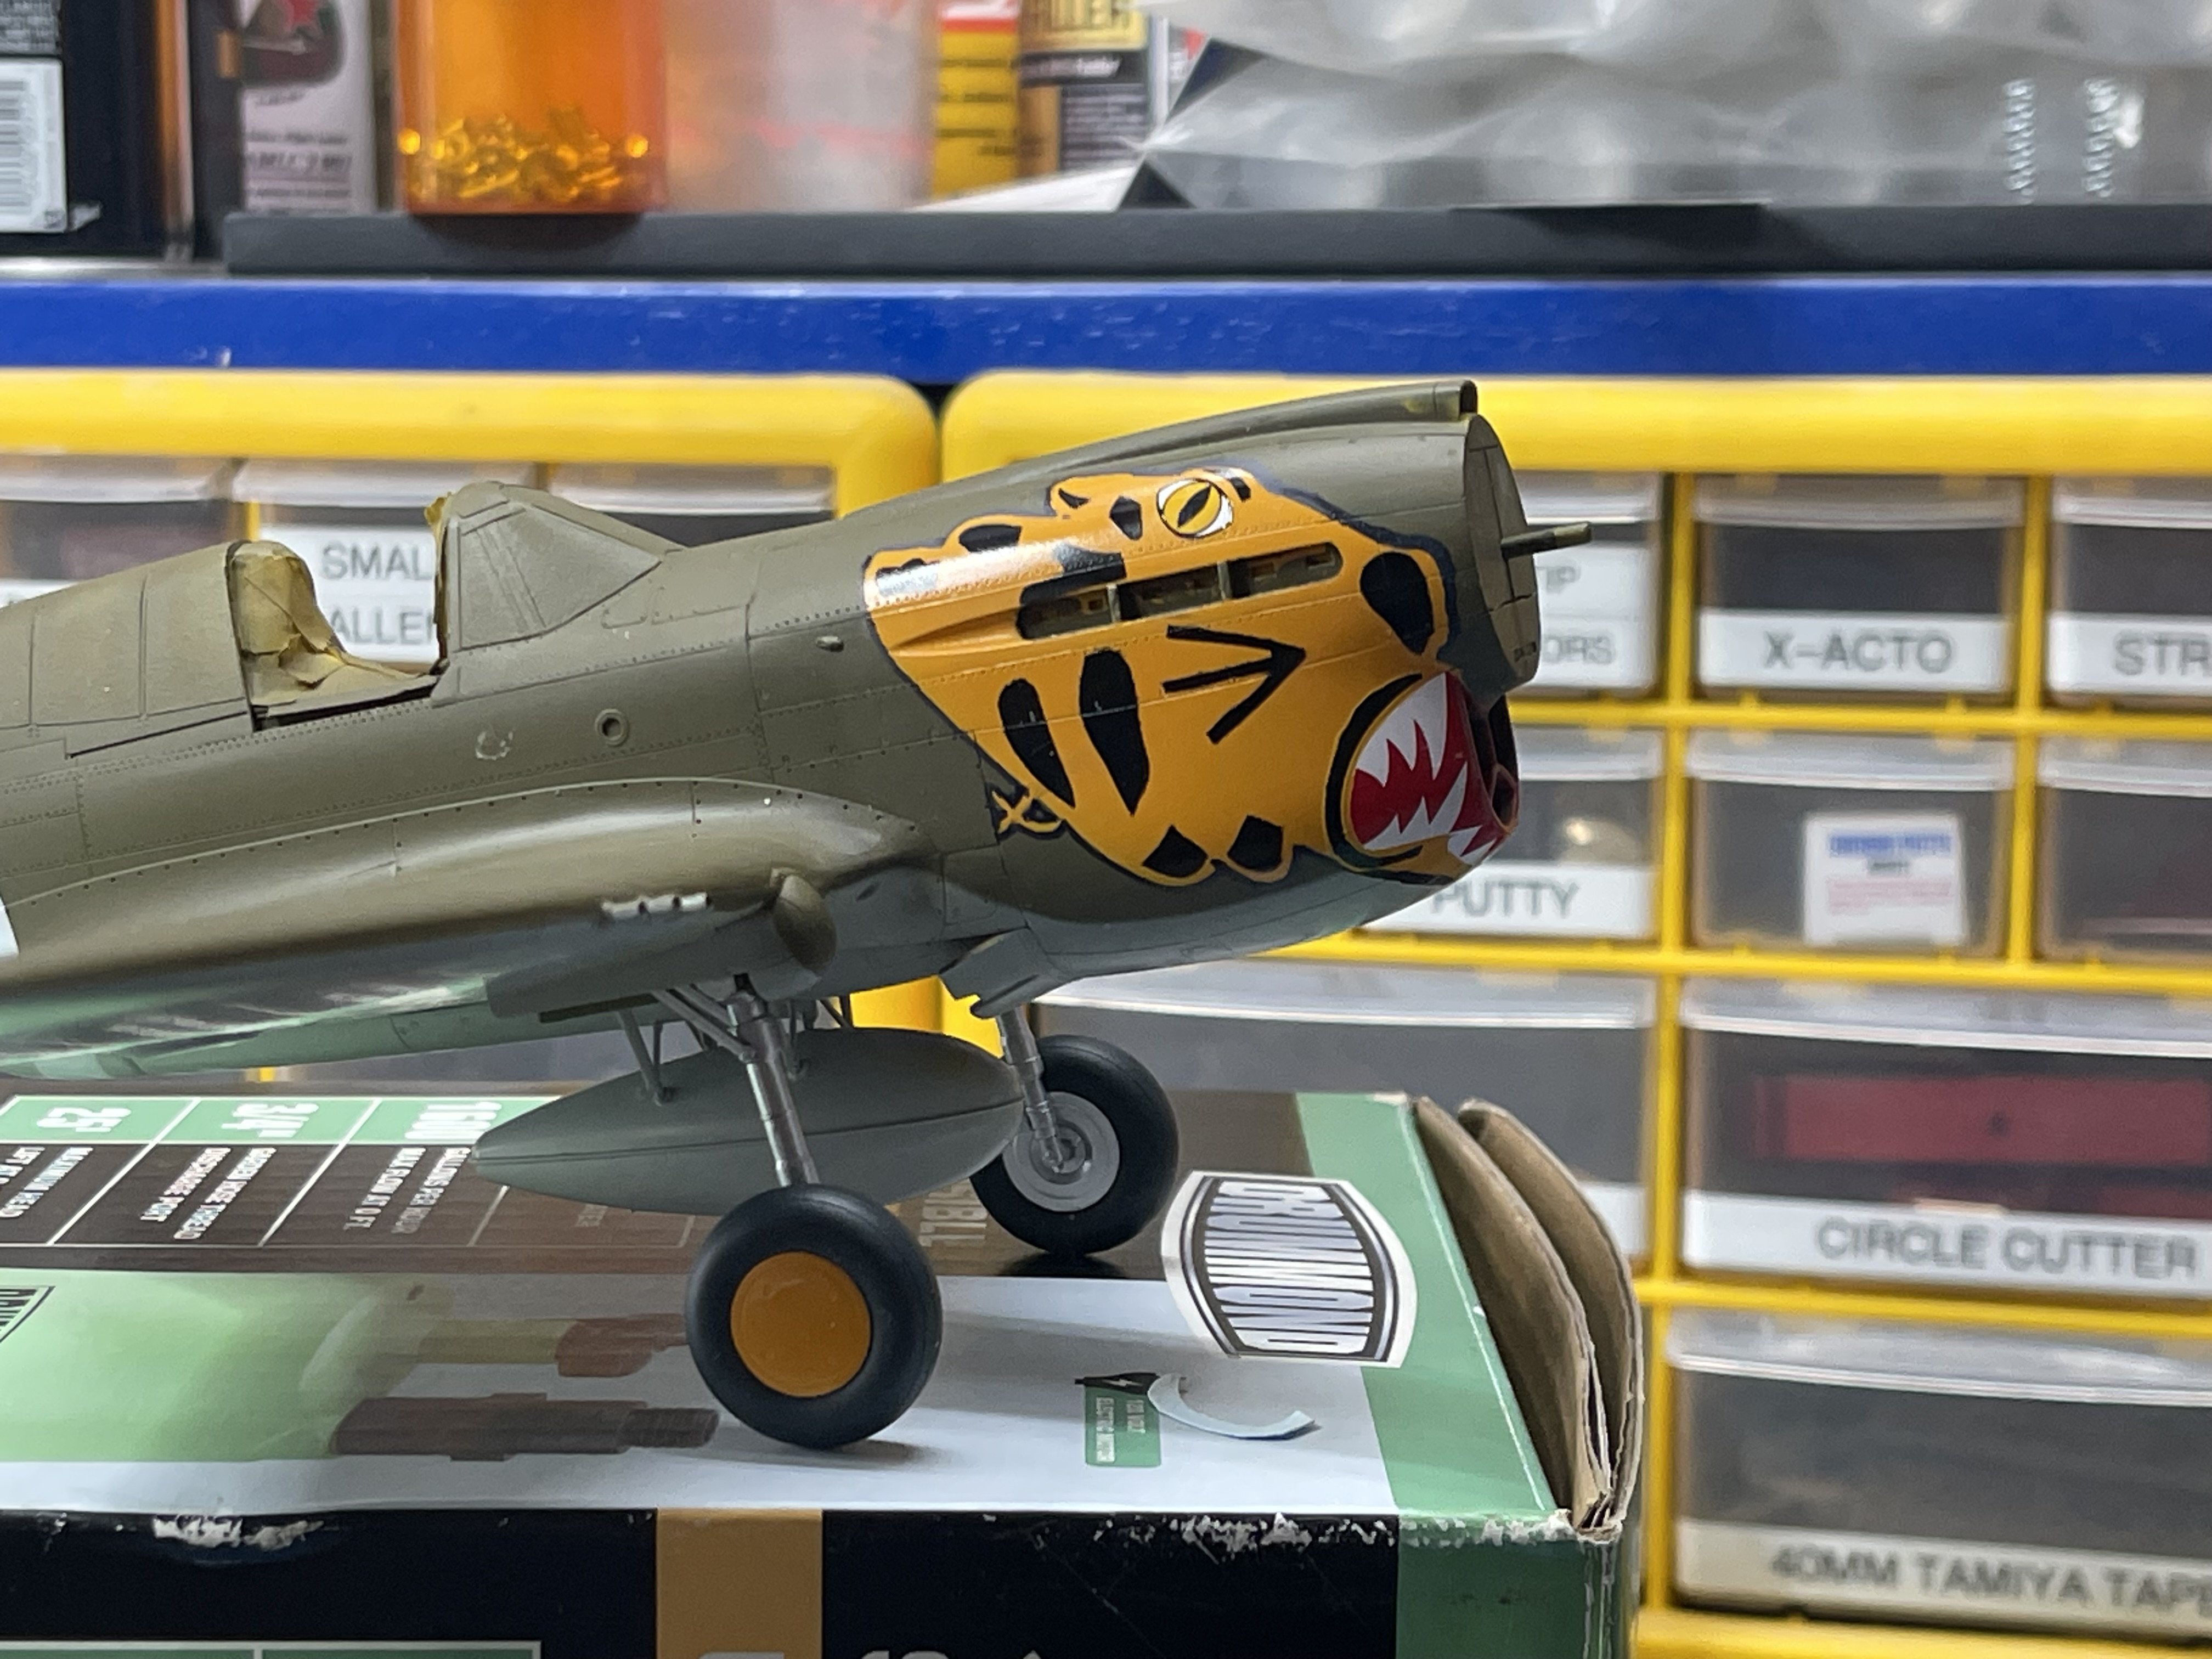
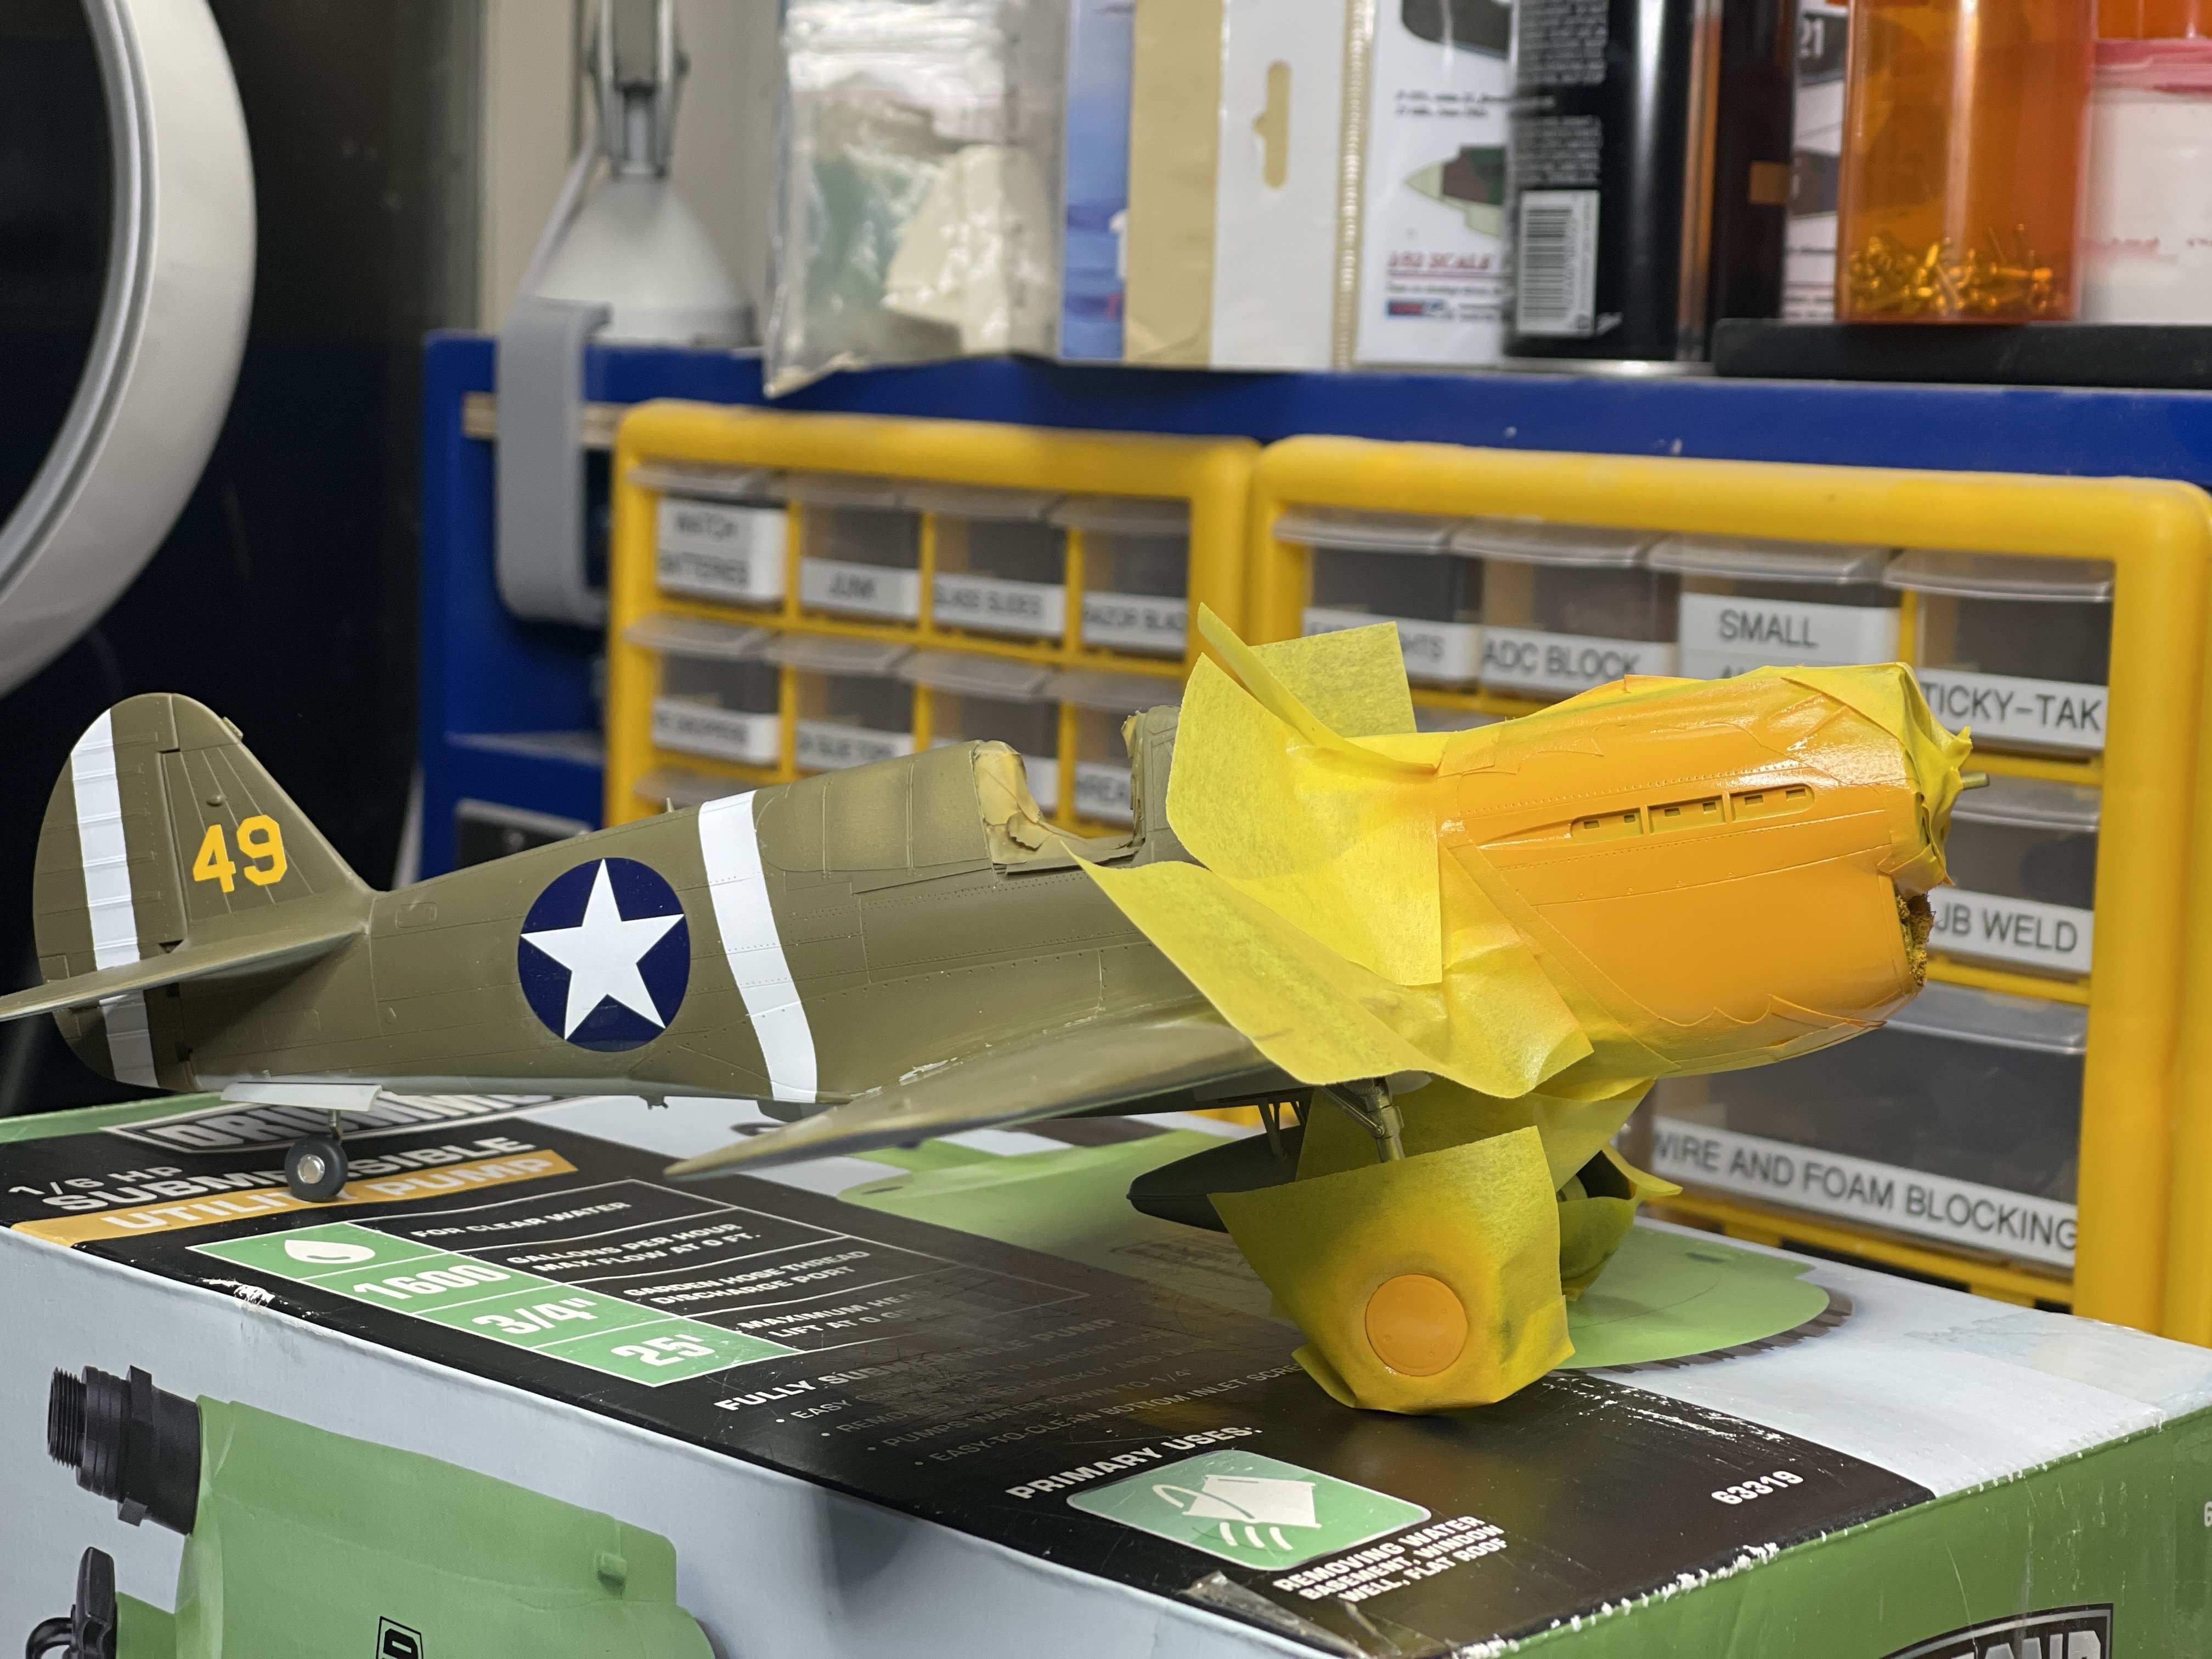
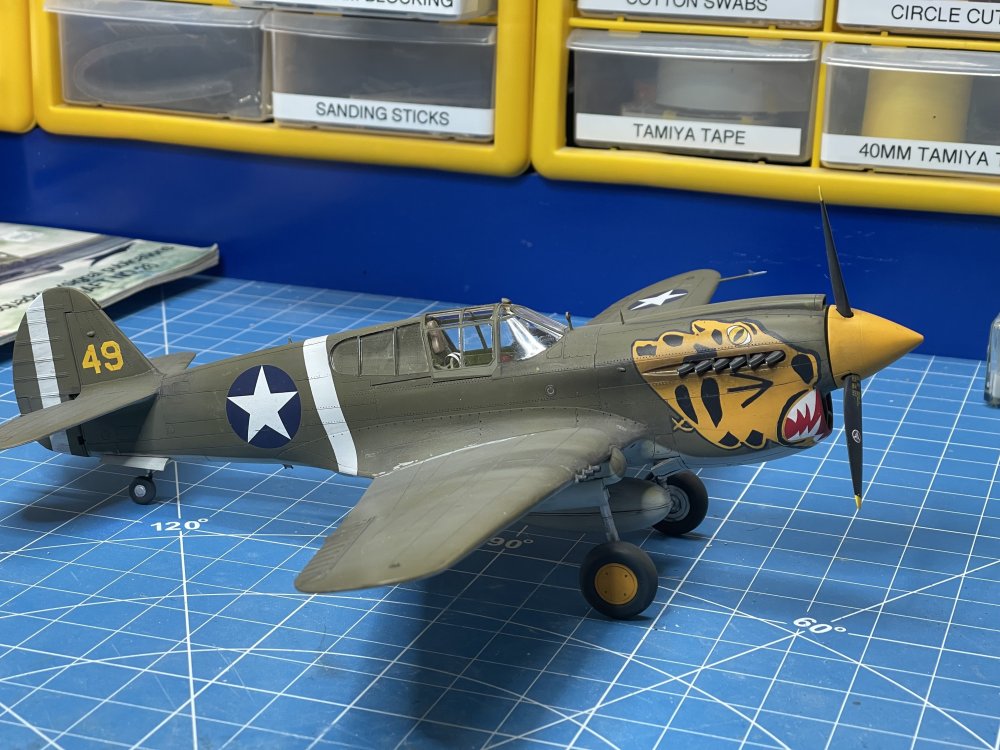
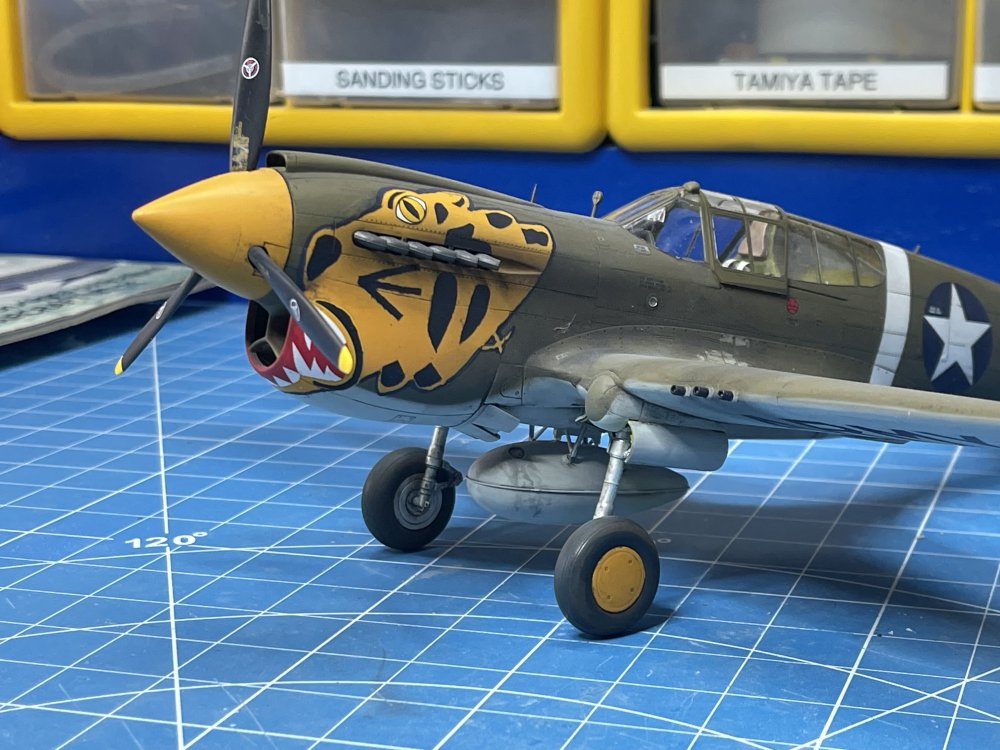
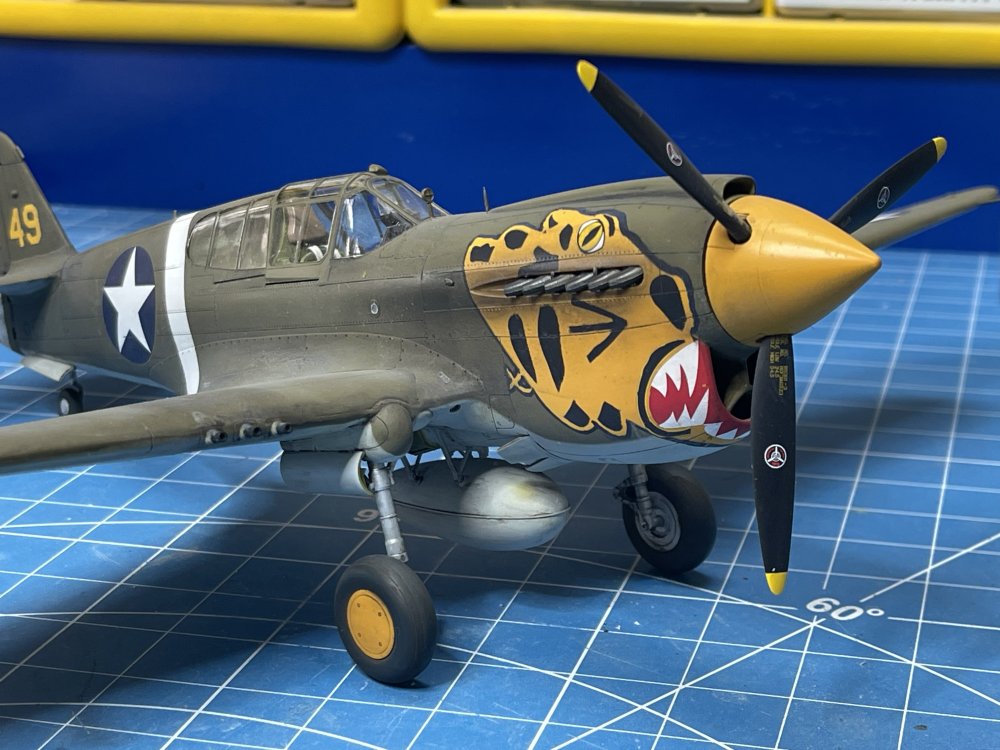
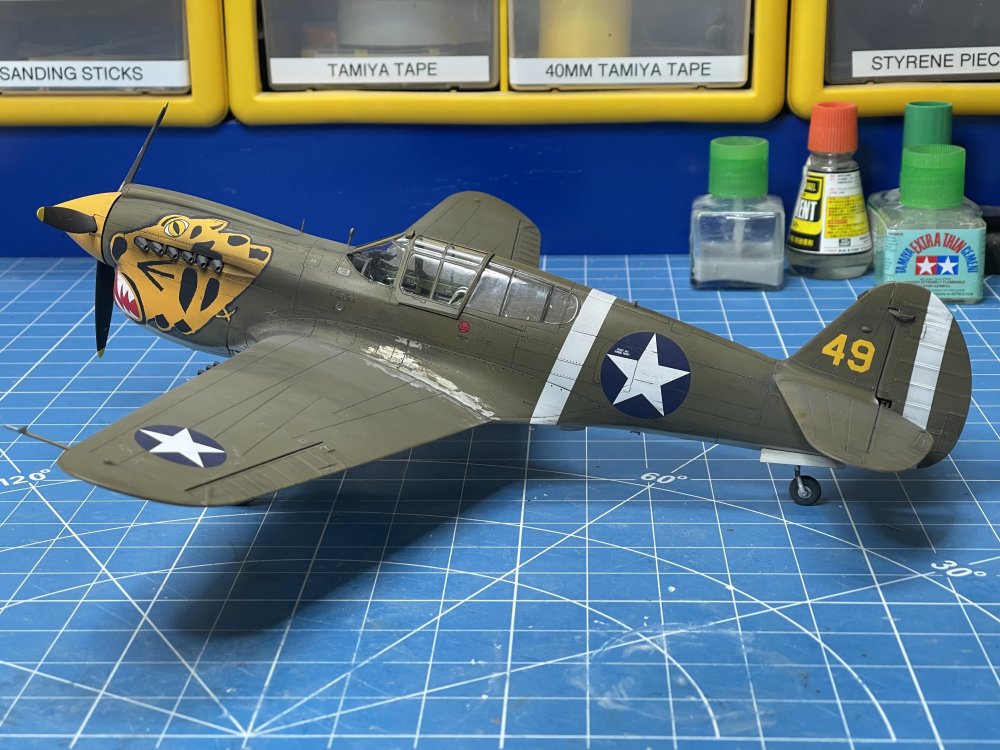
Well this took longer than expected! The huge tiger head decal just did not want to cooperate. So I ripped it off and started over. Thank goodness I had the foresight to scrounge up two sets of these decals over the years. Okay, truth be known? I probably forgot I bought the first set and bought another accidentally. 🤪 But I photocopied the second set and made a stencil out of Tamiya 40mm tape and painted the yellow and then the same with the black areas. Outline was done with a paint pen after too much caffeine in the morning. The old hand isn’t as steady as it used to to be. In hindsight I should have just trimmed the black outline off the good decals and applied them. The eyes and mouth is also sections off the second decal set. White bands were painted on. Stars would have looked better if I had stencils and painted them as well. Cockpit details are Quinta.


- 7 replies
-
- 13
-

-
What is on your bench right now ? Share a picture :)
ScottsGT replied to Martinnfb's topic in Modelling Discussion
I’m calling it done! I’ll put up more pics in completed builds.
-
Corsair re-do RFI
ScottsGT replied to JohnB's topic in LSM 1/32 and Larger Aircraft Ready for Inspection
I think that’s one of the best yet! Weathering is spot on. -
How about an RC version? https://profimodel.cz/en/cestovni/290900-1-16-rc-vw-schwimmwagen-t166-desert-camouflage-4250229627533.html I just asked the wife if I could get a real one since we live on a lake. She said no. 🙁
-
Cobra Coupe - Le Mans - Model Factory Hiro 1/12
ScottsGT replied to DocRob's topic in LSM 1/35 and Larger Work In Progress
Jeeze, I’m having flashbacks of building my 1:1 scale ‘66 Mustang. My body panels are all custom fitted with exact gaps. Nothing like the crap Ford put out back in the day. -
Hey John, check with Tim at B&B resin for a P-40K tail. He has an improved version out now and you can use it to build a K from the abundant E kit. I have one on the way.
-
I loved that show! It was the first TV show that I loved and the wife lost her mind trying to keep up with it. I laughed, she told me to watch it after she went to bed. 🤣 I’ve always loved the odd sy-fi or fantasy genre while the wife likes mindless laugh track enhanced comedies.
-
What is on your bench right now ? Share a picture :)
ScottsGT replied to Martinnfb's topic in Modelling Discussion
Decals done and satin clear (Microscale Micro Satin) applied and still drying. Next will be all that volcanic dust weathering that hides crooked lines and silvered decals.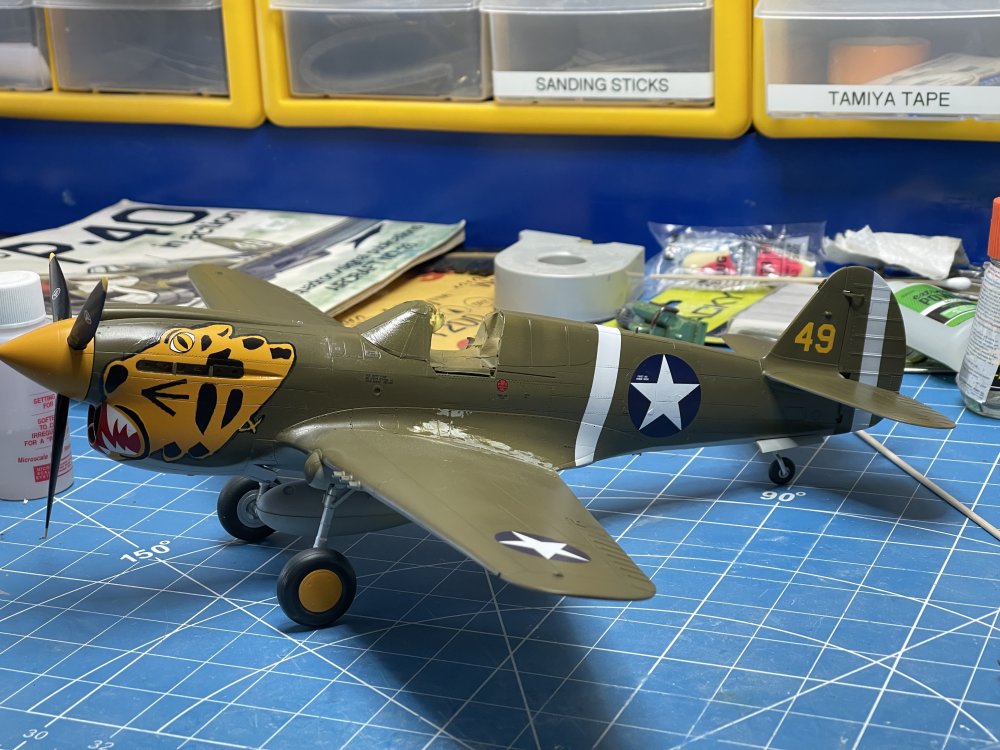
-
What is on your bench right now ? Share a picture :)
ScottsGT replied to Martinnfb's topic in Modelling Discussion
Well I’m not as steady with the paint pen as I thought I’d be. Got a few ugly lines. Was also hitting the roughness of the yellow where it was taped. In hindsight I should have just used the black decal outlines instead of free handing it. Maybe some extreme weathering will hide the ugly.
-
What is on your bench right now ? Share a picture :)
ScottsGT replied to Martinnfb's topic in Modelling Discussion
Yea, it took a while for me to figure out how I wanted to organize my build table and storage. I almost went with a set of drawers under the bench but quickly realized that would eat up leg room. I had the old riser off my folding table and used it by adding some wood to hold the bins in place along with outlets. All those items was what I used to spend lots of time digging for in my old tool cabinet drawer. Sometimes I would spend almost a half hour looking for a certain tool. Now it’s at my fingertips Heres a better view right after I finished the bench. No kidding, I spent about a year thinking about how I wanted to lay this area out before I started. -
What is on your bench right now ? Share a picture :)
ScottsGT replied to Martinnfb's topic in Modelling Discussion
Now we’re building models of Madonna’s bra? -
What is on your bench right now ? Share a picture :)
ScottsGT replied to Martinnfb's topic in Modelling Discussion
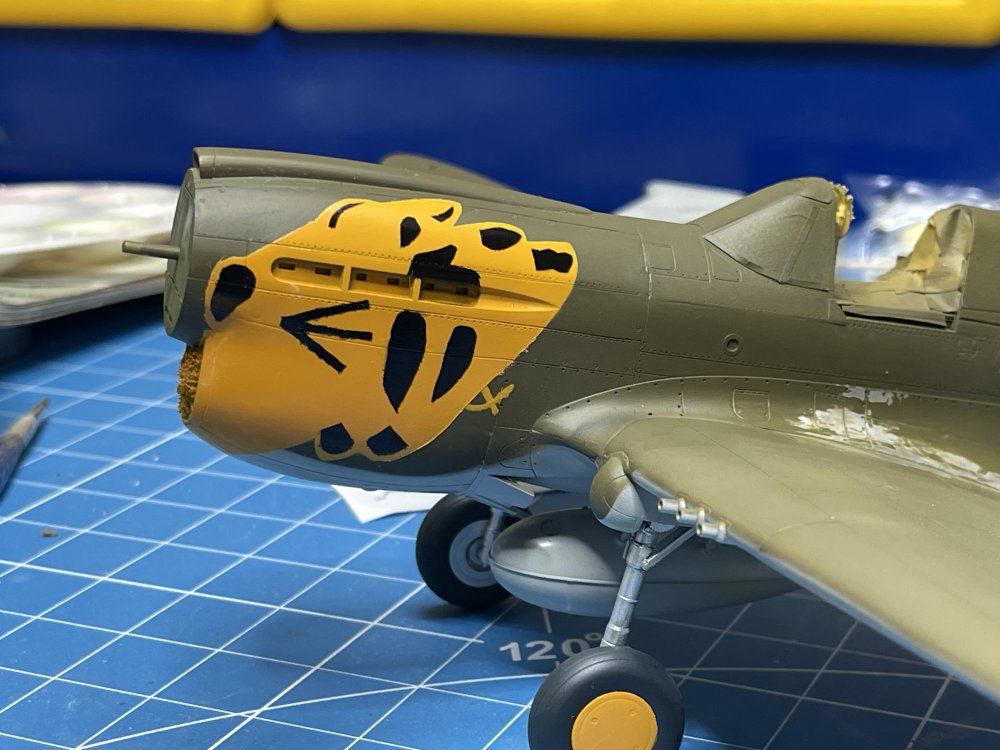
Happy progress today. Im going to freehand the black outline using a paint pen.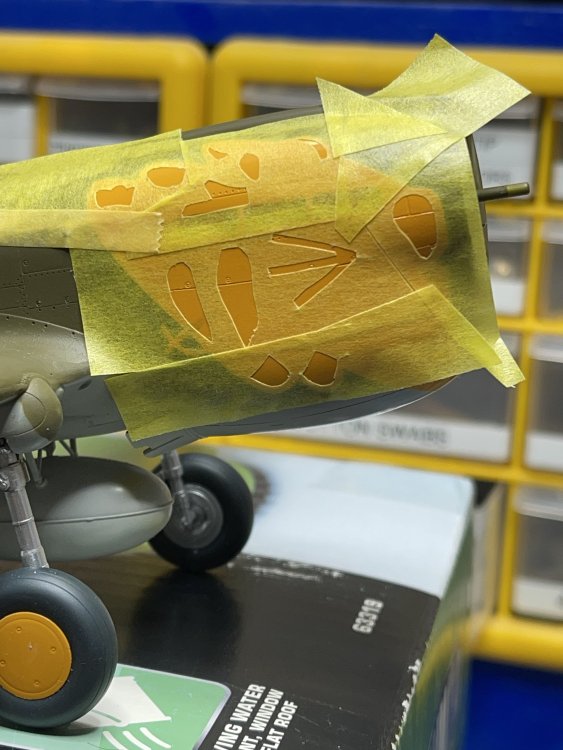
-
What is on your bench right now ? Share a picture :)
ScottsGT replied to Martinnfb's topic in Modelling Discussion
White primer as a base. Lots and lots of thin coats building up. Never give up! Keep painting! -
What is on your bench right now ? Share a picture :)
ScottsGT replied to Martinnfb's topic in Modelling Discussion
It’s 1:14 am my time. And I’m wide awake and down at my bench working on the P-40. It seems somehow I accidentally grabbed a highly caffeinated water flavoring at the grocery store the other day and didn’t realize it. Oops! I made the same mistake last month but this time I bought the generic store brand with “contains caffeine” in very small print. Oh well. I’ll follow up with pics shortly. paints on!
-
What is on your bench right now ? Share a picture :)
ScottsGT replied to Martinnfb's topic in Modelling Discussion
Best damned tool on a modeling bench since the magnifier.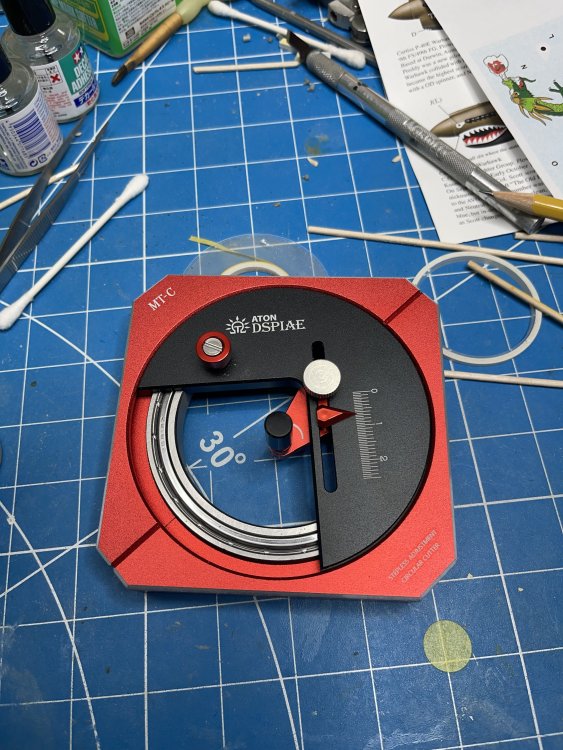

-
What is on your bench right now ? Share a picture :)
ScottsGT replied to Martinnfb's topic in Modelling Discussion
Cut out my “stencil” today. Did one the other day and I sat on it thinking about it and made a few mods. Now I need to remix the yellow/orange since my first attempt is just too orange.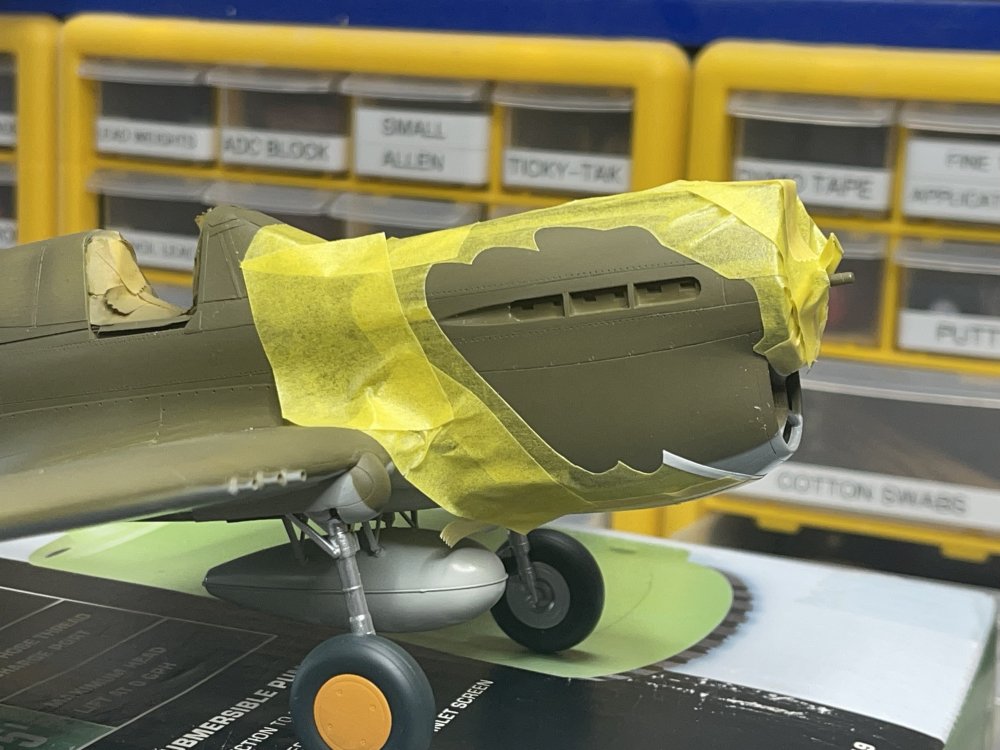

-
Cobra Coupe - Le Mans - Model Factory Hiro 1/12
ScottsGT replied to DocRob's topic in LSM 1/35 and Larger Work In Progress
Amazing build! -
What is on your bench right now ? Share a picture :)
ScottsGT replied to Martinnfb's topic in Modelling Discussion
Yea, very! This morning I took a look at the paint and all the bubbles had smoothed out. Go figure. I used my spare set of decals and did a copy on my printer/copier and played around with making a stencil. I’ll probably be able to paint everything but the actual tigers mouth/teeth and the eyes. I can cut those out of the spare decals I have. The black outline looks simple using my paint pens. I played around on a test panel today using them. -
What is on your bench right now ? Share a picture :)
ScottsGT replied to Martinnfb's topic in Modelling Discussion
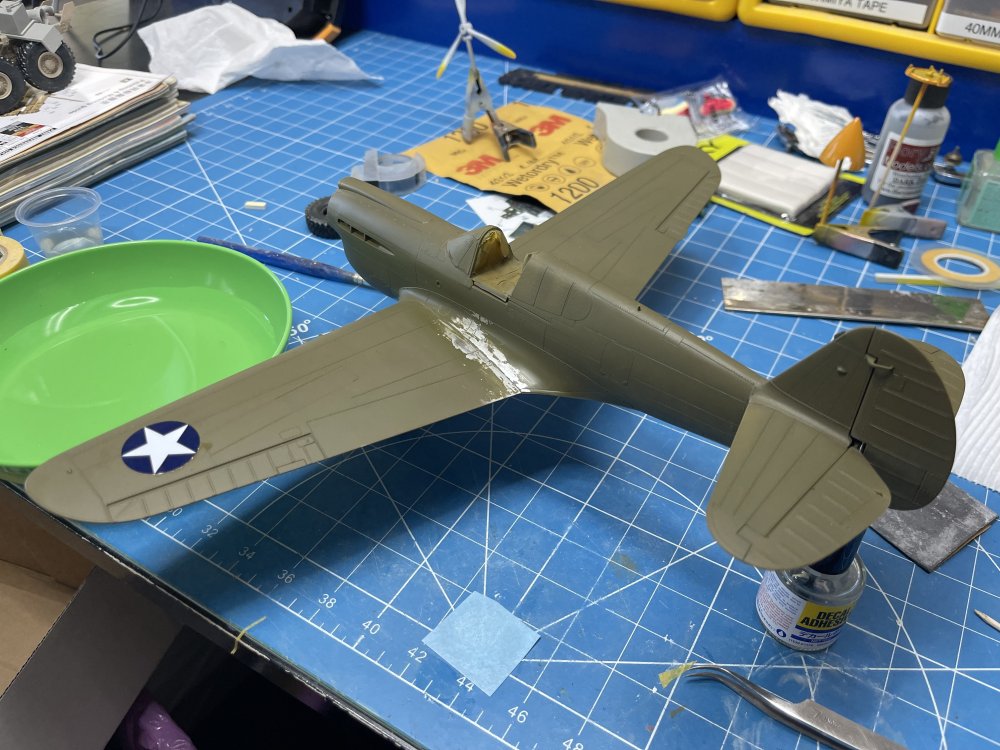
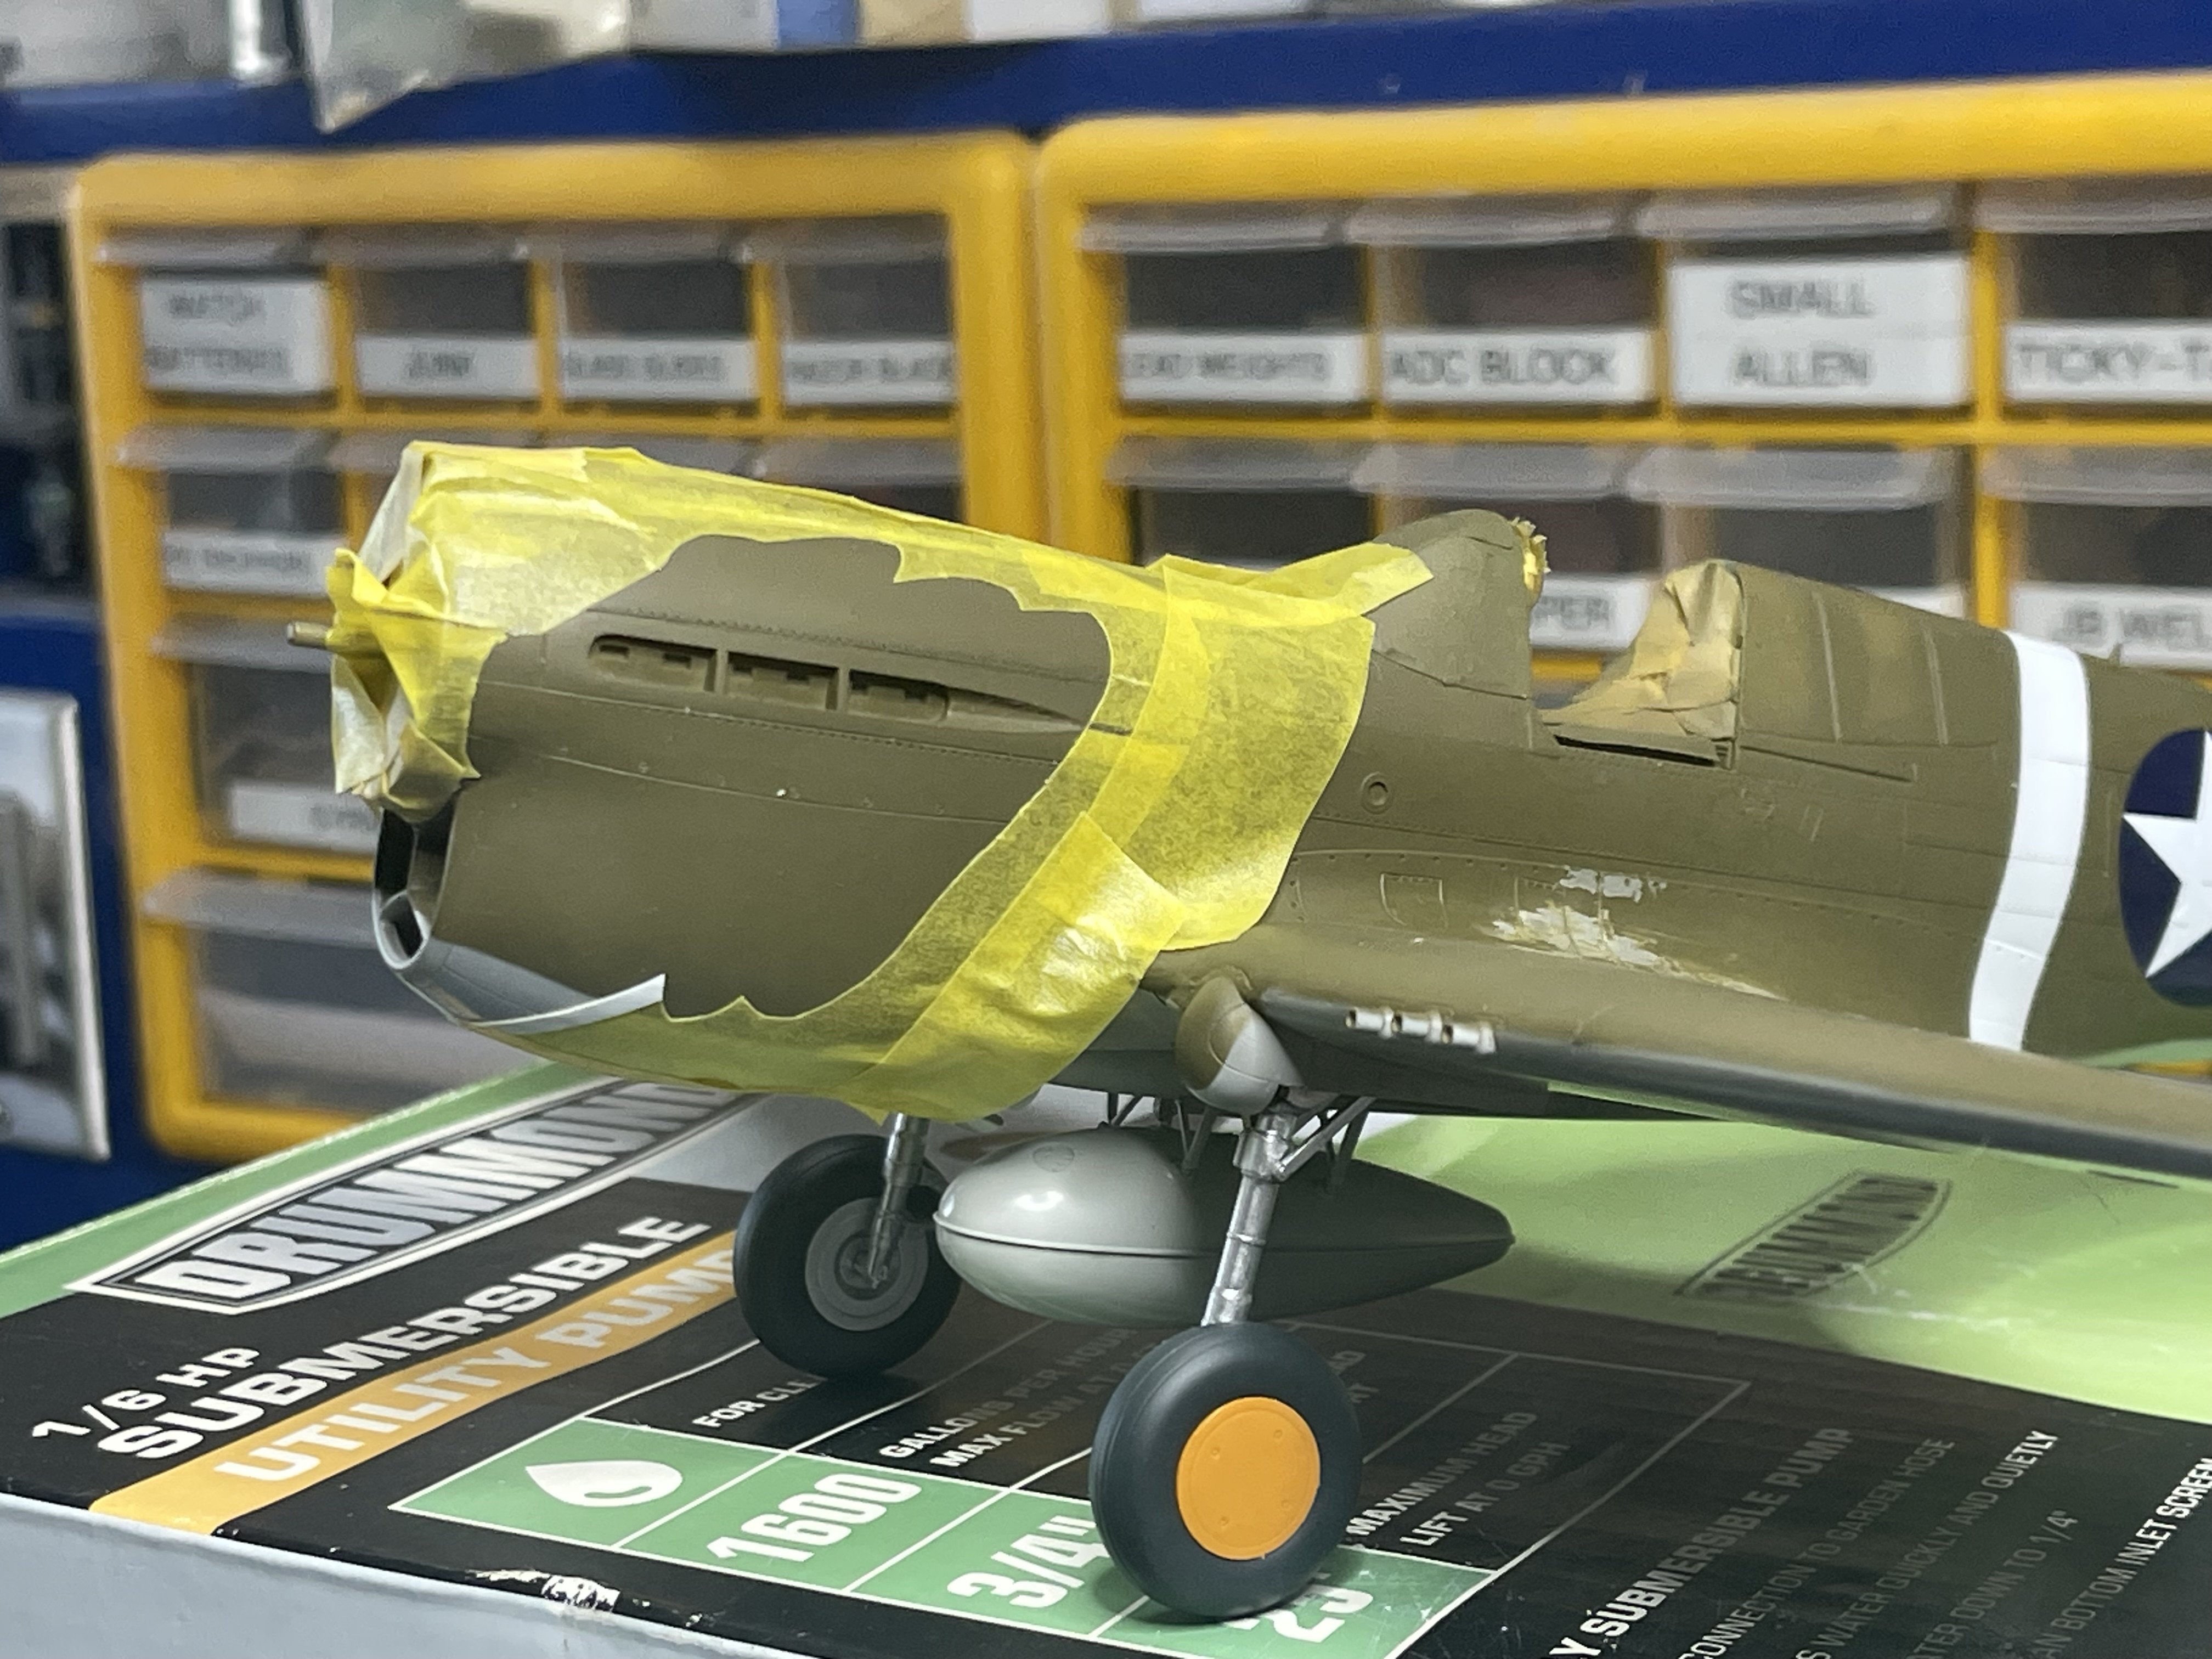
Well that was a bust. First side I tried it in one piece. Not only did it wind up with many wrinkles, but when I went to do the other side they didn’t even come close to matching up on the bottom of the cowl. As I was applying side one I was telling myself I could have probably done a better job just painting these on after cutting out Tamiya tape as a stencil. Guess which route I’m taking now? Besides, I did some paint touch up yesterday and 24 hours later the lacquer bubbled with hundreds of tiny bubbles in that area. Not sure if it was the Micro Set/Sol it the Tamiya decal adhesive with softener in it. But I do need to sand them out now.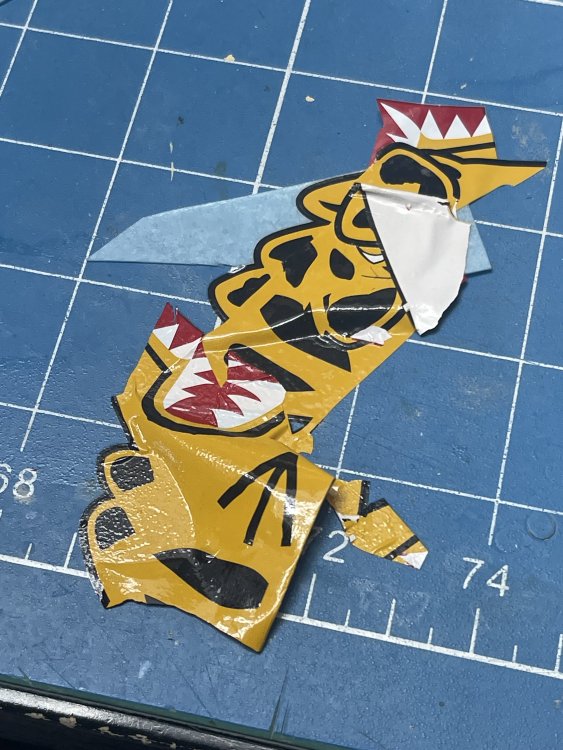
-
CONGRATS!!! But I have to chuckle just a little because I thought the same thing heading into my retirement. I’ve never been busier since I retired! I think I built more kits when I was working. Now it’s grandkids, yard chores, honey do’s, trips here, trips there, medical issues, etc. I’m spending this weekend in lock down with the three grandkids. 1.5 to 5.5 yo. Grandma cannot handle these monsters alone. Maybe when the youngest goes down for a nap I can get another decal applied?
-
Kitty Hawk T-28 experts needed. Interior differences B/D vs. C
ScottsGT replied to ScottsGT's topic in Modelling Discussion
They’re detailed nicely, but not the “lick it and stick it” pre-painted details I’m getting spoiled with lately. -
What is on your bench right now ? Share a picture :)
ScottsGT replied to Martinnfb's topic in Modelling Discussion
Now that is a pretty cool idea. -
What is on your bench right now ? Share a picture :)
ScottsGT replied to Martinnfb's topic in Modelling Discussion
And Bobs your uncle!
-
“I have a removalist booked for Sunday 22nd of December ...” Removalist? Is that like an exorcism to remove those pesky Aussi haints before you move in? I kid! I’m assuming a “mover” to move your belongings.
-
What is on your bench right now ? Share a picture :)
ScottsGT replied to Martinnfb's topic in Modelling Discussion
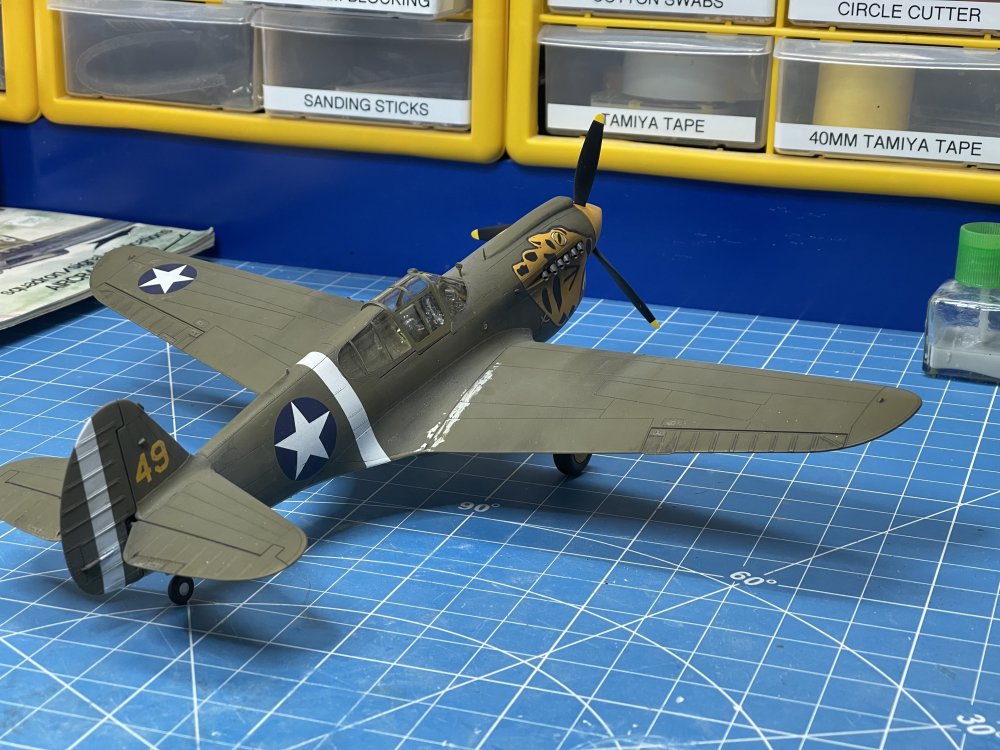
Well dagnabbit!! I broke out the Barracuda Decals and put the first star on the wing. Figured I’d jump to the white bands around the fuselage and rudder. Wait!? What? No stripe decals? I swear I saw some. Oh, on the old Superscale set that are angled in the wrong direction. Crap. Back to taping and painting. If I had paid attention I would have done them first.