ScottsGT
-
Posts
2,767 -
Joined
-
Last visited
Content Type
Profiles
Forums
Events
Gallery
Everything posted by ScottsGT
-
Average time in US Customs? UPDATE: PayPal is refunding.
ScottsGT replied to ScottsGT's topic in General Discussion
LOL! No. 😡 going to wait until the 13th and send another email to Super Hobby asking for a refund. They chose the shipping method. If they balk, PayPal will pull the funds. I hate that idea because I’ll probably burn that bridge with Super Hobby. They stock a lot of odd things I cannot find elsewhere. -
What is on your bench right now ? Share a picture :)
ScottsGT replied to Martinnfb's topic in Modelling Discussion
Impressive! When I built my F-35 last year I did a really impressive bronze finish on the exhaust. For the life of me, I cannot remember how I did it. Damned old age kicking in. -
LOL! Right after we got married, the wife and I was at the local mall in Woolworths department store. I picked up an M1 Carbine out of a trash a full priced at $165. Wife was all “you don’t need that. Put it back.” Being new into the relationship, I was a good boy. I made up for it later in life. 😁 I picked up what looks like a never issued Winchester carbine for my son. It was $2000. It seriously looks like it just rolled off the assembly line. Showed it to my wife and she just shook her head and “$2000 for that!?” Me: “Yea, remember when I tried to buy one just like it at Woolworths back in 1989? It was only $165. You told me to put it back? I bet now you wish I grabbed the whole trash can full of them and dragged them to the cash register.” I did luck out and bought my Garand when they were right at $500 or $600 at the CMP. I also bought 2 of the woodless Dane’s for $300 each for my sons. Each got one on their 18th birthday.
-
Story of my life.
-
I drive by this place all the time. 15 miles from me. They’re a Superperformance dealer. https://www.downforcemotorsports.com/ Nice days they have a few pulled out in the lot.
-
305? They put that pig of a GM motor in the early GT40? Blasphemy! Pretty sure it was a 289. Very early was a 255. Been thinking about getting one of these.
-
Well since I posted last in this thread, the Lukgraph Duck was announced. Yea, bench clearer. Trying to wrap up the P-40 and see if I can keep the bench empty until it’s out.
-
Average time in US Customs? UPDATE: PayPal is refunding.
ScottsGT replied to ScottsGT's topic in General Discussion
LOL! -
Average time in US Customs? UPDATE: PayPal is refunding.
ScottsGT replied to ScottsGT's topic in General Discussion
I guess ICE is too busy rounding up bad guys lately. -
Average time in US Customs? UPDATE: PayPal is refunding.
ScottsGT replied to ScottsGT's topic in General Discussion
Same old same old…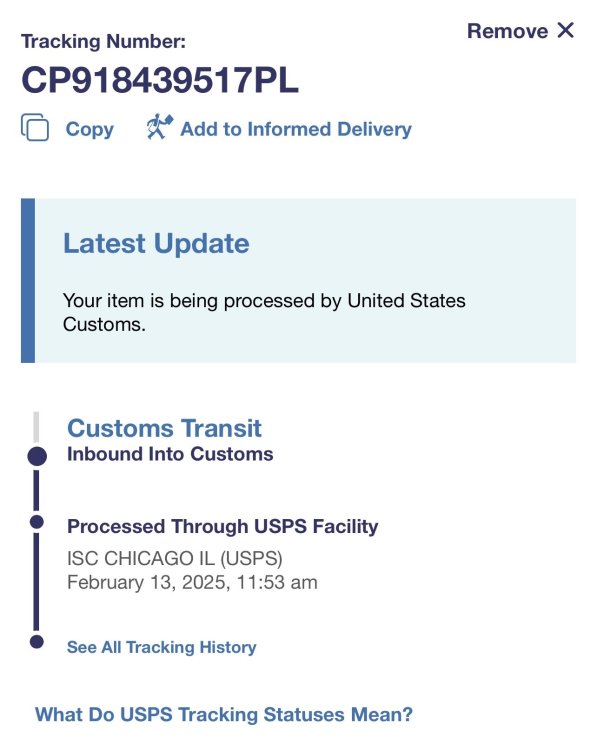
-
Average time in US Customs? UPDATE: PayPal is refunding.
ScottsGT replied to ScottsGT's topic in General Discussion
Nada. Nothing. Zilch. -
Tough to let one go like that even though natures slowly stealing body parts.
-
At least for us down south. Springs here and the wife feels that she needs to generate another “to-do” list to keep me busy. Of course pollen is in full bloom and everything is a haze looking through it. Wearing a mask this time of the year is one thing the covid days taught me. Me: Find project, figure it out in my head, run to Slow’s, Home Depression or local hardware store. Grab what I need and get home to knock out project. Or even faster, sit down in the evening and order online and knock out that project when it arrives. Wife: “Oh, I want to put pavers down where the grandkids sandbox is at. I want to go with you to Home Depot. She looks at pavers, trying to find the cheapest way of getting it done and she’s guesstimating on sq ft of the area. Has no idea she’s looking at a $1000 project until I do the math for her. This alone took about an hour trying to convince her she actually needed two pallets of pavers. We leave with her brain cooking that one for a few days. ”Oh, swing into the grocery store. I need a few things.” ”Oh, let’s grab lunch since we’re out.” “I bought flowers for the neighbor that just has surgery. Let’s take them to her.” So a “quick” trip to grab something I ordered started when we left home just after 9am and ended when we got home after 3 pm. 🤪. And she wonders why I “never get anything done.” Something told me to make the run to Home Depot on Tuesday while she was at work. Oh, and here’s the good part. HD told me my order was two boxes. It was a 12’ X 10’ awning system. Got home and box #2 was someone else’s order. Now this afternoon I have to drive the 25 miles back to HD and return someone’s closet door system.
- 1 reply
-
- 8
-

-

-
LOL! I think that’s my problem. I’m trying to run a museum. 🤪
-
Nice! Looks like everything I would have grabbed. I’ve built the U boat but still have the Gato in the stash. I’m actually contemplating putting it up for sale if I can get a box big enough to ship it in.
-
It should be an entertaining follow up.
-
Average time in US Customs? UPDATE: PayPal is refunding.
ScottsGT replied to ScottsGT's topic in General Discussion
I went by my local PO and was told there is nothing they can do once it’s in the hands of customs. -
Average time in US Customs? UPDATE: PayPal is refunding.
ScottsGT replied to ScottsGT's topic in General Discussion
5 weeks later, still no movement. -
Another P-40E to P-40K build!
ScottsGT replied to ScottsGT's topic in LSM 1/35 and Larger Work In Progress
Actor/Director/Producer Tyler Perry is into the big jets as well. He owns a huge hanger in Atlanta GA that’s on his “compound” where his mansion is. He has a C-17 about the same size as the 777 in the video. -
Damn, Gary’s had it pretty bad. He also lost his daughter to Covid as well.
-
Another P-40E to P-40K build!
ScottsGT replied to ScottsGT's topic in LSM 1/35 and Larger Work In Progress
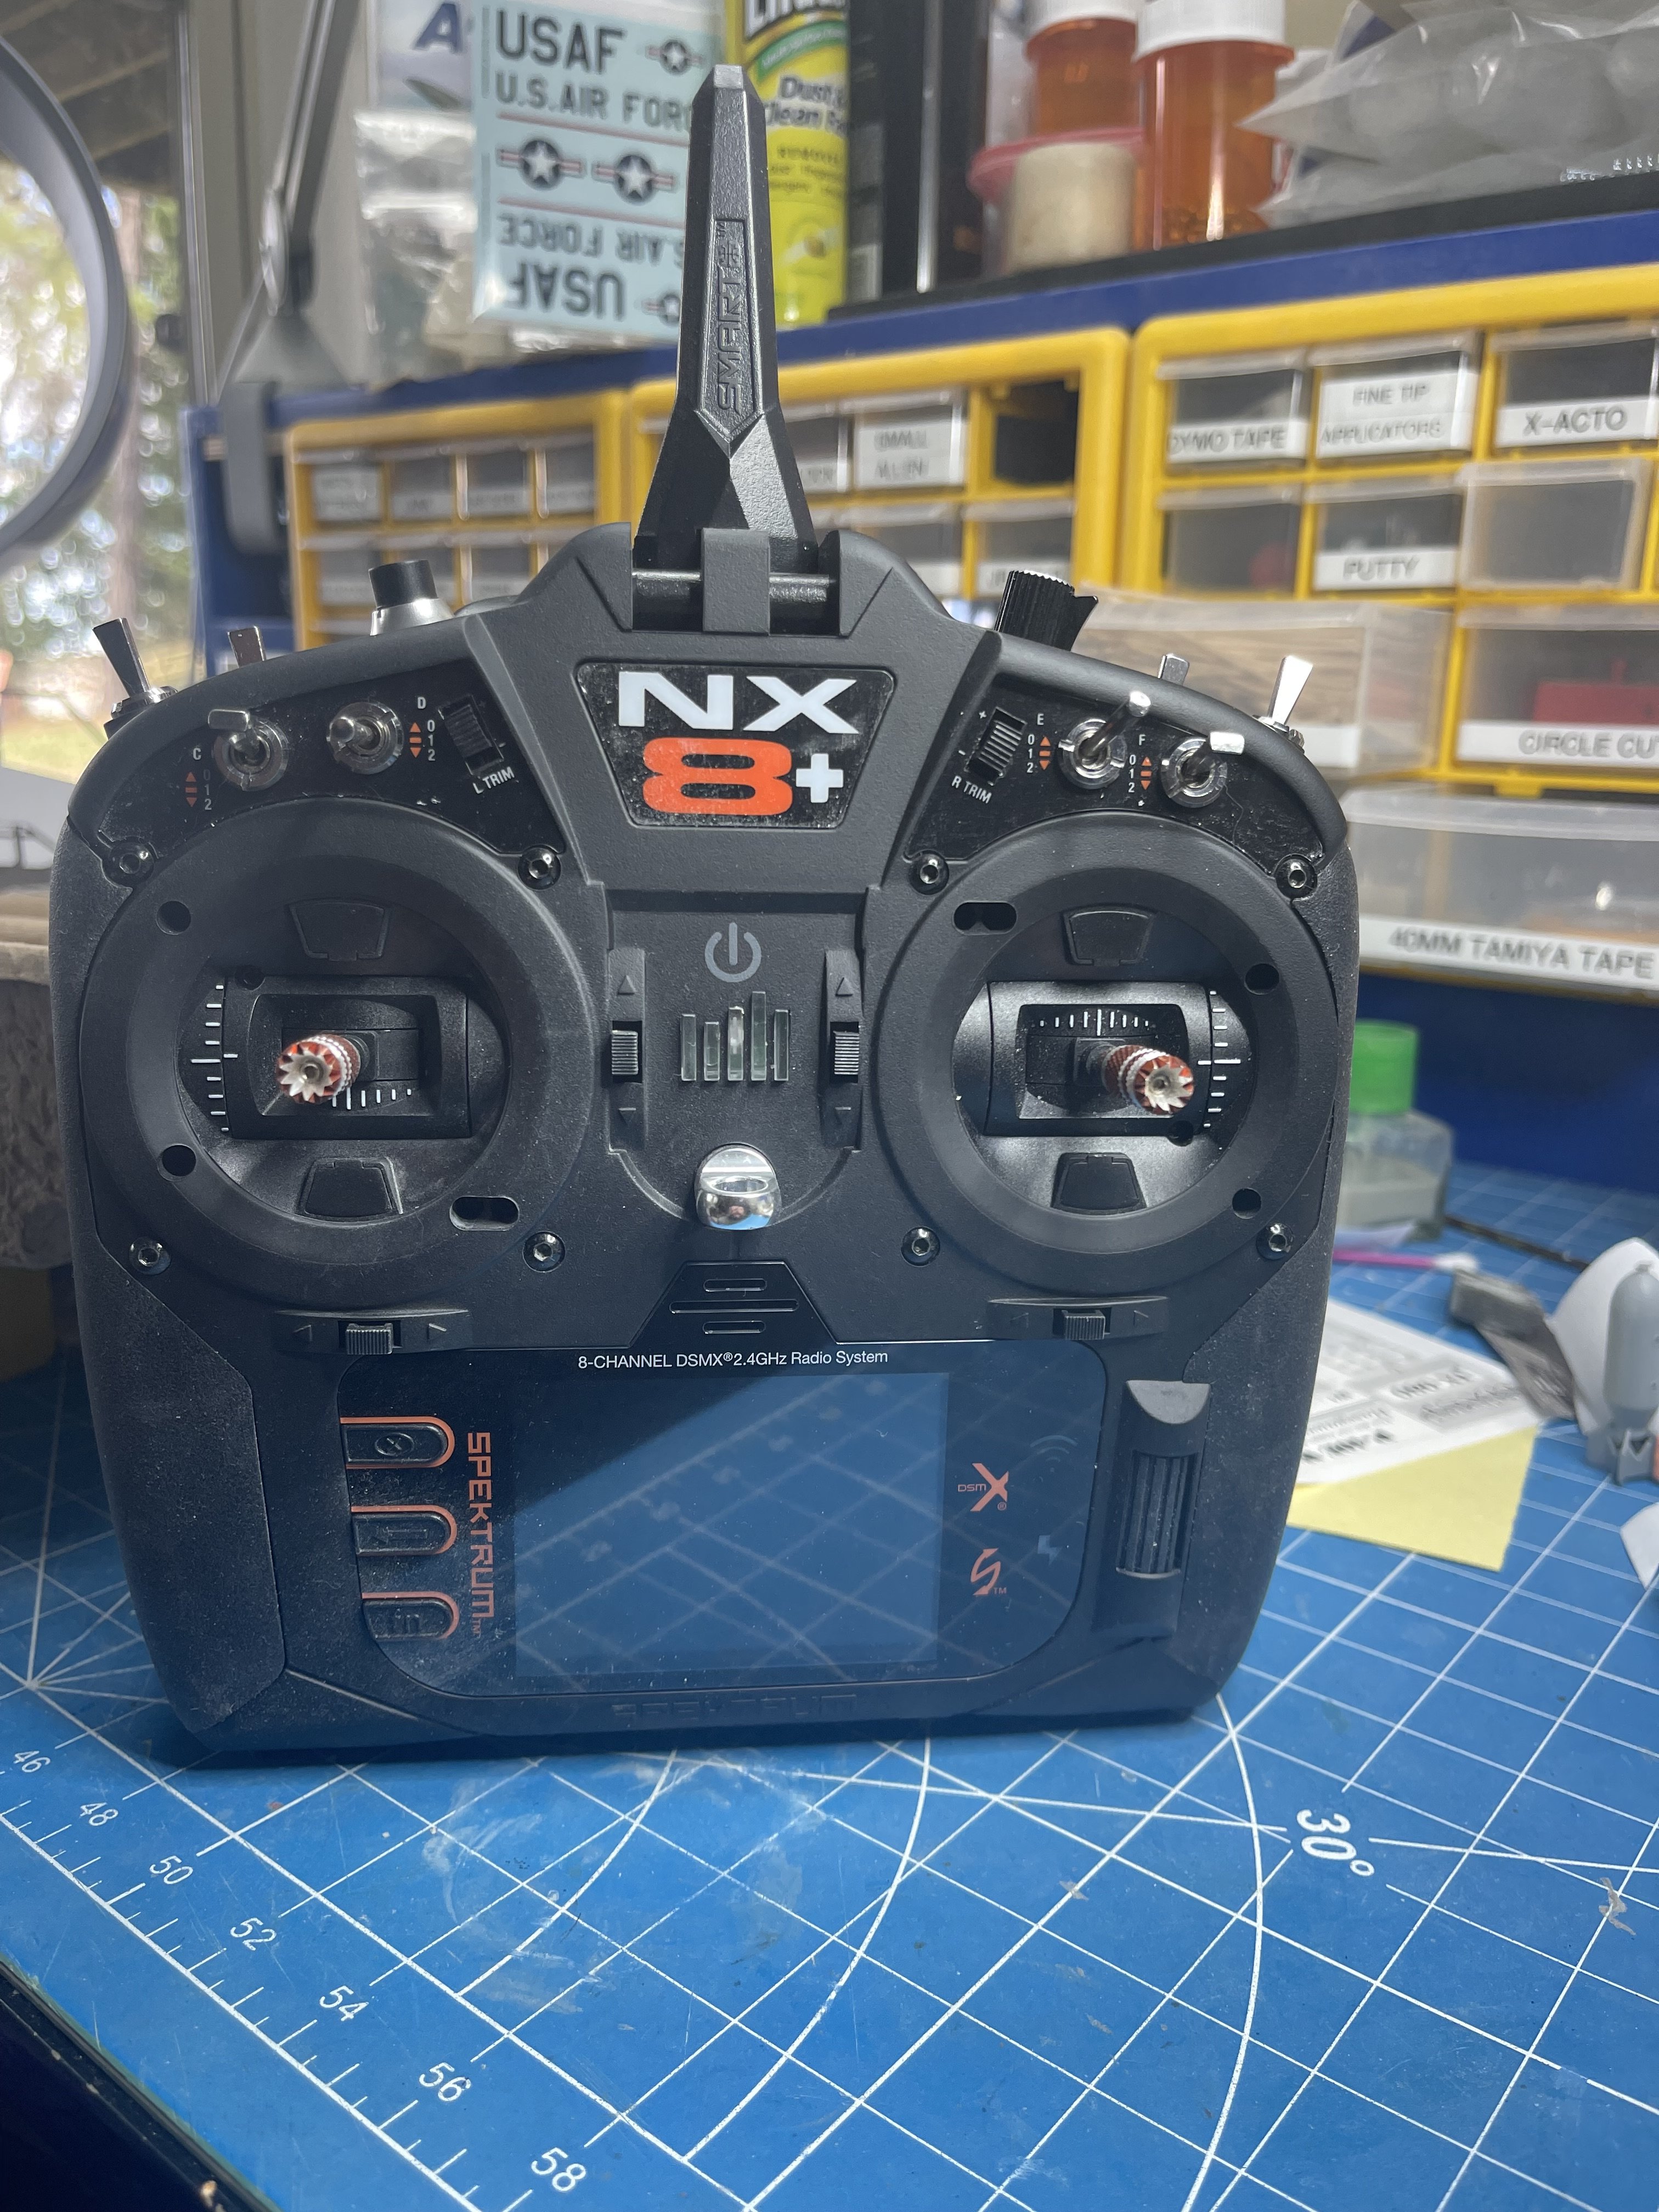
Been away from the bench for a while traveling to see our daughter. Got back to it this morning. Did some touch ups on the camo where I mis-masked and had primer edges showing. this is right after hosing it down with leveling thinner to blend in the touch ups. And my new squirrel (distraction)…. This thing is light years away from when I was flying back in 1999. It’s a damned computer now.

-
One leg? Gary lose a leg? I met him at the Nats when they were in Columbia.
-
Looks great John! I just got back into town after visiting our daughter in VA for a few days. I’ve got quite a bit of touch ups to do on my camo edges. But tomorrow…..
-
I went digging through old posts he made the other day. My favorite was him holding his new Daisy Red Ryder BB gun he got for Christmas. I couldn’t find it. ☹️
-
Another P-40E to P-40K build!
ScottsGT replied to ScottsGT's topic in LSM 1/35 and Larger Work In Progress
Well that will let me sleep sound. LOL! I am glad to say we finally went to an artificial Christmas tree. Backs just too ganked up to be hauling around a live 12’ tree anymore.