BlrwestSiR
-
Posts
9,149 -
Joined
-
Last visited
Content Type
Profiles
Forums
Events
Gallery
Everything posted by BlrwestSiR
-

What is on your bench right now ? Share a picture :)
BlrwestSiR replied to Martinnfb's topic in Modelling Discussion
And done, just needs to rest a bit and then we can dig in.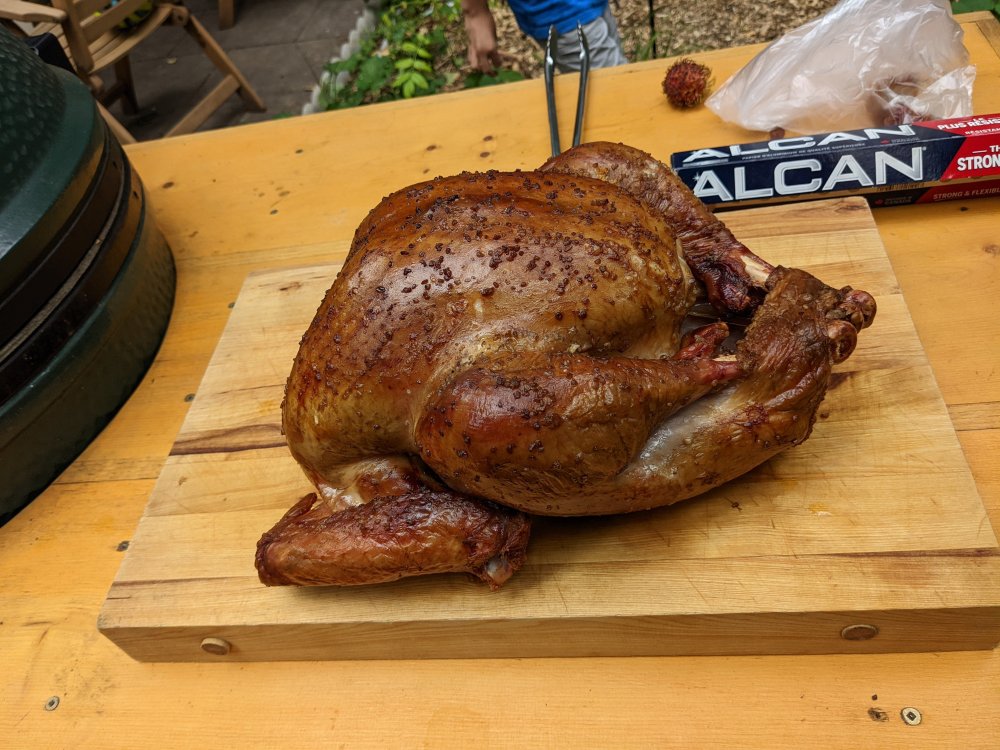
-
What is on your bench right now ? Share a picture :)
BlrwestSiR replied to Martinnfb's topic in Modelling Discussion
Thanks! That's the one. -
What is on your bench right now ? Share a picture :)
BlrwestSiR replied to Martinnfb's topic in Modelling Discussion
Stores keep talking about Christmas in July so I got in the spirit. Should be done in about 3 hours. I'll update you then.
-
What is on your bench right now ? Share a picture :)
BlrwestSiR replied to Martinnfb's topic in Modelling Discussion
What was the Clint Eastwood film about the invasion? That was a fun flick. -
Big Yellow Distraction from my B-24
BlrwestSiR replied to BlrwestSiR's topic in LSM 1/35 and Larger Work In Progress
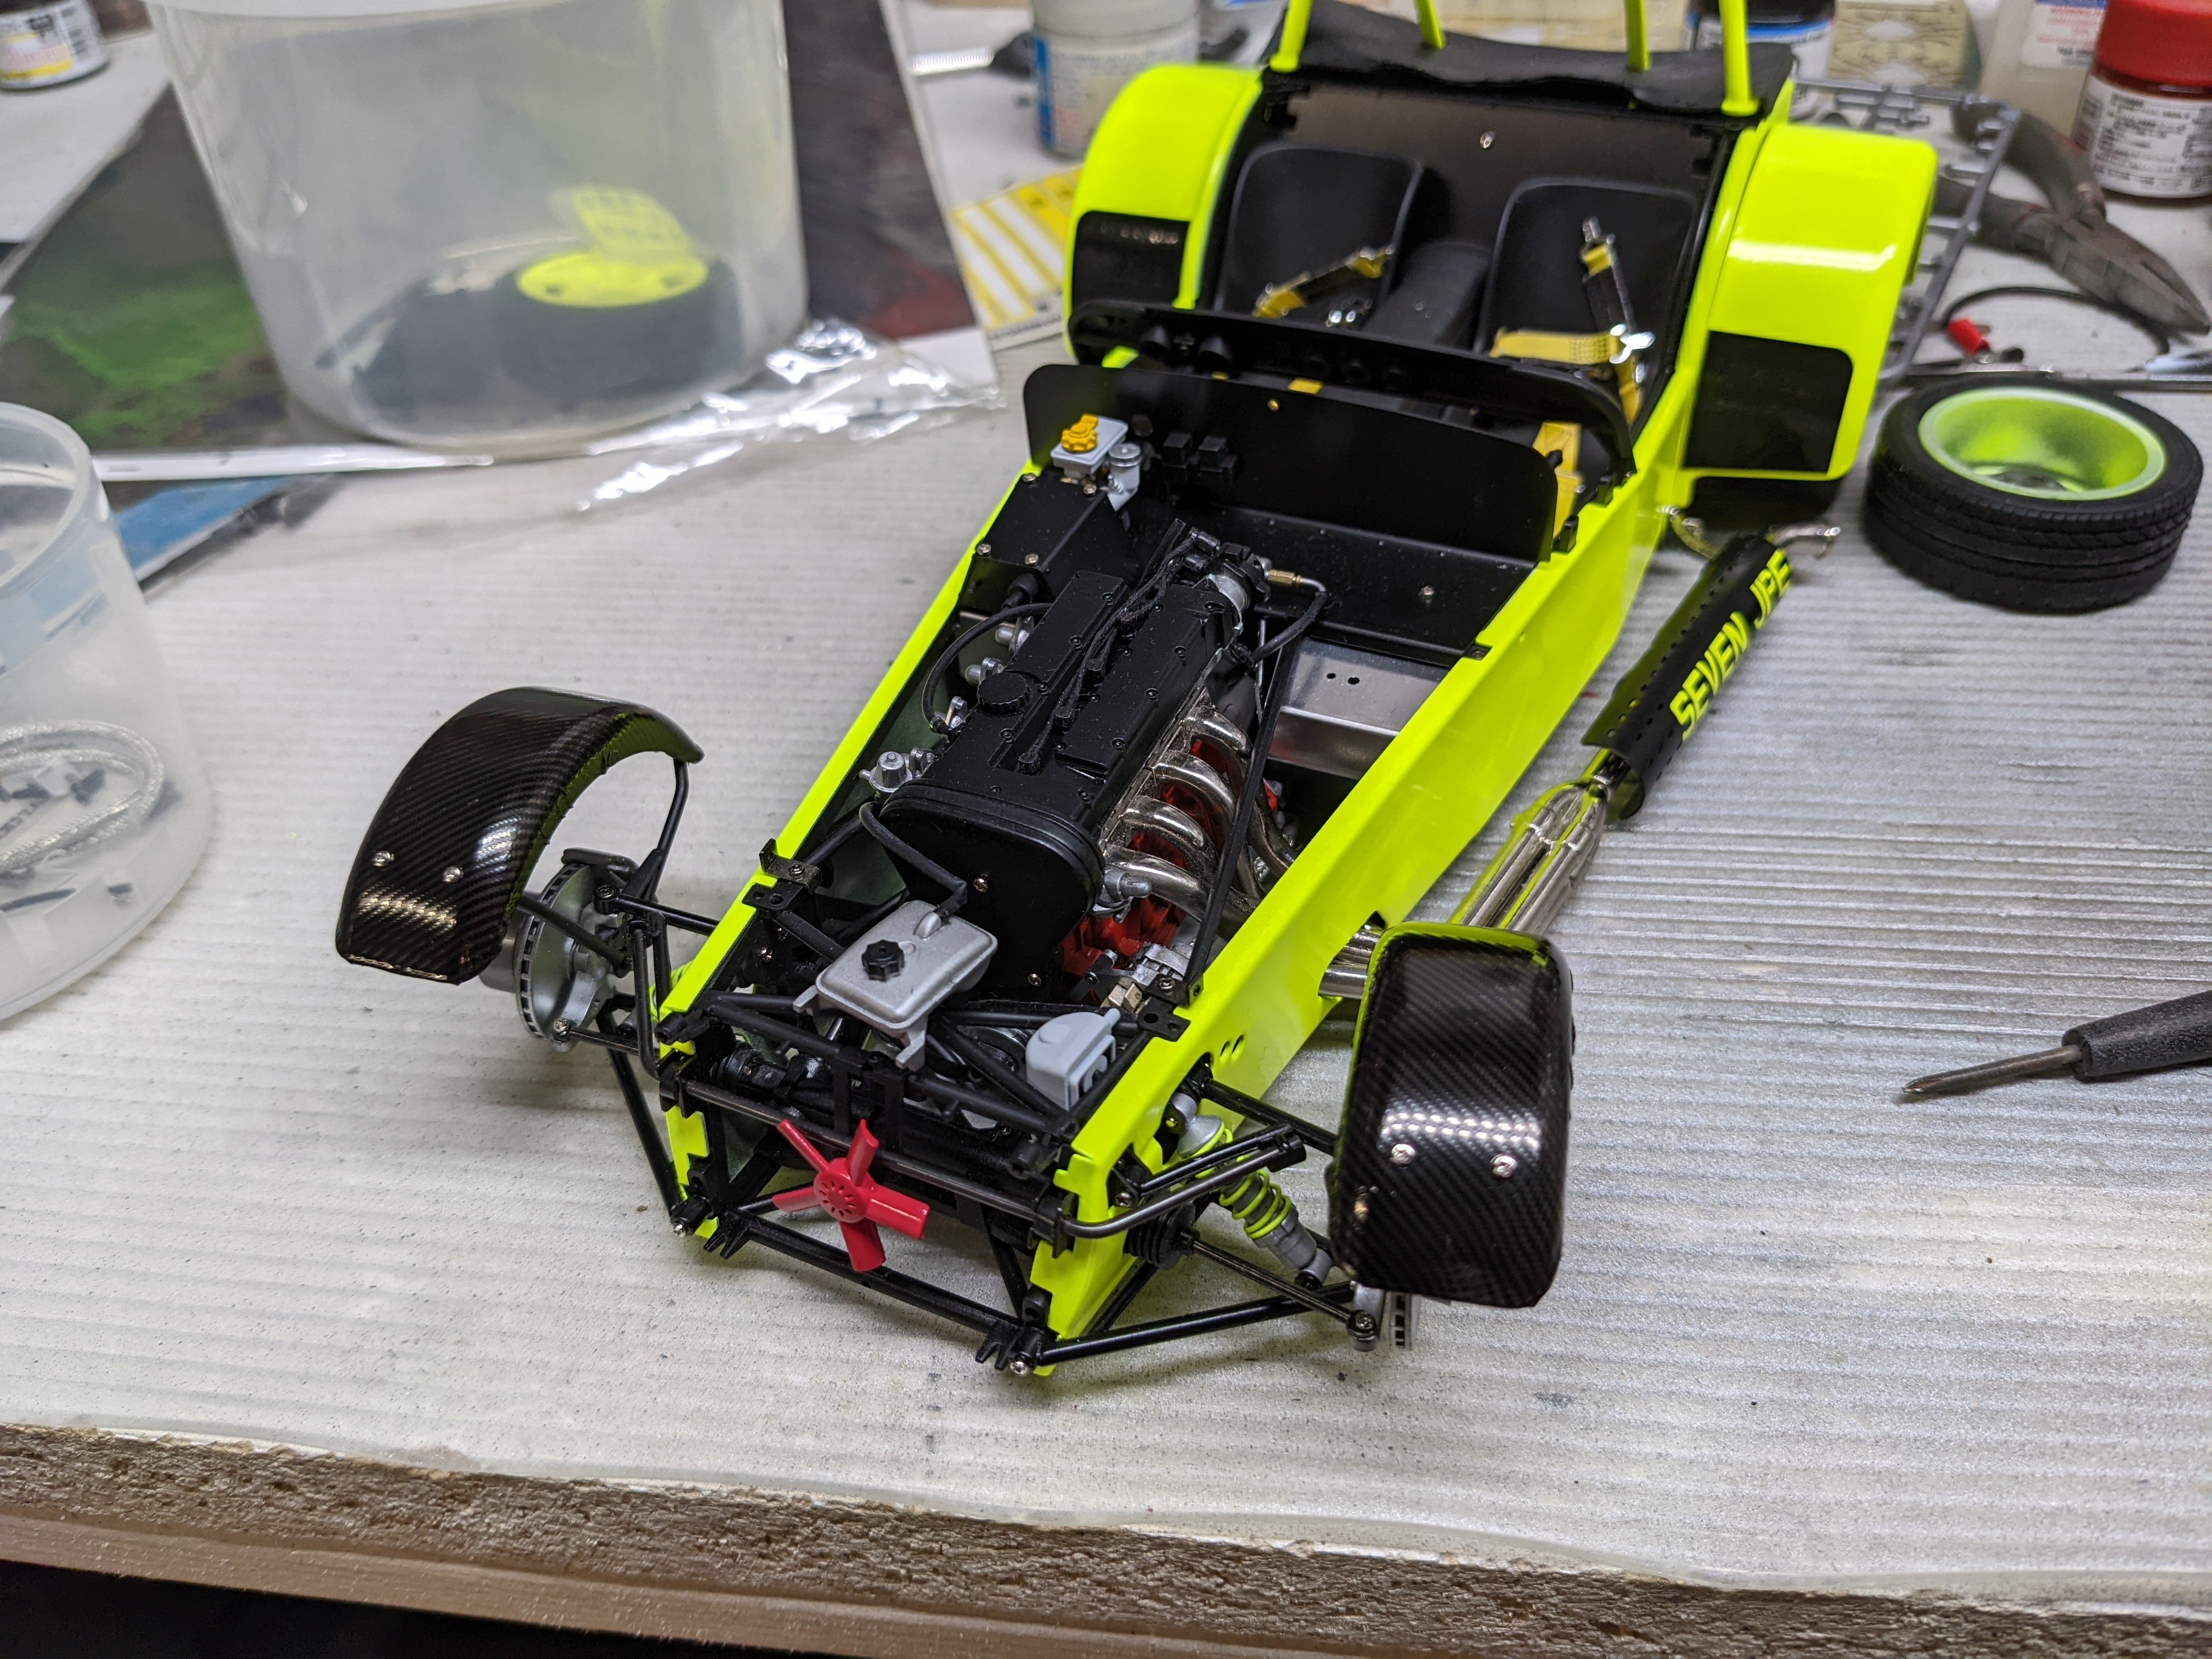
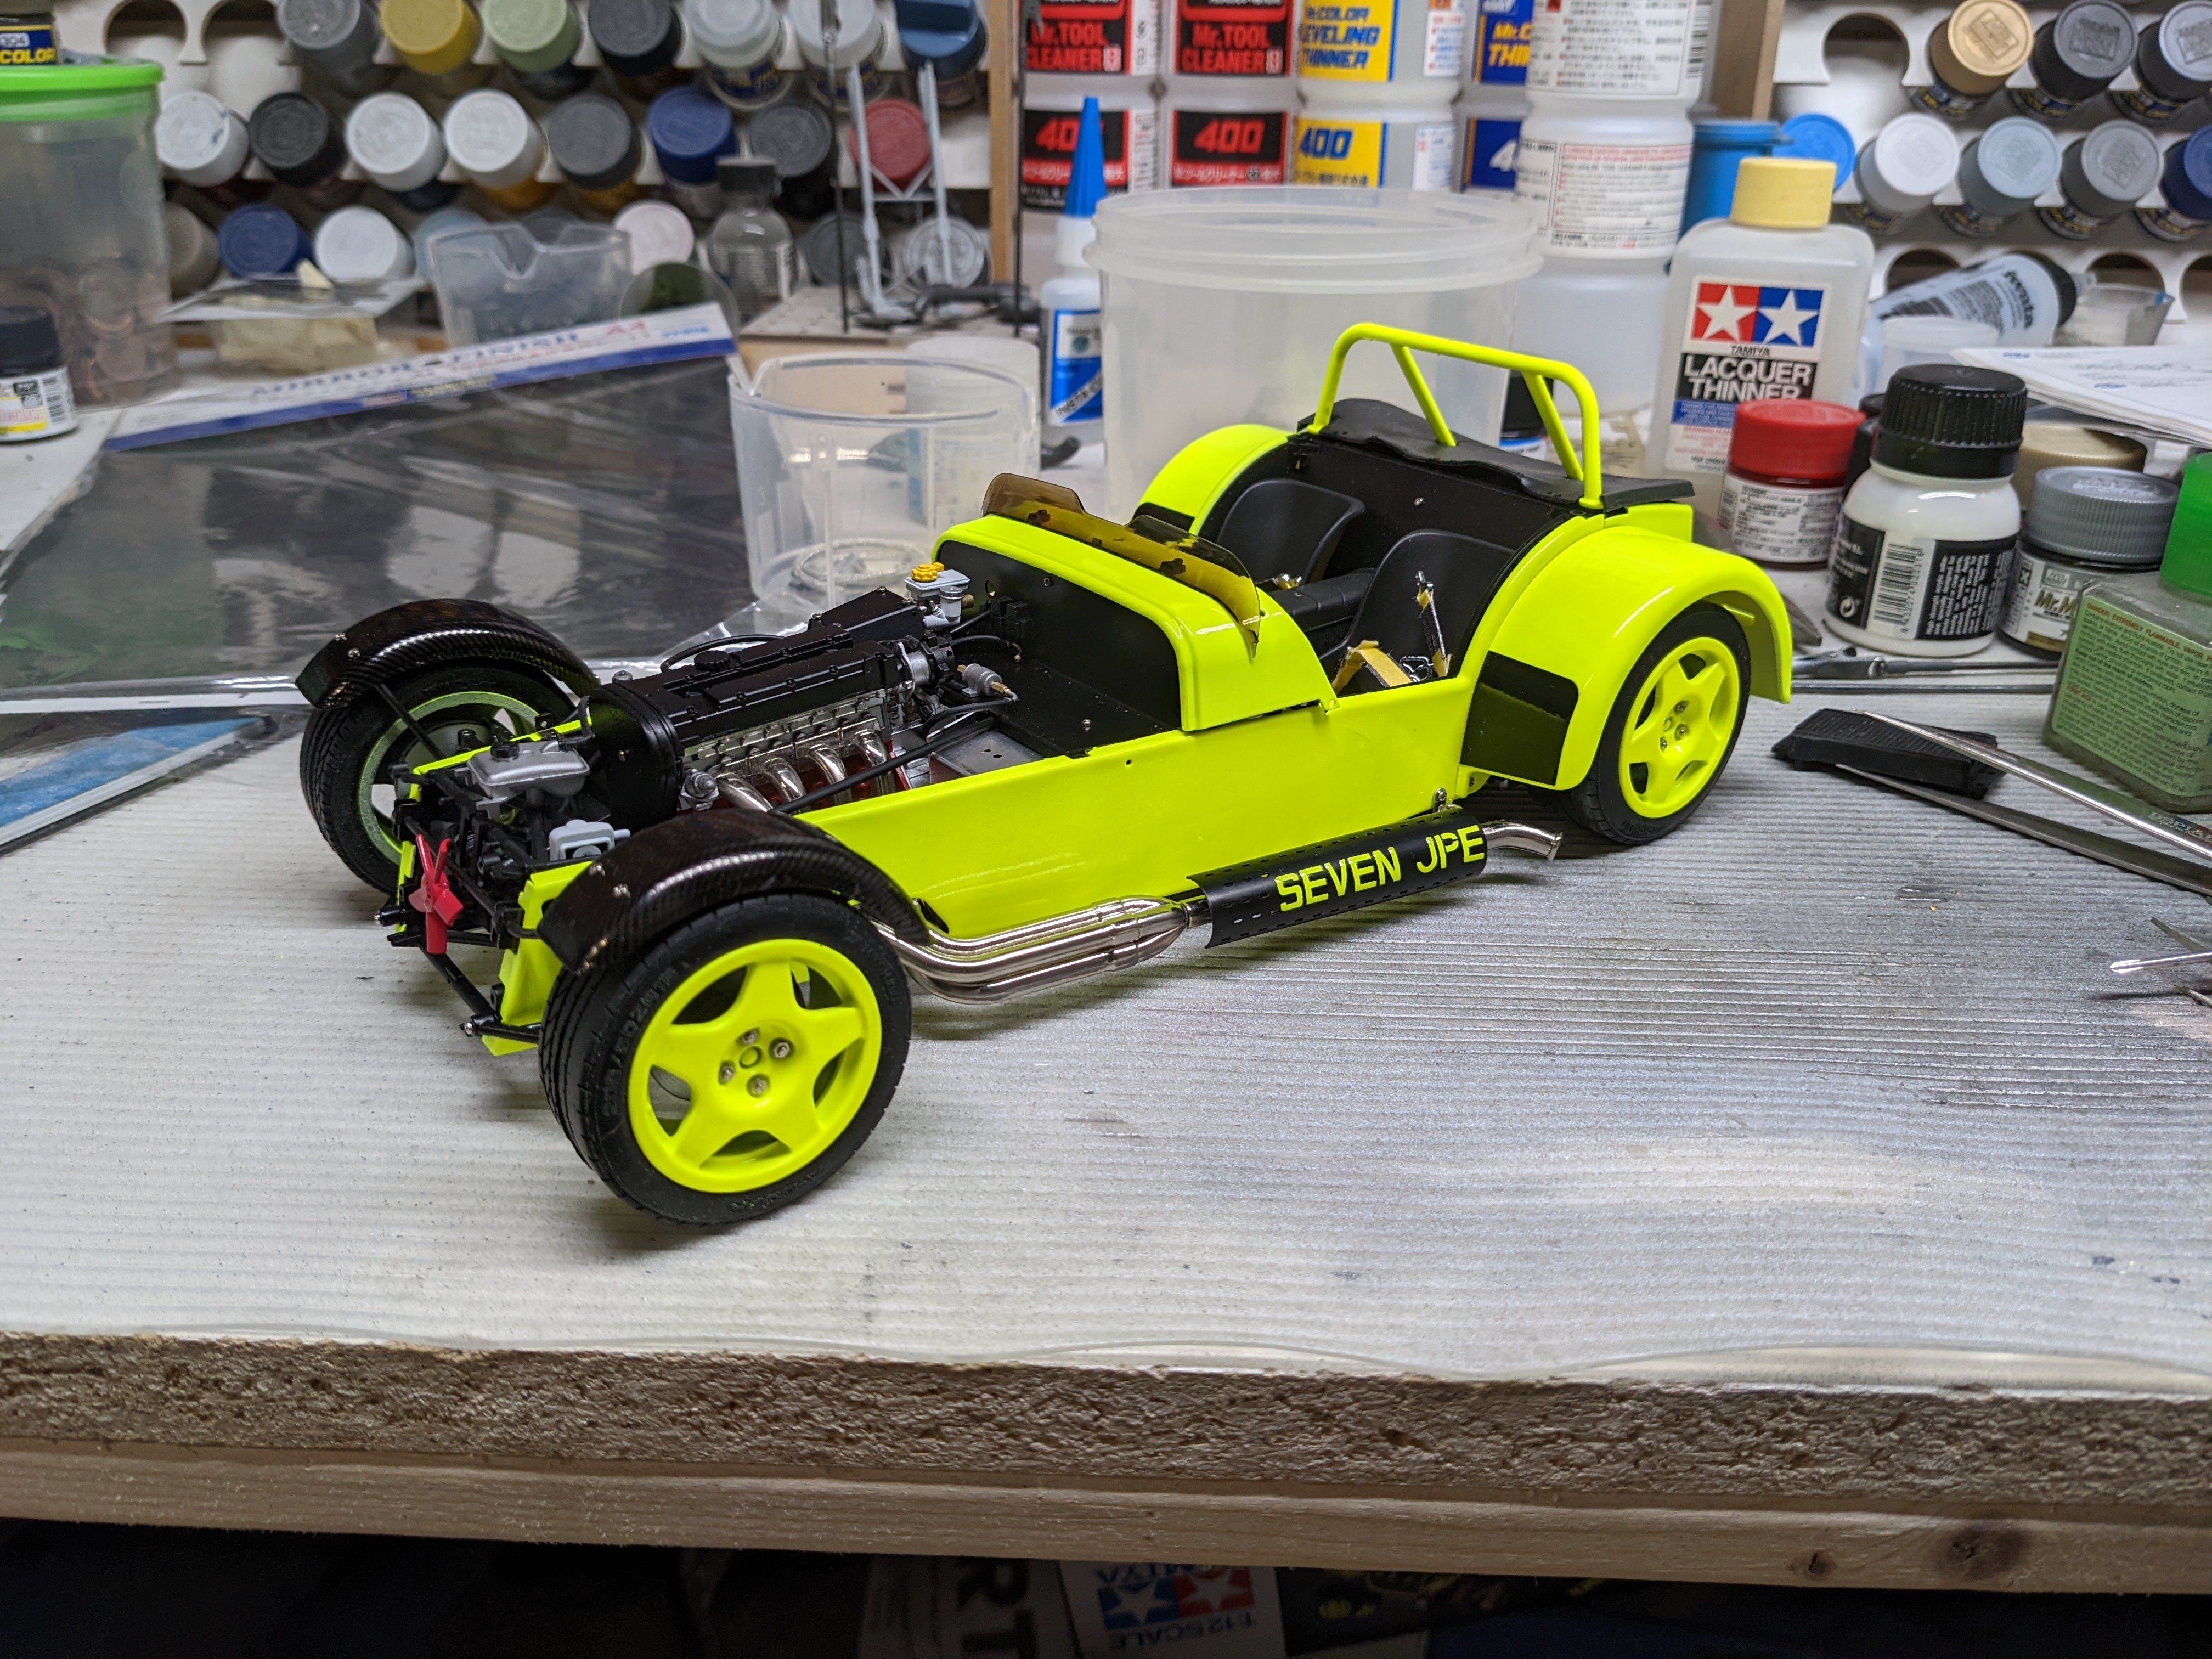
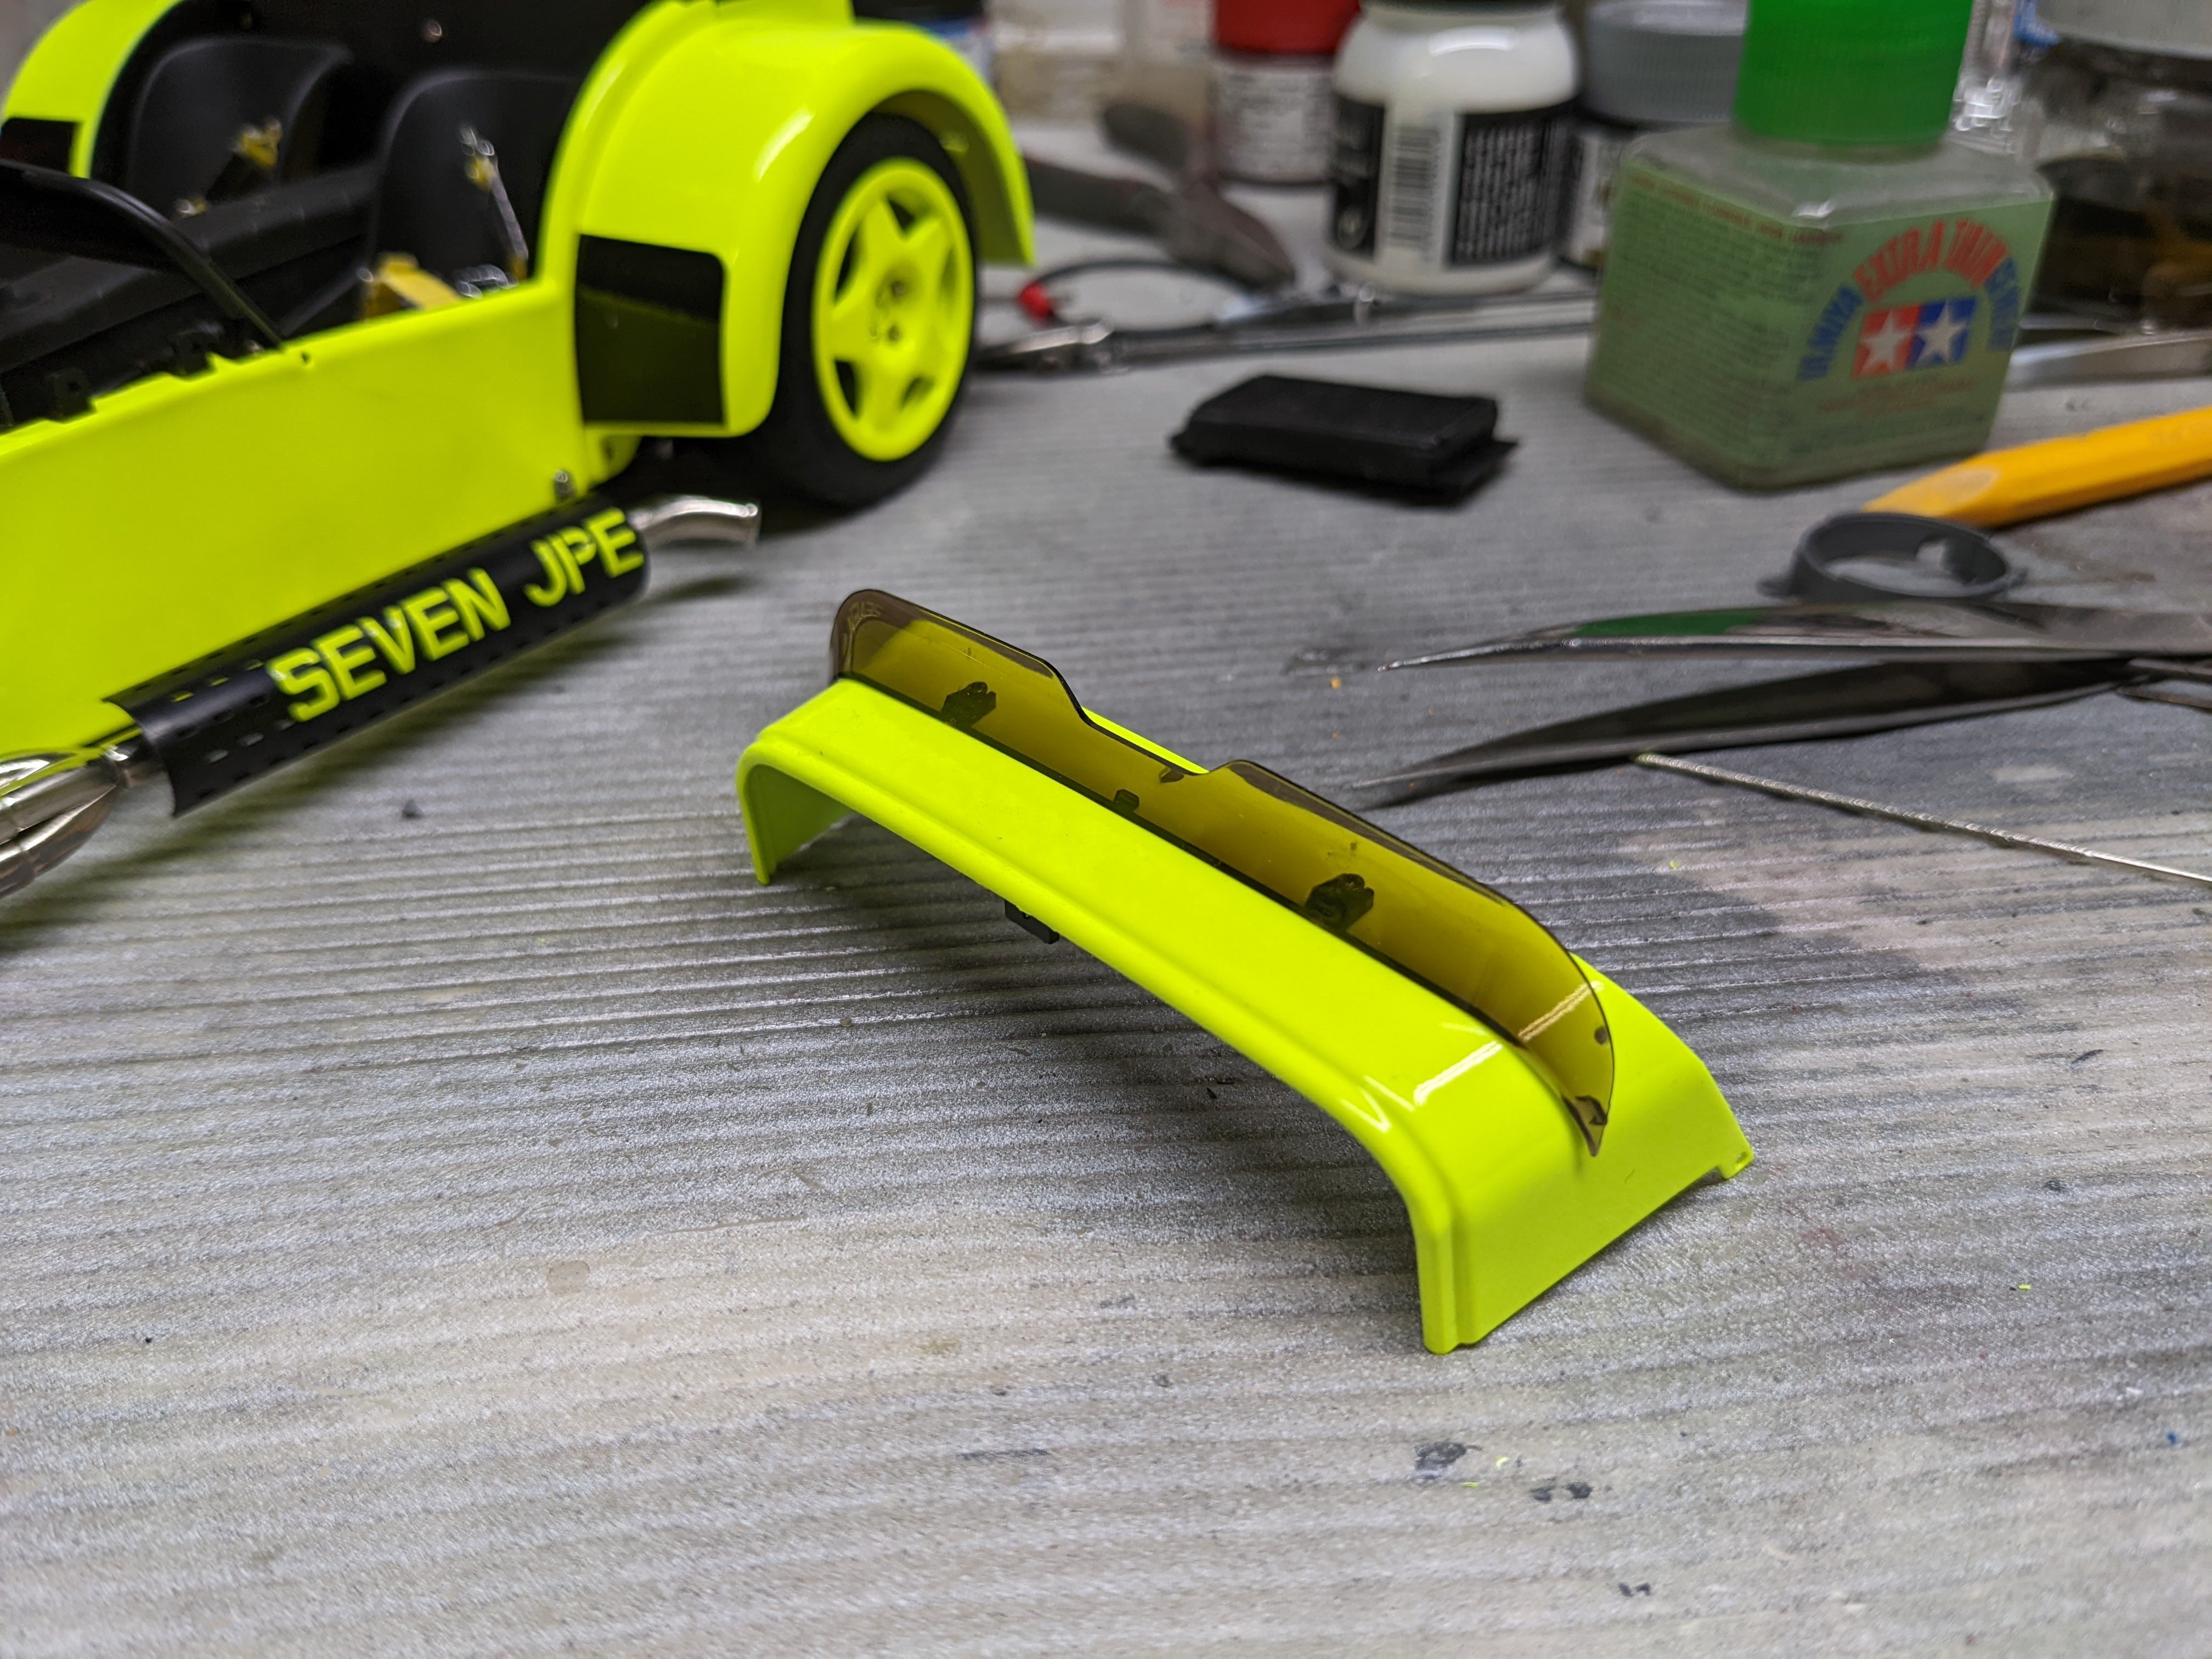
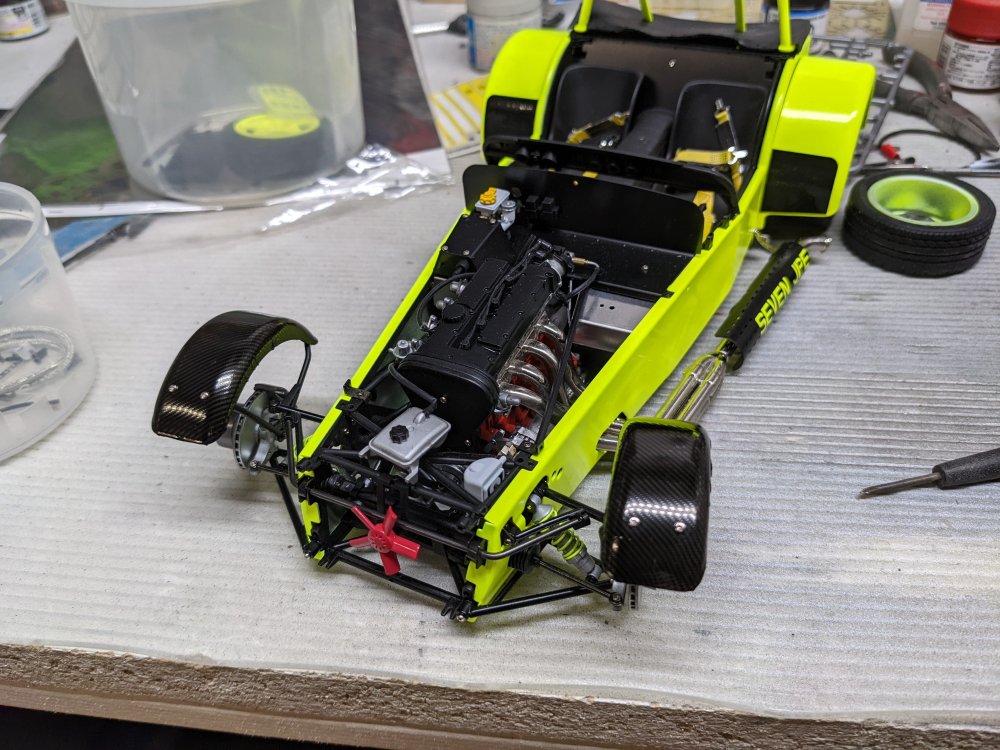
The rear fenders were screwed into place. Then the front ones. The first fender supports didn't line up nicely and this was a pain to get them attached. Tires were mounted. I'm not 100% certain on the rims being yellow. I may strip and repaint them later on. The cowling was next. With the cowling and all four tires on.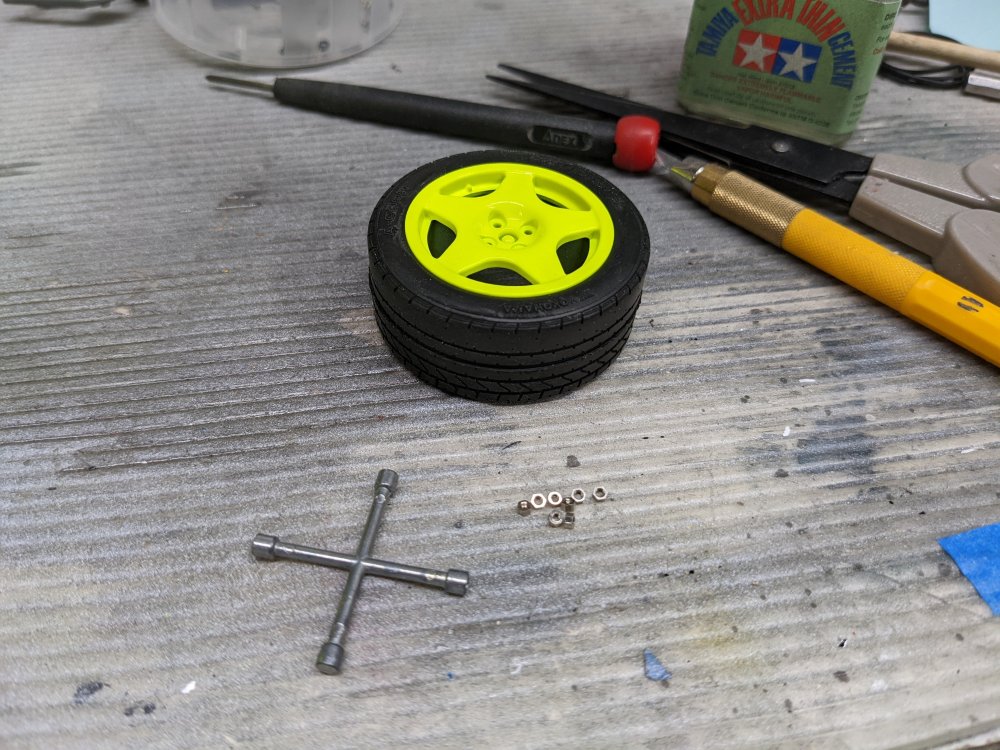


-
Big Yellow Distraction from my B-24
BlrwestSiR replied to BlrwestSiR's topic in LSM 1/35 and Larger Work In Progress
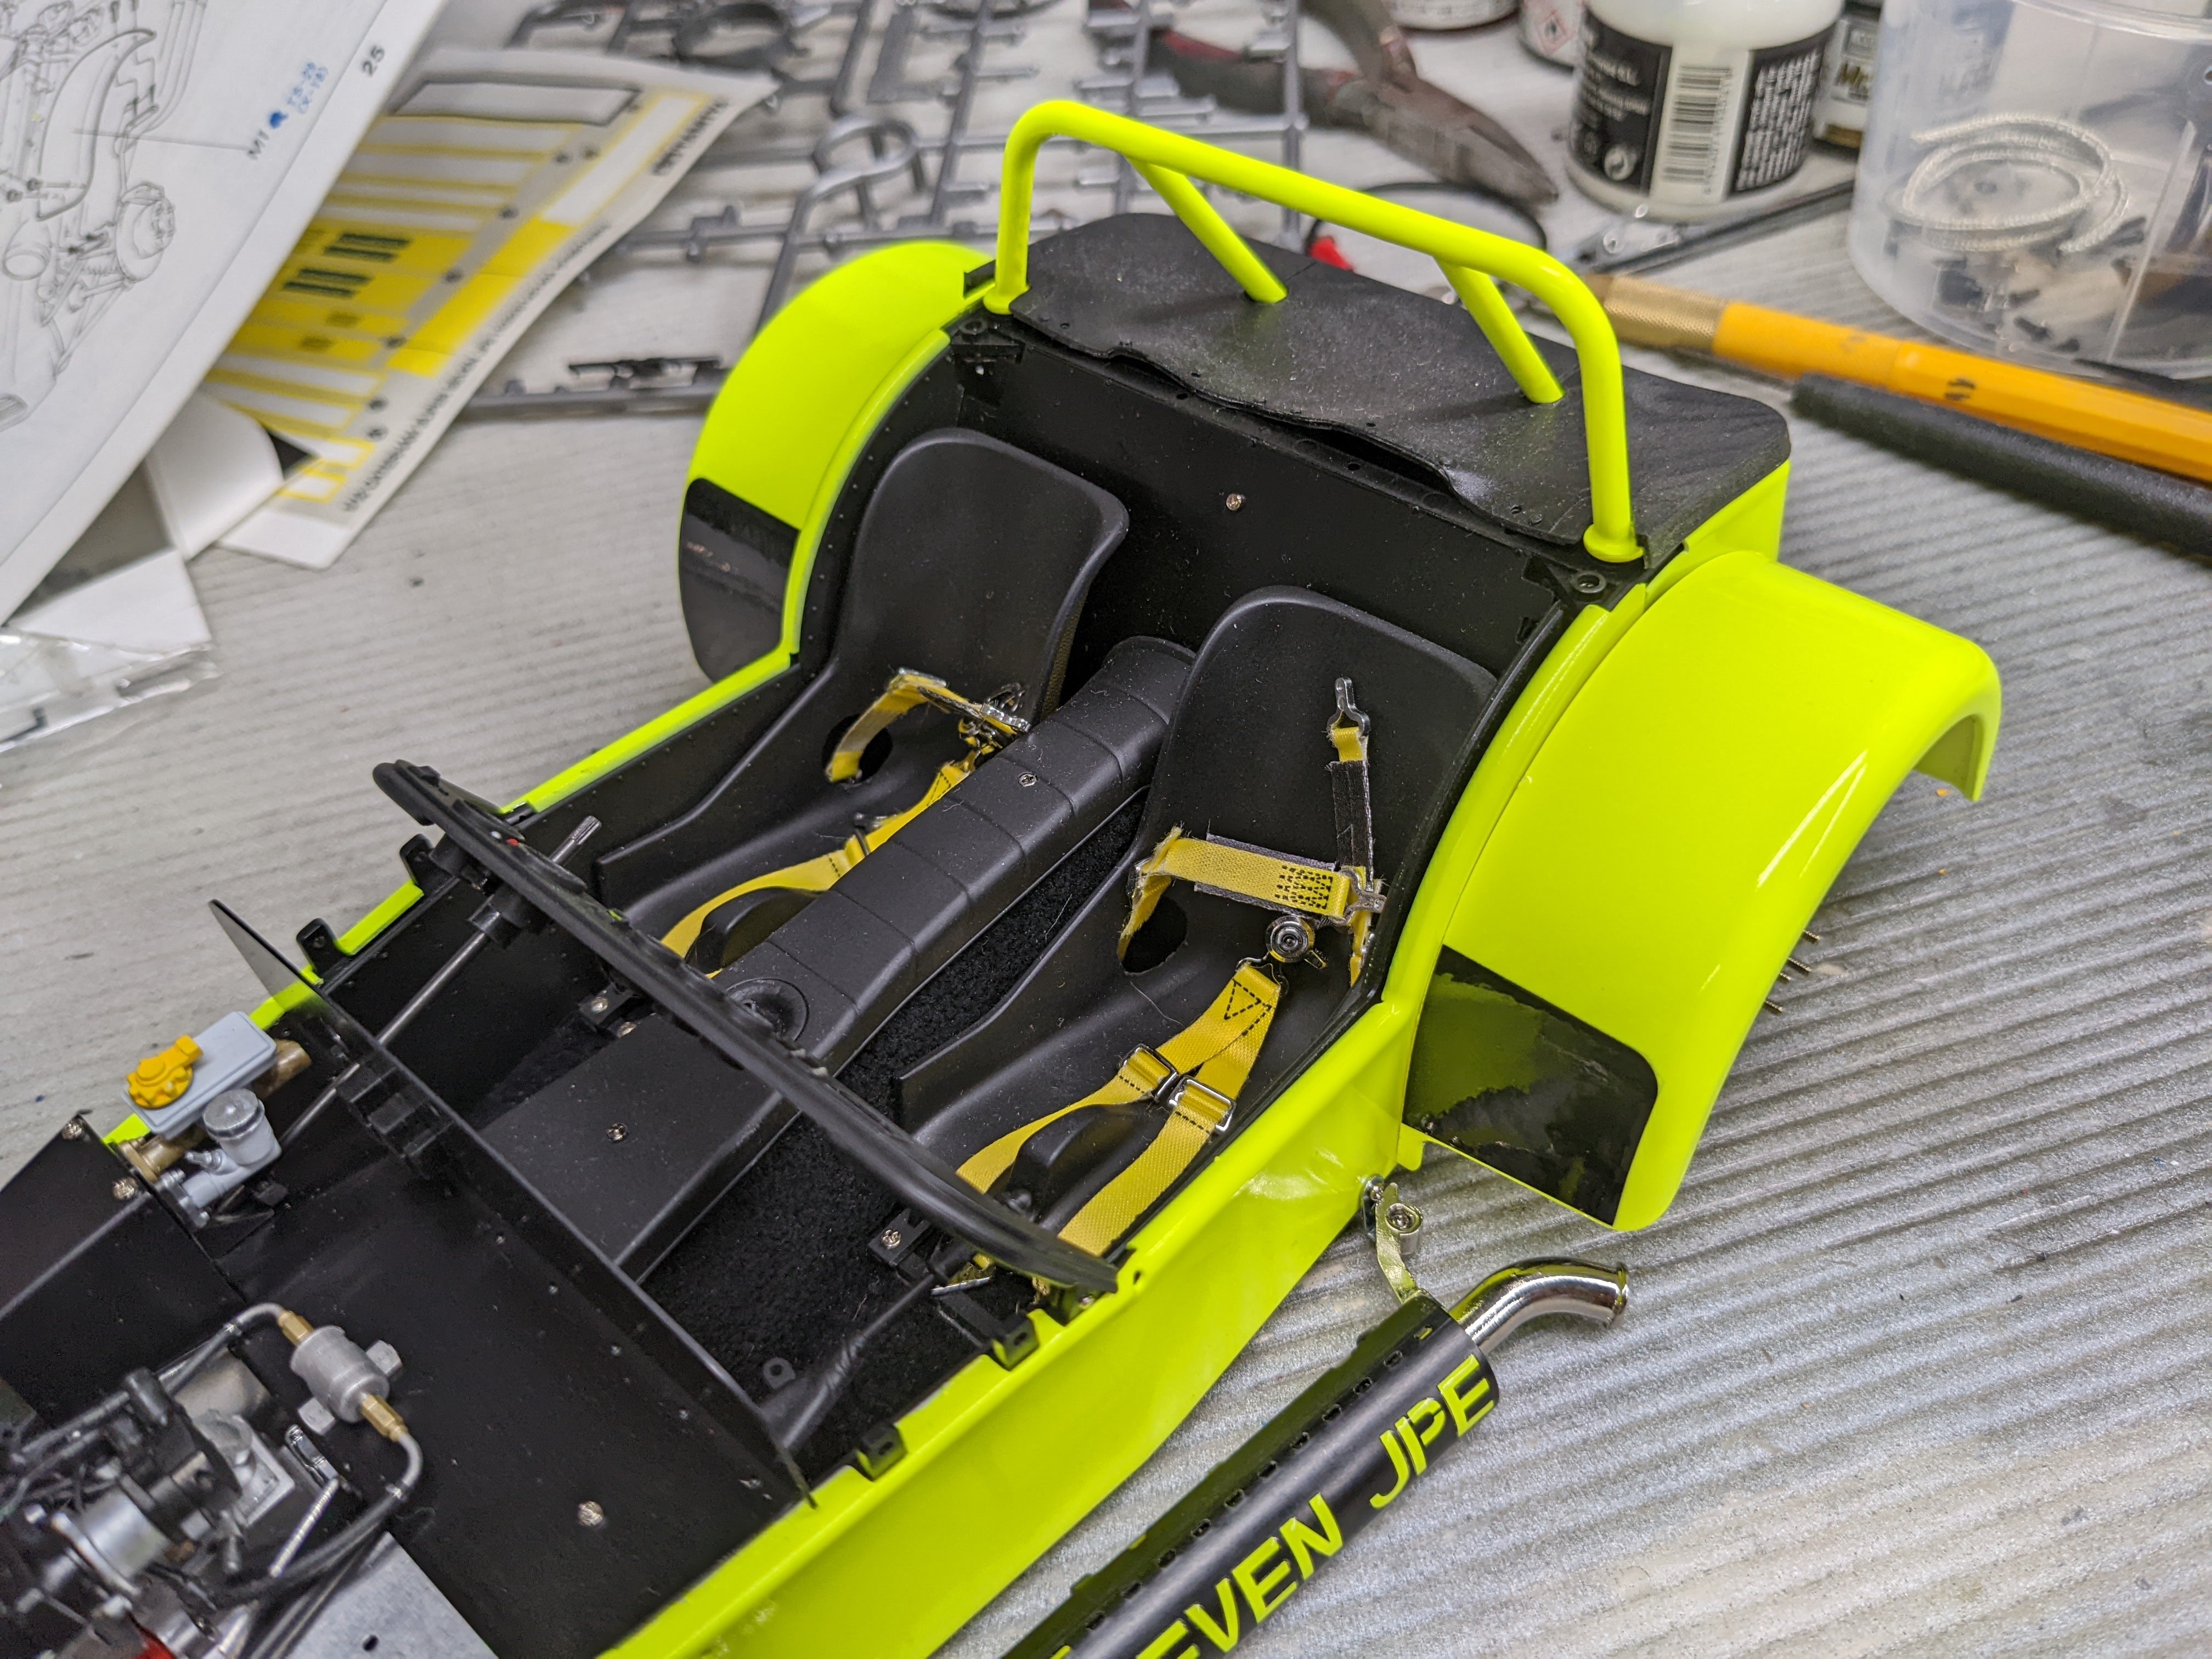
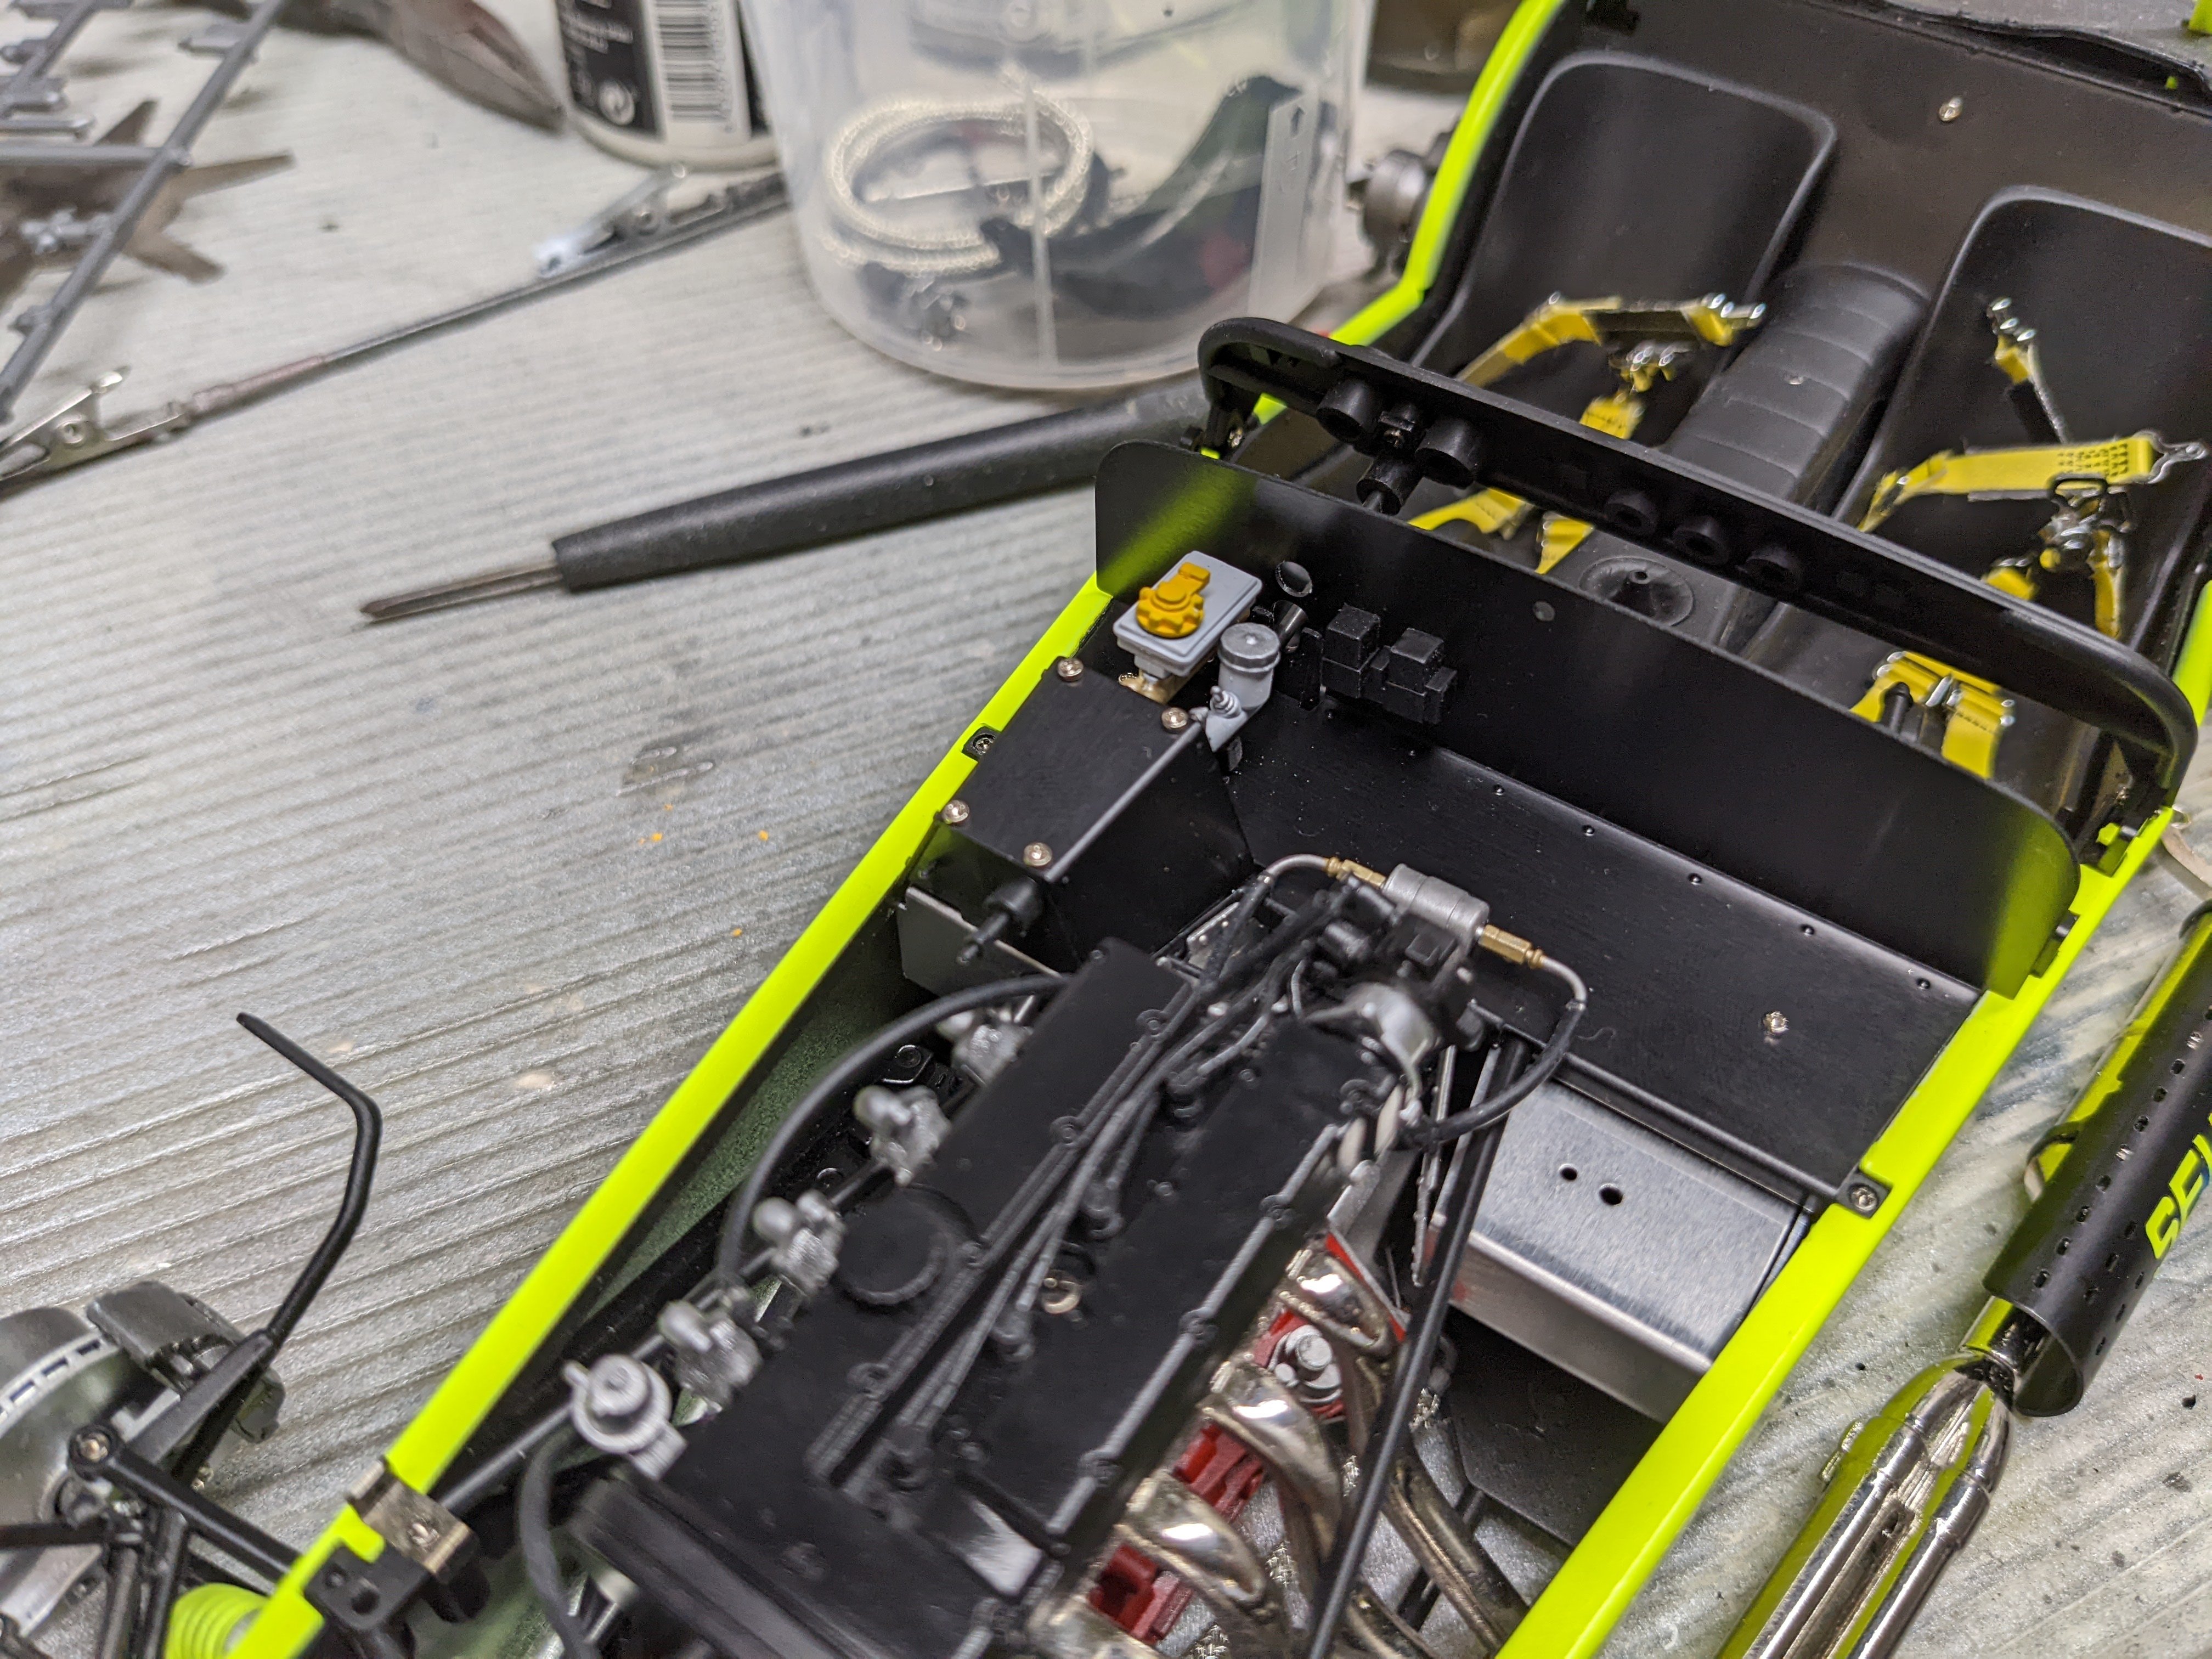
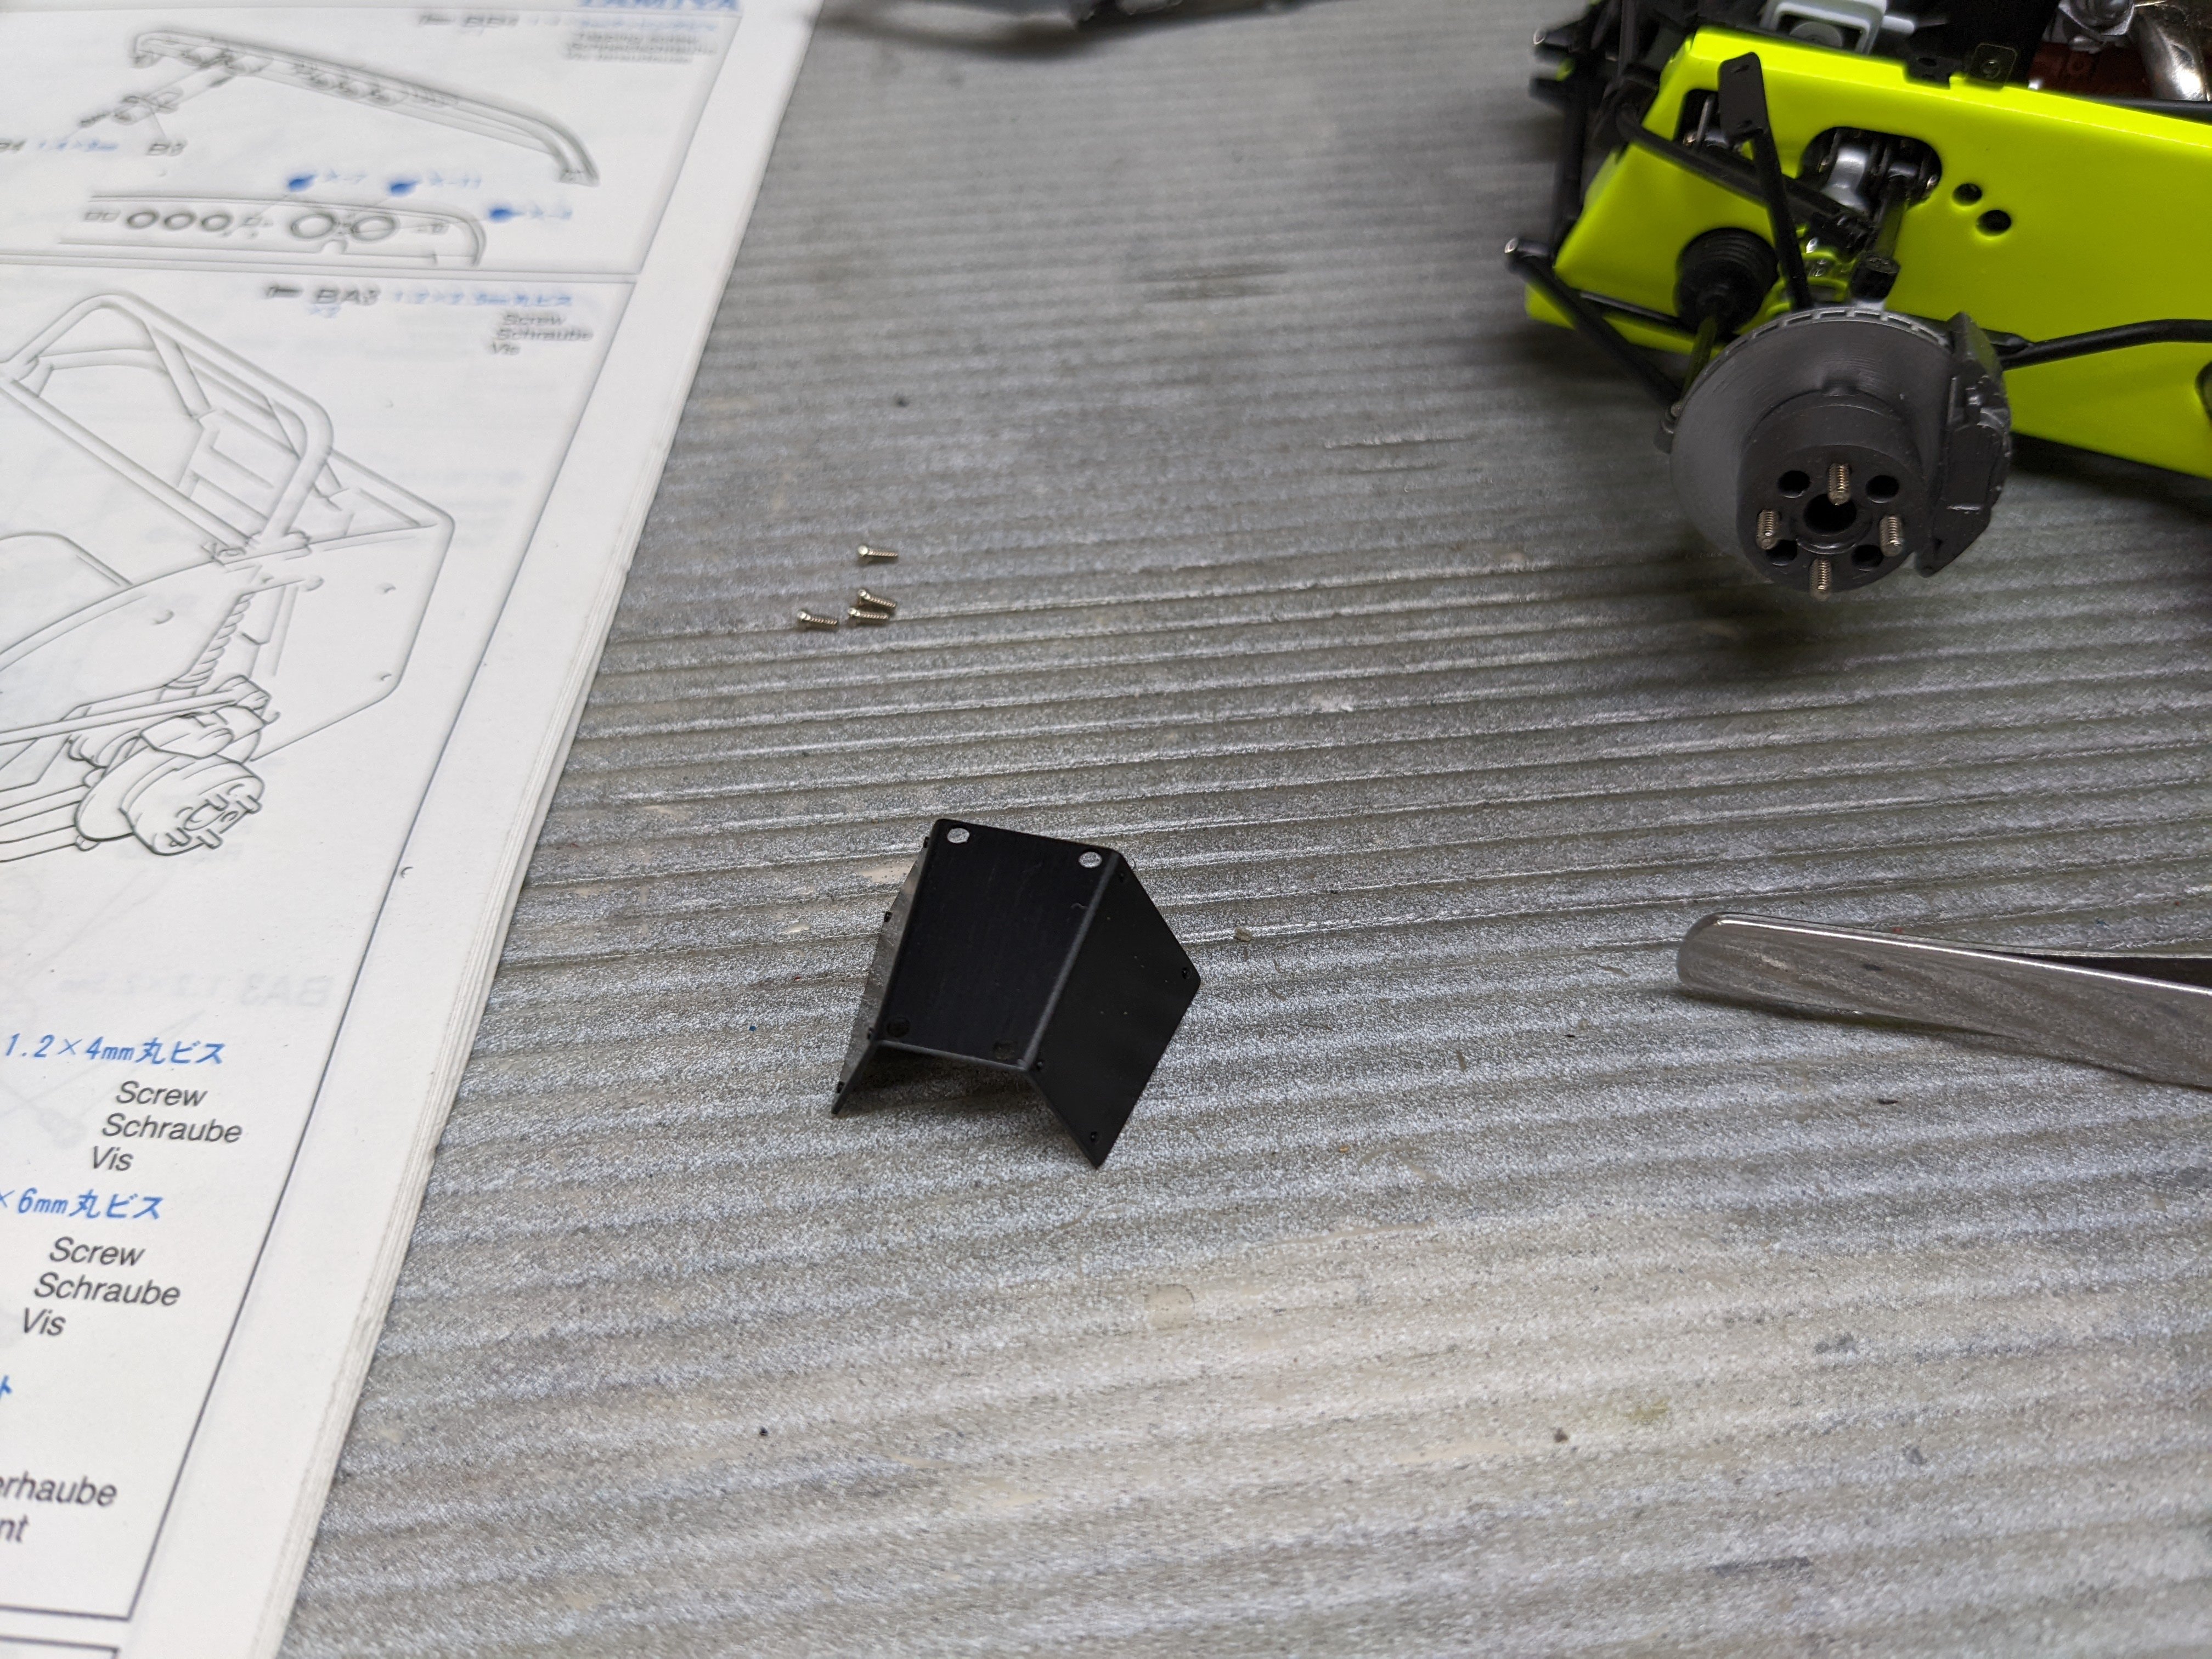
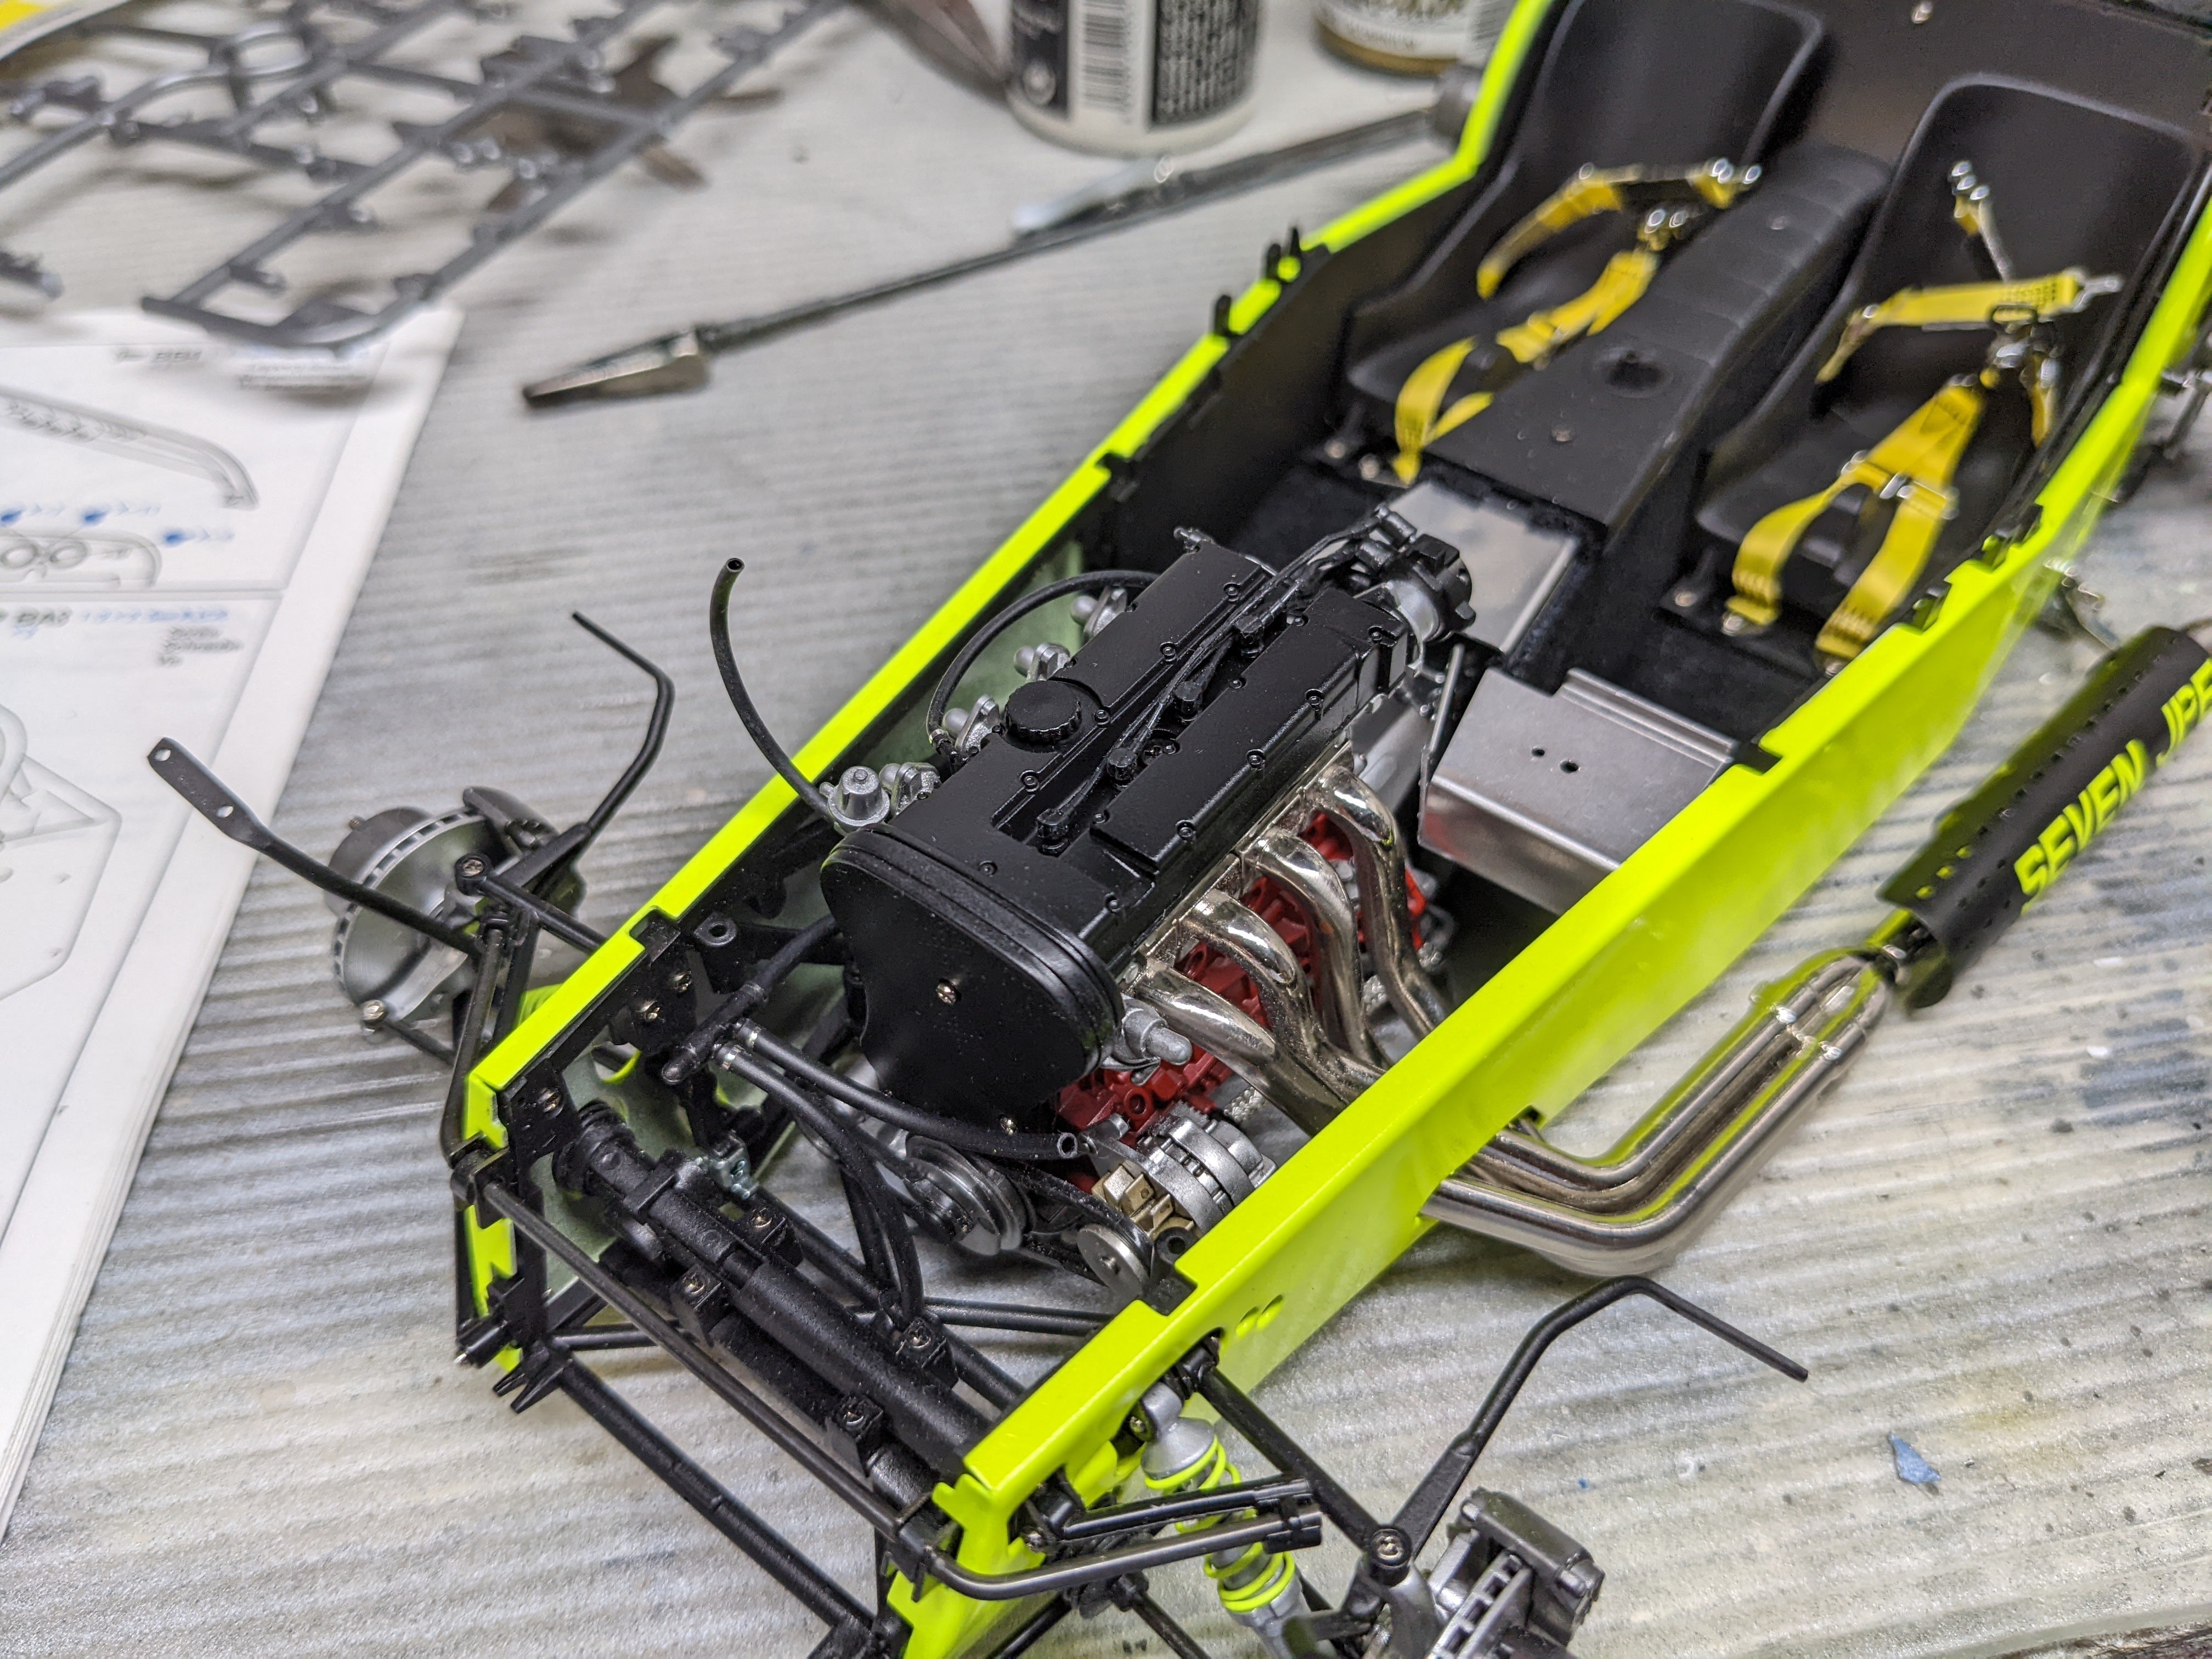
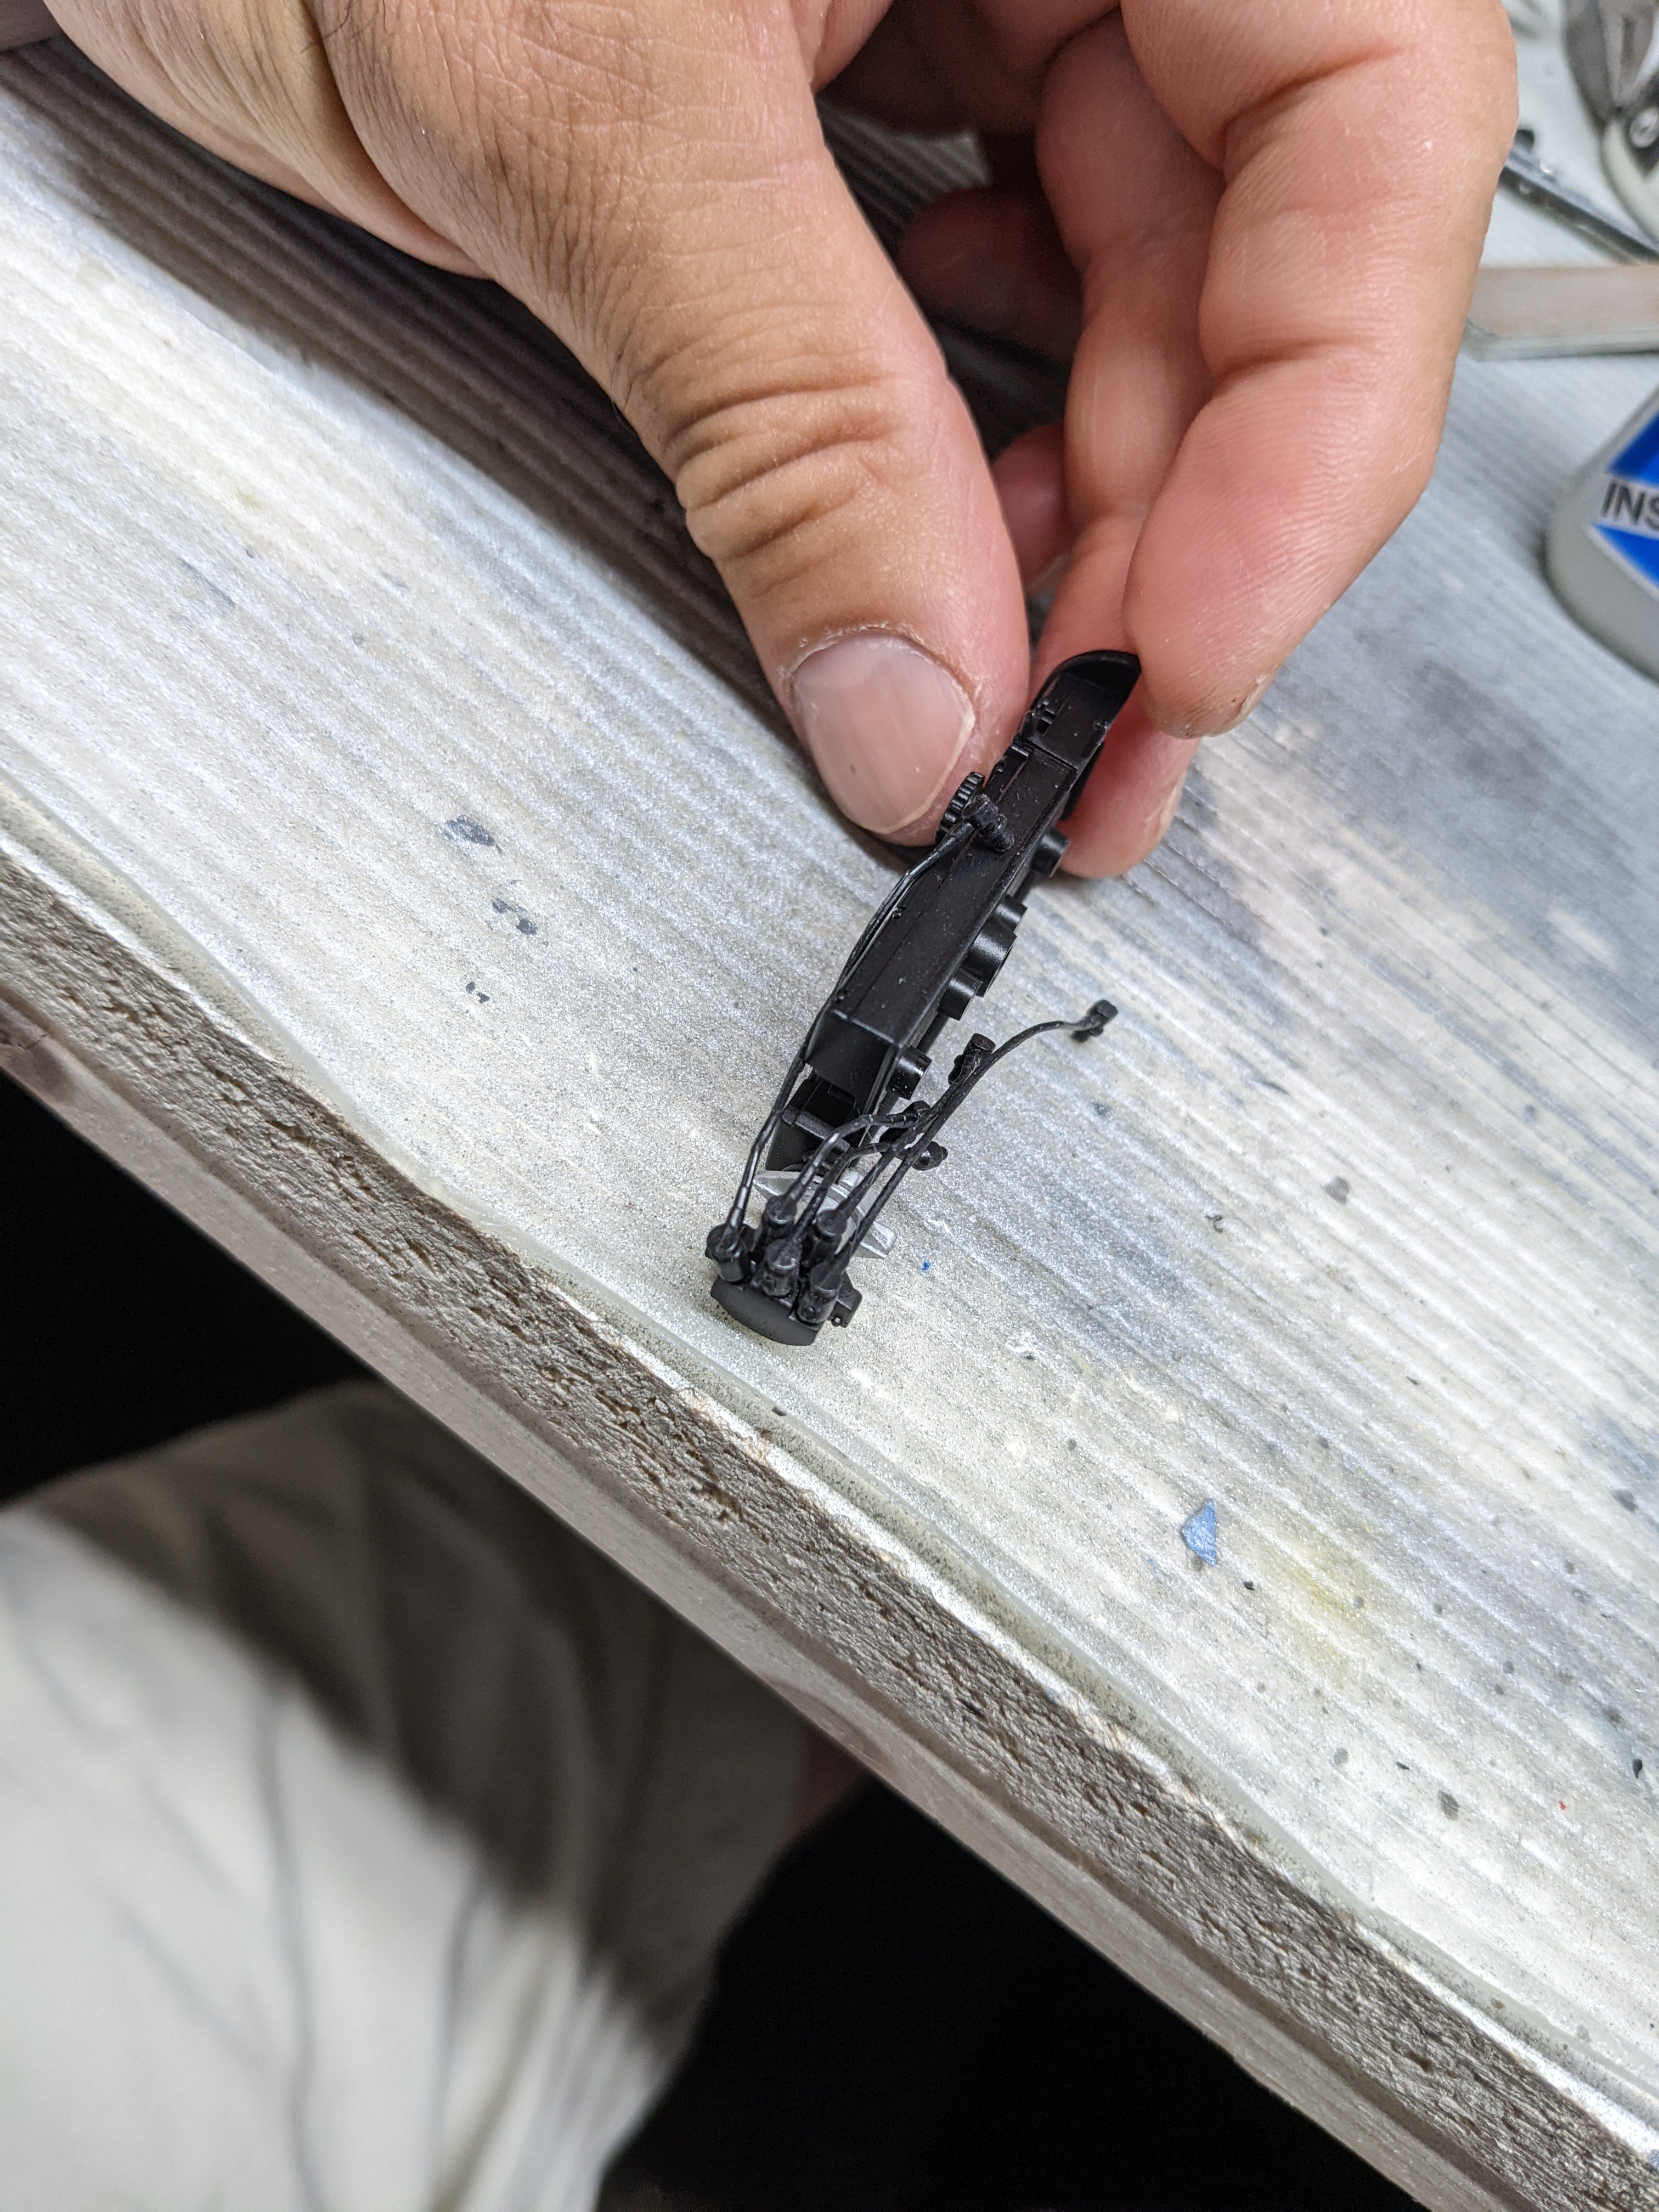
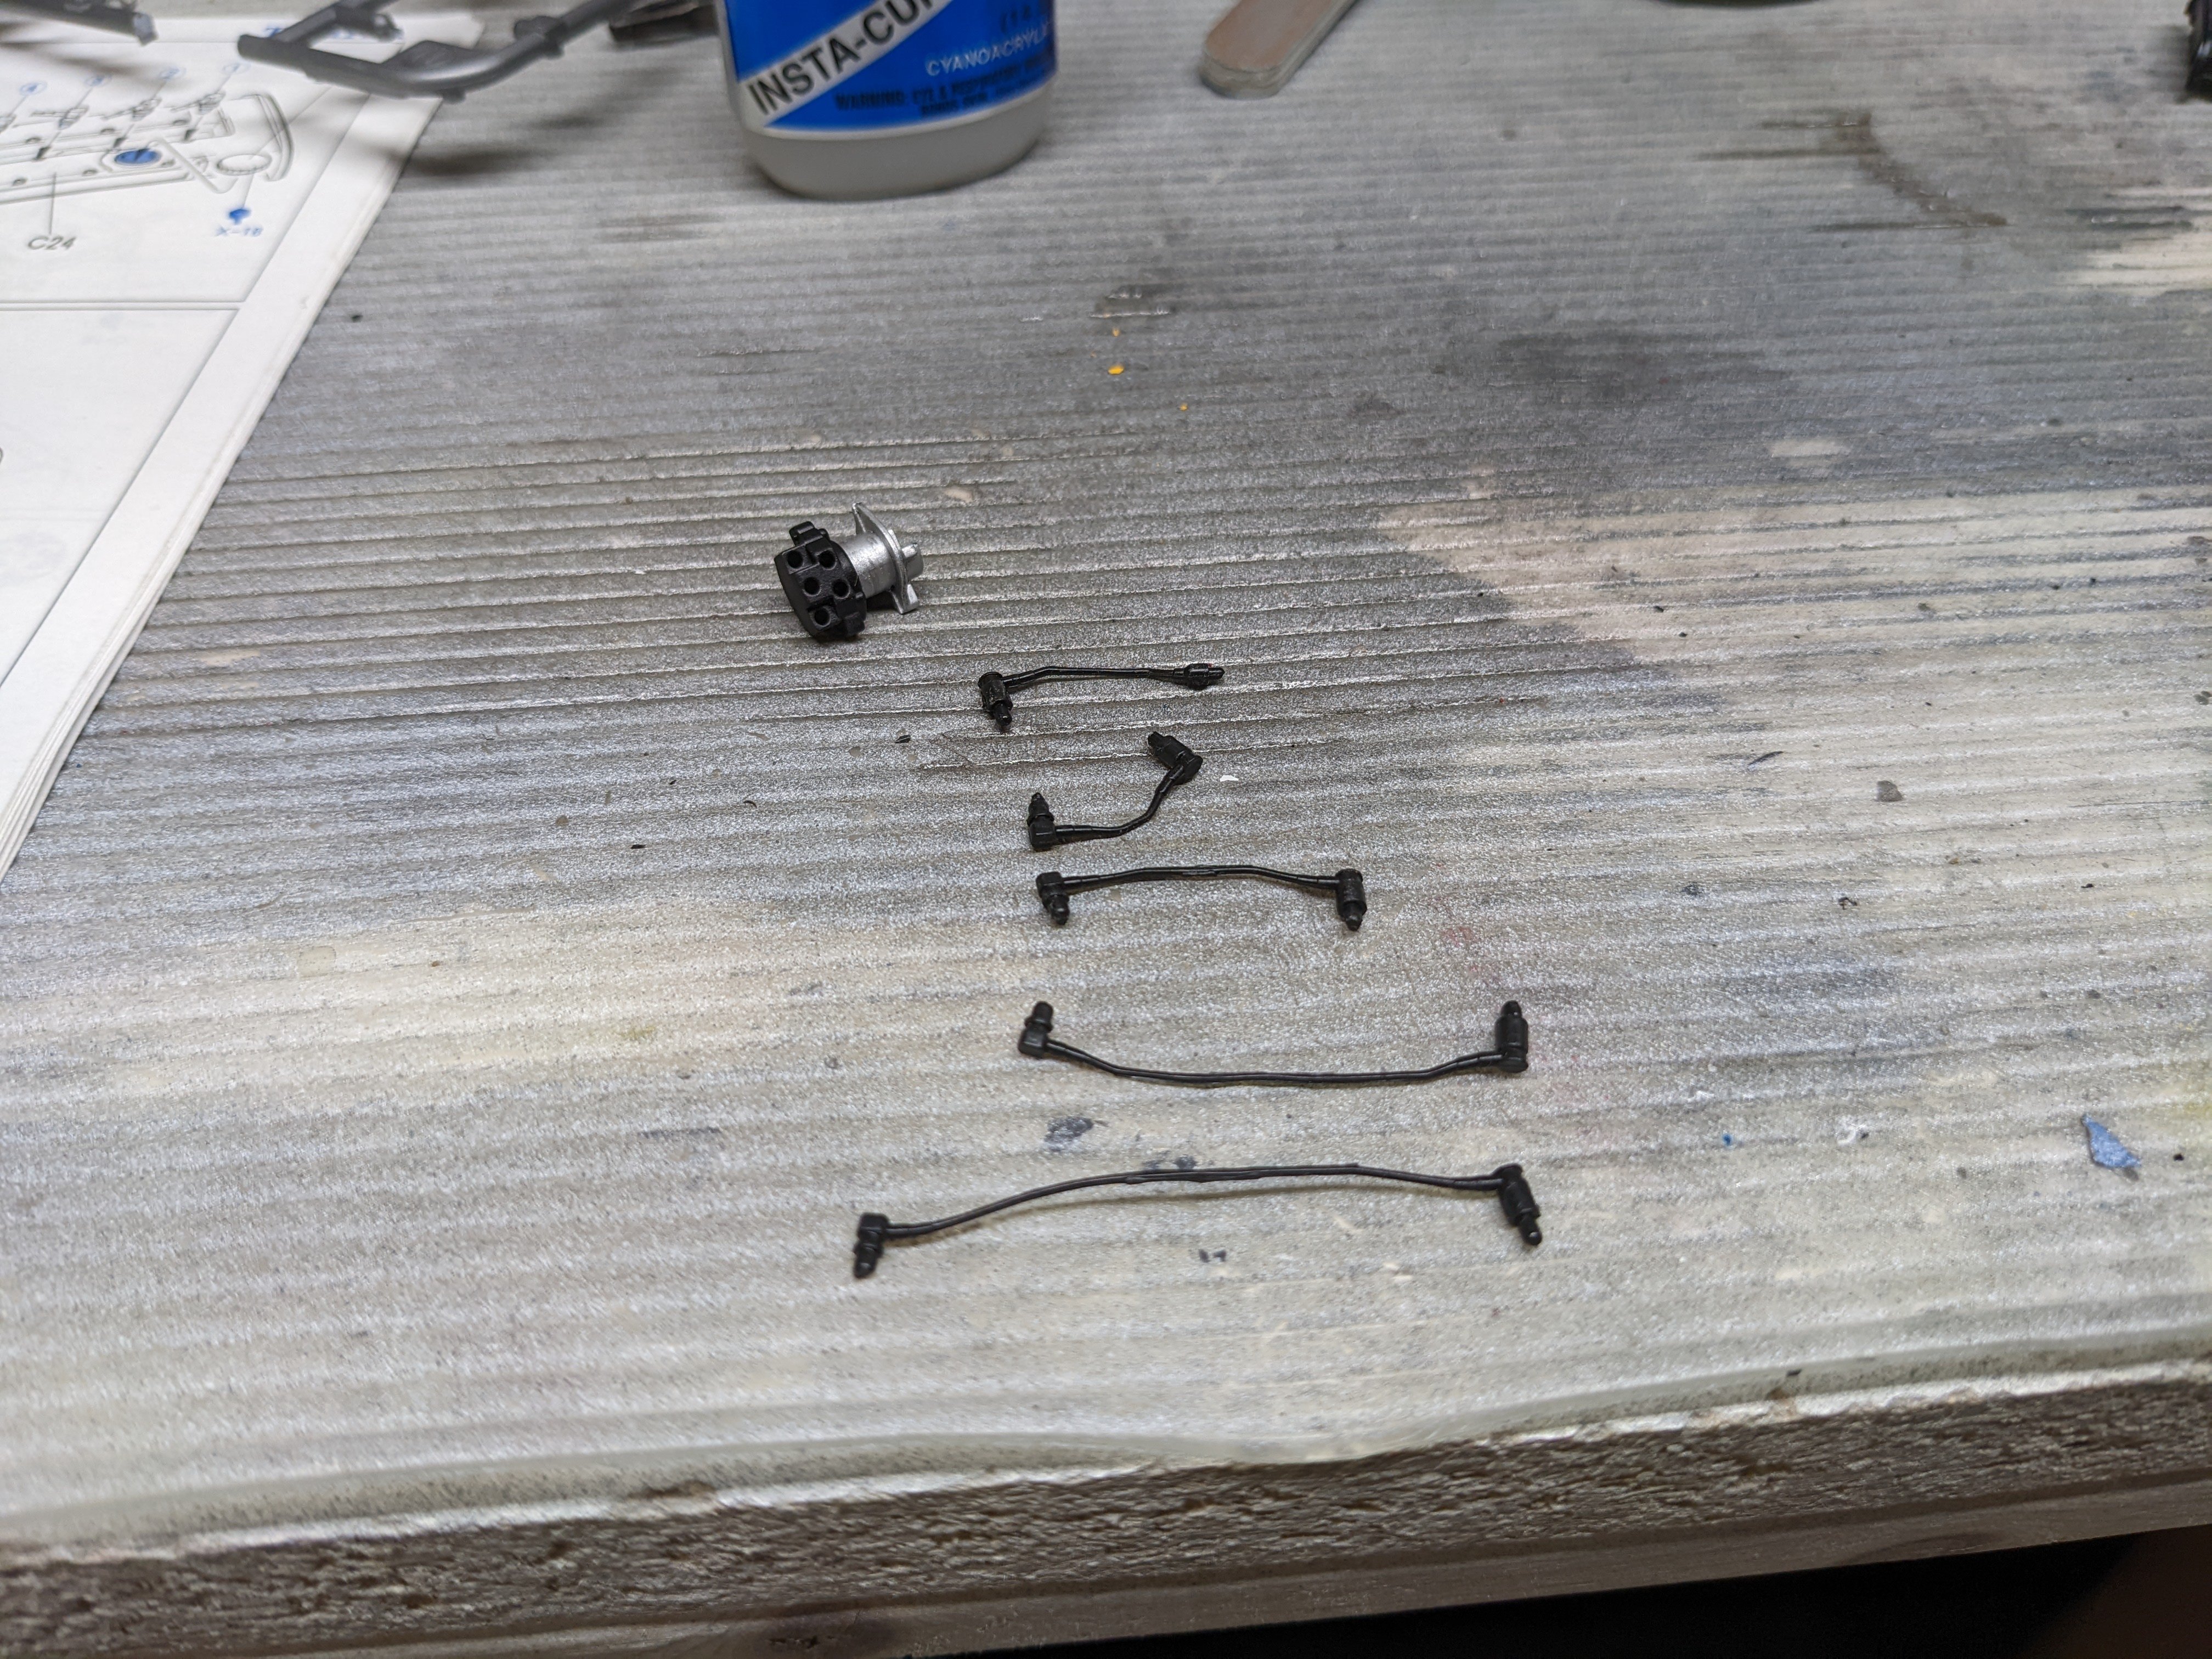
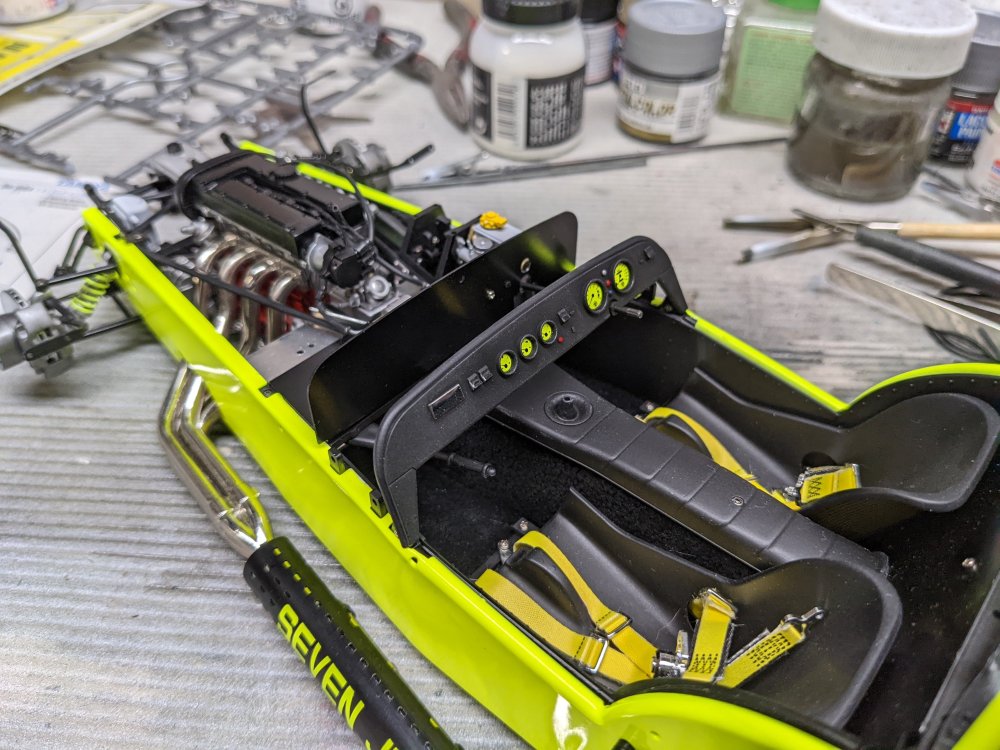
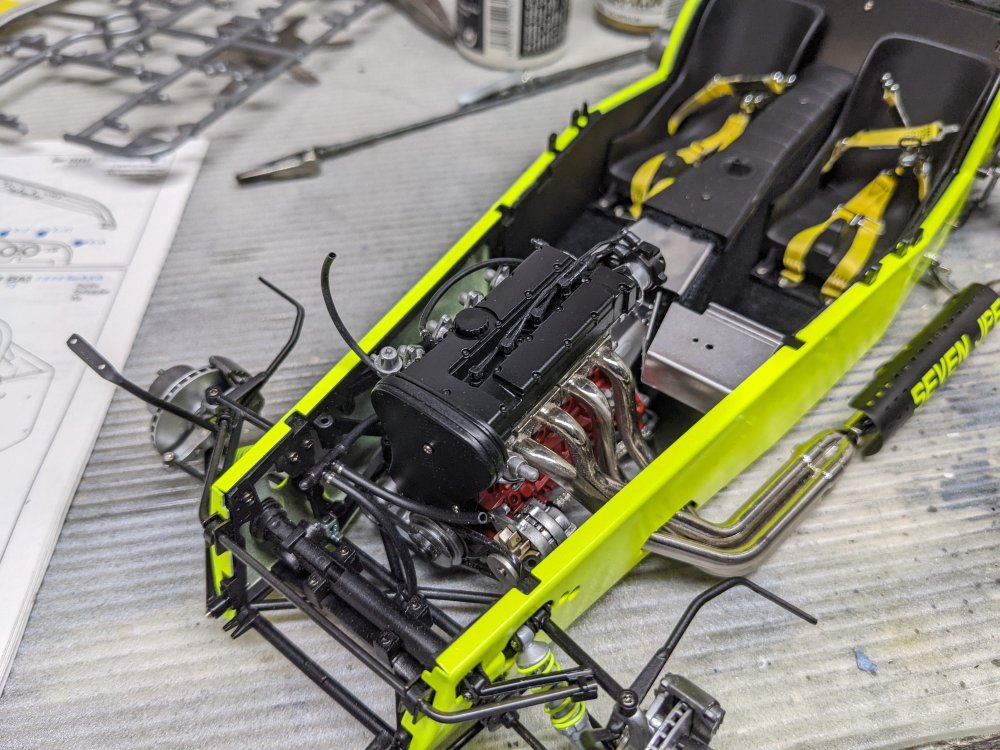
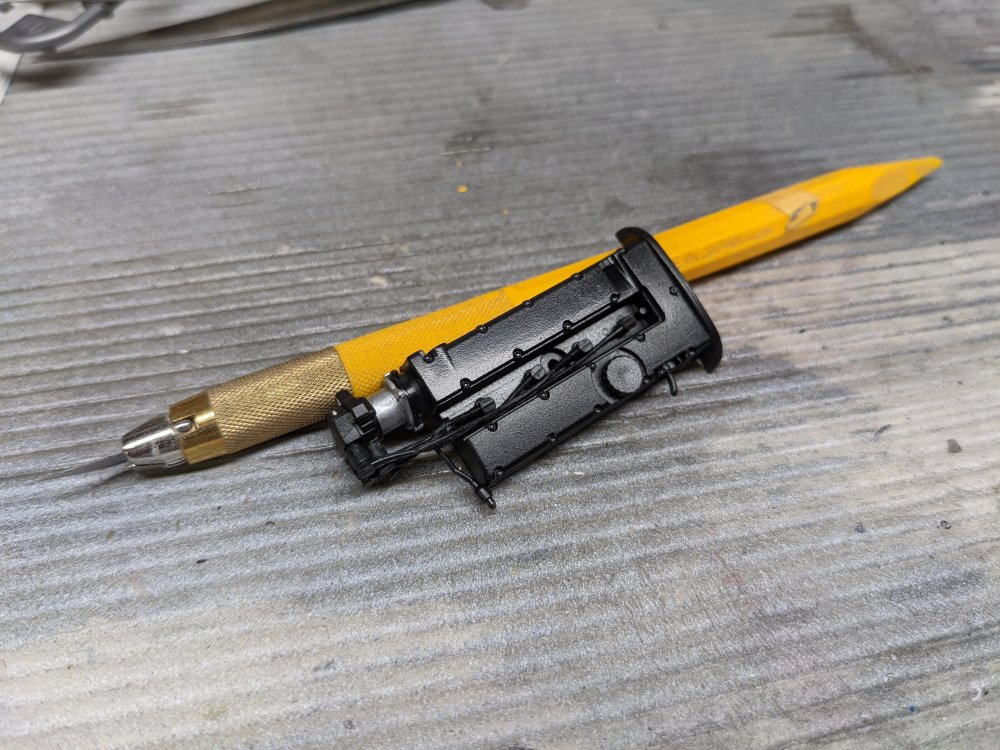
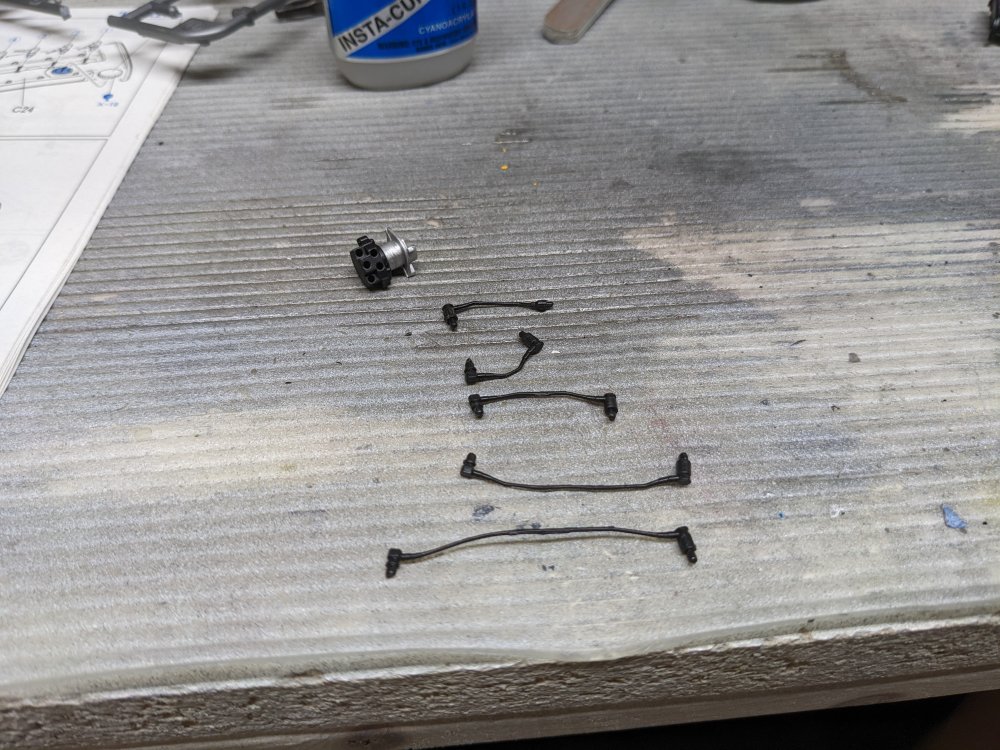
Thanks folks! I'm into the home stretch with the build. One thing that surprised me is the fit of the alu panels. On the original one I built, they fit perfectly. On this kit, the fit was off and not only that, it was occasionally a bit tight. I'm wondering if this is due to the paint work applied to the panels. It's quite a thick coat of paint they given the parts. The fit may explain why they only ever released this version of the kit the one time. Anyways, back to my build. The kit comes with spark plug wires that have boots moulded integrally and they're in the same vinyl as the belts. They get glued to the distributor and then the camshaft cover. The fit is not the best and they leads kept falling out. Thankfully they get covered up with a faceplate later on. Here's the camshaft cover in place on the engine. I installed the dashboard next. This was flooded by the top of the firewall and the cover for the pedal box.


-
The Sufa is such a mean looking plane, especially when you consider the LWF competition it sprang from. Kinetic is re-doing their F-16 kits. They've announced two so far, an MLU and a Block 25/42 USAF. I suspect they're going to go through the full series of them.
-
Tamiya Spitfire MK XVIe
BlrwestSiR replied to Peterpools's topic in LSM 1/35 and Larger Work In Progress
Peter, probably a good call to strip the whole thing rather than leave it patchwork. If it's any consolation, I had to strip my XVI and my Mossie as they both needed repaints to make me happy. Carl -
That's a bit understandable. I mean, in 1/32, those cliffs would need a huge box.
-
Absolutely! Isn't he?
-
ZM A-1 Skyraider back on tap!
BlrwestSiR replied to JohnB's topic in LSM 1/35 and Larger Work In Progress
Great to see you finish this one John. Sometimes a break from a build is a good thing like Peter said. Carl -
Tamiya Spitfire MK XVIe
BlrwestSiR replied to Peterpools's topic in LSM 1/35 and Larger Work In Progress
Looks great Peter. Sorry to hear about the colour issues with the Mig paints. If you haven't used them before, the AK ones spray very similar to the Tamiya but need a bit more thinning. They do have a much flatter finish though. Carl -
I don't know much about Doras. Is this the one that carried a torpedo? Otherwise, fantastic work. Carl
-
But it might just fit the pickup he bought. Well, in the bed anyways.
-
@Bomber_County, @Peterpools, Radu has replied on LSP that the ZM 190 has not been abandoned. So it's still moving forward at the same pace it always has. Gotta love these rumours. There was one on Britmodeler about Tamiya discontinuing their paints earlier this week.
-
From the list of AM you're throwing at this kit, there's not going to be much left. I think maybe the canopy, prop and some flash around the MLG openings. Seriously, you're making some nice headway on the cockpit. And not a bad plan to use a second kit for measurements. Sorry to hear about your back. I threw mine out last year swapping the winter tires on the car. I was stuck in the garage for 15 minutes doubled over in agony before a neighbour saw me and got Sue. Getting old sucks.
-
I took a look at ZM's website and the Old Man Blogs. The one from March of last year shows that they were fairly far along on the kit. At least, it seems that way to me. https://www.zoukeimura.co.jp/en/sentiment/oyajiblog_113.html It would be a shame to throw all that work away.
-
Happy birthday! Carl
-
I was down in the basement looking for something when Fur followed me down. She was purring so hard that the bin she was sitting on started to rock. PXL_20220720_201920696.mp4
-
Damn, don't know what to say about that. Truly sorry to hear that sort of news. Hope they can do something for Kaiser.
-
I used to order from them fairly regularly. They do seem to have stuff that other places don't. Haven't had any issues with stock from them, shipping has been a bit slow but they're offering air mail to Canada so that should speed things up a bit.
-
That is one big box. Whereabouts in Sudbury? My wife is from there. She used to live near Laurentian University and would snowshoe across the lake to work there.
-
Great news Martin!
-
Fantastic intro and I'm glad to see someone building the kit after all the trials and tribulations that have gone on with it. Carl
-
RAF WWII Roundel Colors/paints ... Help needed
BlrwestSiR replied to Peterpools's topic in Modelling Discussion
Peter, here's what I've been using. This is with Tamiya acrylics. It's similar to what you have above. Dull Roundel Red – Mix of 75% flat Red (XF-7 ), 25% Hull Red (XF-9) Dull Roundel Blue – Mix of 95% flat Blue (XF-8), 5% flat Black (XF-1) Yellow – Flat Yellow (XF-3) with a tiny amount of flat Red (XF-7) Hope that helps. Carl