BlrwestSiR
-
Posts
9,173 -
Joined
-
Last visited
Content Type
Profiles
Forums
Events
Gallery
Everything posted by BlrwestSiR
-
Stunning build. Way outside my skillset and comfort level but I'm always impressed by the folks who do build them. Carl
-
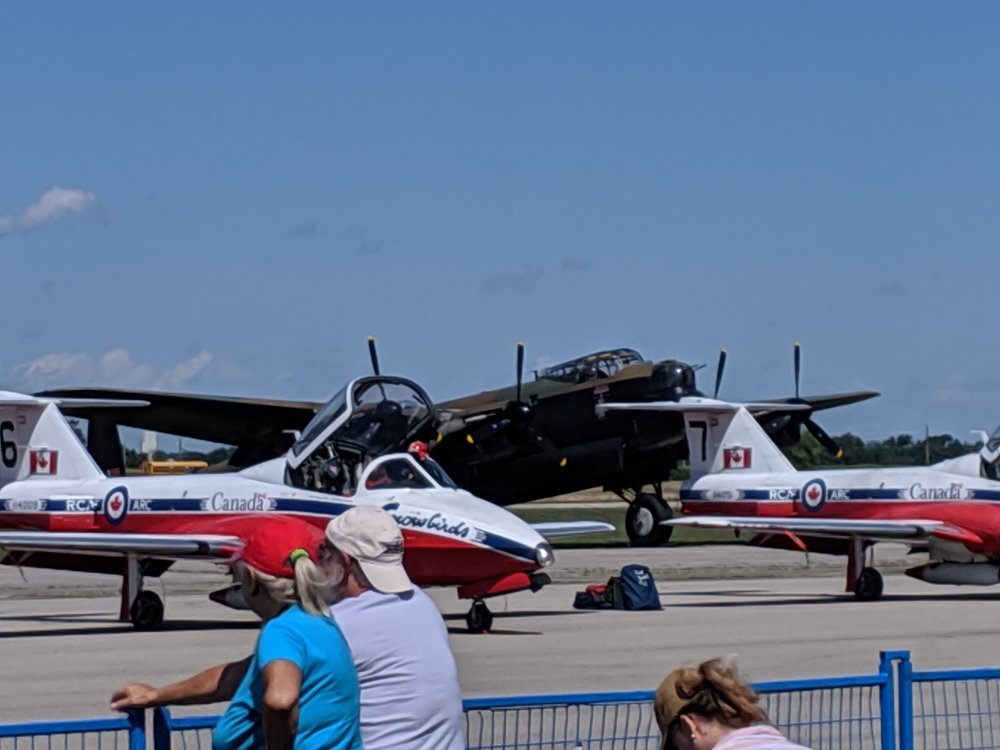
These are from a couple years ago.

-
They're not as old as the B-52s still in service. Close though.
-
Same here. Not to mention a Kai OOB.
-
I had the Tamiya 1/48 F-4EJ from the early '80s. Then I opened the box and found a Revell kit that they had re-boxed....
-
The last 1/48 Phantom I built was the Hasegawa F-4E with the 30 Years of Phabulous Phantoms on the side.
-
I can't recall where the article is where they first noticed the shape issue. You could try comparing the short nose fuselage to the long nose ones when they arrive? Supposedly it's quite apparent.
-
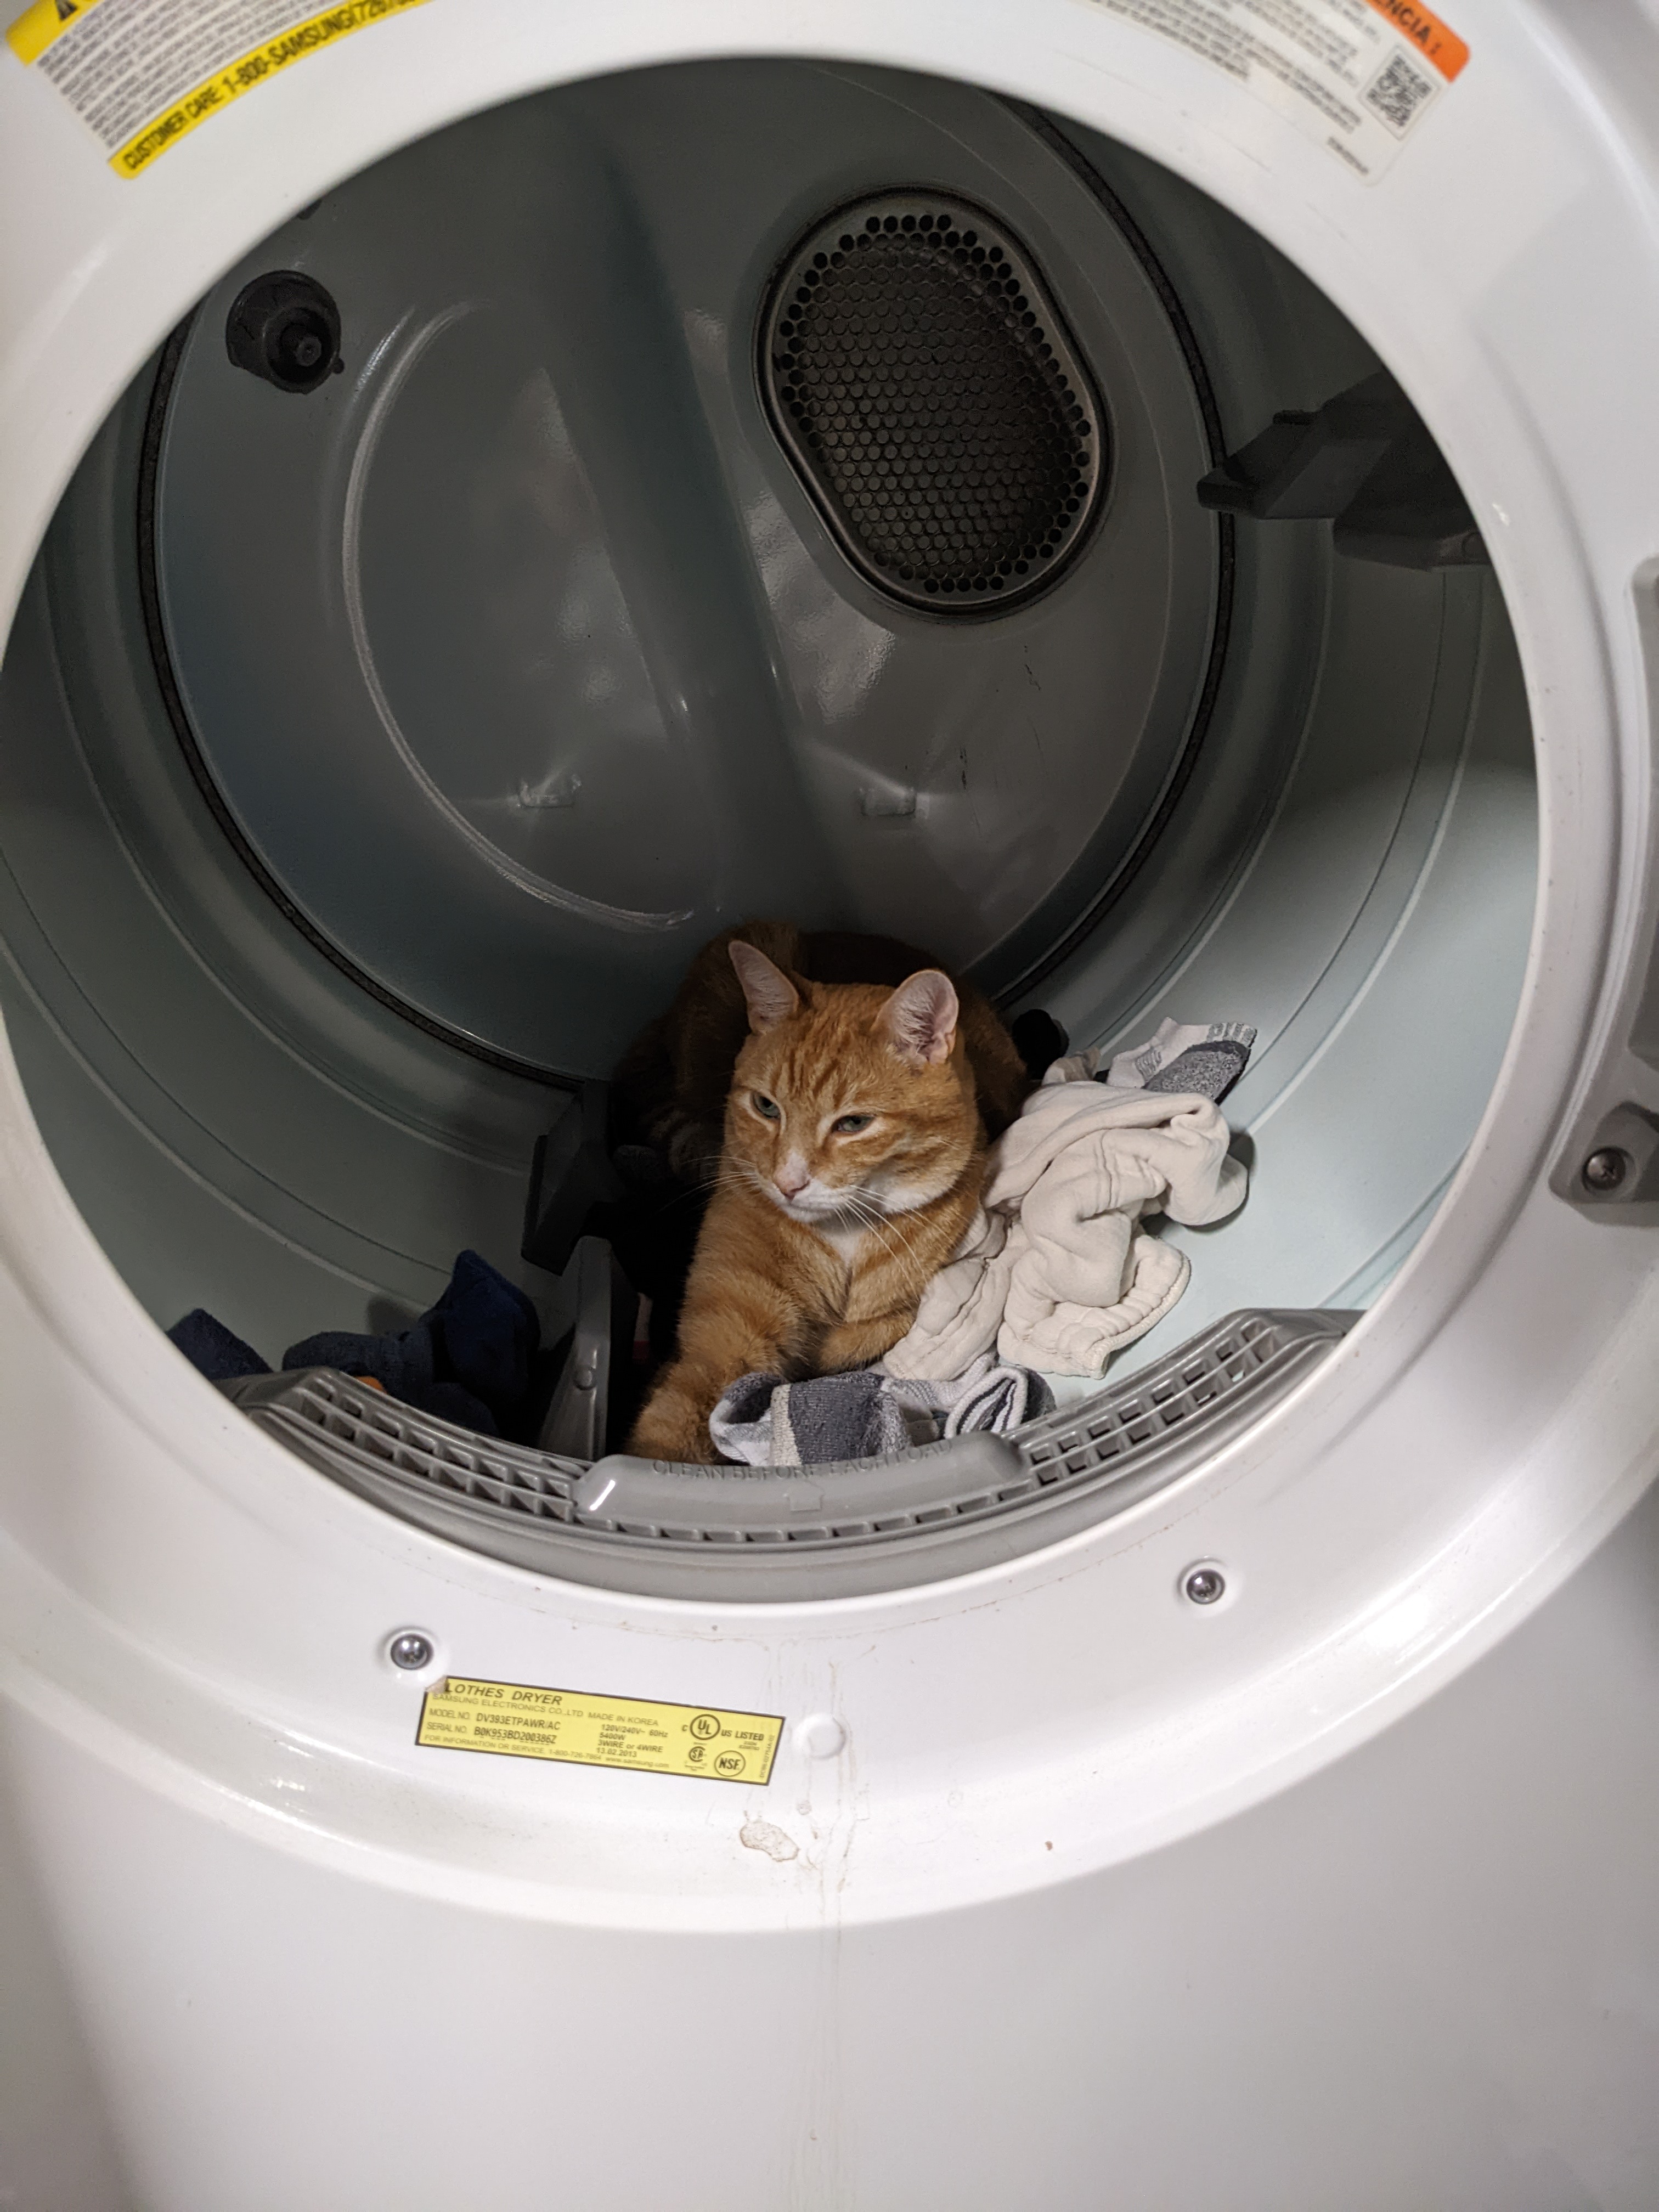
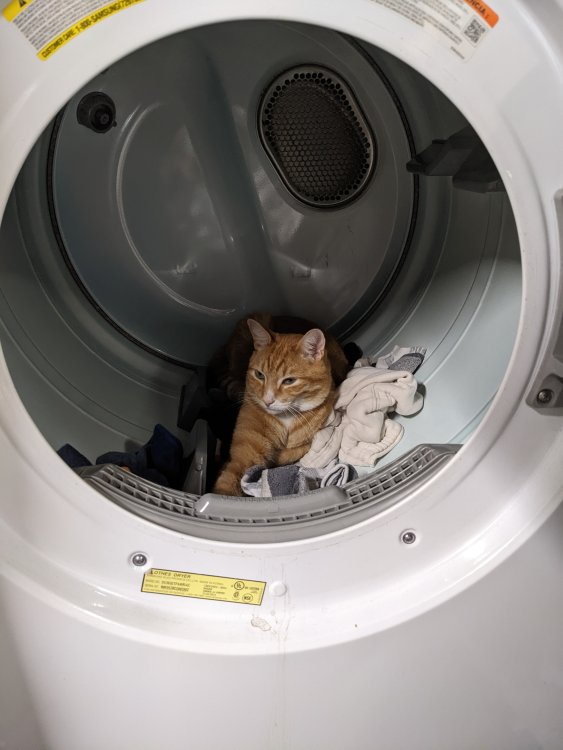
Our dryer crapped out last night. So Sunny took advantage of it and made himself comfortable.
-
Yes, it needs the correction set as well. For belts, Eduard, HGW and Quinta do sets too. The Quinta ones are part of their cockpit sets.
-
Almost forgot, there are no seat belts in any of the kits. So you have to find some AM ones.
-
I've been contemplating this very thing. Switching out my Tamiya 1/32 kits for the ZM 1/48 ones so welcome to the club. I haven't got any of the short nosed jets (C,D,J) but there's supposed to be a contour issue with the rear fuselage around the burner cans. Hypersonic Models makes a correction set for this which involves cutting out the relevant section and replacing it with resin parts. To ZM's credit, they fixed this on the long nosed kits (E, EJ, G). Other than that, I haven't heard of any other issues. With the G coming out next, ZM has to tool up slatted wings so I imagine a late model E will follow that release. If you can't wait, Hypersonic Models makes a conversion kit with the slatted outer wings, flap actuators for the inner wings and other bits. BNA Models carry Hypersonic. Carl
-
 Can't wait to see you start on this. The kit looks really impressive but not being enough of a 109 fan (heresy I know) I'm still on the fence about getting one. I may break down and do so when my LHS gets them in. Otherwise shipping these days makes international purchases a tough one.
 -
Special Hobby Whirlwind
BlrwestSiR replied to Peterpools's topic in LSM 1/35 and Larger Work In Progress
Peter, I've got the resin ones but haven't really taken a close look at them. They're an exact replacement for the kit parts. It too bad Master or someone else hasn't done a set for the kit. I looked at the 20mm cannon they do for the Hurricane but they're not close enough to work. Carl -
Special Hobby Whirlwind
BlrwestSiR replied to Peterpools's topic in LSM 1/35 and Larger Work In Progress
The closet is resin ones from CMK. -
What is on your bench right now ? Share a picture :)
BlrwestSiR replied to Martinnfb's topic in Modelling Discussion
Great progress Rob. Looks to be a very well engineered kit. Carl -
What is on your bench right now ? Share a picture :)
BlrwestSiR replied to Martinnfb's topic in Modelling Discussion
That makes much more sense. -
No kidding. I'm still trying to figure out where I'll put 2 Lancs, a B-17 and the Lib I recently finished. Sadly, no loft space for me.
-
Special Hobby Whirlwind
BlrwestSiR replied to Peterpools's topic in LSM 1/35 and Larger Work In Progress
Peter, glad you were able to fix it. I've done similar things in the past. I was clearing off my bench once and found the cockpit sidewall to my Revell Spitfire. I found that odd as I hadn't used an AM cockpit when I built it. I took a look at the finished model and sure enough, no cockpit sidewall! At least yours was fixable. Carl -
What is on your bench right now ? Share a picture :)
BlrwestSiR replied to Martinnfb's topic in Modelling Discussion
Yes, thanks for sharing the pic Smitty. It doesn't look any worse than a PCM or Fly kit. Carl -
Yes children, ANOTHER Corsair!!!
BlrwestSiR replied to JohnB's topic in LSM 1/35 and Larger Work In Progress
Looks good there John. Like you and Peter said, you don't see many Brewster Corsairs. I wish someone did a Goodyear F2G conversion for the Tamiya kit. I'd get at least one that's for sure. Carl -
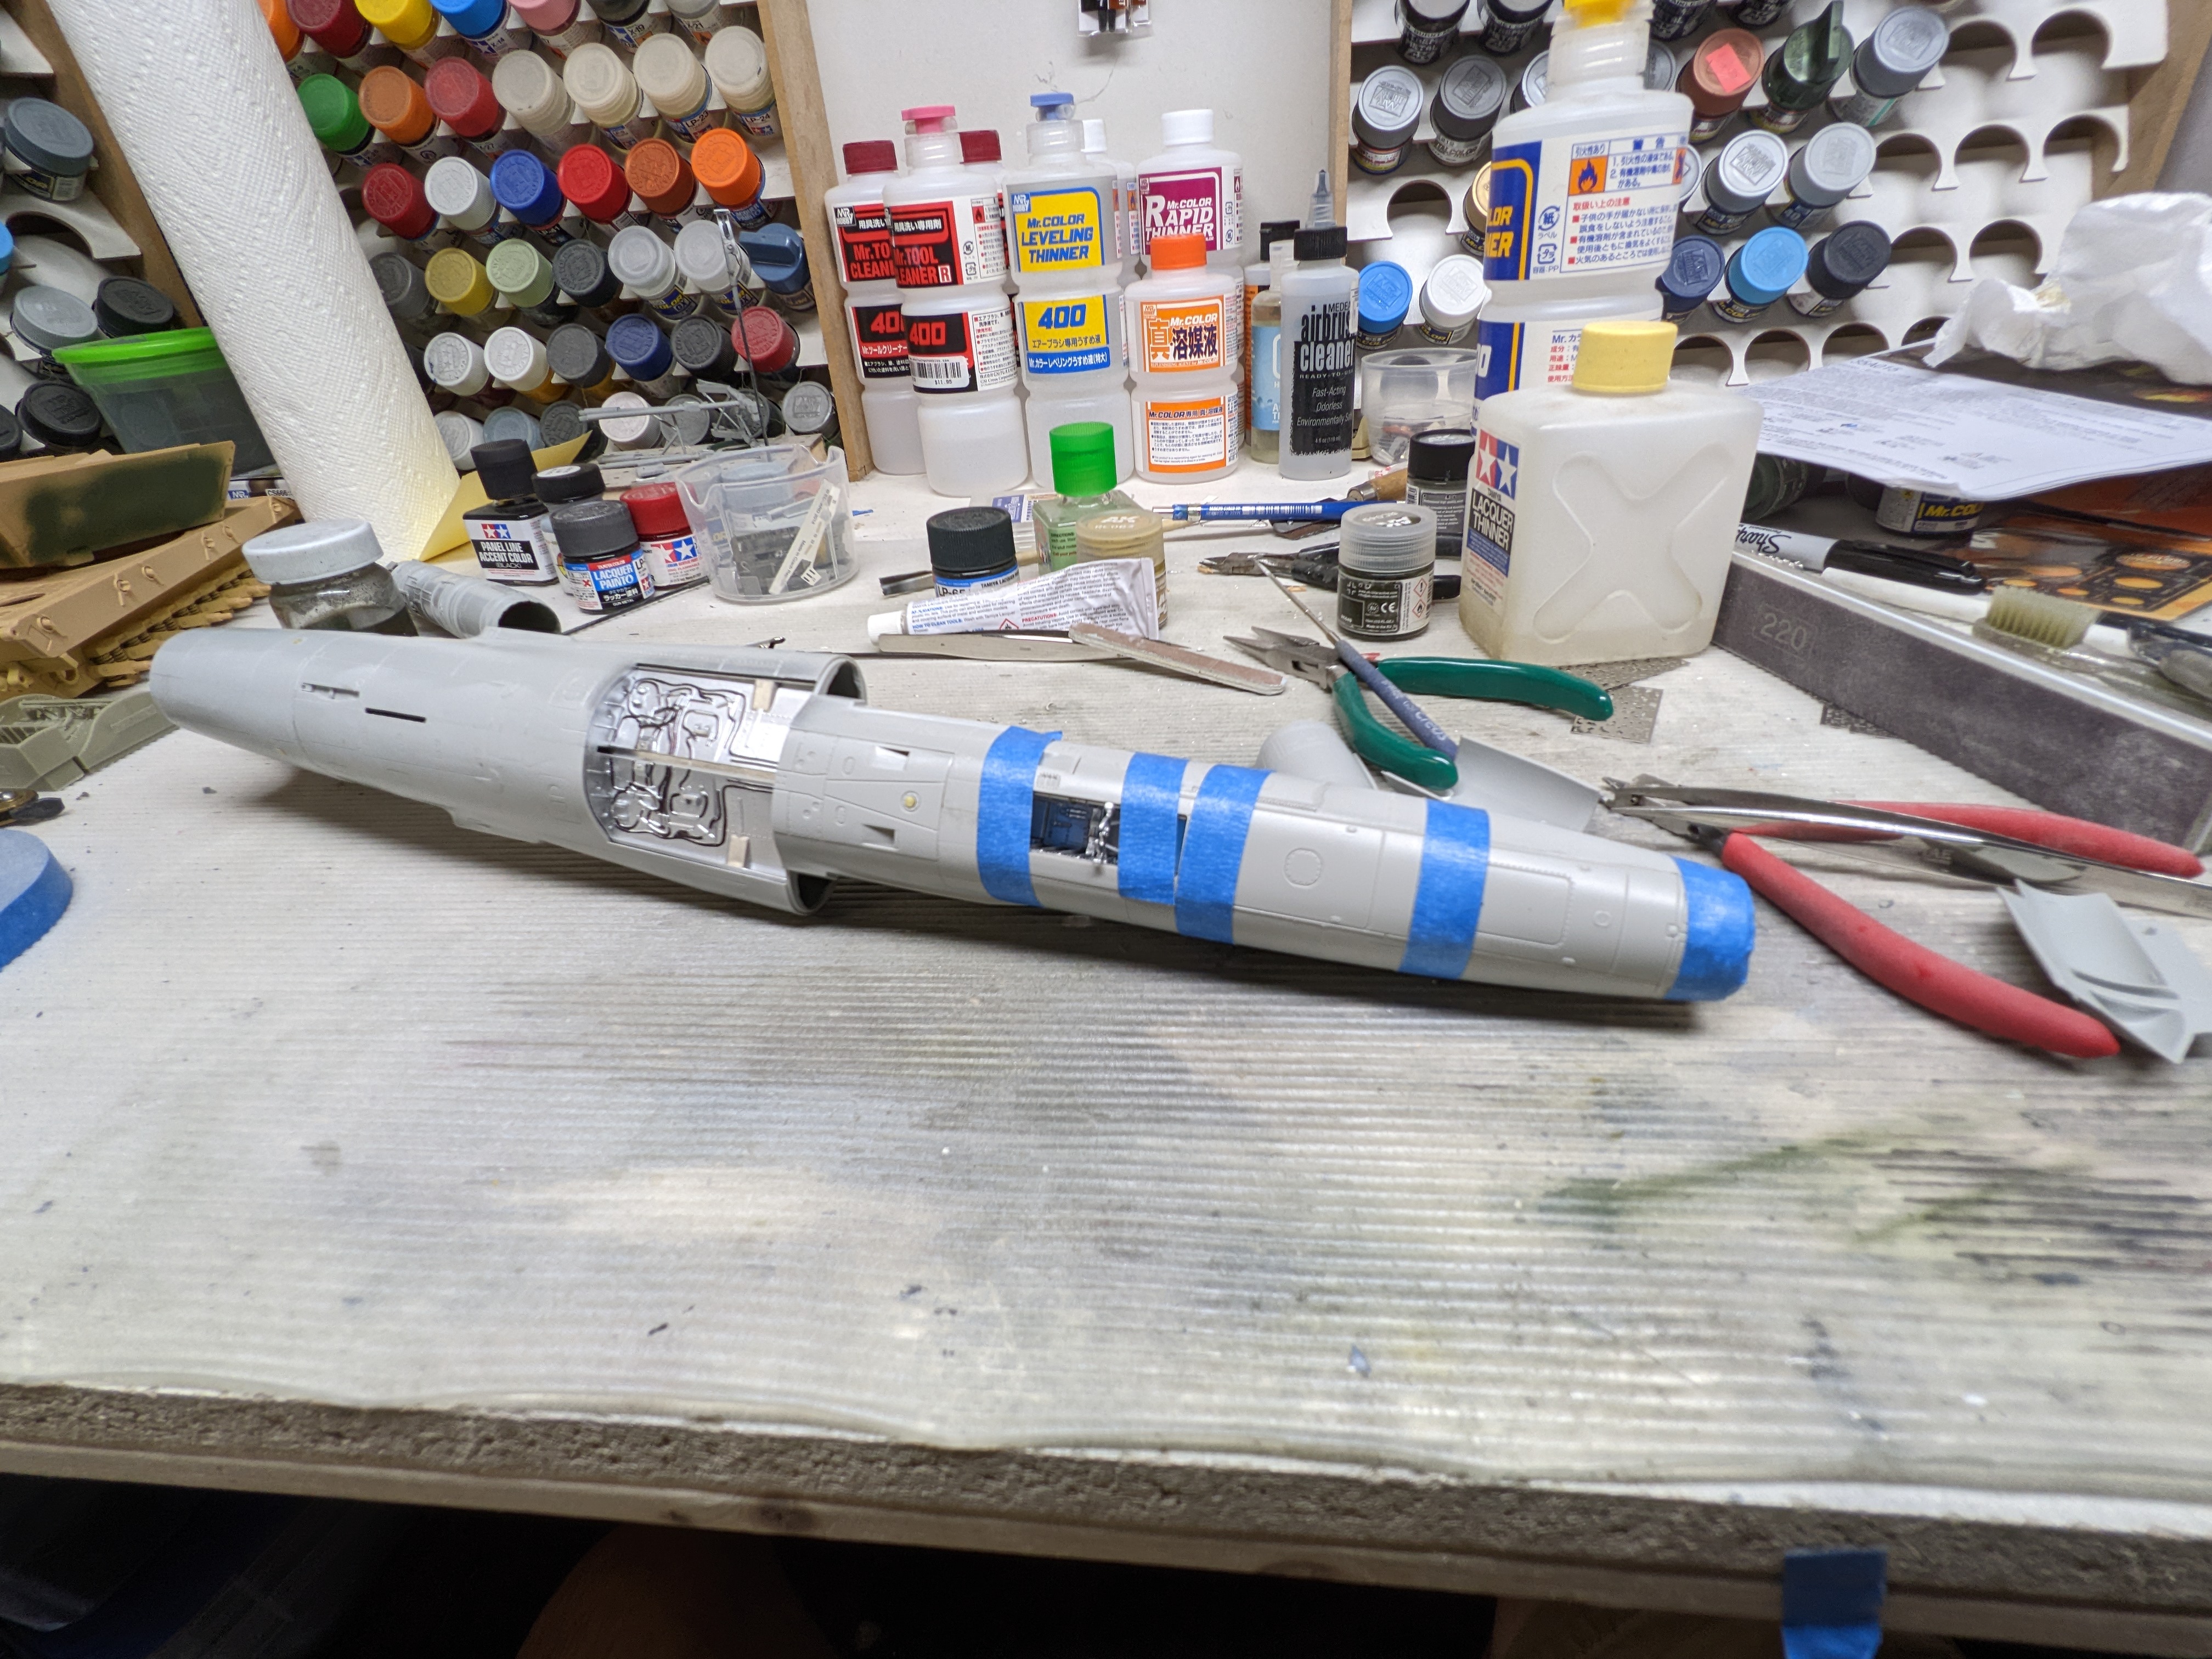
I've got the same kit. I built the old Dragon one a long time ago and tried to do the Eduard one. That was complicated and simplified at the same time if that makes sense. For the camo, J's Modelwork does a mask sheet for the circle camo. Alexen does a PE template set that I grabbed to see if it'll work. Otherwise, I'm going to use lots of littles circles of tape...
-
CF-104D Triple Sick
BlrwestSiR replied to BlrwestSiR's topic in LSM 1/35 and Larger Work In Progress
Thanks for all the encouragement folks. Keeps me at the bench when I have the time. I added the remaining panels to the fuselage. There's a couple of them as well as the air brakes. Most fit well enough and I didn't use any shims although the air brakes maybe could have used a very thin one. I'm doing everything closed up so as not to spoil the lines of the plane.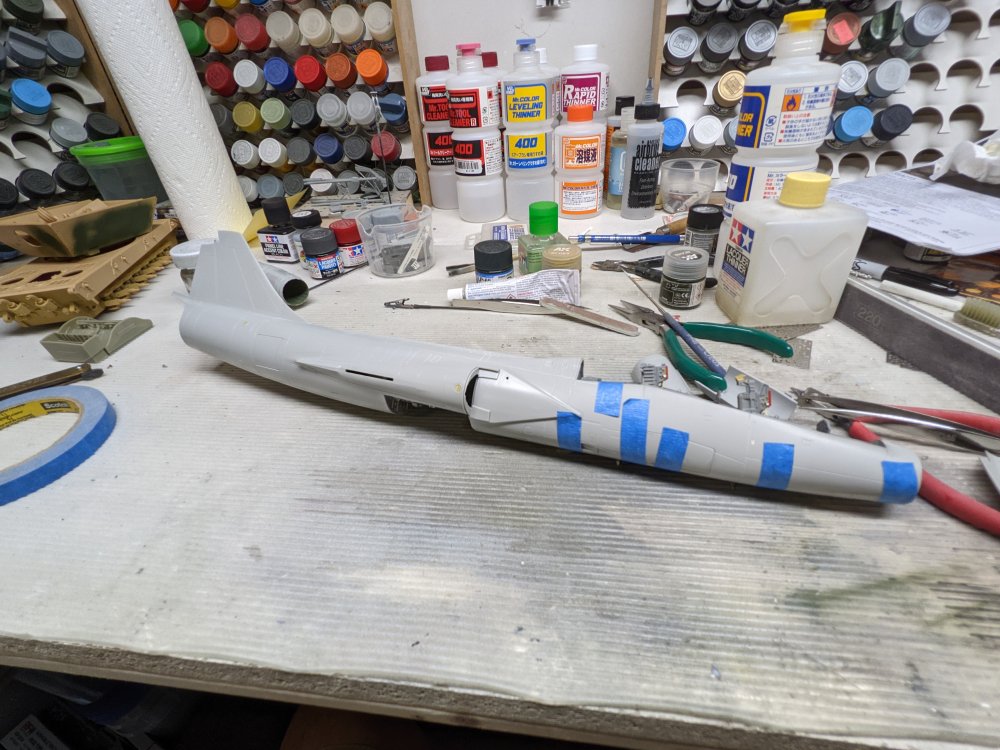

-
Special Hobby Whirlwind
BlrwestSiR replied to Peterpools's topic in LSM 1/35 and Larger Work In Progress
Nice work on the seams Peter. I'm at a similar stage with the Starfighter. But only on the fuselage. Carl -
What is on your bench right now ? Share a picture :)
BlrwestSiR replied to Martinnfb's topic in Modelling Discussion
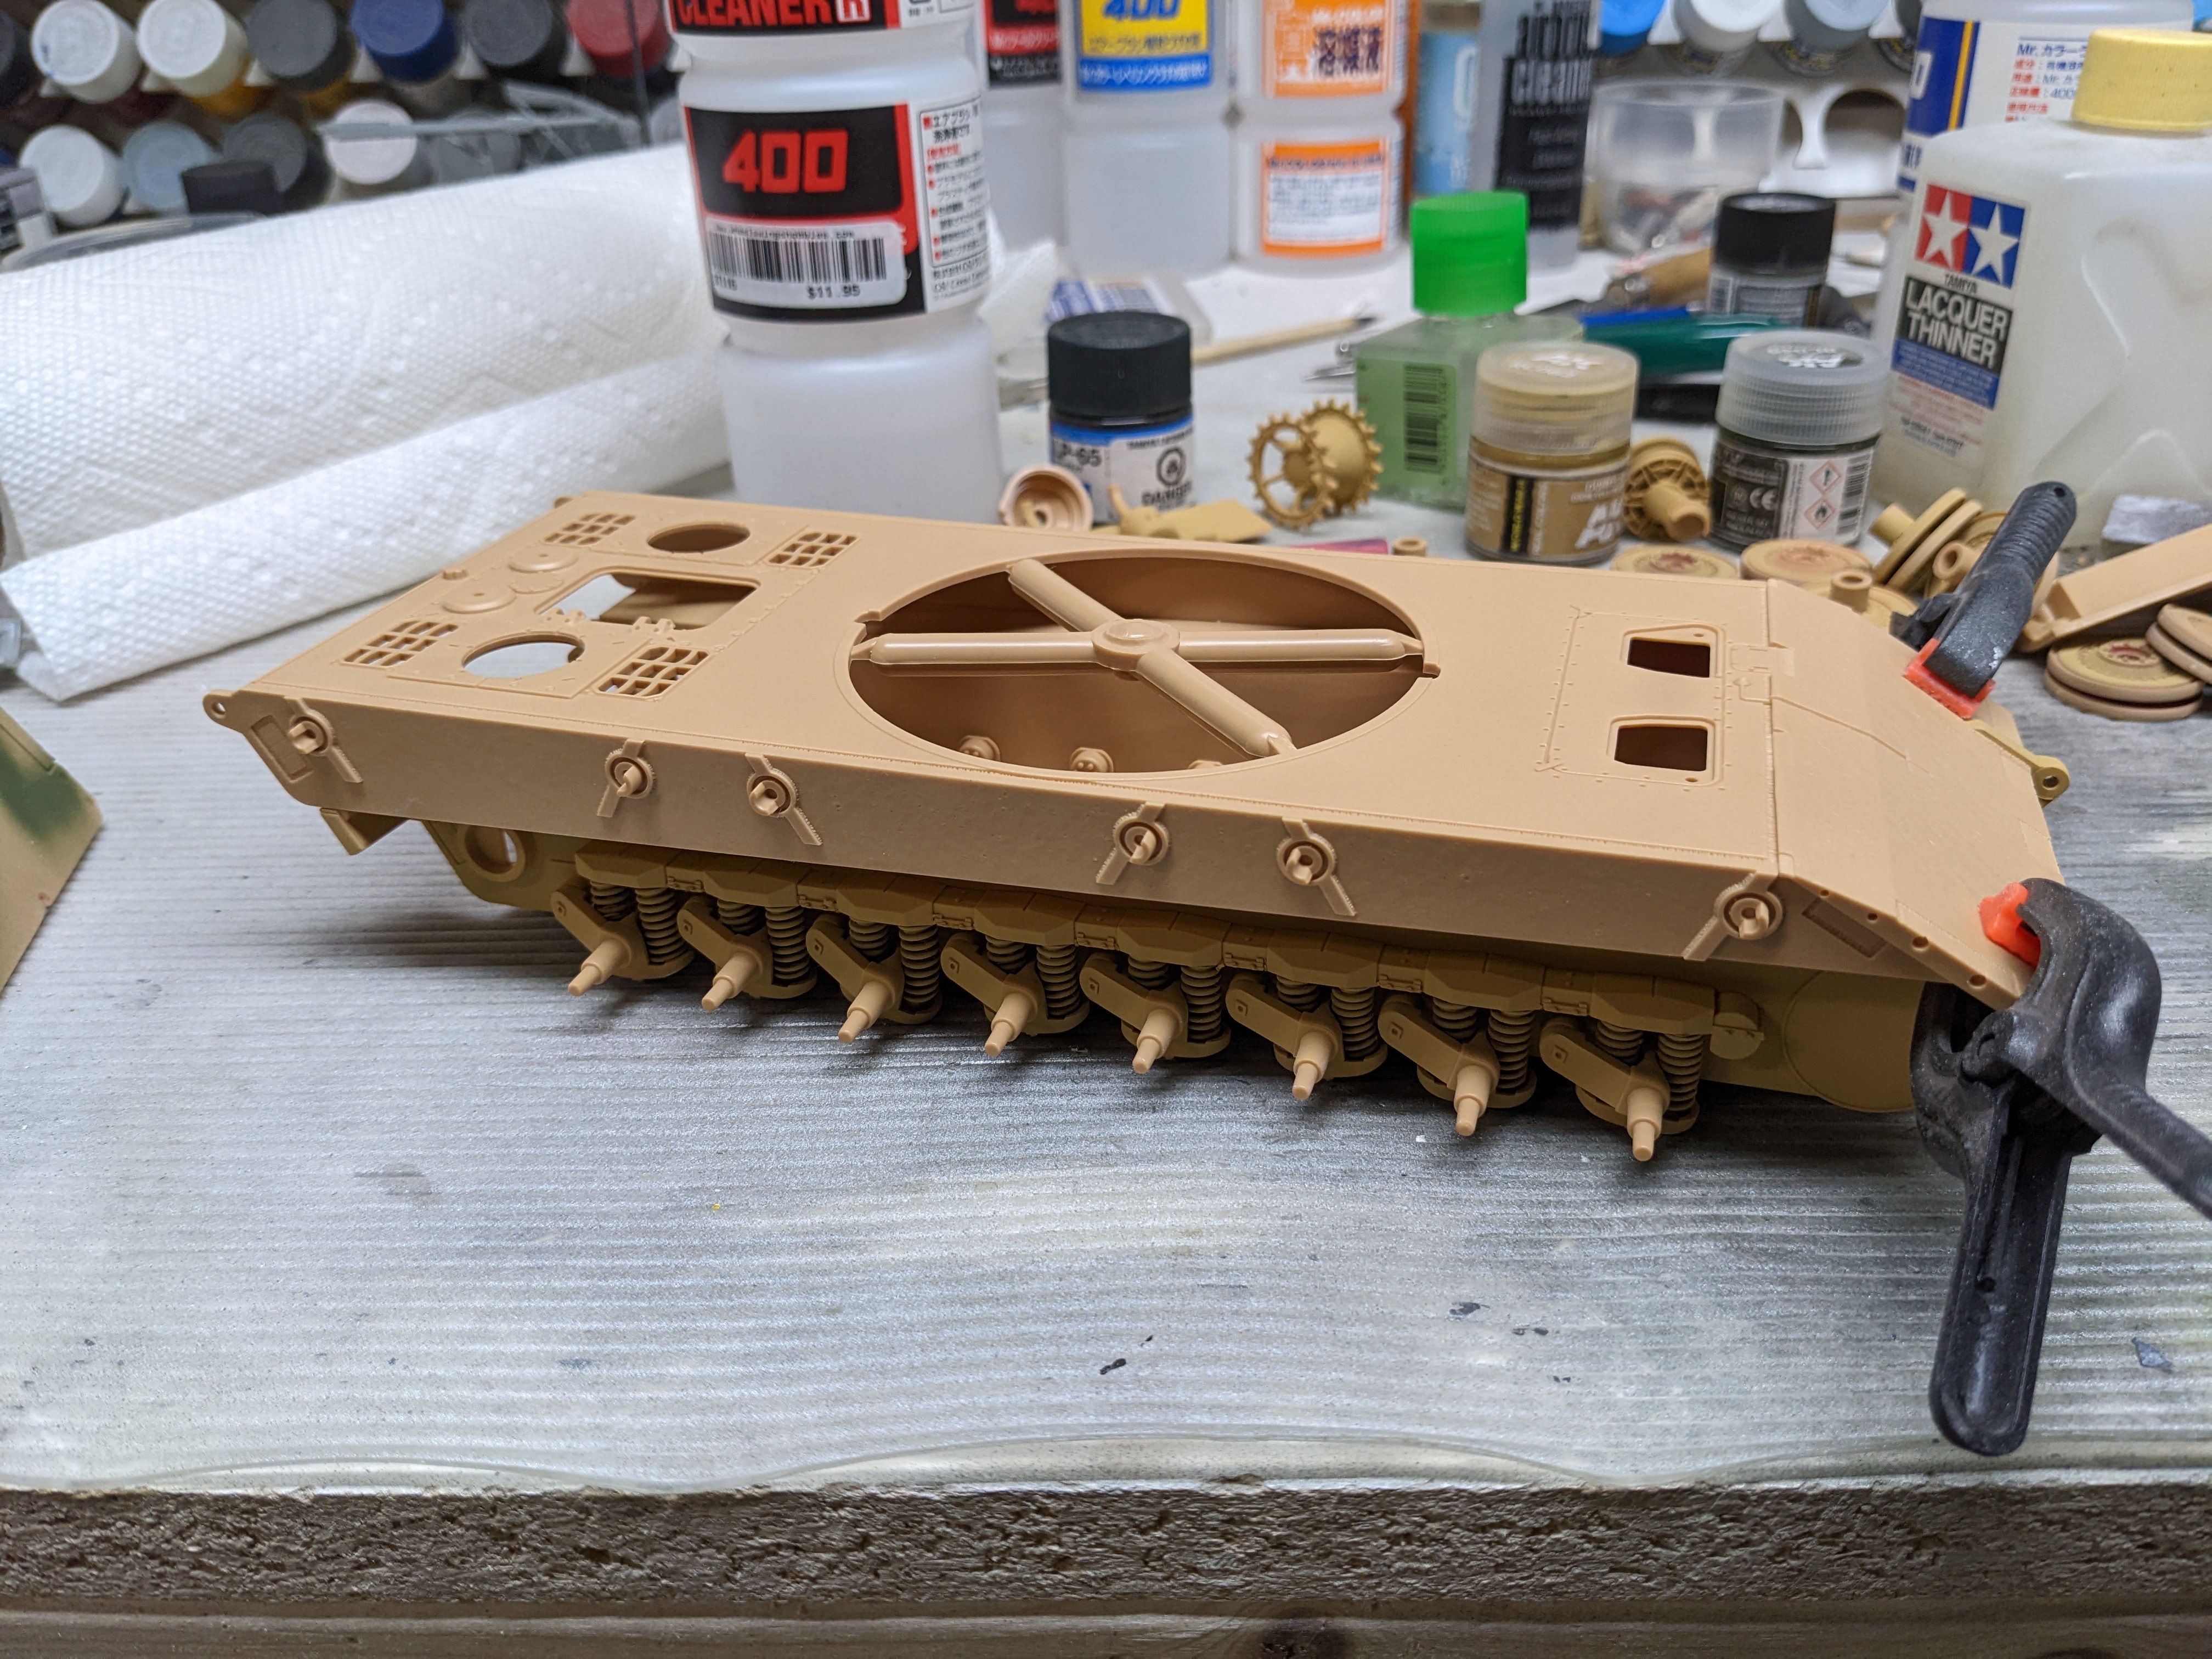
Peter, it's the Amusing Hobby E100 heavy tank. It's a bit of a WHIF as they only got as far as a single chassis before the war ended. The Brits ended up using it for target practice. I needed something to work on that was easy while assemblies on the CF-104 were drying. -
What is on your bench right now ? Share a picture :)
BlrwestSiR replied to Martinnfb's topic in Modelling Discussion
Upper hull, meet lower hull: