BlrwestSiR
-
Posts
9,098 -
Joined
-
Last visited
Content Type
Profiles
Forums
Events
Gallery
Everything posted by BlrwestSiR
-
Nice work on the Phantom Peter. Glad to hear your hands are getting better. I just got told by my LHS the ZM F-4EJ kit came in and they're holding one for me. Hope to swing by and grab it later in the week. Looks like I'm going to be slipping into 1/48 for some subjects too. Carl
-
Hopefully the masks don't take too long to get to you.
-

Fw190A-8 3/JG1 crash Vreeland
BlrwestSiR replied to JeroenPeters's topic in LSM 1/35 and Larger Work In Progress
Nice! Surprised about the Eduard bits being not usable but I guess it happens. Carl -
Tamiya 1/12 Porsche 910
BlrwestSiR replied to Kpnuts's topic in LSM 1/35 and Larger Work In Progress
Looks great. The more I see of your build, the more I'm tempted by the kit. Carl -
Which means impossible to get in Canada. Unless you smuggle them in yourself...
-
What is on your bench right now ? Share a picture :)
BlrwestSiR replied to Martinnfb's topic in Modelling Discussion
Trying to keep Sunny from drinking my decal water...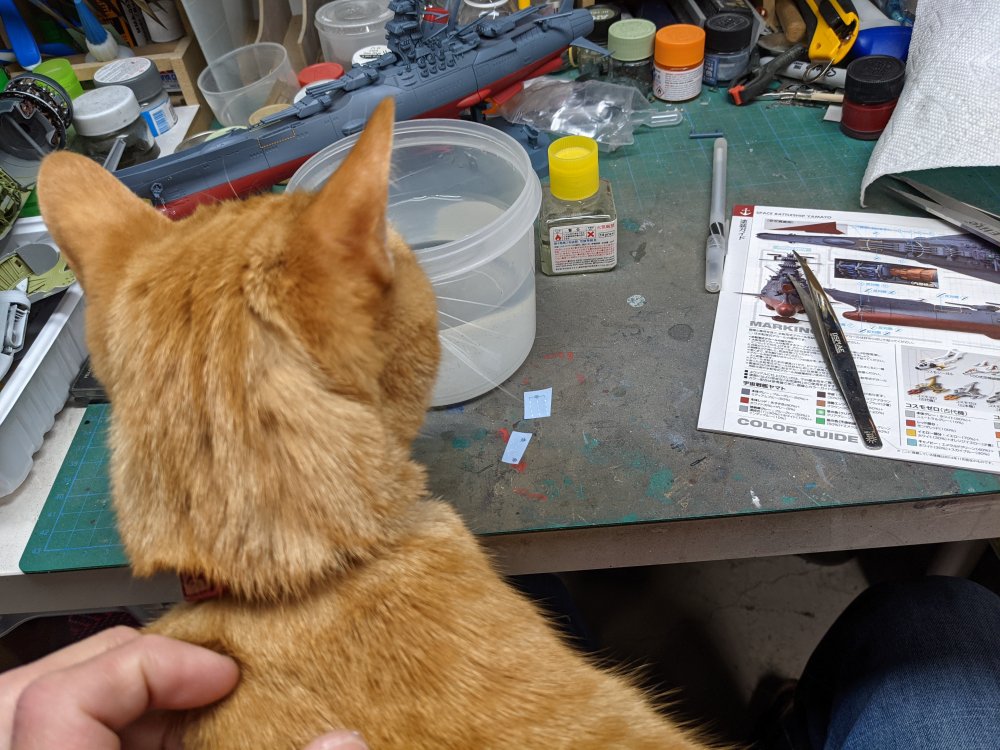
-
John is a master at it.
-
What is on your bench right now ? Share a picture :)
BlrwestSiR replied to Martinnfb's topic in Modelling Discussion
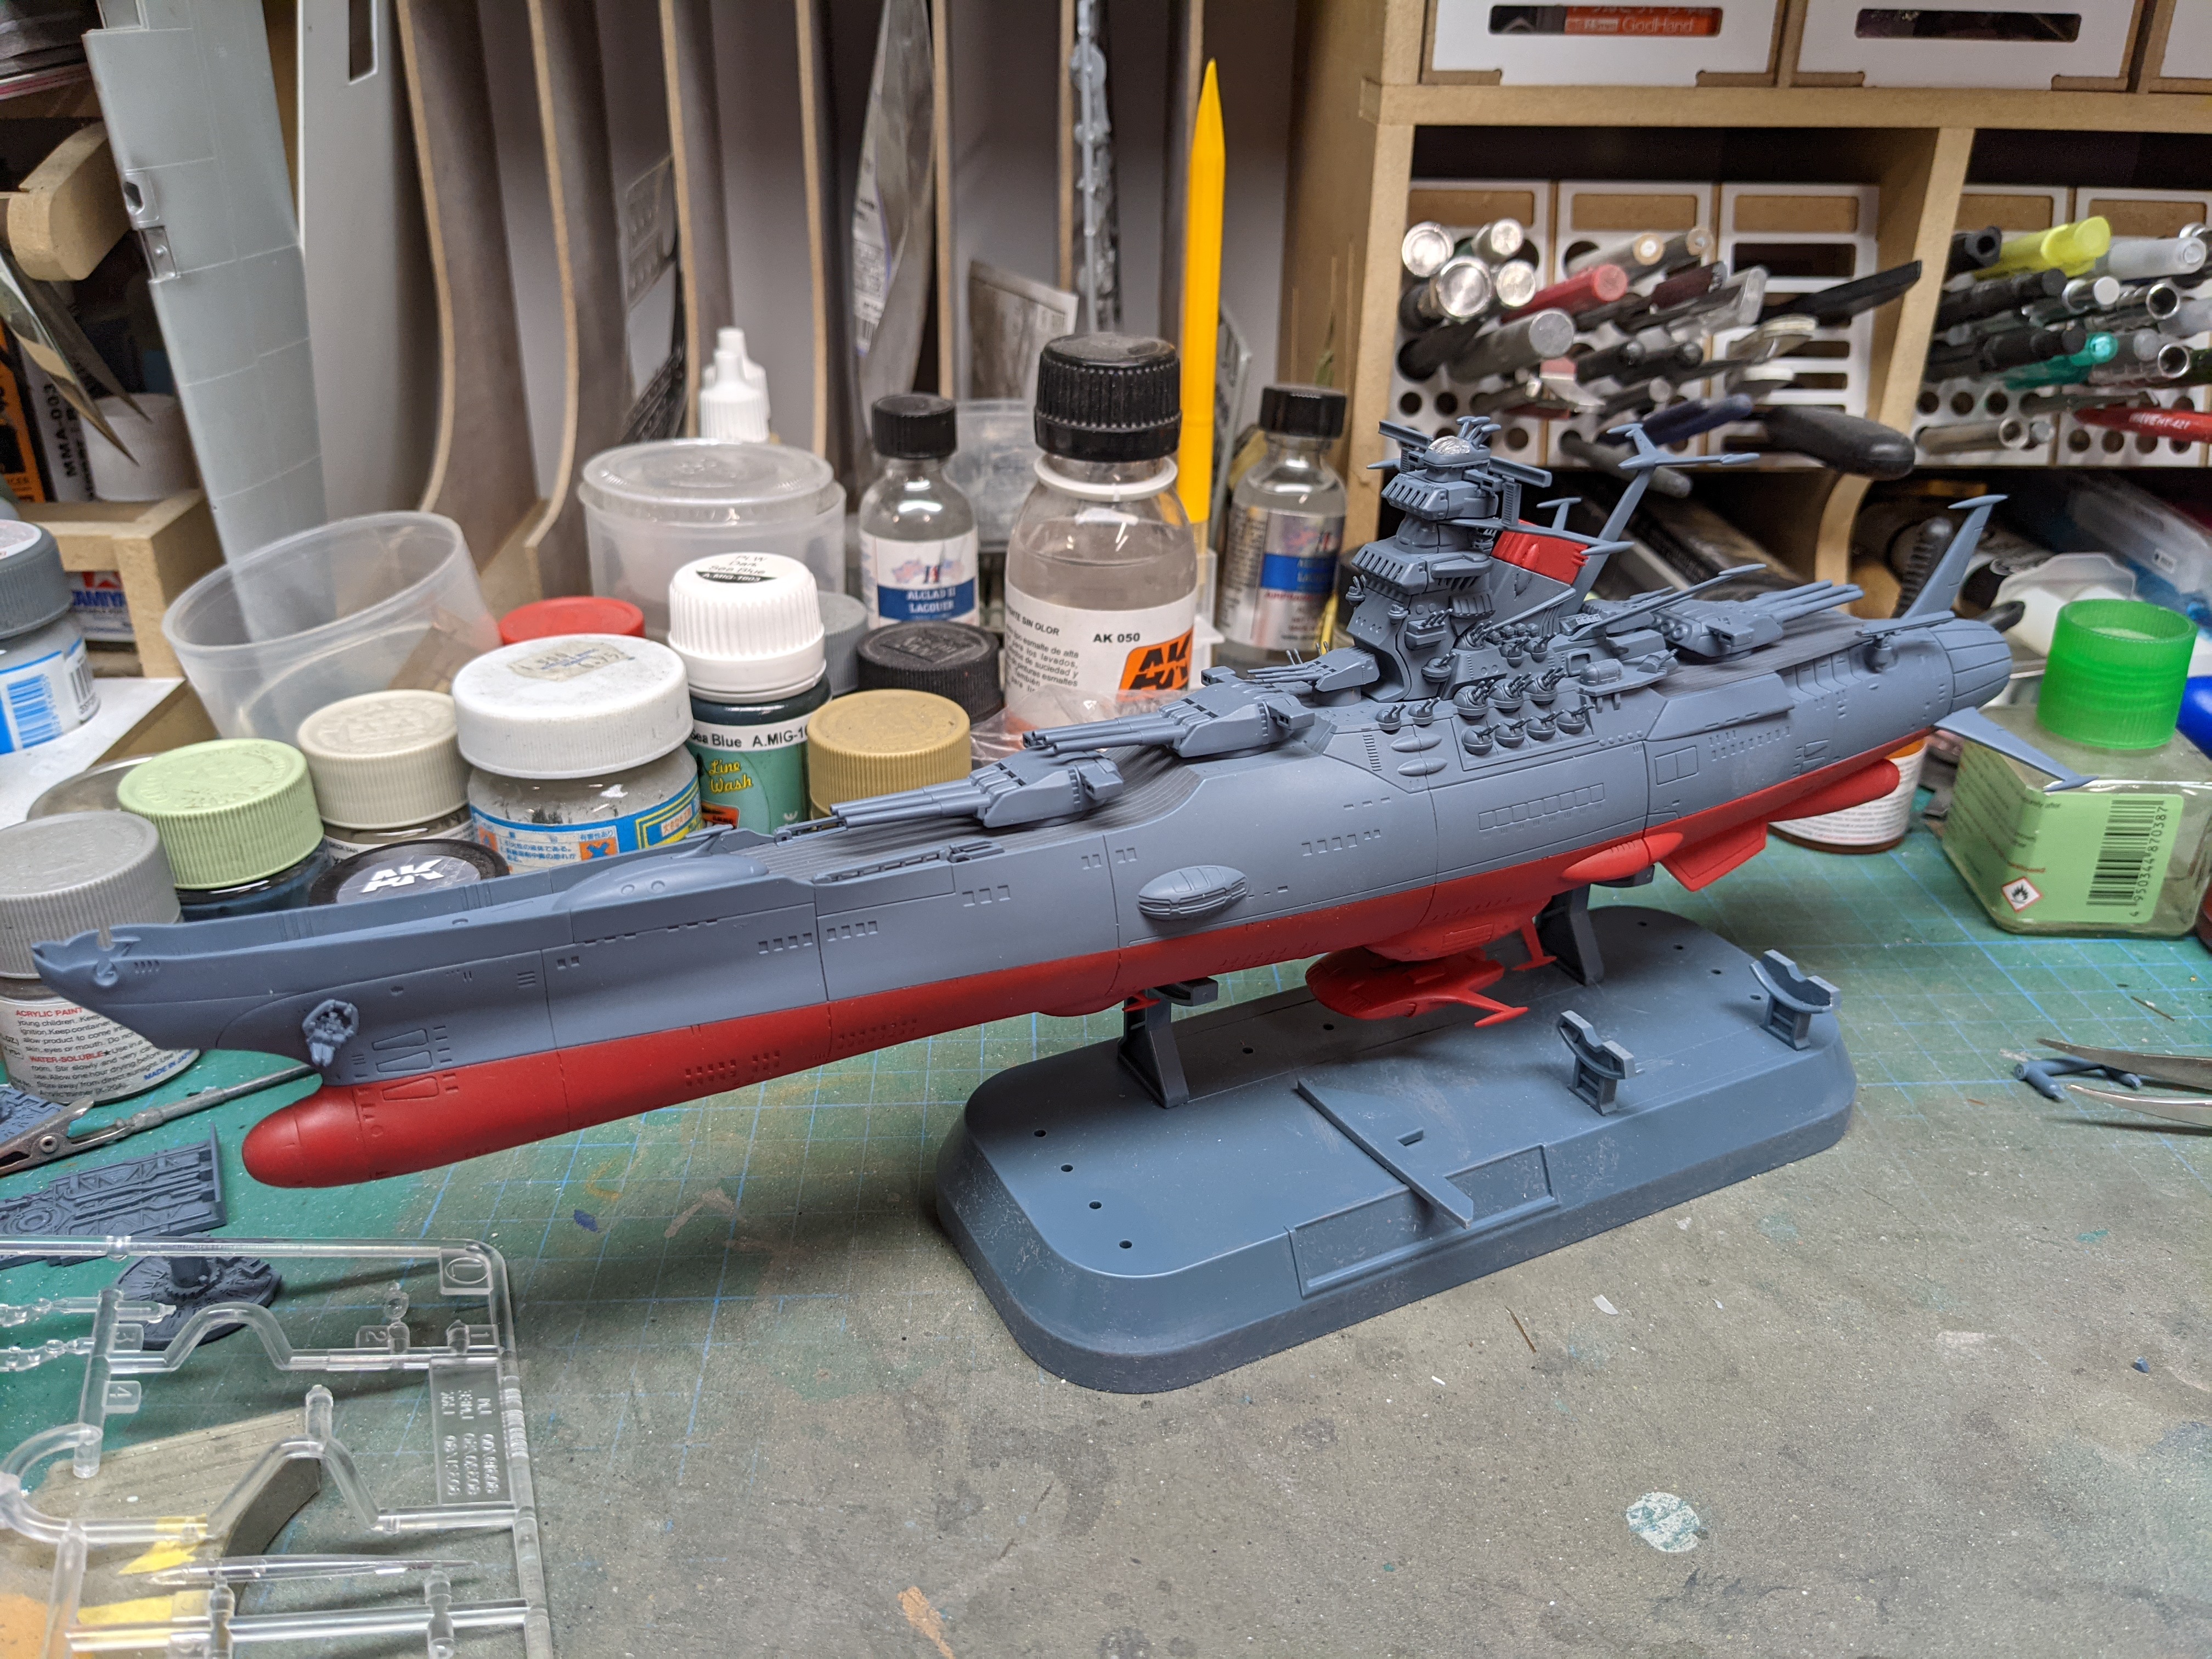
Assembly is done, time for decals.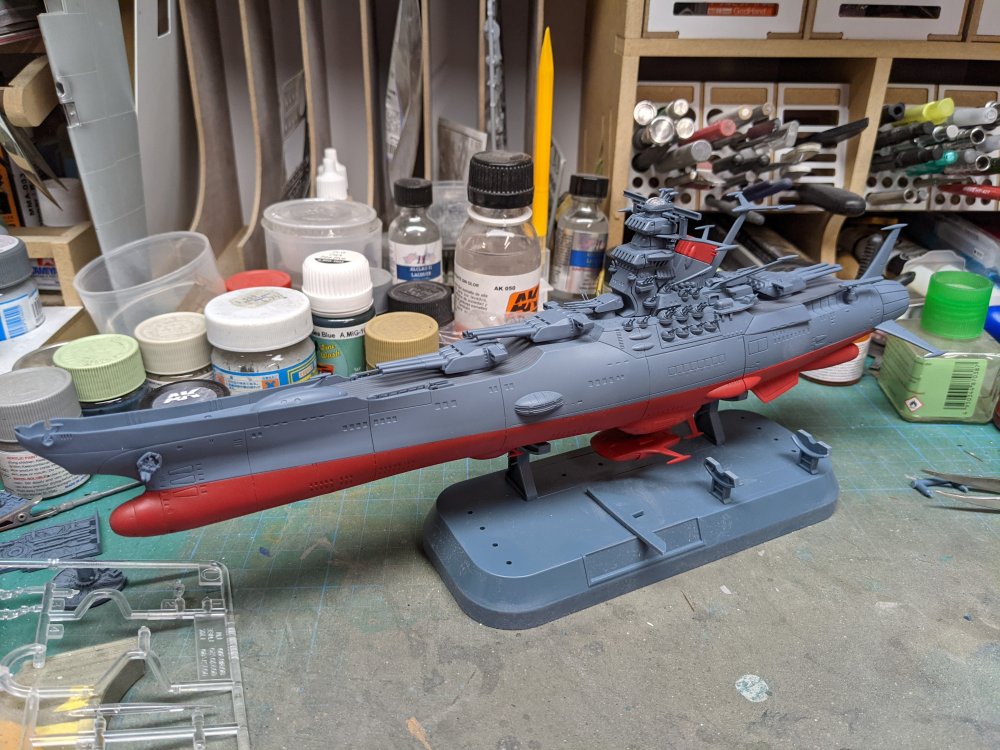
-
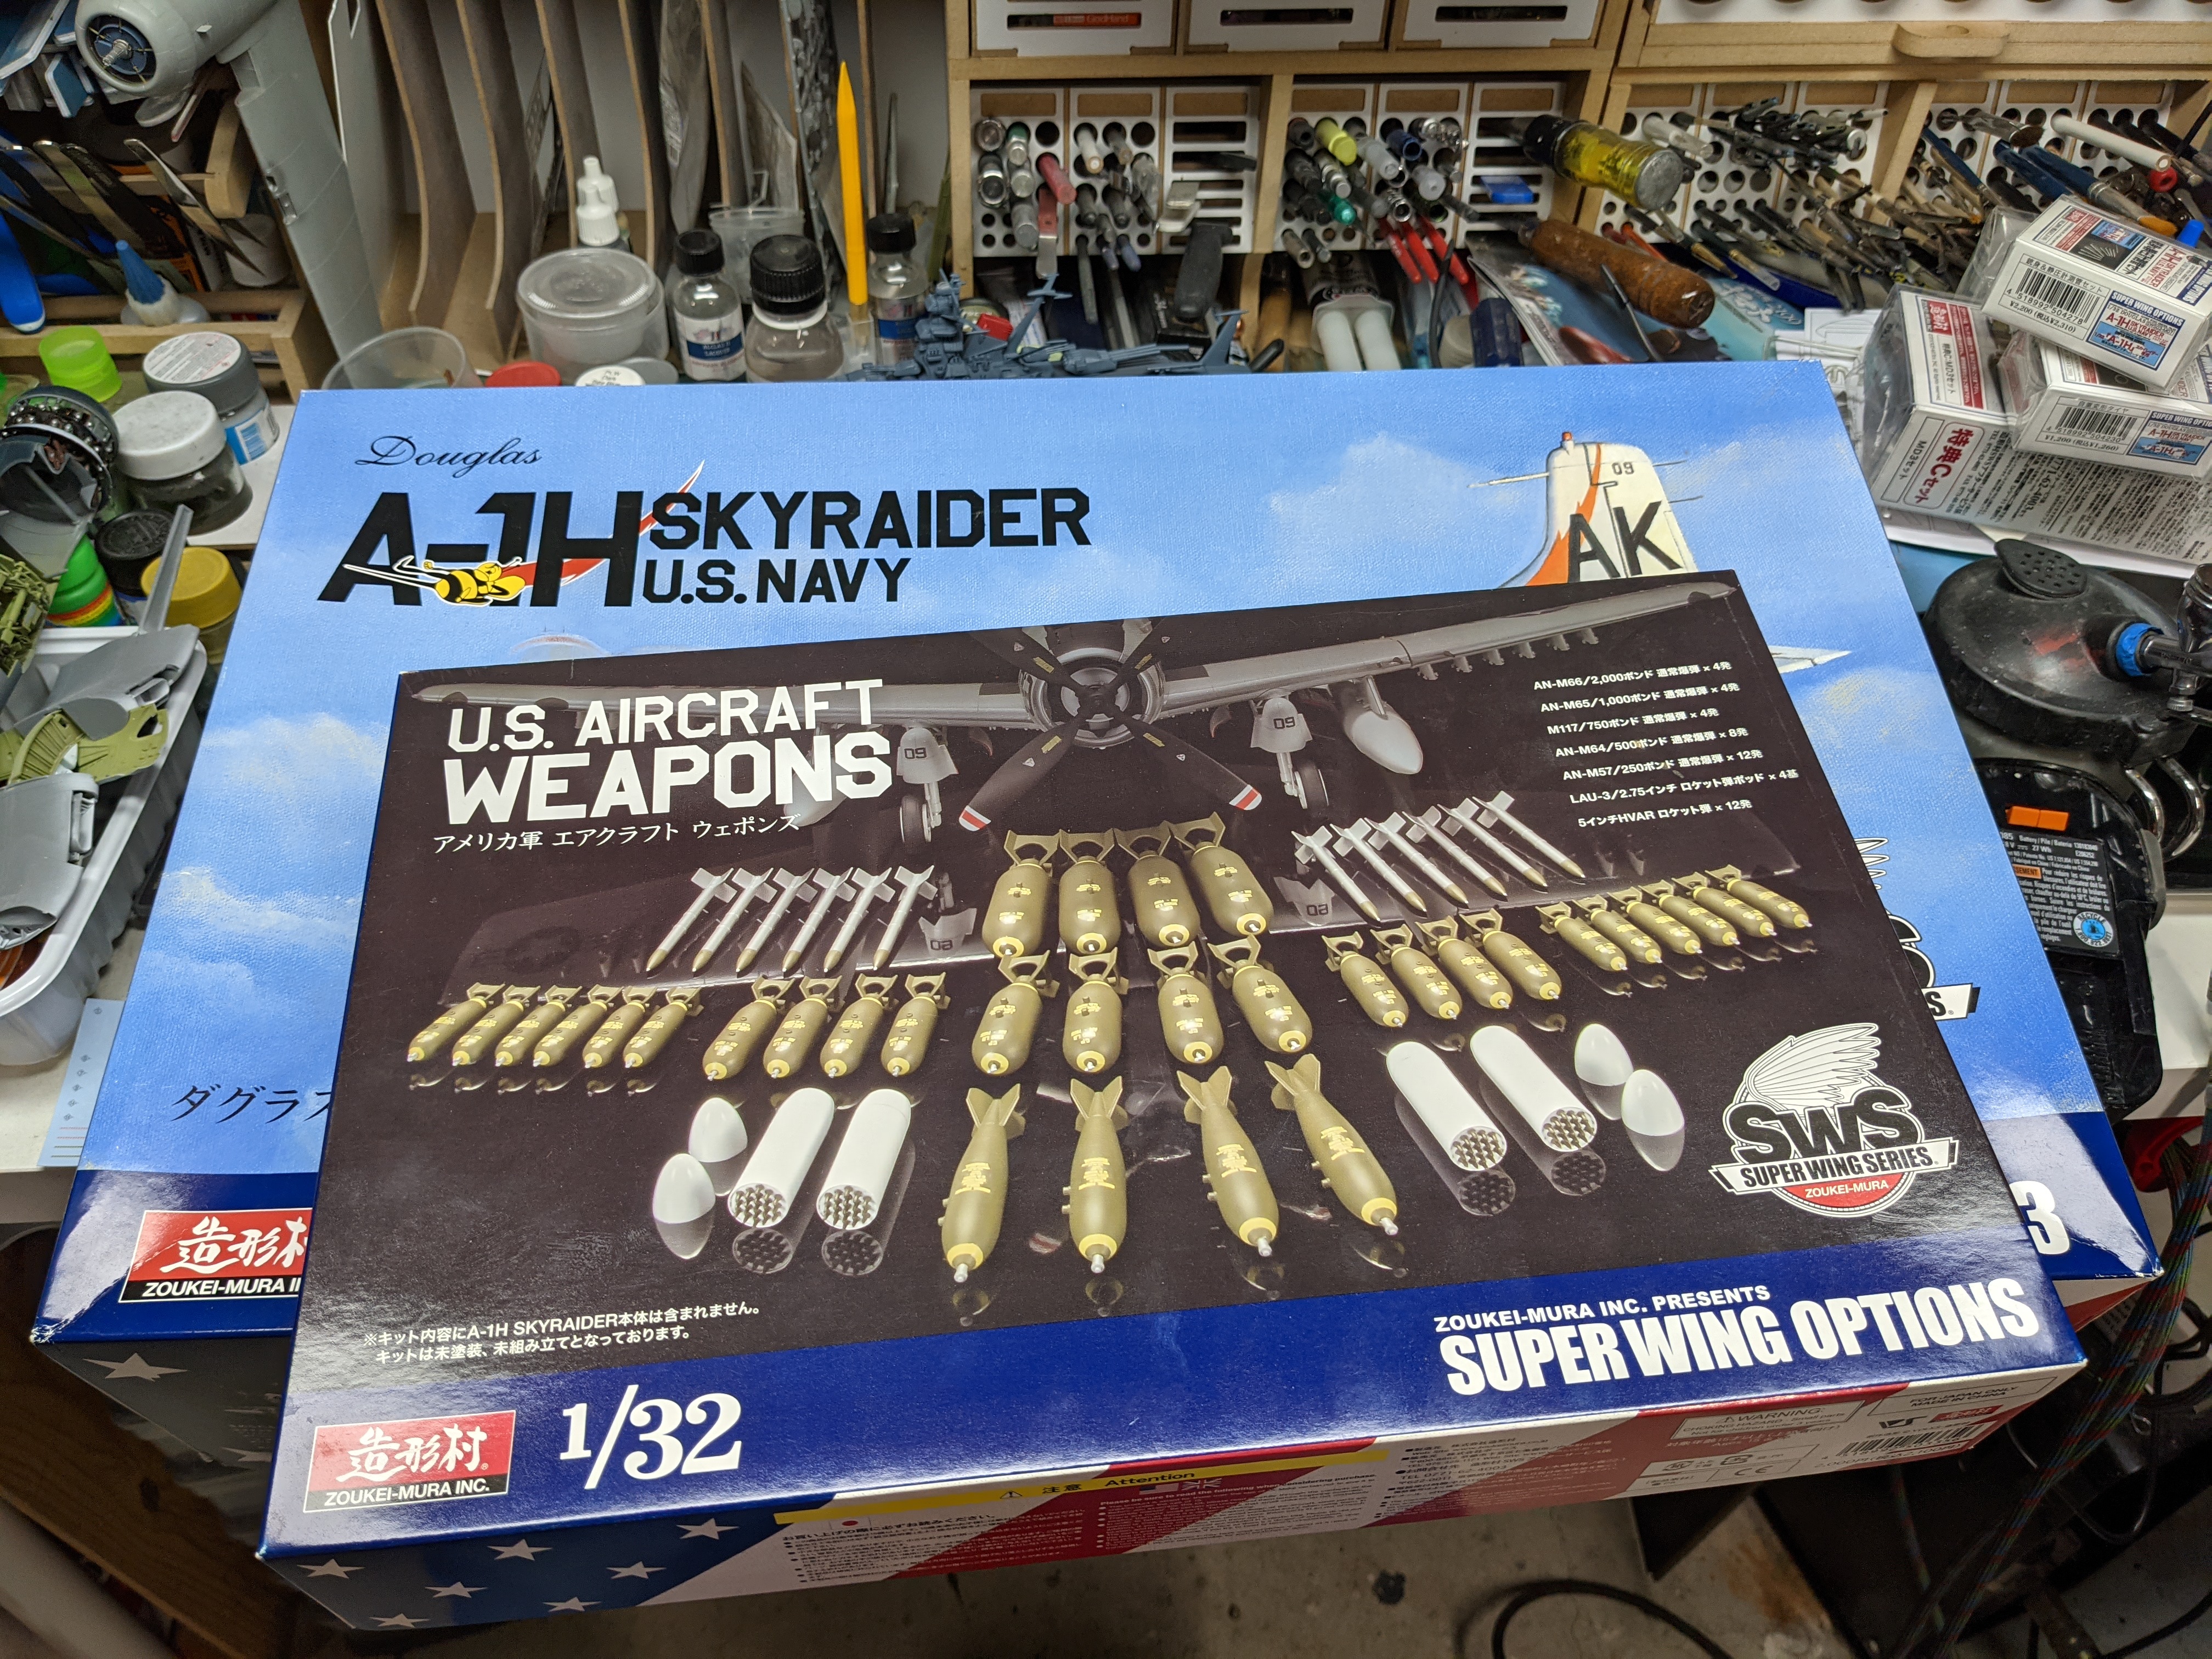
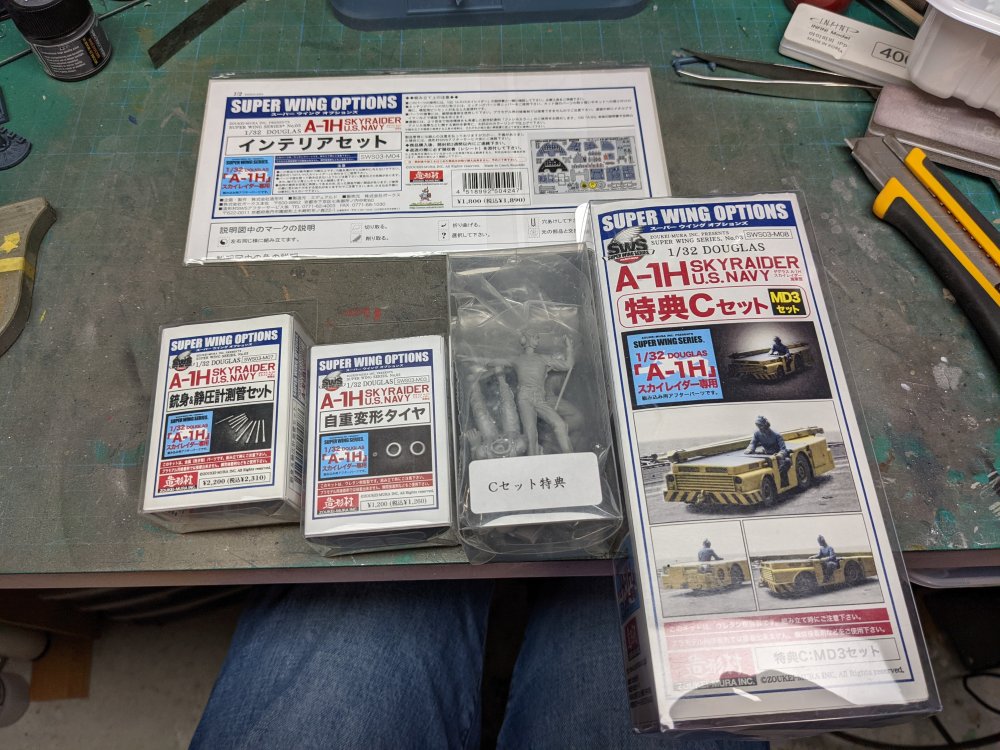
Just had another package show up. Saw a ZM A-1H for sale and the price was too good to pass up. All the above was $140 CAD shipped. I might just do the box markings this time. Or if I can find the toilet bomber...

-
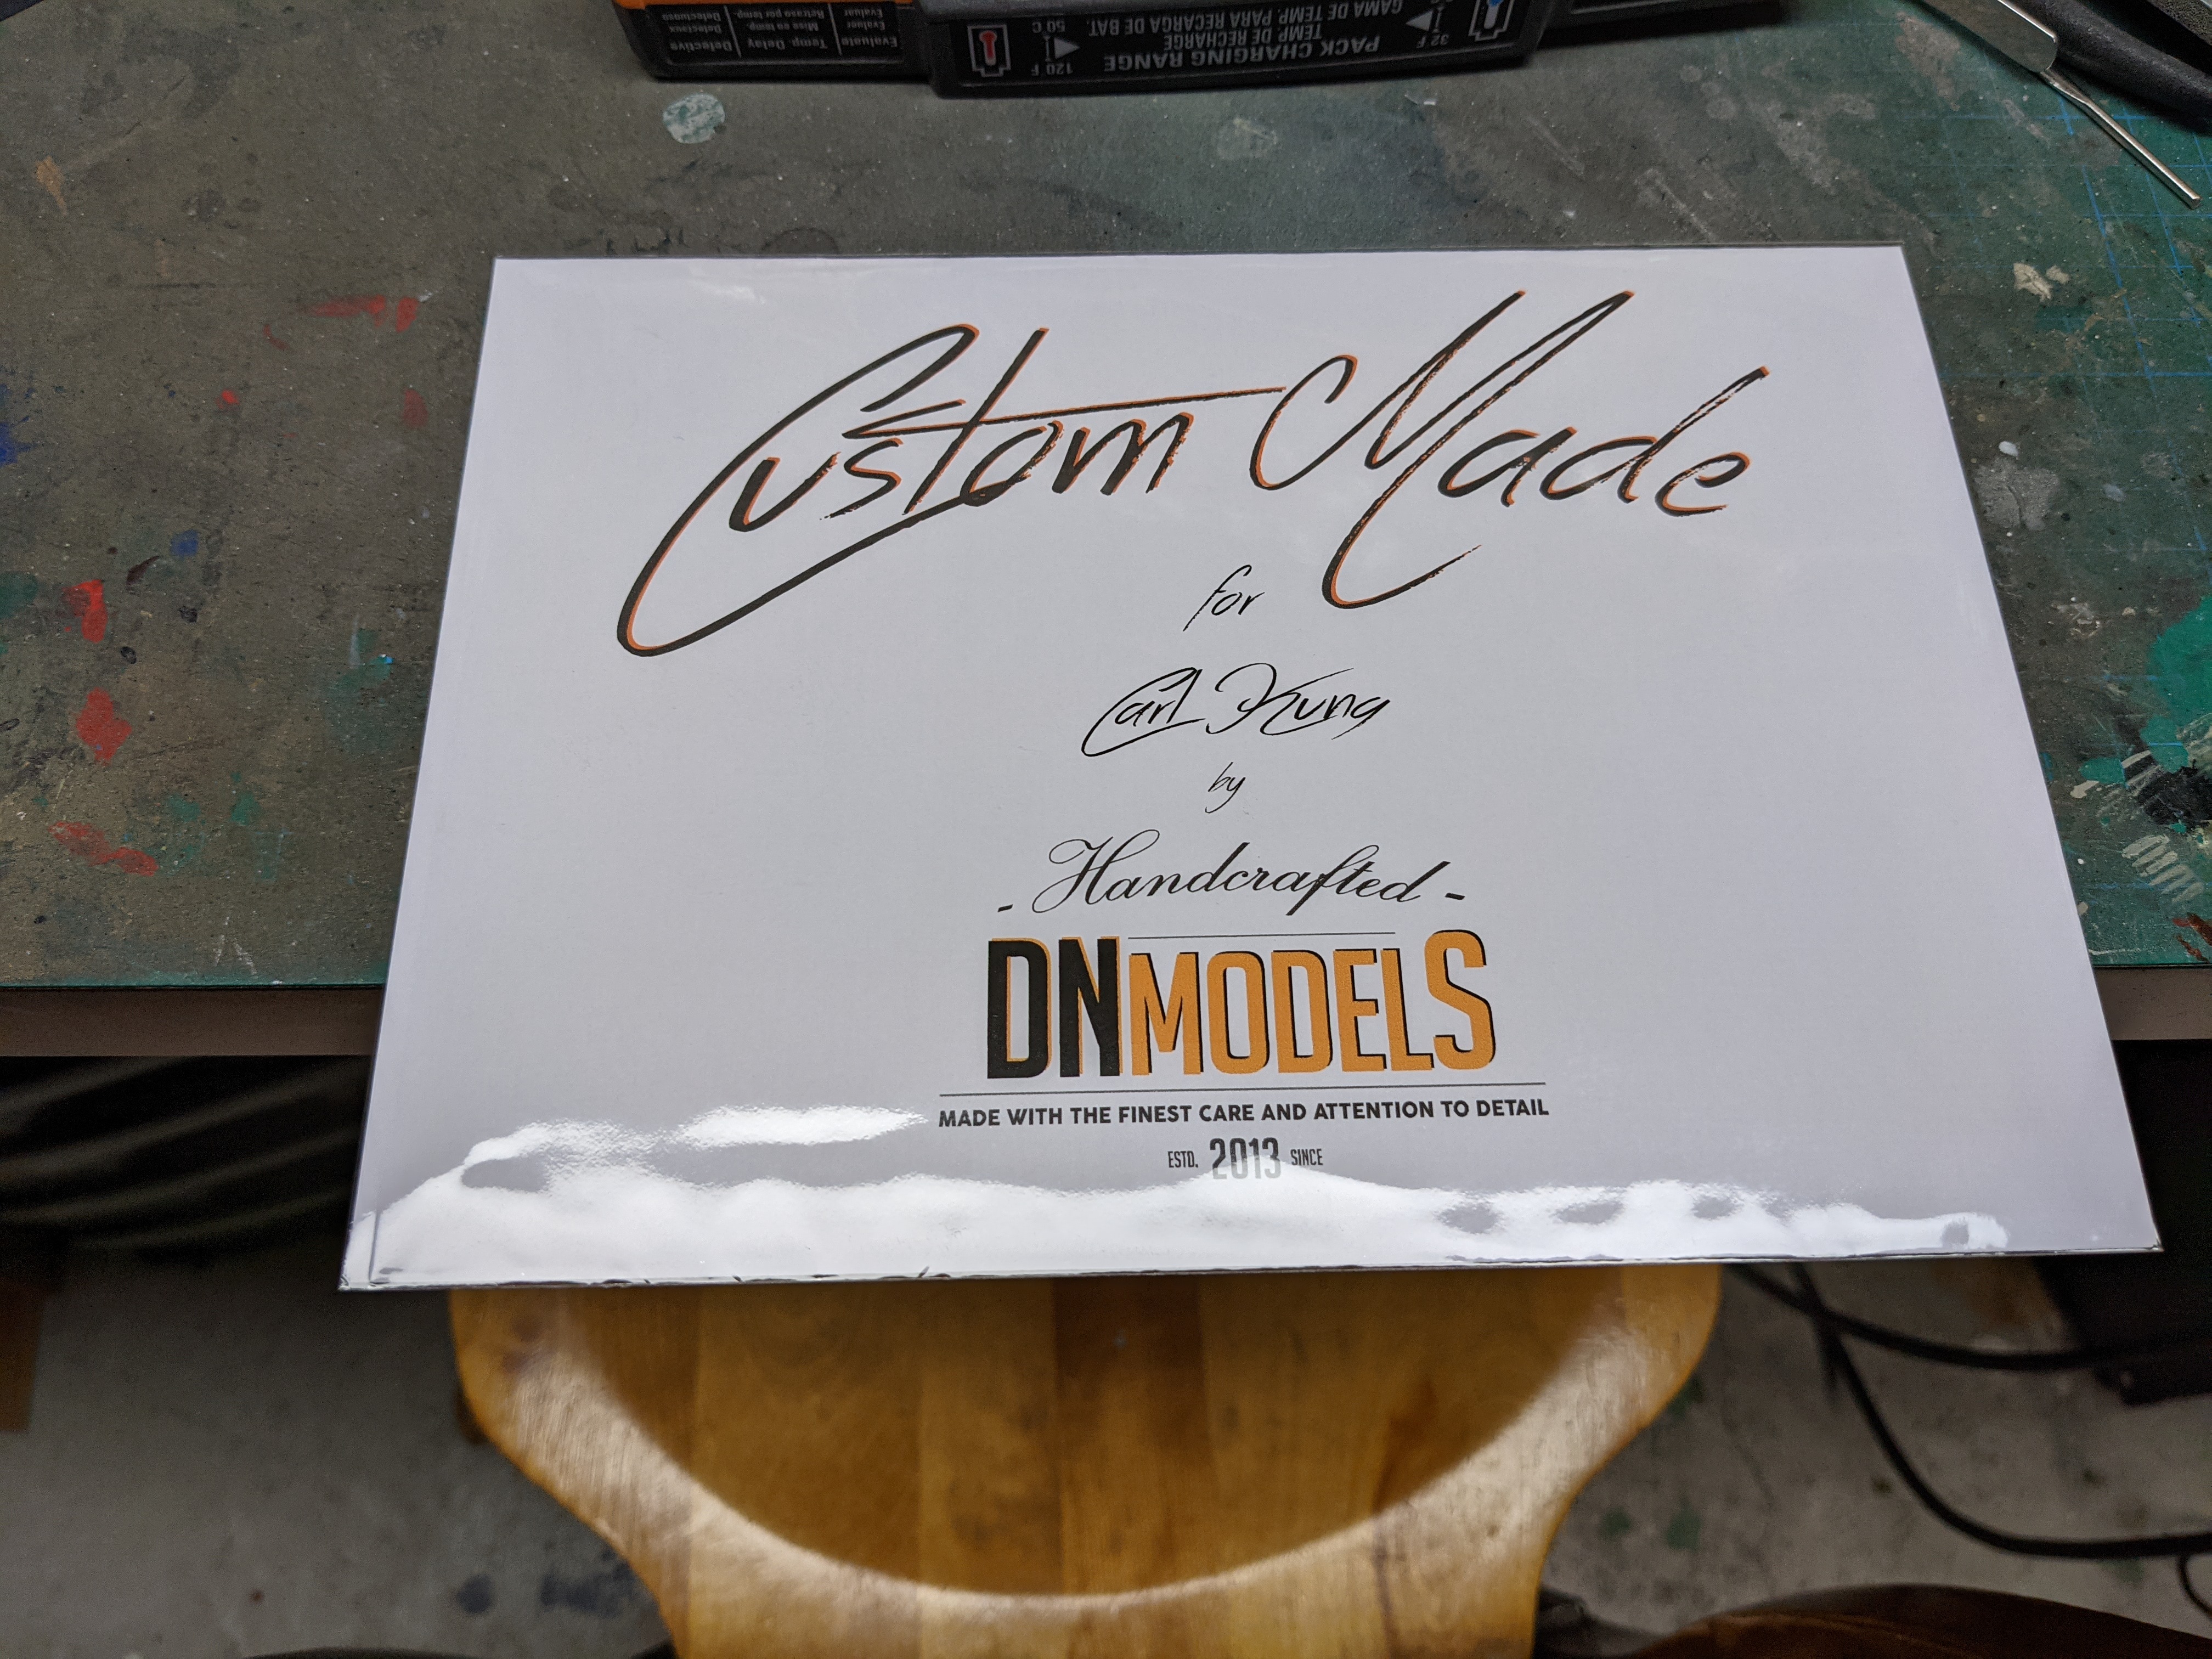
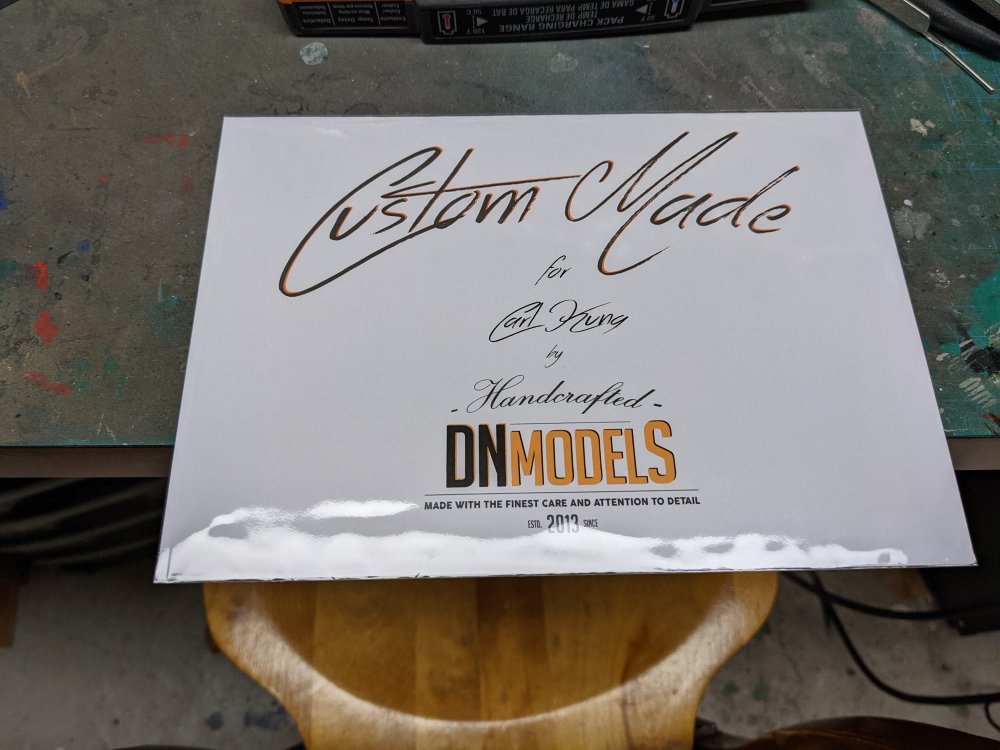
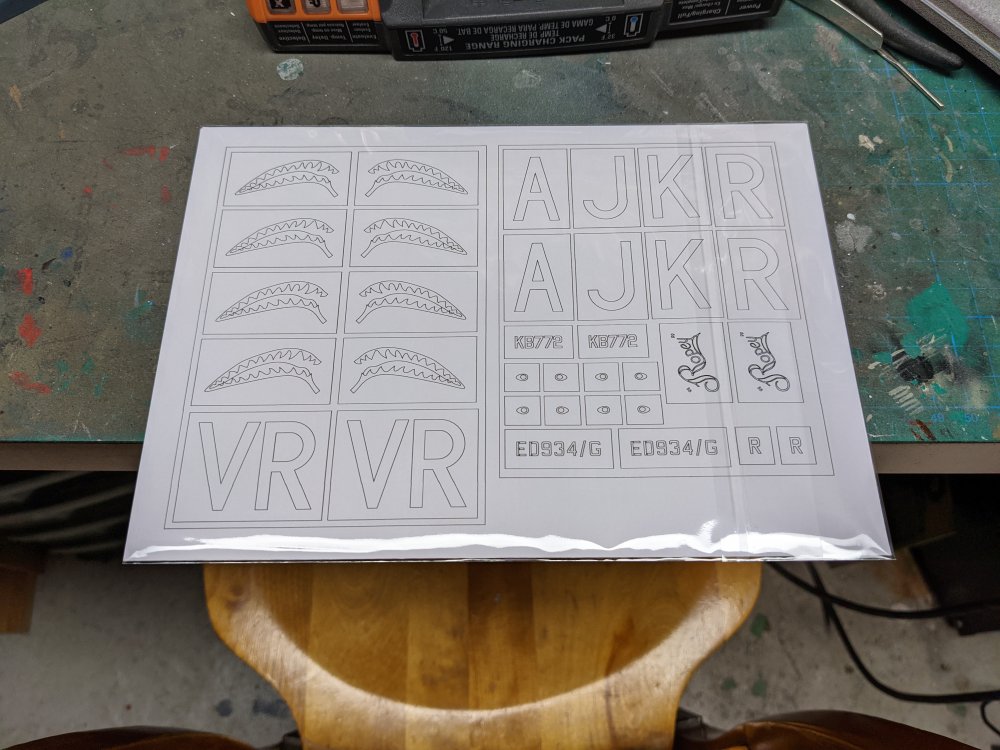
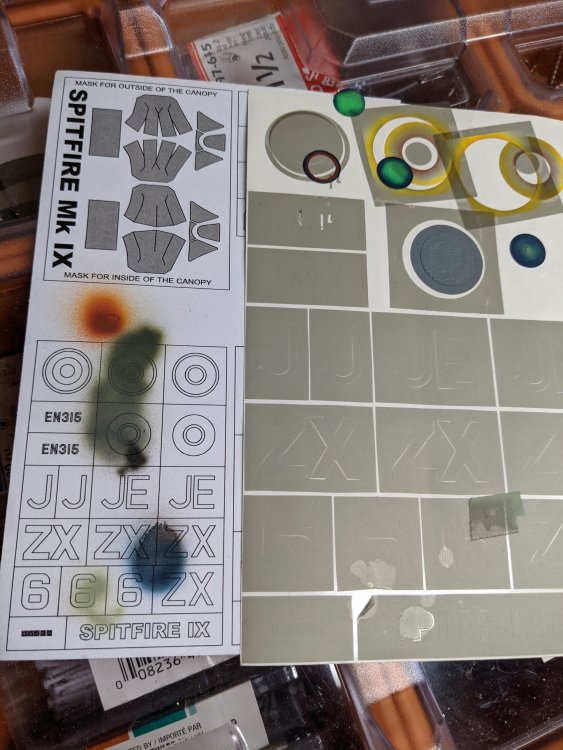
I got some custom masks done by DN Models. They're for the pair of HK Lancs that are in my stash. VR-R and the shark mouths go on R for Ropey which was a regular Lanc. AJ-K (ED934) was a Dambuster Lanc piloted by a Canadian P/O Vernon Byers. His Lancaster was the first to be shot down on the raid and unfortunately none of the crew survived.
-
If you need just the codes, I have them. The EN315 would have to done after the camo though as some of the numbers are only partials. Let me know. Carl
-
Italeri F-86 Sabre into a Canadair Mk6
BlrwestSiR replied to BlrwestSiR's topic in Modelling Discussion
I'm thinking these: https://www.ebay.com.au/itm/203126488541 NMF, checkerboards and stripes. -
True. Back seat perhaps?
- 2,035 replies
-
- 3
-

-
- car related stuff
- anything about cars
- (and 6 more)
-
Italeri F-86 Sabre into a Canadair Mk6
BlrwestSiR replied to BlrwestSiR's topic in Modelling Discussion
Peter, for the Mk6, it looks like I'd need the sugar scoop intakes on the rear fuselage and the 6-3 wing which the kit I bought doesn't have. But I can build a Mk4 OOB more or less so that's what I'm going to do. Now to find some suitable decals. Carl -
V2-Escape from hell ( Девятаев ) NEW MOVIE !!!
BlrwestSiR replied to Martinnfb's topic in General Discussion
Thanks Martin! Very interesting story. -
I help out a real estate company with staging homes for sale. There was one home where we took over 100 of those paint cans out of it. We had to take them to one of the city's dumps where they'd dispose of them accordingly. The home owner made picture frames as a hobby. Along with the paint cans, there was over 1,300kg (2,800 lbs or so) of glass, frames and other stuff in their basement. The agent couldn't believe it. Good luck with the move Scott, hope everything arrives safely. Don't let the wife bully you into decluttering just your stuff.
-
There's a company making a electric "crate motor" that will basically fit wherever an LS small block does. It even has the same mounting points.
- 2,035 replies
-
- 4
-

-

-
- car related stuff
- anything about cars
- (and 6 more)
-
What is on your bench right now ? Share a picture :)
BlrwestSiR replied to Martinnfb's topic in Modelling Discussion
The wings look great. Really nice job on the weathering. Carl -
Congrats on the new job Mark!
-
Dale Cleary (Sir Desmond Glazebrook) passed away.
BlrwestSiR replied to MARU 5137's topic in General Discussion
Rest in peace Dale. Carl -
Good Poppy!
- 2,035 replies
-
- 3
-
-
- car related stuff
- anything about cars
- (and 6 more)
-
Tamiya Sturmgeschutze IIIG with Ostketten
BlrwestSiR replied to GazzaS's topic in LSM Armour Finished Work
Really nice Stug Gaz! I like the figure you added too. Carl -
Fox body?
- 2,035 replies
-
- 2
-
-
- car related stuff
- anything about cars
- (and 6 more)
-
Looks good John. I'll have to try painting markings on first one day. I almost always do them after the fact.
-
What is on your bench right now ? Share a picture :)
BlrwestSiR replied to Martinnfb's topic in Modelling Discussion
To be honest, I was afraid to take the wall down not knowing what was behind it. Years ago, our architect wanted me to take a panel out and see what was behind it and I said no.