BlrwestSiR
-
Posts
9,183 -
Joined
-
Last visited
Content Type
Profiles
Forums
Events
Gallery
Everything posted by BlrwestSiR
-
Kev, the Miniart M3 is a very nice kit. The only fit issues I had were operator inflicted. I just need to get back to mine and finish it. Carl
-
I built one a little while back. It was enjoyable enough and I don't recall any huge issues with the build. I think some folks have said there are some shape issues but I didn't know enough about 109s to recognize them. Carl
-
Very nice and clean there John. Carl
-

What is on your bench right now ? Share a picture :)
BlrwestSiR replied to Martinnfb's topic in Modelling Discussion
I really don't know how I get anything done at my workbench...
-
Really lovely build John. How did you find the wing fold? I picked up the one piece wing as well as I wasn't sure if the folded wings would hold. Or worse, I'd just knock them off. Carl
-
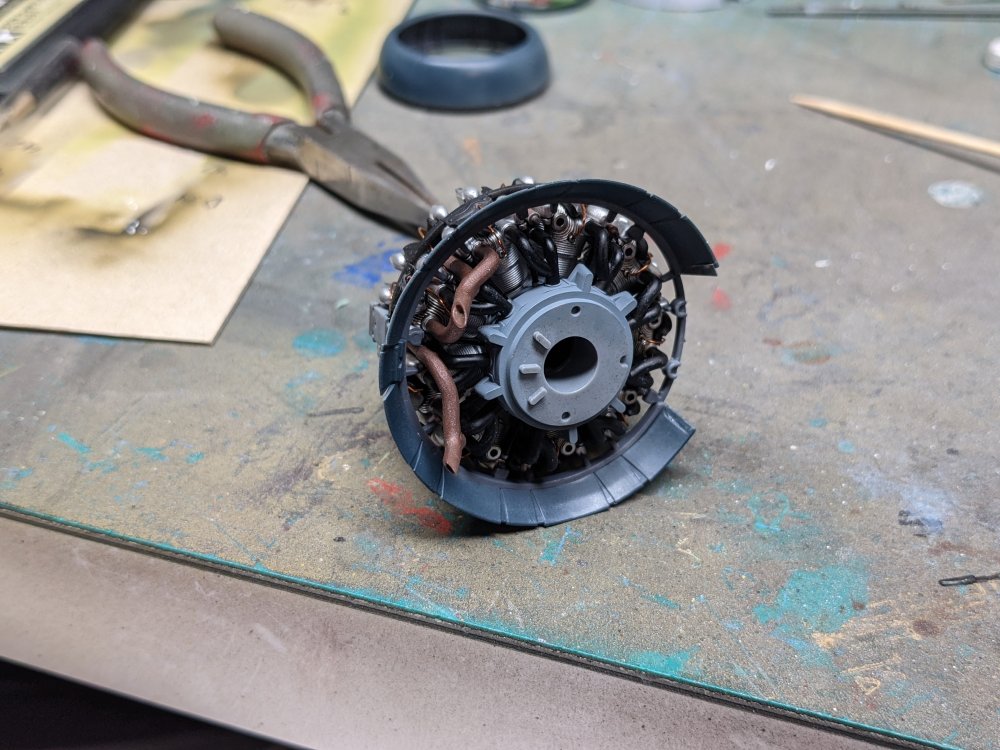
Bent wing bird- Tamiya F4U-1A
BlrwestSiR replied to BlrwestSiR's topic in LSM 1/35 and Larger Work In Progress
Well, it looks like I haven't updated this in a while. As a result I seems to have missed documenting a few steps. I attached the engine to the frame and cowl flaps. The engine then went onto the assembled fuselage. I then finished the assembly of the wing centre section. This was attached to the fuselage and that's where I am now.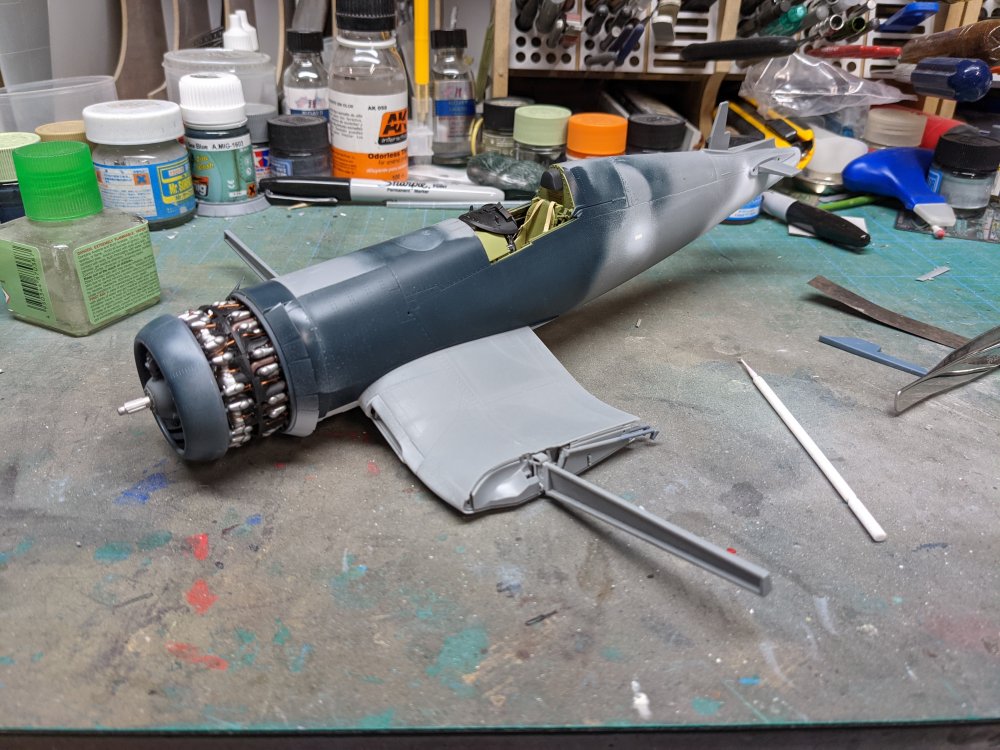
-
Atlas Cheetah E Scaleworx Conversion
BlrwestSiR replied to GusMac's topic in LSM 1/35 and Larger Work In Progress
Nice progress on this. I'm still waiting for the D conversion to come out. Carl -
Mine's a bit buried but here's most of it. I also have the F-8C and RF-8G conversion sets. Wish I had the Meteor F.8 set. Carl
-
It was posted on LSP.
-
That's what I was thinking.
-
Nice work on the Phantom Peter. Glad to hear your hands are getting better. I just got told by my LHS the ZM F-4EJ kit came in and they're holding one for me. Hope to swing by and grab it later in the week. Looks like I'm going to be slipping into 1/48 for some subjects too. Carl
-
Hopefully the masks don't take too long to get to you.
-
Fw190A-8 3/JG1 crash Vreeland
BlrwestSiR replied to JeroenPeters's topic in LSM 1/35 and Larger Work In Progress
Nice! Surprised about the Eduard bits being not usable but I guess it happens. Carl -
Tamiya 1/12 Porsche 910
BlrwestSiR replied to Kpnuts's topic in LSM 1/35 and Larger Work In Progress
Looks great. The more I see of your build, the more I'm tempted by the kit. Carl -
Which means impossible to get in Canada. Unless you smuggle them in yourself...
-
What is on your bench right now ? Share a picture :)
BlrwestSiR replied to Martinnfb's topic in Modelling Discussion
Trying to keep Sunny from drinking my decal water...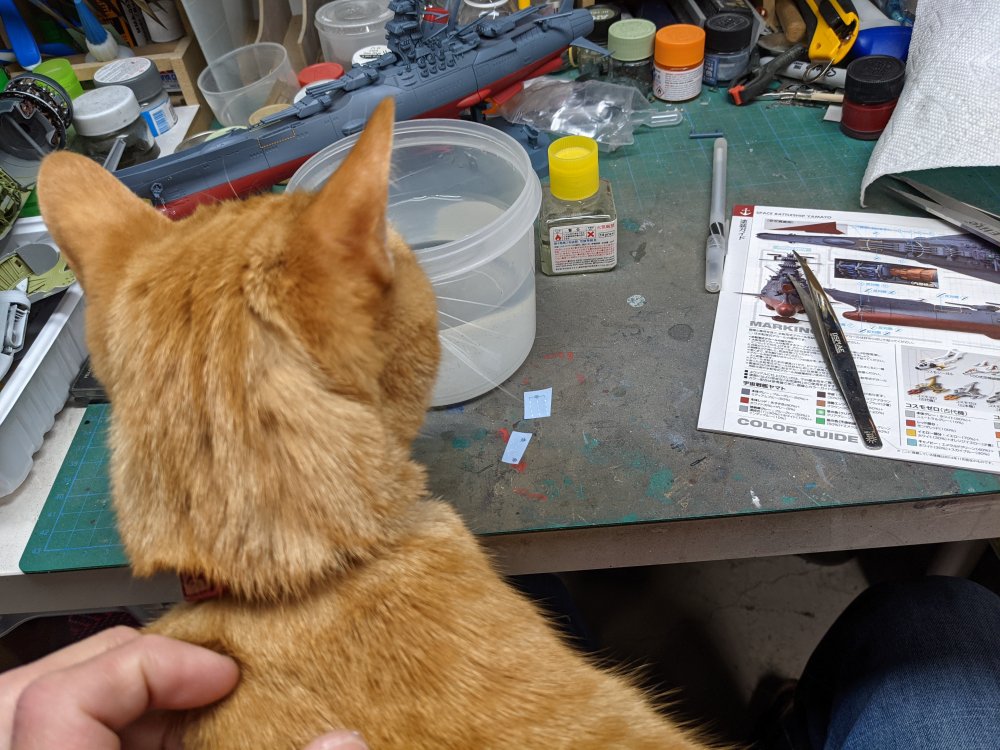
-
John is a master at it.
-
What is on your bench right now ? Share a picture :)
BlrwestSiR replied to Martinnfb's topic in Modelling Discussion
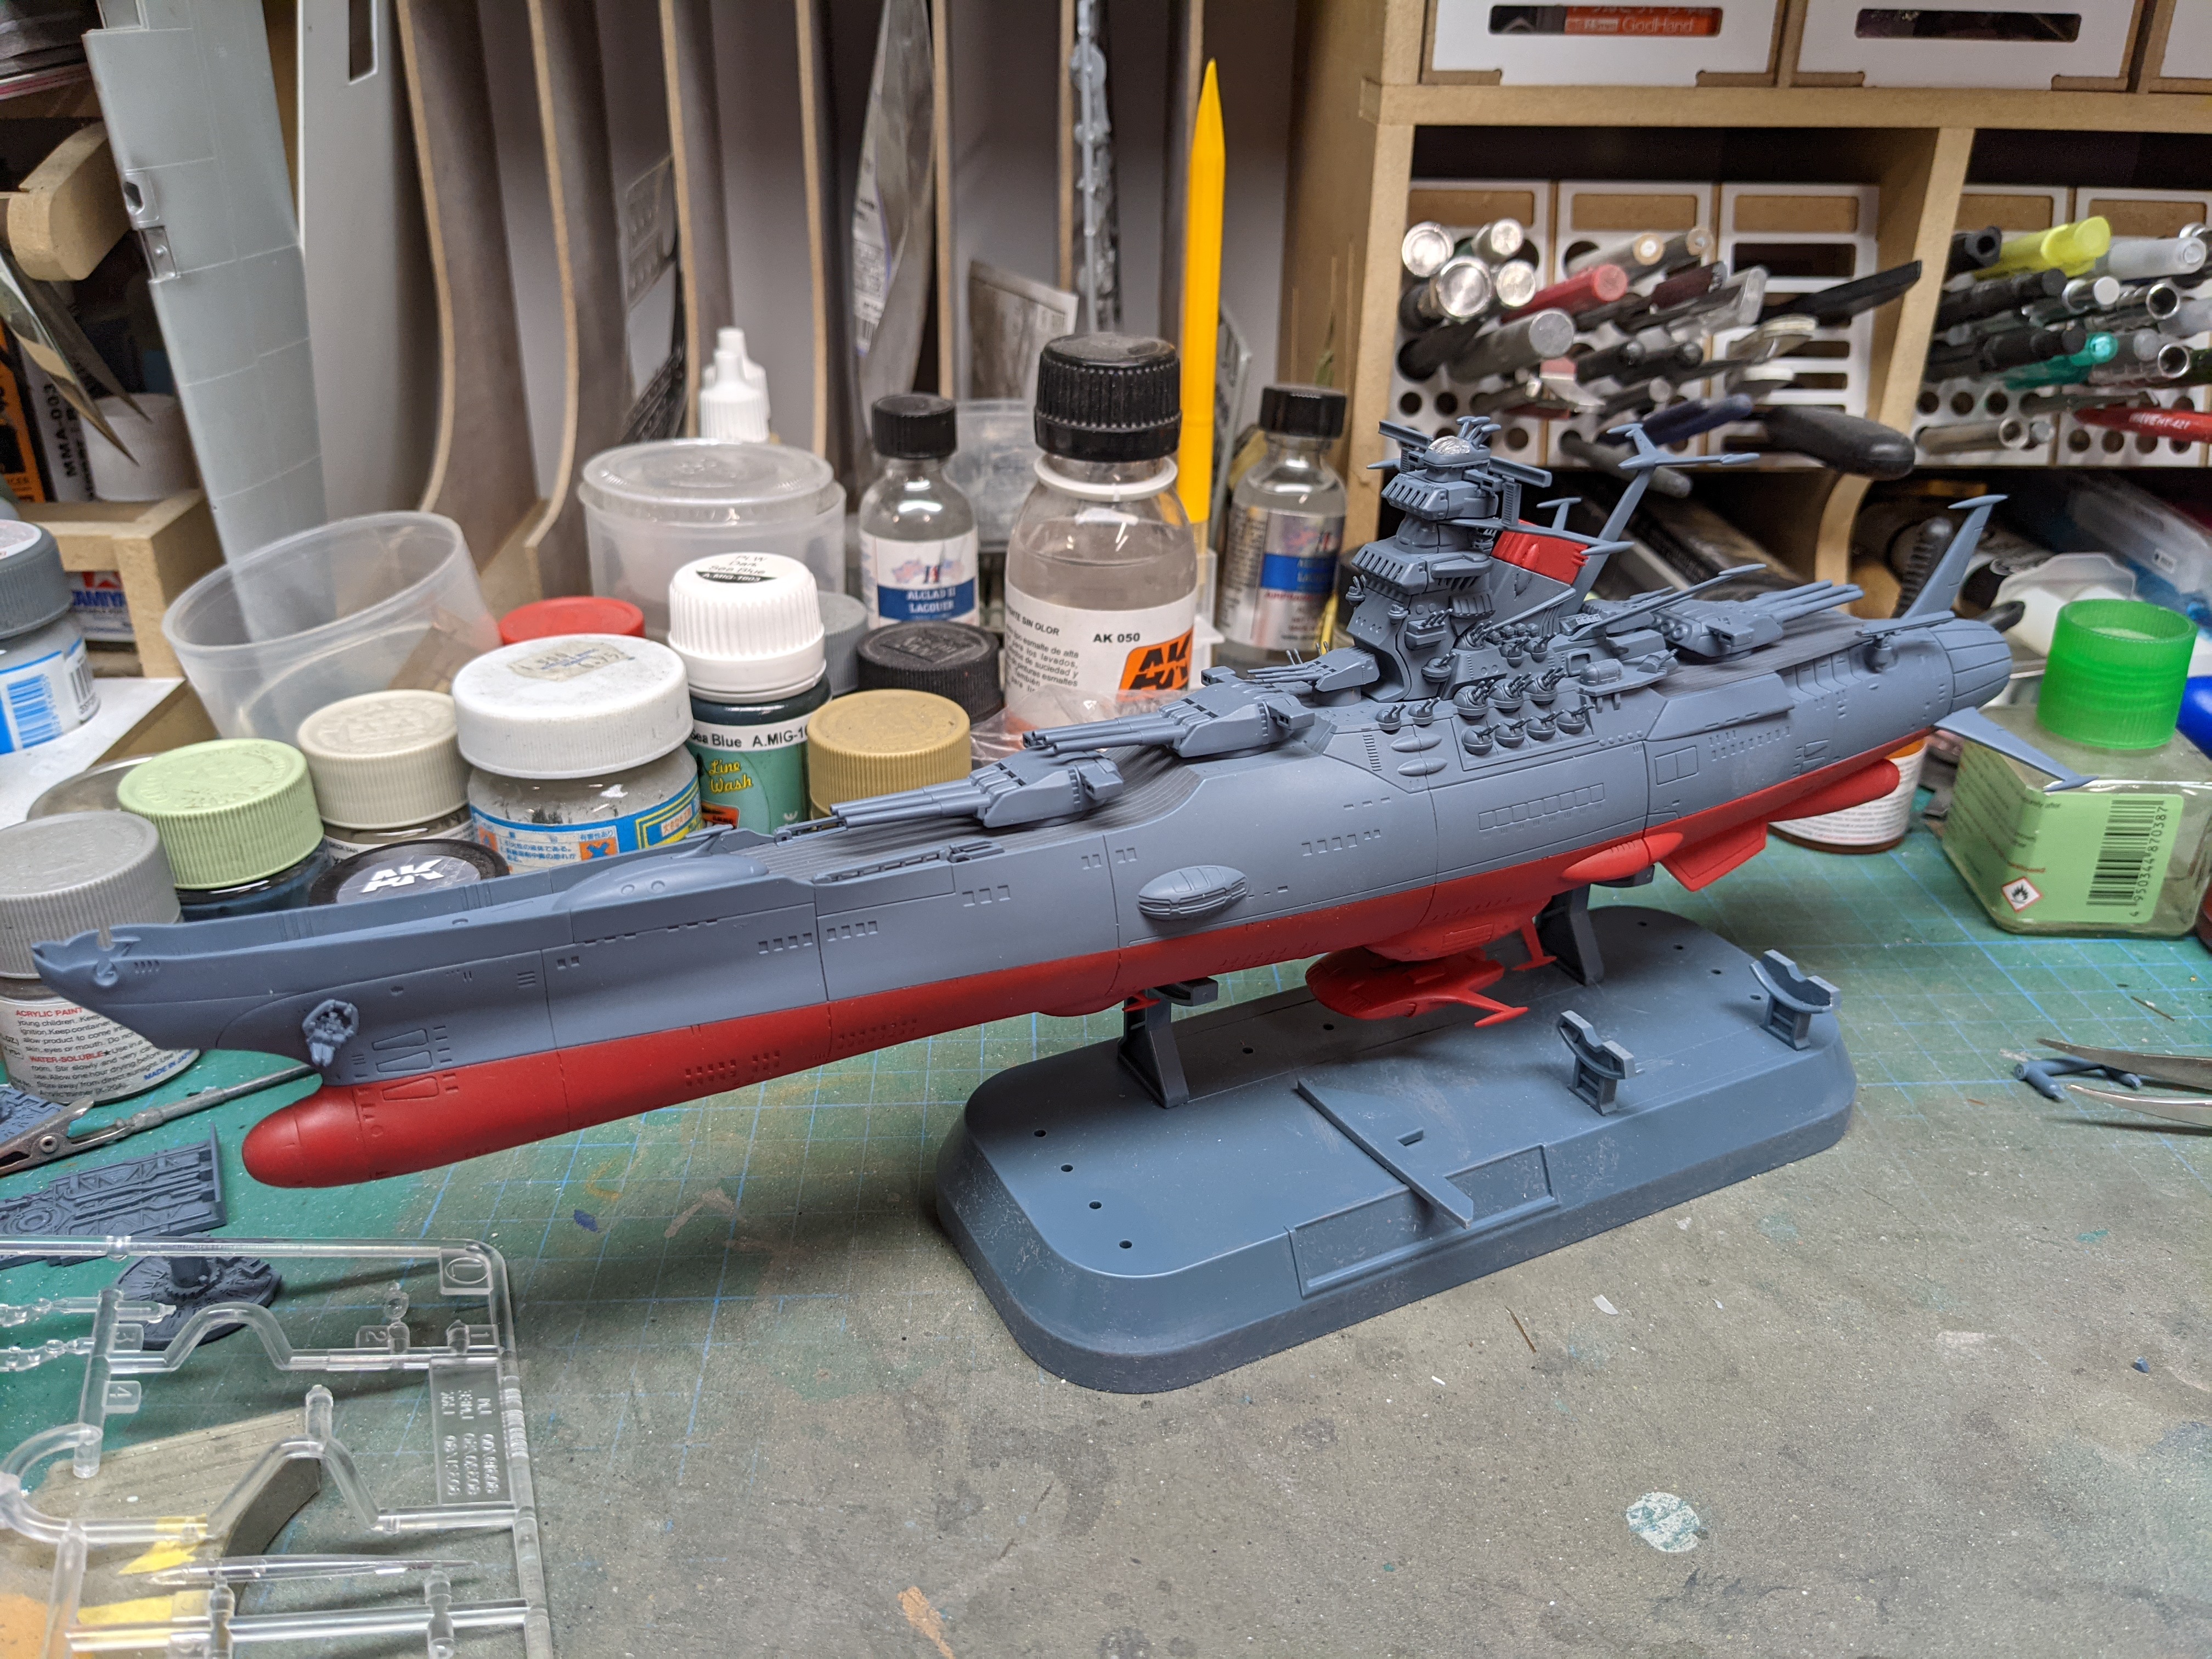
Assembly is done, time for decals.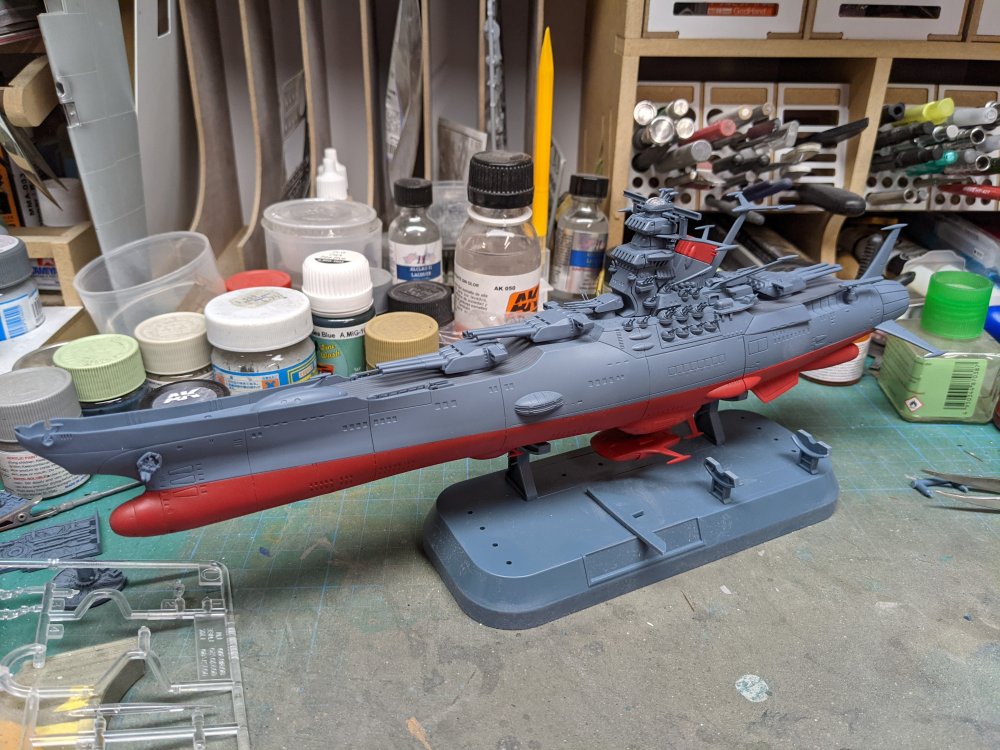
-
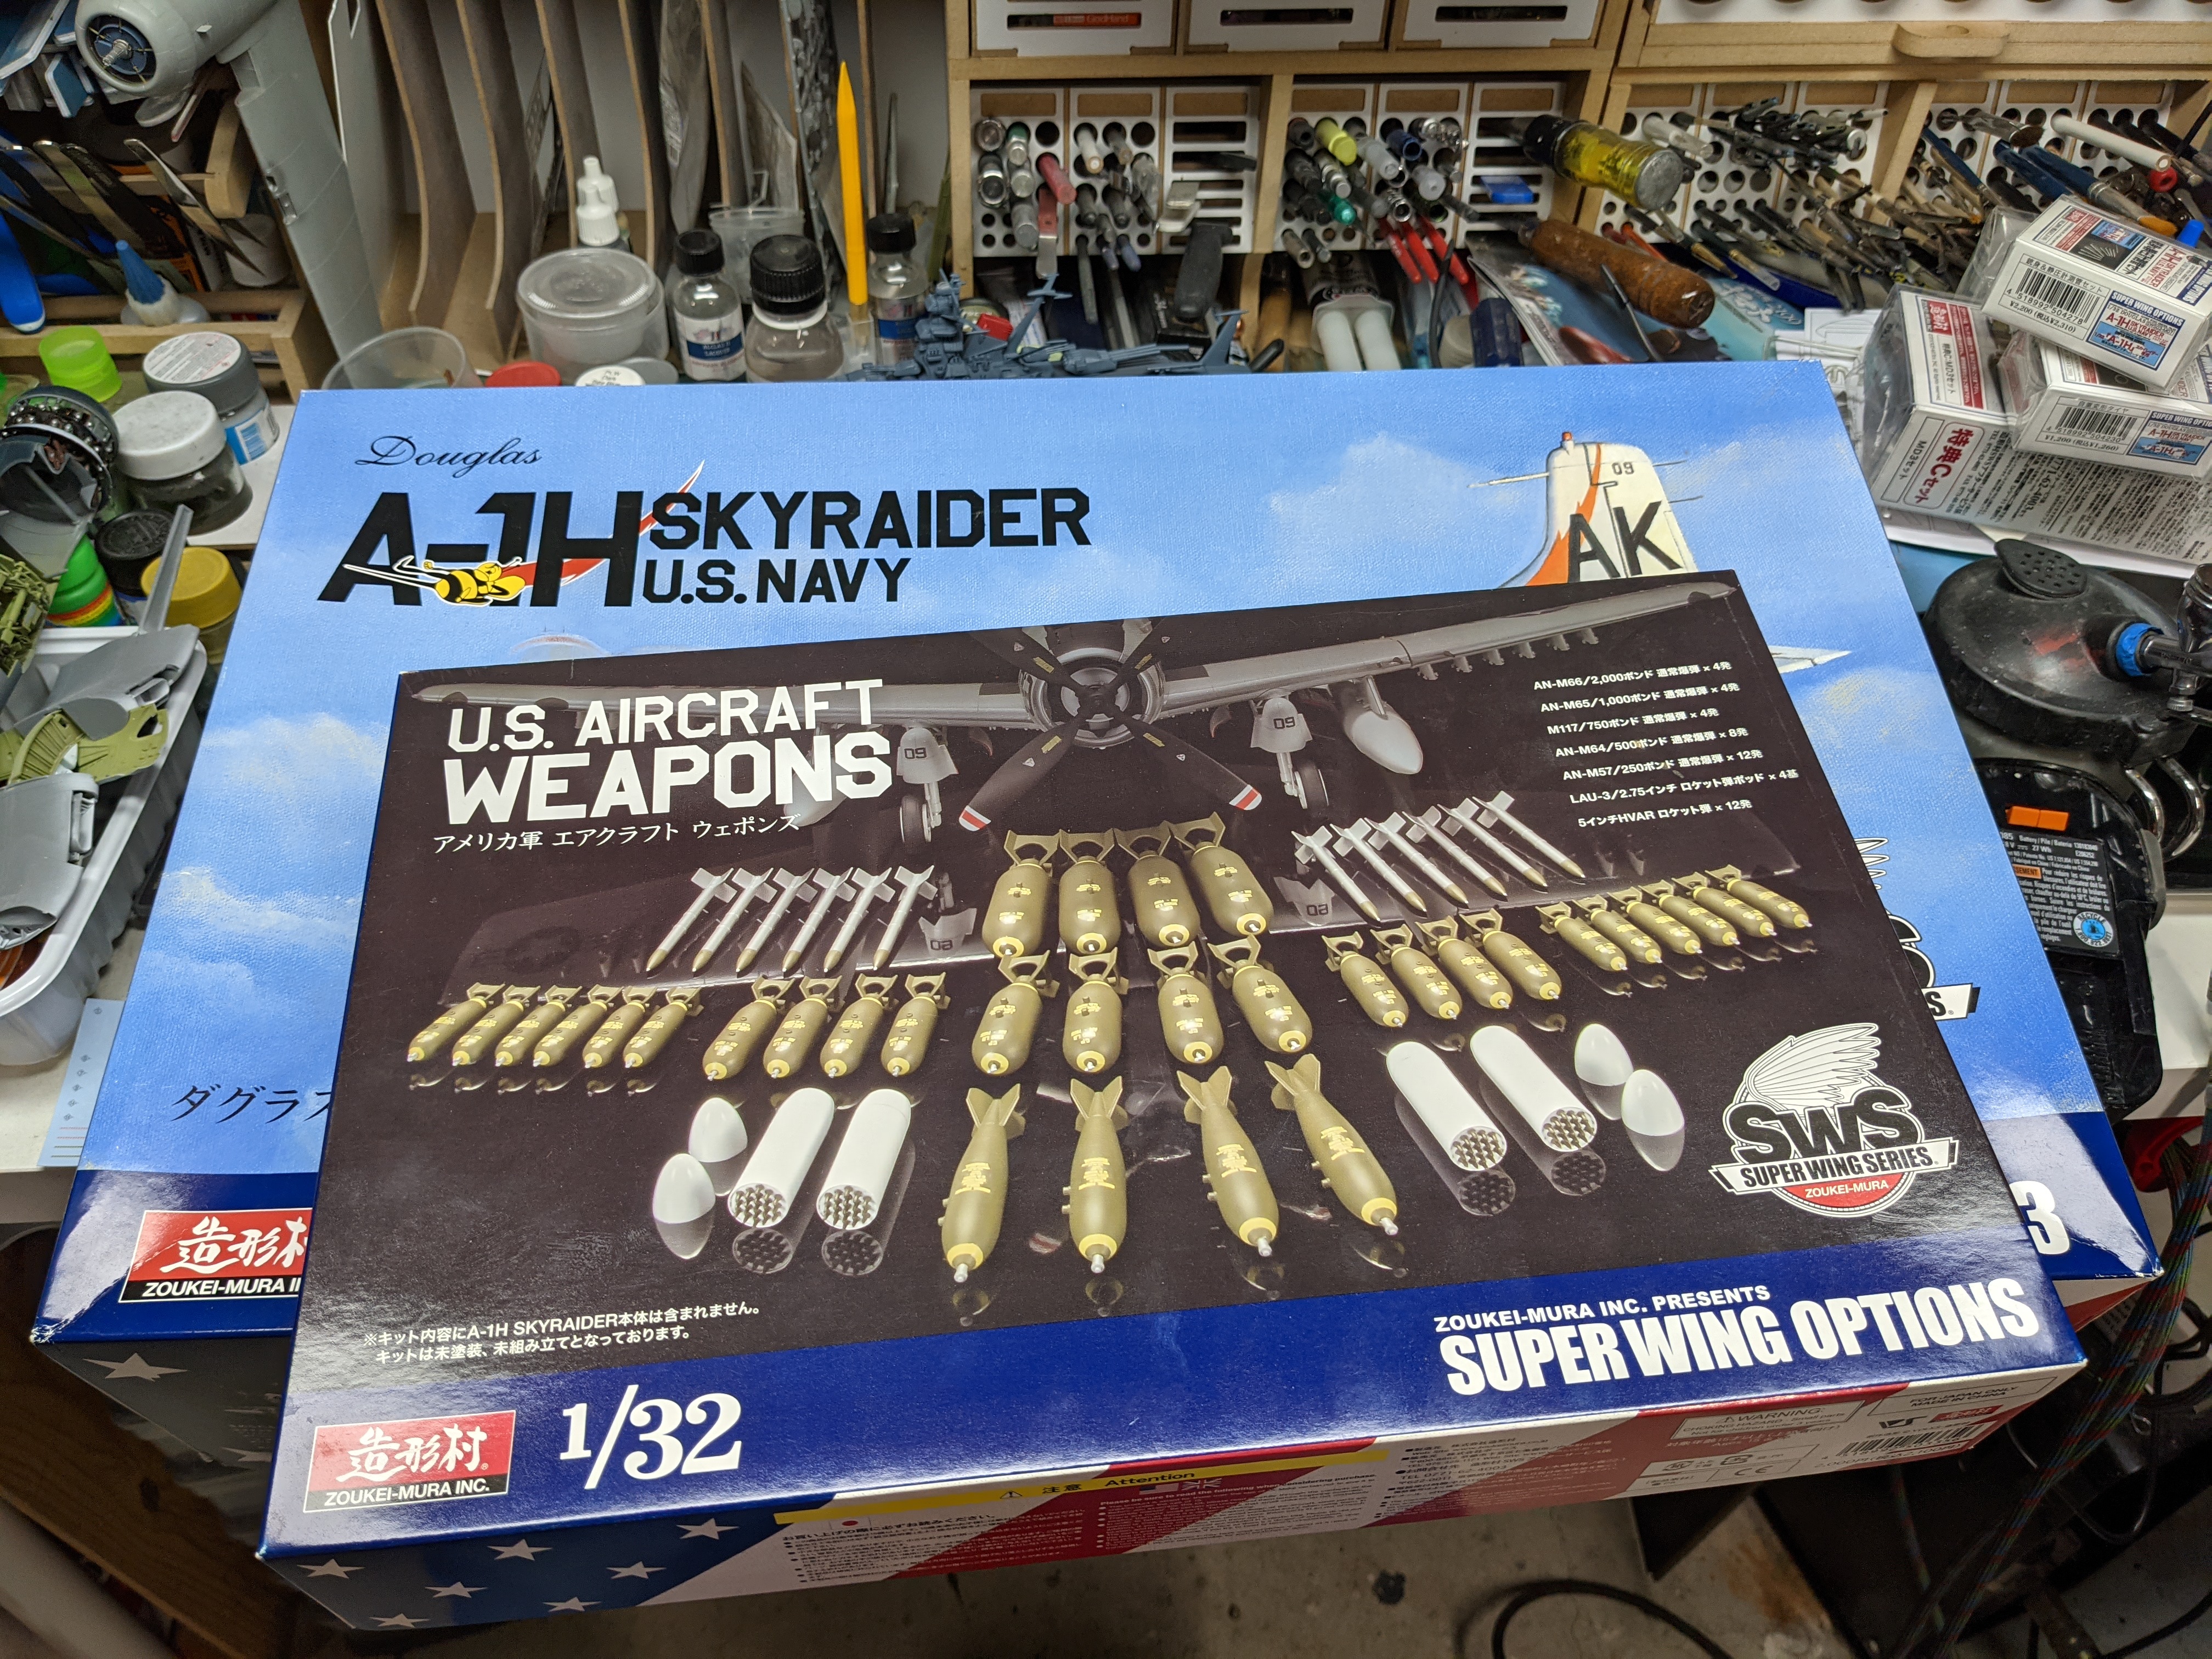
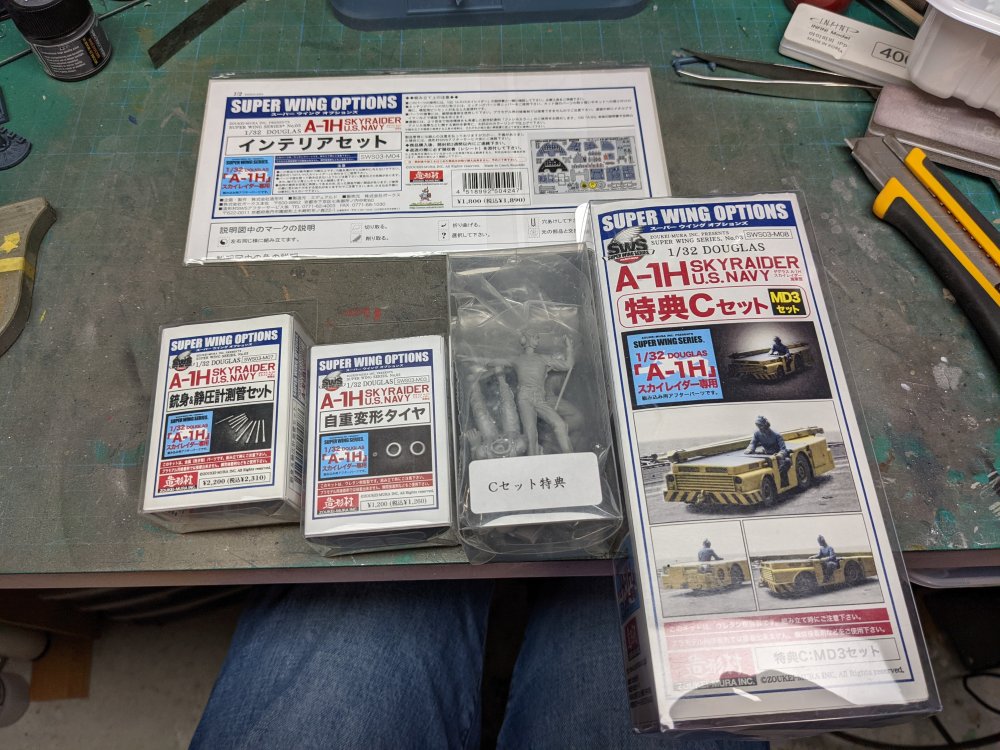
Just had another package show up. Saw a ZM A-1H for sale and the price was too good to pass up. All the above was $140 CAD shipped. I might just do the box markings this time. Or if I can find the toilet bomber...

-
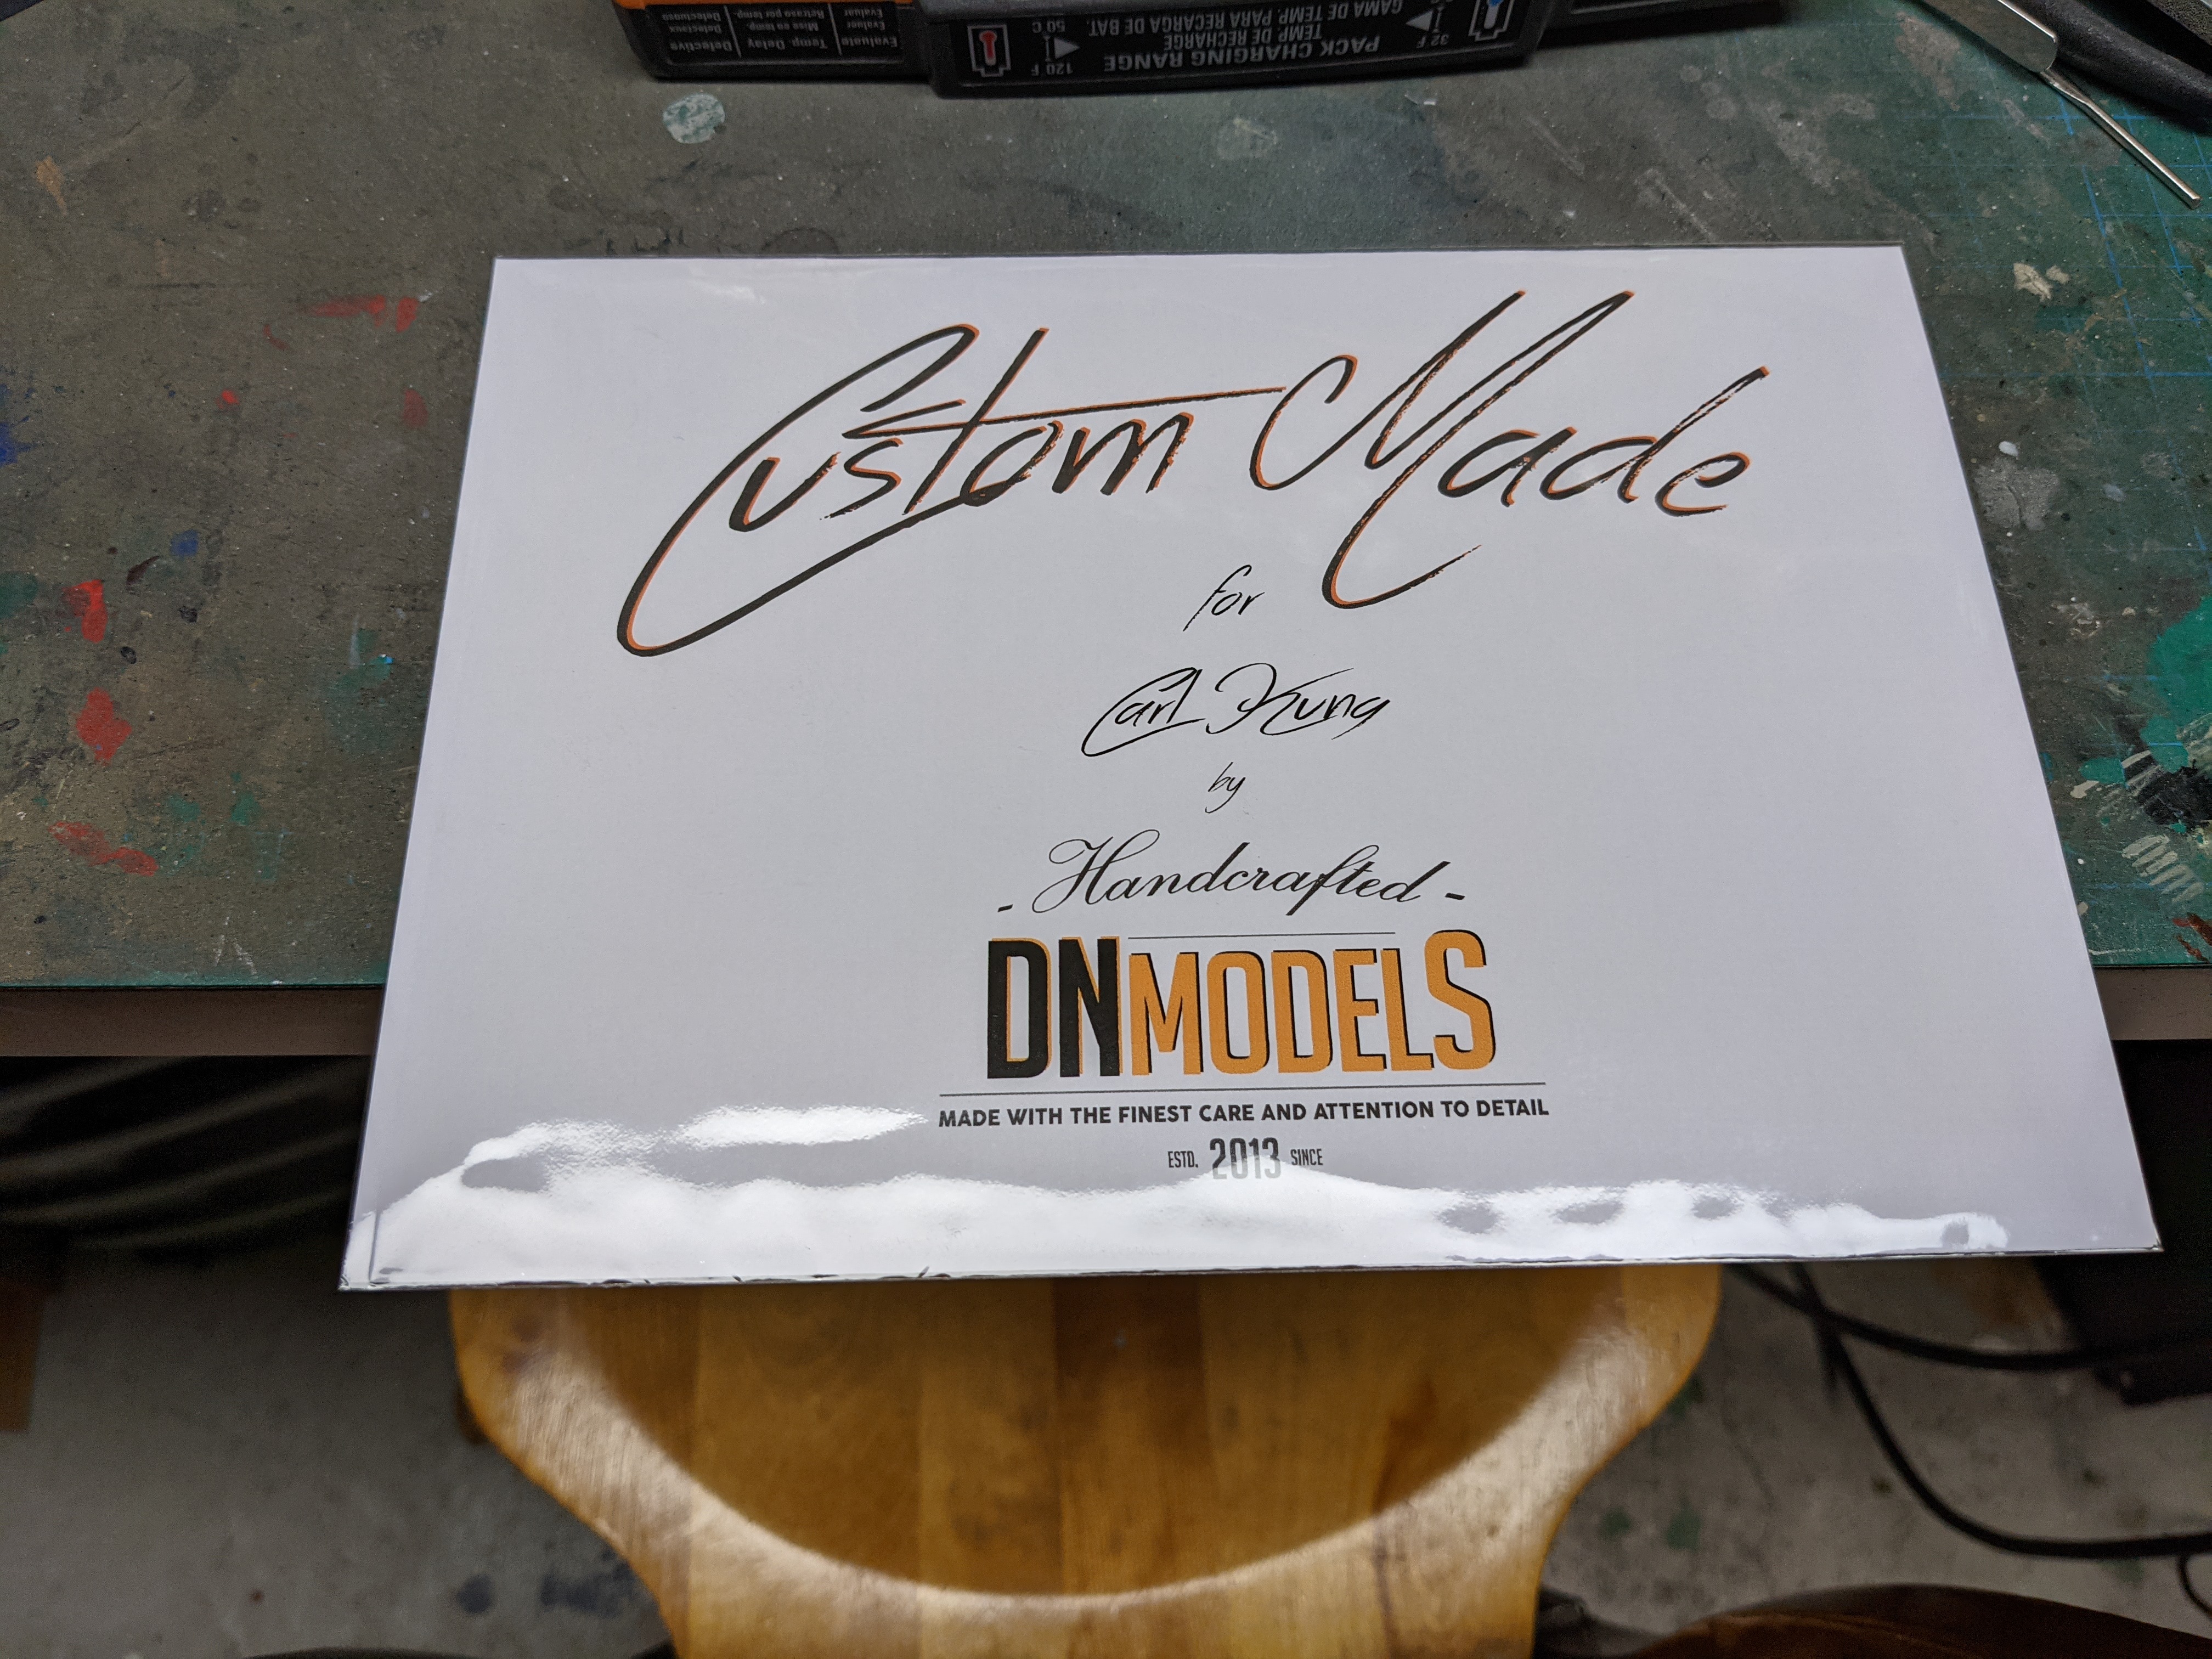
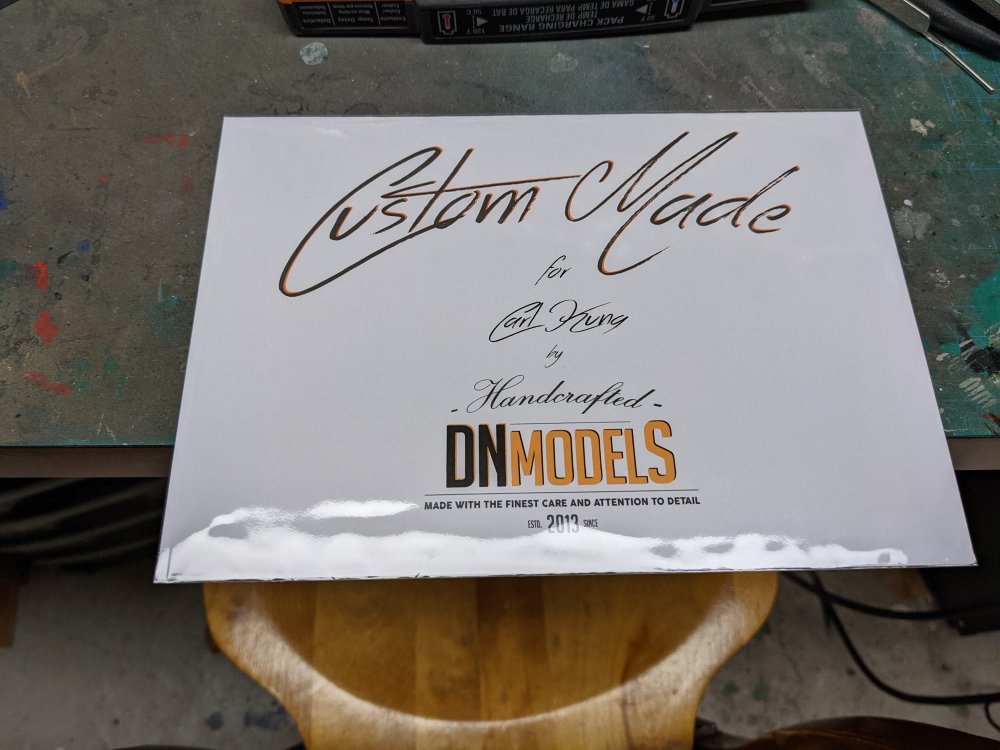
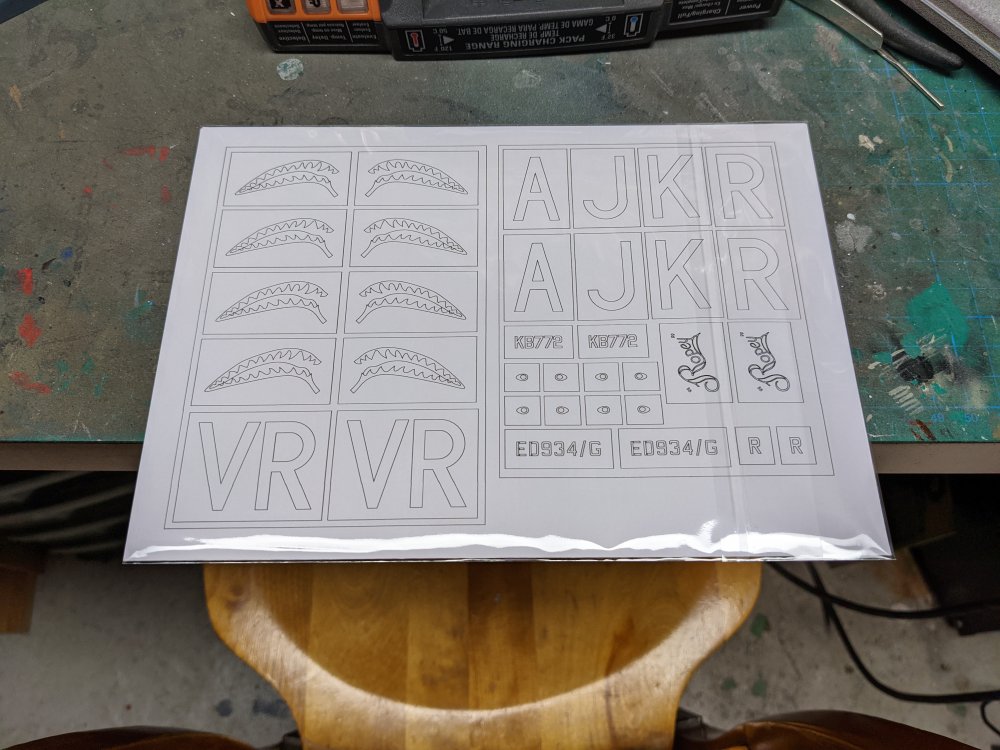
I got some custom masks done by DN Models. They're for the pair of HK Lancs that are in my stash. VR-R and the shark mouths go on R for Ropey which was a regular Lanc. AJ-K (ED934) was a Dambuster Lanc piloted by a Canadian P/O Vernon Byers. His Lancaster was the first to be shot down on the raid and unfortunately none of the crew survived.
-
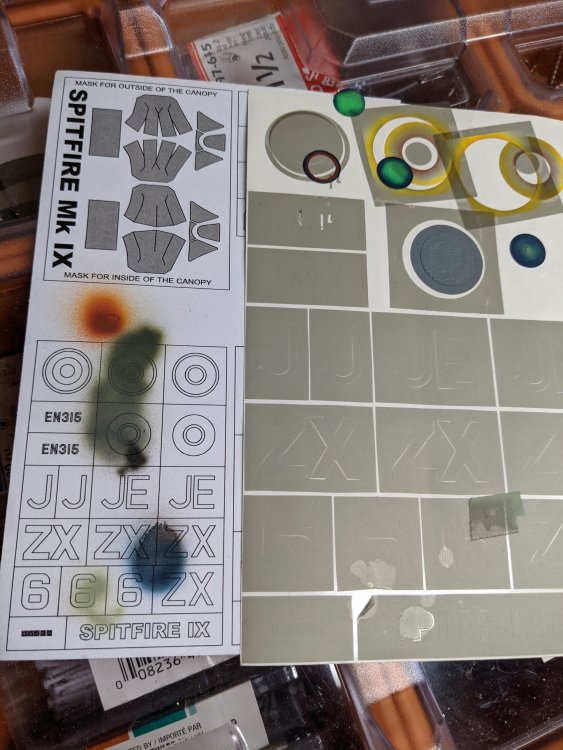
If you need just the codes, I have them. The EN315 would have to done after the camo though as some of the numbers are only partials. Let me know. Carl
-
Italeri F-86 Sabre into a Canadair Mk6
BlrwestSiR replied to BlrwestSiR's topic in Modelling Discussion
I'm thinking these: https://www.ebay.com.au/itm/203126488541 NMF, checkerboards and stripes. -
True. Back seat perhaps?
- 2,036 replies
-
- 3
-

-
- car related stuff
- anything about cars
- (and 6 more)
-
Italeri F-86 Sabre into a Canadair Mk6
BlrwestSiR replied to BlrwestSiR's topic in Modelling Discussion
Peter, for the Mk6, it looks like I'd need the sugar scoop intakes on the rear fuselage and the 6-3 wing which the kit I bought doesn't have. But I can build a Mk4 OOB more or less so that's what I'm going to do. Now to find some suitable decals. Carl -
V2-Escape from hell ( Девятаев ) NEW MOVIE !!!
BlrwestSiR replied to Martinnfb's topic in General Discussion
Thanks Martin! Very interesting story.