BlrwestSiR
-
Posts
9,213 -
Joined
-
Last visited
Content Type
Profiles
Forums
Events
Gallery
Everything posted by BlrwestSiR
-

What is on your bench right now ? Share a picture :)
BlrwestSiR replied to Martinnfb's topic in Modelling Discussion
Here she is in her happy spot: Note her box/perch to my immediate left.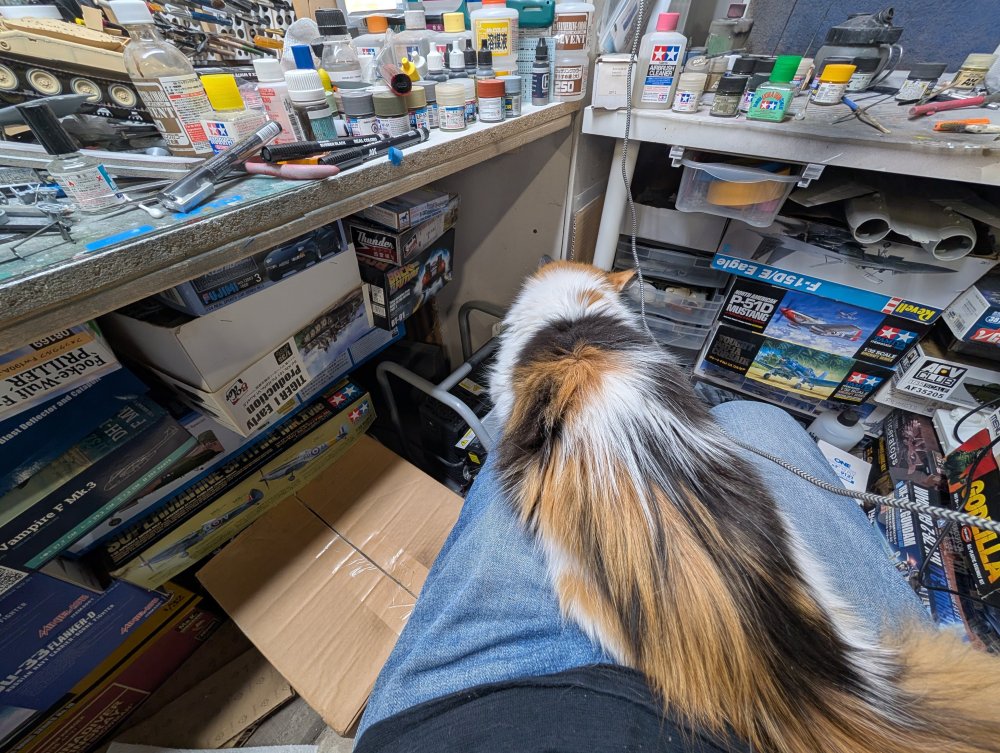
-
Rob, what about a sanding stick? Use a finer grade one and gently sand the areas you want to wear away the paint. I used this approach on my F4U wing roots to simulate the wear I wanted.
-
What is on your bench right now ? Share a picture :)
BlrwestSiR replied to Martinnfb's topic in Modelling Discussion
Fursnake is in her happy spot. She's on a box of filament. I have a cat bed for her just out of view but she's not interested in it. The box gives her immediate access to my lap when I'm at the bench which is what she wants I suspect. -
What is on your bench right now ? Share a picture :)
BlrwestSiR replied to Martinnfb's topic in Modelling Discussion
It's usually not this bad. Just been a culmination of things and well, just wanting to put stuff together. Like I said, once I get some of these done, I'll do a tidy up and start over. -
What is on your bench right now ? Share a picture :)
BlrwestSiR replied to Martinnfb's topic in Modelling Discussion
It's usually not this bad. Just been a culmination of things and well, just wanting to put stuff together. Like I said, once I get some of these done, I'll do a tidy up and start over n -
1/32 ME-262A-2a/U2
BlrwestSiR replied to JeroenPeters's topic in LSM 1/35 and Larger Work In Progress
Wow, that part looks like it should be 1/48. Some serious shrinkage for sure. -
What is on your bench right now ? Share a picture :)
BlrwestSiR replied to Martinnfb's topic in Modelling Discussion
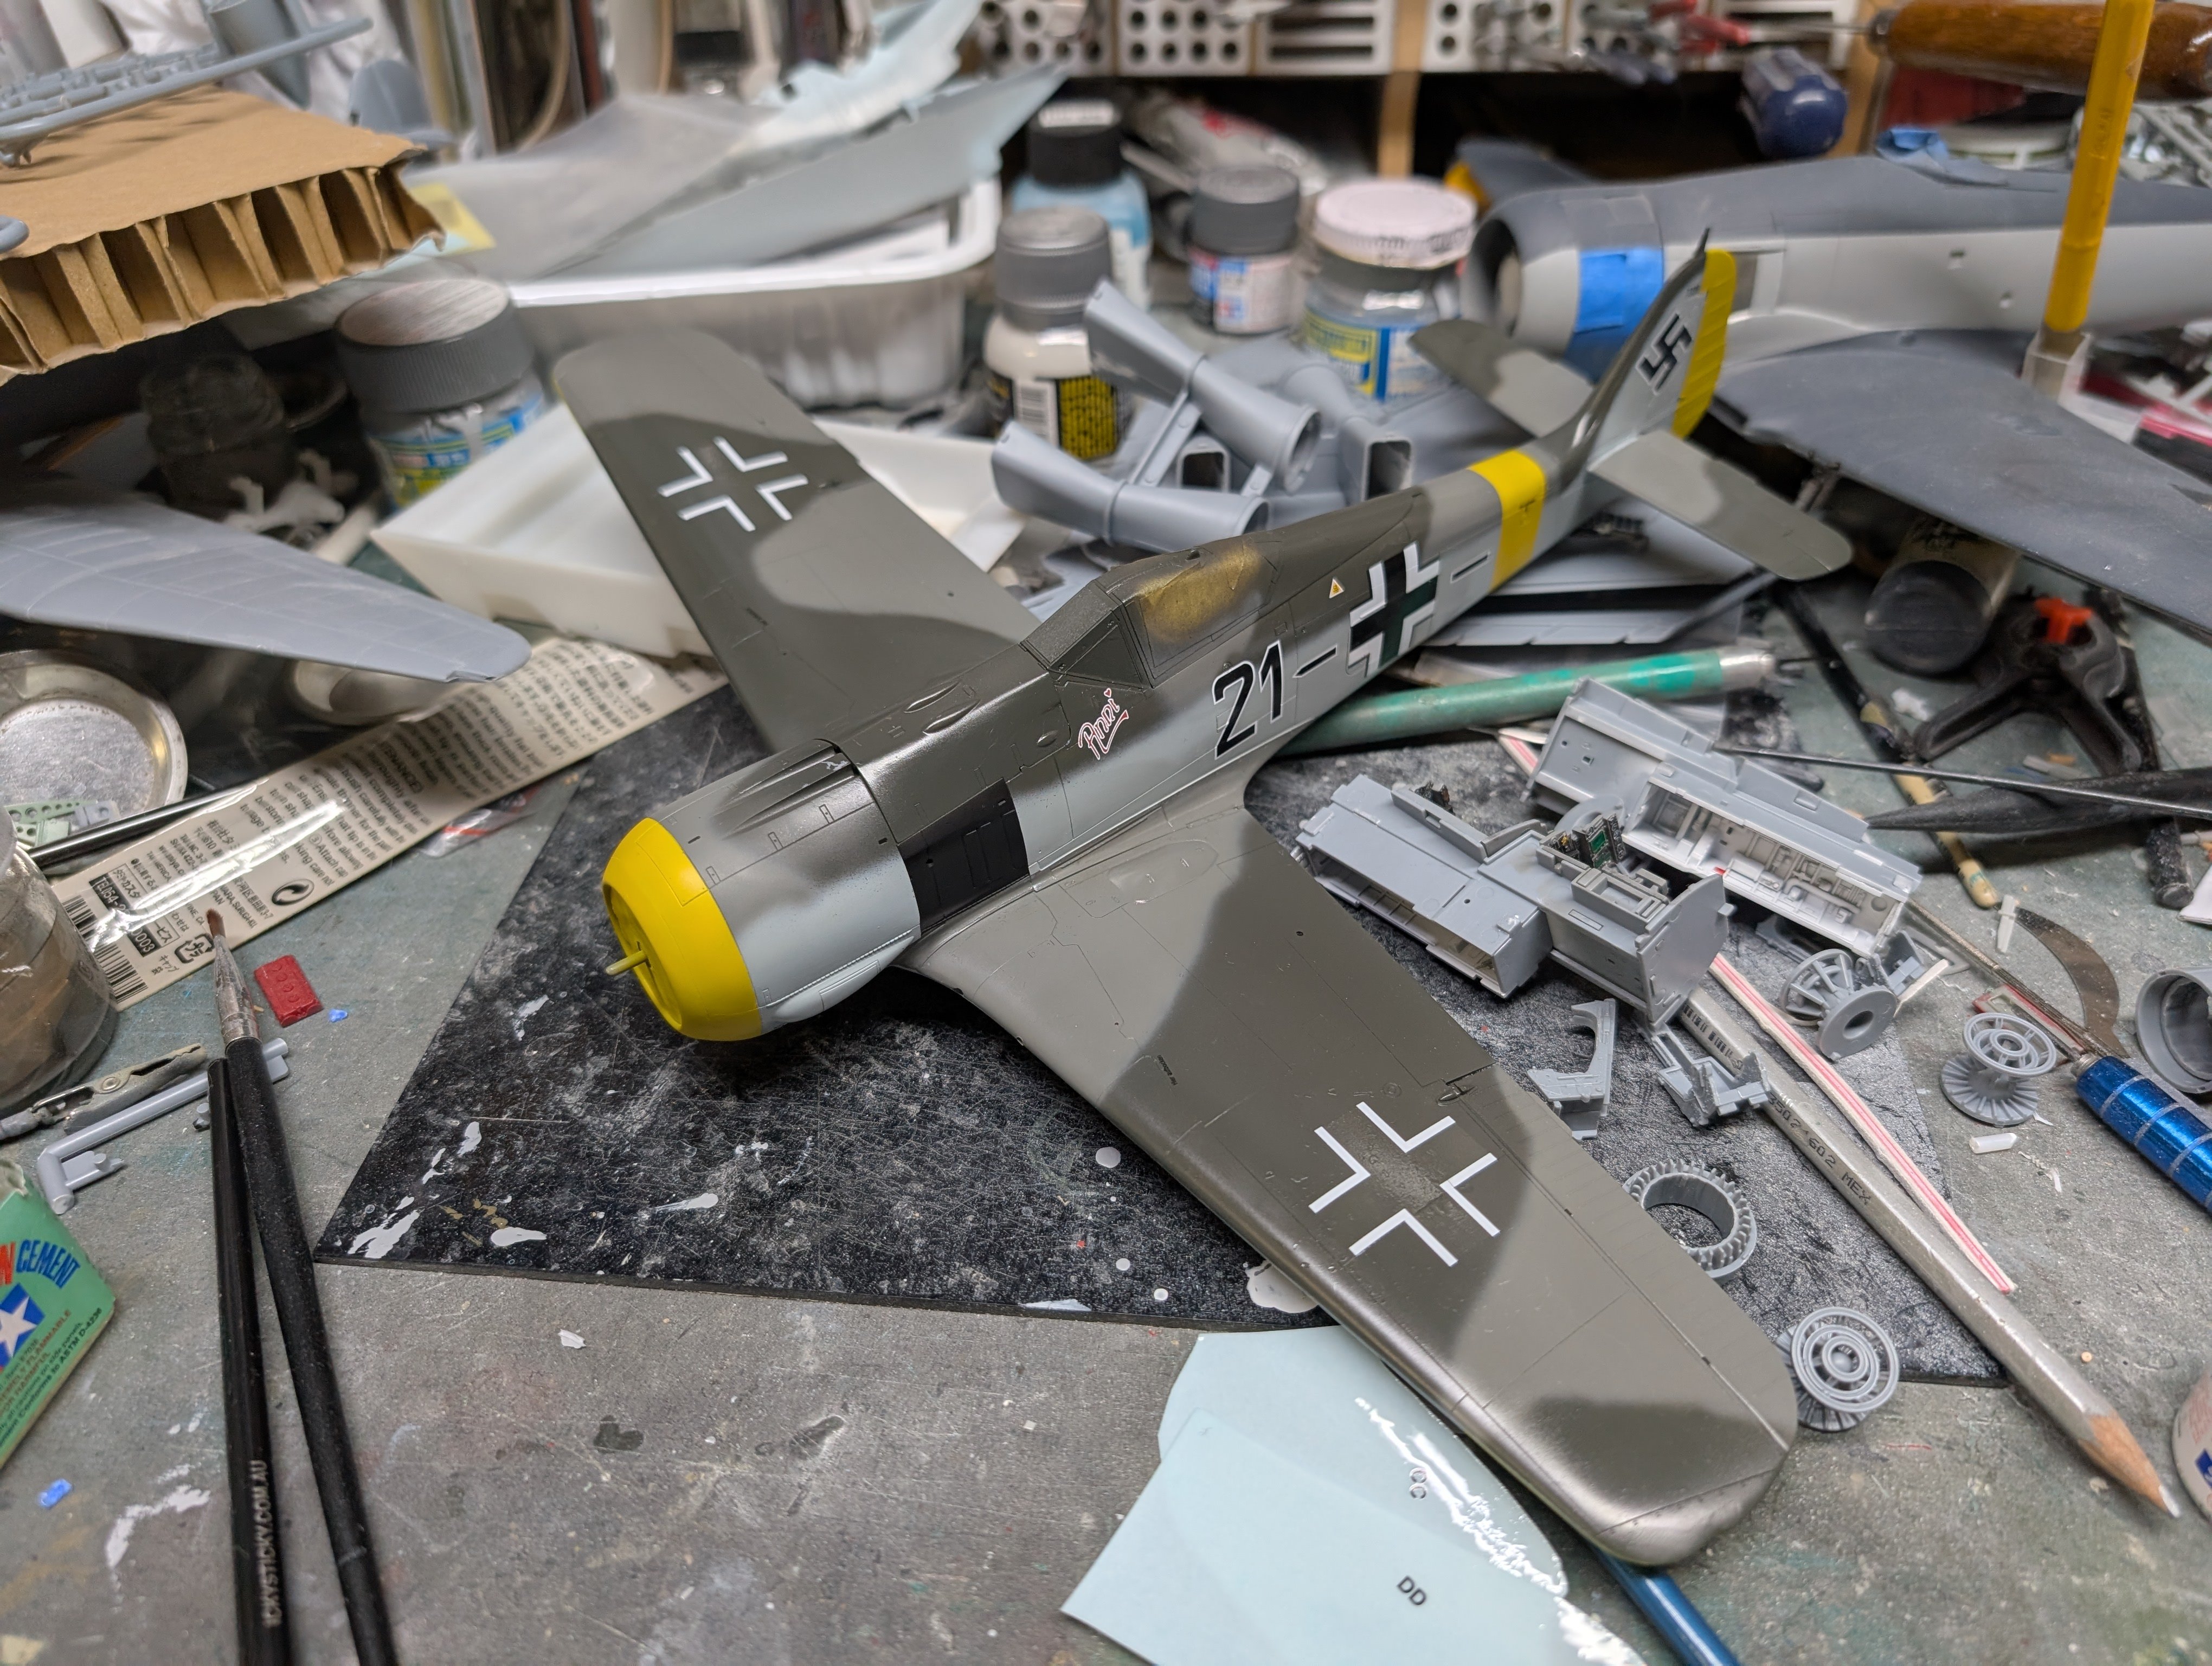
Mottled and exhaust stains added.
-
What is on your bench right now ? Share a picture :)
BlrwestSiR replied to Martinnfb's topic in Modelling Discussion
Funny, my tools are all sorted and away in an organized manner. So the flipside. -
What is on your bench right now ? Share a picture :)
BlrwestSiR replied to Martinnfb's topic in Modelling Discussion
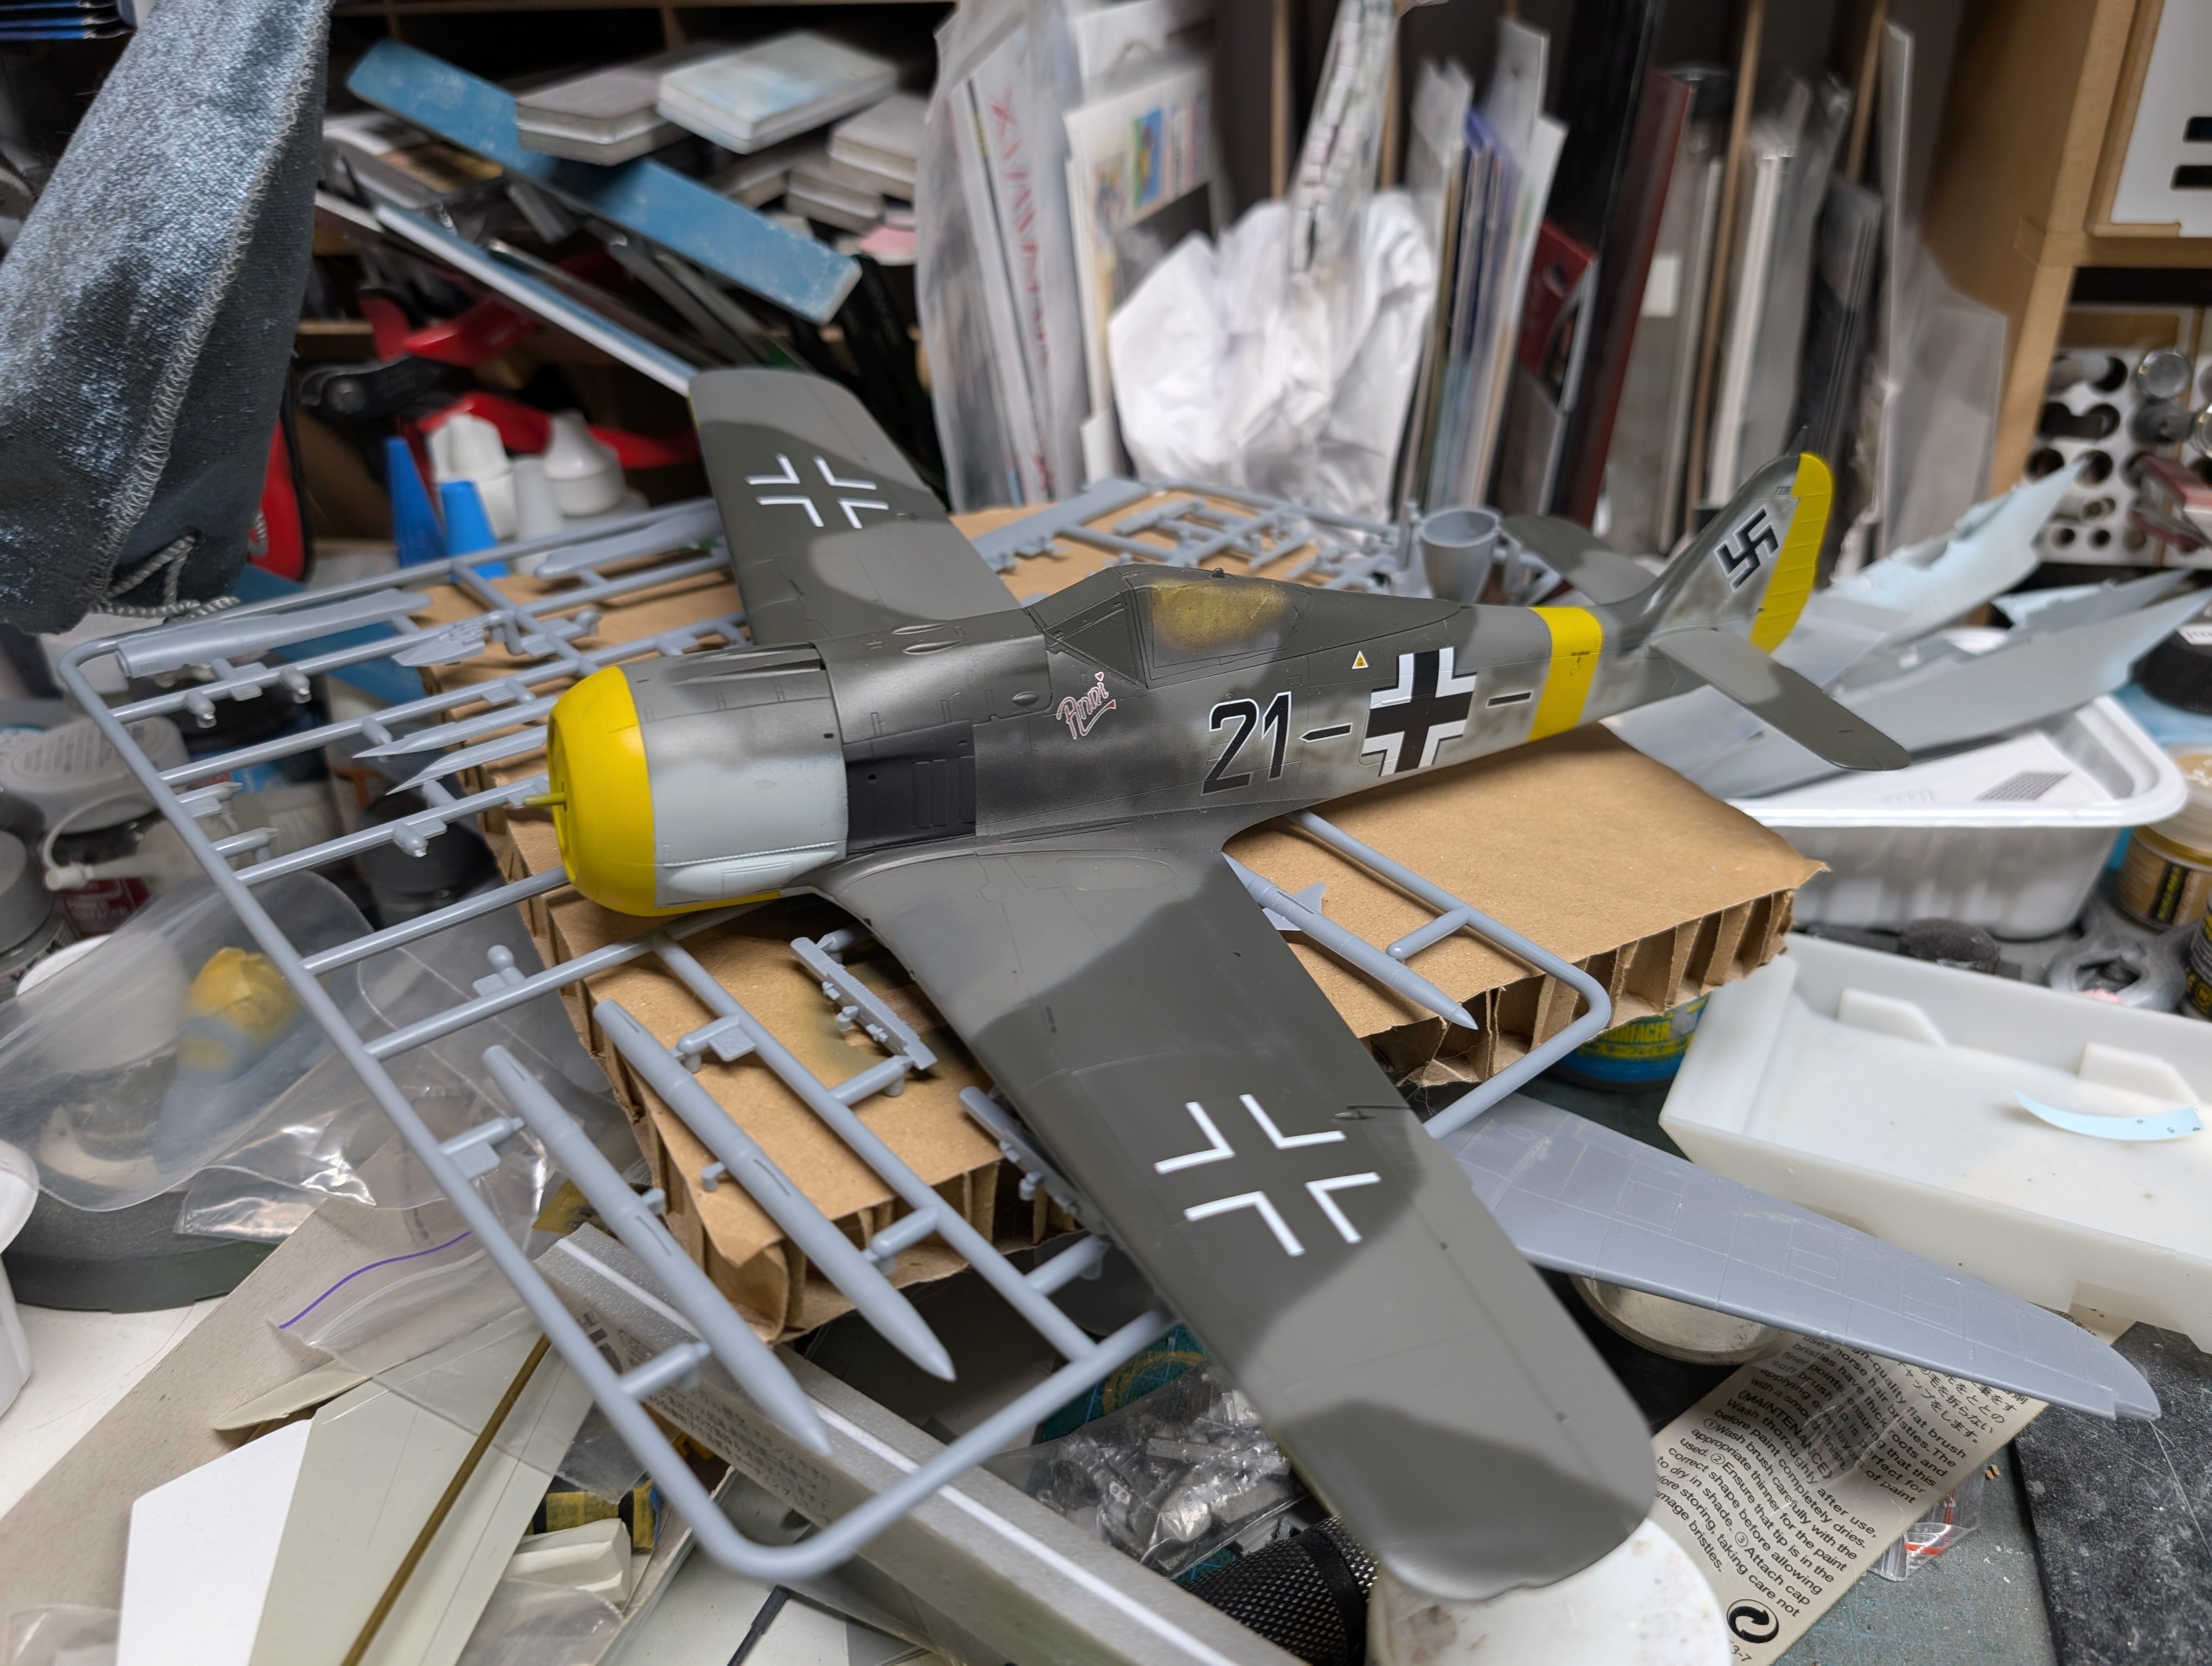
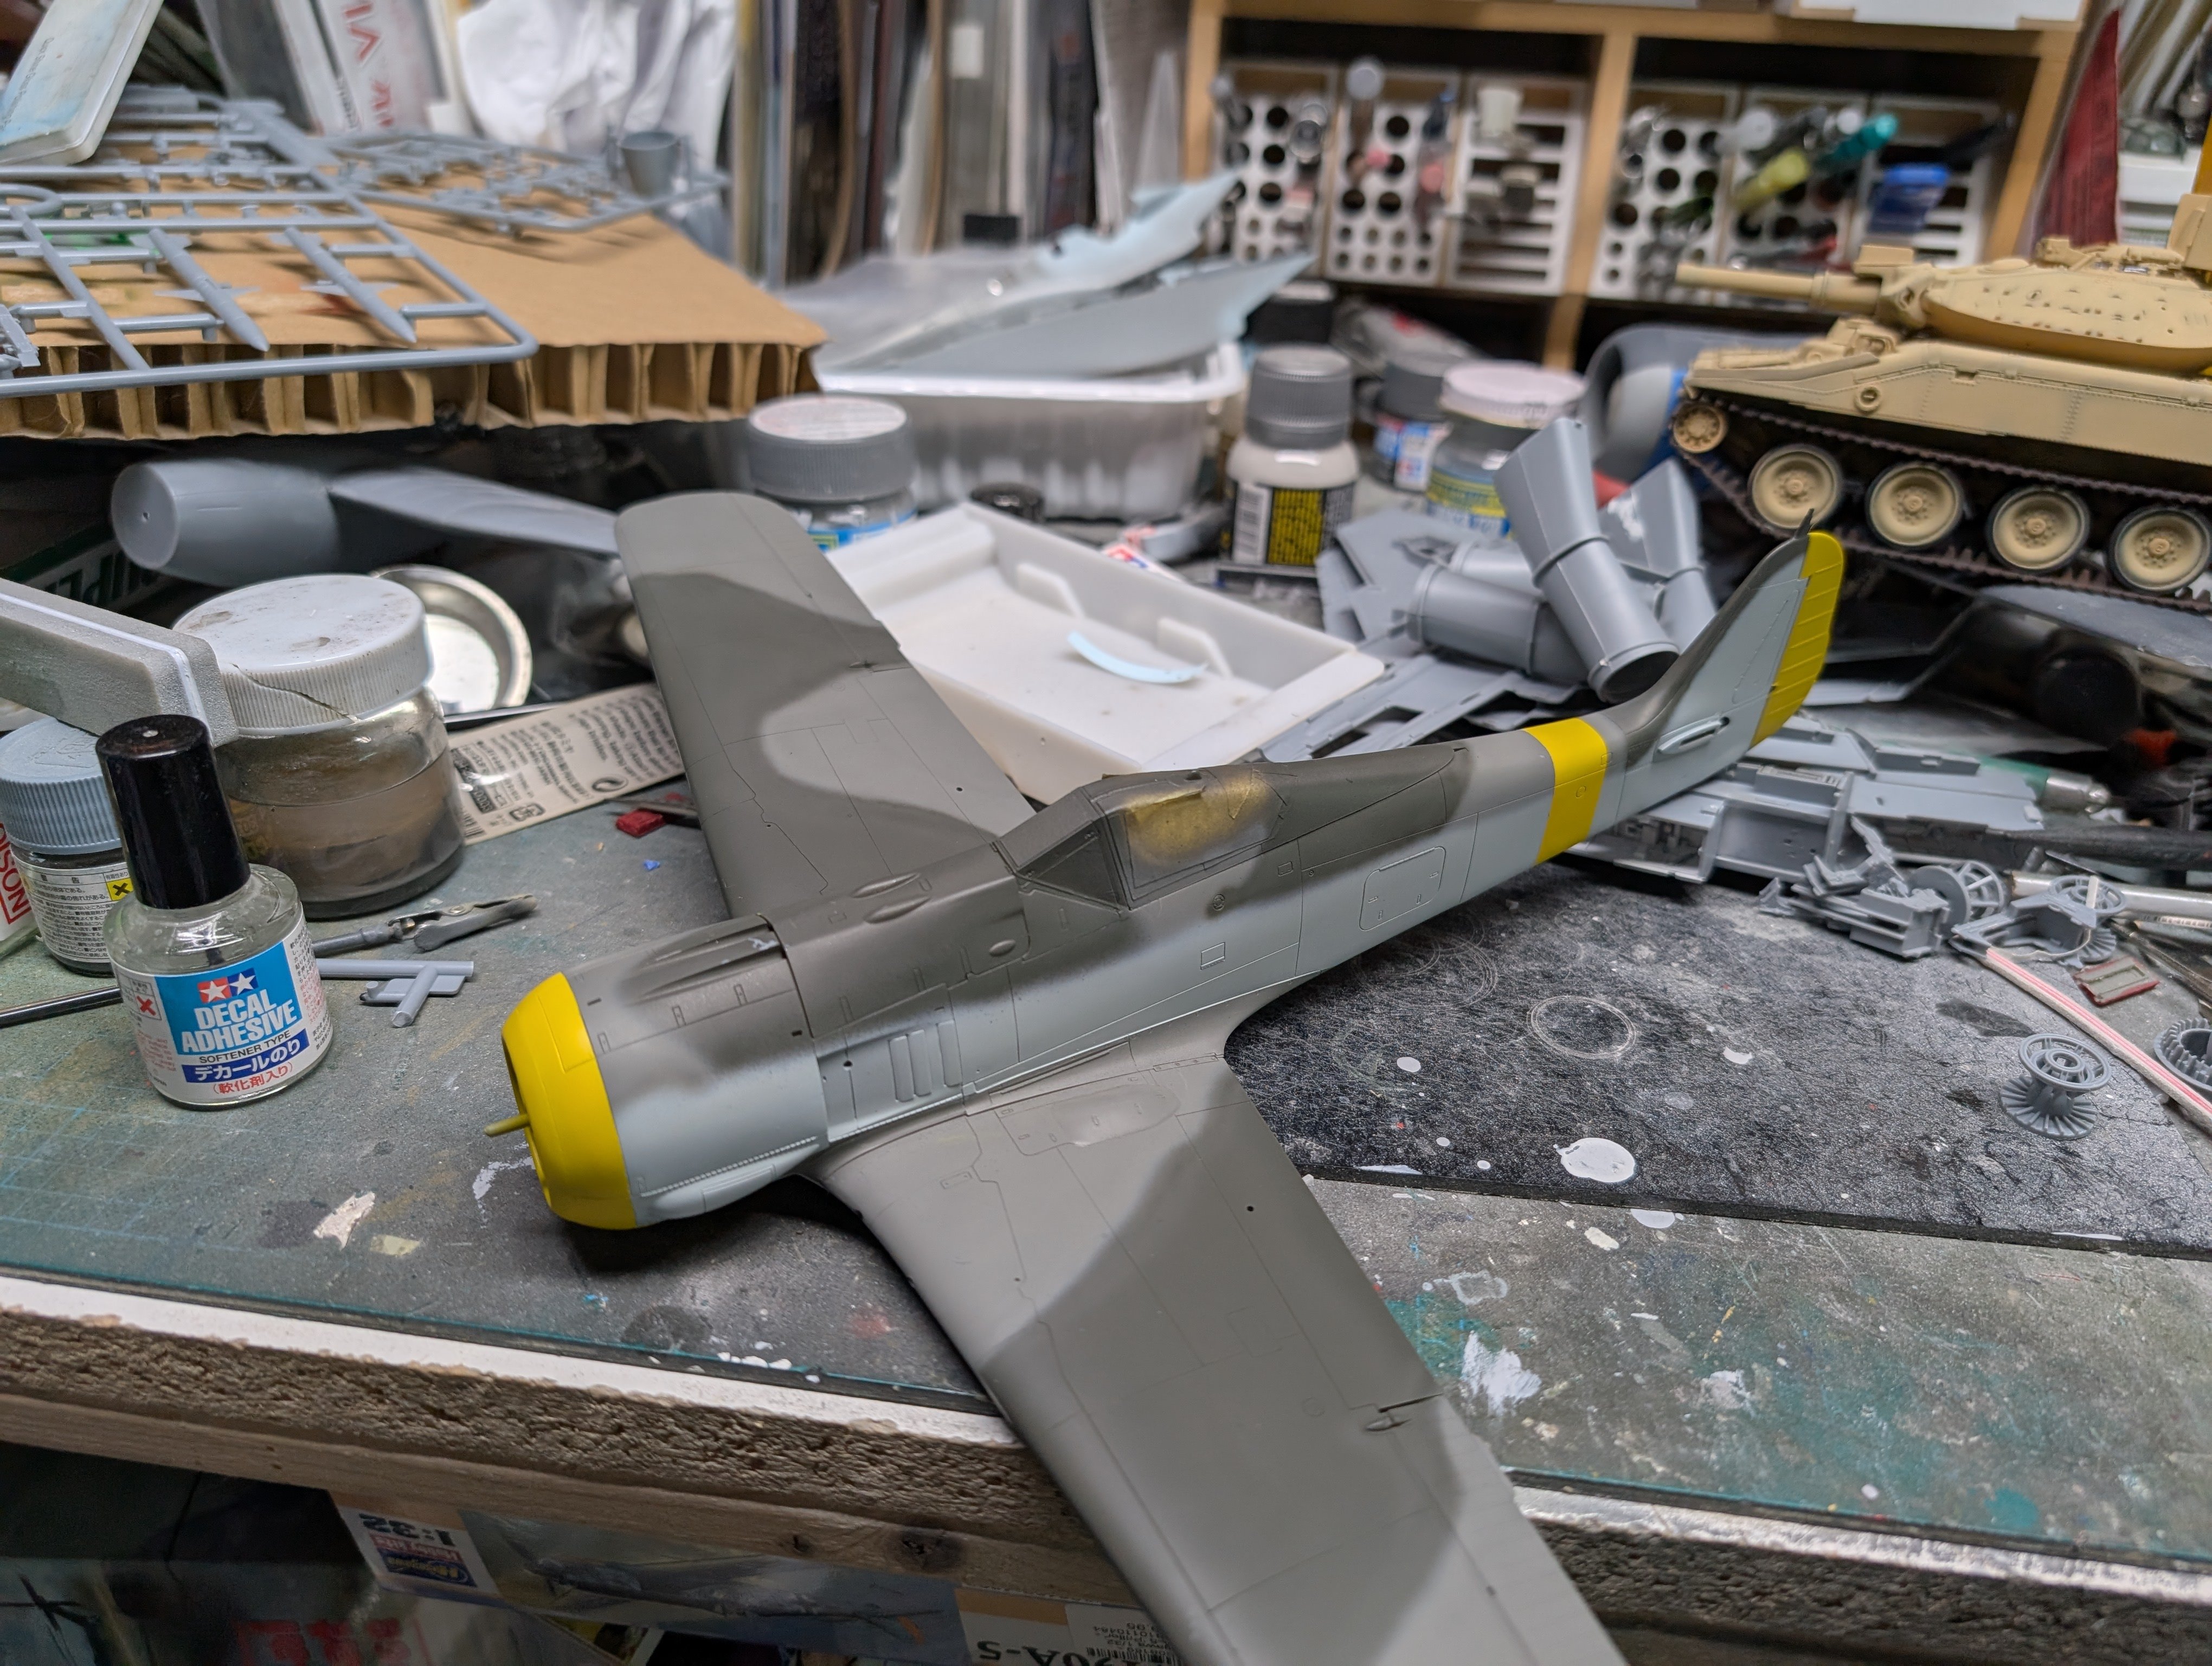
I did try to warn you. Anyways, zooming in you can see I got the decals on the FW190 done.
-
What is on your bench right now ? Share a picture :)
BlrwestSiR replied to Martinnfb's topic in Modelling Discussion
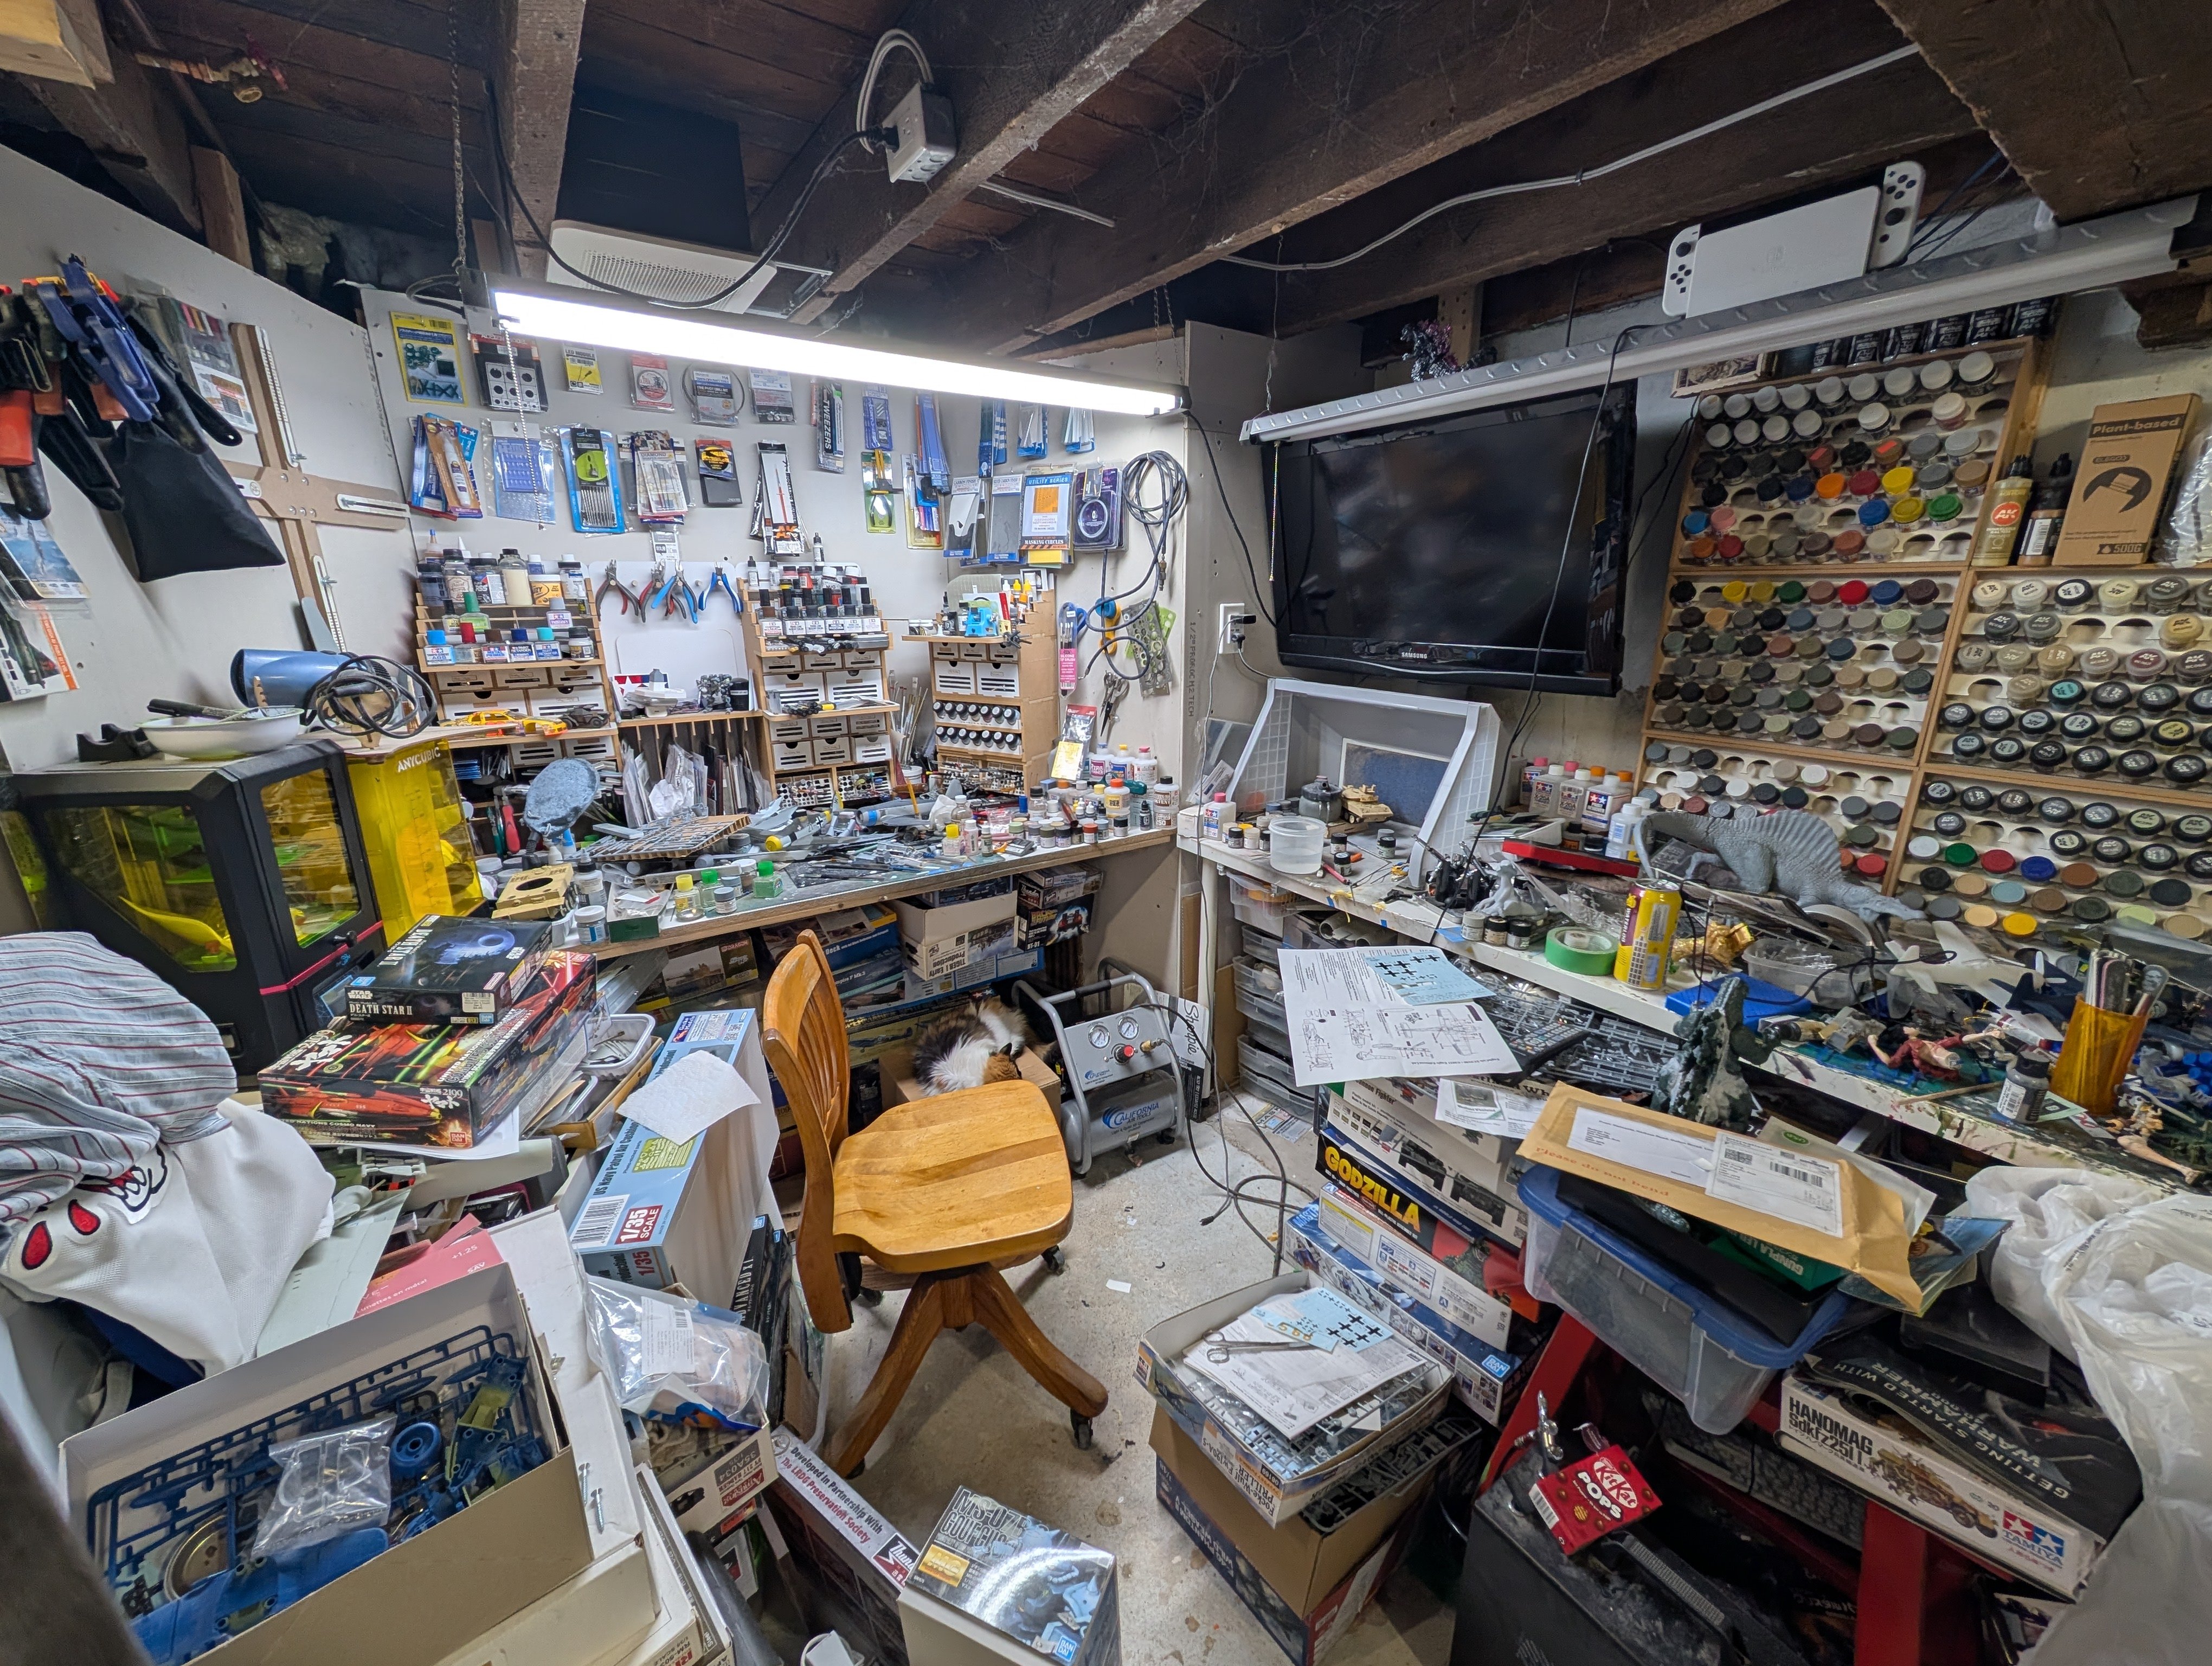
Hope it's industrial sized. My work space is definitely the most crowded it's been. Scott, might be best to avert your eyes. Don't want o give you a coronary.... . . . . . .... I've just wanted to build something...so anything has been fair game. Like I said, I'll most likely clean up once I get a few of these projects done.
-
What is on your bench right now ? Share a picture :)
BlrwestSiR replied to Martinnfb's topic in Modelling Discussion
The XIV conversion and the Vosper are back in their respective boxes. As is the Stratos and Magach. So technically not on my bench. -
What is on your bench right now ? Share a picture :)
BlrwestSiR replied to Martinnfb's topic in Modelling Discussion
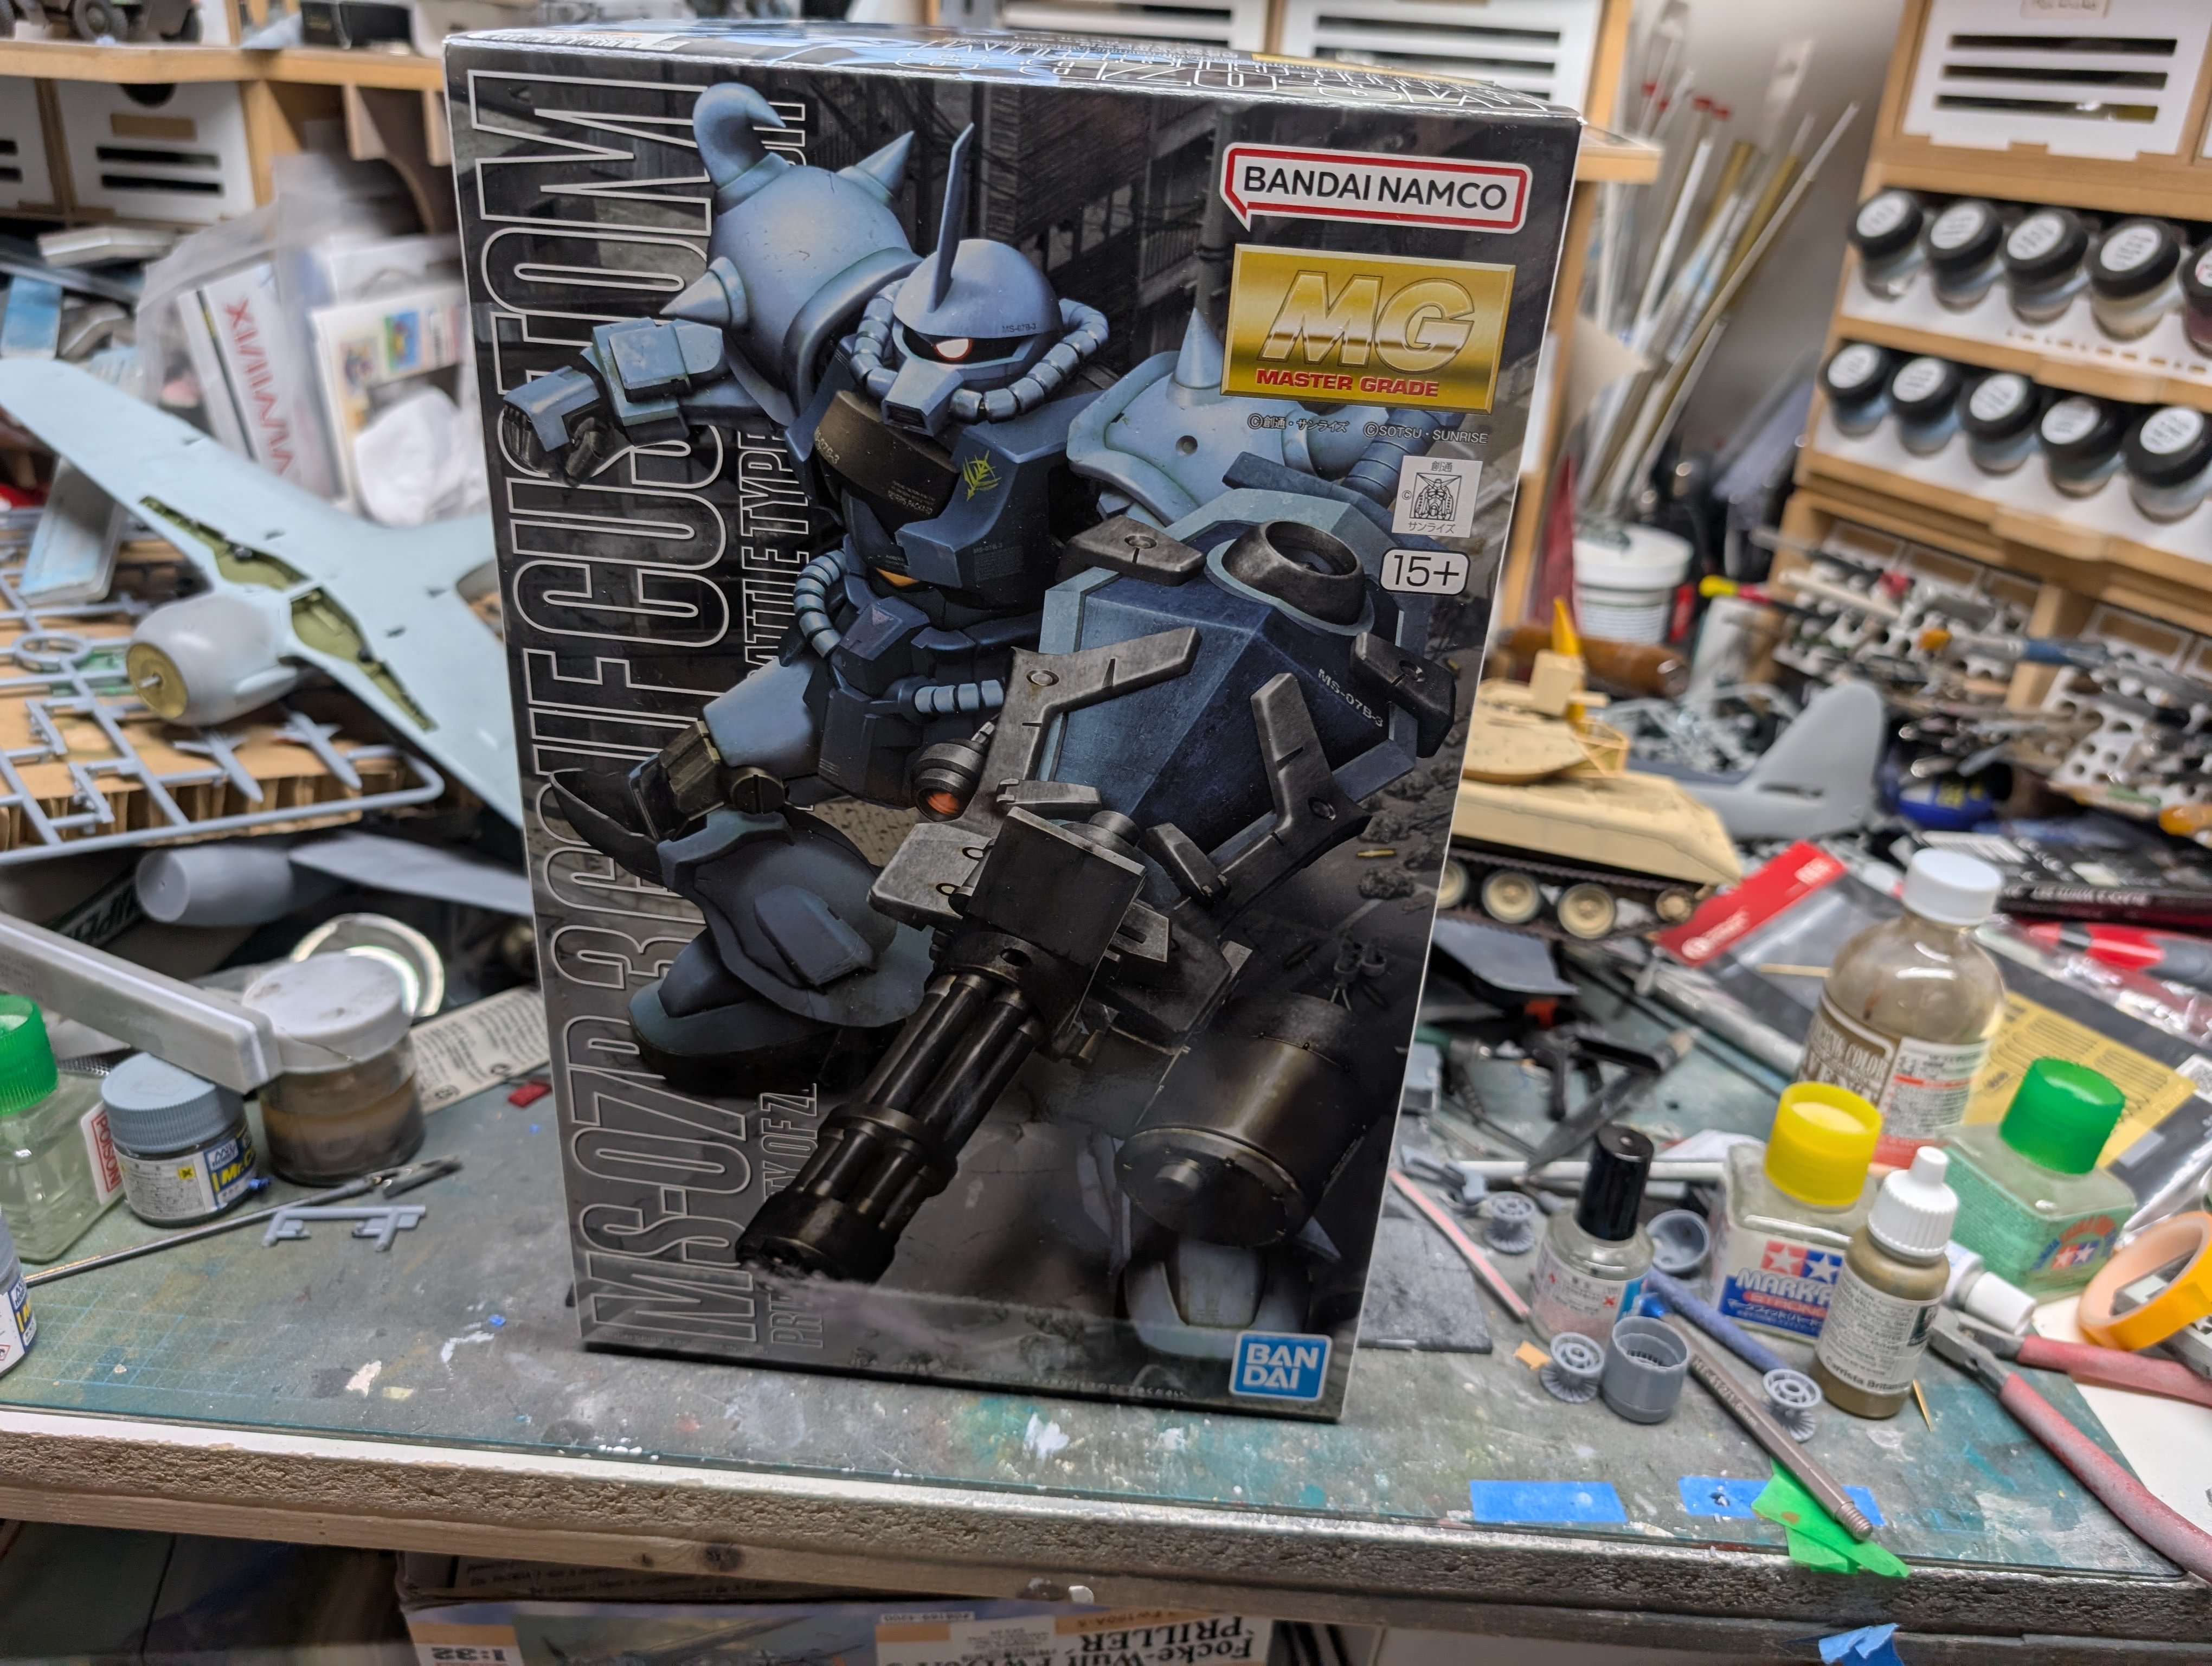
Scott, are you doing a K or a plain E? -
What is on your bench right now ? Share a picture :)
BlrwestSiR replied to Martinnfb's topic in Modelling Discussion
Actually the Sheridan is on the port wing of my Sea Fury. Godzilla got moved to the pile of open kit boxes. His tail kept getting in the way. For those keeping count (or trying to), here's everything on the bench: - ZM He219 - Academy CF-18 - Tamiya F4U1-A - Border Tiger 1 early - Minibase Su-33 - Special Hobby Whirlwind - Fisher Sea Fury - RFM Sheridan - ZM RF-4EJ - ZM F-4G - Hasegawa FW190A-5 Organized chaos.. -
What is on your bench right now ? Share a picture :)
BlrwestSiR replied to Martinnfb's topic in Modelling Discussion
Multitasking at its finest! -
What is on your bench right now ? Share a picture :)
BlrwestSiR replied to Martinnfb's topic in Modelling Discussion
You saw the pair of F-4s under the FW190 I take it. For me, I think it may be ADHD. Our youngest was diagnosed with it and after reading through the reports and of course his behaviour, there's a lot of similarities between us. I'll probably do a tidy up session once the Sheridan and FW are done and off the bench. Might even dig out the Sea Fury from under all the F-4 bits and get that done too. -
Lovely diorama there PW. Fantastic details everywhere you look.
-
What is on your bench right now ? Share a picture :)
BlrwestSiR replied to Martinnfb's topic in Modelling Discussion
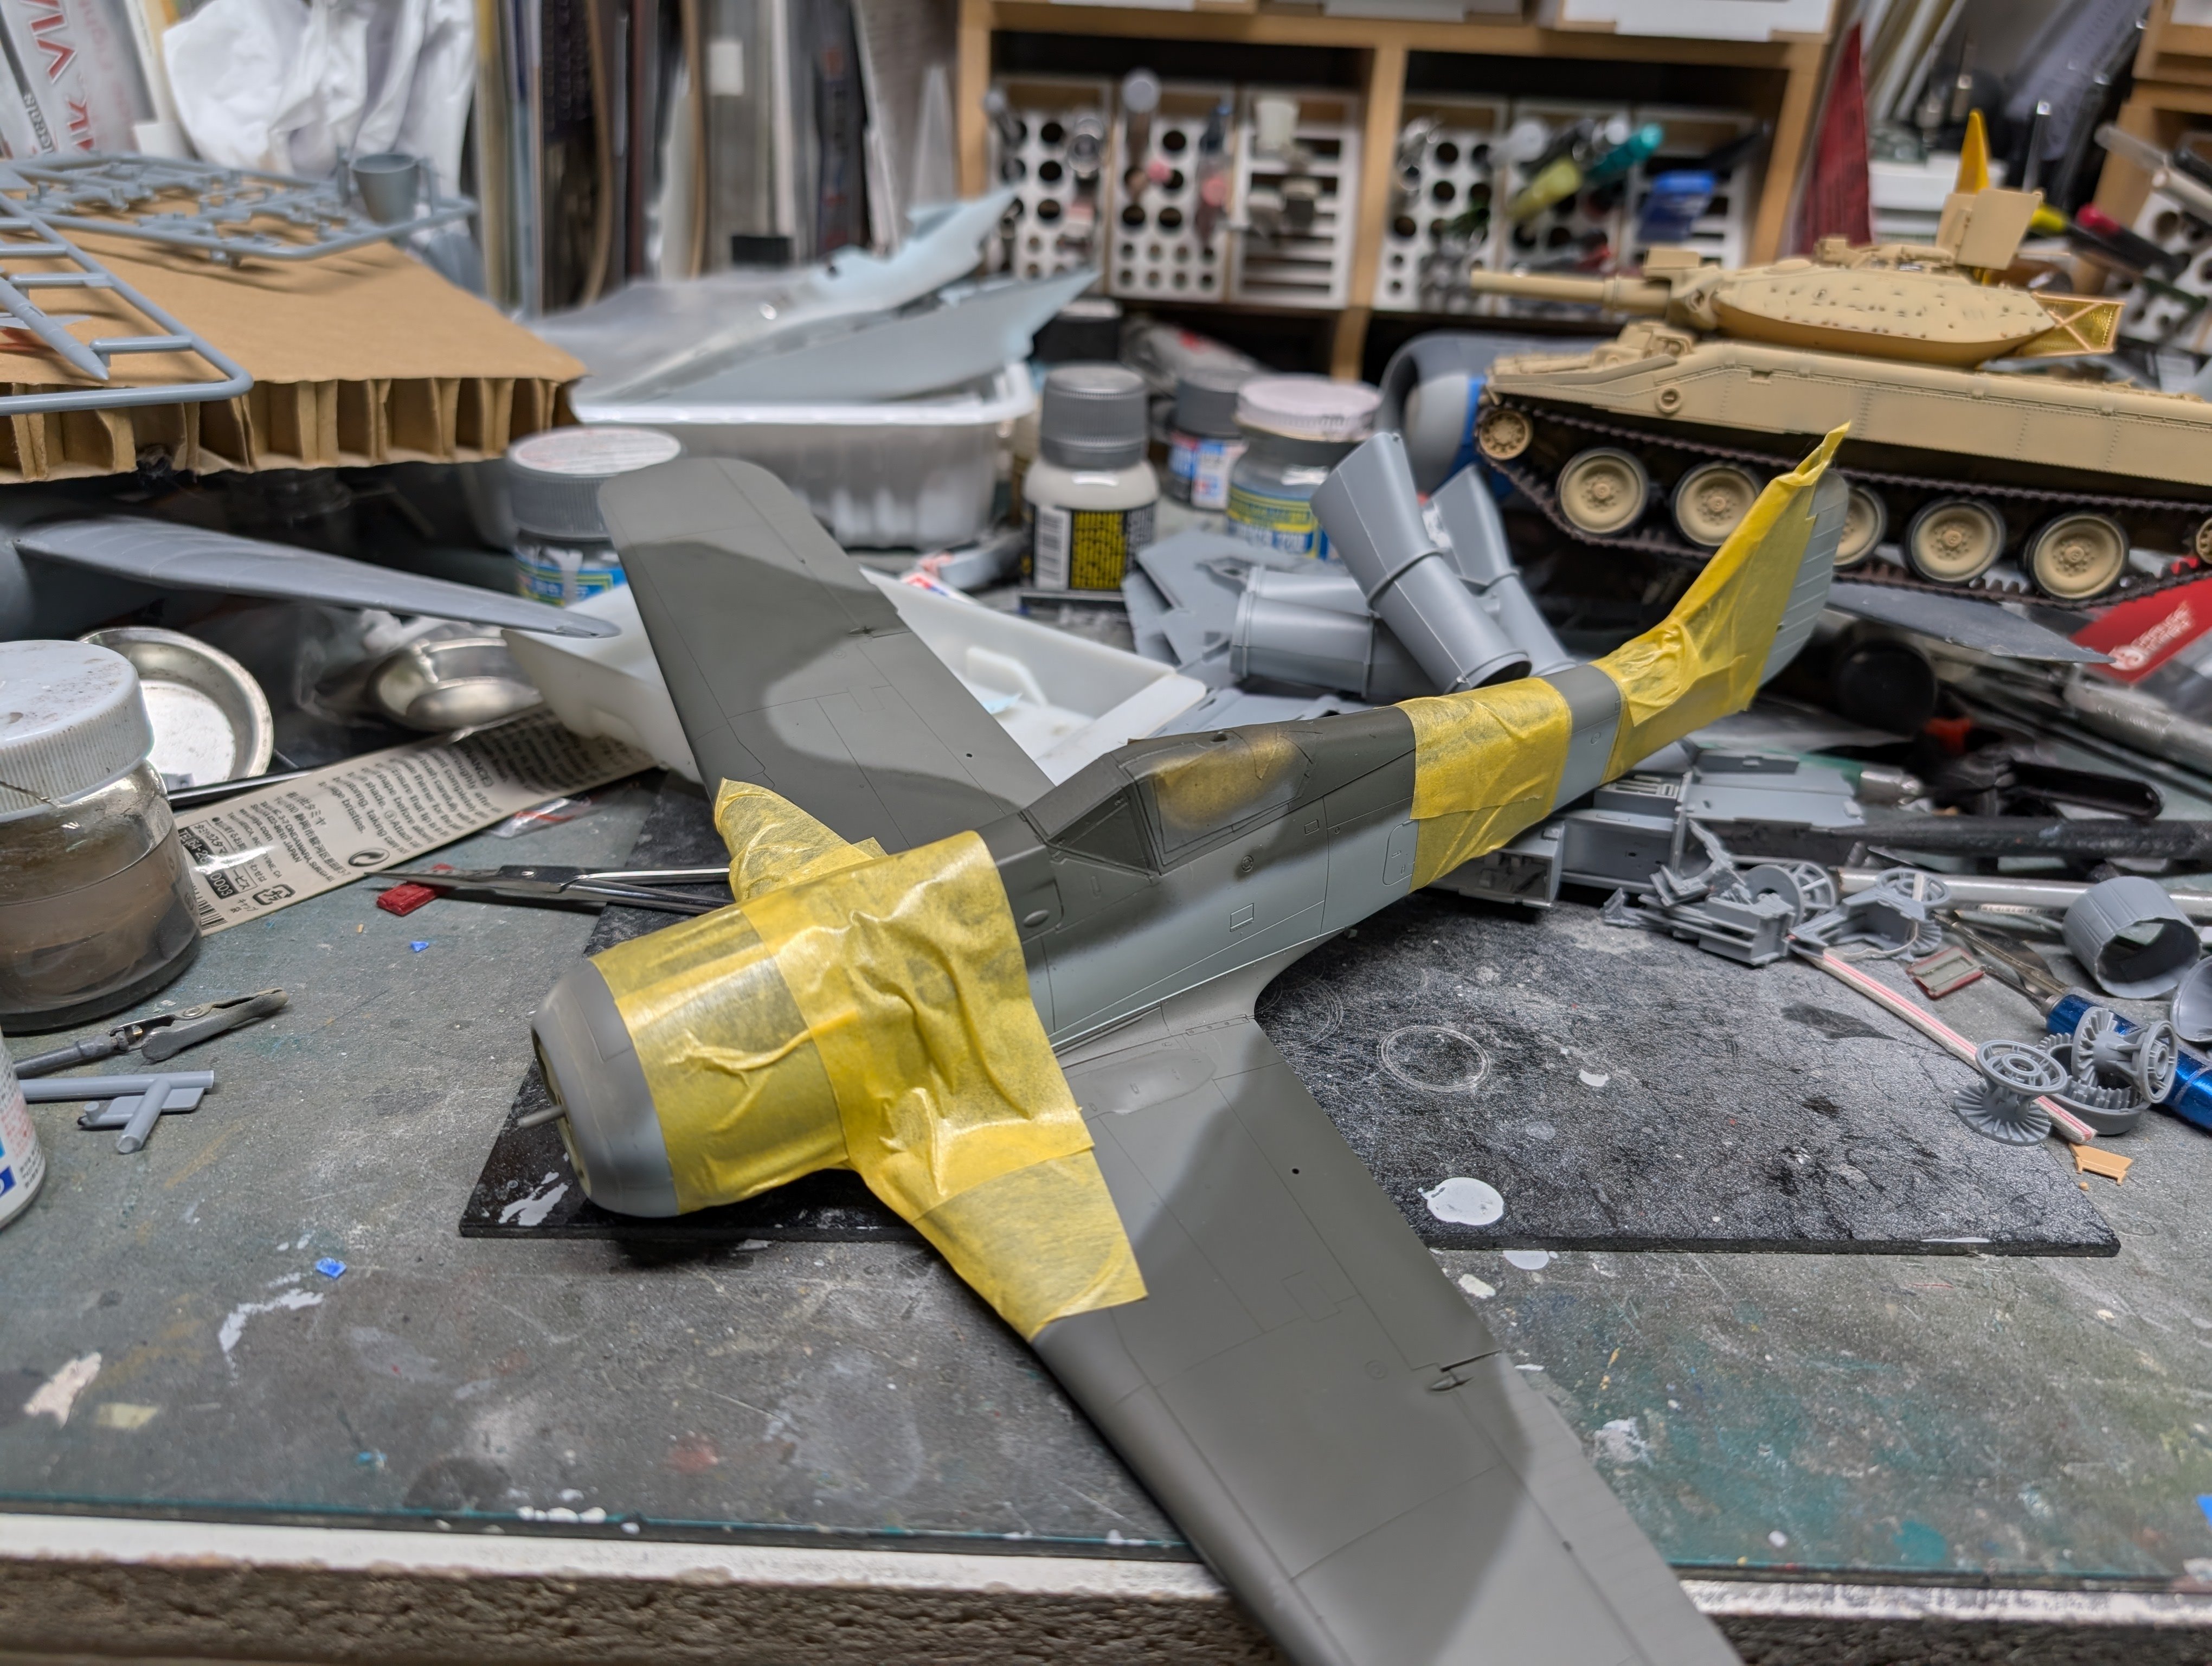
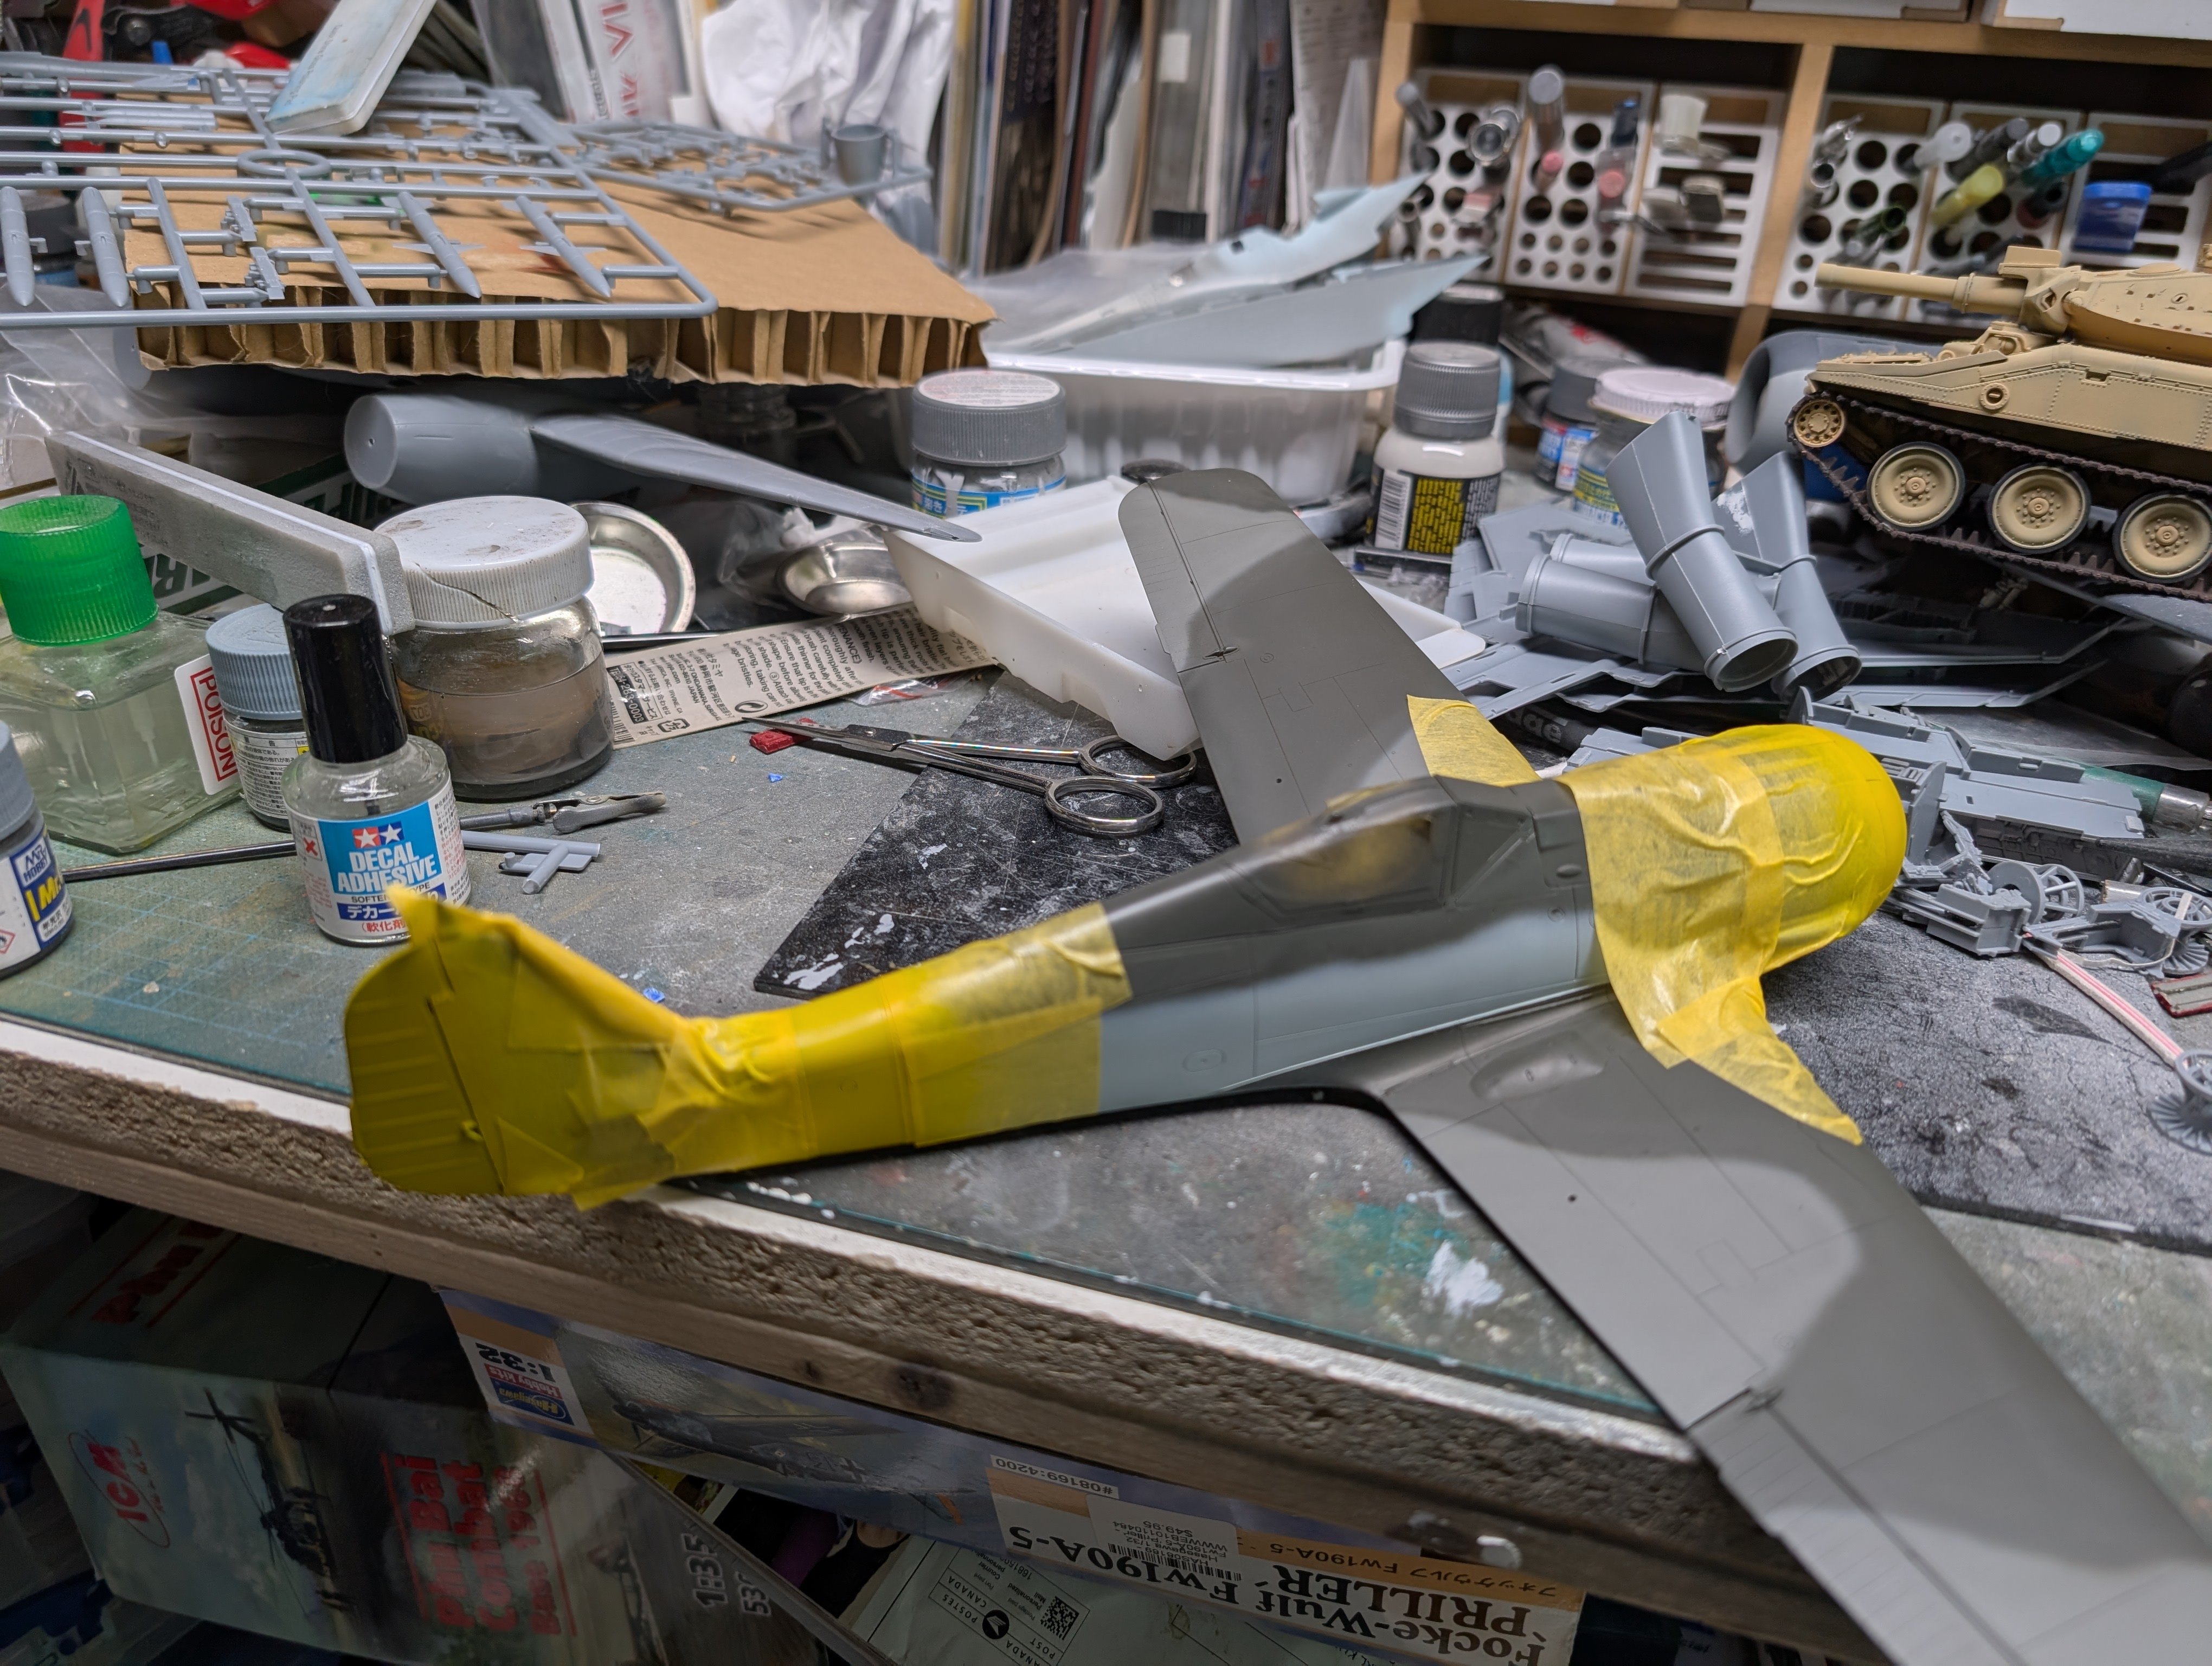
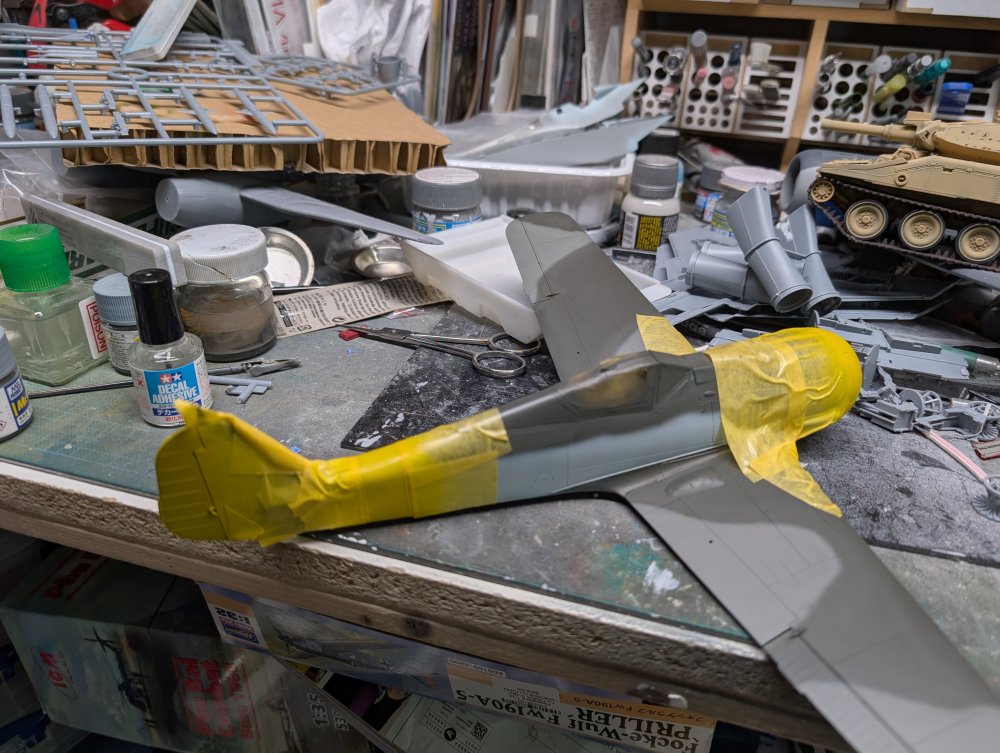
I masked off the yellow tonight. And got it sprayed. Now for a clear coat.

-
1/32 ME-262A-2a/U2
BlrwestSiR replied to JeroenPeters's topic in LSM 1/35 and Larger Work In Progress
A nice amount of progress there Jeroen. -
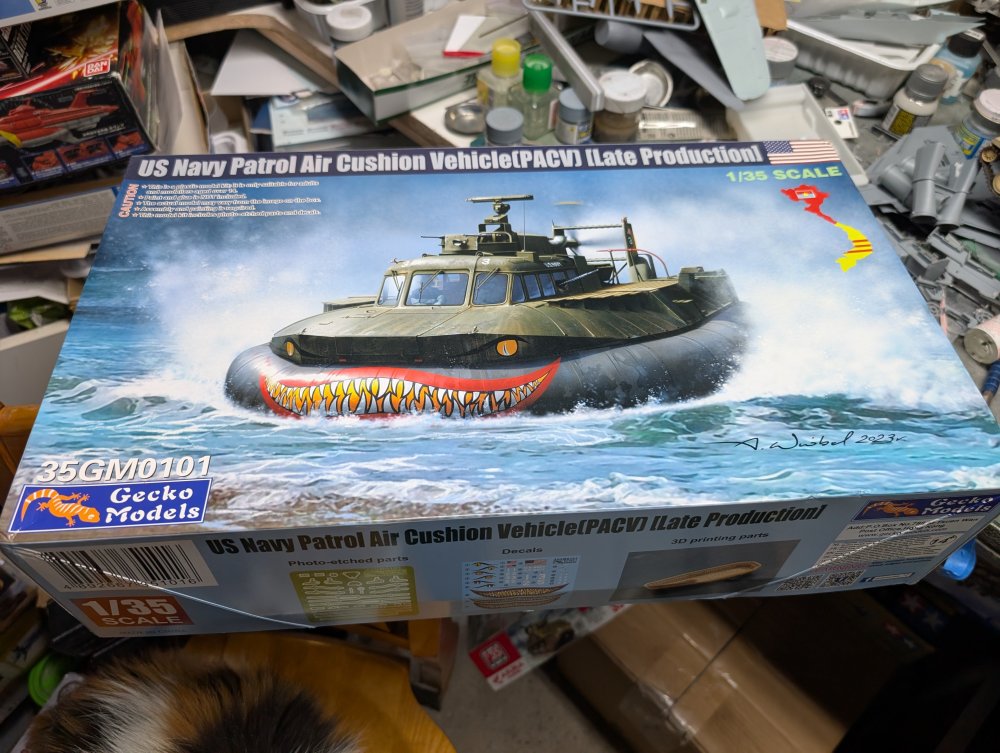
The new Gecko PACV!!!
-
Here's a couple pics.

-
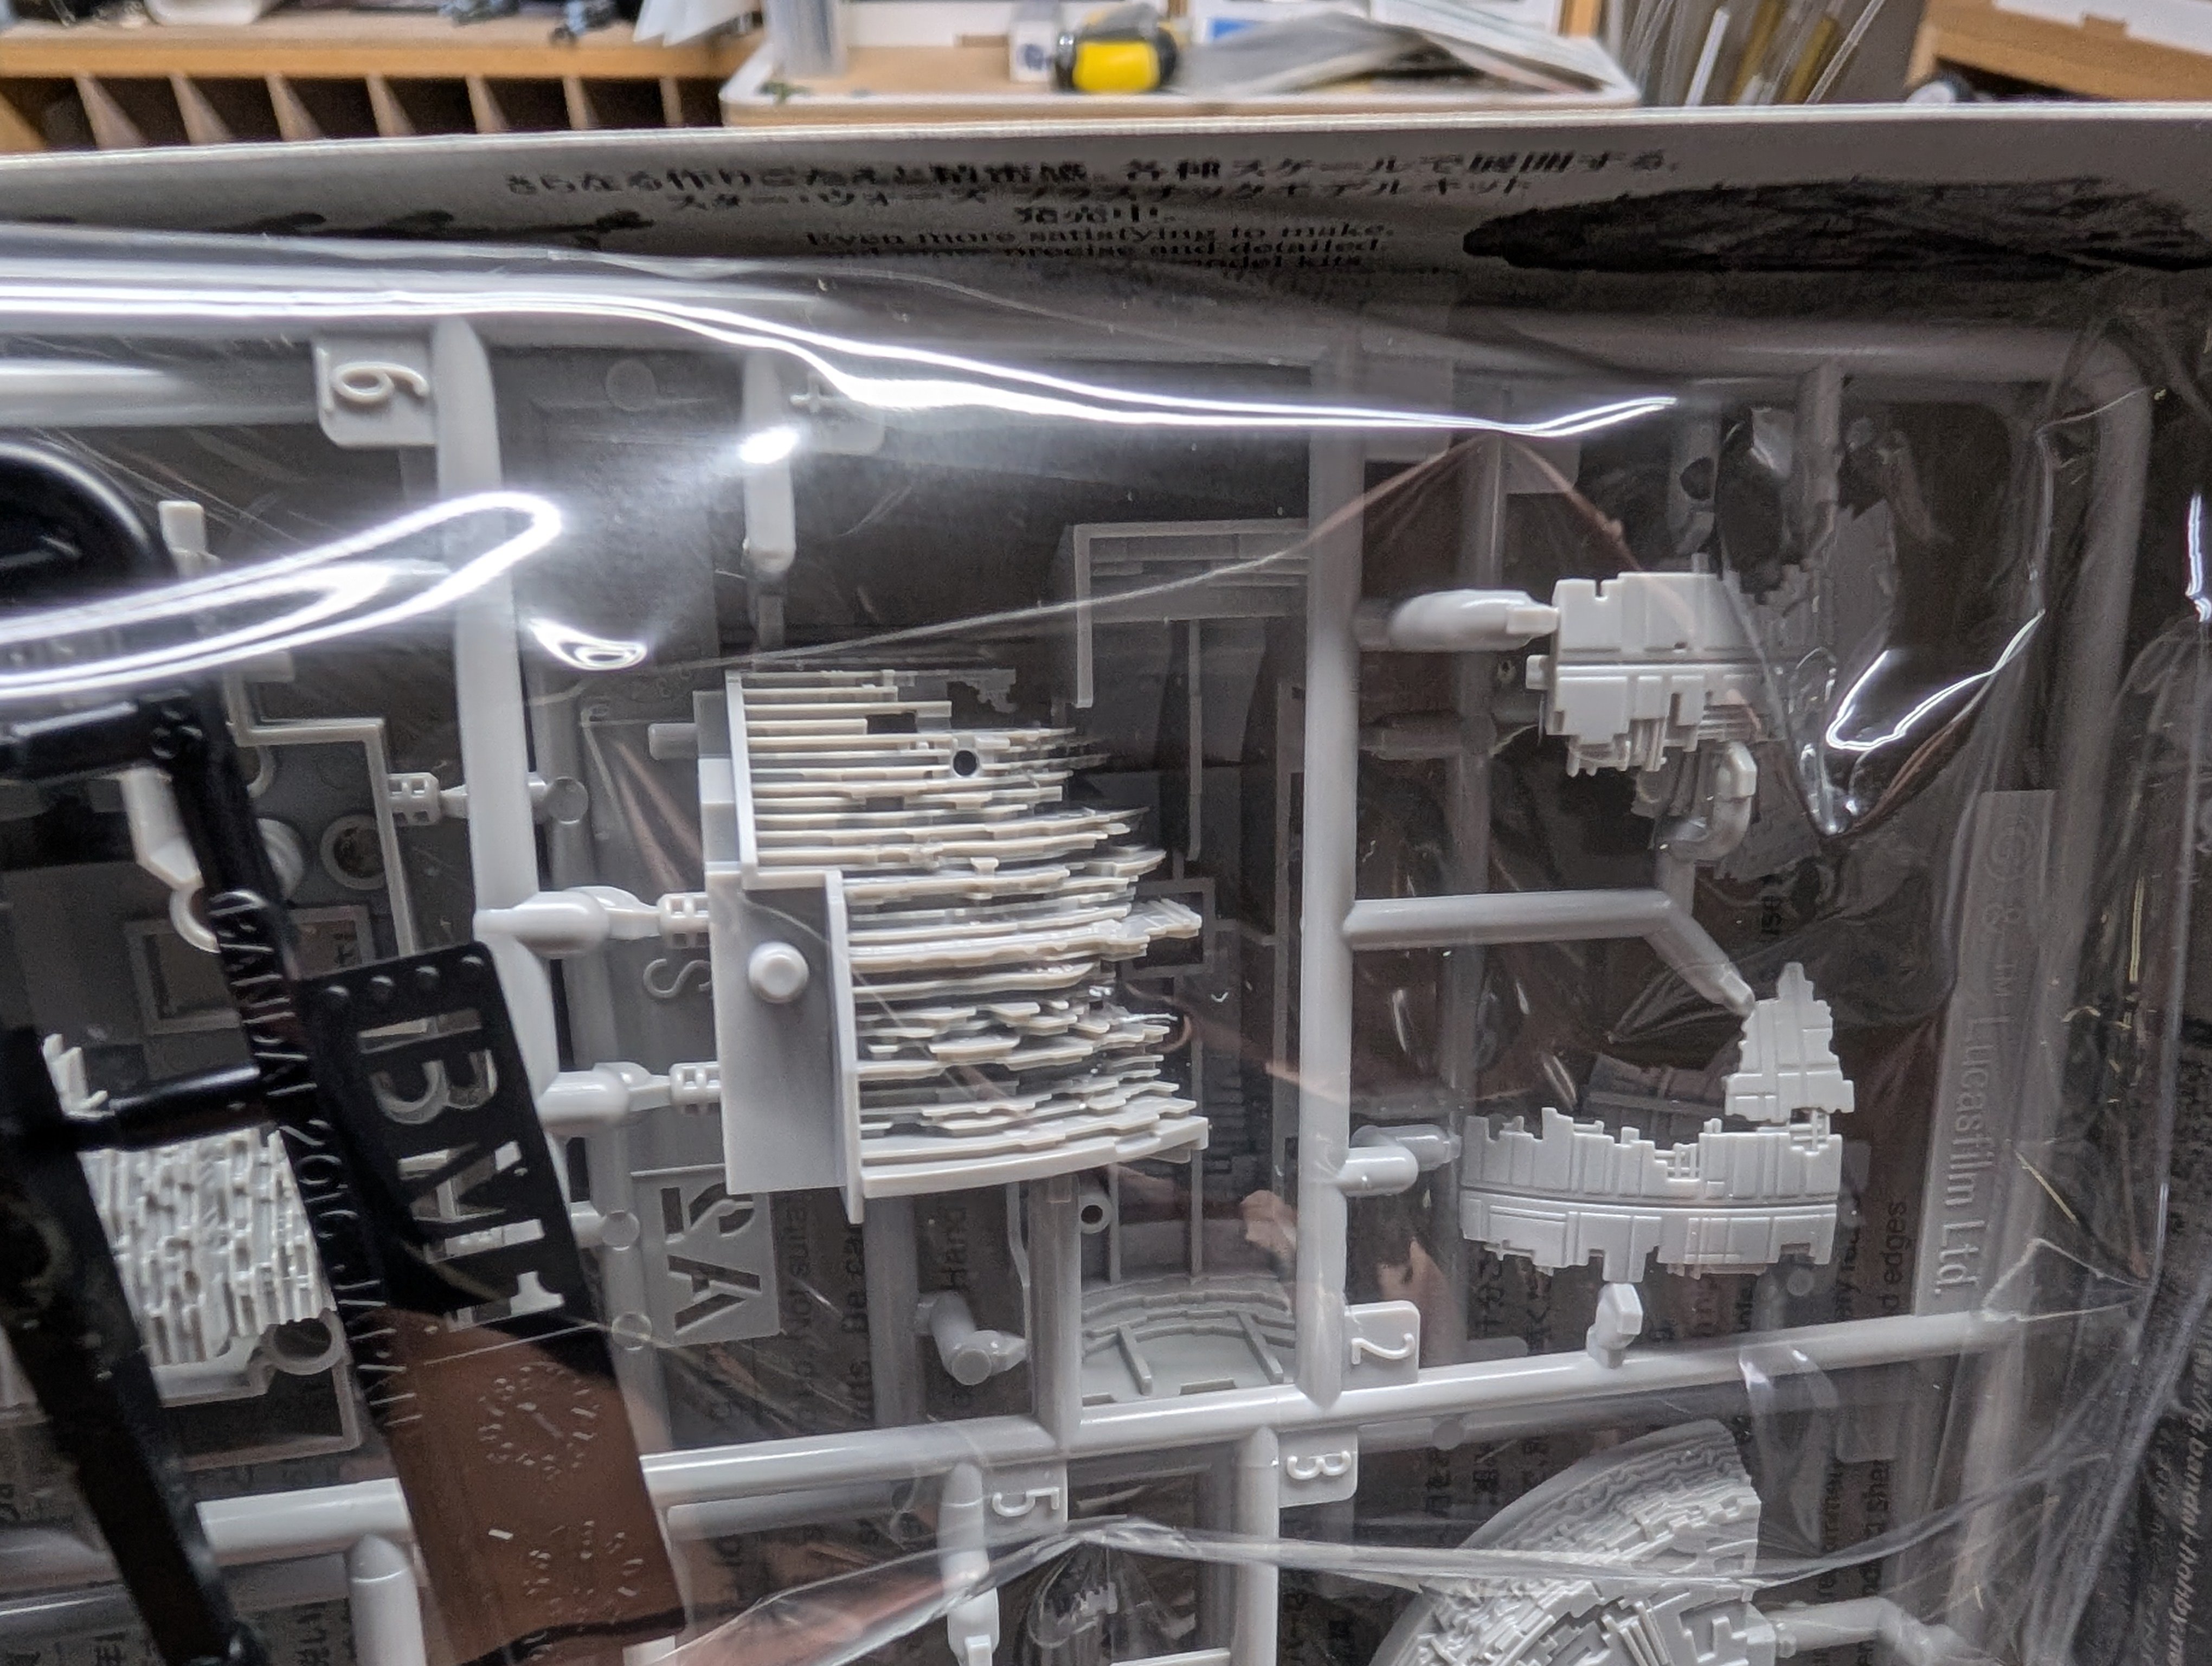
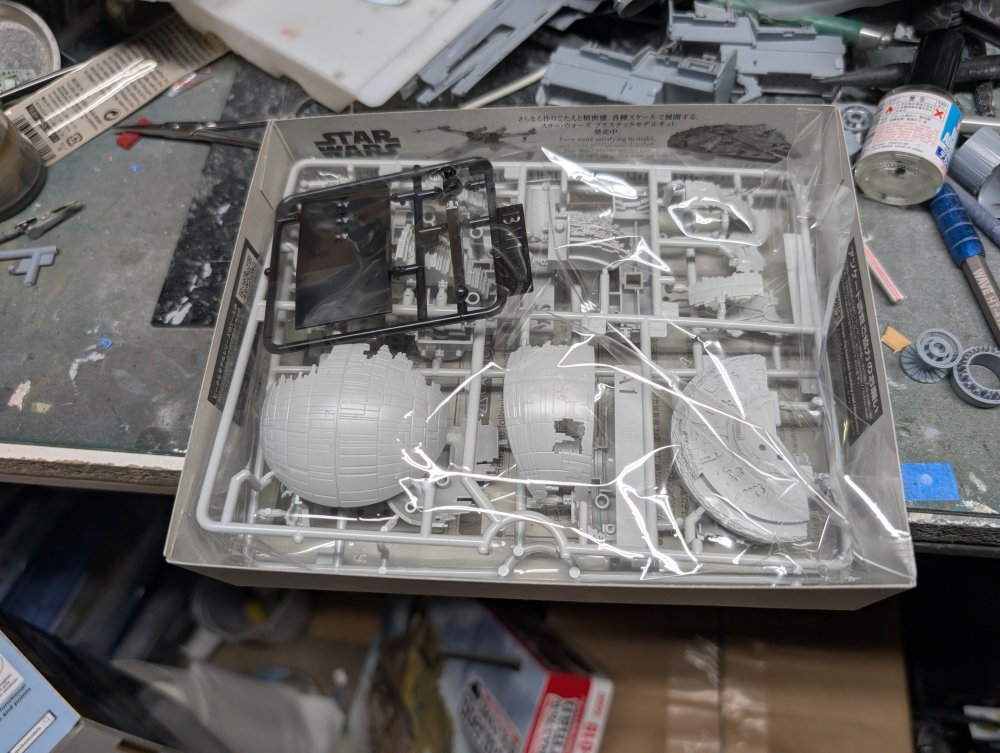
Ralph, it's not a big kit but the detail is nice. Like all Bandai Star Wars kits, it's press fit. So no glue needed. I'll try to grab some pics of the parts in a bit.
-
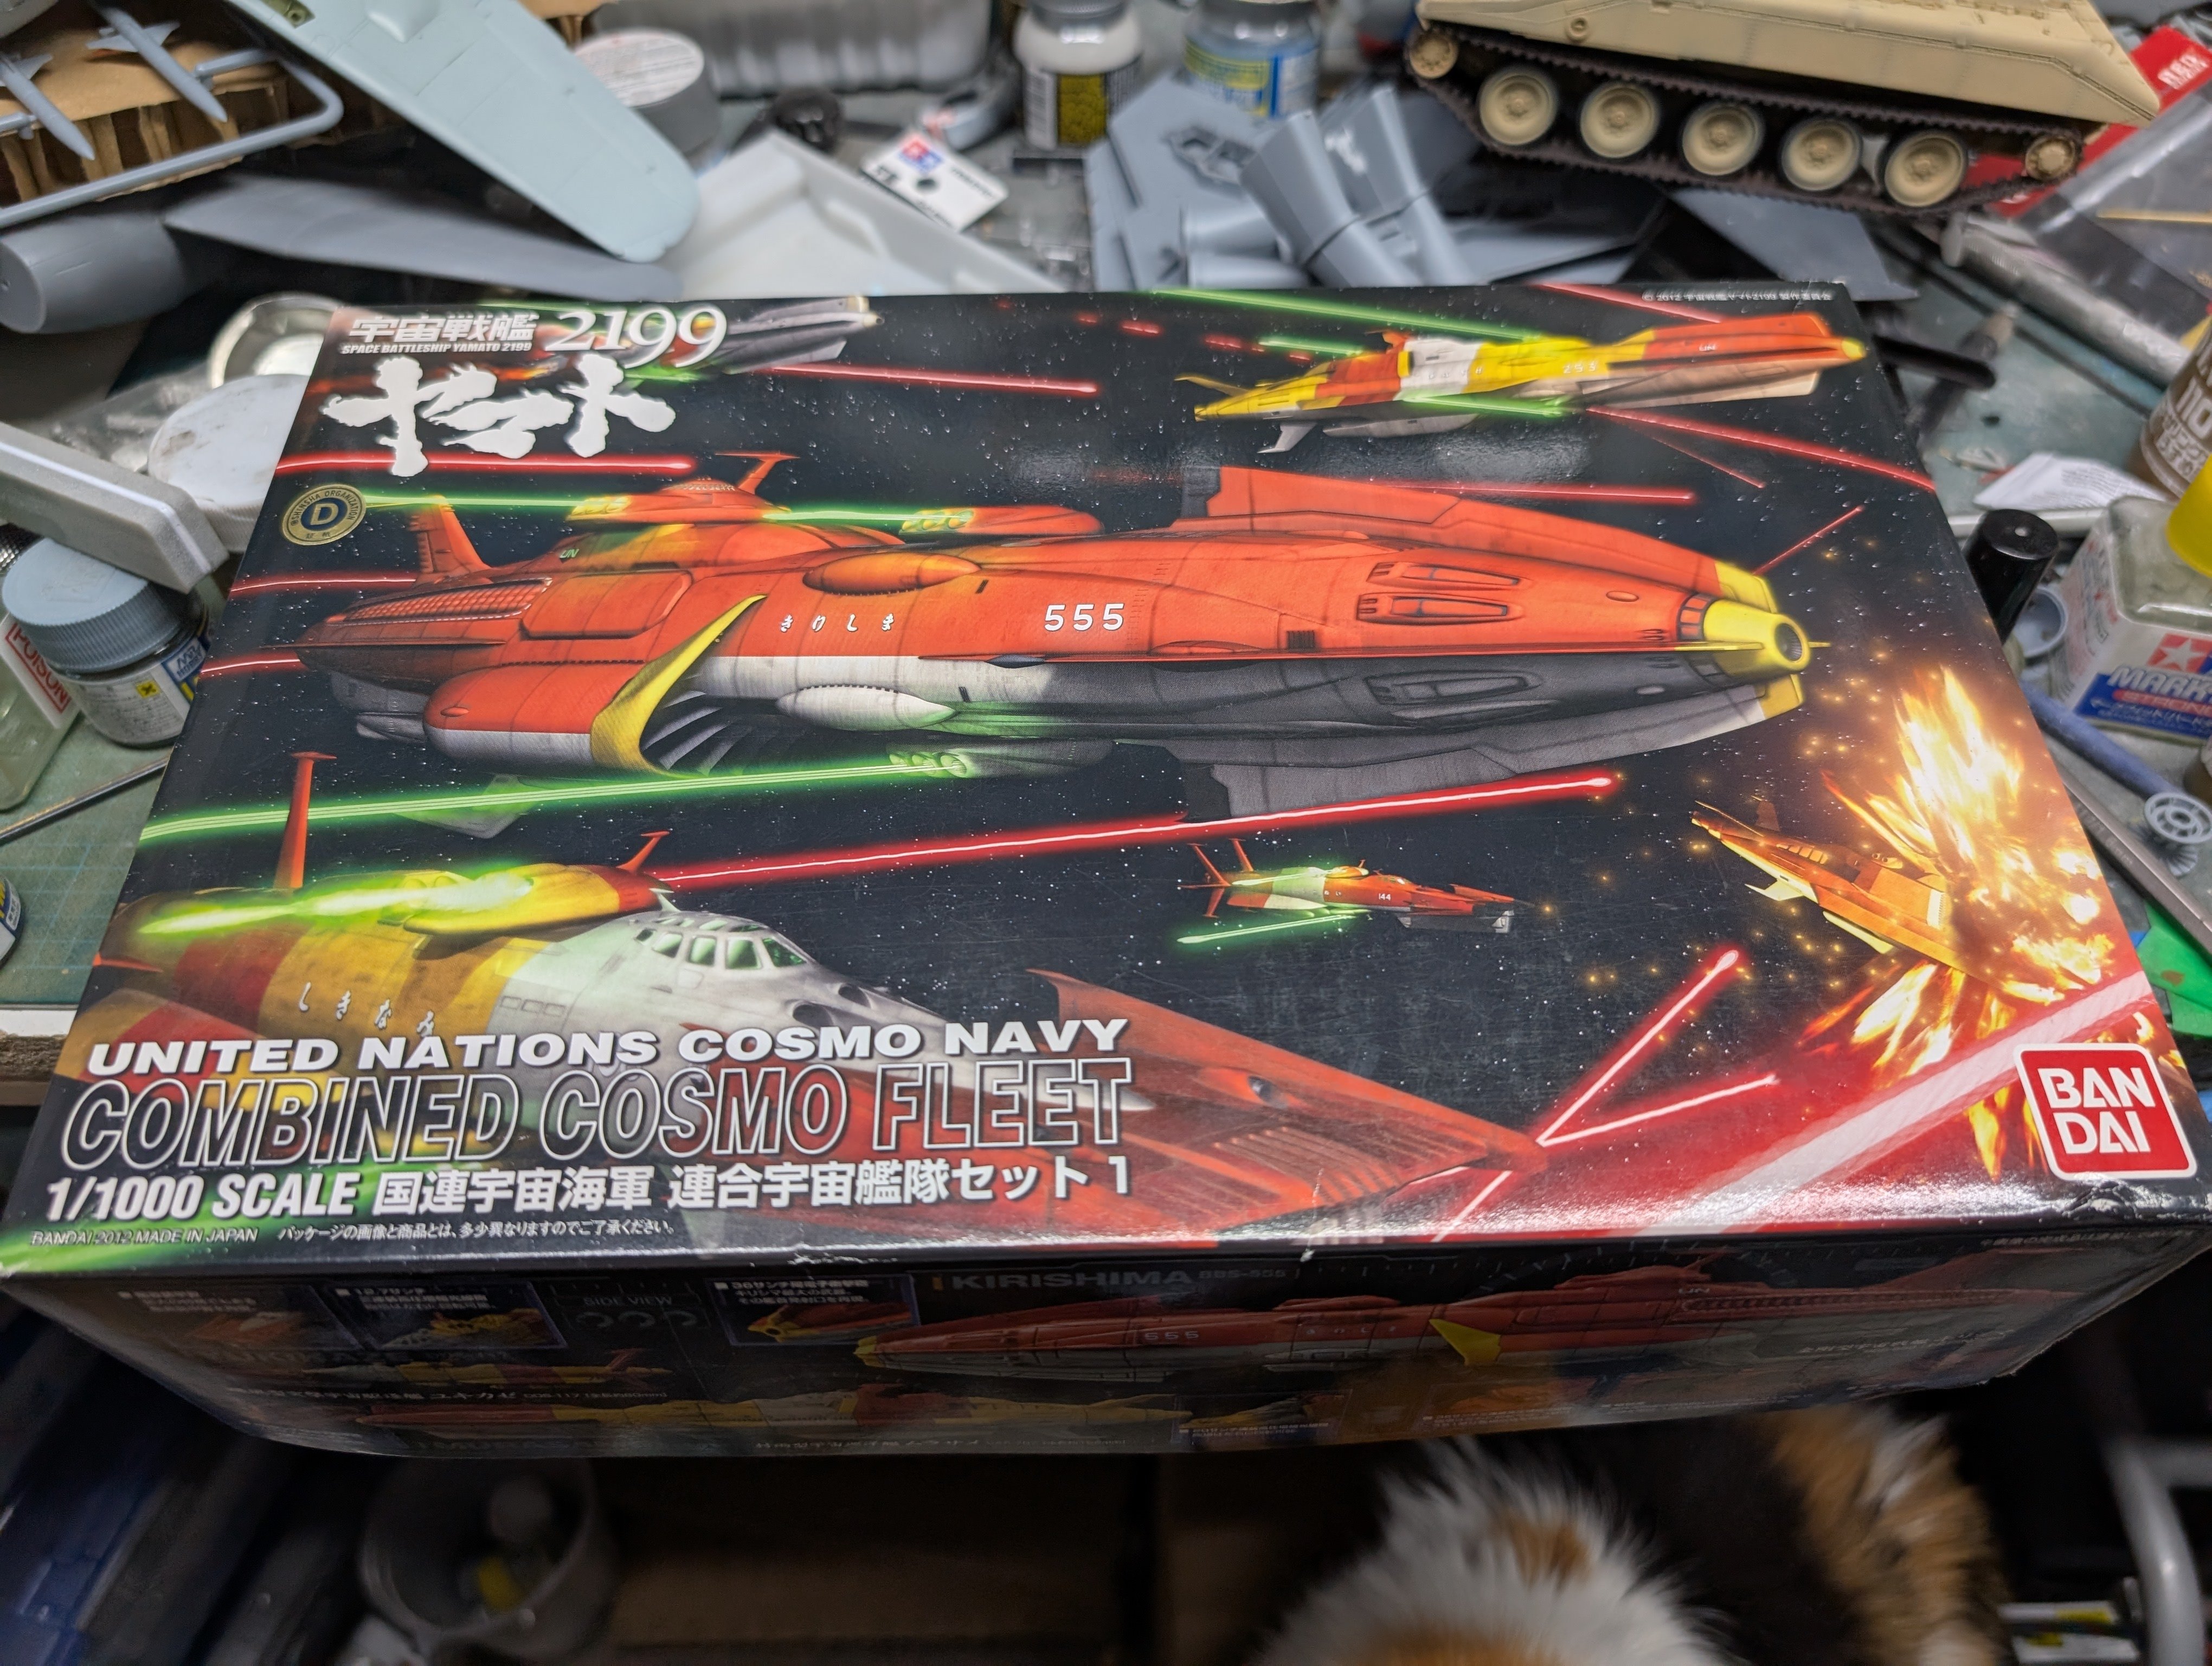
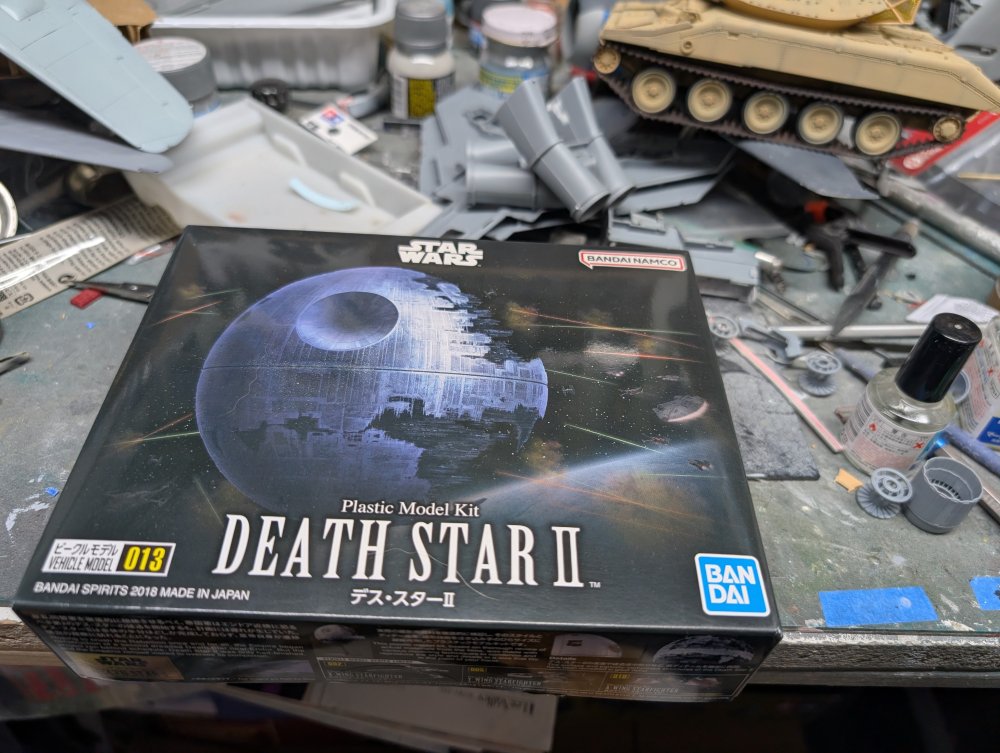
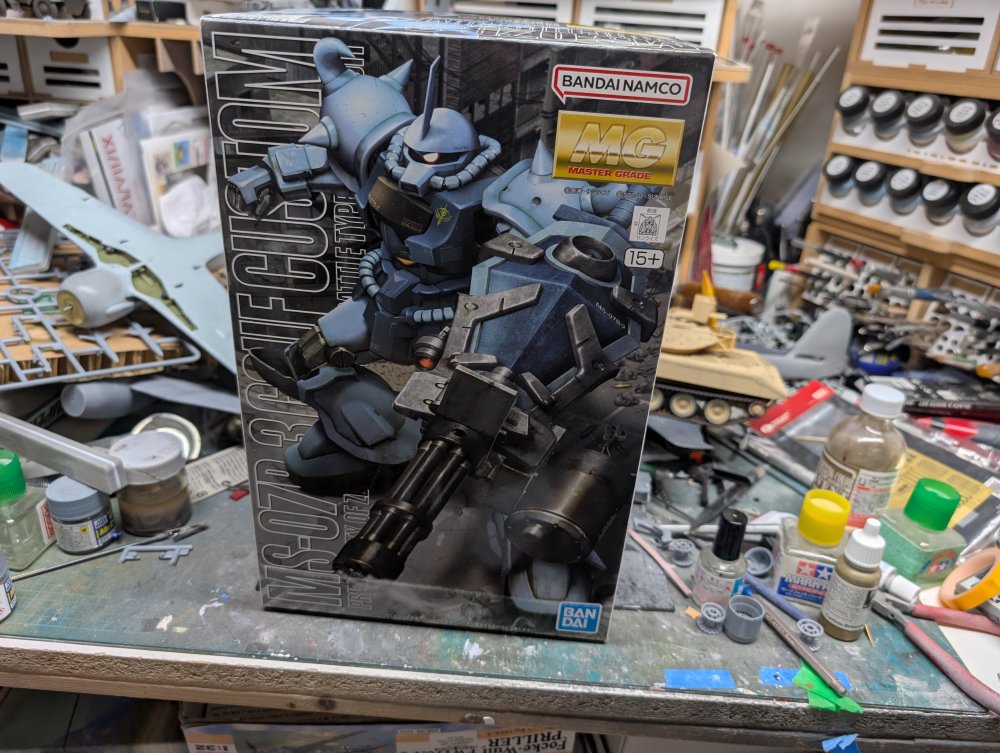
Some sci-fi kits from my LHS: And a tank too!

-
Nice fix on the wing gap. At least it's on the underside so not as visible. I've used Bondic UV gel for instrument glass. I apply with a toothpick and then a UV flashlight to harden it. There's a Japanese brand Gaianotes that does one too that's even nicer but it can be hard to find.
-
What is on your bench right now ? Share a picture :)
BlrwestSiR replied to Martinnfb's topic in Modelling Discussion
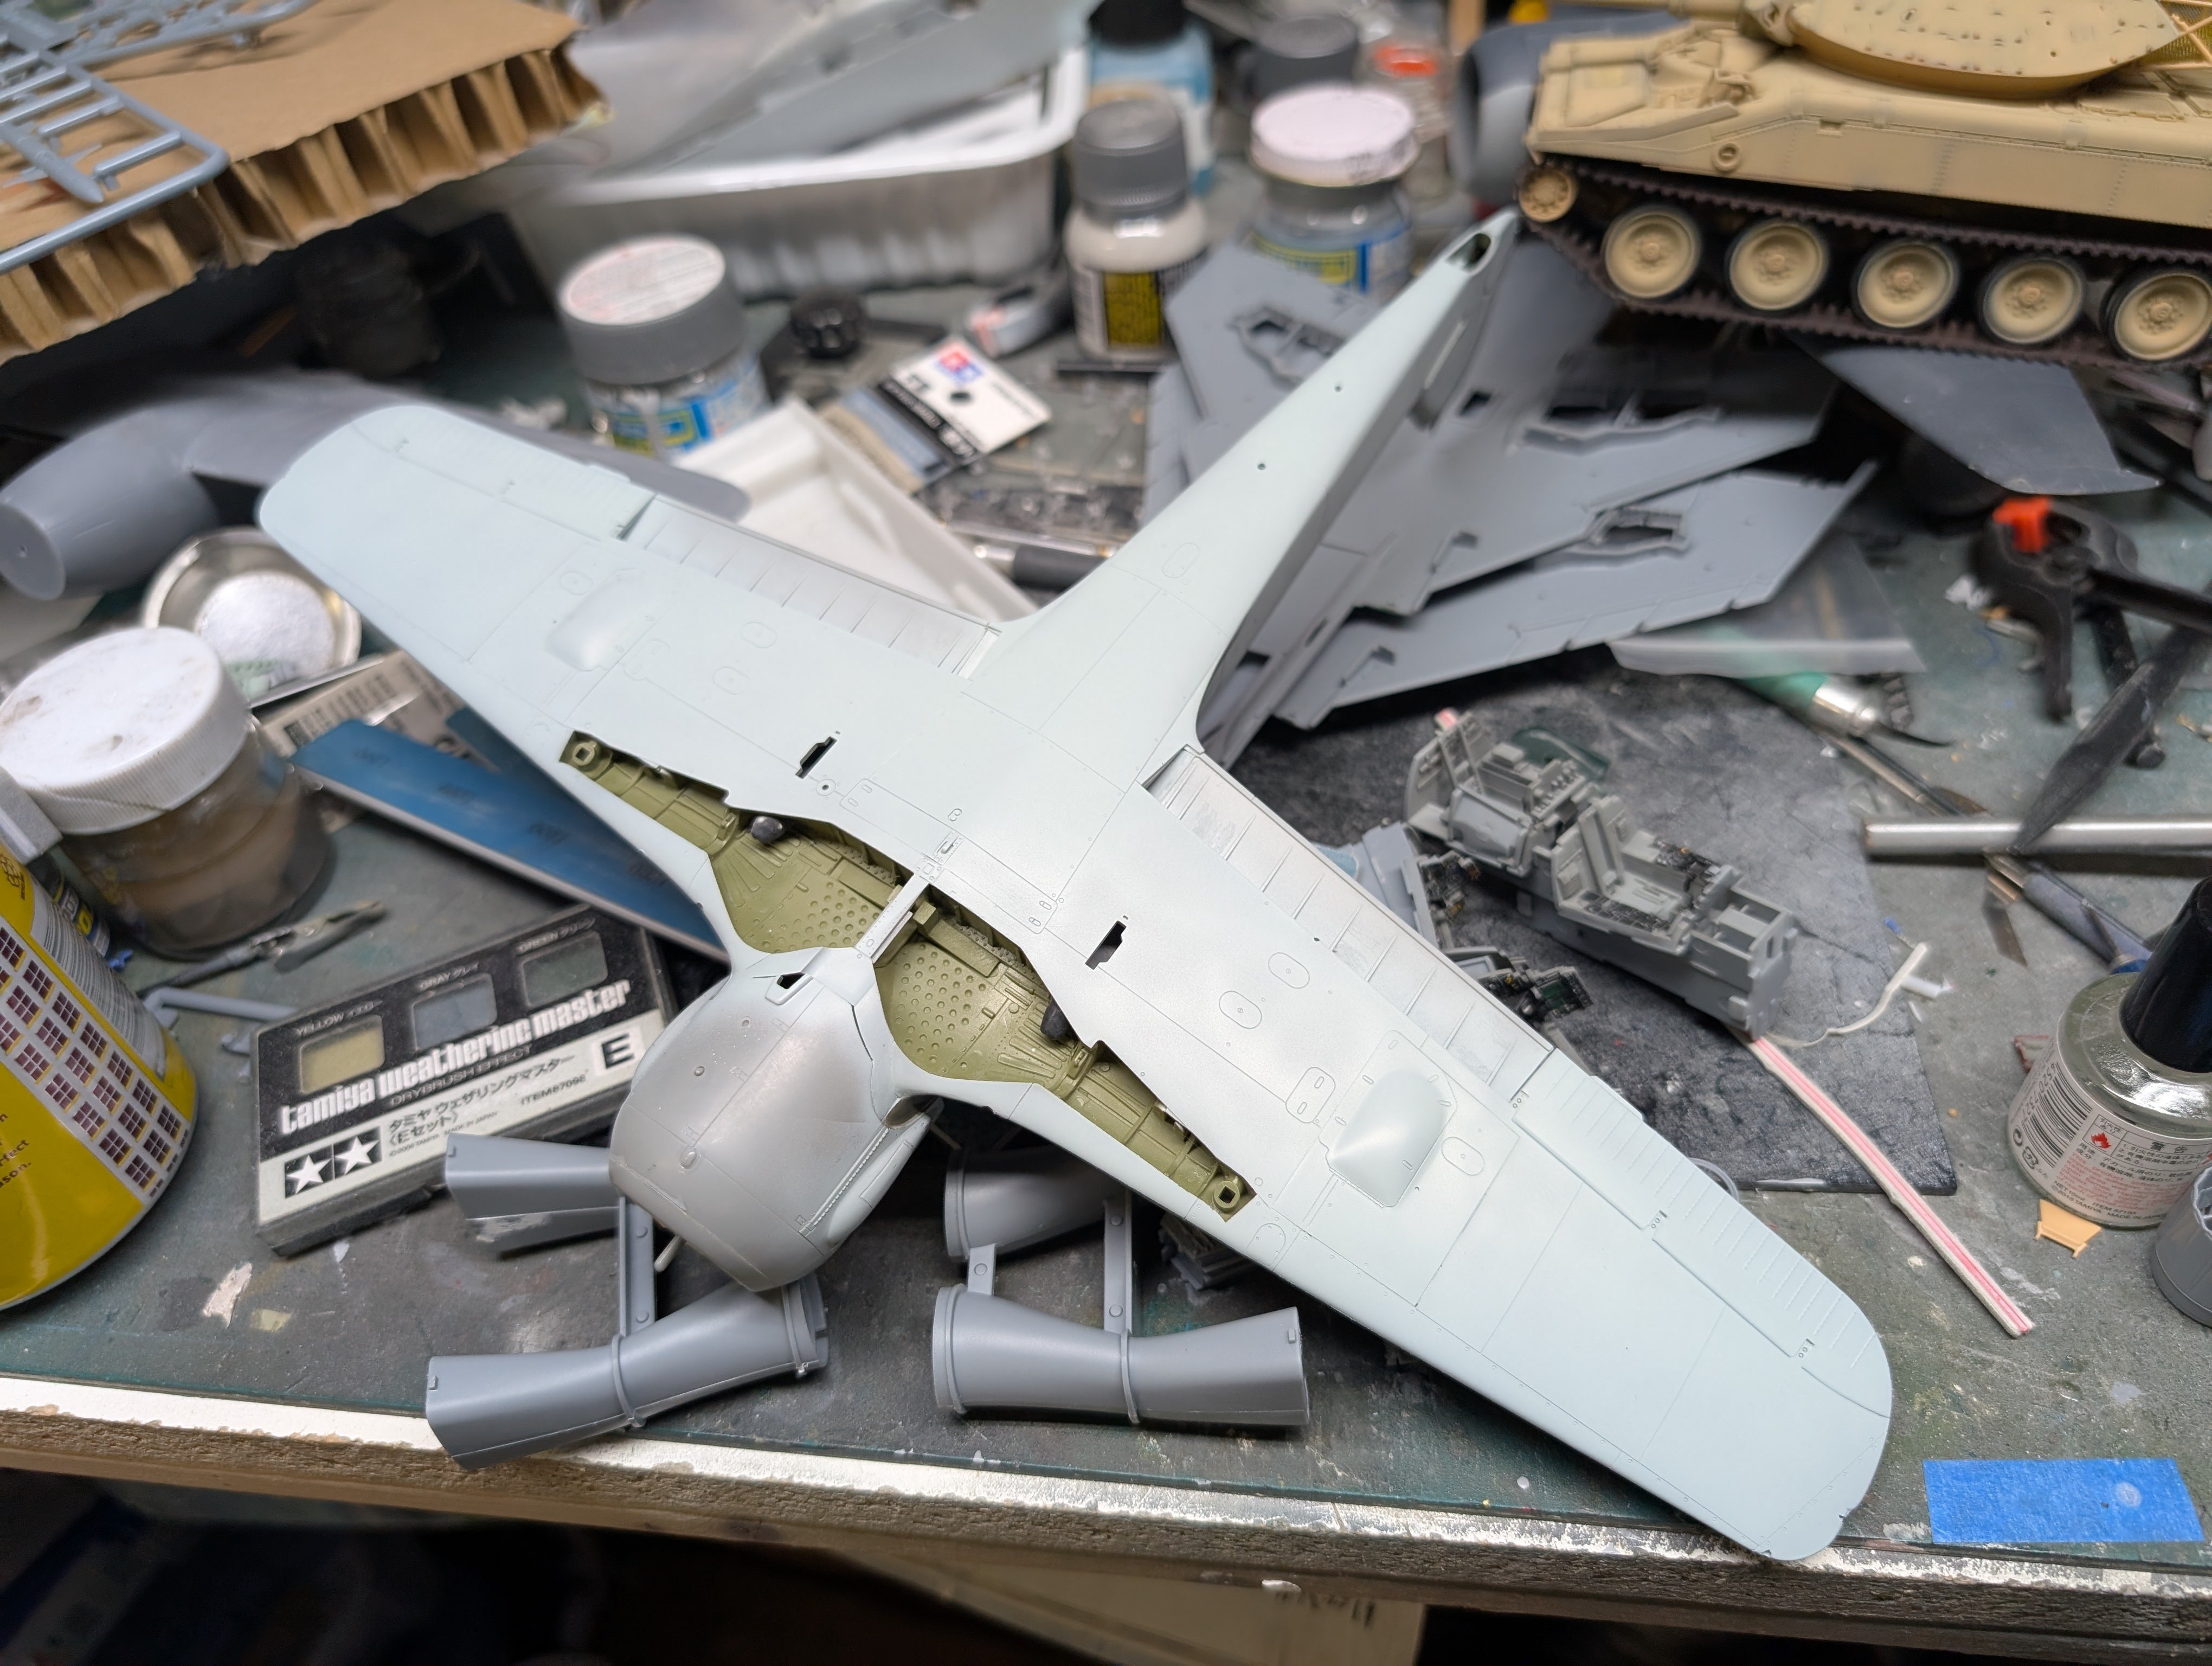
I think maybe slightly more than that. I did get there underside painted though. Just need to do the yellow bits then a clear and stickers.
-
What is on your bench right now ? Share a picture :)
BlrwestSiR replied to Martinnfb's topic in Modelling Discussion
Your FW190 looks great there PW!