BlrwestSiR
-
Posts
9,173 -
Joined
-
Last visited
Content Type
Profiles
Forums
Events
Gallery
Everything posted by BlrwestSiR
-

The Legend - Lotus 72D - Tamiya 1/12
BlrwestSiR replied to DocRob's topic in LSM 1/35 and Larger Work In Progress
The engine looks really good there Rob. The finish on the gearbox is particularly convincing. Too bad Zero paints aren't available in Canada. -
What is on your bench right now ? Share a picture :)
BlrwestSiR replied to Martinnfb's topic in Modelling Discussion
I was wondering about the blue when you mentioned it was the Toyota Tom's kit. Are you going to do the body in blue as well? That would be a different paint scheme that's for sure. -
Mr Surfacer in jars is much easier to find in Canada. There's also Aqueous Mr Surfacer which I have used and not really noticed any differences in. Another good option is to check out some of the Gundam stores for stock. They tend to carry a fair bit of Gunze/Mr Color products.
-
It's really looking spectacular.
-
Looking really good there Martin.
-
What is on your bench right now ? Share a picture :)
BlrwestSiR replied to Martinnfb's topic in Modelling Discussion
With my left shoulder and arm finally on the mend, I've been able to spend a bit of time at the bench. I wanted to continue on the Gundam Wing but didn't think I was up to airbrushing and decided that just gluing stuff together would be a better idea. So here's the Mirror Models Diamond T wrecker. Lots of small parts. The engine is almost 50 parts. Just about every part needs a tweak or two to fit properly. So probably not the best choice but oddly, I'm enjoying it.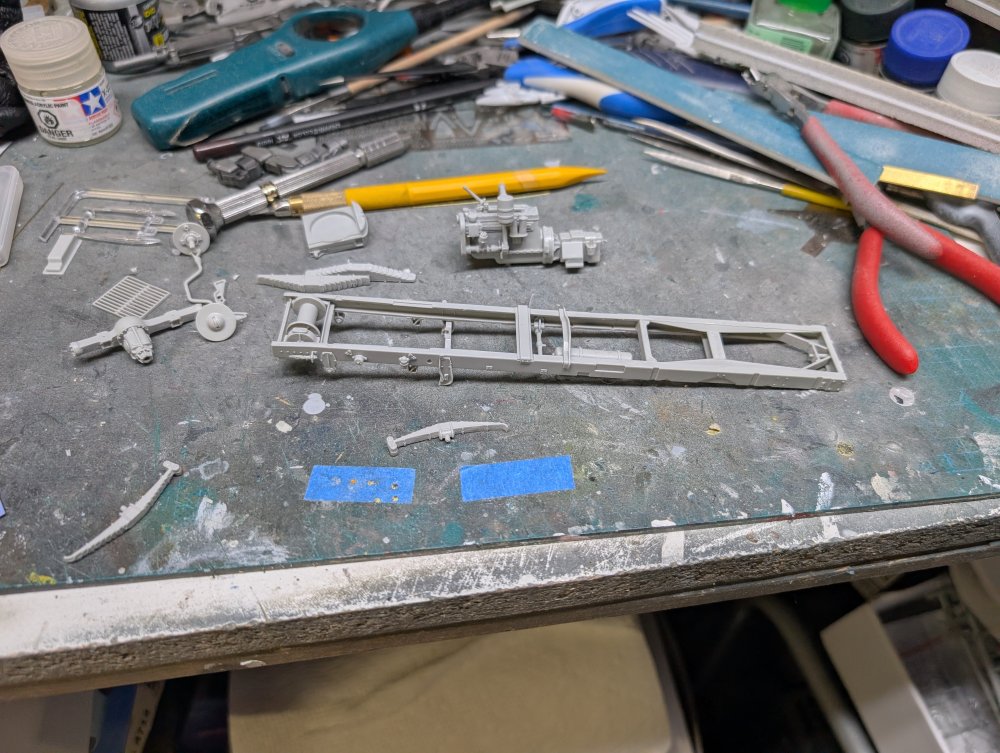
-
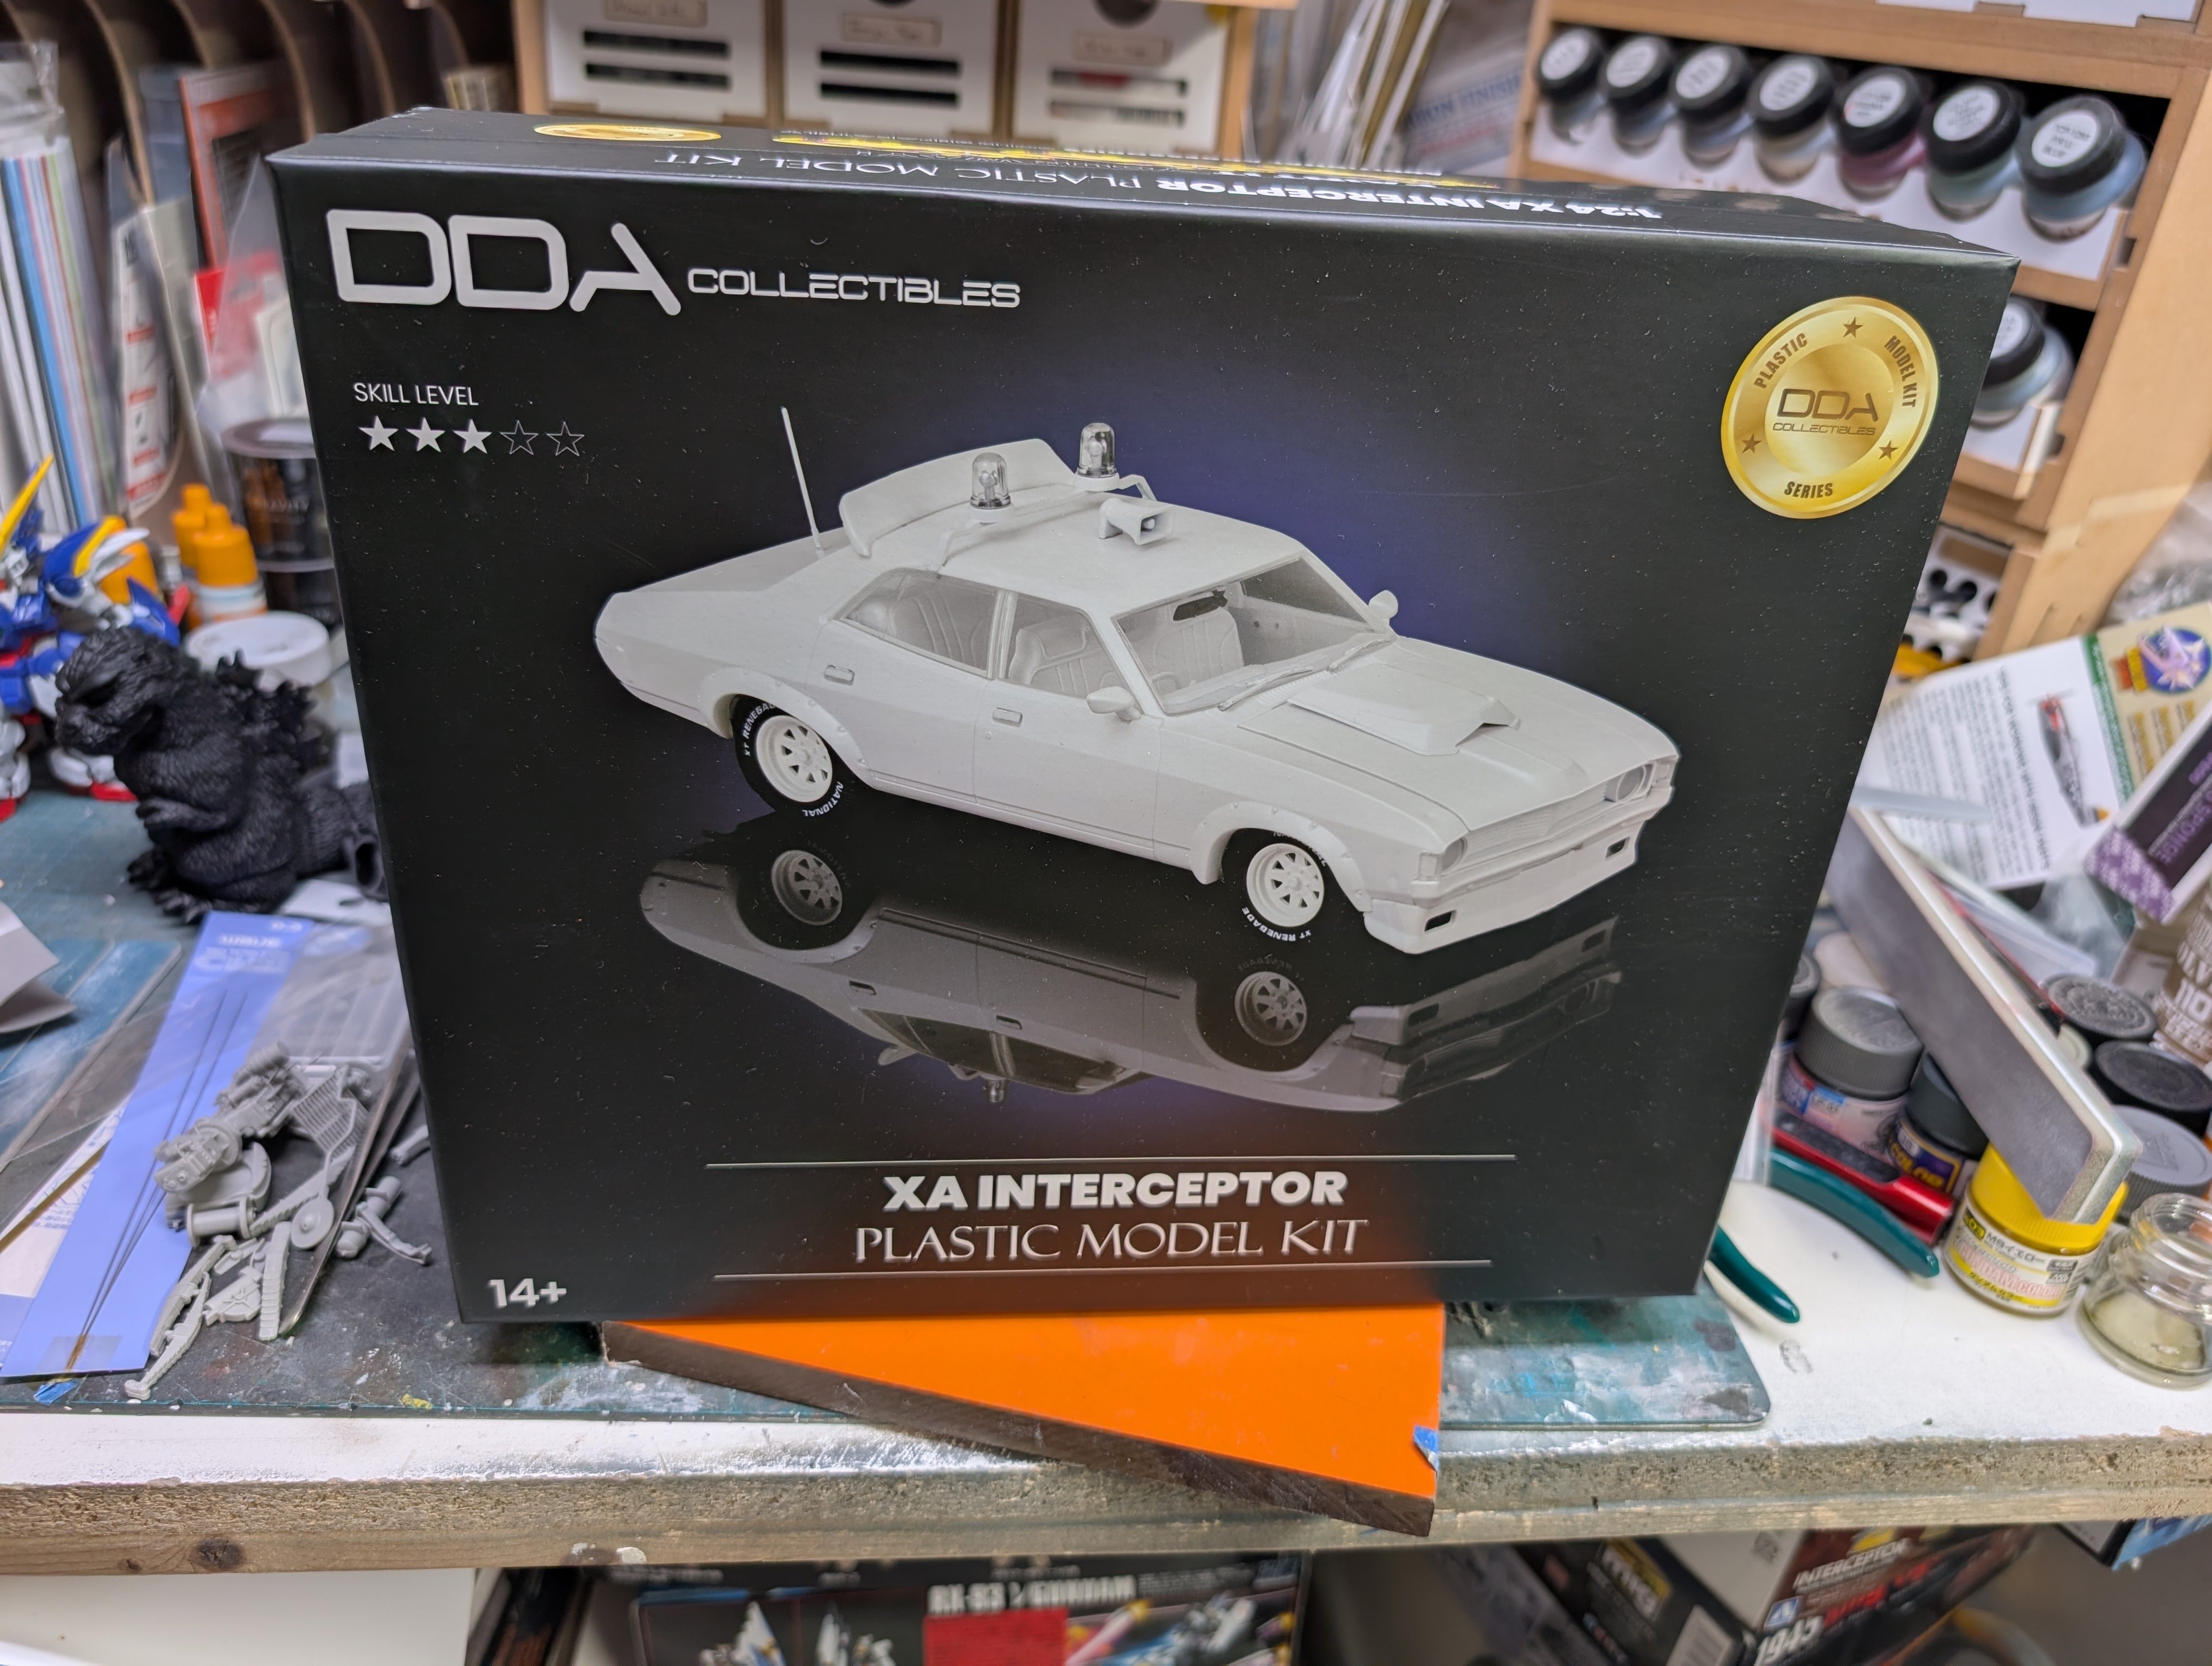
Another kit from Mad Max, this time it's March Hare's XA Interceptor. They're the ones who are initially chasing the Night Rider at the beginning of the movie. Now all they need to release is the Pursuit one driven by Big Bopper which from the box I suspect is coming. Carl

-
What is on your bench right now ? Share a picture :)
BlrwestSiR replied to Martinnfb's topic in Modelling Discussion
Gunpods and F-4s just seem to go hand in hand. The most notable being Chico the Gunfighter. I put three SUU-23 gun pods under my Tamiya F-4E when I built it influenced by Chico and a gun harmonization chart I found in a book showing that many. Carl -
At least it's not as big as the Fulda Gap. It's an interesting moulding choice that Airfix picked with that.
-
It's definitely 100% Tamiya. Not a re-box of an Italeri kit.
-
That is looking good.
-
The Tamiya Sturmtiger is a nice kit. I built it when it first came out. It was my first try at making zimmerit. It came out a bit thick but I was happy with it. The only complaint that I recall about the kit is that there is only a basic interior to it. I wasn't too concerned as mine was all closed up.
-
Seems you have a full spectrum of them colour-wise there Dennis.
-
Tamiya / DEF Model Zimmerit decals
BlrwestSiR replied to belugawhaleman's topic in Modelling Discussion
I haven't tried them but I do have a set for the Rye Field Sturmtiger in the stash. They looked like a decent and reasonably priced option for zimmerit. -
Very carefully. If the fit of the wings to the fuselage isn't too bad, maybe paint the fuselage and wings as separate parts. Then join them together and do any needed touch-ups on the joint.
-
The Legend - Lotus 72D - Tamiya 1/12
BlrwestSiR replied to DocRob's topic in LSM 1/35 and Larger Work In Progress
I've seen them before on other cars including the Hummer, just never an F1 car but it makes sense that Lotus would have tried it. -
The Legend - Lotus 72D - Tamiya 1/12
BlrwestSiR replied to DocRob's topic in LSM 1/35 and Larger Work In Progress
That's annoying with the paint reactions. The final results look good. I never knew the Lotus had inboard brakes. -
Well, I'd say that's a nice recovery. They certainly do. One of my Spitfires is missing the entire right cockpit sidewall. Didn't notice until I found it on the bench after the model was completely finished.
-
Tamiya Spitfire VIII converted to a VII
BlrwestSiR replied to denders's topic in LSM 1/35 and Larger Work In Progress
That should be a nice looking Spitfire with the narrow D-Day stripes on it. -
That looks good. Nice to have masks at this scale.
-
That's a big model. Having built a 1/32 B-24, I can relate to trying to maneuver something that big around the bench.
-
I think I see the problem. It looks like it's upside down. If you can get it off the model, see if that works. Edit: and @Martinnfb noticed it before me.
-
Definitely just rolling along with this build.
-
Borgfeldt has been the Canadian importer for Tamiya since at least the late '70s. They've got such a great relationship with Tamiya that we've often gotten new releases here before Japan even has. Case in point, one of the staff at my LHS has been building the new 1/72 F-14D kit which he showed me. The fit and detail is incredible for something so tiny.
-
You're making some great progress there Martin.