BlrwestSiR
-
Posts
9,163 -
Joined
-
Last visited
Content Type
Profiles
Forums
Events
Gallery
Everything posted by BlrwestSiR
-
My vote is M134!!!
-
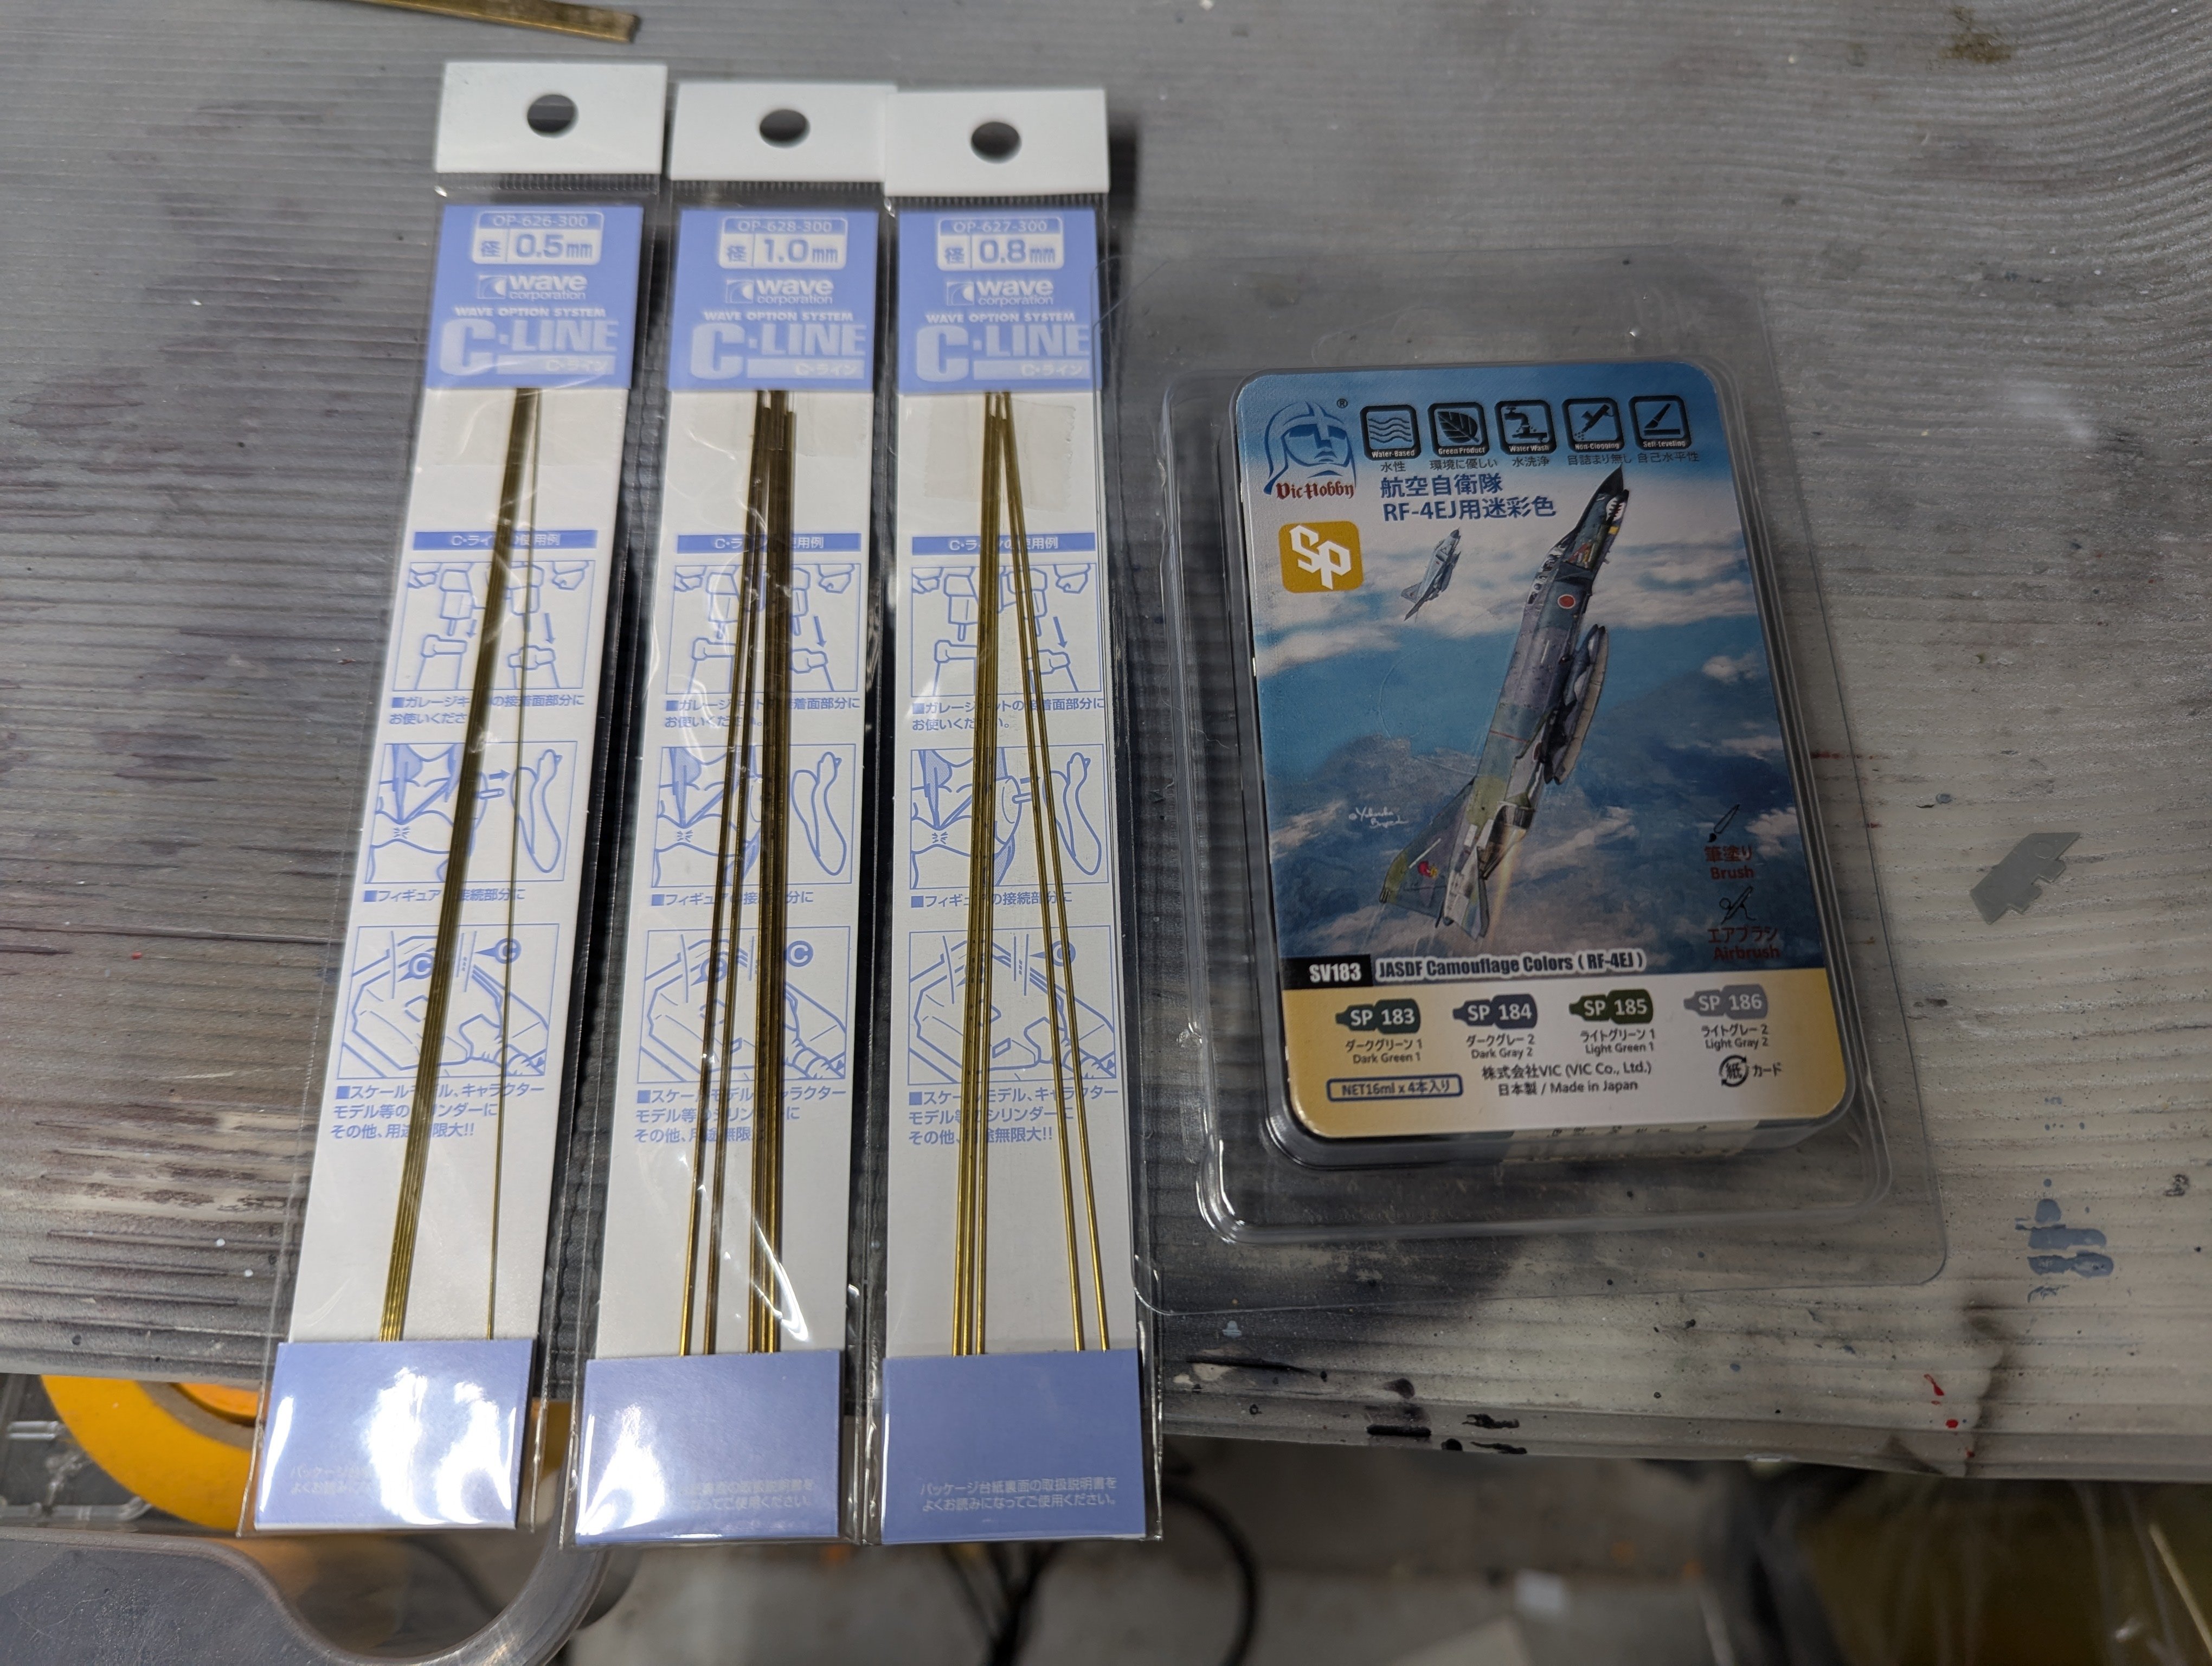
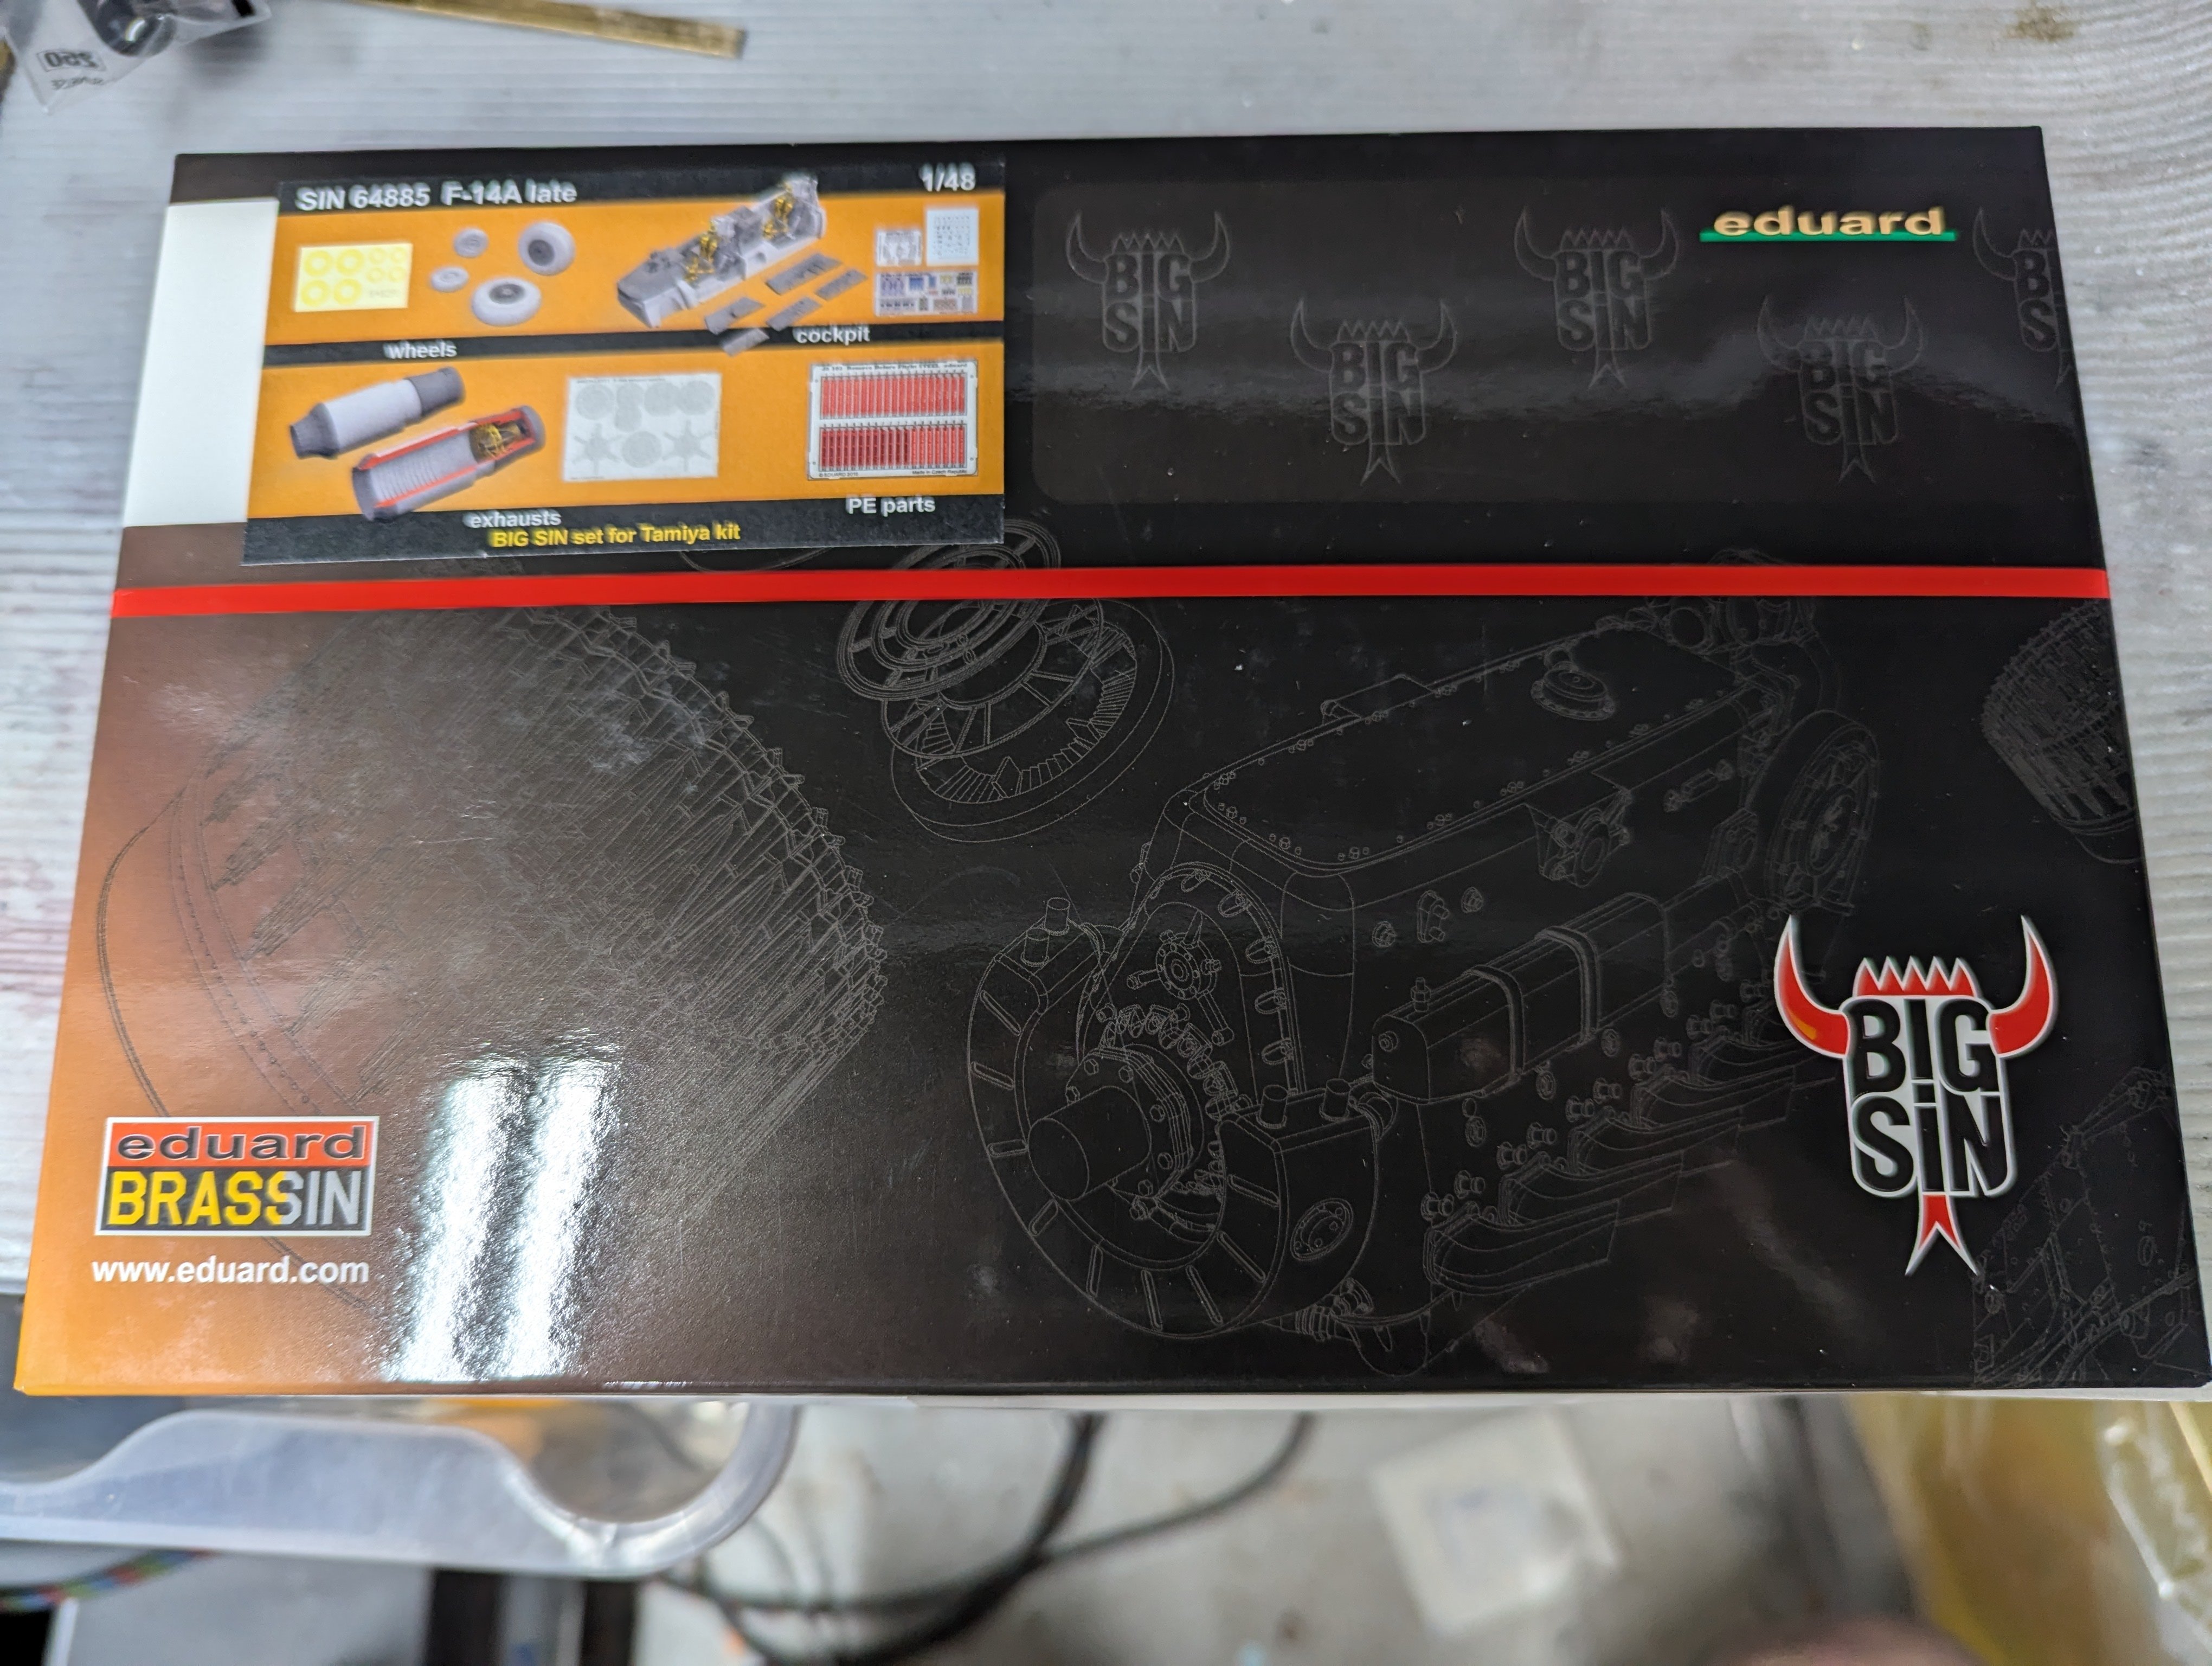
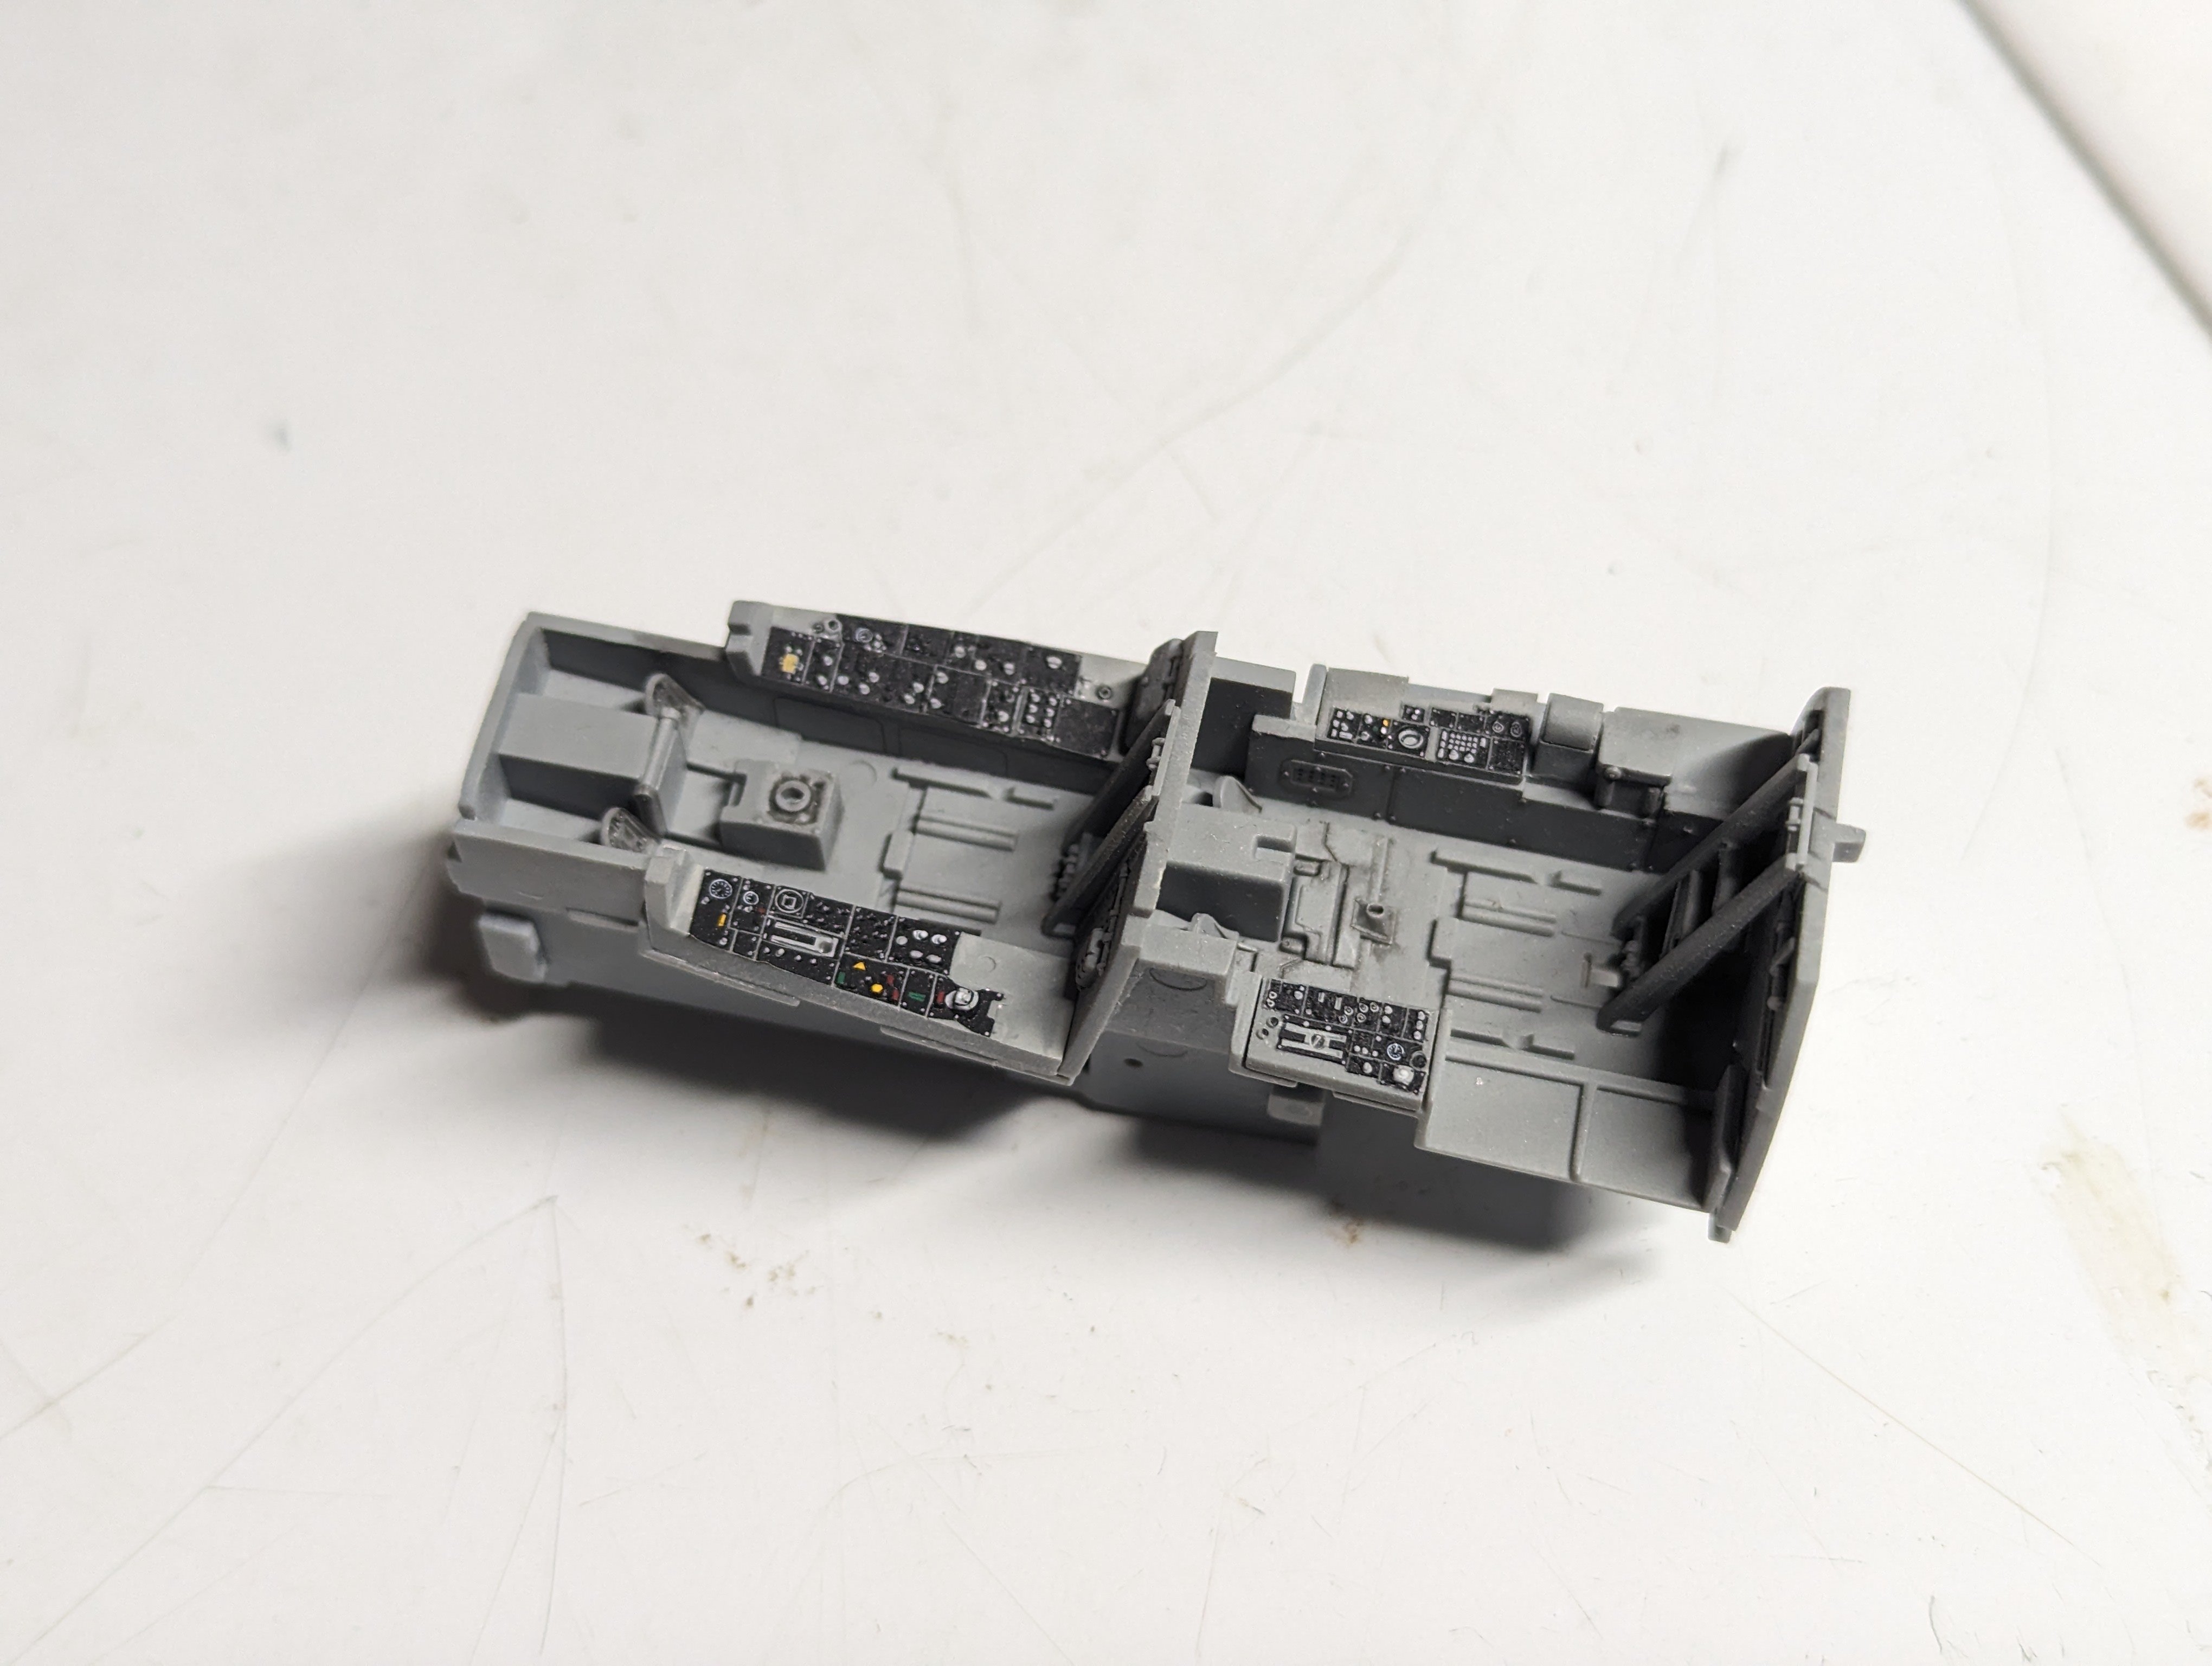
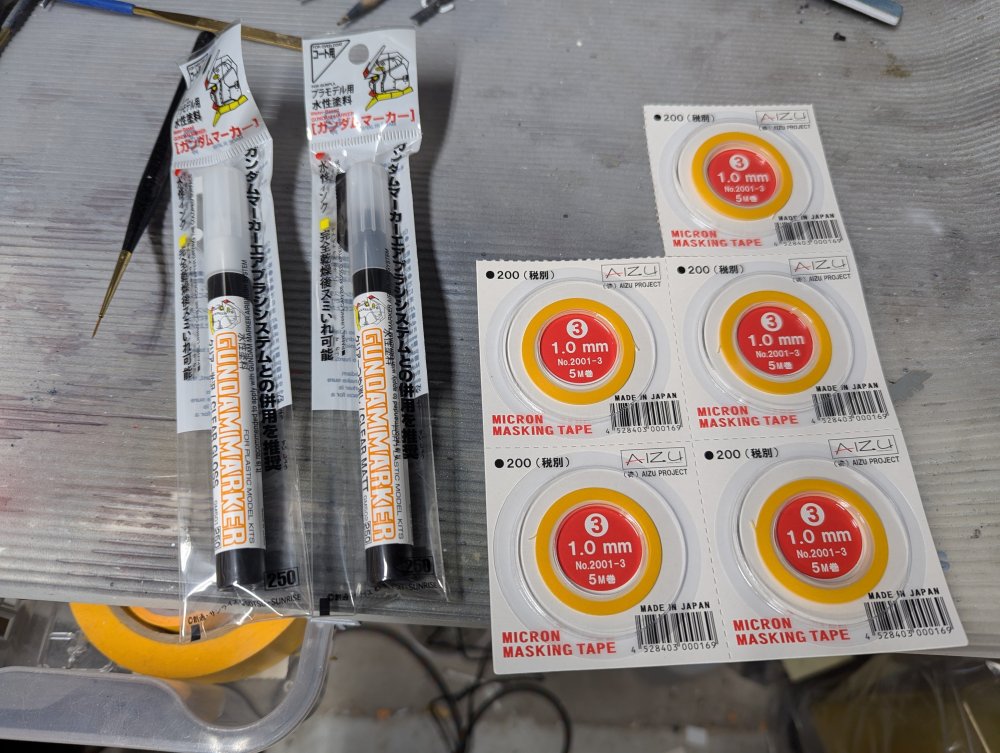
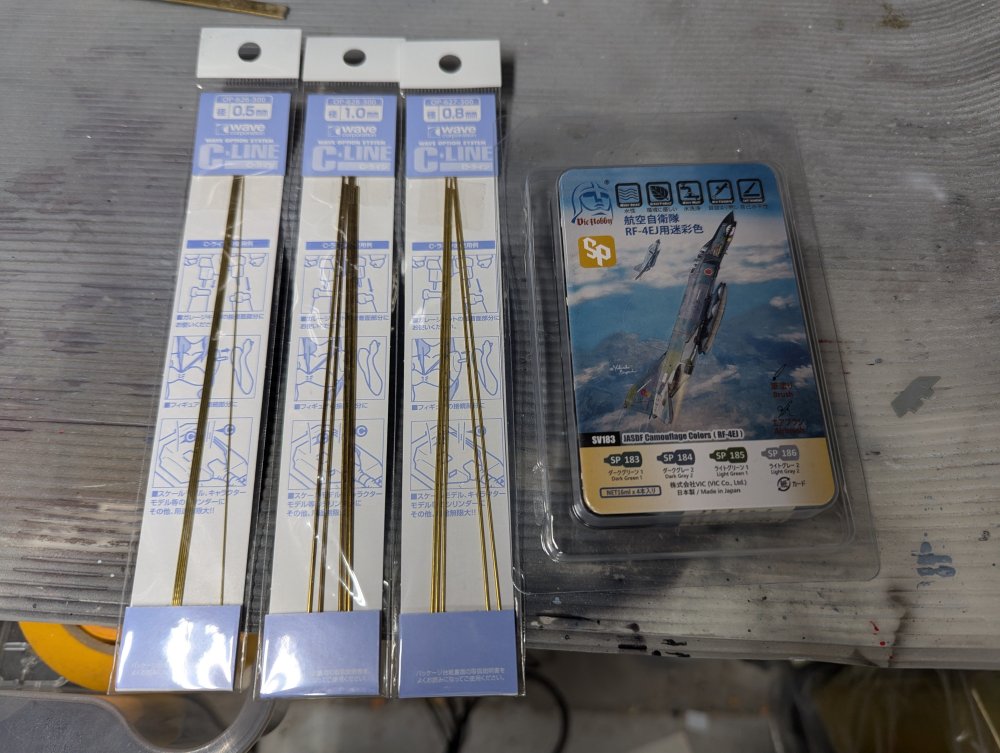
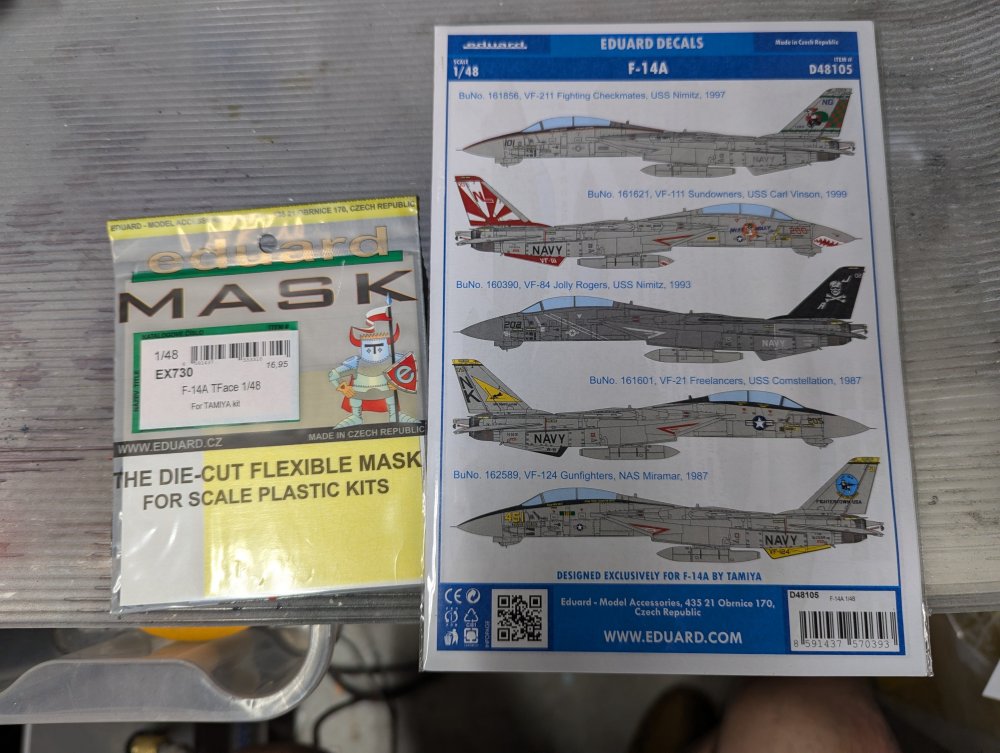
More F-14 goodies. First up is a Big Sin set for the Tamiya F-14A late. I'm going to be doing a bit of mixing and matching with this one. The burner cans and wheels will go towards a late -A build but the cockpit is going to be used in a -D kit. This will get me most of the way towards a -B Tomcat which Tamiya doesn't do. I could get the GWH -B but I've already got a pair of Tamiya -D kits in the stash. Here's decals for the late -A build. It'll be Miss Molly from VF-111. Shark mouth, rising sun, nose art, all on a Tomcat. What more could you ask for? Next up is some Aizu tape and Gundam markers. I'm curious to see how well the gloss and matt clear works. Might make for easy instrument faces. Lastly, paints for an RF-4-EJ and some thin brass wire.

-
Nice couple of kits there Paul. And more Egg Girls. Have you seen the Little Armoury series? They're a bit bigger I think but the girls all carry various firearms which you can buy separately.
-

F-15DJ Kai or Eagle Plus- Finished!
BlrwestSiR replied to BlrwestSiR's topic in The Great Twins Broup Bluild
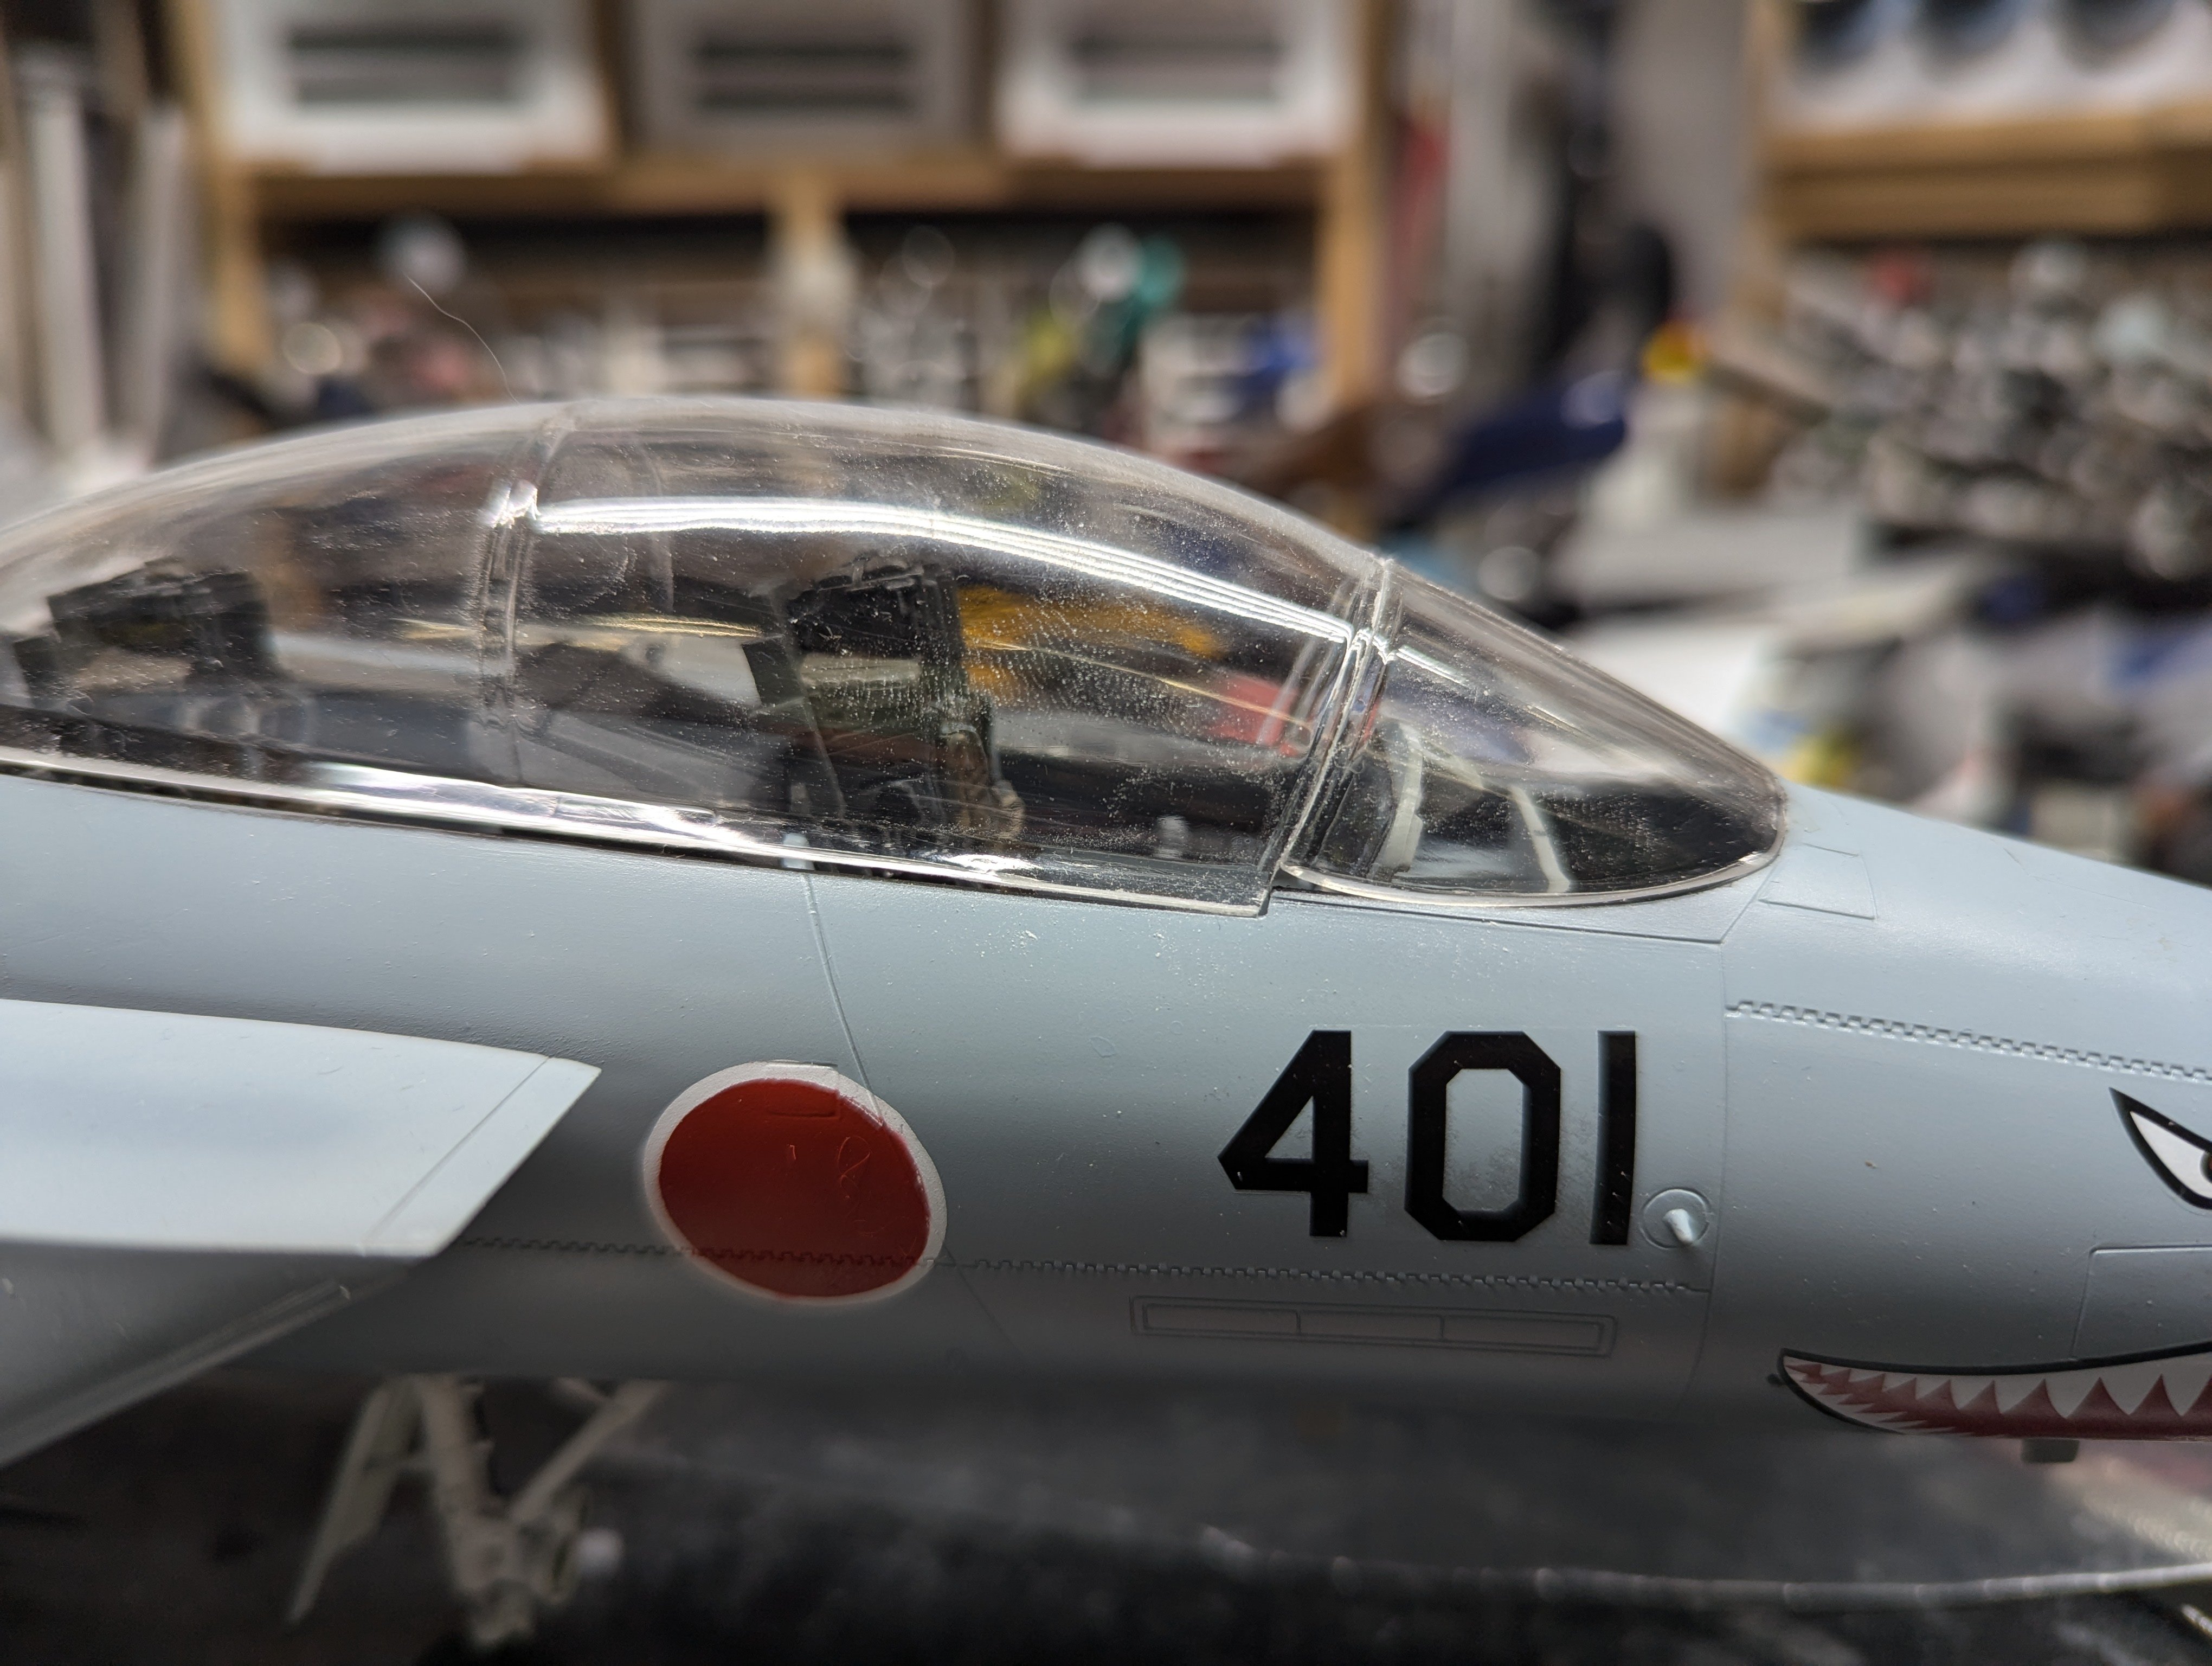
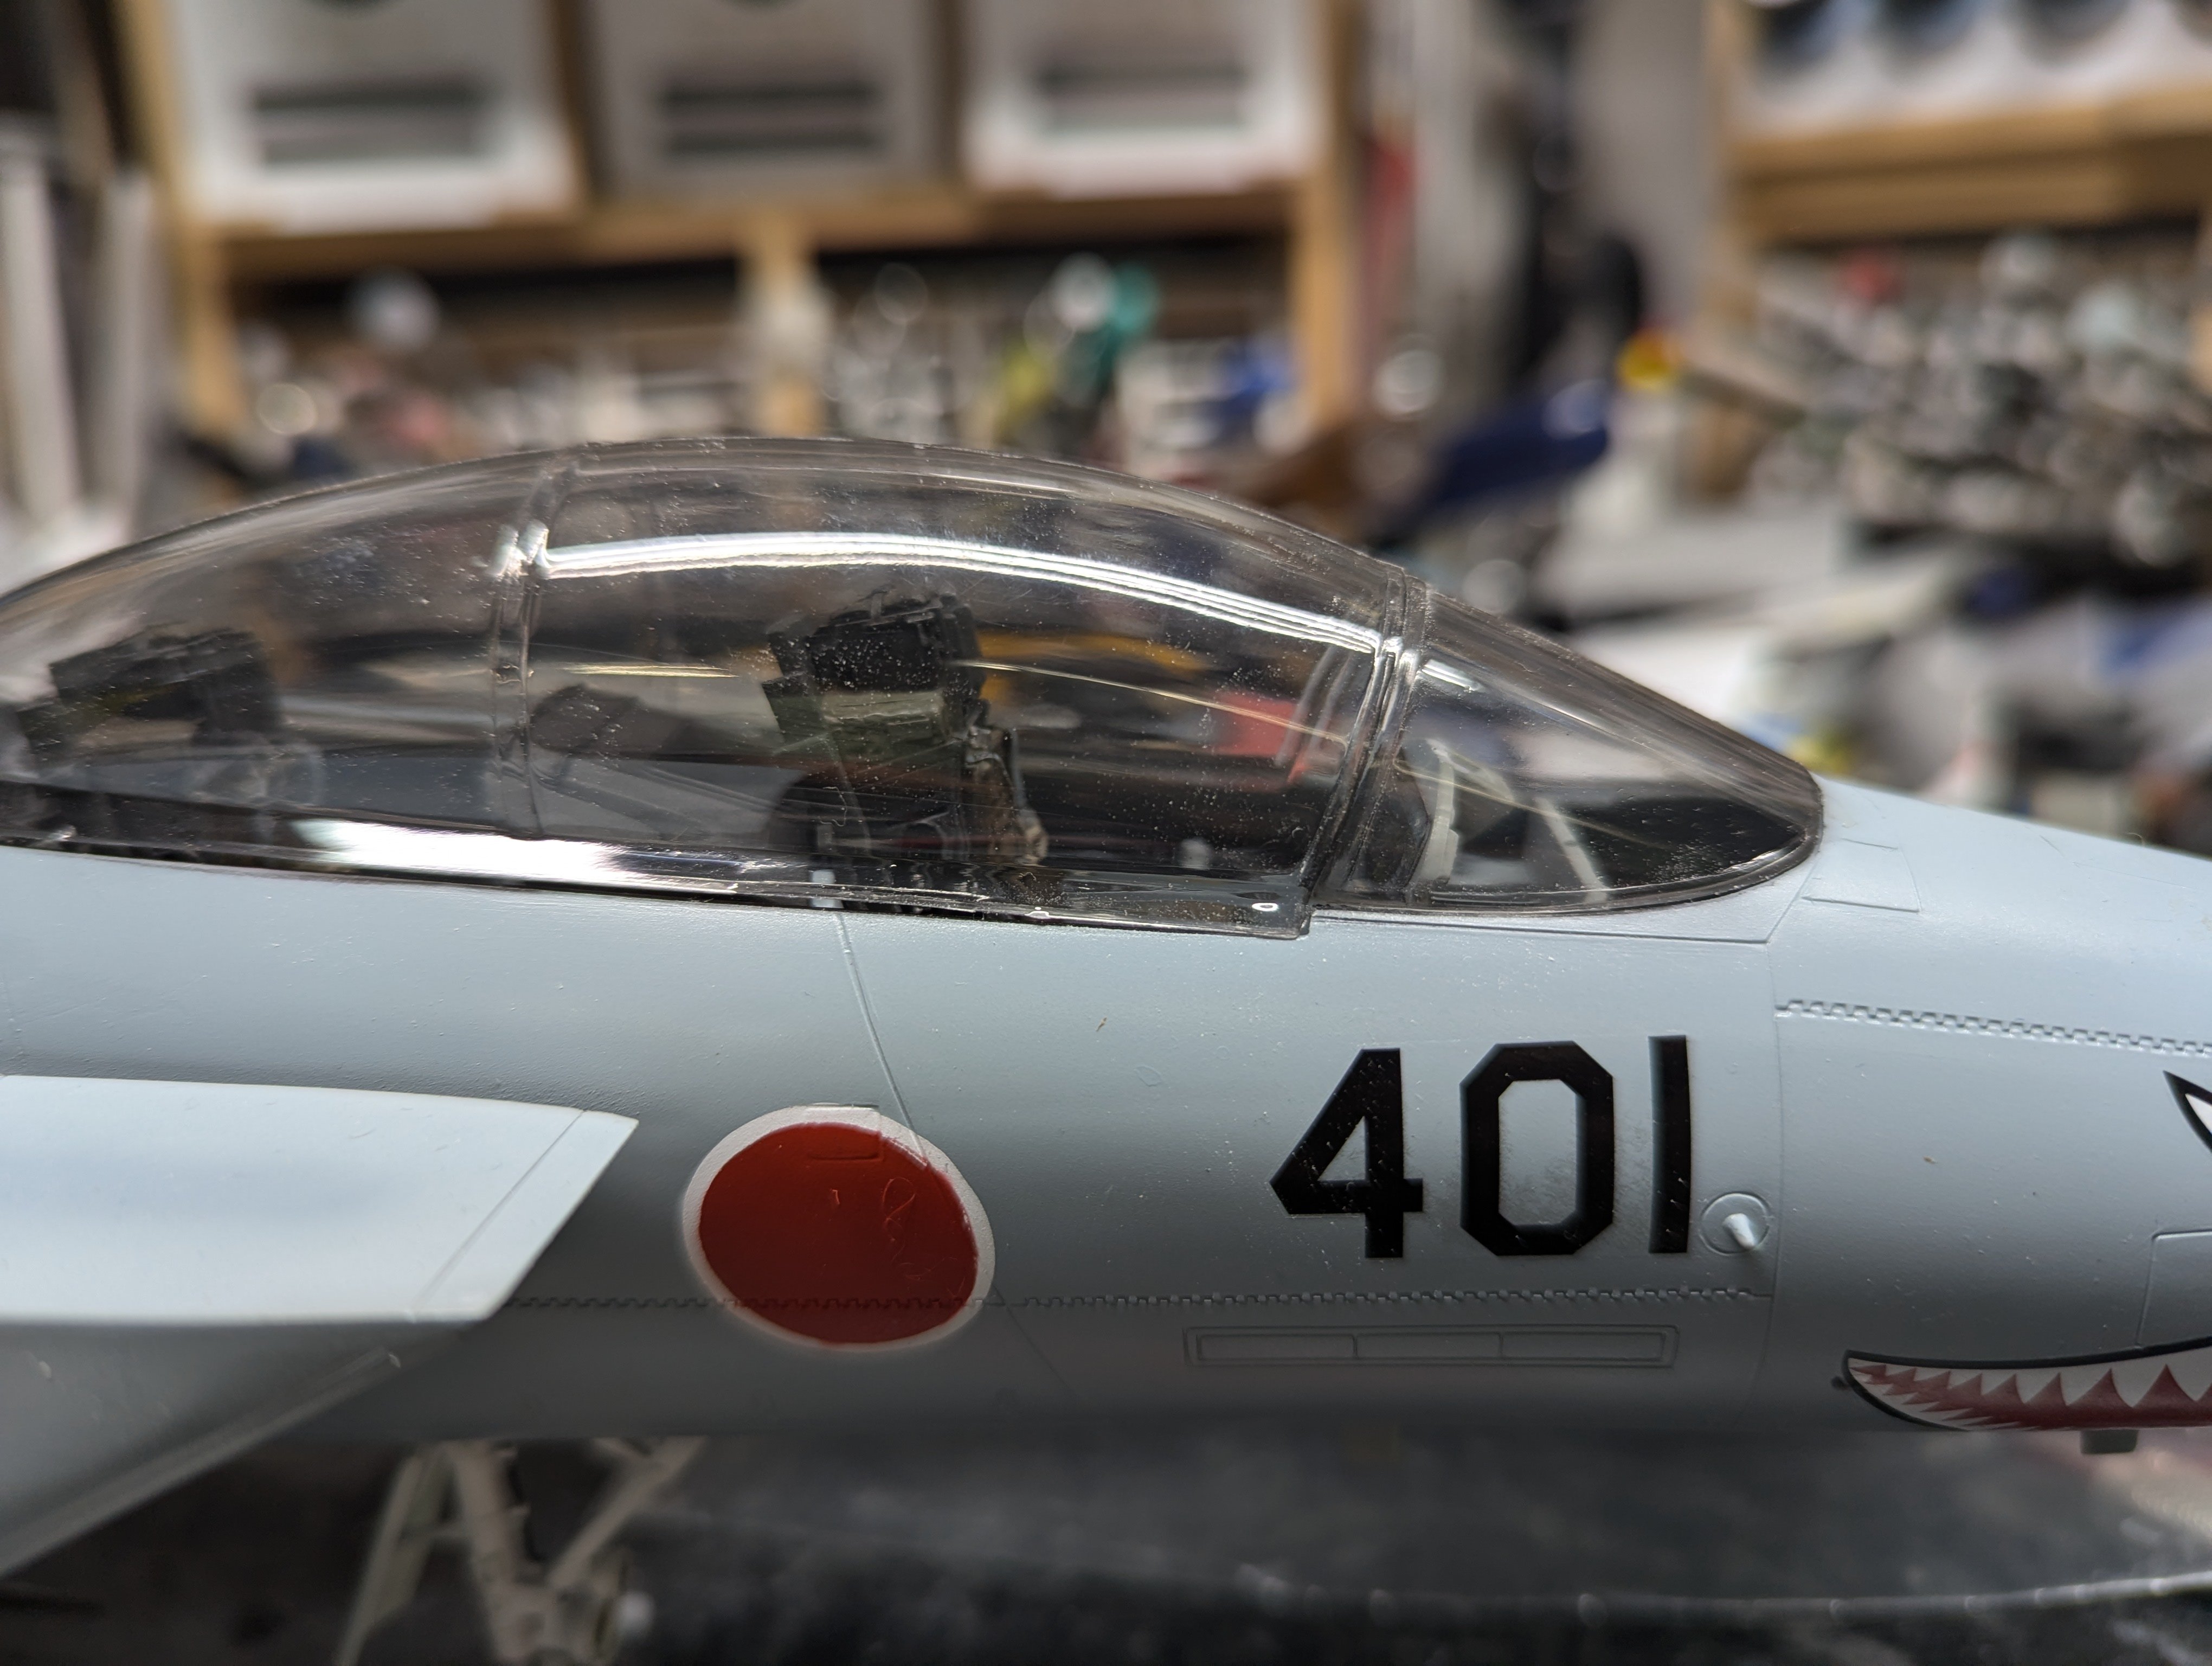
The canopy is up next. The kits I had were and early release an a much later re-release. One of the changes they made was the canopy in the later version came in clear plastic rather than tinted dark grey. First thing to deal with is the huge mould seam. That sprue connection has to have some of the thickest flash I've ever seen on a part. I had to use a razor saw to cut it off. The mould seems to have deteriorated a bit. The framing on the clear one washes out in places. Here's the fit of the tinted one which is older. Now the more recent clear version. You can see the poorer fit compared to the tinted one as well as the much fainter to non existent framing.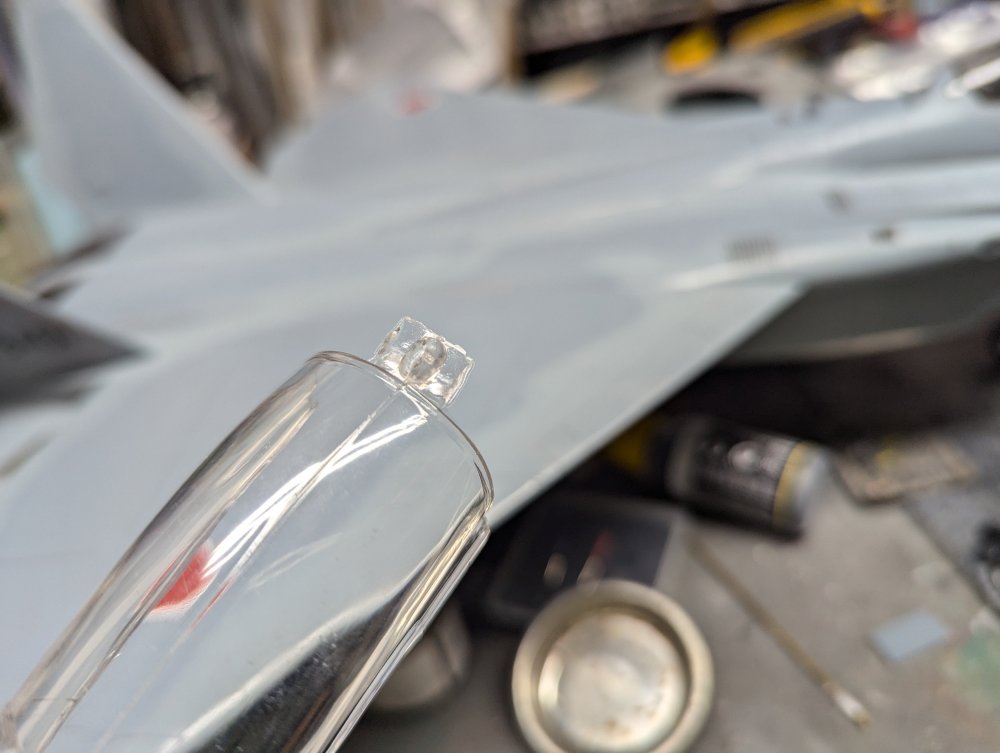


-
F-15DJ Kai or Eagle Plus- Finished!
BlrwestSiR replied to BlrwestSiR's topic in The Great Twins Broup Bluild
Thanks Peter! Originally I had broken off part of the seat but since this is a whiffer, it didn't matter so I made use of them. -
Looks great there Chris. One thing in case you're not aware of, the rear bit of the lower fuselage should be metallic as well.
-
Good news I think. I finally took a look under the hood of the Element and it looks like the return hose is the culprit. The lower half of it is covered in power steering fluid while everything else looks dry. So I've ordered the required part and just need to wait for it to arrive. I'm hoping it won't be too hard to get it swapped out. This generation of Honda's has the steering rack mounted halfway up the firewall behind the engine so we'll see.
- 2,036 replies
-
- 3
-

-
- car related stuff
- anything about cars
- (and 6 more)
-
Nice Benz there PW! W123s are supposedly indestructible.
- 2,036 replies
-
- 3
-
-
- car related stuff
- anything about cars
- (and 6 more)
-
Fantastic work Rob. The chain really is a test of perseverance.
-
Fiat 500/600 build Topic
BlrwestSiR replied to FullArmor's topic in LSM 1/35 and Larger Work In Progress
Nice work. These things are so tiny. Harry Metcalf from Evo magazine owns one and recently brought it to a shop in London that specializes in 500s. He has a couple videos posted on YouTube as he's getting an engine rebuild. -
That was a fast build John. I hadn't even noticed it until today and you're already done. For the wings, I think Revell split them that way to try and accommodate as many versions with their different sized bulges as possible. A logical move that just needed a bit more finesse to pull it off nicely. Which in your case you've done.
-
That's an interesting detail. Never would have noticed that.
-
The engine in my Beat has less displacement than a single cylinder in either of your 'Vettes. I think I can step on all three pedals in the Beat with one foot. Makes heel and toe easy since they can be on the gas and brake at the same time without moving.
- 2,036 replies
-
- 2
-

-
- car related stuff
- anything about cars
- (and 6 more)
-
F-15DJ Kai or Eagle Plus- Finished!
BlrwestSiR replied to BlrwestSiR's topic in The Great Twins Broup Bluild
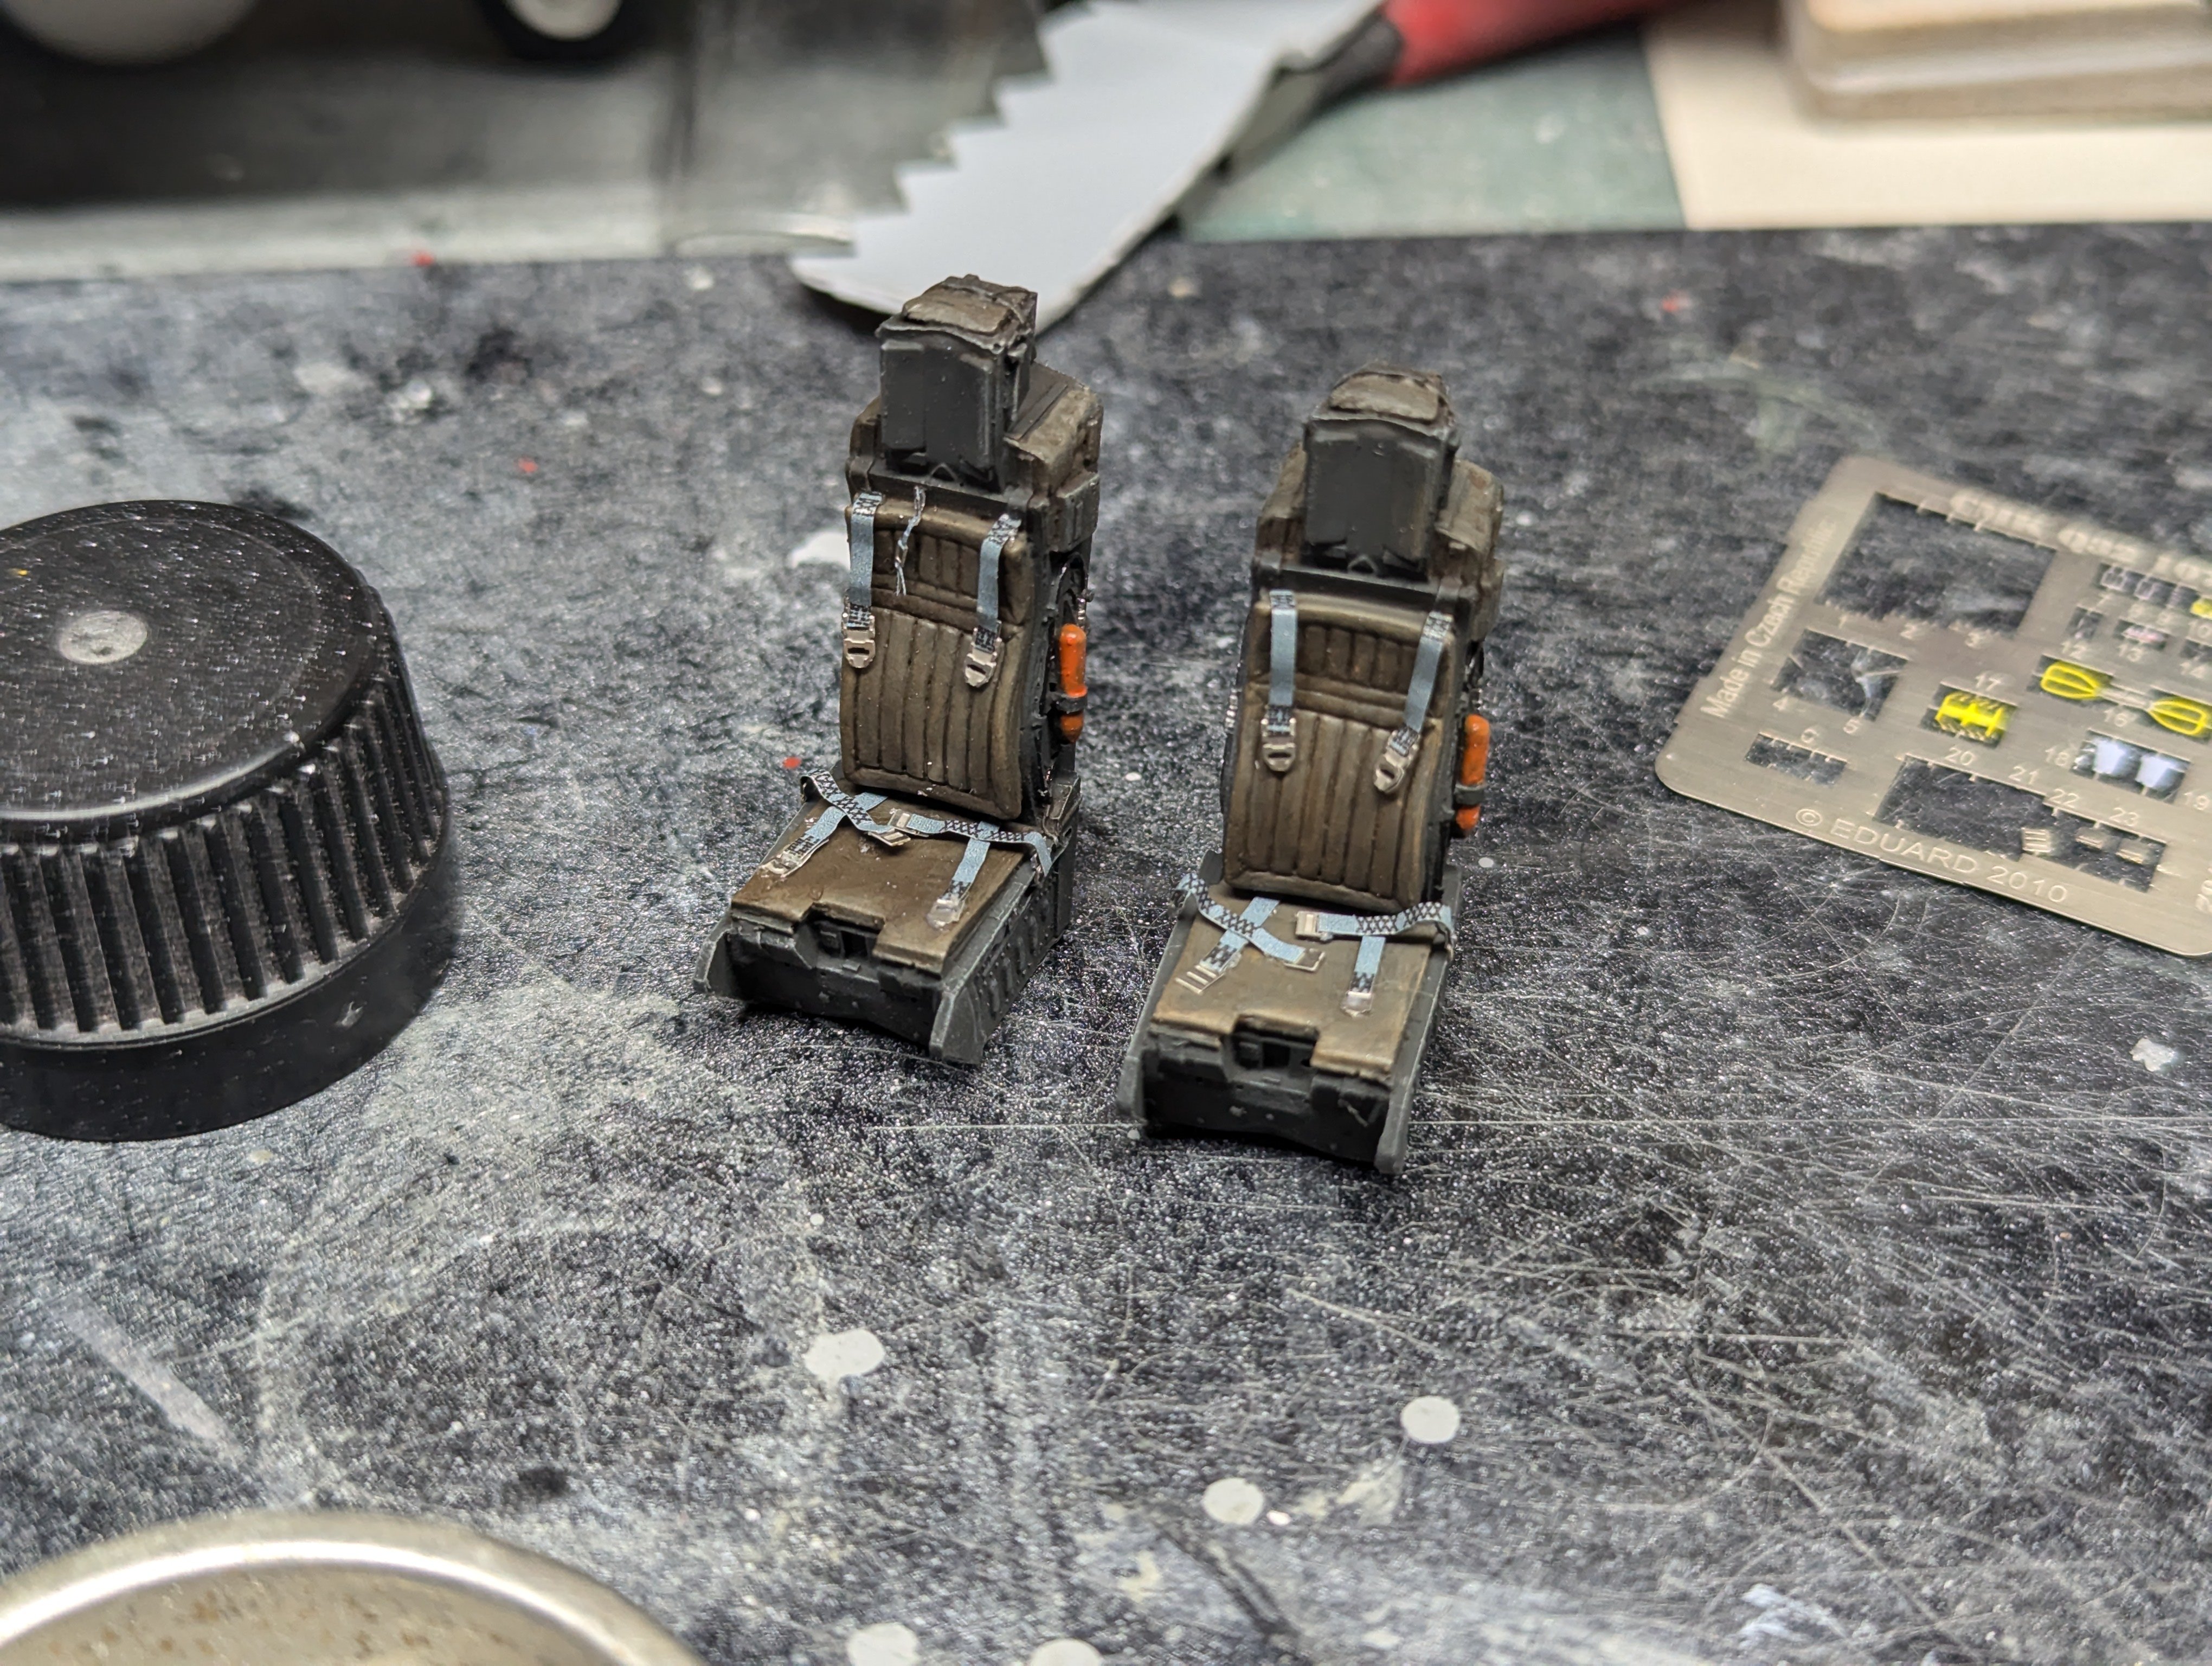
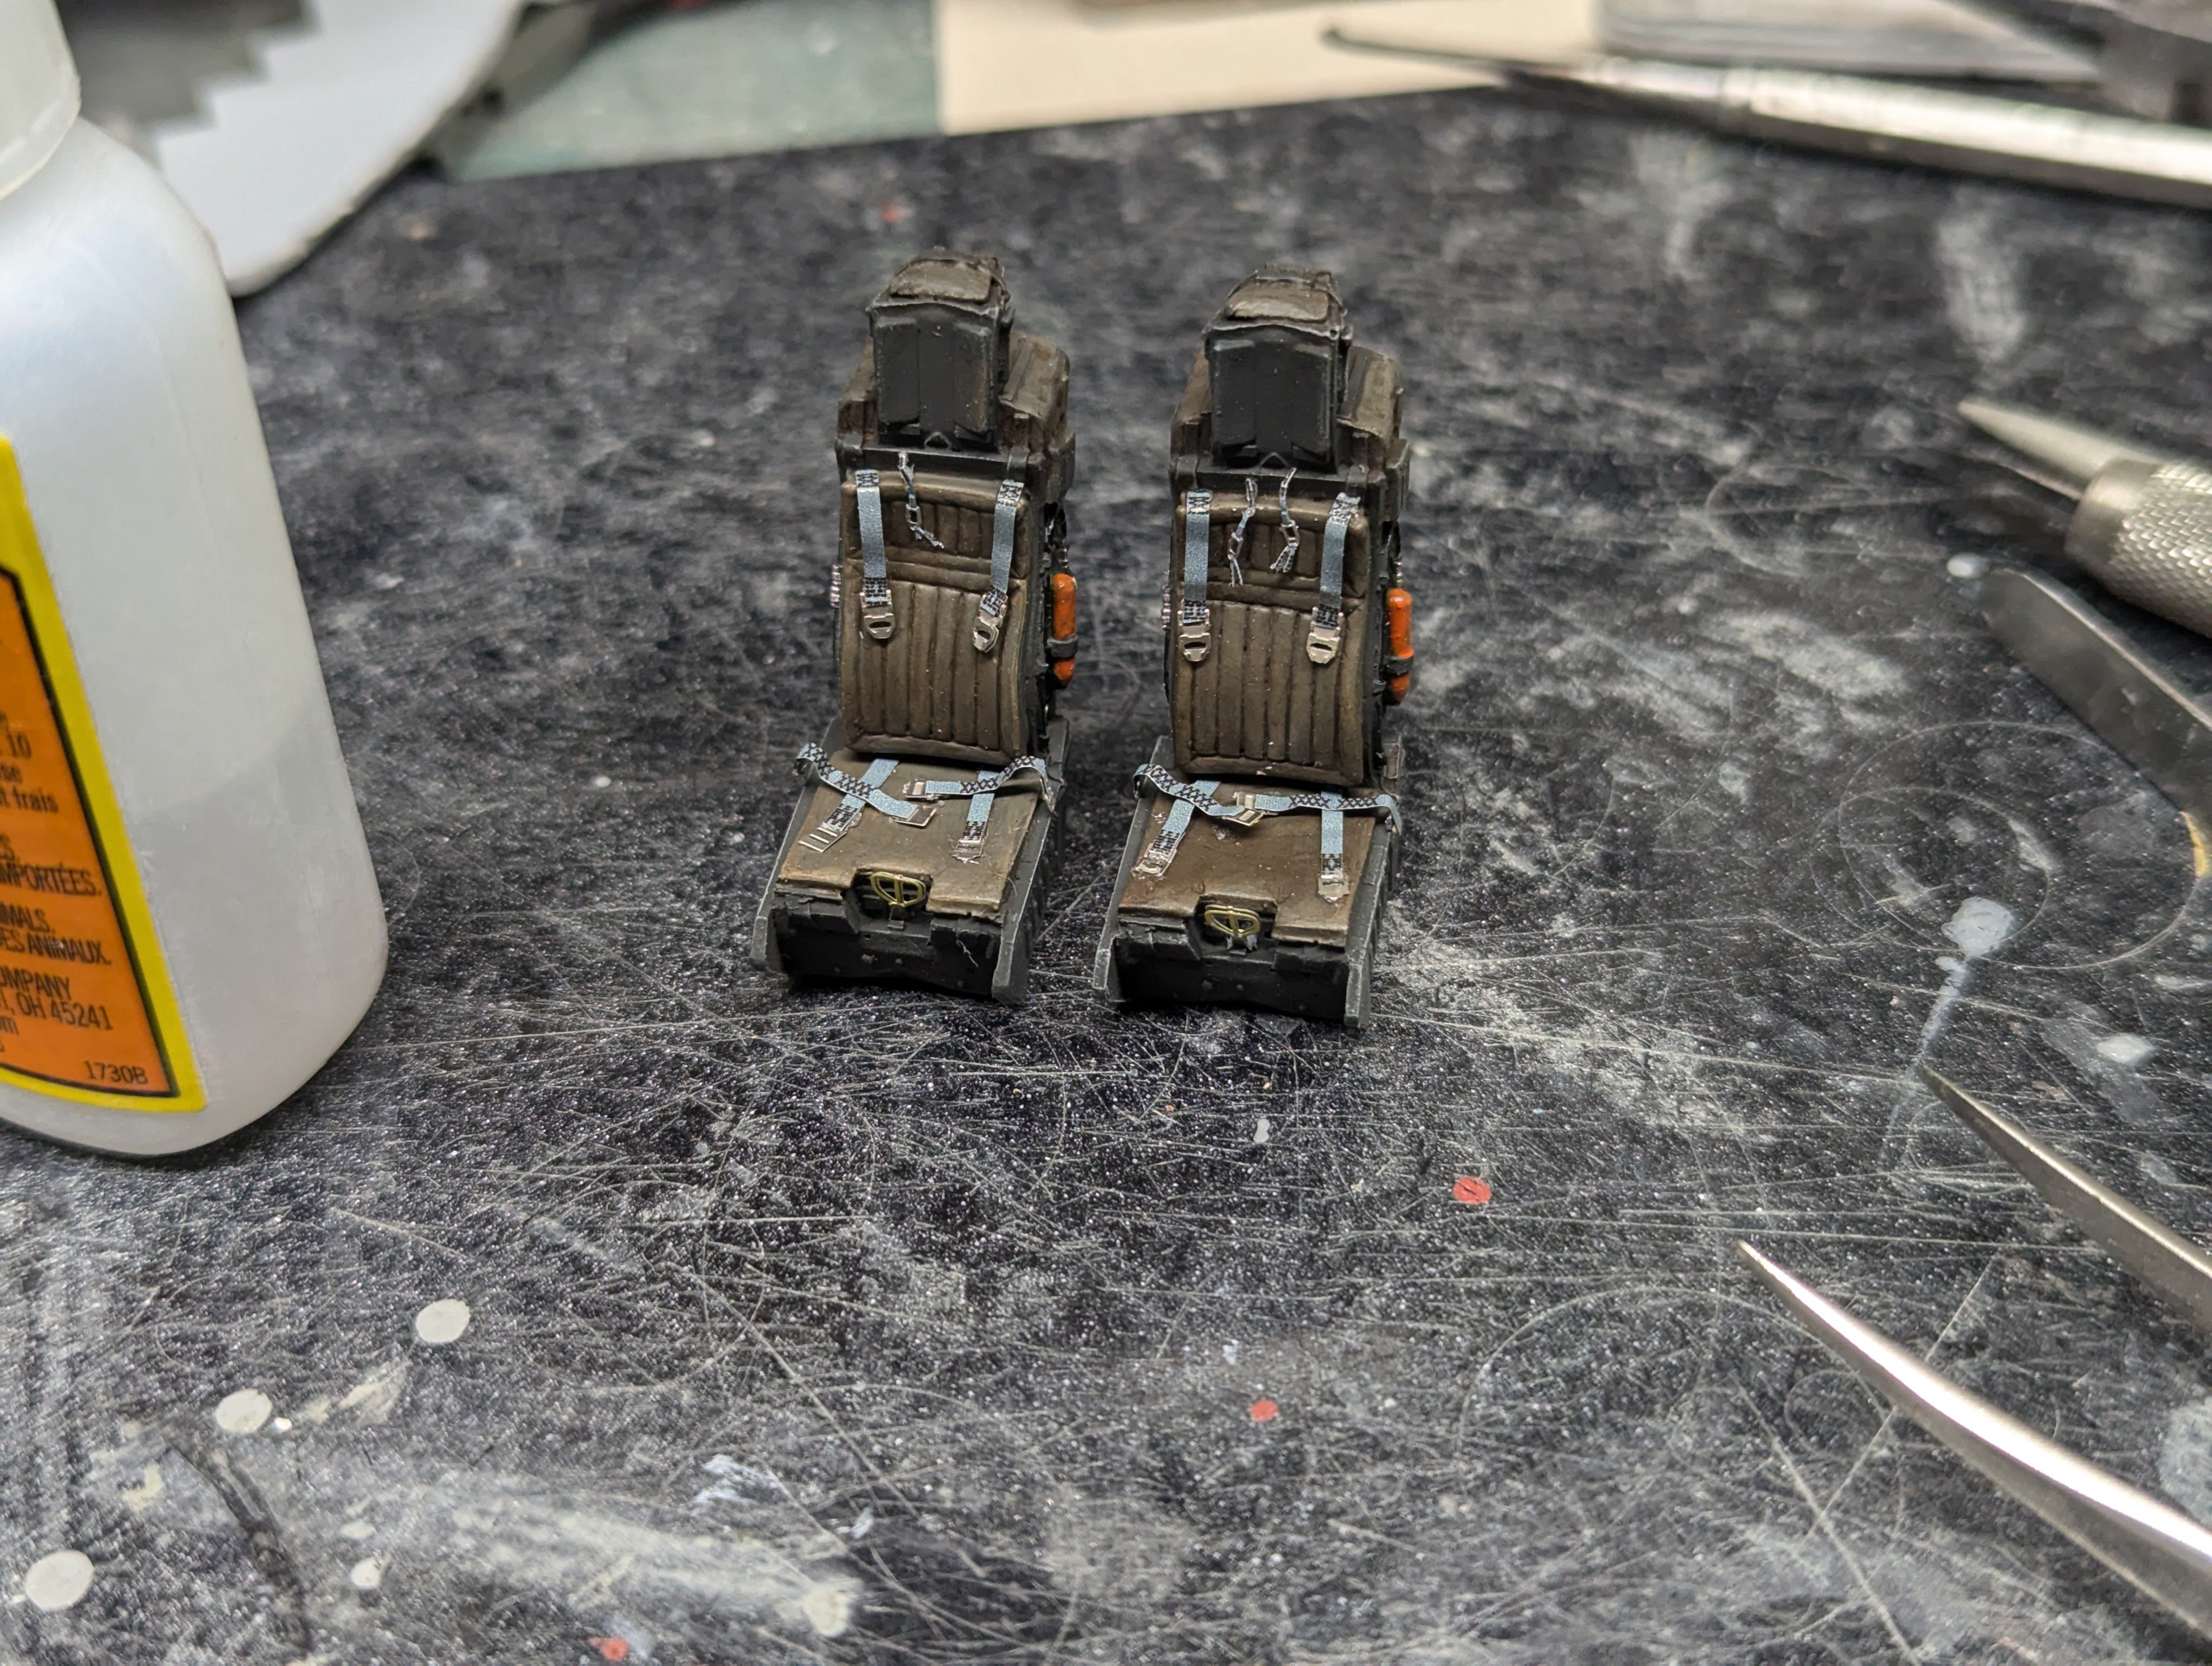
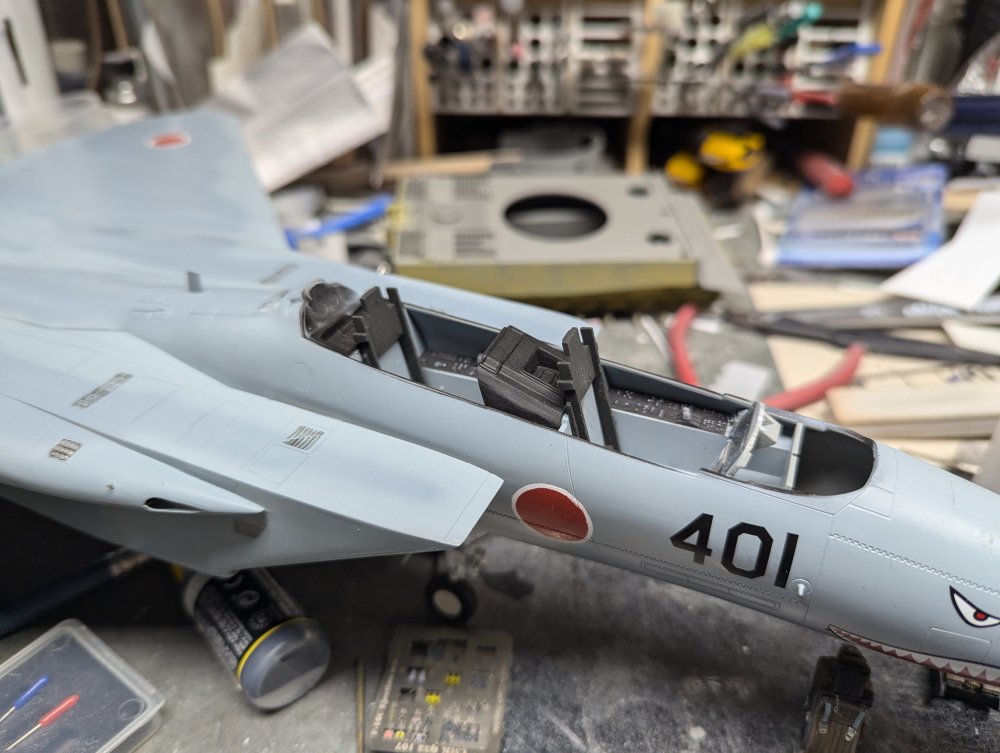
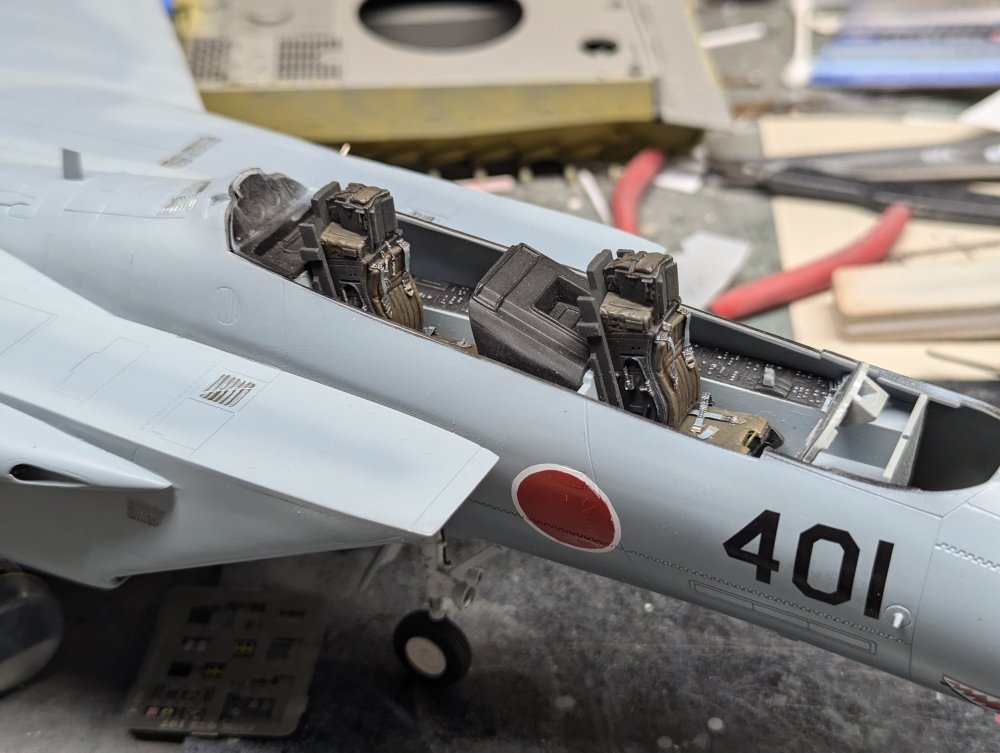
Bang seats are done. Almost forgot the seat rails but added those in. Followed by the seats.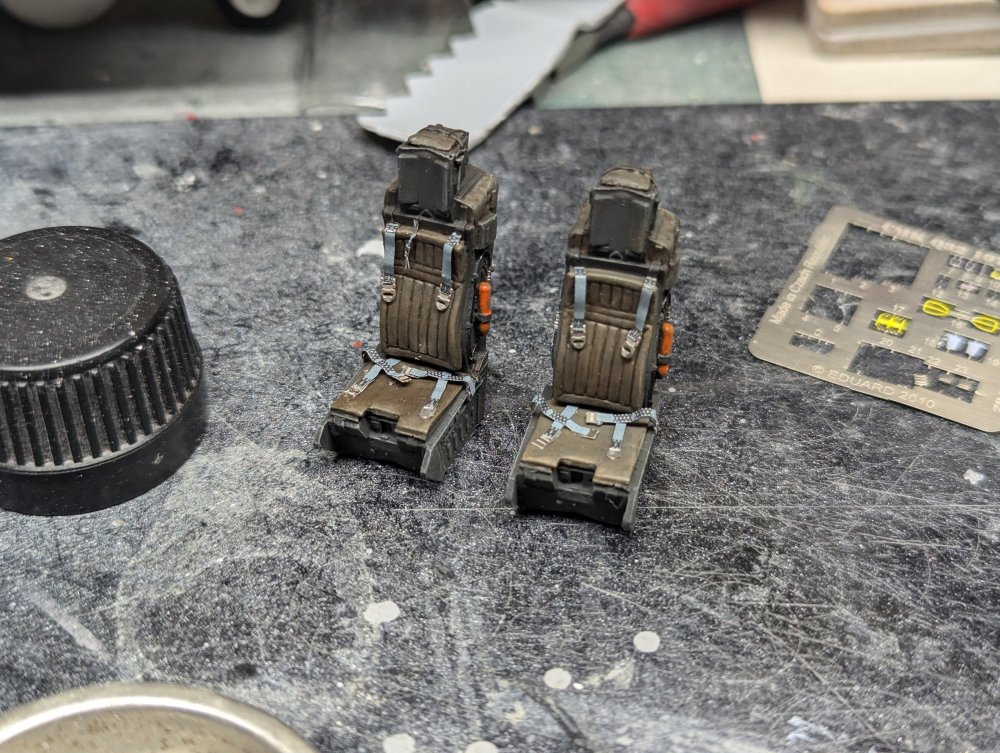

-
Jeff, on a really good day we can get 10L/100km with the Element. It's a pig on gas due to the complete lack of aerodynamics and the short gearing for 5th. At 100km/h, the engine is at 3000rpm in 5th. The last tank was 12.5 L/100km. Our RAV4 uses half that and that's in mixed driving. The Beat is even less but isn't exactly a family car.
- 2,036 replies
-
- 2
-

-
-
- car related stuff
- anything about cars
- (and 6 more)
-
Hope so. Need to make some time to take a look under the hood. At least it's not our main car anymore. More the dog/tool transport. The car was fine a couple days ago but today on the drive back the steering got harder and harder to turn, plus a bit of howling/squealing when I did.
- 2,036 replies
-
- 2
-
-
- car related stuff
- anything about cars
- (and 6 more)
-
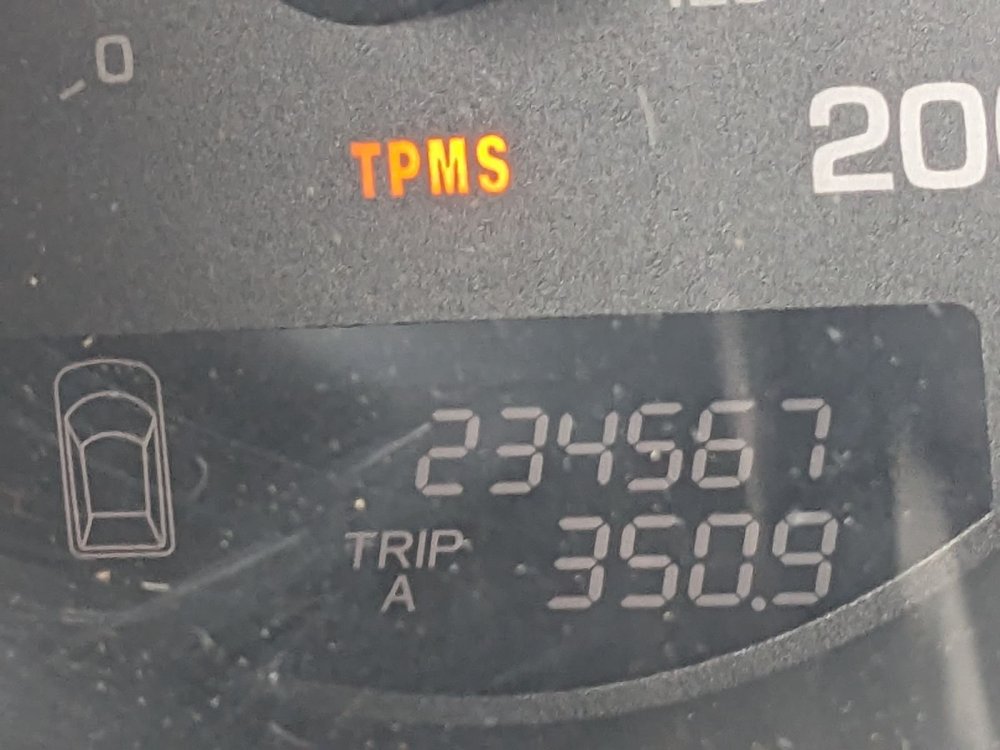
Minor milestone on a road trip today in our Honda Element. Had to get my son to grab the pic as I was driving. On a slightly more annoying note, the power steering developed a leak on the way back so I'll have to sort that out now.
- 2,036 replies
-
- 5
-
-
- car related stuff
- anything about cars
- (and 6 more)
-
Redo Hobbycraft P-51
BlrwestSiR replied to JohnB's topic in LSM 1/32 and Larger Aircraft Ready for Inspection
Nice job on the makeover. -
What is on your bench right now ? Share a picture :)
BlrwestSiR replied to Martinnfb's topic in Modelling Discussion
That looks mean. -
Okay, why did the Flash Gordon song from the '80s movie just immediately pop into my head as soon as I saw the pic? "Flash!!! Aaaahhhahhh!!!!"
-
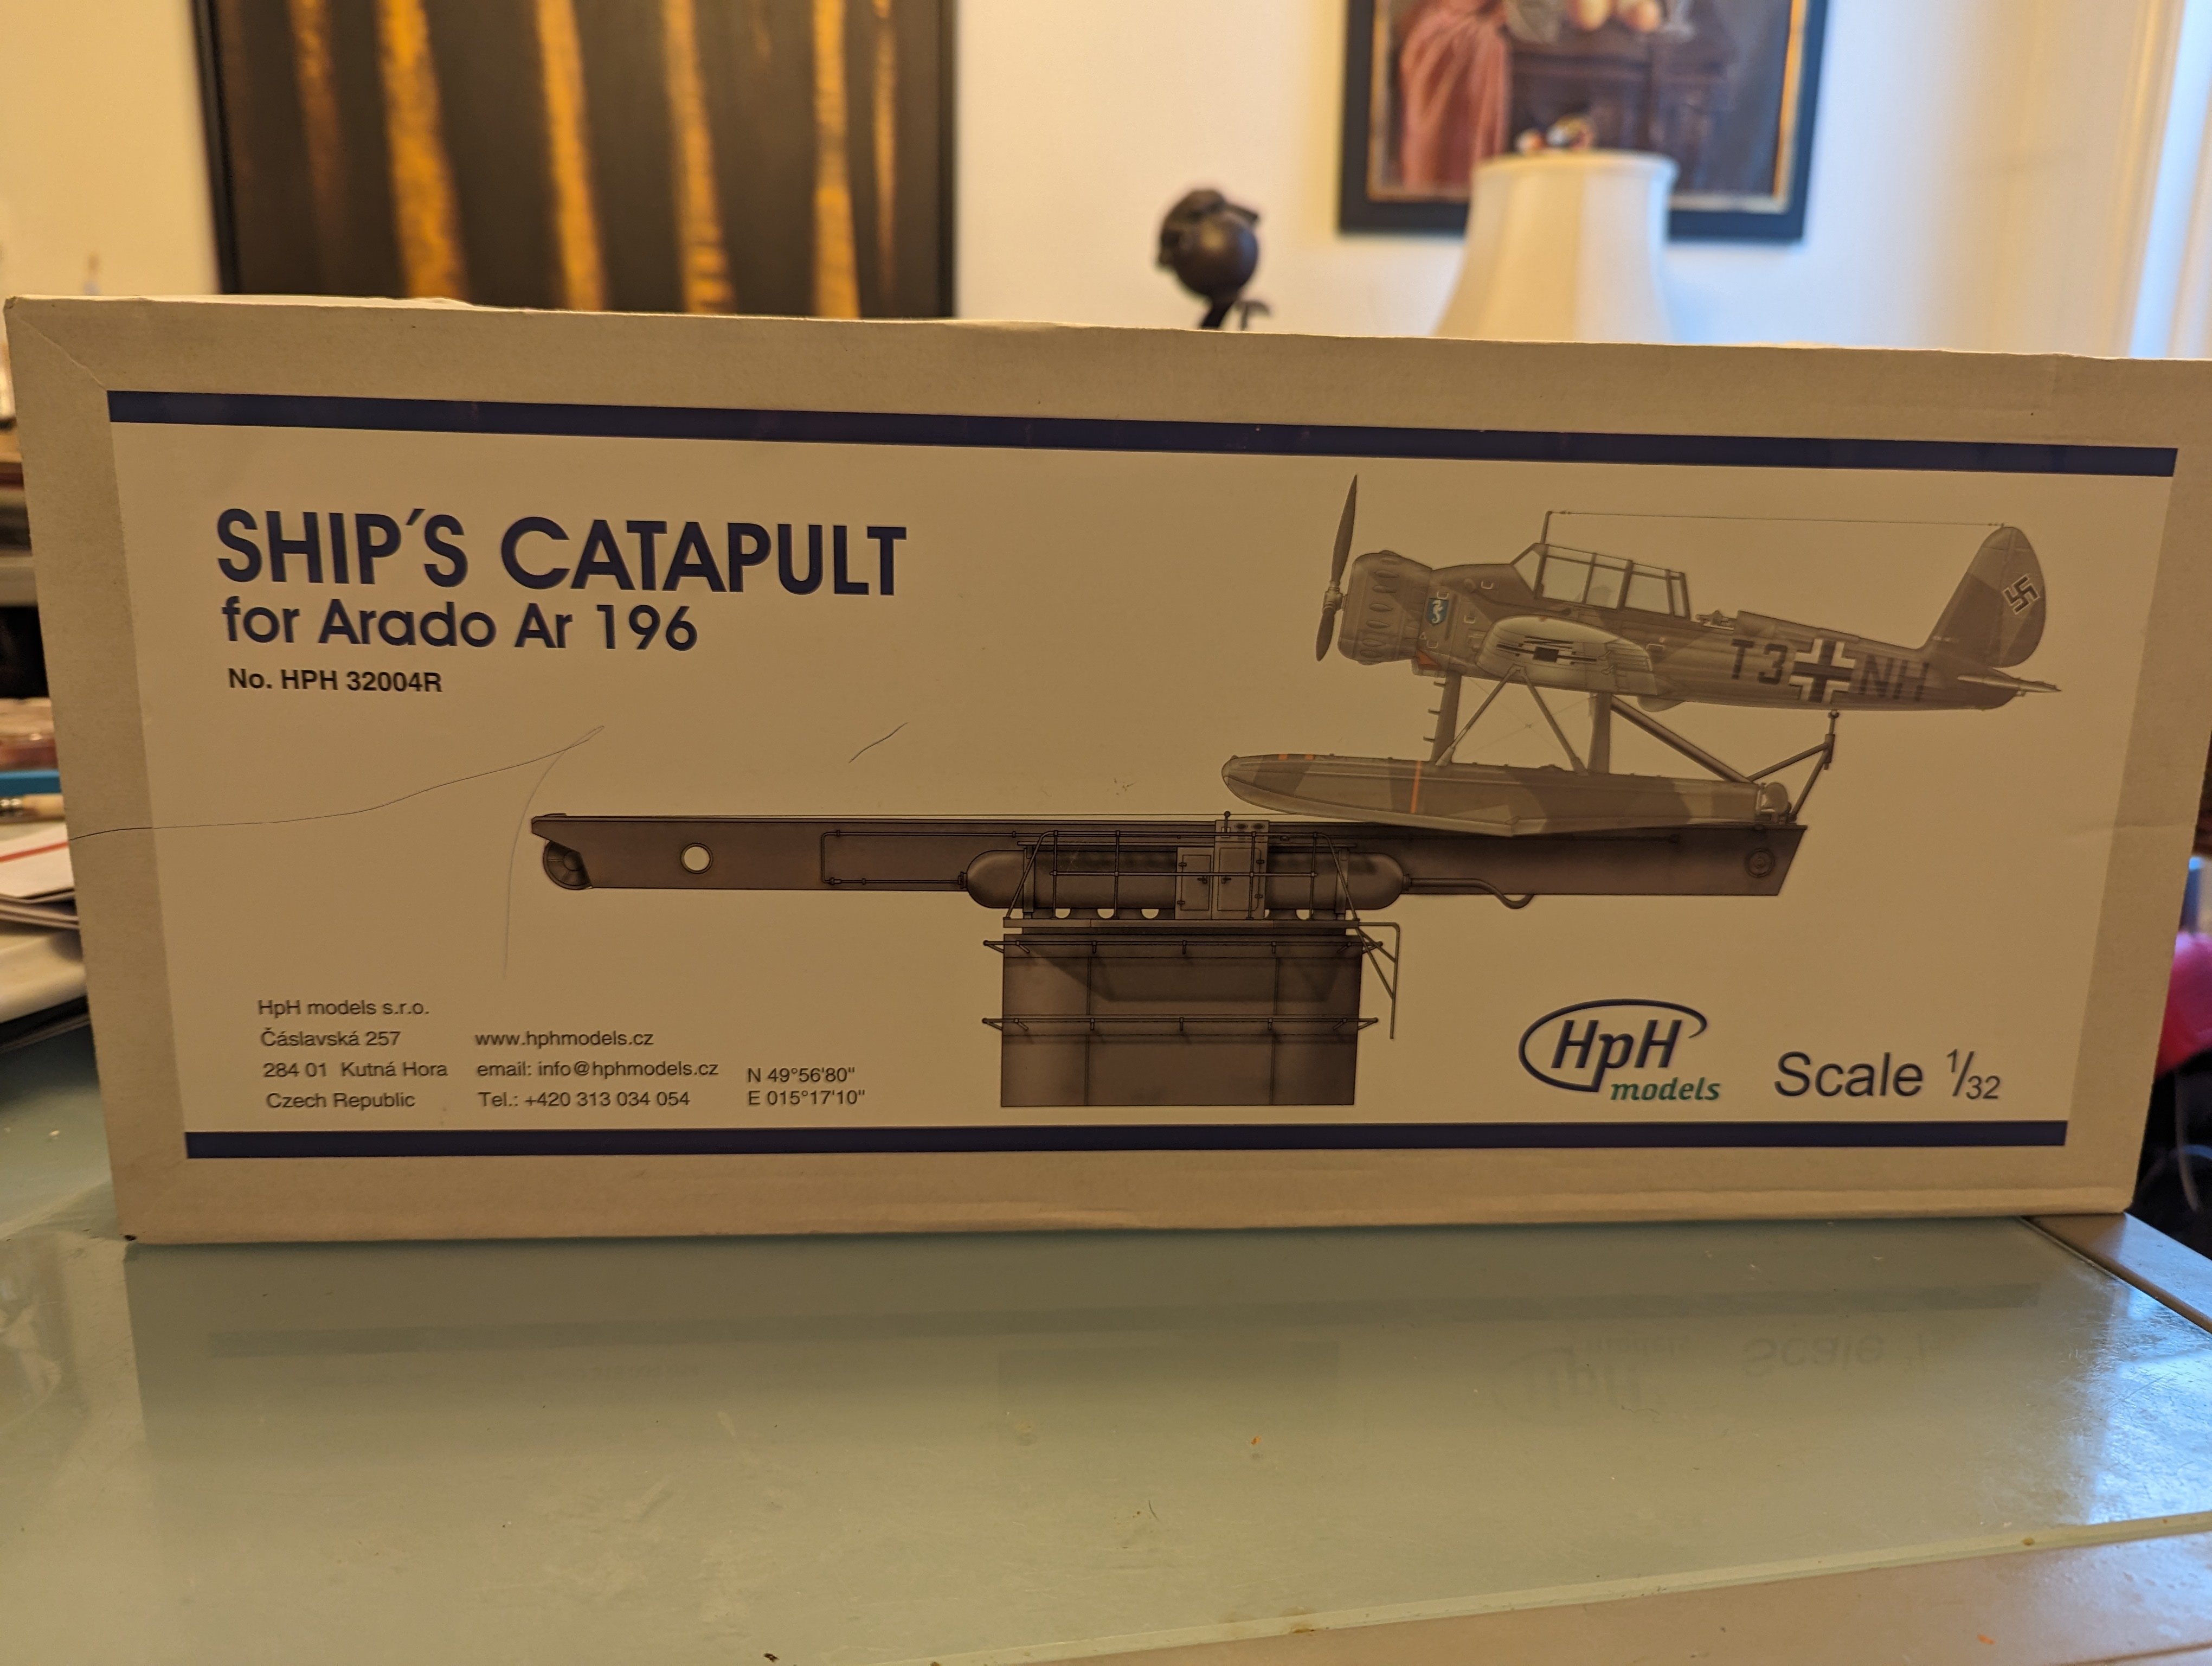
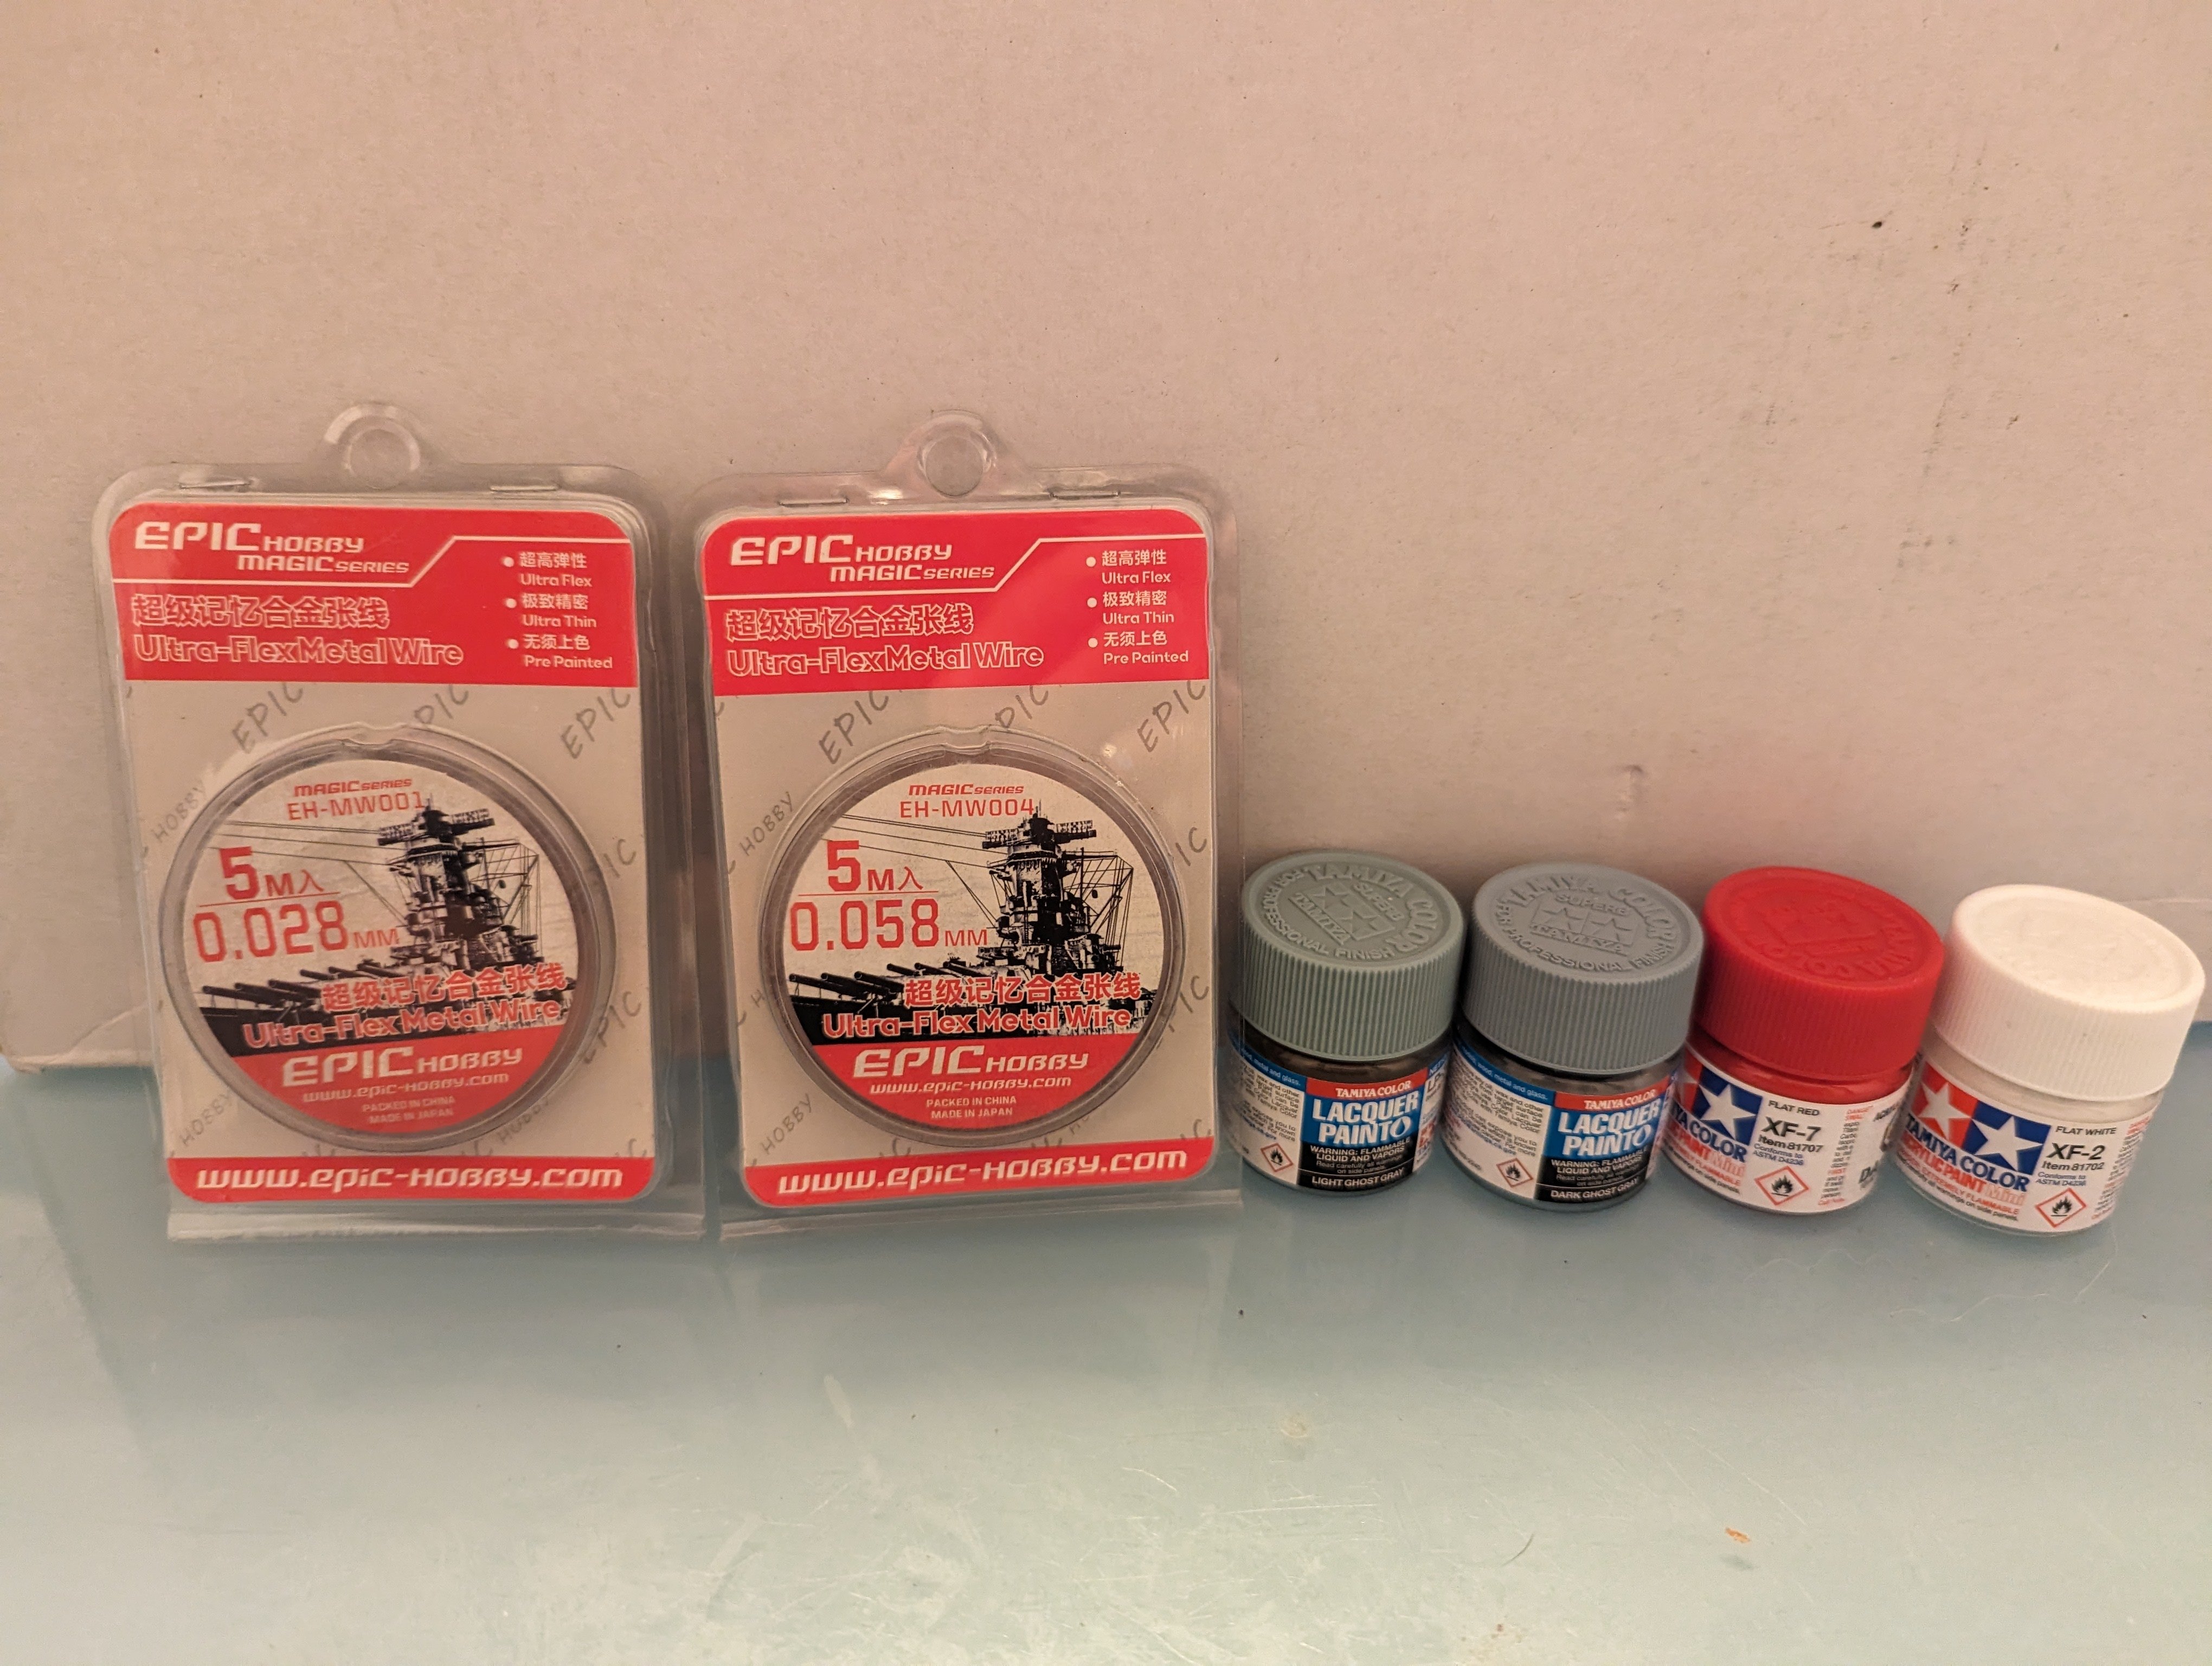
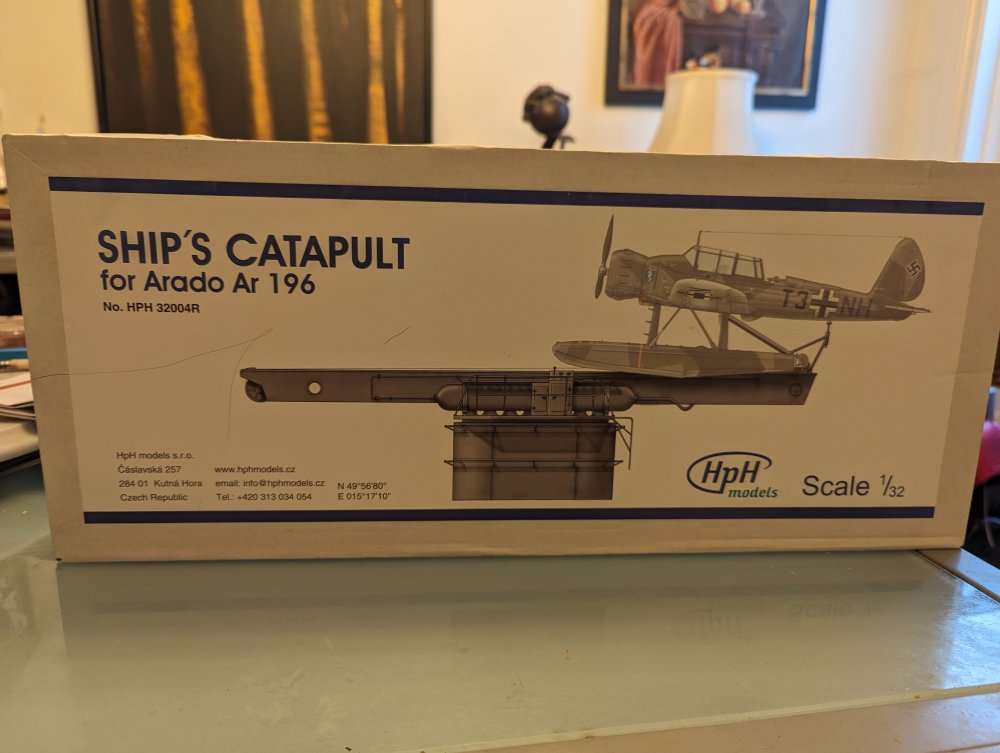
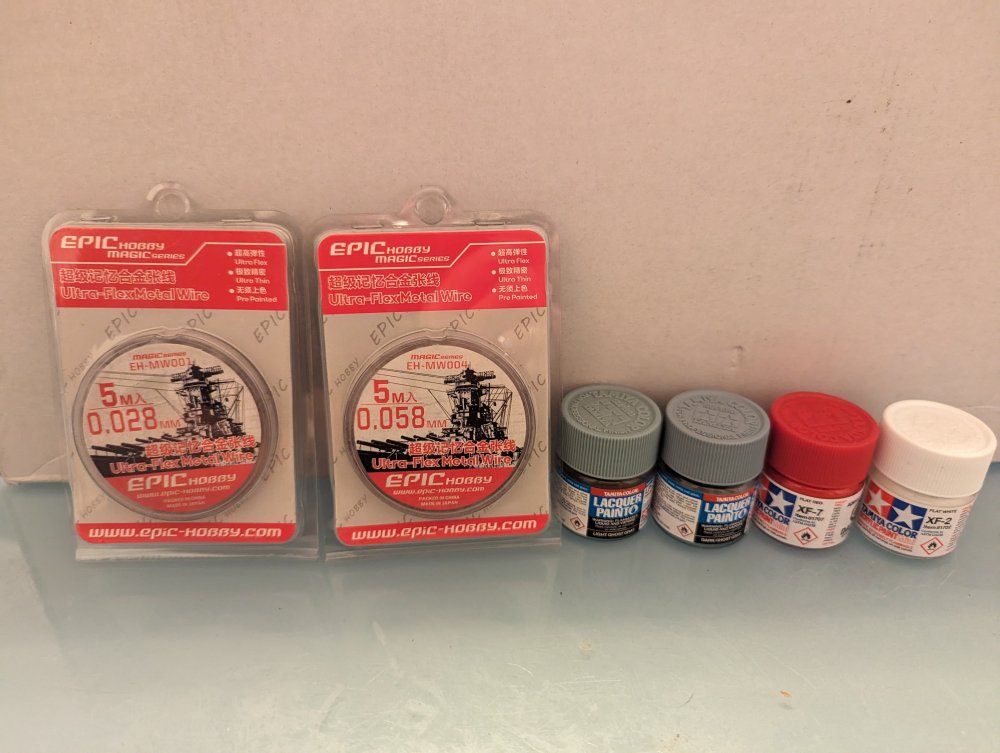
Work took me to the east end of the city which is where Wheels and Wings is (my LHS). Due to major construction in the city, what used to be a 20 min drive is now close to an hour so I don't drop by as much. While there I picked up an FW190 Dora. I was also out of Tamiya Flat Red, Flat White, Light and Dark Ghost Grey so grabbed those. They had some metal wire for rigging on said so I got a couple to try out. Lastly, I was overcome by resin fumes and sensibility and bought an HpH kit. Barely more than I paid for the Revell Arado so I figured I don't have much to lose beside my hair and sanity.

-
F-15DJ Kai or Eagle Plus- Finished!
BlrwestSiR replied to BlrwestSiR's topic in The Great Twins Broup Bluild
Thankfully I didn't lose my friend. More like he laughed and said he should've mentioned it sooner. He's a bike mechanic (has his own shop) which is how we met. Thankfully once that bolt was undone the rest of the belt change was straightforward. -
Ok, just messing around at the moment. I really want to finish the Eagle first.
-
Still looking for some old Rutman/GMF products....
BlrwestSiR replied to biggtim's topic in Modelling Discussion
I had a couple of these around. I'll see if I can find one. -
Still looking for some old Rutman/GMF products....
BlrwestSiR replied to biggtim's topic in Modelling Discussion
My aunt's husband who was Dutch worked for Snap-On Tools in their Hong Kong office. When he told his manager his name was Constantin, his manager looked at him and said that was too difficult and said he was Tim from then on. So that's what we knew him as, Uncle Tim.