JeroenPeters
-
Posts
4,867 -
Joined
-
Last visited
Content Type
Profiles
Forums
Events
Gallery
Everything posted by JeroenPeters
-
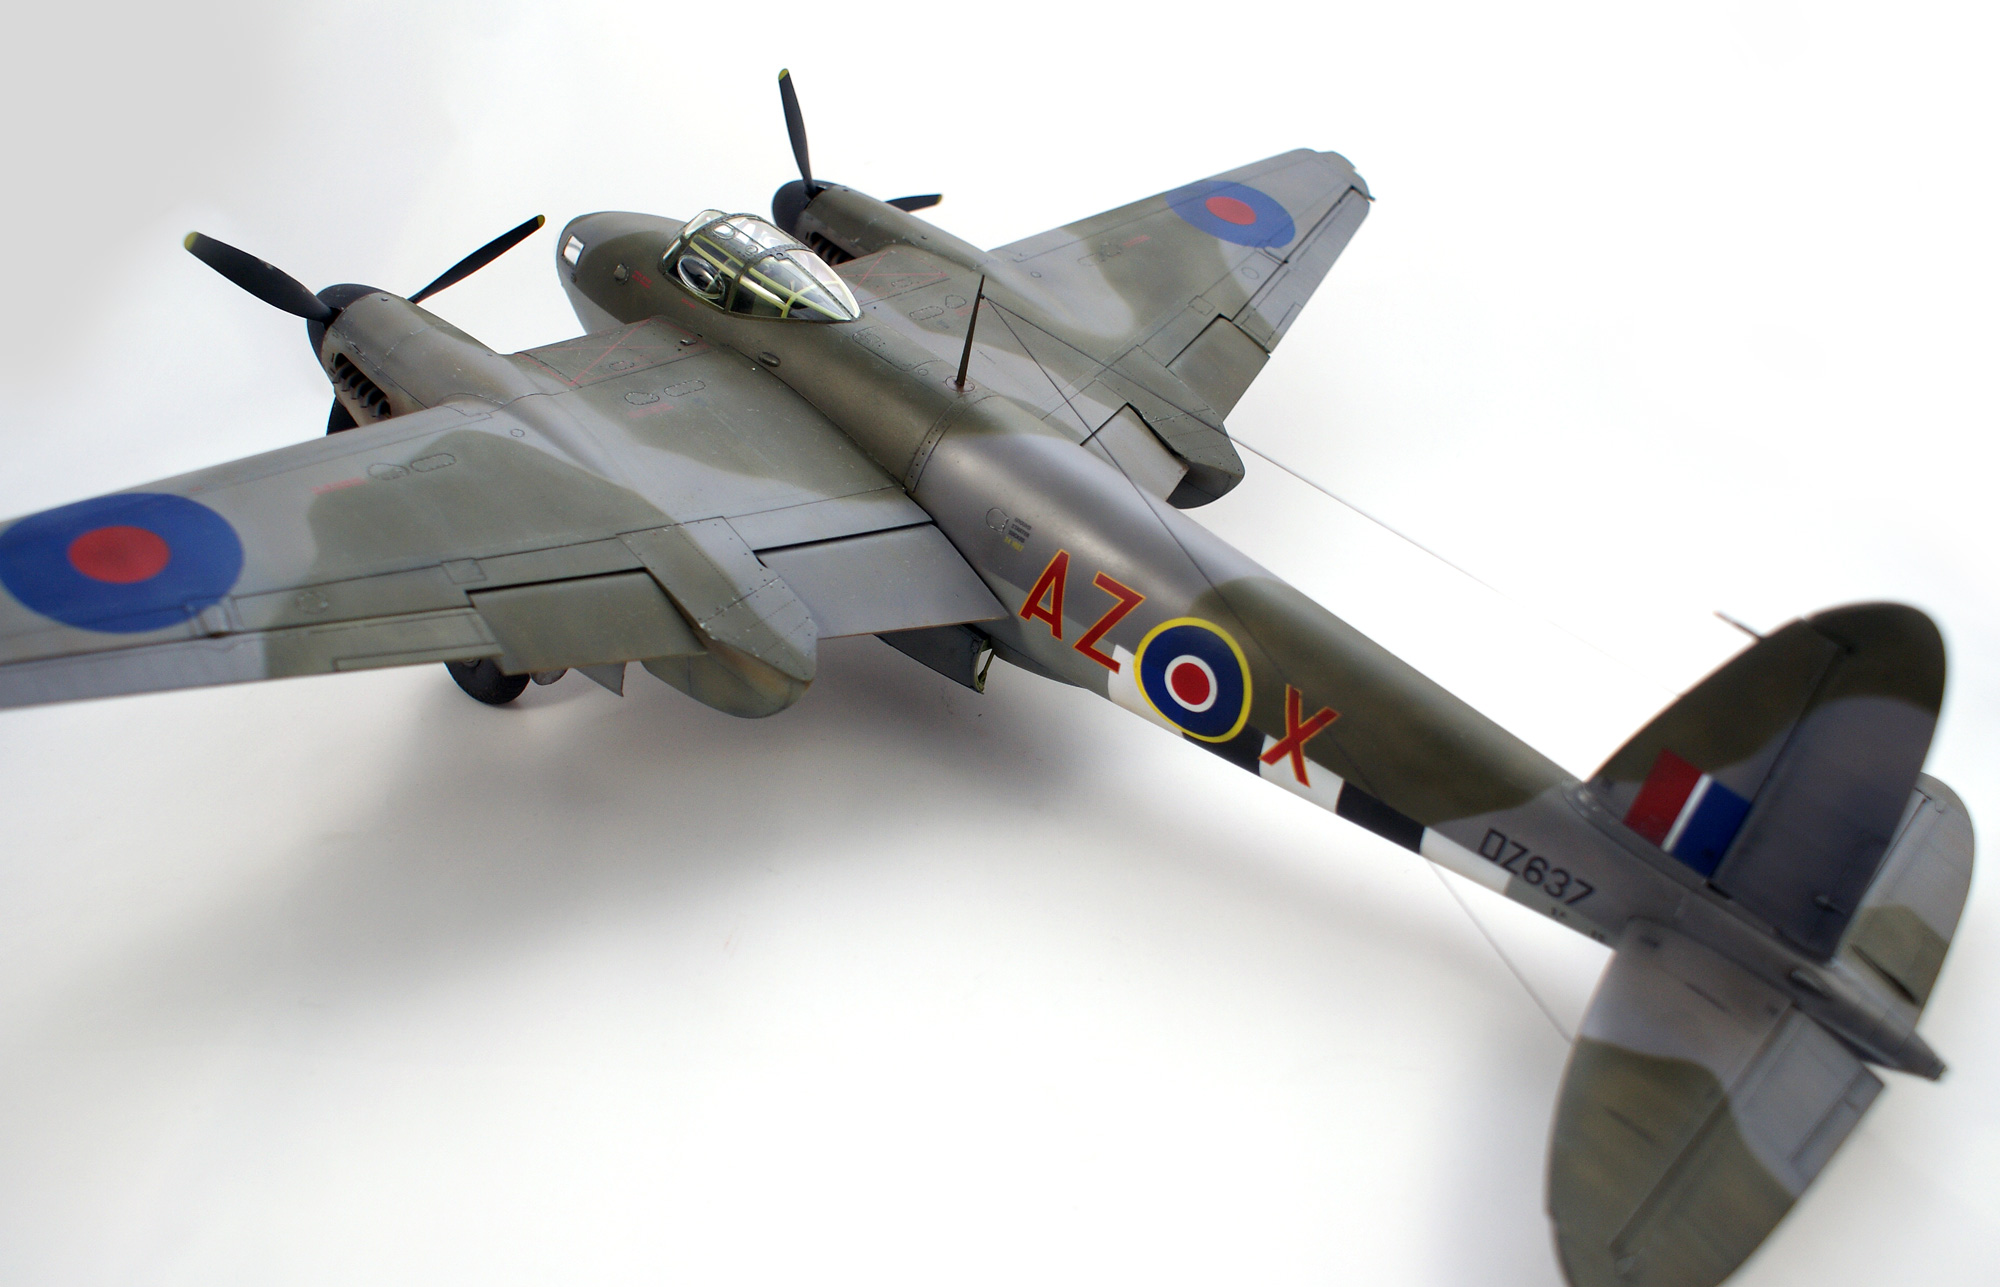
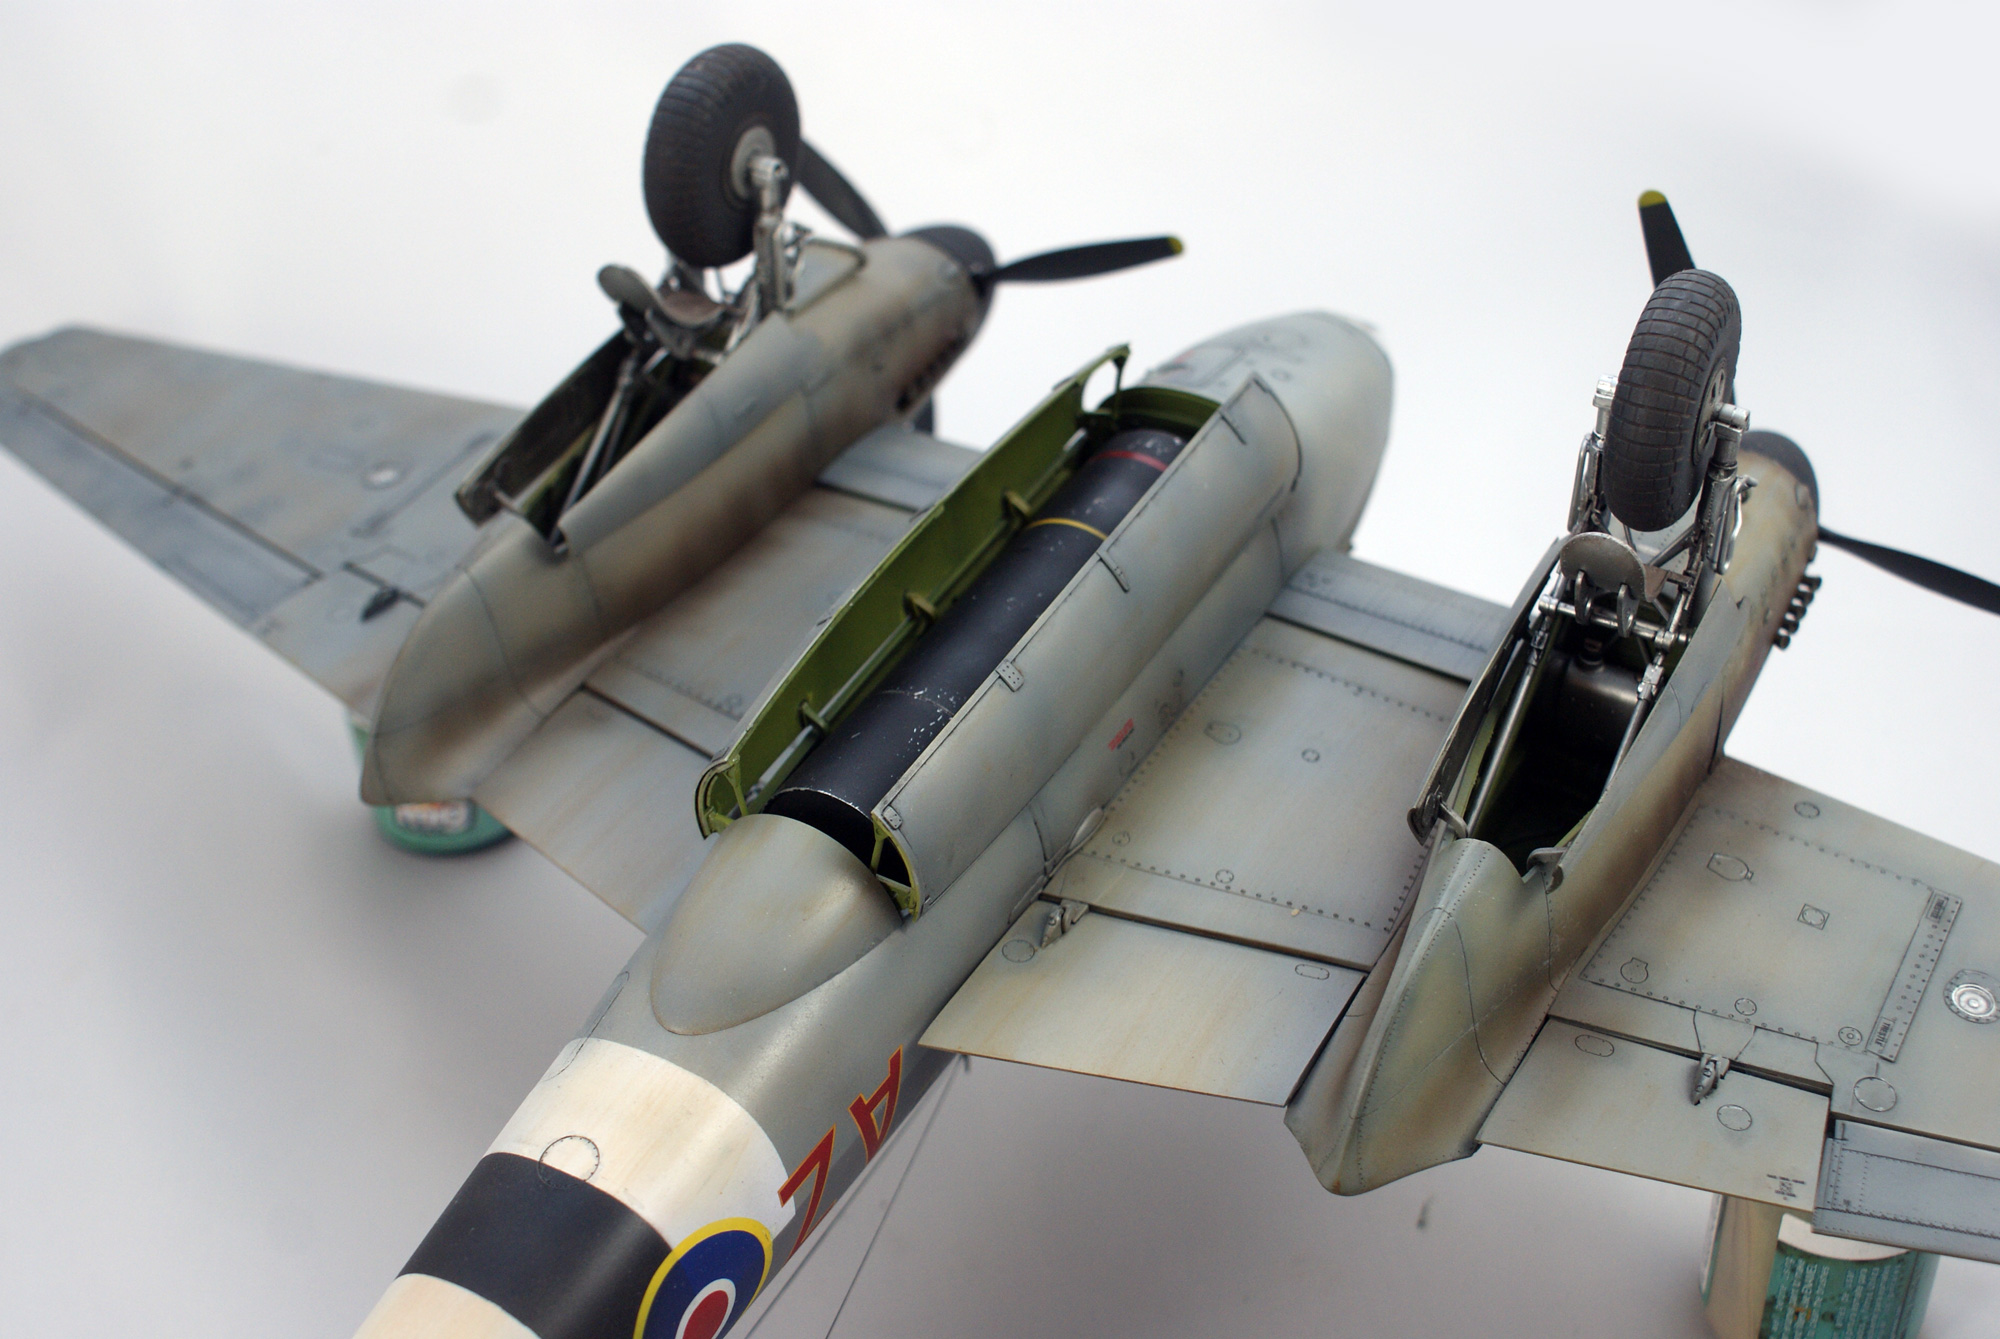
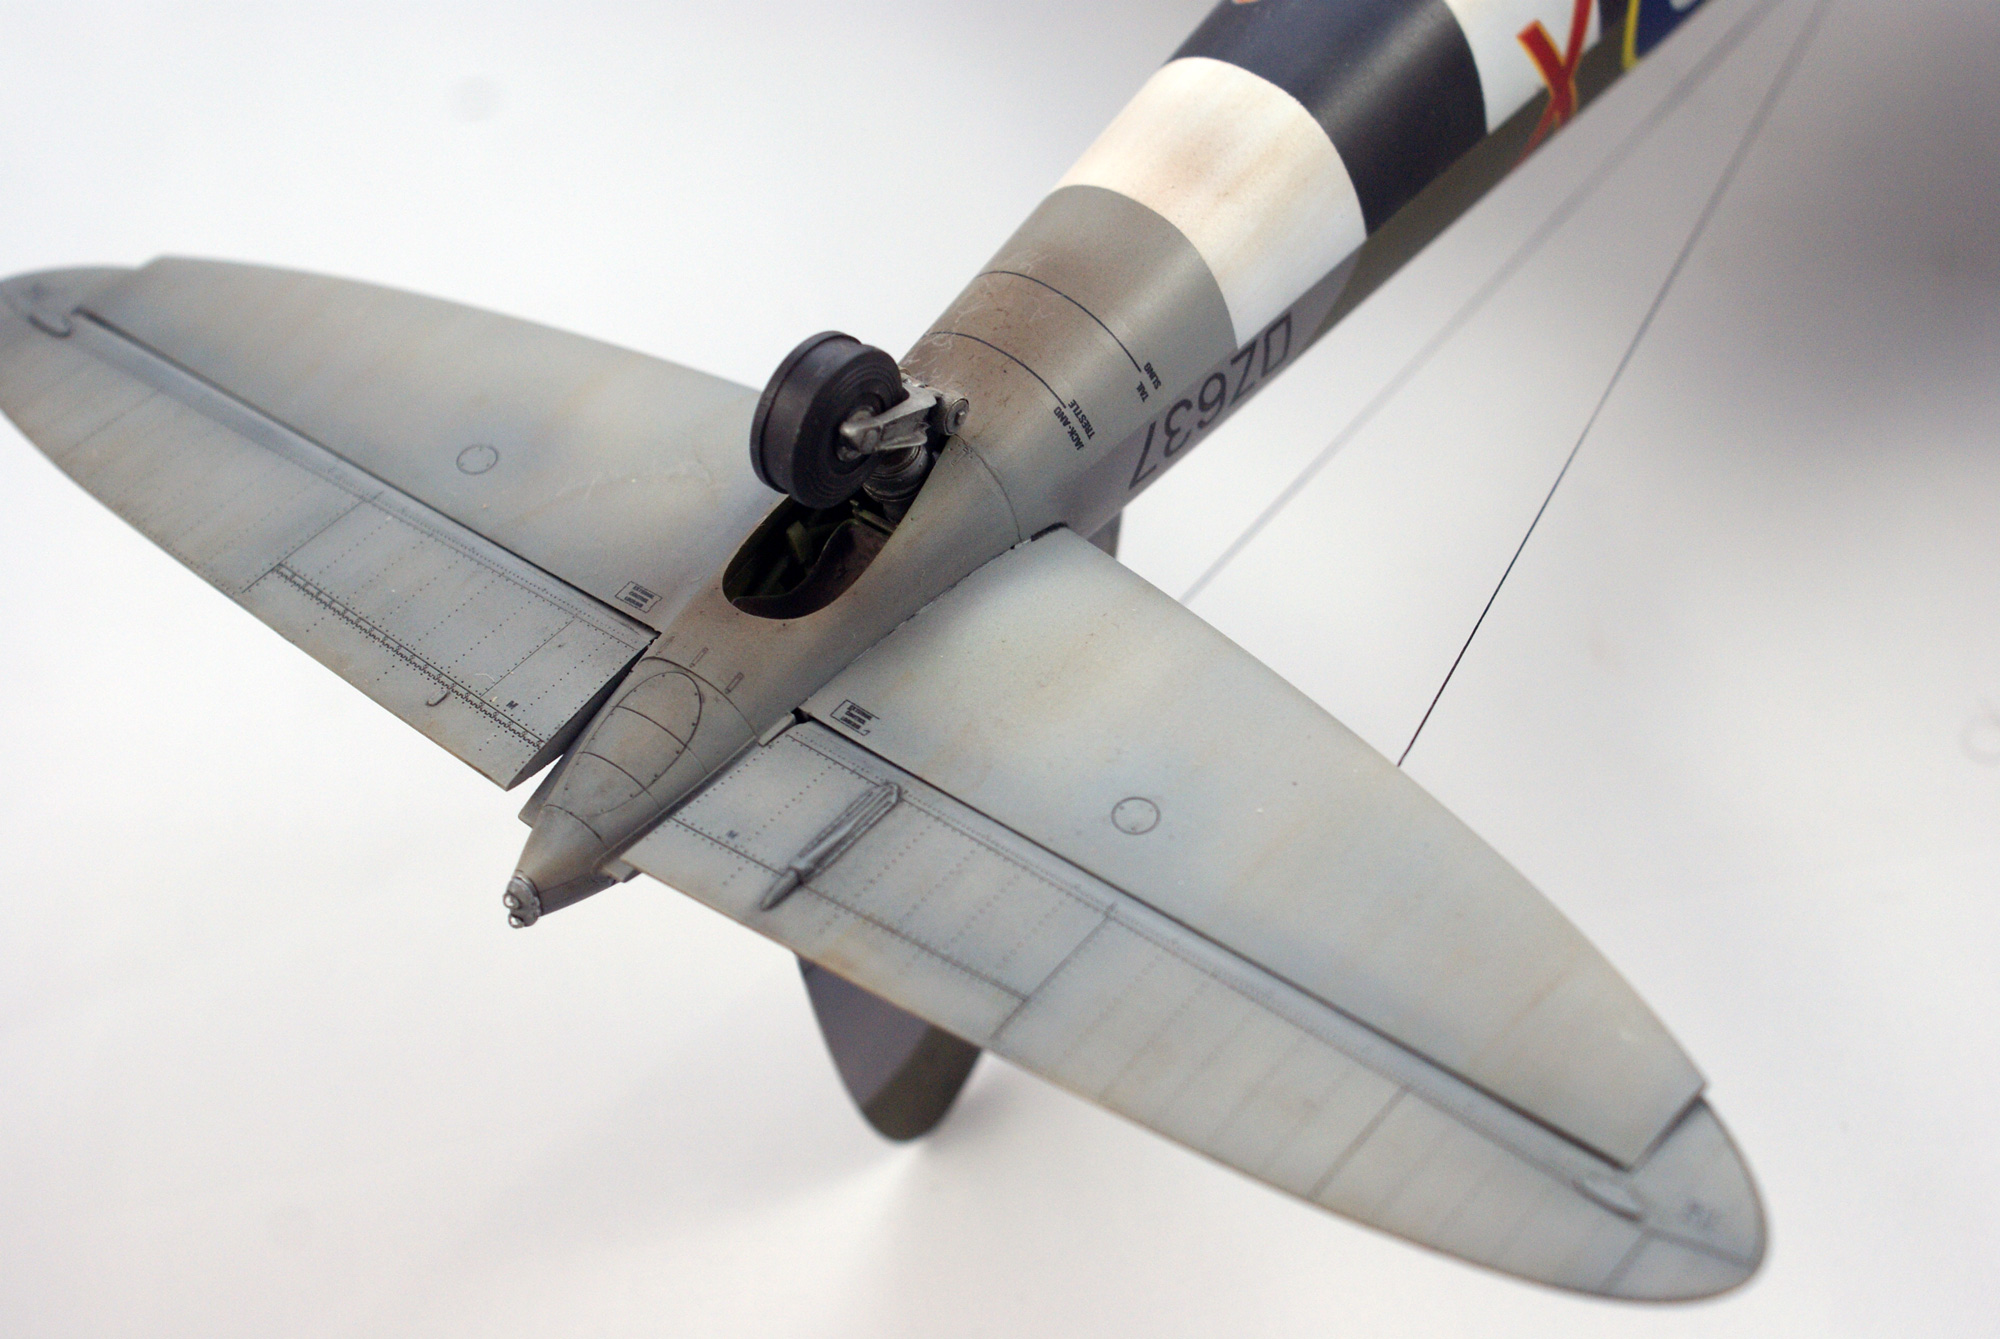
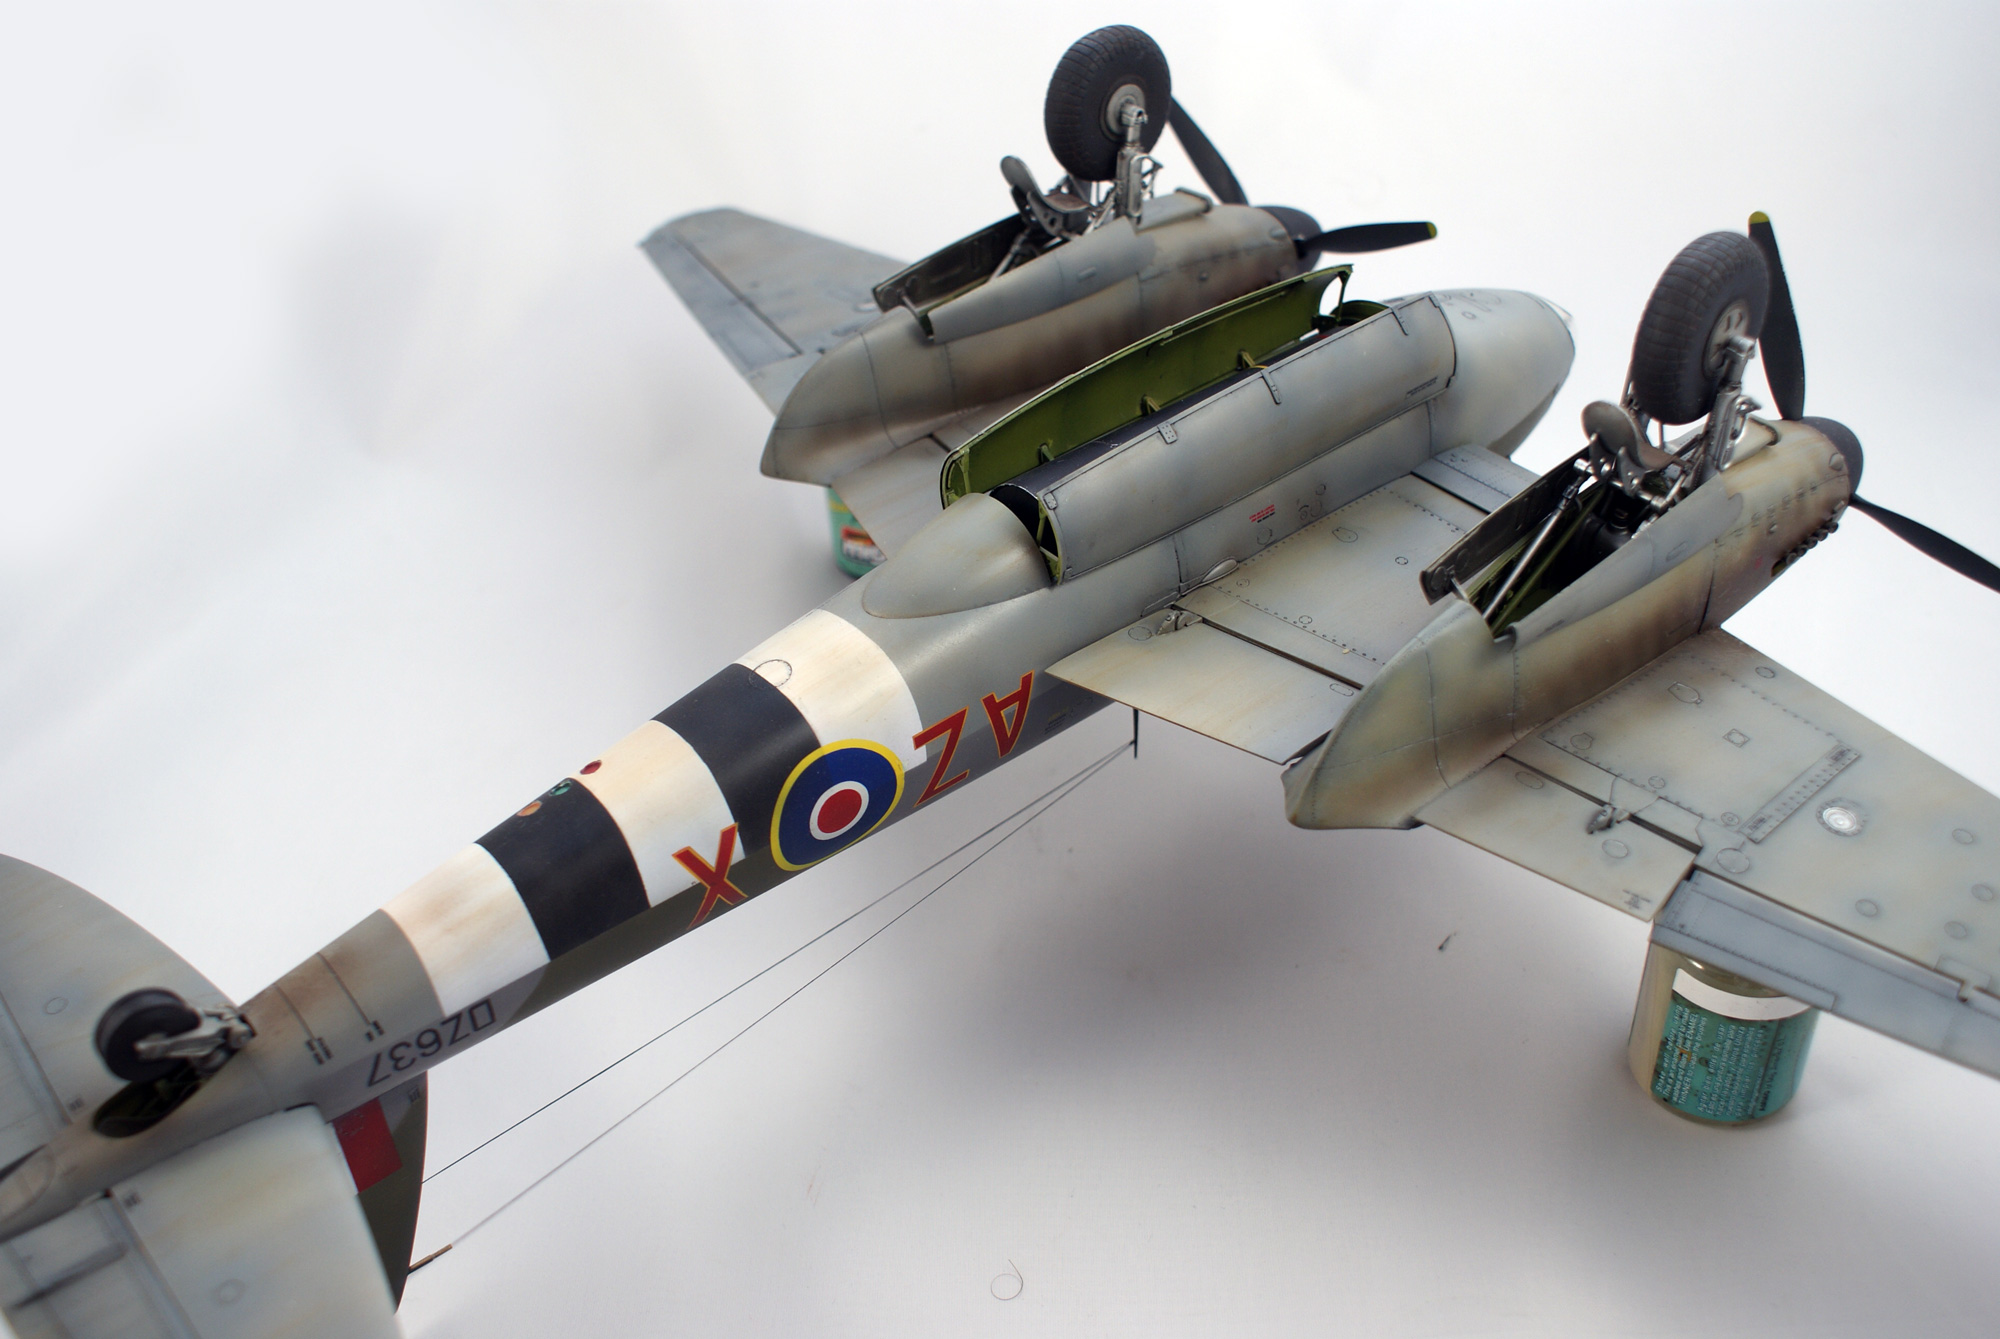
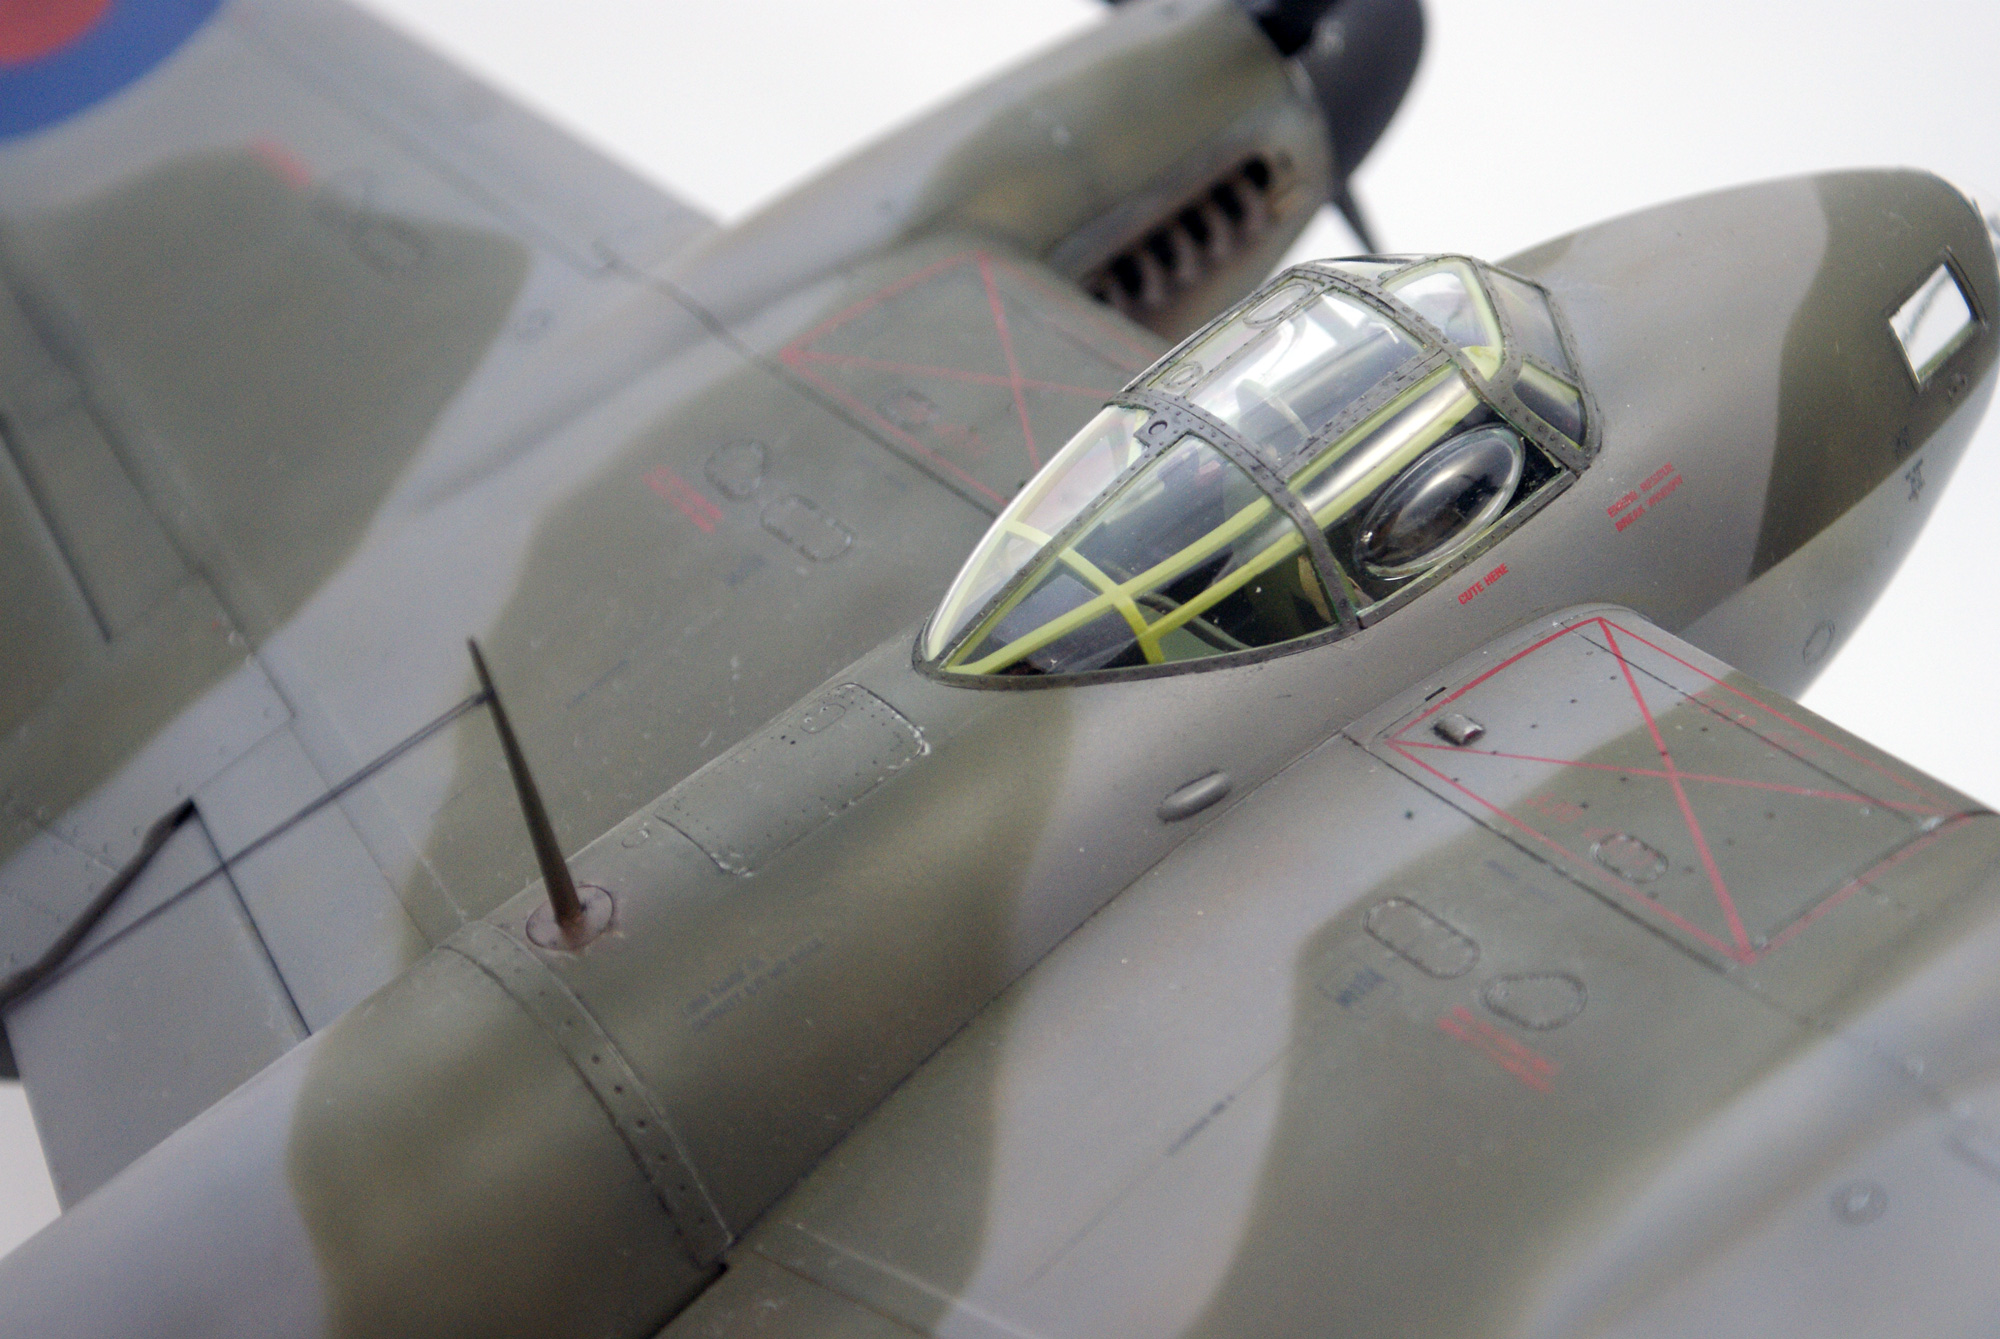
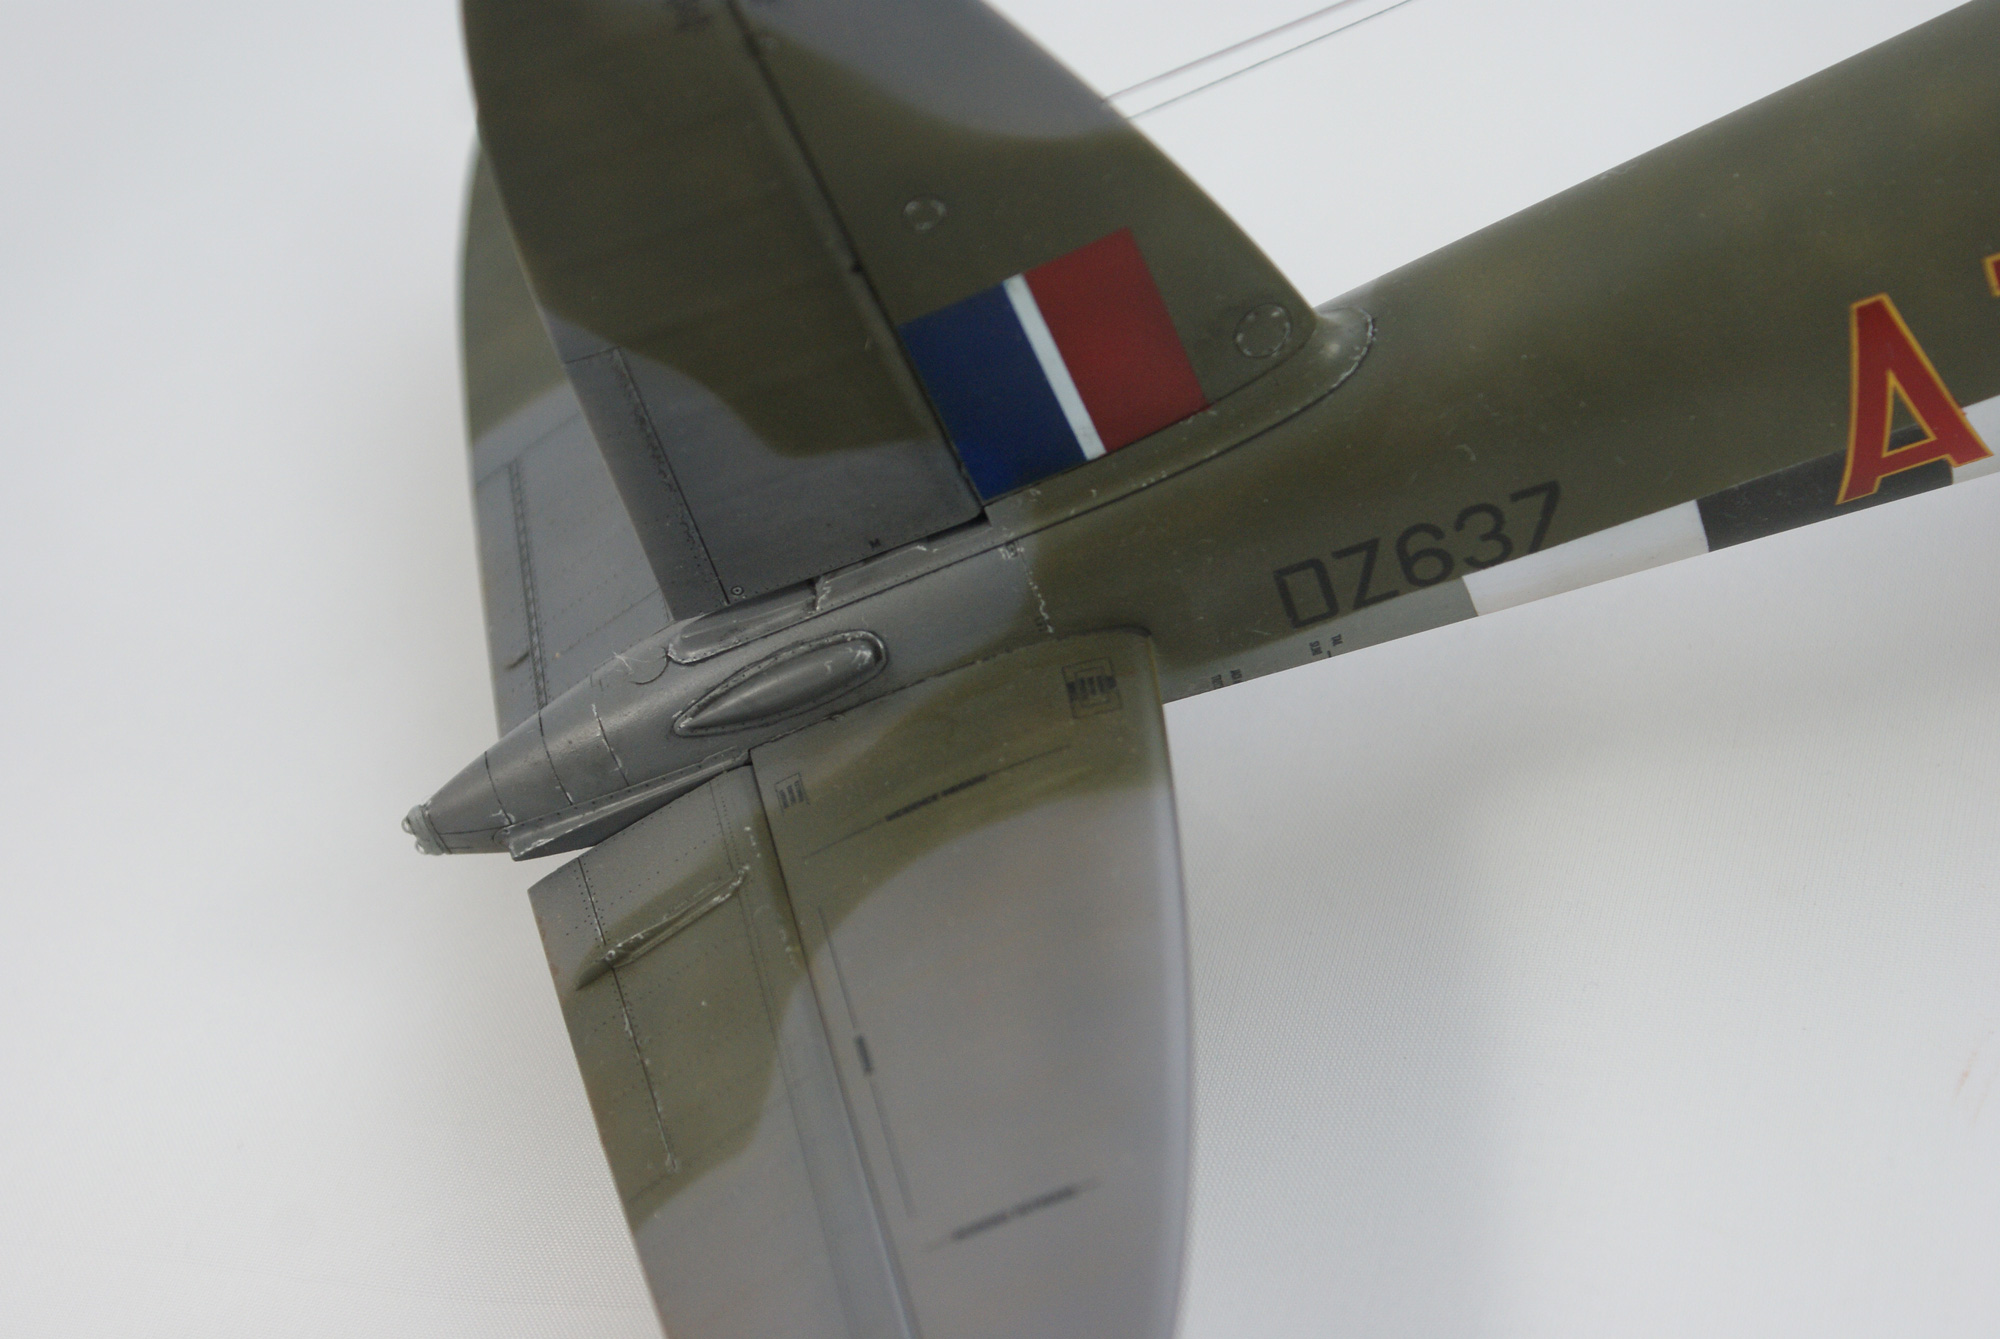
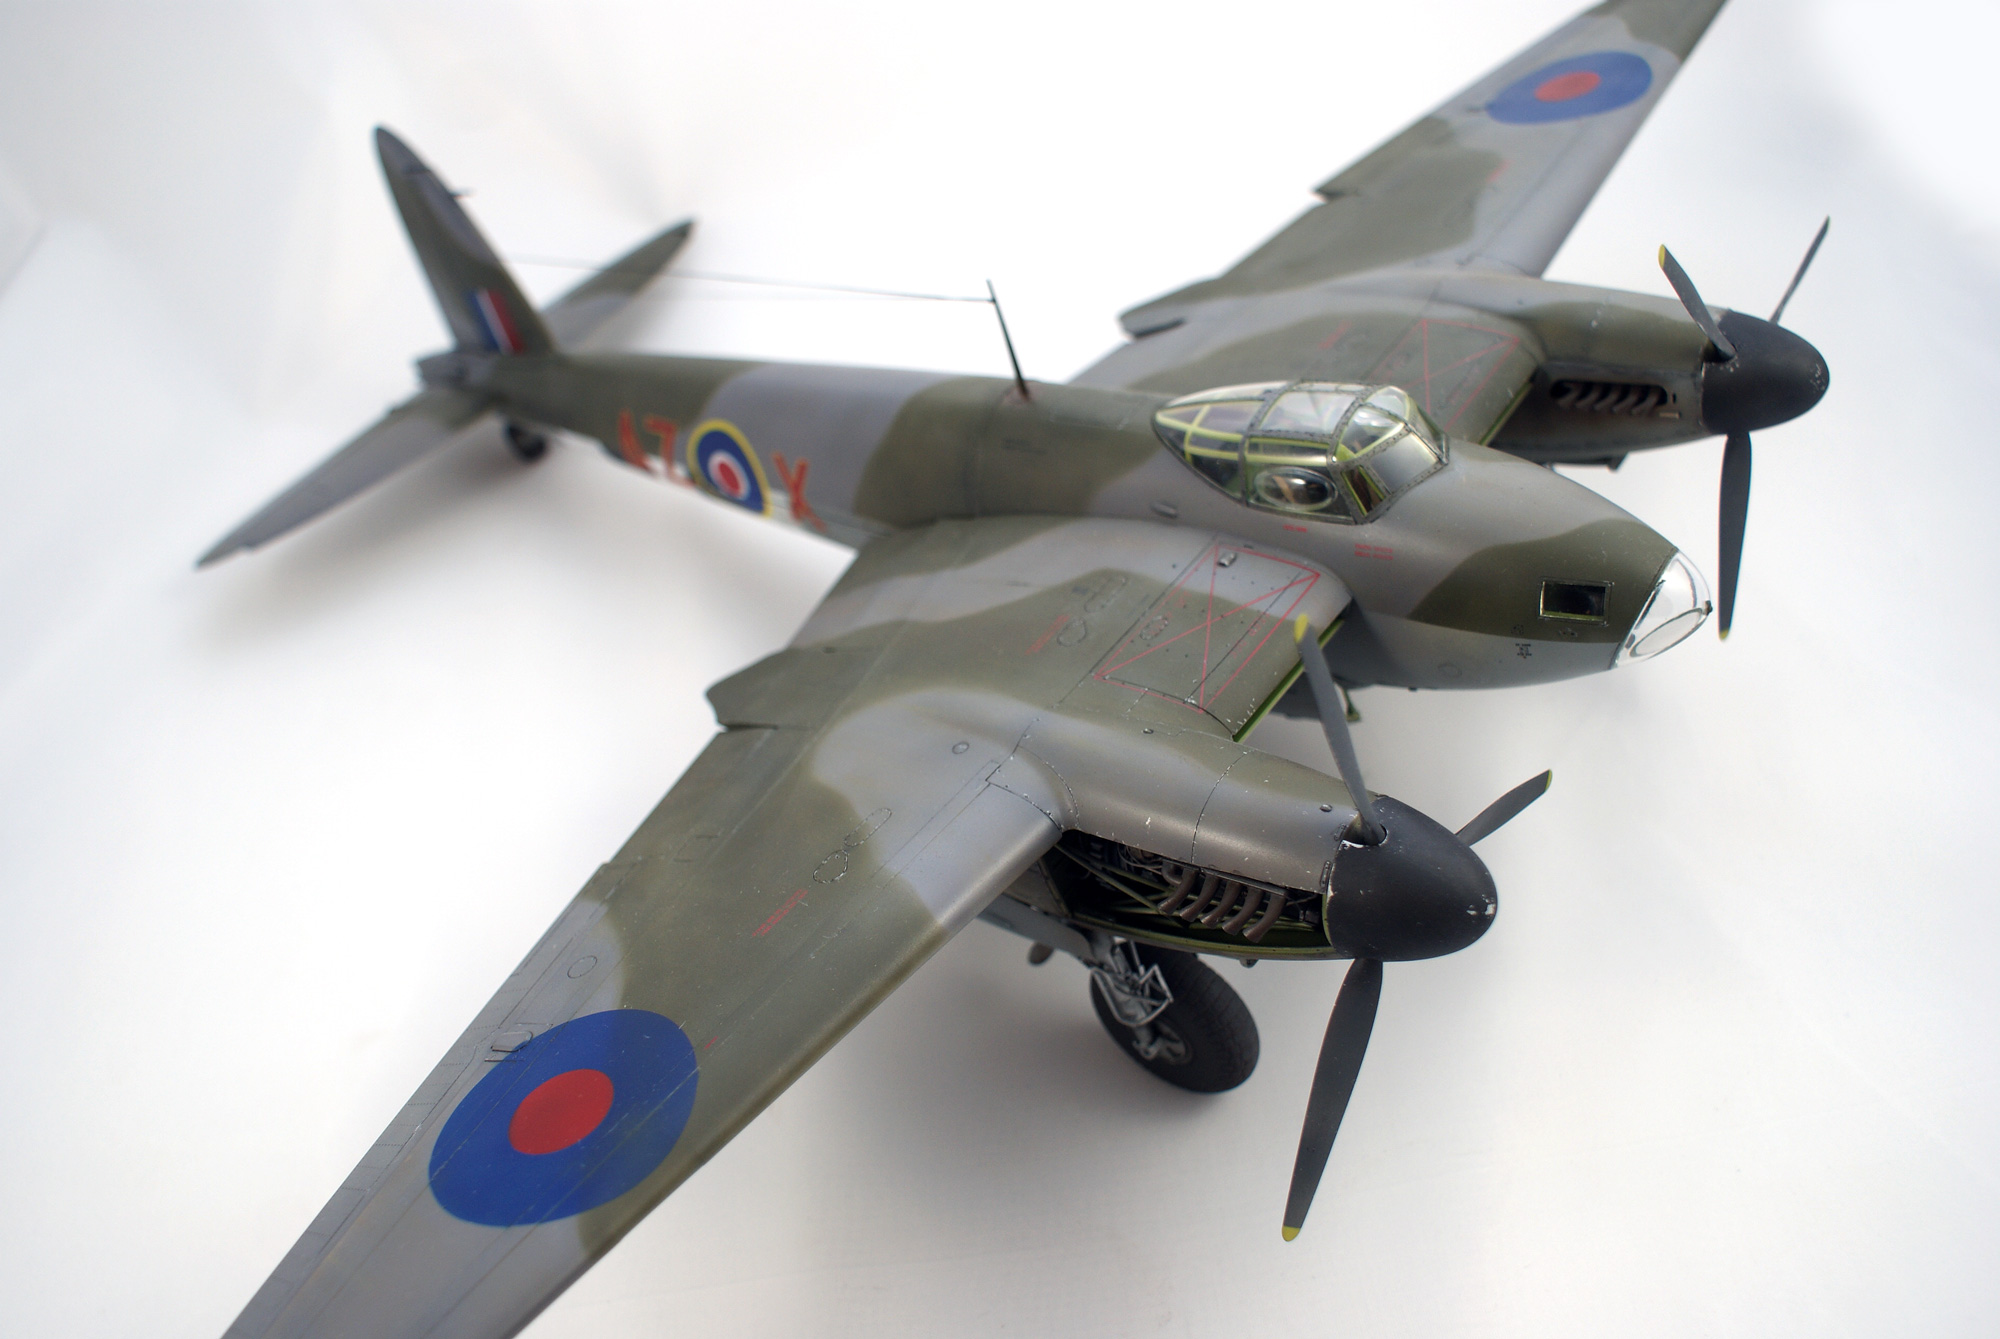
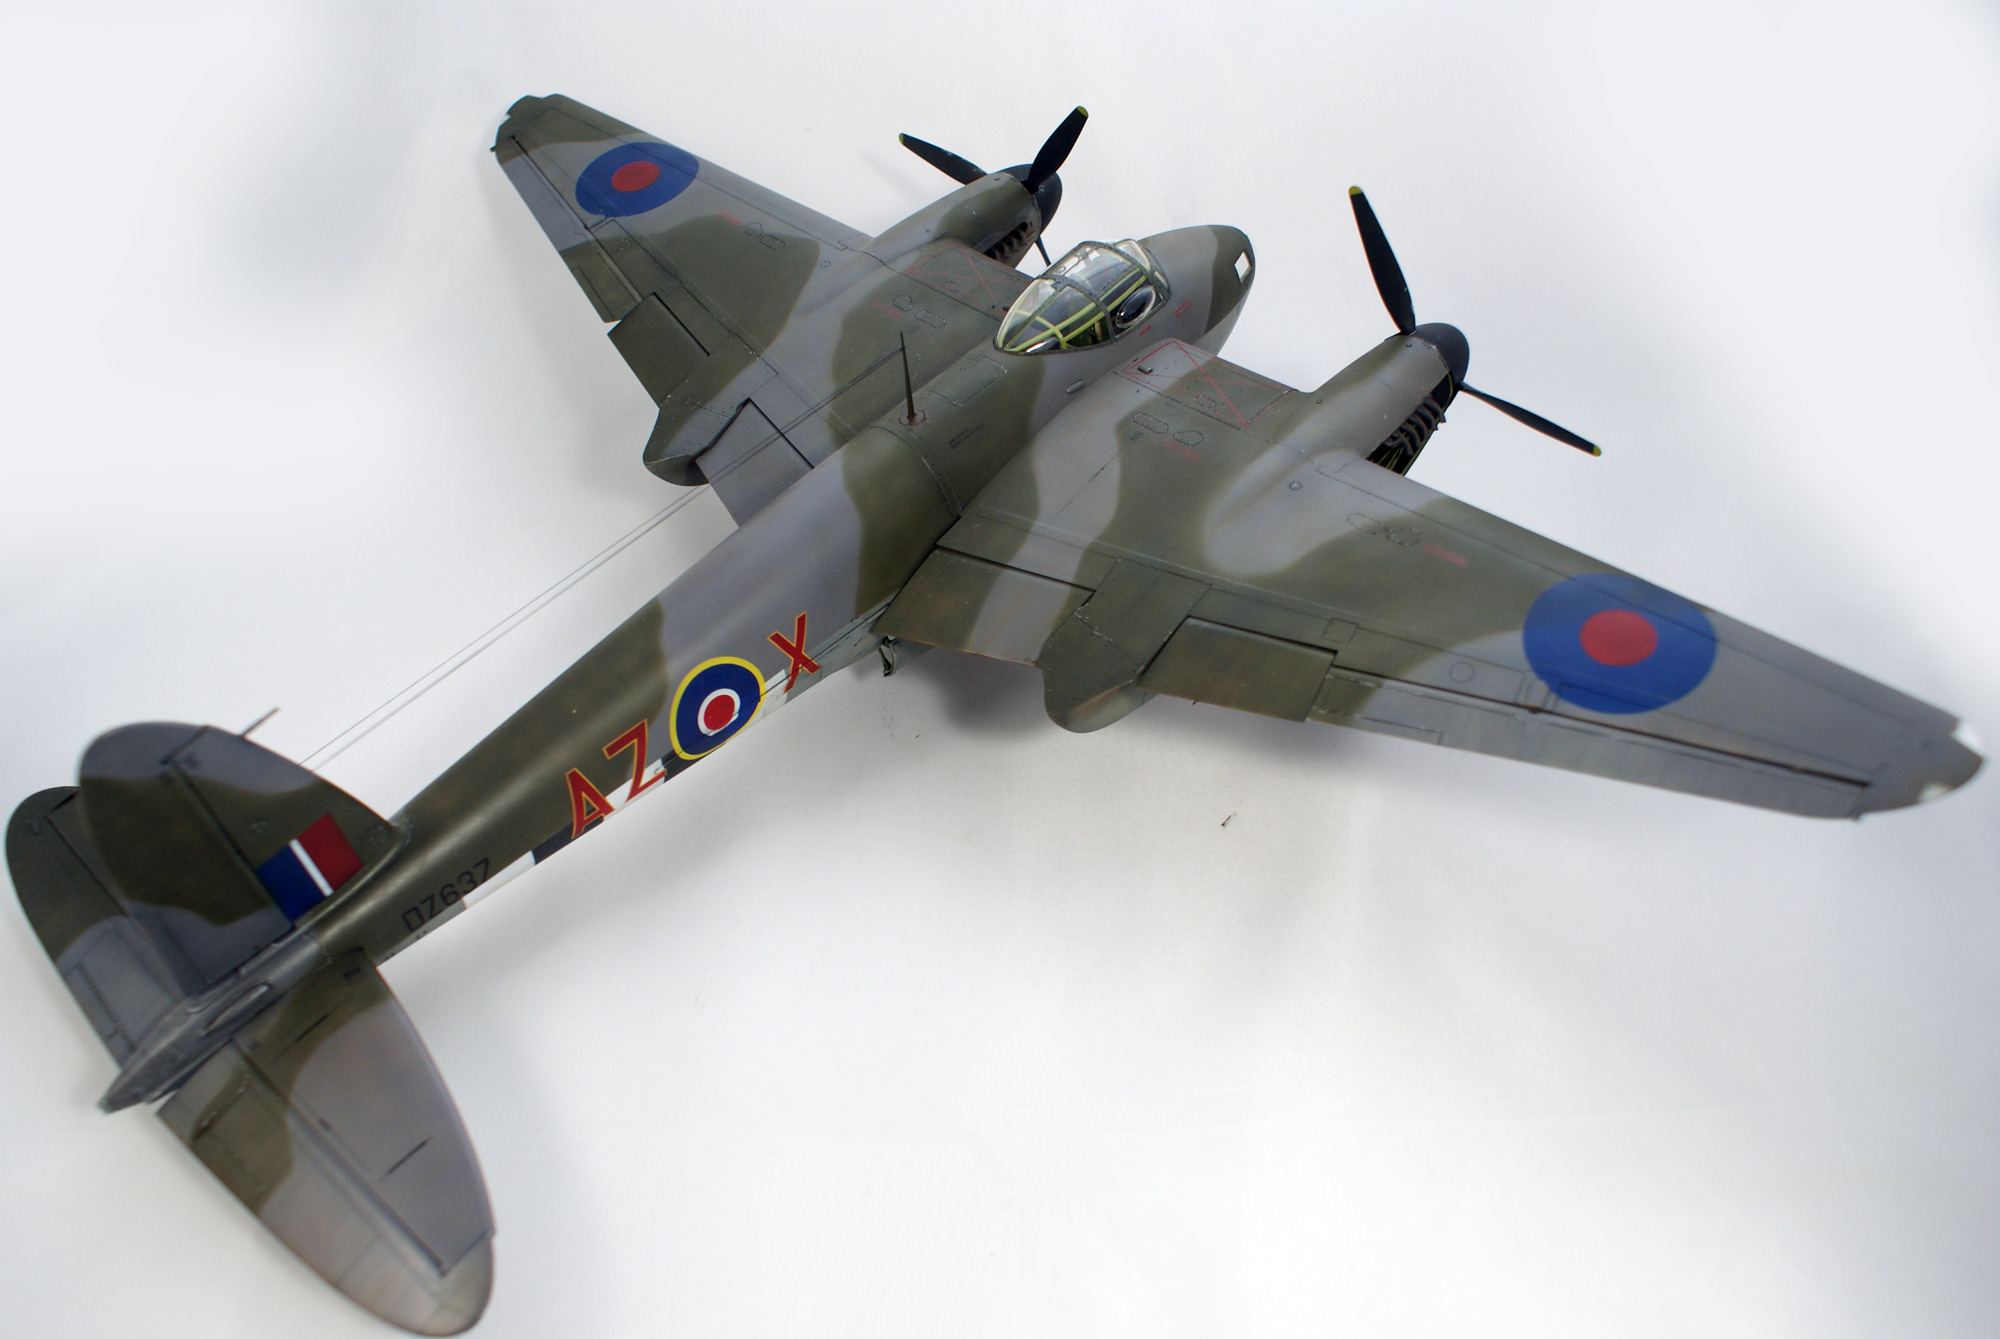
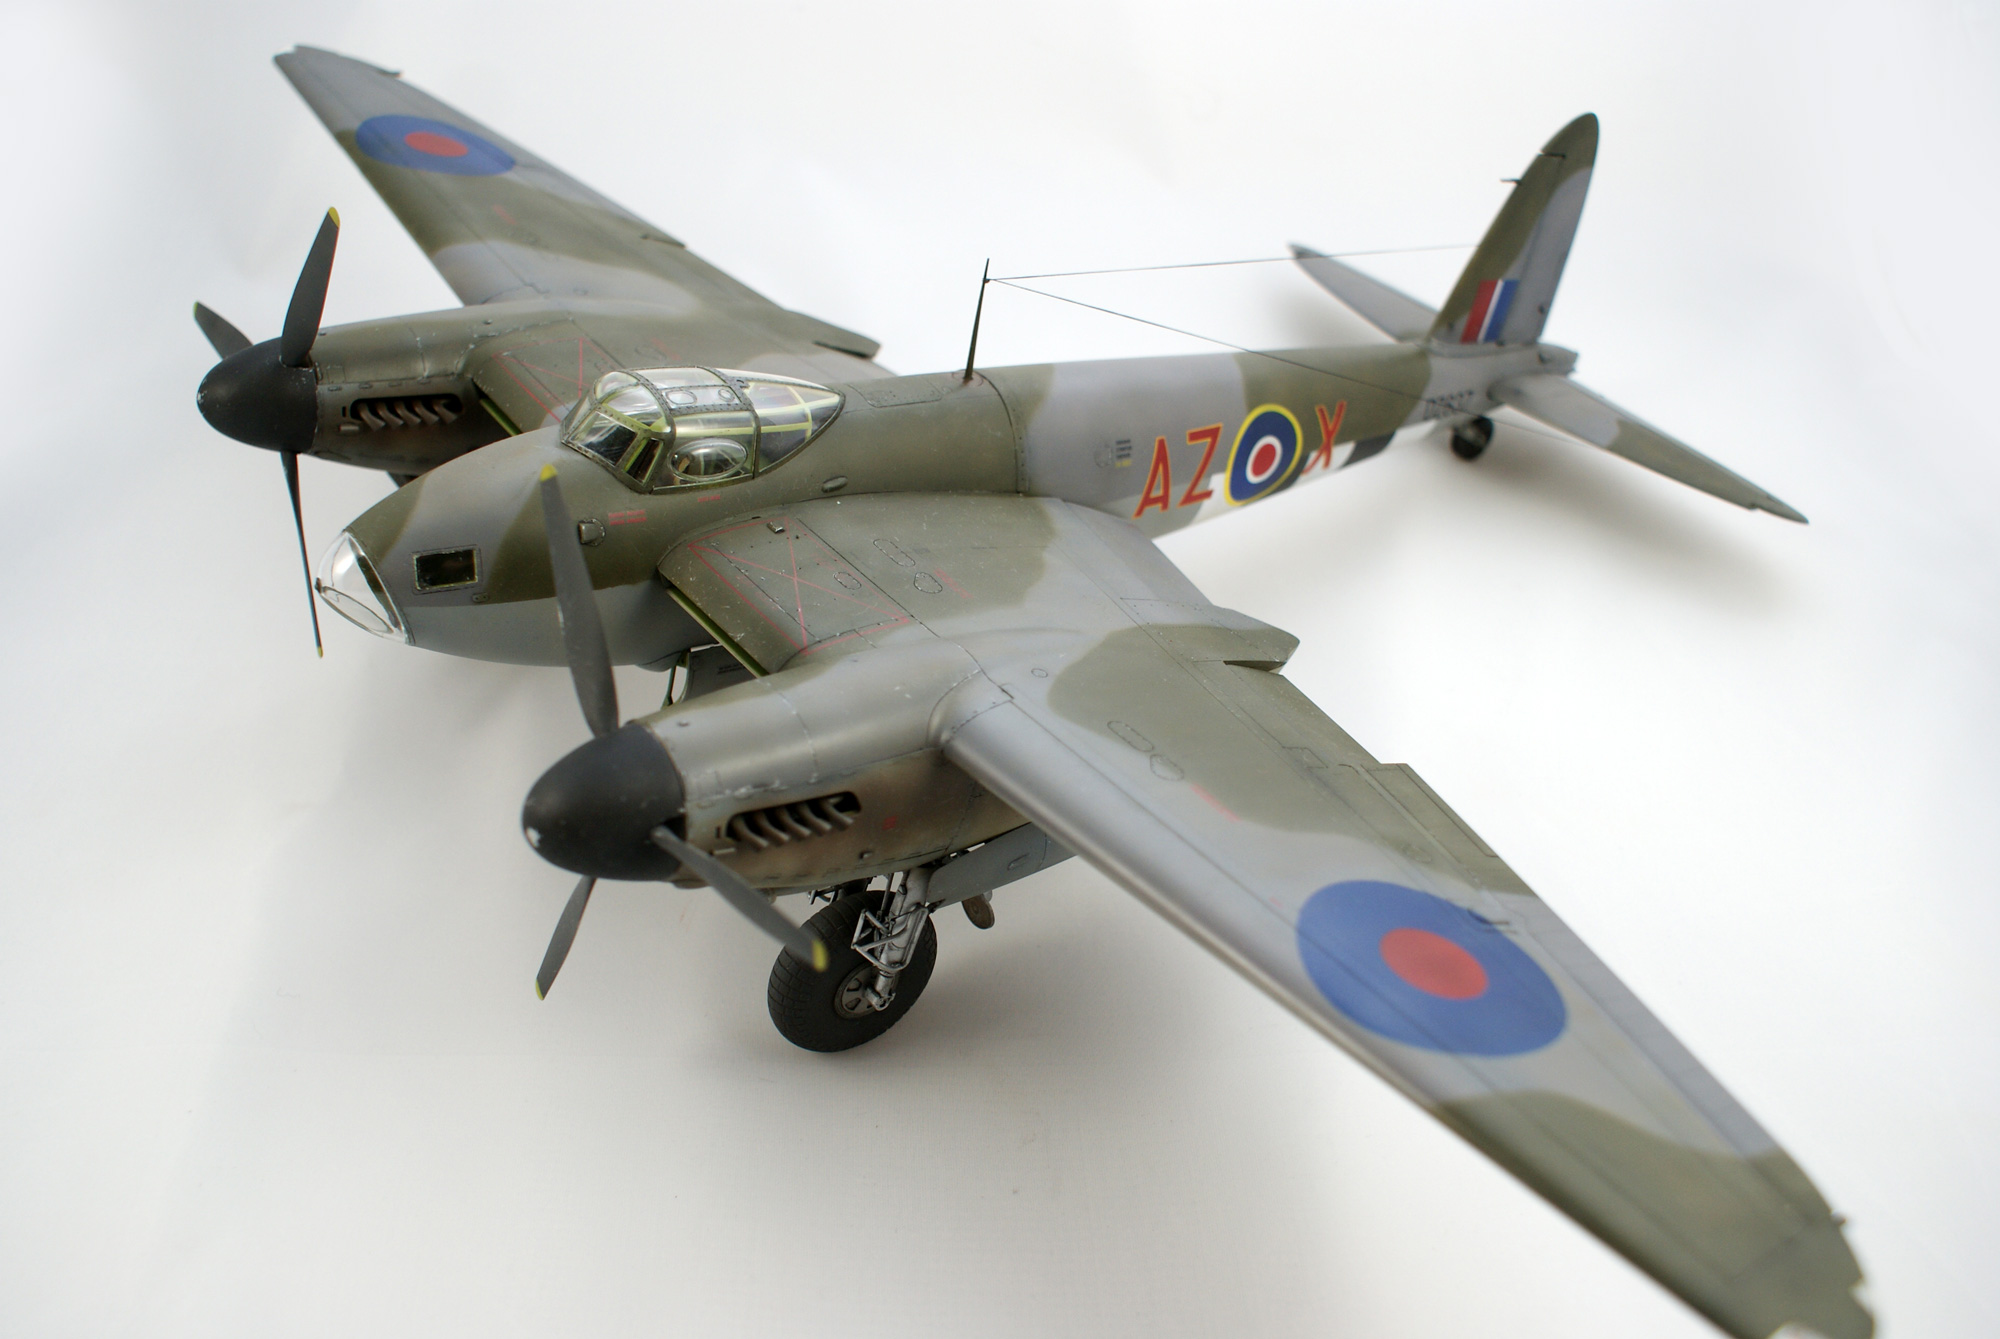
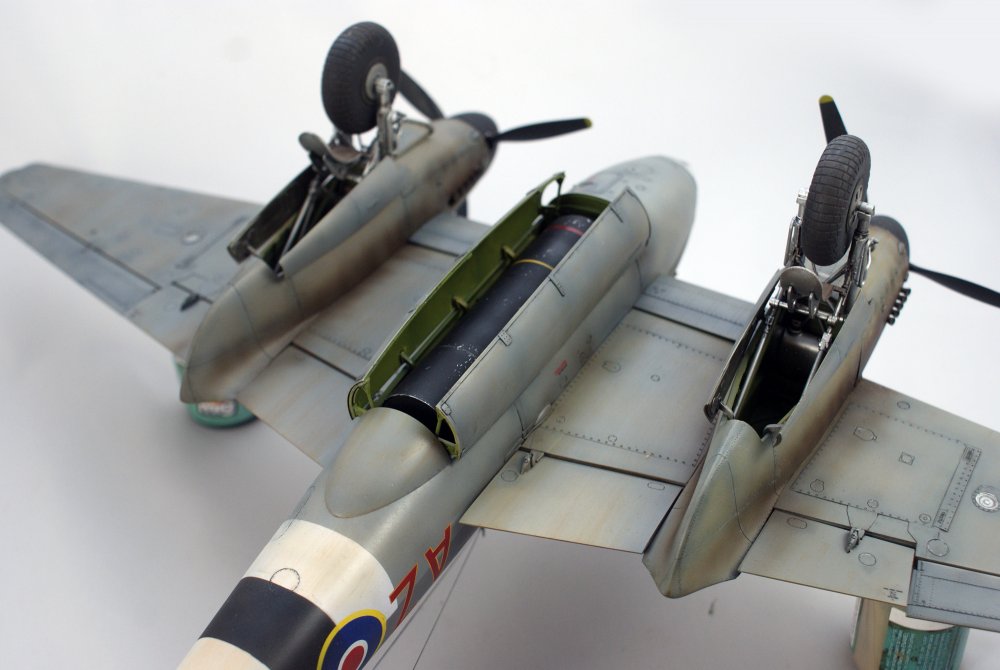
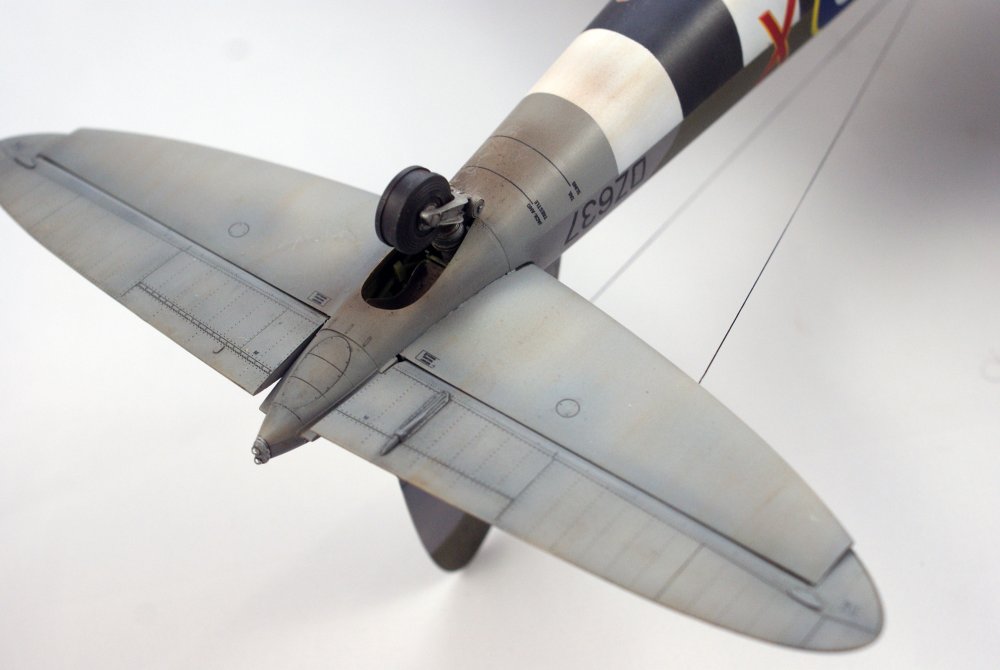
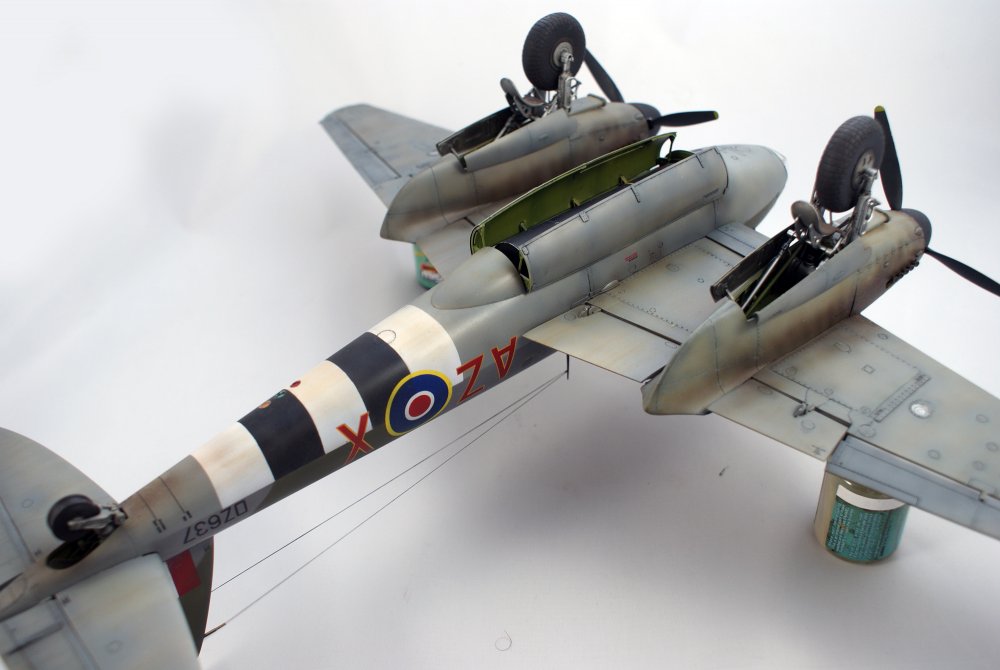
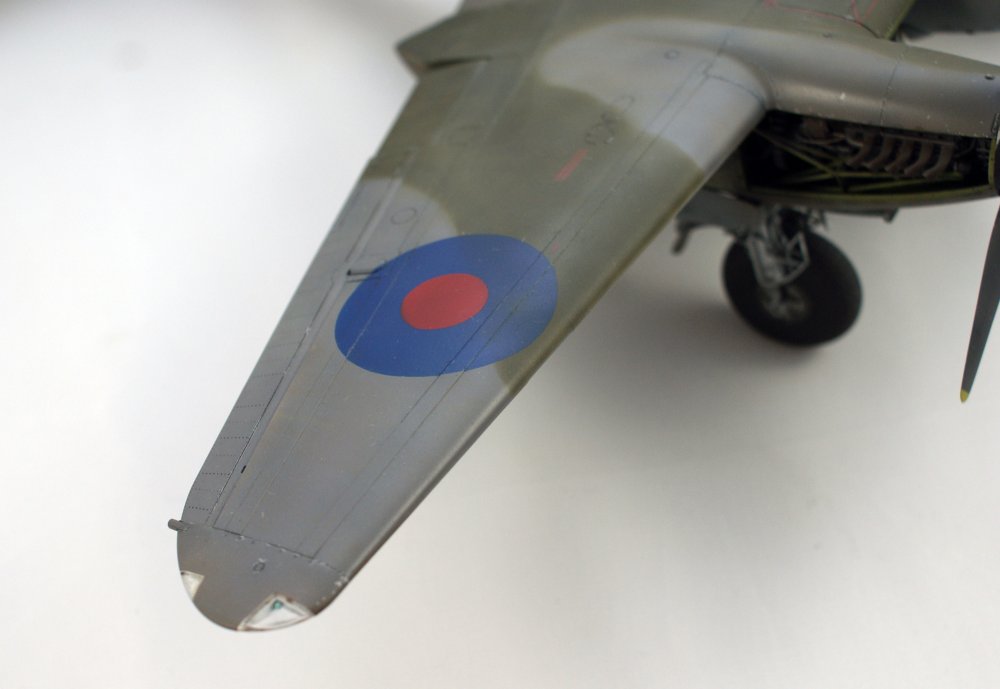
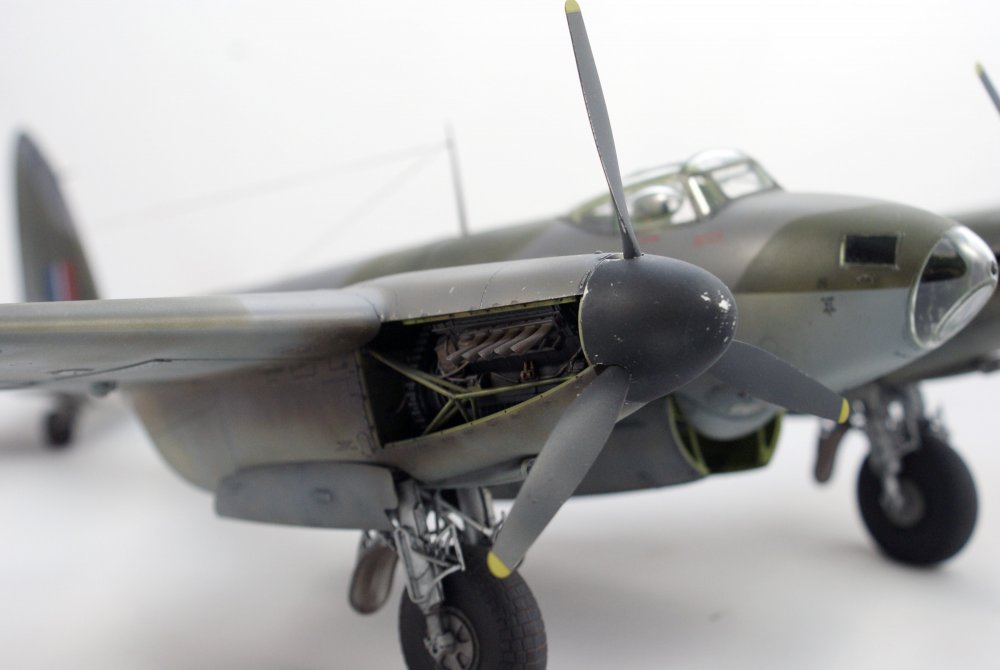
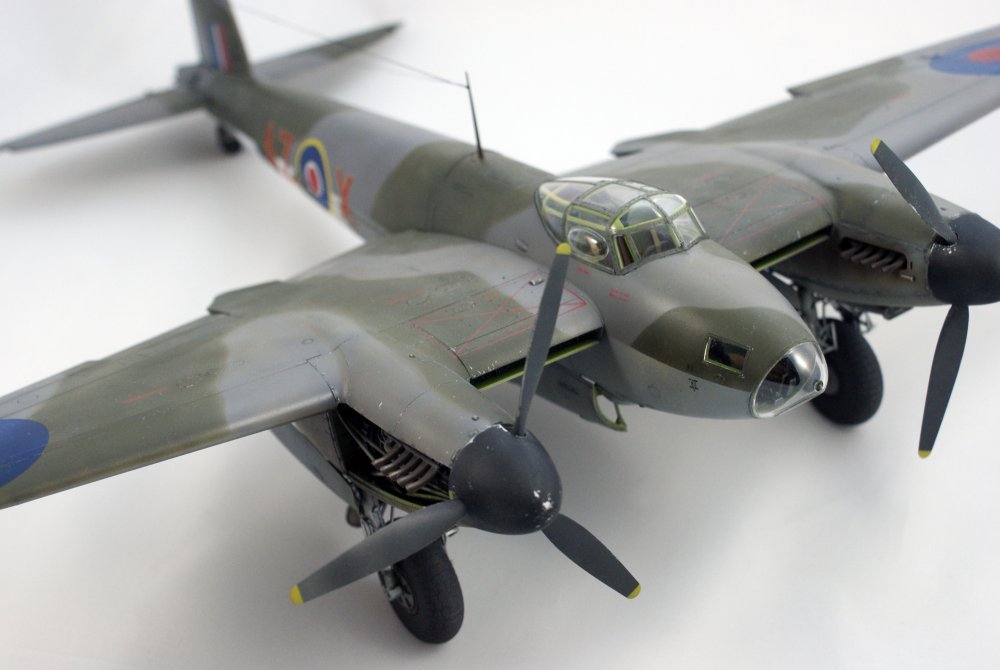
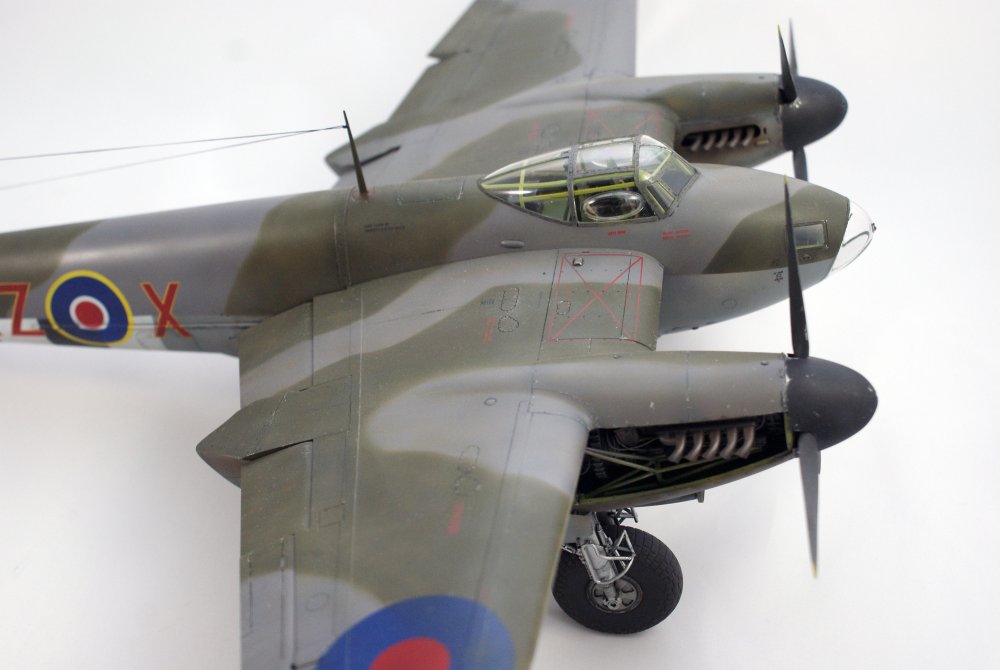
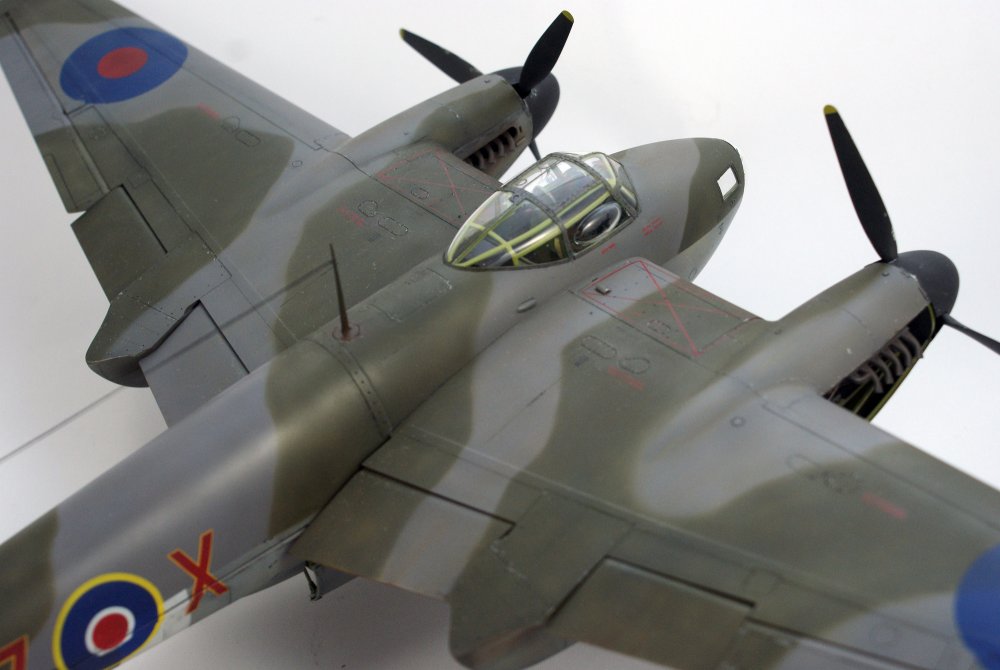
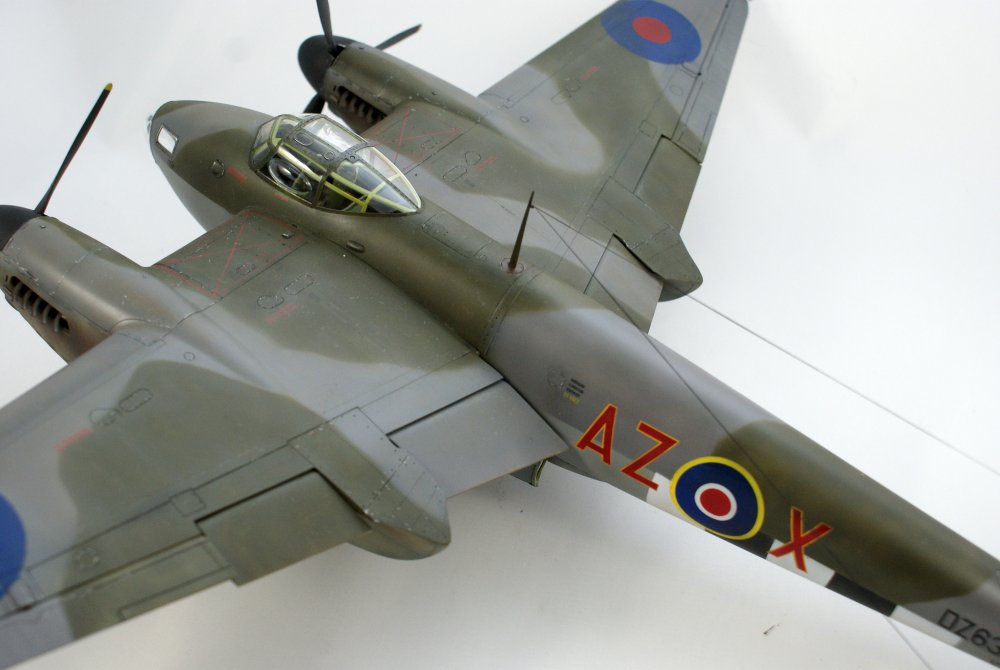
 Hi All, Finally finished the cookie monster! Basically a test shot that misses the fabric patches surface details and didn't include decals. I used Mal's perfect masks for the codes, roundels and No Step indications and also the ProfiModeller stencil decals. These include some typo's and are huge in numbers, but they definitely add some life to the otherwise dull surface of the wooden wonder. I took my time with the weathering part. Using a grey sharp colour pencil for scratches and a silver Prisma pencil for the scratches on aluminium parts, like the cowlings. Overall I'm pleased with the result and love the sleek lines of this machine. At the time I started this kit little after market was available, so limited to the HGW sutton harnesses and ProfiModeller Pitot tube. Ah! And almost forgot. I used Airscale decals for the instrument panel. Cheers! Next!
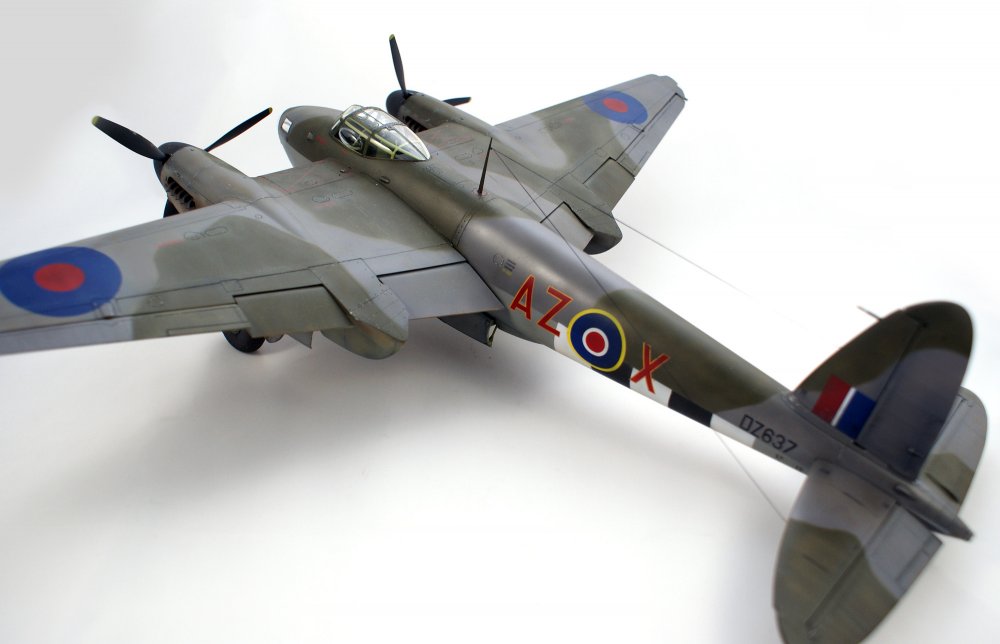


-
Cheers guys! We do our best!
-
HK Models 1/32 HK Models Mosquito B Mk.IV
JeroenPeters replied to JeroenPeters's topic in LSM 1/35 and Larger Work In Progress
No. Yes. But no.... Yes! Almost.. -
True. But this is the same on forums like Large Scale Planes. Since LSM is much younger, i reckon the percentage of active members is relatively higher. In the end it's the spirit, atmosphere and content that matters. Right?
-
HK Models 1/32 HK Models Mosquito B Mk.IV
JeroenPeters replied to JeroenPeters's topic in LSM 1/35 and Larger Work In Progress
That's a huge compliment coming from you Peter!! Cheers! -
Hi fellow LSM-bers! I can remember, not so long ago, stepping into this venture called LSM. It was Jim Hatch that invited me and asked me to help out and I have enjoyed doing so every single day. There have been ups and downs. Highs and lows. Working alongside HK Models. Getting our logo on the Mossie packaging must have been a high... As is Welcoming our 2000th member! I am proud to say that we have built a name for ourselves, producing the highest caliber reviews around. I am proud of Fran and our team-up with Wingnut Wings Fans. Because lets be honest... they belong with us! Proud of all the modelers that simply build, share and contribute. So thank you to all! Keep joining, posting, enjoy and last but not least.... Build Large Scale!! Cheers, Jeroen
-
Incredible...
-
HK Models 1/32 HK Models Mosquito B Mk.IV
JeroenPeters replied to JeroenPeters's topic in LSM 1/35 and Larger Work In Progress
If i can fit all in my Alfa Romeo Mito... Yes. -
HK Models 1/32 HK Models Mosquito B Mk.IV
JeroenPeters replied to JeroenPeters's topic in LSM 1/35 and Larger Work In Progress
I'm just gonna push on and not look back -
Thats a pretty cool model you've built from a pretty cool kit! Love the weathering.
-
RB Productions 1:32 Yokosuka MXY7 Ohka Type 22
JeroenPeters replied to JayDee's topic in Aircraft Reviews
Wow... amazing kit. Really looking forward to see how this stocks up against the HPH offering, even if it is a totally different version! -
Incredible detail AND boxing. I can imagine this level of detail being credulous in 1/35...
- 5 replies
-
- 2
-

-
- panzer
- pz.kpfw ii
- (and 1 more)
-
HK Models 1/32 HK Models Mosquito B Mk.IV
JeroenPeters replied to JeroenPeters's topic in LSM 1/35 and Larger Work In Progress
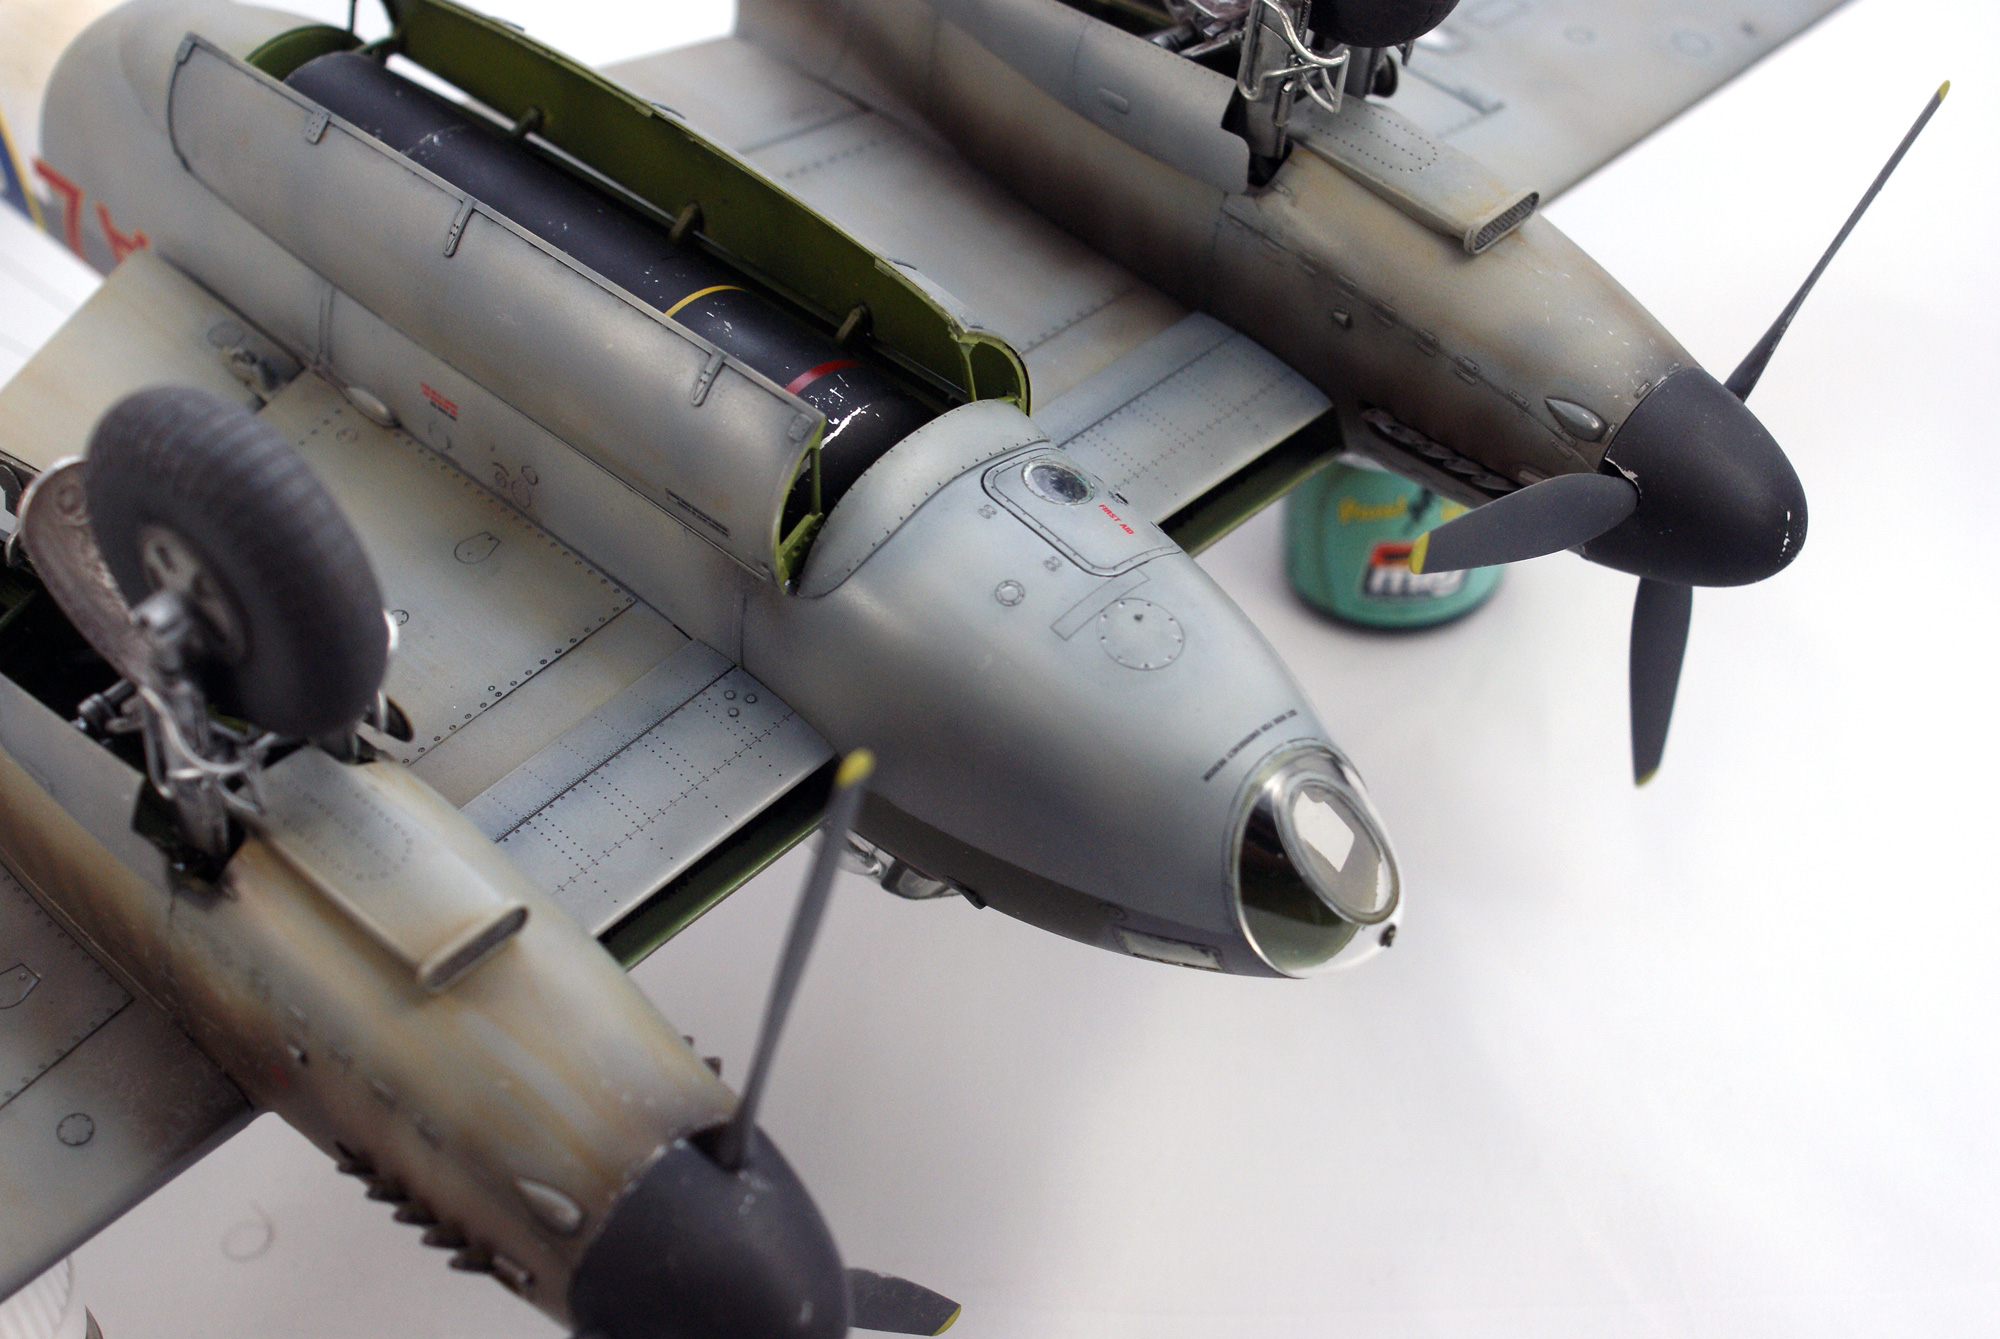
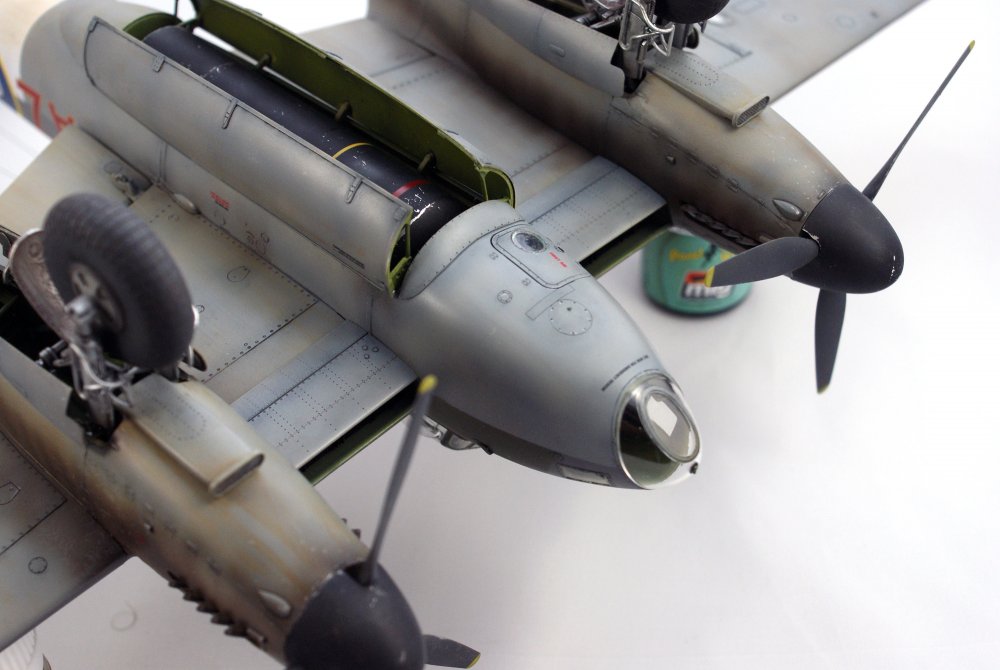
Hi Mal, From the photo's Erik posted I don't get the impression the camp is inverted... Right? I know Maciej is involved in drawing the scheme represented in the instructions. I know he does his research well, which caused me to follow blind. The white tipped grey spinners i also spotted in this profile: One thing i am missing on the model is the really small bump or fairing on the nose. See above. Anyone know what it is? -
HK Models 1/32 HK Models Mosquito B Mk.IV
JeroenPeters replied to JeroenPeters's topic in LSM 1/35 and Larger Work In Progress
Damn! Now i know!... -
RAF Re.8 "Harry Tate" diorama finished.
JeroenPeters replied to a topic in WNW and WW1 Ready for Inspection'
Great work Danny! You've taken your time and it shows. Congrats. -
HK Models 1/32 HK Models Mosquito B Mk.IV
JeroenPeters replied to JeroenPeters's topic in LSM 1/35 and Larger Work In Progress
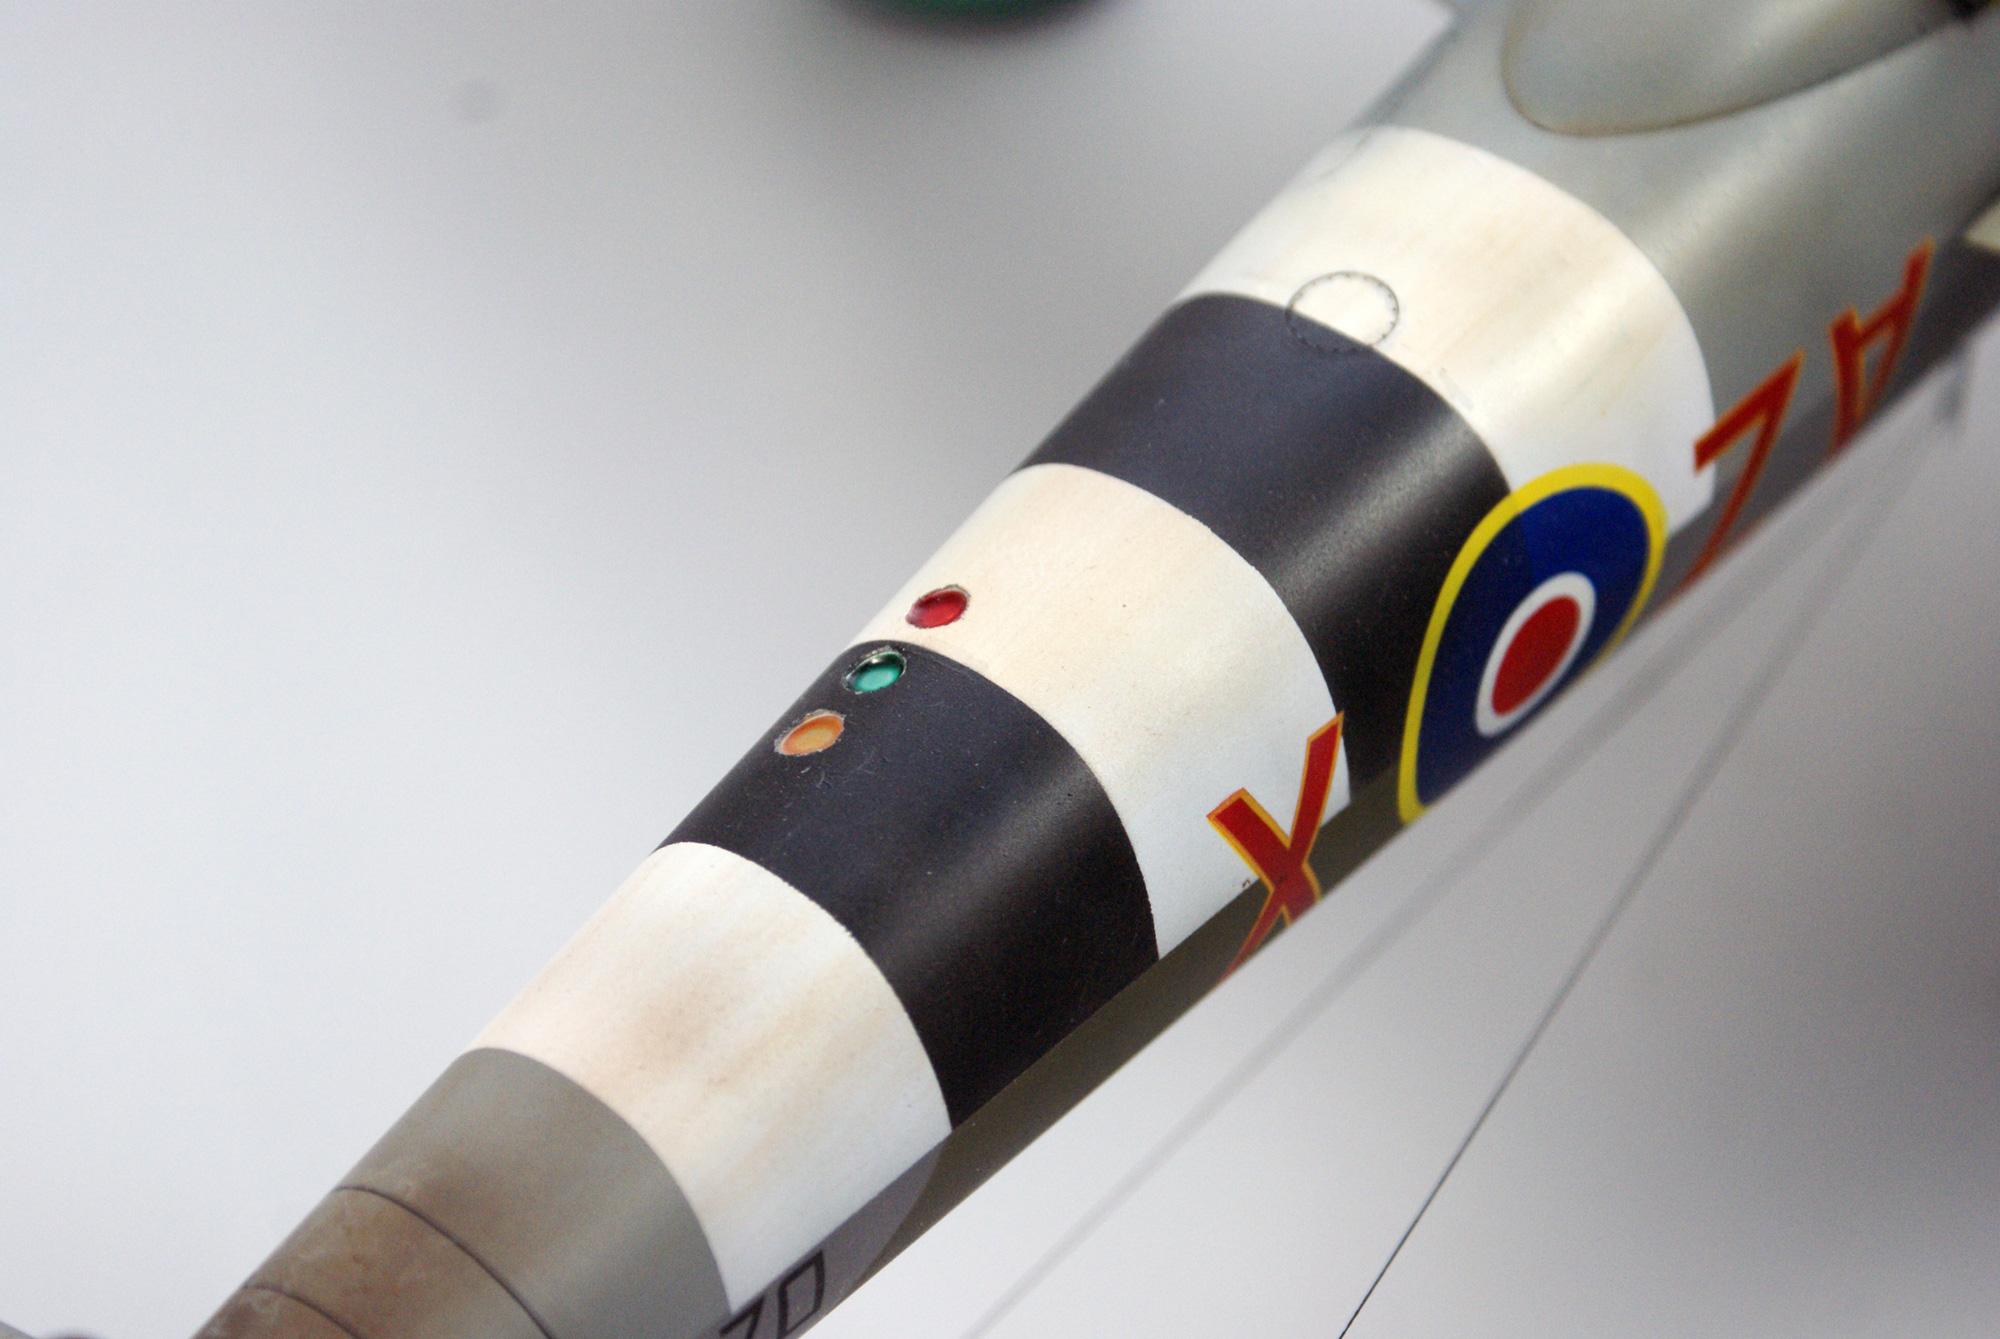
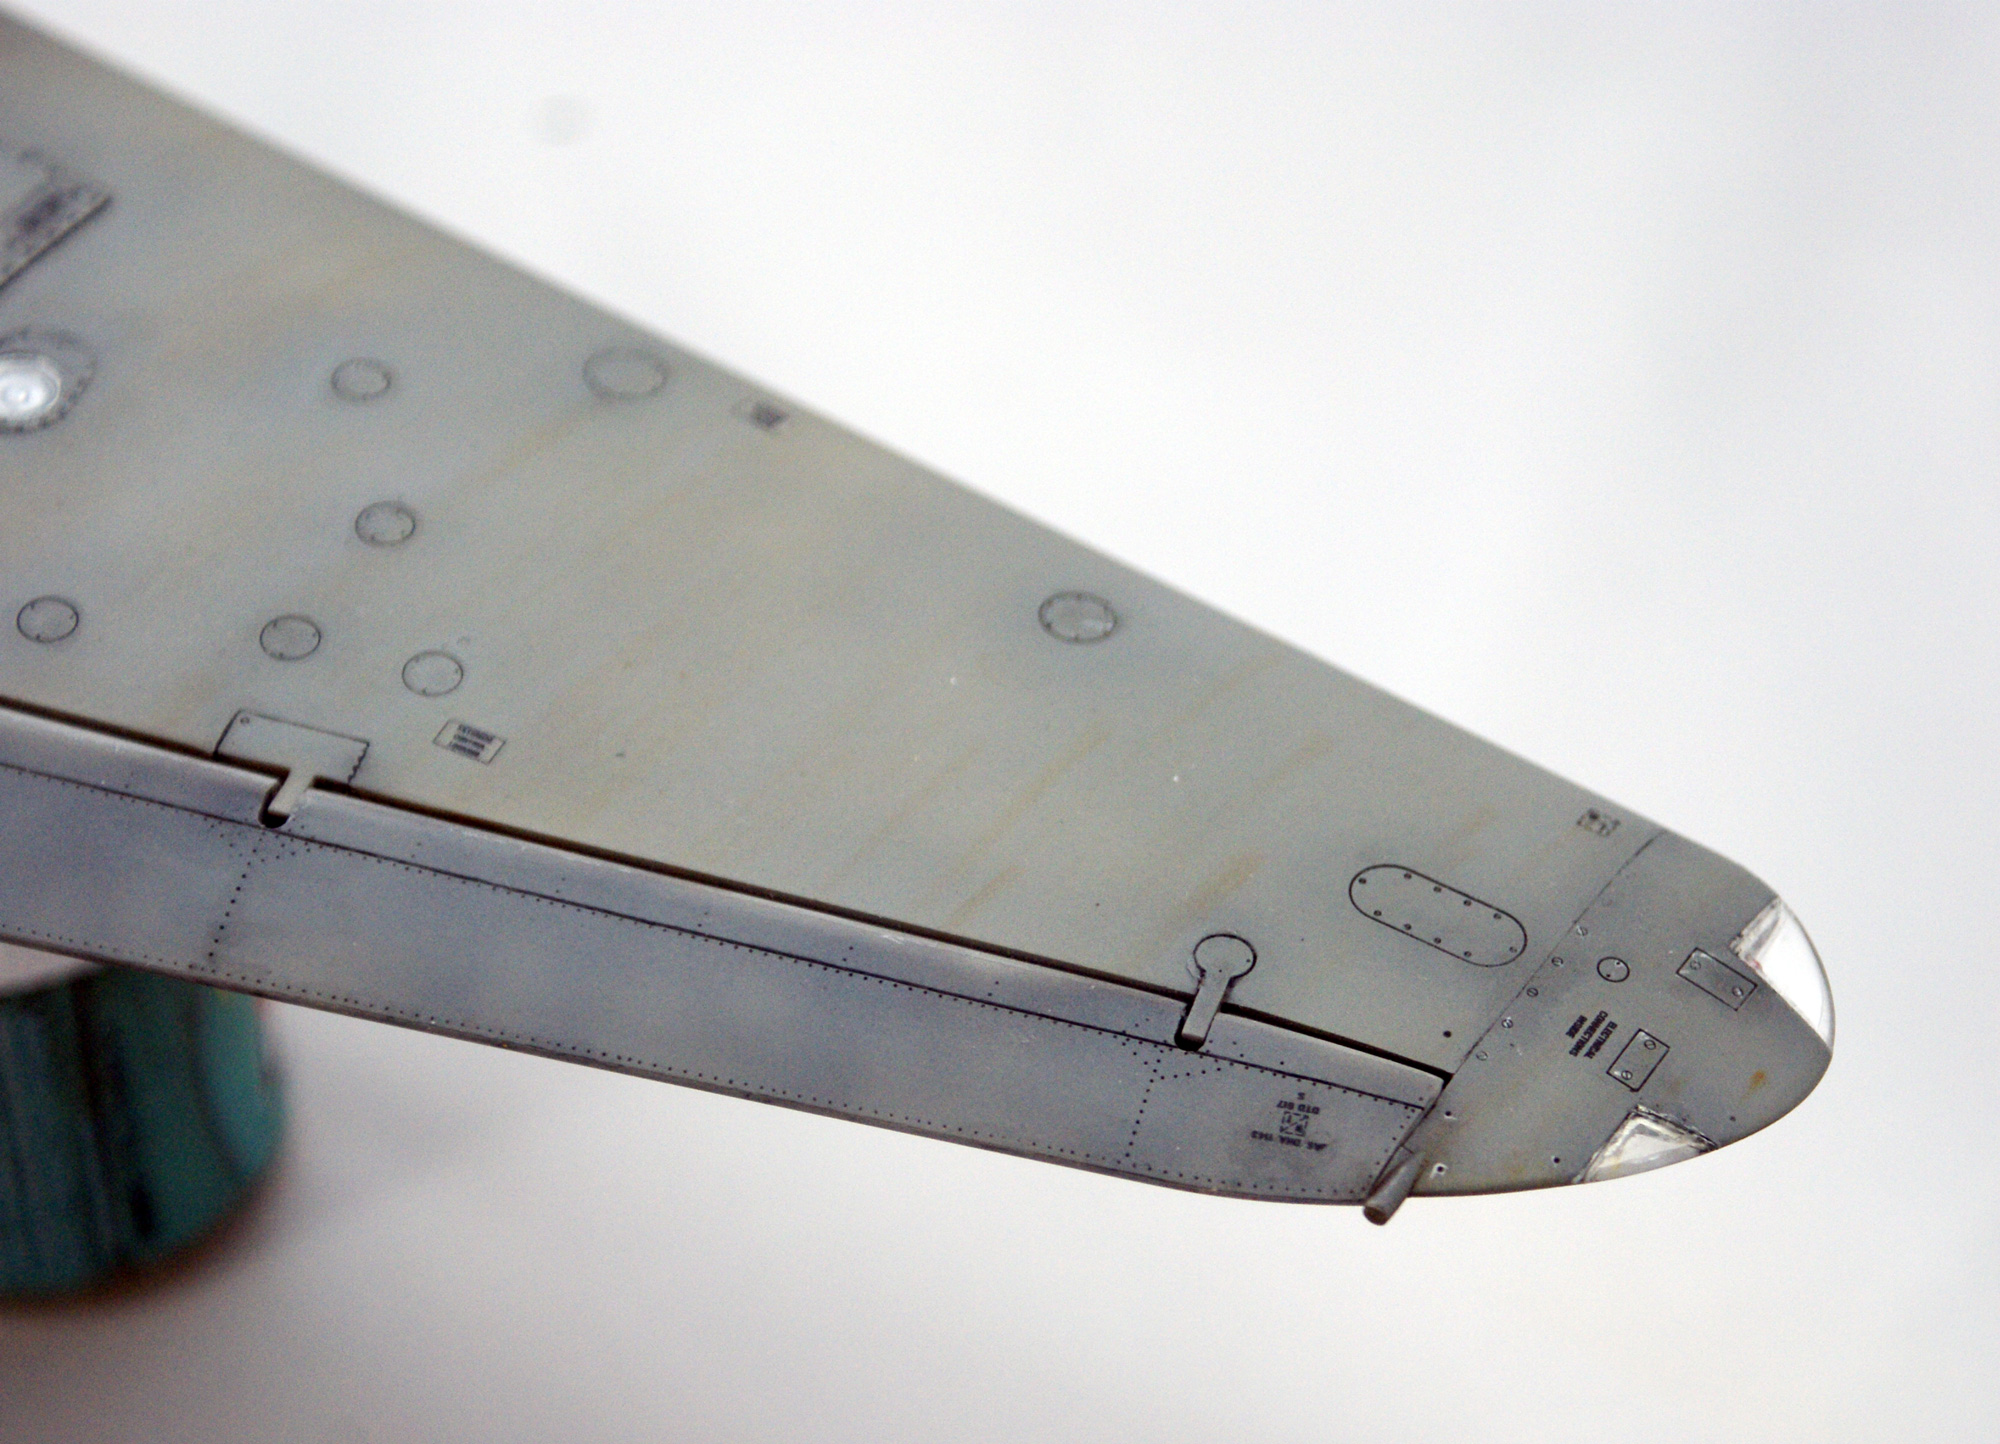
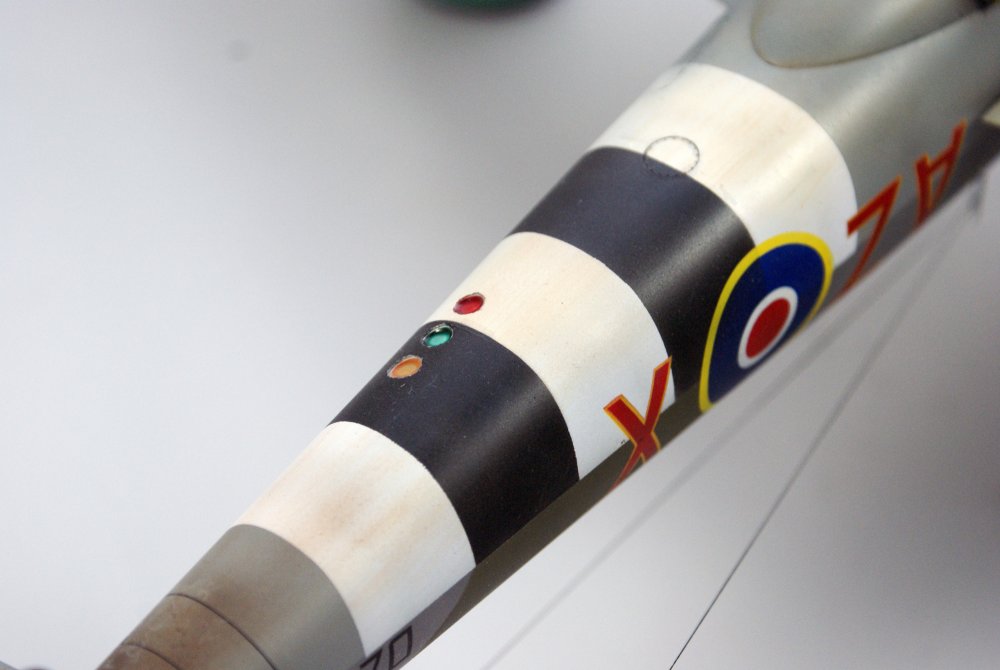
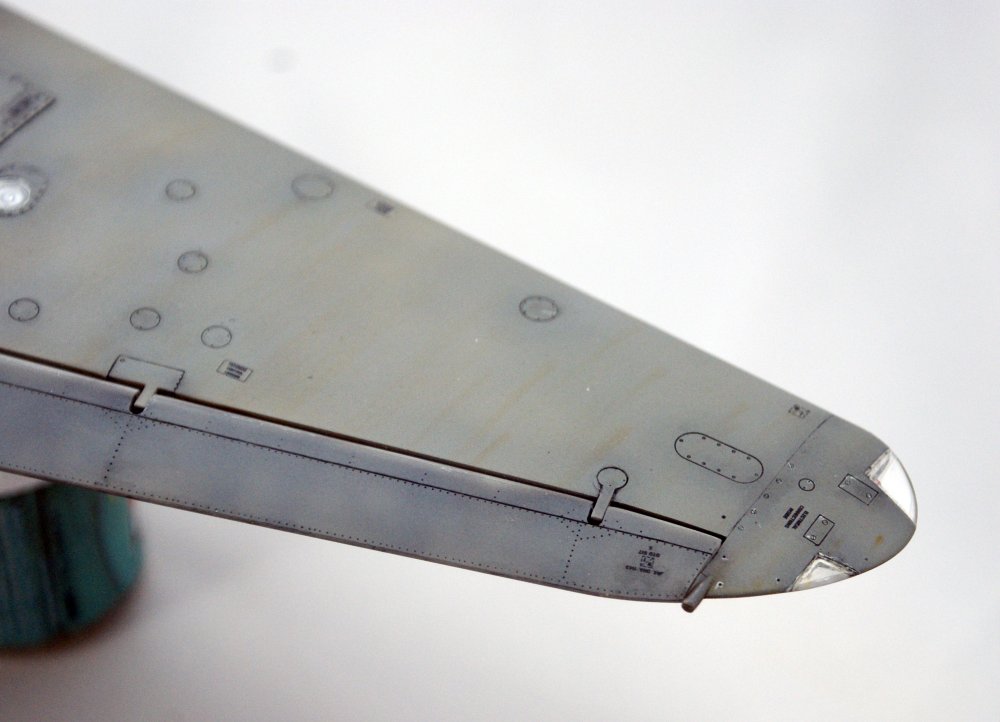
Cheers guys! Sprayed a matt coat and am adding scratches. Grey scratches on wooden areas (these were covered in several layers of paint) and silver (on metal areas). Taking off masks with a wooden pick now.. -
Superb kit. Great subject. Good luck. Keep us posted!
-
1/32 Revell De Havilland Mosquito Mk.lV
JeroenPeters replied to RalphSarc's topic in LSM 1/35 and Larger Work In Progress
Got it! http://forum.largescalemodeller.com/topic/3612-de-havilland-mosquito-132-revell/?hl=%2Brevell+%2Bmosquito -
1/32 Revell De Havilland Mosquito Mk.lV
JeroenPeters replied to RalphSarc's topic in LSM 1/35 and Larger Work In Progress
Check somewhere on this forum for a very well done result of this kit. In finished works.. -
Ju-88C-2 "4D+FH" in pieces
JeroenPeters replied to JeroenPeters's topic in LSM 1/35 and Larger Work In Progress
Hi Guys, Here's the forward jig 3D printed. This time in white flexible Polished plastic. Waaaaaaay better than the plain white flexible it had the read jig printed in. -
Listen. I want you to grab that sucker and hold it in your hand. I wanna see how big it is. Do it now.
-
HK Models 1/32 HK Models Mosquito B Mk.IV
JeroenPeters replied to JeroenPeters's topic in LSM 1/35 and Larger Work In Progress
Hi Nick, I only use Gunze Mr Hobby Acrylics. The roundel colors I'll check up later today. @ Erik: I didnt have the decals for this kit and that was the reason for me to get this set. I am certain however that it is FAR more extensive than the HK decals. They're great and for 11 euro's a pop worth the expense in my opinion. Cheers, Jeroen -
Well captain Kirk... now it looks like the bridge of Starship Enterprise!
-
HK Models 1/32 HK Models Mosquito B Mk.IV
JeroenPeters replied to JeroenPeters's topic in LSM 1/35 and Larger Work In Progress
Yup. Yellow. Light greens and burnt sienna. -
Oh boy! Give me 15 minutes in there to make it look like a proper cave! Note to self: Clean up man cave...