JeroenPeters
-
Posts
4,867 -
Joined
-
Last visited
Content Type
Profiles
Forums
Events
Gallery
Everything posted by JeroenPeters
-

1/48 Wellington Mk.X (He727 NA-K)
JeroenPeters replied to JeroenPeters's topic in LSM 1/35 and Larger Work In Progress
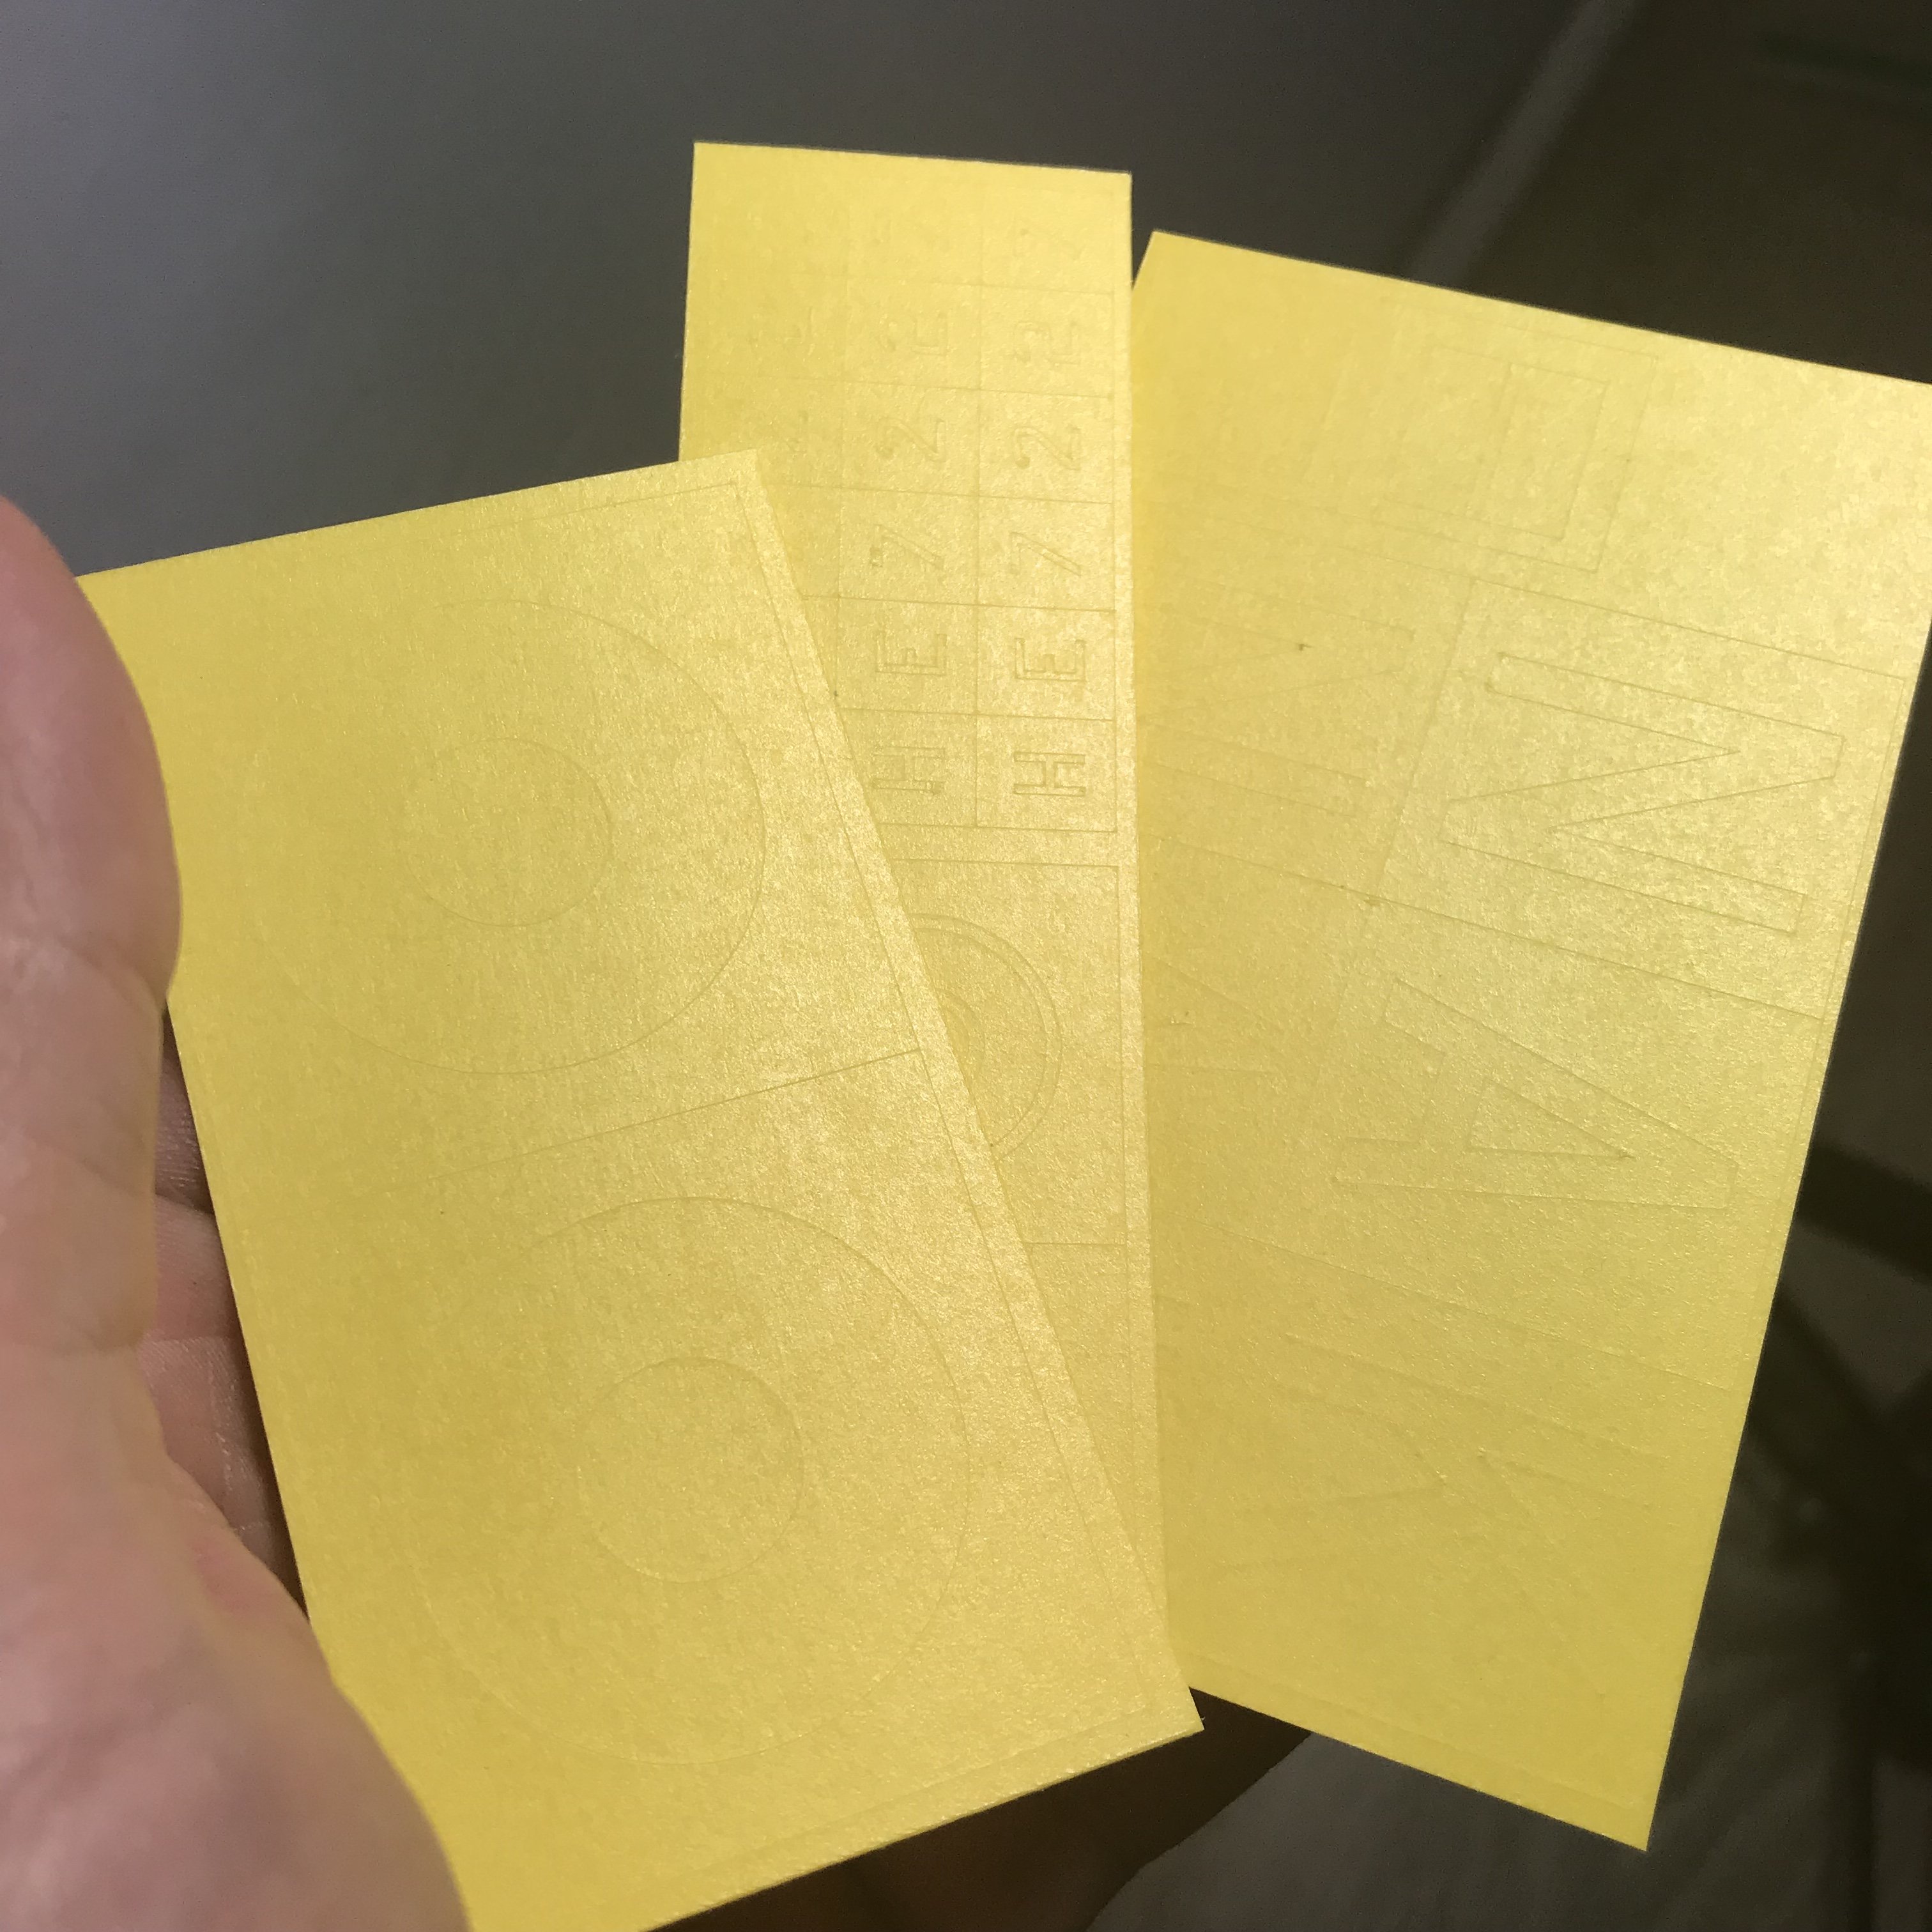
Masks arrived! cut by Maketar:
- 304 replies
-
- 3
-

-
- wilnis crash
- trumpeter
- (and 1 more)
-
Much appreciated sir!
-
No Andy. You do NOT get to set any record straight on LSM. If there's a quarrel or a squirrel (in this case) I am the one that sets records straight. As i said before: people are allowed to blow of some steam and things were just about to cool down when Kevin posted his side of things. So I talked to Kevin and our new friends over here and asked everyone to cool down. Now, far into Squirrel season, you think you can come over here to set a record straight. I'm not picking any sides, only setting boundaries to avoid things spiraling out of control like they did on LSP. If you have something to say you can send me a PM. And now, again, I only want to see squirrels under this post and great builds in the build section!
-
Hi PlasticDoc, Welcome to LSM! Invisible to you and many others are the conversations I had behind the scenes with most ex-lsp members and Kevin from LSP. I told everyone the same: Get it of your chest once and let it be. I won't close down any topics or block members without good reason. This topic so far is not getting out of hand. As long as i see more pics of squirrels than jabs, I'm fine with it. Even Kevin got to say his bit. Your opinion is well laid out and duly noted. As you I hope to see the build section flourish and this topic gather dust!
-
1/48 Wellington Mk.X (He727 NA-K)
JeroenPeters replied to JeroenPeters's topic in LSM 1/35 and Larger Work In Progress
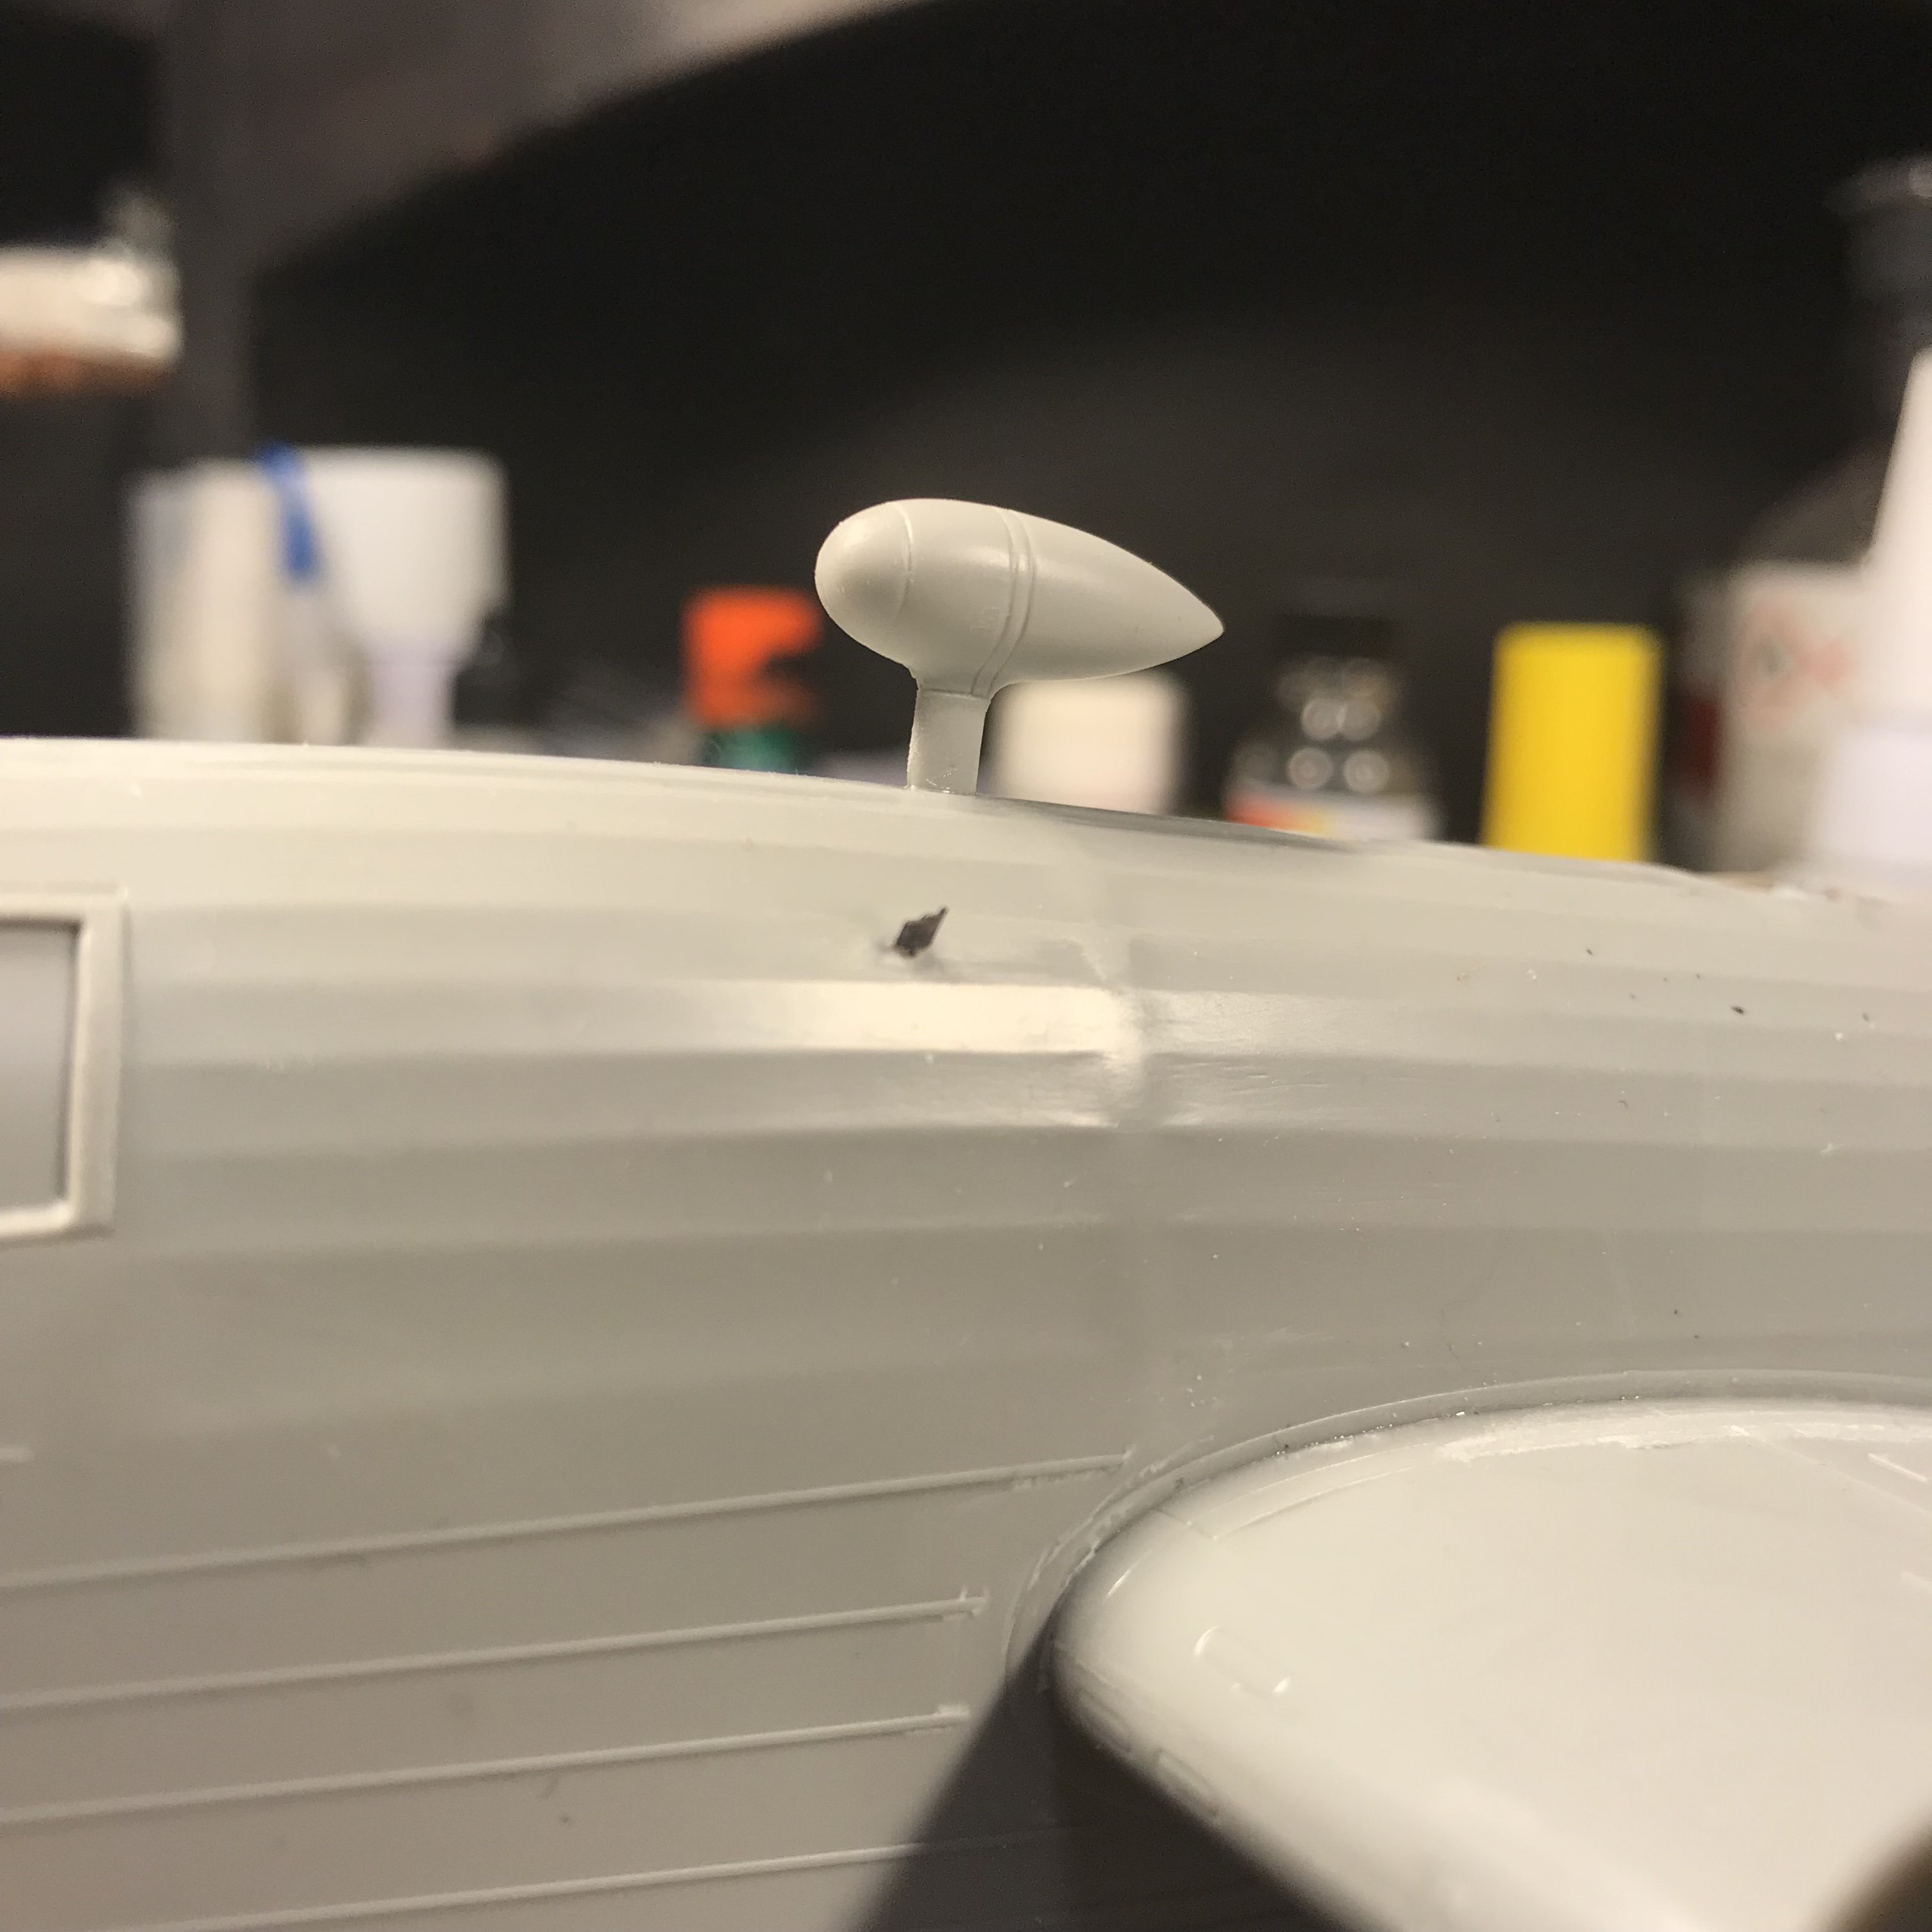
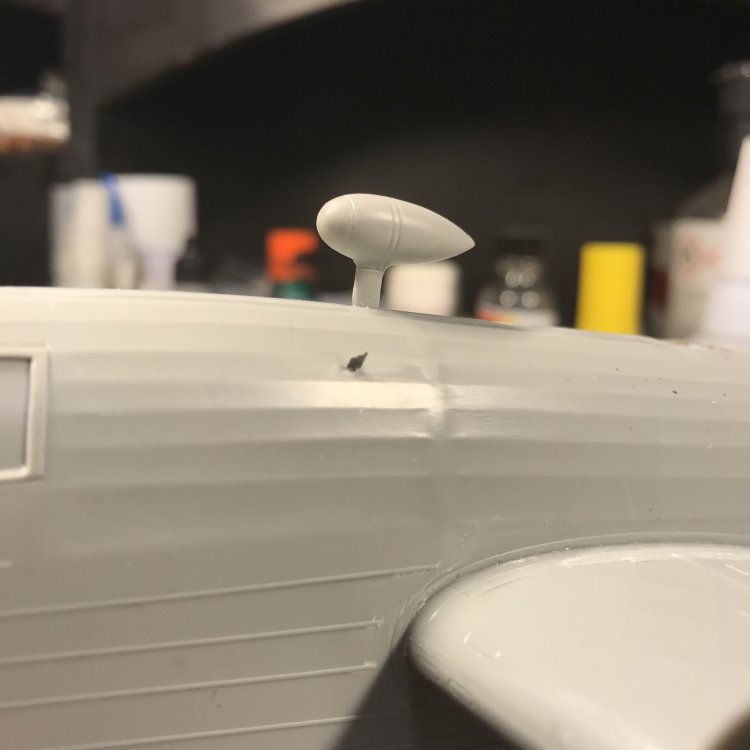
Working on small exterior details now. I’d rather put them on after the camo painting but it will be hard to blend them in afterwards. Also bought the vac form canopy so i can cut and use the roof windows that will be posed open.
- 304 replies
-
- 5
-
-
- wilnis crash
- trumpeter
- (and 1 more)
-
Hot damn! HPH or Combat Models? That looks like Vacform. Great work so far. Love the shape of this plane.
-
Oh wow!! Amazing work on the ground support!
-
What a menacing looking beast... love the research you’re putoing into it!
-
1/48 Wellington Mk.X (He727 NA-K)
JeroenPeters replied to JeroenPeters's topic in LSM 1/35 and Larger Work In Progress
LMFAO!- 304 replies
-
- 2
-
-
- wilnis crash
- trumpeter
- (and 1 more)
-
1/48 Wellington Mk.X (He727 NA-K)
JeroenPeters replied to JeroenPeters's topic in LSM 1/35 and Larger Work In Progress
Wings are on!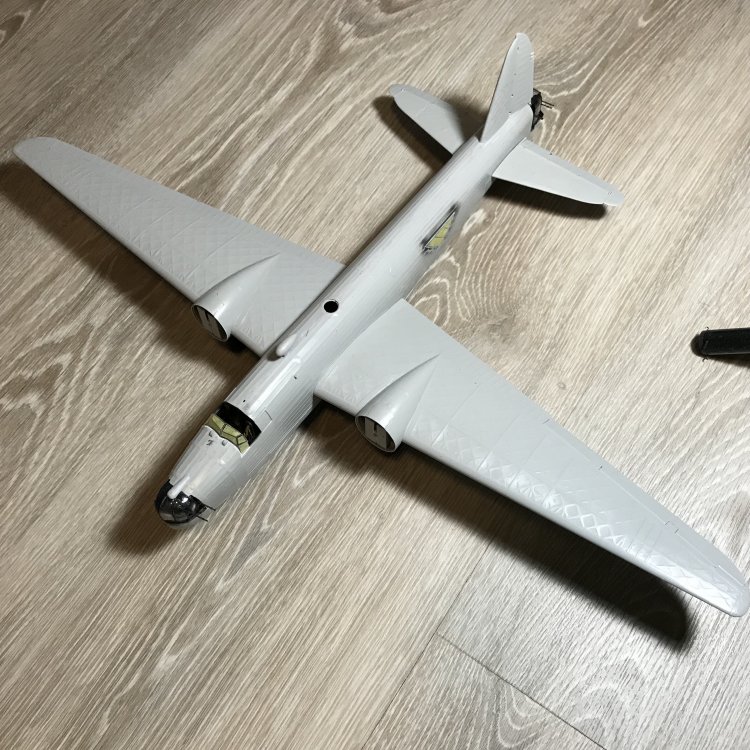
- 304 replies
-
- 8
-
-
- wilnis crash
- trumpeter
- (and 1 more)
-
1/48 Wellington Mk.X (He727 NA-K)
JeroenPeters replied to JeroenPeters's topic in LSM 1/35 and Larger Work In Progress
That's pretty cool Michael, and of course you're right... At least I've made an 'educated' guess- 304 replies
-
- 1
-
-
- wilnis crash
- trumpeter
- (and 1 more)
-
Wow! I’d go with friul too... i love the weight they add Loving this.
-
Roden L-19 Bird Dog
JeroenPeters replied to williamj's topic in LSM 1/35 and Larger Work In Progress
You are aware that you dont need imageshack and can just upload your pics directly to the forum? -
Roden L-19 Bird Dog
JeroenPeters replied to williamj's topic in LSM 1/35 and Larger Work In Progress
Damn... thats really sweet.. -
1/48 Wellington Mk.X (He727 NA-K)
JeroenPeters replied to JeroenPeters's topic in LSM 1/35 and Larger Work In Progress
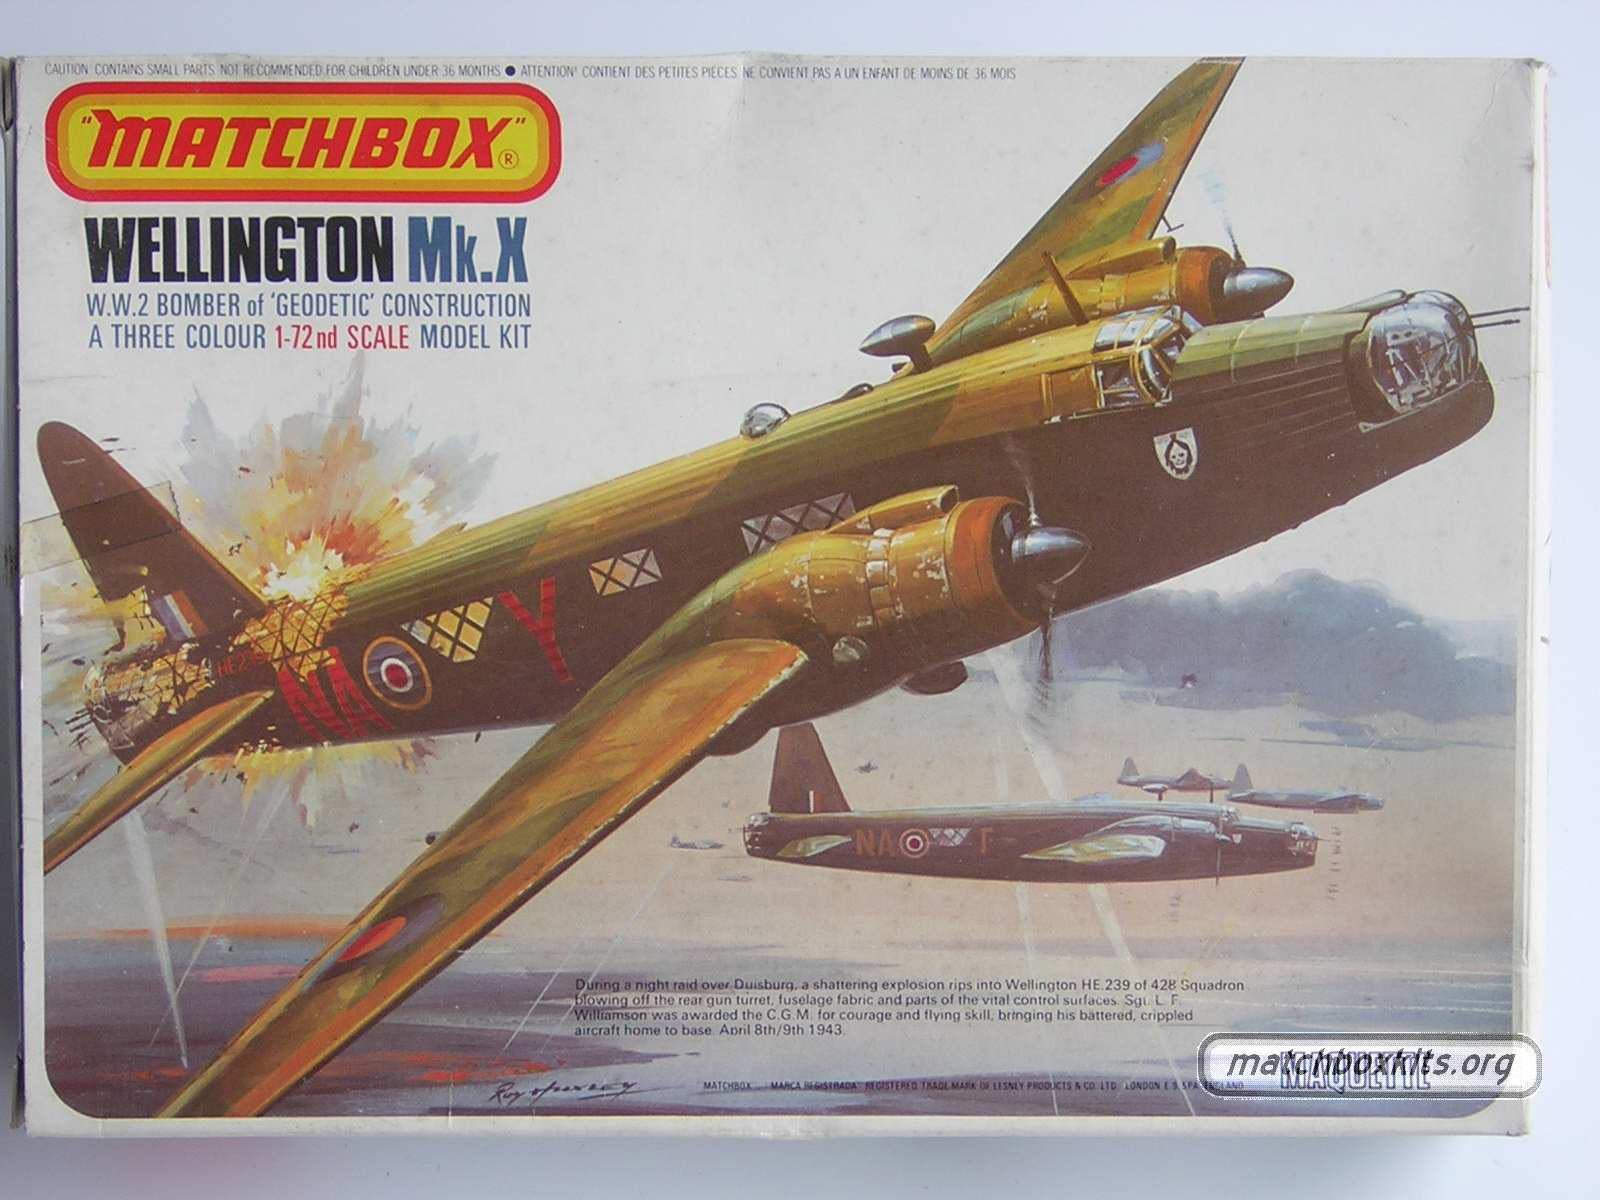
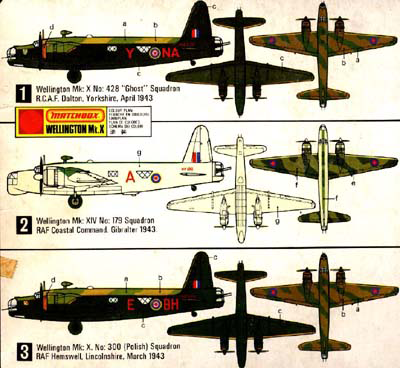
Thnx guys, Trying to piece together the codes, colours and schemes for this plane, since no photo's of it are known. At least not to me. The closest I can get is a photo of a Wimpy from the same Ghost squadron which is famous for getting it's tail blown half off. Matchbox did a kit on this. They seem to have gotten the left profile wrong (judging from the photo that I have of this plane, the NA-Y). Thing I do dare to go by is the right profile, which is also featured on the box art and the ghost squadron badge on the nose. I will order masks from Maketar. This is the colorised photo: This is the WRONG Matchbox interpretation: And this is the box art: And here's an article I found: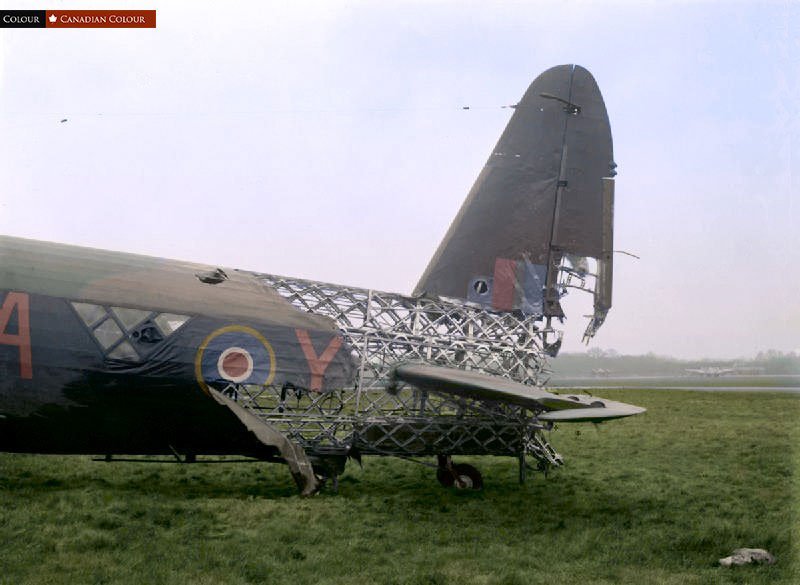

- 304 replies
-
- 5
-
-
- wilnis crash
- trumpeter
- (and 1 more)
-
1/48 Wellington Mk.X (He727 NA-K)
JeroenPeters replied to JeroenPeters's topic in LSM 1/35 and Larger Work In Progress
just some spit. That should do it! (Just the mating surfaces indeed.)- 304 replies
-
- 2
-
-
- wilnis crash
- trumpeter
- (and 1 more)
-
I started work oh the HK models banner for the stall today. Should be epic.
-
1/48 Wellington Mk.X (He727 NA-K)
JeroenPeters replied to JeroenPeters's topic in LSM 1/35 and Larger Work In Progress
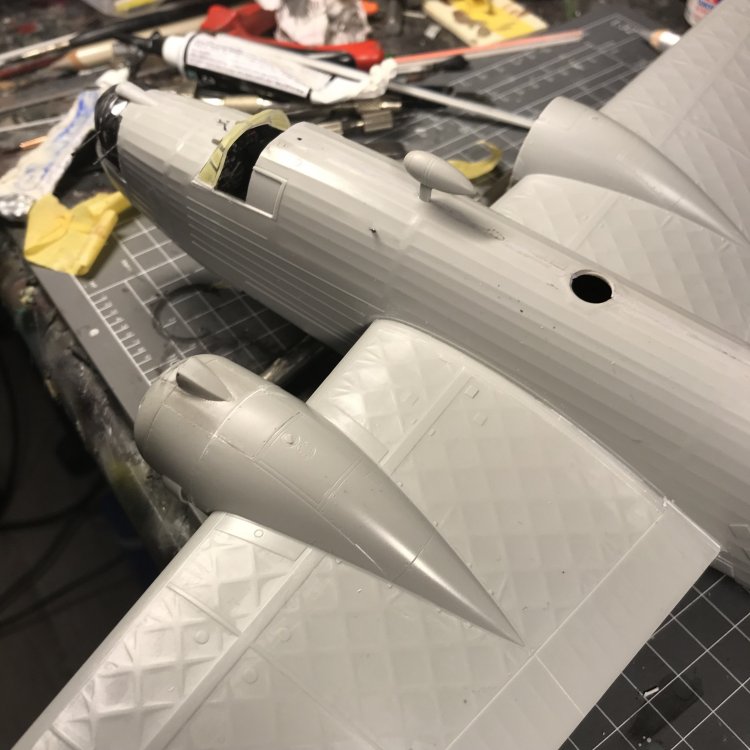
Getting there! Snipped of sone parts of the connecting blocks so i can position the wings in the right angle. Some more photo etch to go on the rudder and wings. Then aaaalmost time for paint. Only need to order masks to make the NAK. And spray the roundels ofcourse. No decals will be used.

- 304 replies
-
- 5
-
-
- wilnis crash
- trumpeter
- (and 1 more)
-
Wingnut Wings Felixstowe
JeroenPeters replied to Clunkmeister's topic in LSM 1/32 and Larger Aircraft Ready for Inspection
That's pretty impressive! -
Really cool! That was pretty easy right?
-
Newbie here, saying hello to old friends ...
JeroenPeters replied to HubertB's topic in General Discussion
Hi Hubert! Ofcourse I remember you from LSP. You'll find that posting pics here is a breeze as you don't need something like Photobucket and can directly post your pics to the forum. Enjoy your stay and Welcome to LSM!! -
Hi guys, last night i had several conversations with Ernie, Harv and Kevin behind the scenes. I am not about to lock this topic down. That’s a measure we’ve almost never had to resort to on LSM. I saw this topic and reactions coming a mile away and am happy to see squirrels so soon down the page. if there are any issues: please pm me. I’m in contact with almost all of you i believe. Have a great day!
-
Ok. Everyone got to vent. Let's leave it at this. Now go sniff some glue and be jolly
-
Ok guys. Let's agree to disagree and move on. I'm not going to lock any topics. Let's just keep the area under my post empty. That would be peachy!
-
Outstanding. That figure just makes the whole scene come to life.