JeroenPeters
-
Posts
4,867 -
Joined
-
Last visited
Content Type
Profiles
Forums
Events
Gallery
Everything posted by JeroenPeters
-

Takom 1/35 V2 Rocket
JeroenPeters replied to JeroenPeters's topic in LSM 1/35 and Larger Work In Progress
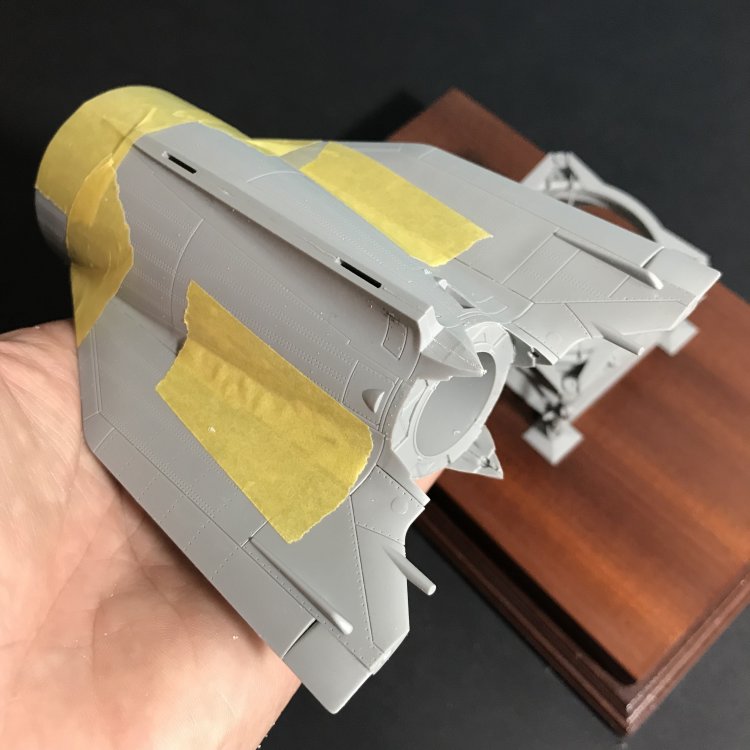
Had some trouble closing the main body. One side was a bit out of shape and needed some force to get in line. started adding oil canning to the body and wings. This can clearly be seen in a lot of photos. Not caused by air pressure ofcourse but by the internal frame and probably poor aluminium work. This will take some work....
-
Airfix 1/24 Bubble top Typhoon
JeroenPeters replied to Grizly's topic in LSM 1/32 and Larger Aircraft Ready for Inspection
Lovely! -
Takom 1/35 V2 Rocket
JeroenPeters replied to JeroenPeters's topic in LSM 1/35 and Larger Work In Progress
Slowly building it up.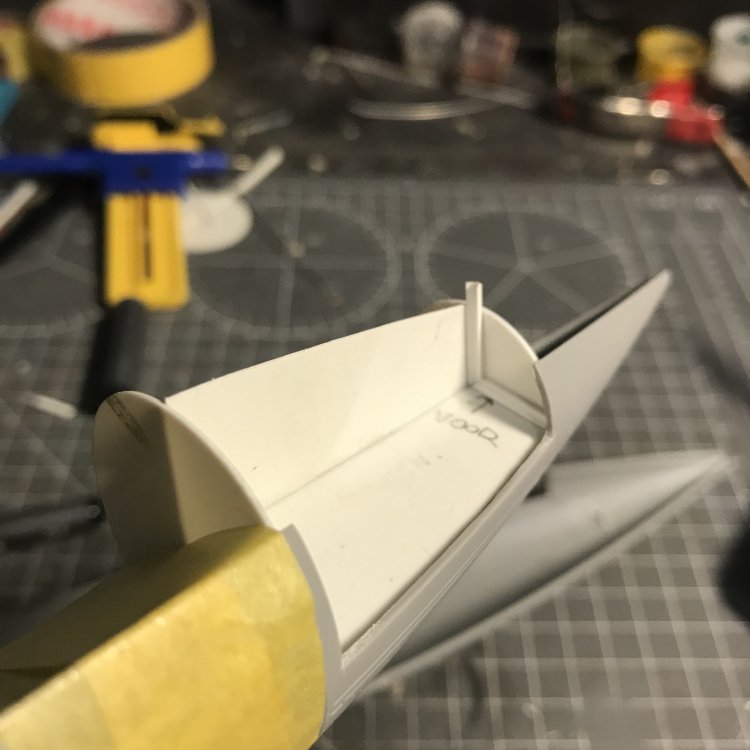
-
Hasegawa 1/32 Ju 87D-3, "T6+CT"
JeroenPeters replied to Mikester's topic in LSM 1/35 and Larger Work In Progress
This is one kit i always wanted to build. Following this!! -
Takom 1/35 V2 Rocket
JeroenPeters replied to JeroenPeters's topic in LSM 1/35 and Larger Work In Progress
Started scratching the insides.
-
1/32 Fly Hurricane Mk.IIc
JeroenPeters replied to Ryan's topic in LSM 1/35 and Larger Work In Progress
Lovely. Got a couple in the stash and this will serve as a proper guide! -
Takom 1/35 V2 Rocket
JeroenPeters replied to JeroenPeters's topic in LSM 1/35 and Larger Work In Progress
I would think so. There’s an aluminium internal frame that should have created the needed strength. -
Takom 1/35 V2 Rocket
JeroenPeters replied to JeroenPeters's topic in LSM 1/35 and Larger Work In Progress
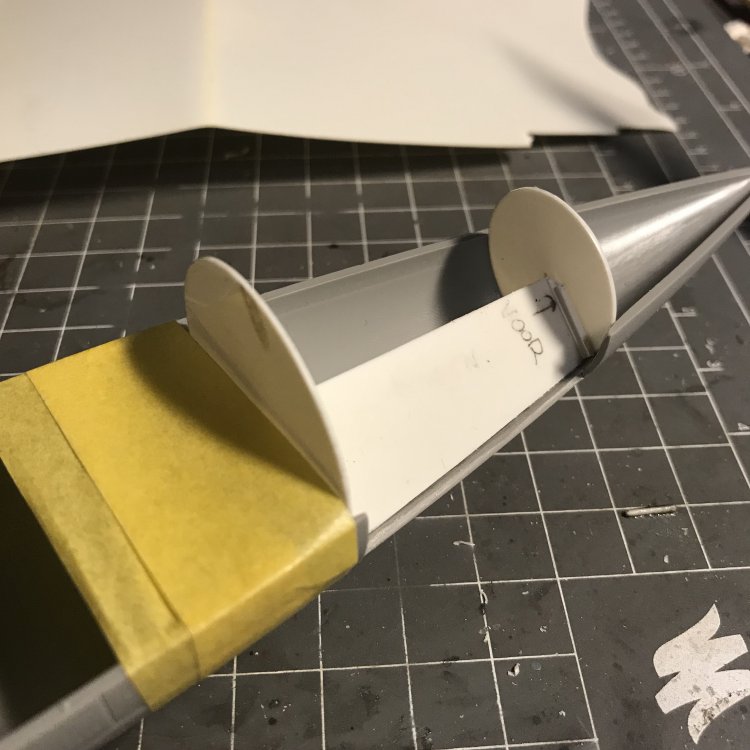
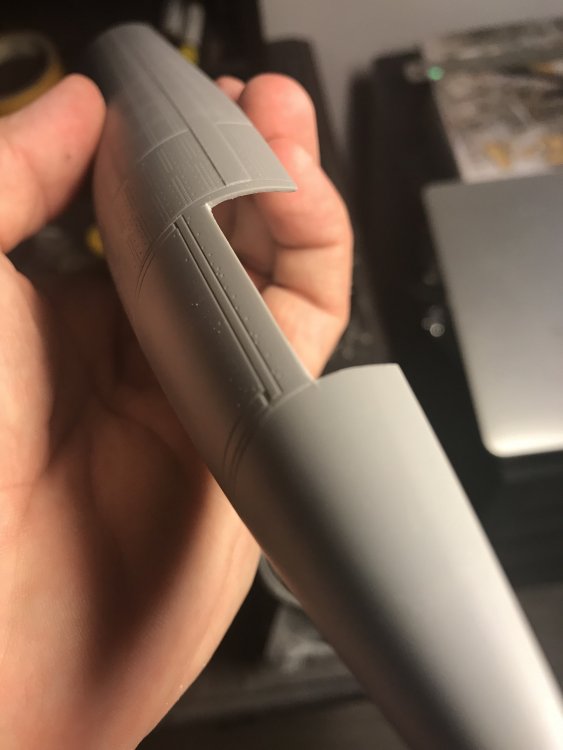
No way back. Cut out the panels and thinned the edgesz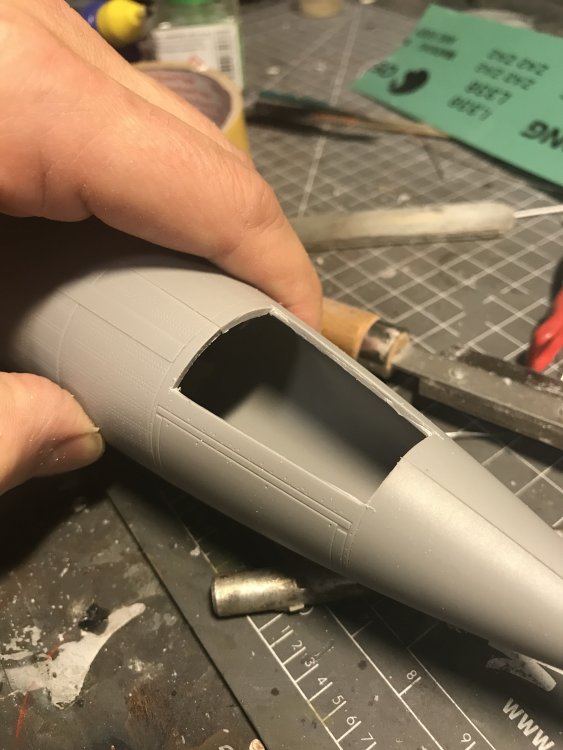

-
Takom 1/35 V2 Rocket
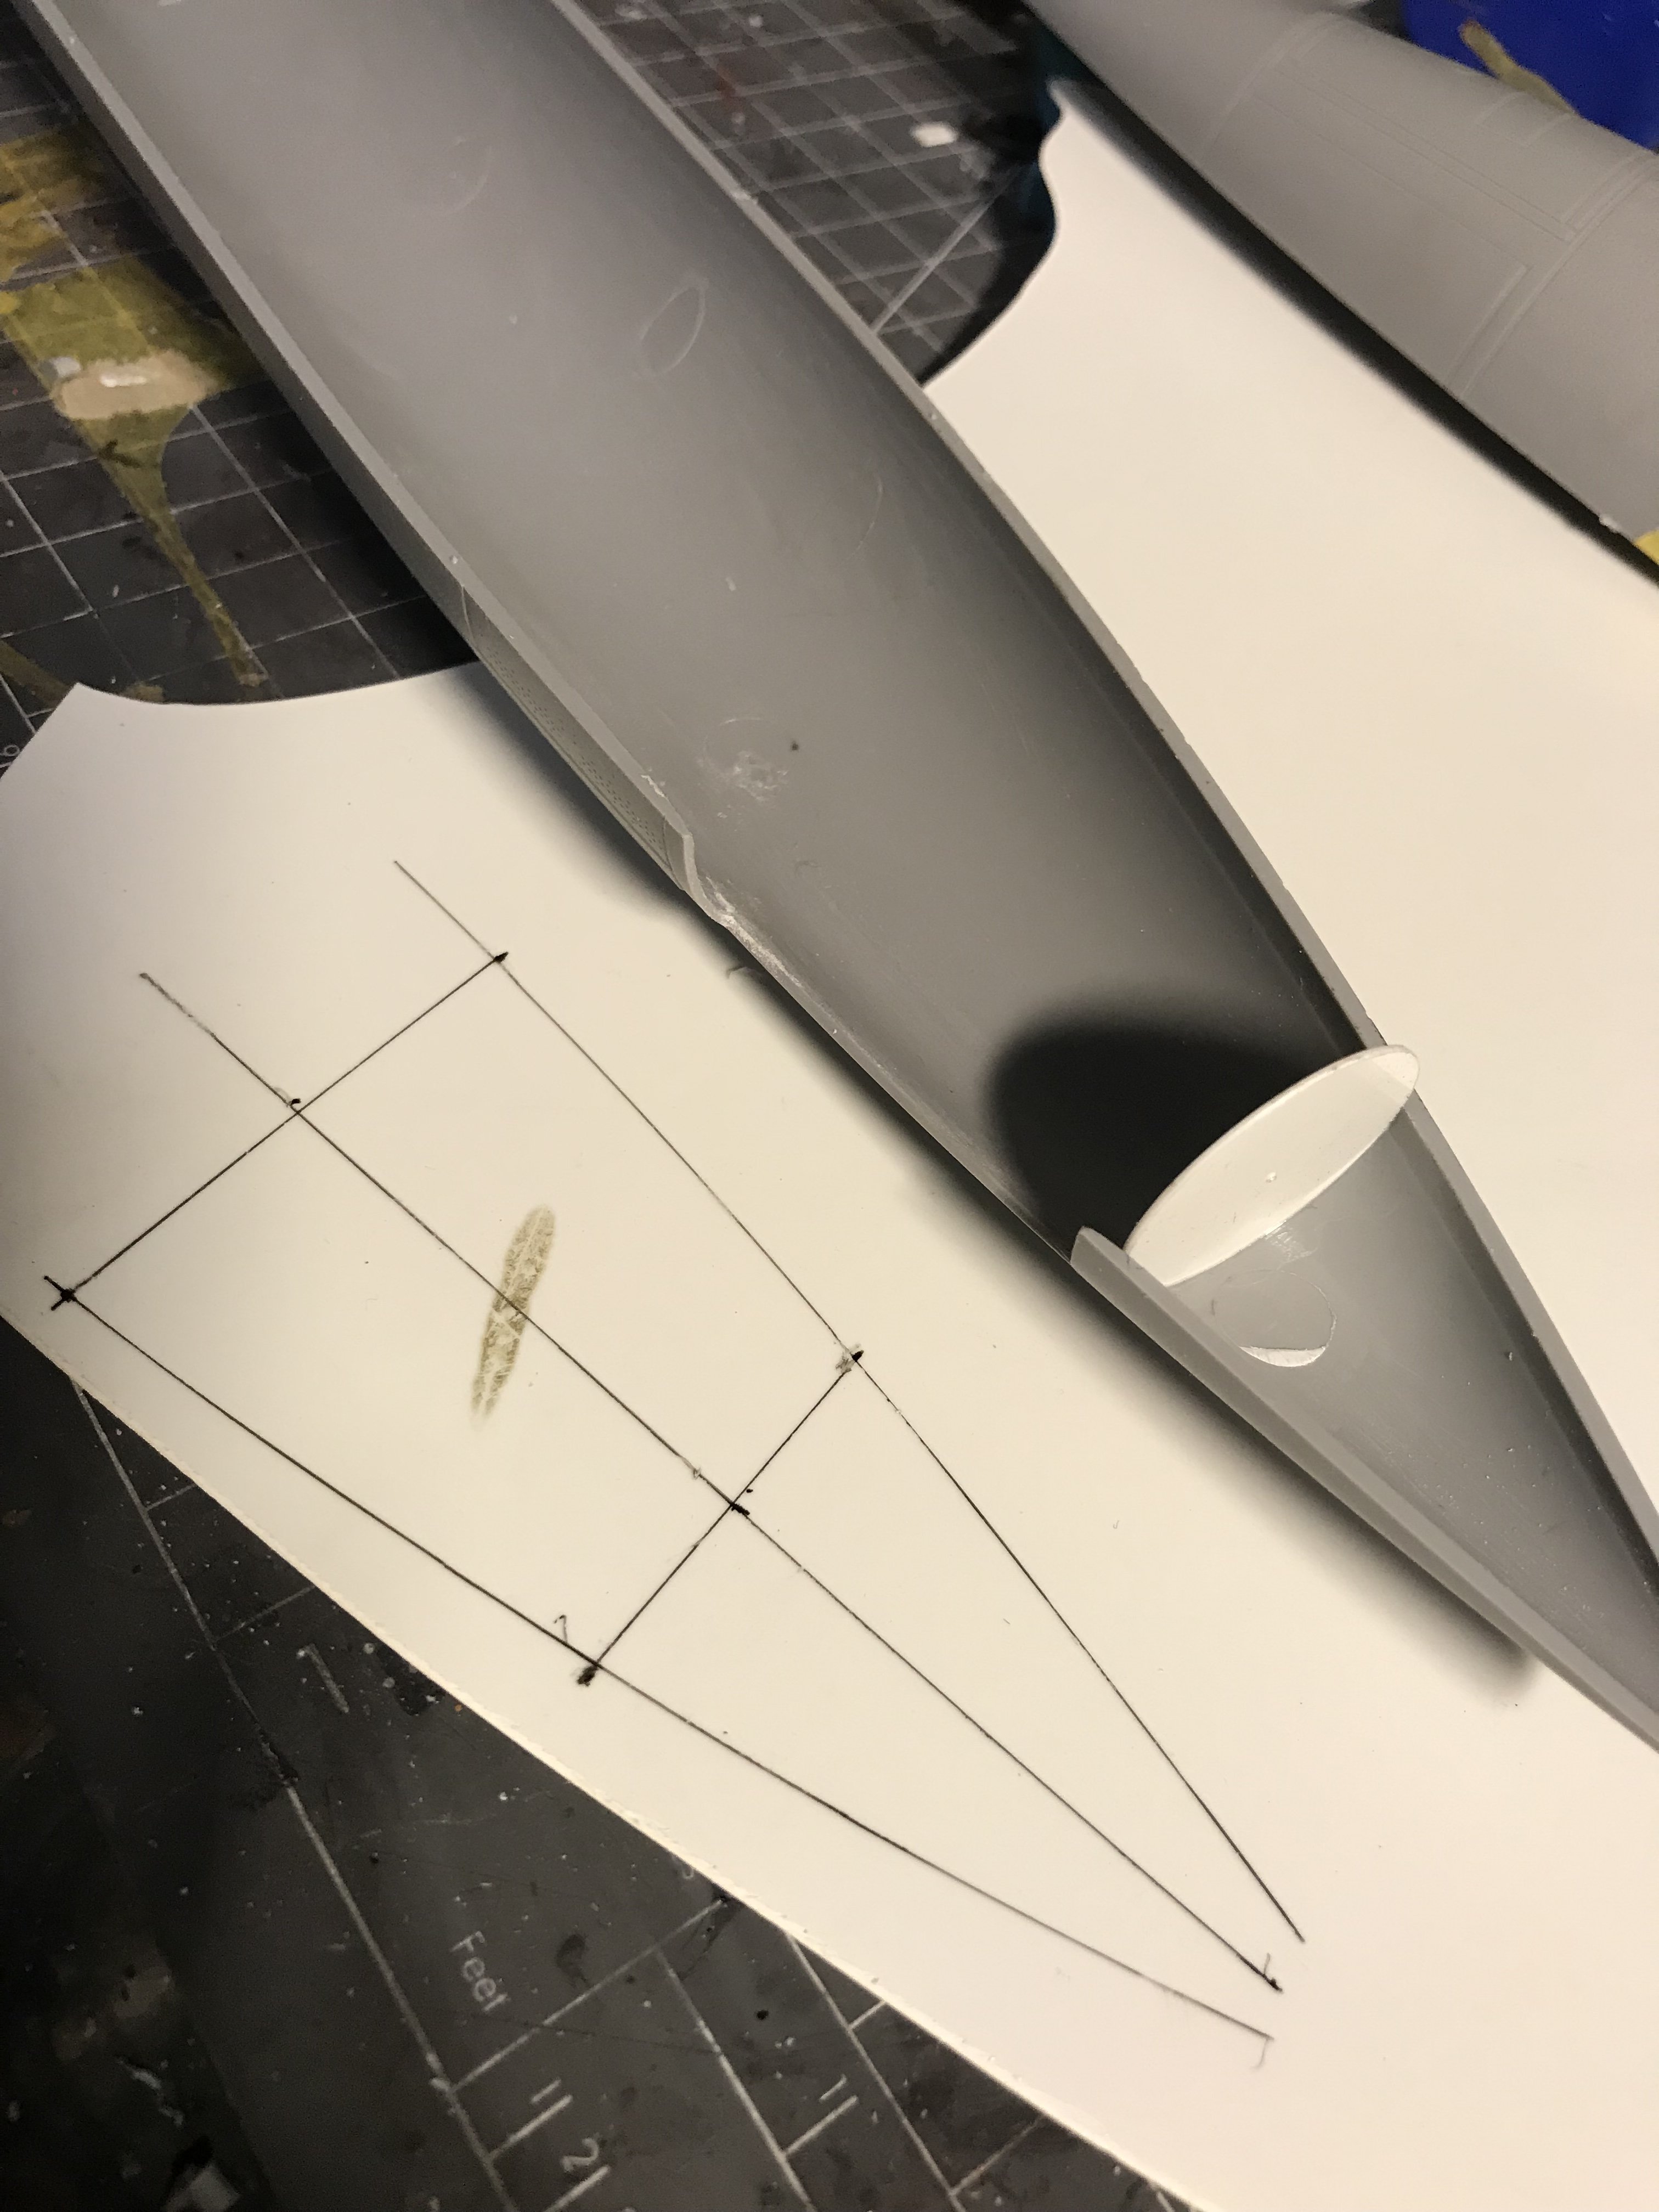
JeroenPeters replied to JeroenPeters's topic in LSM 1/35 and Larger Work In Progress
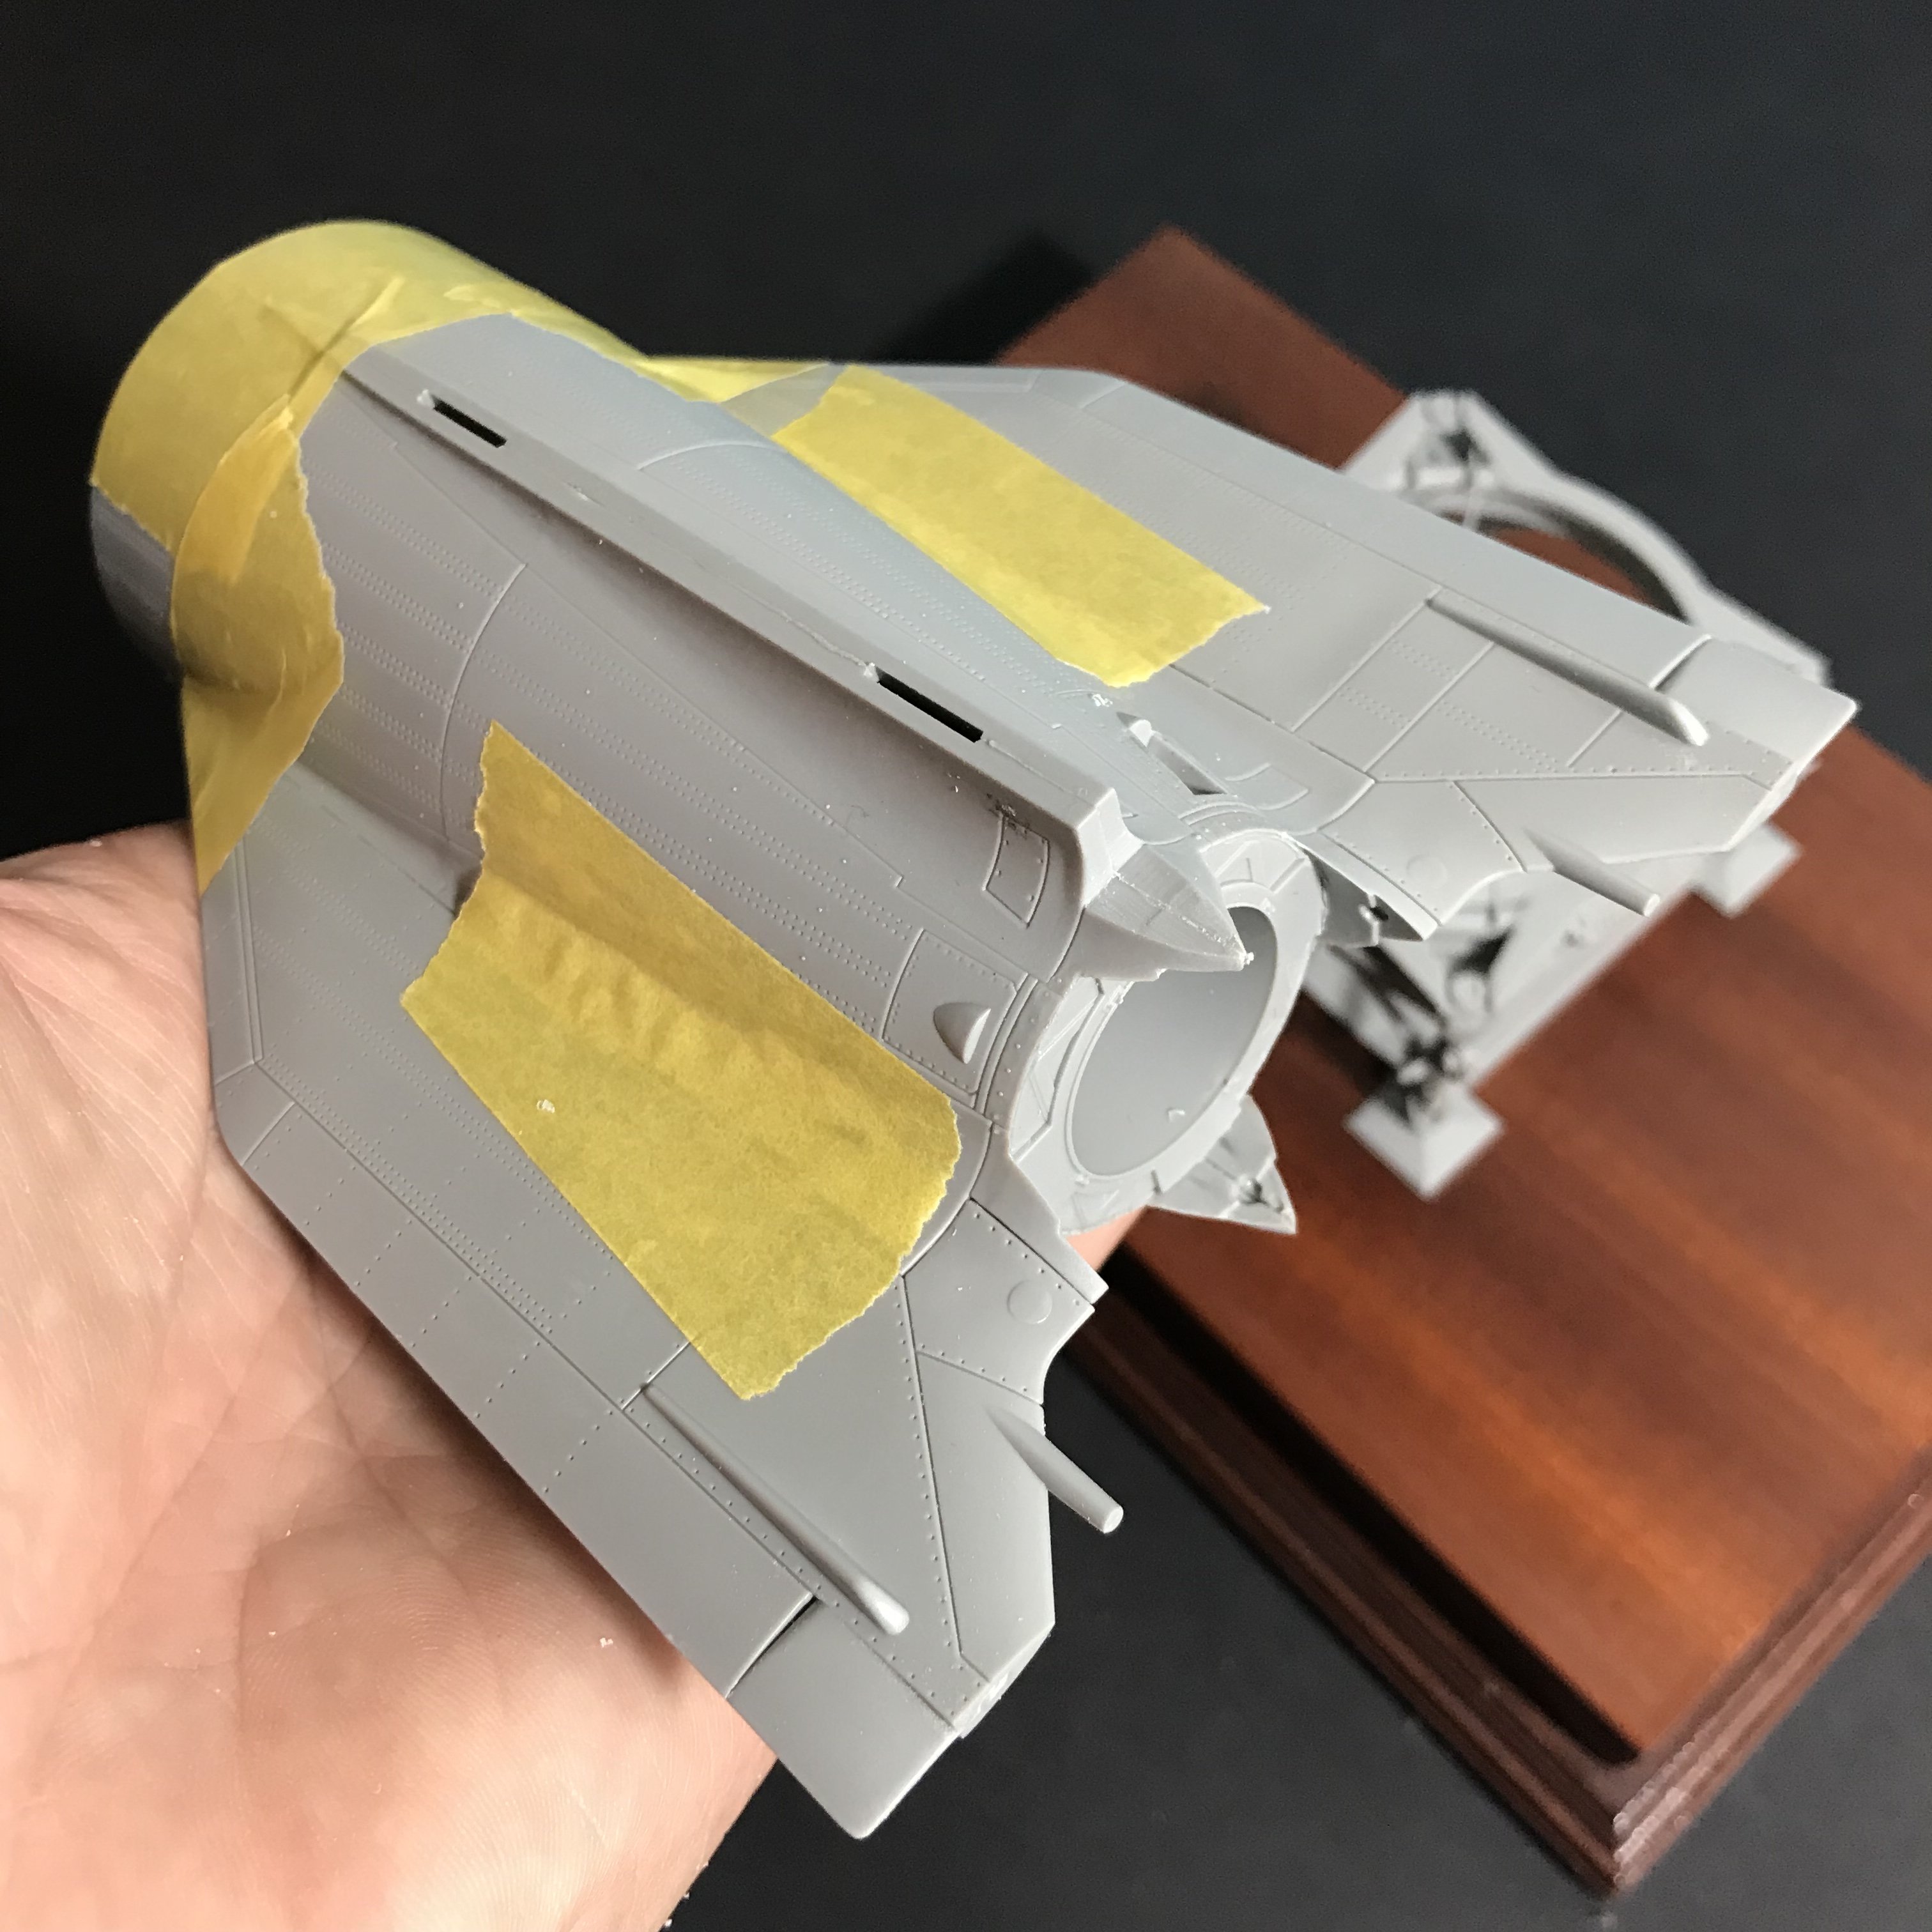
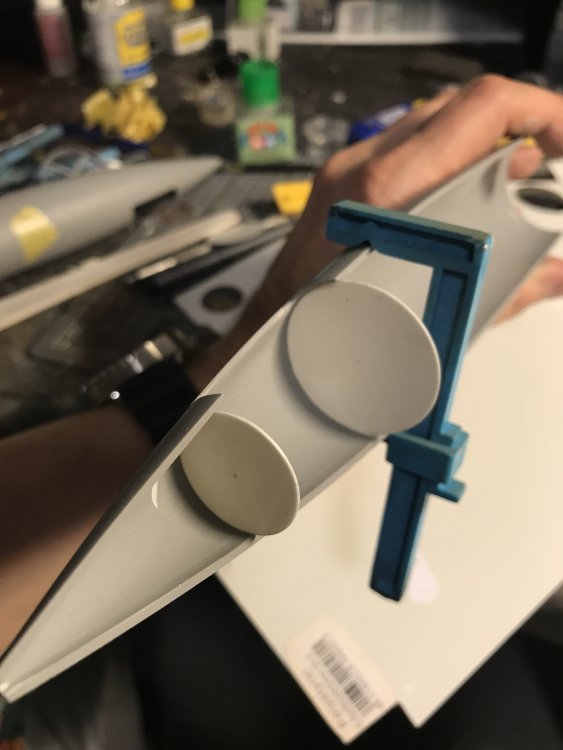
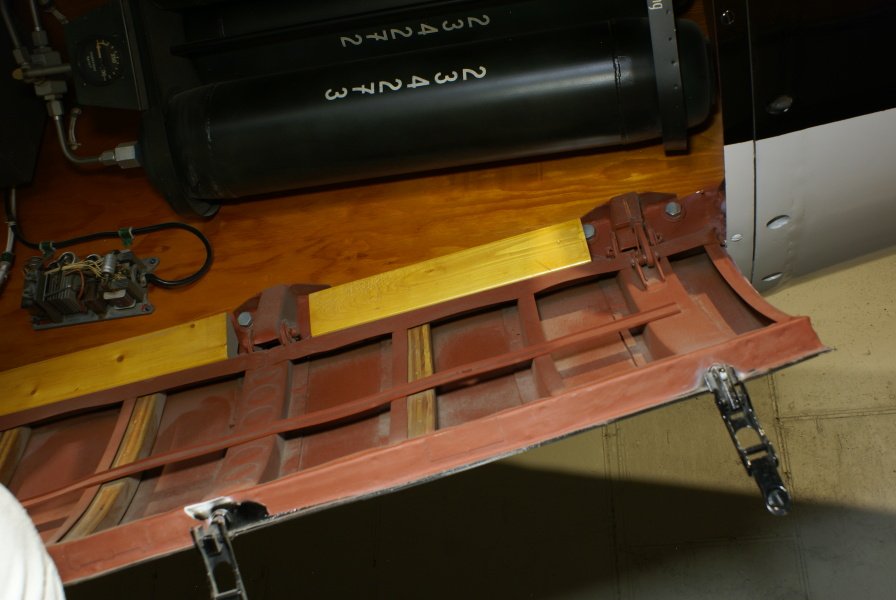
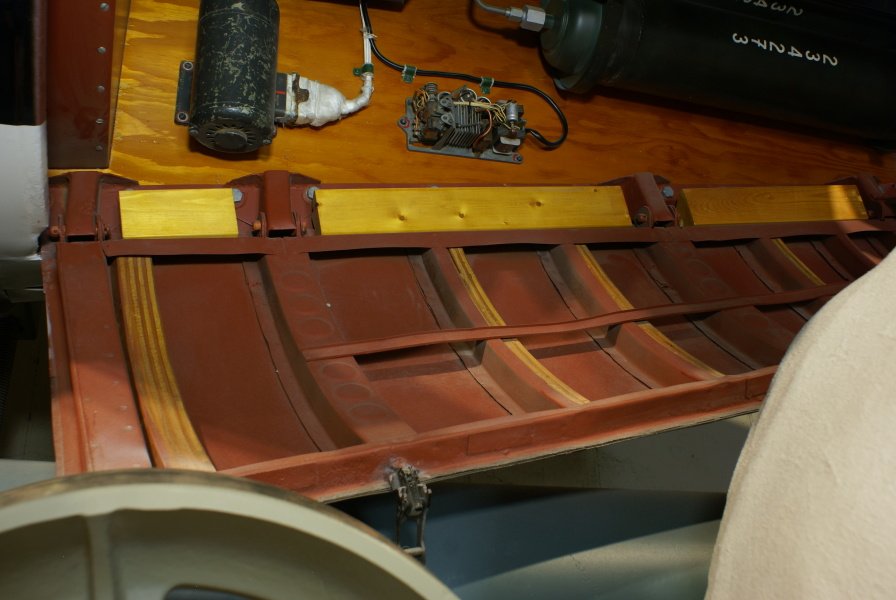
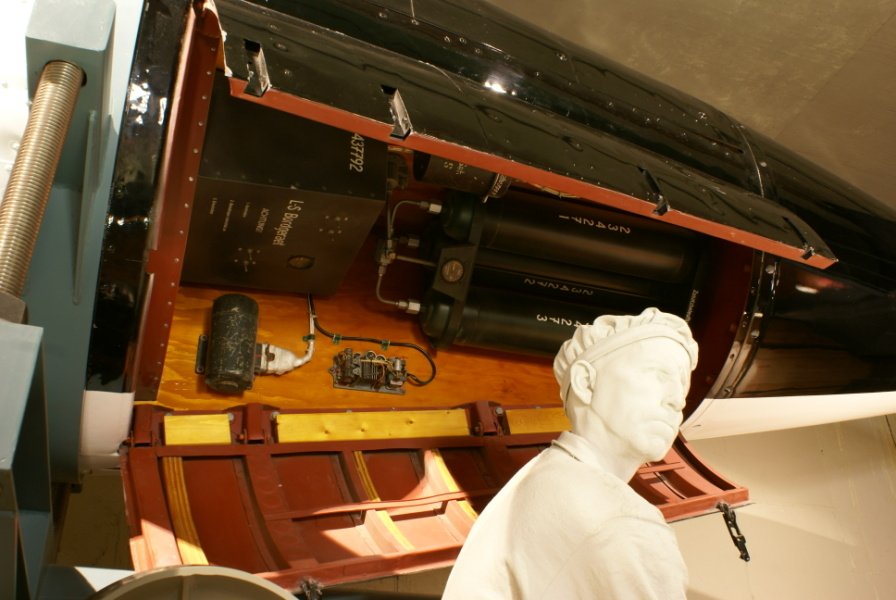
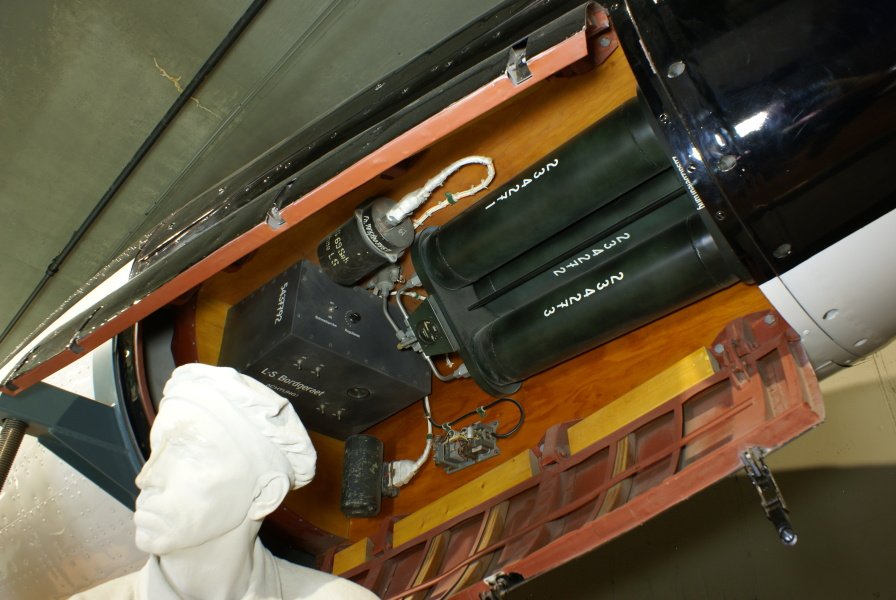
Thnx guys! Not a lot of bench time this weekend, but i did manage to find good reference photo's to open the panels i wanted. These give access to the Nitro tanks. The top section consists out of 4 quadrants. The others open up to the Funk Gerät. I'll scratch the doors and interior.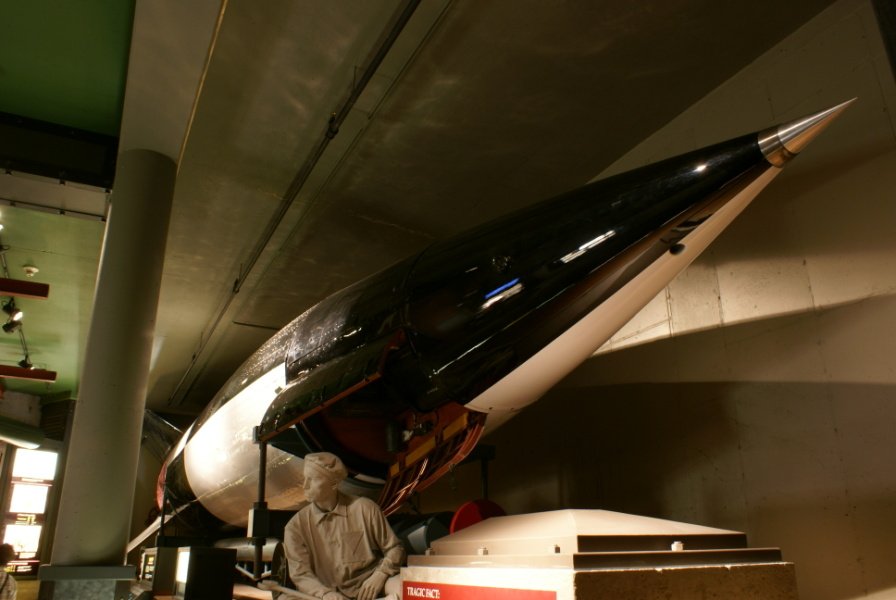

-
Takom 1/35 V2 Rocket
JeroenPeters replied to JeroenPeters's topic in LSM 1/35 and Larger Work In Progress
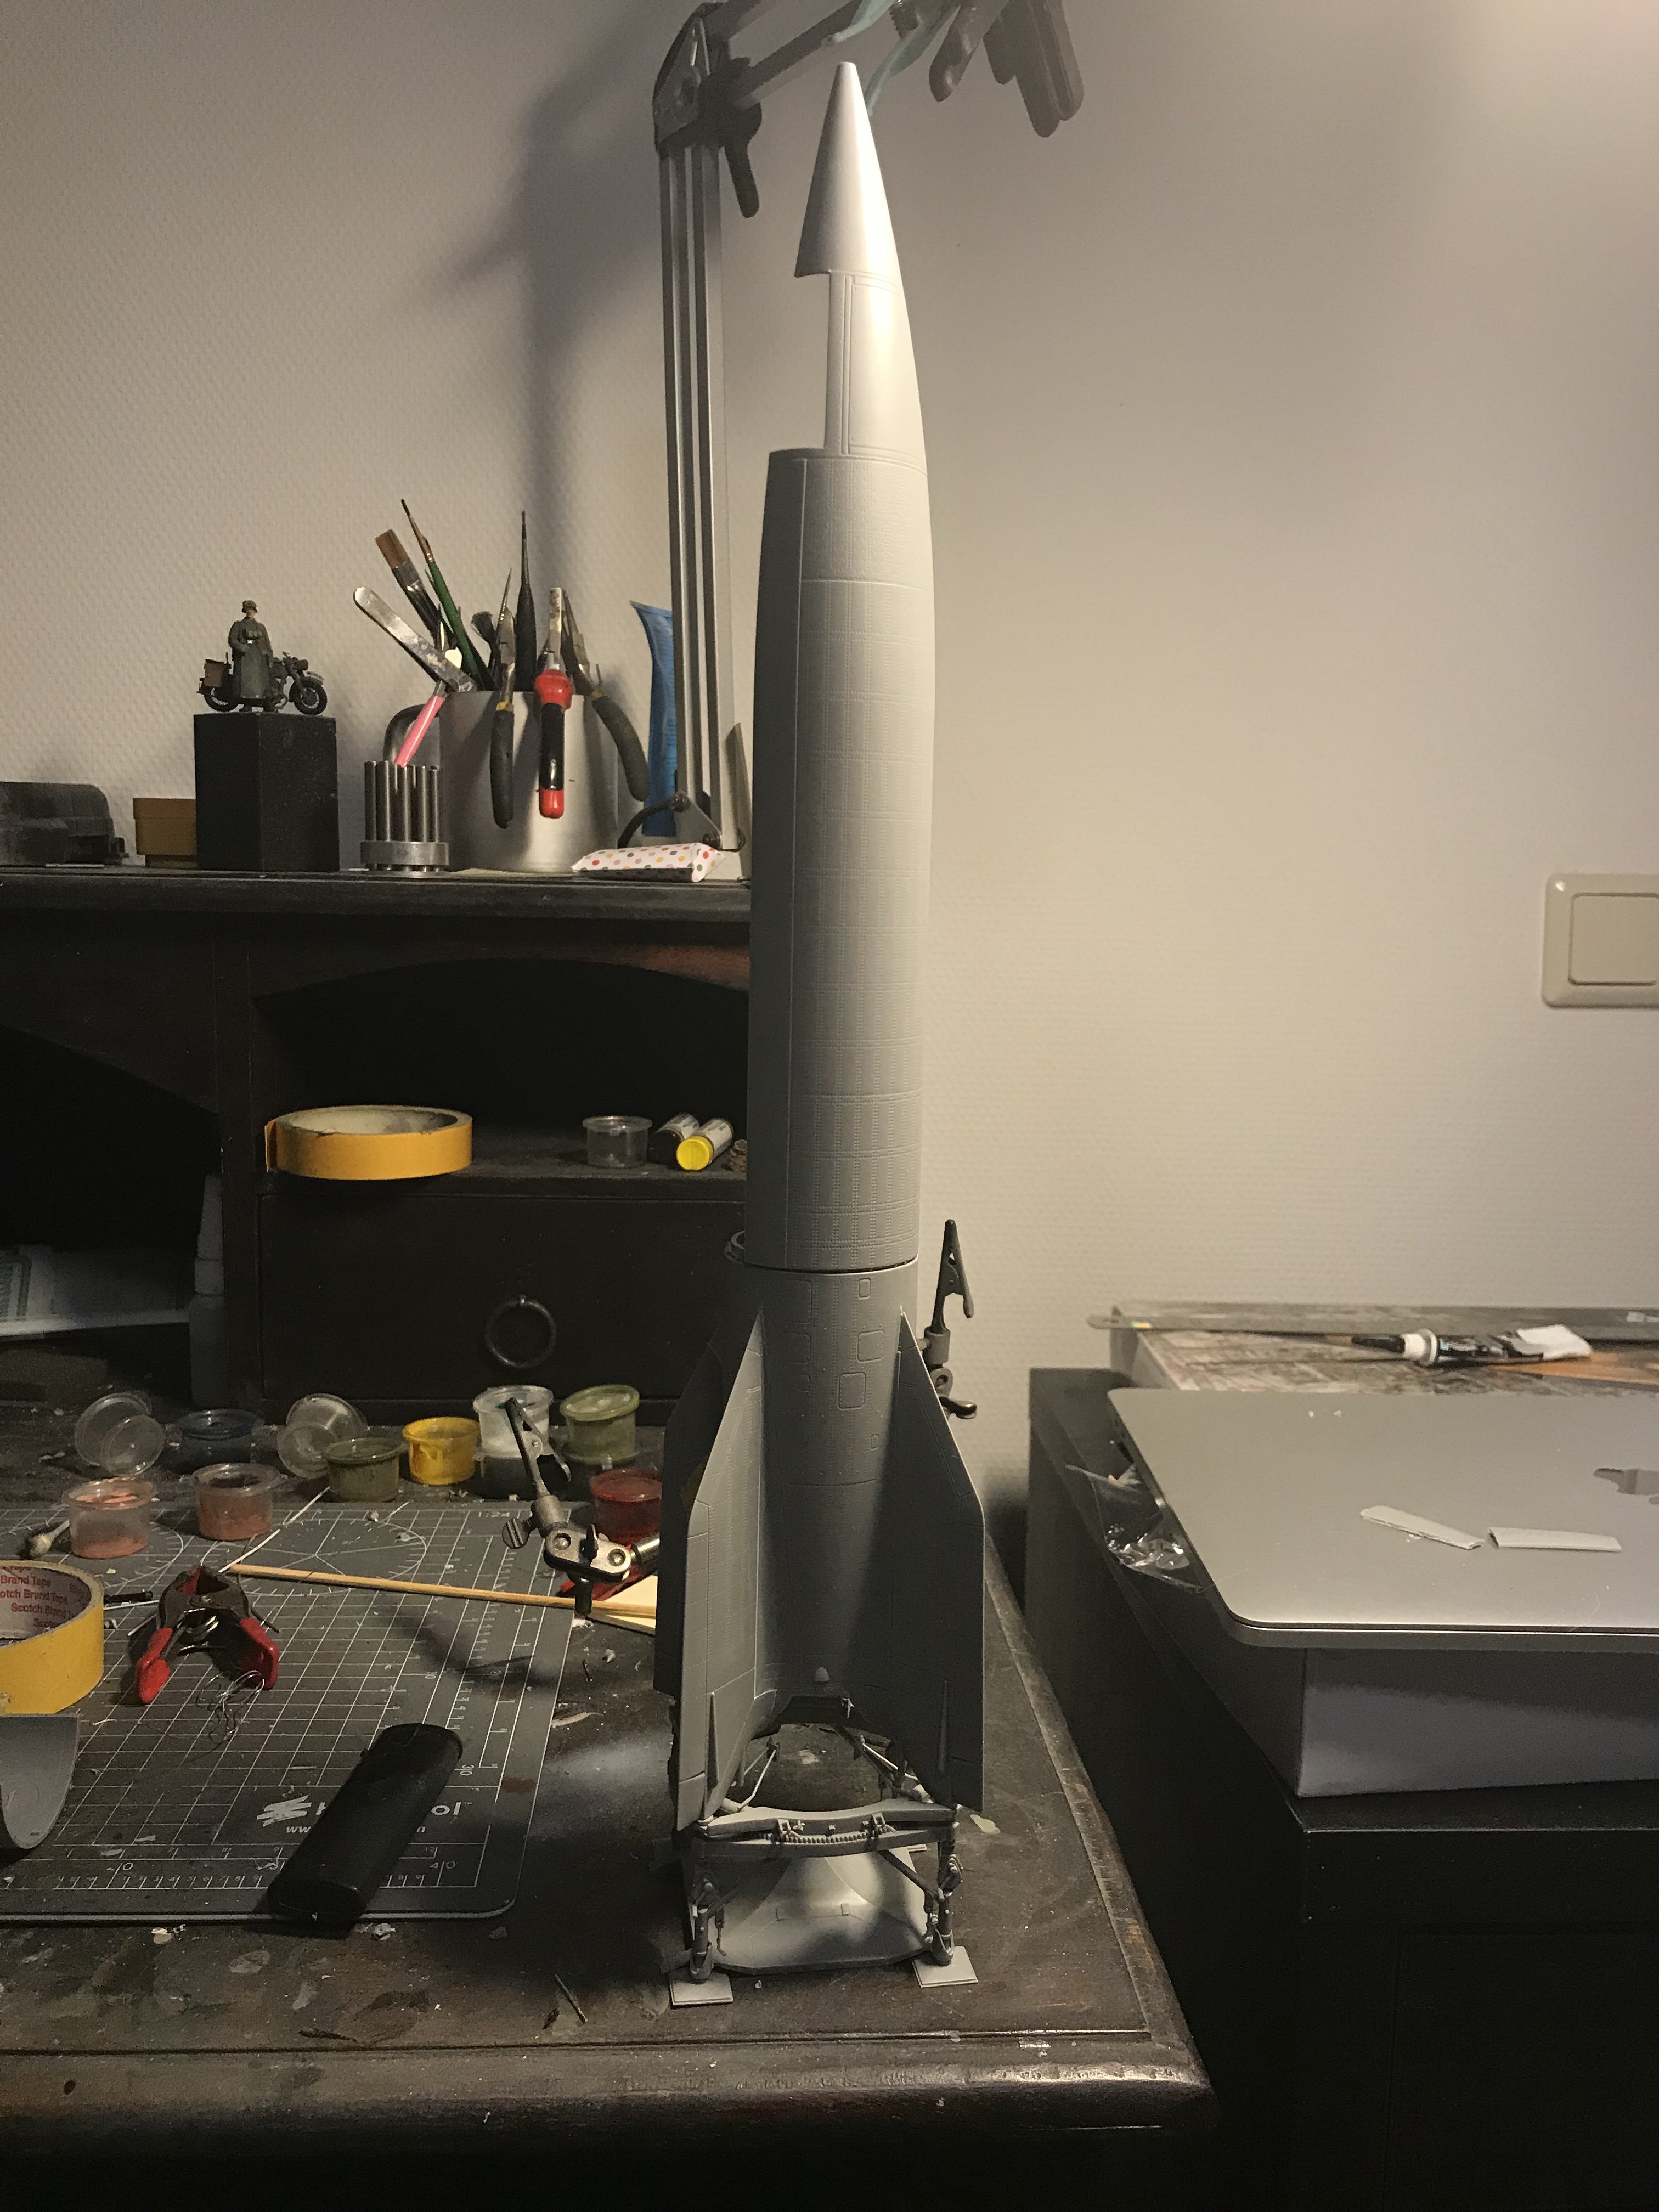
Some progress. The cradle is done. The rocket itself is big but consists out of a few parts. Fun will start with the painting.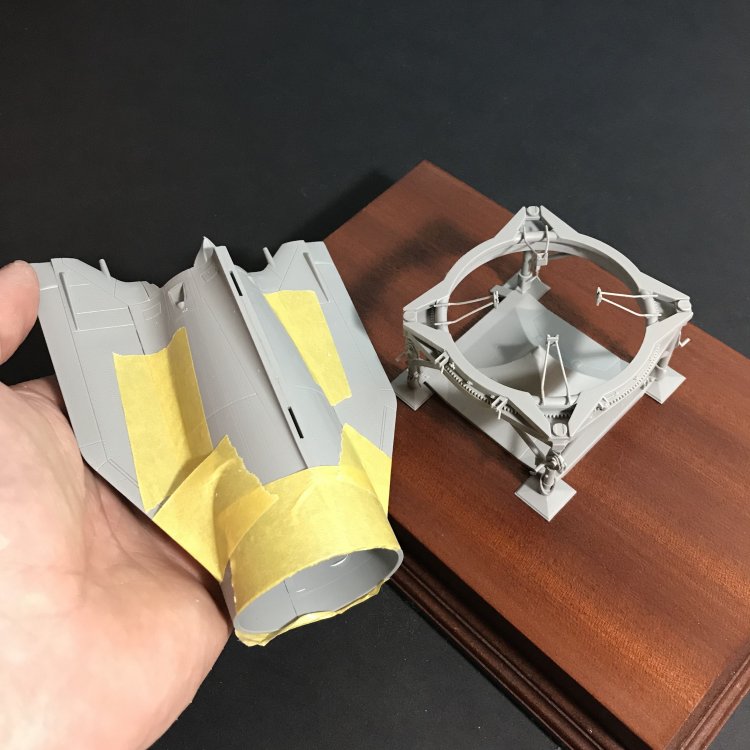
- 143 replies
-
- 10
-

-
Takom 1/35 V2 Rocket
JeroenPeters replied to JeroenPeters's topic in LSM 1/35 and Larger Work In Progress
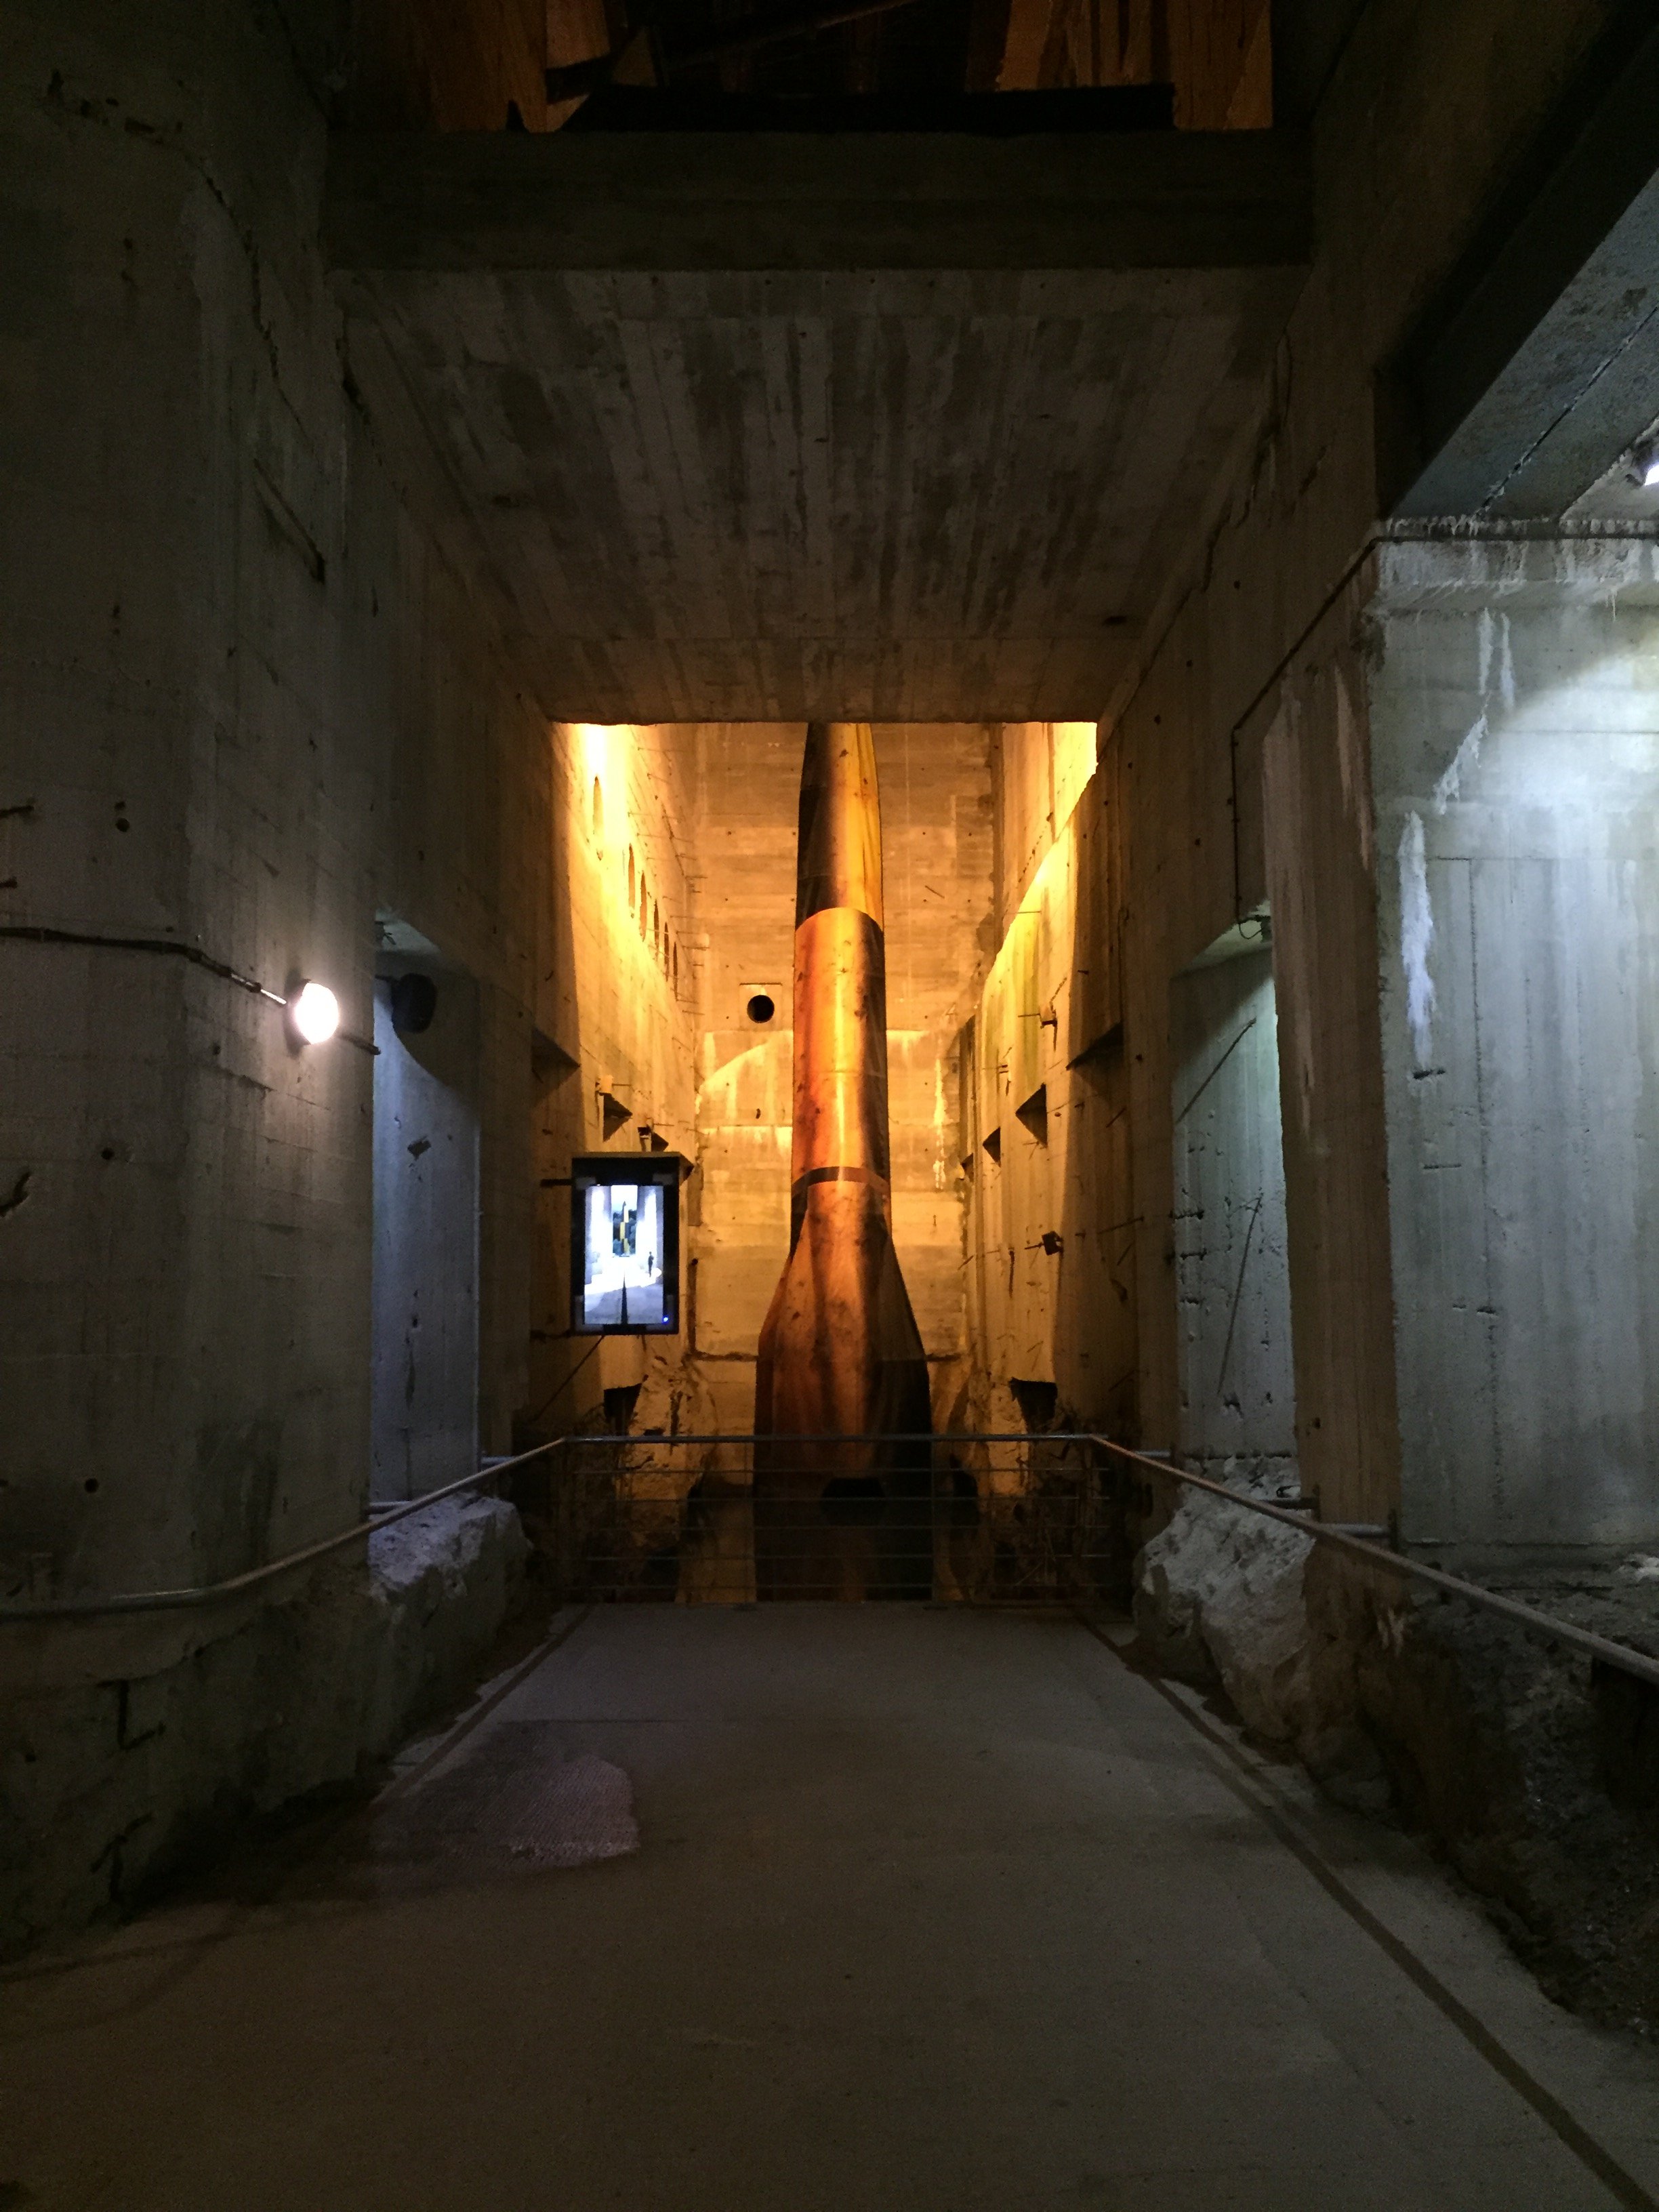
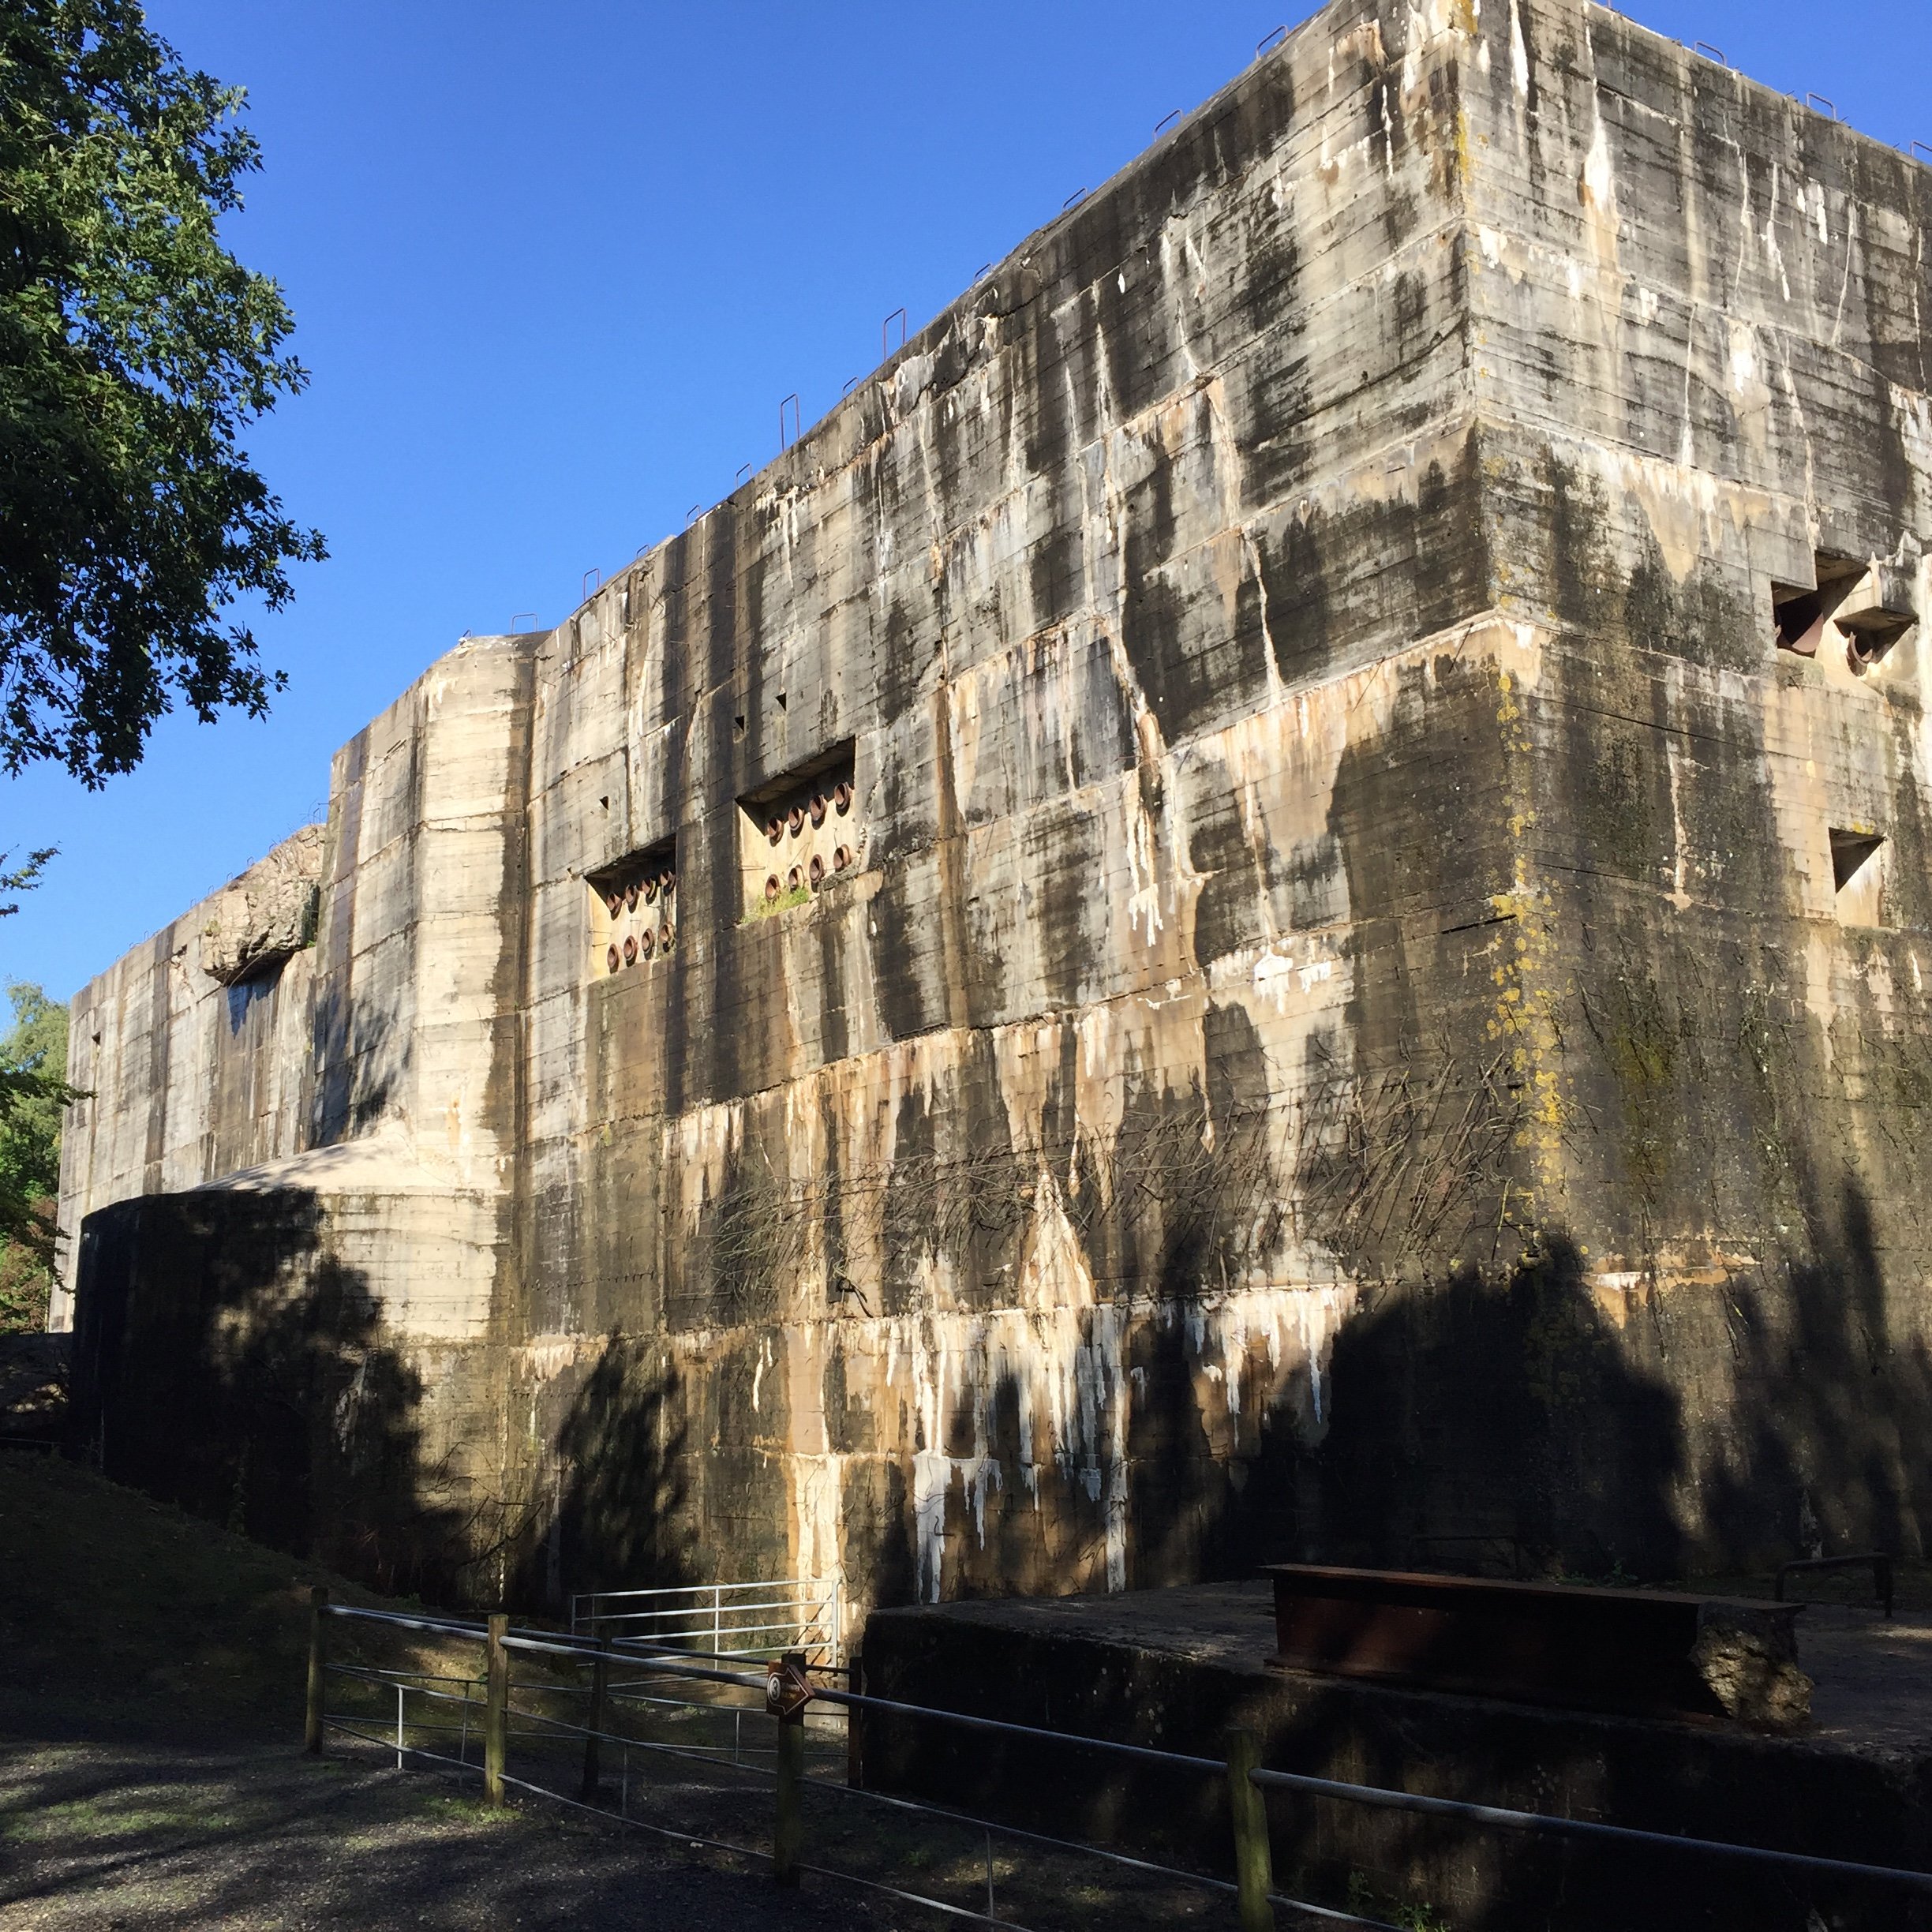
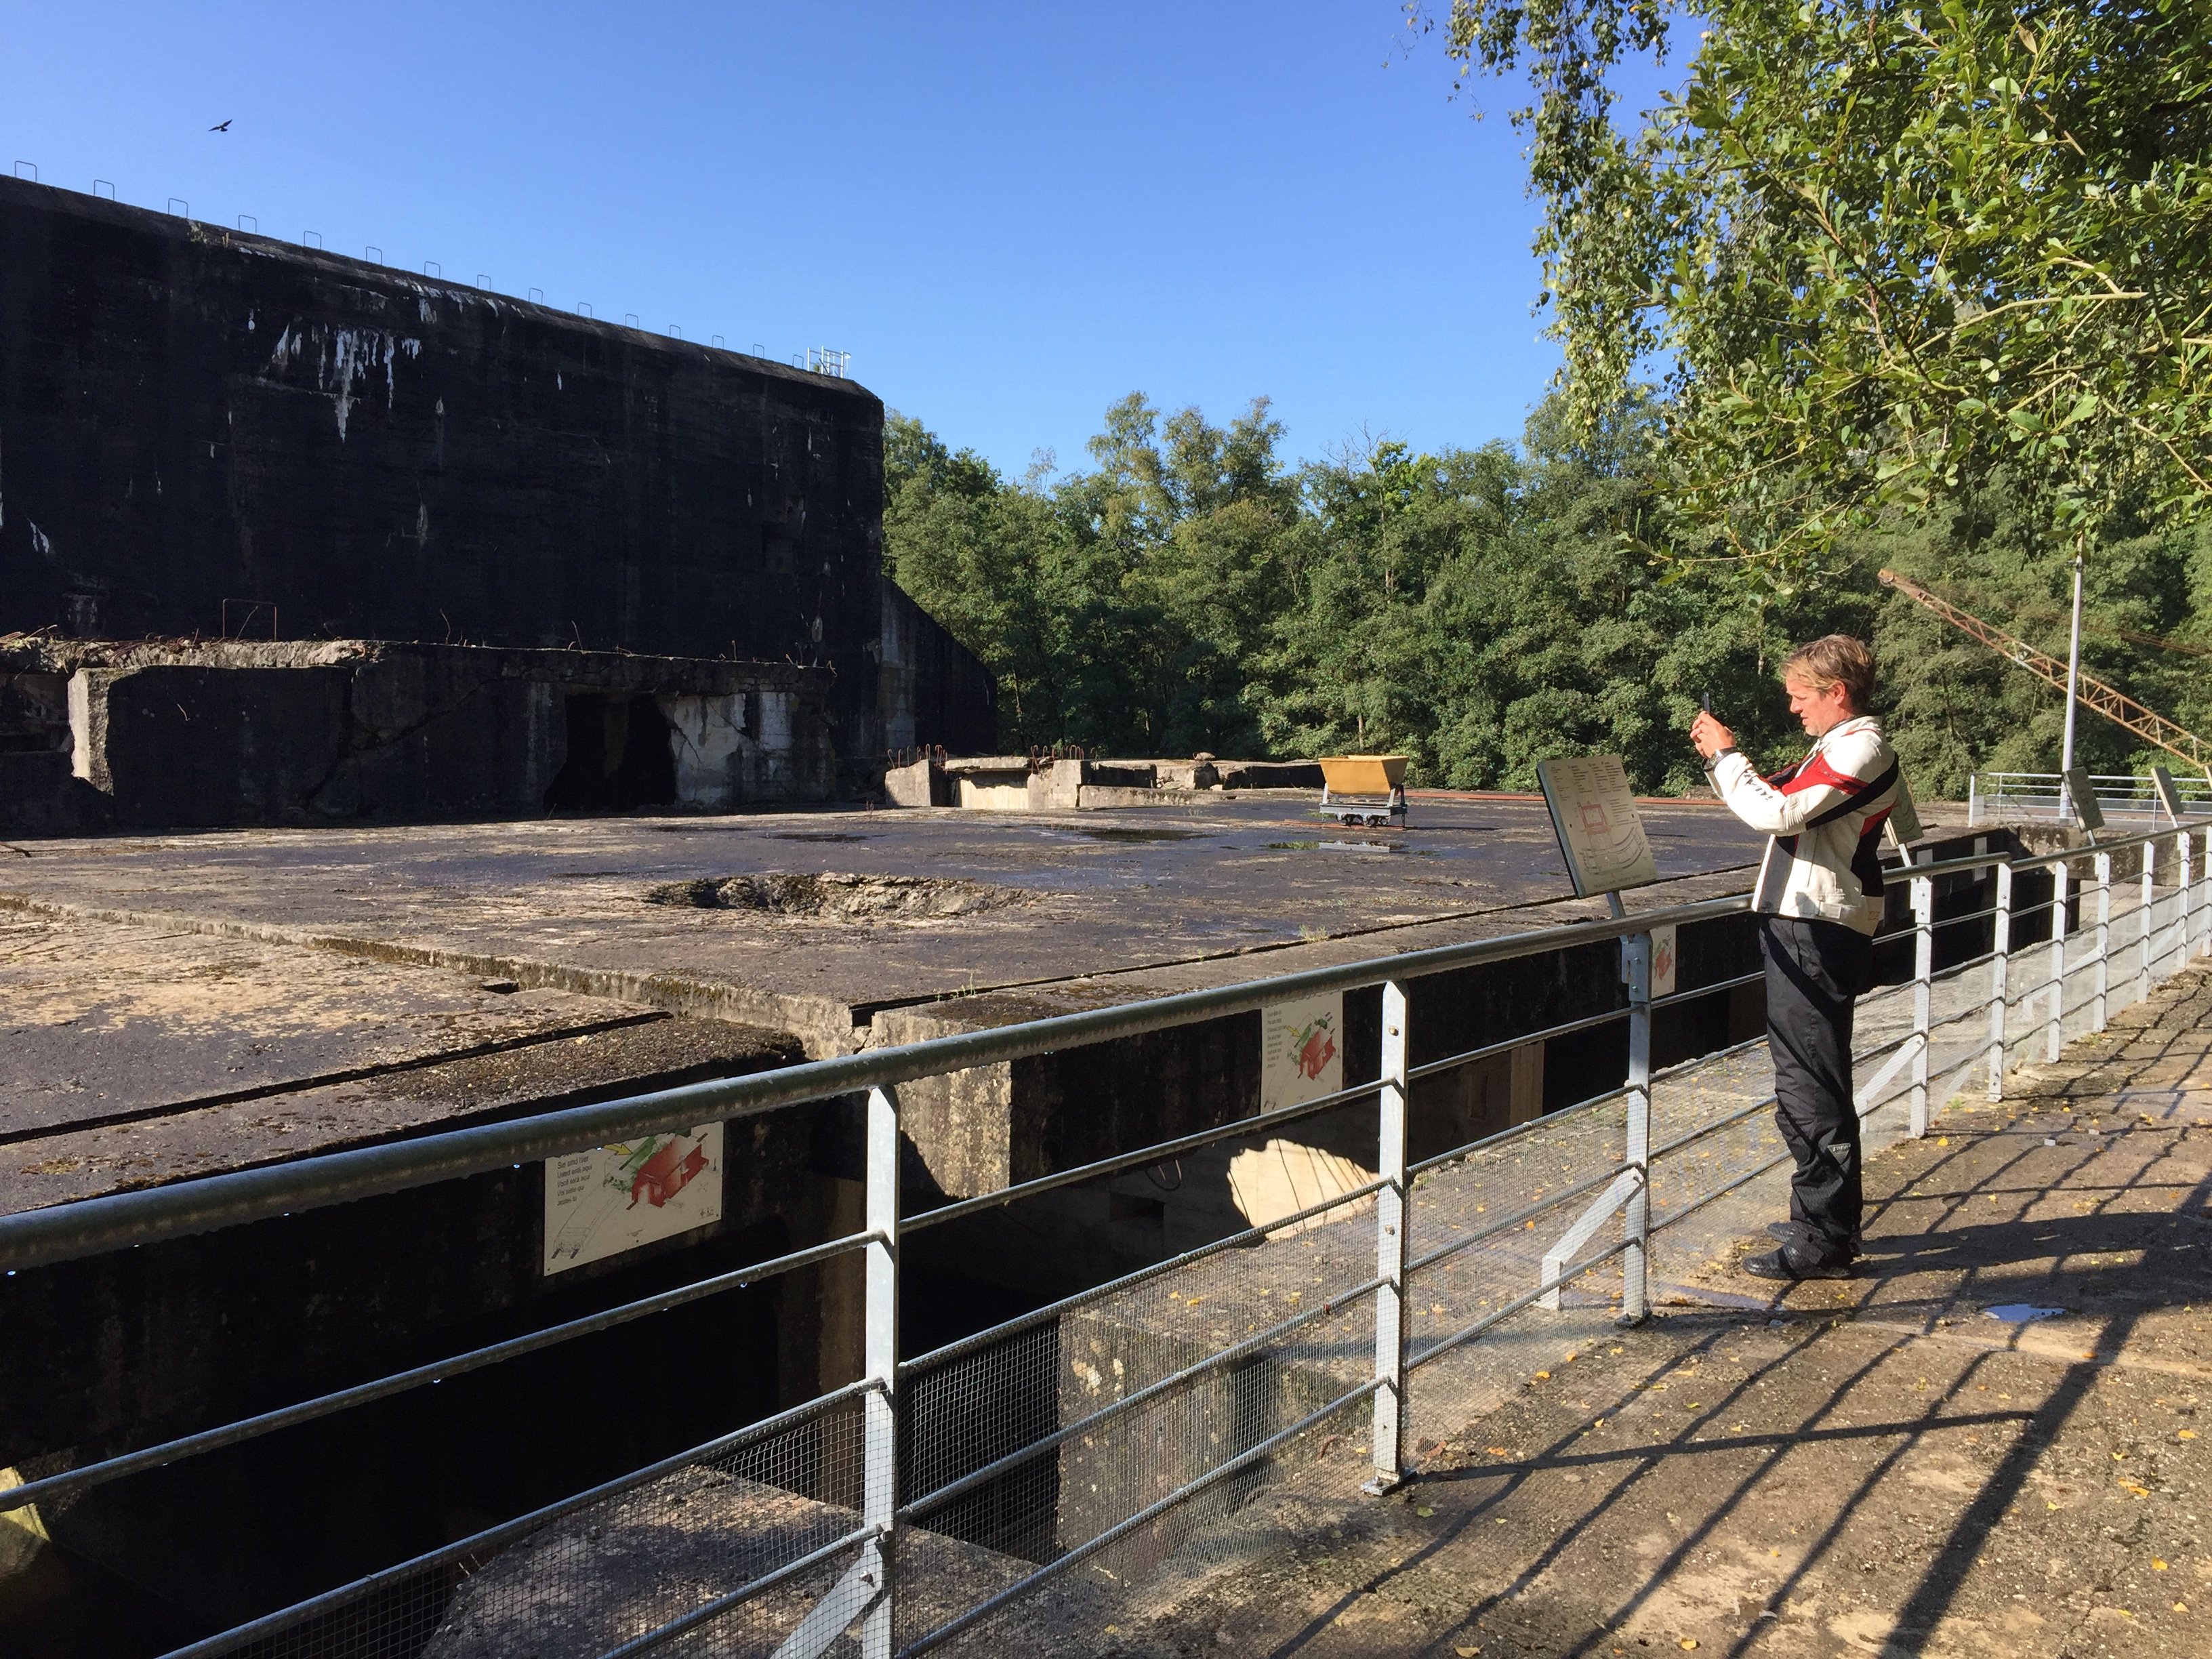
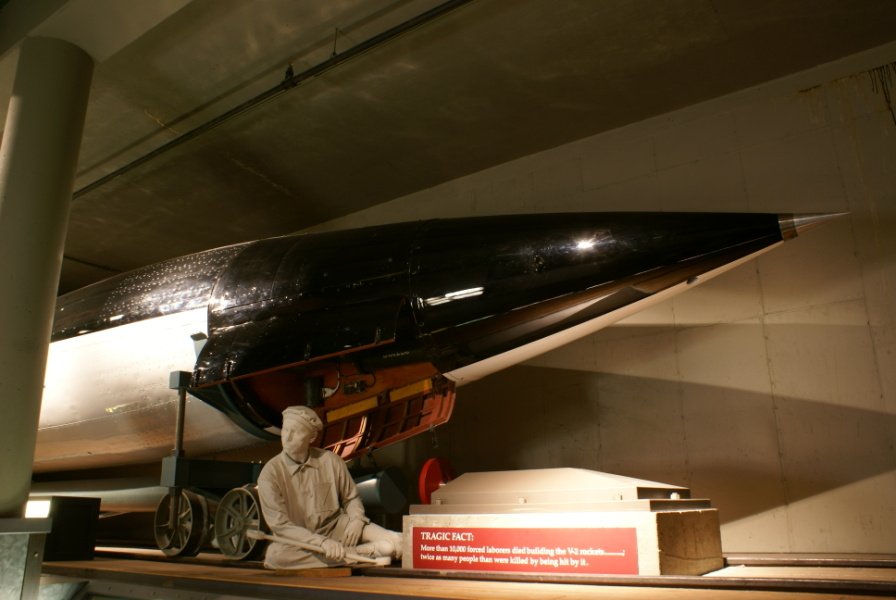
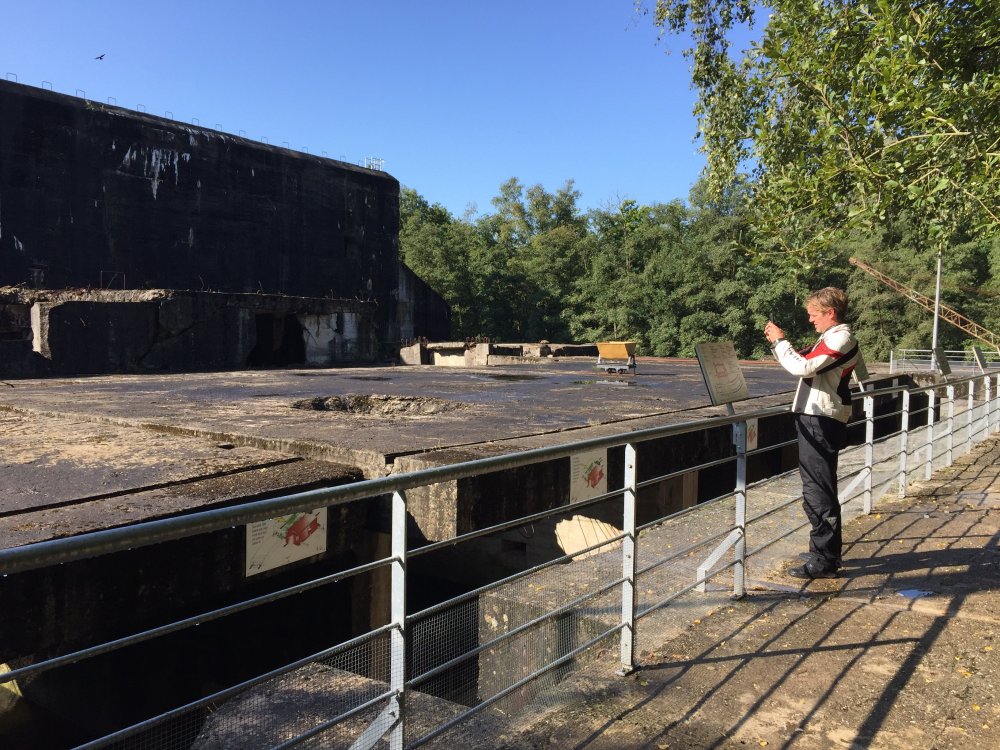
Here are some snaps i took while visiting the base: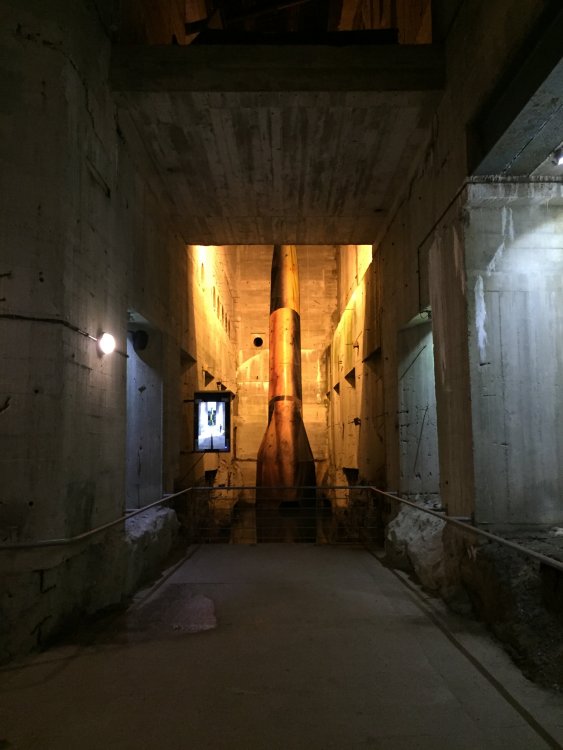


- 143 replies
-
- 10
-
-
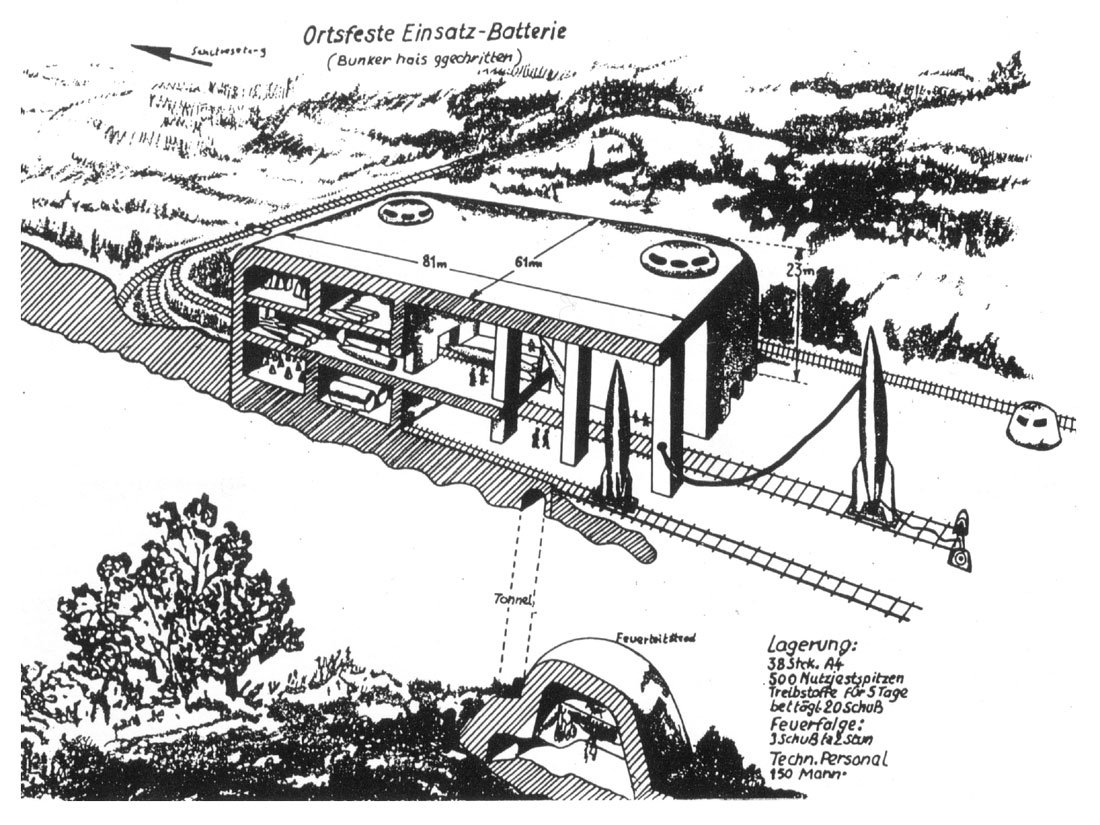
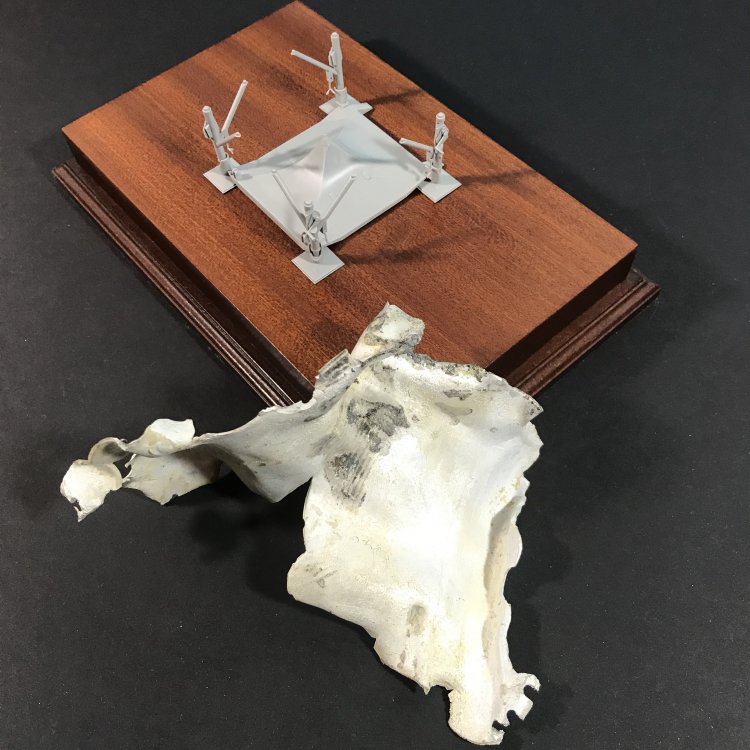
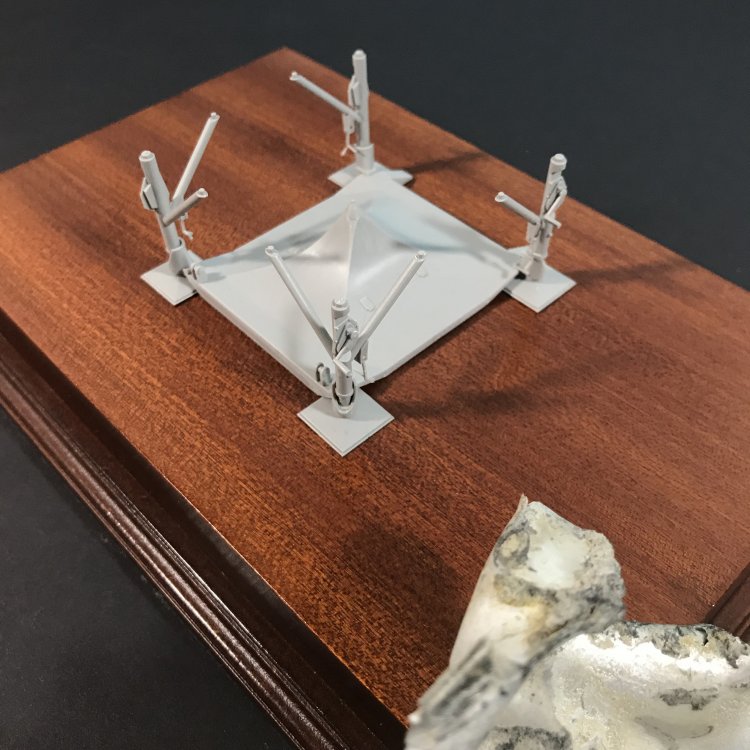
Another in between project that I wanted to do since I visited the Blockhaus D’Eperlecques. A most impressive installation where V2’s were assembled and launched. It was too visible, bombed and operations moved to La Coupole close by. I bought a piece of V2 skin and will display the rocket on it’s cradle together with this relic. Not sure of the scheme yet. I’ll mount the rocket and scheme on a high round wooden base. I think
-
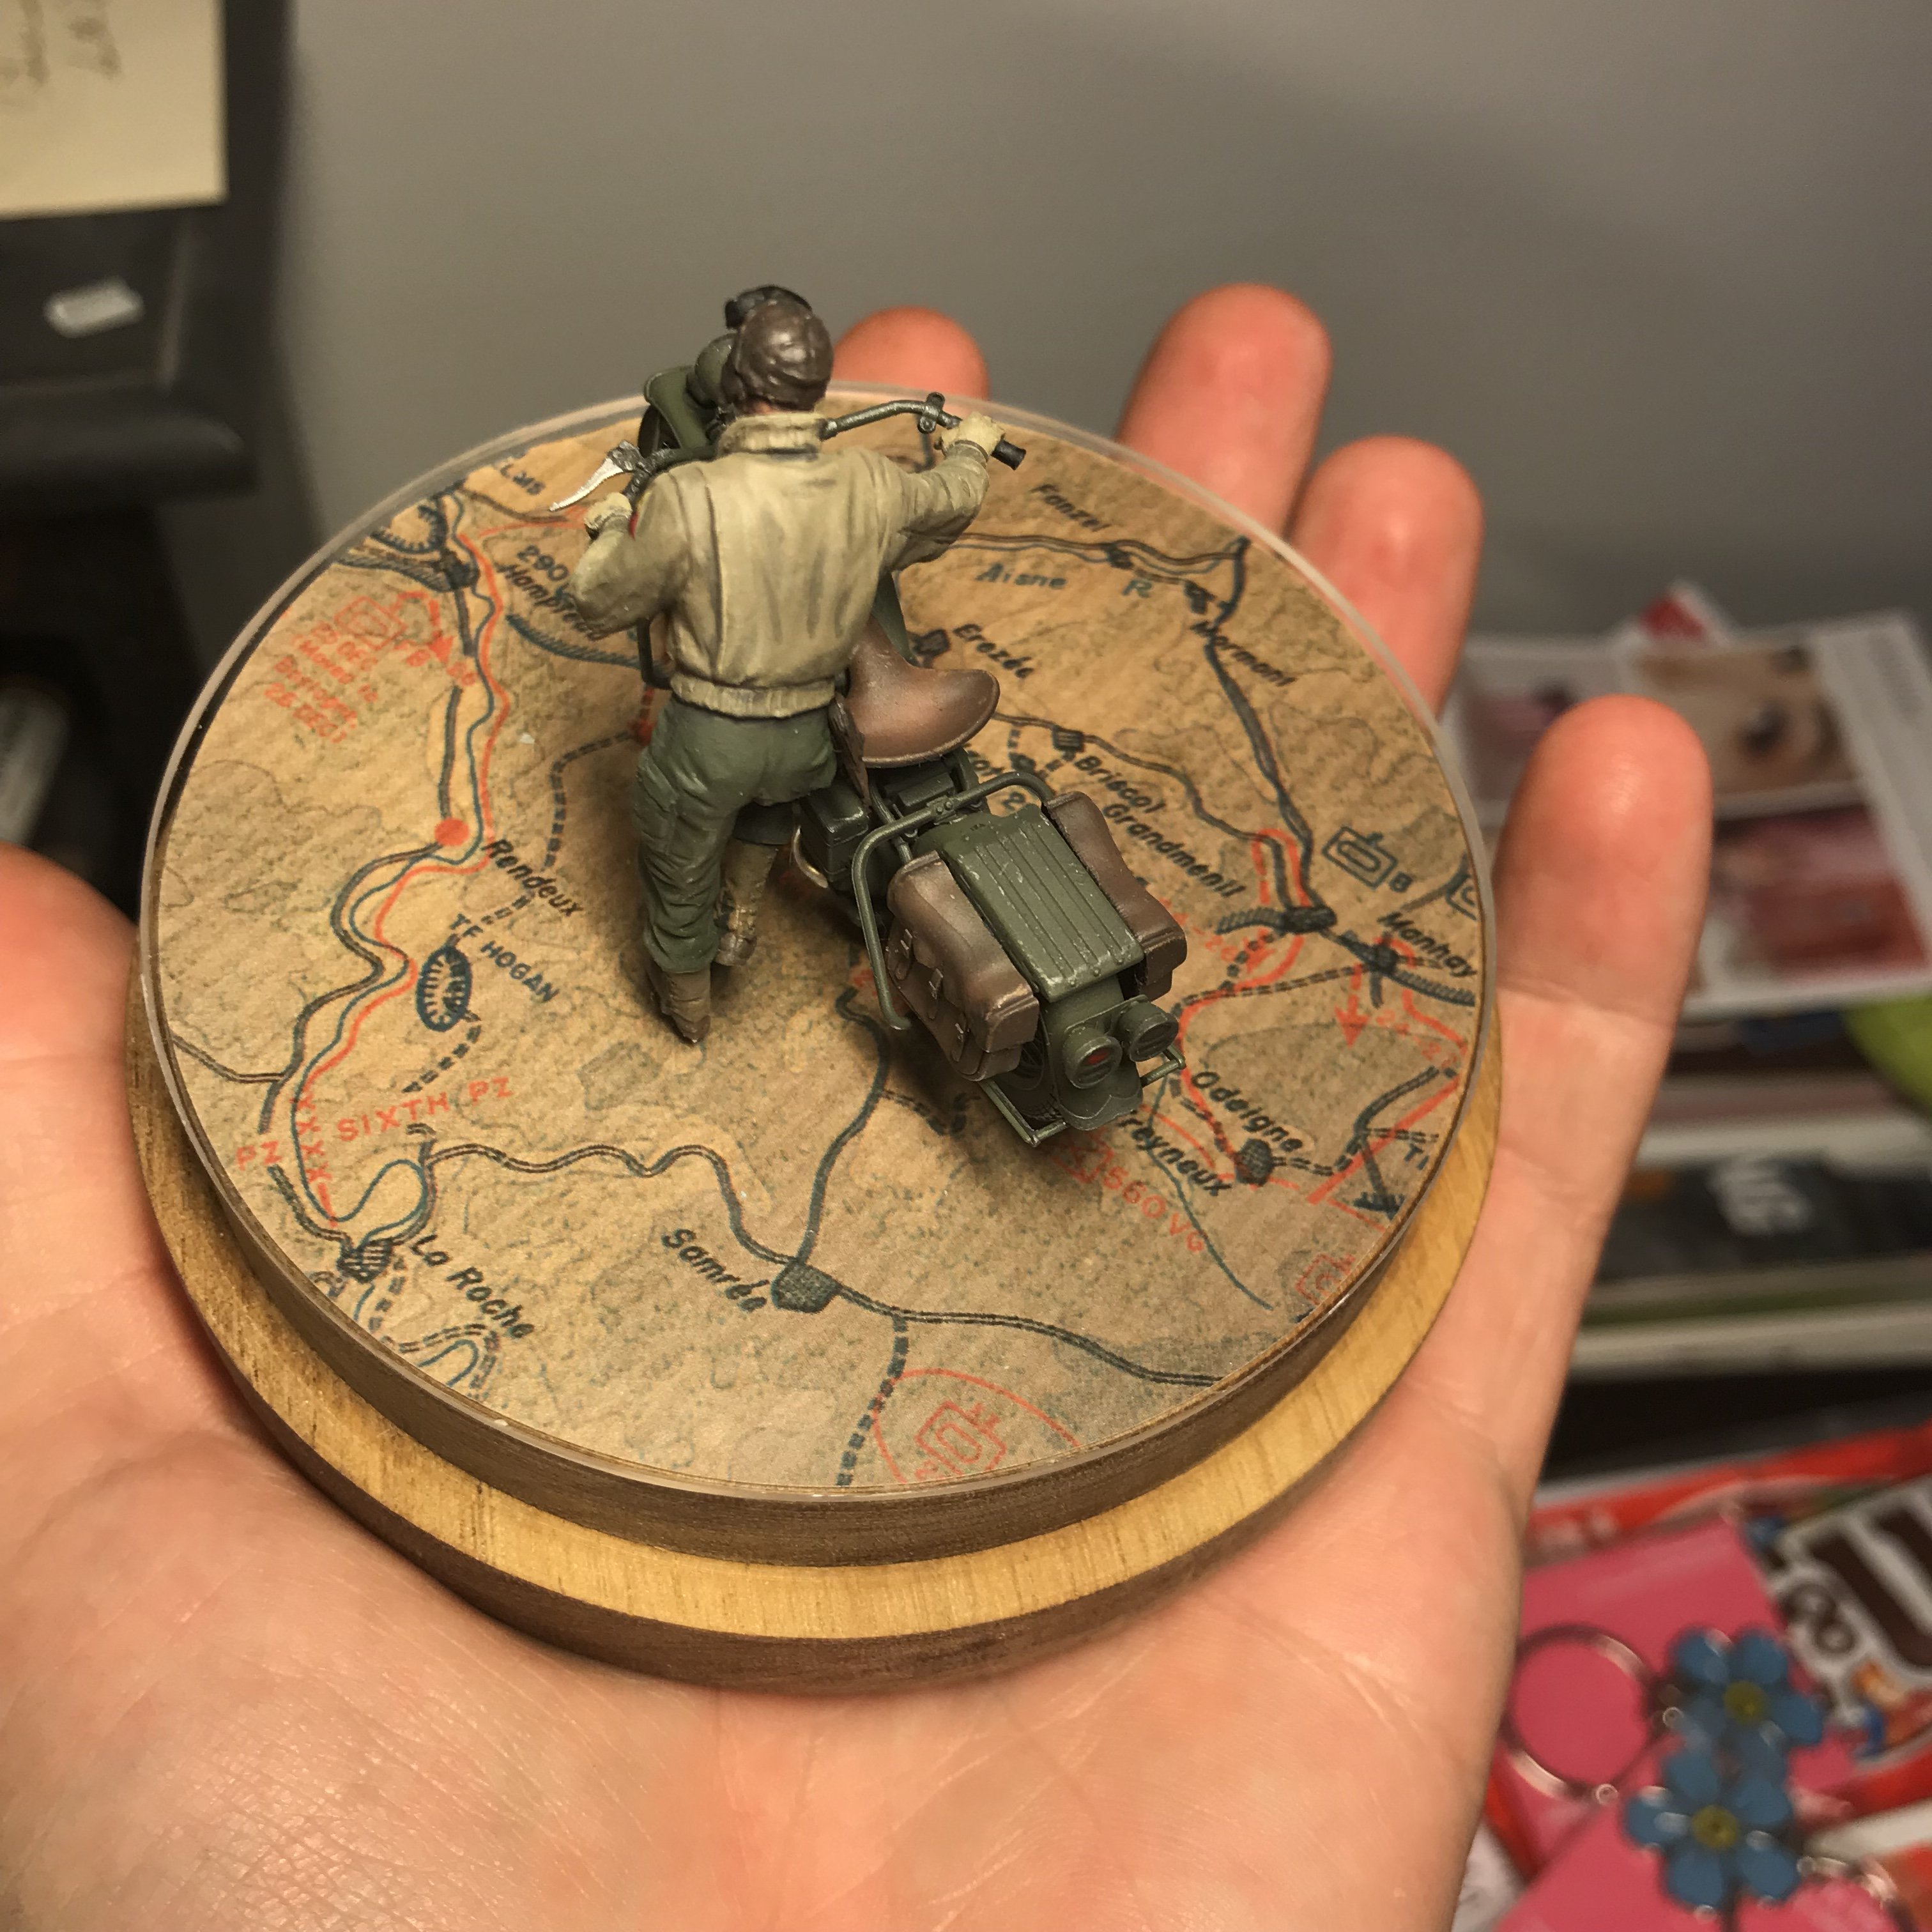
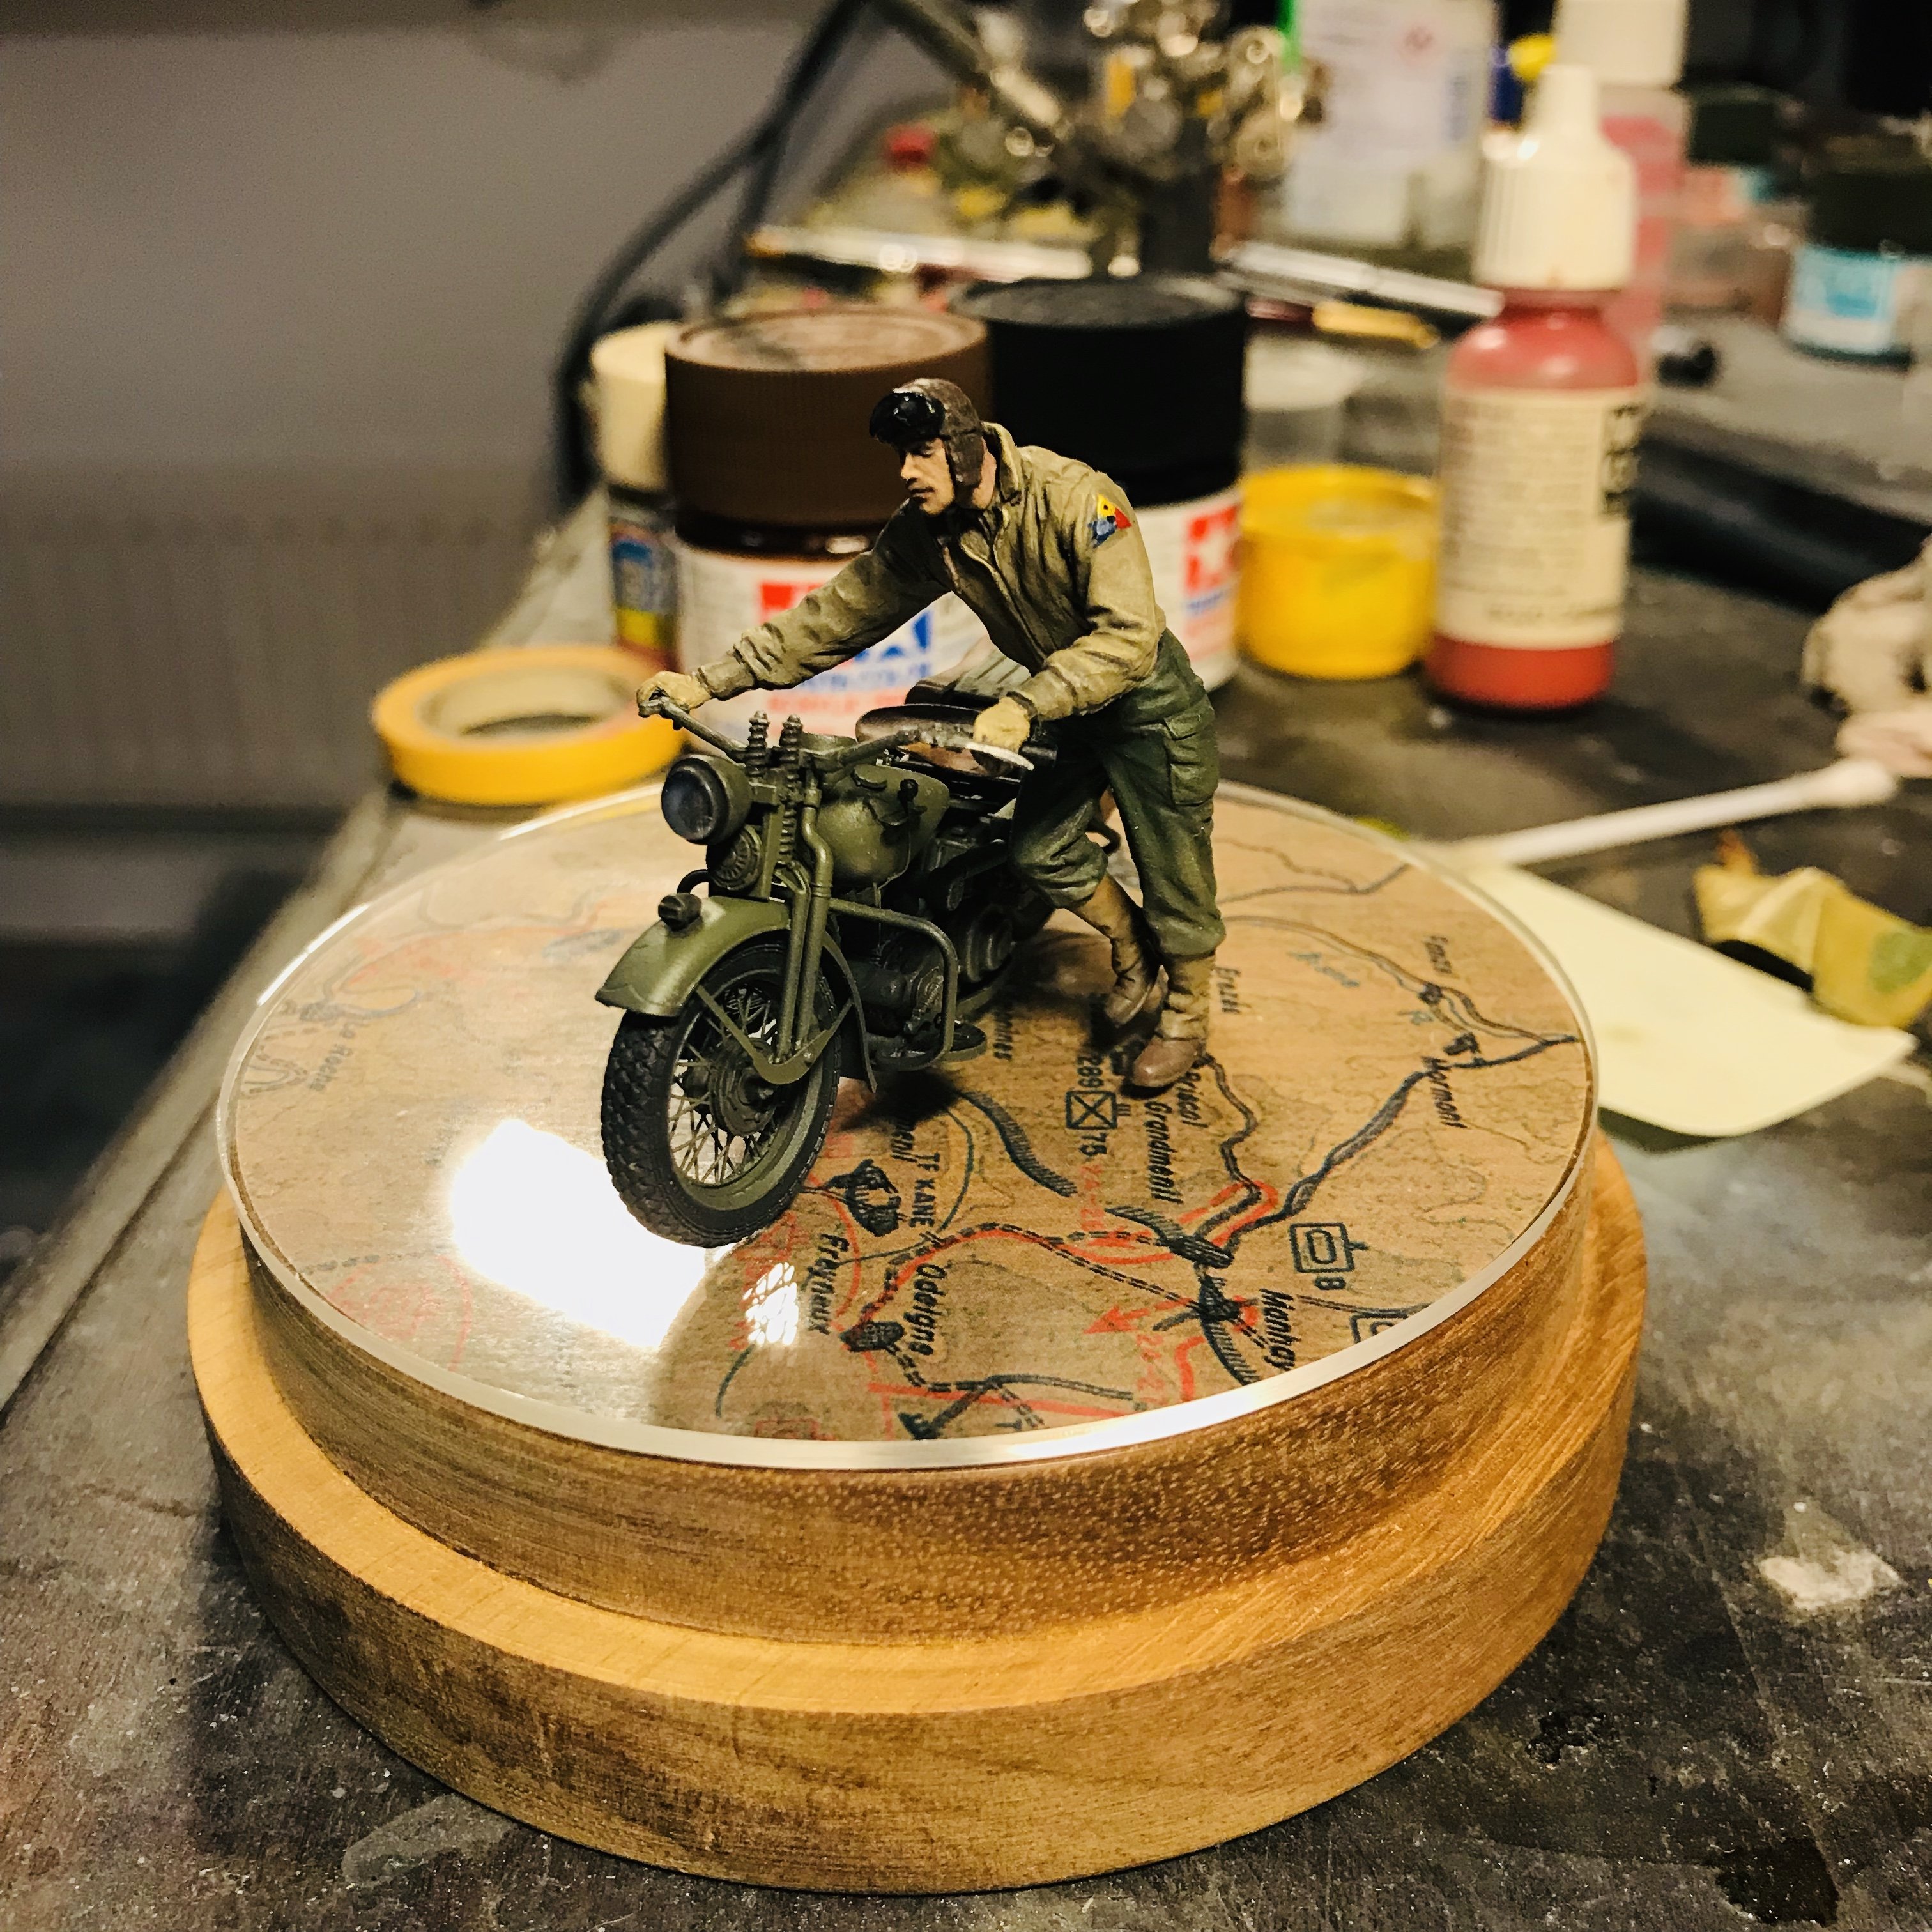
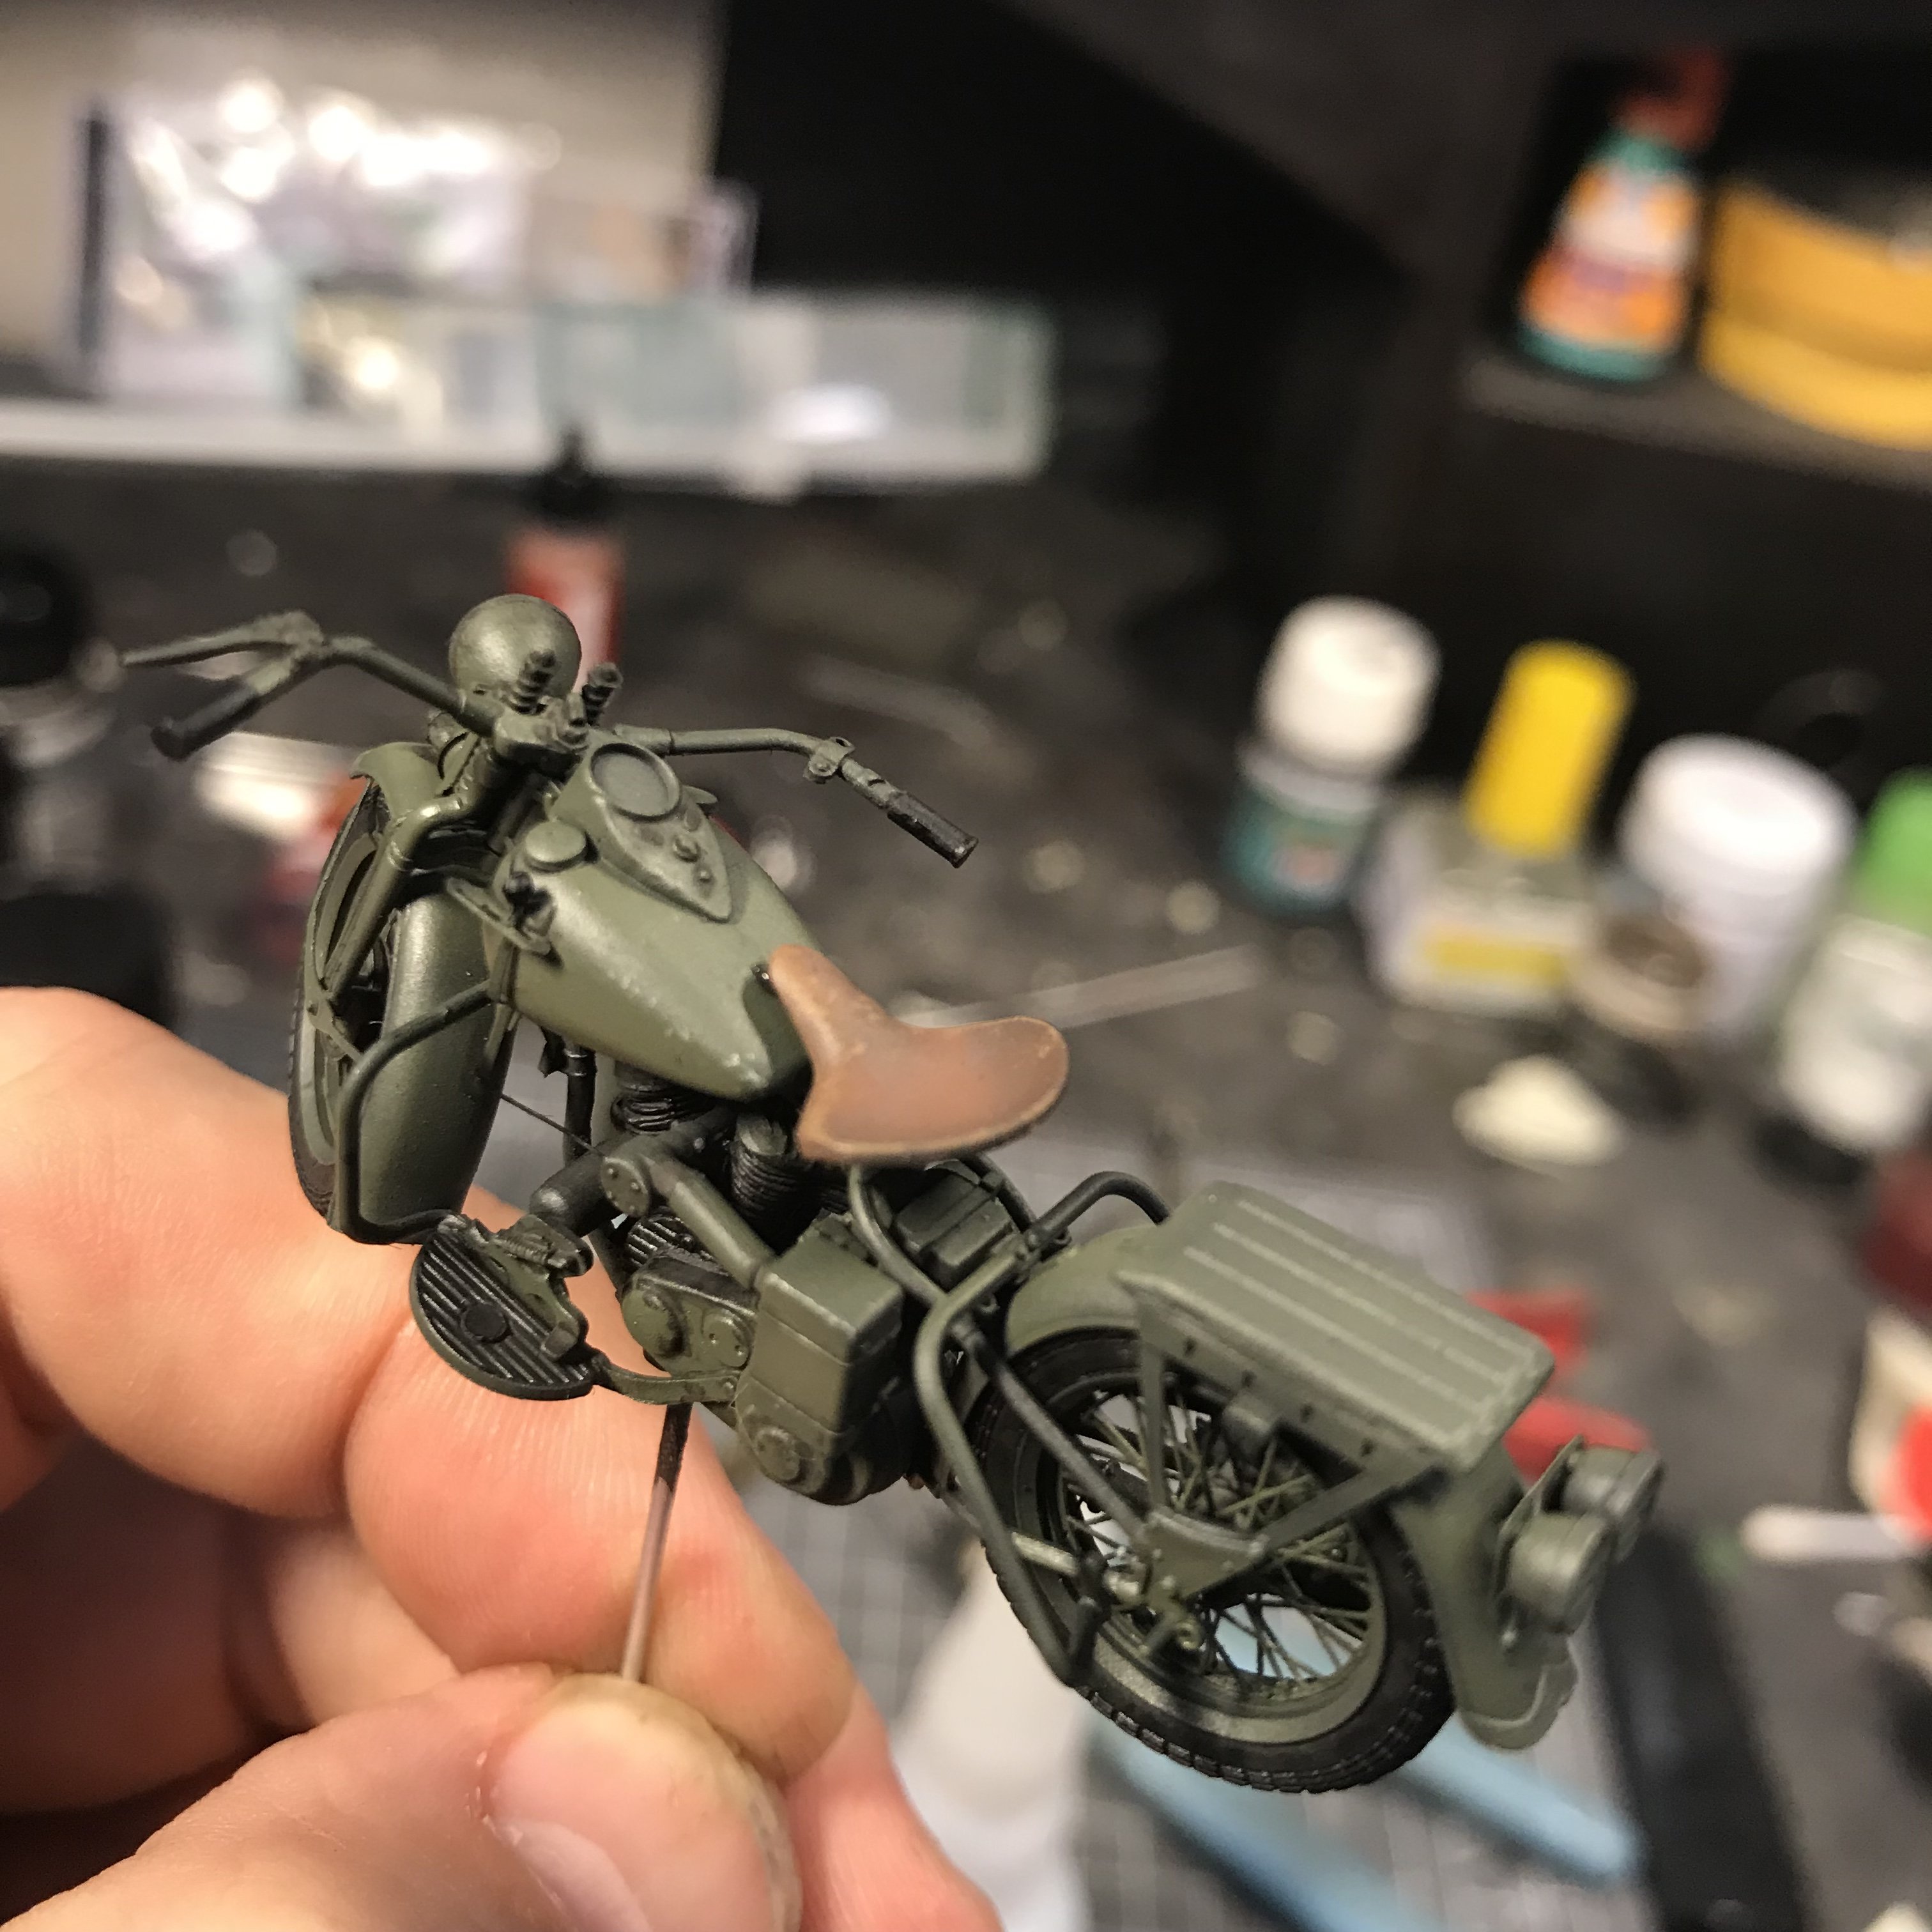
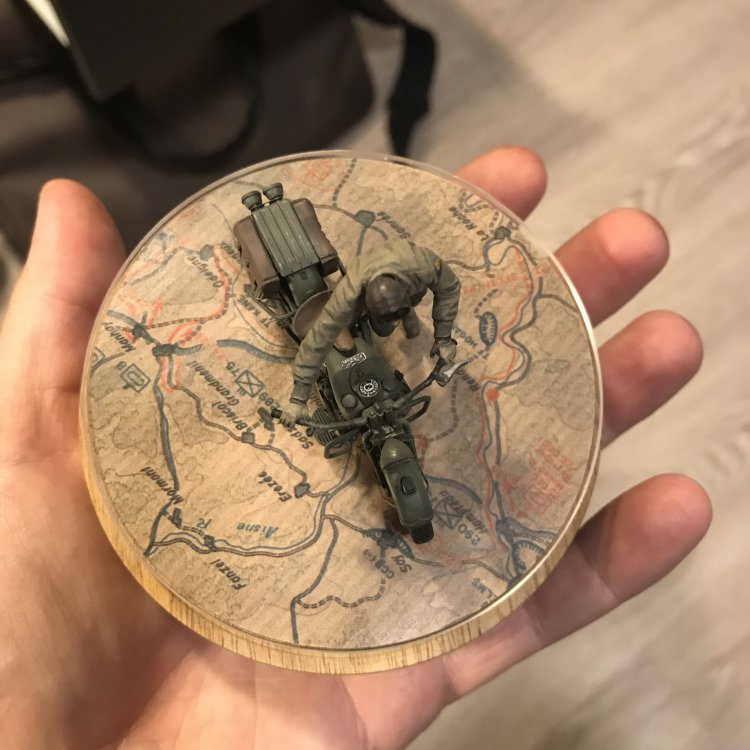
1/35 Harley Davidson WLA
JeroenPeters replied to JeroenPeters's topic in LSM 1/35 and Larger Work In Progress
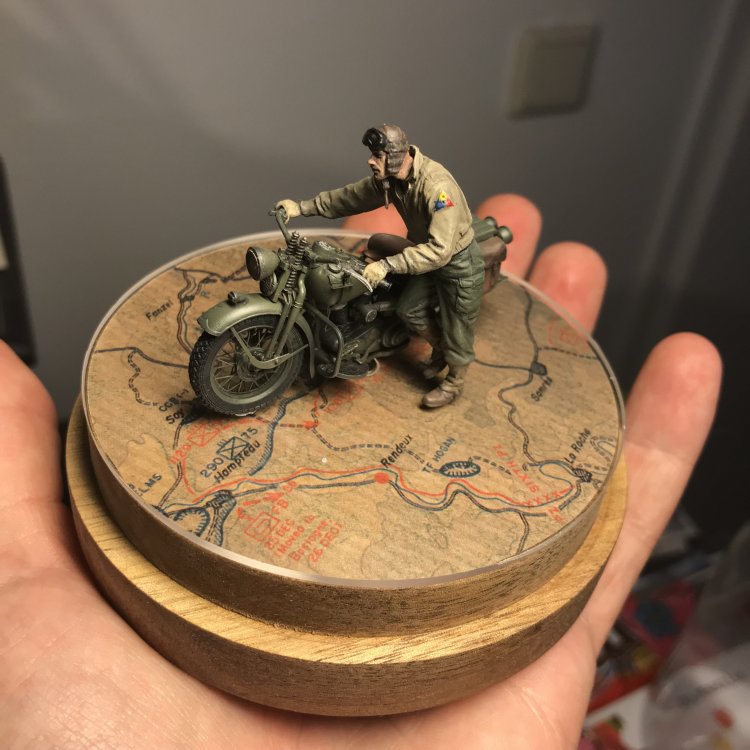
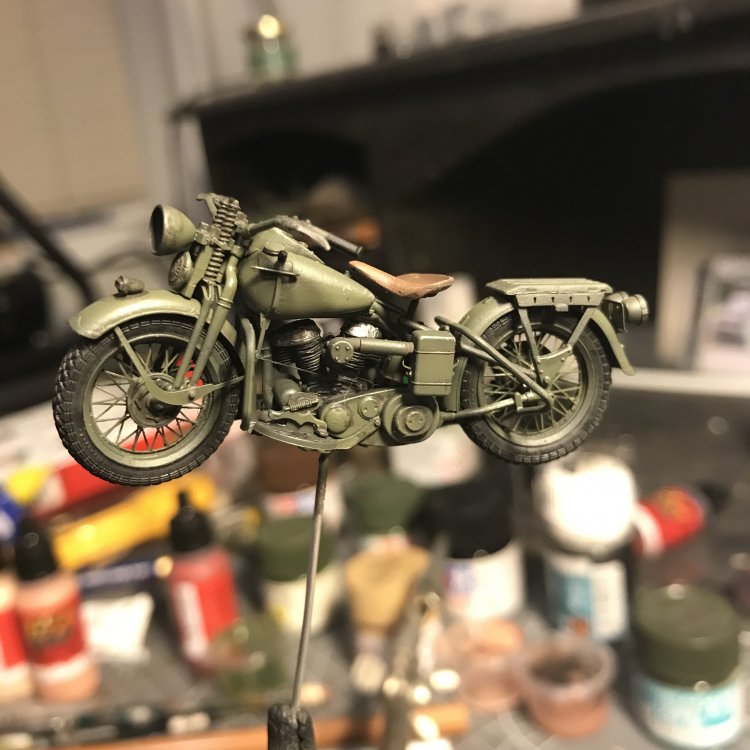
Done!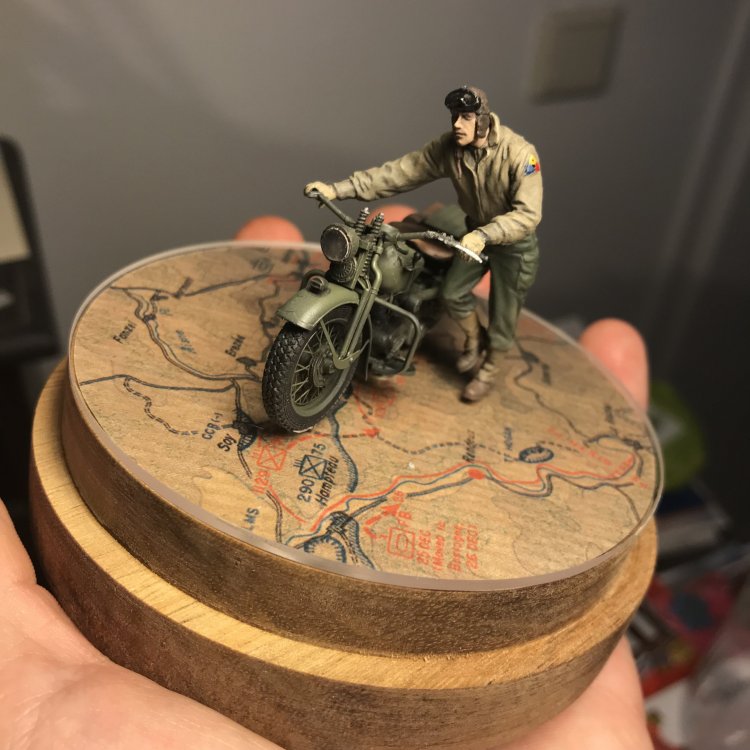


-
hk models Lancaster B Mk.I, R5868, PO-S (S-Sugar)
JeroenPeters replied to JayDee's topic in LSM 1/35 and Larger Work In Progress
Lovely!! -
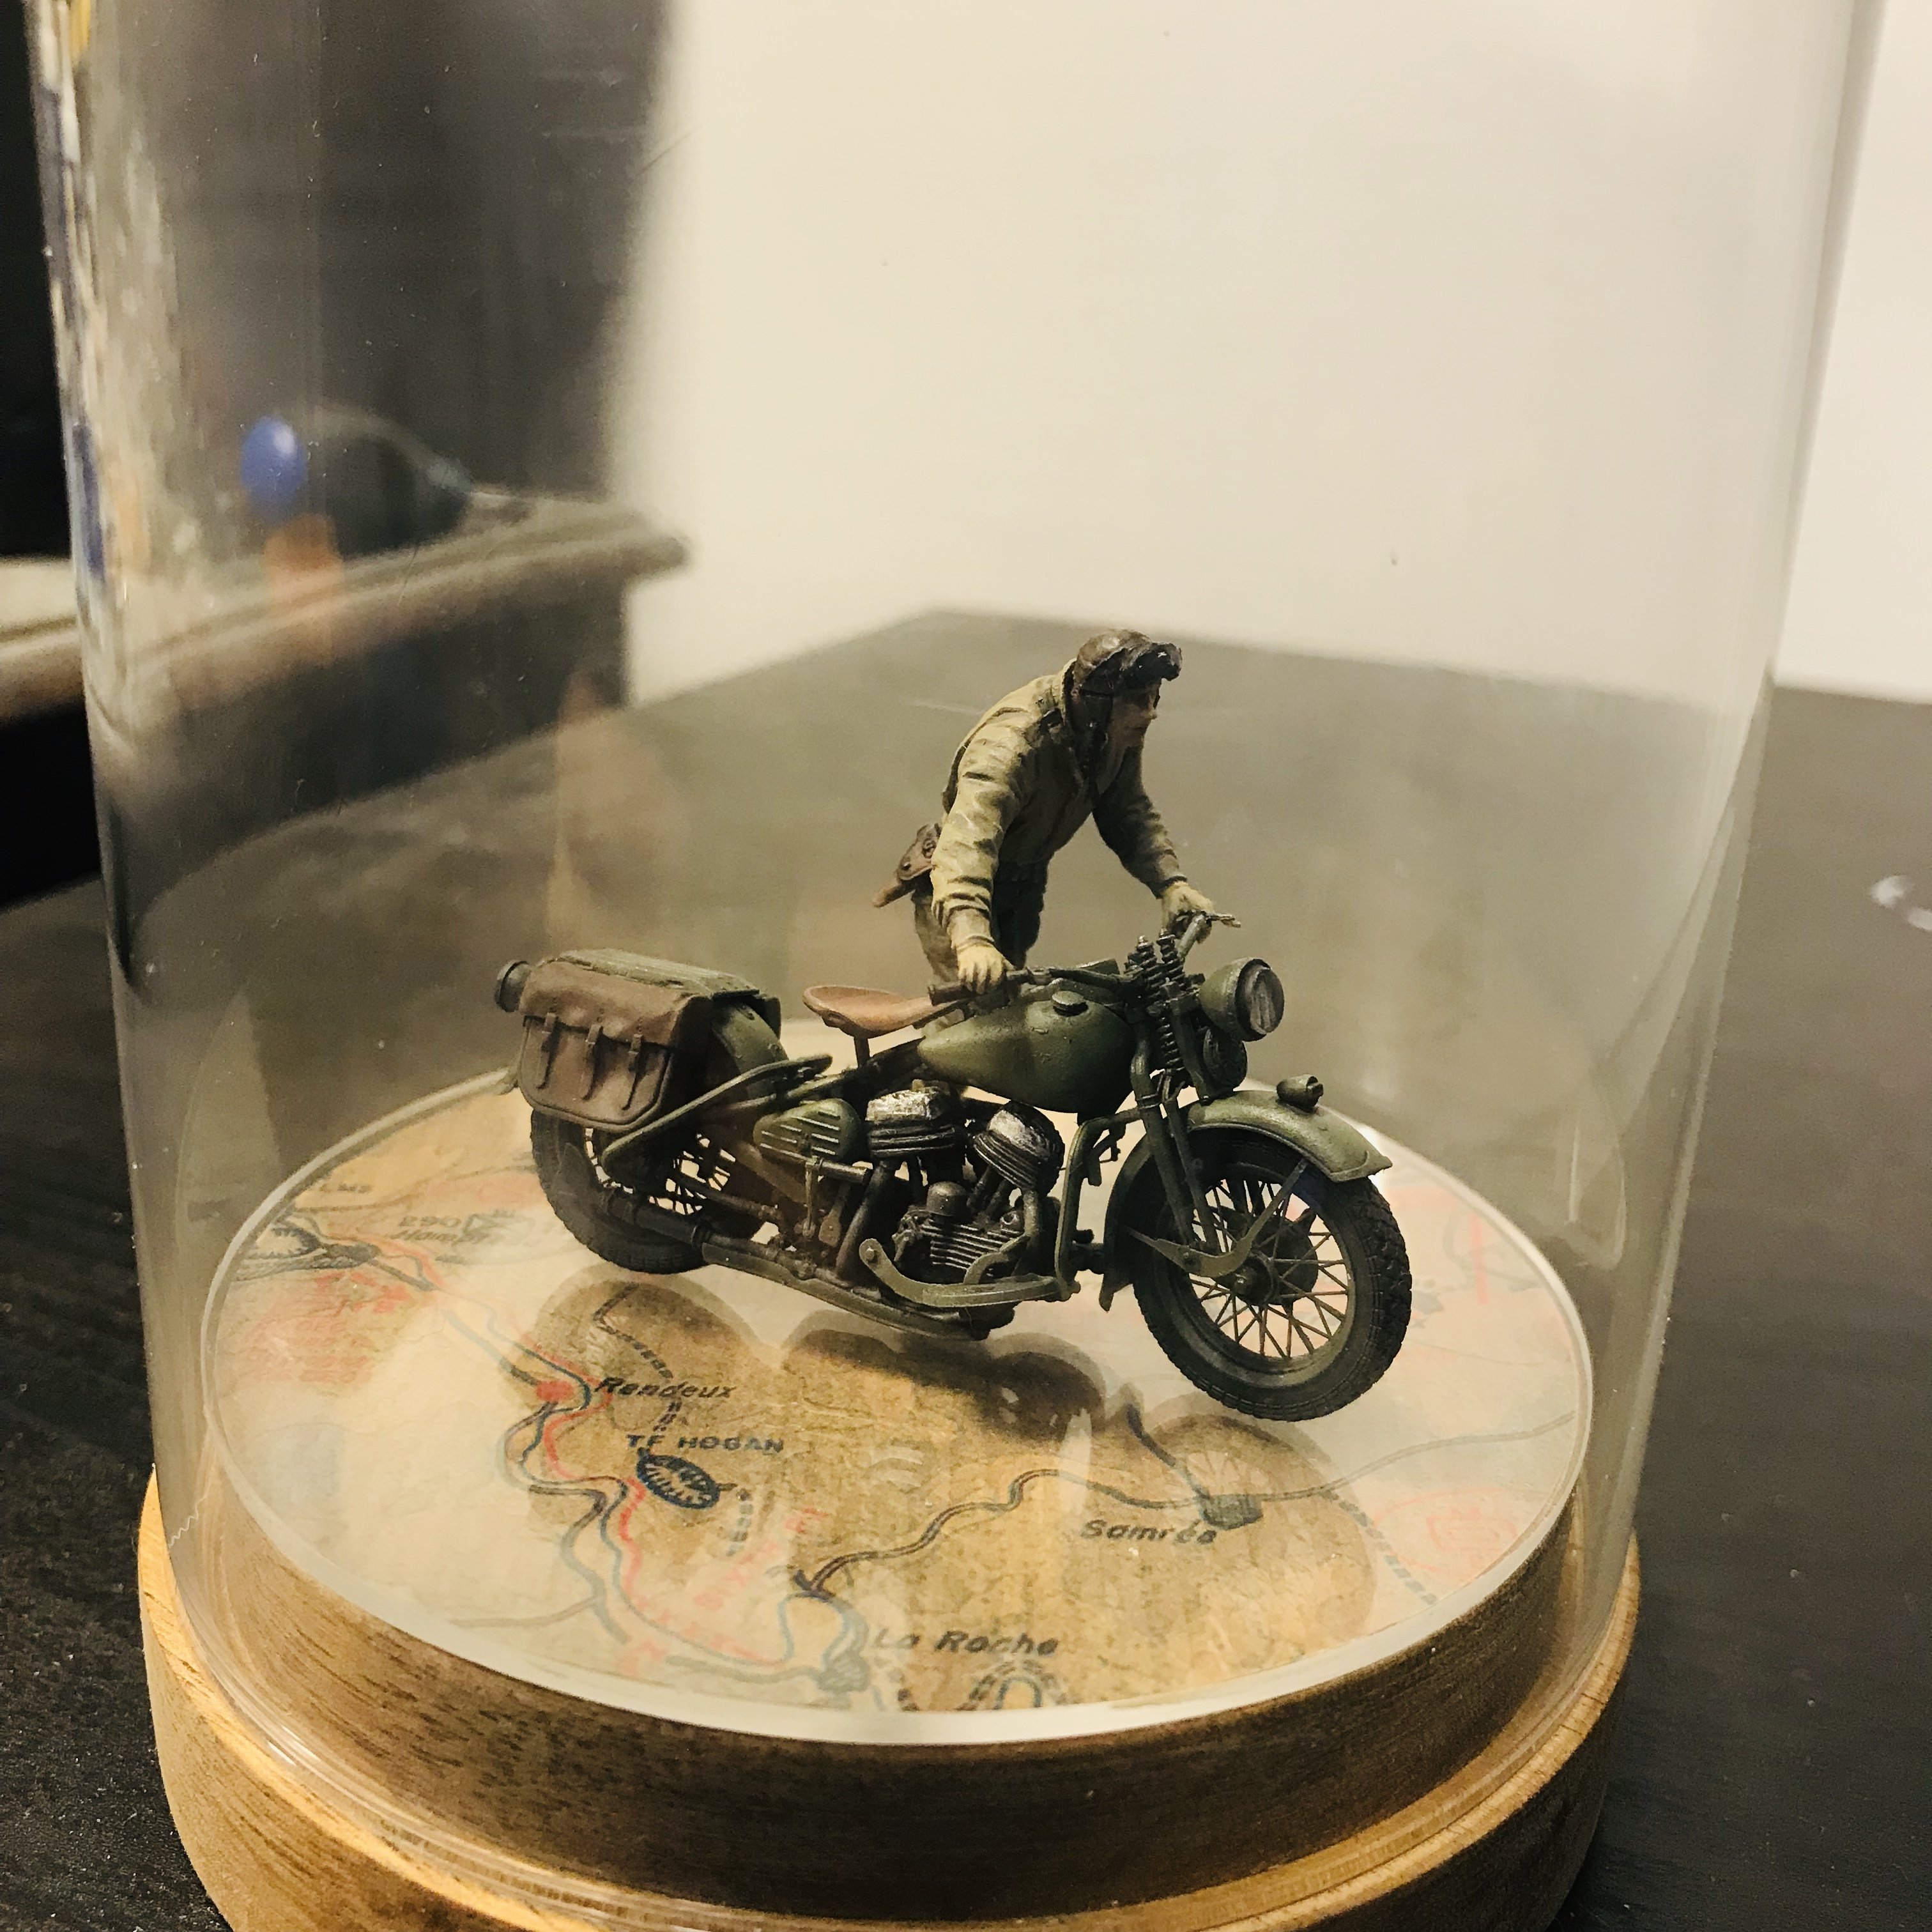
1/35 Harley Davidson WLA
JeroenPeters replied to JeroenPeters's topic in LSM 1/35 and Larger Work In Progress
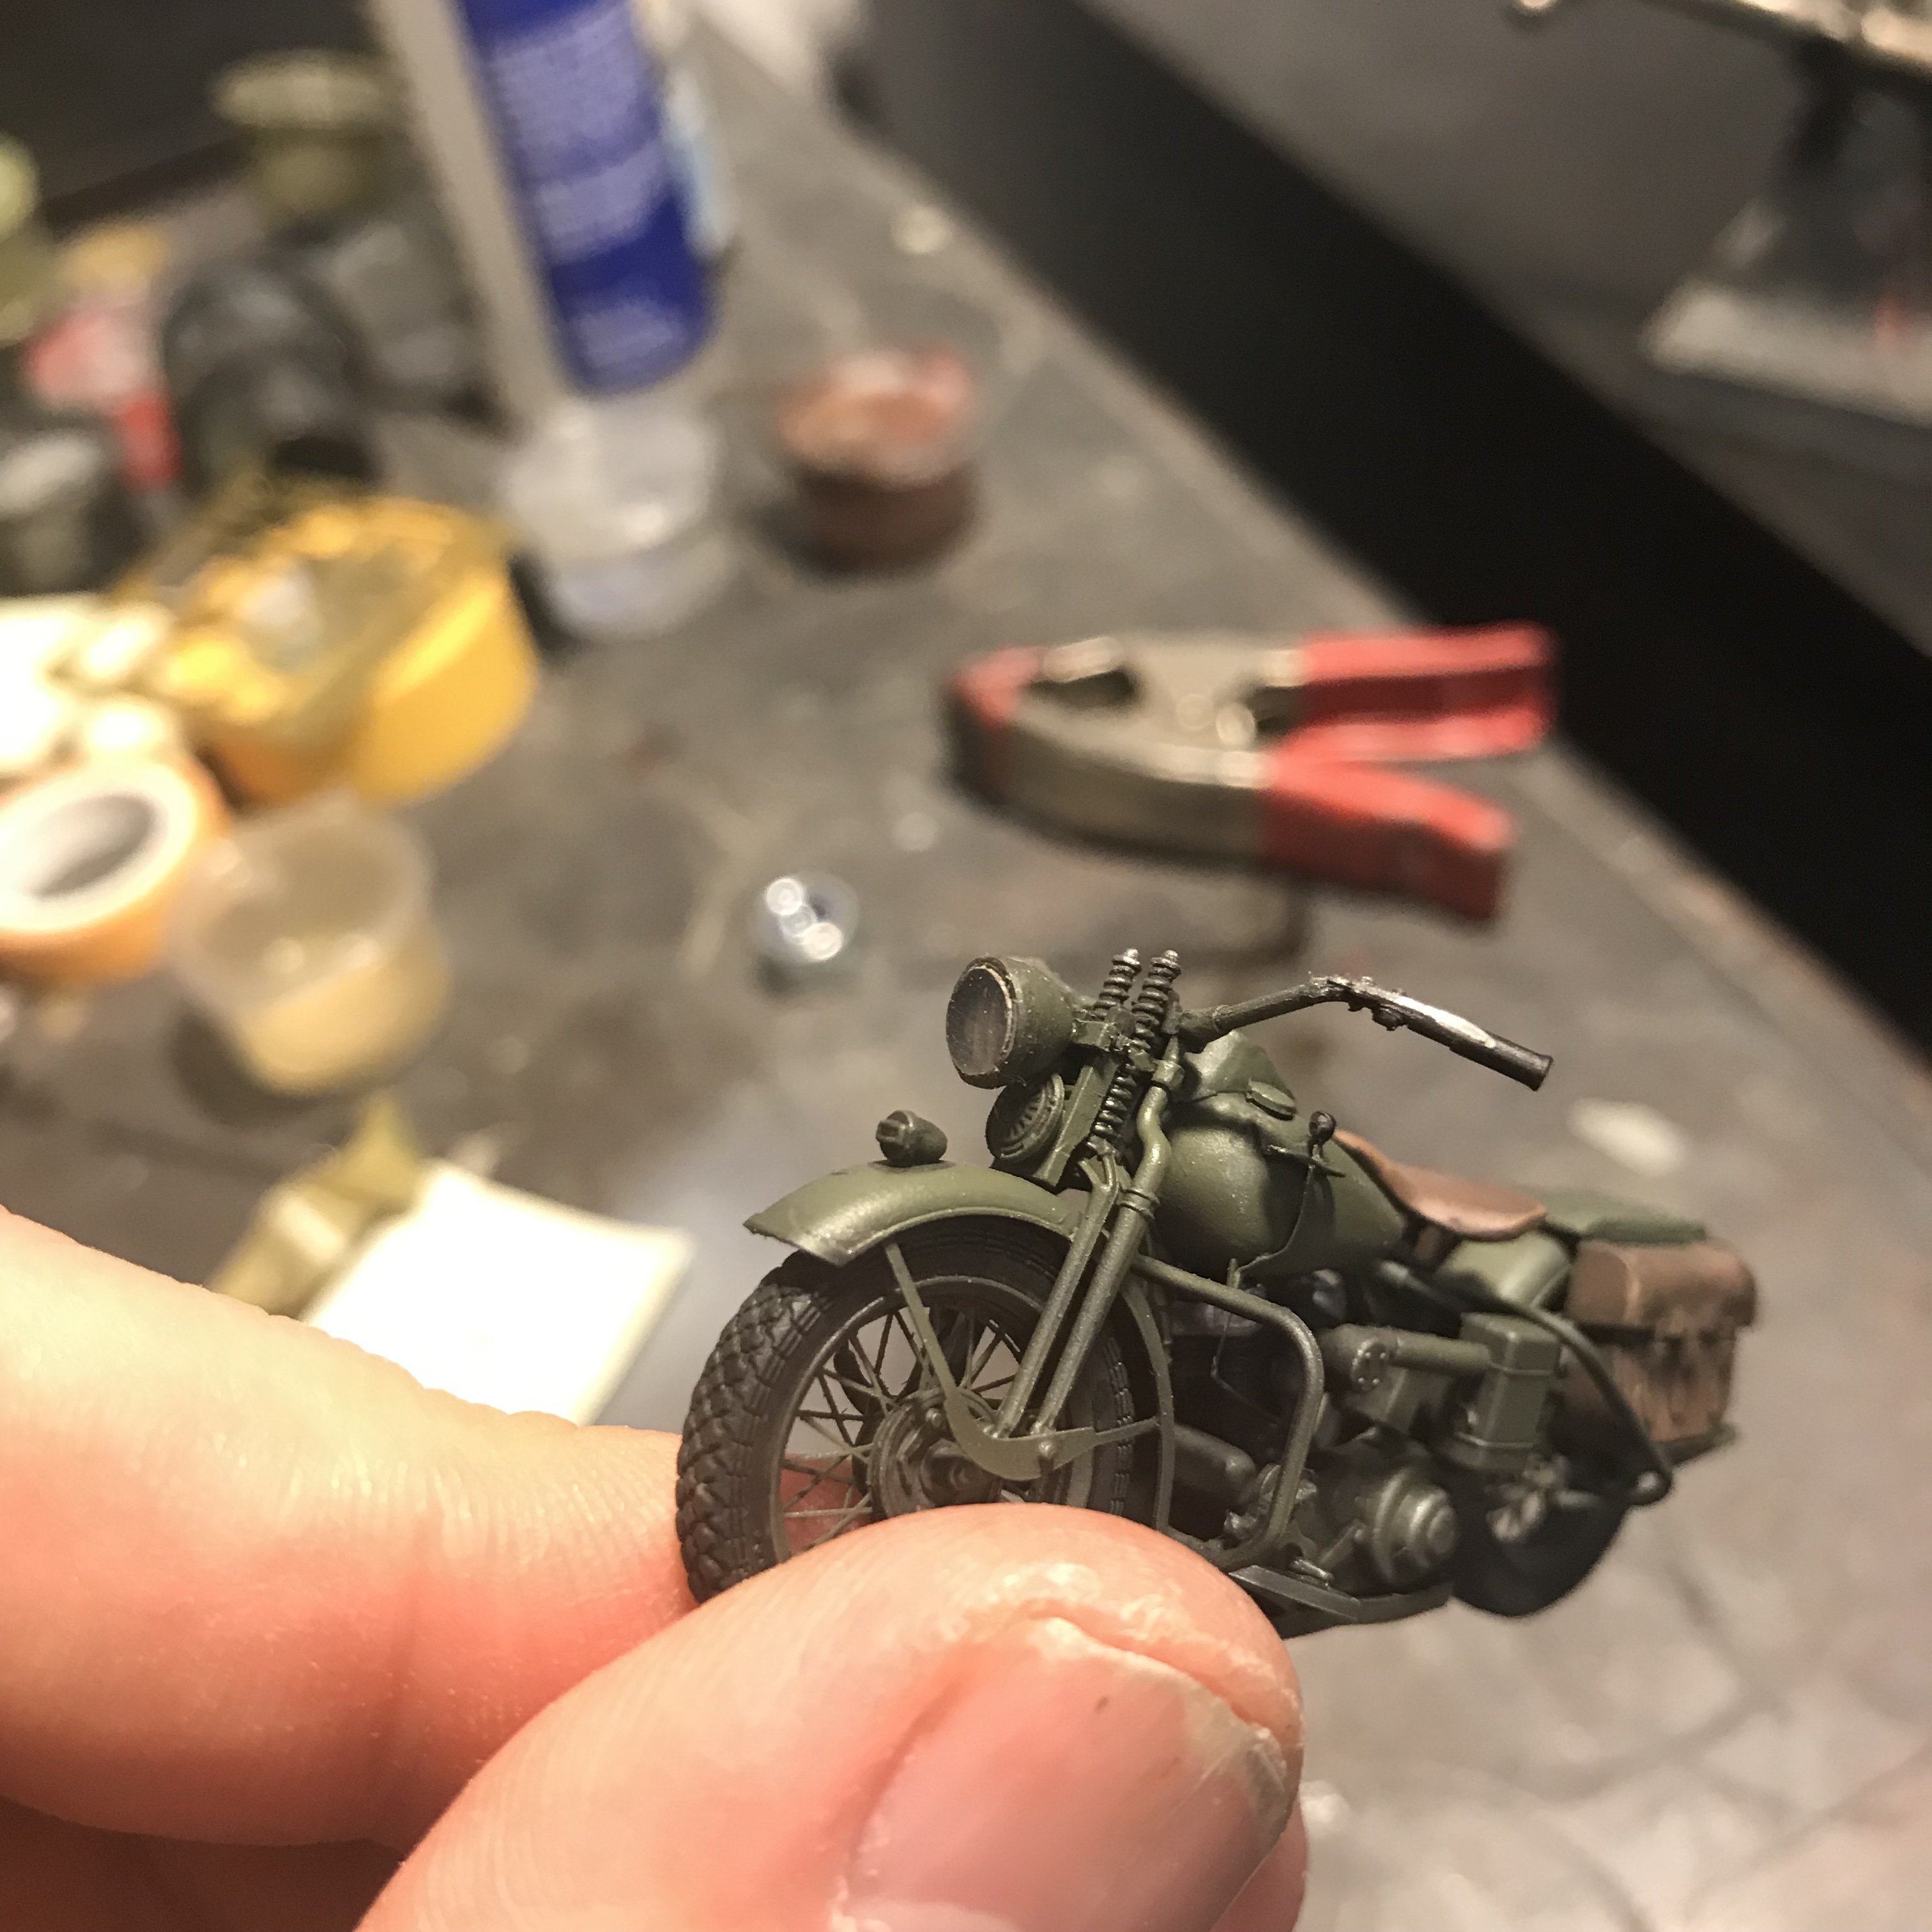
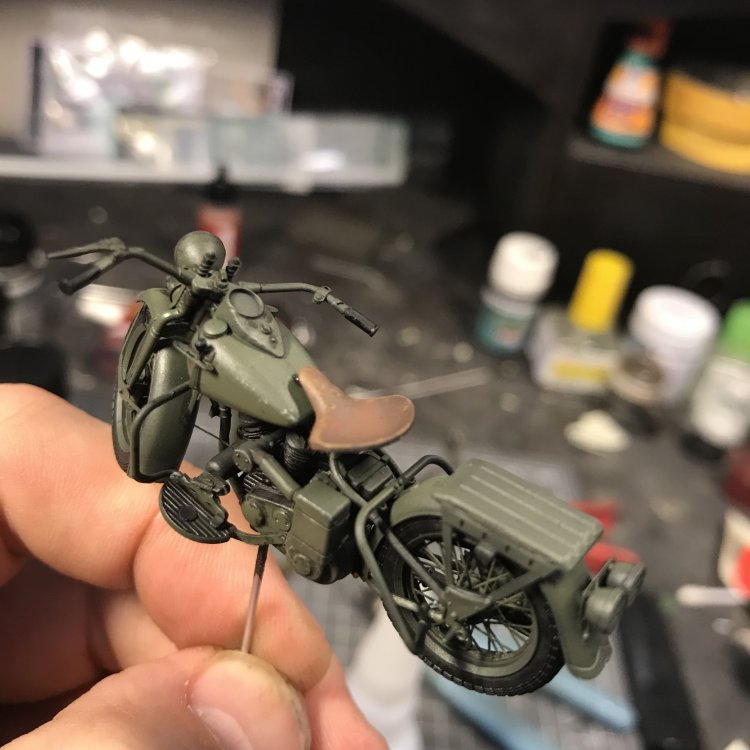
Wasn’t happy with the headlight. The angle was wrong and the glass protruded too much. Sanded it back and polished. Happy now...
-
1/35 Harley Davidson WLA
JeroenPeters replied to JeroenPeters's topic in LSM 1/35 and Larger Work In Progress
Almost there!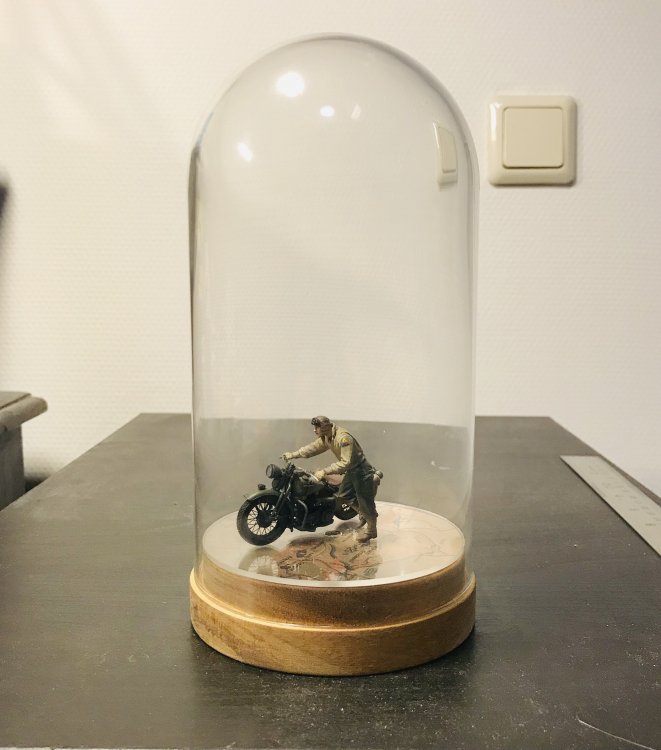

-
Dragon Bf 110 C-7
JeroenPeters replied to BlrwestSiR's topic in LSM 1/35 and Larger Work In Progress
Nice start! -
Short Sunderland MkII
JeroenPeters replied to ThomasProbert's topic in LSM 1/35 and Larger Work In Progress
Oh my lord!! That is amazing! Good to see this here! Following this with a lot of interest. -
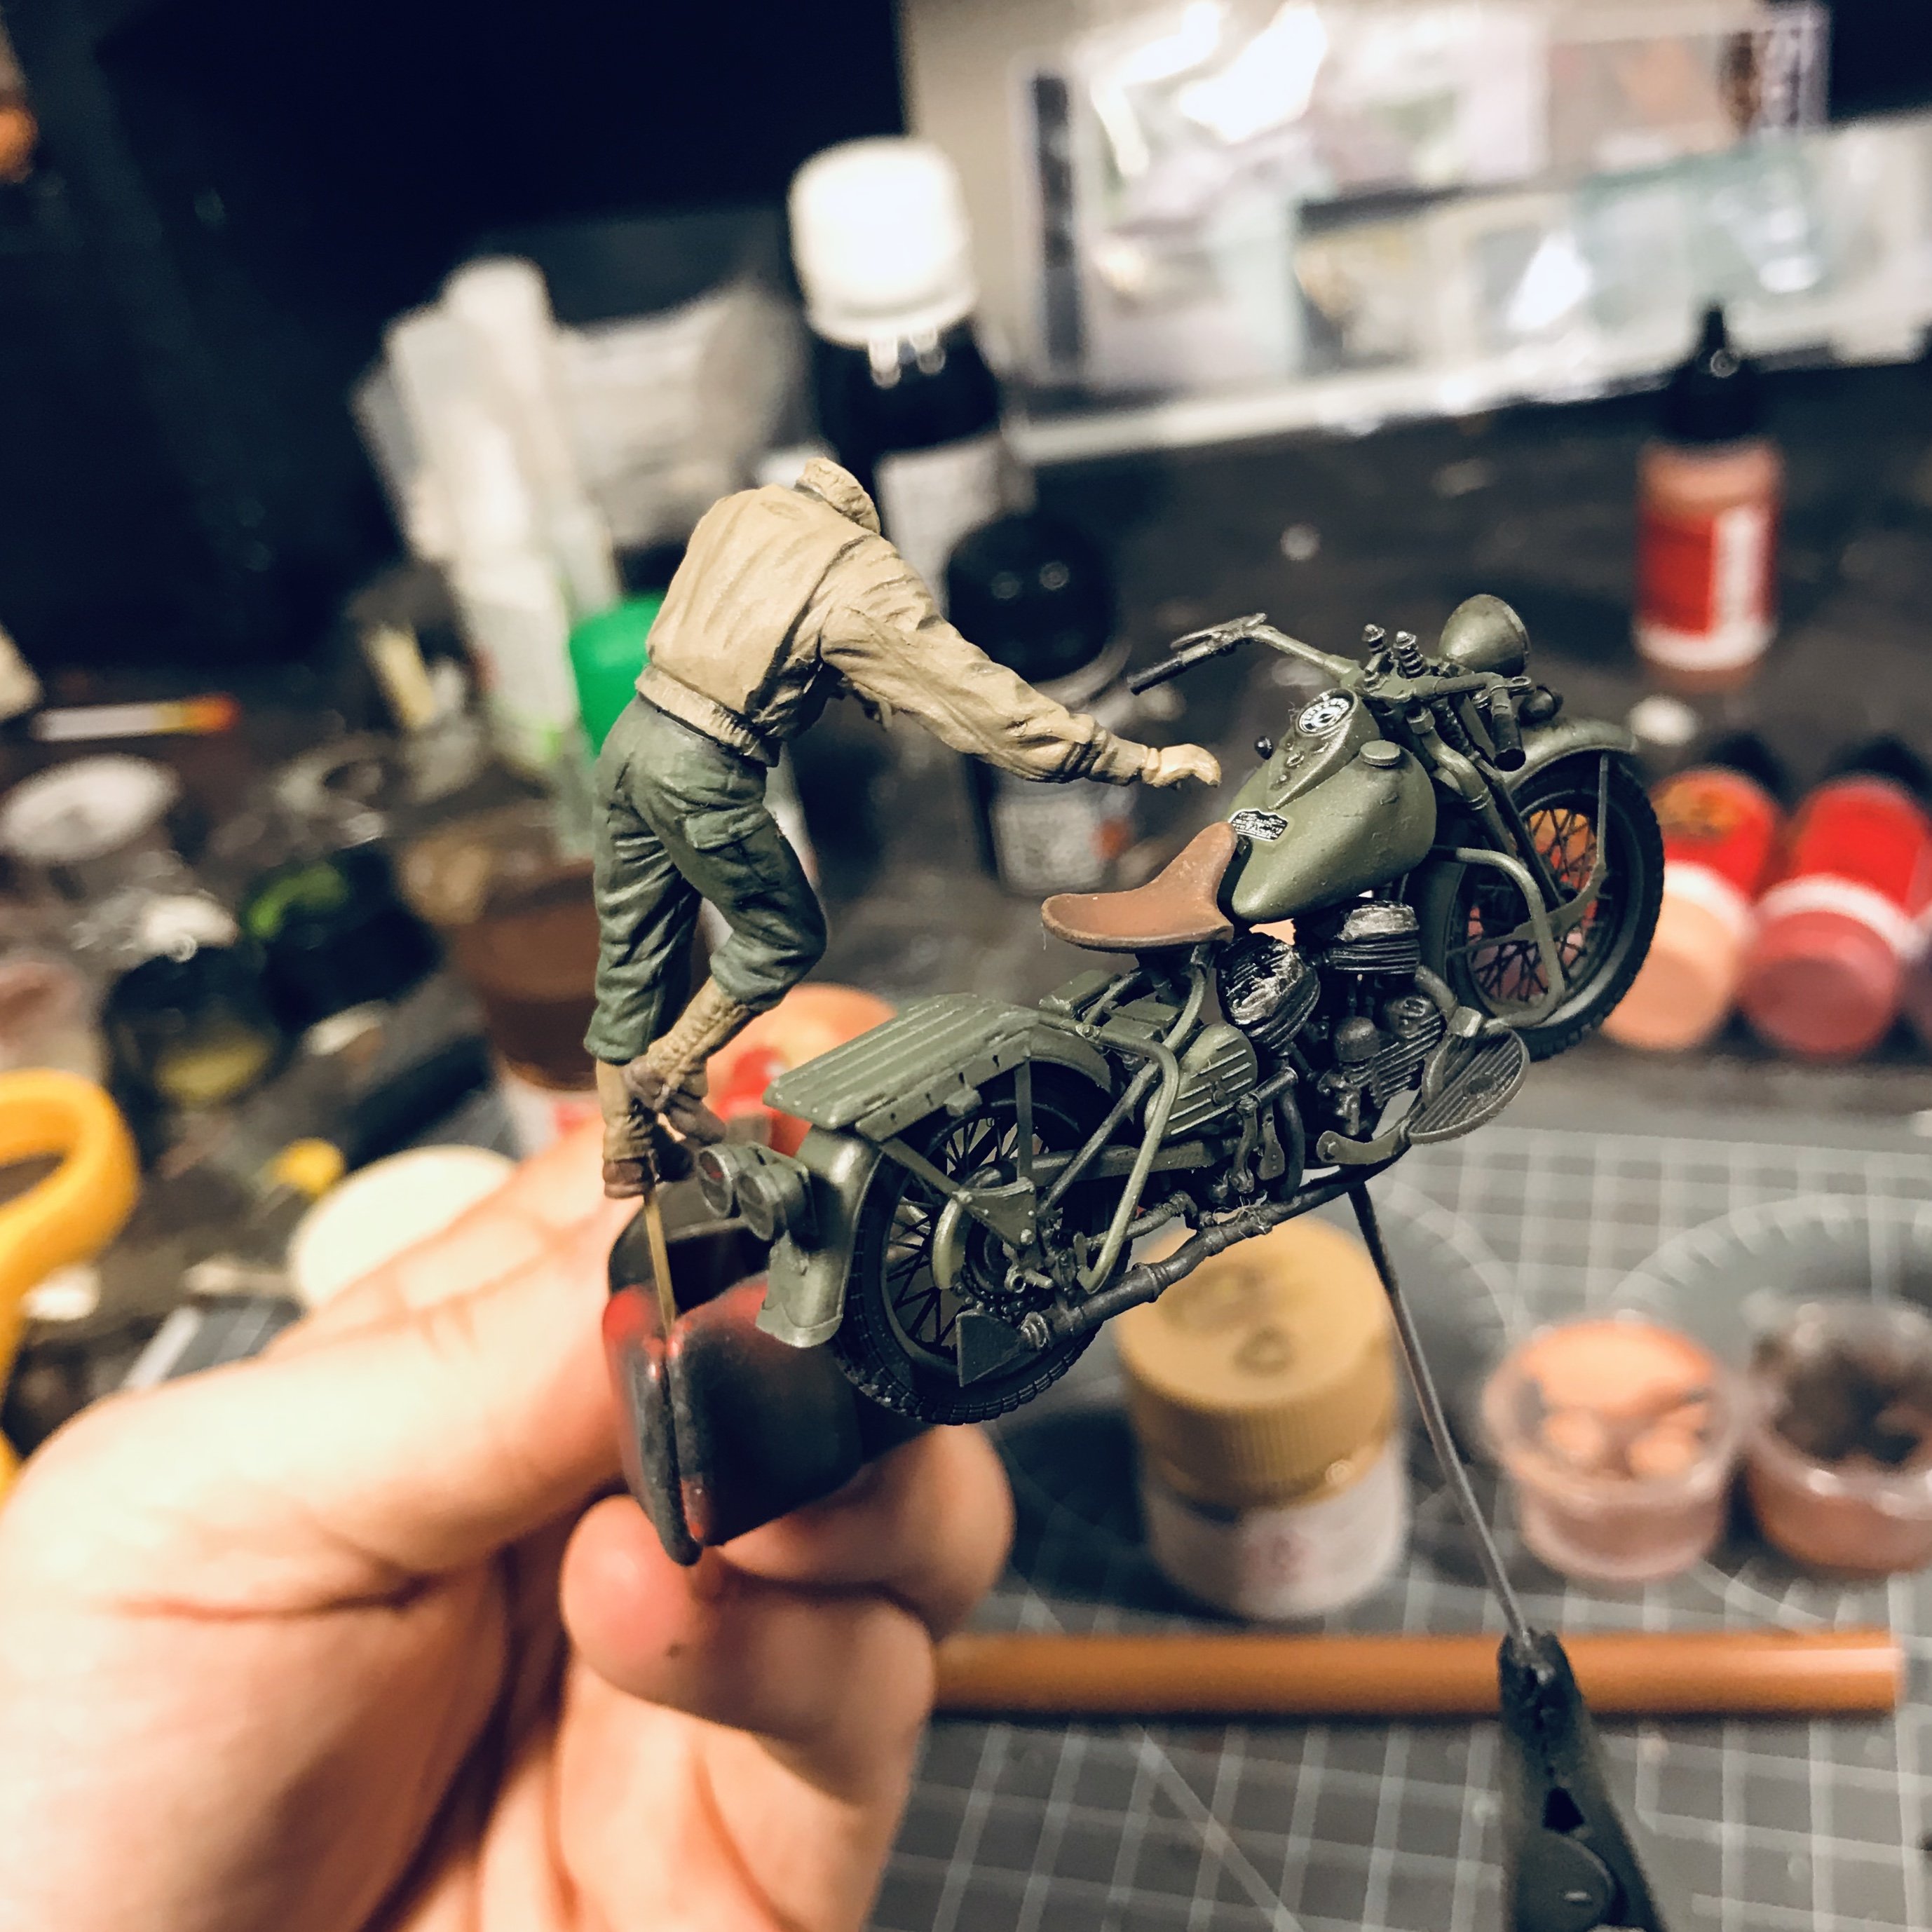
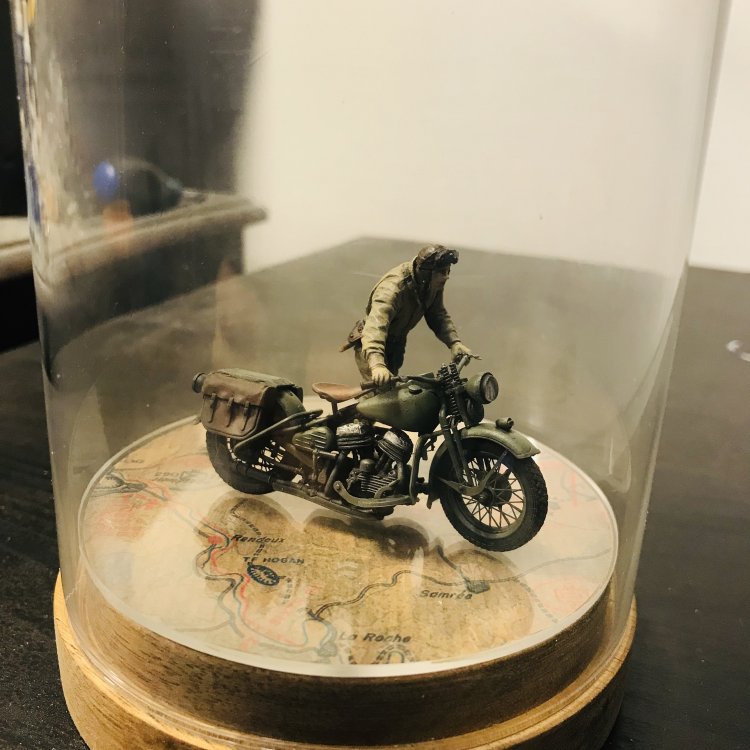
1/35 Harley Davidson WLA
JeroenPeters replied to JeroenPeters's topic in LSM 1/35 and Larger Work In Progress
Adding the bags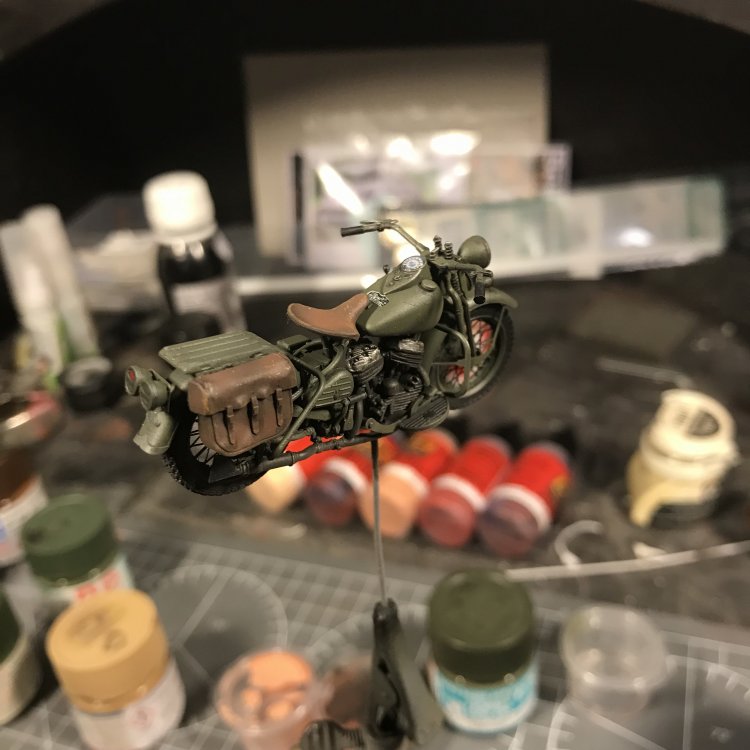
-
1/35 Harley Davidson WLA
JeroenPeters replied to JeroenPeters's topic in LSM 1/35 and Larger Work In Progress
Baby steps! Started painting some details.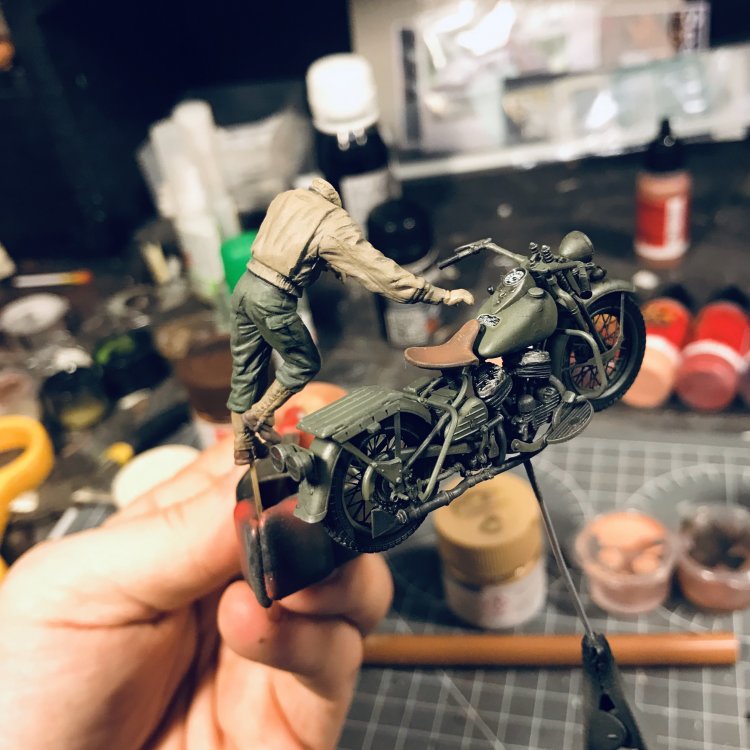
-
1/35 Harley Davidson WLA
JeroenPeters replied to JeroenPeters's topic in LSM 1/35 and Larger Work In Progress
Update!
- 57 replies
-
- 10
-
-
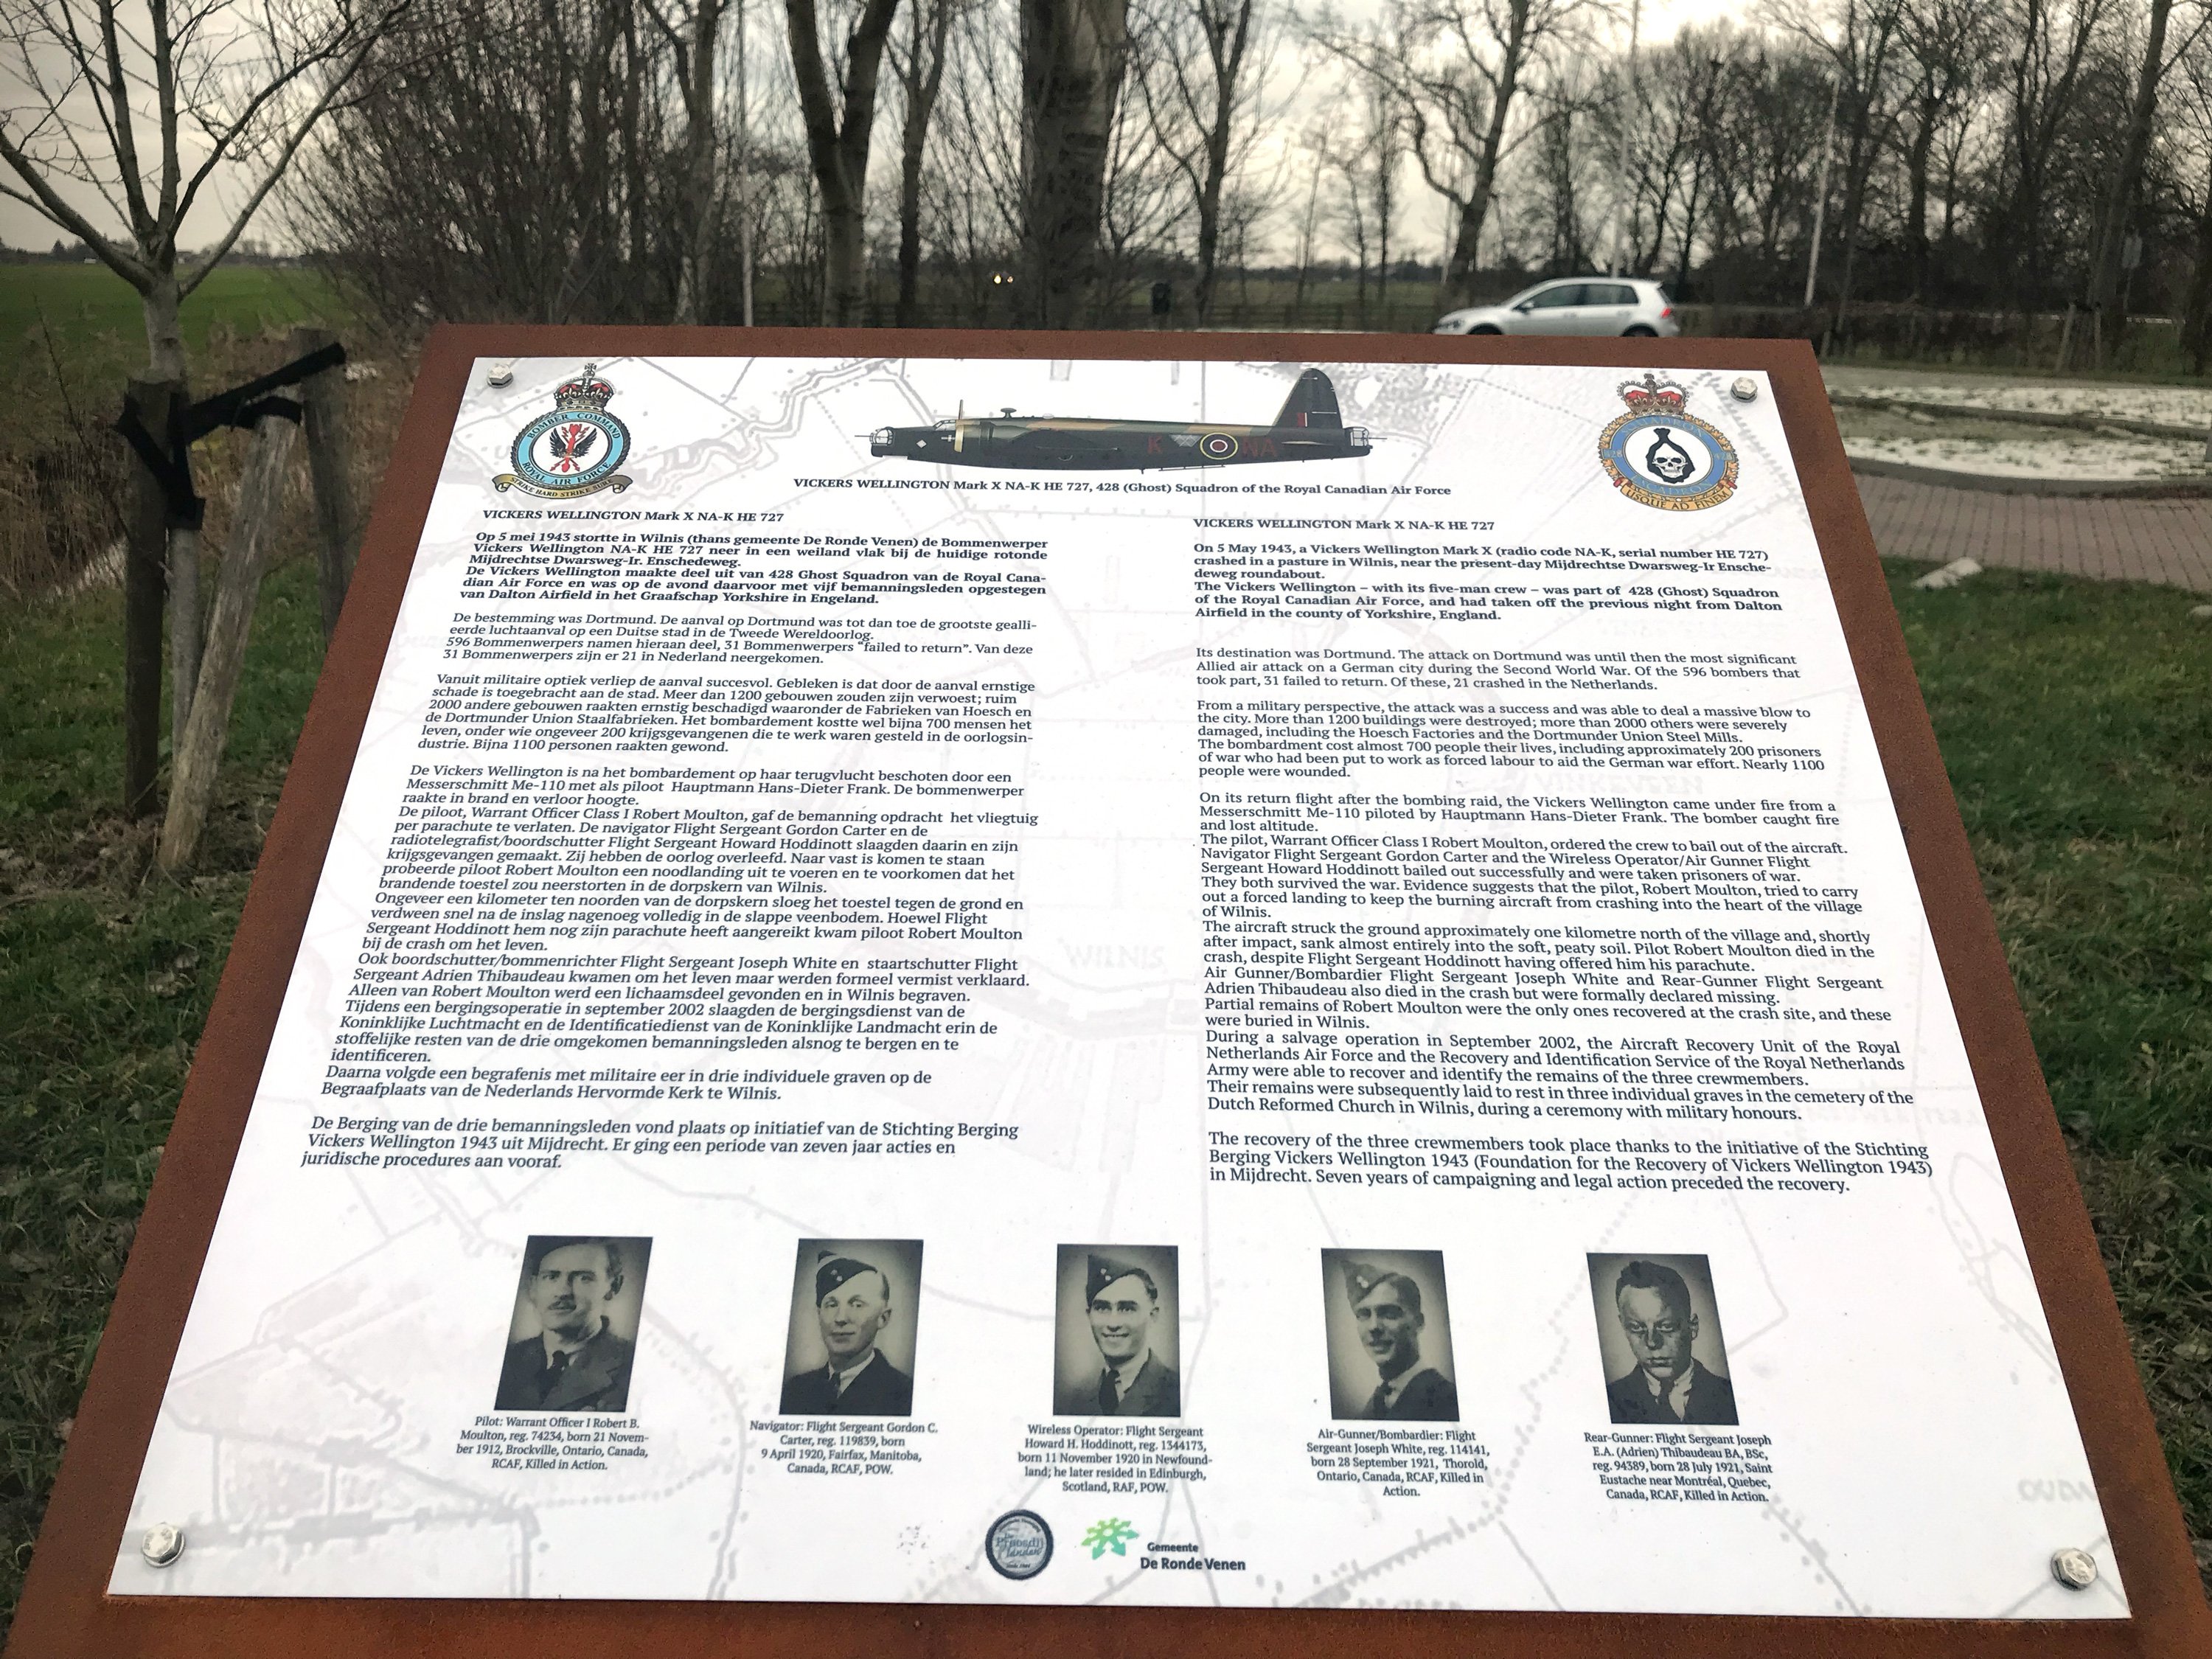
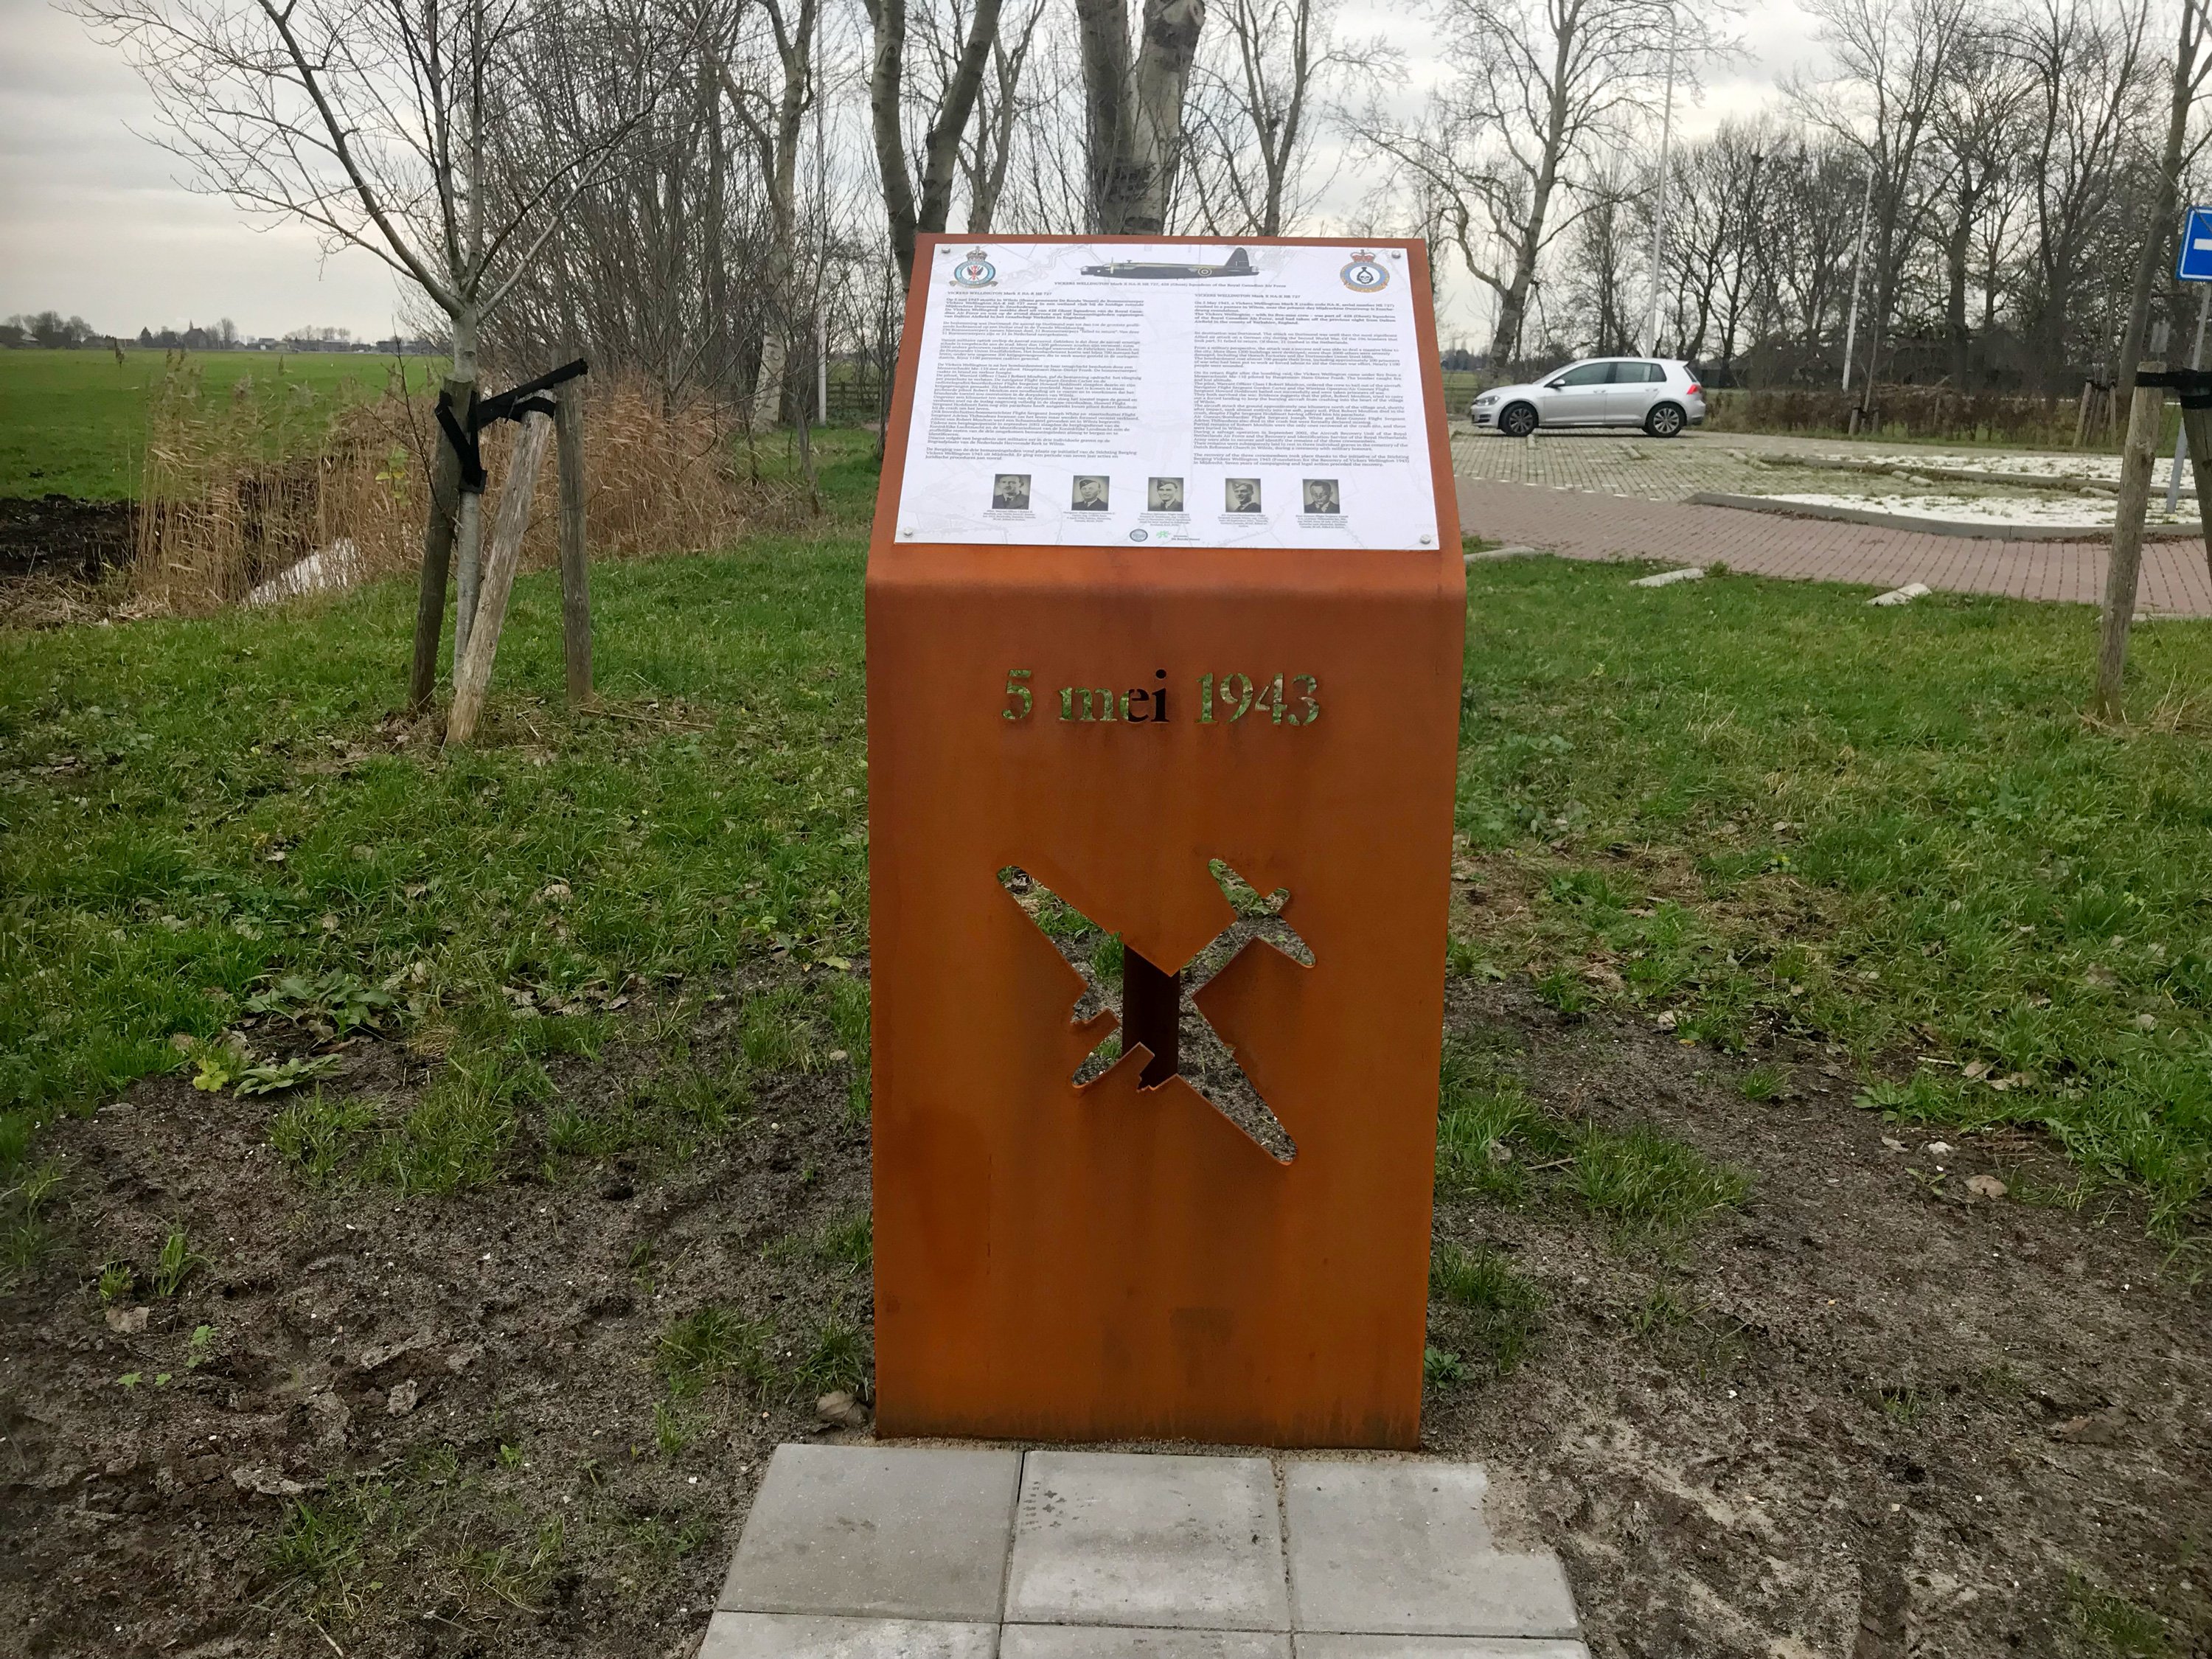
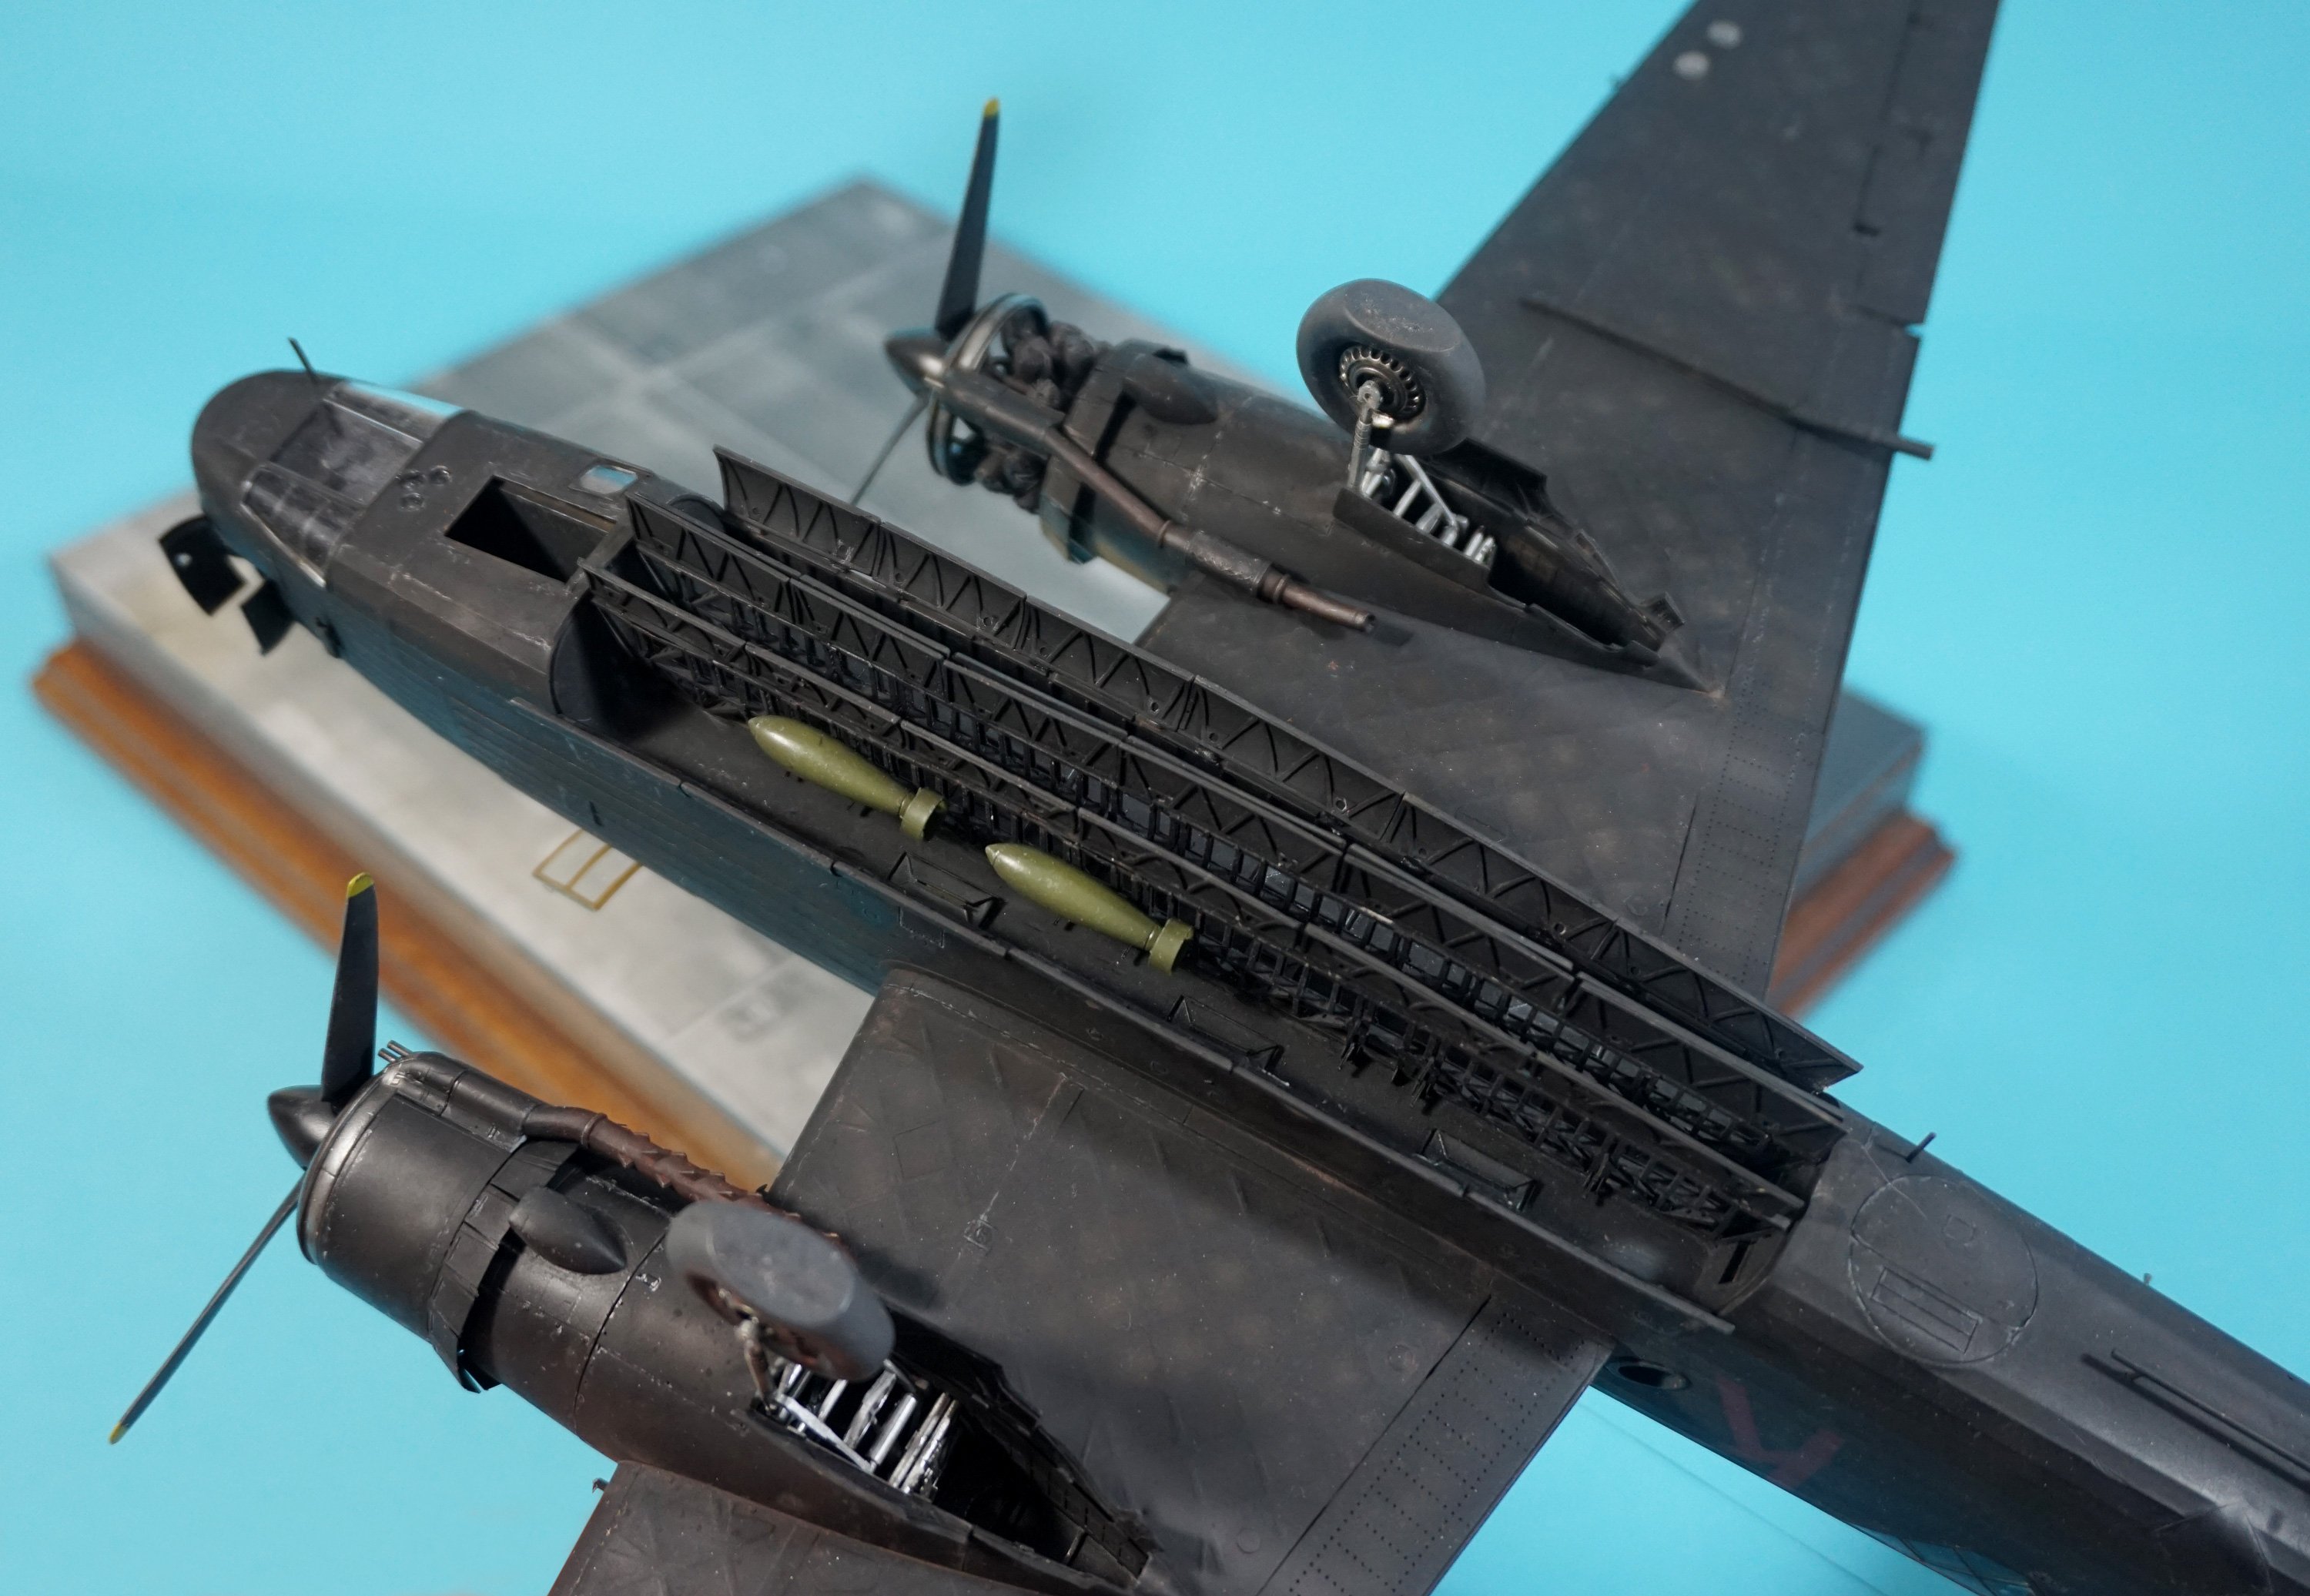
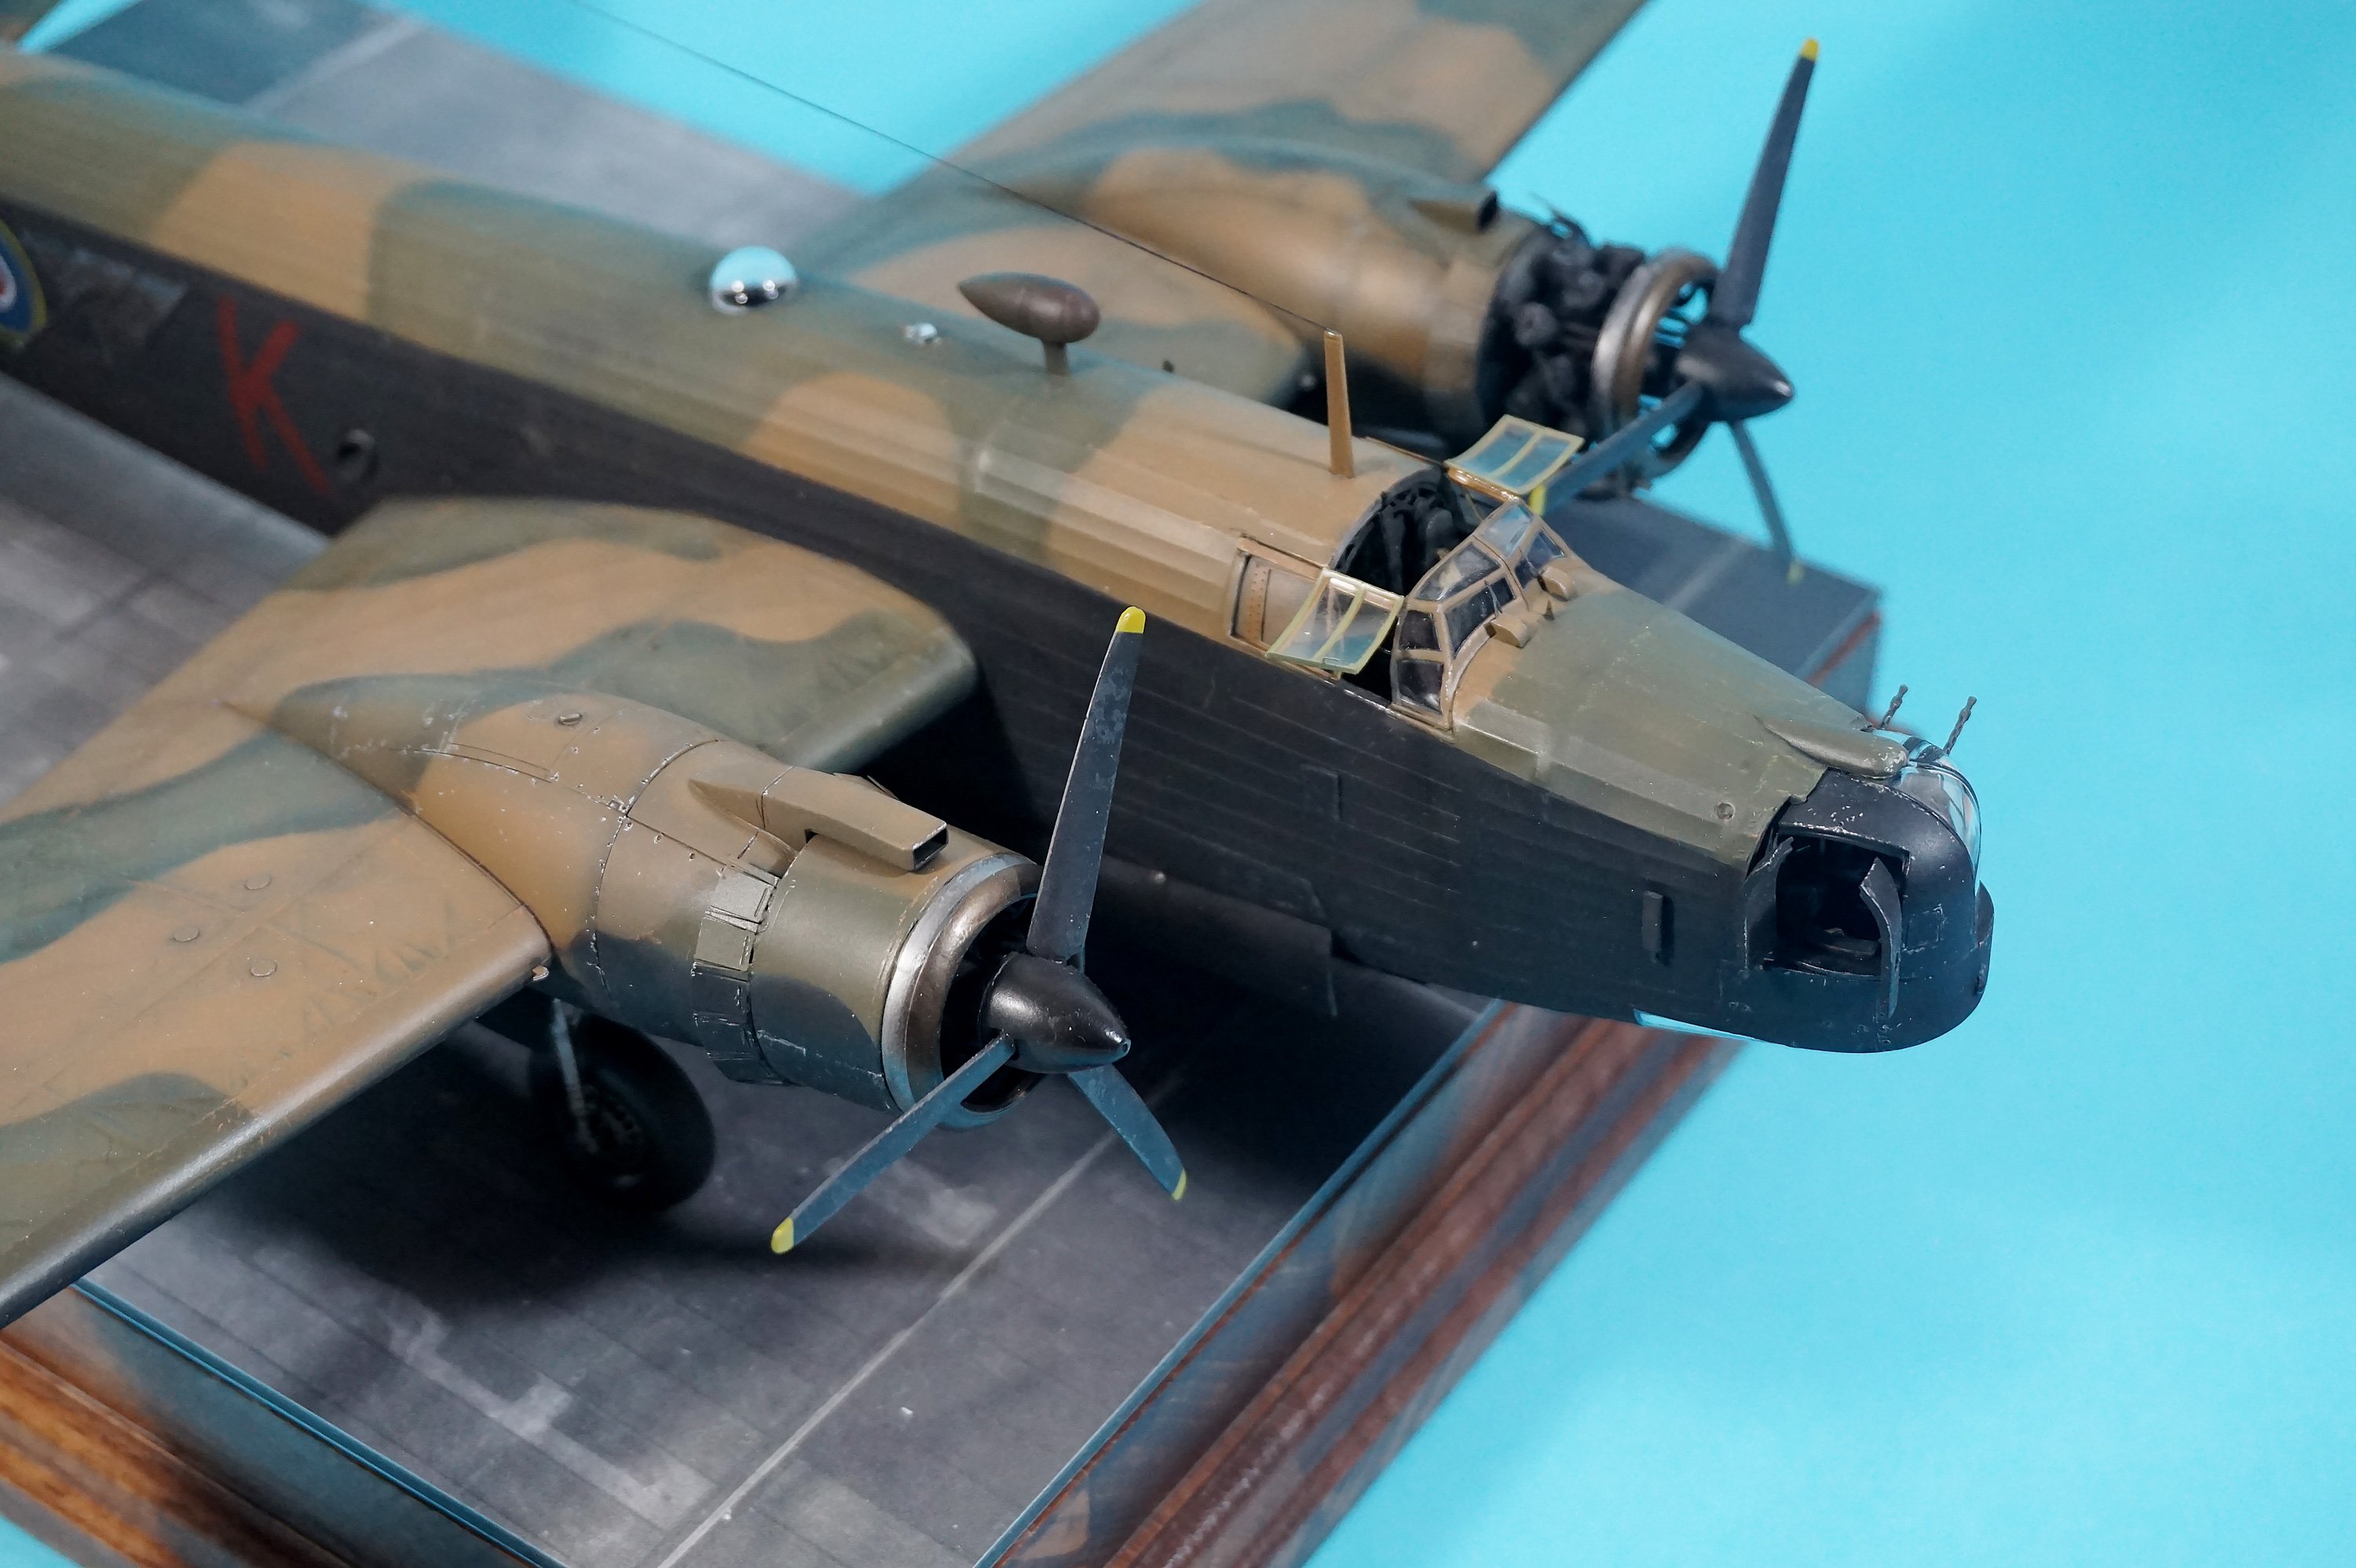
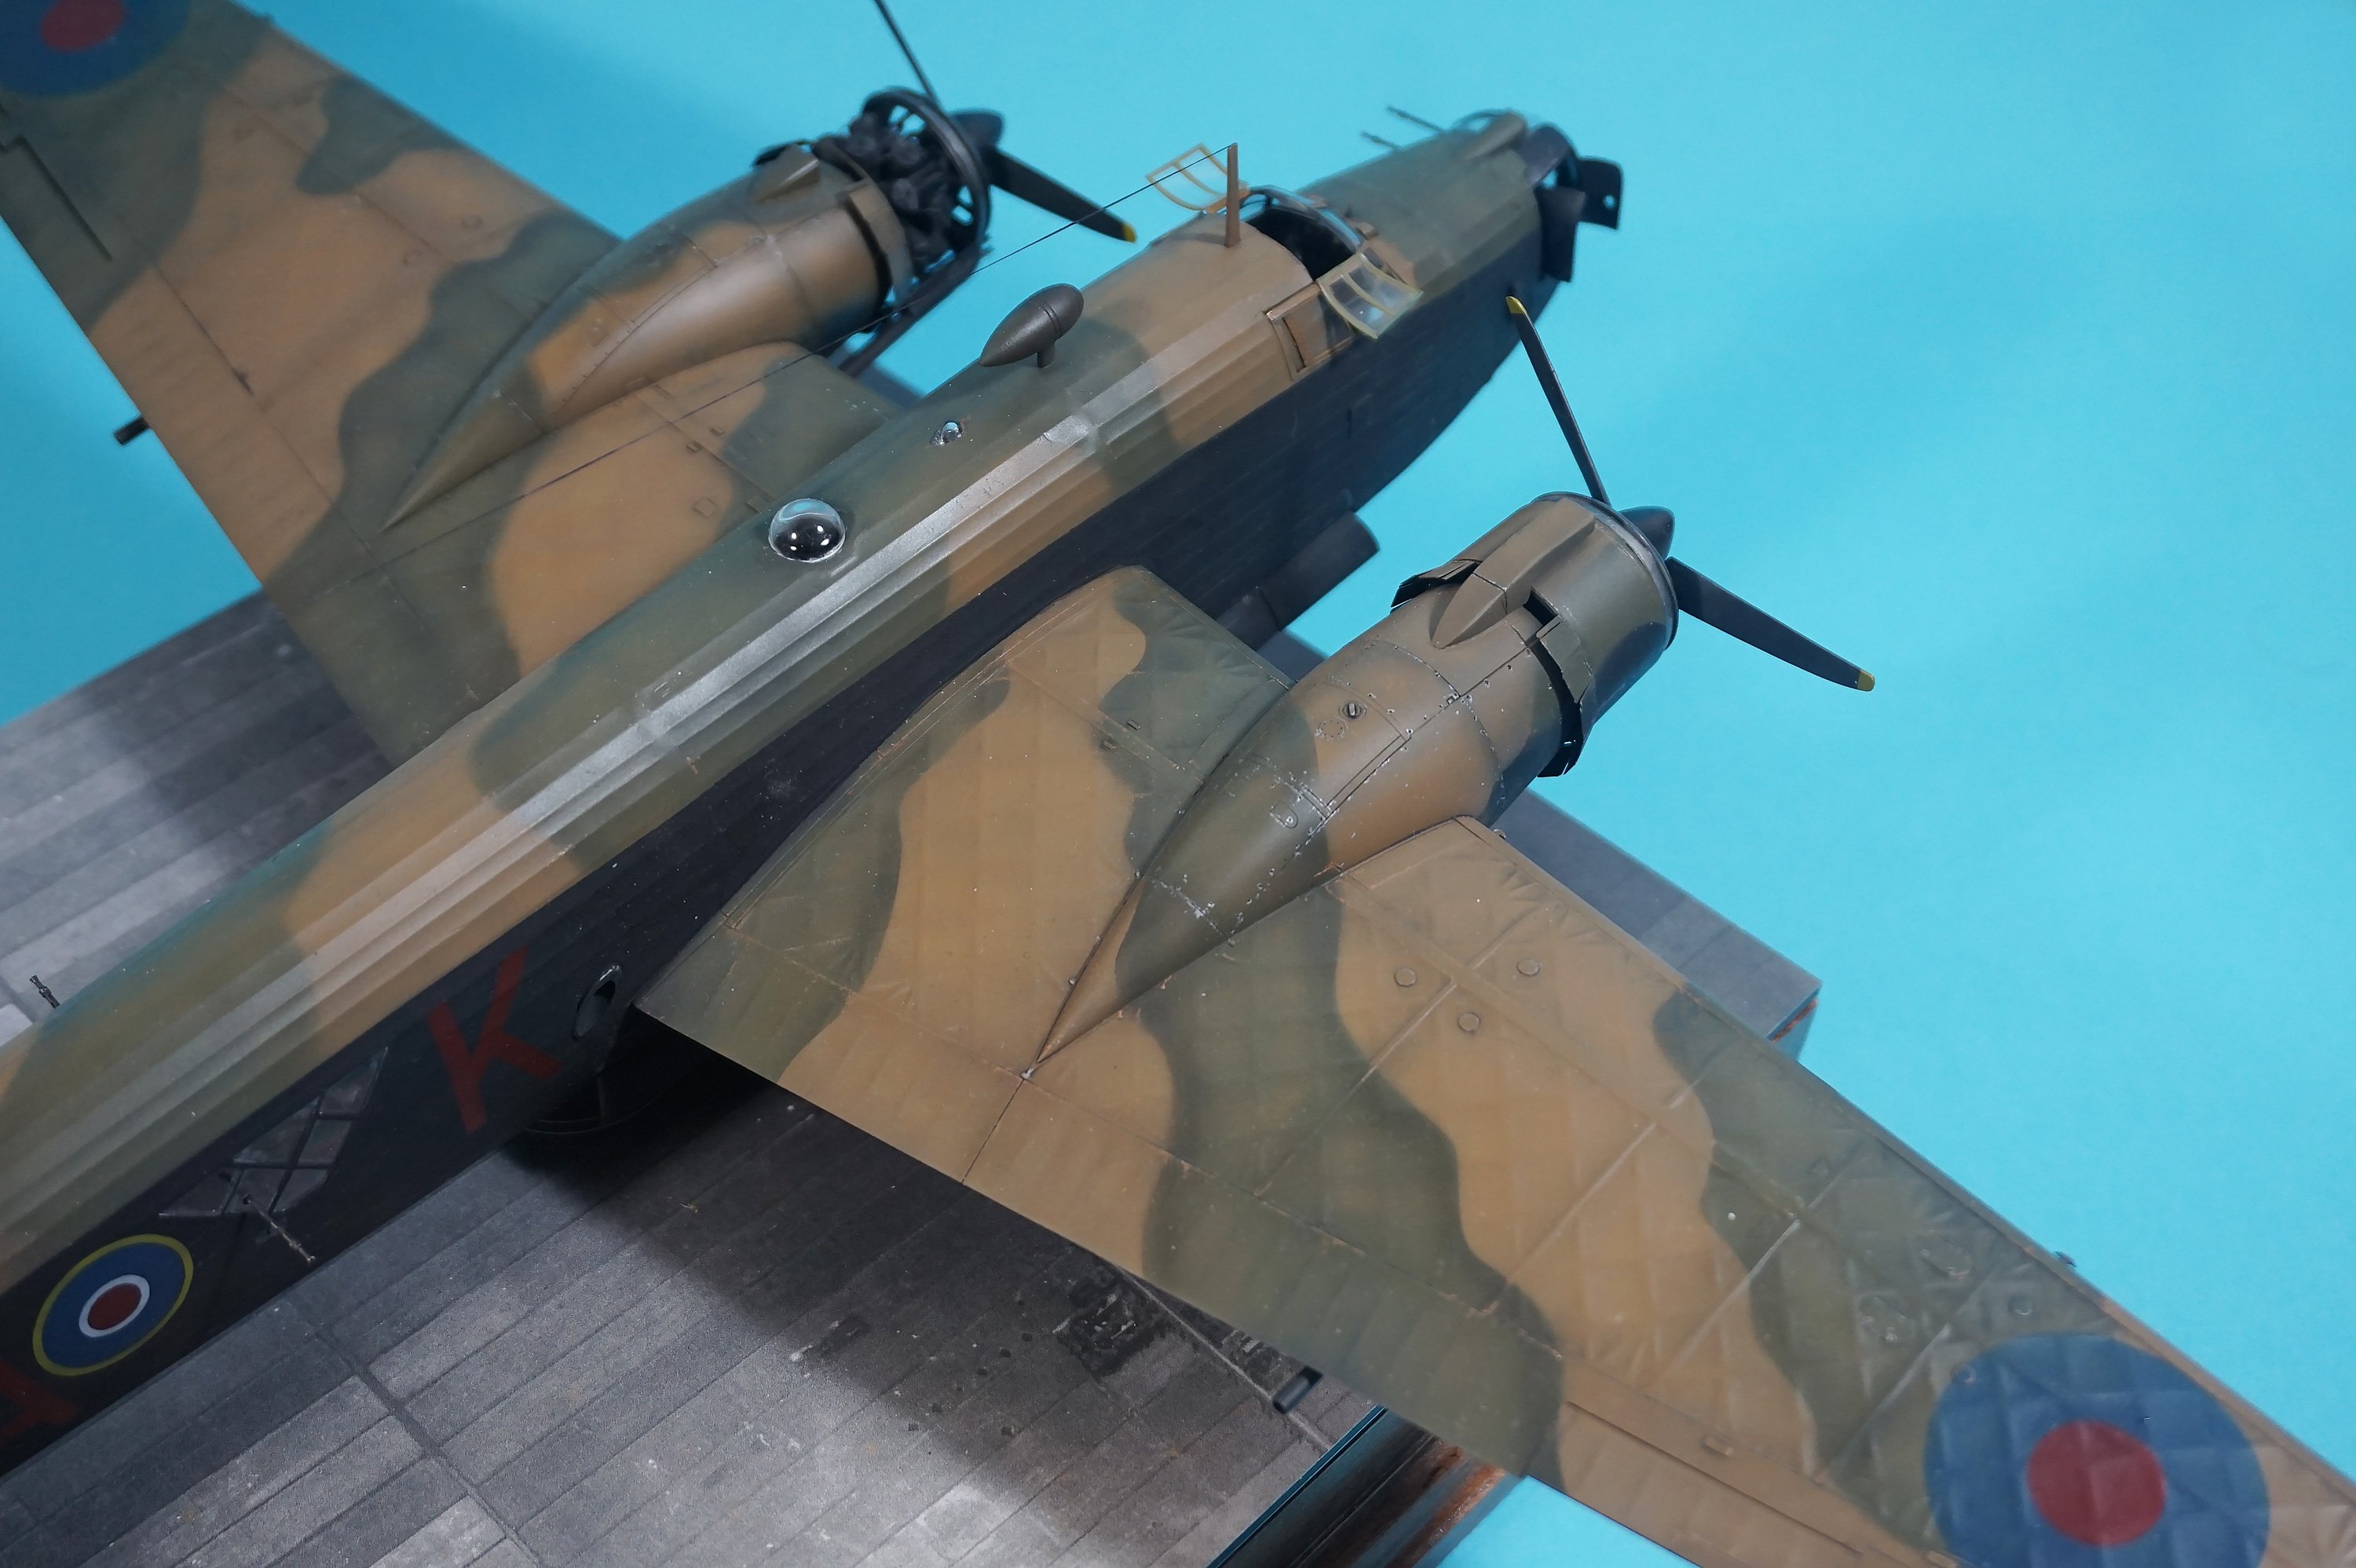
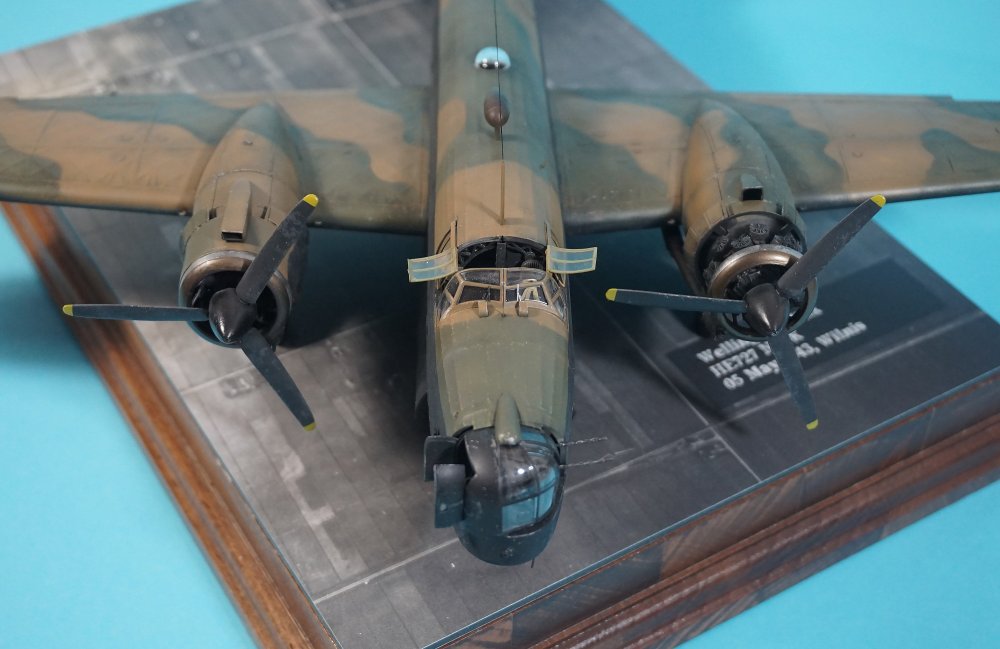
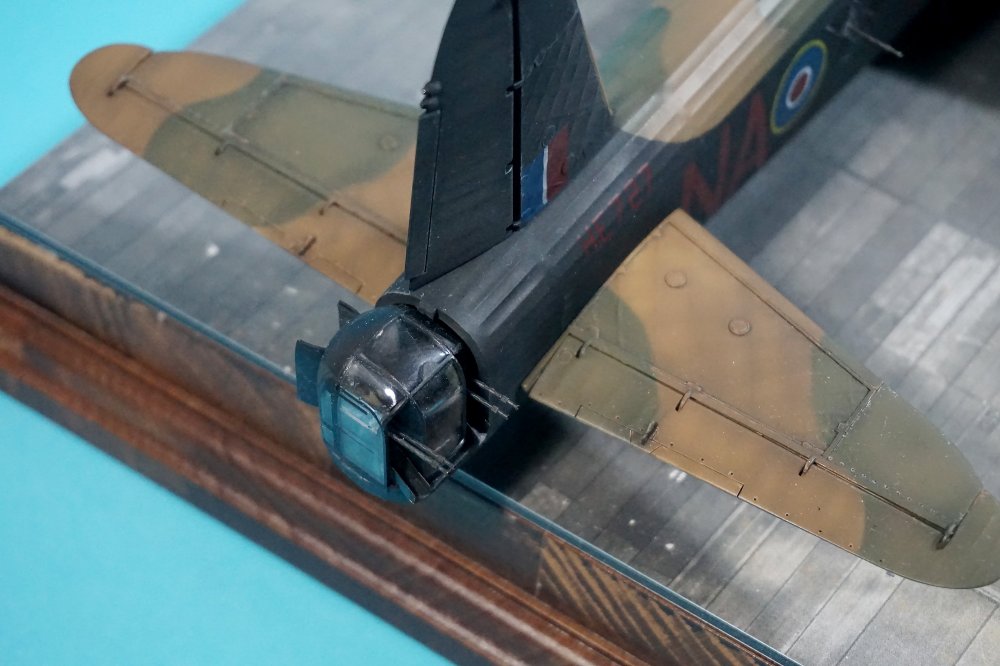
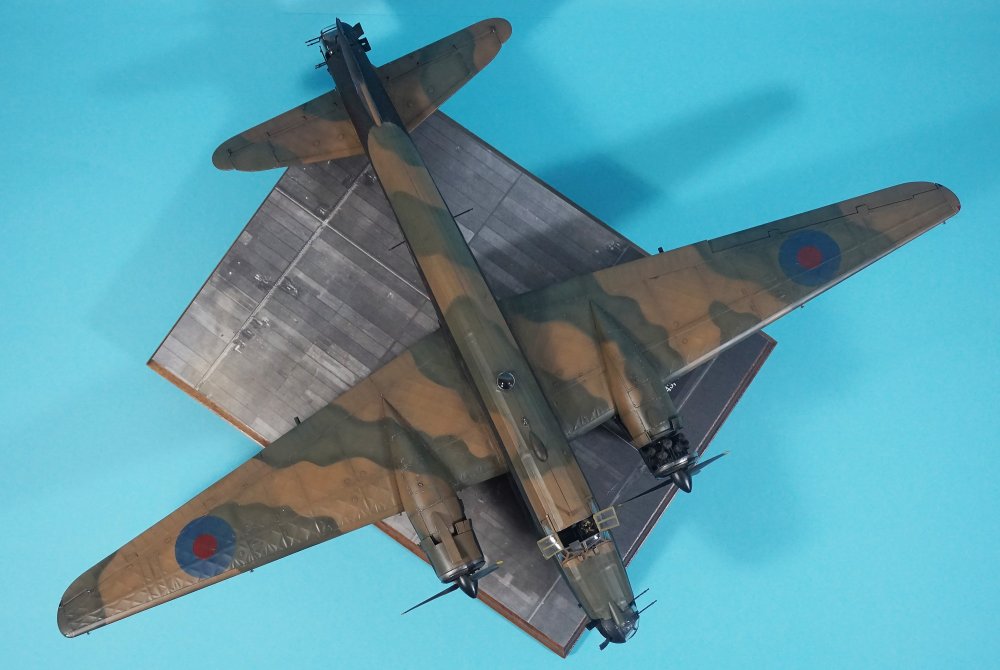
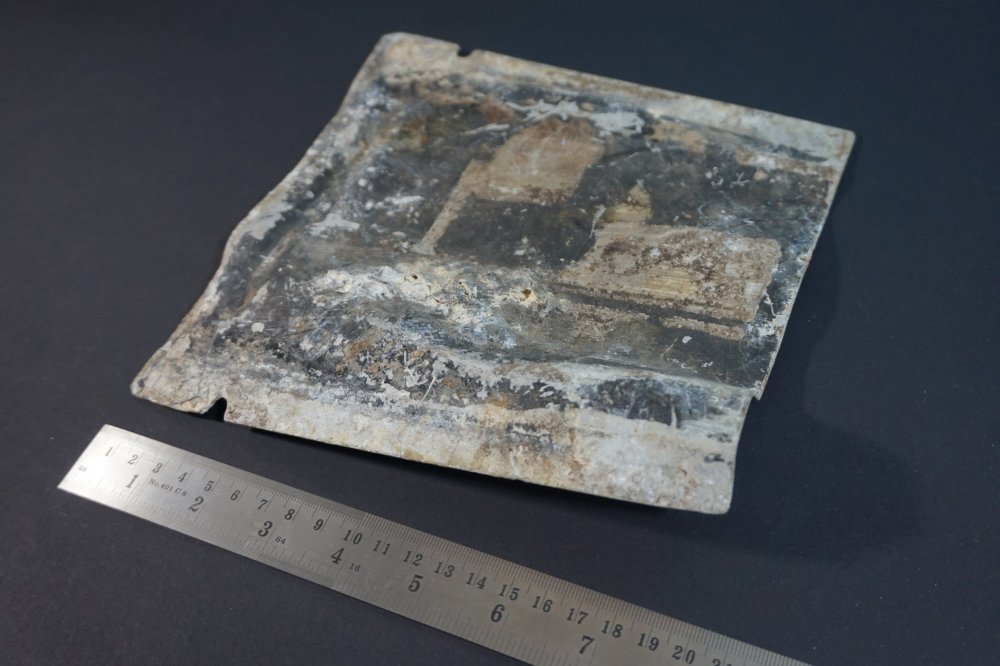
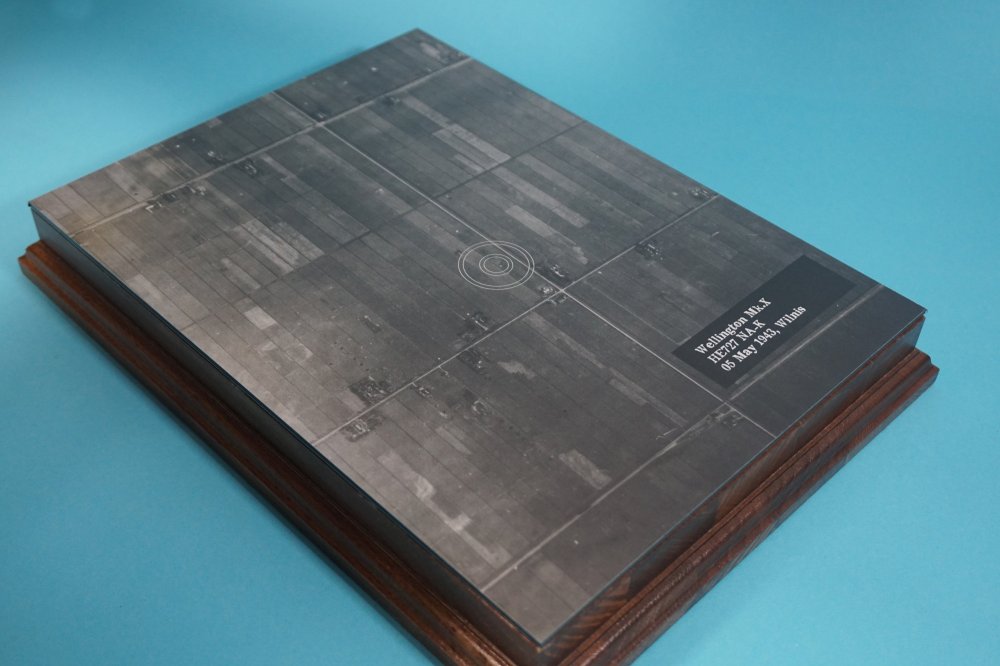
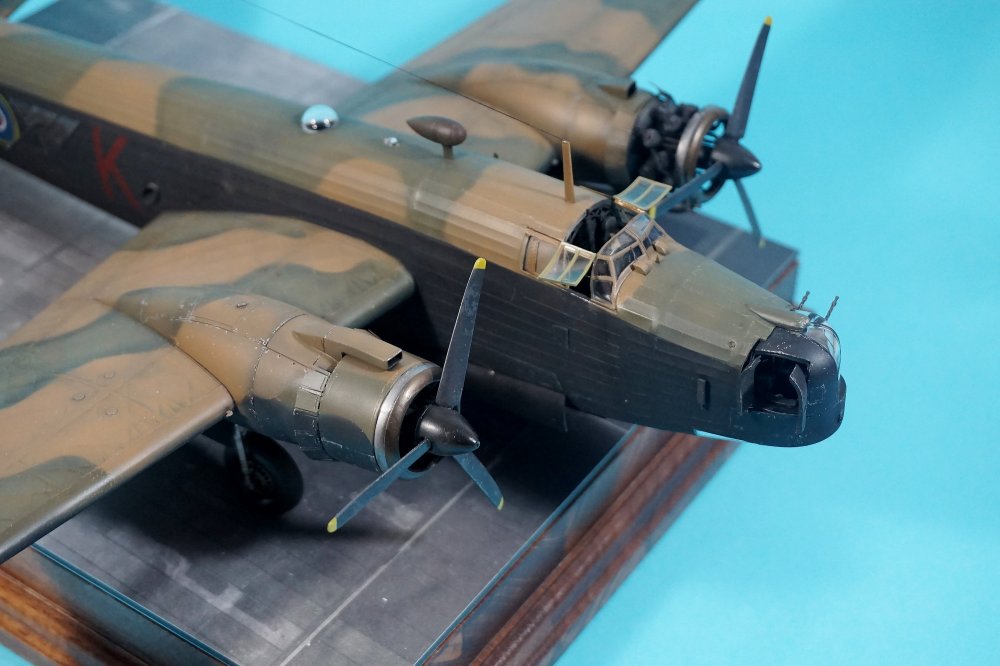
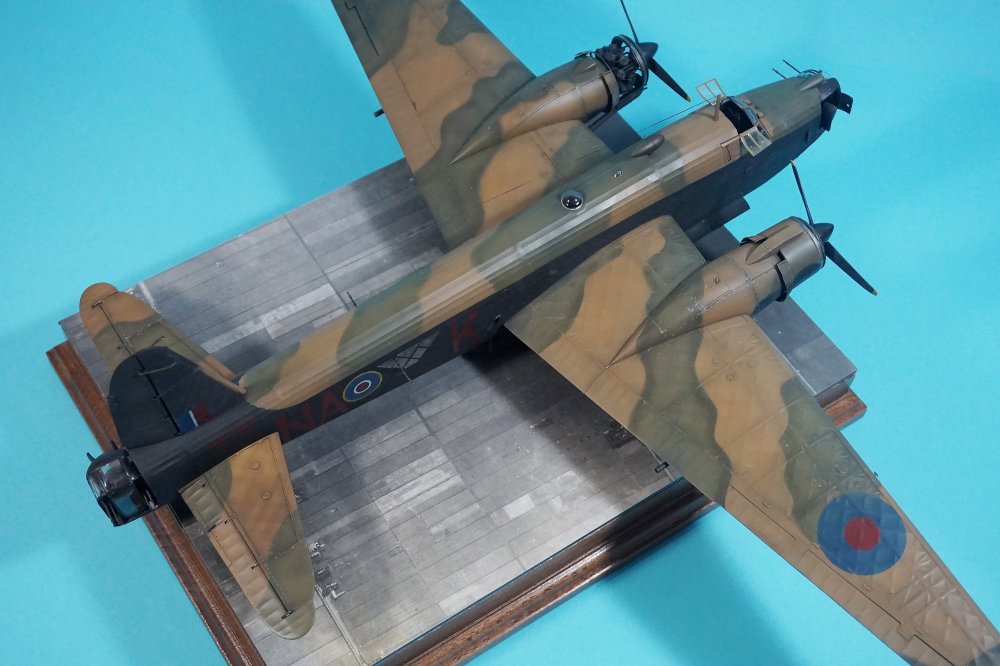
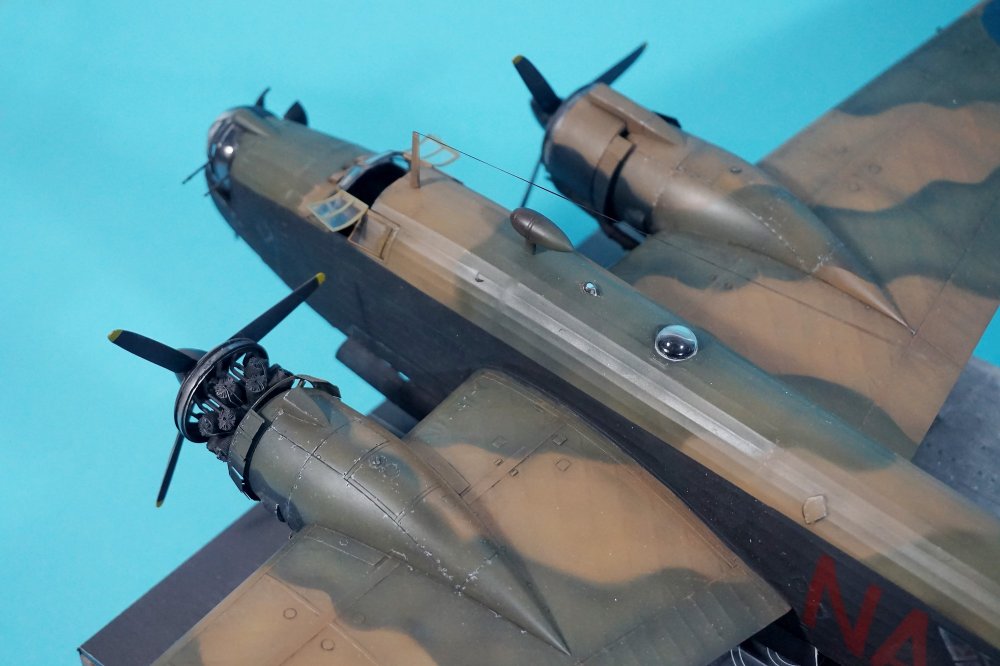
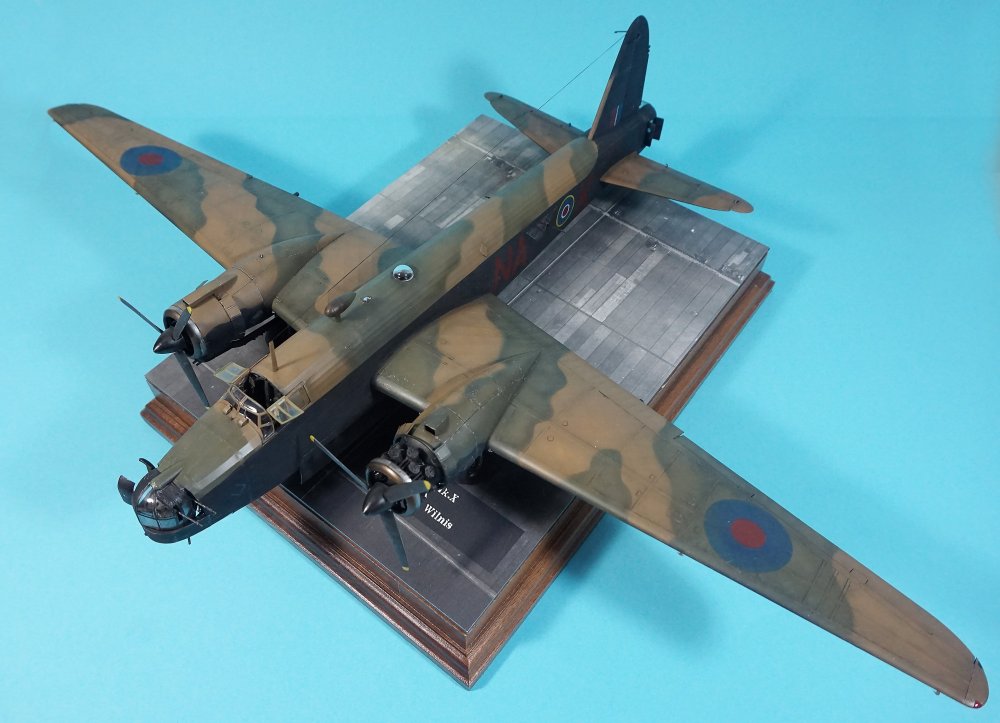
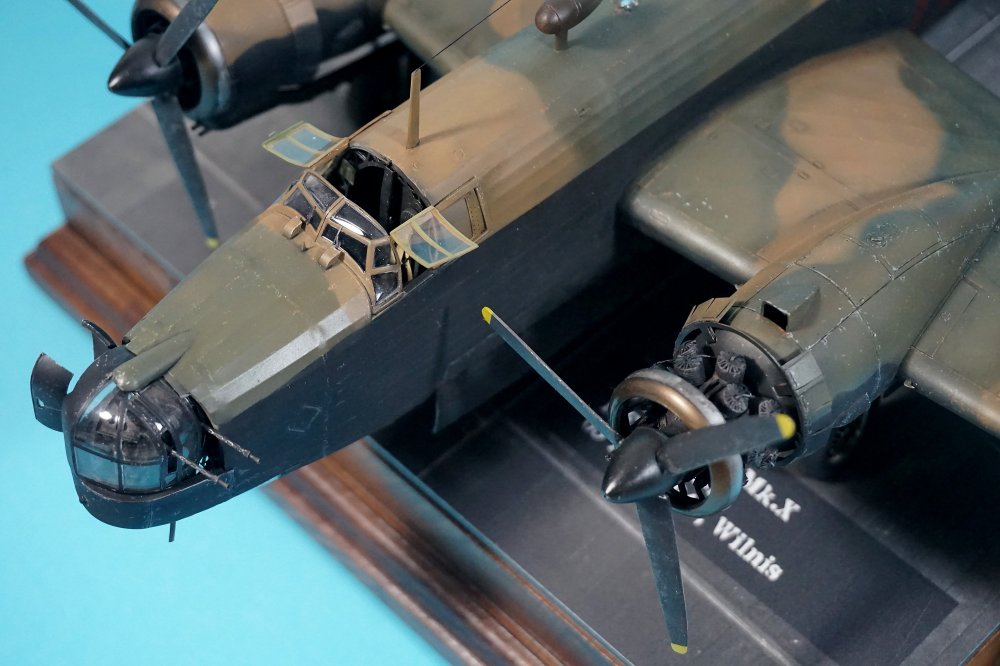
After almost a years' work, she's finished. The Wellington that crashed in my hometown in the night of May 5th 1943 after returning from a bombing run over Dortmund. Shot down by a Bf110 night fighter. Two bailed out, three went down with the plane. I put all the research in this crash and plane that I could do with a lot of help from my friend Cees Broere. I could not have done it without him. To complete this build I have a relic from this particular crash. One of the engine cowling flaps which happens to be in great condition. The black paint is pretty much intact. The base of my model features a RAF recon photo that was taken in 1944. As you can see not much of the crash can be spotted. Caused by the boggy ground we live on. A few weeks ago I noticed that a small memorial plaque was erected at the crash site. Almost exactly at the same time I finished my model. Details added to the model: - Master brass barrels - Eduard interior set - Eduard Interior mid fuselage set - Eduard bomb bay set - CMK bomb bay set (for the resin doors) - Eduard bomb set - Eduard exterior set - Eduard mask set - Maketar masks for all codes, roundels and markings - Eduard seat belt set - Resin wheels The new memorial plaque, with the crash location behind the tree line: The base I fashioned with the marked crash location. The place where my house is today, is bottom left of the crossroad you nee next to the text: The finished model: The crash relic:


-
where east meets west
JeroenPeters replied to mark31's topic in LSM 1/35 and Larger Work In Progress
Saw this today
- 68 replies
-
- 10
-
-
1/35 Harley Davidson WLA
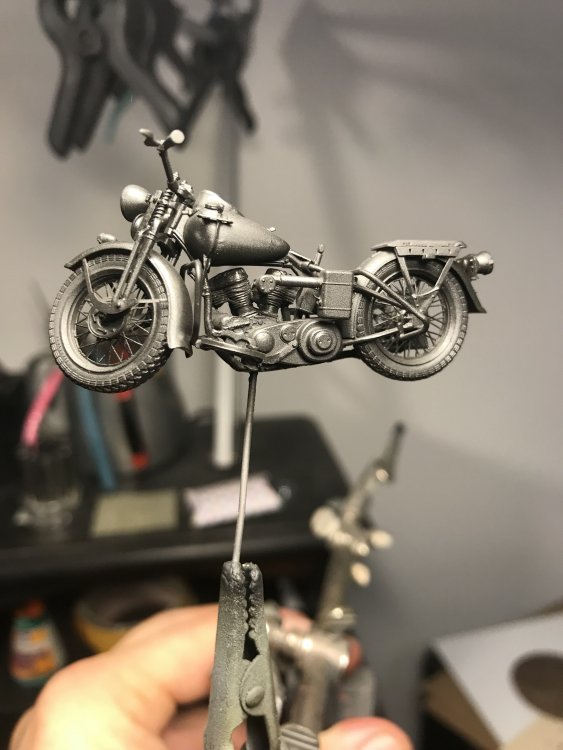
JeroenPeters replied to JeroenPeters's topic in LSM 1/35 and Larger Work In Progress
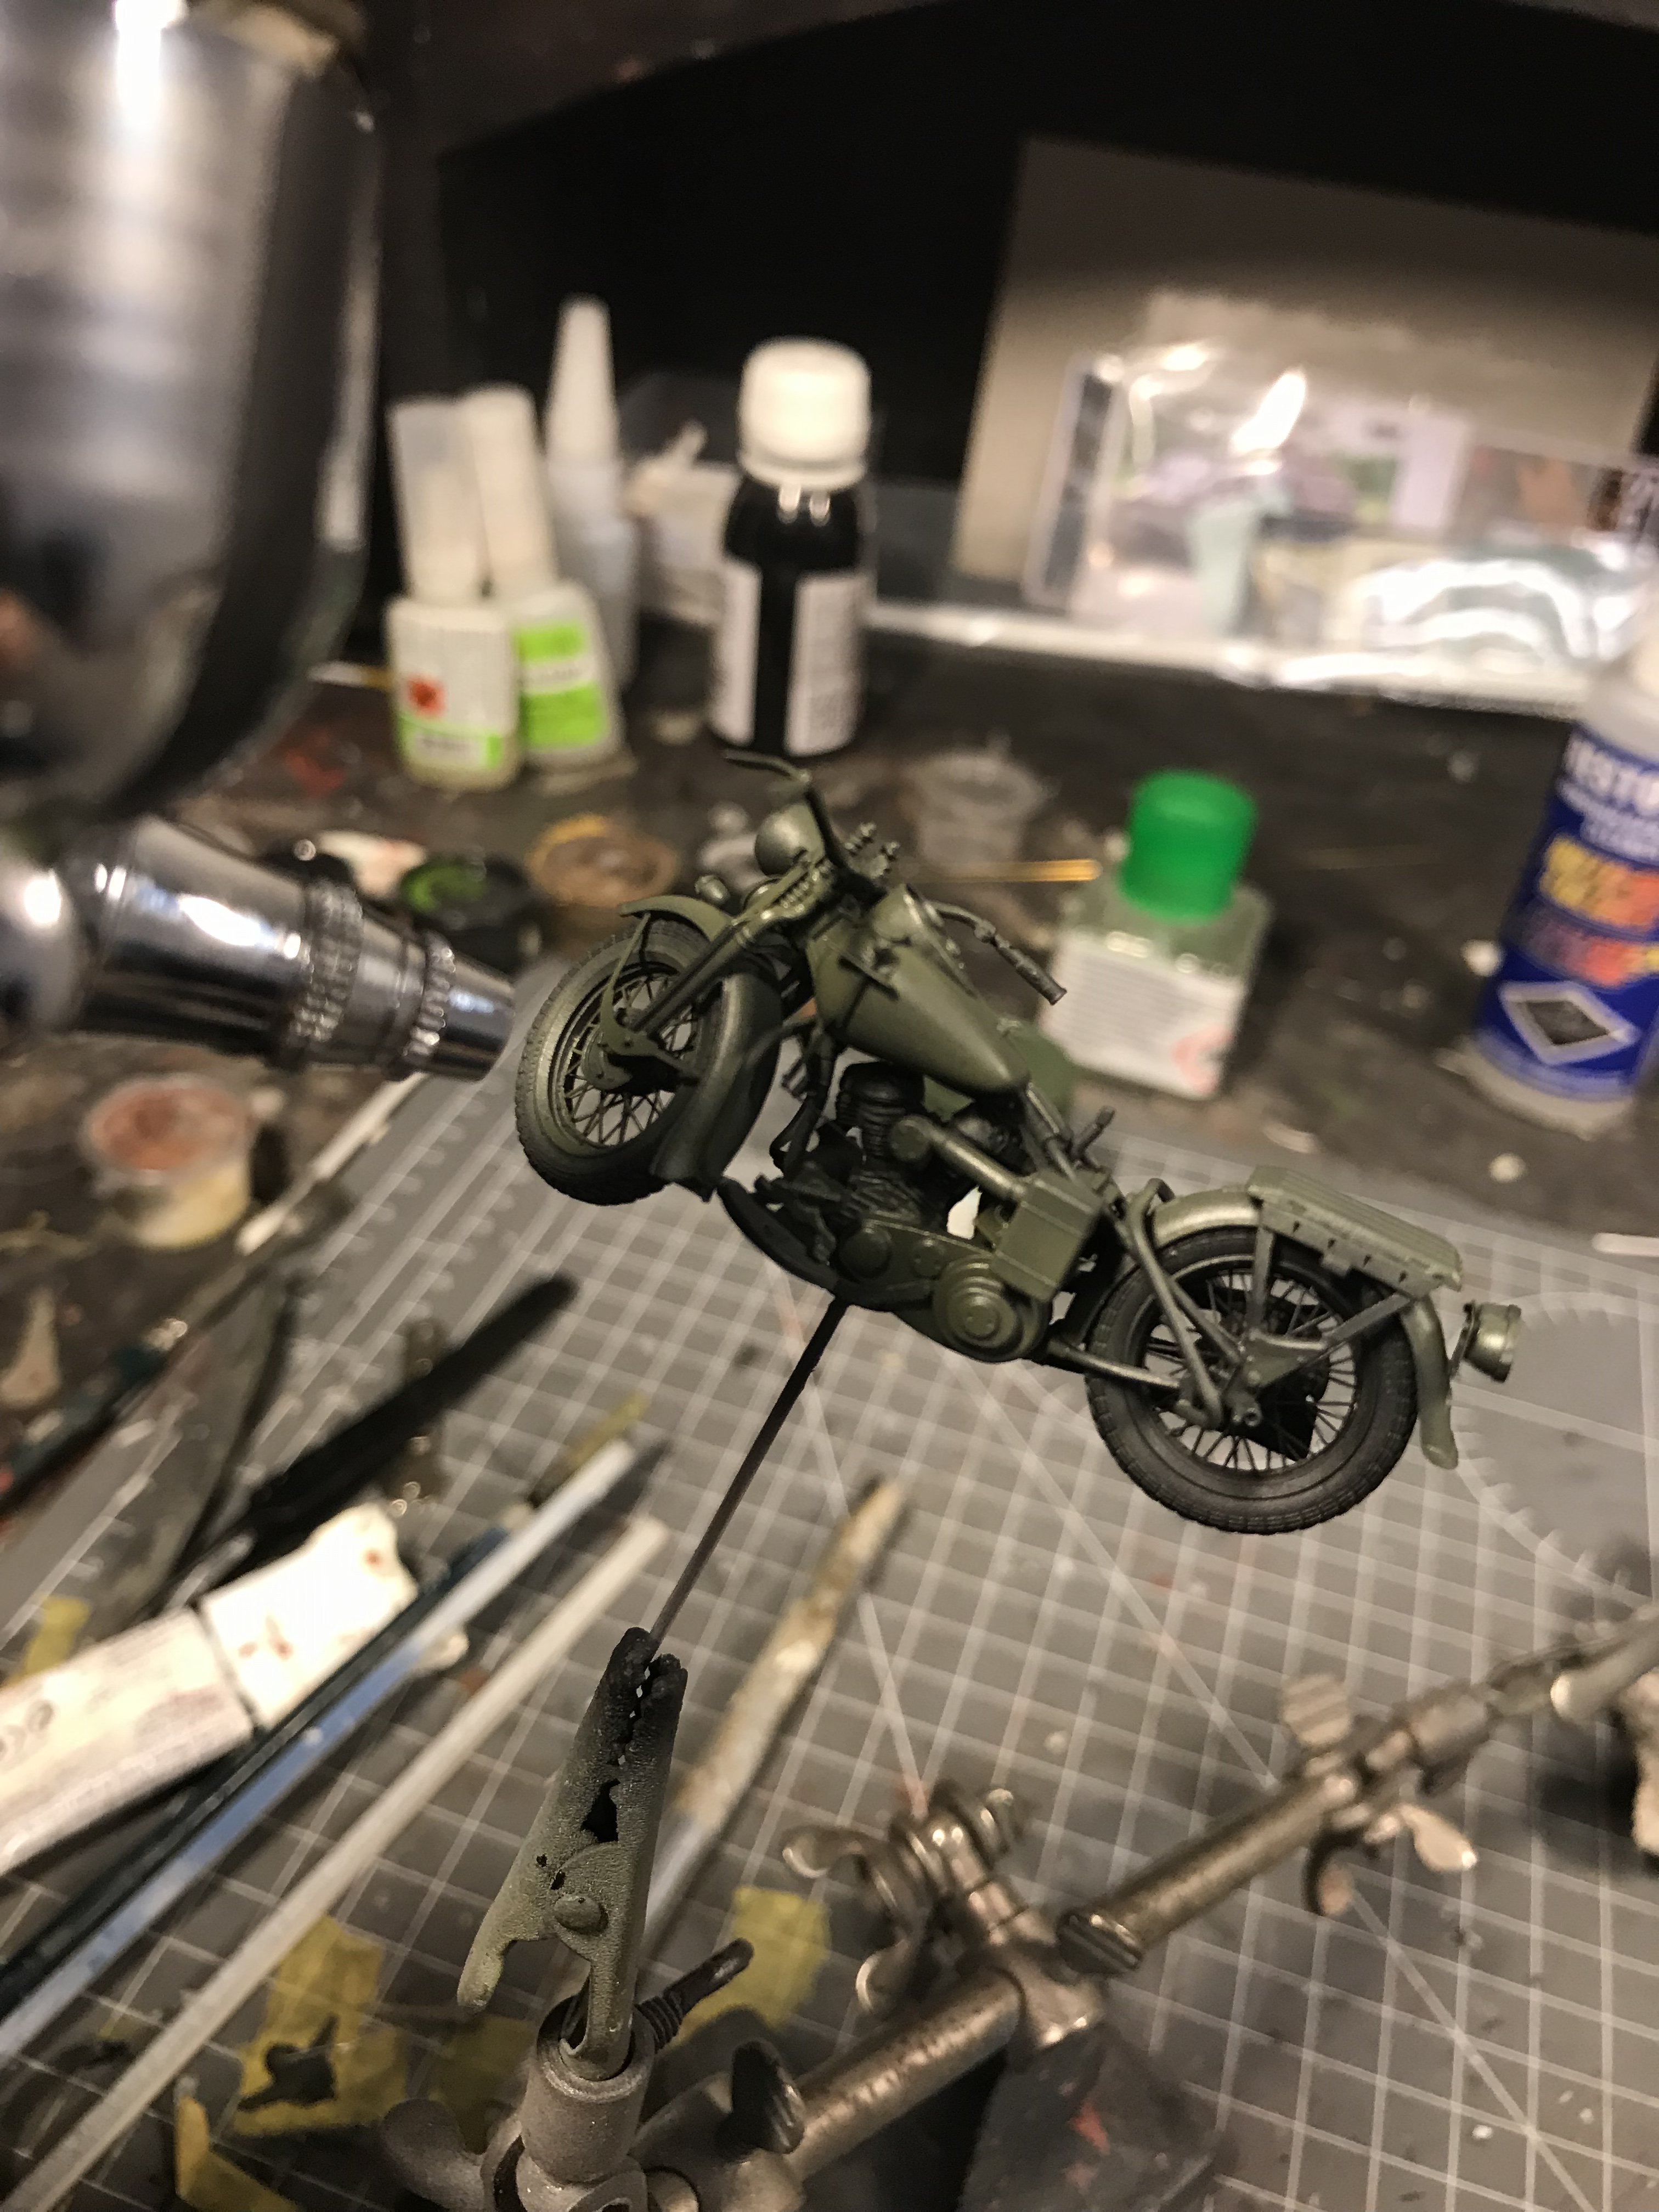
A few of you asked me how i was going to paint this when it’s all in one piece. I spray the Olive green as much as possible in the places where it needs to go. After this it’s all brush painting.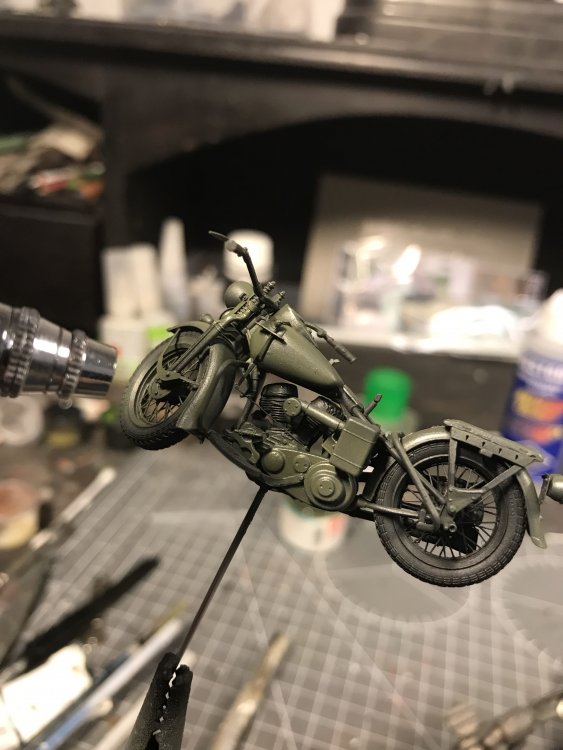

-
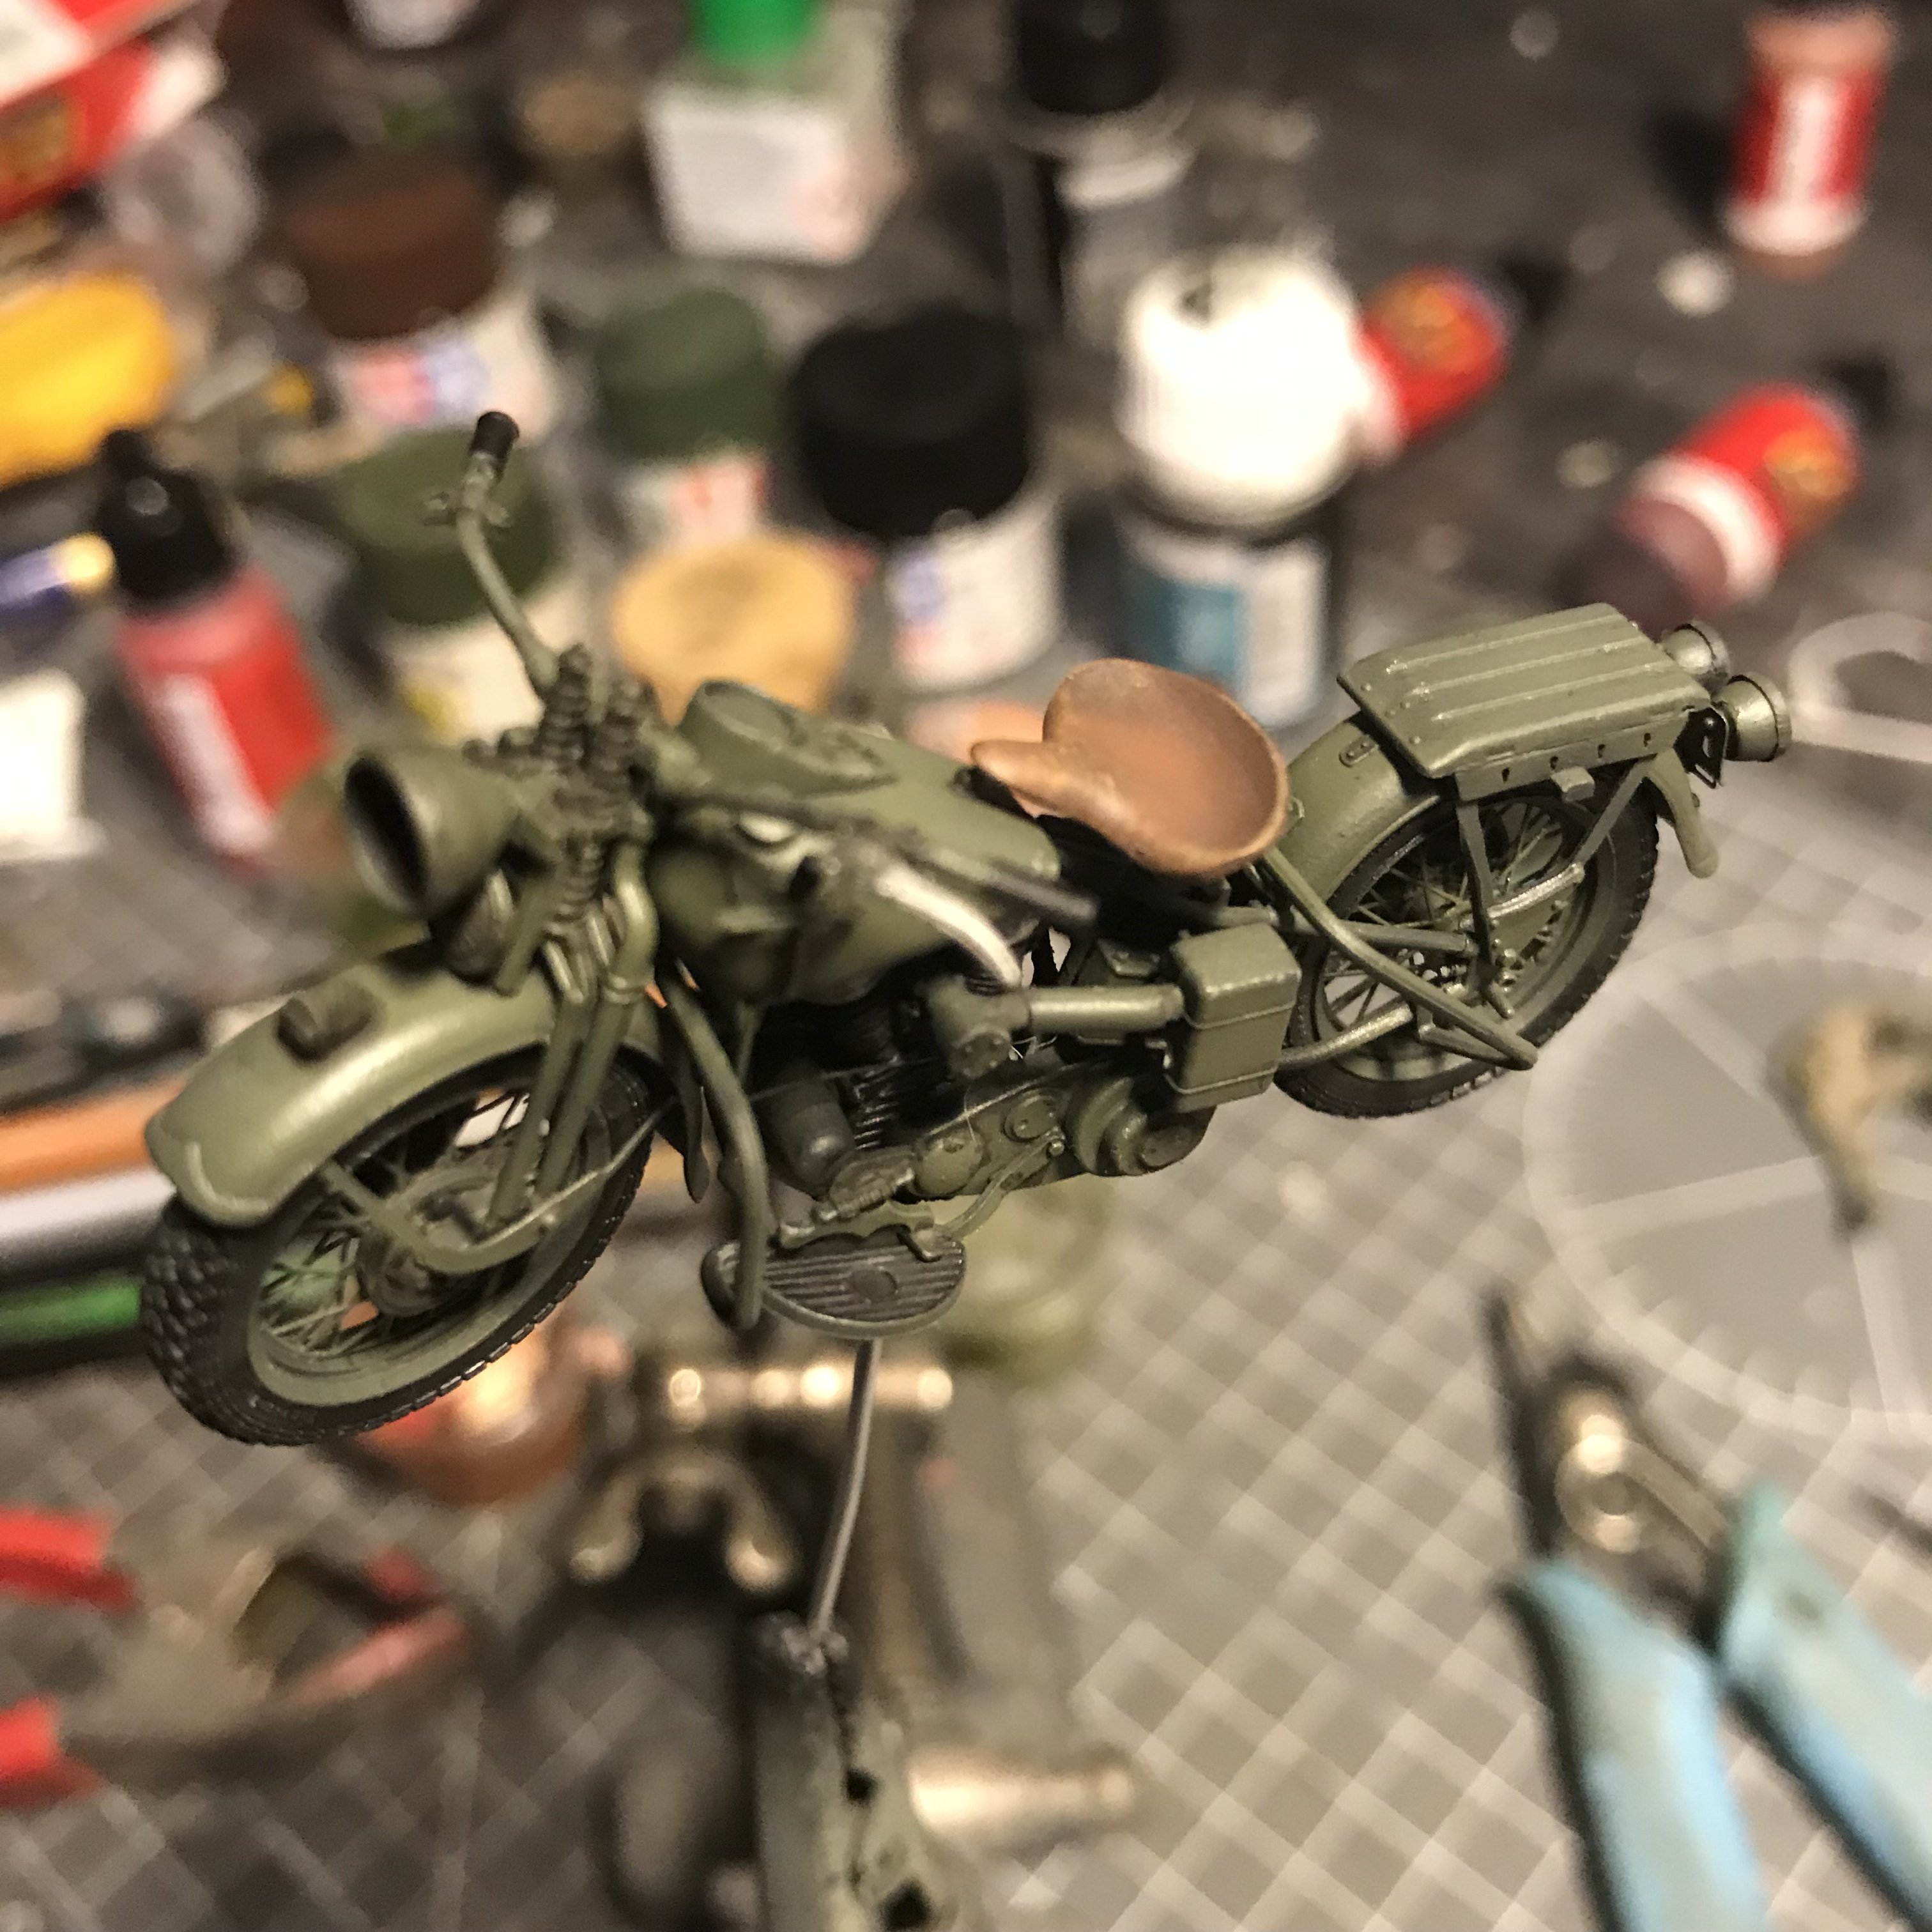
1/35 Harley Davidson WLA
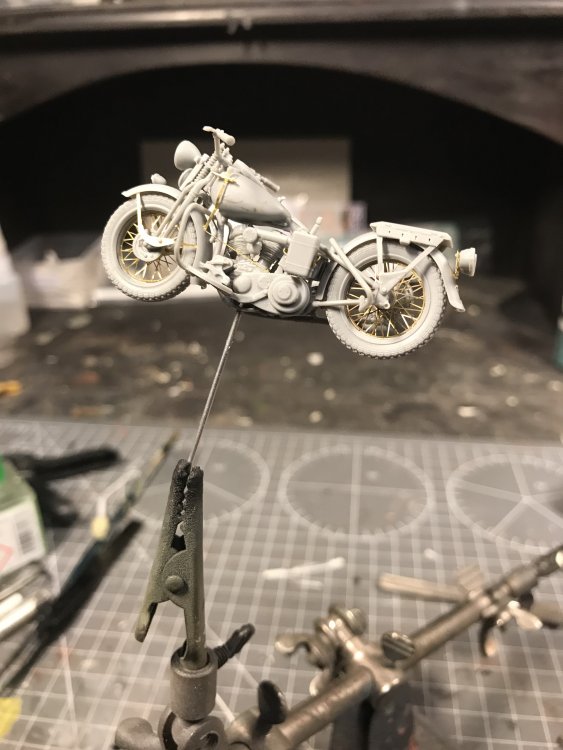
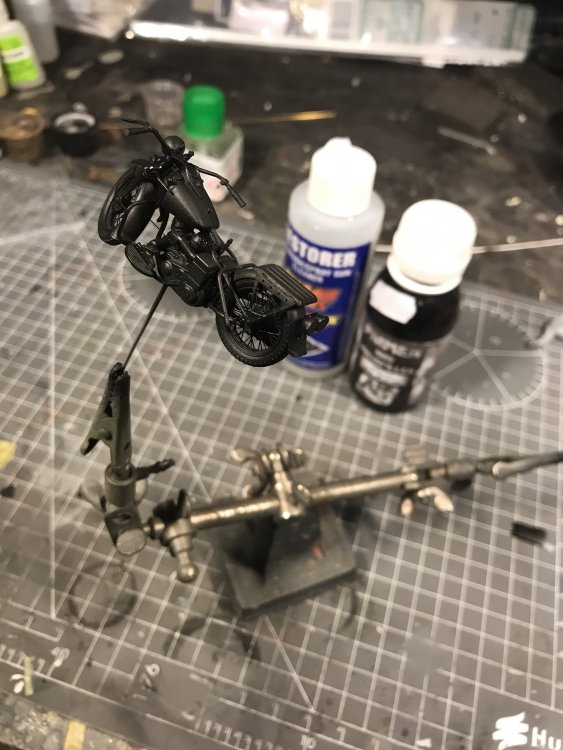
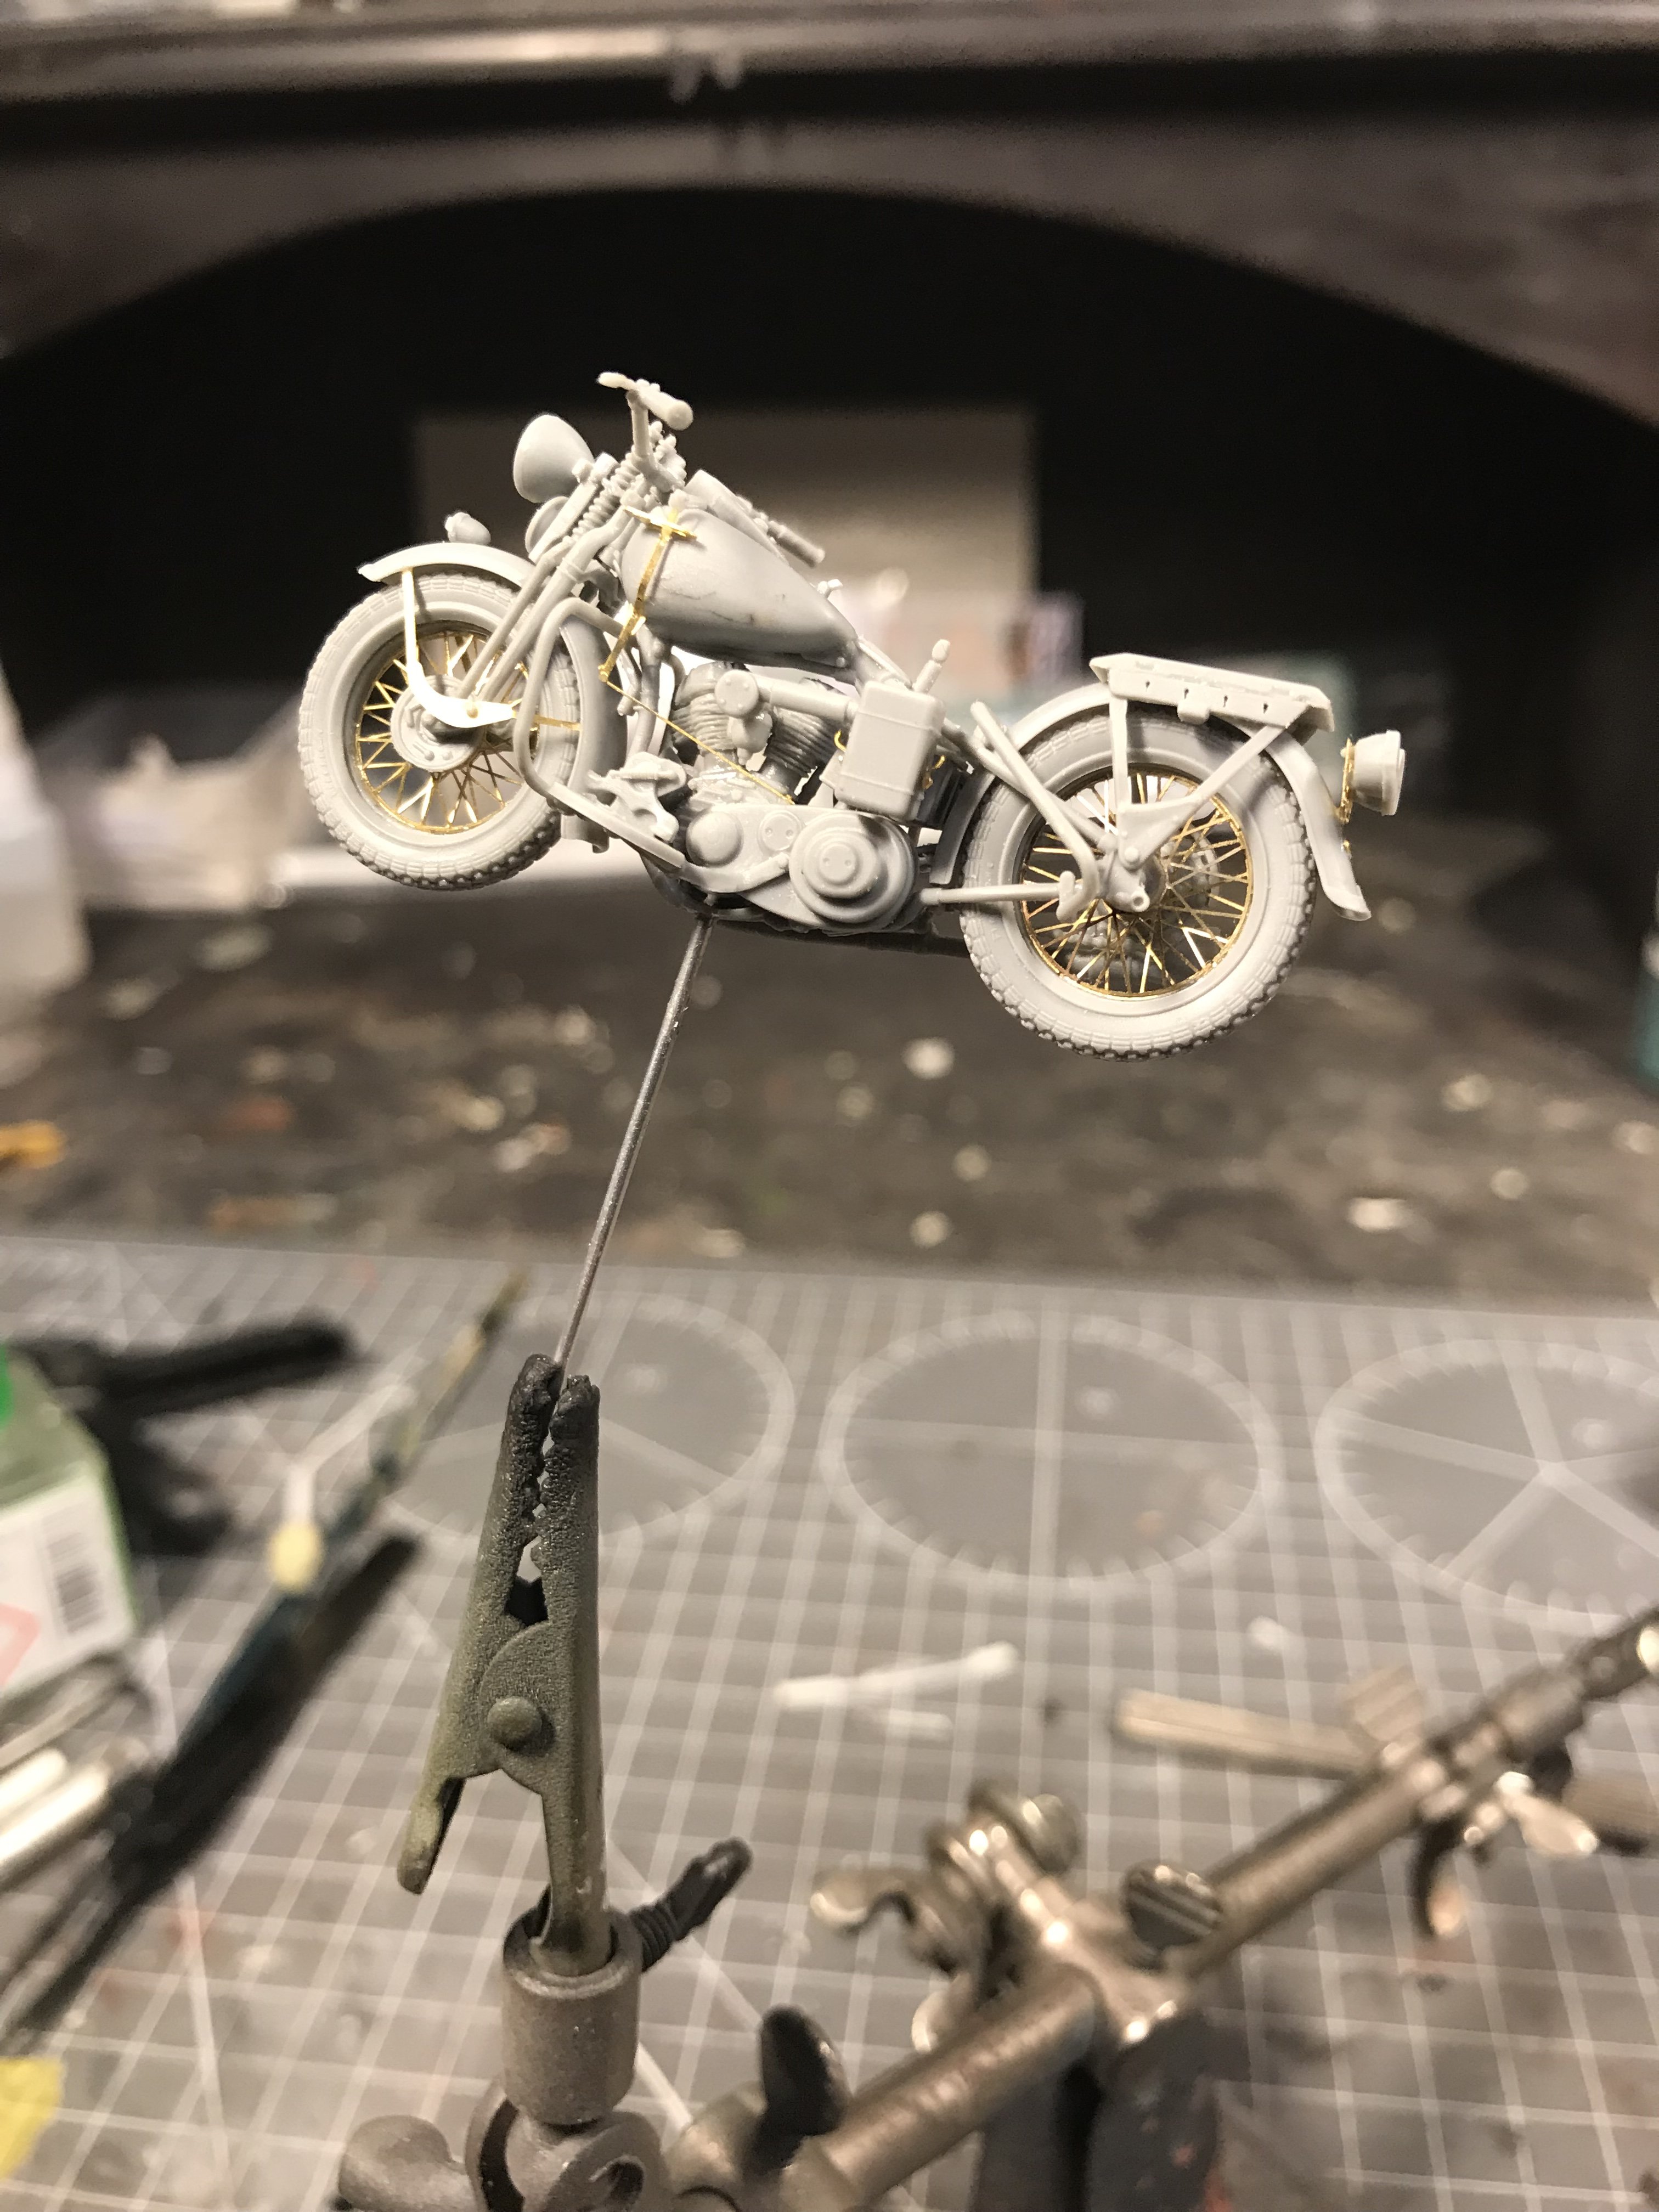
JeroenPeters replied to JeroenPeters's topic in LSM 1/35 and Larger Work In Progress
Thnx Peter! moving right along. Drilled a hole in the inderside of the engine so i could glue a metal rod in to hold it while painting. Sprayed a thin layer of fine AK black primer.