
Kaireckstadt
-
Posts
1,705 -
Joined
-
Last visited
Content Type
Profiles
Forums
Events
Gallery
Everything posted by Kaireckstadt
-

Focke Wulf A8/R2 // Revell
Kaireckstadt replied to Rowdy's topic in LSM 1/35 and Larger Work In Progress
Looks absolutely realistic! The idea with the unpainted repair areas is really nice! Which color did you use to simulate the primer? -
PCM Focke Wulf FW 190 A-1/A-2/A-3
Kaireckstadt replied to GazzaS's topic in LSM 1/35 and Larger Work In Progress
Beautifully done Gaz! I love the subtle way you weathered the cloth surfaces. Also the dirt on the underside well done! Often forgotten by modelers. -
Israeli Mirage III C with Atar9C
Kaireckstadt replied to Kaireckstadt's topic in LSM 1/35 and Larger Work In Progress
Sorry to say but I made the same experience you have now. I didn’t find any other source except Raanans Shop in Israel. So bought all stuff from him directly. It took weeks to leave his post-office and one delivery never arrived and he had to send it twice. It‘s really a mess getting an answer from him. So I won‘t say that he offers good service. The parts itself are really nice, the decals are awesome. Very high quality standard. But I still have to use them. This is only the first impression. Had to do some rework on the bangseat and never got the brass-parts for the seats which he forgot to deliver...Had to replace them by scratchbuilding... -
Simply mindblowing what you are doing... Isn‘t there any accessories delivered with the kit?
-
Great idea with the welding bead Rob! Looking forward to see your Lady-Painting. For the cowl of my P-47 I‘ve also bought a nice figure. This example is really beautiful(ly painted)...

- 100 replies
-
- 9
-

-
- hasegawa
- ammoknight
- (and 1 more)
-
Israeli Mirage III C with Atar9C
Kaireckstadt replied to Kaireckstadt's topic in LSM 1/35 and Larger Work In Progress
Thank you Peter and I hope this will last. The tricky parts of the assembly still ahead... -
Are you working in a truck-factory? You should because you are creating an awesome truck! Your scratchbuilding abilities are stunning and I love the „cockpit“! Also beautiful painting and wear and tear especially on the seats!
-
This all is like manufacturing the aircraft, not modeling! Absolutely stunning work Cees! I love it!
-
Israeli Mirage III C with Atar9C
Kaireckstadt replied to Kaireckstadt's topic in LSM 1/35 and Larger Work In Progress
That doesn’t play any role Gaz! You can also show them here to us! -
Israeli Mirage III C with Atar9C
Kaireckstadt replied to Kaireckstadt's topic in LSM 1/35 and Larger Work In Progress
This is absolutely gorgeous! A beautiful eyecatcher! Can’t wait to see you start this project here! -
Very nice composition Rob! The Lady is really sculptured very good and looks awesome! Good idea with the heart welded on! Curious waiting for your next update!
- 100 replies
-
- 6
-
-

-
- hasegawa
- ammoknight
- (and 1 more)
-
Israeli Mirage III C with Atar9C
Kaireckstadt replied to Kaireckstadt's topic in LSM 1/35 and Larger Work In Progress
Thank you Peter, much appreciated! -
Israeli Mirage III C with Atar9C
Kaireckstadt replied to Kaireckstadt's topic in LSM 1/35 and Larger Work In Progress
She looks great, Gaz! This is one of the models you foiled! Awesome work! -
Israeli Mirage III C with Atar9C
Kaireckstadt replied to Kaireckstadt's topic in LSM 1/35 and Larger Work In Progress
Thanks for your feedback! You are building a Cheetah C of the SAAF? Wow! Which livery will you build? The moulding flaw is not that difficult to correct. You just have to be very careful. Not so many details in the way. -
Wow, that’s absolutely stunning!
-
Israeli Mirage III C with Atar9C
Kaireckstadt replied to Kaireckstadt's topic in LSM 1/35 and Larger Work In Progress
You are totally right Gaz. The main region of necessary correction at the 104 is the spine-area. Unfortunately it’s not only the spine area of the Mirage but nearly the whole fuselage. But this could also be only a problem of my personal kit. BTW: Would be interesting to see some pics of your 104 here. -
Israeli Mirage III C with Atar9C
Kaireckstadt replied to Kaireckstadt's topic in LSM 1/35 and Larger Work In Progress
You are right Peter and I also don‘t like this (unnecessary) work. But I have to do it since I have a personal quality standard which I want to achieve at the models I build. Such work isn‘t necessary when e.g. building a Tamiya Corsair or Mustang... -
Israeli Mirage III C with Atar9C
Kaireckstadt replied to Kaireckstadt's topic in LSM 1/35 and Larger Work In Progress
Thanks Harv! Much appreciated! -
Revell P-51-5NA Mustang
Kaireckstadt replied to Peterpools's topic in LSM 1/35 and Larger Work In Progress
Thanks for your reply Peter. I hope I will. The details on them are awesome Hopefully you will not need the modeling chain saw for your beautiful Stang. I‘ve also a tipp for you regarding the drilling of holes into exhausts or MG‘s you mentioned in your comment in the Corsair-post: When I have to drill a centered hole into e.g. MG or an exhaust-port, I use a needle and press it carefully into the center marked with a pencil to create a small hole that is used as a guide for the drill and keeps it in the center when drilling is started. This method works quite well and avoids that the drill is moving out of the center when you start drilling. All these holes I drill by hand and not with my Proxxon-Tool. But this is nothing new to you... -
Israeli Mirage III C with Atar9C
Kaireckstadt replied to Kaireckstadt's topic in LSM 1/35 and Larger Work In Progress
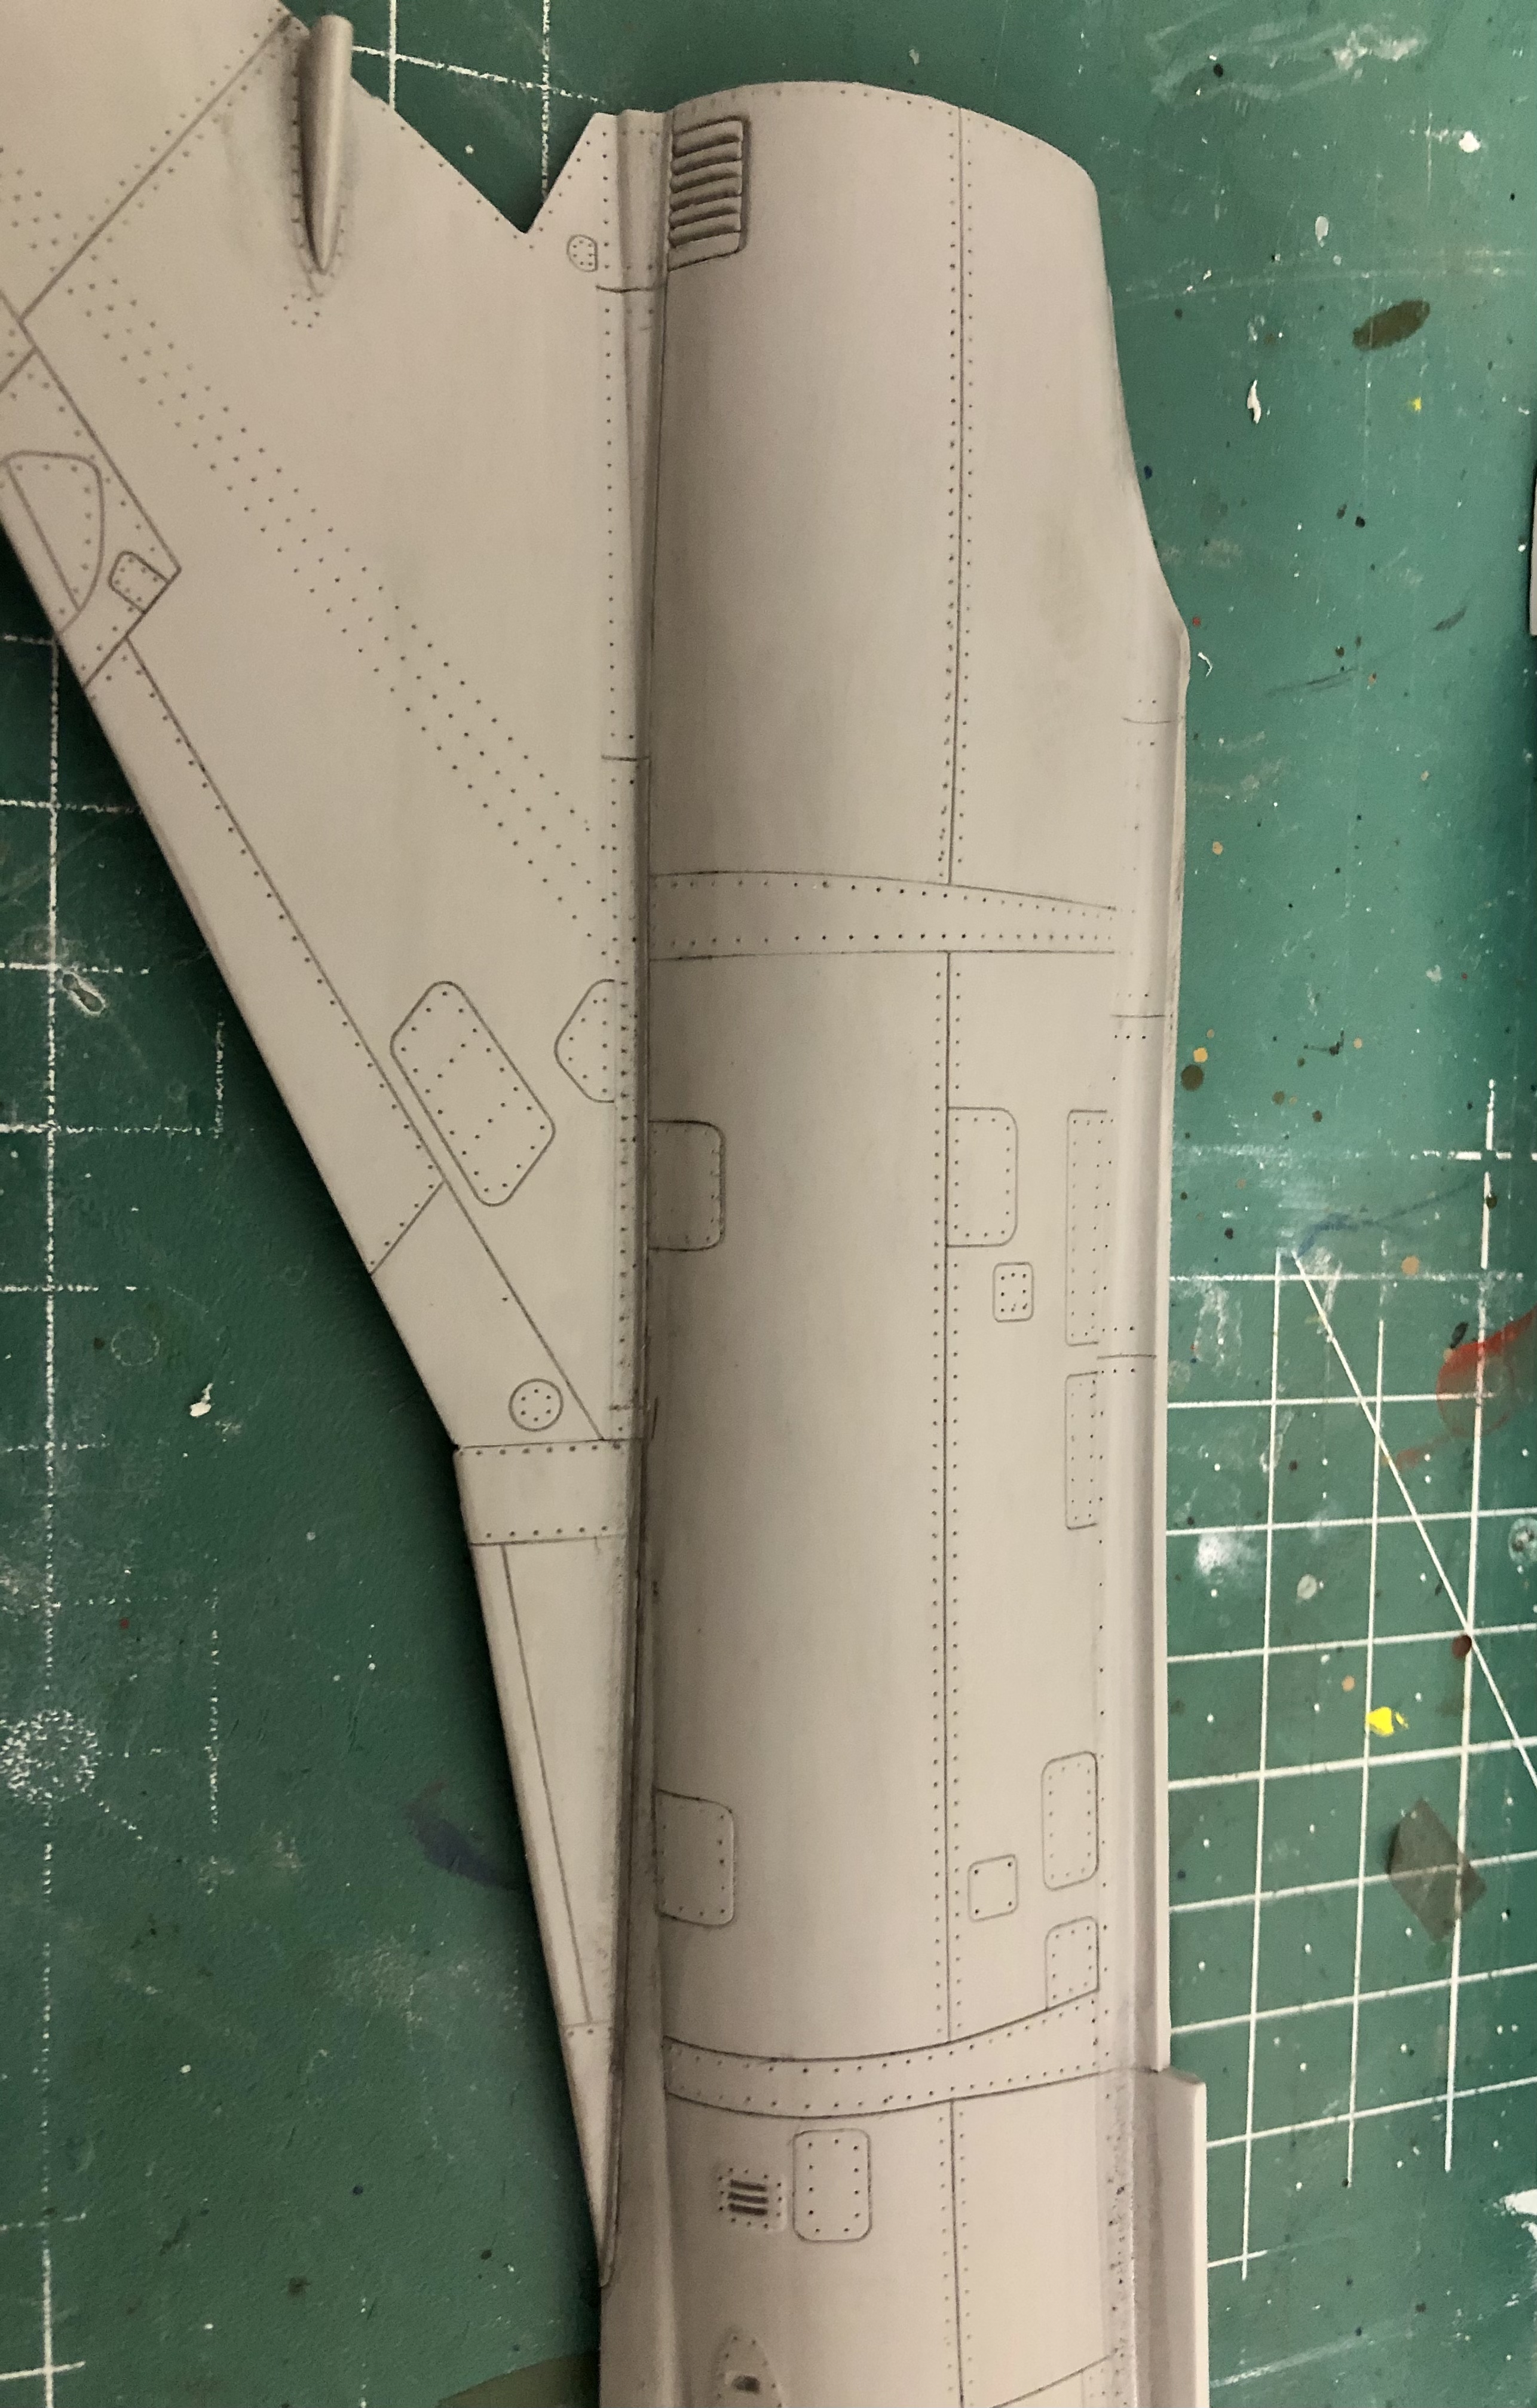
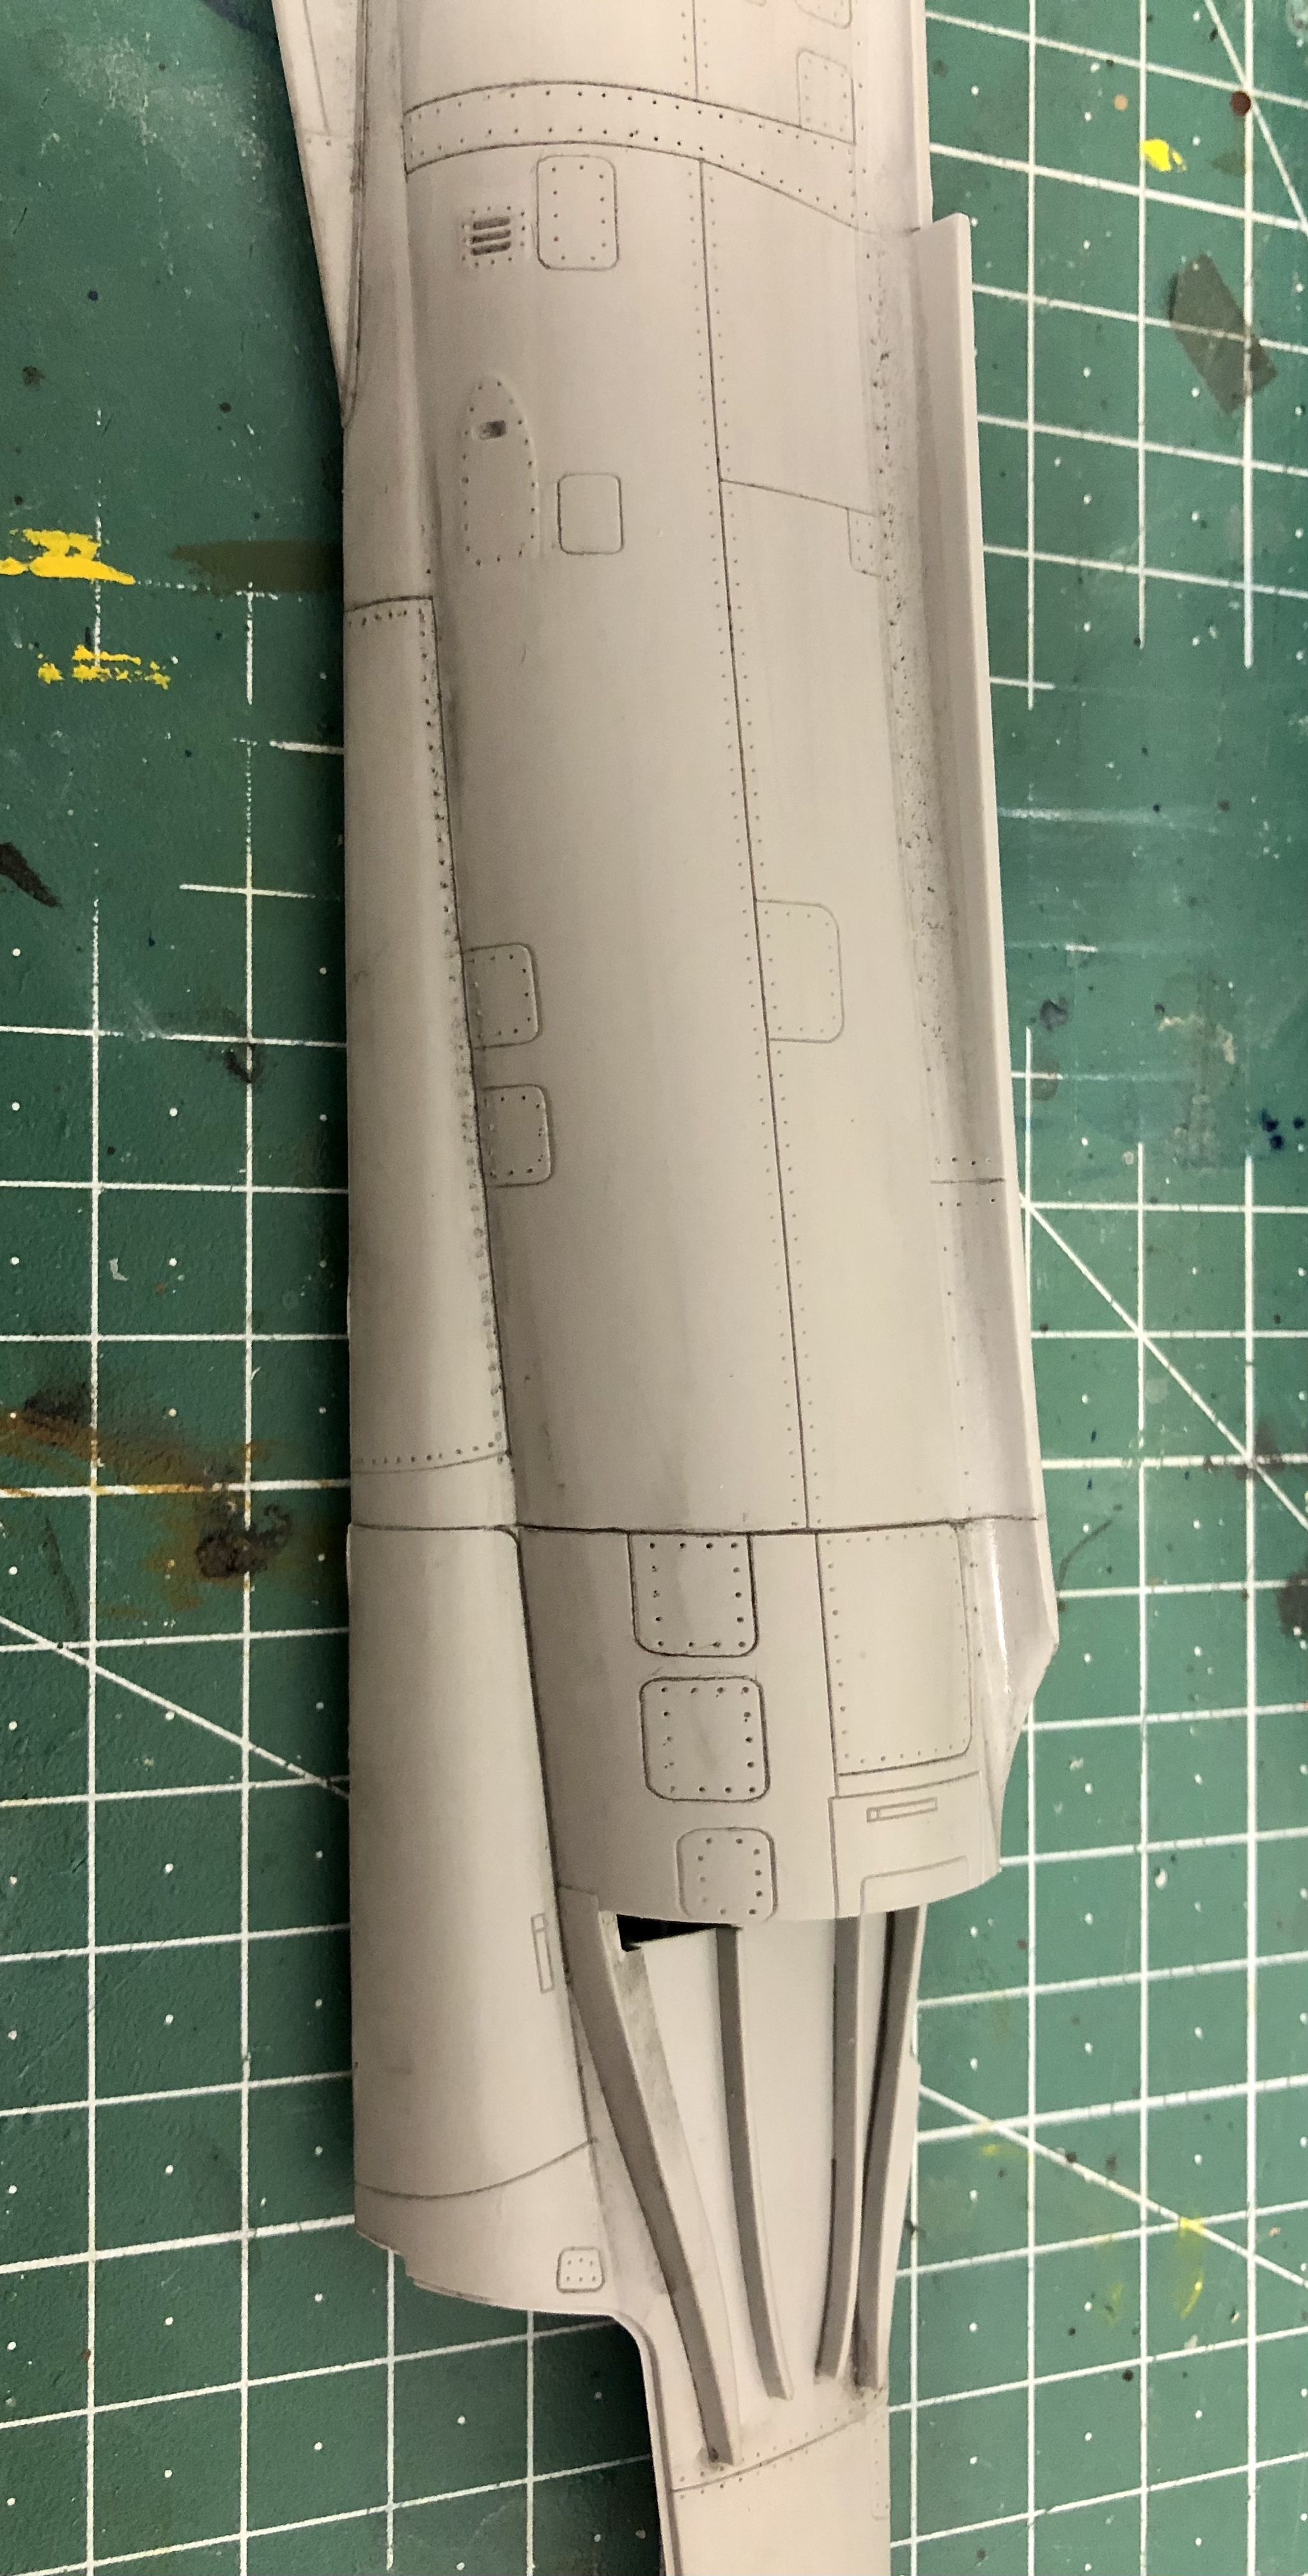
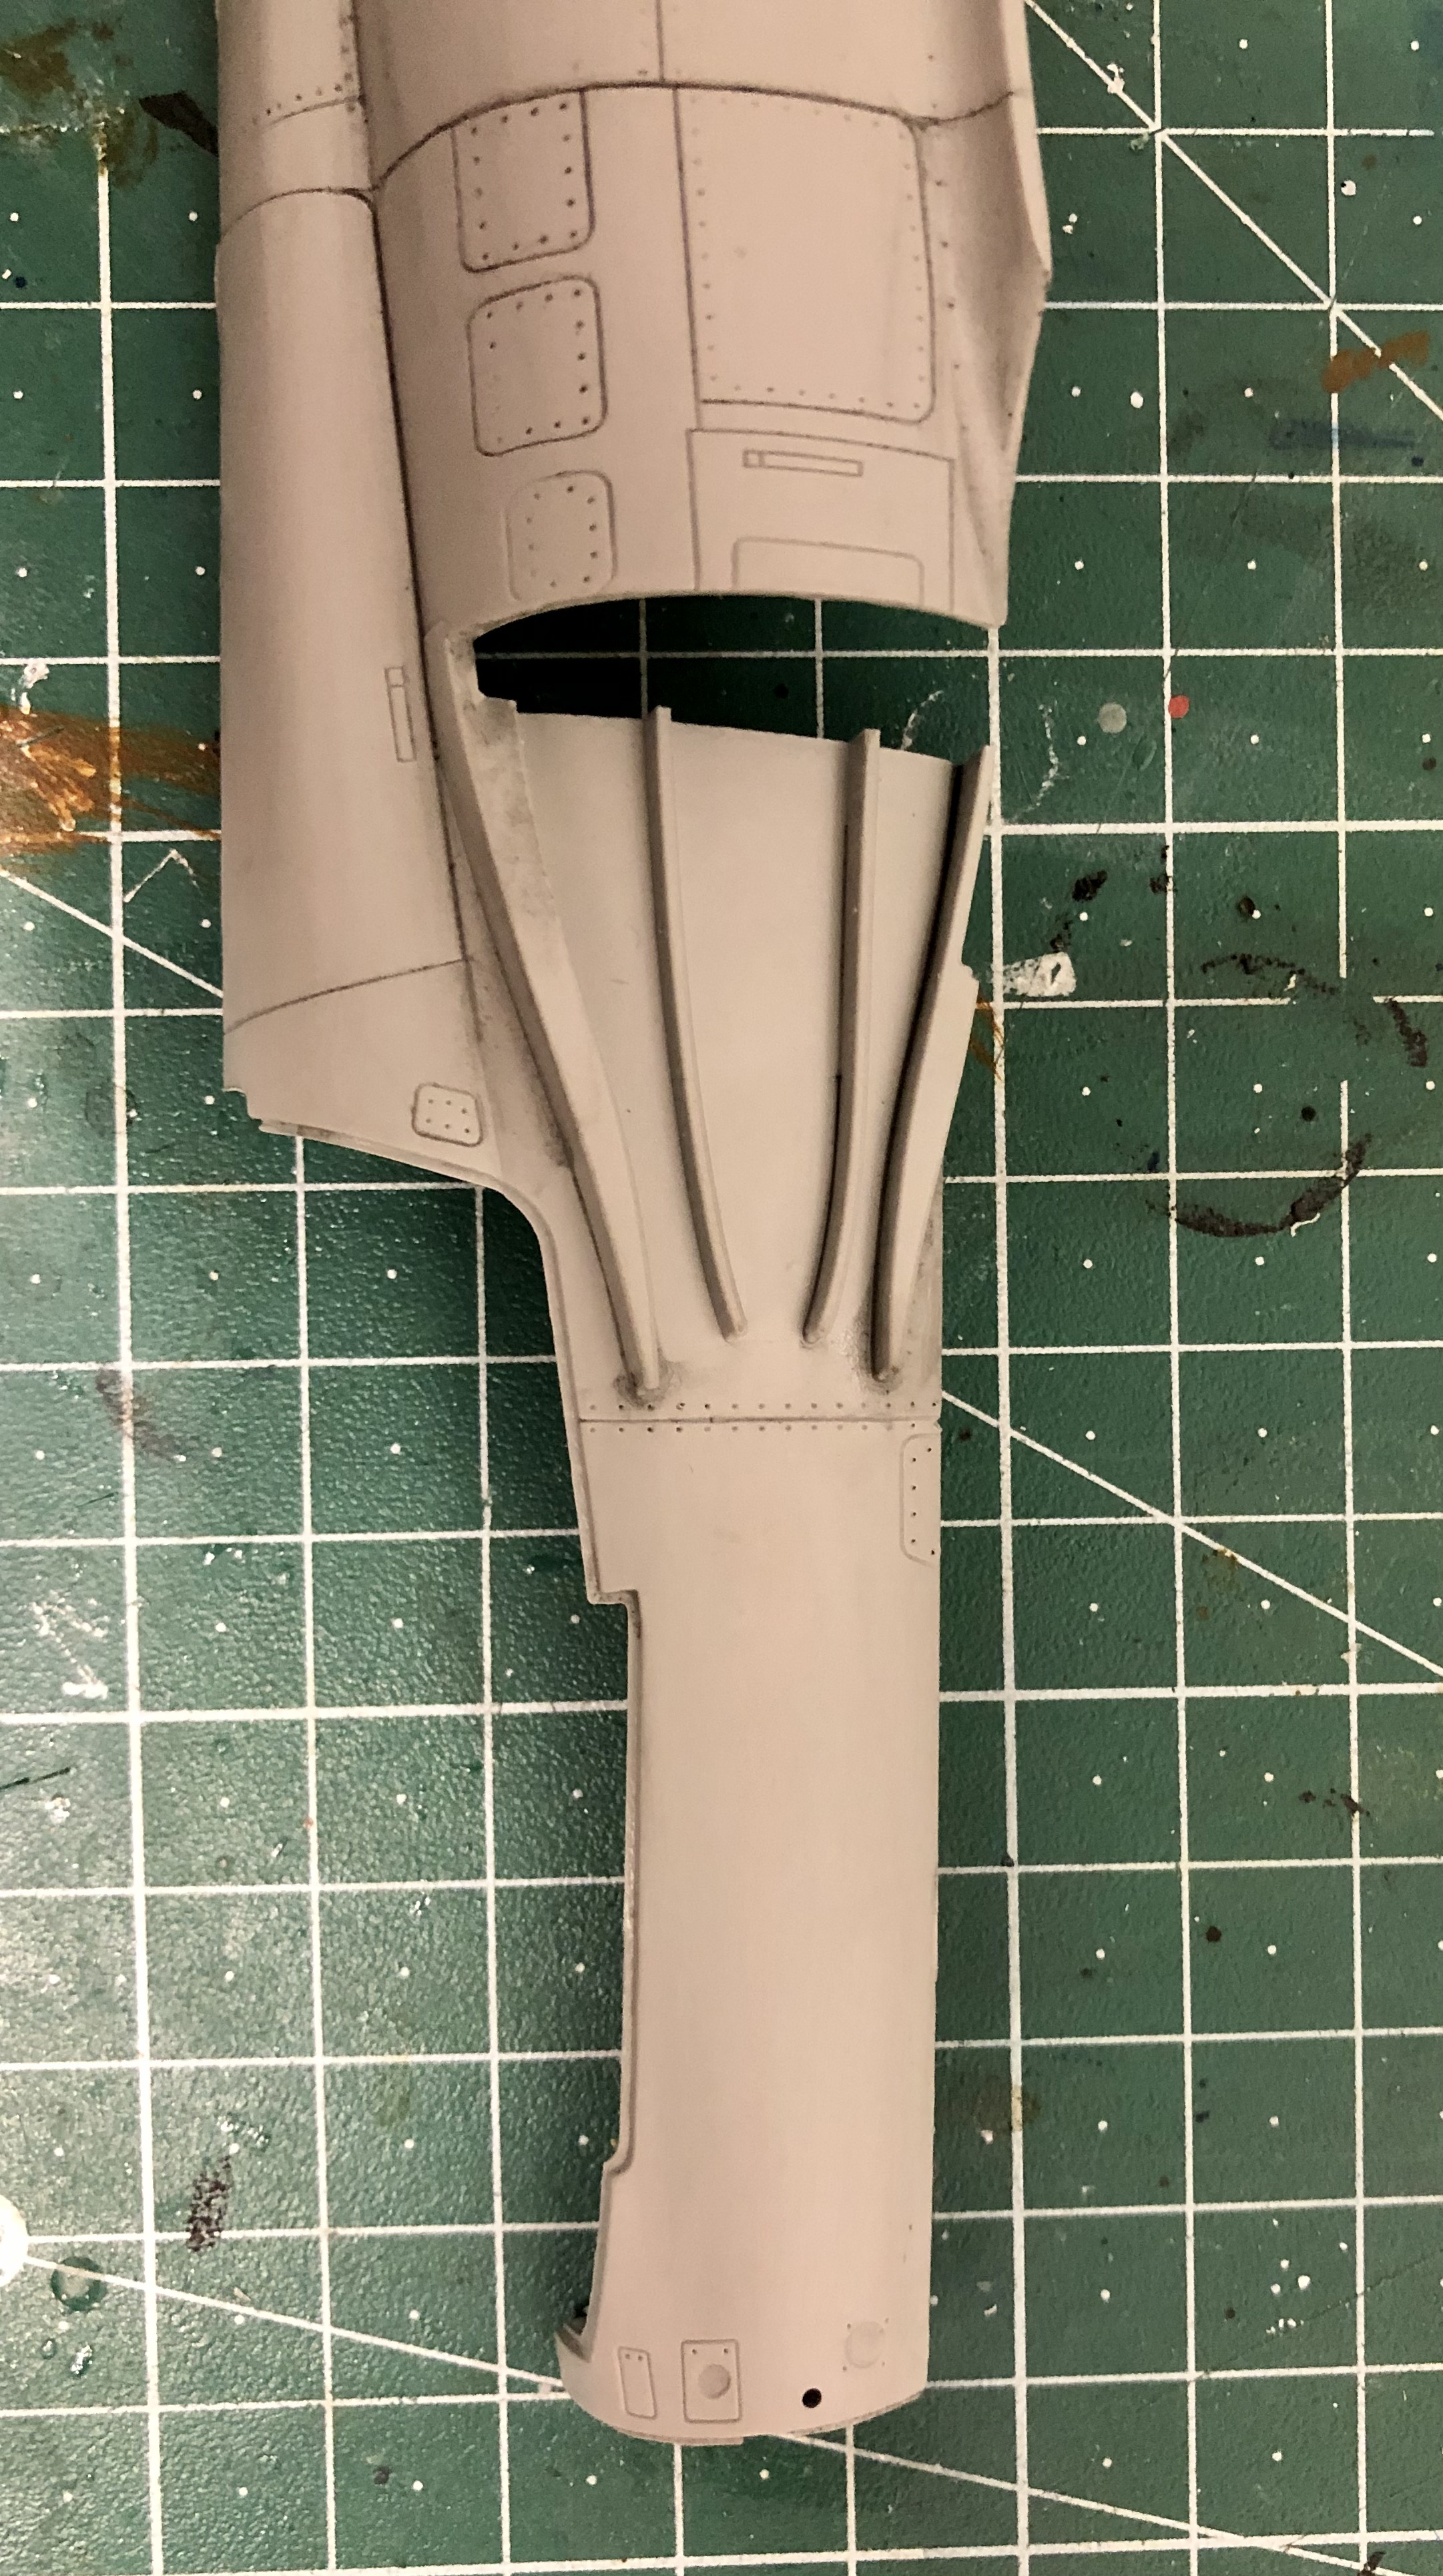
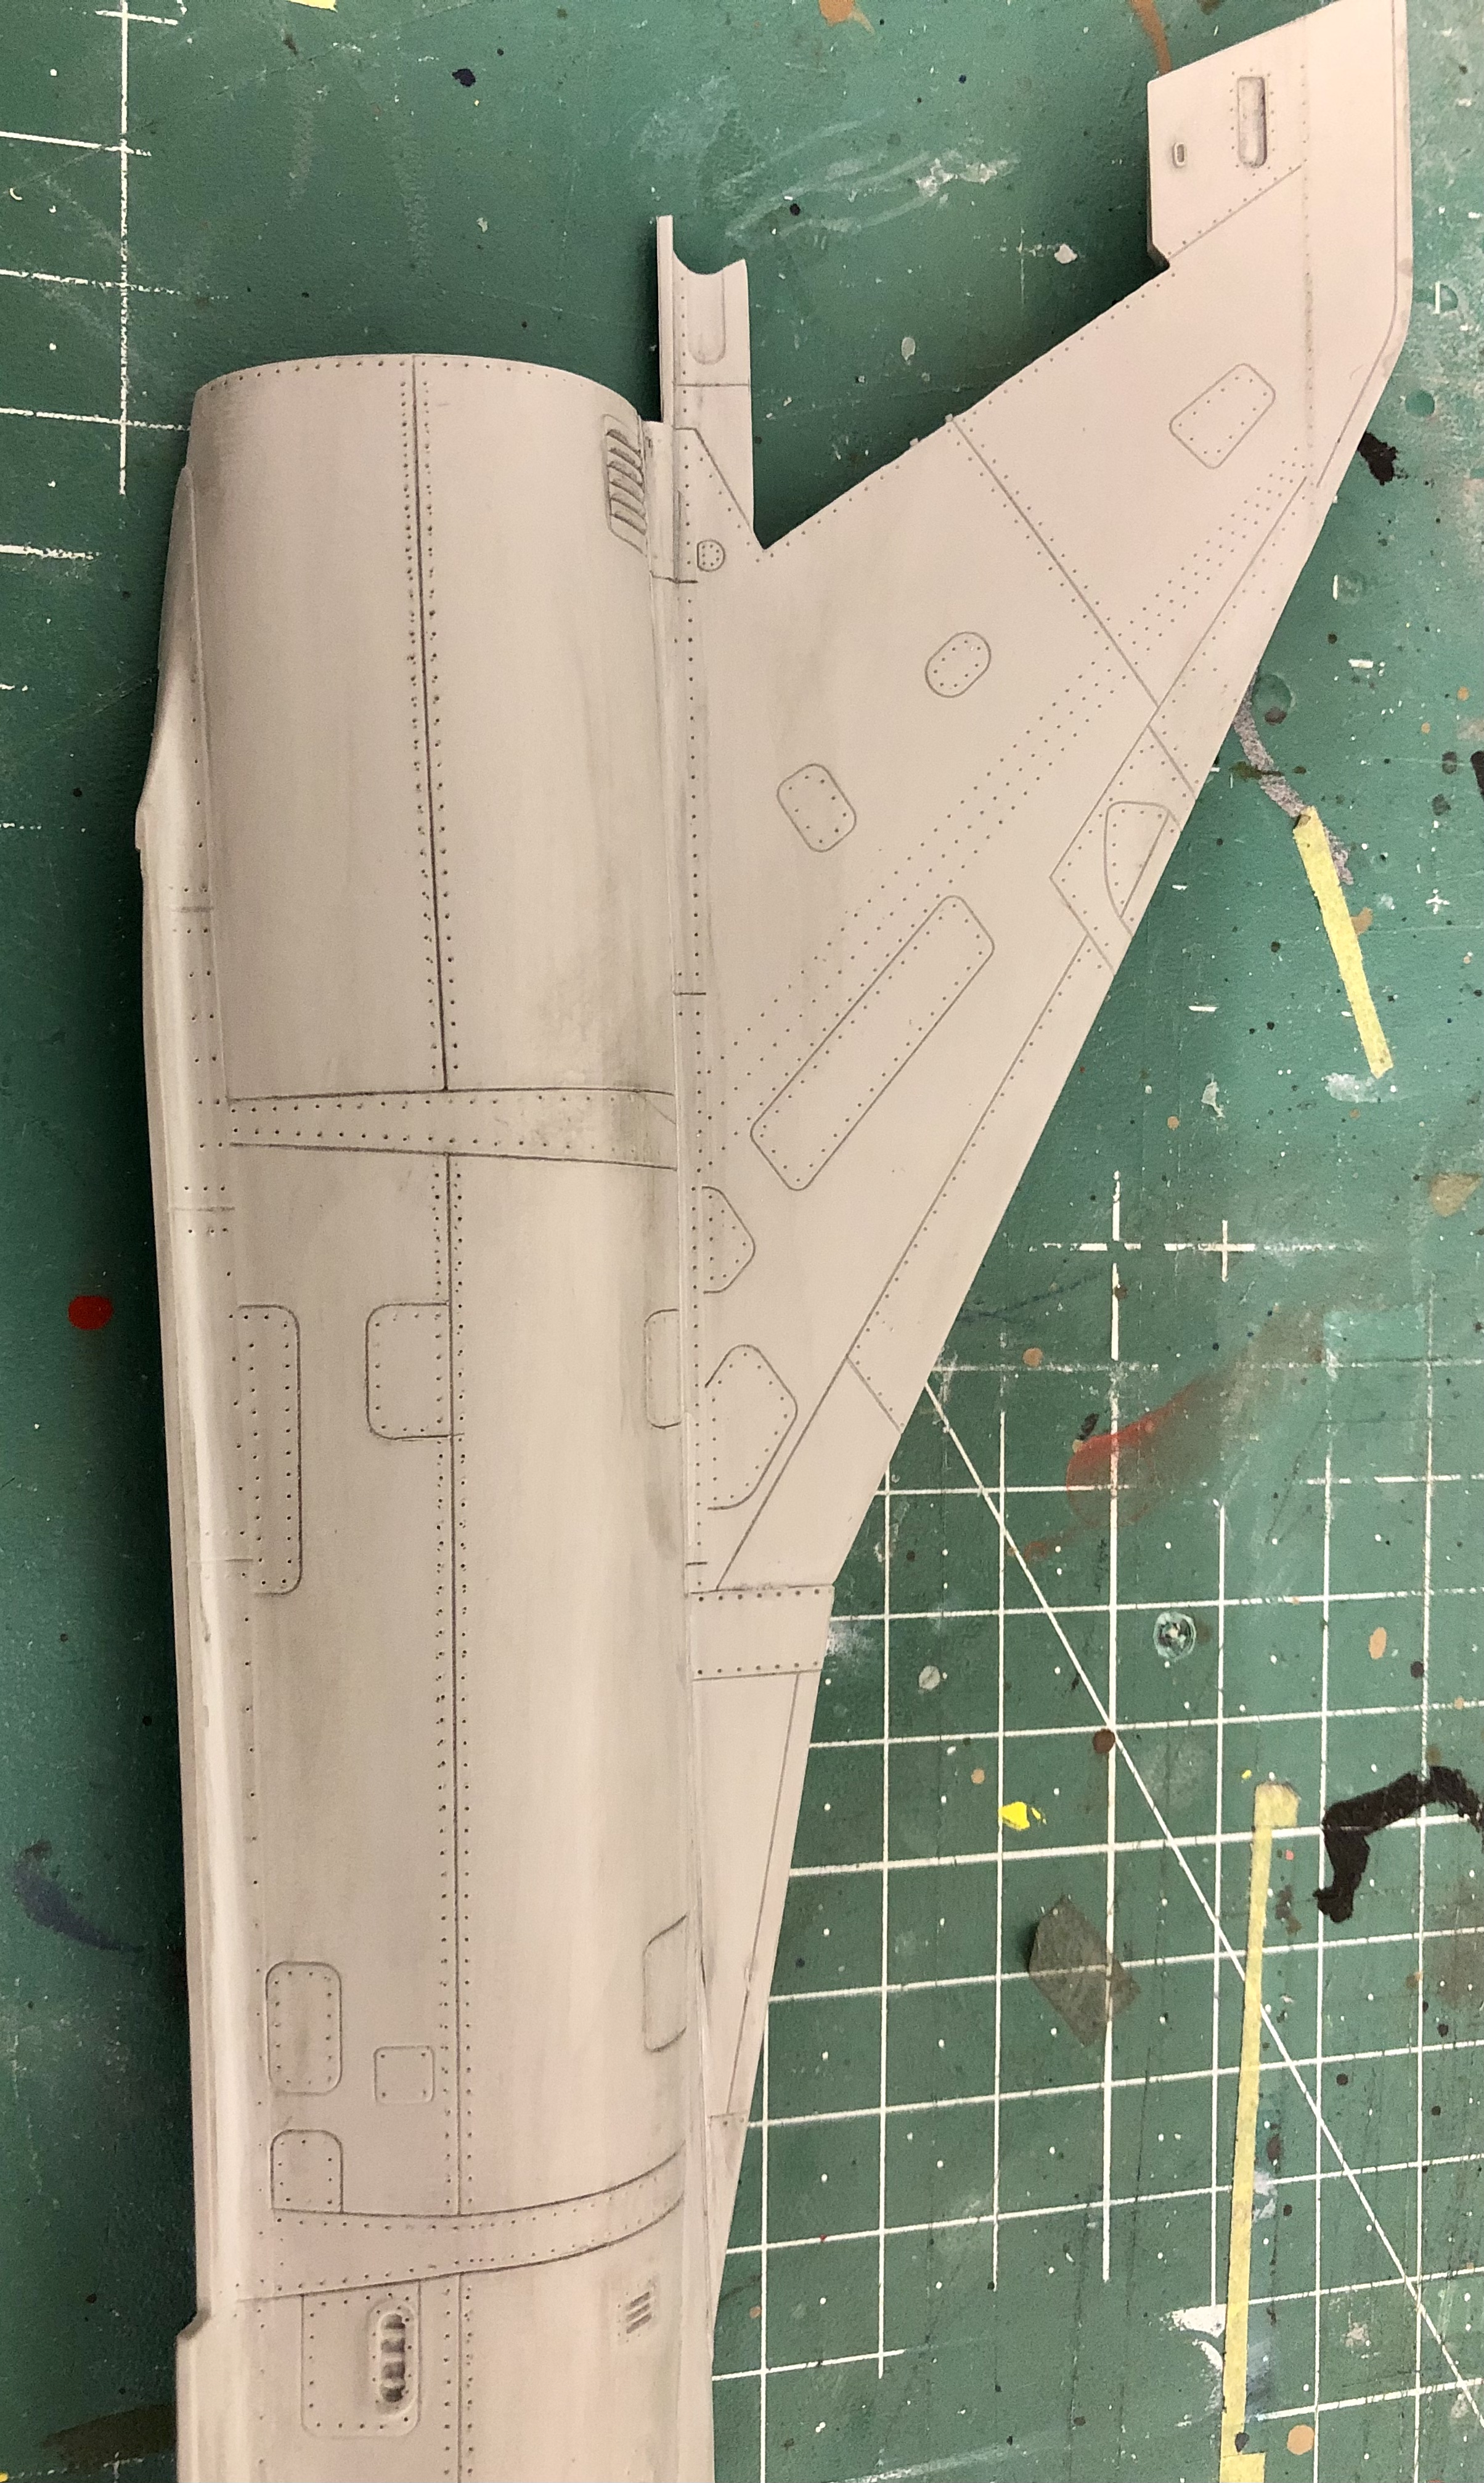
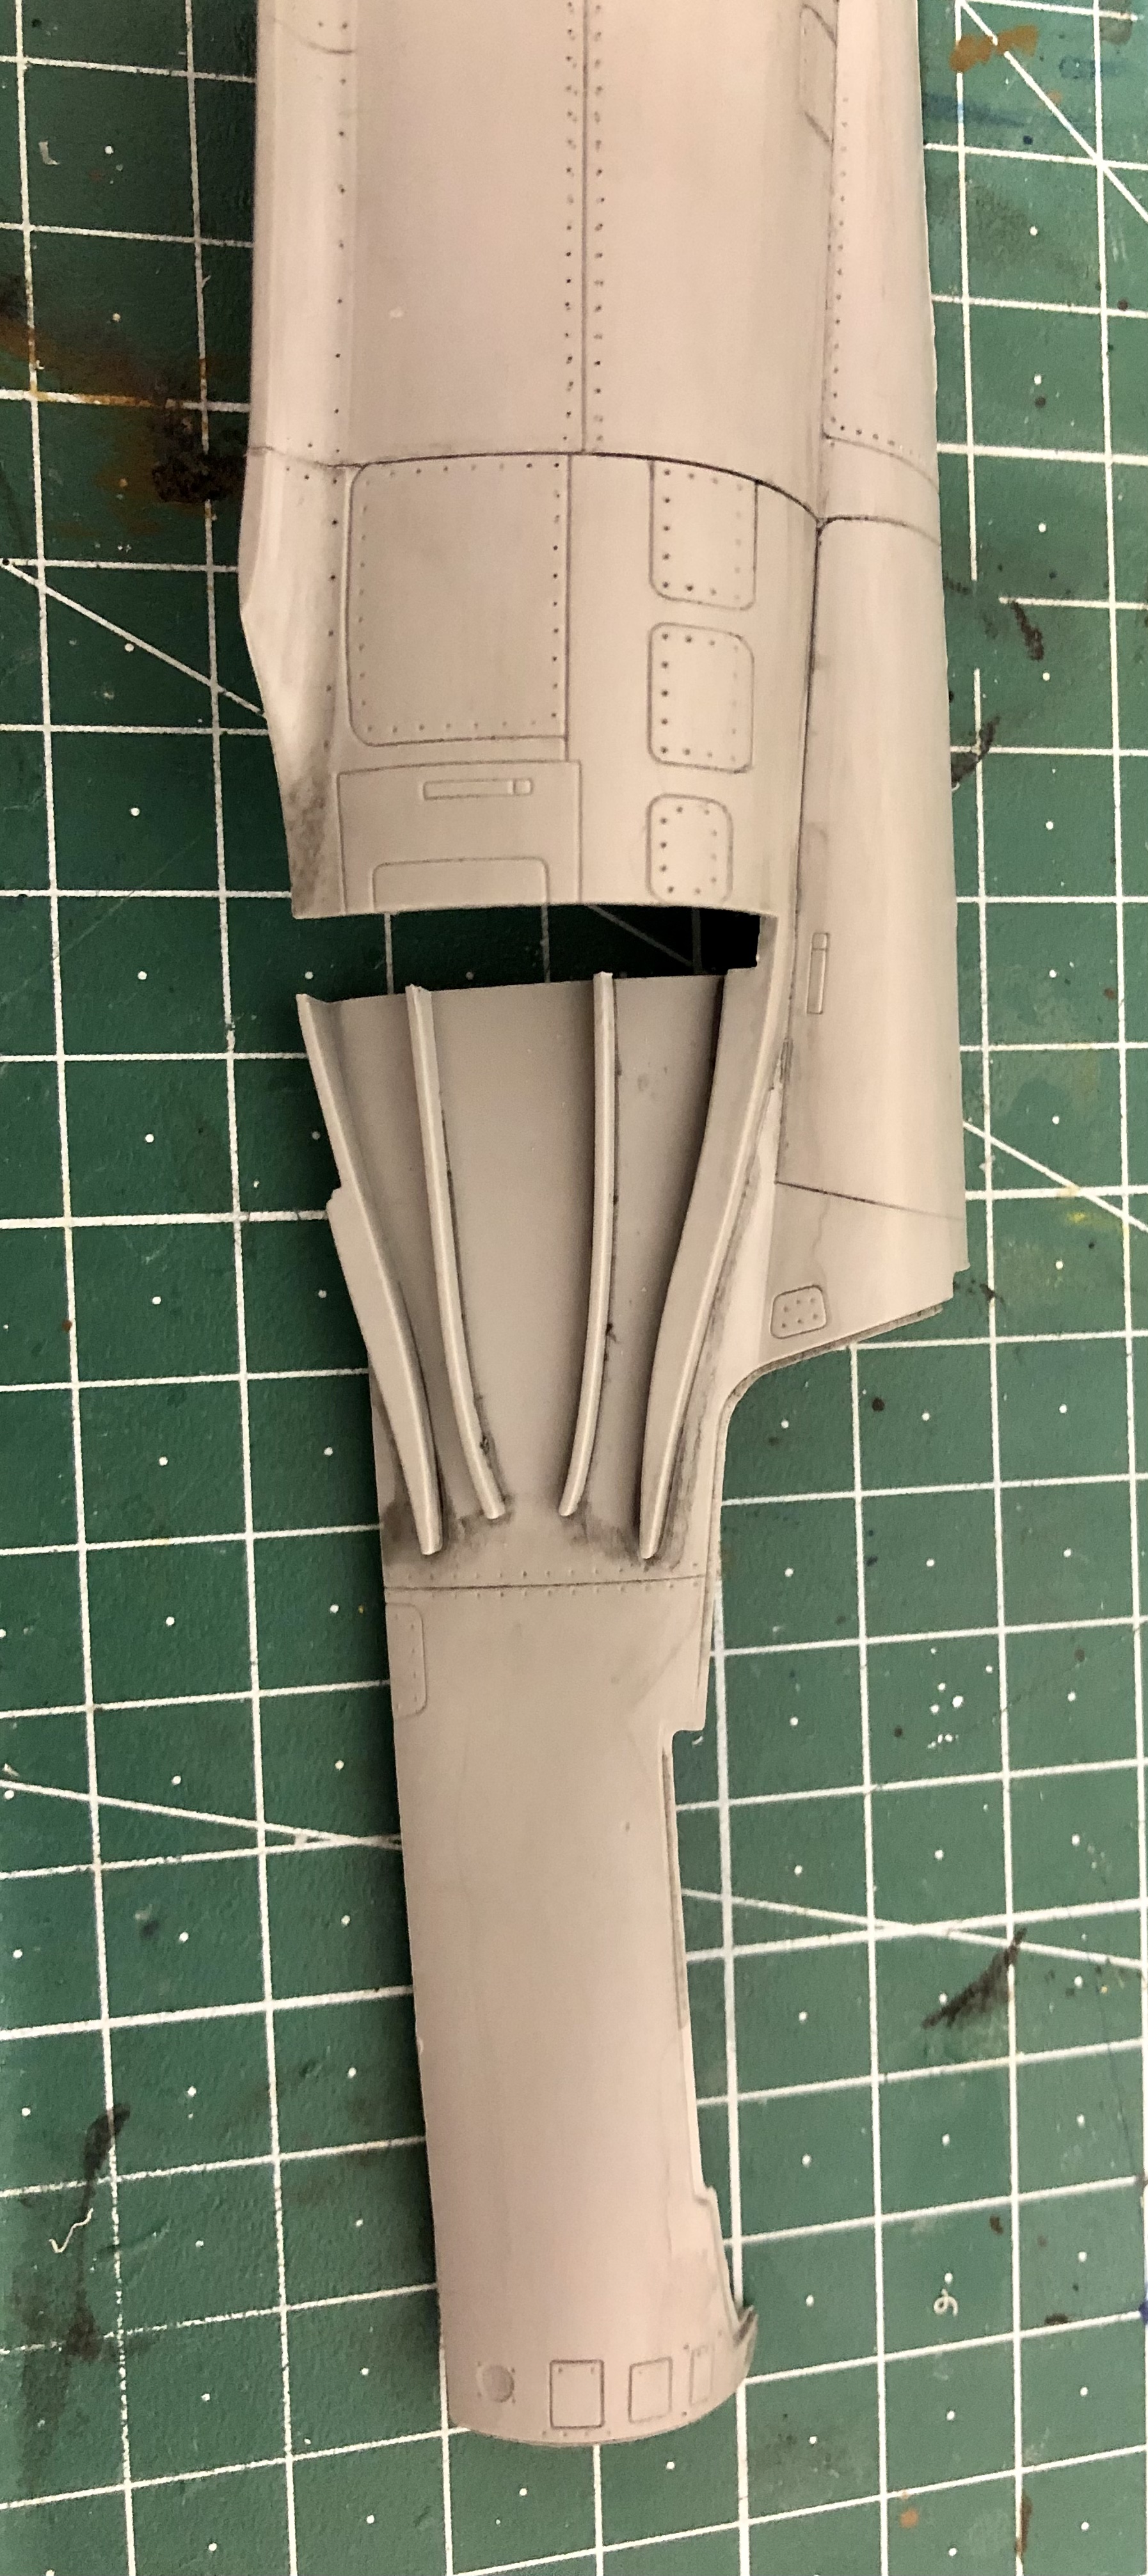
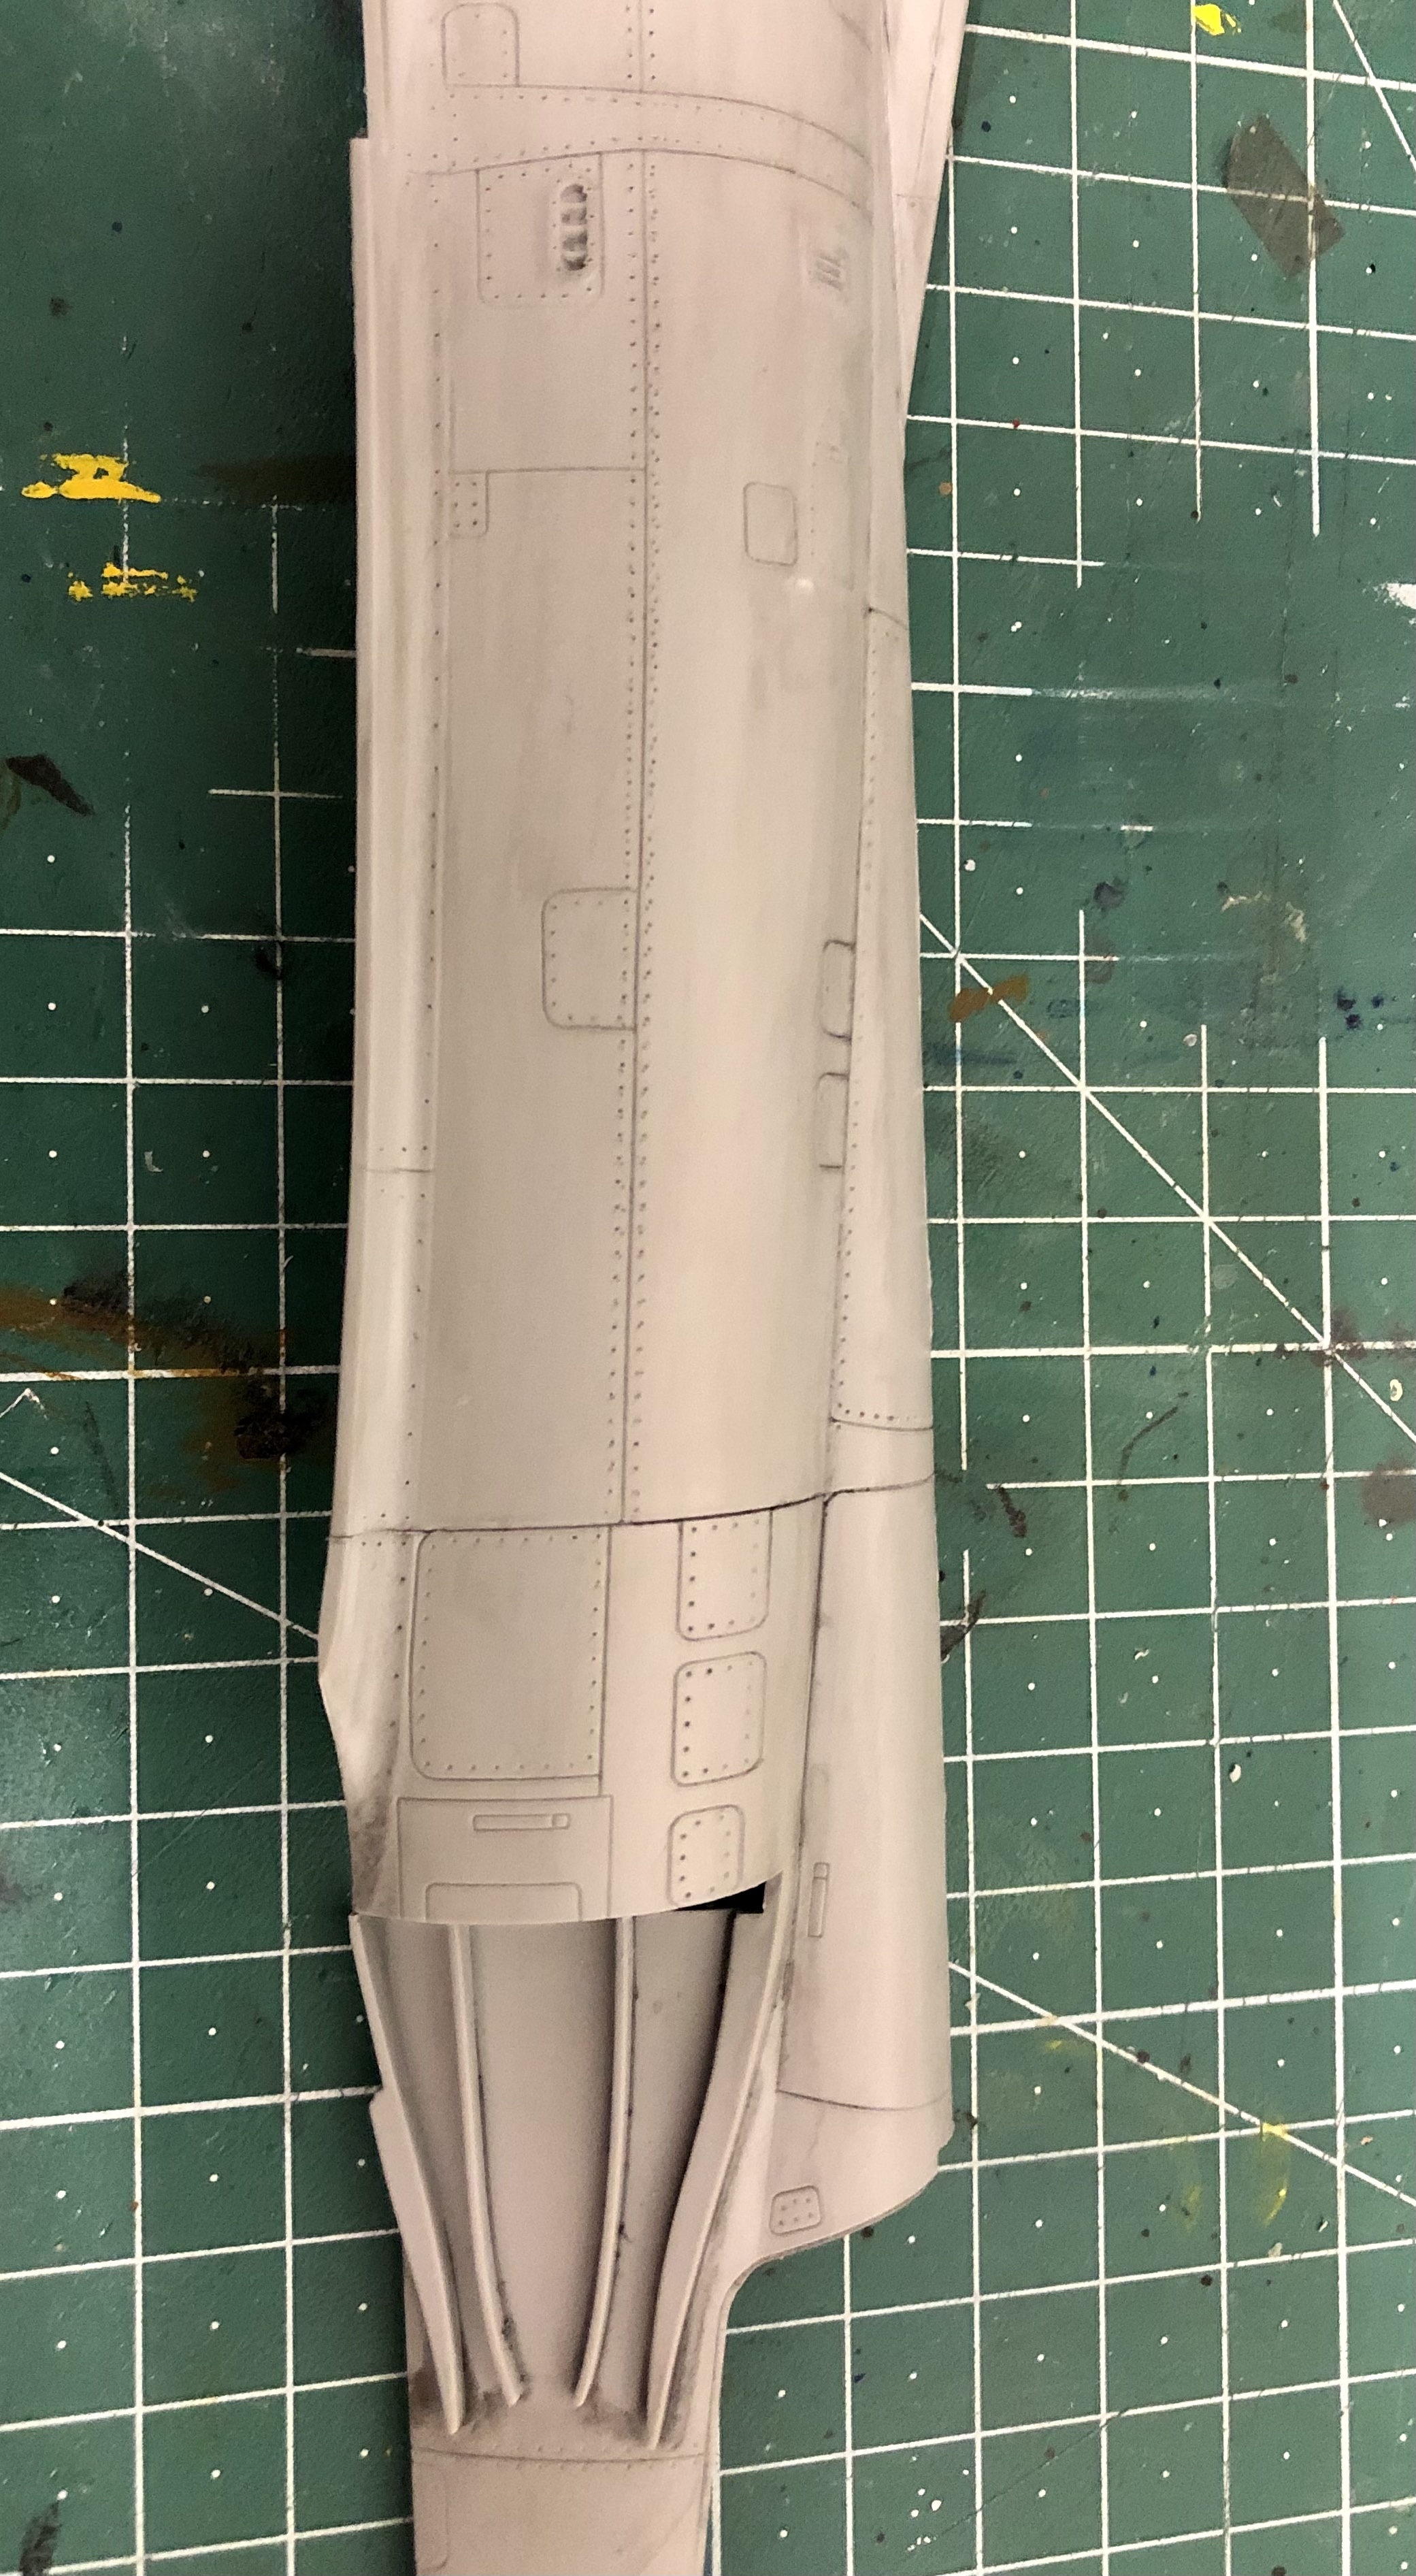
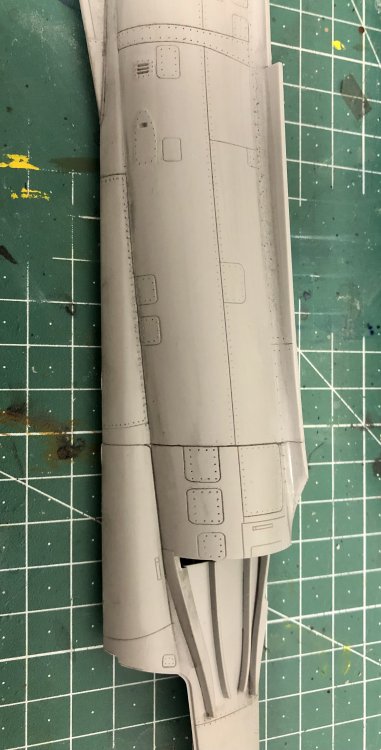
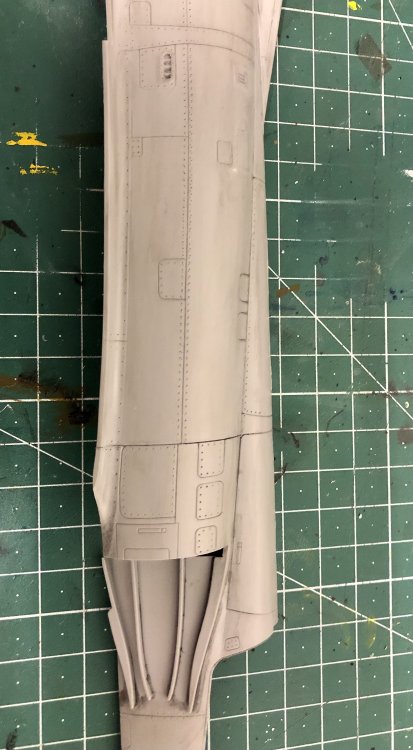
I took care of the fuselage halfs and the vertical stabilizer last evening. The panellines and rivets were so soft on my example that I had to rescribe and rivet both fuselage halfs nearly complete. And typical Italeri: None of my riveting wheels fitted regarding the distance. So every rivet was reworked by hand. I also glued the vertical stabilizer halfs to each fuselage half. The instructions say that you should glue them together separately and then to the assembled fuselage. But with the Italeri kind of construction you nearly have no chance to get a proper alignment and correct angle of it in the end. Next step will be to rework the wings and fuselage lower part in the same way.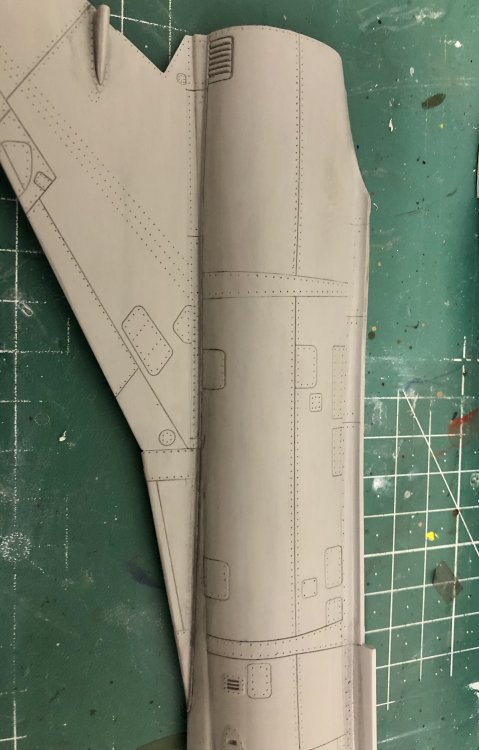


-
Lancaster ND644 in 32nd scale
Kaireckstadt replied to FME erk's topic in LSM 1/35 and Larger Work In Progress
Great progress Ian! And it‘s worth the effort that you again went the extra mile with the bomb-aimers compartment and the cookie. Looks much better than the original kit-parts. Beautiful extra detailing! The bombs look spot on! Curious to see what will be your next step... -
Revell P-51-5NA Mustang
Kaireckstadt replied to Peterpools's topic in LSM 1/35 and Larger Work In Progress
Wow, fast progress with this build Peter. Looks really stunning what you did up to now and the cockpit is a real eyecatcher. Really looks more like Tamiya than Revell! These Quinta-3D-Decals are really awesome. I have some in my stash for the Mirage 2000 (and some others from RedFox for other planes) and as you describe they seem to be easy to use. That there are some fit-issues in places you wouldn’t expect seems to be normal for Revell but you faced them all. Cheers Kai -
This is stunning, amazing .... don‘t know how to name it: You are building a kit within this Vacform kit! Evergreen will be forever thankful to you...
-
Israeli Mirage III C with Atar9C
Kaireckstadt replied to Kaireckstadt's topic in LSM 1/35 and Larger Work In Progress
It‘ll be very intersting to learn about your experiences here when you build them. A friend of mine also started the Italeri Mirage III E and faced such big problems with the wing upper halves to fuselage and intakes fit that he really threw it into trash. I will cope with these problems in one of my next posts here.