DocRob
-
Posts
7,082 -
Joined
-
Last visited
Content Type
Profiles
Forums
Events
Gallery
Everything posted by DocRob
-

Trumpeter F4F-3 Late - 1/32nd
DocRob replied to Bomber_County's topic in LSM 1/35 and Larger Work In Progress
Very nice Phil, will it be a Wildhalbkette or a Halbkettecat in the end. I love kit bashing . Fuselage looks great and like Gary, I really like to know, how it looks weathered. Cheers Rob -
Duchess of Kingston - Beauty of the Seas - Wooden Sailing Ship 1/64
DocRob replied to DocRob's topic in Non LSM 'WIP
Thanks Gary, Polyurethane varnish is very hard to come by, where I live. Most vendors don't send their stuff here and what they have in the hardware stores is not suitable for modelling choices. A while ago, a found a Polish vendor on big A, who sent me a can of Minwax 40900 Wipe-On Poly Oil-Based Polyurethane Finish Clear Gloss. I would have liked matte better, but with only one coat, the finish is matt to satin and acceptable. If it's to shiny, I can buff it a little with very fine steel wool, but that was not necessary until now. If I wouldn't have got that can, I would have tried shellac, where I have a dose in my paint shelf. Cheers Rob -
Duchess of Kingston - Beauty of the Seas - Wooden Sailing Ship 1/64
DocRob replied to DocRob's topic in Non LSM 'WIP
Muchas gracias Peter, I learn a bit about nautical terms every day with the DoK build and it's like a language of it's own. In the moment I read Patrick O'Brian's 'Master and Commander', which is the first of many books from him about the fictional British navy officer Jack Aubry. The tenth book of the serial was loosely used for the movie 'Master and Commander'. In the first book, maybe as an introduction to nautical terms an old midshipman explains the whole ship with it's parts and functions to a land based side character in a very lengthy way, my head was swirling, first because it's English and second because of the teminology. Cheers Rob -
Summer project Kawasaki KI-61, Tamiya 1/48
DocRob replied to DocRob's topic in LSM 1/48 Work in Progress
Thank you Hans, it was an enjoyable in between project. Cheers Rob -
Duchess of Kingston - Beauty of the Seas - Wooden Sailing Ship 1/64
DocRob replied to DocRob's topic in Non LSM 'WIP
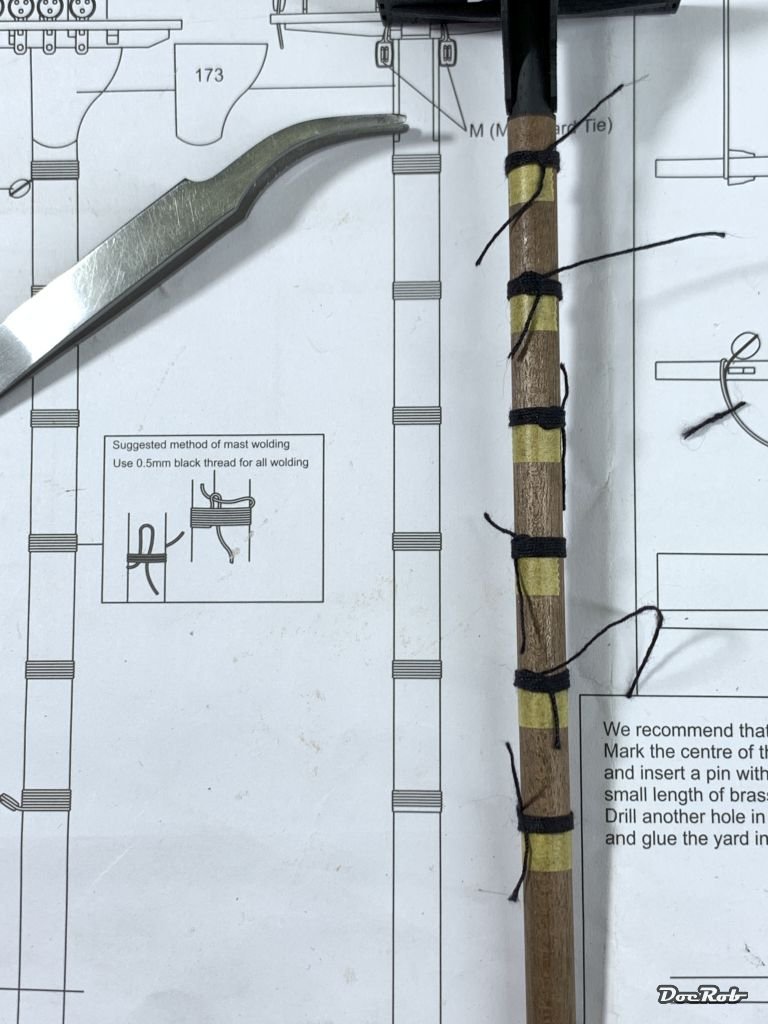
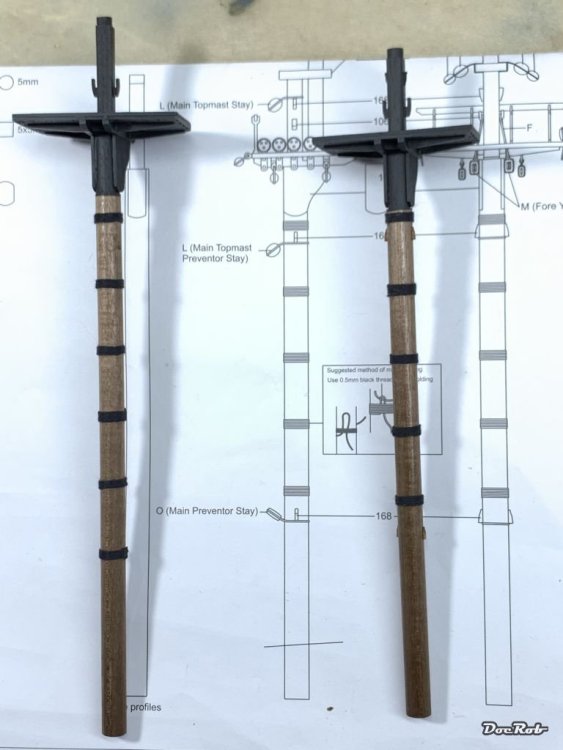
38 degrees Celsius and the world is turning very sloooowwwww , but anyway, I glued on the lower mast platforms and varnished the whole mast parts with Wipe on Poly. Then I masked the mast platform areas and airbrushed them with Tamiya's lacquer paint flat black. Then I started with the wooldings, I guess, they are for the enforcement of the lower mast parts. Luckily the plans showed a way, how to tie them correctly. I used masking tape as an indicator for the right positions and made six turns for each, which I secured then with water thinned PVA and cut off the ends. Cheers Rob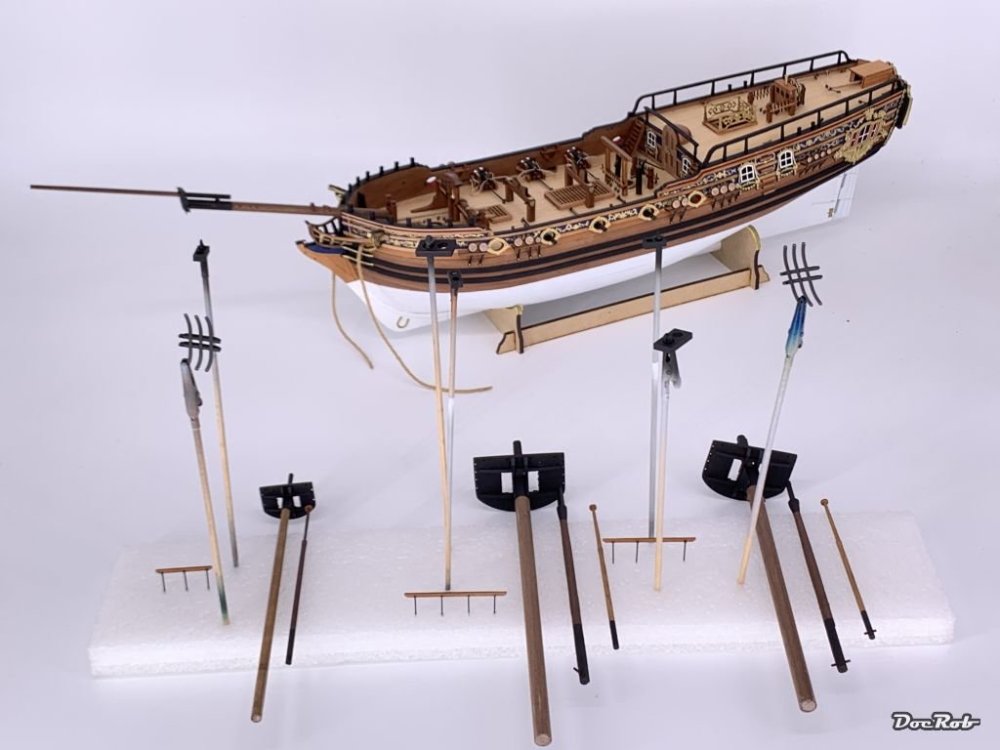

-
Tamiya Spitfire MK XVIe
DocRob replied to Peterpools's topic in LSM 1/35 and Larger Work In Progress
What a nightmare Peter, I hate, when fails like that happen to me. I never liked redoing, at least not when it comes to repaint an entire plane. I try to prepare myself as best, as I can, but yes, there are always the tiny trapdoors on the way. I hope with the new colors, you will achieve a satisfying result, as the fine detail painting indicates. I have AK paints from the real color range and from their acrylic range for RAF future builds along some Tamiya colors. I will test cautiously before applying. As for AK and Ammo of Mig, Mig Jiminez found these comapanies, first Mig, then AK, which was run by Vallejo and last Ammo of Mig. If I remember right, MIG Jiminez parted with AK in controversy and AK was on it's own since then. Cheers Rob -
...and there seems to be a civilian version planned. Cheers Rob
-
Duchess of Kingston - Beauty of the Seas - Wooden Sailing Ship 1/64
DocRob replied to DocRob's topic in Non LSM 'WIP
Thank you Gary, building the masts was fun, but more time consuming than thought, it's only some rods, ... . With the figures, I be interested too . Cheers Rob -
Duchess of Kingston - Beauty of the Seas - Wooden Sailing Ship 1/64
DocRob replied to DocRob's topic in Non LSM 'WIP
Thank you Peter, and you are absolutely right about these additional projects around the house. We had a master plan, last year, it was a remade of the roofs, preparing and repainting of the outer walls of the houses and now it was interior painting and doors and windows. The next projects will be smaller, at least time wise, some carpenter work outside to substitute some rotten beams and a photovoltaic system with batteries onto the roof and the batteries will heat my cave in wintertime and even mor important, dry the air a bit. The Duchess will develop slow, I guess, I prepare myself well for the following steps, taking my time. Rigging is completely new to me and I will do it right, at least right enough. Summer on the other hand has a lot of distractions, so bench time is shrinking, but I'm willing to pull through with the DoK. If doing otherwise, the officers will let me keelhaul soon. Cheers Rob -
Duchess of Kingston - Beauty of the Seas - Wooden Sailing Ship 1/64
DocRob replied to DocRob's topic in Non LSM 'WIP
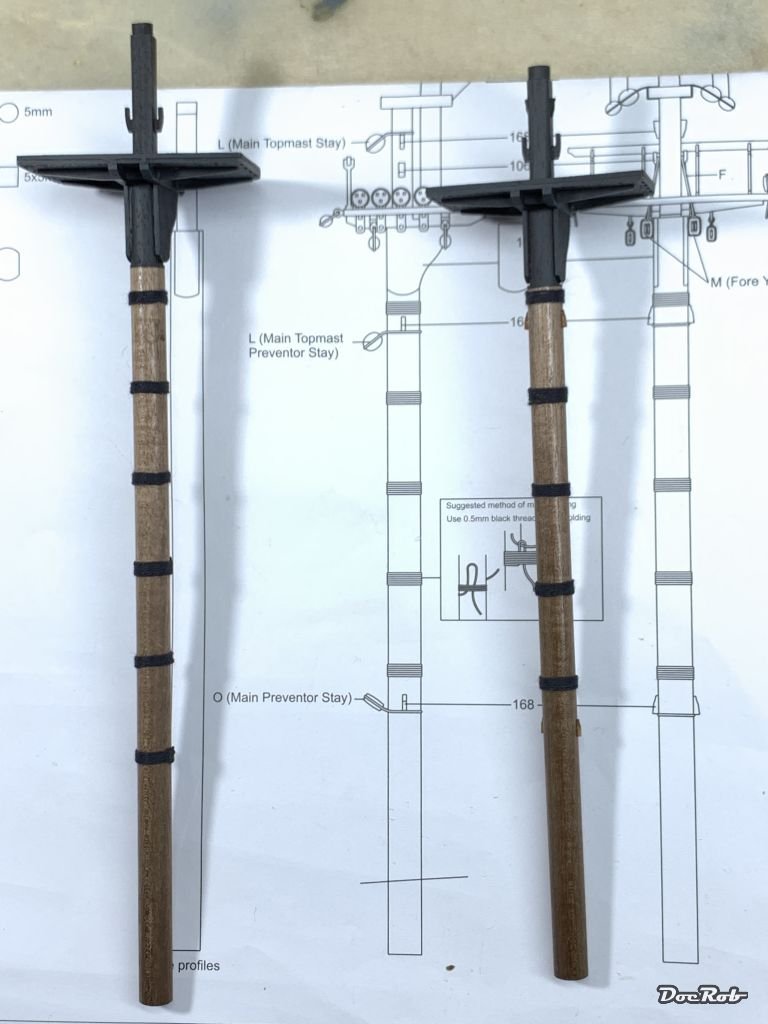
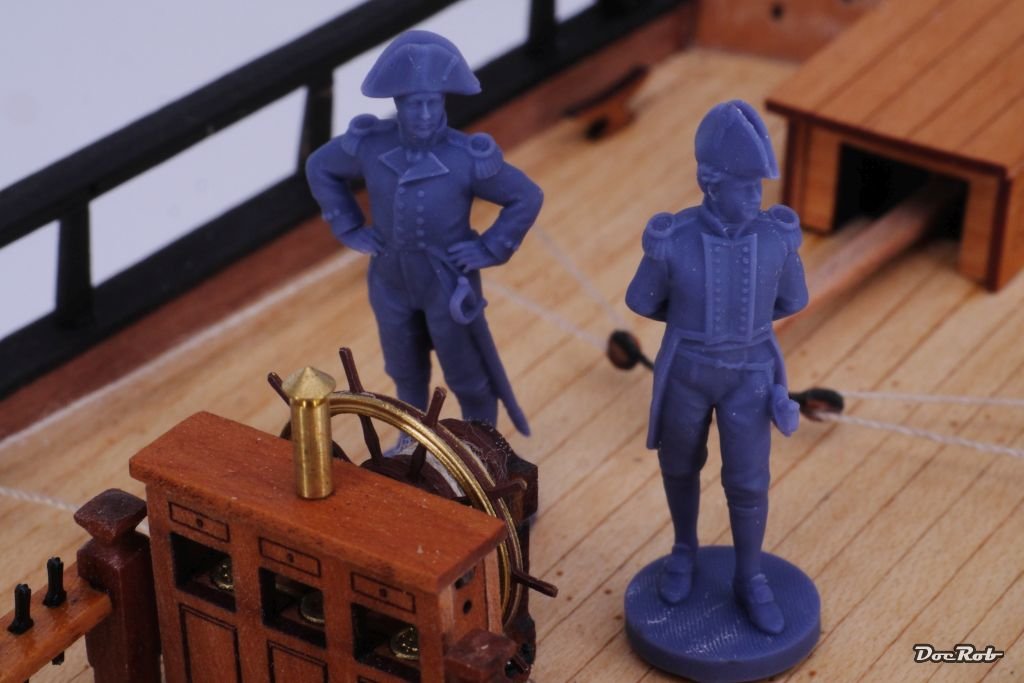
Finally some progress, with the renovation of the hose and different other activities in the books. First a vanity shot with all the mast parts in place. These are not glued yet, as I plan to only add the lower segments first for easier rigging. But the next step will be painting the mast platforms and their surroundings black and to add the wooldings (ropes slung around the masts at different height levels). But the picture is not only for vanity reasons, it's meant to be self motivational as of now, my work on DoK is supervised. The Gentlemen Pellew and Hornblower have arrived my dock. They are made from Vanguard Models and are already primed. Their first job will be to fell victim to my desolate figure painting skills. I'm not decided, if I use oil- or acrylic colors or a mix of both. This will be challenging as the gents are in 64 scale, not exactly my go to scale for figure painting. As a reward, they brought a set of pear blocks for my HMS Sphinx kit with them. Cheers Rob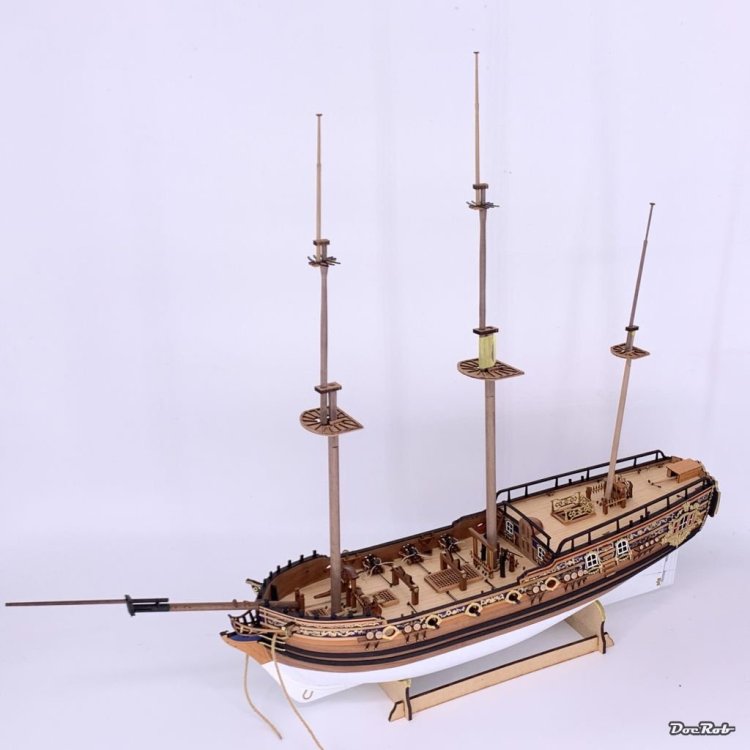

-
The ME-BF109 G14 seems to hit the shelves soon. I've seen the kit as preorder item on some shop pages Luckily not my cup of tea, geez, 105€ for the kit and there is no resin or PE included. Cheers Rob
-
Hi Peter, this should be right down your alley. CMK makes some detailed resin wheels for the mentioned plane. With that hub, I think you can't resist. Cheers Rob

-
Love it Ernie, the digi-camo looks great and a bit of weathering will blend it a bit. Cheers Rob
-
One Month Challenge: COMPLETED
DocRob replied to GazzaS's topic in LSM 1/35 and Larger Work In Progress
Twenty days would have been the amount of time, I would have spent thinking where to put the spent shells . Awesome and convincing display Gary. The winter atmosphere is only lacking the fog plums in front of the faces from breathing. I can only raise my virtual hat to such a speedy and in all aspects great dio. Cheers Rob -
Big Yellow Distraction from my B-24
DocRob replied to BlrwestSiR's topic in LSM 1/35 and Larger Work In Progress
Great build Carl, the yellow rocket develops beautifully in your hands. I really like the material mix, Tamiya has chosen for the kit. Cheers Rob -
Welcome to LSM Kev and thank you for showing us your build. There was a lot of talk around the Lanc specifically and Border in general, so it's good to see this beauty being build at last. Your work looks great and it's really a shame, that so much of the inner detail will be hidden. I thought about building one as only a half plane, leaving away the second fuselage half. But then, I came back to sanity and followed my old rule, not to build planes larger than twin engine ones in large scale. As an afterthought, I have to rise my hat to the PR branch of Border, This relatively new company hit the net with lot of speculations about the Lanc's situation and topped everything with their 35 scale issues. They have only three planes in their portfolio, but are spoken about like a big fish . Good or not, that's for us to decide. Cheers Rob
-
, didn't know there is one in large scale. I will buy a Border Stuka soon (too?) Cheers Rob
-
What is on your bench right now ? Share a picture :)
DocRob replied to Martinnfb's topic in Modelling Discussion
Maybe a 'Schmiss', not uncommon for German officers of the time. A Schmiss is a scar caused by a sword in a strongly regulated duel, with blinded eyes, which was typical for conservative students associations. Cheers Rob -
Trumpeter P-51 "American Beauty"-Finished
DocRob replied to KevinM's topic in LSM 1/35 and Larger Work In Progress
Your Mustang looks absolutely gorgeous Kevin. I really like the shaded panels. Obviously the Trump P-51 can't be that bad, or at least, you mastered the kit perfectly. Cheers Rob -
Big Yellow Distraction from my B-24
DocRob replied to BlrwestSiR's topic in LSM 1/35 and Larger Work In Progress
Amazing little bottle rocket. I missed some updates (no idea how, given the color of the thingy) and whoops, it's almost done. You're building almost as fast as the real thing. I like the multi material mix of the kit, which would be on my wish list in it's non neon version, if there will be a re release. Cheers Rob -
One Month Challenge: COMPLETED
DocRob replied to GazzaS's topic in LSM 1/35 and Larger Work In Progress
I like the figures a lot Gary, macro shots can be cruel, but I can't see fails with your guys. I also love the problem solving with the tarpaulin covering the shells. That made me smile. Cheers Rob -
There were some boxings with additional PE and goodies available from Tamiya. Some where indeed limited editions and some were made as an addition to address some problem areas with older kits. My stash tells otherwise, but I'm not a hoarder. Things I buy are for use, being it rare kits, rare vinyl records or whatever. If it achieves a high value, it's good to know for me, but of no real importance, as I don't sell stuff. Cheers Rob
-
One Month Challenge: COMPLETED
DocRob replied to GazzaS's topic in LSM 1/35 and Larger Work In Progress
Figures start to look the part, Gary. Working with different shades, very much attracts the eye. You've put yourself in a bad spot with the repetitive work on the shells. I probably would have gone AM, if there exist any. Cheers Rob -
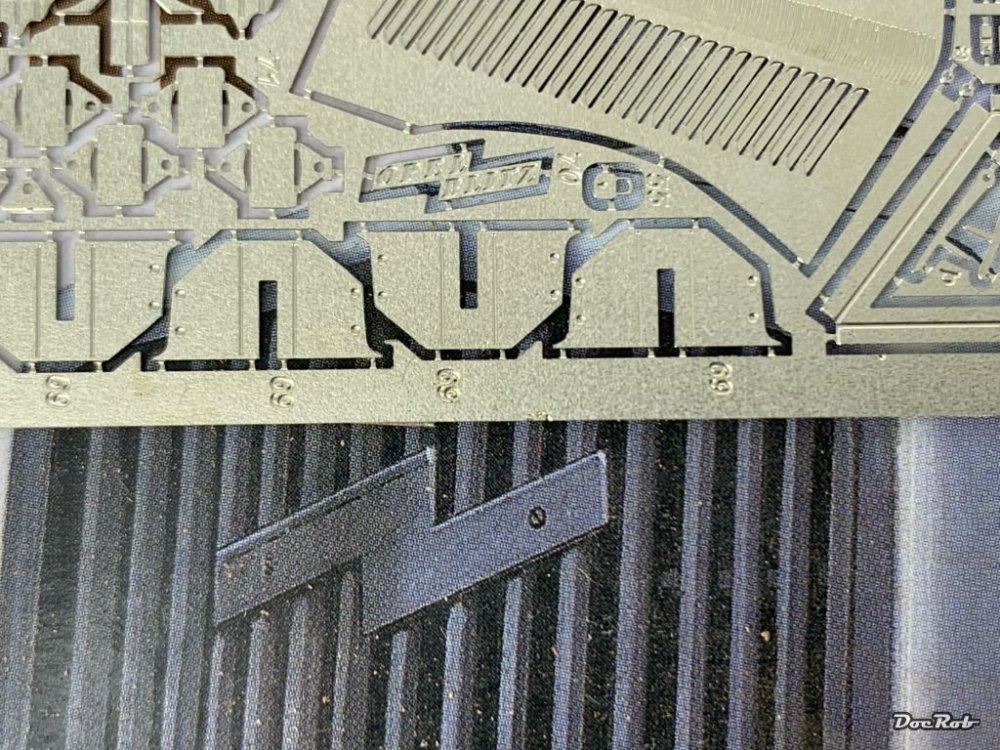
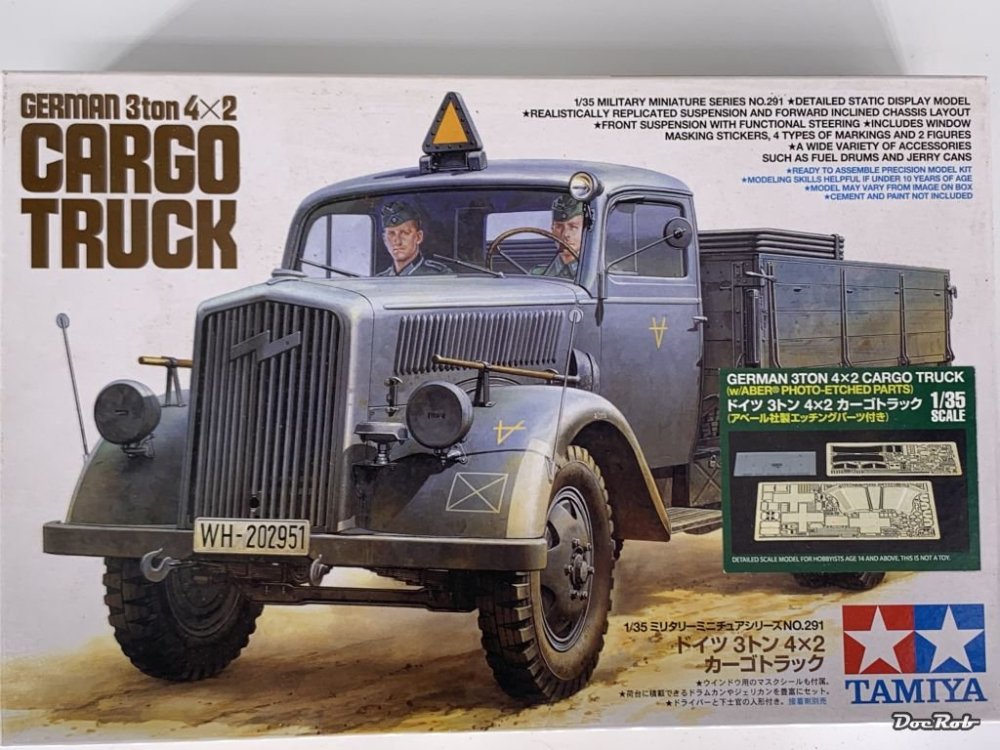
I have the boxing of the mysterious German 3 ton truck in stash, which comes with an Aber PE set and clear acetate for the windows and dashboard. The Aber set includes the Opel Blitz logo embossed. Cheers Rob
-
I don't care if it's 1/35 or 1/32 when I really want to build it. Border is not the first company to do it, there are some helis around. I'm considering buying their Ju-87, as I believe it's the best kit in 'large scale' in the moment. The only let down is fitting aftermarket and figures, which is not an issue for me with the Stuka. To put some oil into the fire, I'm waiting for some of the usual armor suspects to release a 1/32 scale tank range . ZM did a Kettenkrad, without a huge outcry, if I remember right. Cheers Rob