DocRob
-
Posts
7,082 -
Joined
-
Last visited
Content Type
Profiles
Forums
Events
Gallery
Everything posted by DocRob
-

The Legend - Lotus 72D - Tamiya 1/12
DocRob replied to DocRob's topic in LSM 1/35 and Larger Work In Progress
Thanks Carl, the Tamiya LP-1 is always good for a deep shiny finish, without orange peel effect, when thinned properly. I think it´s best, to prepare as good as possible for the best finish. Sanding and polishing in the end on the clear is difficult in places. Cheers Rob -
The Legend - Lotus 72D - Tamiya 1/12
DocRob replied to DocRob's topic in LSM 1/35 and Larger Work In Progress
Thank you Kevin, my go to base for metallics is Tamiya LP-1 which also dries very hard. The only problems, I sometimes have are tiny color runs, because my last coat is so highly thinned, to get a perfect shiny surface. It´s kind of a struggle to get it right, but a good shiny base reduces the needed polishing work in the end. Which some hard to reach areas for example on the wings, it´s worth the struggle. Cheers Rob -
Nice (extra) work, Chris. I´m sure, you will pull through with the big thing. Weird, how you exchanged the super bad Italeri kit for a bad modelcollect one. It seems there is some need for a really good kit. Cheers Rob
-
What is on your bench right now ? Share a picture :)
DocRob replied to Martinnfb's topic in Modelling Discussion
You are no Gundam Carl, only human. There are no parts to exchange, so all the best for your shoulder. Cheers Rob -
The Legend - Lotus 72D - Tamiya 1/12
DocRob replied to DocRob's topic in LSM 1/35 and Larger Work In Progress
Over the last days, I did a lot of sanding and test fitting, to prepare the body and wing parts for painting and decaling. I decided to add the front wings to the nose and built up the upper side of the body along the radiator housings for not having to glue these parts later after painting and decaling. This way, I could ensure a proper fit and alignment of the parts, which will help later in the build. I primed the parts with Mr. Surfacer 1500 black primer and then sprayed Tamiya LP-1 gloss black on, heavily thinned with leveling thinner. Unfortunately, I had some tiny color runs, which easily happens with paint, thinned so much. After drying, I sanded away the imperfections and today, I resprayed the black body color. Now it looks decal ready with a near perfect high gloss finish. I also sprayed the cockpit with Ammo´s polished aluminum, which is shining fantastic, even better to the human eye, than on the picture. I read rumors, these Ammo metallic are the same as Alclad, but I don´t know for sure. Anyway, polished aluminum sprays perfectly in very fine layers over a base coat of Tamiya LP-1 gloss black. Cheers Rob
-
The Legend - Lotus 72D - Tamiya 1/12
DocRob replied to DocRob's topic in LSM 1/35 and Larger Work In Progress
In fact, the Lotus 72D was so famous, that it got it´s own song. A Samba piece by Zé Roberto. Cheers Rob -
The Legend - Lotus 72D - Tamiya 1/12
DocRob replied to DocRob's topic in LSM 1/35 and Larger Work In Progress
Thanks Mike, I hope the best for the nose section. The body parts fit so far with the nose, but I have to see, how it works with the innards. I will use Tamiya LP1 as gloss black. Actually I started with it, but have some tiny runners on the body and have to wait until it´s completely cured, before I sand again. Companies like Zero or Number Five sell different Lotus blacks for different types, weird. Cheers Rob -
The Legend - Lotus 72D - Tamiya 1/12
DocRob replied to DocRob's topic in LSM 1/35 and Larger Work In Progress
Thanks for your confidence, PW. The kit isn´t too bad until now, not up to todays standards, but decent. It´s my first JPS livery, but I have some more Lotus in my stash. Until I stopped smoking two decades ago, it was Players Navy Cut or Senior Service, sometimes Lucky Strike, but there are no F1 liveries except for the latter. Cheers Rob -
The Legend - Lotus 72D - Tamiya 1/12
DocRob replied to DocRob's topic in LSM 1/35 and Larger Work In Progress
Good to have you with me, Martin and Carl. I´m preparing the body for painting and decaling right now. It needs a bit of extra love, because of the age of the molds. Cheers Rob -
You can always use some lead or copper wire Paul, easy to bend and to add to the fuel tanks. Cheers Rob
-
I love the locomotive, PW, unfortunately the spelling isn´t correct. It should read müssen instead of müsen. I know, we Germans are terrible . Cheers Rob
-
Hola amigos of the 70´s Formula 1 cars. For my next build, I chose the most iconic one of it´s time, the Lotus Type 72D, produced by Tamiya first in 1973. It´s an old kit, which will need a bit of attention. Tamiya re-released the kit a while ago, adding PE parts, seat belts and new decals. The decals unfortunately don´t have the JPS branding included and therefore, I added a complete TBDecals sheet. Other extras will be MFH aluminum air funnels and distributor and maybe MFH seatbelts, if I don´t use the included driver figure of Emerson Fittipaldi. Here are the extras; For a start, I test fitted the body section, to see, how the fit is and what will be my painting and decaling approach. There will be a lot of sanding and maybe filling to get rid off the seams. I started with the air intake and it took a lot of sanding, to erase the parting line. Cheers Rob


-
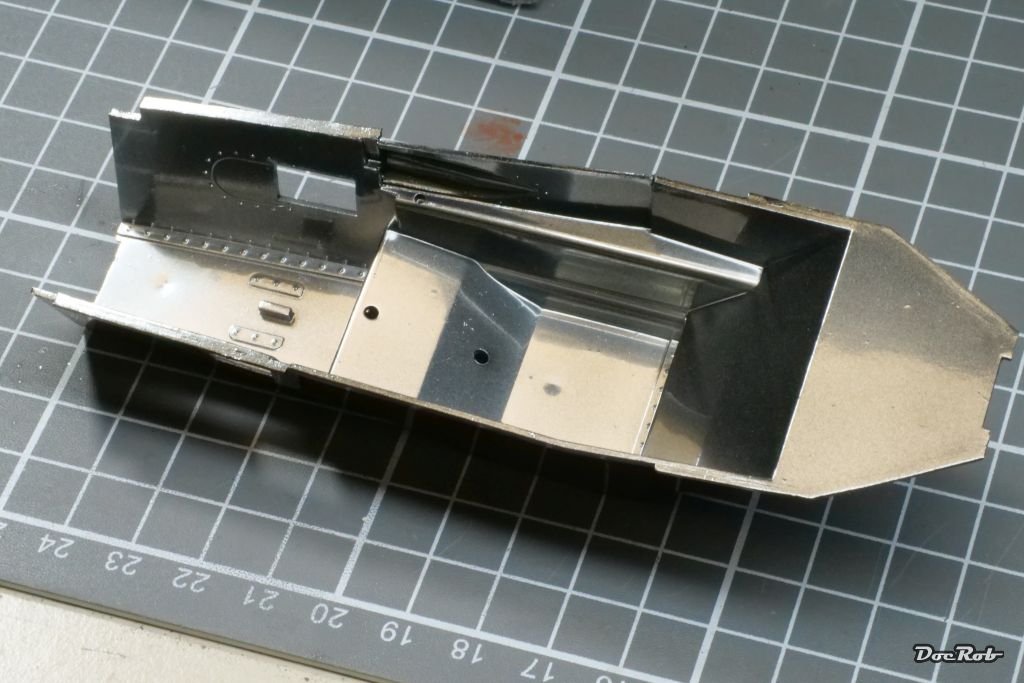
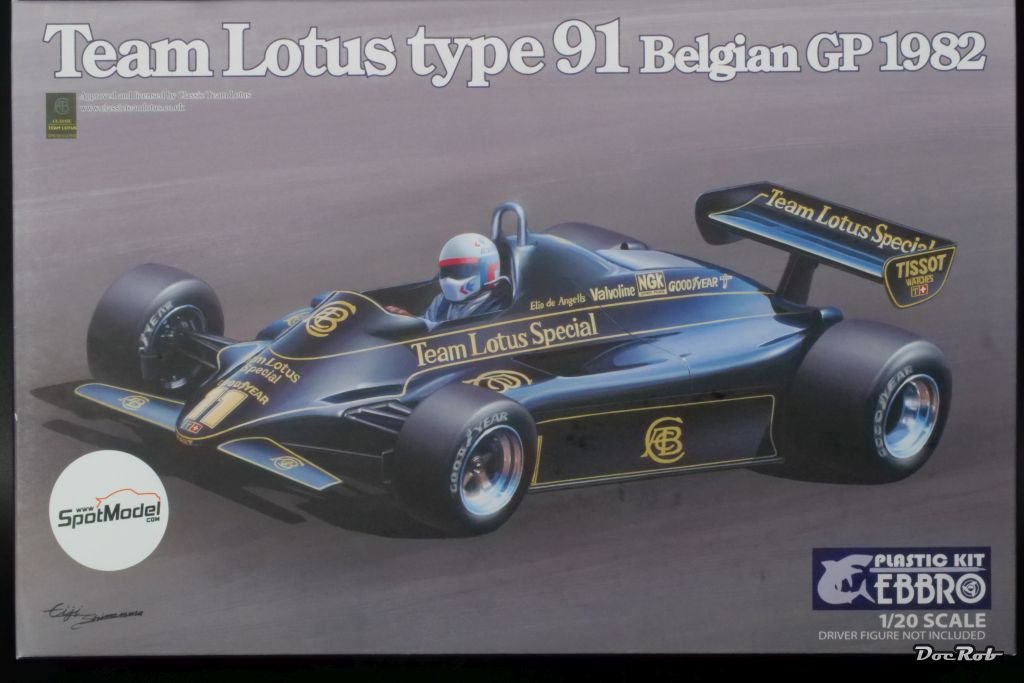
Yeah, I know, I ranted more than a bit about the Ebbro Lotus Type 49c, I recently finished. On the other hand, parts of the kit were great and Ebbro´s subjects are rarely represented as kits. I couldn´t resist buying their Lotus Type 91 and added a sheet of TBDecals with JPS branding, because they were no part of the kit. It´s crazy, how these brands are banned from decal sheets, but my last build, a very recent Revell of Germany McLaren MP4/25 sported Johnny Walker branding directly on the kits decal sheet. Apart from that, it will be an oob build, because the engine is completely covered. Cheers Rob

-
Love it, PW, great setting and weathering, it looks real. Cheers Rob
-
Those engines look fantastic. I love it, when plastic doesn´t look like plastic anymore due to a great paint and weathering finish. Cheers Rob
-
1:32nd scale Fokker D.VII (OAW)
DocRob replied to sandbagger's topic in WNW and WW1 Ready for Inspection'
Beautiful, Mike, like always with your signature finish, I love it. Cheers Rob -
Wow, thanks for showing, Kevin. There is a lot of creativity and talent on show, impressing. Cheers Rob
-
Fantastic result, denders. I love the matte look and how you made the monochrome PZL look interesting with your paintjob. Cheers Rob
-
I clean my airbrushes (H&S infinity / Rotring) very thoroughly after use, taking out the nozzle and clean it with a steel needle, which is flattened on one side. I also clean the innards of the AB with round brushes. Between colors, I usually spray some cleaner through, backflush (closing the nozzle with my fingers and spray and clean the cup. With chrome or similar finishes or high gloss clear coats, I clean more thoroughly, even between colors. It doesn´t take that much time and became a habit. Cheers Rob
-
The Enigma is a weird looking machine, but indeed a bit plain if monochrome painted without weathering. I added Friuls for mine along with a very extensive Voyager PE set, a metal barrel, a resin set for the extra armor, which looked less uniform and resin wheels, partly with burned off rubber parts. Cheers Rob
-
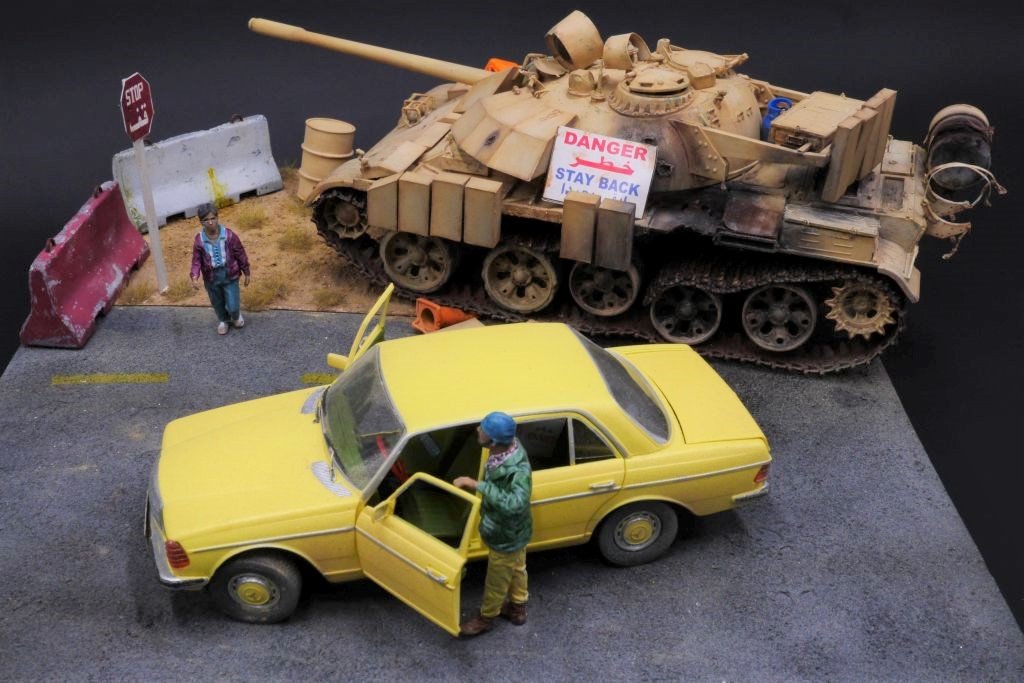
Yup, it´s the Diopark Benz, I bought it directly, when it came out and started the dio. I owned one of these for a while and loved it, as I love old Mercs generally. Actually, there seems to be one available from Plastic Model Republic. Can´t tell, if they are reliable, but ordered an oop F1 kit Saturday from them. (USED) 70's German Made Civilian Car W/IED Accessary Model Kit (1/35 70年代のドイツ製セダン IEDアクセサリー付 [DP35013]) | Buy from Plastic Model Republic - Online Shop for Plastic Model Kits Cheers Rob
-
Enjoy Paul, I built one with a lot of extras many moons ago and had a lot of fun. It was my first go at a dio, if I remember it correctly. I never noticed, that it is a valuable kit.

-
I am really sorry for your loss. It´s like loosing a family member, I´ve been there too. I hope you keep a lot of beautiful memories of your Garfield. Rob
-
What is on your bench right now ? Share a picture :)
DocRob replied to Martinnfb's topic in Modelling Discussion
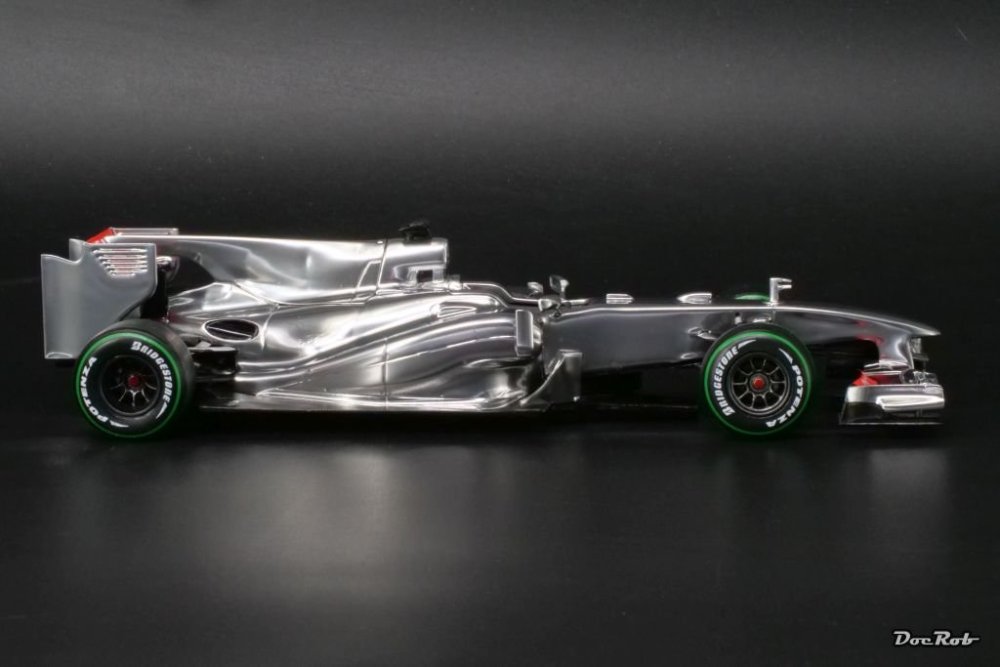
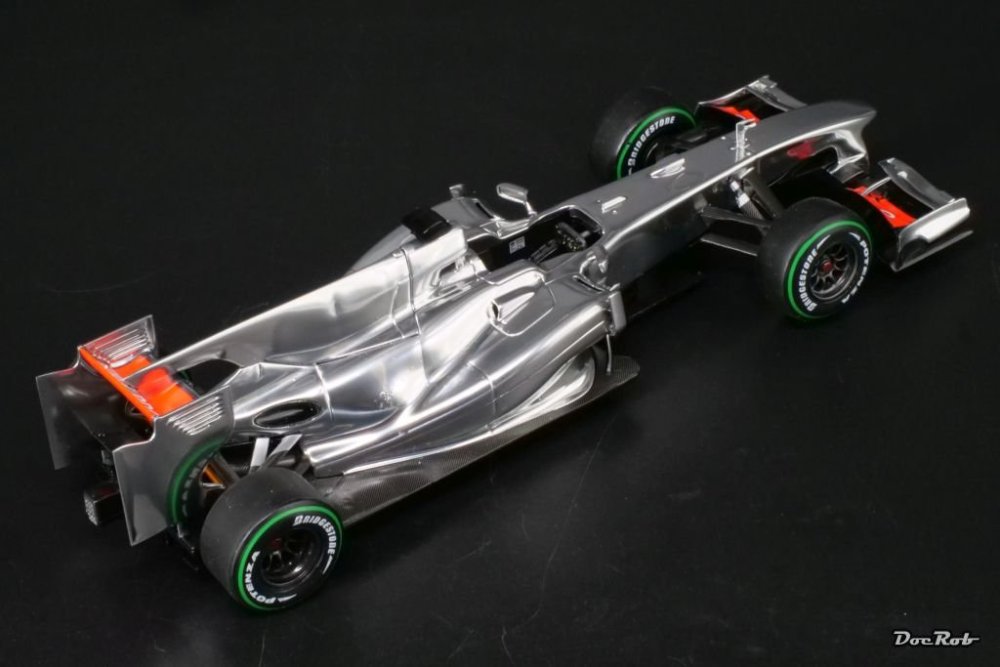
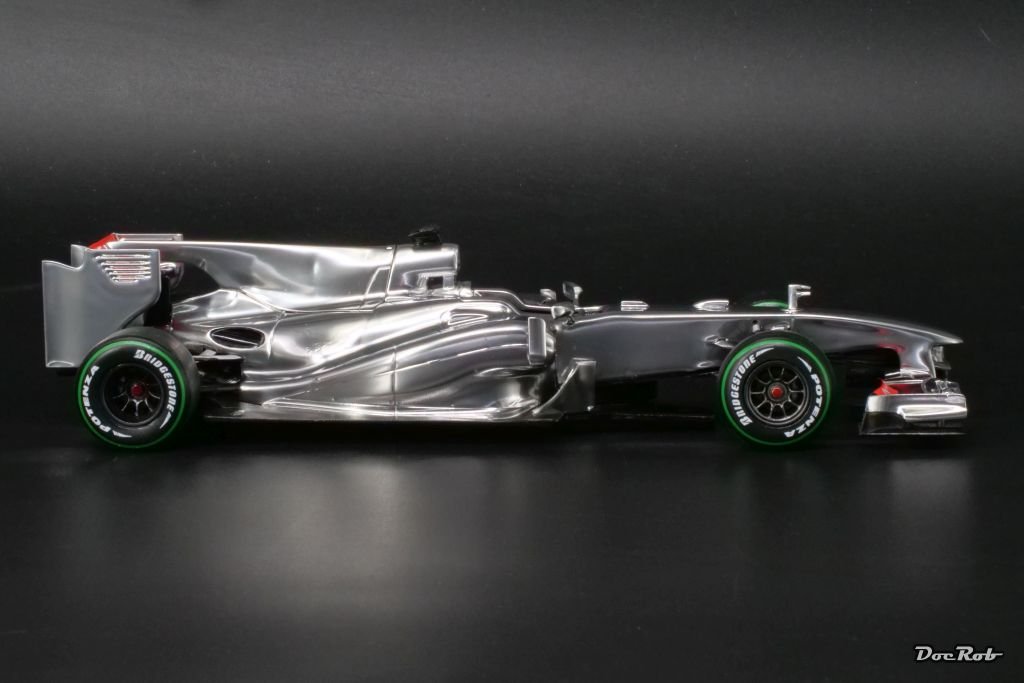
Thanks Carl, it´s a Silberpfeil, a silver arrow now in the purest sense . I considered, reaching out to Revell for a replacement sheet, but decided against. It´s complicated to get it to my place and I lost my patience with the need of stripping the paint, preparing for another chrome finish, ... The project was about chrome and carbon fiber and I failed. It happens sometimes. Cheers Rob -
What is on your bench right now ? Share a picture :)
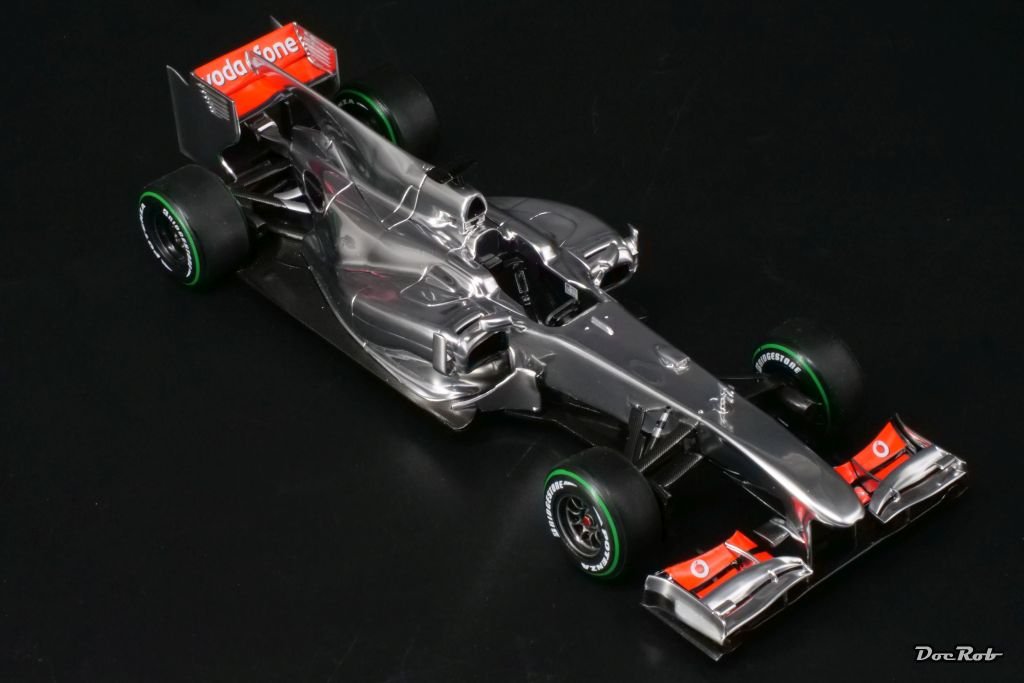
DocRob replied to Martinnfb's topic in Modelling Discussion
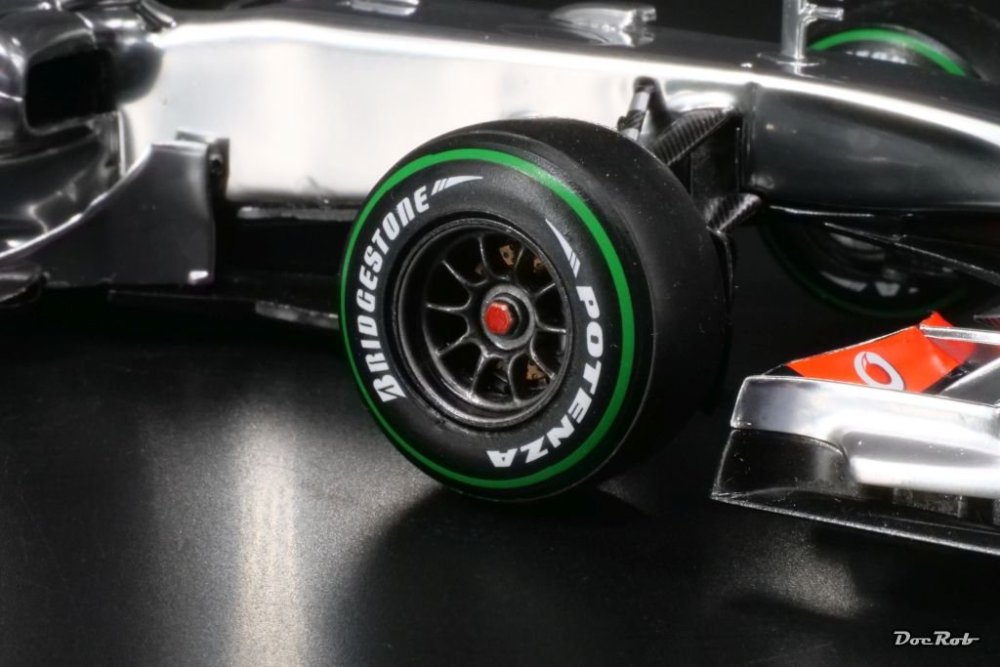
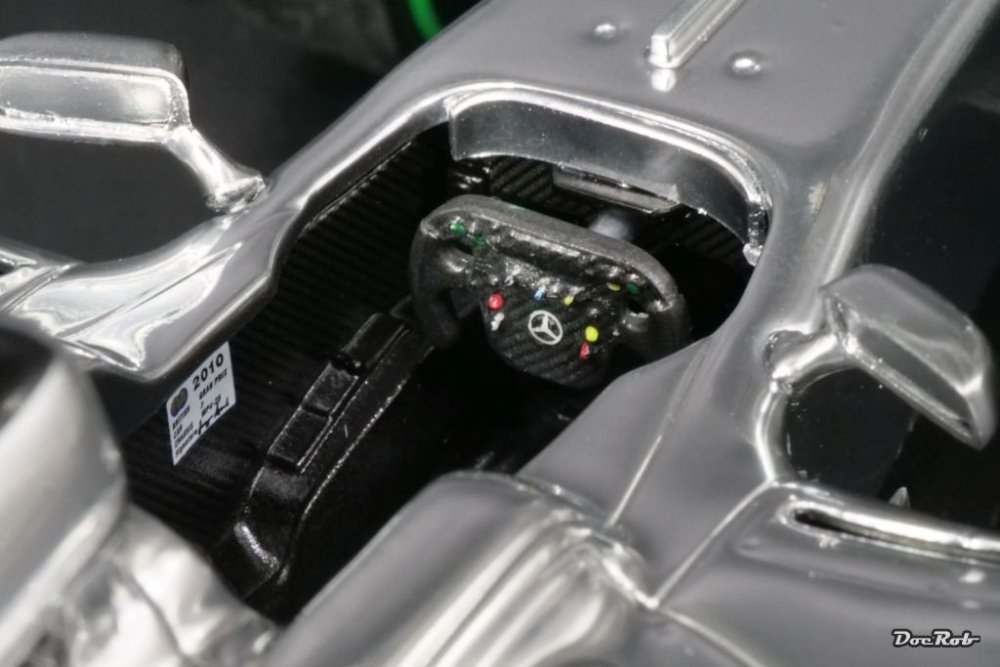
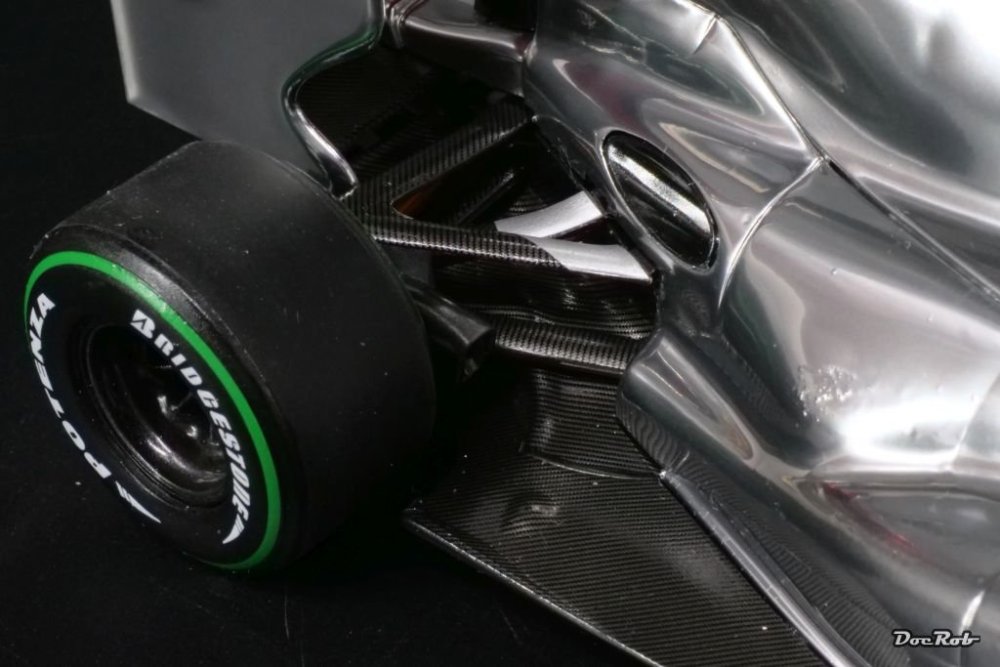
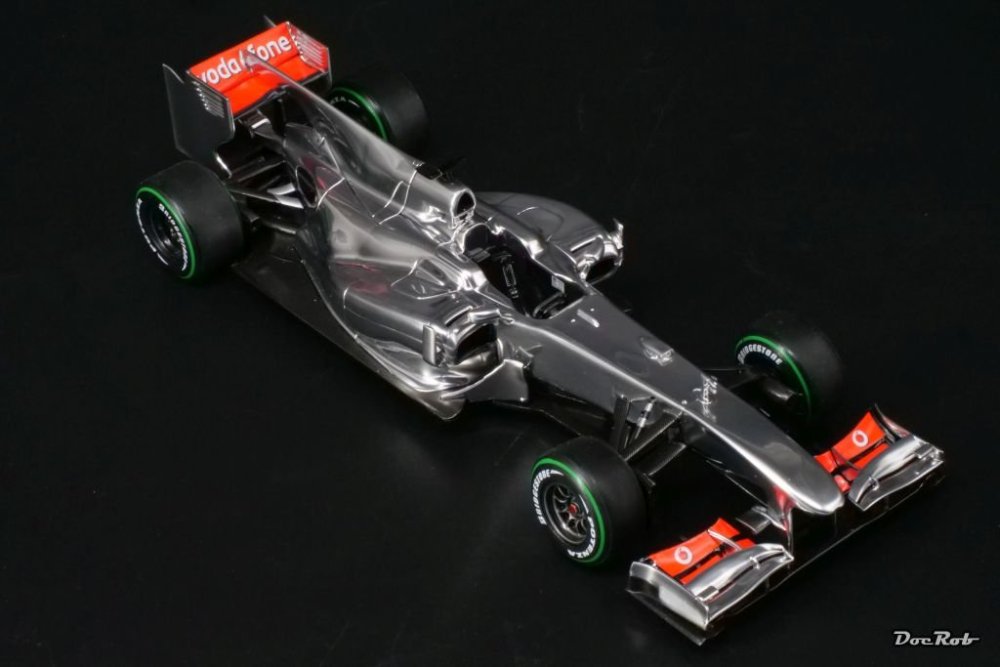
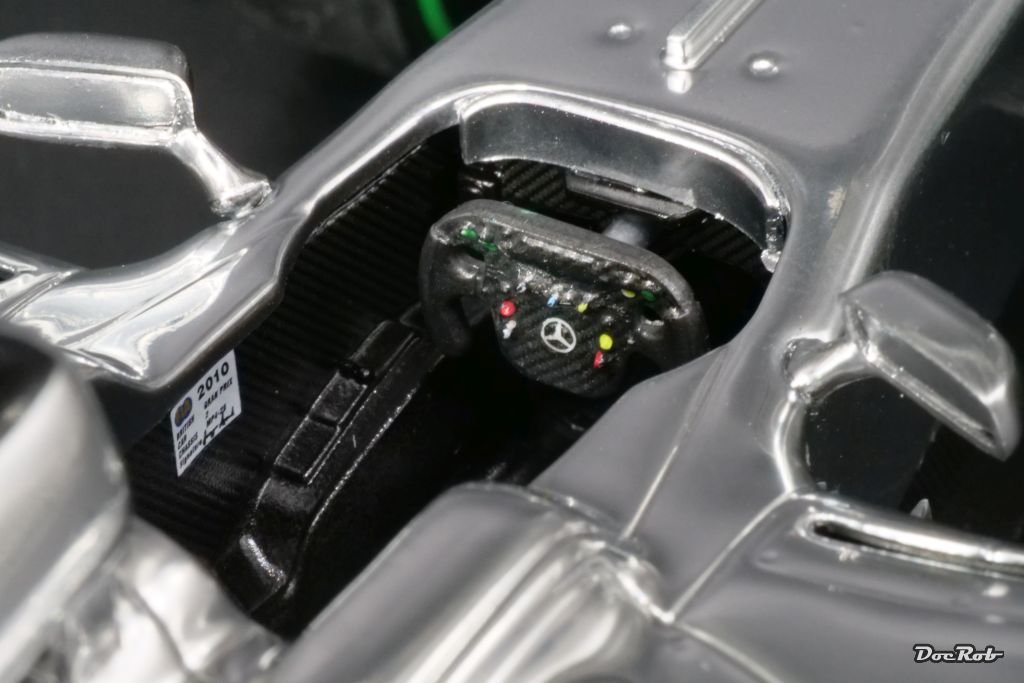
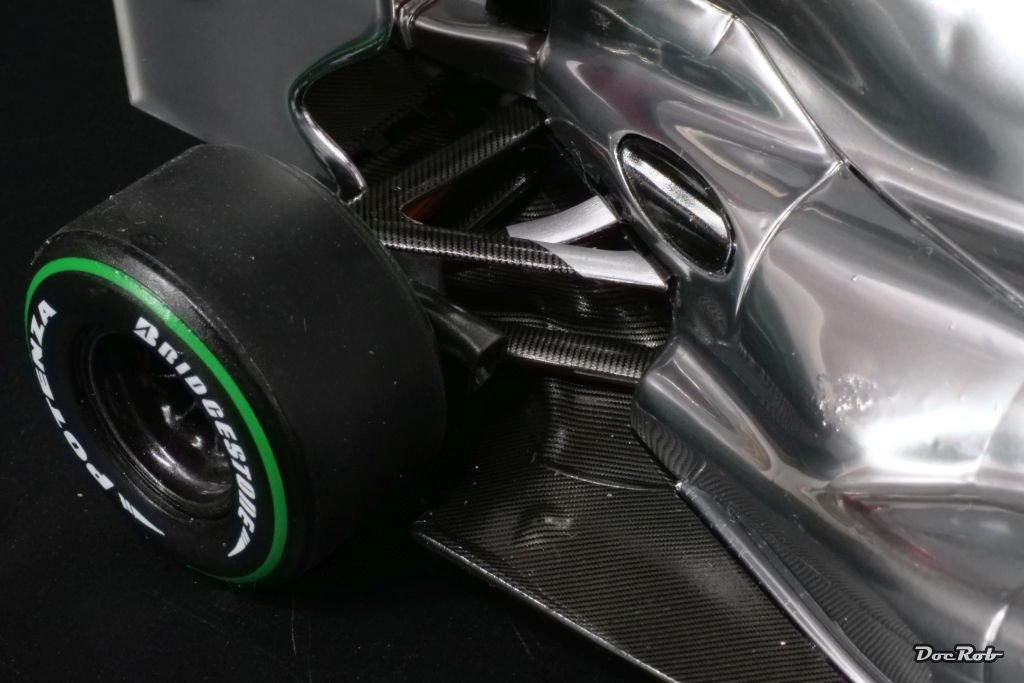
I kind of finished my McLaren MP4/25. I had to remove some of the decals off the chrome and therefore, there was no option for re-decaling. The kit itself is very good, a bit soft on the main panel lines, but given the delicate shape of the car, it´s easy to build and not too fragile. The carbon fiber decals are absolutely fantastic and I guess the rest of the decals are as well. AK´s Super Chrome gave me headaches, being ultra fragile. After the decaling fiasco, I chrome painted the body and rear wing again and during assembly had marks all over the body. I have no clue, if the paint wasn´t fully cured after 30 hours. I painted the body for a third time and left it dry for almost three days before assembly. There are some new marks now, which can´t be polished away. A fun project which ended very unfunny thanks to the über-fragility of the Super Chrome. The chrome look is hard to capture on photos, in reality it´s even more shiny. You can presume, when you look for the reflection of the rear wheel in the wing side on pic #2 Cheers Rob