DocRob
-
Posts
7,043 -
Joined
-
Last visited
Content Type
Profiles
Forums
Events
Gallery
Everything posted by DocRob
-
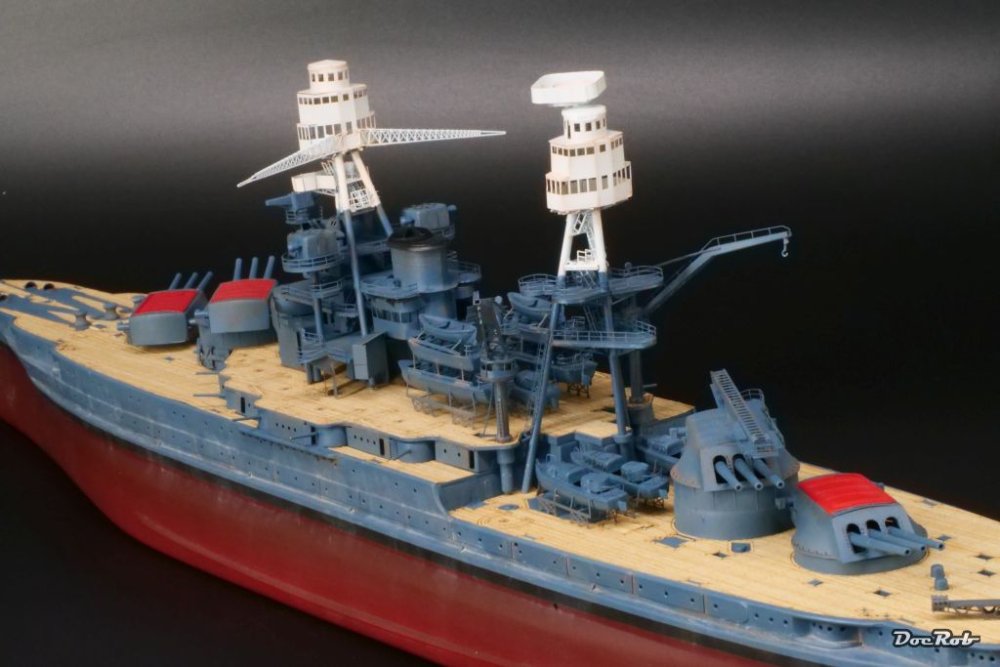
Thank you Mike and Gary, In the moment progress is slowly, as I assemble all the remaining on deck applications, like gun shields boat racks, etc. I had the strange sensation today, that the self adhesive wooden deck slightly curled and lifts in places, but that's no wonder, I guess with a humidity at 10% at the moment along some un seasonal heat. I never had such dryness before and besides itching eyes and dry skin, the CA takes forever bonding. It will stay like this for some days with the addition of storm from Wednesday on . Cheers Rob
- 329 replies
-
- 2
-

-
- uss arizona
- eduard
- (and 1 more)
-

What is on your bench right now ? Share a picture :)
DocRob replied to Martinnfb's topic in Modelling Discussion
Now get out, you can't get away with it . Cheers Rob -
I second Hubert concerning most of Eduard's printed PE. The IP's often look rasterized, but I've seen exceptions, where the print was dense and correct color wise. Well, Yahu, they are printed(?) way better, with no visible distortion and they have a good 'glass' effect for the bezels. For my PZL and some other builds, I liked them a lot, but I found them lacking in US panels, like the Corsair and Dauntless, where most of their instruments have yellow printed dials, which should be mostly white. Anyway Peter, you might try, how much of the IP will be seen after installation, maybe you can get away with what you have and use this 'Men in Black device' to forget about it . Cheers Rob
-
Revell Spitfire Mk IIa
DocRob replied to Peterpools's topic in LSM 1/32 and Larger Aircraft Ready for Inspection
Your Spitfire looks very nice, with your trademark smooth finish, Peter. Cheers Rob -
The engine looks great Peter, very crisp and neat. I thought about buying the ZM-109 too, initially, but luckily I've read the different build threads. I would have enormously disappointed by the kit and I cannot understand, what ZM is doing with some of their 1/32 offerings. I built the TA-152 and didn't like the kit at all, with the fit of the cowlings and the engine strut / wingroot section as the biggest areas of concern. ZM hasn't learned from that, it seems. The same probs with the same basic layout (single inline engine fighter). I have some more ZM kits in stash, namely the Horton and HE-219 and the Mustang IV, which follows the above mentioned line. I'm disappointed with the ZM's LS approach to a degree, which is only equaled by Italeri, whose kits I ignore, because what I've seen from them is unworthy for a big company. ZM claims quality and they fail way to often for my liking with the exception of their especially well made 1/48 Phantom, which I had the pleasure to build. Rant off and back to your great build Peter. Cheers Rob
-
Markings look like tattooed on, nice save Martin. I have to think about that plotter thing. Cheers Rob
-
Clear the Bench! It's Kotare Spitfire time!
DocRob replied to GazzaS's topic in LSM 1/35 and Larger Work In Progress
Nice progress Gary, and interesting with your problem solving. Well the spine gap, I guess the light came from above when pictured and will not show as much under paint and decals. The exhaust look great, I wonder if the real thing was made from stainless steel sheet and that's exactly the look you achieved. Somehow the only thing which nicks me, are the seat belts. They look rubberish and false springy to me, but that might be lighting and shadows playing tricks. Cheers Rob -
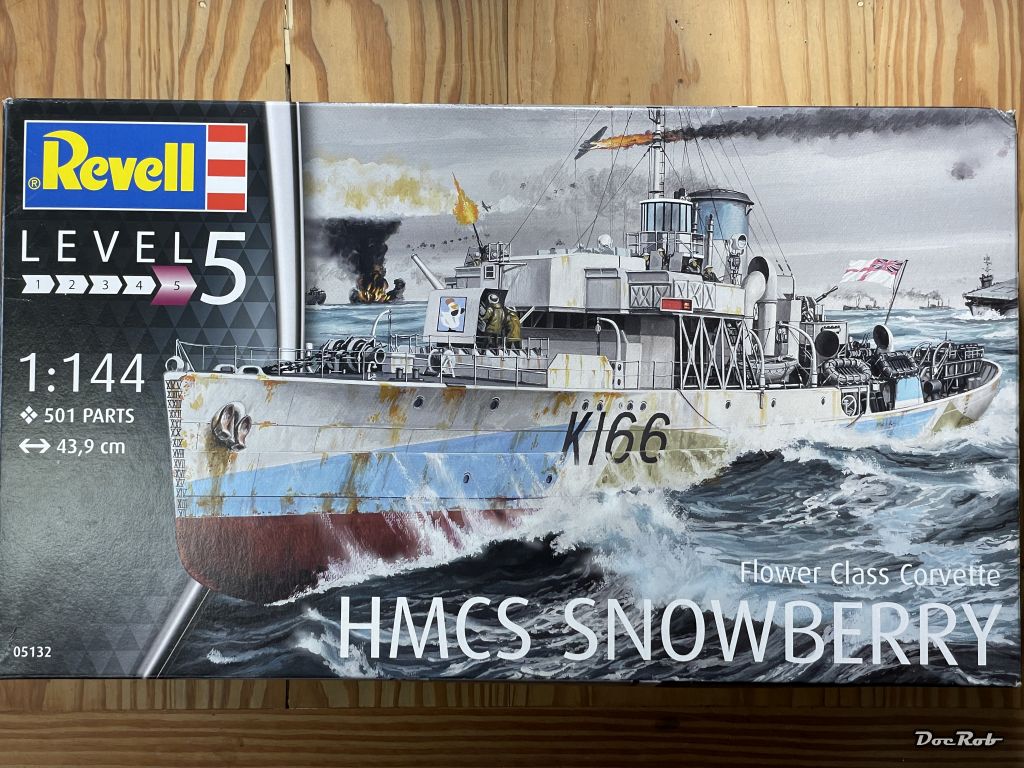
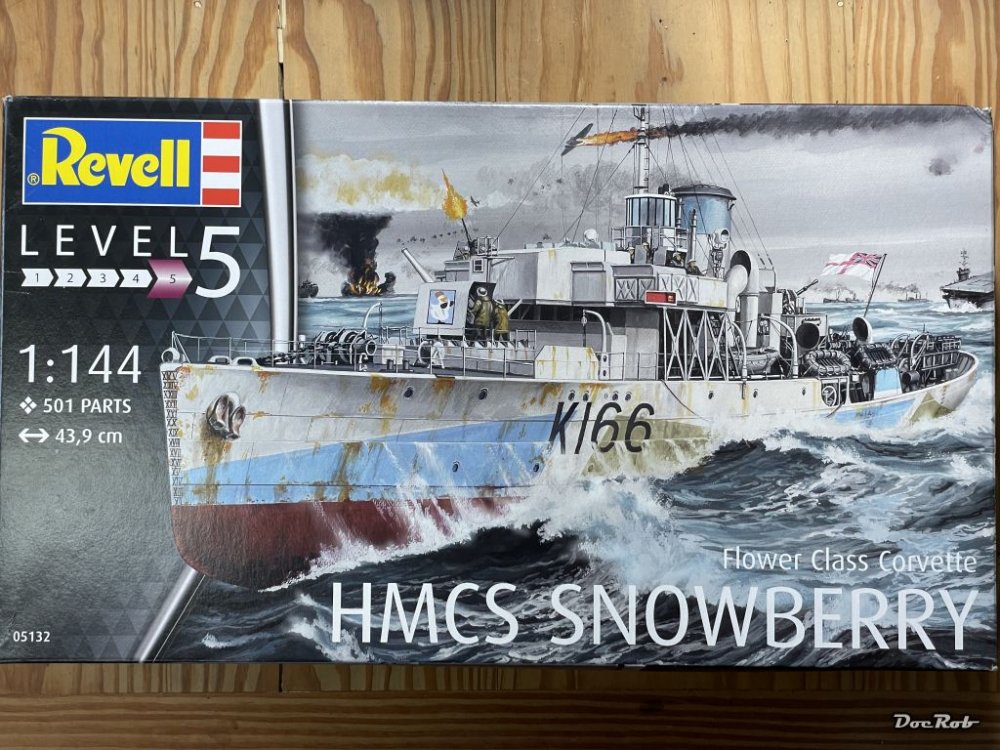
My actual USS Arizona build could not prevent me, from digging deeper into maritime objects, albeit in a bit larger scale. Today, I received the 1/144 Flower Class Corvette from Revell. I got it for a great price and now I'm waiting to lay my hand onto the dedicated Pontos set, which will be more than four times the price of the kit . I built the 1/72 Matchbox kit, when it came out and made it a RC ship. By then, I was a poor modeler and I always had the idea in the back of my head, to build another one. Last week, I read somewhere about a Flower Class Corvette build, that the fascination of these vessels lay in their style and size, like they are taken out from a Tintin comic and I thought, bang, right, that's exactly the feeling, juvenile hunger for adventures. Cheers Rob
-
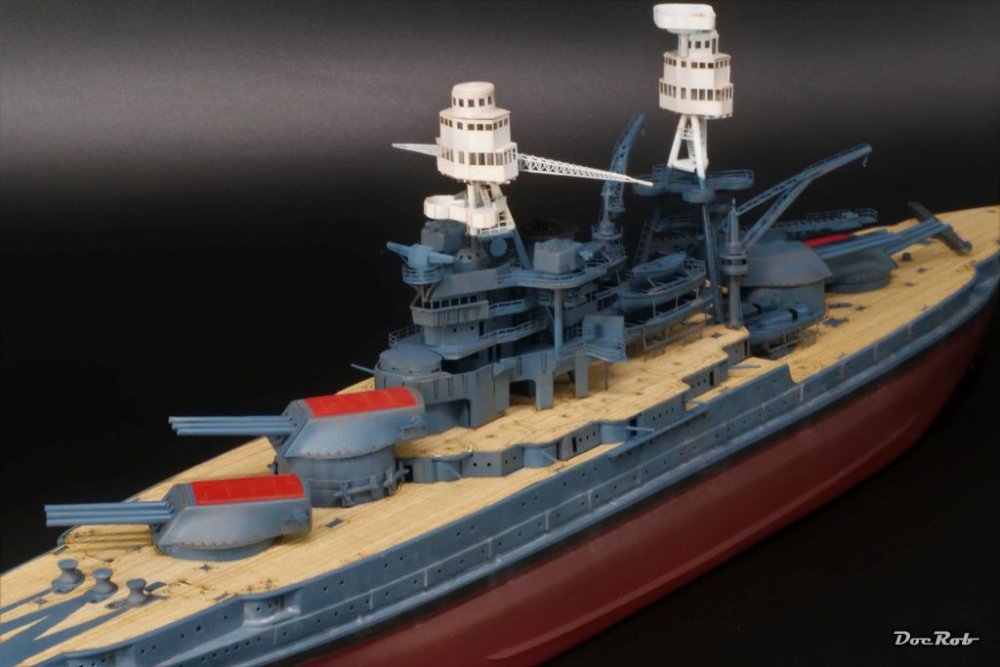
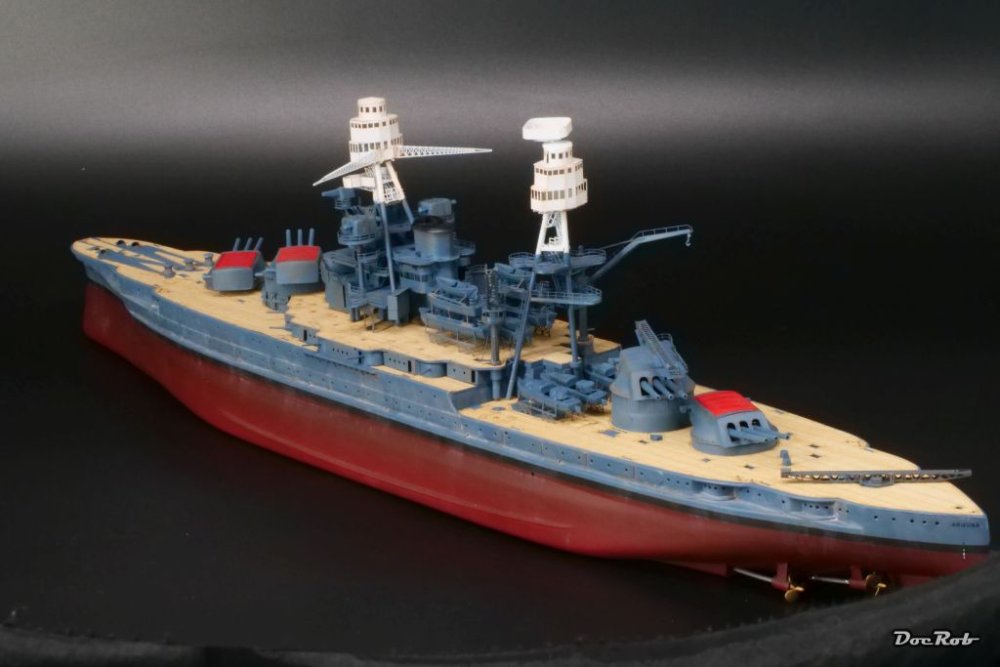
After the rust oil weathering had dried, I started the next layer, salt residues made with a white naval wash from AK. I applied it on the sides of the hull and only a little in the bow area, which then was blended with white spirit. Next were the shafts and propellers, which were rubbed with AK's old bronze wax, a perfect fitting tone. The shaft got Uschi van der Rosten's iron pigments rubbed in. Alignment is a little bit off, but I decided to let that be. On to the wooden decks, which are self adhering. All fitted well, except the delicate bow section, where the wood material was not cut thoroughly, which led to some free handed cutting, with a half glued deck. Despite this, fit was exceptional, with the exception, where PE parts substituted plastic, so no fault by Artwox. Most of the on deck assemblies will be added now, after the deck application, exactly for this reason. On some spare deck material, I tried a varnish first, but decided against it, as I didn't like the looks. If I weather the decks, it will be done later, with pigments, I guess. Cheers Rob

- 329 replies
-
- 8
-

-
- uss arizona
- eduard
- (and 1 more)
-
Thanks Phil, you can take your eyes off for sometimes again, until this one will be finished. Work, wherever I look, this is a demanding project for sure. Cheers Rob
- 329 replies
-
- 2
-
-
- uss arizona
- eduard
- (and 1 more)
-
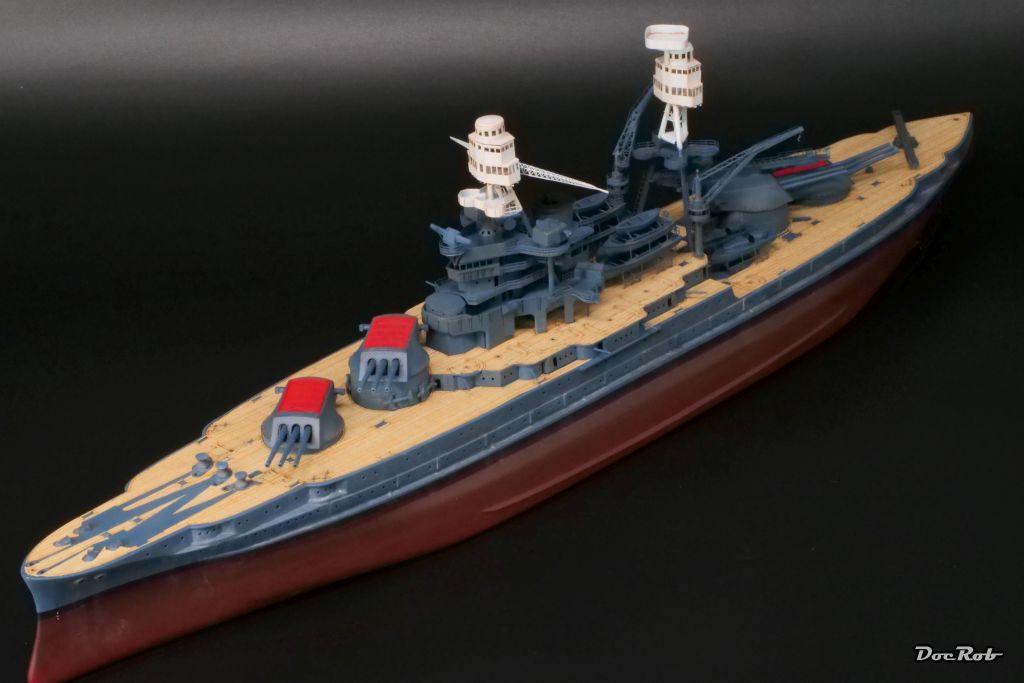
I wouldn't call her a silk purse, PW. I even think, I went a bit too far weathering wise, the new paintjob for USS Arizona may hadn't thoroughly dried, when she was attacked. Anyway, I wanted to train 1/350 weathering with a bit of rust and some salt residues. Who or what is Drachinifel, btw? Cheers Rob
- 329 replies
-
- 1
-
-
- uss arizona
- eduard
- (and 1 more)
-
Thank you Carl, the colors look unfamiliar first, but it seems, the late USS Arizona was painted like this, after her grey times. I don't know, if the new paintjob was applied only a few weeks before she sank, it could be. Some sources claim, that the new painting was not even finished then. Cheers Rob
- 329 replies
-
- 1
-
-
- uss arizona
- eduard
- (and 1 more)
-
ProModeler 1/48 PBY-5A Catalina + Goodies, RFI
DocRob replied to CANicoll's topic in Let’s Get Wet Group Build.
Are you sure the wings are not bent down by gravity Chris and the length of the struts is correct. These huge wings may sag a bit and you don't need to be a triogonometric genius, to figure out, how much 1mm of sag means to the struts. I know, it's a bit late for the idea, but your solution seemed to have worked well. Cheers Rob -
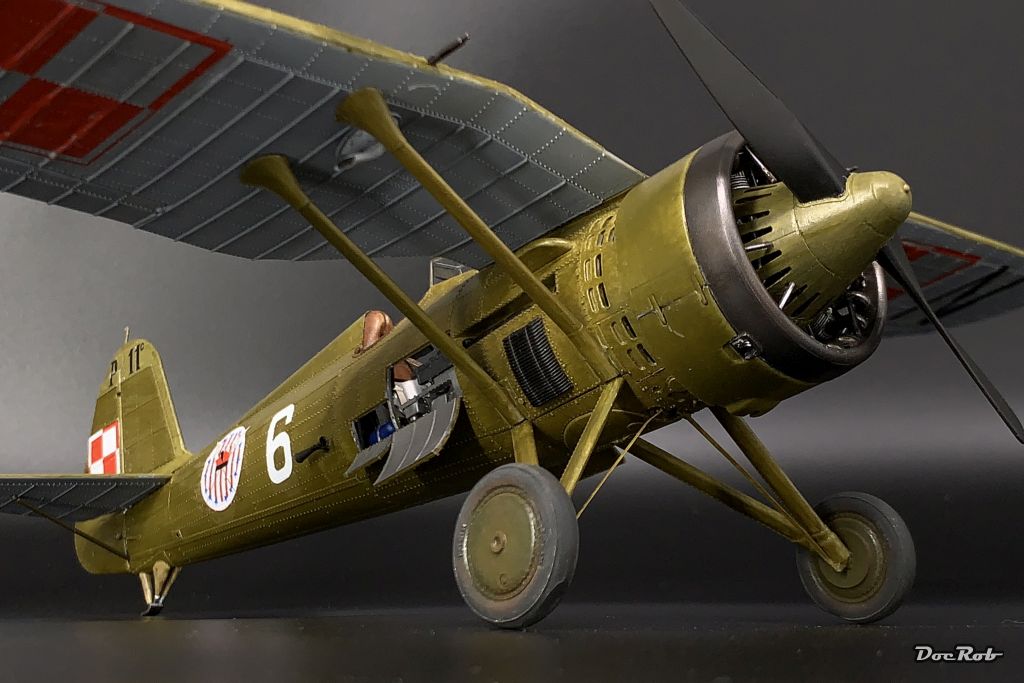
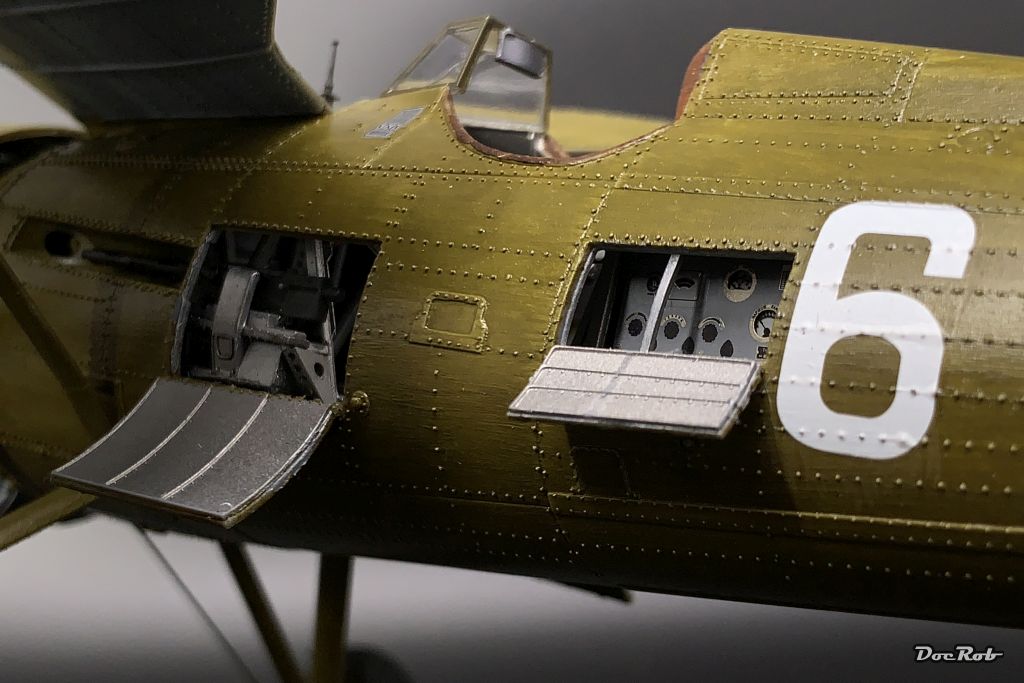
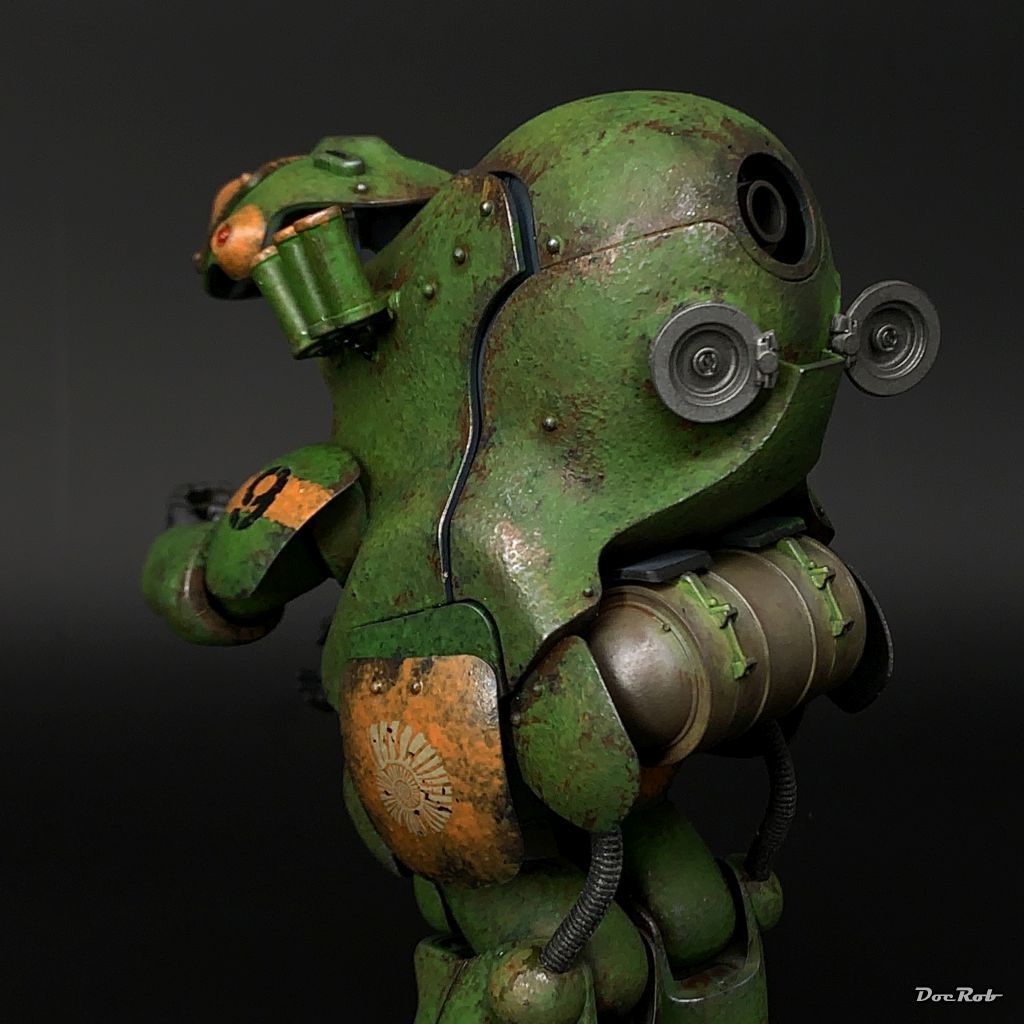
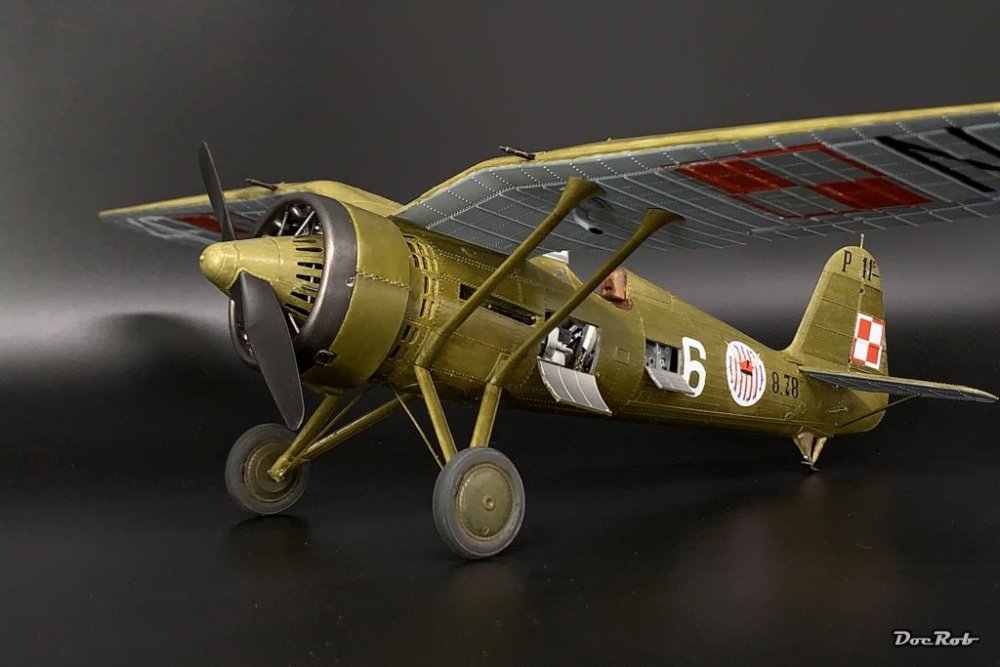
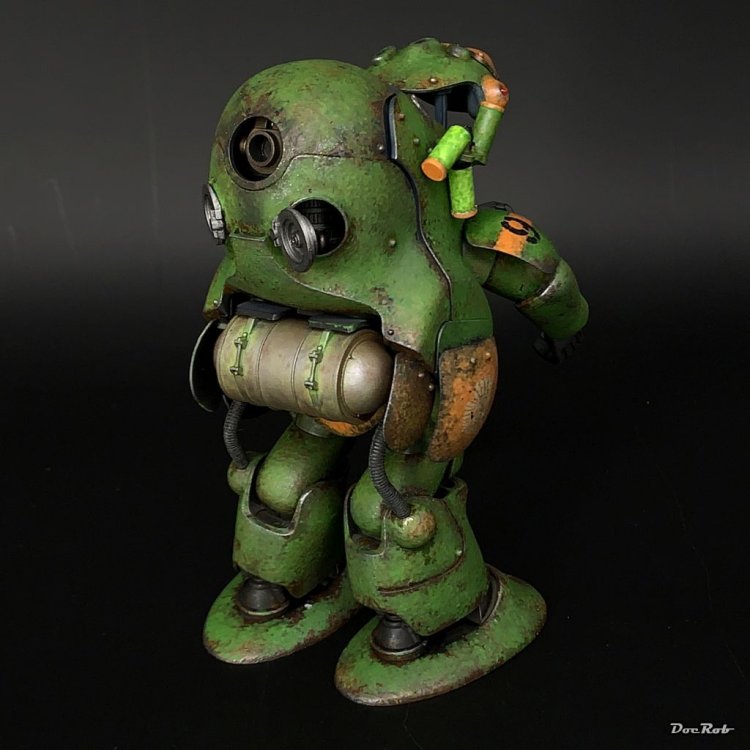
This is made really skillful and absolutely great, thanks for showing. I did that on two models as well, the PZL is brush painted with oil colors exclusively as an experiment. ...and this fellow was brush painted, using a stipple technique, building the paintjob up from metal to primer to rust and color and last dirt and soot. The AmmoKnight will be the host of a little maintenance dio later. I love experimenting with painting techniques and have some further experiments in mind. Cheers Rob


-
Nice Ernie, but I don't buy the black IP . Cheers Rob
-
Revell 1/32 Spitfire Mk IIa
DocRob replied to Peterpools's topic in LSM 1/35 and Larger Work In Progress
A splendid Spit, you built and painted up, Peter. The build benefits from your usual through work and smooth paintwork. Like you, I really like AK's Real Colors, as they spray very fine and cover well. I had sometimes color residue build ups on my H&S Infinity forked caps and spray mostly without theese. You have to be very careful, to not bend the needle without the cap. I plan to use my Rotring airbrushes more, which are only one and a half action and have an only slightly protruding needle wit a rounded tip. They are precision tools too, but no more in production. I bought these in the 80's. Cheers Rob -
Oh wow, Scott, that is absolutely fantastic. If it was Phil, thanks to him too, for planting the idea for this great diorama. I was a asking myself how your display would look finally, but I never would have guessed. My heart is with the Nautilus as I have built one too, but what you've done to hide the shortcomings of the print to your advantage is simply amazing. The lighting is a very nice addition, which adds a lot to the atmosphere. I often find a lack of creativity in modeling, but your (I was tempted to write 'nice little scenery' but cancel that ) great display shows a lot of creativity, Chapeau. Cheers Rob
-
All is good Ernie 😬. Cheers Rob
-
Italeri 1/35 Elco 80' Torpedo Boat PT-596
DocRob replied to Bomber_County's topic in Let’s Get Wet Group Build.
As an ex American Football and Baseball player, I can throw these jars for miles , I better plan ahead. Cheers Rob -
Italeri 1/35 Elco 80' Torpedo Boat PT-596
DocRob replied to Bomber_County's topic in Let’s Get Wet Group Build.
Very fine progress Phil, the Bofors looks really good with all the detail. A good plan is needed for ship builds, to not paint yourself into a corner. Cheers Rob -
ProModeler 1/48 PBY-5A Catalina + Goodies, RFI
DocRob replied to CANicoll's topic in Let’s Get Wet Group Build.
I might try some light grey panel liner for contrast. Another technique, I sometimes use on dark objects, Is using a tiny bit of Uschi van der Rosten Iron pigments on a finger and rub slightly over the surface. If done very light, it's a bit of highlighting and let the finish look more painted metal like. It's easy to overdo this, but it can help with a dark monochrome plane. Have I mentioned salt spray? You could simulate that and if there are bad spots on the canopy, possibly hide them. Cheers Rob -
Very nice John, the paintjob is ultrasmooth, like we've seen so often from you. Cheers Rob
-
ProModeler 1/48 PBY-5A Catalina + Goodies, RFI
DocRob replied to CANicoll's topic in Let’s Get Wet Group Build.
Wow, the big Cat is shaping up nicely, Chris. Removing the masks is always a moment of truth, as you look at the plane for the first time in a near ready state. I really like the buy look of the cat, with the pilots and the open blisters. The markings, hmm, it's always good to have a storyline in mind for your model and work it out through building and painting. I'd go with faded for the stars and bars, but would lighten them even more on the top of the wings to create a believable frame. 'Errors' half corrected are the worst to my eye. Cheers Rob -
Clear the Bench! It's Kotare Spitfire time!
DocRob replied to GazzaS's topic in LSM 1/35 and Larger Work In Progress
Very appetizing bits you show here, Gary. The cockpit looks fantastic and your painting and shading supplements the detail. The seat belts are not kit supplied, I guess. Cheers Rob -
Thank you Peter, the weathering has a strange habit of showing very different under varying angles of light. On the pictures, it looks heavier than to my eye. I consider another layer of sparse white residues, simulating salt, but have to try it first. It's 1/350 and I don't want to overdo it. The new Eduard decals on first try have about the same hit and miss ratio, like HGW wet transfers. Looking good, when done, but not reliable enough to have a decent decal job on a newish looking object. The chipping though, looks realistic for worn objects though . Cheers Rob
- 329 replies
-
- 3
-
-
- uss arizona
- eduard
- (and 1 more)