GazzaS
-
Posts
6,396 -
Joined
-
Last visited
Content Type
Profiles
Forums
Events
Gallery
Everything posted by GazzaS
-
*SAAB* *SAAB* ... so expensive!😪
-

Gottfreid Weiroster Bf 109G6 R6 Revell 1/32
GazzaS replied to GazzaS's topic in LSM 1/35 and Larger Work In Progress
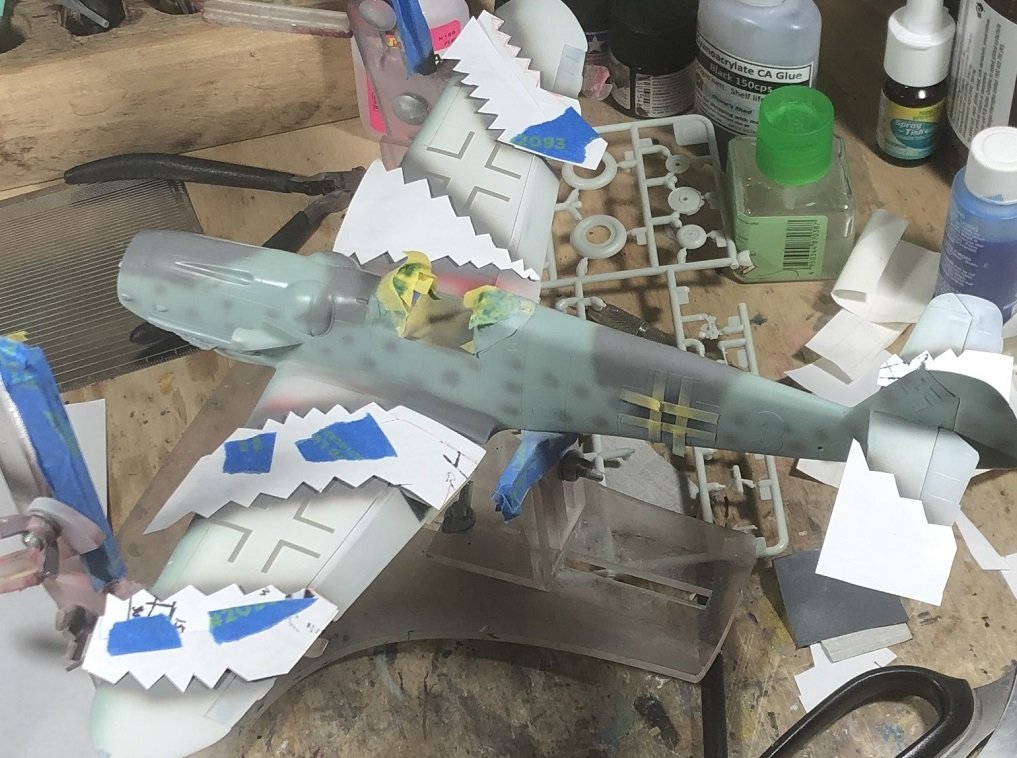
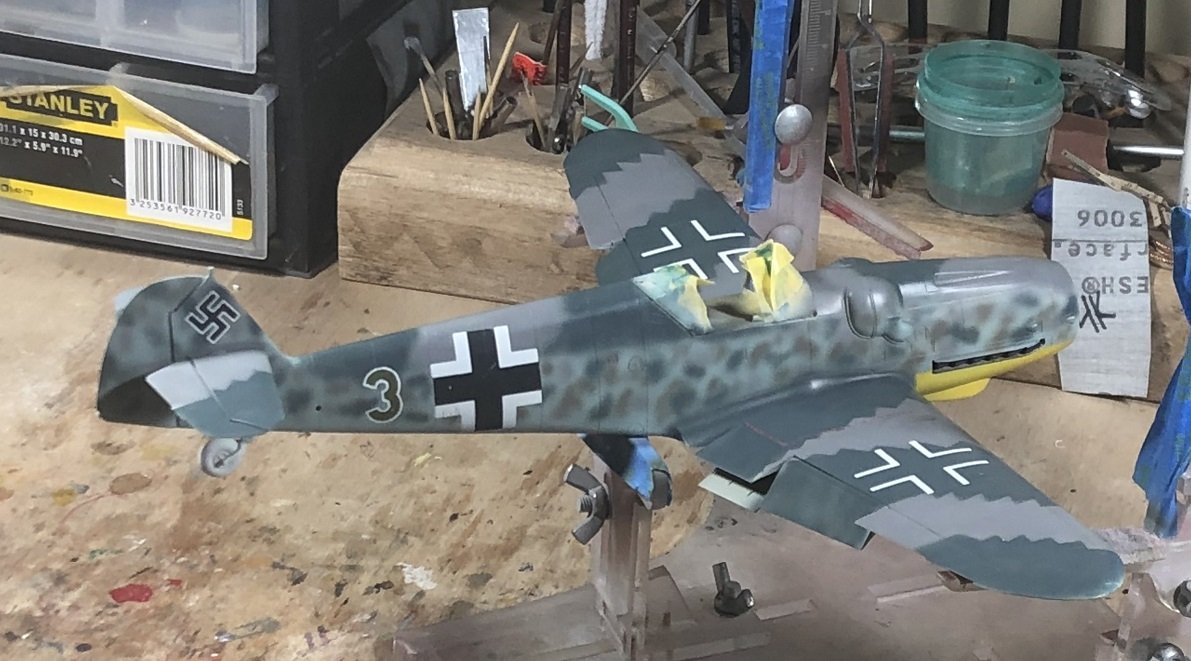
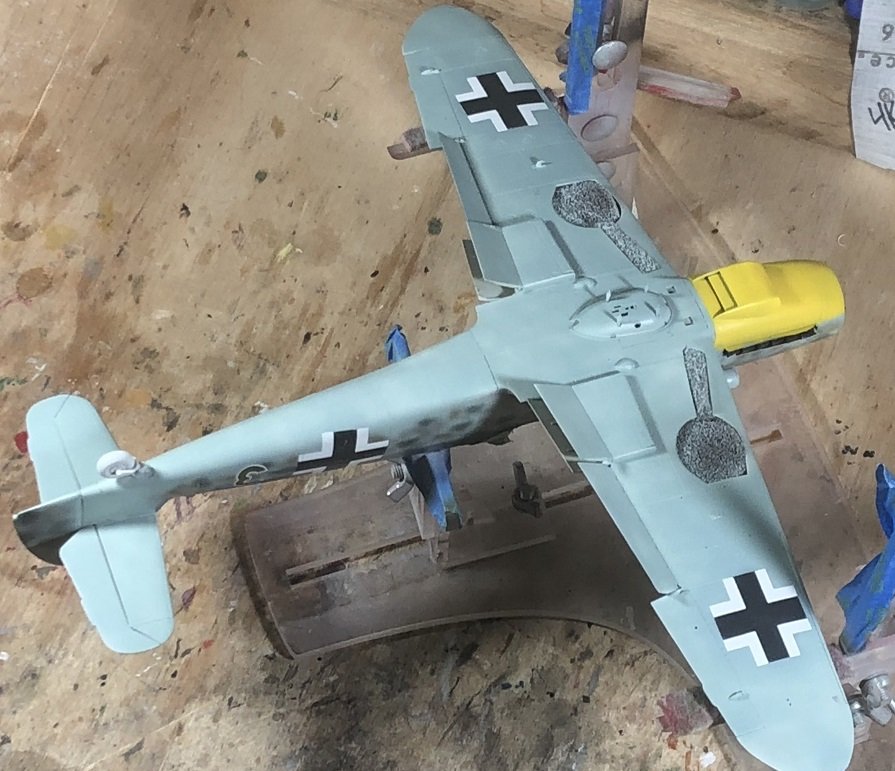
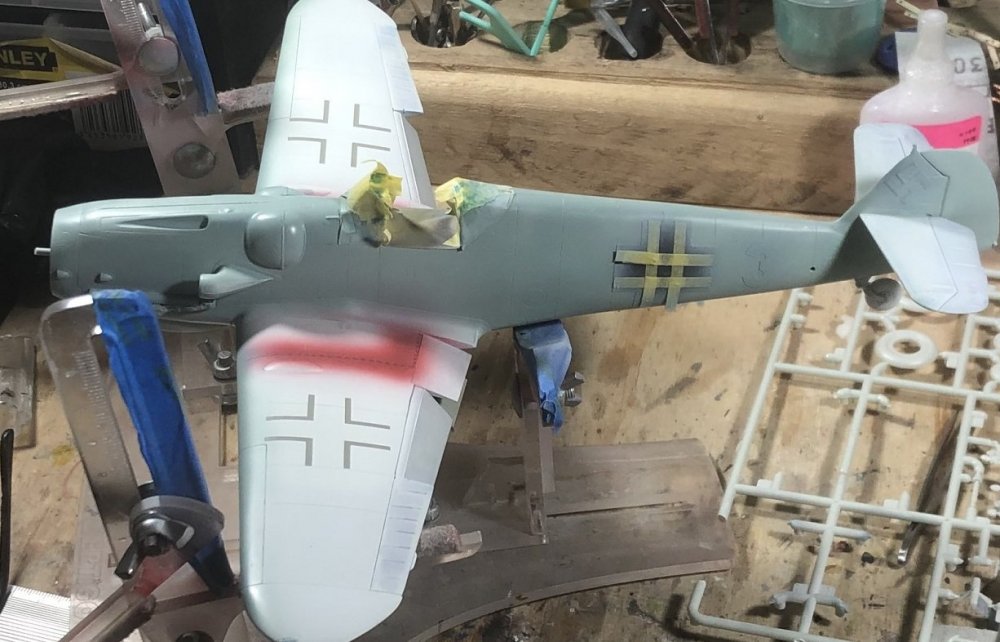
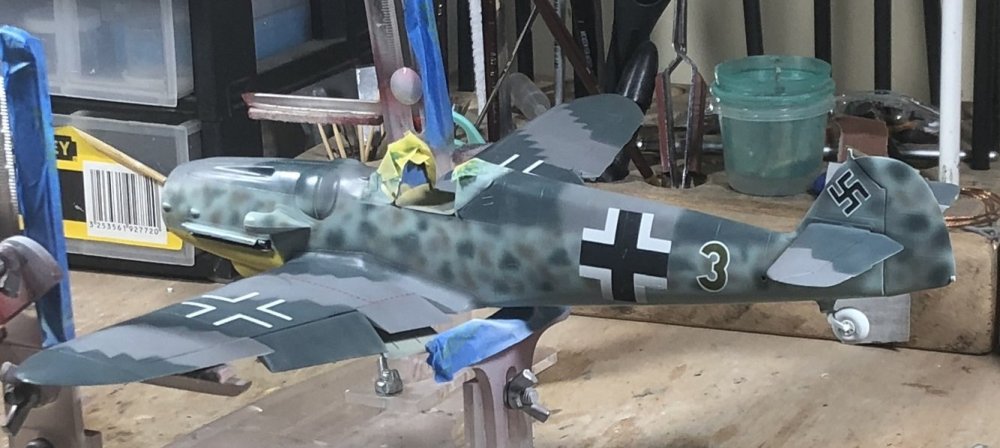
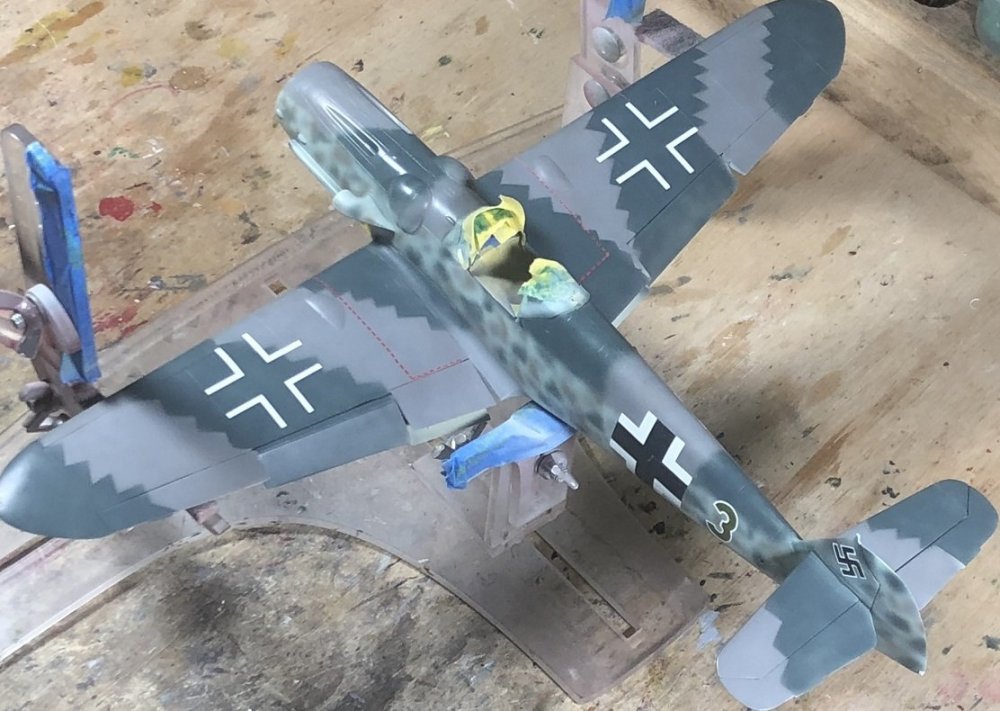
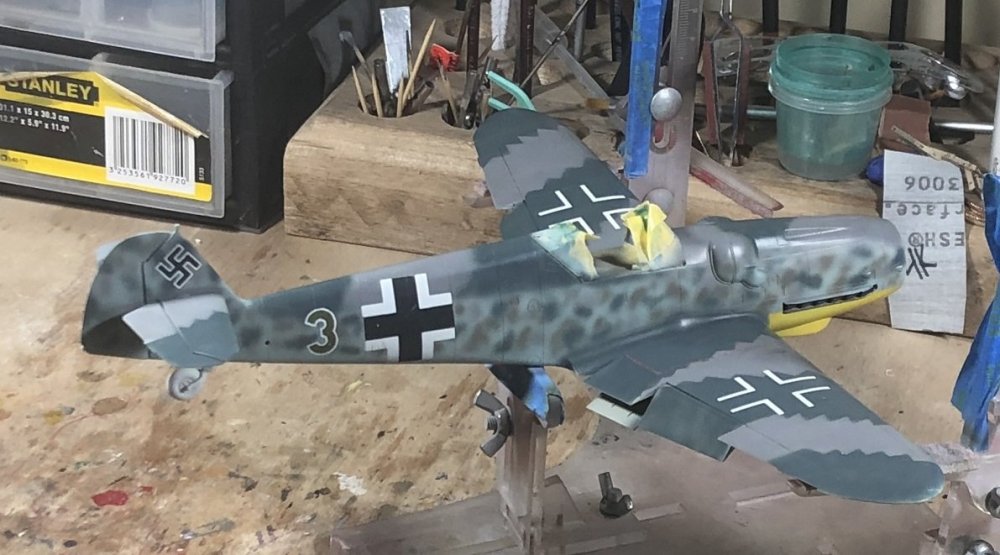
Hello, friends, I big day of masking and painting. After painting the markings, I sealed all of the markings with tape or liquid mask. Then painted lower wings and the entire fuselage RLM 76 Then added the RLM 75 in the appropriate areas, then used blutack blobs to hold the sawtooth masks over the wings. Than added the RLM 74, RLM 02 mottles, and the RLM 04 chin identification. Happy modelling!


-
Pictures first: And you can read the simple 'how to' here: https://www.scalemodeller.com.au/blogs/from-the-desk-sms/super-silver-liquid-chrome-in-a-bottle?fbclid=IwAR14jyfxJlMI7-bOmoBsDlOSL8EvNL0GyFJ95RECDLOUblESlyRbtuaHf2s I have no affiliation with Scale Modellers Supply. But their paints are growing on me. I recommend using their thinners as Mr. Color Self-levelling doesn't work the best... believe me, I tried. If you are in Australia and can get to Supa Cheap Auto you can buy their Premium Acrylic Thinner which works very well. You can't mix SMS with anything other than SMS... I tried that too. Happy modelling!
-
HI all... At the last model show I bought a 1991 molds Klingon Battlecruiser and I want to rig it with lights. I'm looking at powering about 14-20 lights of either 3mm or 5mm size. I want to take it to next year's show, so it needs to have enough power to run 3 days straight on batteries. Because once you give them your kit, you can't touch it until after the judging. And... tbh, it would look cool on display with the lights on at home without having to put new batteries in it every day. Anyway... I don't know anything about it. I know I'll need resistors of some sort, but I've read you can't do that until you know your power source. So if anyone could recommend a battery holder and a voltage that will go with it... I'd be grateful. I don't know whether 3 D-cells would last longer than 9 AA's... But I can make a pretty thick base in which to store the battery holder. Thanks for your thoughts and recommendations.
-
They definitely aren't putting the effort into the market like others. It has allowed lessor makers like Border to getting a lot of business.
-
RFM Panzer IV Ausf H (Early)
GazzaS replied to Bomber_County's topic in LSM 1/35 and Larger Work In Progress
Looks great so far, Phil! I'm sure it won't be too difficult for you. Weathering with Schurzen is a bit tricky. I only saw the first photo (that I know of) with that add-on roof armor only a year ago. And here it is on a kit already. One trend I have noticed this year... gray-painted 'replacement' barrels on lots of models. -
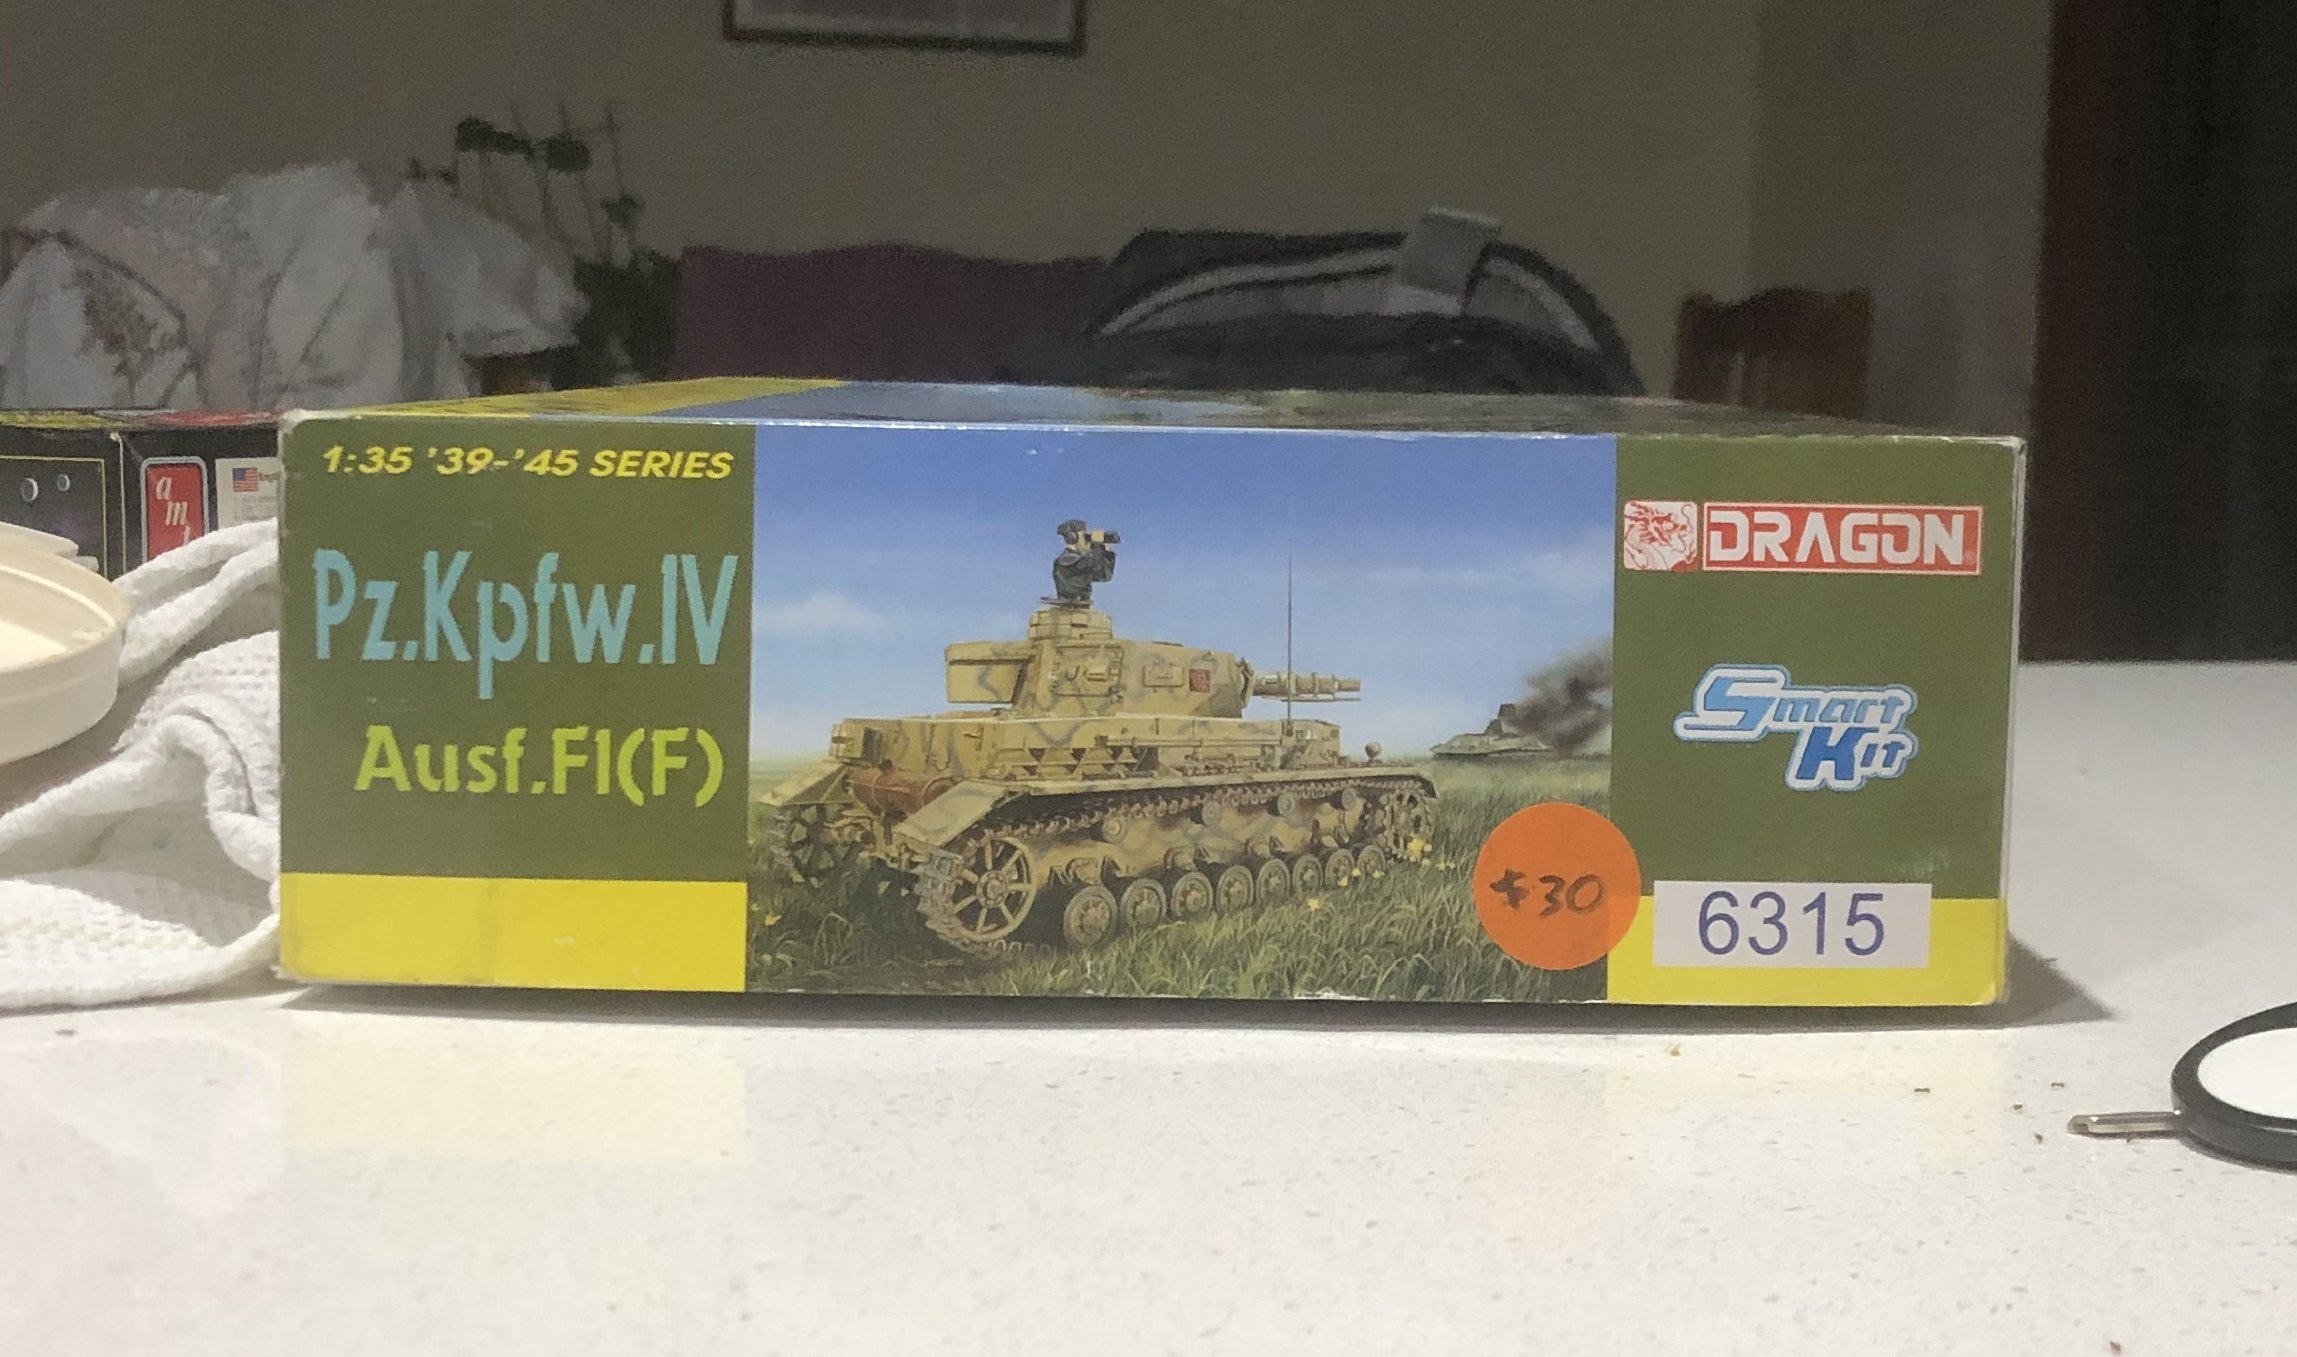
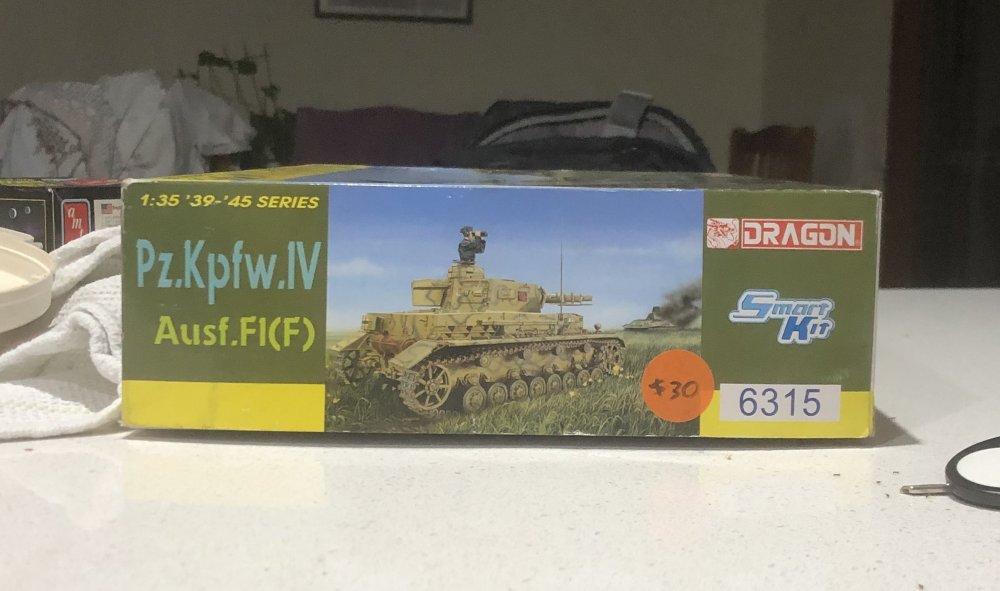
Reason # 2 to belong to a model club: Many people would rather sell them cheap for quick cash than have to mess with EBay, the Post Office, and so on. I got this Dragon Smart Kit with Magic Tracks for under a third of it's retail price. It also comes with the F2 barrel and muzzle brake, should I want to go that way. Scored it yesterday. Of course... Reason #1 is camaraderie with people who share the same interests. Sadly... I missed the raffle prize by one ticket. The guy that won the raffle also scored the 1/200 scale Mikasa by Hobbyboss for less than 1/2 price with extras like an Artwox wooden deck and Master Barrels.
-
Tamiya F-16 CJ
GazzaS replied to Kaireckstadt's topic in LSM 1/32 and Larger Aircraft Ready for Inspection
Beautifully done, Kai! Love the detail and main fuselage painting and weathering. Top result! -
Gottfreid Weiroster Bf 109G6 R6 Revell 1/32
GazzaS replied to GazzaS's topic in LSM 1/35 and Larger Work In Progress
The real shame is the stuff I can't correct without major structural changes. It's kind of cool to fix things. But it really gets my goat when it's just too big to mess with. -
Gottfreid Weiroster Bf 109G6 R6 Revell 1/32
GazzaS replied to GazzaS's topic in LSM 1/35 and Larger Work In Progress
Thank you, Kai. -
Ducati Panigale S - Italian Speedster - Tamiya 1/12
GazzaS replied to DocRob's topic in LSM 1/35 and Larger Work In Progress
That is some stunning work, Rob! Though I'm not much into bikes, I prefer them without fairings and other crotch-rocket related stuff. Great job on those rim decals. -
Gottfreid Weiroster Bf 109G6 R6 Revell 1/32
GazzaS replied to GazzaS's topic in LSM 1/35 and Larger Work In Progress
Thank you, Peter. I have considered the same thing. But older kits by other companies like Tamiya, Hasegawa, Fujimi, and even UM all got it right. It just boils down to a lack of research. I mean... Germany has plenty of 109's in museums. And there are plenty of line drawings out there, I'm sure. Really...it's just a poor kit. -
Gottfreid Weiroster Bf 109G6 R6 Revell 1/32
GazzaS replied to GazzaS's topic in LSM 1/35 and Larger Work In Progress
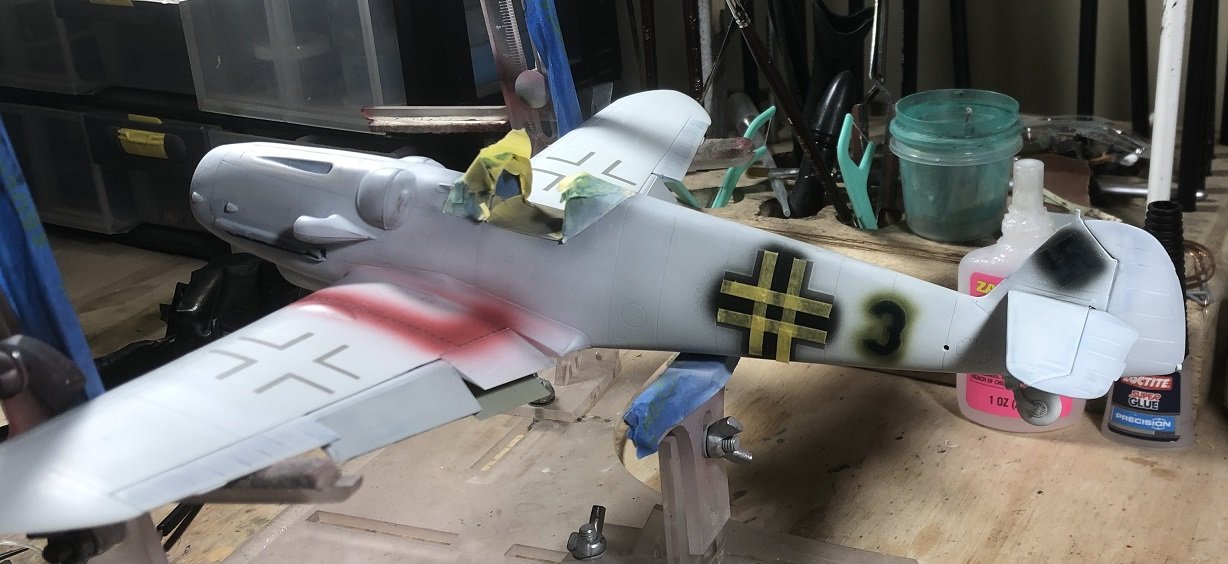
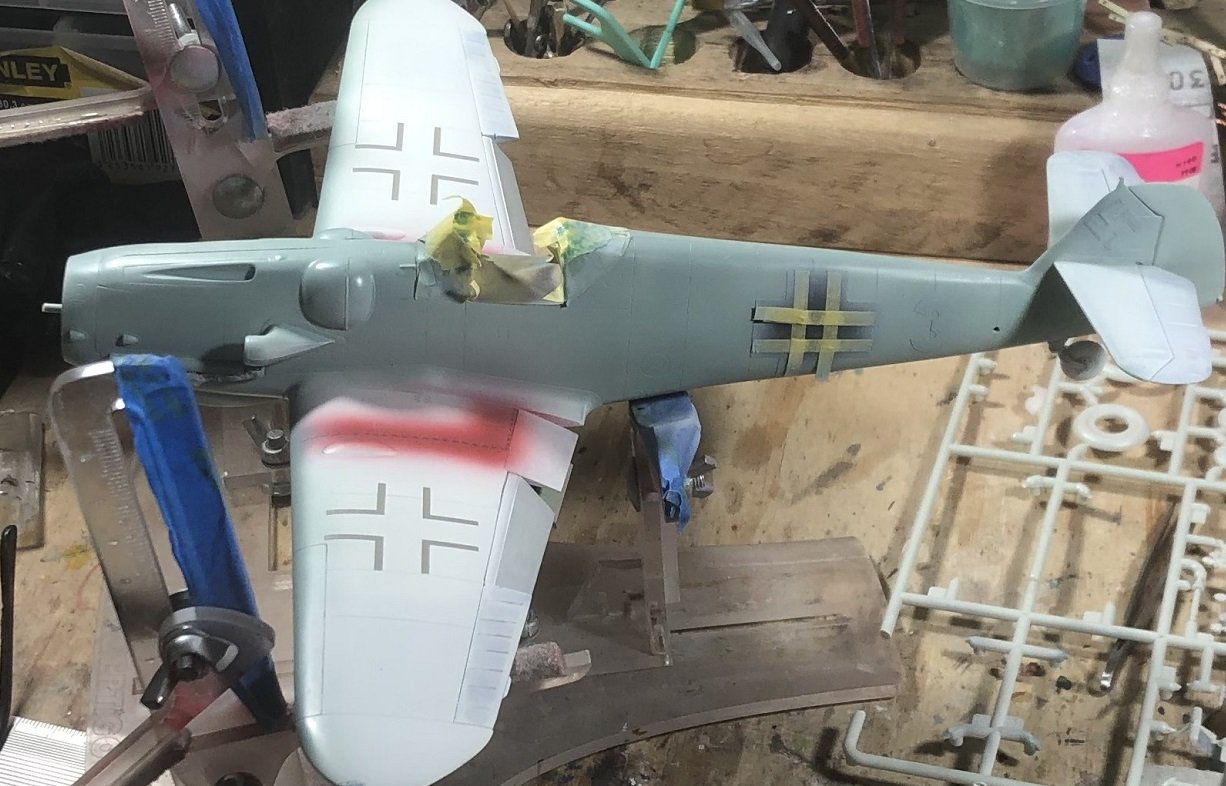
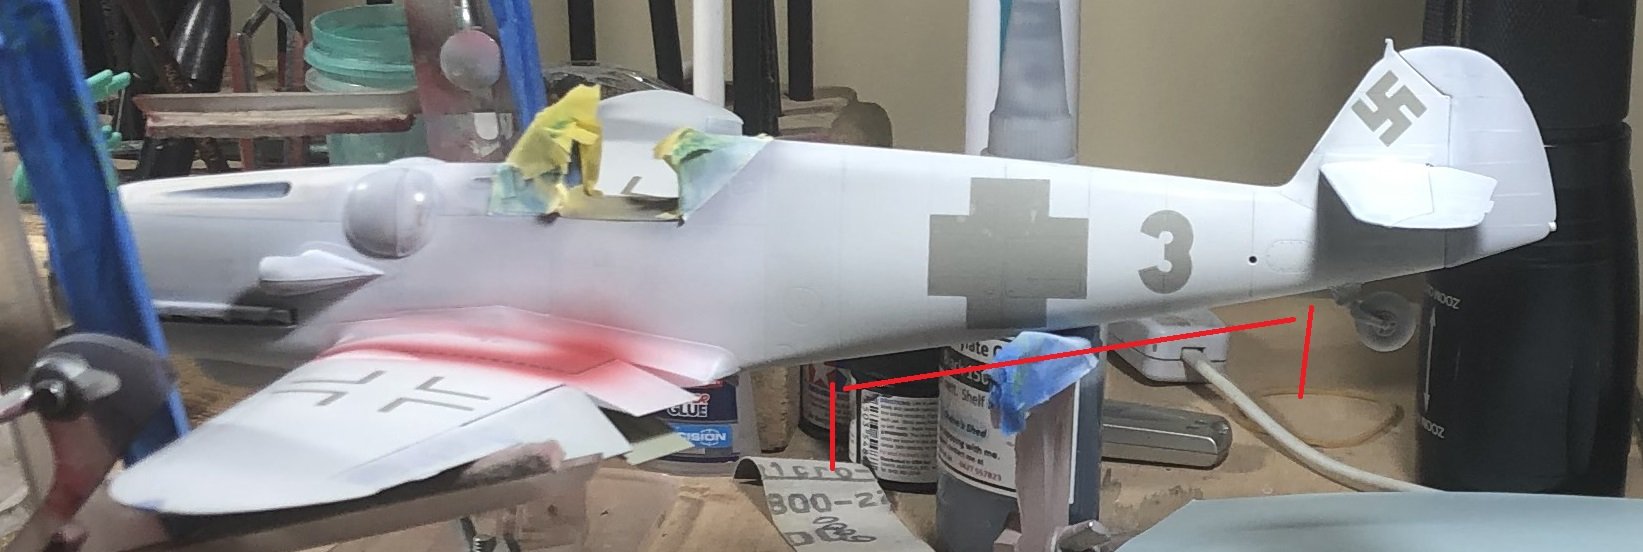
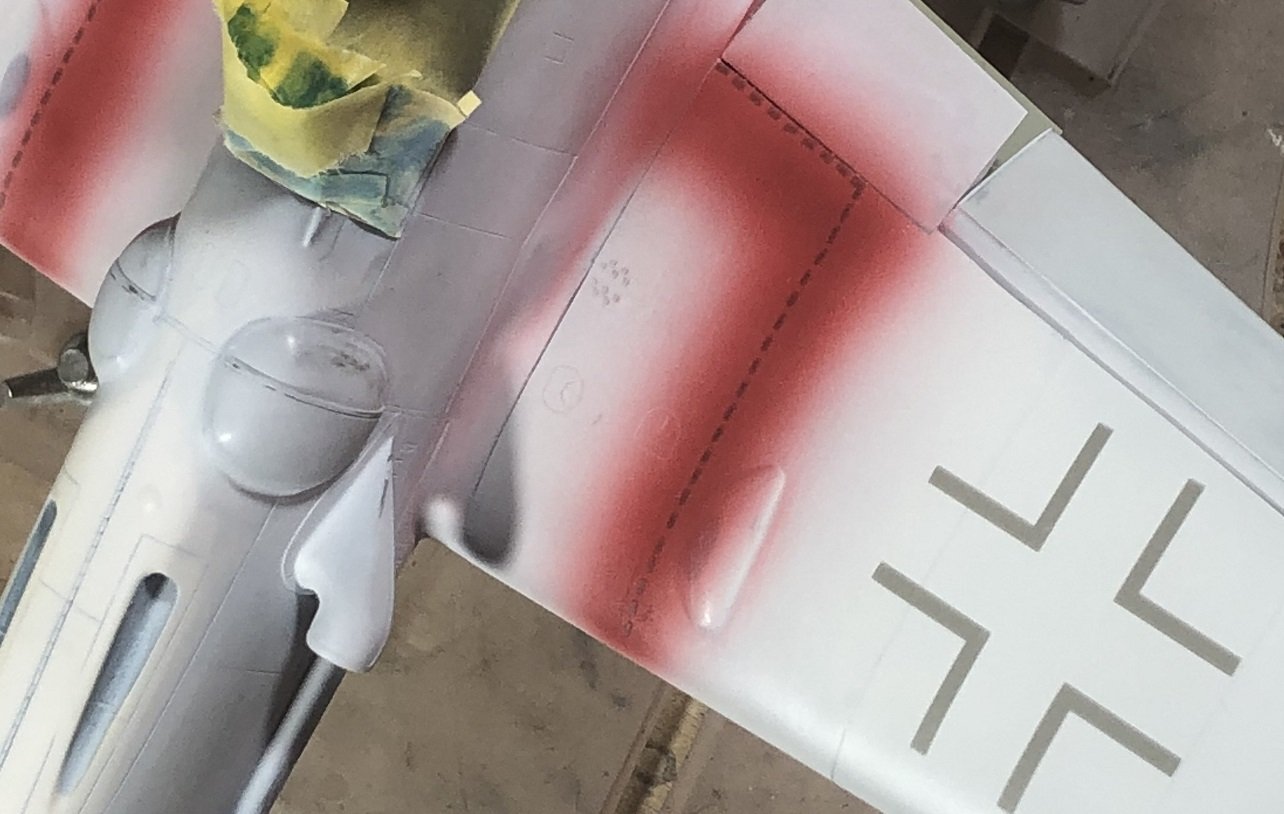
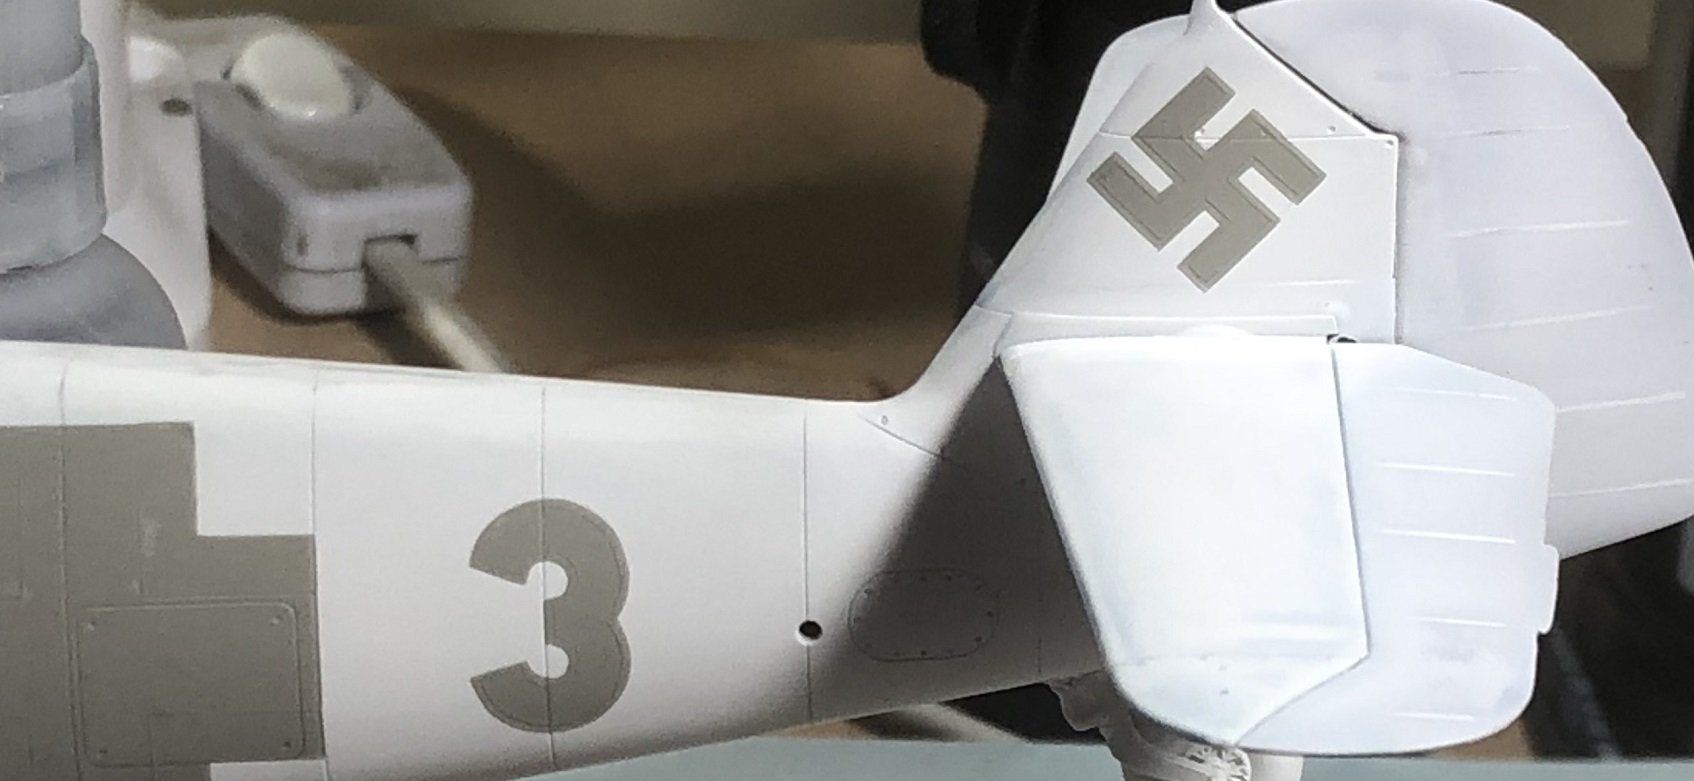
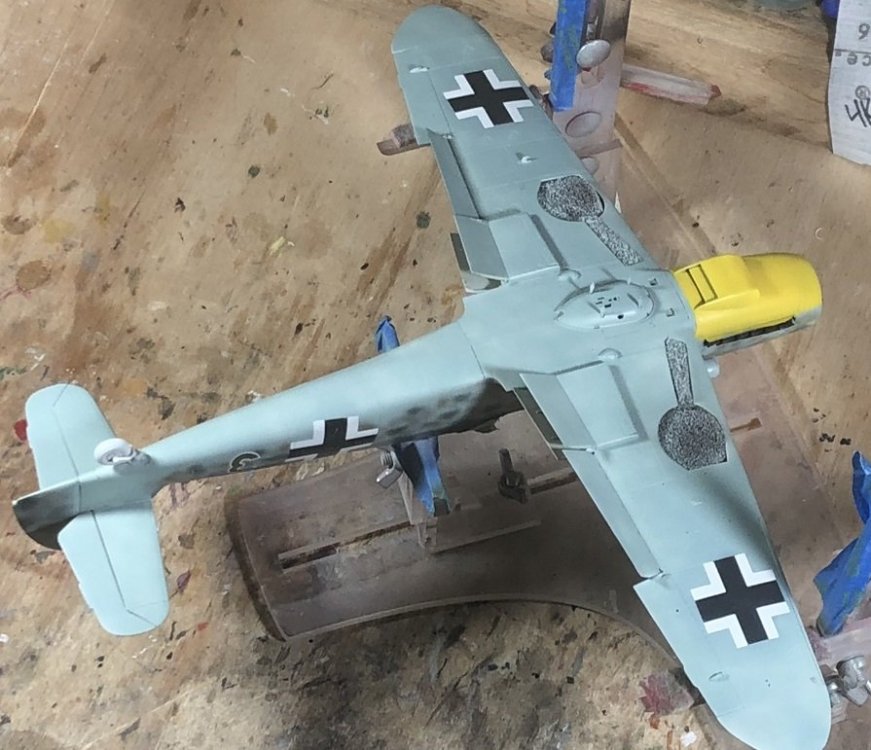
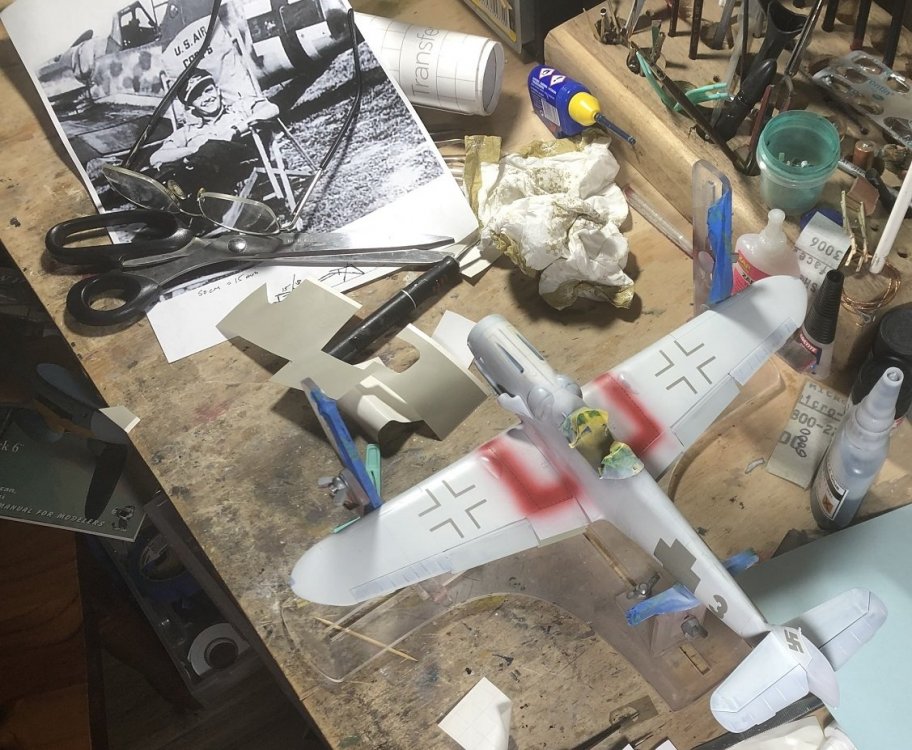
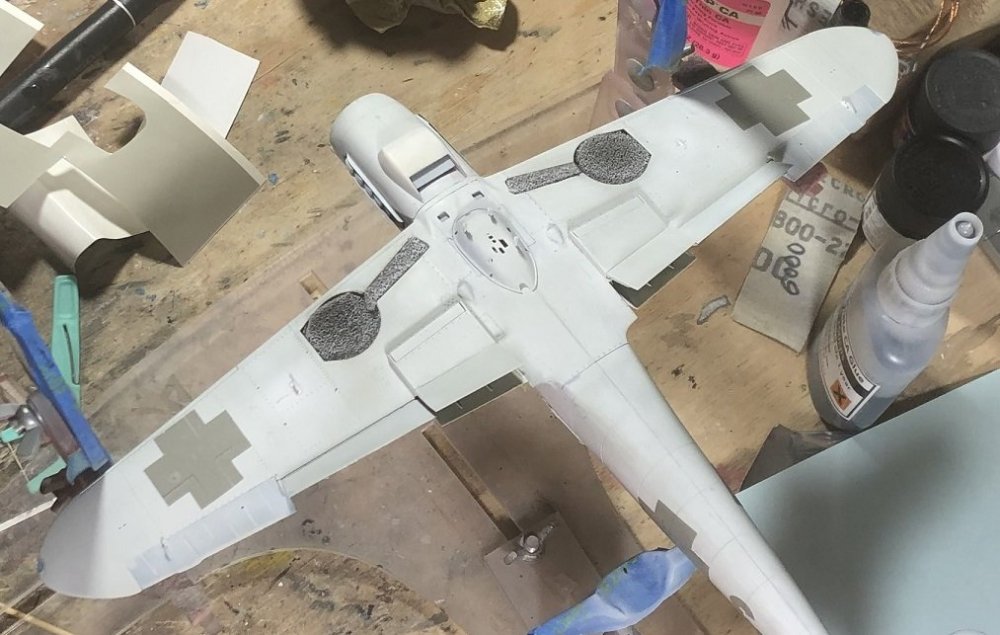
Hello everyone! Work continues... despite finding yet another shape error. I primed and fixed a few small spots... and then sanded the primer coat smooth. Then I made the masks with the Silhouette program. I always make at least one extra of each marking. Earlier I wrote of another shape issue... here is what I am taking about. Let me draw your attention to the shadow immediately above the long red line between two shorter red lines. I believe that in this area the kit maker has prematurely rounded the bottom of the fuselage towards the keel line. Note how the shadow starts narrow behind the trailing edge of the wing and then widens as it reaches the cross before narrowing again towards the tail wheel. I found this on an old Hasegawa 1/48 kit of a G-10 which shortly thereafter found it's way into the bin. I had three choices regarding the no-walk lines. I could either mask them before and paint red over white. Or I could mask them later and struggle to cover RLM colors with red... Or I could use the kit decals. Though it was hell to get all of the tiny masks into place and in line...I'm glad I did it this way. The decal never turns our the way I like. I 'browned' the red by adding a little yellow and blue to the red paint. Speaking of paint... It's all MRP so far. White primer. US Navy White under the markings. And then Richthofen's Red with a hint of Swedish Yellow and International blue. The underside: You can see on this ventral view the over-rounding of the lower rear fuselage. anyway... still waiting for my deck chair parts... Catcha later!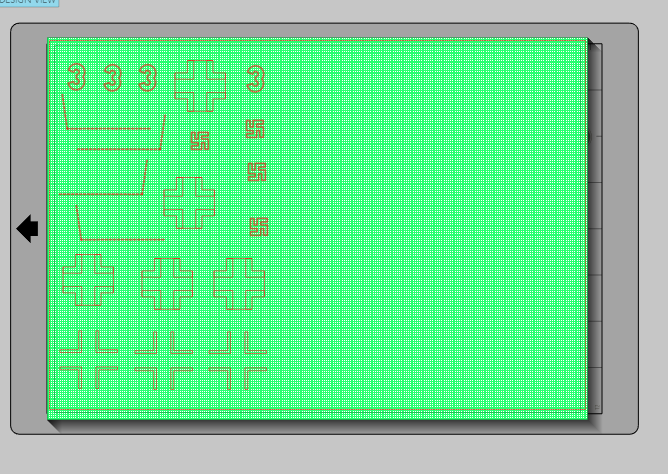


-
Mirage 2000D saved from the shelf
GazzaS replied to mark31's topic in LSM 1/35 and Larger Work In Progress
That looks lovely, Mark! -
Anything like Olive Drab. It should look brown when it's next to green.
-
Still, a very nice piece!
-
Do all the serials match... incl. the magazine?
-
No, I haven't read that one, yet... I'll look it up.
-
Gottfreid Weiroster Bf 109G6 R6 Revell 1/32
GazzaS replied to GazzaS's topic in LSM 1/35 and Larger Work In Progress
Hahah.... I'd probably never, ever say it to anybody IRL. I work with people who have no interest in 109's... or anything further in the past than their last beer or wager made on sport or horses. Thank you for those excellent illustrations and detailed explanations. All very new stuff to me. -
That's very nice John. I'd love to see more. I'm reading "Blood Red Snow" right now. The author was a machine gunner on the Eastern Front using the MG 42. Great book if you ever want one to read. Please show more.
-
Gottfreid Weiroster Bf 109G6 R6 Revell 1/32
GazzaS replied to GazzaS's topic in LSM 1/35 and Larger Work In Progress
Thank you, Peter! I don't mind the long explanation. I just wish I had known about cameras when I was younger... In my family they just appeared at holidays or birthdays and disappeared soon after. -
Gottfreid Weiroster Bf 109G6 R6 Revell 1/32
GazzaS replied to GazzaS's topic in LSM 1/35 and Larger Work In Progress
Thank you, Rob! I have "canopy glue" which seems like an extra tacky white glue. But it dries to a rubbery texture which doesn't help if you are sanding. I often use it for PE as it's extra tackiness is a desirable trait when dealing with the stuff. I wish I had painted the insides of the position lights silver. I have done it before, but thought it wouldn't matter. Guess I'll do it next time. -
Gottfreid Weiroster Bf 109G6 R6 Revell 1/32
GazzaS replied to GazzaS's topic in LSM 1/35 and Larger Work In Progress
Steve, I am an infomaniac. I would love to see whatever you can share about the 109's canopy system. -
Ducati Panigale S - Italian Speedster - Tamiya 1/12
GazzaS replied to DocRob's topic in LSM 1/35 and Larger Work In Progress
Very impressive looking work, Rob! -
Gottfreid Weiroster Bf 109G6 R6 Revell 1/32
GazzaS replied to GazzaS's topic in LSM 1/35 and Larger Work In Progress
Thank you, Kai! It seems the hinges are hidden. I'm not sure if that is a bonus or not as I have tiny square notches to fill in the canopy framing. The kit hinges aren't hidden, unfortunately. Another detail I might add are the small lights inside the windscreen on both sides.