GazzaS
-
Posts
6,396 -
Joined
-
Last visited
Content Type
Profiles
Forums
Events
Gallery
Everything posted by GazzaS
-
The ICM twins I have built have been pretty nice. They are quite adventurous when it comes to molding stuff... amazingly thin stuff quite often. One think I like about all of their kits I have built so far is that they mold the trailing edges of the wings solid, leaving the seam on the underside of the wing. This is the MG 15 that comes with the Dornier 17 kits. Probably the best MG 15 you'll find molded in plastic. Though it's not quite as sharp as the Master Barrels Mg 15... it's a lot less fiddly.
-

Huges OH-6A "Cayuse" Da Nang Fragments - Dragon kit 1/35
GazzaS replied to aquatarkus10's topic in Non LSM 'WIP
Awesome! -
You caught me napping. I wanna watch.
-
SH Tempest Mk.II HIgh Tech Kit
GazzaS replied to Peterpools's topic in LSM 1/35 and Larger Work In Progress
Nice work on completing the office, Peter! I much prefer the HGW cloth belts to the PE belts... though I imagine nicely molded resin belts and seat would please me most. -
Gottfreid Weiroster Bf 109G6 R6 Revell 1/32
GazzaS replied to GazzaS's topic in LSM 1/35 and Larger Work In Progress
Guys, Thank you for the tips and and kind comments! I will try them on future decals. -
Gottfreid Weiroster Bf 109G6 R6 Revell 1/32
GazzaS replied to GazzaS's topic in LSM 1/35 and Larger Work In Progress
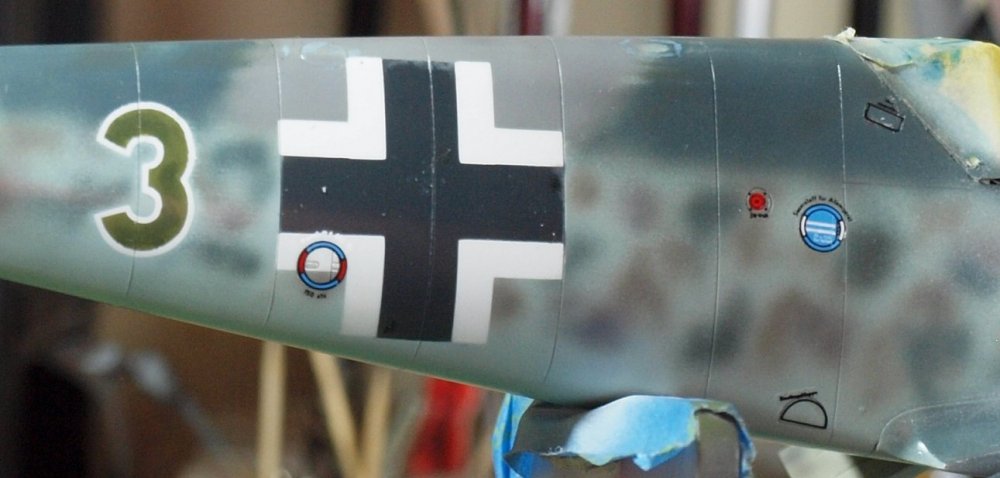
Decalzzzzz.....with an emphasis on the zzzz Surprise, Surprise, Surprise exclaims Gomer Pyle. The hand-hold and toe-kick decals don't matched the molded surfaces. I dislike little decals. You can't apply as much pressure on them to get the air bubbles out. If you do, they move. I uh... look forward to slicing all of the tiny bubbles once the matte coat is applied. Anyway... this one can sit for a couple days. Happy Modelling!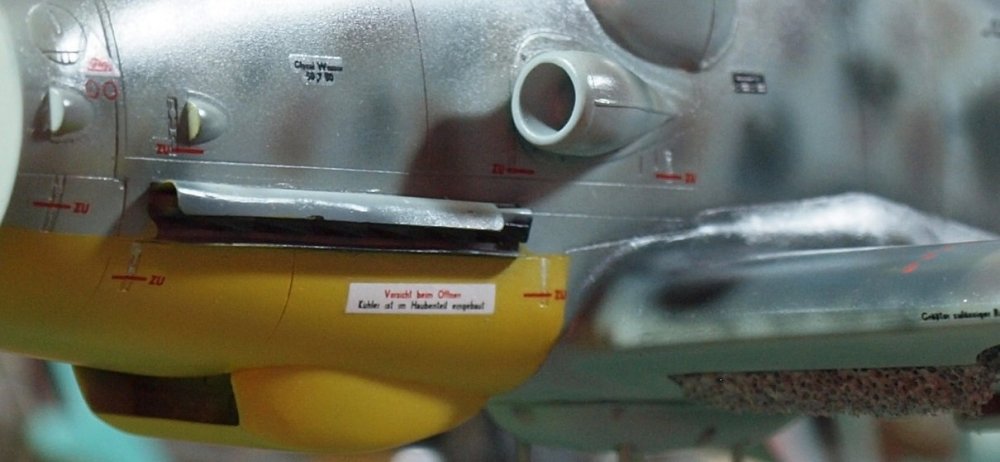

-
a D out of a G.... HK's B-17 conversion
GazzaS replied to brahman104's topic in LSM 1/35 and Larger Work In Progress
That's what I'm looking forward to.- 167 replies
-
- 2
-

-
- B-17
- scratch built
- (and 1 more)
-
NO instructions?!?!?
-
Gottfreid Weiroster Bf 109G6 R6 Revell 1/32
GazzaS replied to GazzaS's topic in LSM 1/35 and Larger Work In Progress
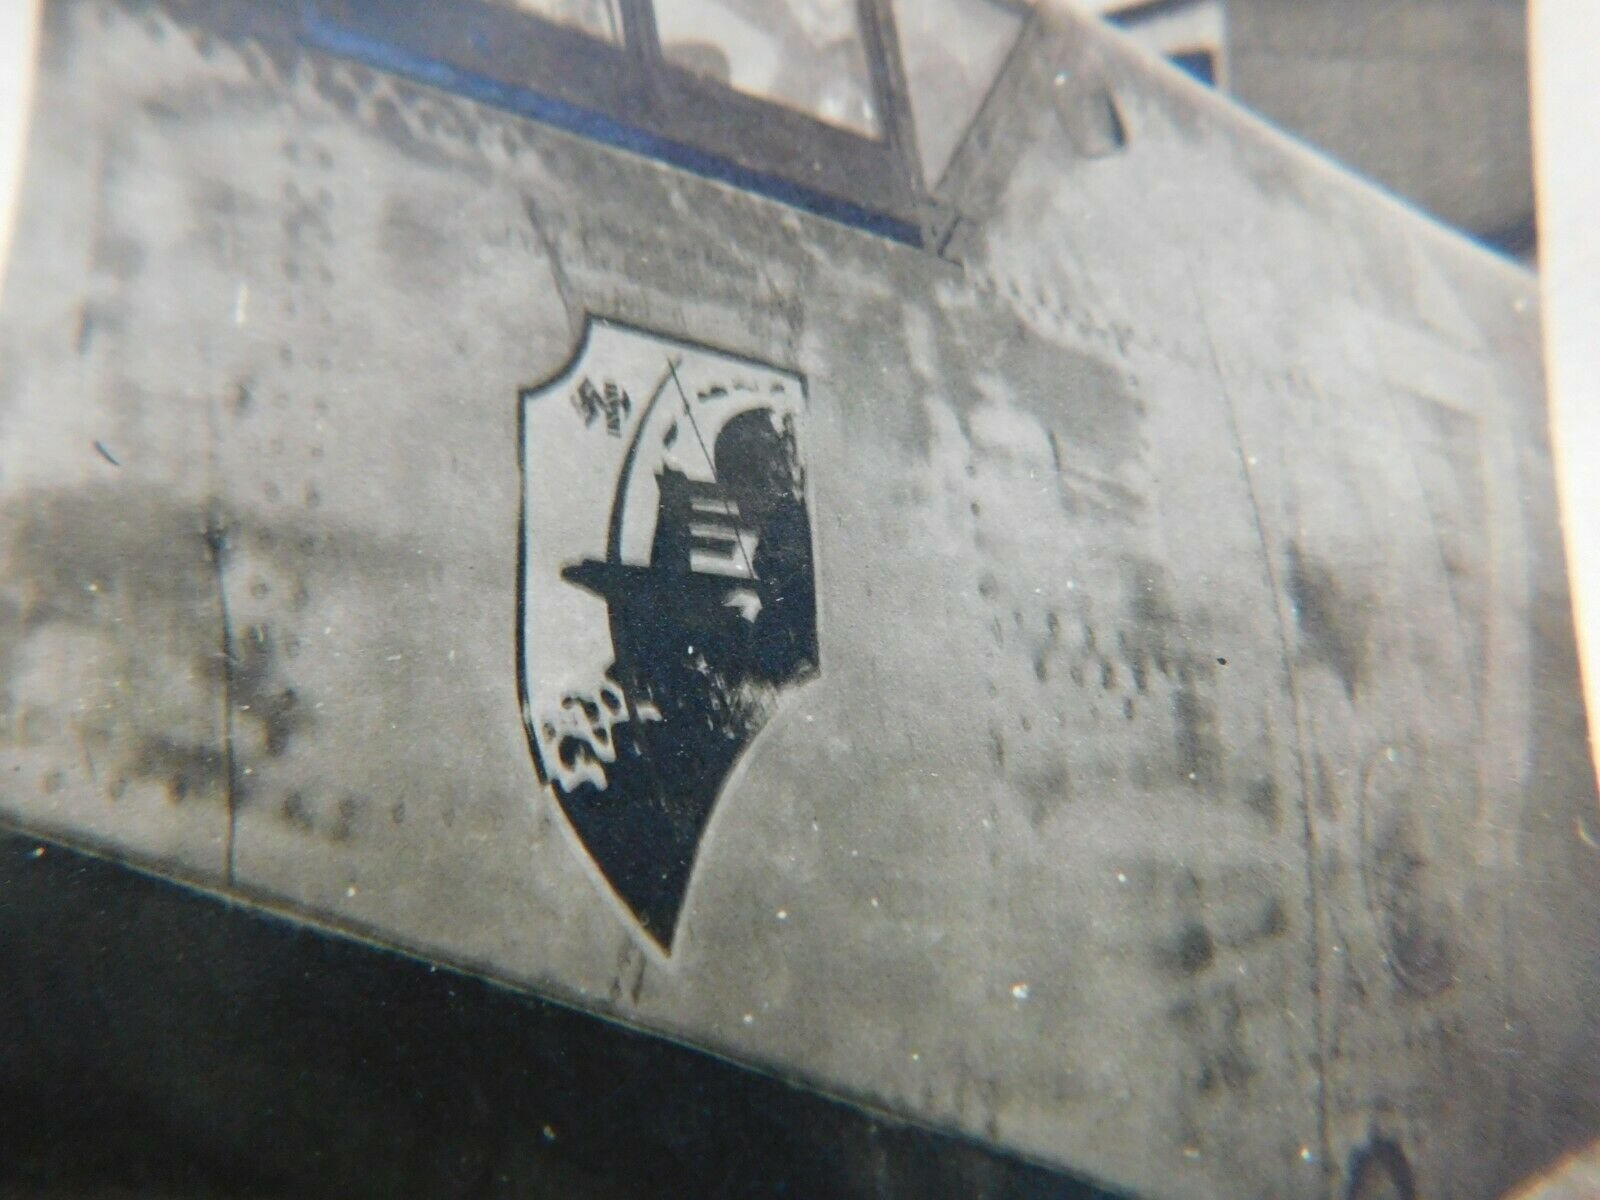
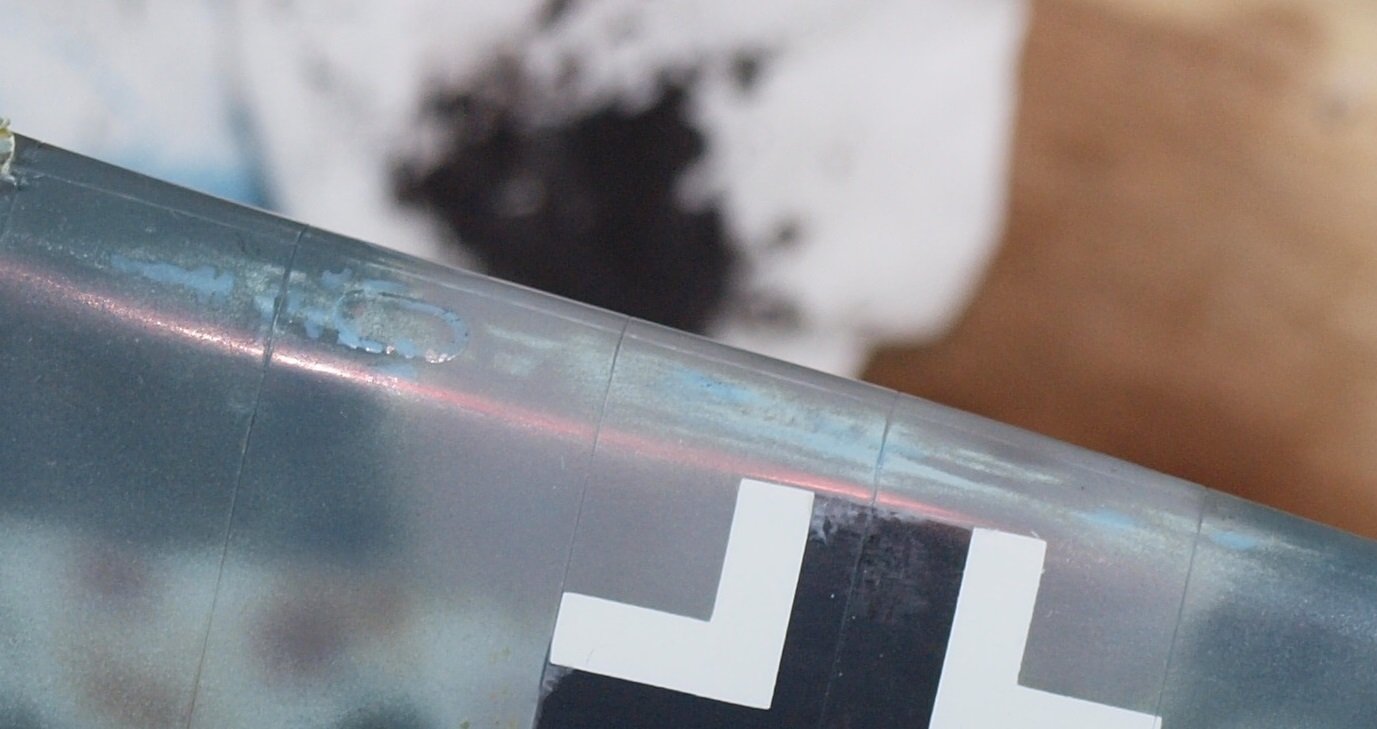
Sometimes Rob... it can be a lot of sanding to get a desired effect: Wish I knew the name of the JG 1 pilot.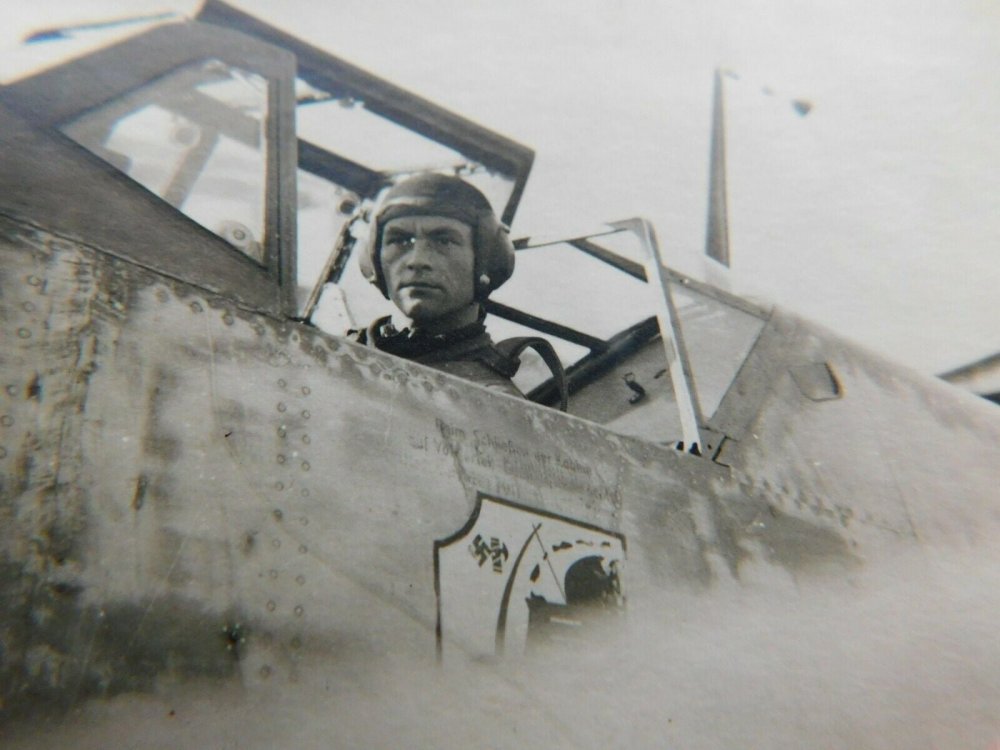

-
That will give you plenty of time to foil the B-36.
-
Gottfreid Weiroster Bf 109G6 R6 Revell 1/32
GazzaS replied to GazzaS's topic in LSM 1/35 and Larger Work In Progress
Thank you, Kai. Clear coated and waiting overnight for decals. -
Gottfreid Weiroster Bf 109G6 R6 Revell 1/32
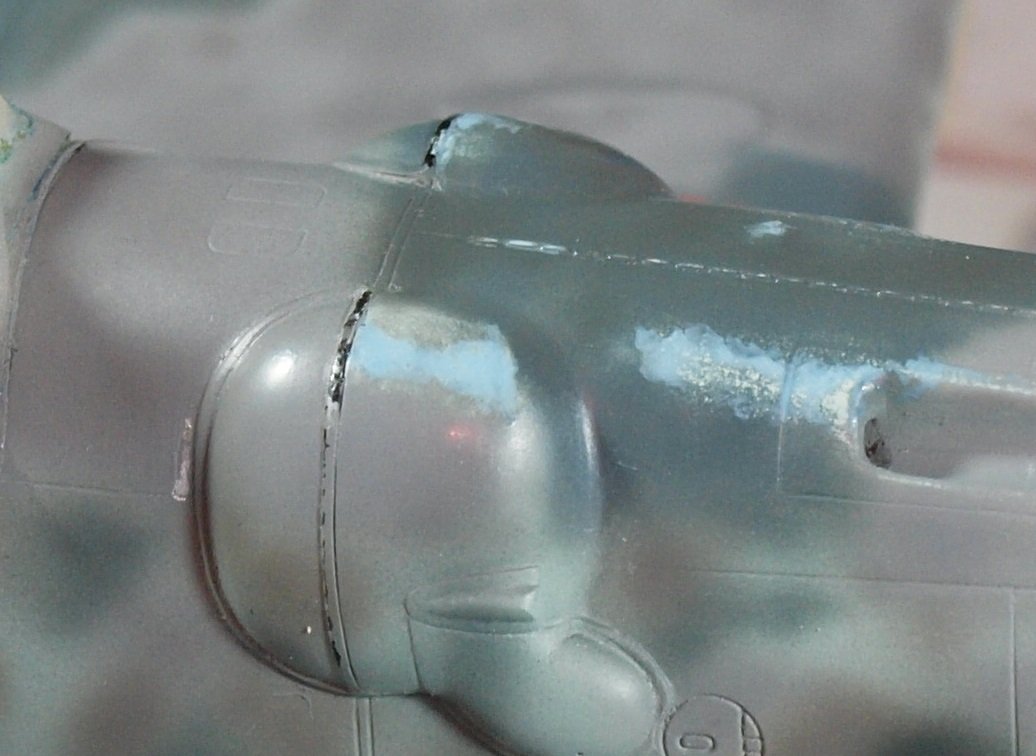
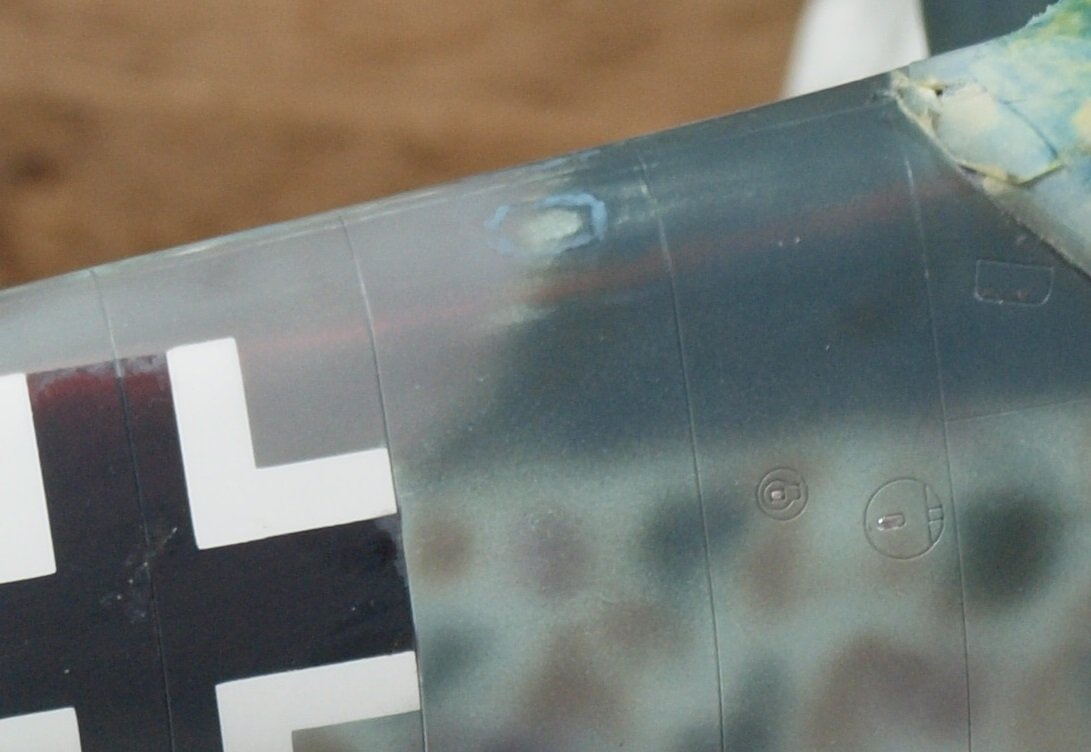
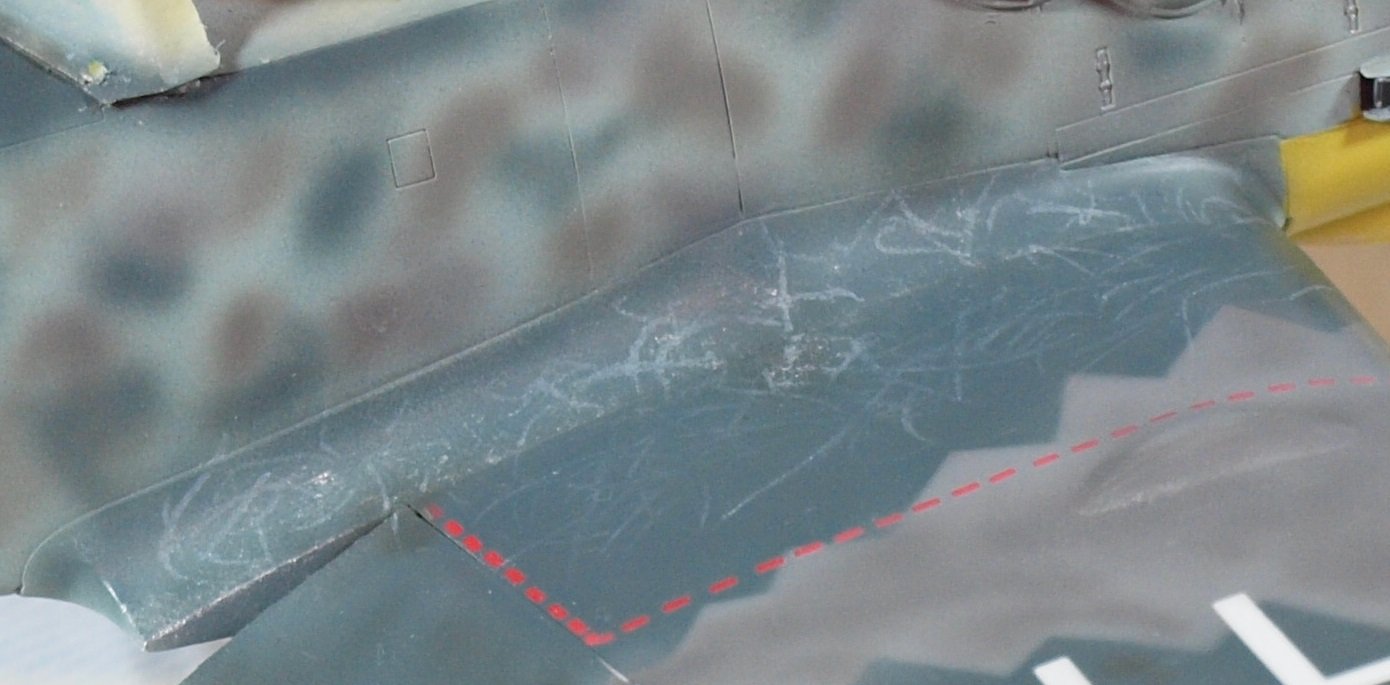
GazzaS replied to GazzaS's topic in LSM 1/35 and Larger Work In Progress
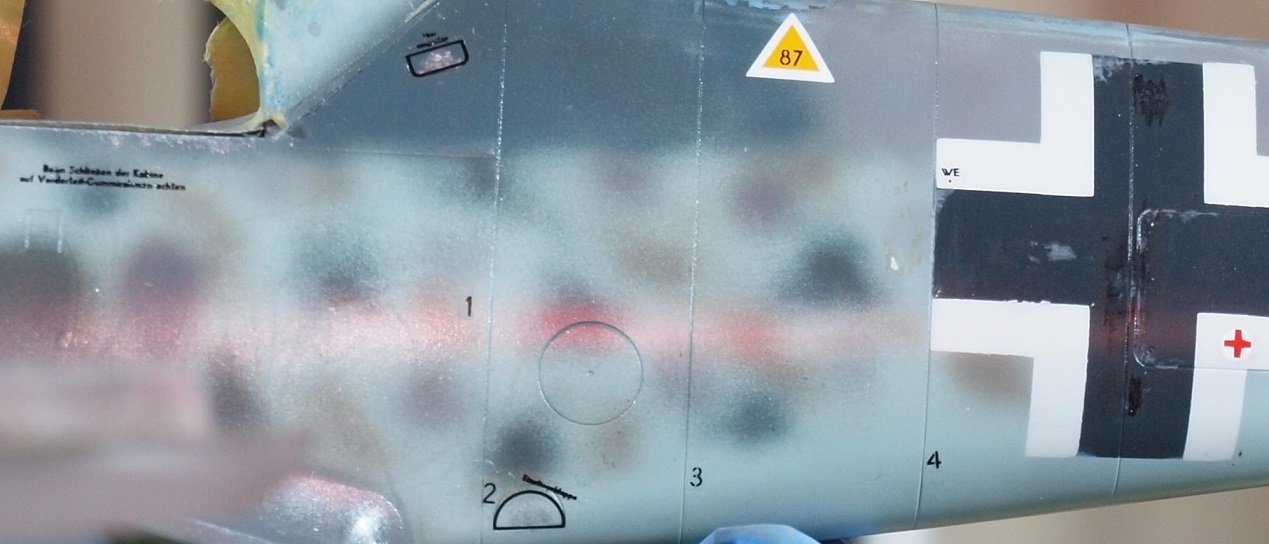
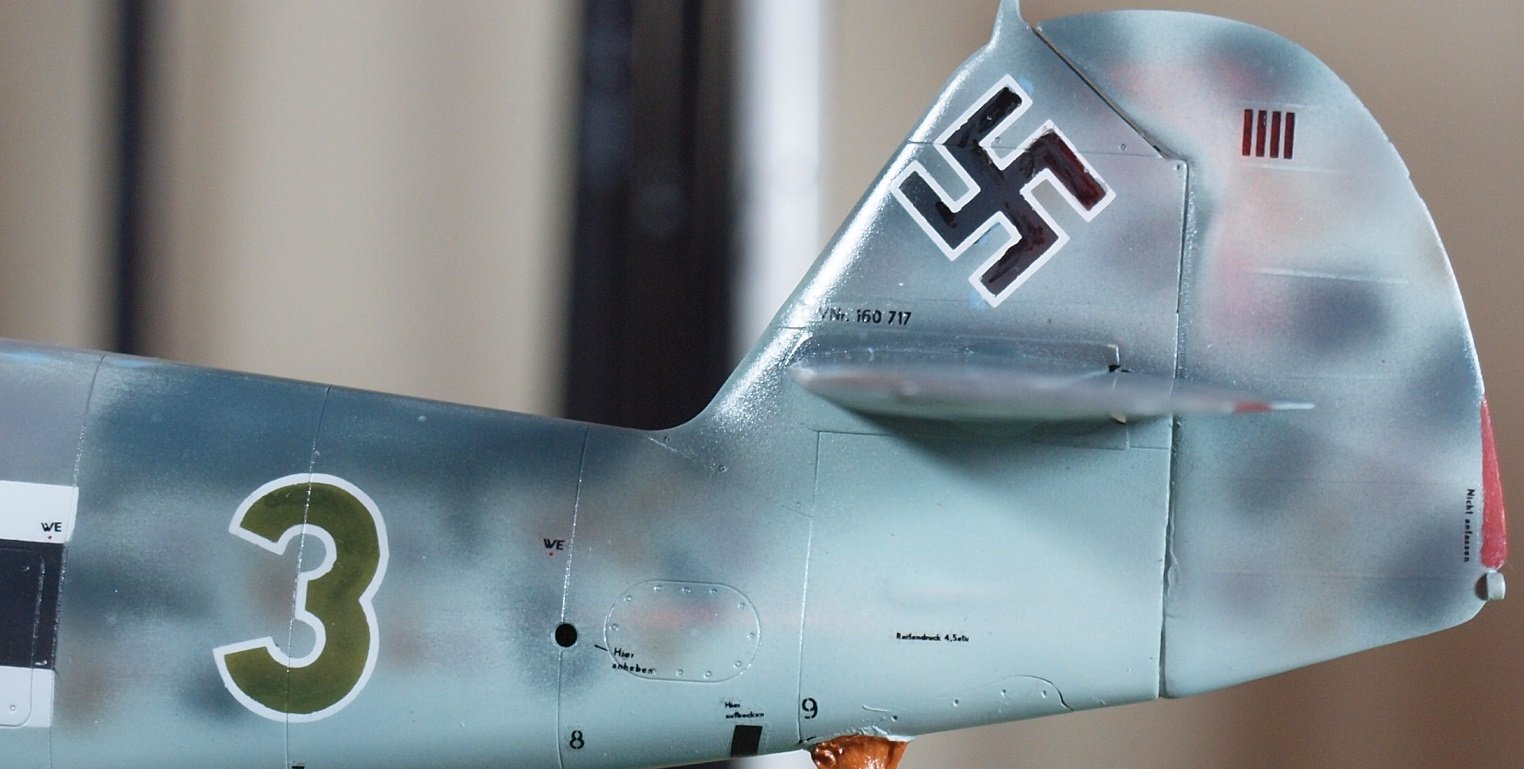
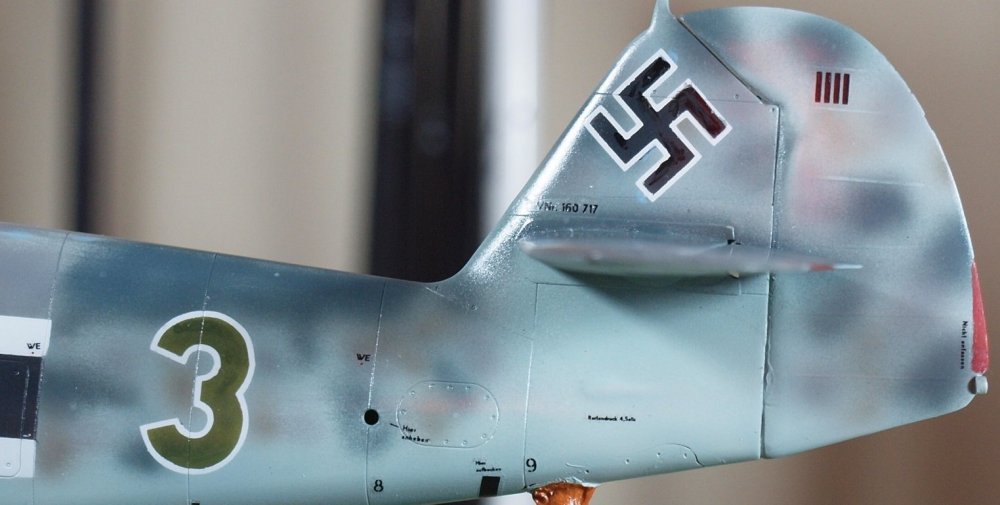
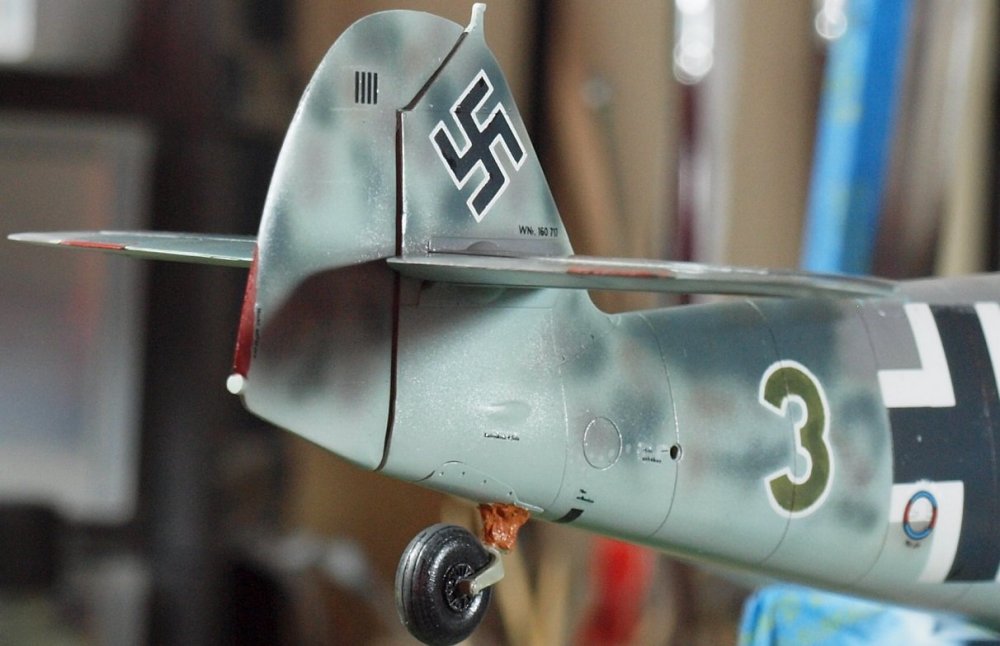
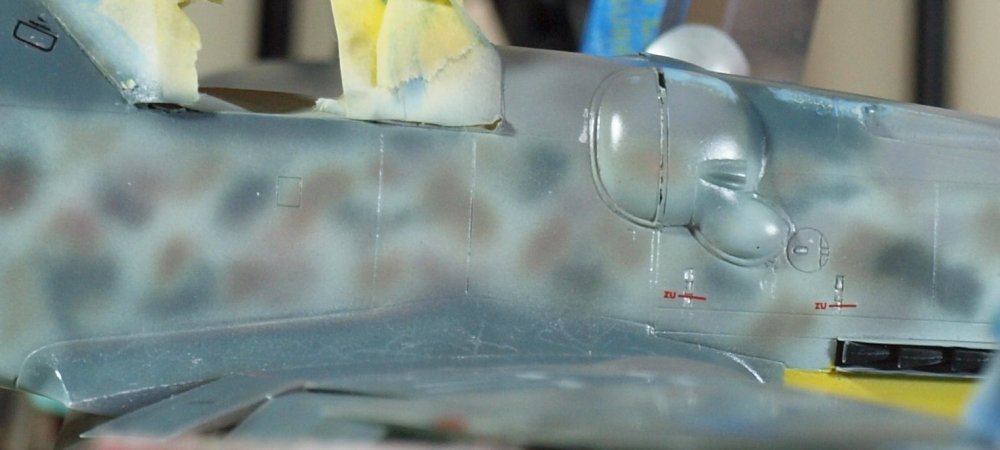
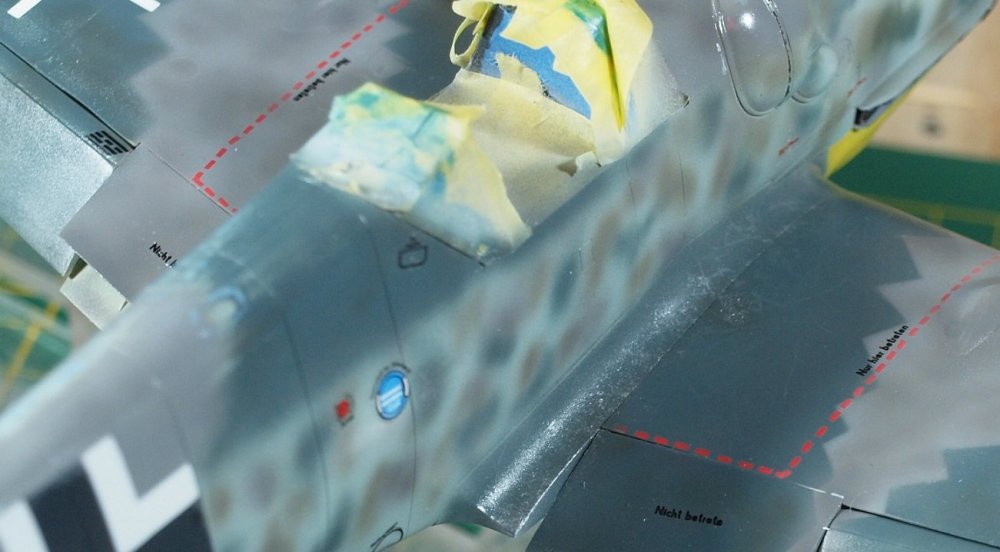
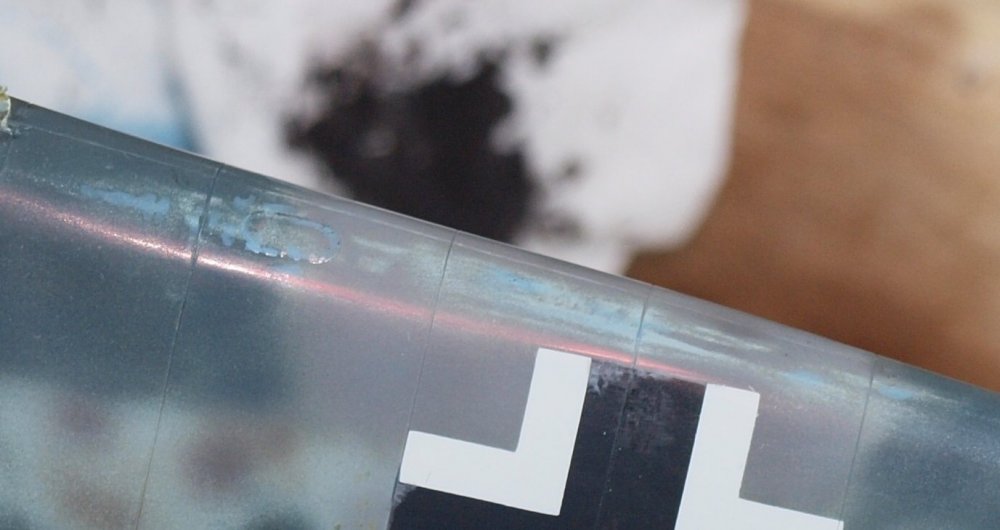
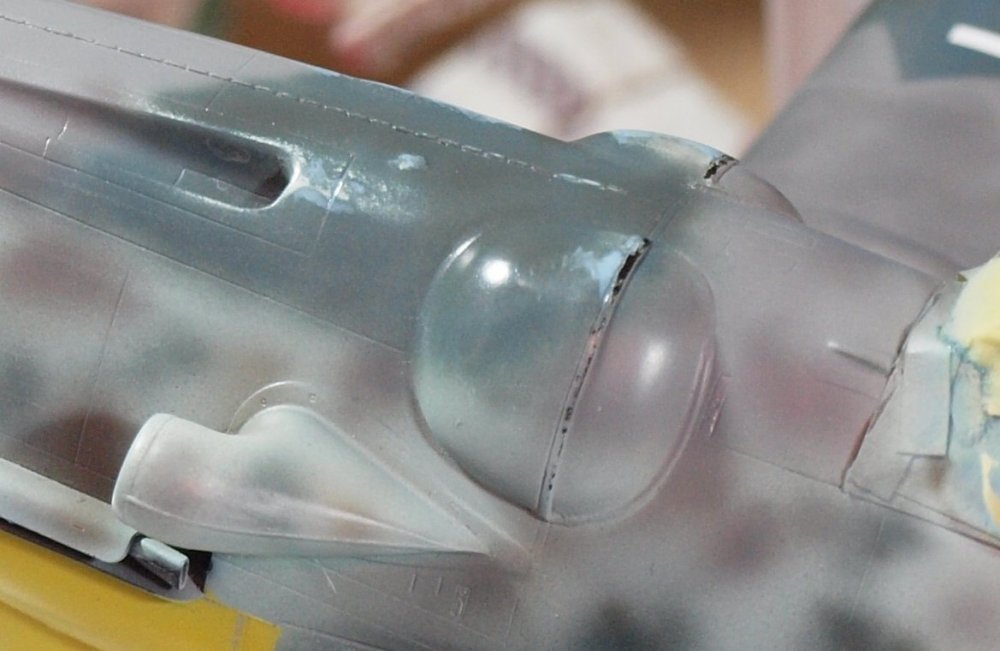
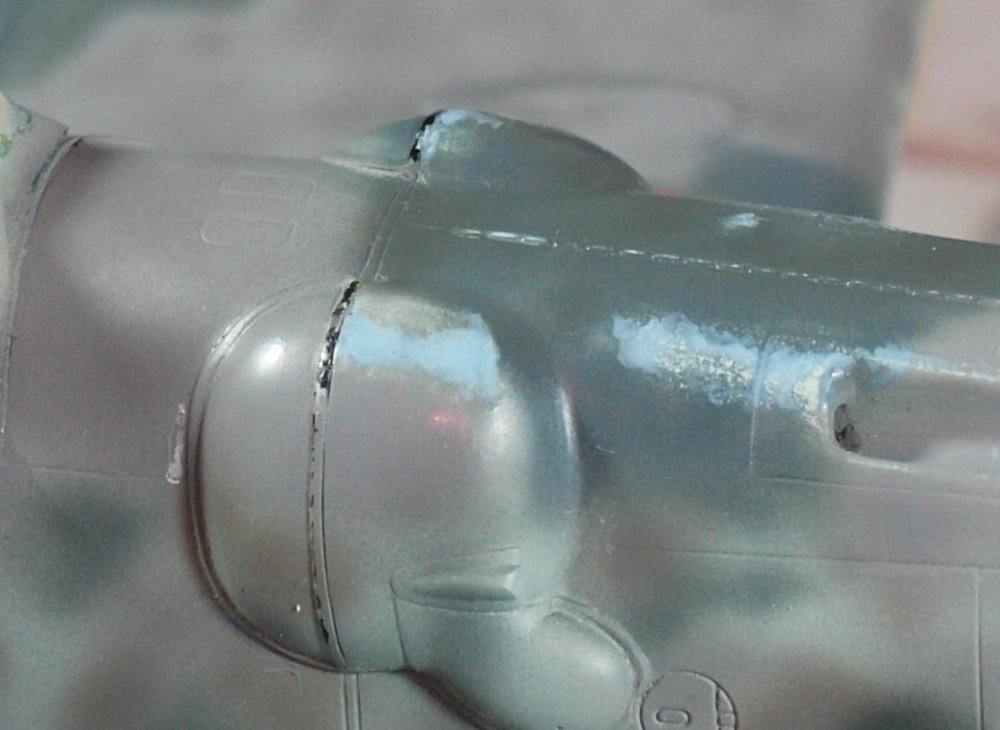
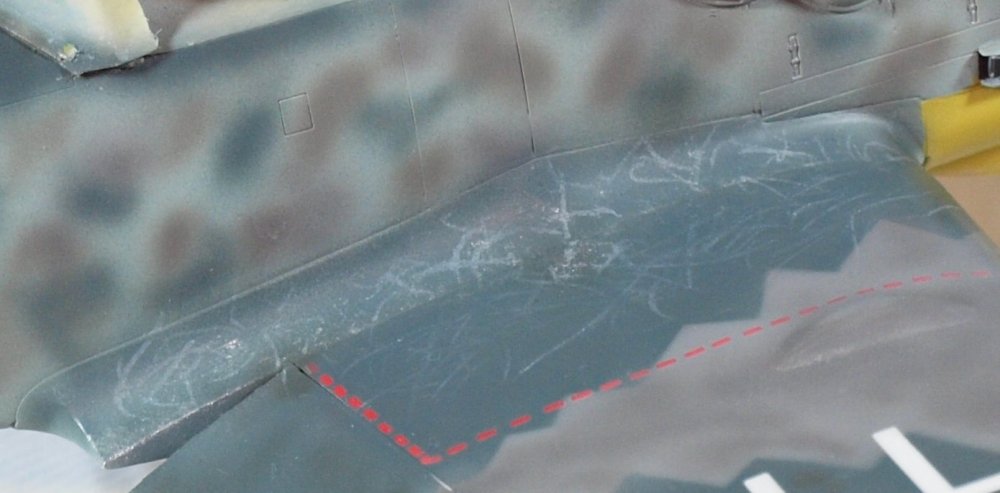
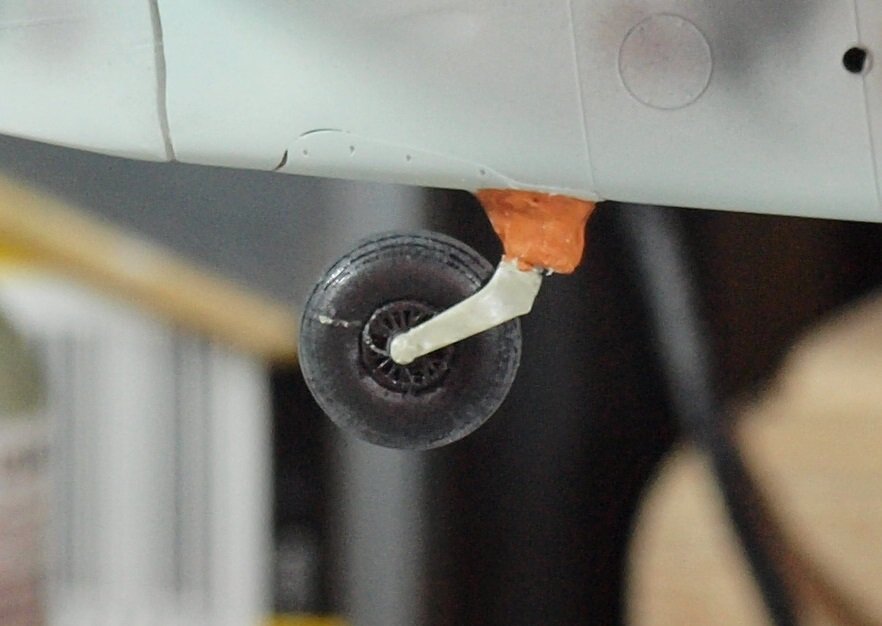
Individualizing the aircraft: I've done some brush and sponge chipping, as well as wearing the paint by sanding. I've added scuffs, painted the tail wheel as well as the leather boot around the tail wheel strut... I also scratched it putting it back into the tail wheel yoke. I've never done much in the past too illustrate the rubber seal behind the engine cowl. But, since it's molded there in clear view, I couldn't imagine the black rubber not shedding paint somewhere. Not sure how I like everything yet. Looks better from a foot or three away.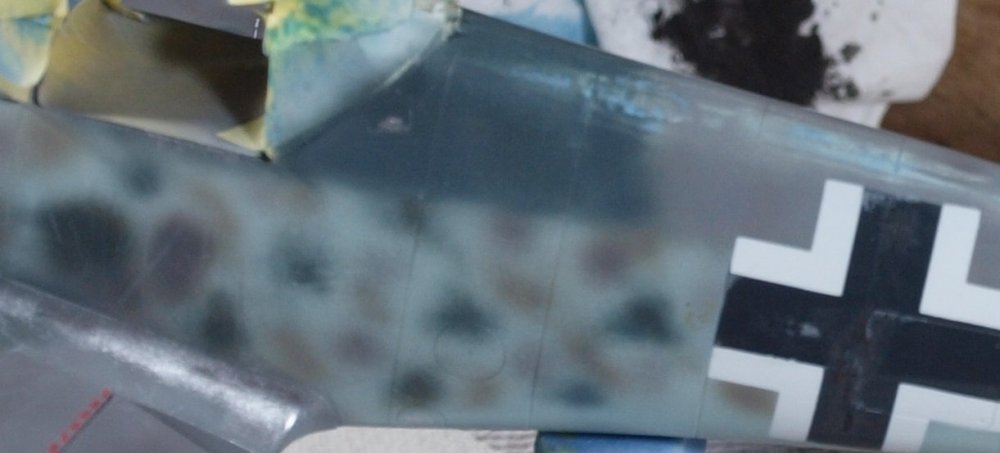

-
Good to see progress, Harv.
-
Gottfreid Weiroster Bf 109G6 R6 Revell 1/32
GazzaS replied to GazzaS's topic in LSM 1/35 and Larger Work In Progress
Oh... I didn't know this. I will make my starting holes bigger, then. -
Atlas Cheetah E
GazzaS replied to GusMac's topic in LSM 1/32 and Larger Aircraft Ready for Inspection
Fabulous work, Gus! -
What is on your bench right now ? Share a picture :)
GazzaS replied to Martinnfb's topic in Modelling Discussion
Very sharp! -
Gottfreid Weiroster Bf 109G6 R6 Revell 1/32
GazzaS replied to GazzaS's topic in LSM 1/35 and Larger Work In Progress
You'd be amazed at my ability to get the hole off center... or the drill bit to drift off center... It is another of those simple manual tasks at which I have failed to excel. -
Ducati Panigale S - Italian Speedster - Tamiya 1/12
GazzaS replied to DocRob's topic in LSM 1/35 and Larger Work In Progress
Stunning finish, Rob. Not sure how I feel about unsealed decals. But for me the point is moot because I weather everything with oils. Nevertheless... you've done well! -
Ducati Panigale S - Italian Speedster - Tamiya 1/12
GazzaS replied to DocRob's topic in LSM 1/35 and Larger Work In Progress
Fabulous paintwork,Rob! Your demarcation lines look perfect. -
Czech Air Force L 29 Delfin 'Tiger Meet', Eduard 1/48
GazzaS replied to BradG's topic in Non LSM 'WIP
Very nice! -
Gottfreid Weiroster Bf 109G6 R6 Revell 1/32
GazzaS replied to GazzaS's topic in LSM 1/35 and Larger Work In Progress
That's a great idea. I could glue each half, and mirror it up precisely... and then join them with the "dowels". Thank you! -
But you know if that was their initial release, they would be doomed to obscurity. We all have a lesser well known plane or three we’d love to have kitted in styrene. But I know that my long hoped—for Roland D. II would not be an intelligent choice for an initial release. Though I expected WNW to get to it eventually, I would never expect any new company to risk their launch on a subject which didn’t earn fame on the Western Front. Though it did serve for some time on the Eastern Front.
-
Gottfreid Weiroster Bf 109G6 R6 Revell 1/32
GazzaS replied to GazzaS's topic in LSM 1/35 and Larger Work In Progress
I appreciate the info, Hubert. I have a Dremel drill press. But the speed is just too fast. Last time I drilled styrene, I melted styrene. Stacking them... that would be a very interesting effort. But at least starting with a smaller bit... I can work with.