GazzaS
-
Posts
6,396 -
Joined
-
Last visited
Content Type
Profiles
Forums
Events
Gallery
Everything posted by GazzaS
-
 Looks awesome, Carl! The weathering is wonderful.
 -
Well done, Ern.
-
My Uncle took me up in his Cessna when I was a boy. And one of my Father's buddies took me up a few years ago in Alaska. Although I enjoyed the view... It didn't really do much for me. Perhaps because I was just a passenger and all of the flying was straight and level. Perhaps I lack imagination... but I just don't see the fun in it if you're not doing high-G maneuvers, barrel rolls, mock-fighter combat, and low-level buzzing of unsuspecting pedestrians. Do/did you ever do that kind of stuff, Peter?
-
Nice progress!
-
Peter, Looks great, the effort your putting in will make it shine. Your canopy masking looks crisp and neat.
-
Sweet looking guns and turrets.
- 329 replies
-
- 2
-

-

-
- uss arizona
- eduard
- (and 1 more)
-
Black CA is rubberized to give more strength and flexibility. I like that you can see it when you use it as a filler.
-
No! No! No! Don't do it. If you make it thin, it will stay unstable for a long time. I will look great once sand it. But by the time you paint it, the surface will sink in. I filled in the panel lines of a model with thinned sprue goo. When it came weathering time, there were broad, irregular, shallow depressions running the length of each panel line I filled. My preferred method for filling big holes is to run medium to thick CA around the hole and sprinkle it with baking soda. Keep squirting and sprinkling until it is filled enough to sand. Don't let it sit overnight... because once that CA is fully hardened... it's much harder than the plastic. Try to start sanding and shaping as soon as it is dry to the touch.
-
Next up....Revell Mk II Spitfire
GazzaS replied to JohnB's topic in LSM 1/35 and Larger Work In Progress
My fix for all Revell kits: Don't buy them. Keep up the good work, John! -
Very nice details, John.
-
Guy, That’s a great looking effort. I too didn’t know much about heat shrouds falling off.
-
Awesome
-
Umm... no, I didn't know. But since I'm doing prewar, I can keep the mast. I would like to do a later version... but these things were up-gunned as the war went on and were bristling with gun barrels. And I really have no decent plans or images to show me. But don't show me... I don't want to buy any more AM.
-
Seriously dude... I didn't have rubber bands, masking tape, hobby knife or anything. I never really thought of it... but I never realized we were poor until people from school brought us food for Thanksgiving.
-
Looking good, Bill!
-
Them bolt heads do make a big difference.
-
Thank you, Peter. Thank you Phil... I would love on in 1/35. But i would have to have it as a late-war version as the early ones had little firepower and were up gunned carrying a lot of barrels.
-
ProModeler 1/48 PBY-5A Catalina + Goodies, RFI
GazzaS replied to CANicoll's topic in Let’s Get Wet Group Build.
Too huge for a dio... unless you live alone. But looks great. -
That panoramic photo... Just shows the power and majesty of the USN. Supposedly by 1945, the USN was larger than any previous or existing navy in the world - Combined! I don't think anyone ever could have comprehended the true industrial capacity of the US before then.
-
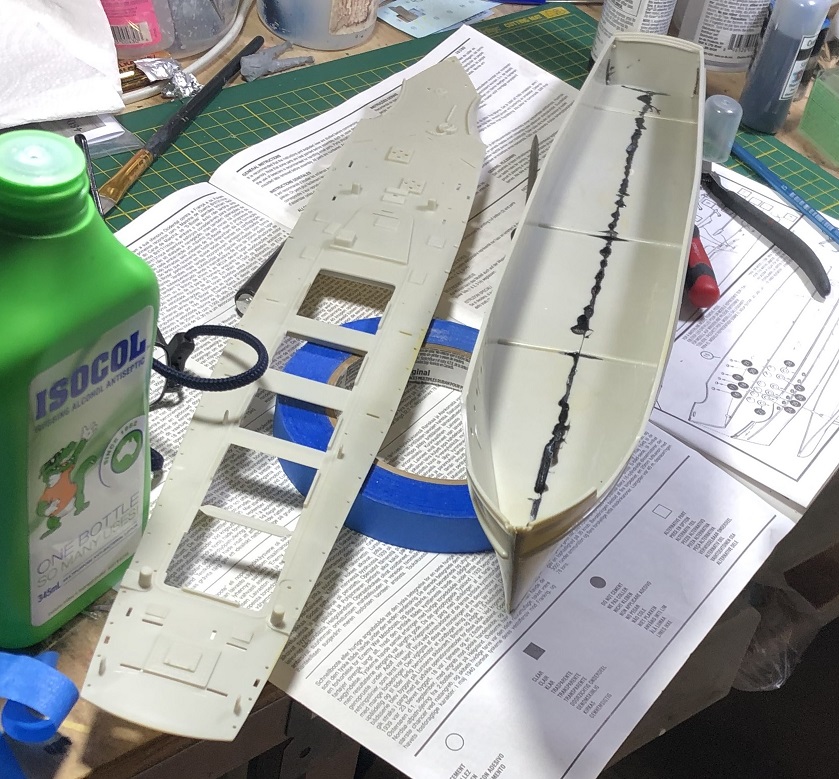
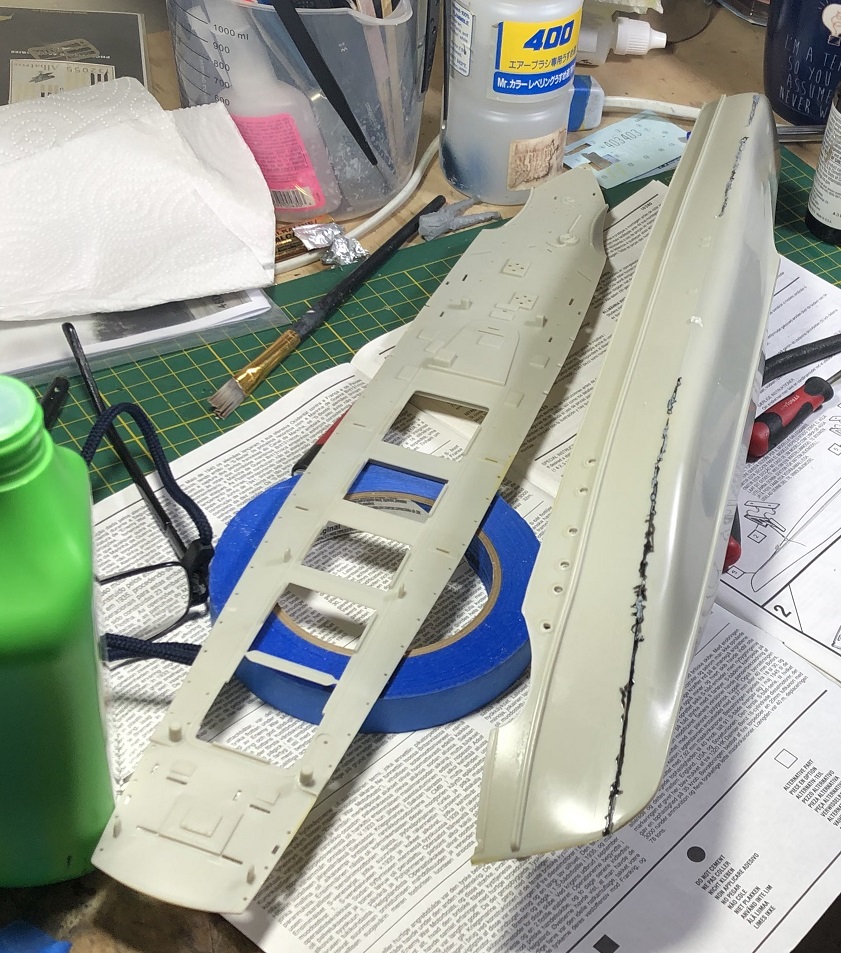
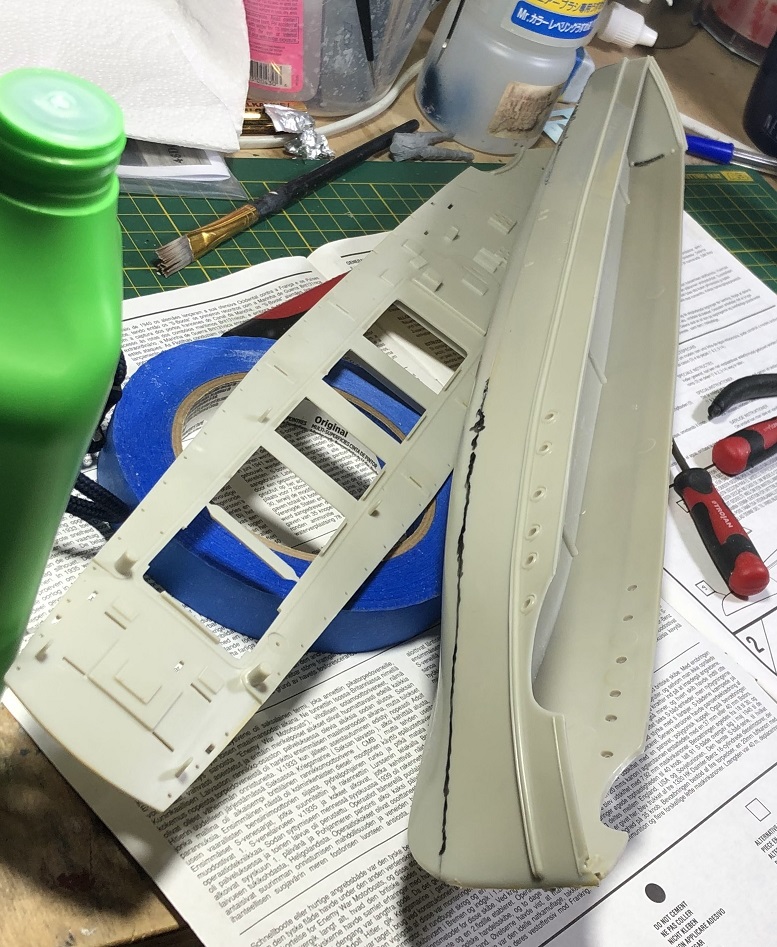
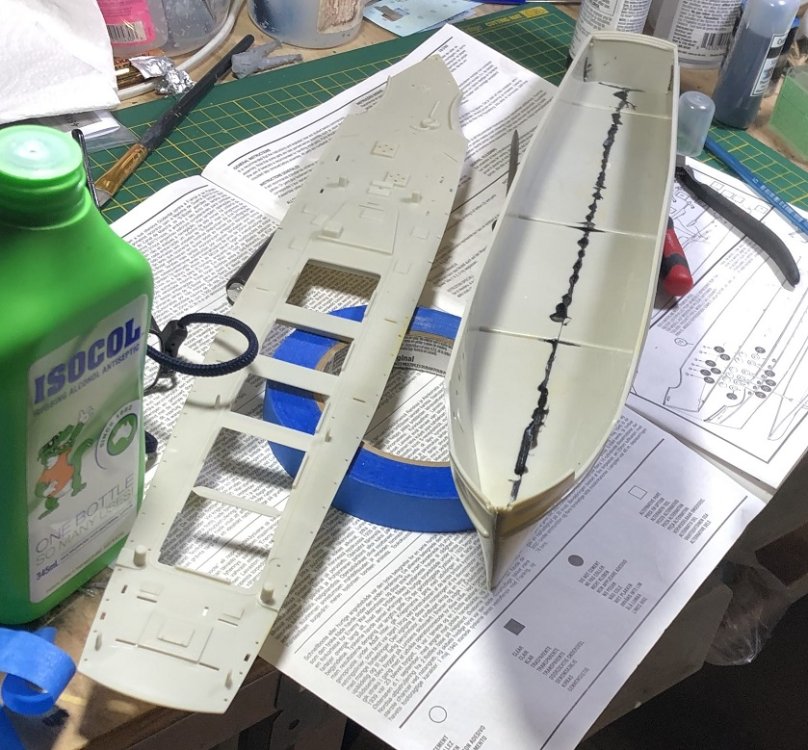
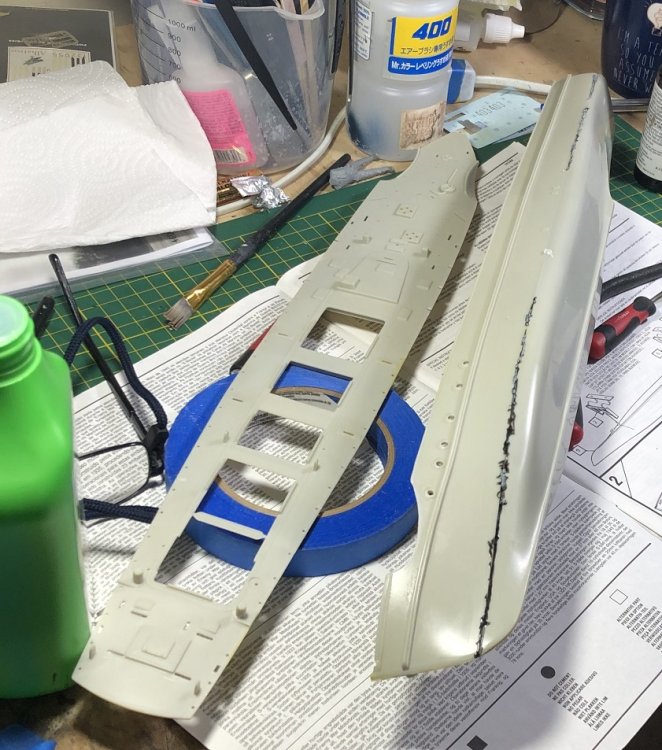
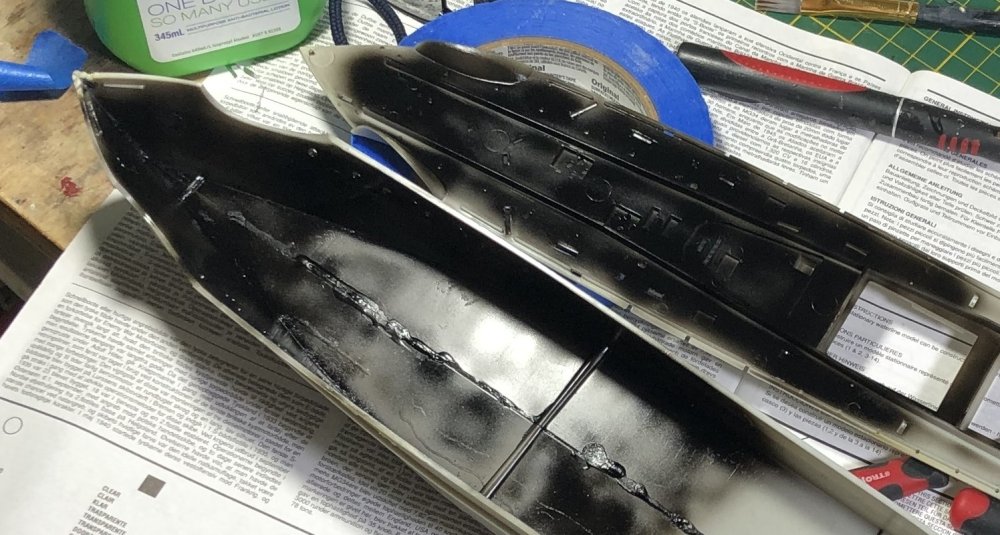
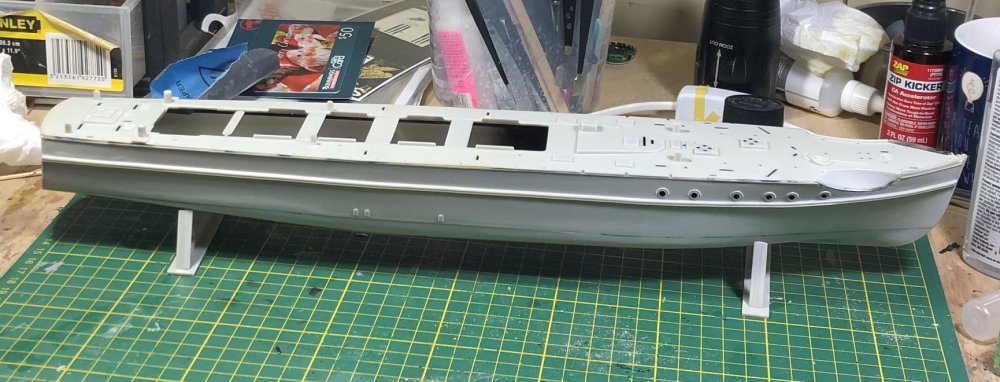
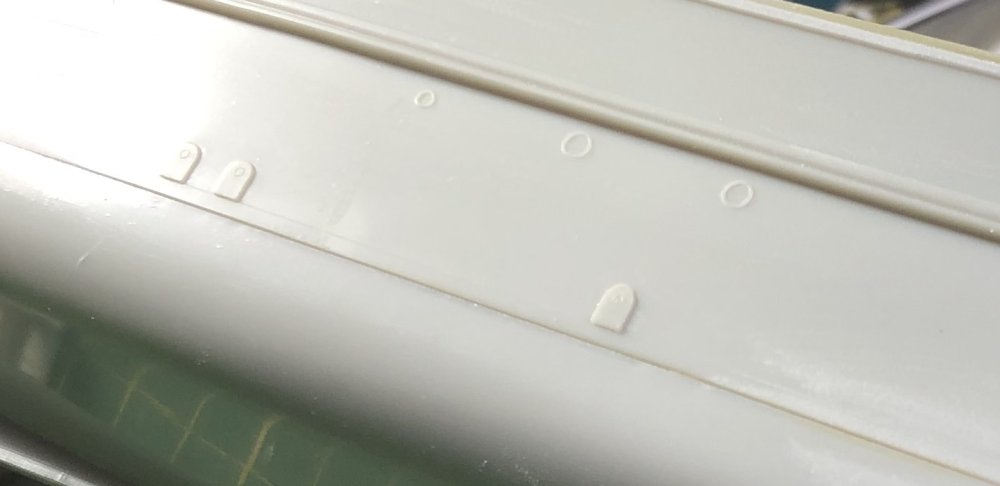
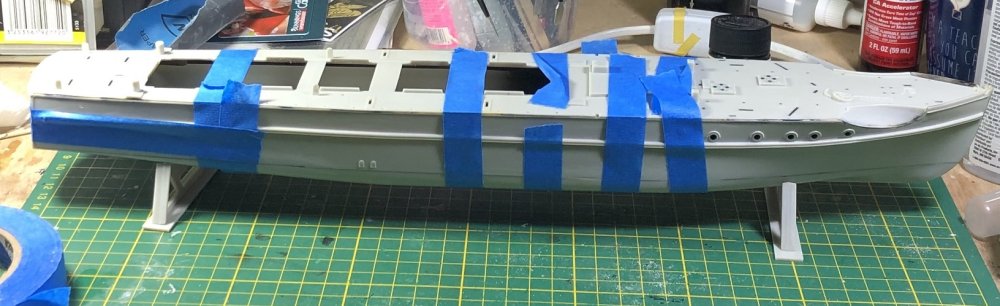
OK... now that the plastic has aged enough, I can start. The first German S-boats were built by LÜRSSEN. Despite the war and many years later, LÜRSSEN is still making boats. However, now they are making luxury yachts. Today, upon lifting the hull parts from the box, I noted the color... not white, not tan, and not gray... but somewhere in there. Made me think that the previous owner was a smoker for some reason... Nicotine stained plastic... but i know it wasn't. And it's much harder than any styrene I've handled recently. Could be more interesting than expected. Instead of the standard two-half hulls surmounted by a deck, this kit has two-center-halves topped by the deck and supported by a lower hull. I always start with the bow. So, after positioning the center halves I ran a generous amount of Extra Thin down the bow and held it in place for 40 seconds. This is my no-fail procedure with parts that look like they're gonna be troublesome. However, it failed as there was a slight in-turn right at the bow. But I didn't want to shorten the bow area and alter it's shape. So, I broke out the black CA and CA kicker. I imagine if I was the 12-year old of my past, I would have tried to build this kit with no more than a tube of Testors cement, and a few bottles of Testors or Pactra enamels. And I would have been frustrated trying to hold it together long enough for the parts to stay in place despite their natural inclination to do otherwise. Each piece had to be fought into position. So, I put way the Extra Thin and used a lot of CA and kicker. More than I used on any other model. But, the fit wasn't too bad... just needed some persuading. The kit has nice clear plastic for the portholes. But they have to be installed before you close up the hull... So, I have decided to cover the portholes with Micro Crystal Clear at the very tail end of the build. Here, I have painted the interior of the area with portholes. Even the top deck had a very... let's say un-flat shape and had to be wrestled down bit by bit and locked into place with black CA. Once that was in place, I began to file and sand the areas where it was required. I didn't do anything to the very center of the hull. There are some raised detail I want to see if I replace with spare PE parts. Finally, there were areas of the upper deck that hadn't been glued into place yet. So, I ran some short beads of it and lagged them down with tape. Does anyone know the color of the deck on these things?

- 155 replies
-
- 13
-
-
Great looking missiles and launchers.
-
Nice interior work, Mark!
-
Sharp work, Bill!
-
The PE on the bridge looks great!
-
Great project, Rob! Nice work on those gun barrels, too.
- 329 replies
-
- 4
-
-
-
- uss arizona
- eduard
- (and 1 more)