BlrwestSiR
-
Posts
9,173 -
Joined
-
Last visited
Content Type
Profiles
Forums
Events
Gallery
Everything posted by BlrwestSiR
-

What is on your bench right now ? Share a picture :)
BlrwestSiR replied to Martinnfb's topic in Modelling Discussion
That looks great Gus. Nice recovery on the decals too. Carl -
What is on your bench right now ? Share a picture :)
BlrwestSiR replied to Martinnfb's topic in Modelling Discussion
7 days for me including today. -
Chris, we're still at the store for now. It closes Christmas Eve and then we're spending January packing it up and getting ready to move it for Feb 1.
-
I made something for my daughter for Christmas
BlrwestSiR replied to ScottsGT's topic in General Discussion
That is... ...AWESOME!!!!! -
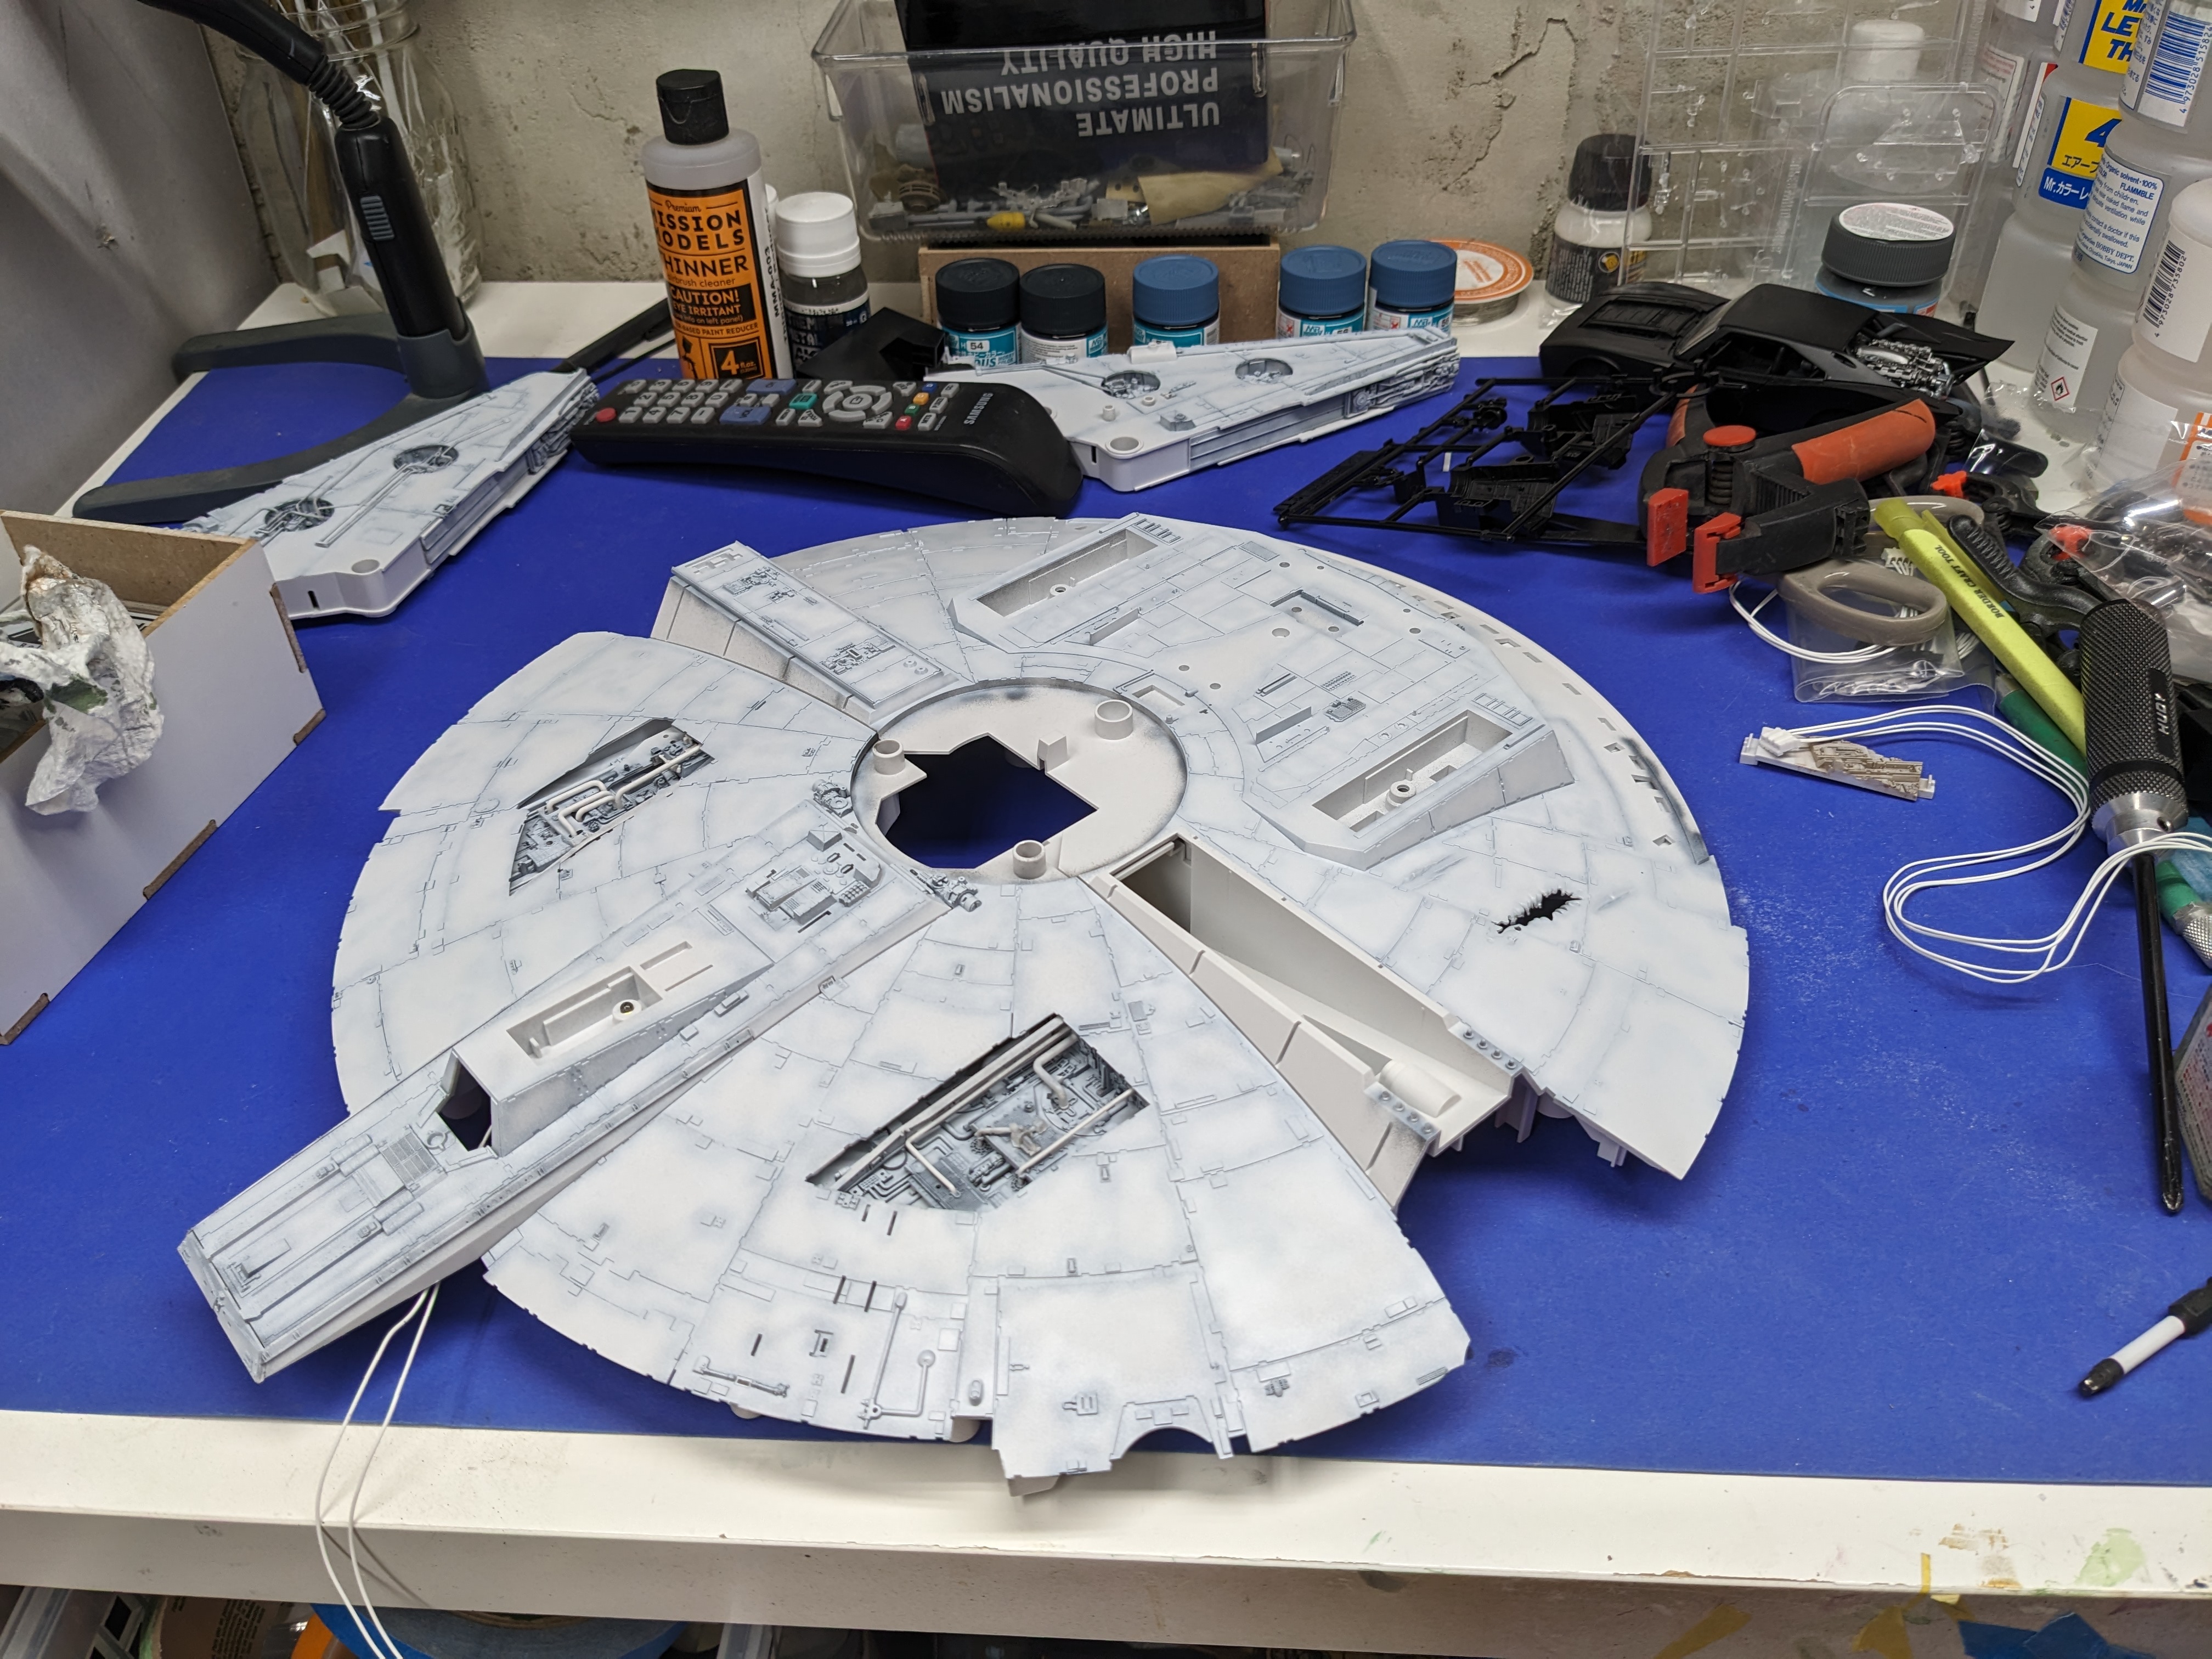
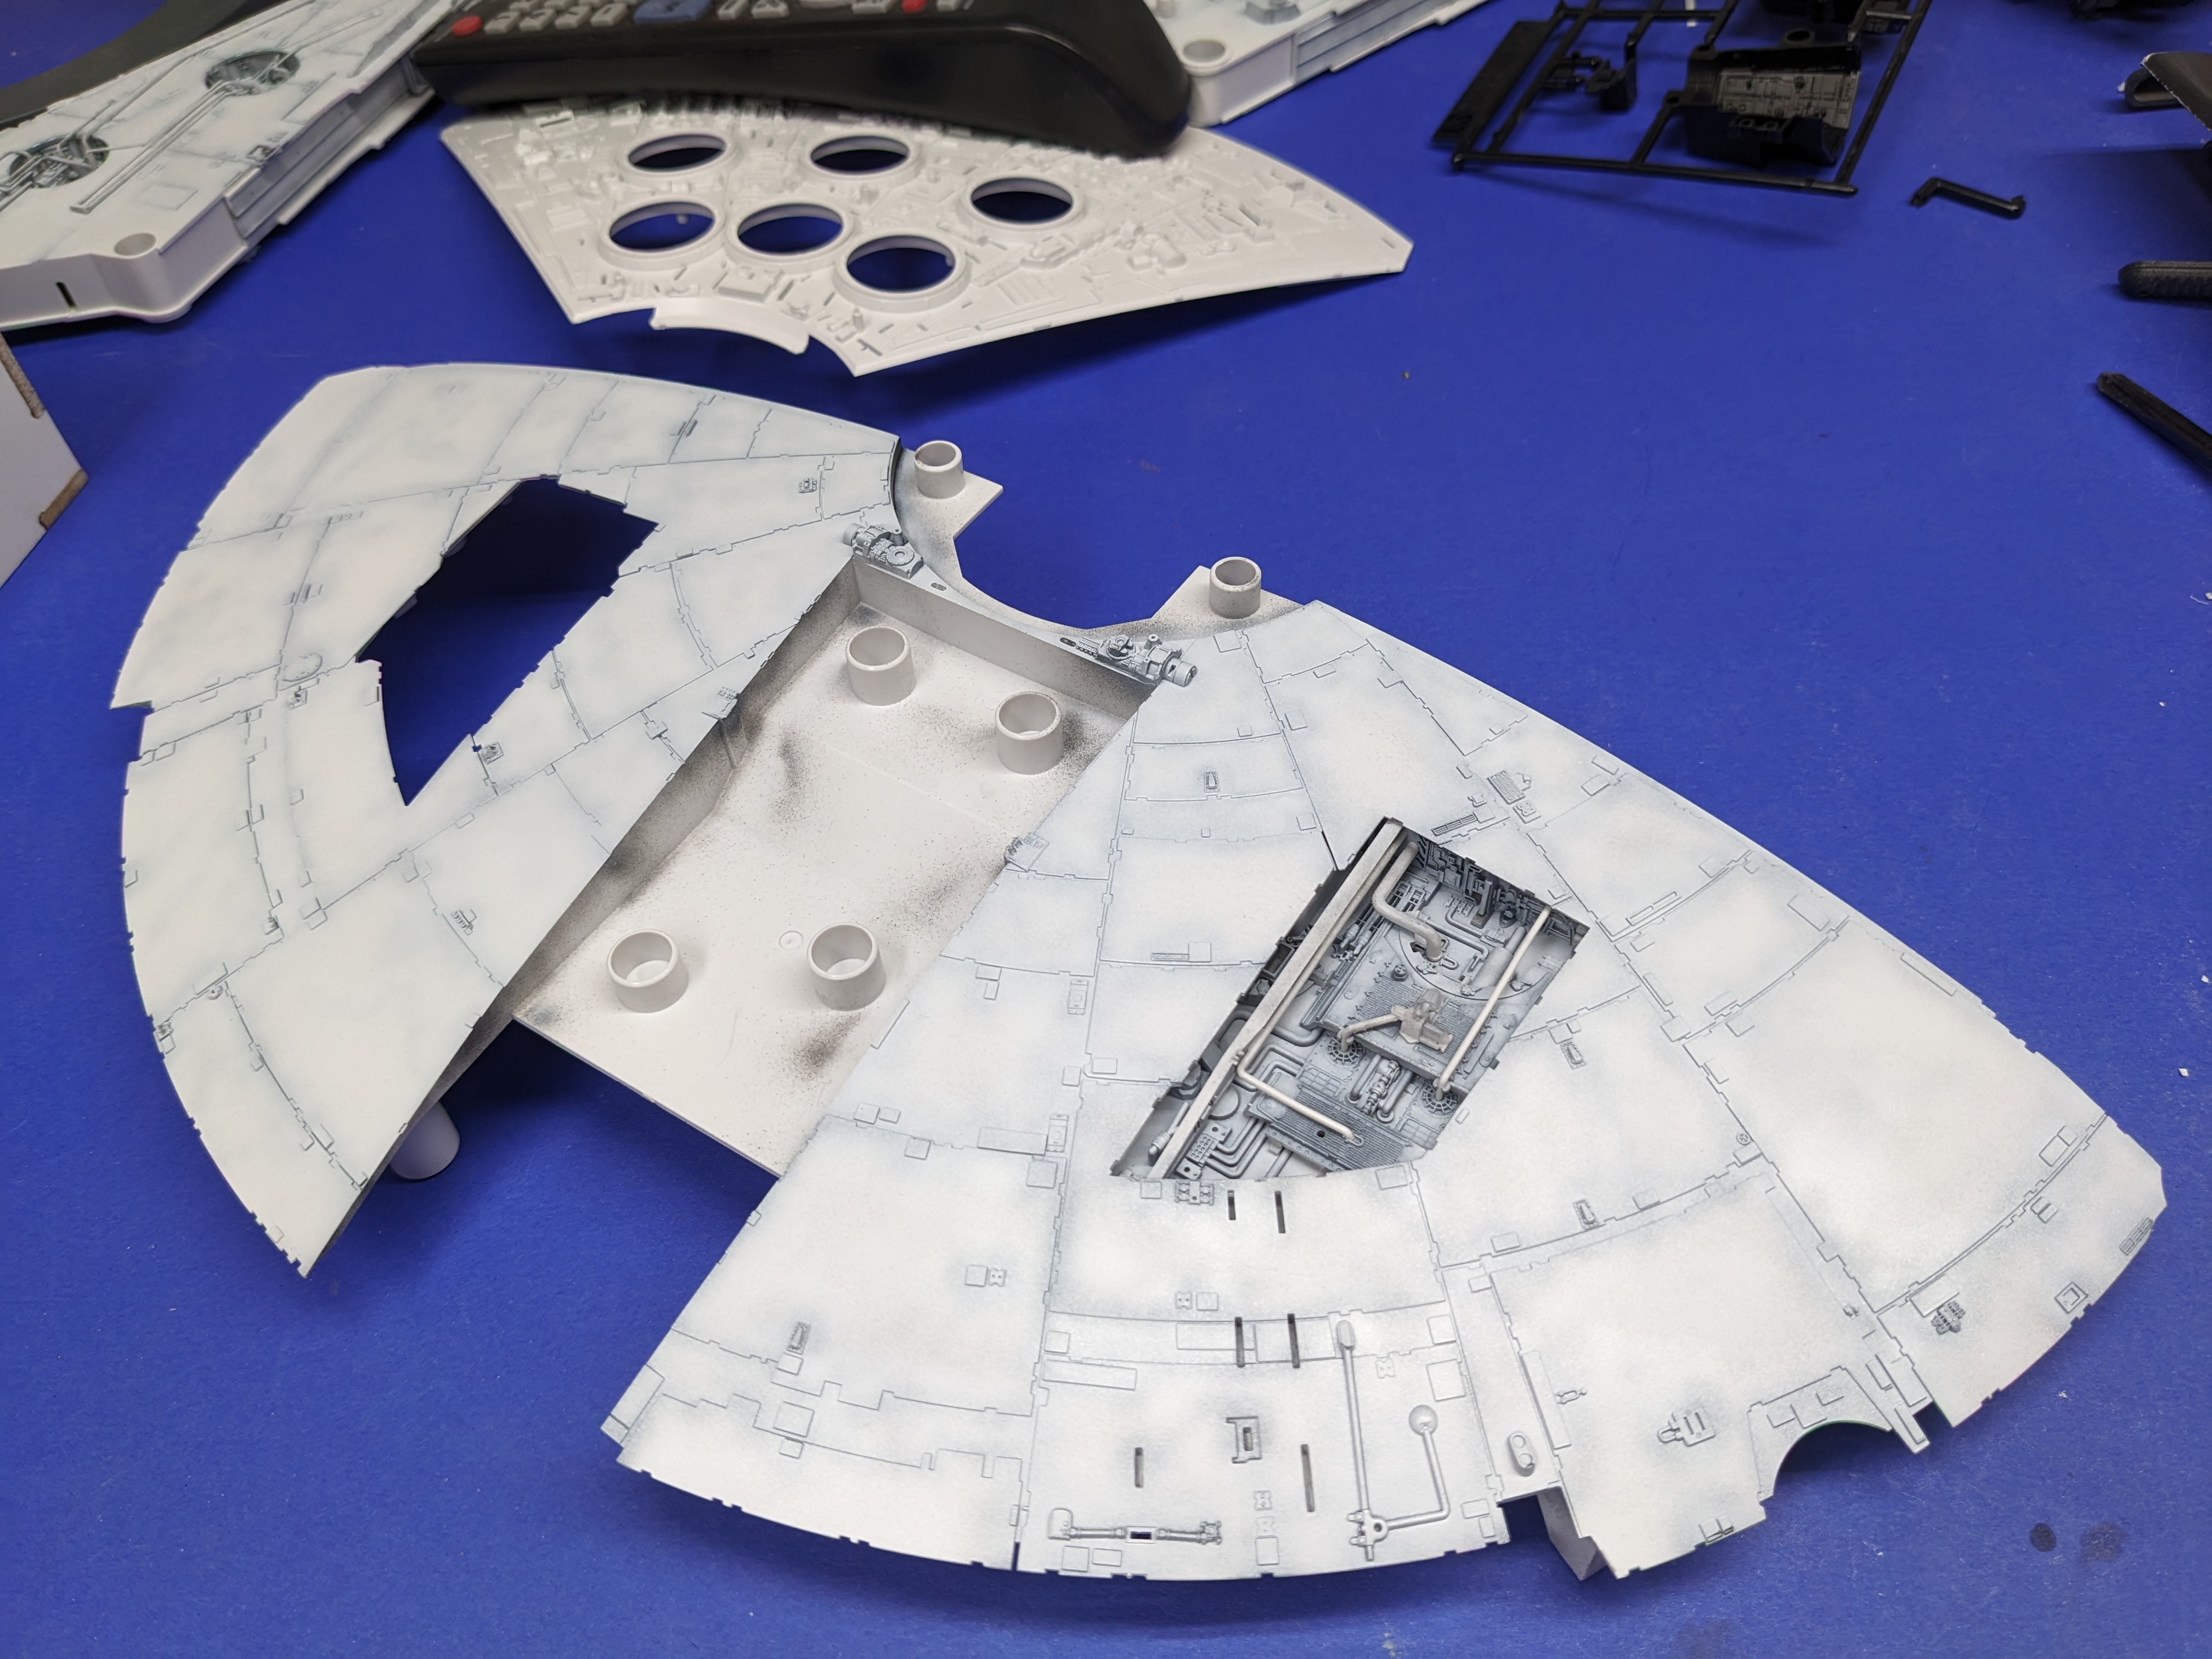
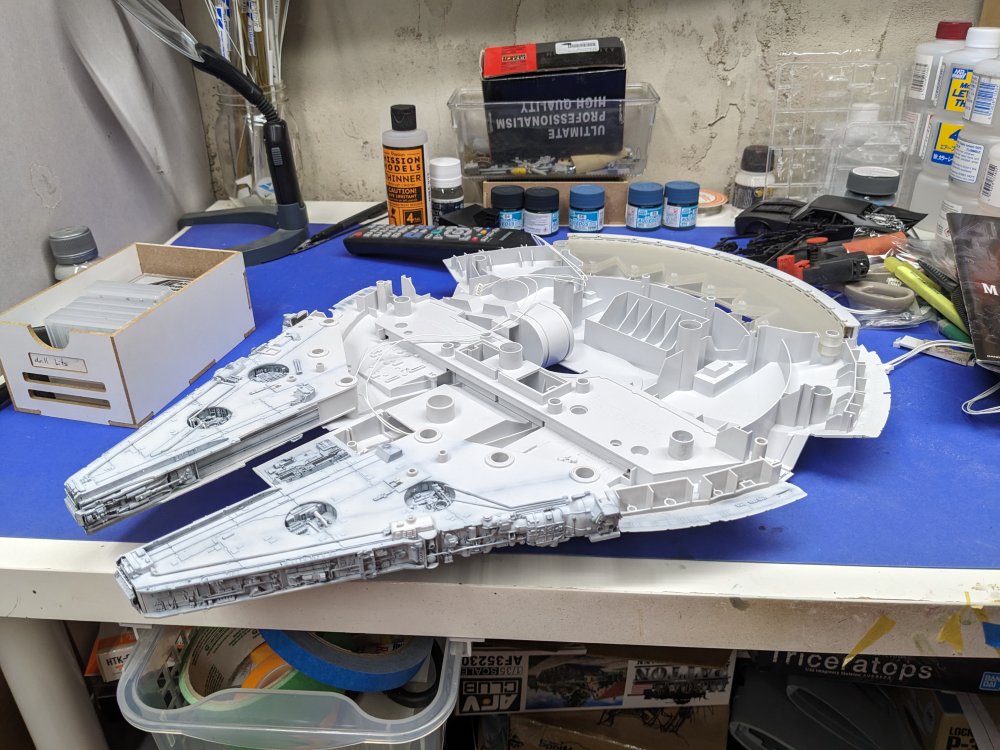
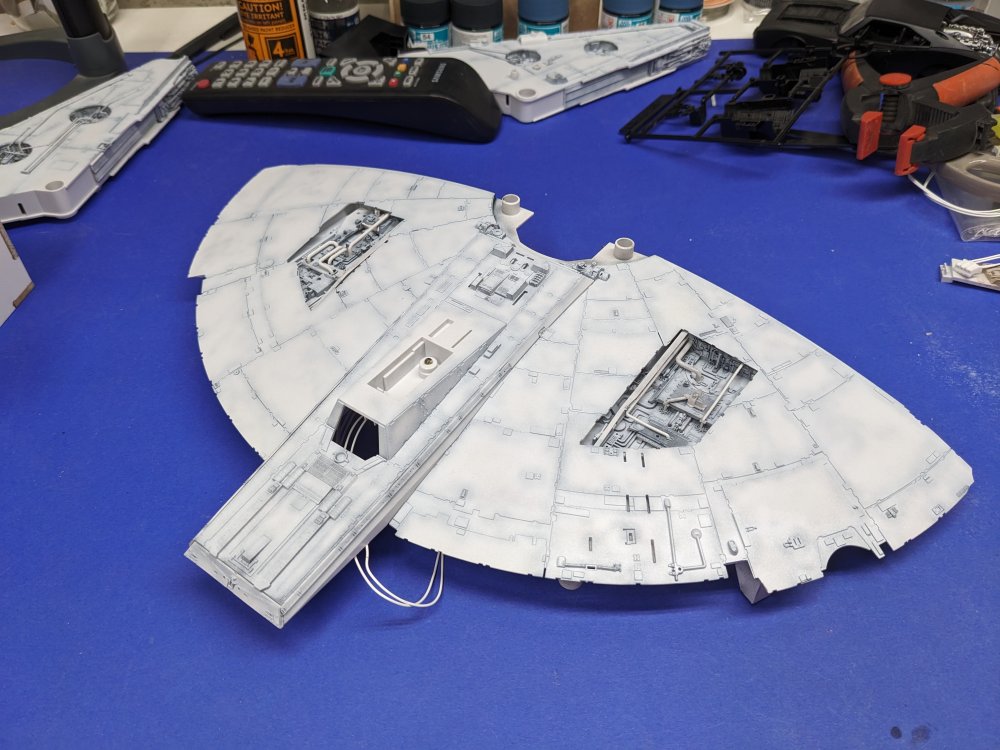
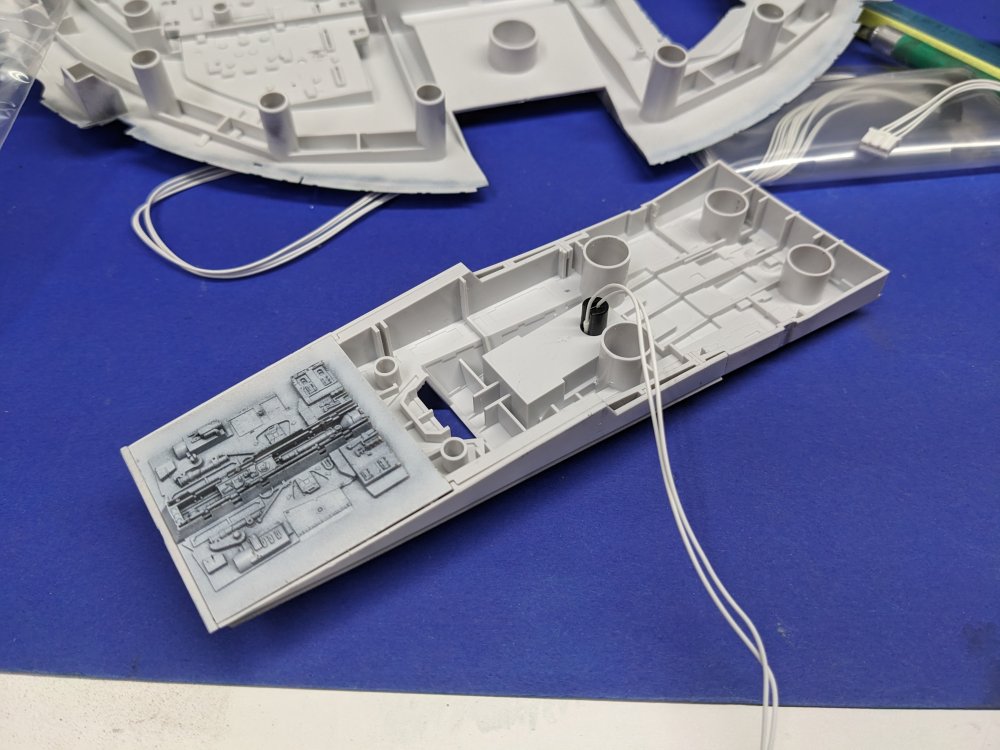
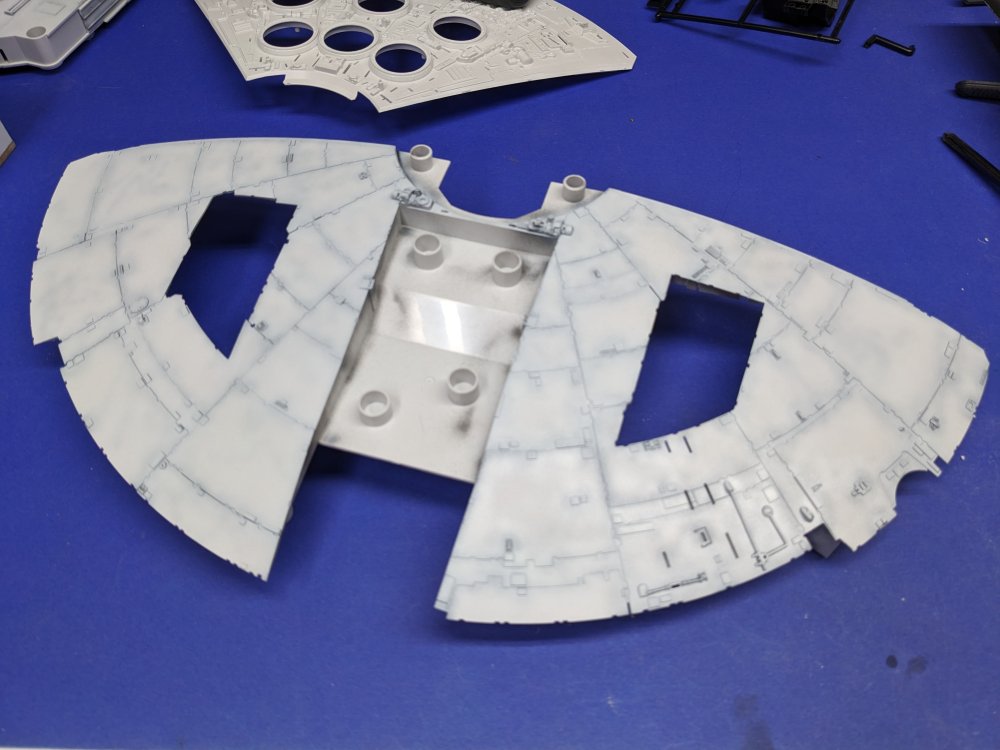
So after getting the lower hull painted, I realized it was the wrong part. I needed to paint the front half of the lower hull to continue assembly. So I got to work on the correct section. Then I could install the assembled inner sections. I then assembled the lower jawbox. The first of the LEDs goes onto this bit. Then it's attached to the lower hull. The front and rear halves can now be joined together. Both mandibles can be added at this point. It's starting to get big. ZM 109 for size reference. Now onto the side panels and upper hull.


- 115 replies
-
- 10
-

-
@CANicoll, there's no interior to the kit. The cockpit and gun tubs are it for internal detail. The "hallway" is more of an optical illusion for the end of the ramp.
-
Peter, I keep waffling on the Tamiya 1/48 Tomcats. I've got three of their 1/32 ones in the stash with a bunch of AM, including the Final Countdown markings.
-
I'm waiting for the CF-100...
-
F4U-1A Corsair Tamiya 1/32
BlrwestSiR replied to DocRob's topic in LSM 1/35 and Larger Work In Progress
Rob, ground crews applied the tape to seal the panels in front of the pilot to prevent oil from leaking onto the canopy. They would change the tape as needed so the shape would often change. Some show an octagonal pattern around the circular panel and others would also seal the larger panel around it. It depends on the Corsair. Hope that helps. -
Closest was at a Monster Jam when they let us run our RC trucks off the same jumps the full size ones used. I was running a 1/5 monster truck and I caught the ramp at a bad angle and just missed another guy's head by inches. 35 lbs of metal, rubber and plastic at 60km/h in the face would not have been pretty...
- 2,036 replies
-
- 4
-
-

-
- car related stuff
- anything about cars
- (and 6 more)
-
Hasegawa P-47D finished
BlrwestSiR replied to JohnB's topic in LSM 1/32 and Larger Aircraft Ready for Inspection
That was seriously fast. Wow, amazing finish there John. Carl -
What about time traveling carrier-based aircraft? I mean, they splashed the Zeros and got the kill markings for them.
-
F4U-1A Corsair Tamiya 1/32
BlrwestSiR replied to DocRob's topic in LSM 1/35 and Larger Work In Progress
It looks good Rob. @nmayhew has a point. The Corsair wing roots got heavily worn even towards to front as that was the easiest way to access the engine covers. There were work stands that attached to the front of the wings. Also, the oil tank in front of the pilot was notorious for leaking which meant ground crews were frequently replacing the white tape that you often see in pics. -
John is on a different level. I can't even work on the same kit for more than a couple minutes, oh look squirrels! ... Ahem, back to what I was saying. The closet any of us mortals could get to John's speed would be to literally snip all the parts off the sprues, put them in the box, pour in the paint and glue and shake. I guarantee the finished model won't look anything like what he can do in the same amount of time. Which is a long way of saying I'd love to see you in the raffle as well. Carl
-
What is on your bench right now ? Share a picture :)
BlrwestSiR replied to Martinnfb's topic in Modelling Discussion
Most vinyl masks have a shelf life. Once the vinyl is cut, you have to use them within a few months or they can shrink/warp. Sometimes if you're careful and patient, they can be used. Not always though. I don't mind them as I can reuse them if needed and if my placement isn't 100%, I can pull them up and move them with ease. Of course, they can always stretch a bit at that point if you pull too hard. Kabuki ones are great but not always available. Maketar gives you the option of either type when you order them. DN Models only does vinyl so I have to figure out when I'll be using them before they age out and do so accordingly. But DN will do custom stuff so it's a trade off. As for Montex, they're hit and miss. Inexpensive, varied subjects, but you don't know how old they are when you buy them and the black vinyl they use for the canopy masks are horrid. But I've used them and had decent results. Carl -
What is on your bench right now ? Share a picture :)
BlrwestSiR replied to Martinnfb's topic in Modelling Discussion
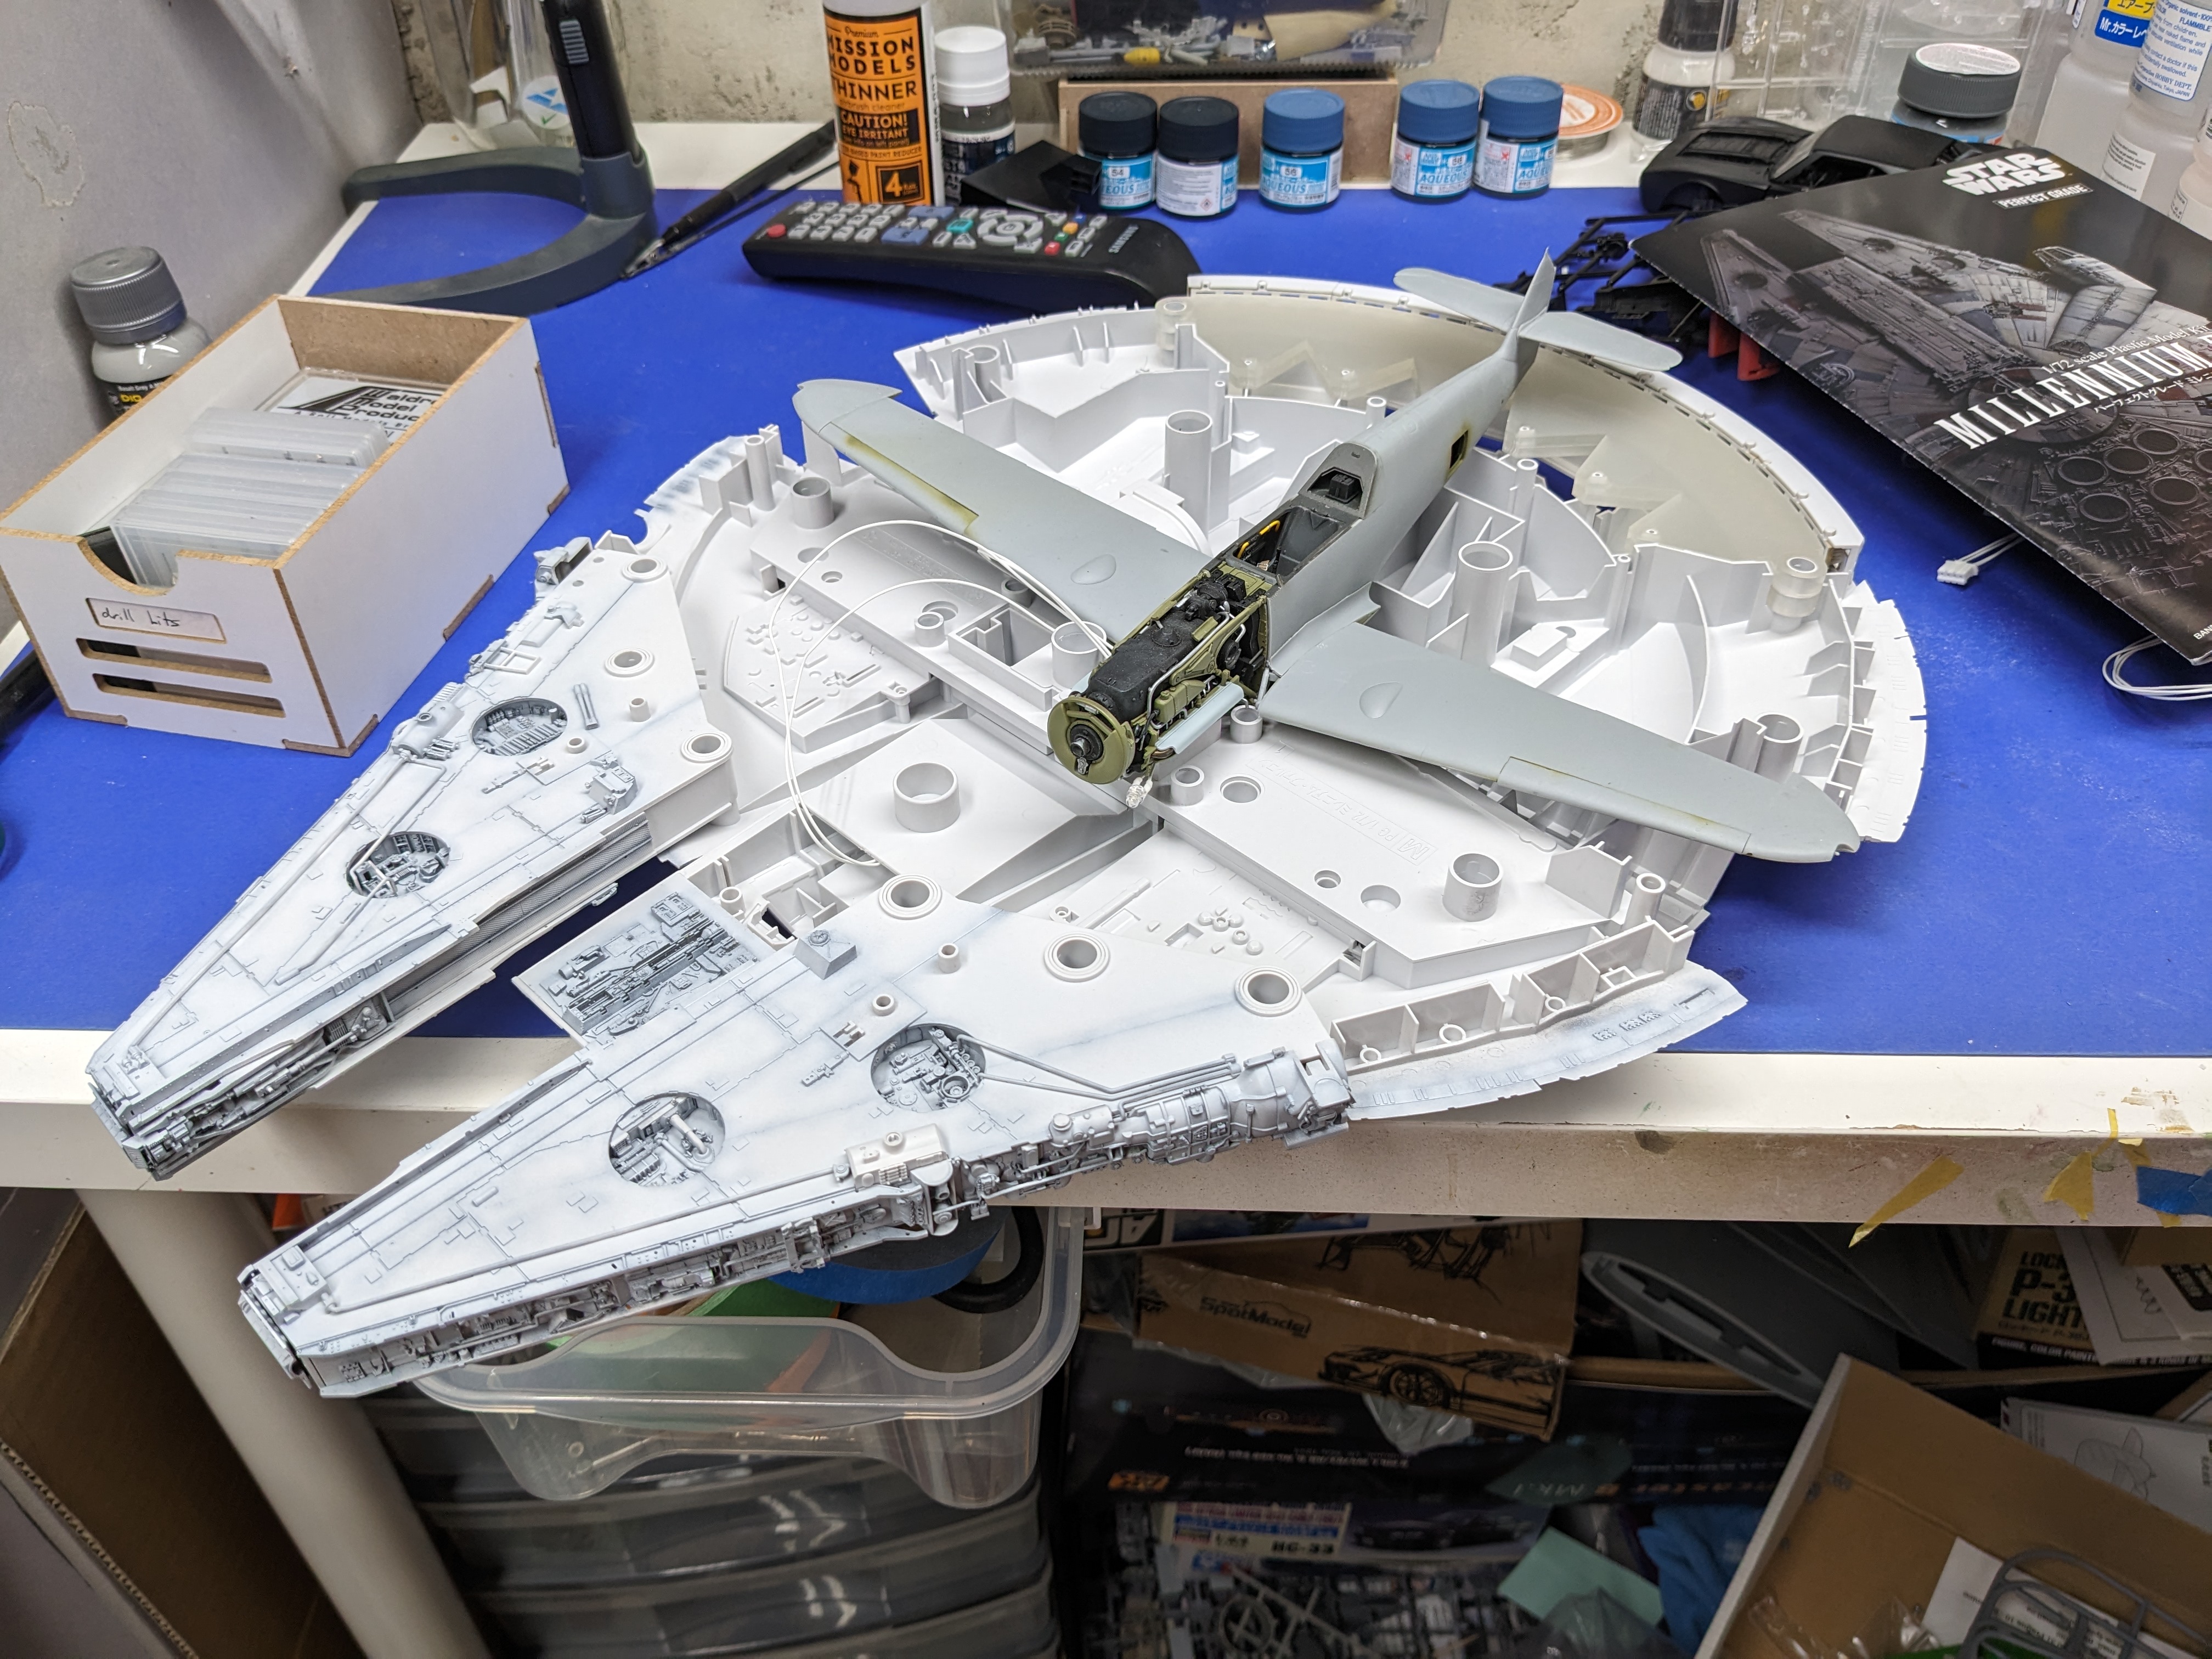
Peter, there's a strong squirrel influence at my workbench. Not the best thing I'll admit. It's good and bad. Sometimes I'll be at a point in a build where I have to wait for something to dry or arrive. Then I'll jump onto another project so I'm using the bench time I have. Other times interest fades a bit and I'll switch things up. The Falcon is a great example of that. The ZM 109 was getting to me a bit so I knew the Falcon would go together without a thought. Just wasn't expecting the paintwork to be so tedious. Which made me realize my compressor wasn't up to the task. So while waiting for a new one, the Whirlwind hit the bench. And so on... Honestly the Whirlwind has been the prefect kit to work on. I know the fit isn't perfect but that means I'm looking at everything a bit closer and tweaking as needed. The paint scheme is simple and I don't have to worry about the heavy pre-shading or what have you. -
What is on your bench right now ? Share a picture :)
BlrwestSiR replied to Martinnfb's topic in Modelling Discussion
But that's why we have a stash! -
What is on your bench right now ? Share a picture :)
BlrwestSiR replied to Martinnfb's topic in Modelling Discussion
Good looking M51. Too bad the Israelis didn't have more variety in their camo schemes. Carl -
What is on your bench right now ? Share a picture :)
BlrwestSiR replied to Martinnfb's topic in Modelling Discussion
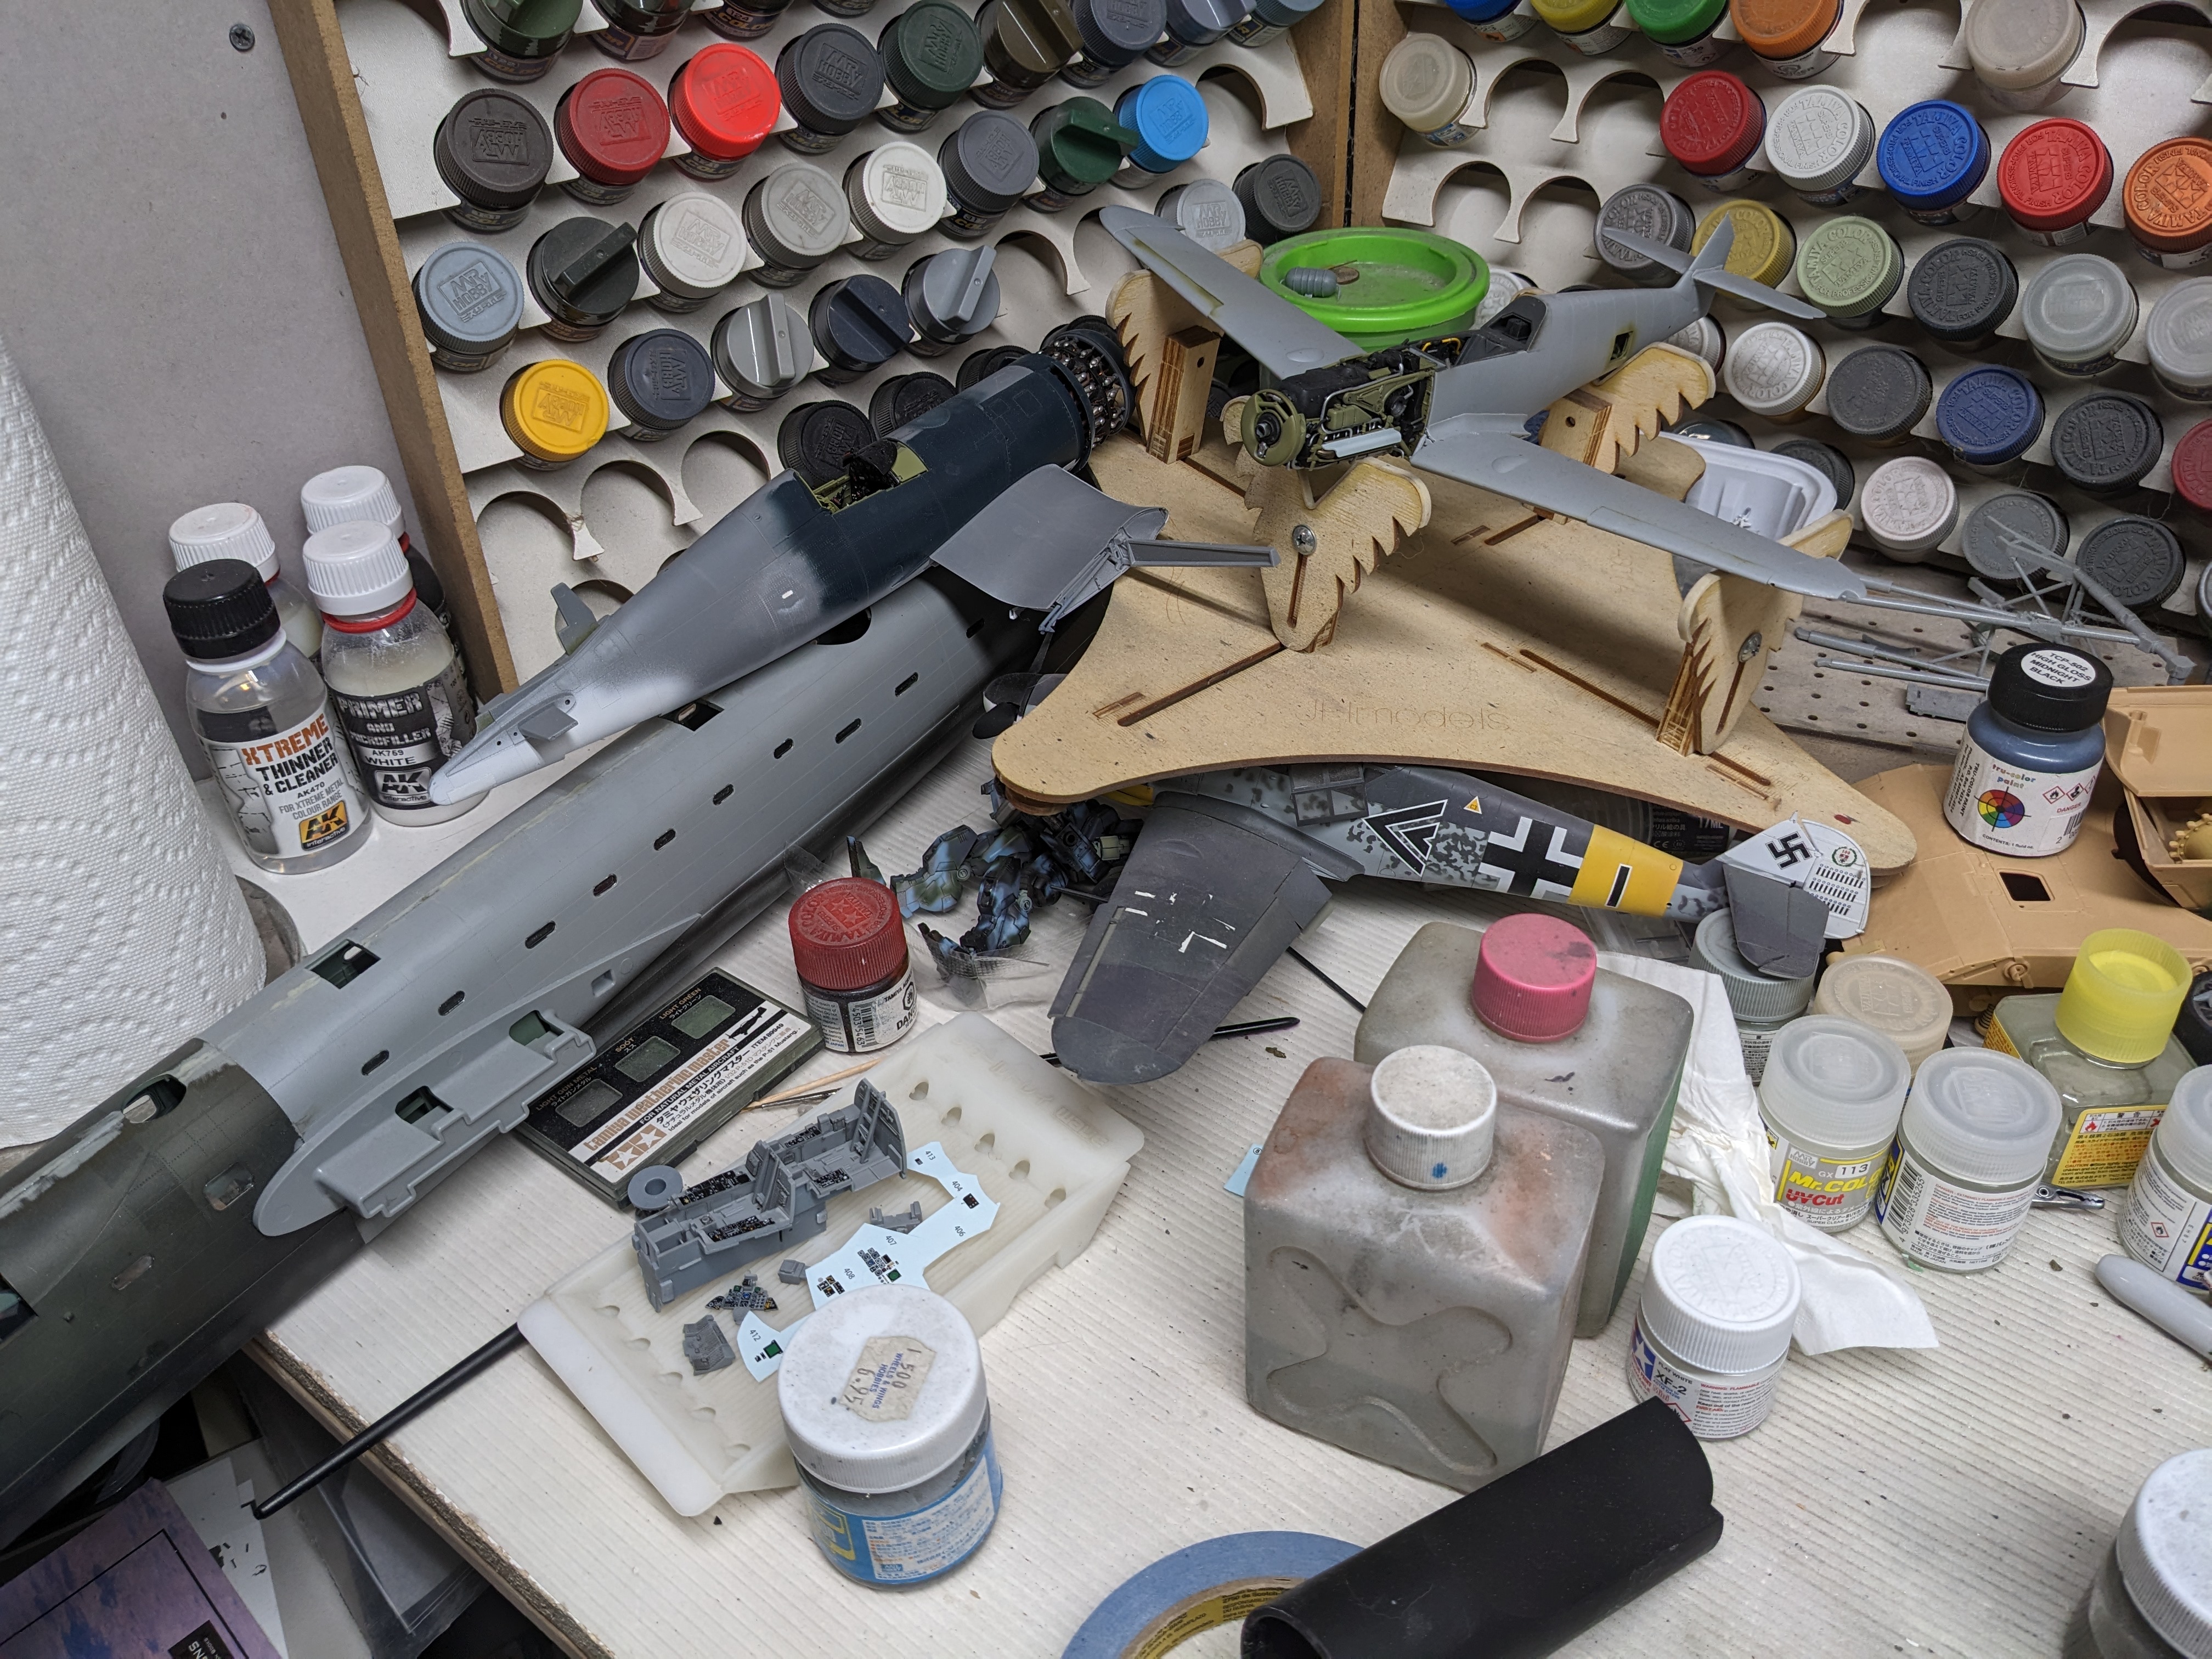
I haven't had much time at the bench but did get some work done on the Whirlwind. Wings are together and the nacelles are on. Some small gaps but overall it all fit together nicely with some fettling. The bench(es) is(are) getting a bit out of hand though. This is the one I'm supposed to use for painting. And this is the one for building on. Yeah, not much room for either.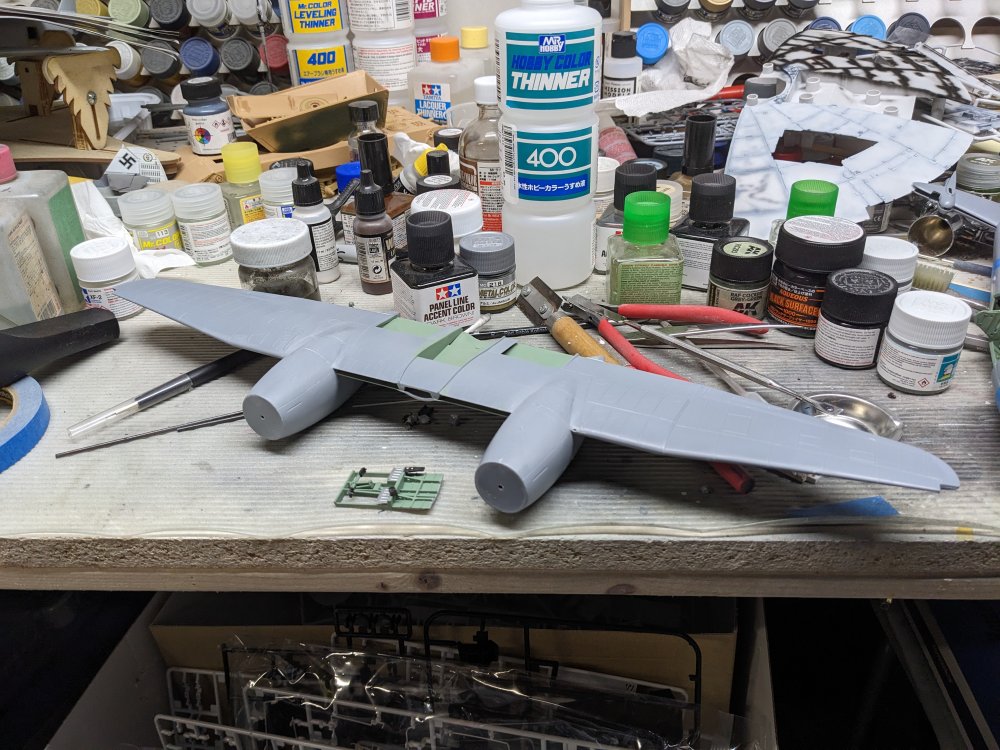


-
What is on your bench right now ? Share a picture :)
BlrwestSiR replied to Martinnfb's topic in Modelling Discussion
Nice work on the half-track. Can't believe how tiny it is. Carl -
Just motoring along there John. Good idea on the invasion stripes to do them first. Carl
-
Great photos. Thanks for sharing. Haven't seen a monotone F-35 before. Carl
-
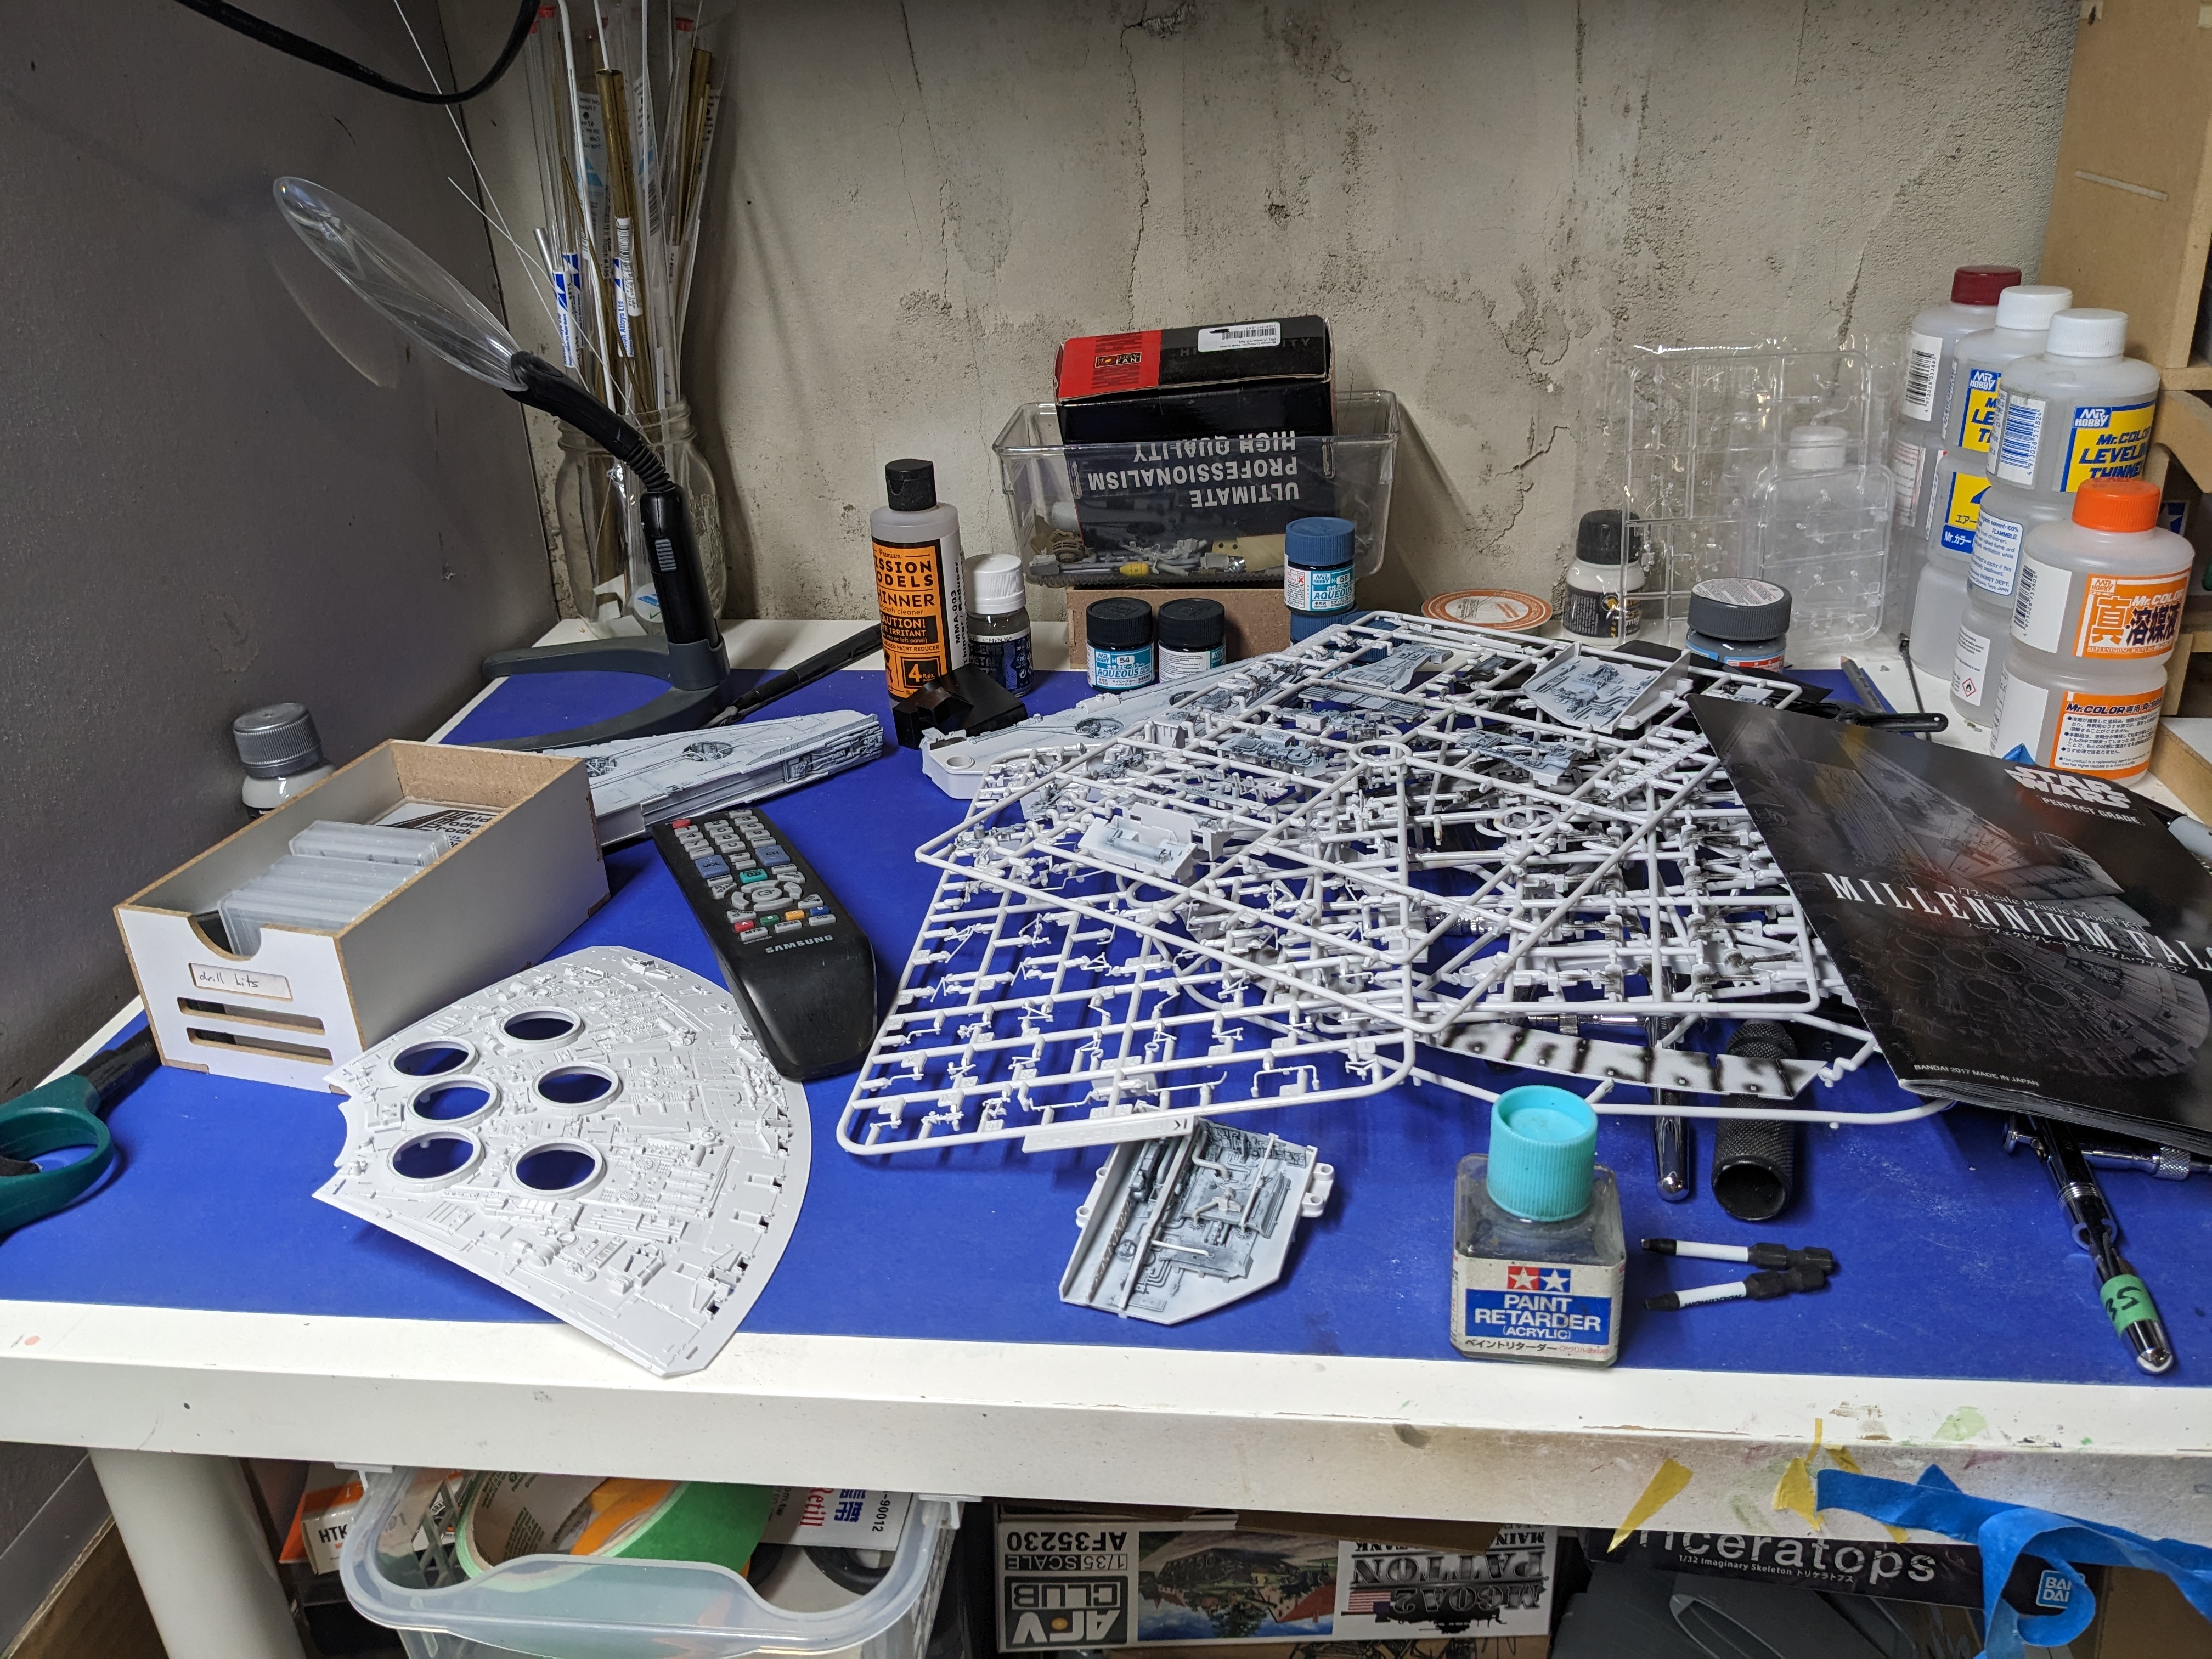
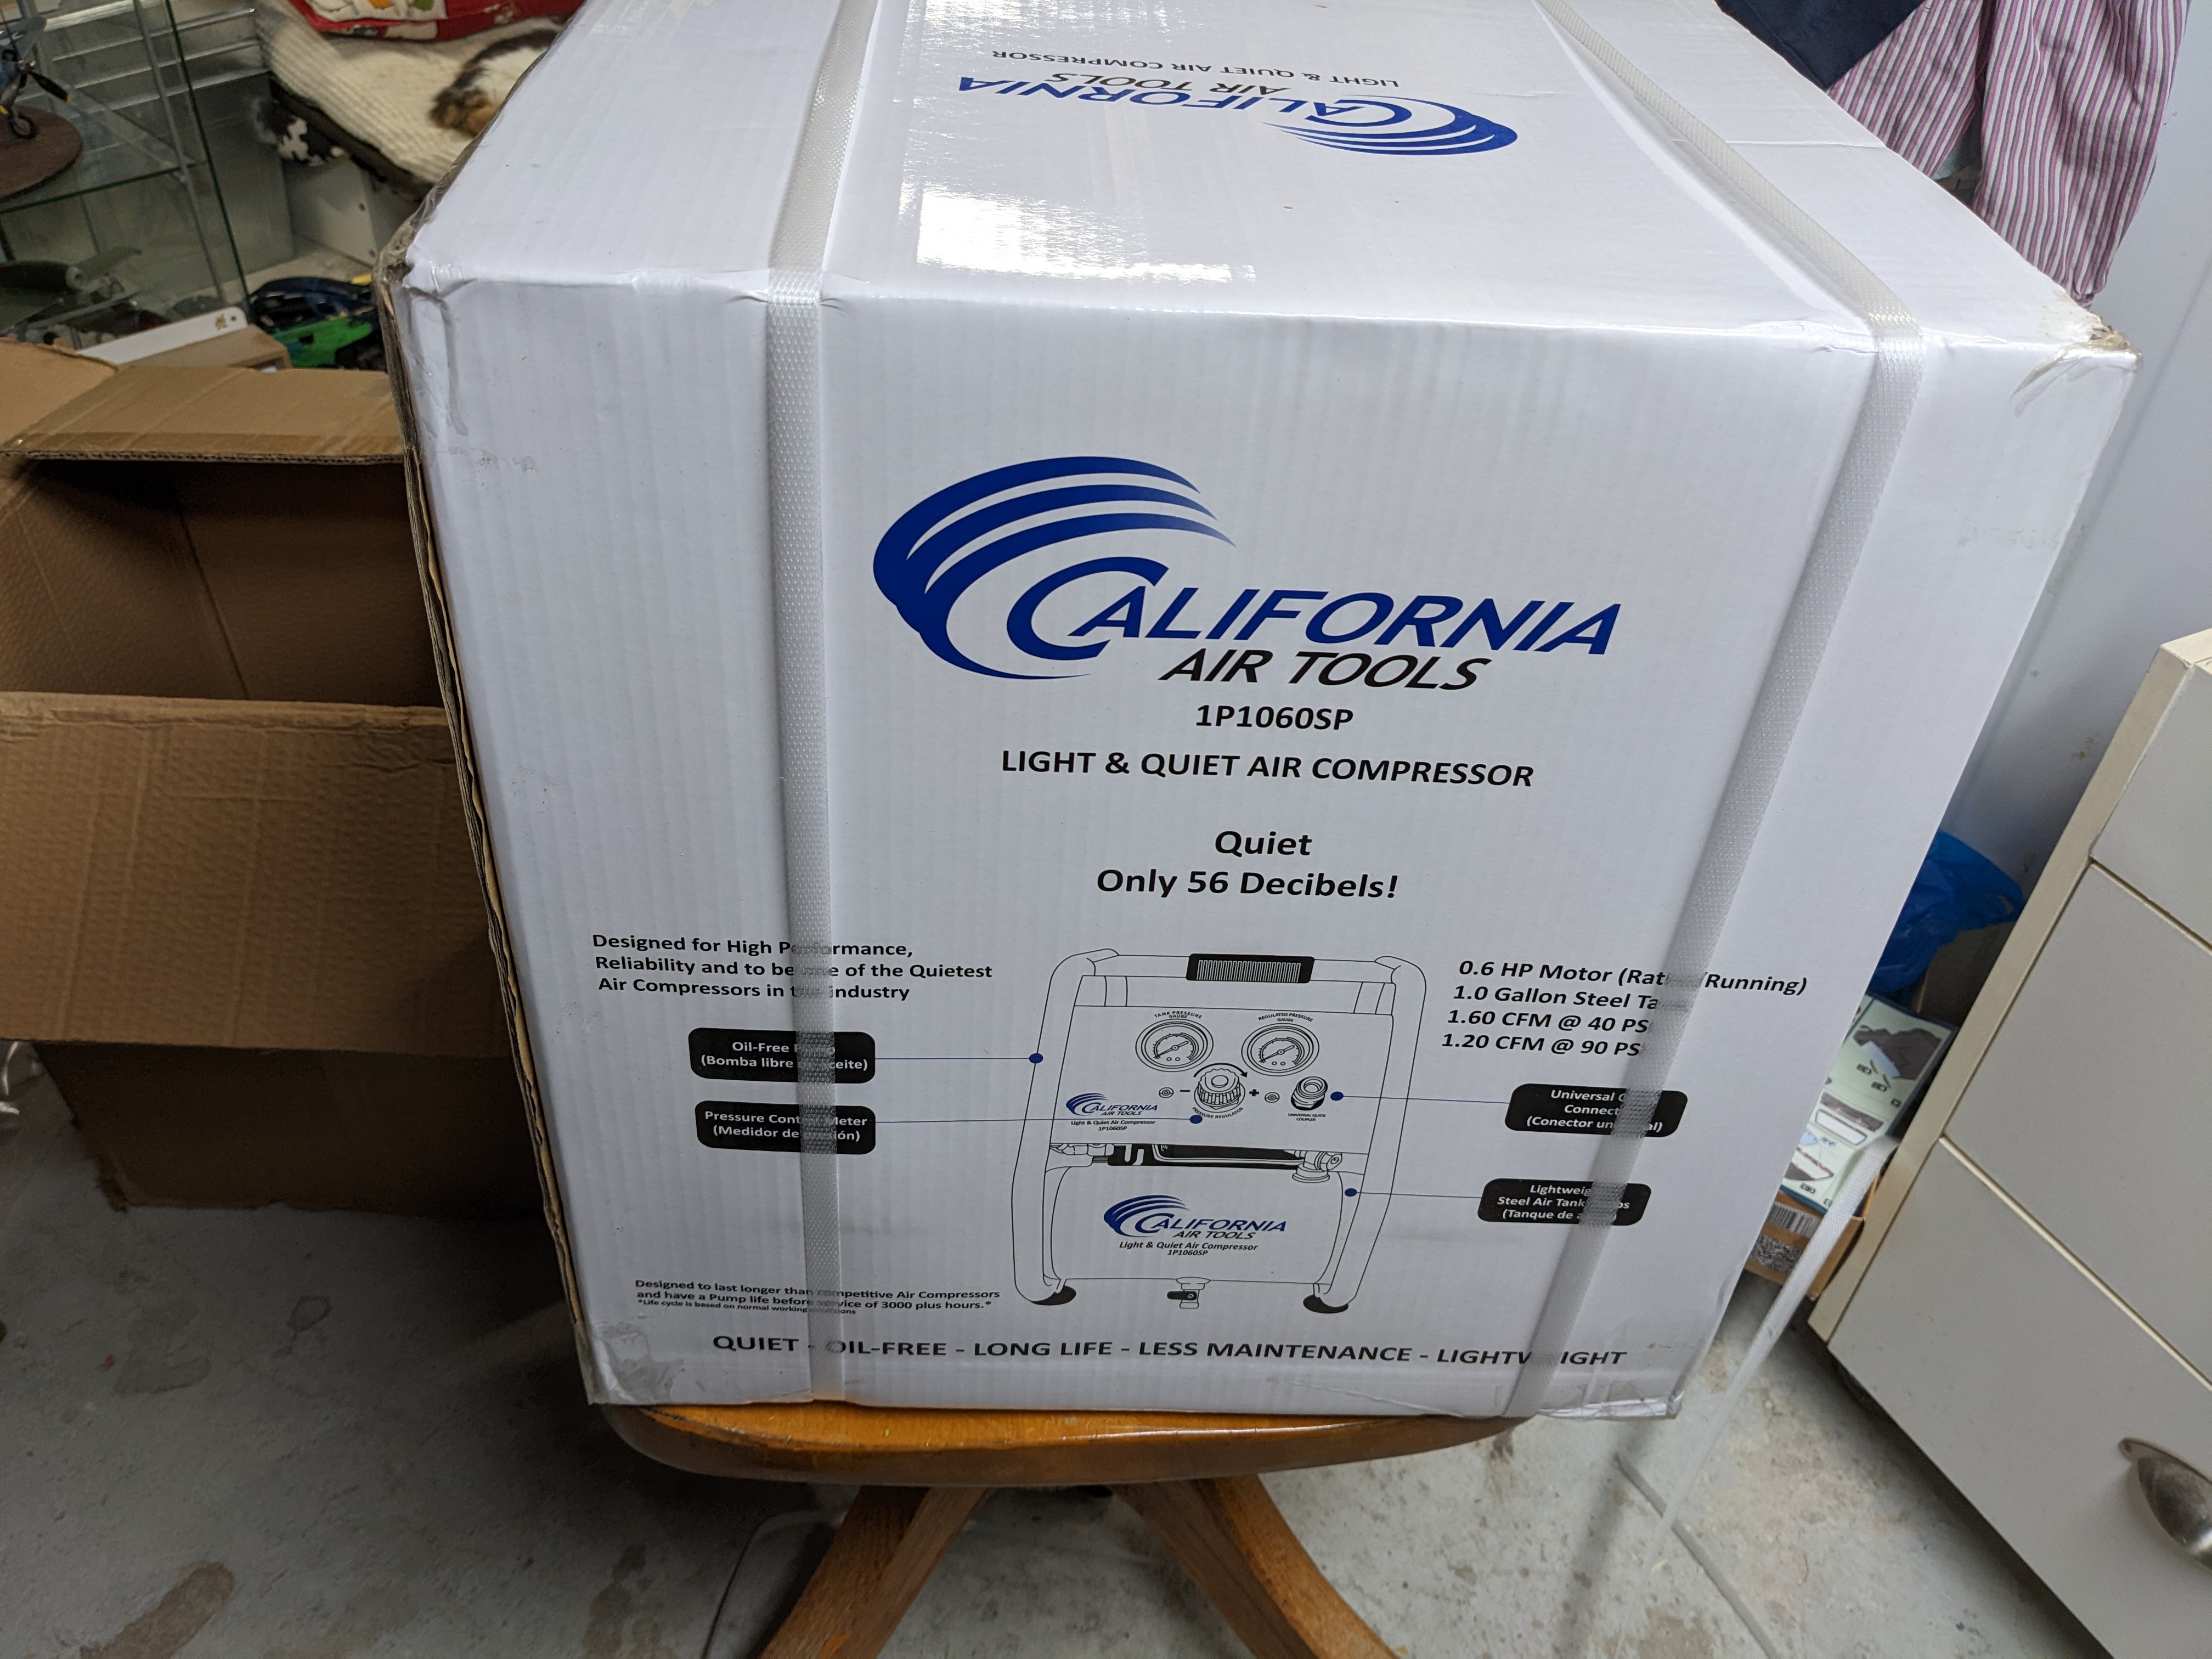
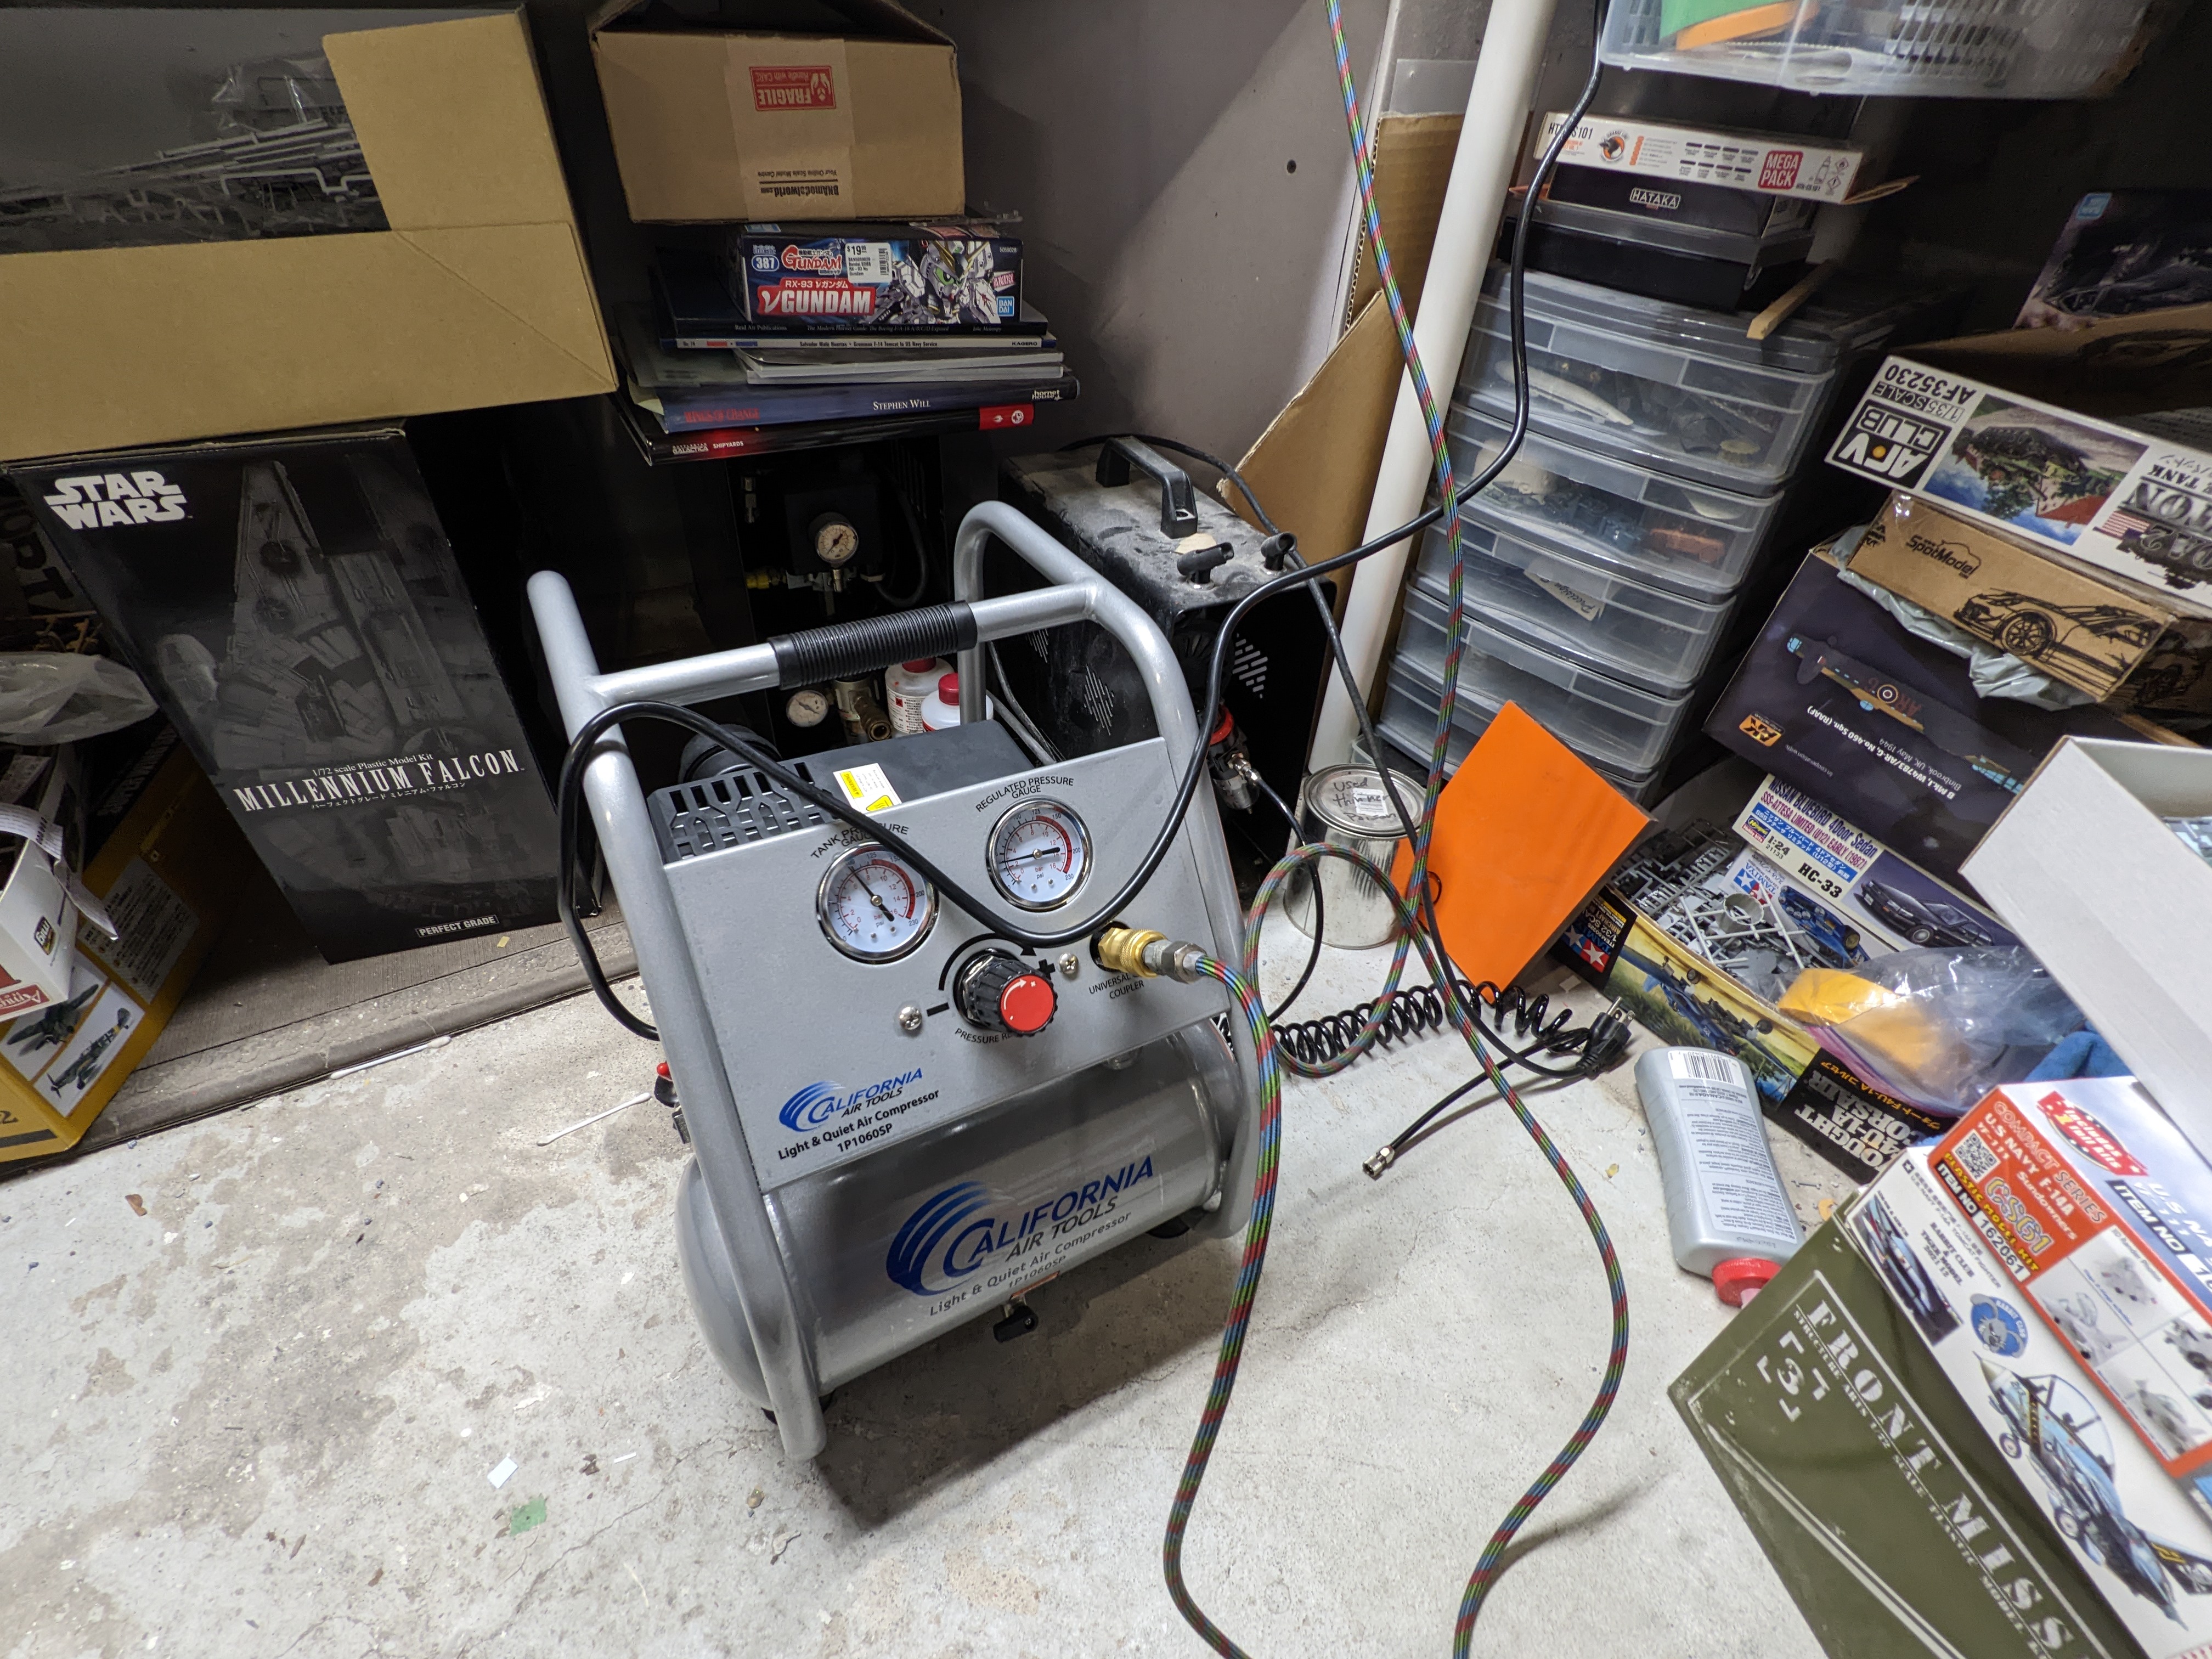
I've been looking off and on at upgrading my airbrush compressor. The one I currently have is a Badger with a tank. It's not bad, but painting the Millennium Falcon kit has shown that's it's underpowered. It's also not the quietest. @ScottsGT's recent purchase also helped get me looking at some more powerful options. The plan was to get one on Boxing Day. While browsing Amazon on Tuesday, they had the one I was looking at on sale for $157 CAD so $110 off. Needless to say I went for it now rather than waiting. It just arrived and was waiting for me when I got home from work. My current Badger is behind and to the right. The tank and motor are both bigger so it should work out nicely. It's also quieter which is a bonus. Not as quiet as my old Silentaire but I don't have the $1,700 to replace that one. The Badger will go to my son Edward who wants to do more airbrushing. So that'll make him happy.


-
That should get you the odd model or three.
-
Nice to see the Helldiver coming together. Underwing ordnance can be a pain at times. I'm not looking forward to doing the duplex rocket setup that some late war Mossies carried. Carl