BlrwestSiR
-
Posts
9,173 -
Joined
-
Last visited
Content Type
Profiles
Forums
Events
Gallery
Everything posted by BlrwestSiR
-

What is on your bench right now ? Share a picture :)
BlrwestSiR replied to Martinnfb's topic in Modelling Discussion
I take it that's the Infinity kit? Carl -
GWH Curtiss P-40B; The Flying Tigers
BlrwestSiR replied to Peterpools's topic in LSM 1/35 and Larger Work In Progress
That about sums it up. -
Great job on the decals and can't wait to see the next update where she'll probably be done. Carl
-
I've got a Fly Sea Hurricane in the stash so it'll be interesting to see how this compares to it. Carl
-
I had the same problem. Kept bumping into things with it. If you use the Master pitot, watch out you don't stab yourself. Ask me how I know.
-
F4U-1A Corsair Tamiya 1/32
BlrwestSiR replied to DocRob's topic in LSM 1/35 and Larger Work In Progress
Nice job on the canopy Rob. Can't wait to see the rest. Carl -
Looks great and nice recovery. Carl
-
What is on your bench right now ? Share a picture :)
BlrwestSiR replied to Martinnfb's topic in Modelling Discussion
Nice! Carl -
GWH Curtiss P-40B; The Flying Tigers
BlrwestSiR replied to Peterpools's topic in LSM 1/35 and Larger Work In Progress
"It's Robert Smith of the Cure!!!" I had a classmate who would scream that everytime a Cure video came on. -
GWH Curtiss P-40B; The Flying Tigers
BlrwestSiR replied to Peterpools's topic in LSM 1/35 and Larger Work In Progress
Looks excellent there Peter. For a simple paint on the rear section, it looks well done to me. All these recent kits with too many unseen/unnecessary parts can be a bit of a drain. Carl -
I had to look up what a Brantly B2 is. Interesting looking helicopter.
-
Sprue Brothers has an option where they'll email you once it's in stock. But then you have to watch your email too.
-
More like I couldn't get Sunny to move out of frame. But it does work well for showing how small things are.
-
Fingers crossed here too!
-
The Comet is out in Canada. My LHS had a bunch in. $70 CAD and Great Hobbies has it for $60 CAD. It's a nice kit and I'll grab it soon myself. Carl
-
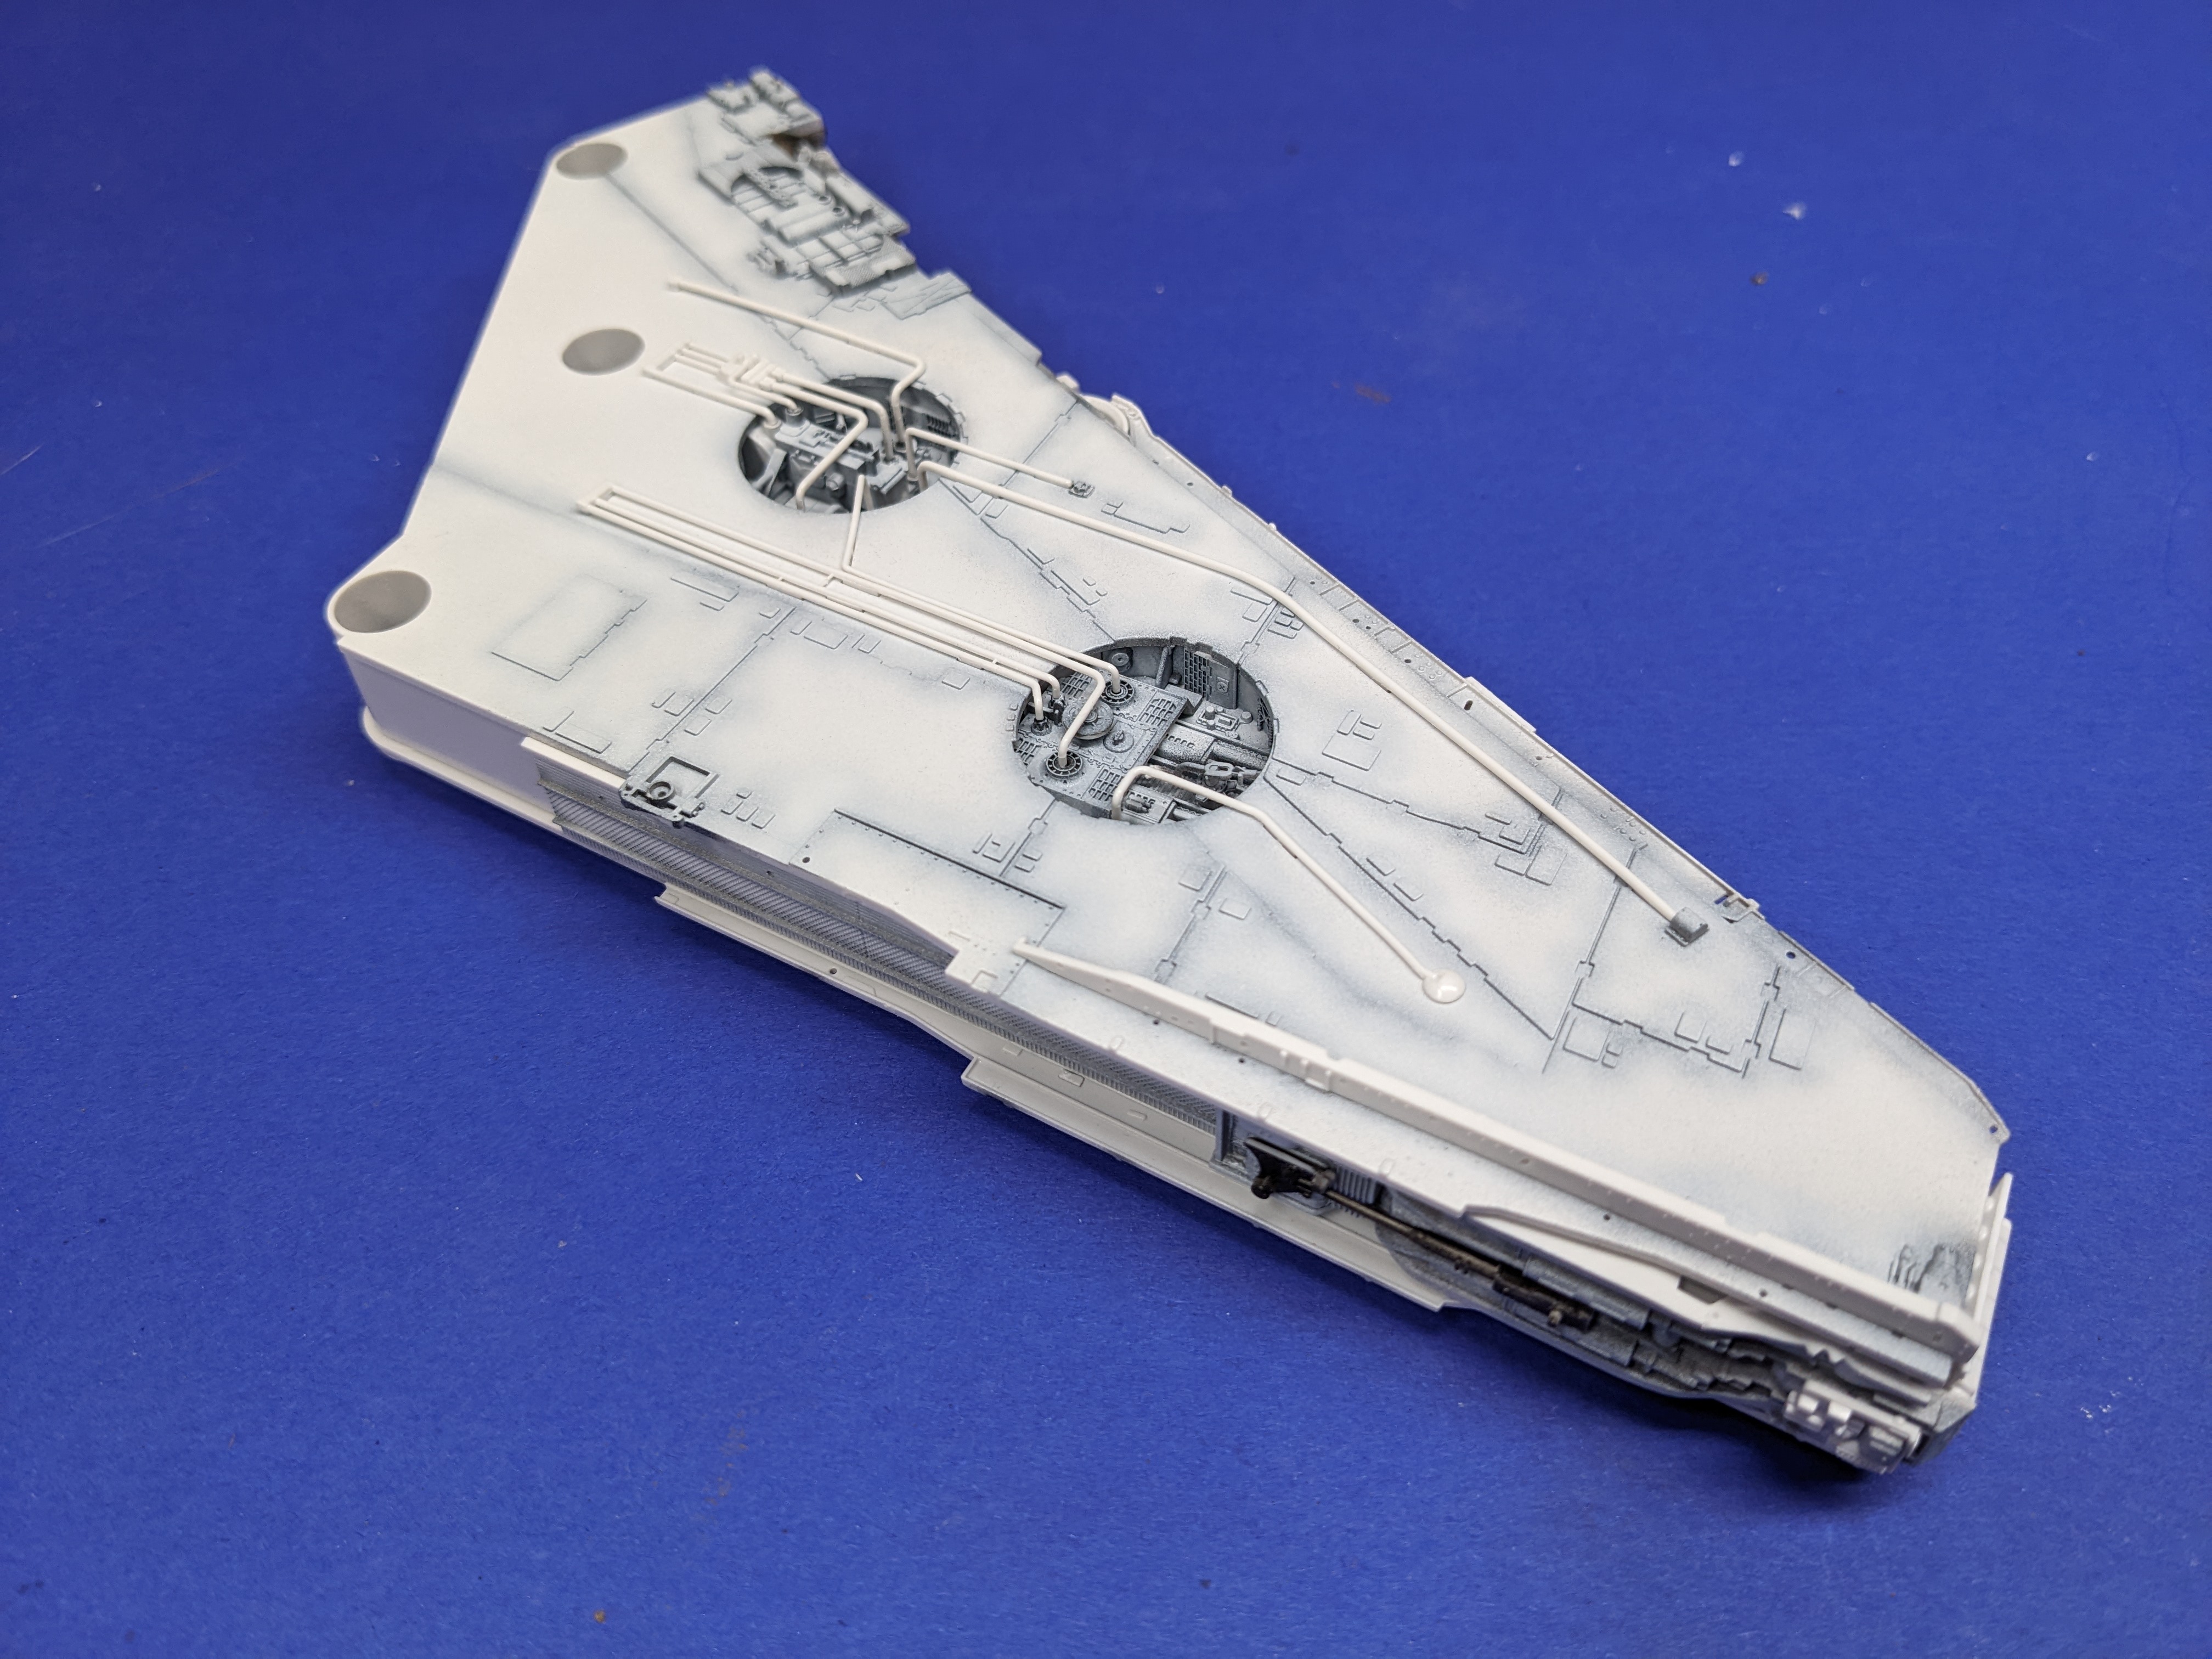
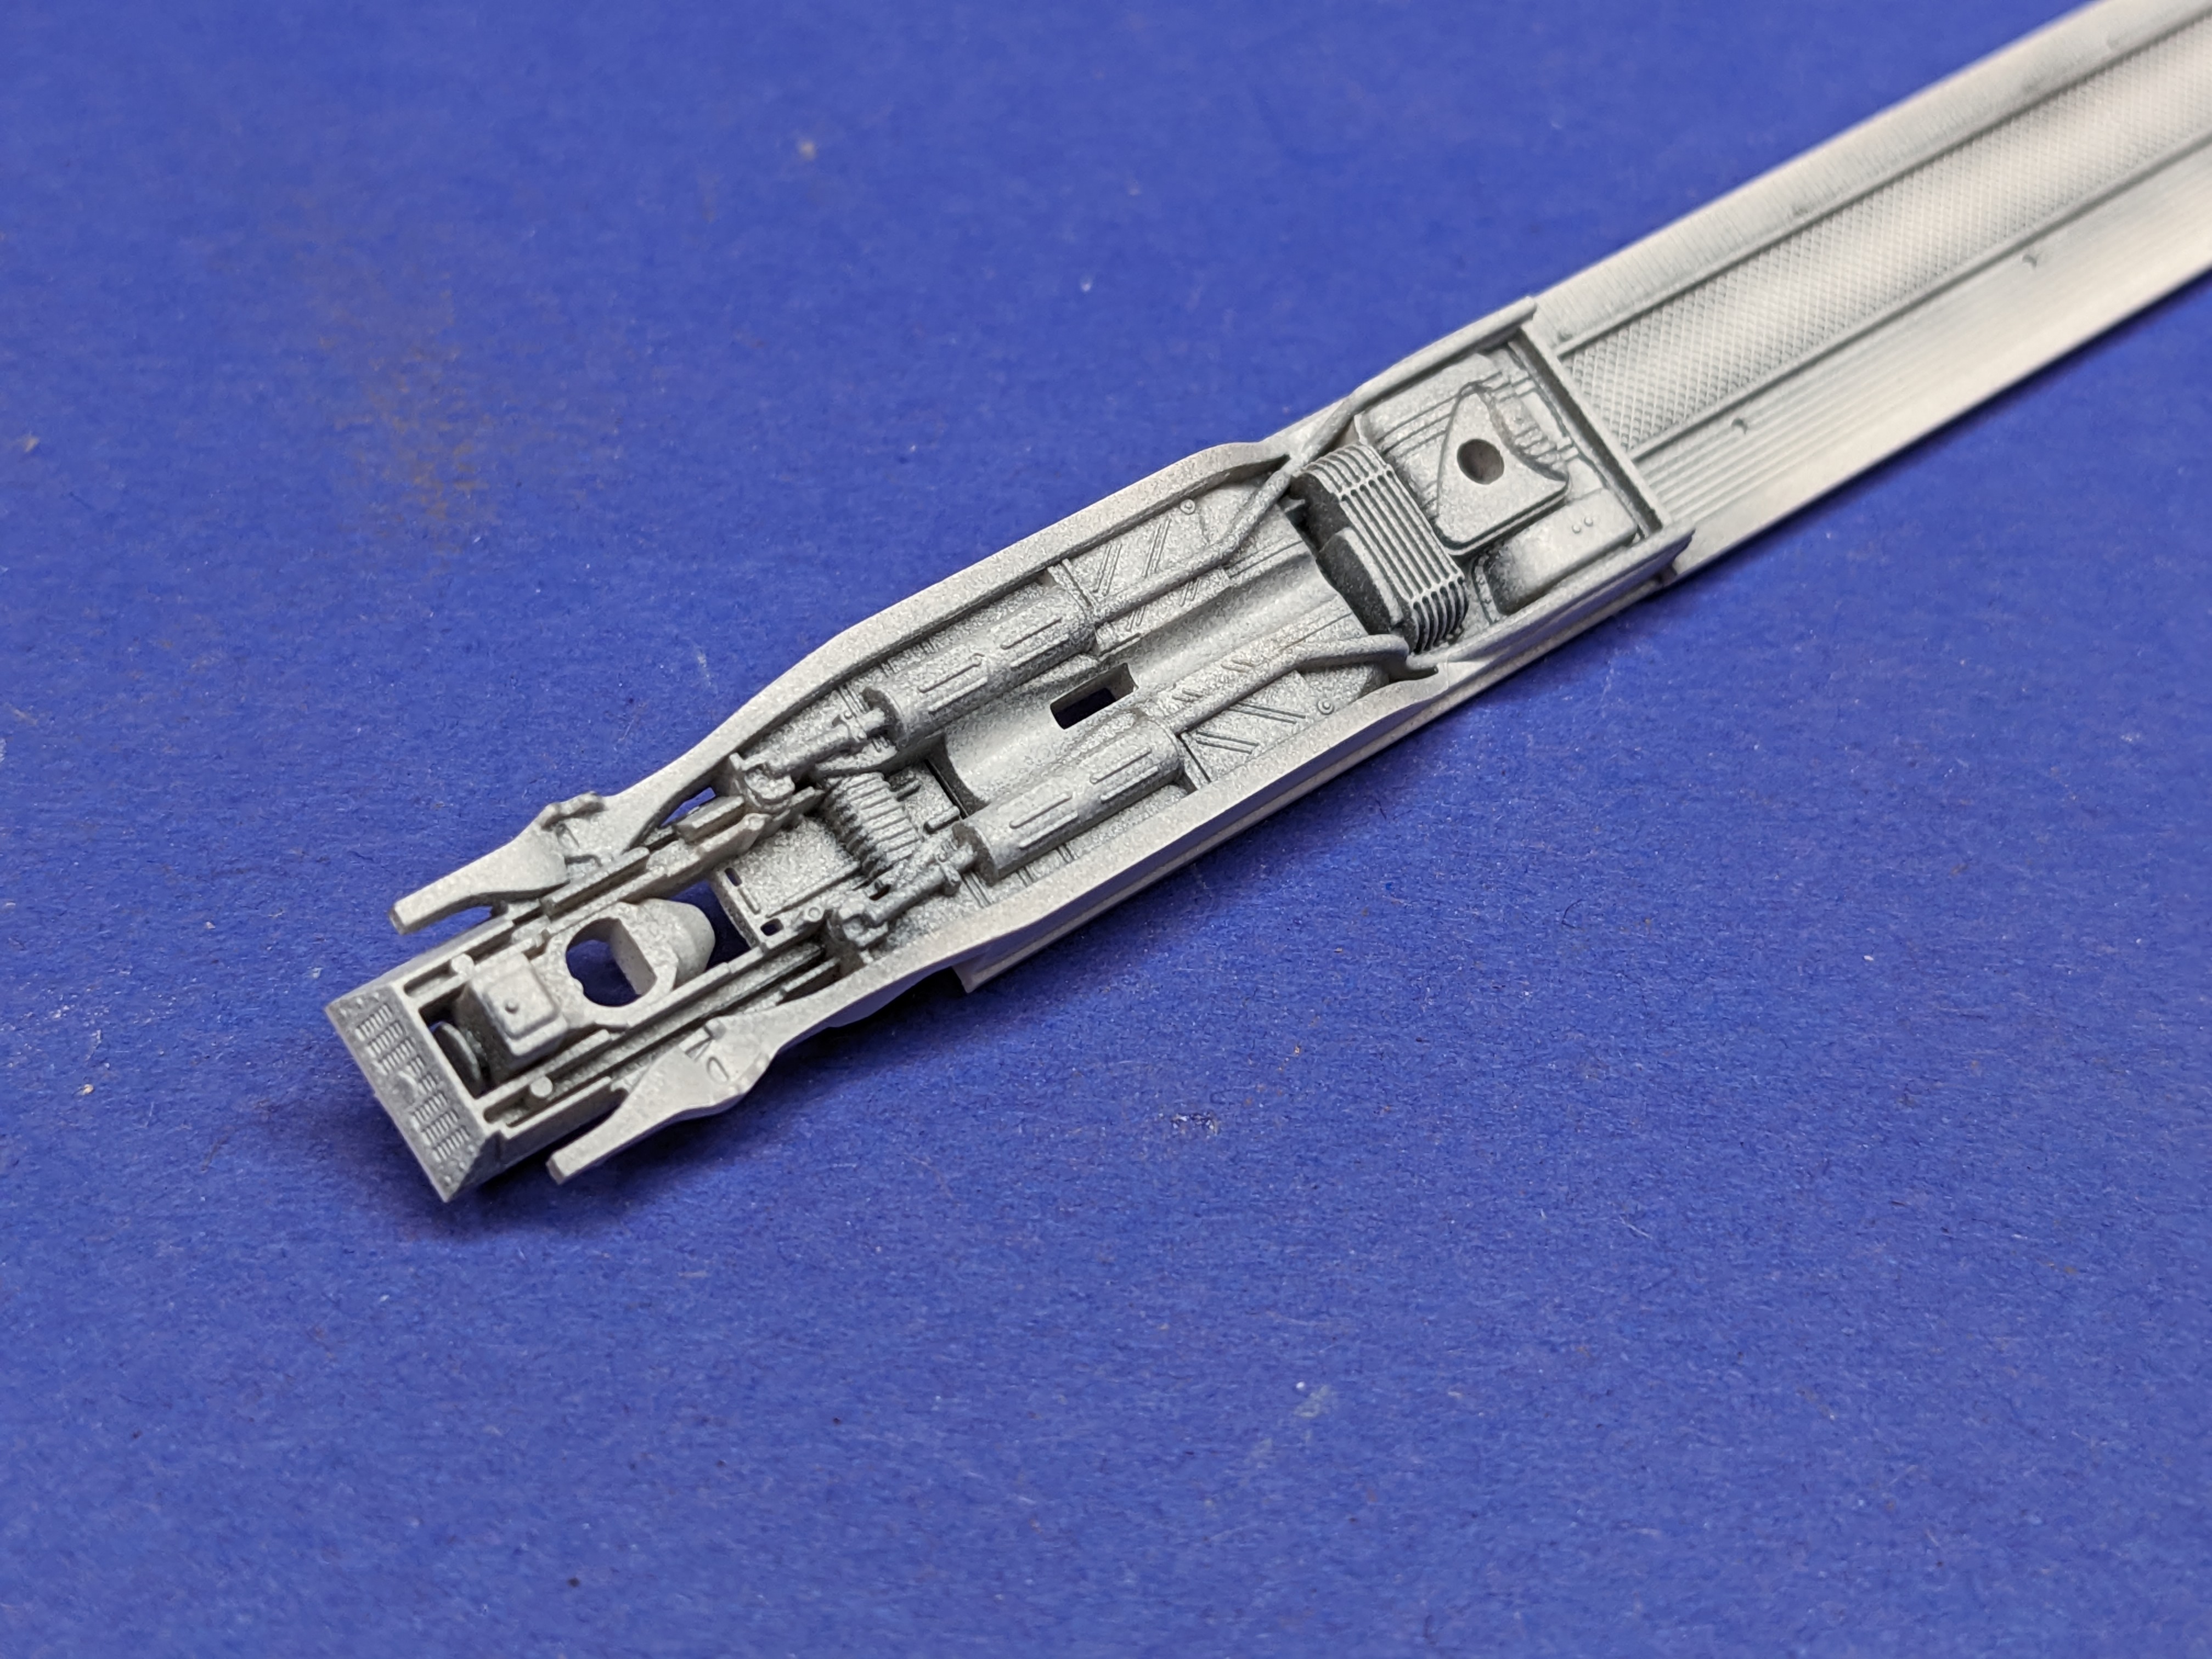
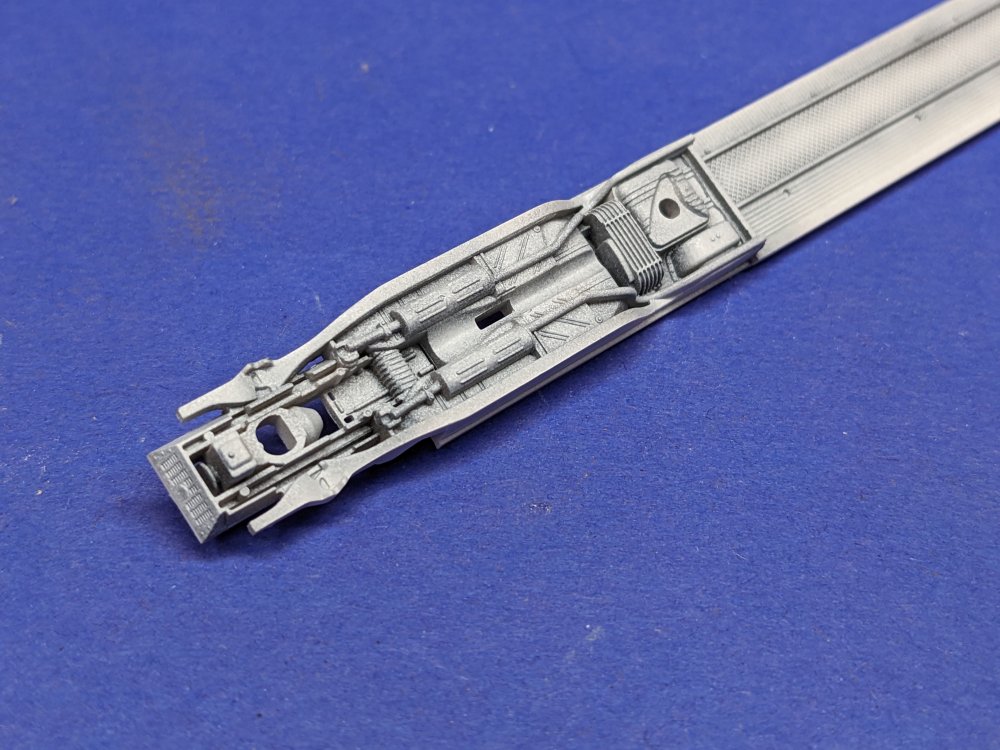
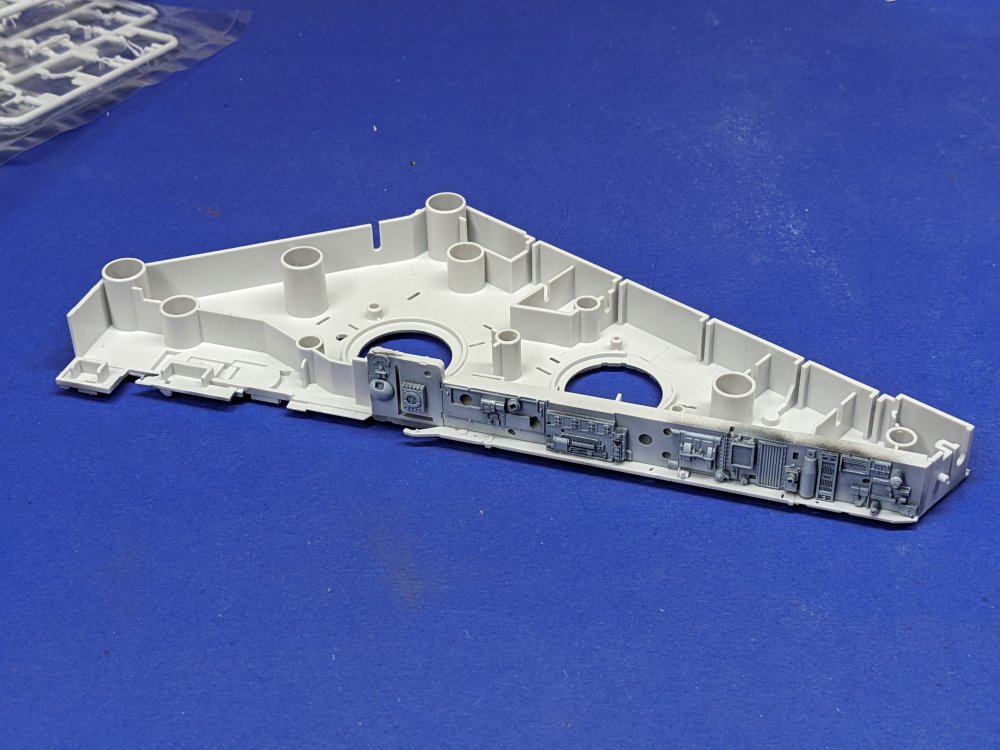
Time to add the detail bits to the sub-assembly. Lots of piping to add. Thankfully they're moulded in ABS so they're a bit stronger than the usual styrene. Then time for paint and blending in. So one done, one to go.


- 115 replies
-
- 11
-

-

-
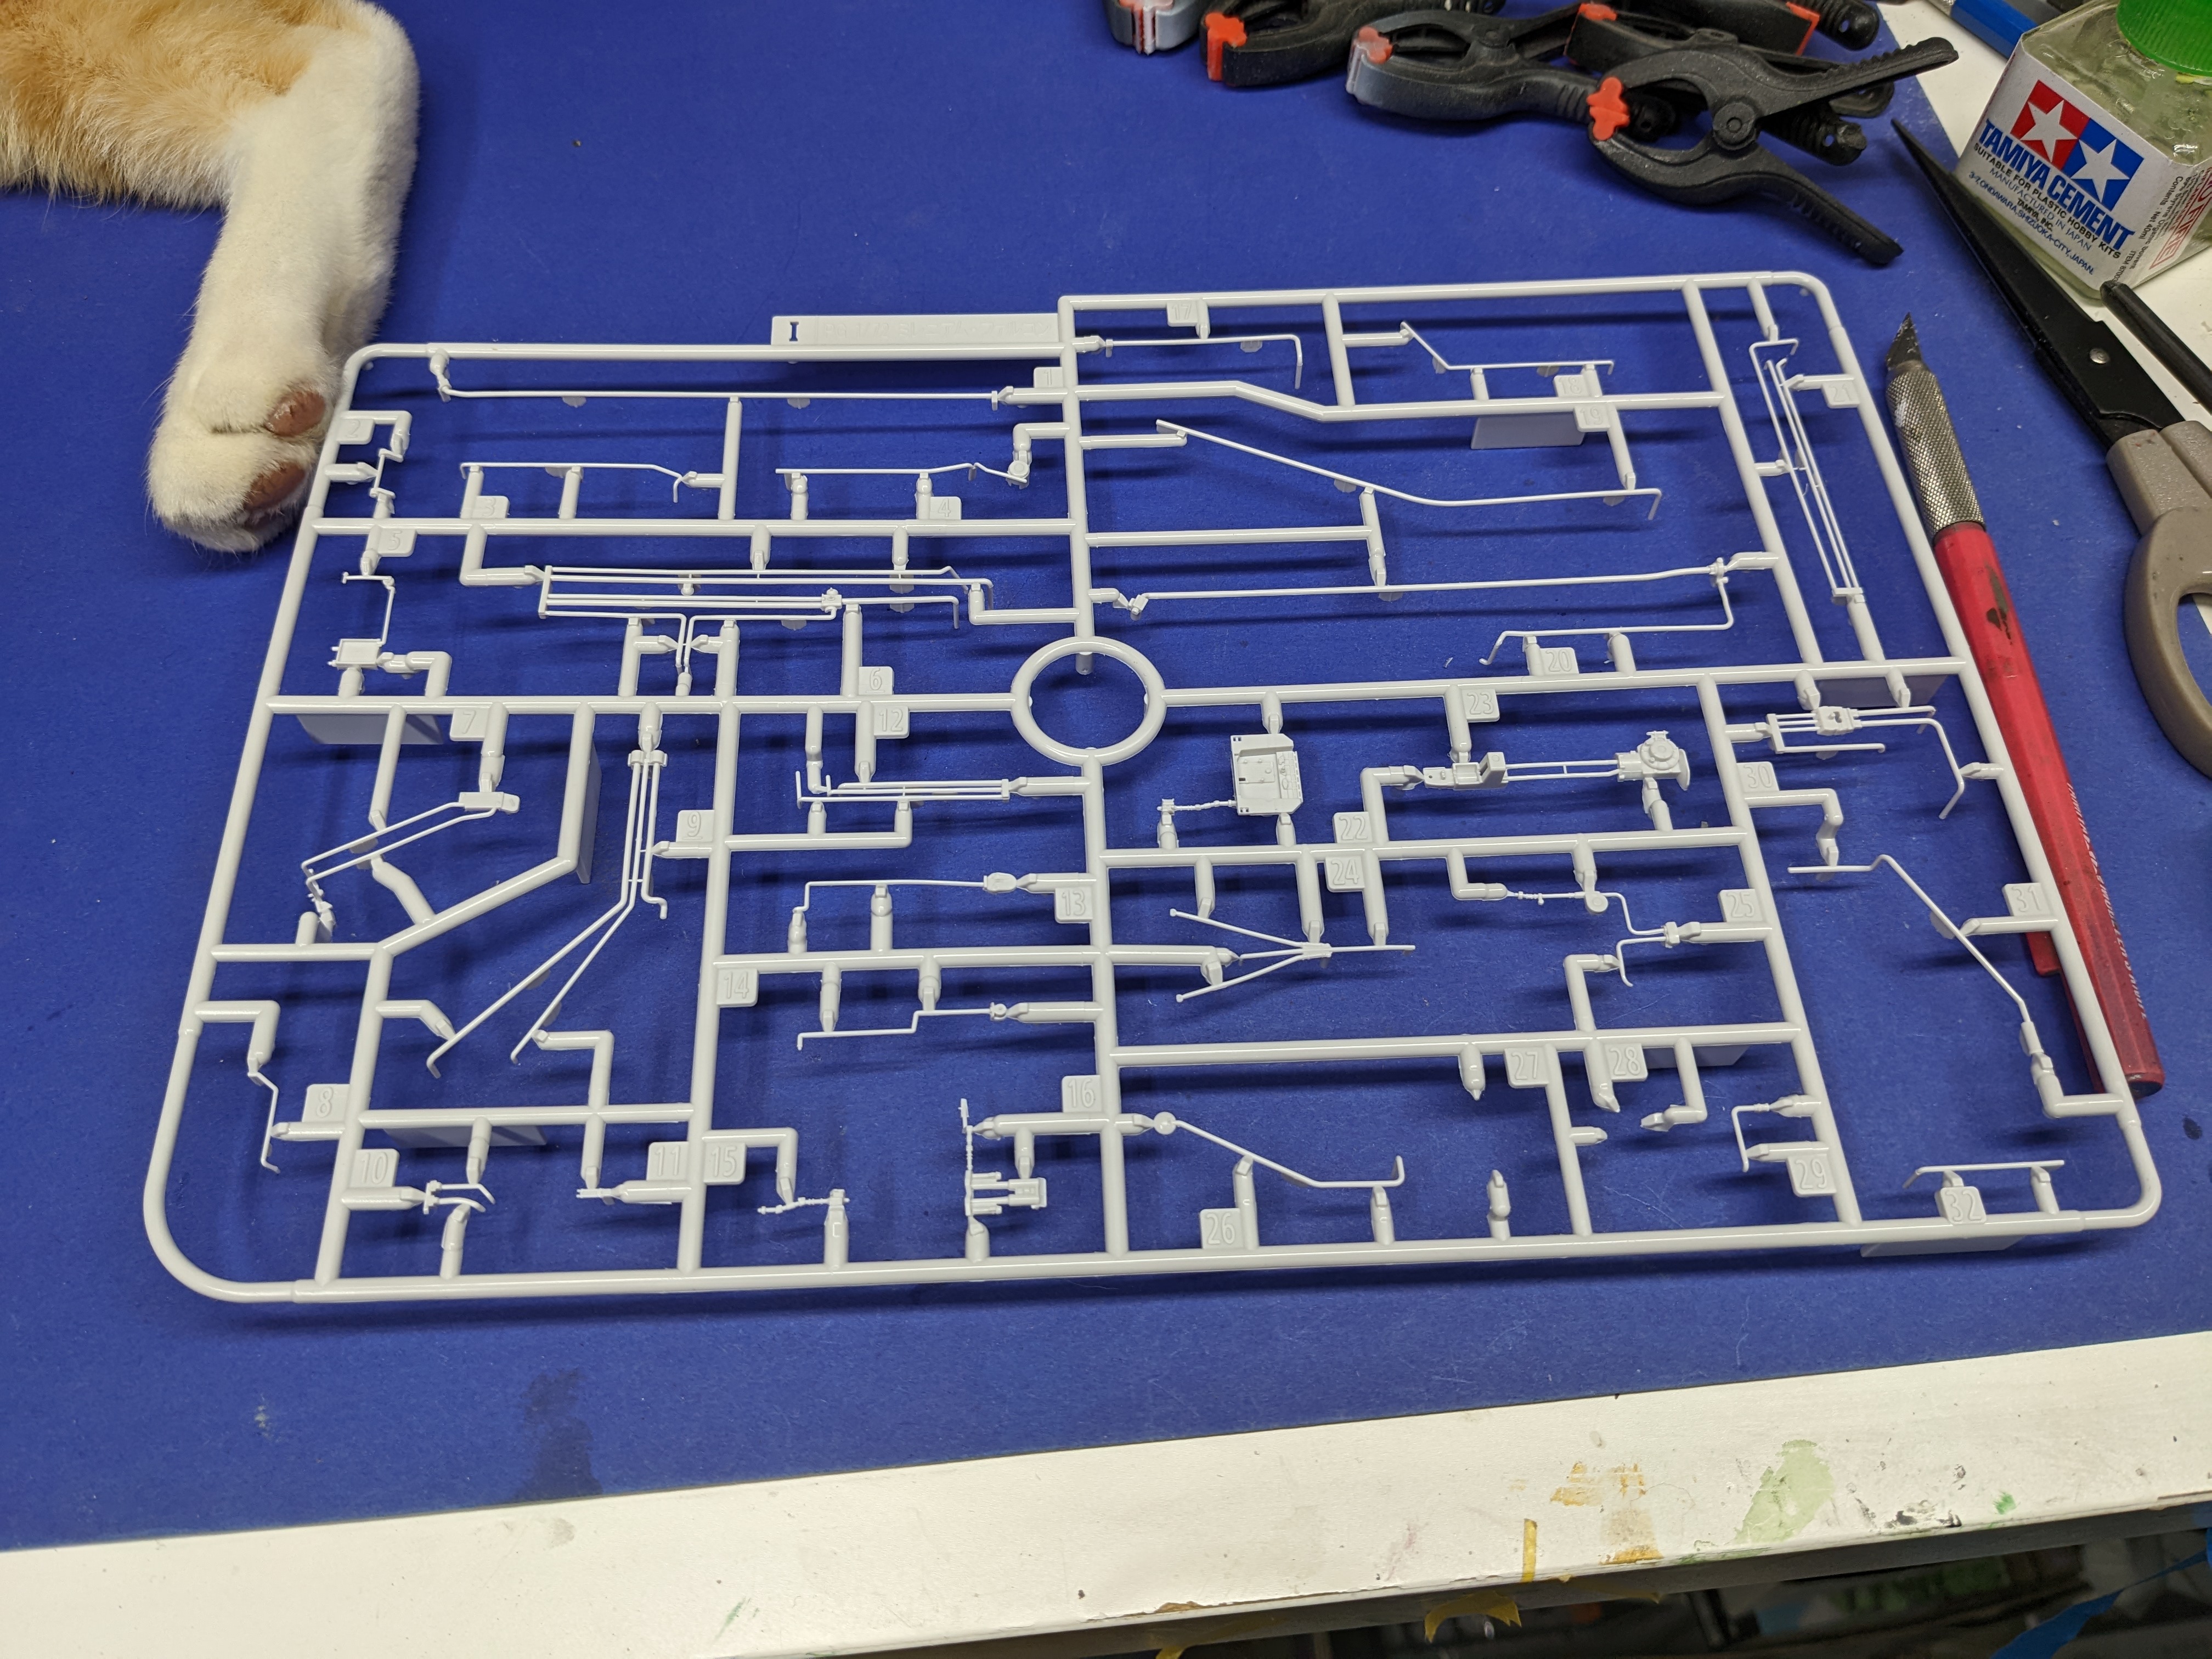
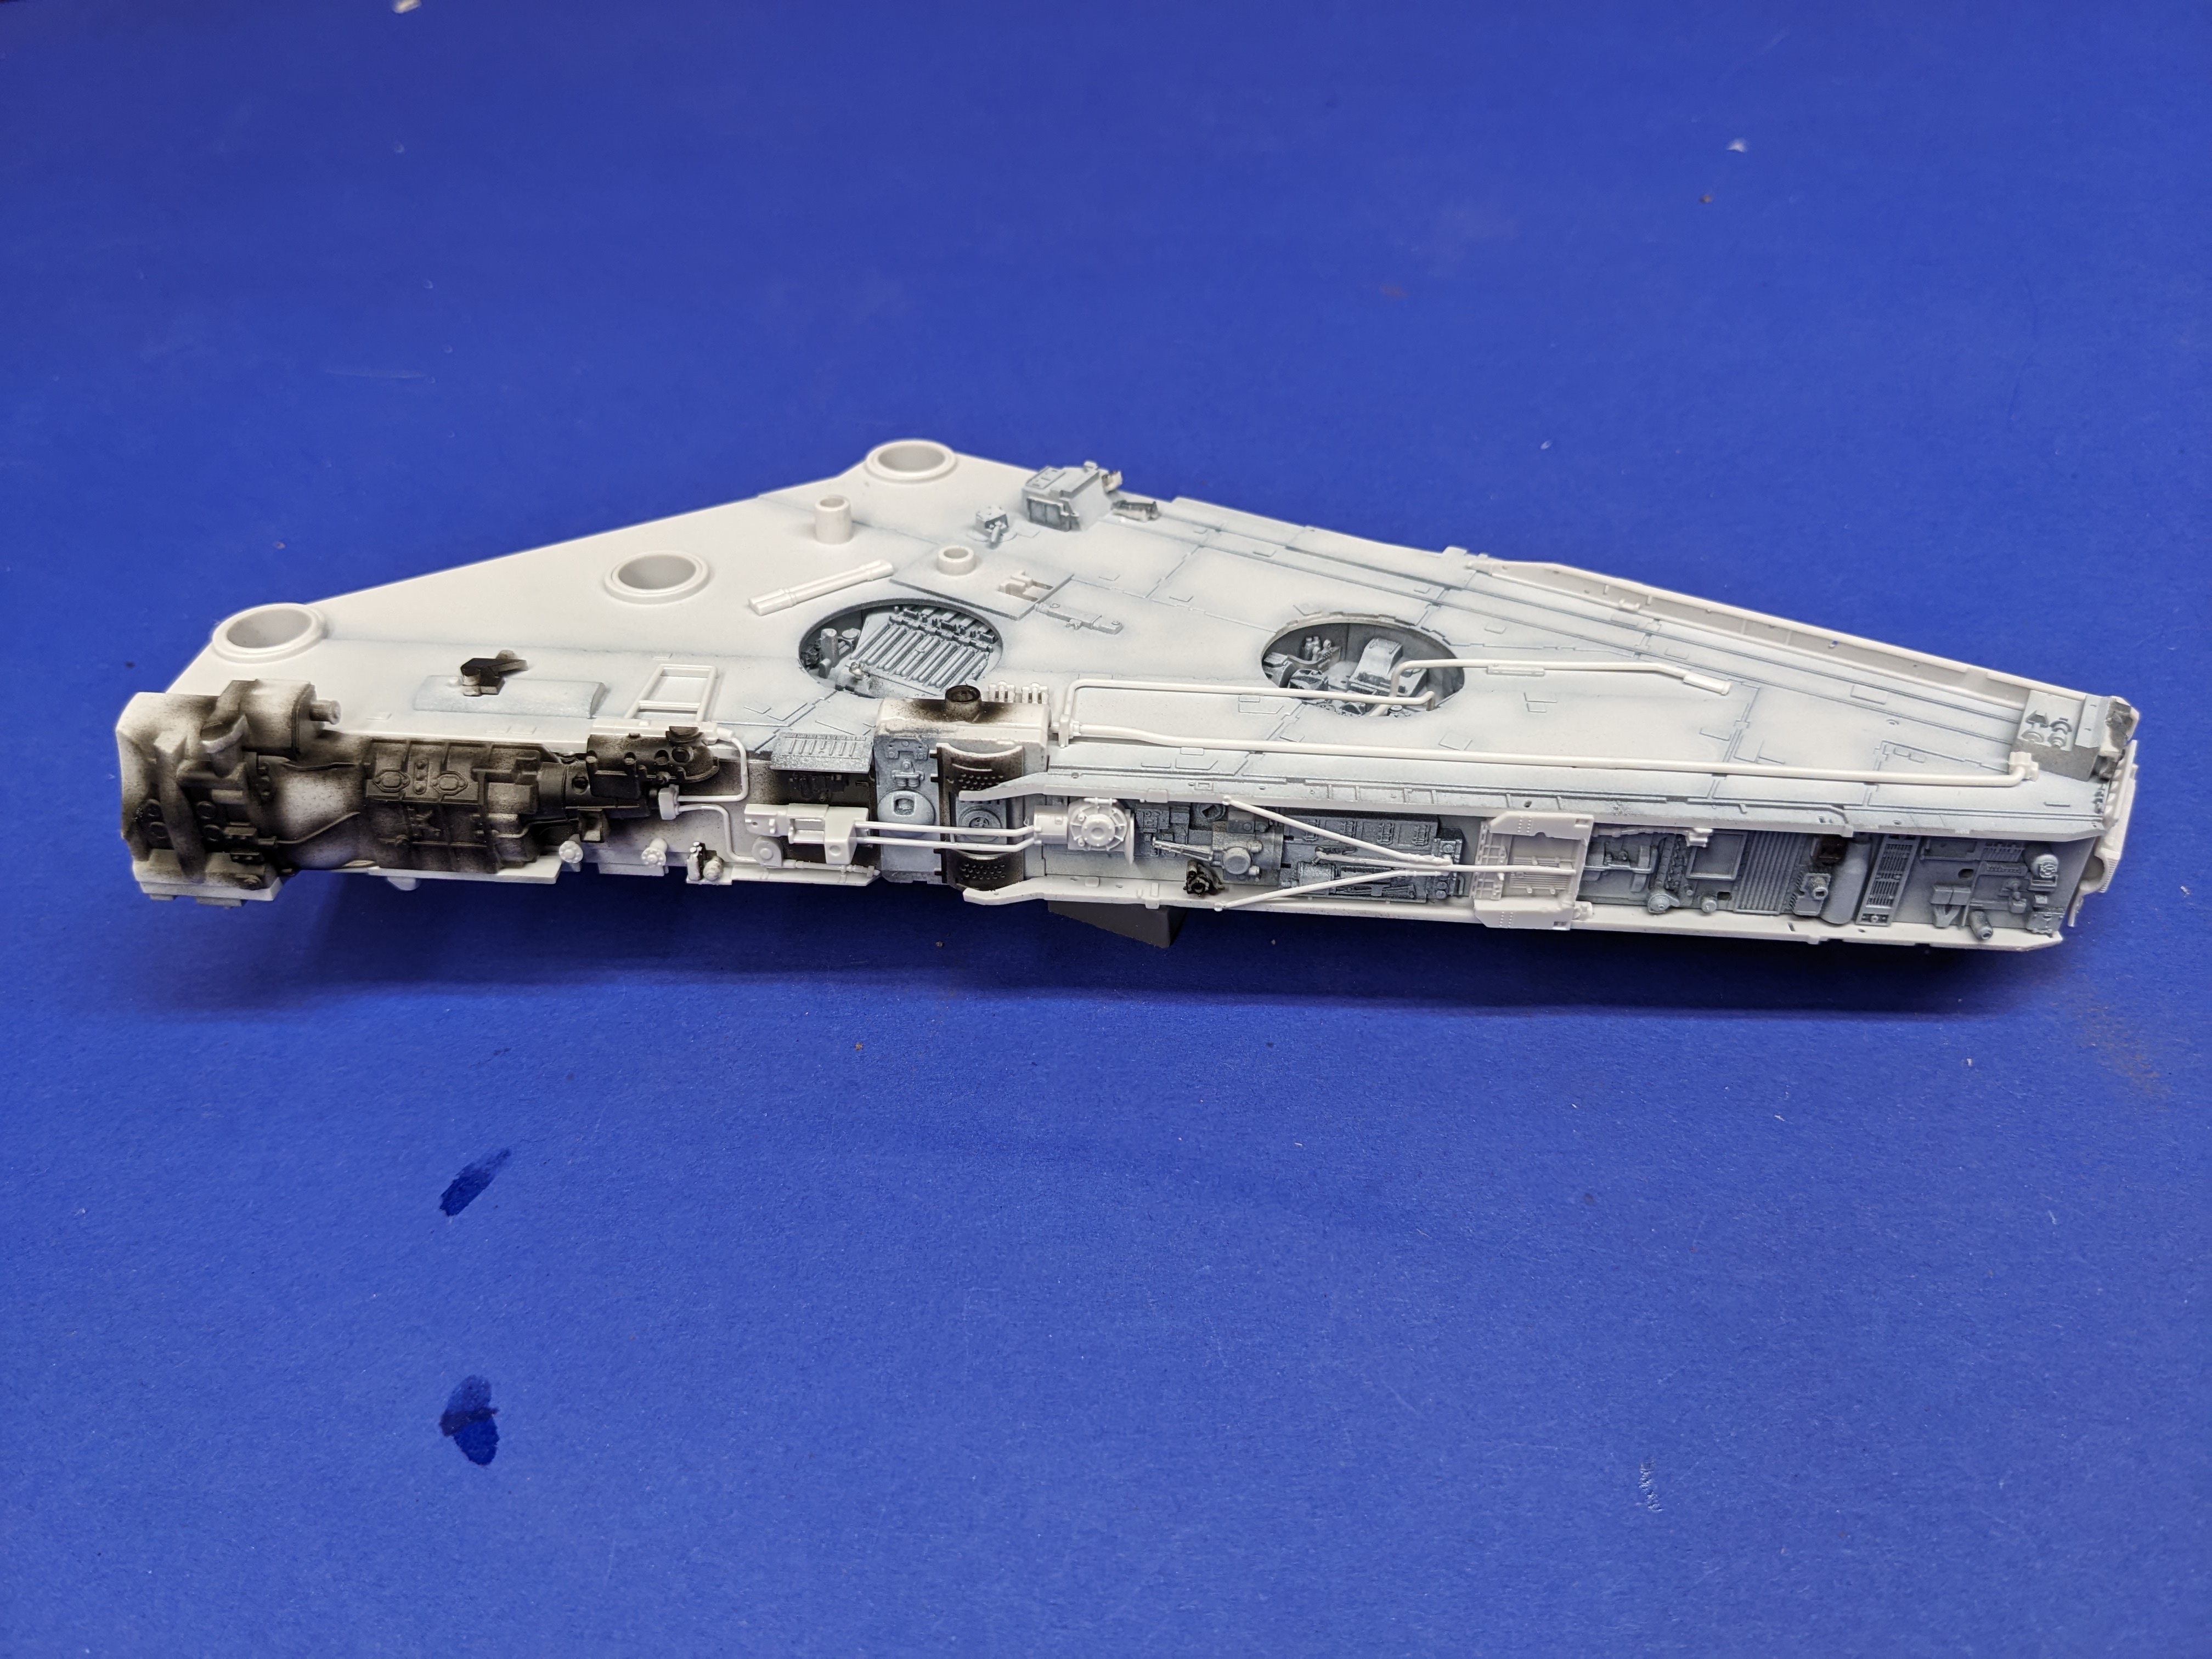
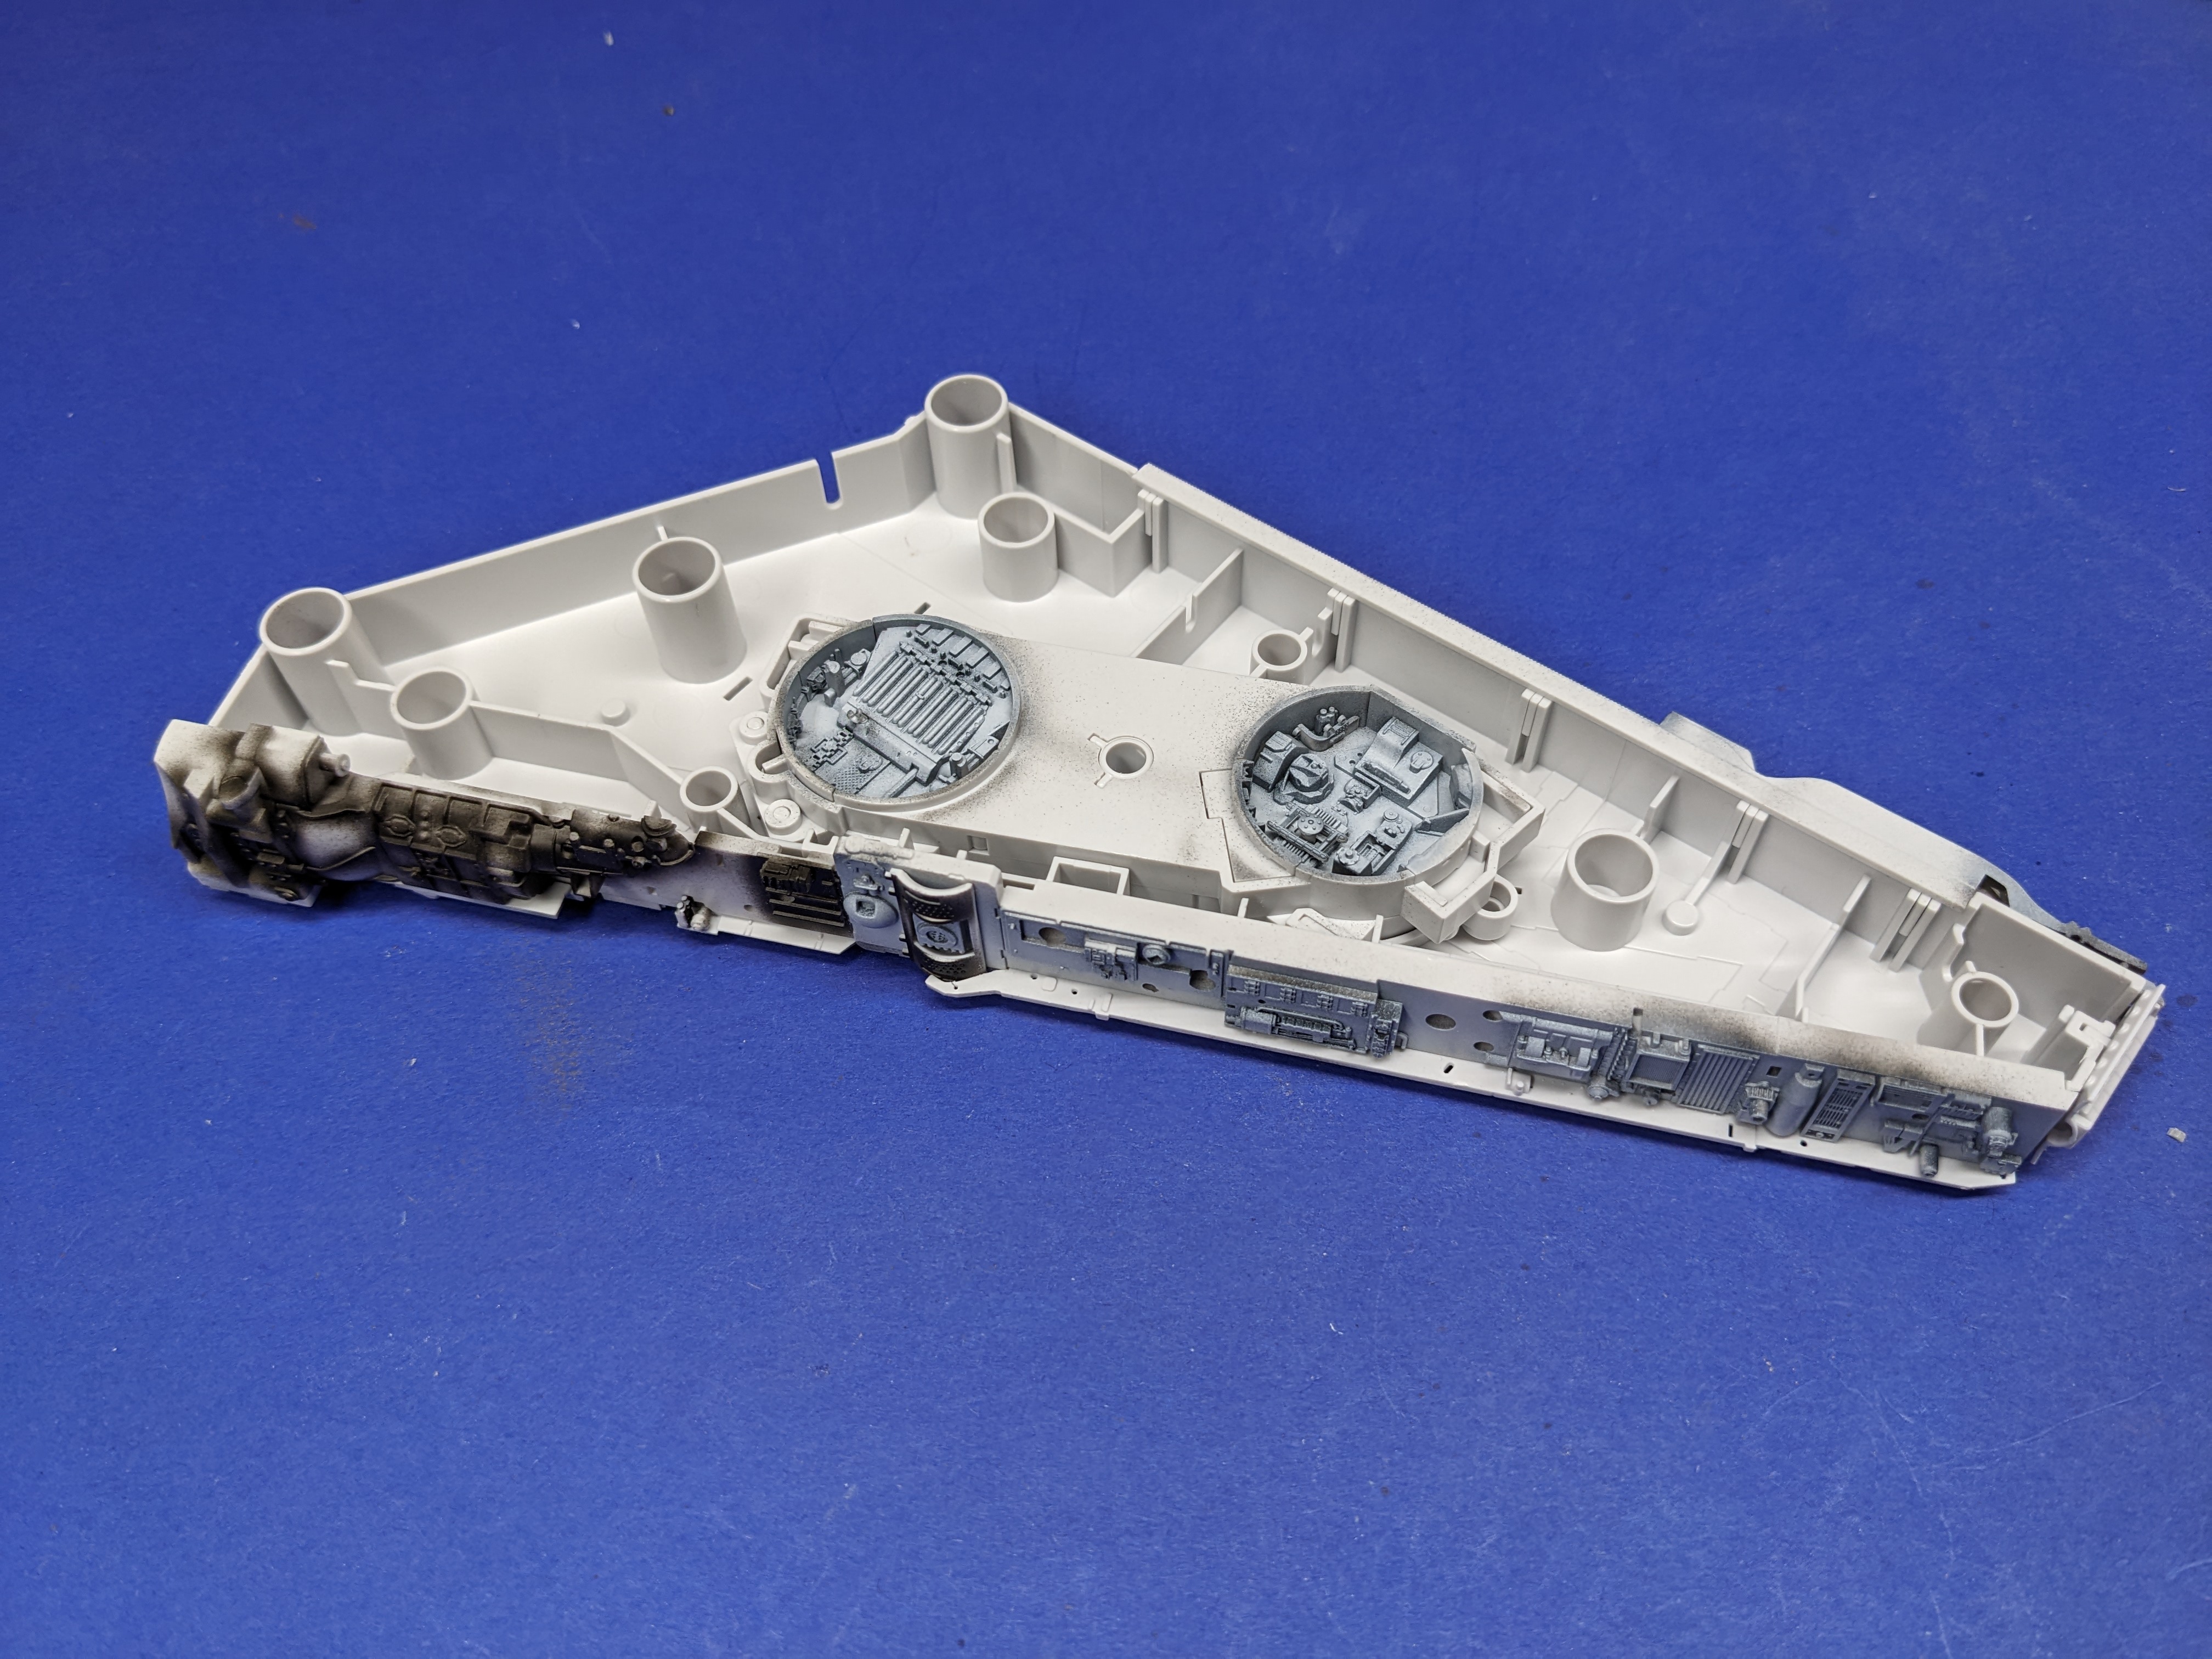
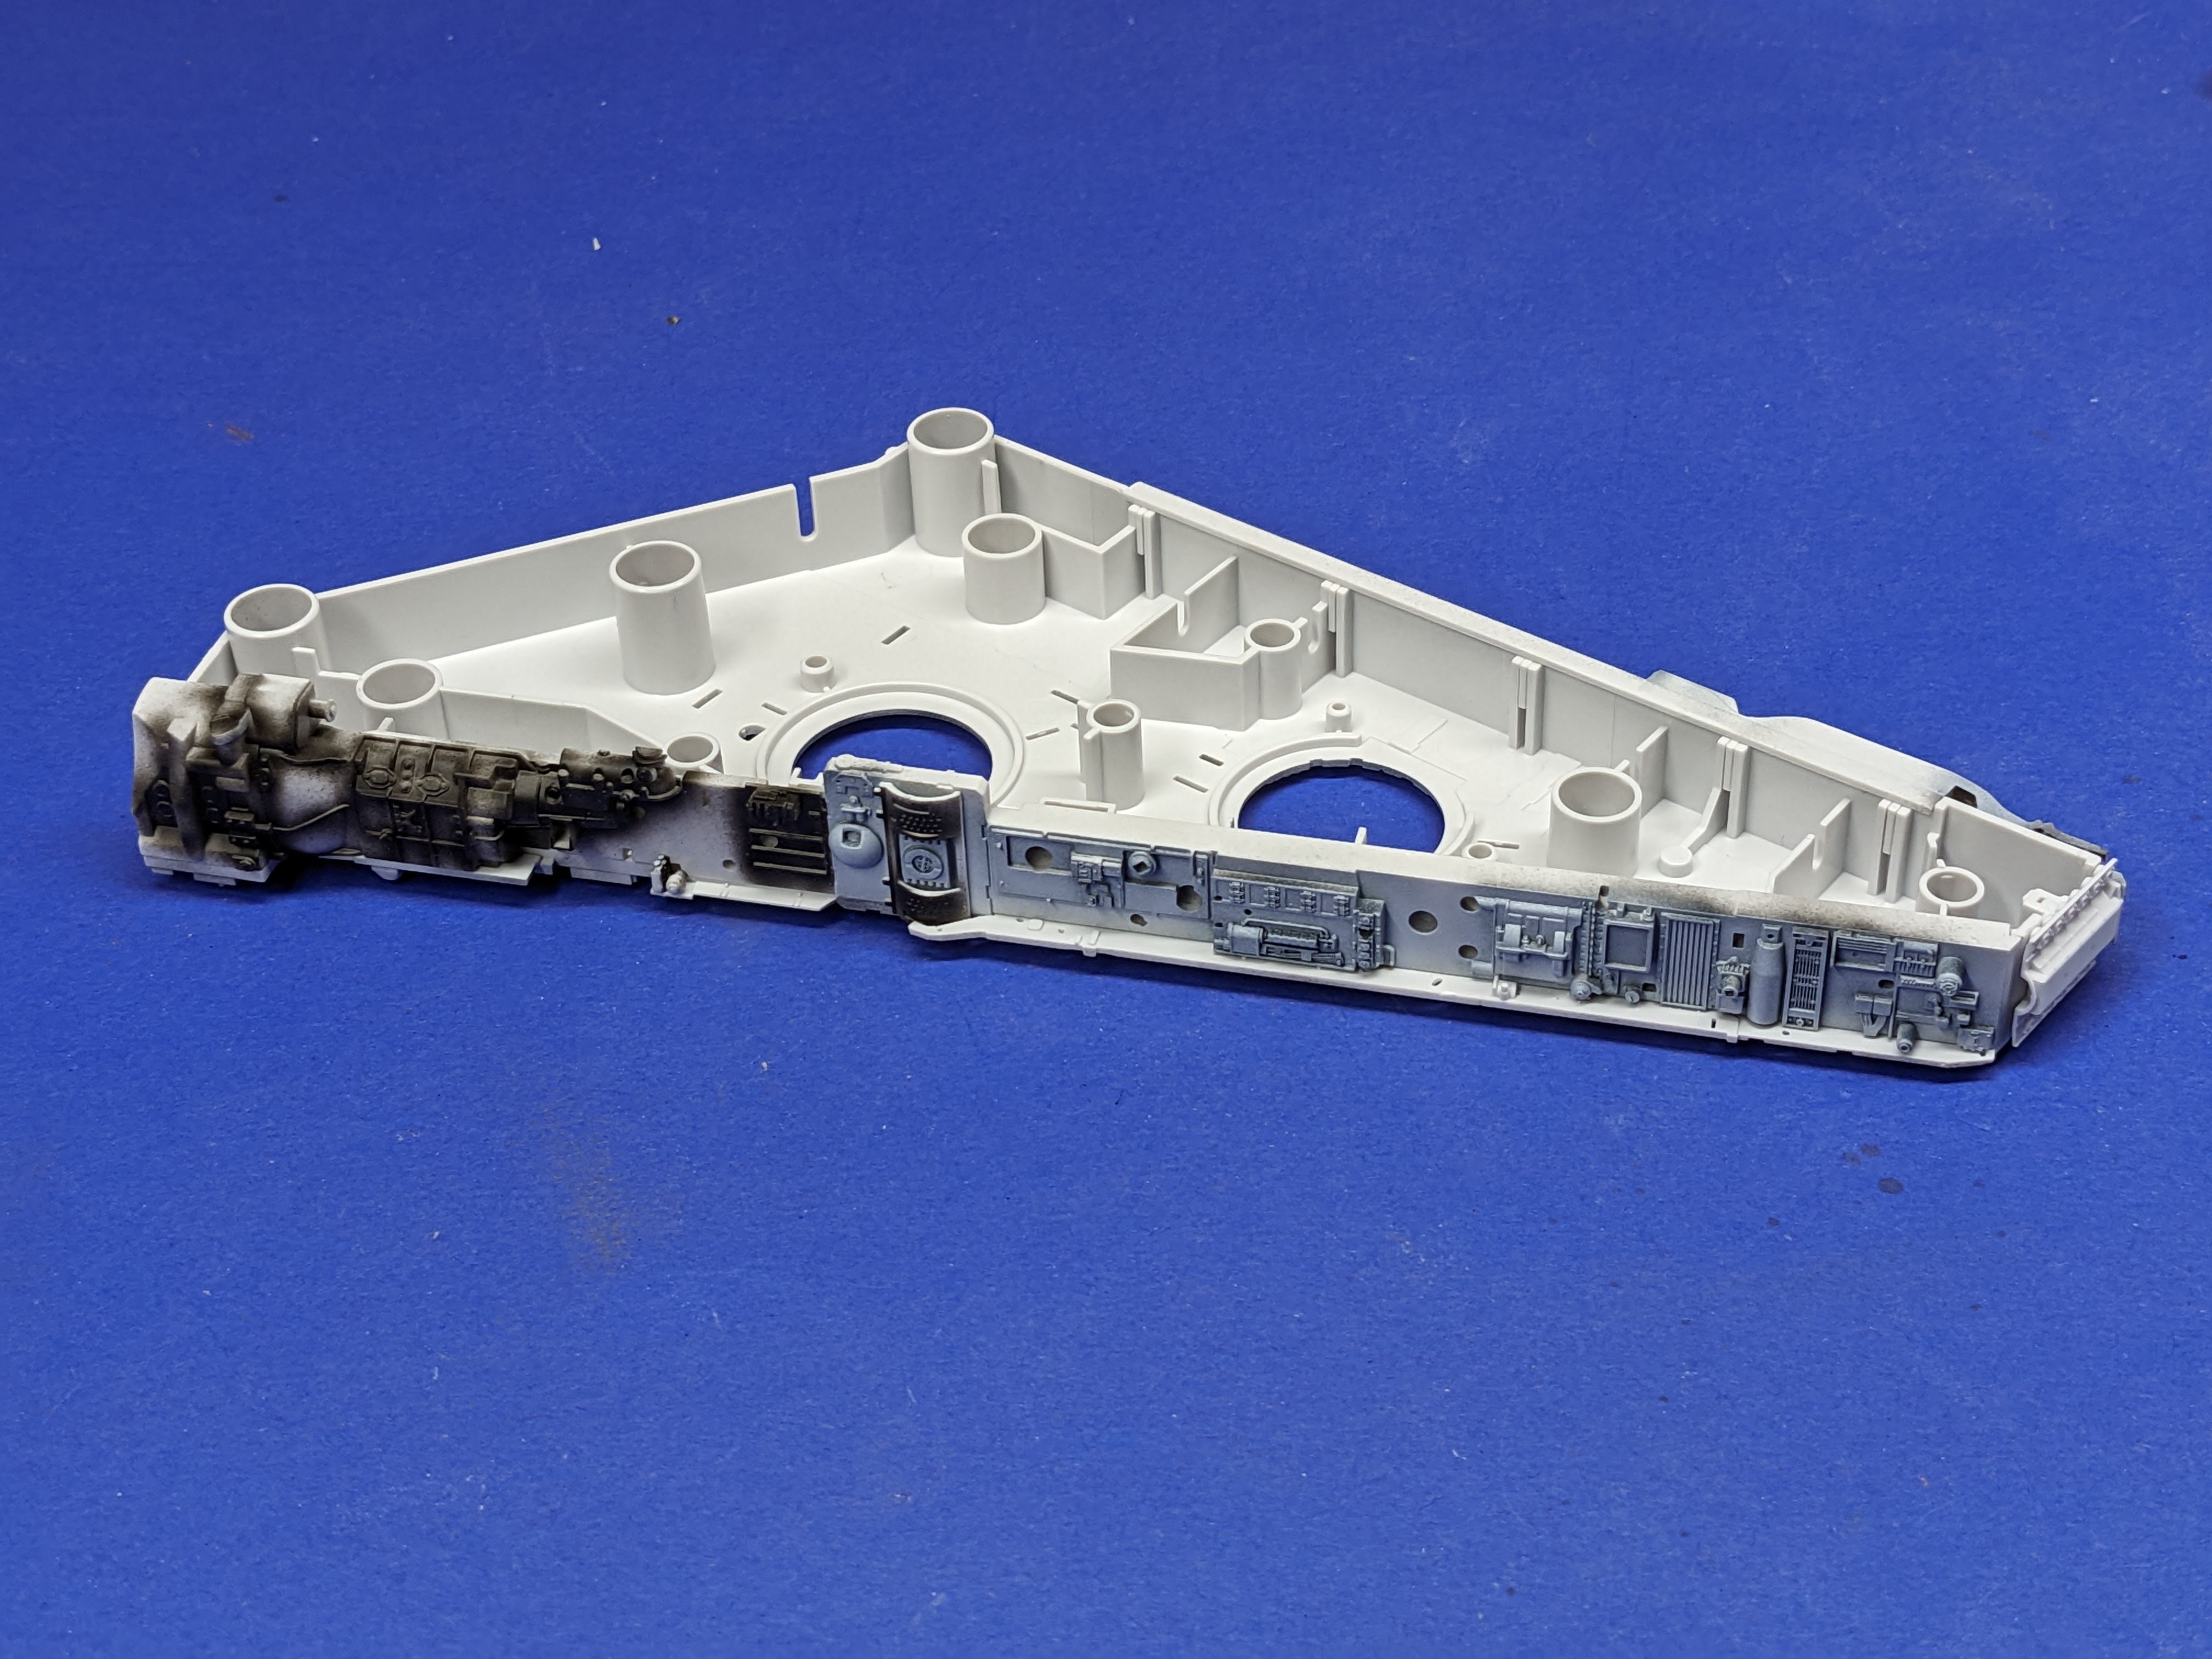
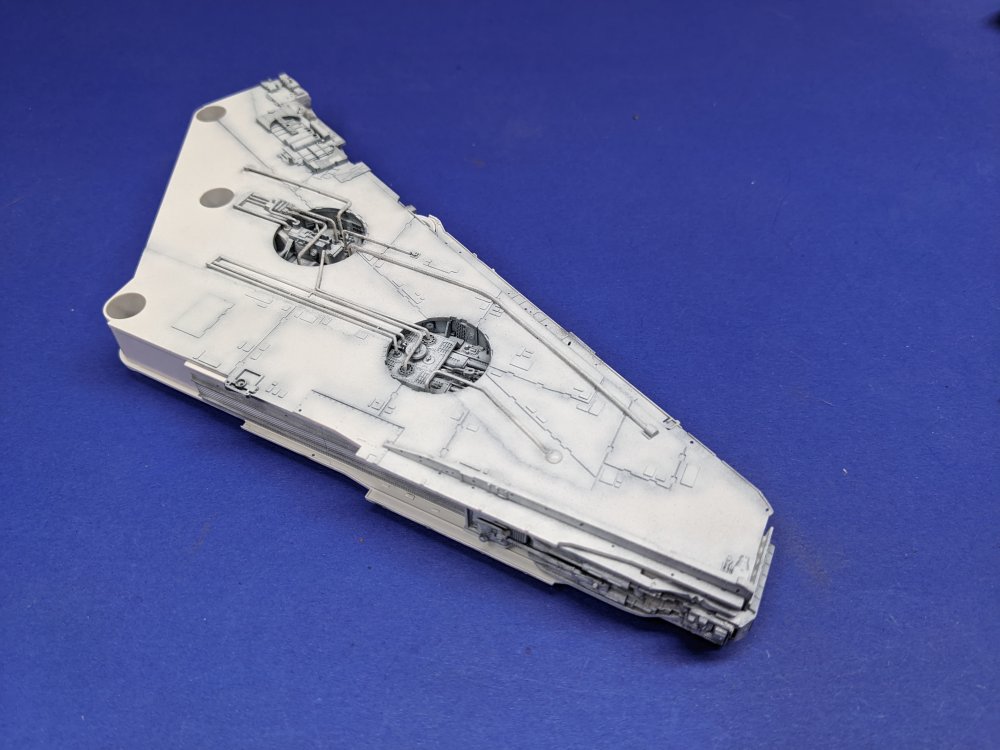
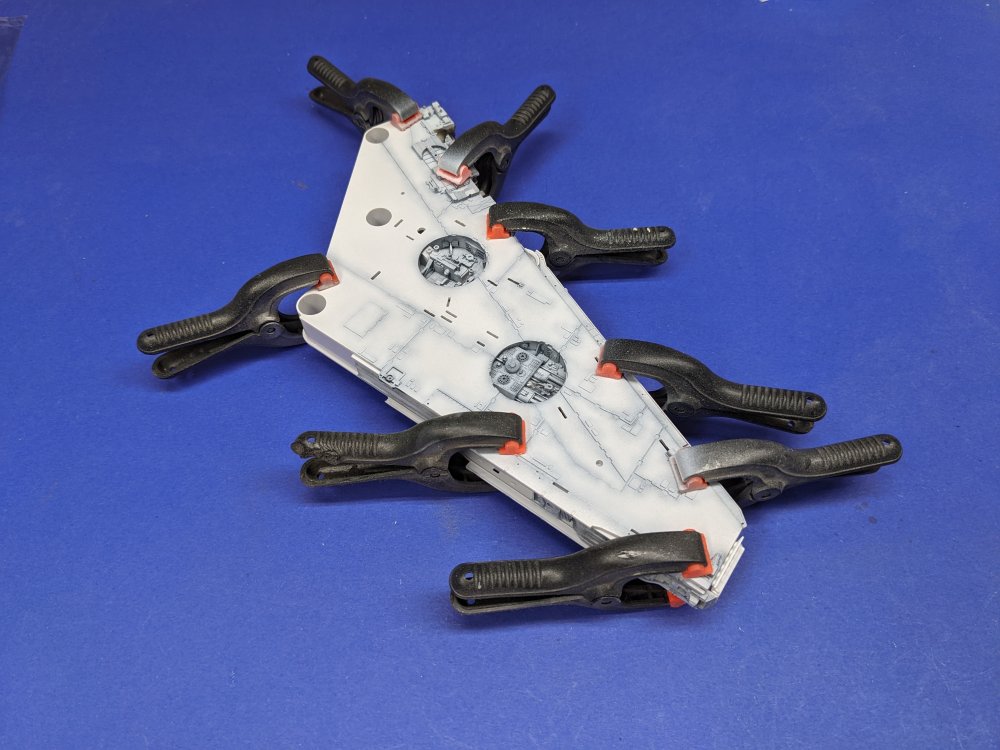
Onto some progress with the mandibles. Following the instructions (heresy I know ) I assembled the sidewalls. One thing that's been fun with this build has been identifying the various model parts that were used on the original and that have been reproduced on this kit. Here's a car chassis. There's a ton of tank parts and F1 model bits on here too. See the transmission on the left side. With the maintenance pits in place. I then glued the two halves together even though the model is press fit. Just wanted to be sure.


- 115 replies
-
- 10
-
-
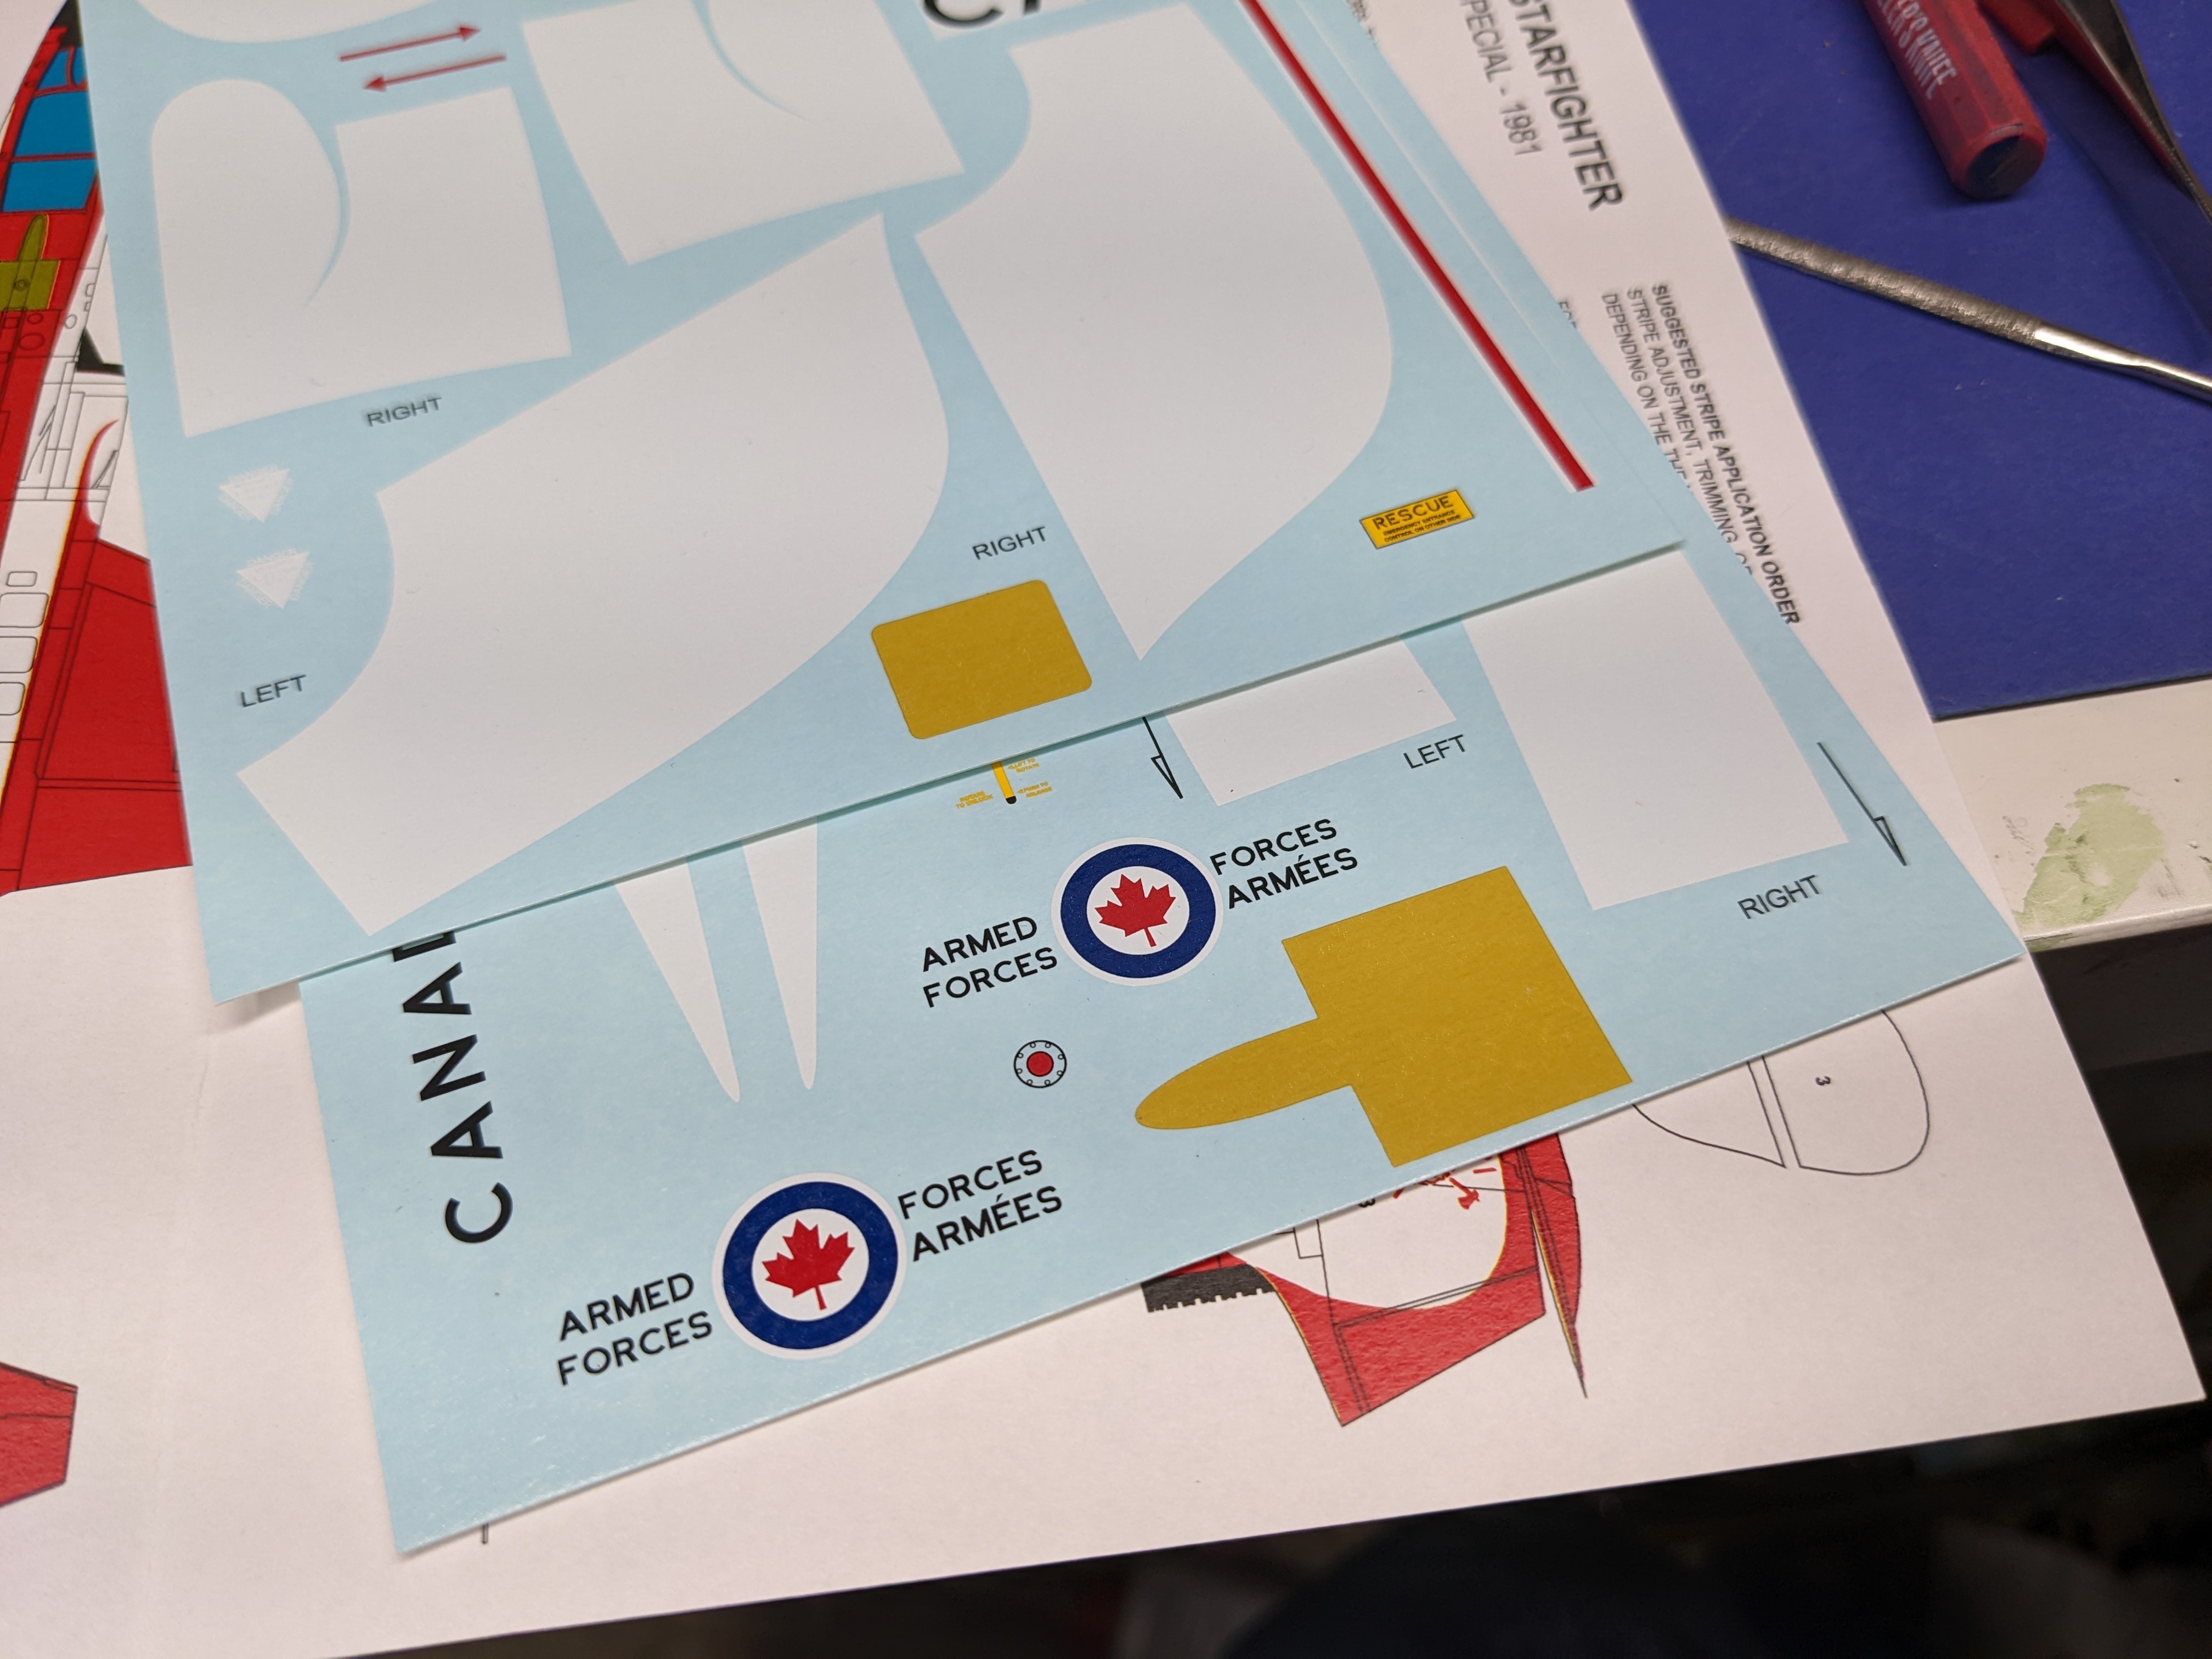
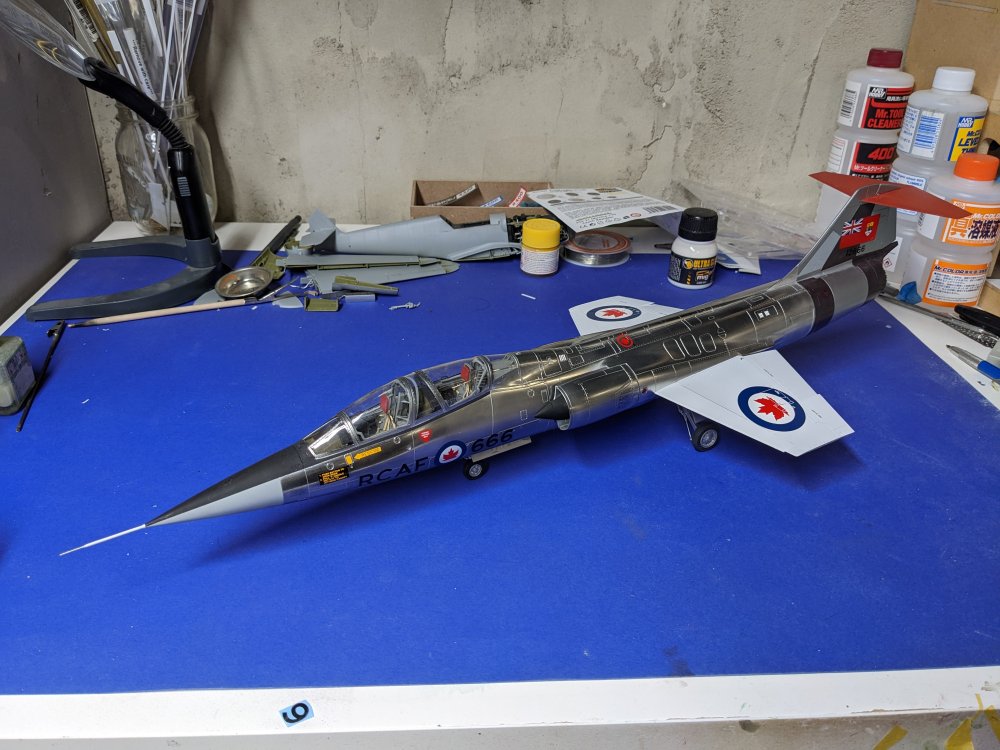
Canuck decals did some of those panels as decals so not a bad idea. For the tail ones, maybe paint the grey panel first, mask over it and then do the NMF? I did that on mine and it worked out. Carl

-
F4U-1A Corsair Tamiya 1/32
BlrwestSiR replied to DocRob's topic in LSM 1/35 and Larger Work In Progress
Great progress on the Corsair. Still my favourite prop plane. Nice to hear that the masks fit properly. I've had a few mask sets where the fit isn't quite there and you end up having to fix them. Carl -
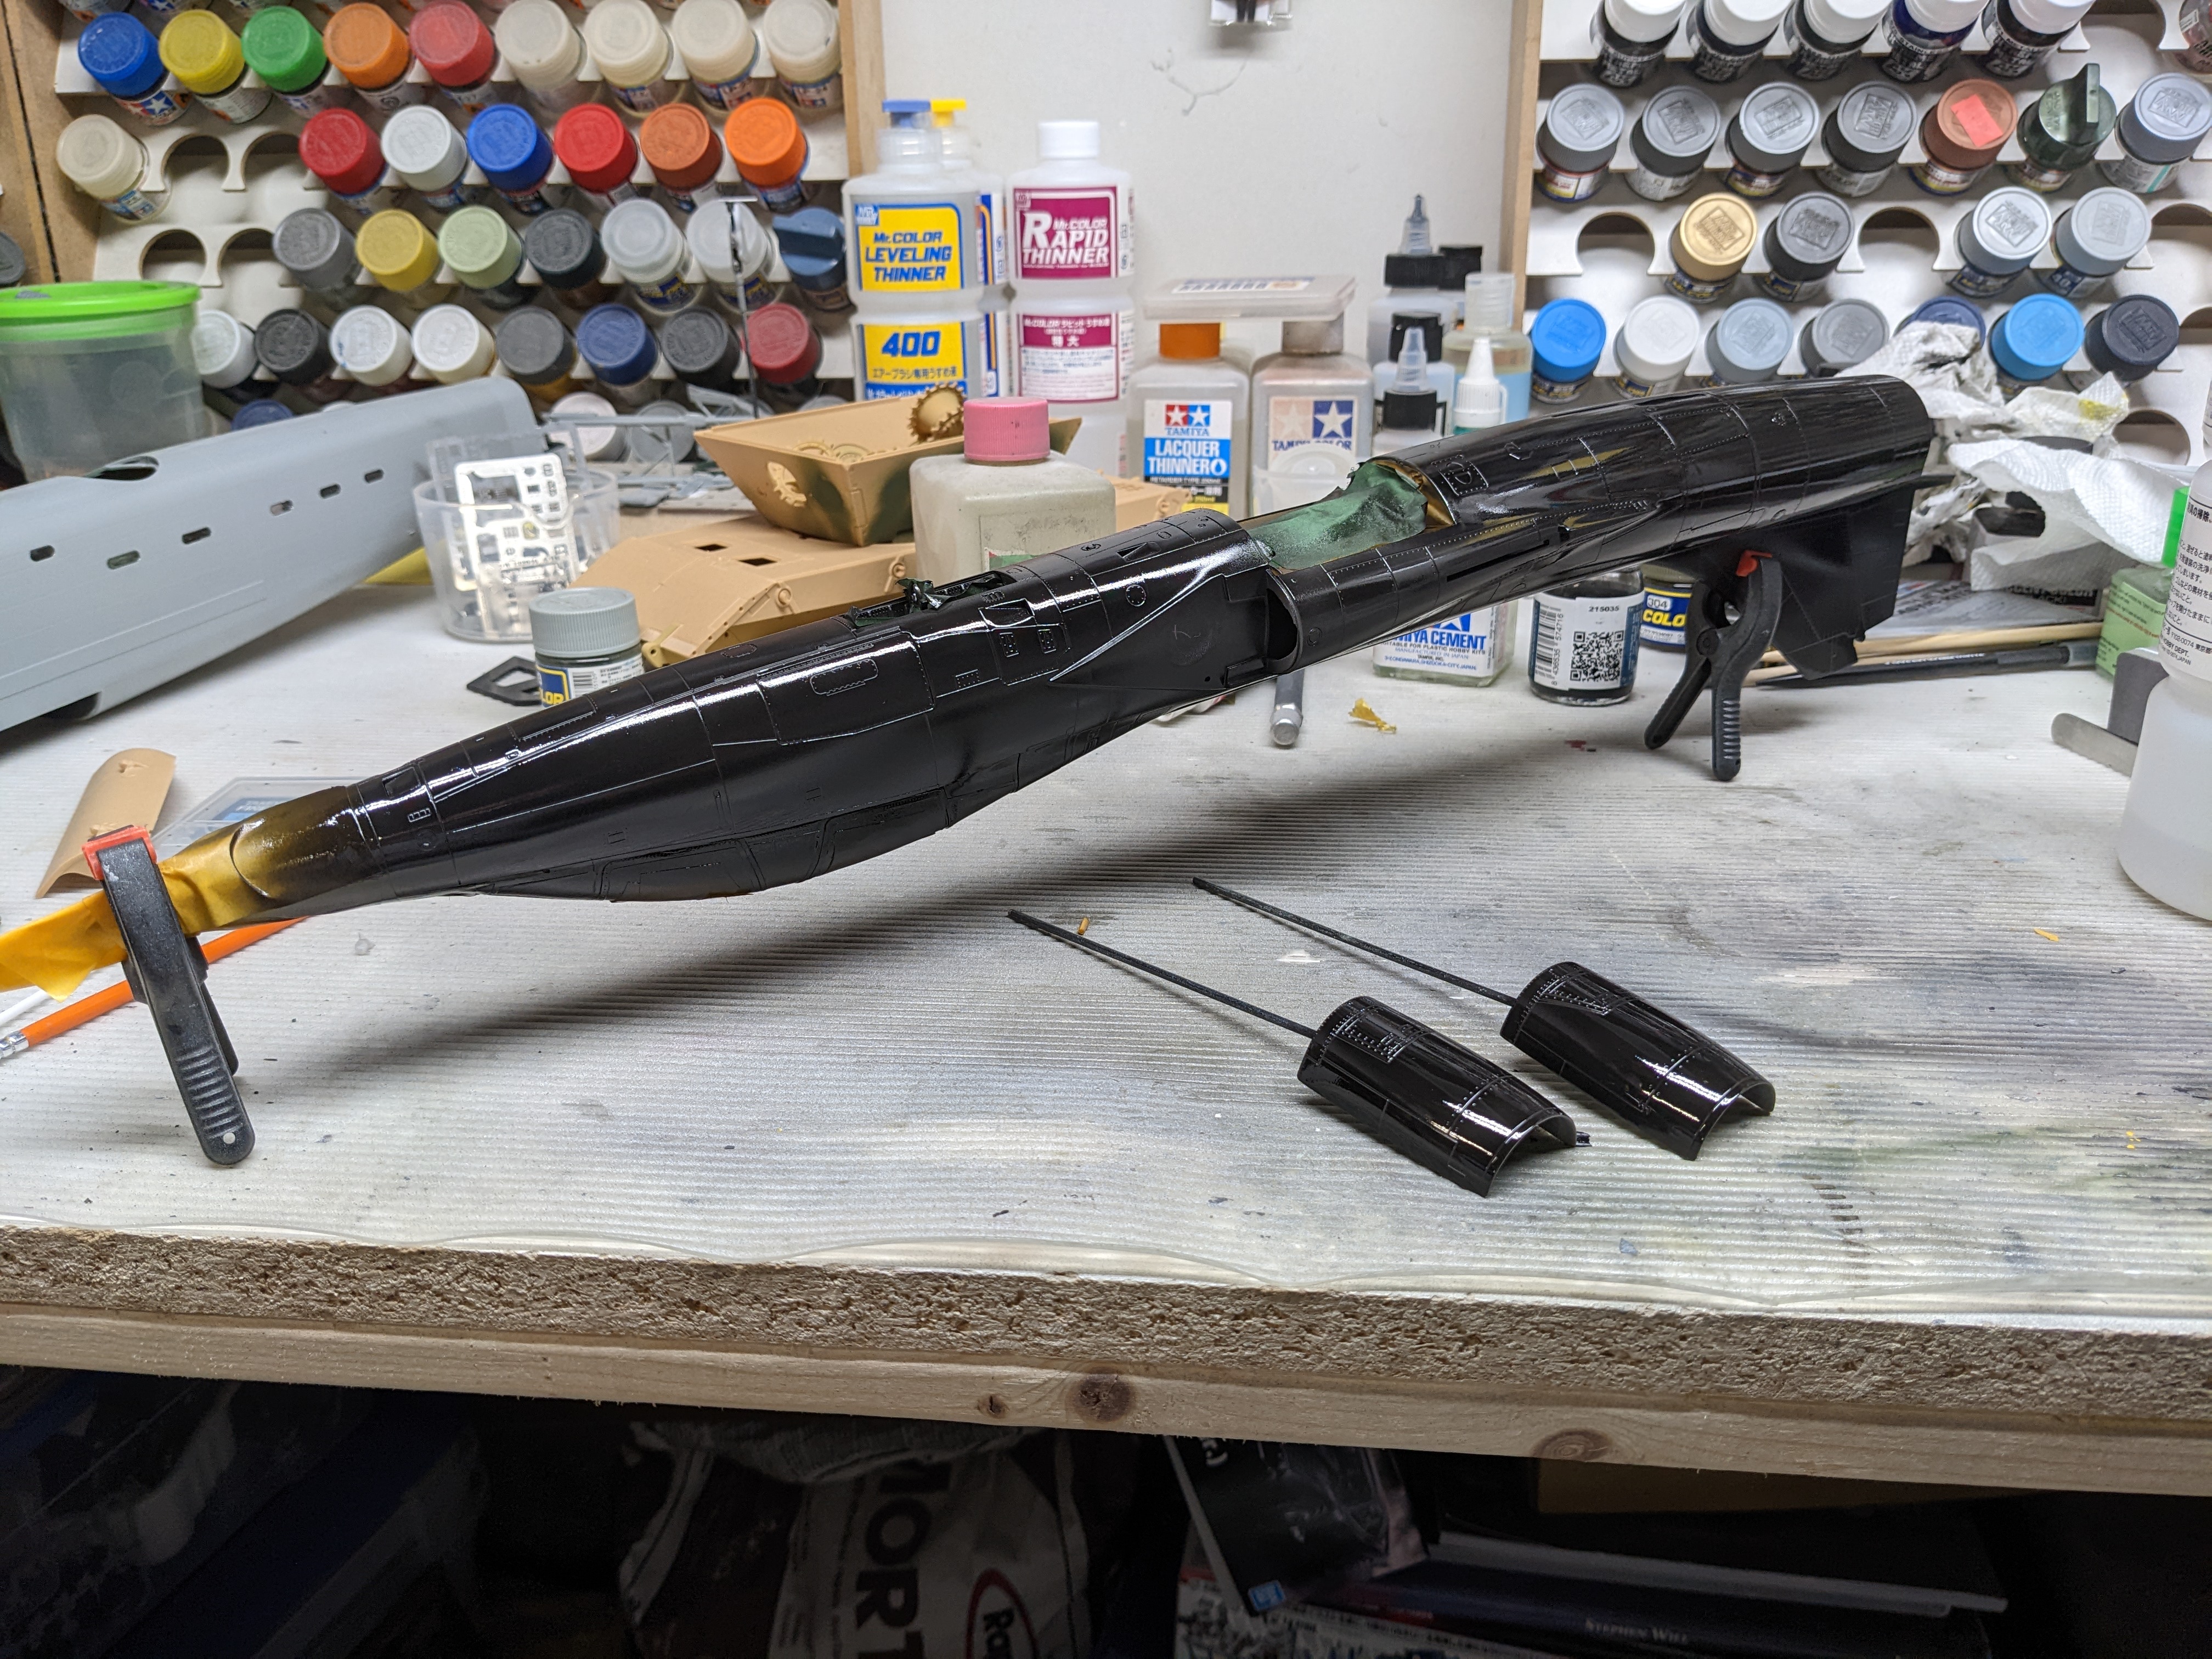
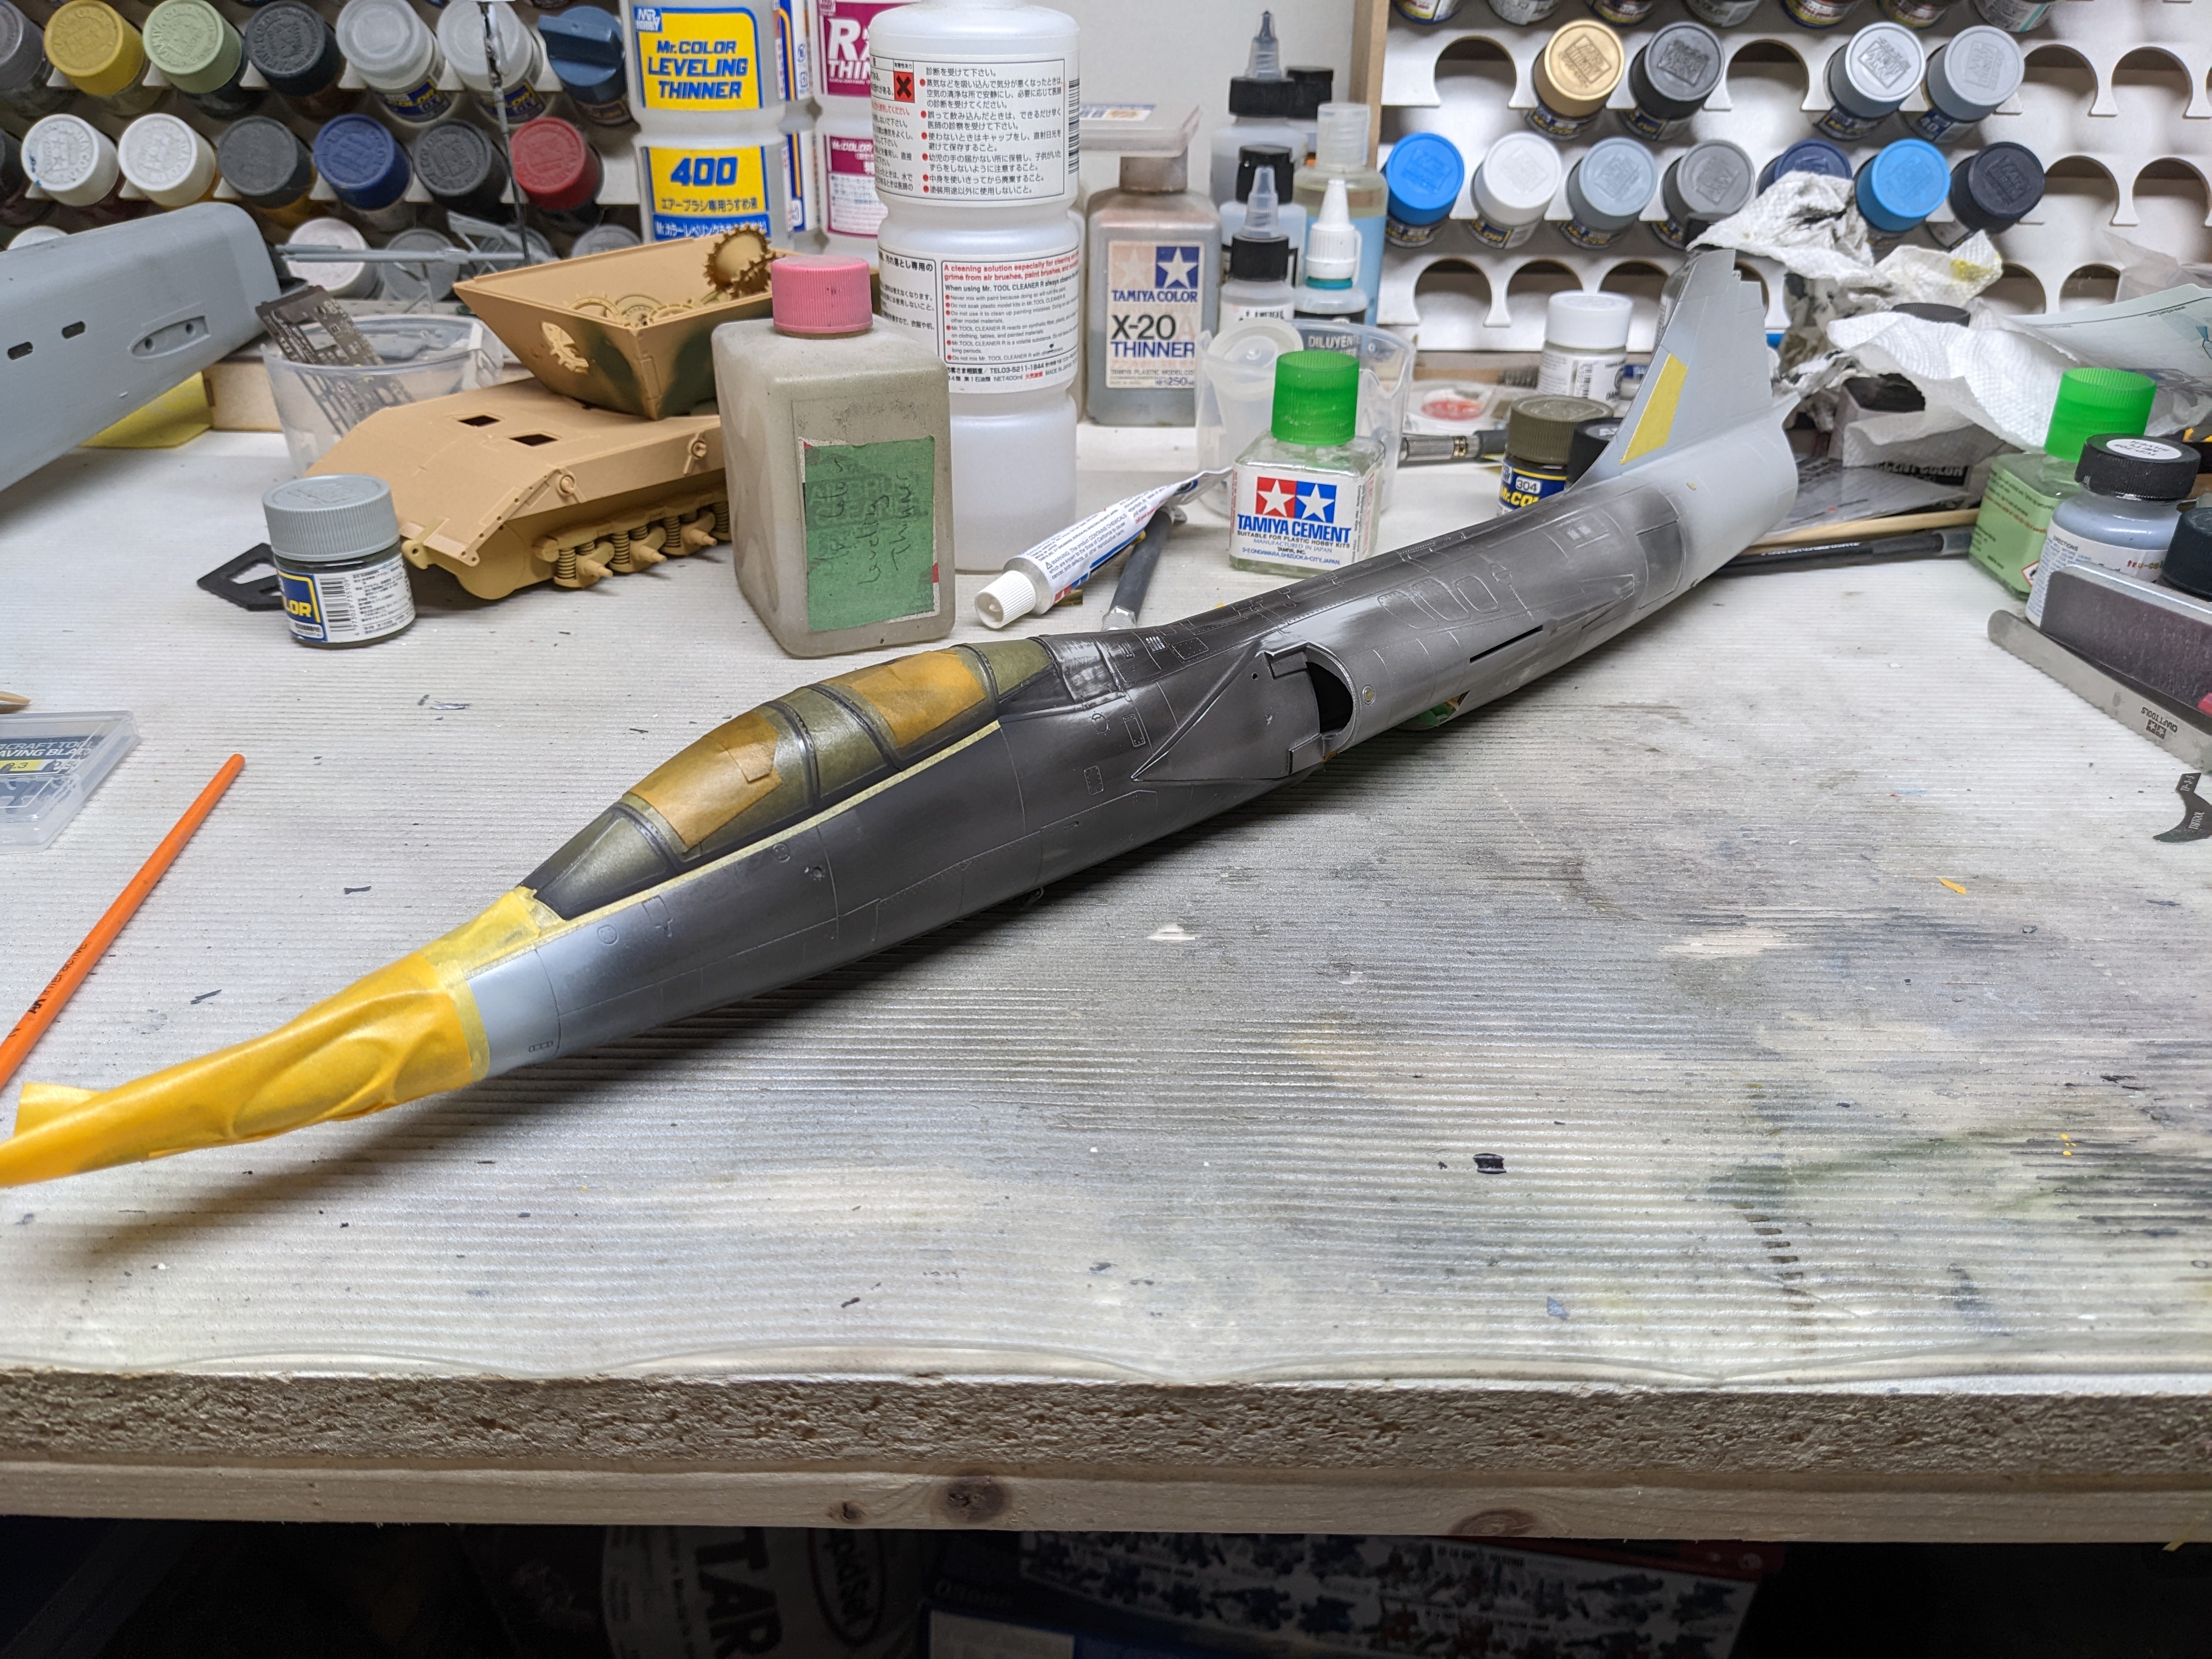
Like Peter said, I think you've got the right approach. I did the same thing on my recent CF-104 and painted as much as I could prior to the black base and NMF. I used the Xtreme Metal black base. I found it took a little longer to dry relative to my usual paints. I also had issues with Xtreme Metal's Polished Aluminium in that it didn't dry and I could wipe it off. My understanding is that it was a defective bottle of paint. I switched to Alclad Polished Aluminium and didn't have that problem. Carl


-
It sure can!
-
The Italeri 104 kit prices are all over the map for some reason. The best deals I've seen on them have been from Lucky Model but you have to be willing to wait a while for it to arrive via surface mail. Any other shipping option out of Hong Kong is atrocious. John, sorry to see the paint issues. They're definitely worse than what I experienced. I used Xtreme Metal black primer under the Alclad and that worked out ok. Polished Aluminium will lift a bit no matter what though but not like what happened in your case. Carl
-
Rog, that looks great. A house like that in my part of Canada would be well over $1Million, closer to $1.4 I suspect. Can't wait to see the in progress shots. Carl
-
GWH Curtiss P-40B; The Flying Tigers
BlrwestSiR replied to Peterpools's topic in LSM 1/35 and Larger Work In Progress
Sorry about your loss Peter. Getting old sometimes sucks. Nice progress on the P-40. From what I understand, you can build the engine completely separate from the plane so you could display beside the completed model and still have the cowls buttoned up. Carl