BlrwestSiR
-
Posts
9,202 -
Joined
-
Last visited
Content Type
Profiles
Forums
Events
Gallery
Everything posted by BlrwestSiR
-
 Thanks Jeroen and Peter! I'm really enjoying my approach to this build. Nothing feels like a chore.
 -
I'm saving those for my B-17F when I get to it. Seems more appropriate to have a Twinkies wrapper there. AJ-K had the fewest in-service hours of any of the planes that went on the Dams raid so definitely in a like new condition.
-
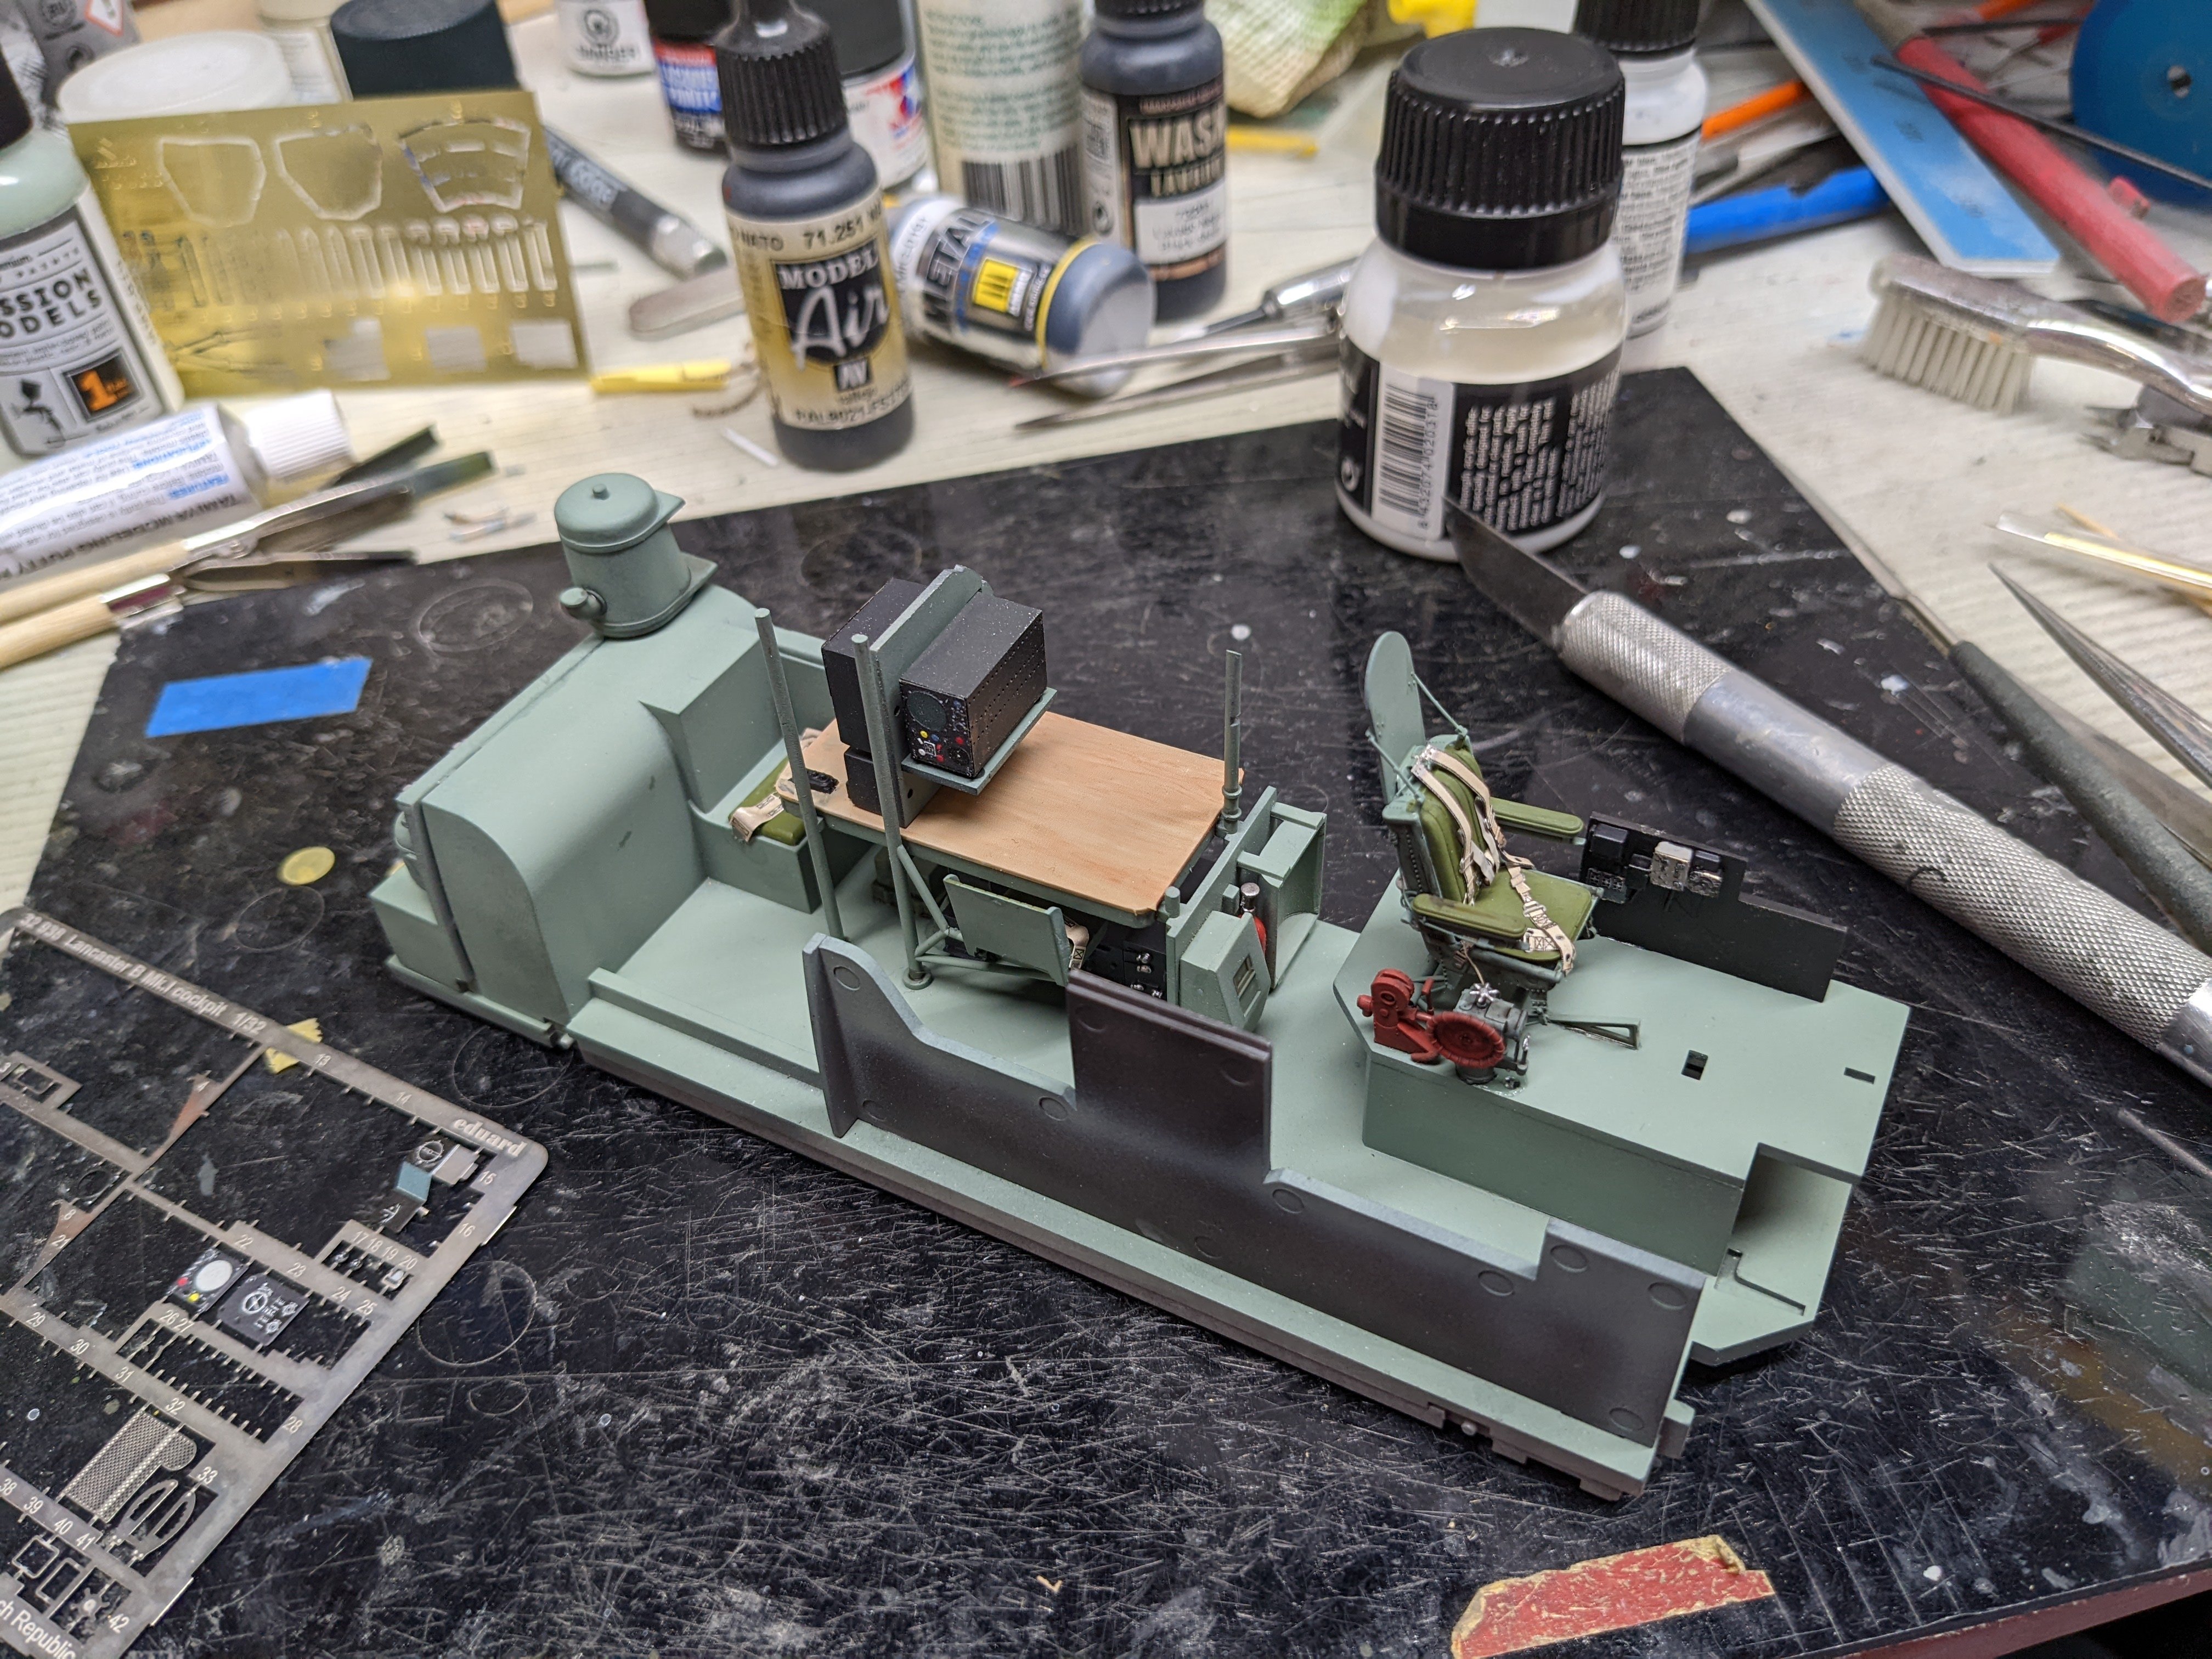
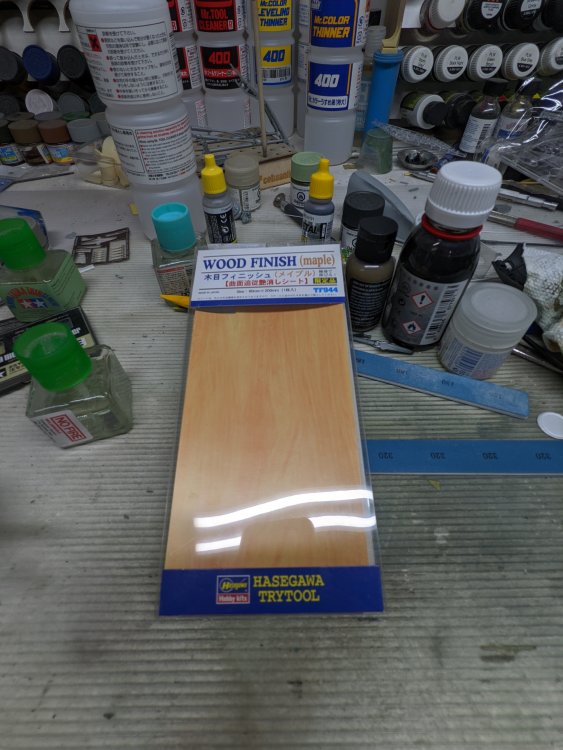
Thanks Kai! For the desk, unused Hasegawa's self adhesive wood finish. It's a very thin vinyl sticker that I cut to fit and applied. First time I tried I and it seems to have worked out ok . Thanks Ian! I actually followed many of the mods and corrections that you made on your build. Hope to see you back at it.
-
Harv, hope to see you back at this soon. Carl
-
Happy belated Phil! That Famo looks like it's going to be huge. Carl
-
That Russian arctic camo is pretty impressive. But they gave it away with that tag...
-
Tamiya 1/12 Ferrari 312T
BlrwestSiR replied to Peterpools's topic in LSM 1/35 and Larger Work In Progress
Nice subject choice there Peter. I think my very first F1 car was Tamiya's 312T3 kit in 1/20 scale. Even that was quite impressive but I was too young and hamfisted to do much with it. I do have a MFH kit in the stash of a later version of the Ferrari. This one is plastic and metal instead of their usual resin.

-
To paraphrase Bob Hope (I think it was him) Ernie, "the largest distributor of MiG parts in the western hemisphere"
-
So true.
- 2,036 replies
-
- 4
-

-
- car related stuff
- anything about cars
- (and 6 more)
-
Not a bad idea. Maybe get some liners for the tubes to help prevent punctures. I'm running tubeless on my main mountain bike. A bit of a pain to set up sometimes but so much easier.
- 2,036 replies
-
- 3
-
-
- car related stuff
- anything about cars
- (and 6 more)
-
Nice bike Martin! Sadly I gave up road bikes after getting hit one too many times by ignorant drivers.
- 2,036 replies
-
- 4
-

-
-
- car related stuff
- anything about cars
- (and 6 more)
-
Funny, I was thinking the same thing.
- 2,036 replies
-
- 5
-

-
-
- car related stuff
- anything about cars
- (and 6 more)
-
Thanks Rob! I'm not doing much weathering ad the plane I'm modeling only flew a few times before being lost on the Dams raid. I will probably do more of that on my second Lanc when I get to it. Thanks Phil! Supposedly HK fixed a couple of the errors on the 1/32 kit when they did the 1/48 one.
-
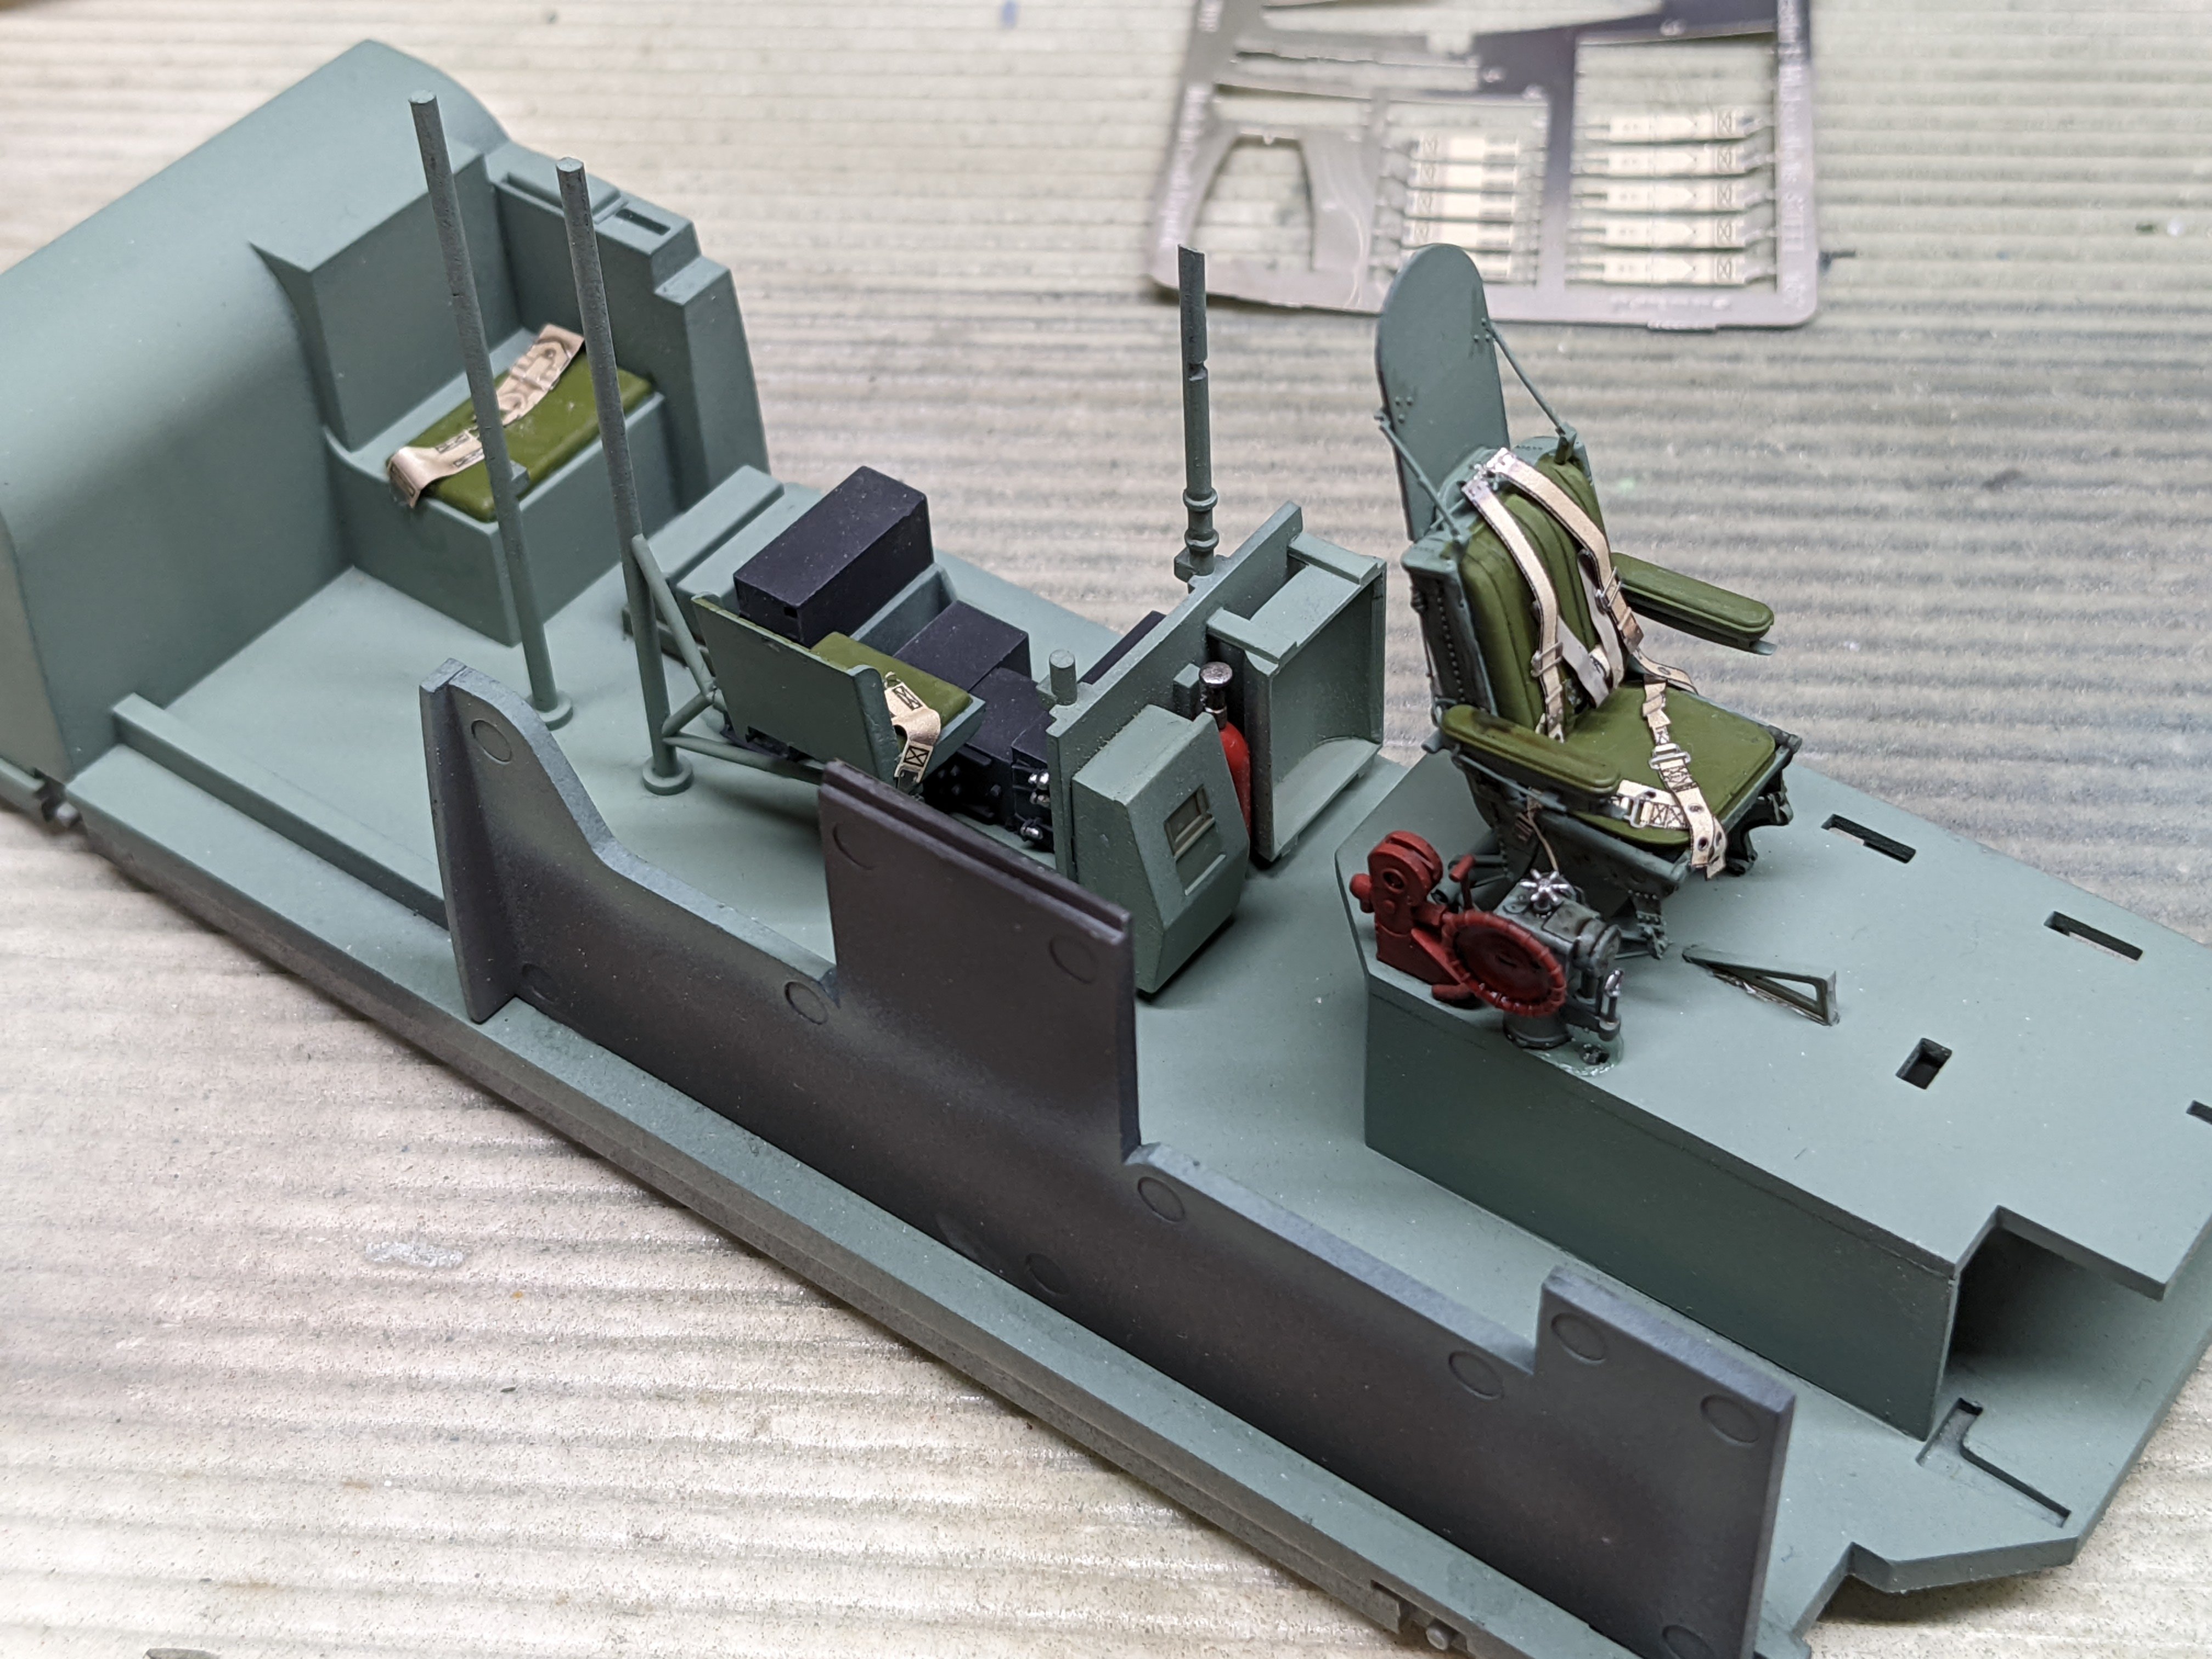
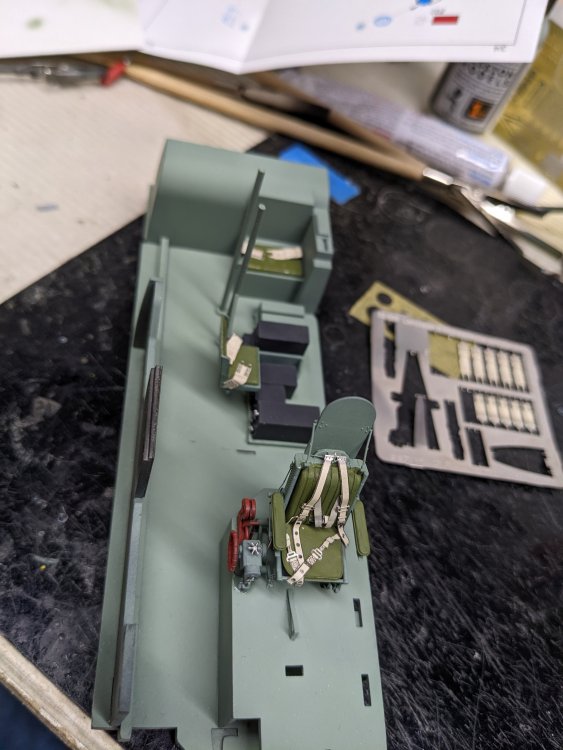
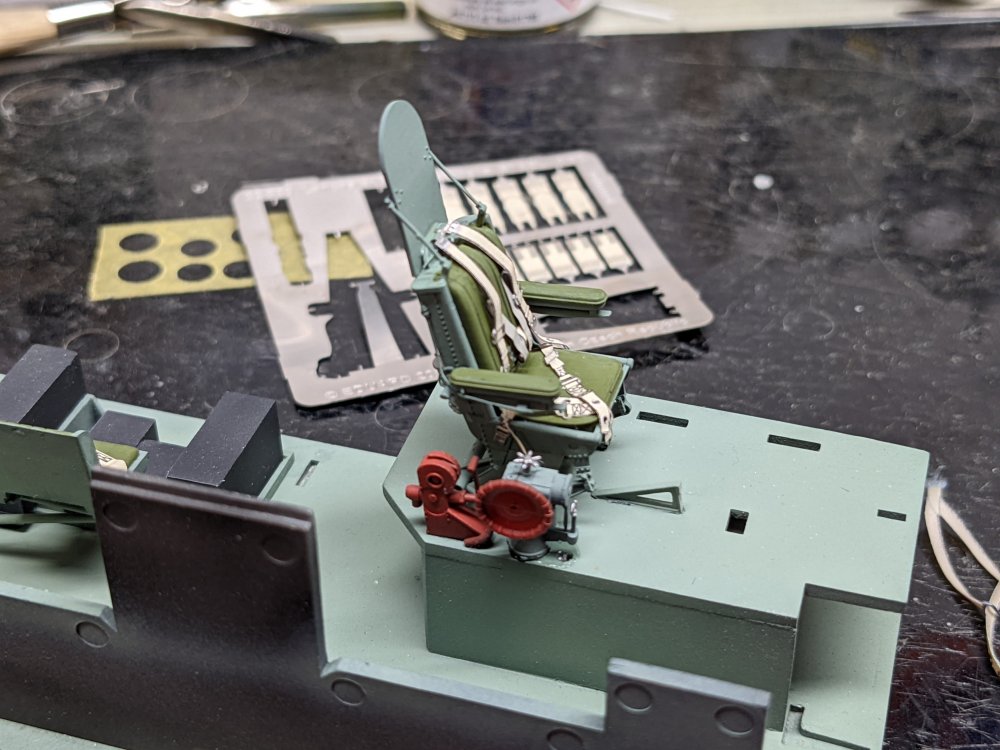
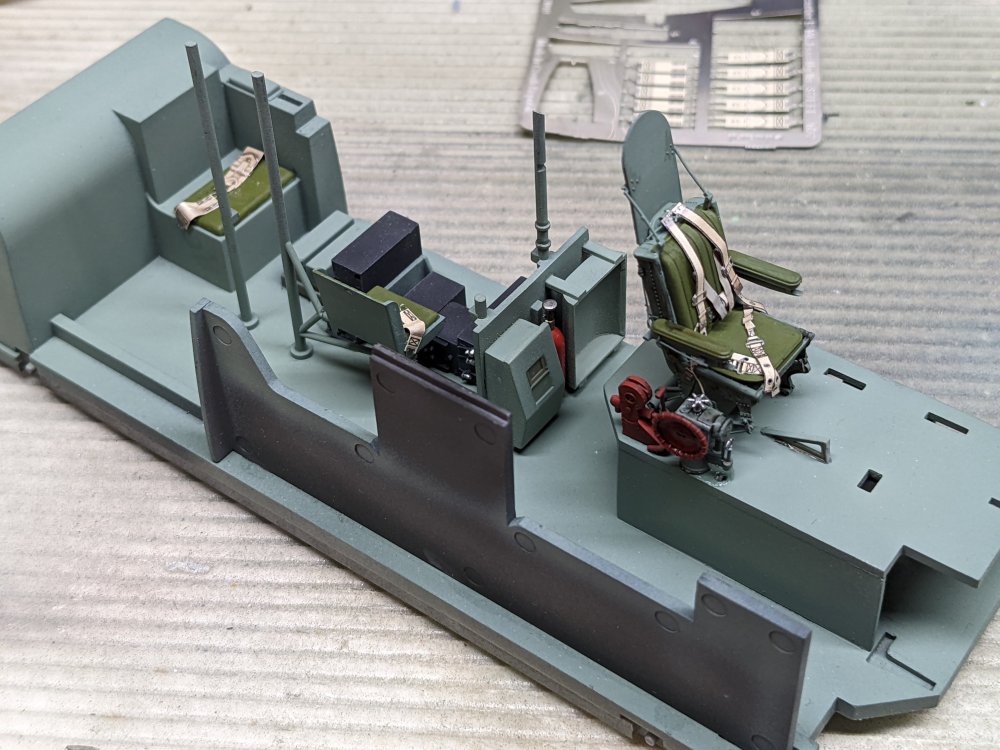
I got some work done in the cockpit. I used the Eduard seatbelts for the pilot and radio operater. I then added the navigator's seat and belts. Finally I added the navigator's table. The cockpit is starting to come together. Csrl

-
Peter, 3D printing has definitely been a game changer. Toronto these days is perpetual gridlock so the traffic in Chicago felt like home. Which is funny as folks often compare Toronto to Chicago.
-
Thanks Gary! When I realized the Chicago Skyline was getting bigger, my first thought was "So much for making good time". Lol
-
Interesting problem you had with the seatbelts Jeroen. The cockpit looks great and great to hear the other bits have worked as they should. Carl
-
Retirement may be closer than I thought......EVEN CLOSER NOW!!!
BlrwestSiR replied to ScottsGT's topic in General Discussion
You're probably right Harv. -
Retirement may be closer than I thought......EVEN CLOSER NOW!!!
BlrwestSiR replied to ScottsGT's topic in General Discussion
Congrats Scott! I have no idea when I'm retiring. Unless you call quitting my job 8 1/2 years old to be a stay-at-home dad and doing odd small jobs retired. Semi-retired? Carl -
Thanks Gus! The border crossing took an hour between lining to get on the bridge and then waiting to go through customs. Plus I made a wrong turn at some point and we ended up driving through Chicago rather than around it. Carl
-
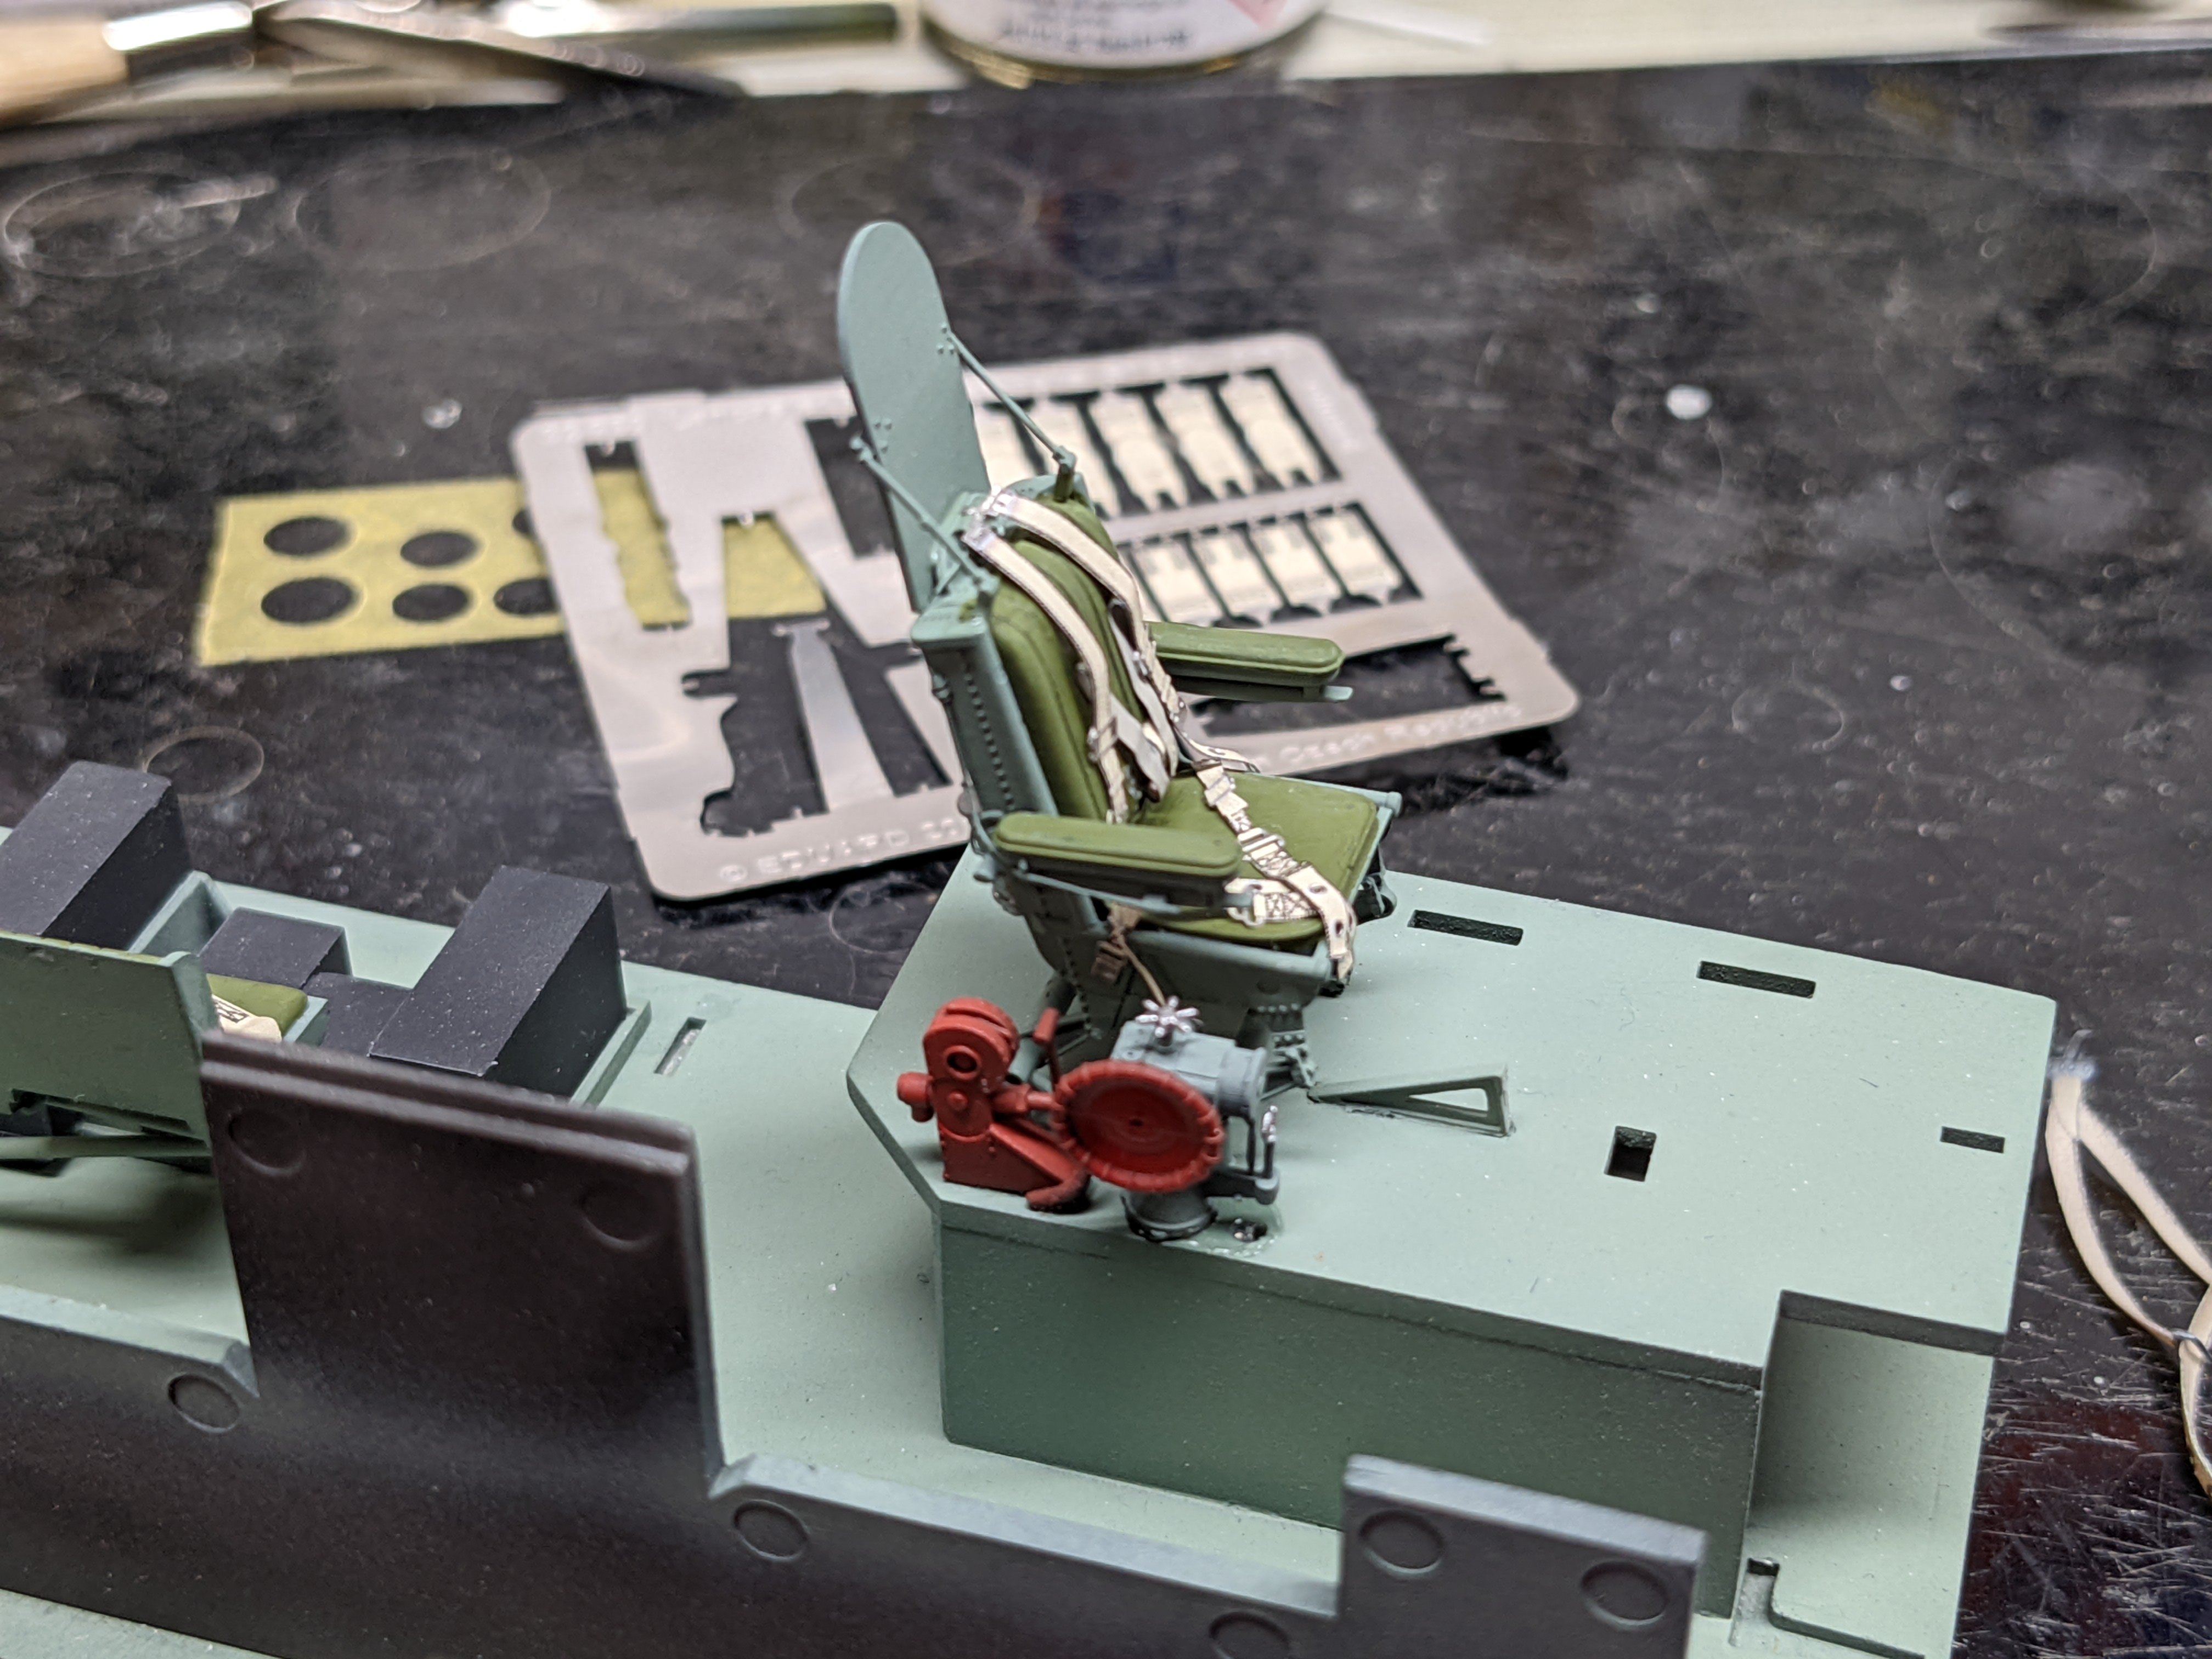
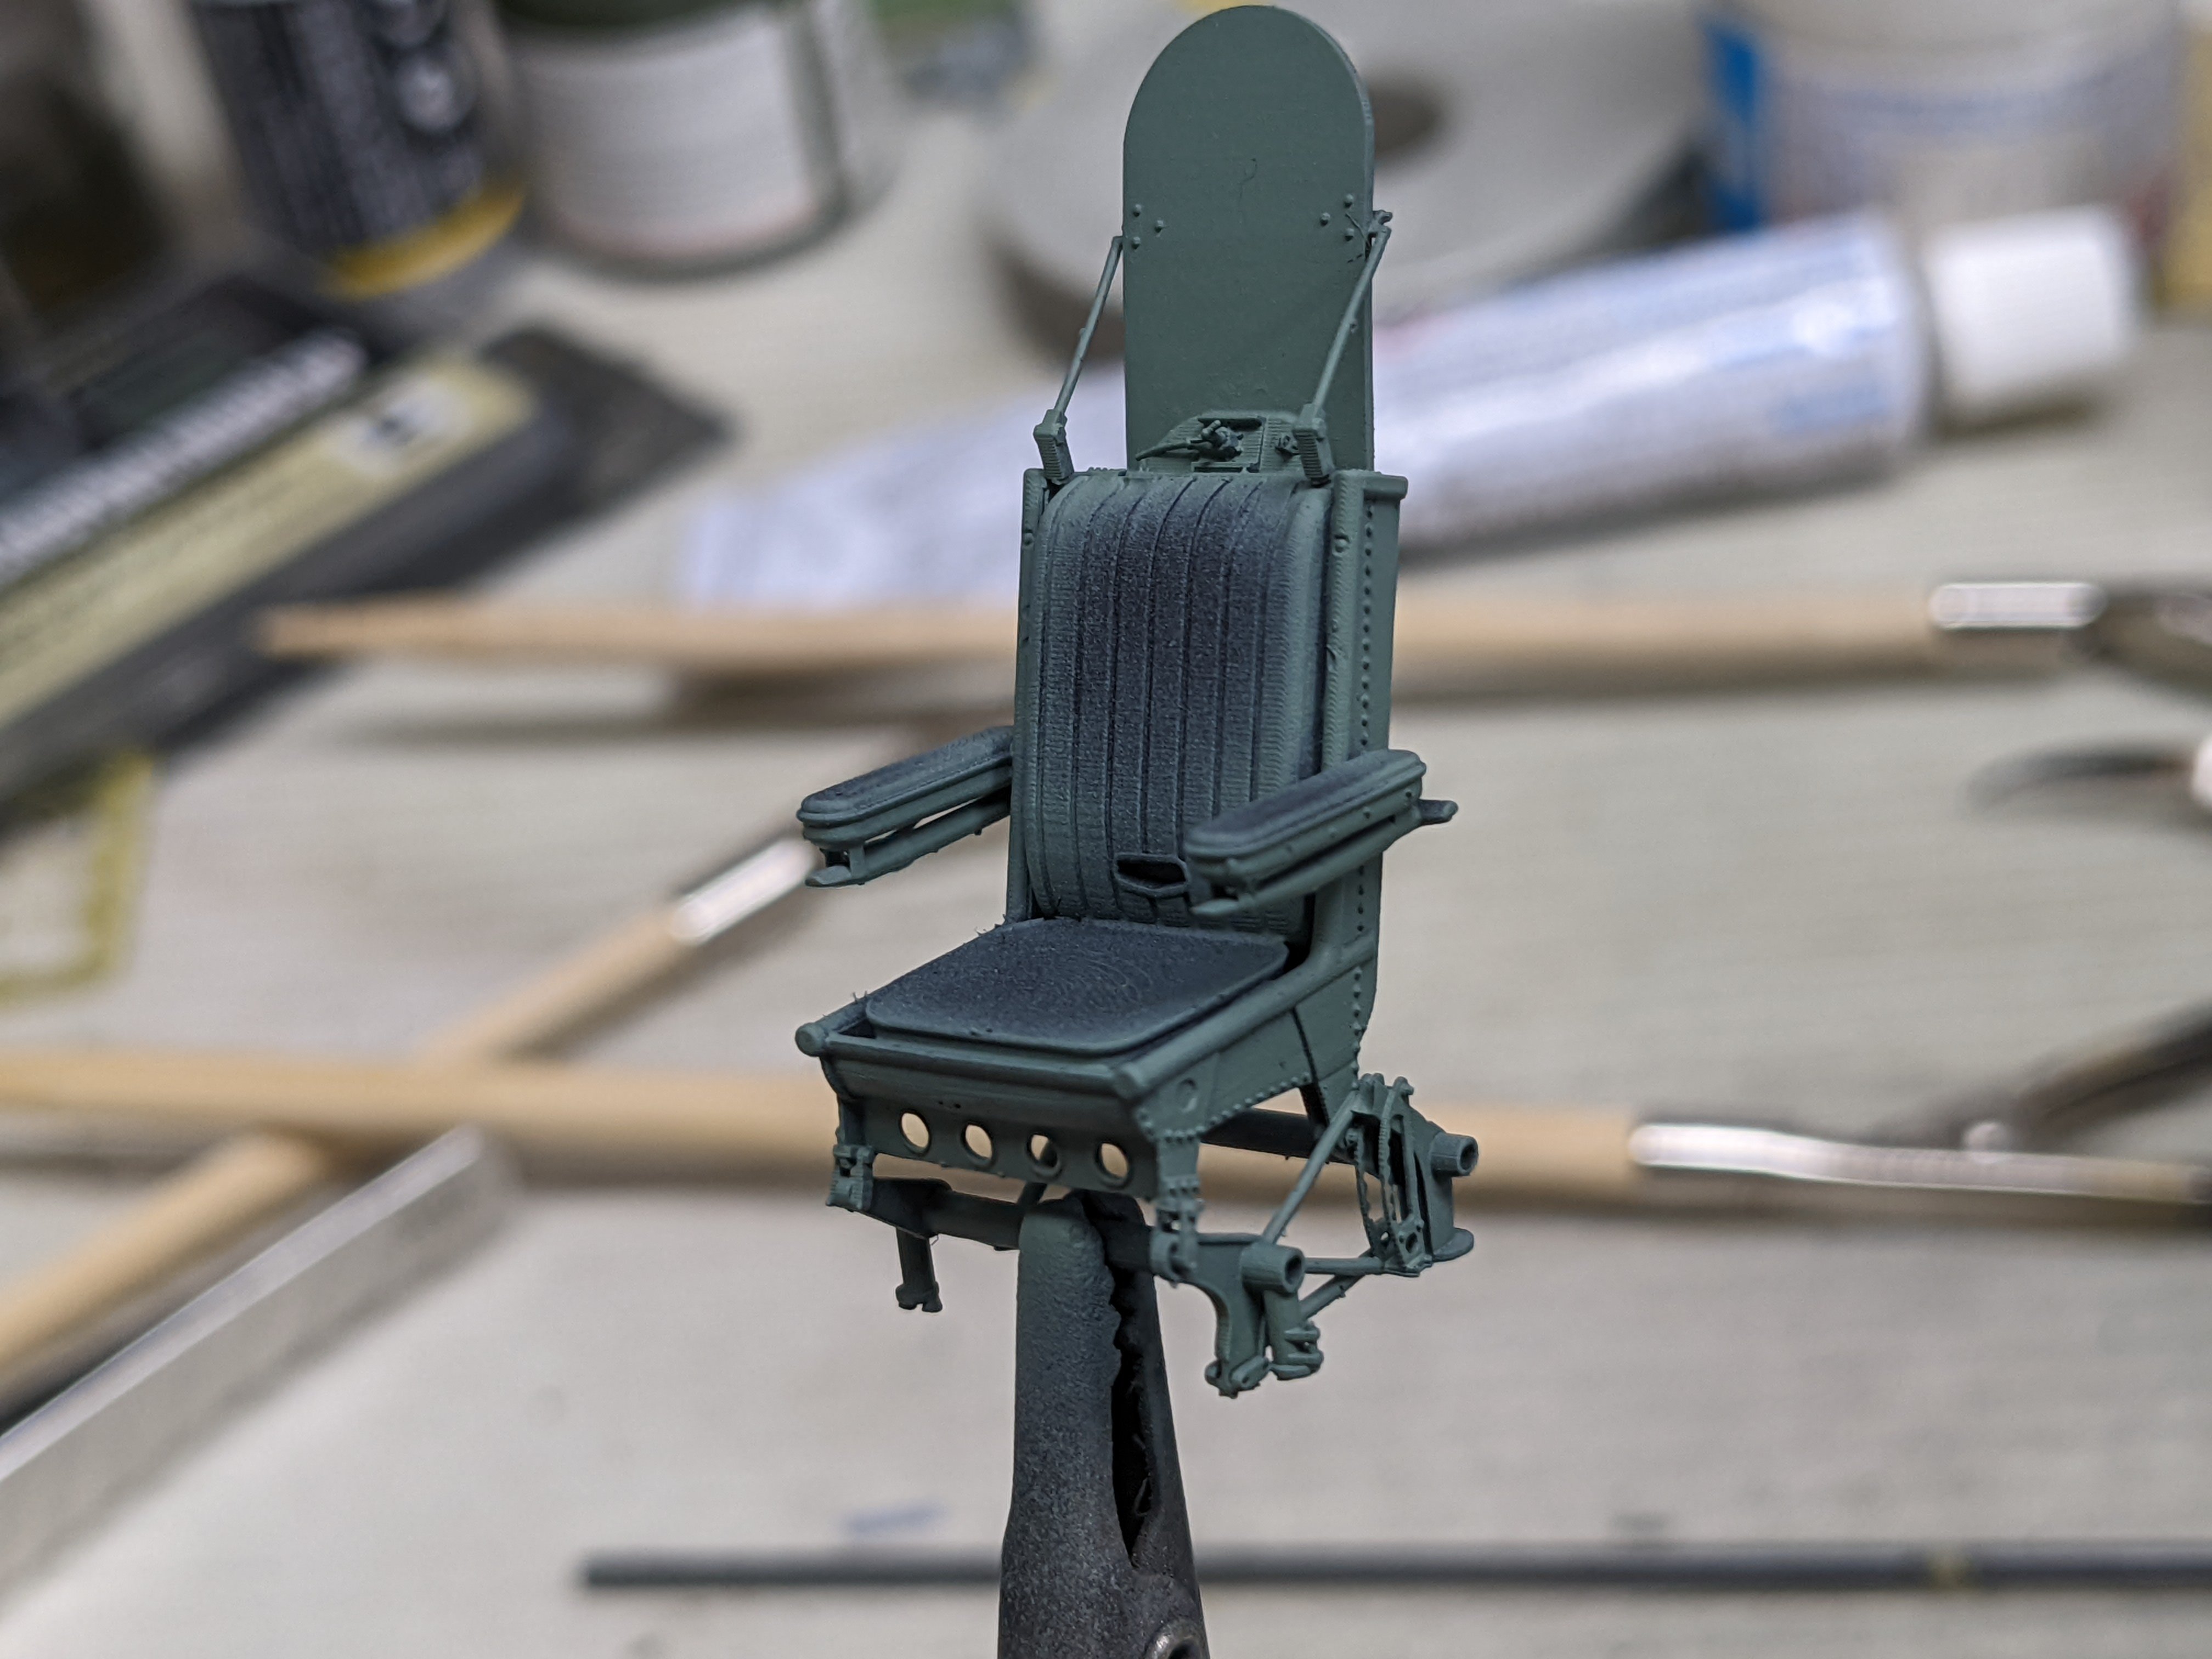
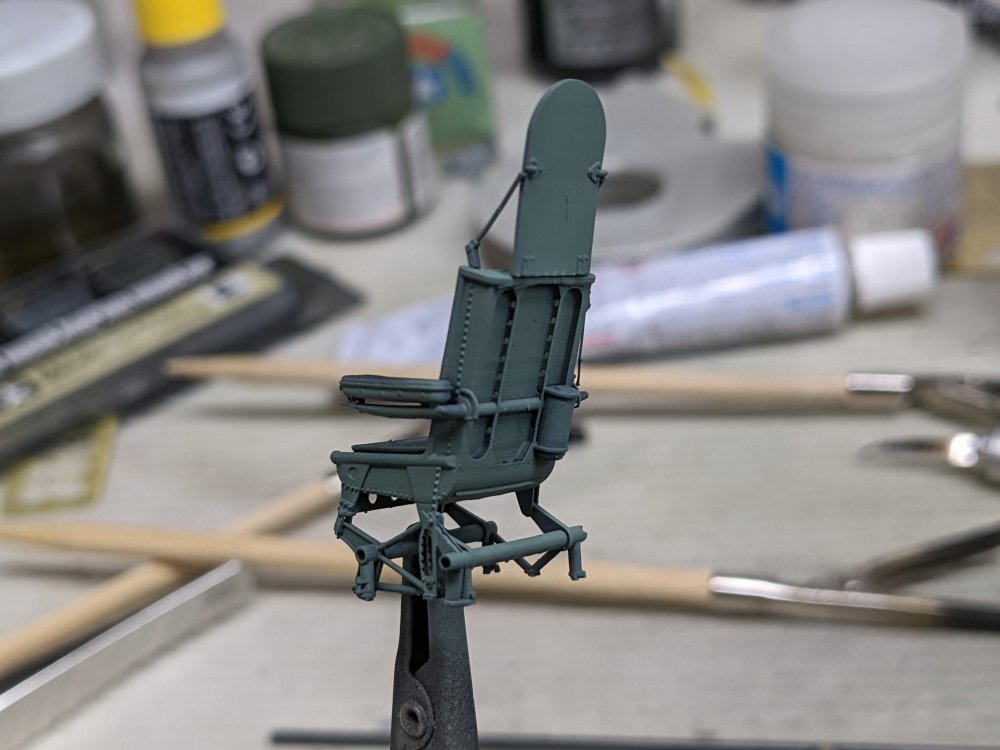
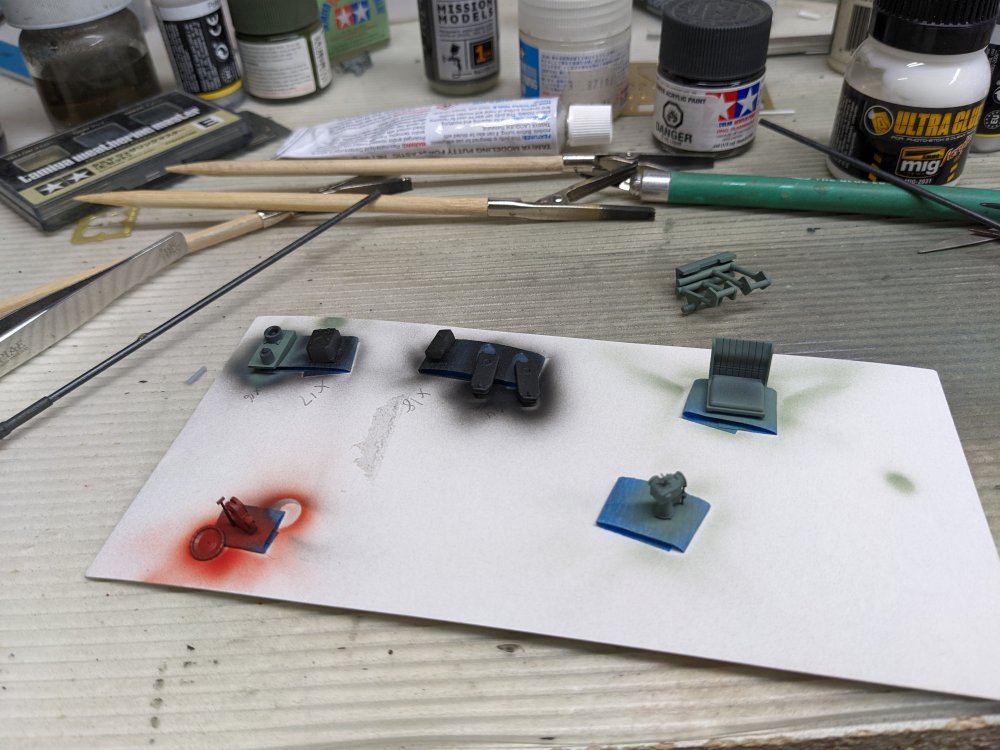
Well I'm back from visiting family in Wisconsin for the last week and after a day to recover from the 14 hours in the car, in back at the bench and working on the Lanc. I got a coat of paint onto the Resin2Detail pilot's seat. The details really started to pop at this point. I was surprised by the holes in the rear uprights of the seatback. Definitely some exceptional detail there. I then got some more paint onto other cockpit parts. So maybe not a lot but I'm hoping for some more progress tonight after dinner. Carl

-
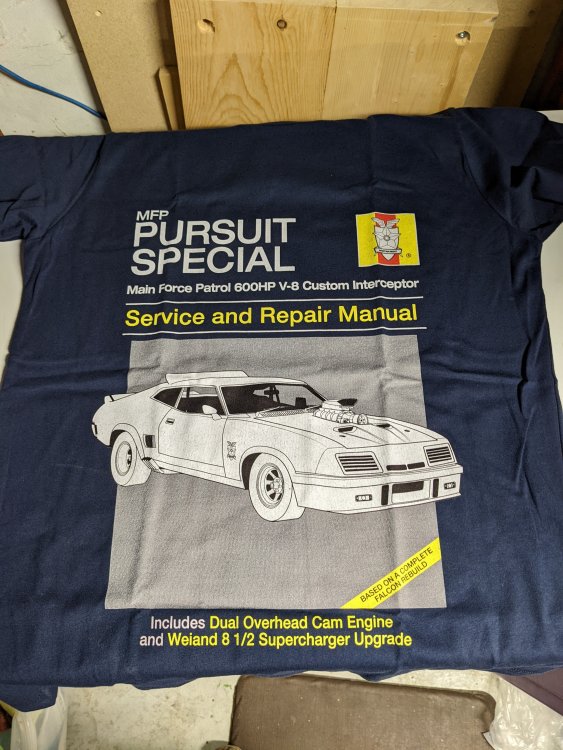
Got a new tee shirt in the mail today. Well, Friday actually but just opened it.
- 2,036 replies
-
- 5
-
-
-
- car related stuff
- anything about cars
- (and 6 more)
-
Nice subject there Mike. My vote is the DXM decals. Carl
-
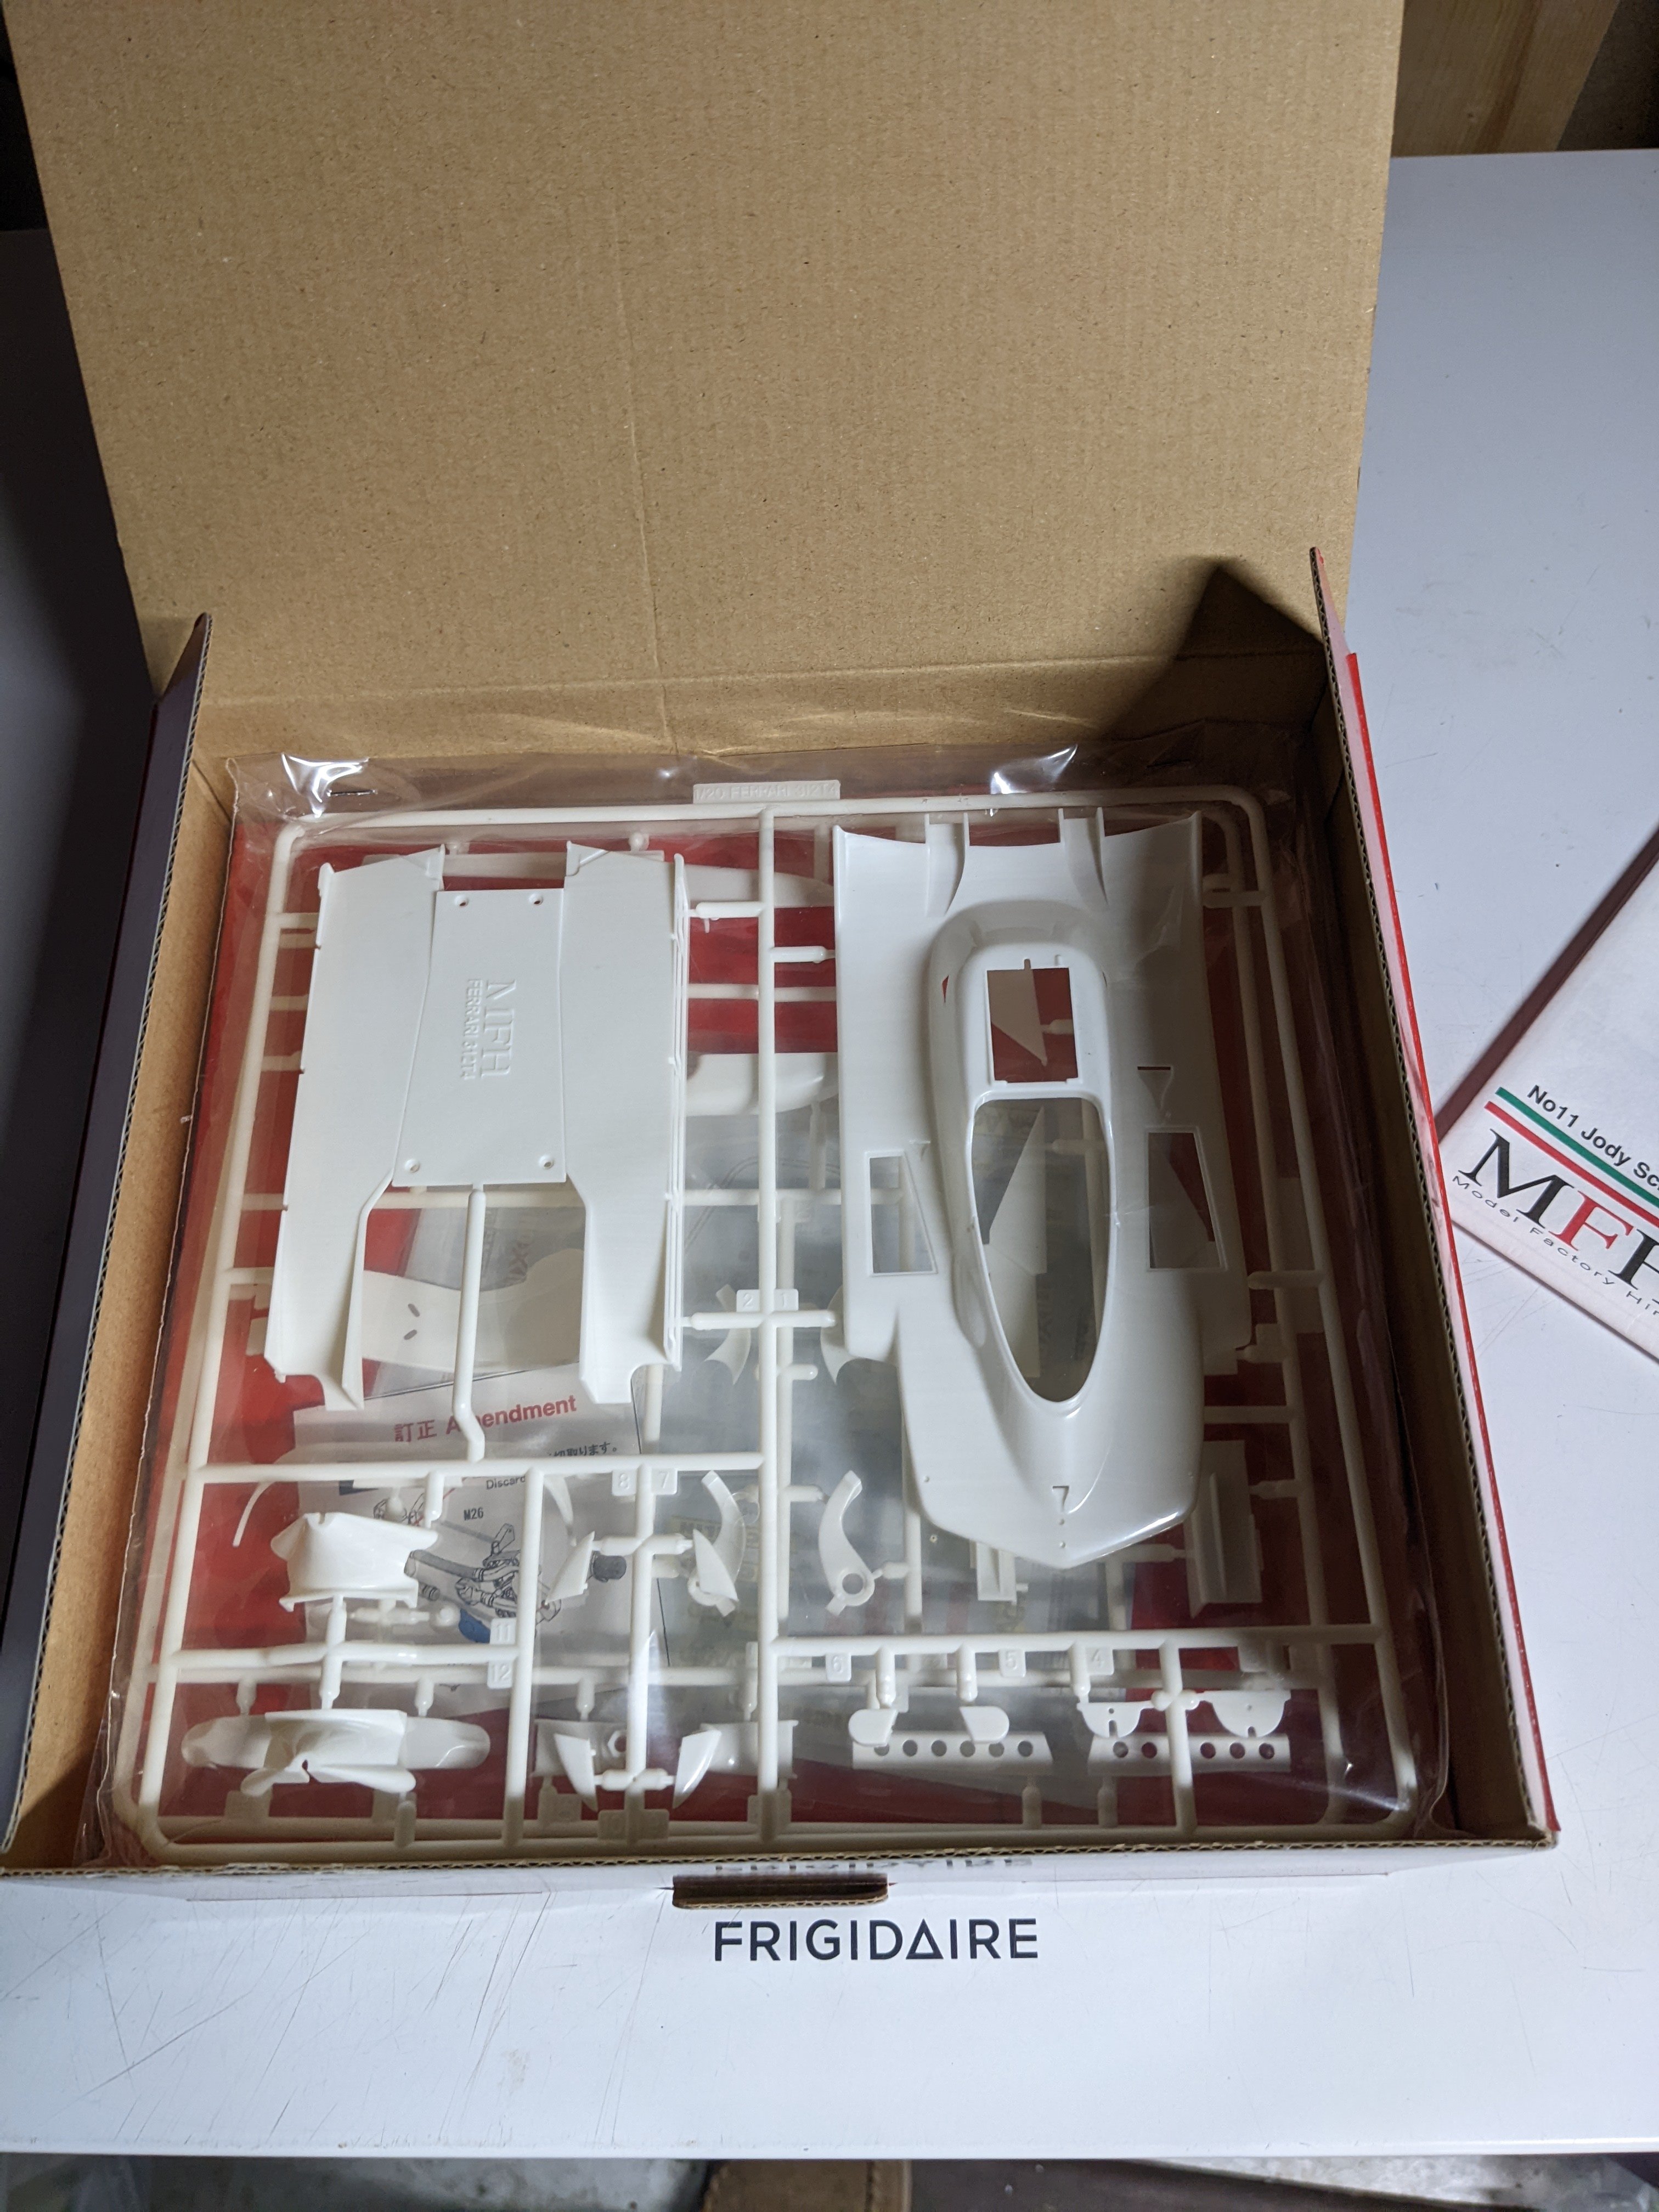
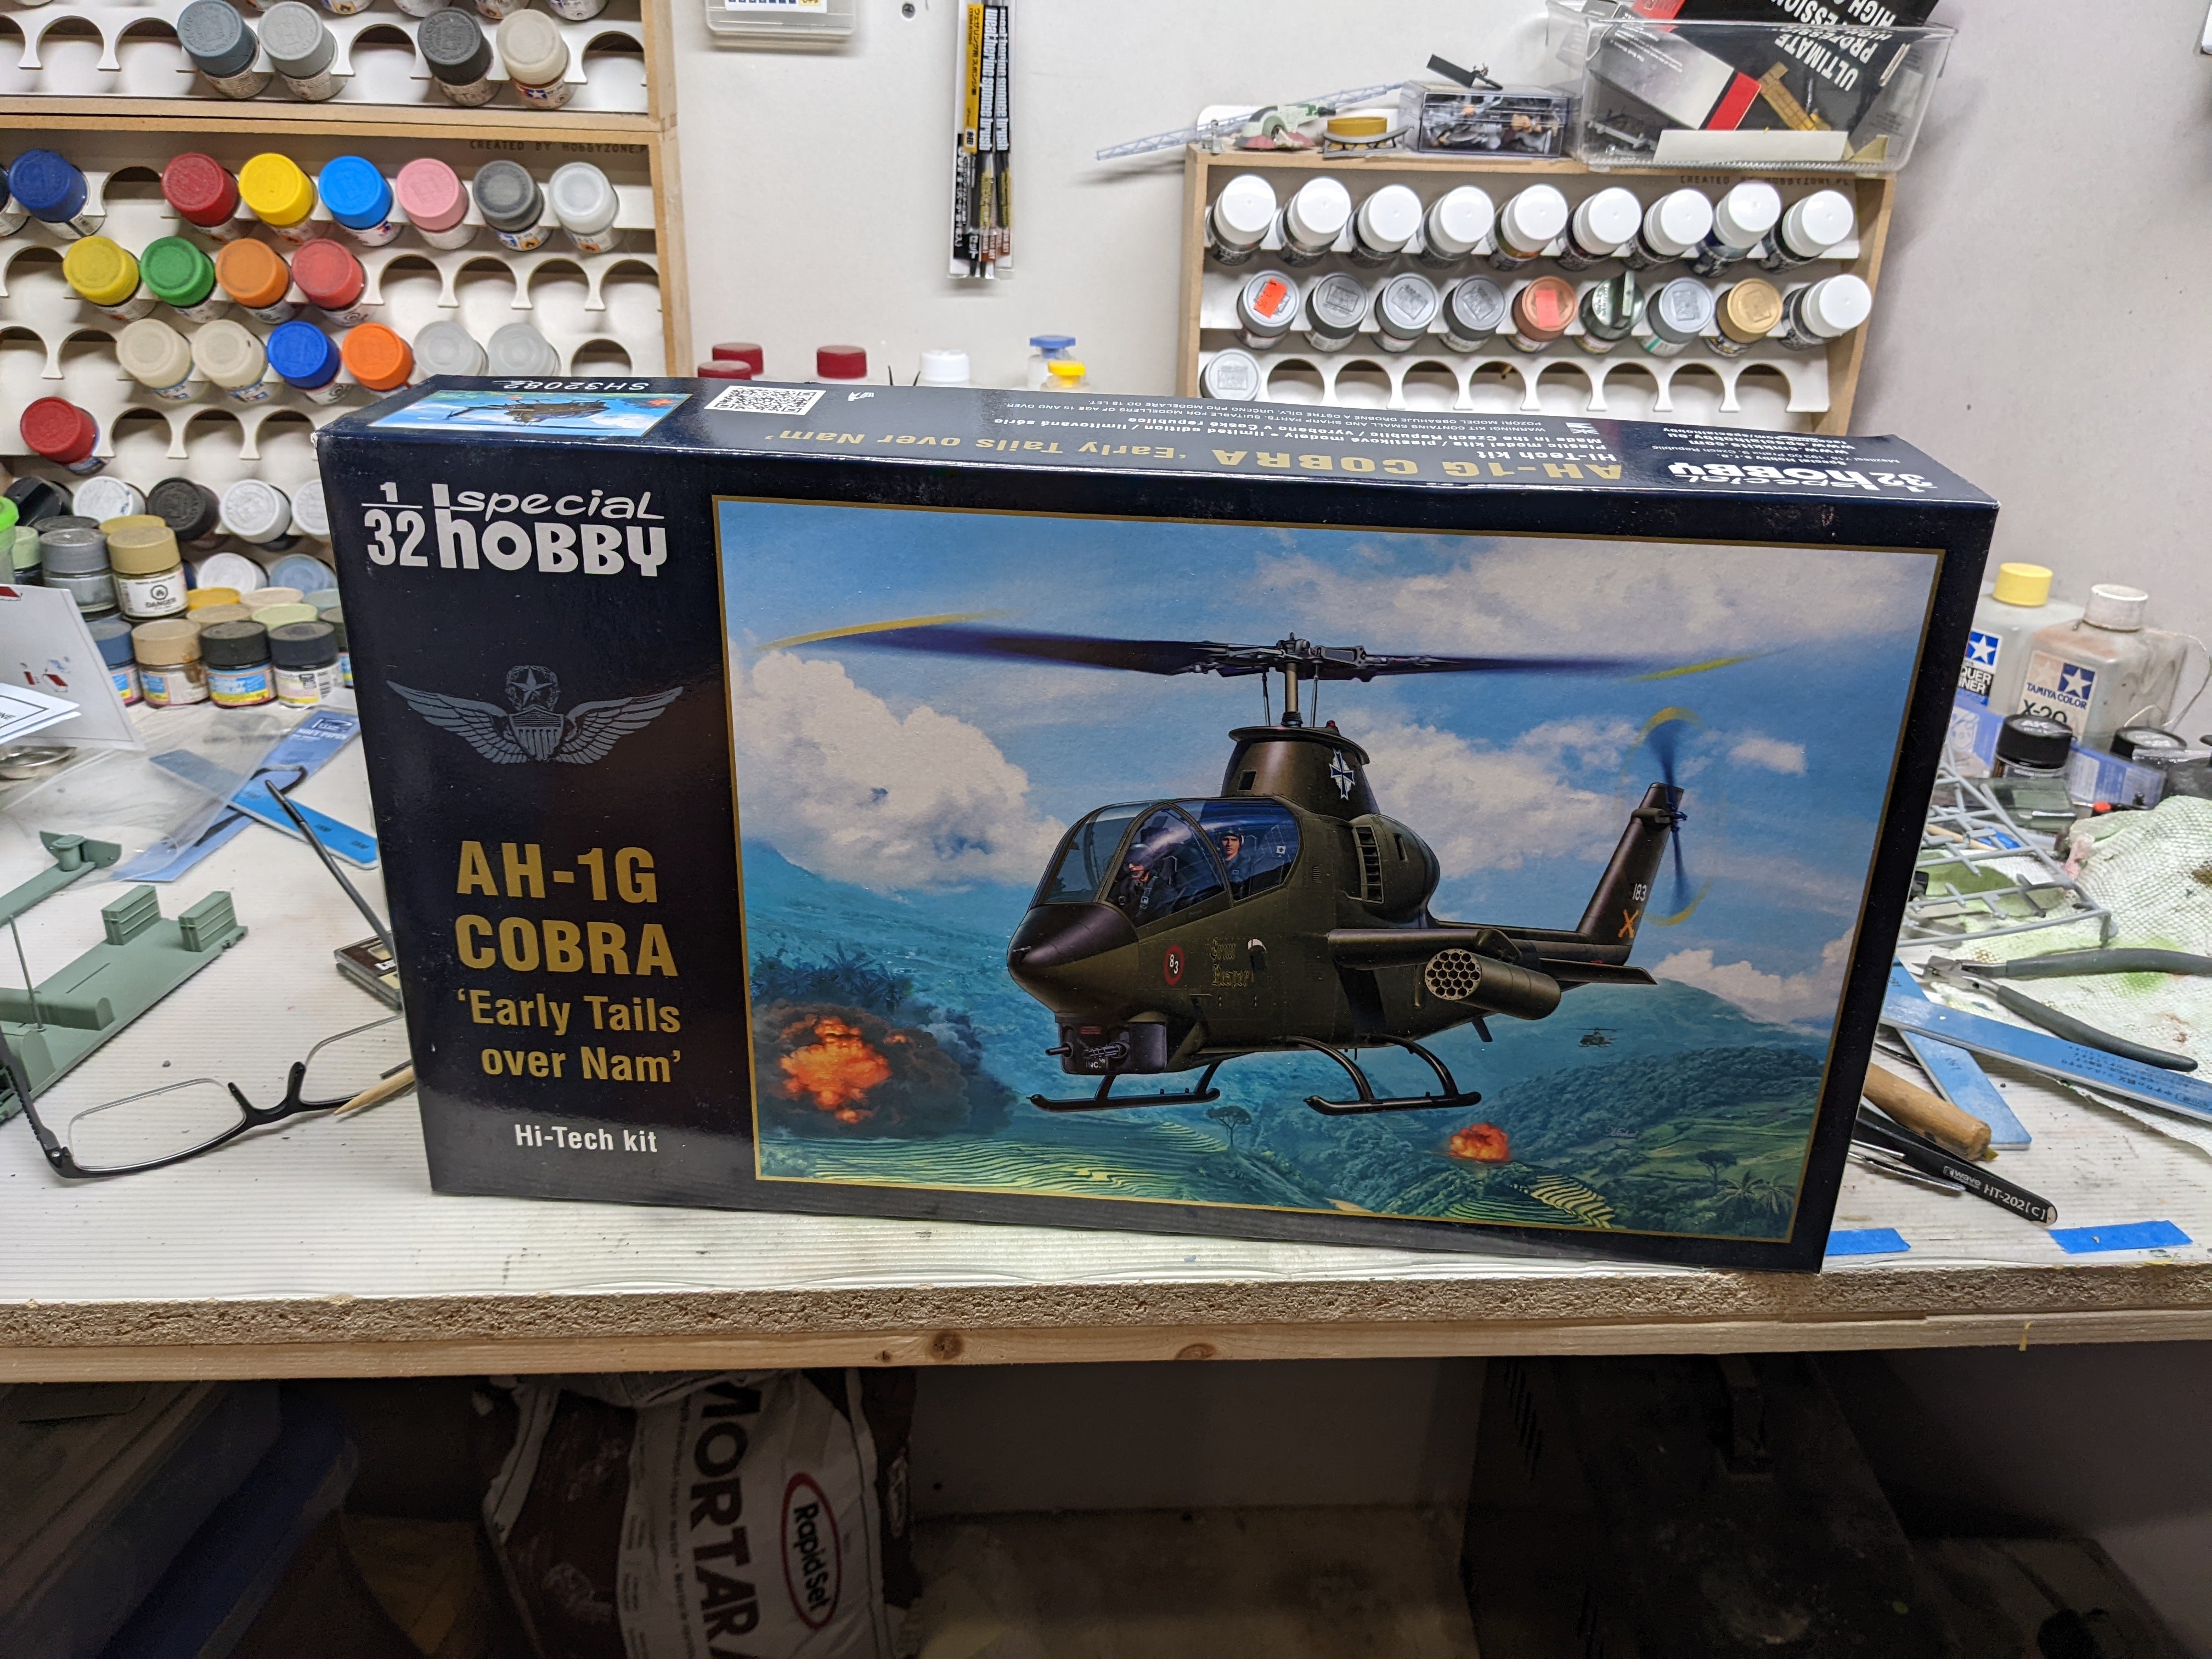
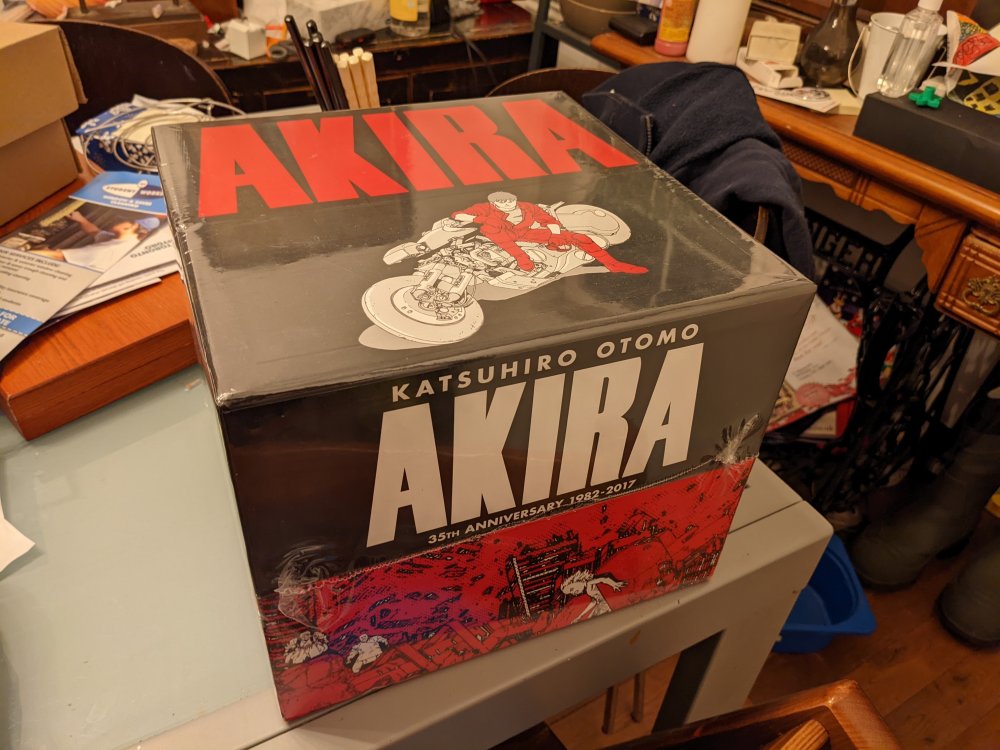
Just drove home from Wisconsin where we visited my sister and her family. 14 hours in the car. Picked this up while I was there. One heavy boxset. When I got home, my neighbours kindly brought this in for me as it had arrived from Vancouver.

-
I did now that you mentioned it. Any closer shots?