The Great LSM Twins Group Build ends July 3, 2024
×


BlrwestSiR
-
Posts
7,462 -
Joined
-
Last visited
Content Type
Profiles
Forums
Events
Gallery
Everything posted by BlrwestSiR
-
I'm liking the bronze look myself. I have a set of Koenig Heliums on my Beat in the bronze. They're great with the burnt orange that the car is. Had to do a +2 fit to find tires that would fit due to the stagger. I'm hoping to find something similar for our next car which might be dark blue.
- 1,825 replies
-
- 2
-

-
- car related stuff
- anything about cars
- (and 6 more)
-
Ernie, it does doesn't it?
-
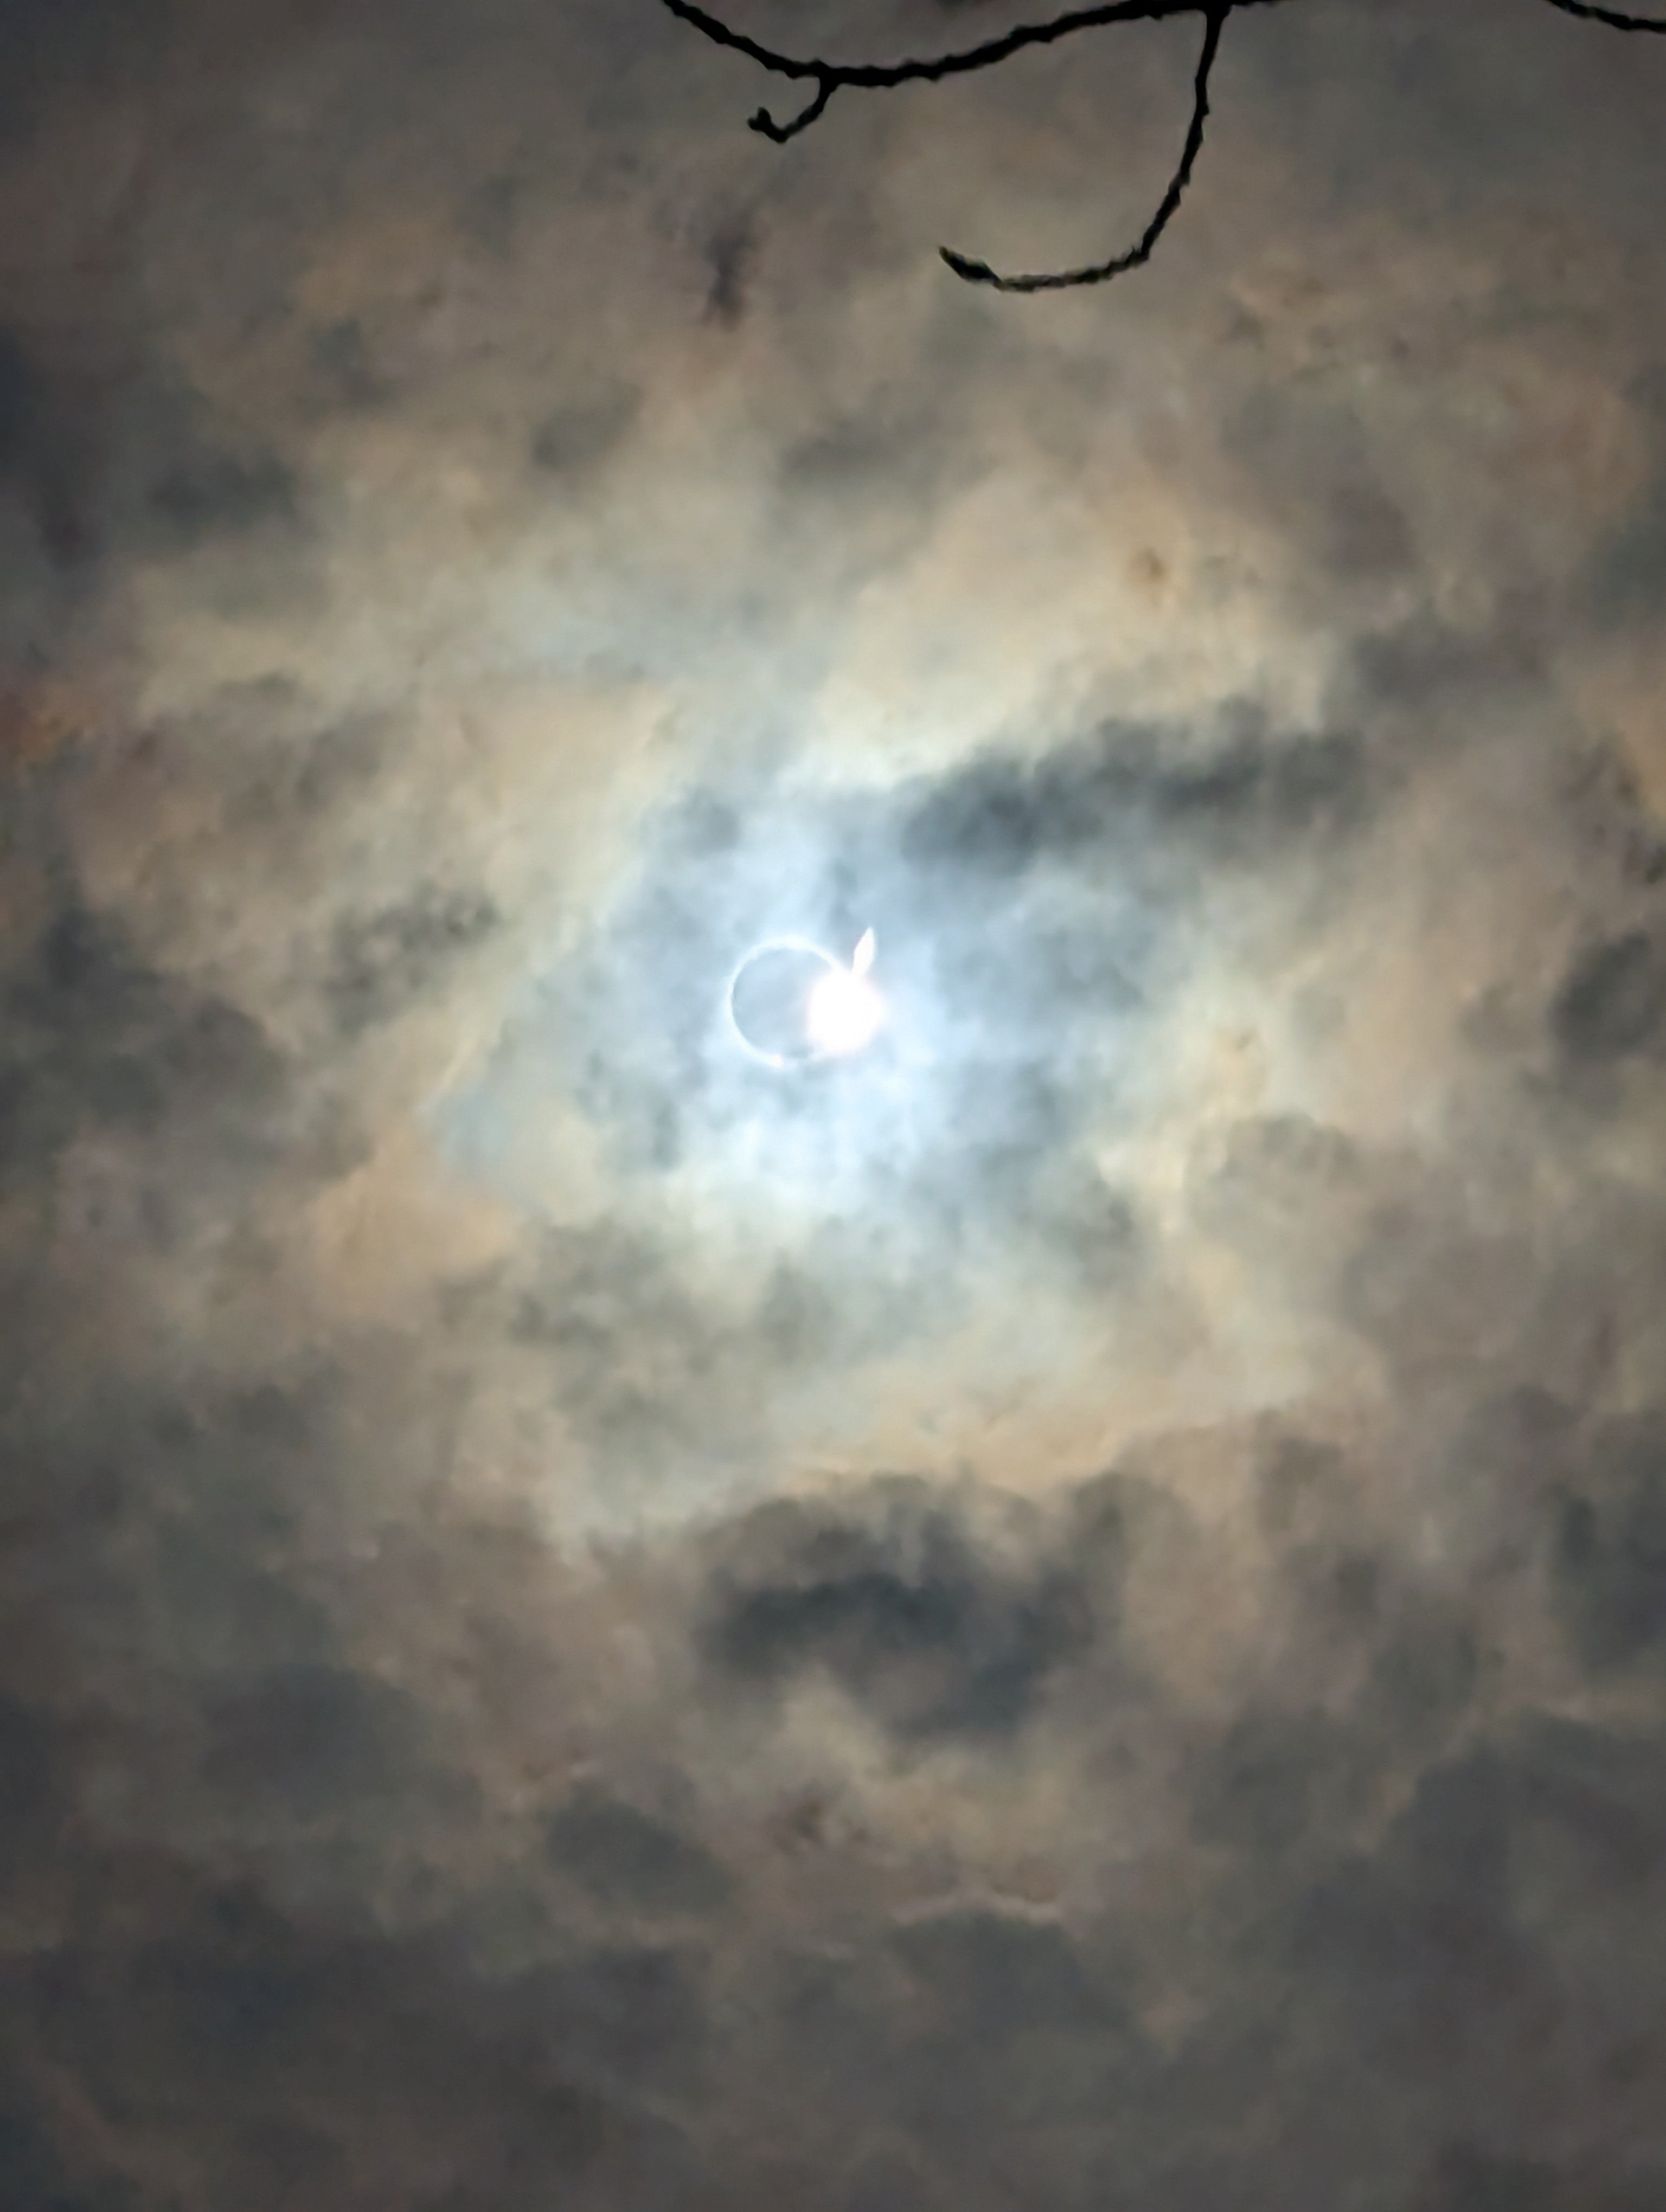
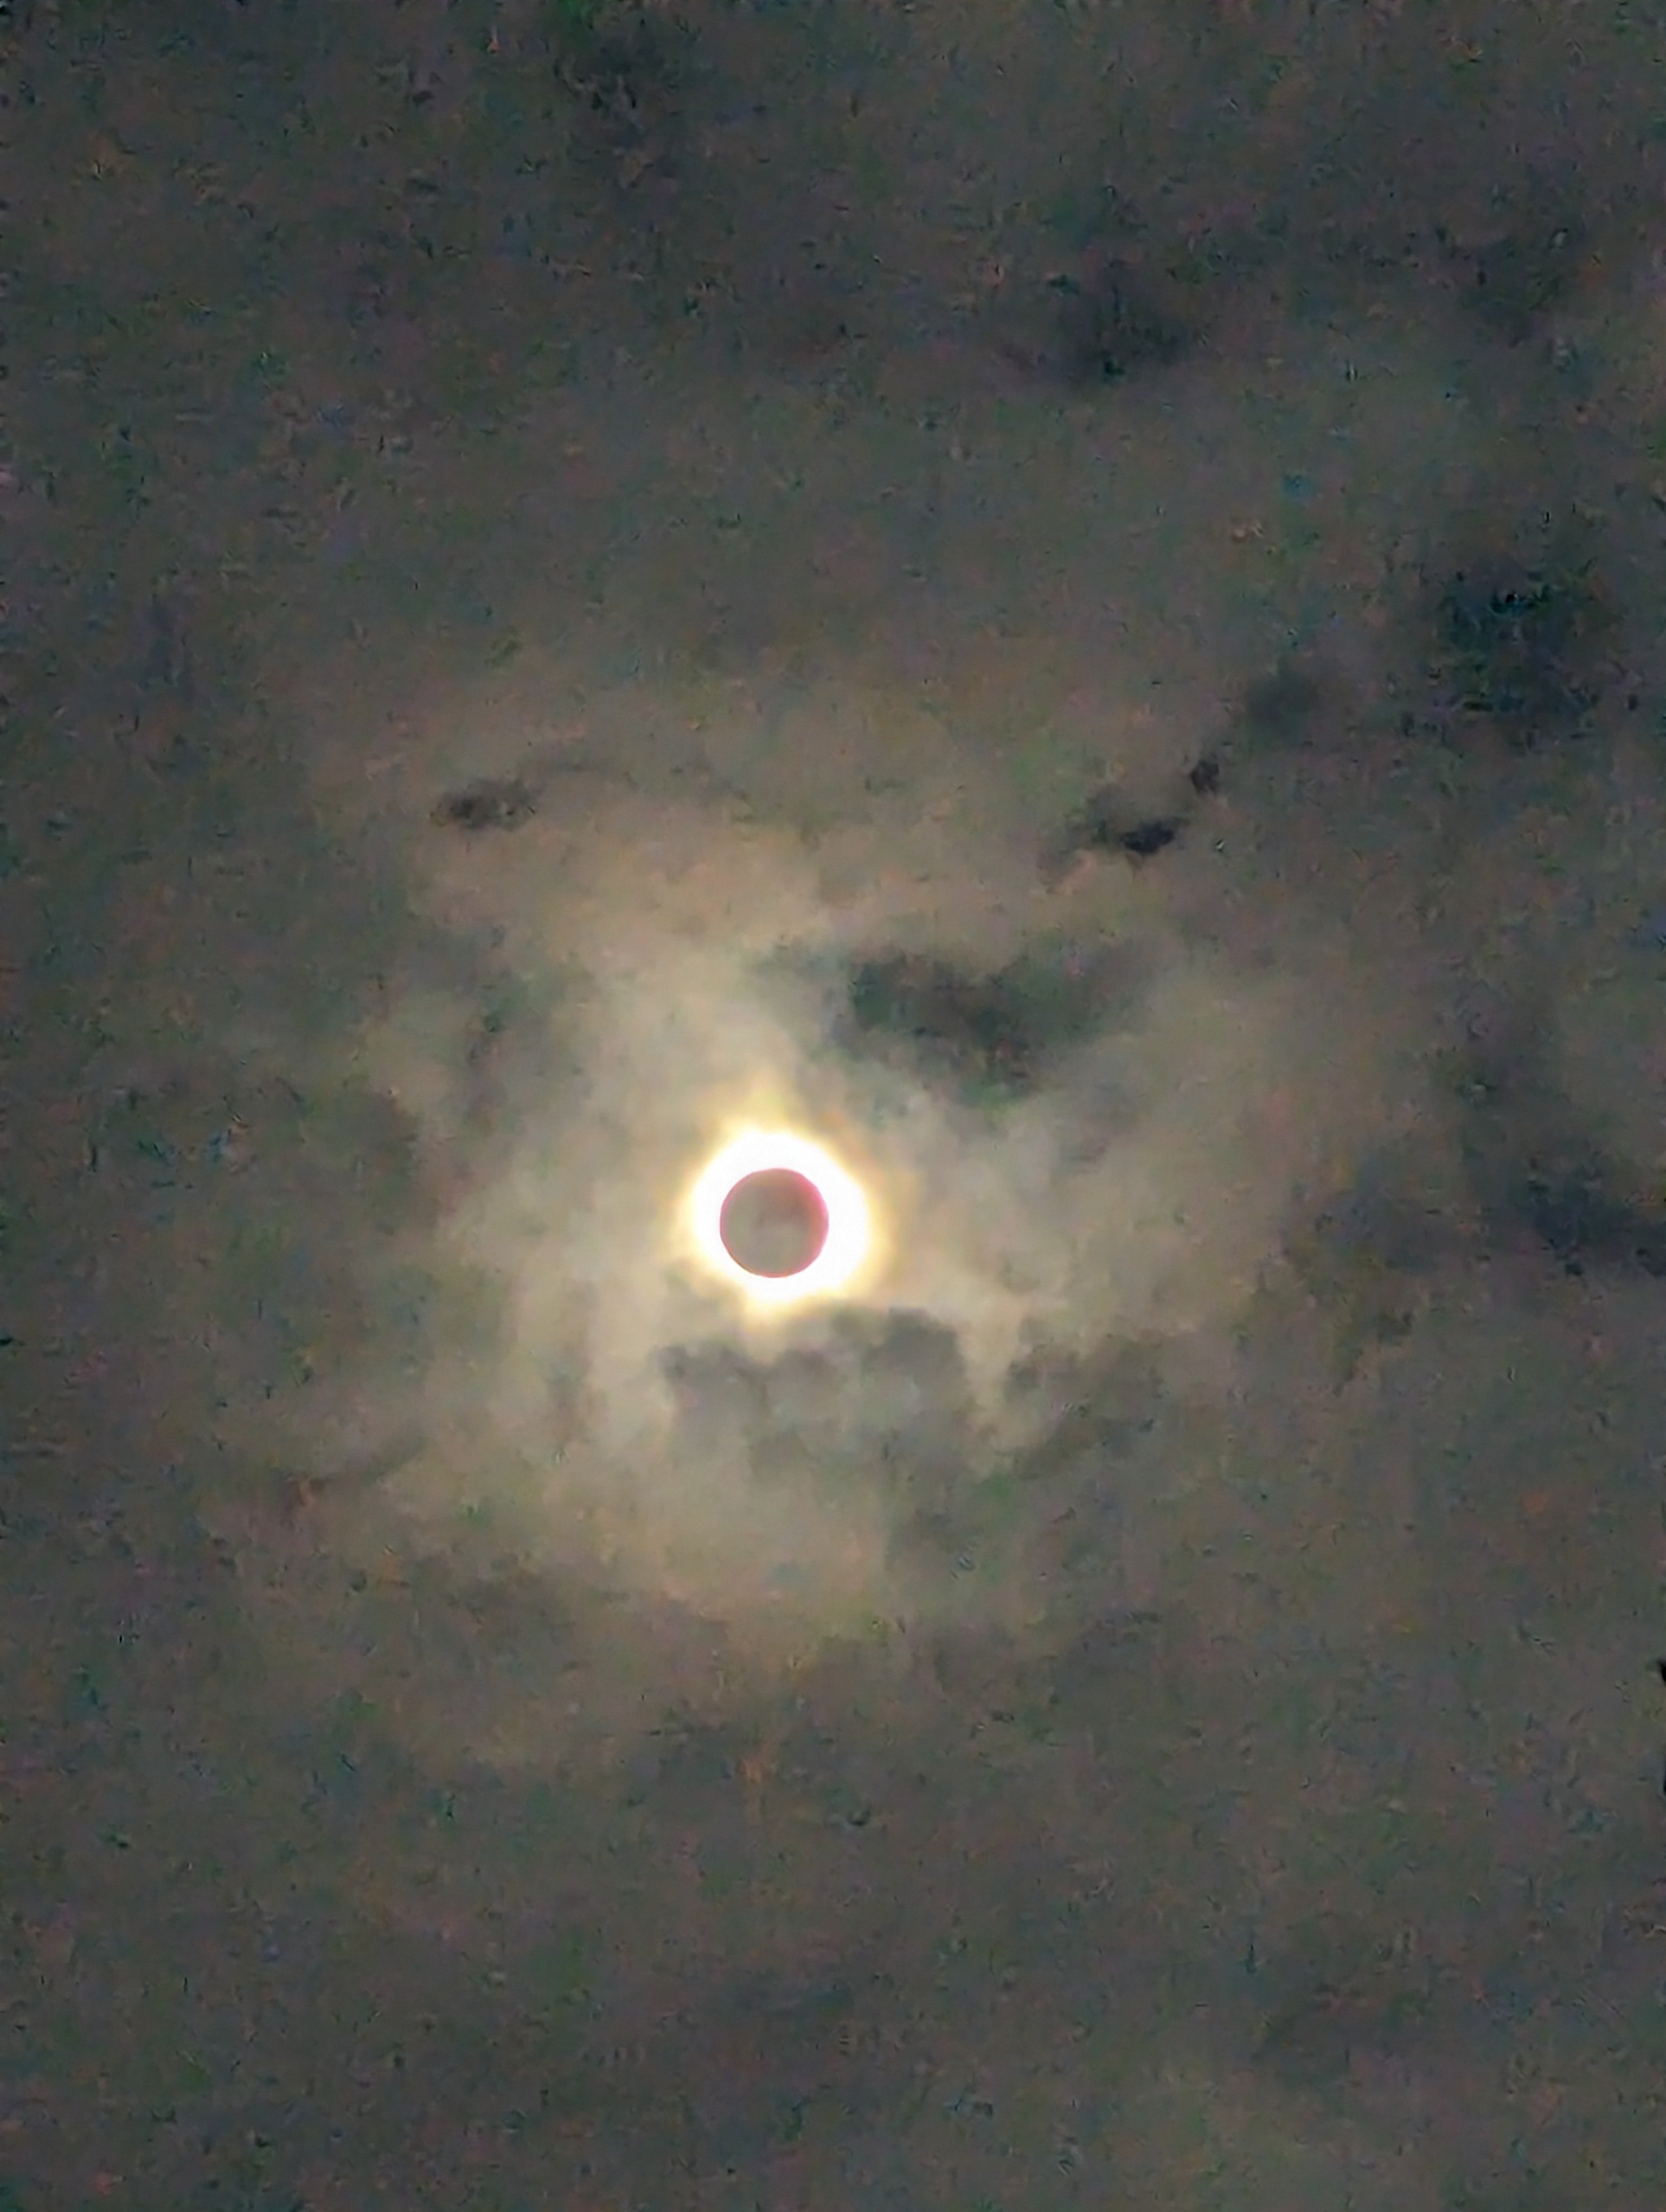
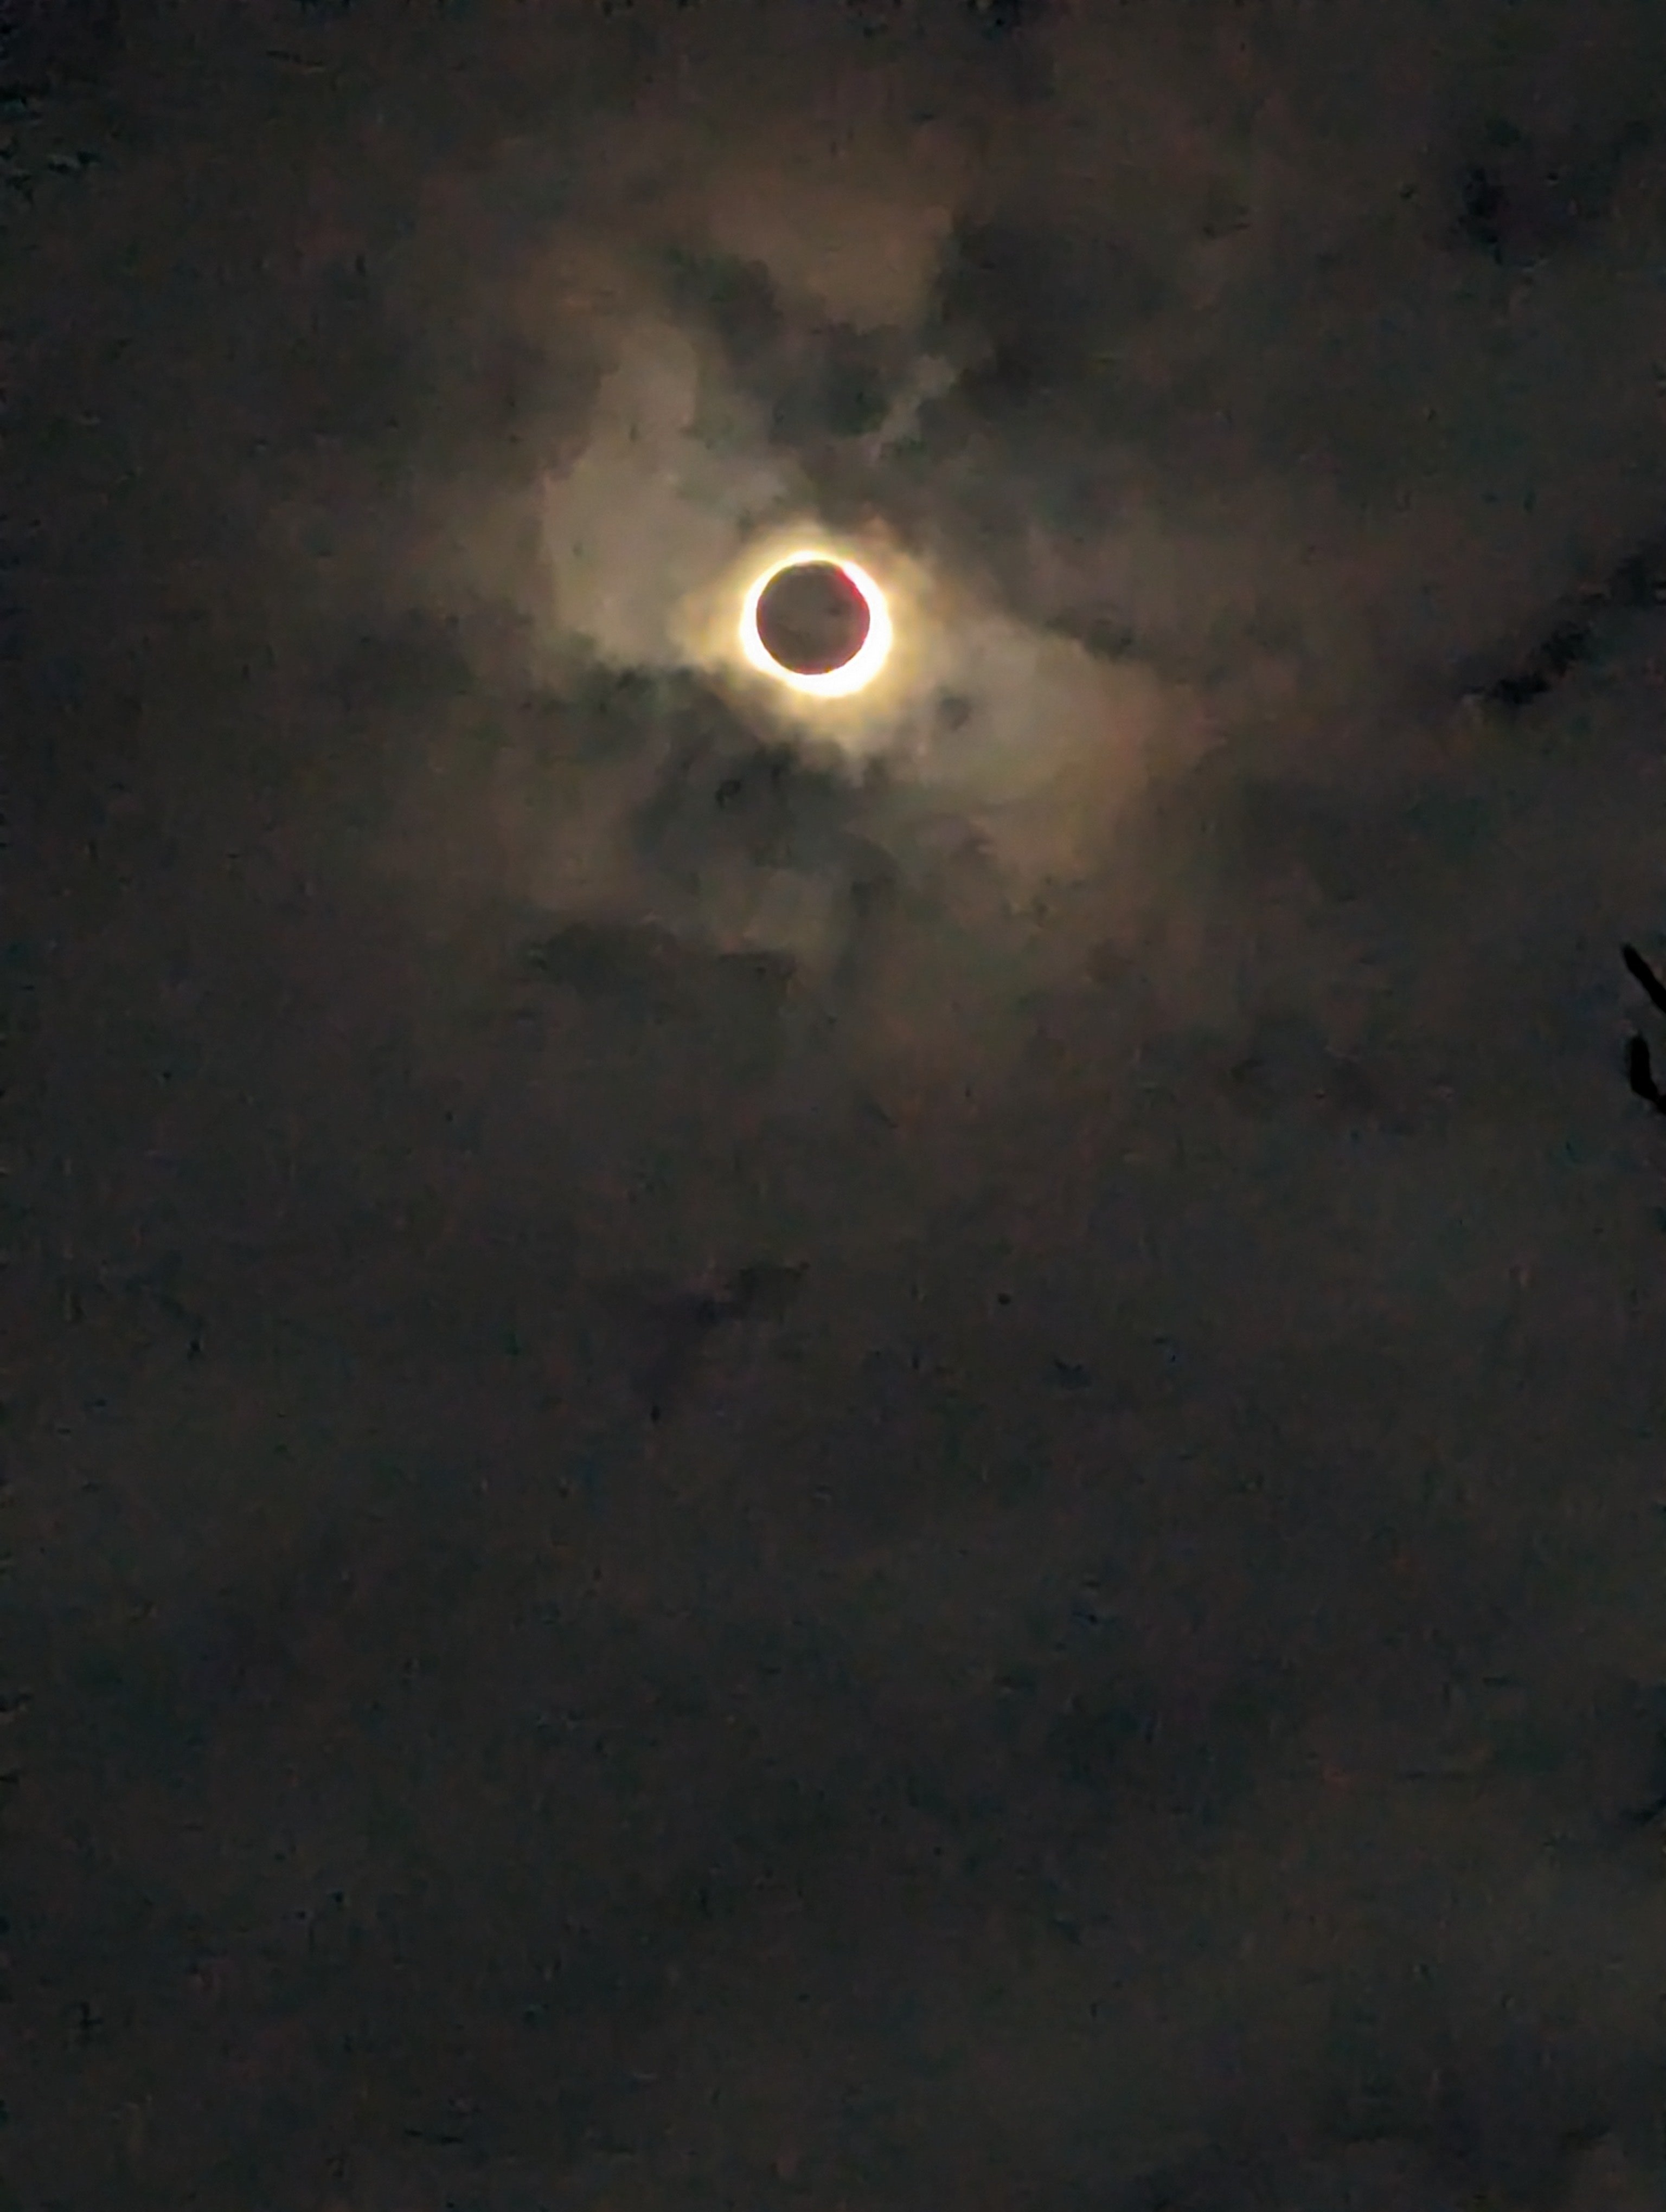
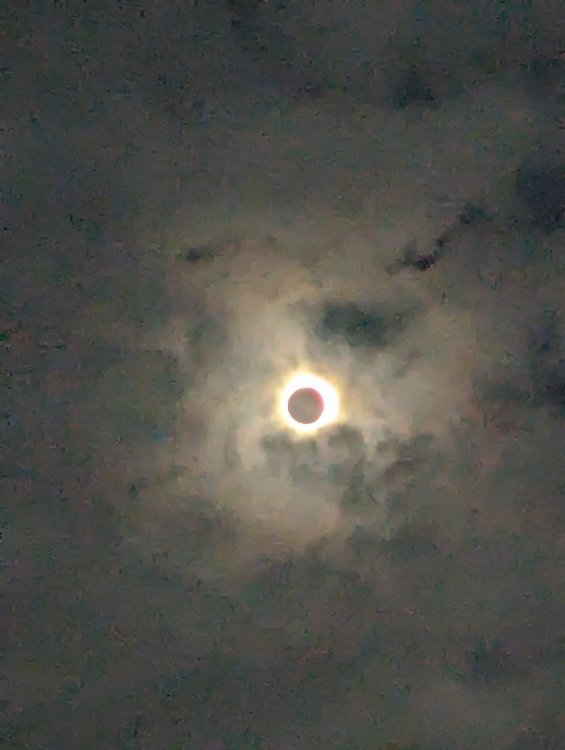
Ours was just over 3 minutes long. Just finished. The clouds broke just enough to see it.


-
Nice scheme there John. I've heard the kit is like a smaller version of the Tamiya kit.
-
It's just started up here. We drove to Hamilton so hopefully will see a total eclipse as Toronto will only get a partial one. Right now it's overcast but it looks like we're getting some breaks in the cloud cover.
-

Anyone make a hard wing conversion for the Revell F-4E?
BlrwestSiR replied to ScottsGT's topic in Modelling Discussion
It does indeed. -
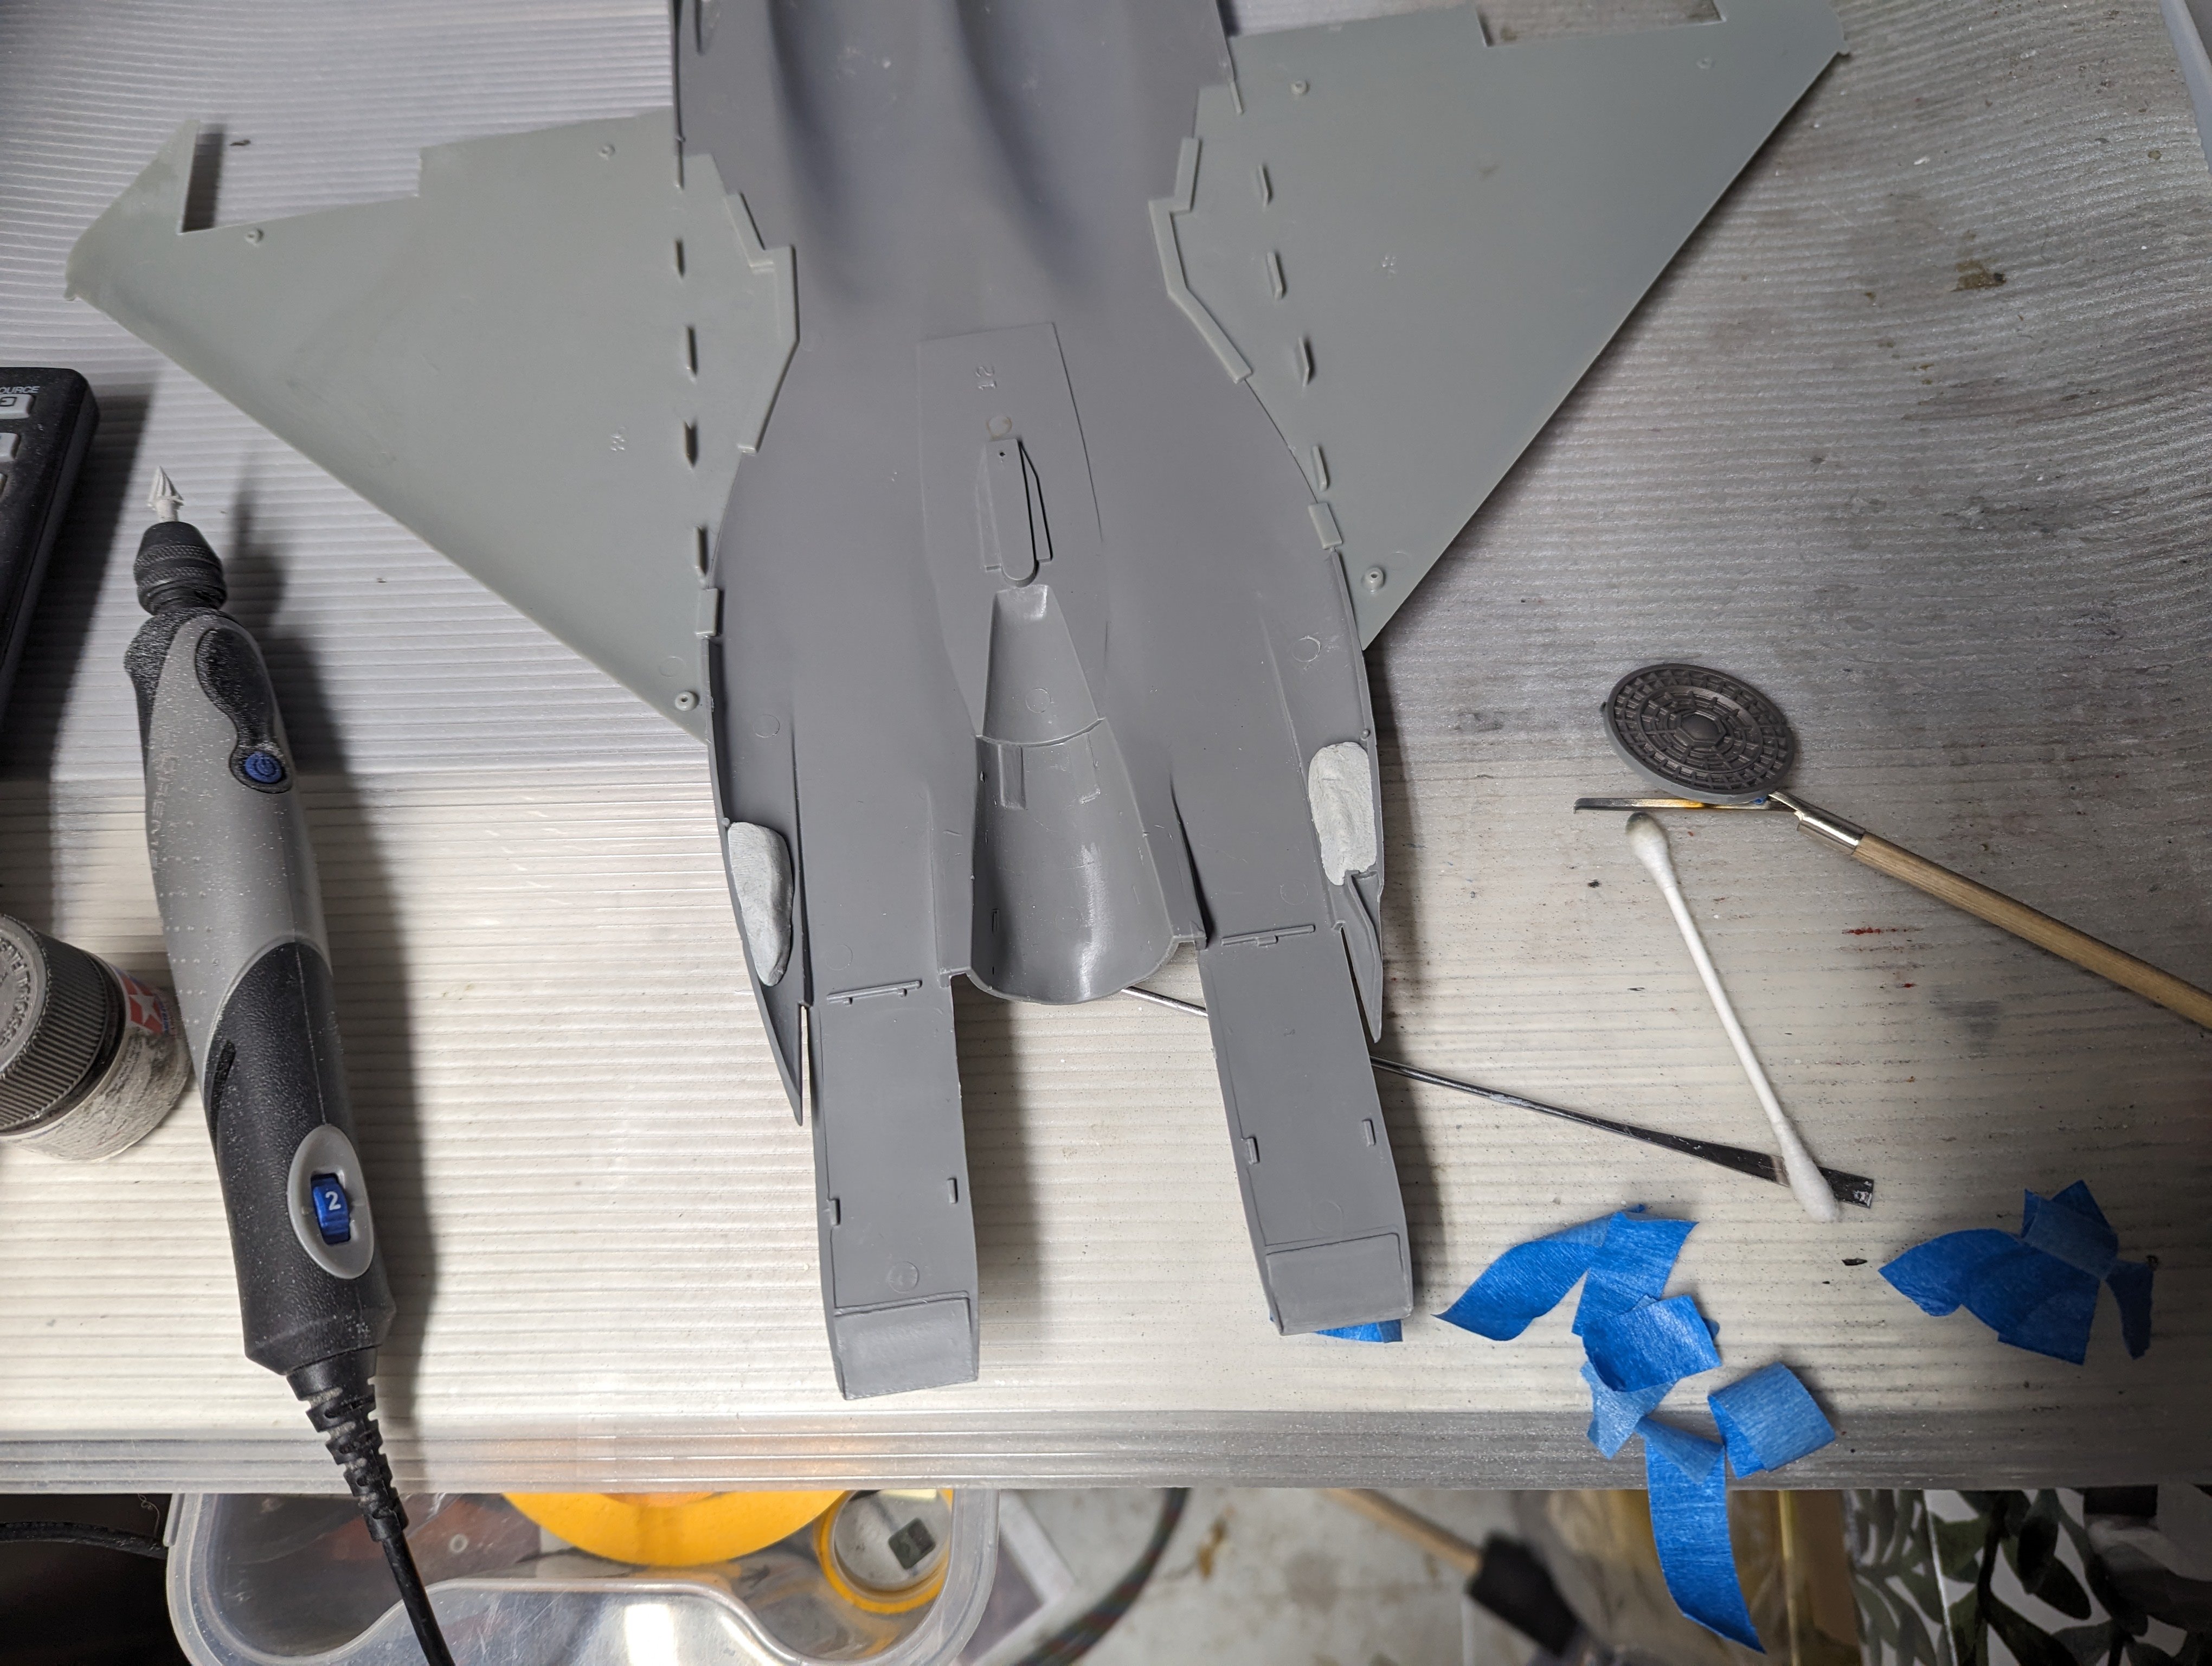
Time to start filling in the gaps around the nozzles. Topside: Bottom side:

-
Anyone make a hard wing conversion for the Revell F-4E?
BlrwestSiR replied to ScottsGT's topic in Modelling Discussion
Scott, my bad. The F-4F has an unslotted tailplane which I got mixed up with the slatted wing. -
Ralph, that's great progress that you've made. Nice to hear that the fit is still good all these years later.
-
Autocar 9964 B conversion to heavy haul...
BlrwestSiR replied to Jeff's topic in LSM 1/35 and Larger Work In Progress
Jeff, thanks for sharing. It's great to hear the back story on some of these subjects and with your hands on experience with the real things, it brings a greater sense of appreciation of your work.- 56 replies
-
- 2
-
-
- hevy haul off road tractor
- b.c. logging
- (and 1 more)
-
Anyone make a hard wing conversion for the Revell F-4E?
BlrwestSiR replied to ScottsGT's topic in Modelling Discussion
The hard wing also comes in any of the Revell Germany F-4F kits too. There's lots of those kicking around if that helps. I have a couple extra Tamiya hard wing outer panels if you want those and try a kit bash. -
At least you got the cover back on in time.
- 1,825 replies
-
- 1
-

-
- car related stuff
- anything about cars
- (and 6 more)
-
The 56th annual Calgary World of Wheels
BlrwestSiR replied to Martinnfb's topic in General Discussion
Thanks for sharing the pics. A great variety of cars. Nice to see the JDM cars out. The red Civic is the same one I had as my first car. -
You could try spraying a very light coat of the base colour paint over them. Thin the paint down a bit more than usual and then mist a coat over the stencil. Best to try it out on a mule first but that might work.
-
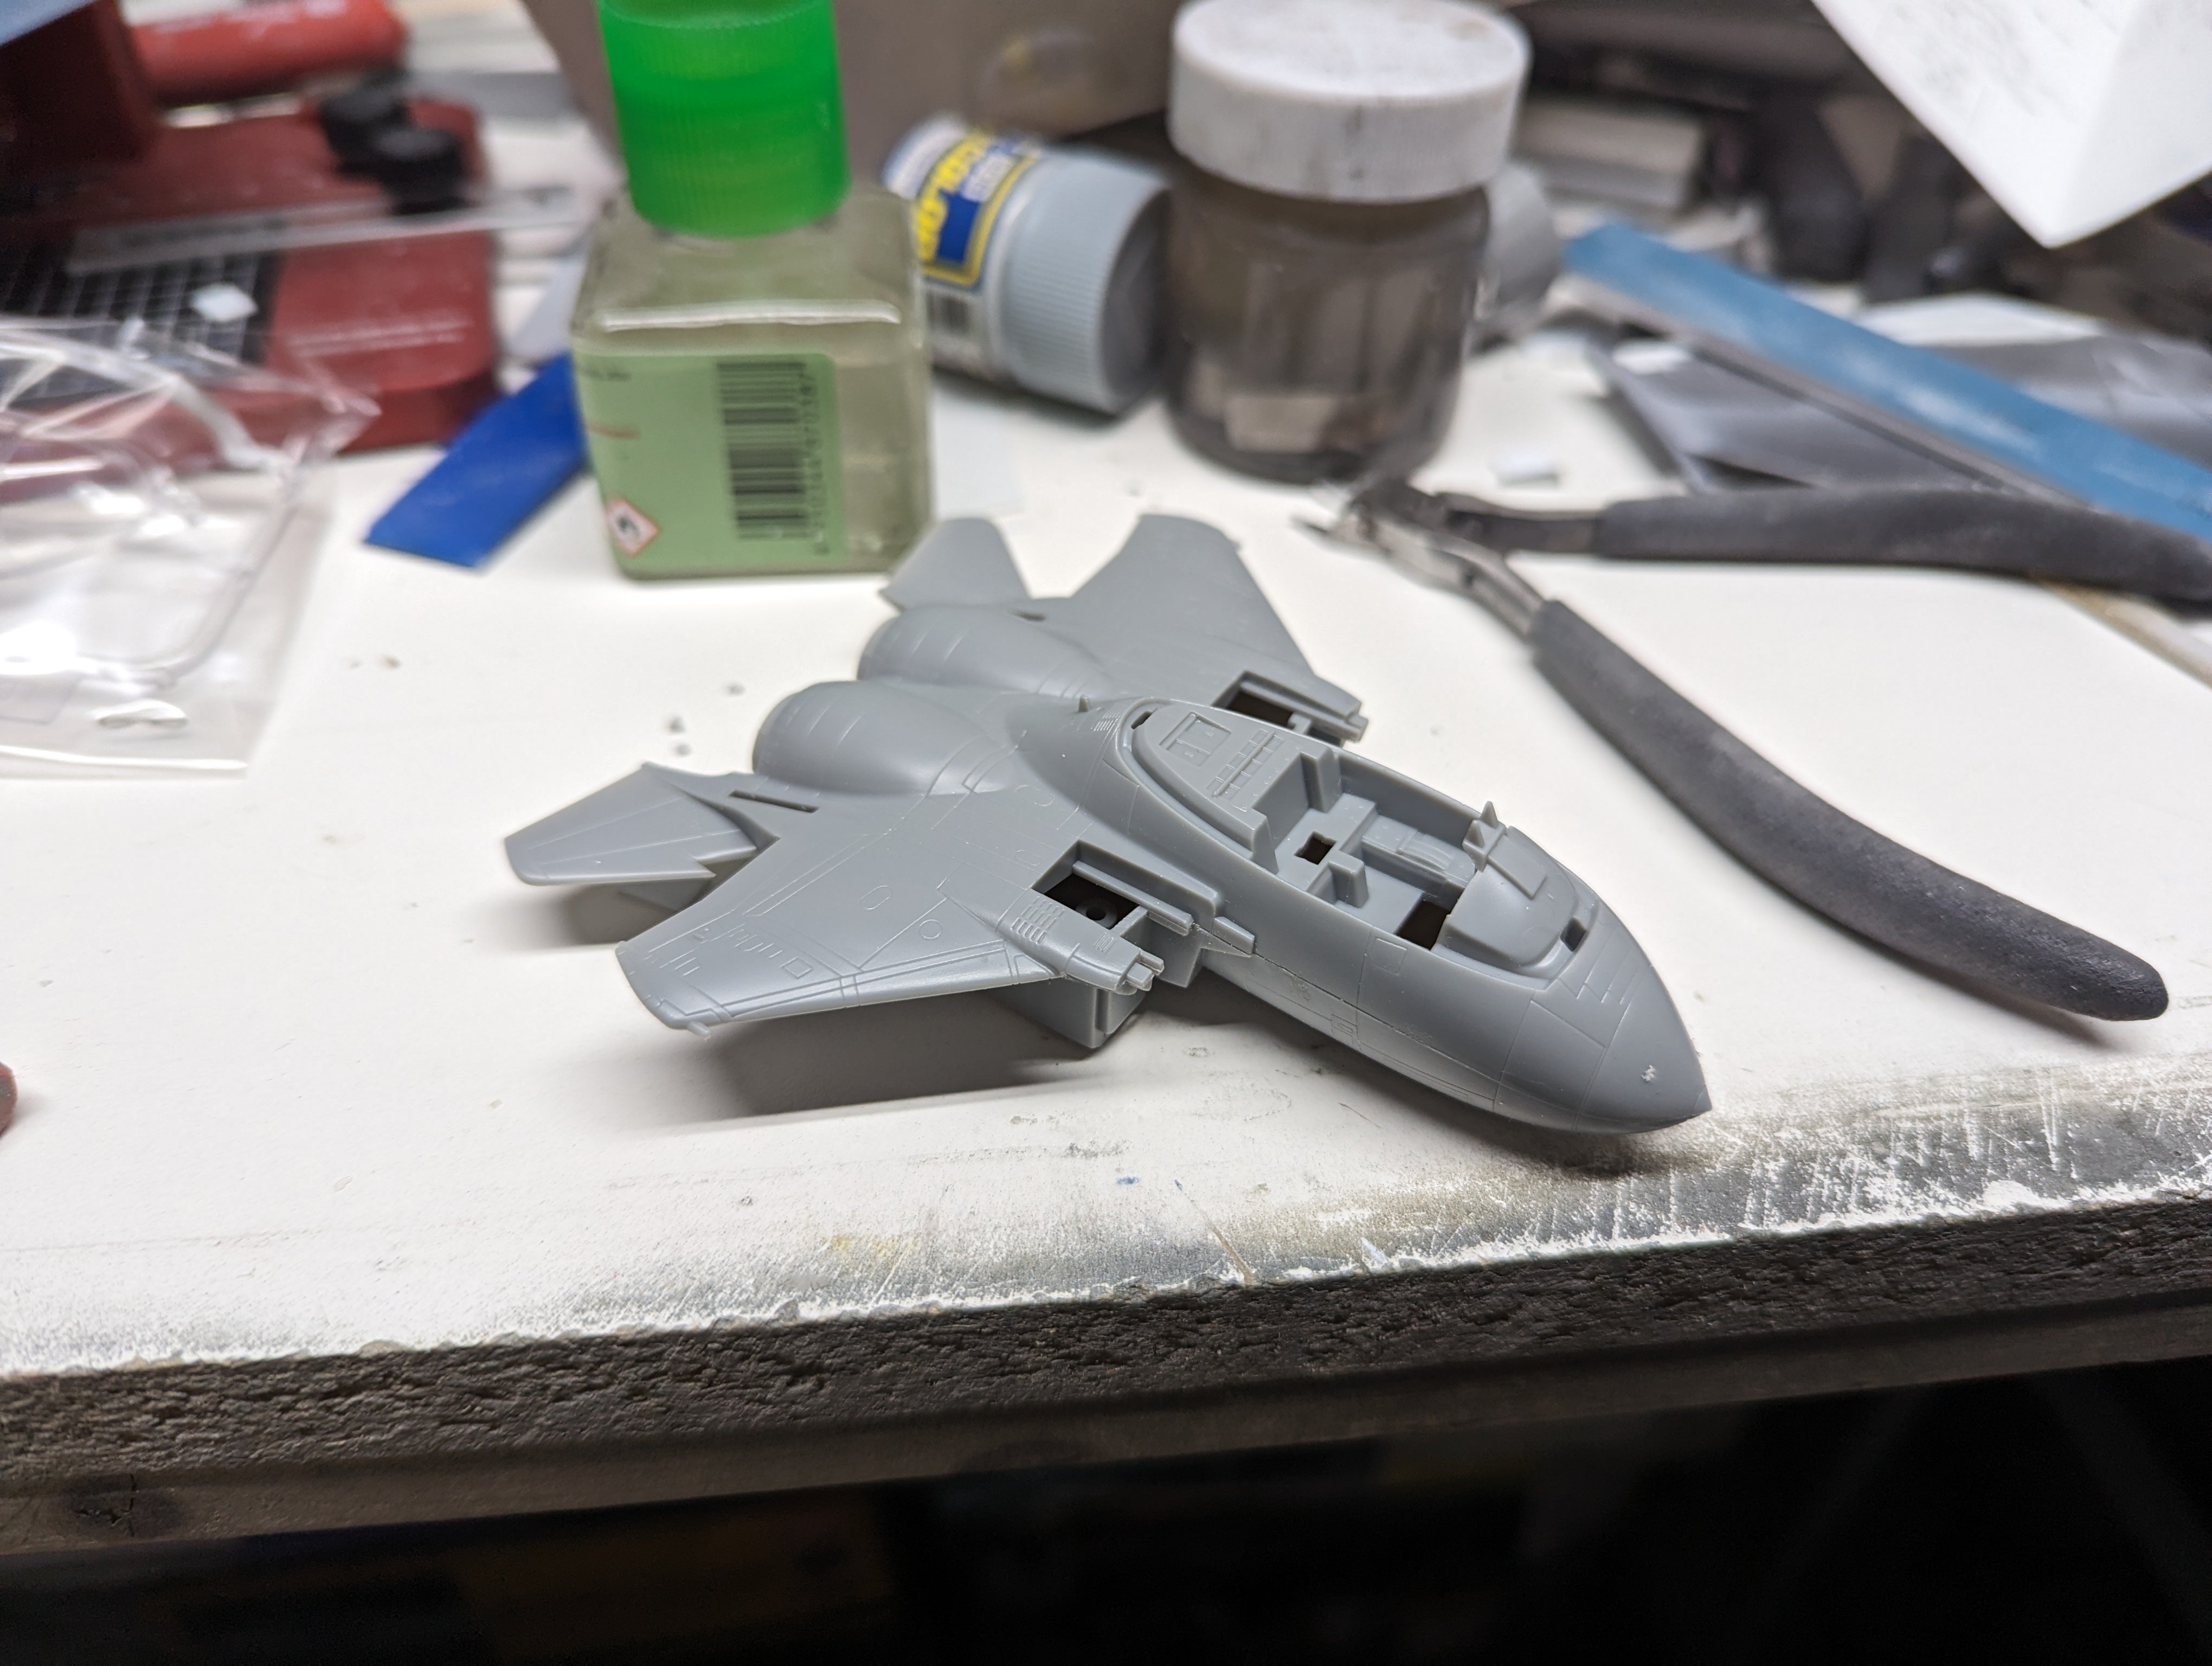
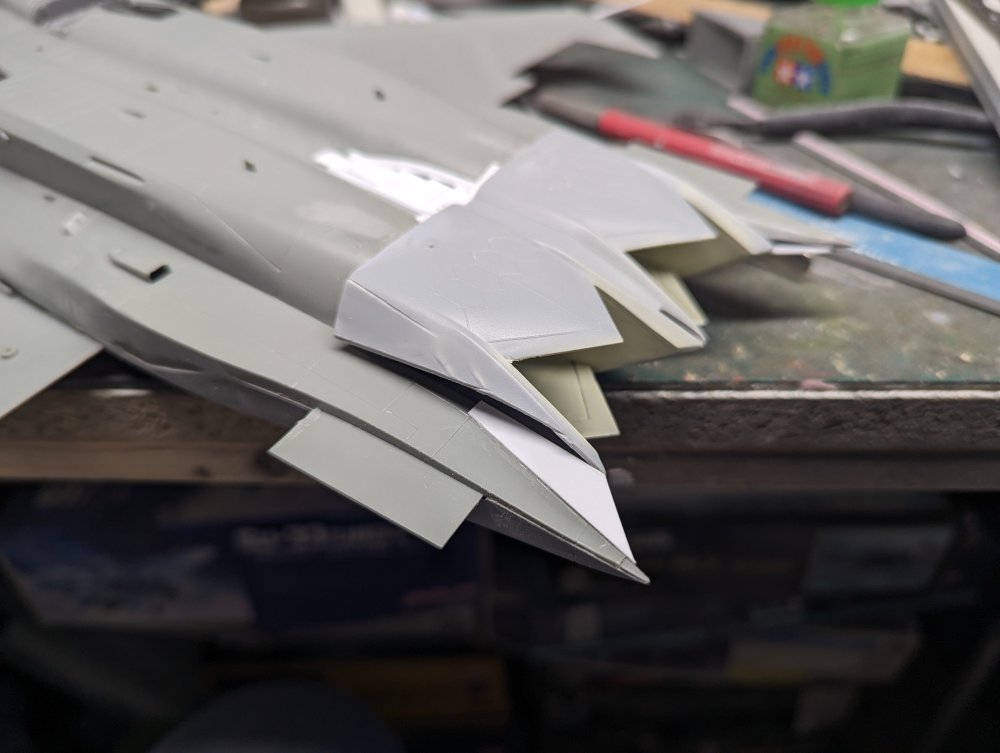
First step was the cockpit, just kidding. It was the exhaust flame holders. Someone's tail is in the way. Let's try again. Then the upper fuselage half was added. Thankfully with the way GWH has moulded the wings, there's no worry about misalignment.


-
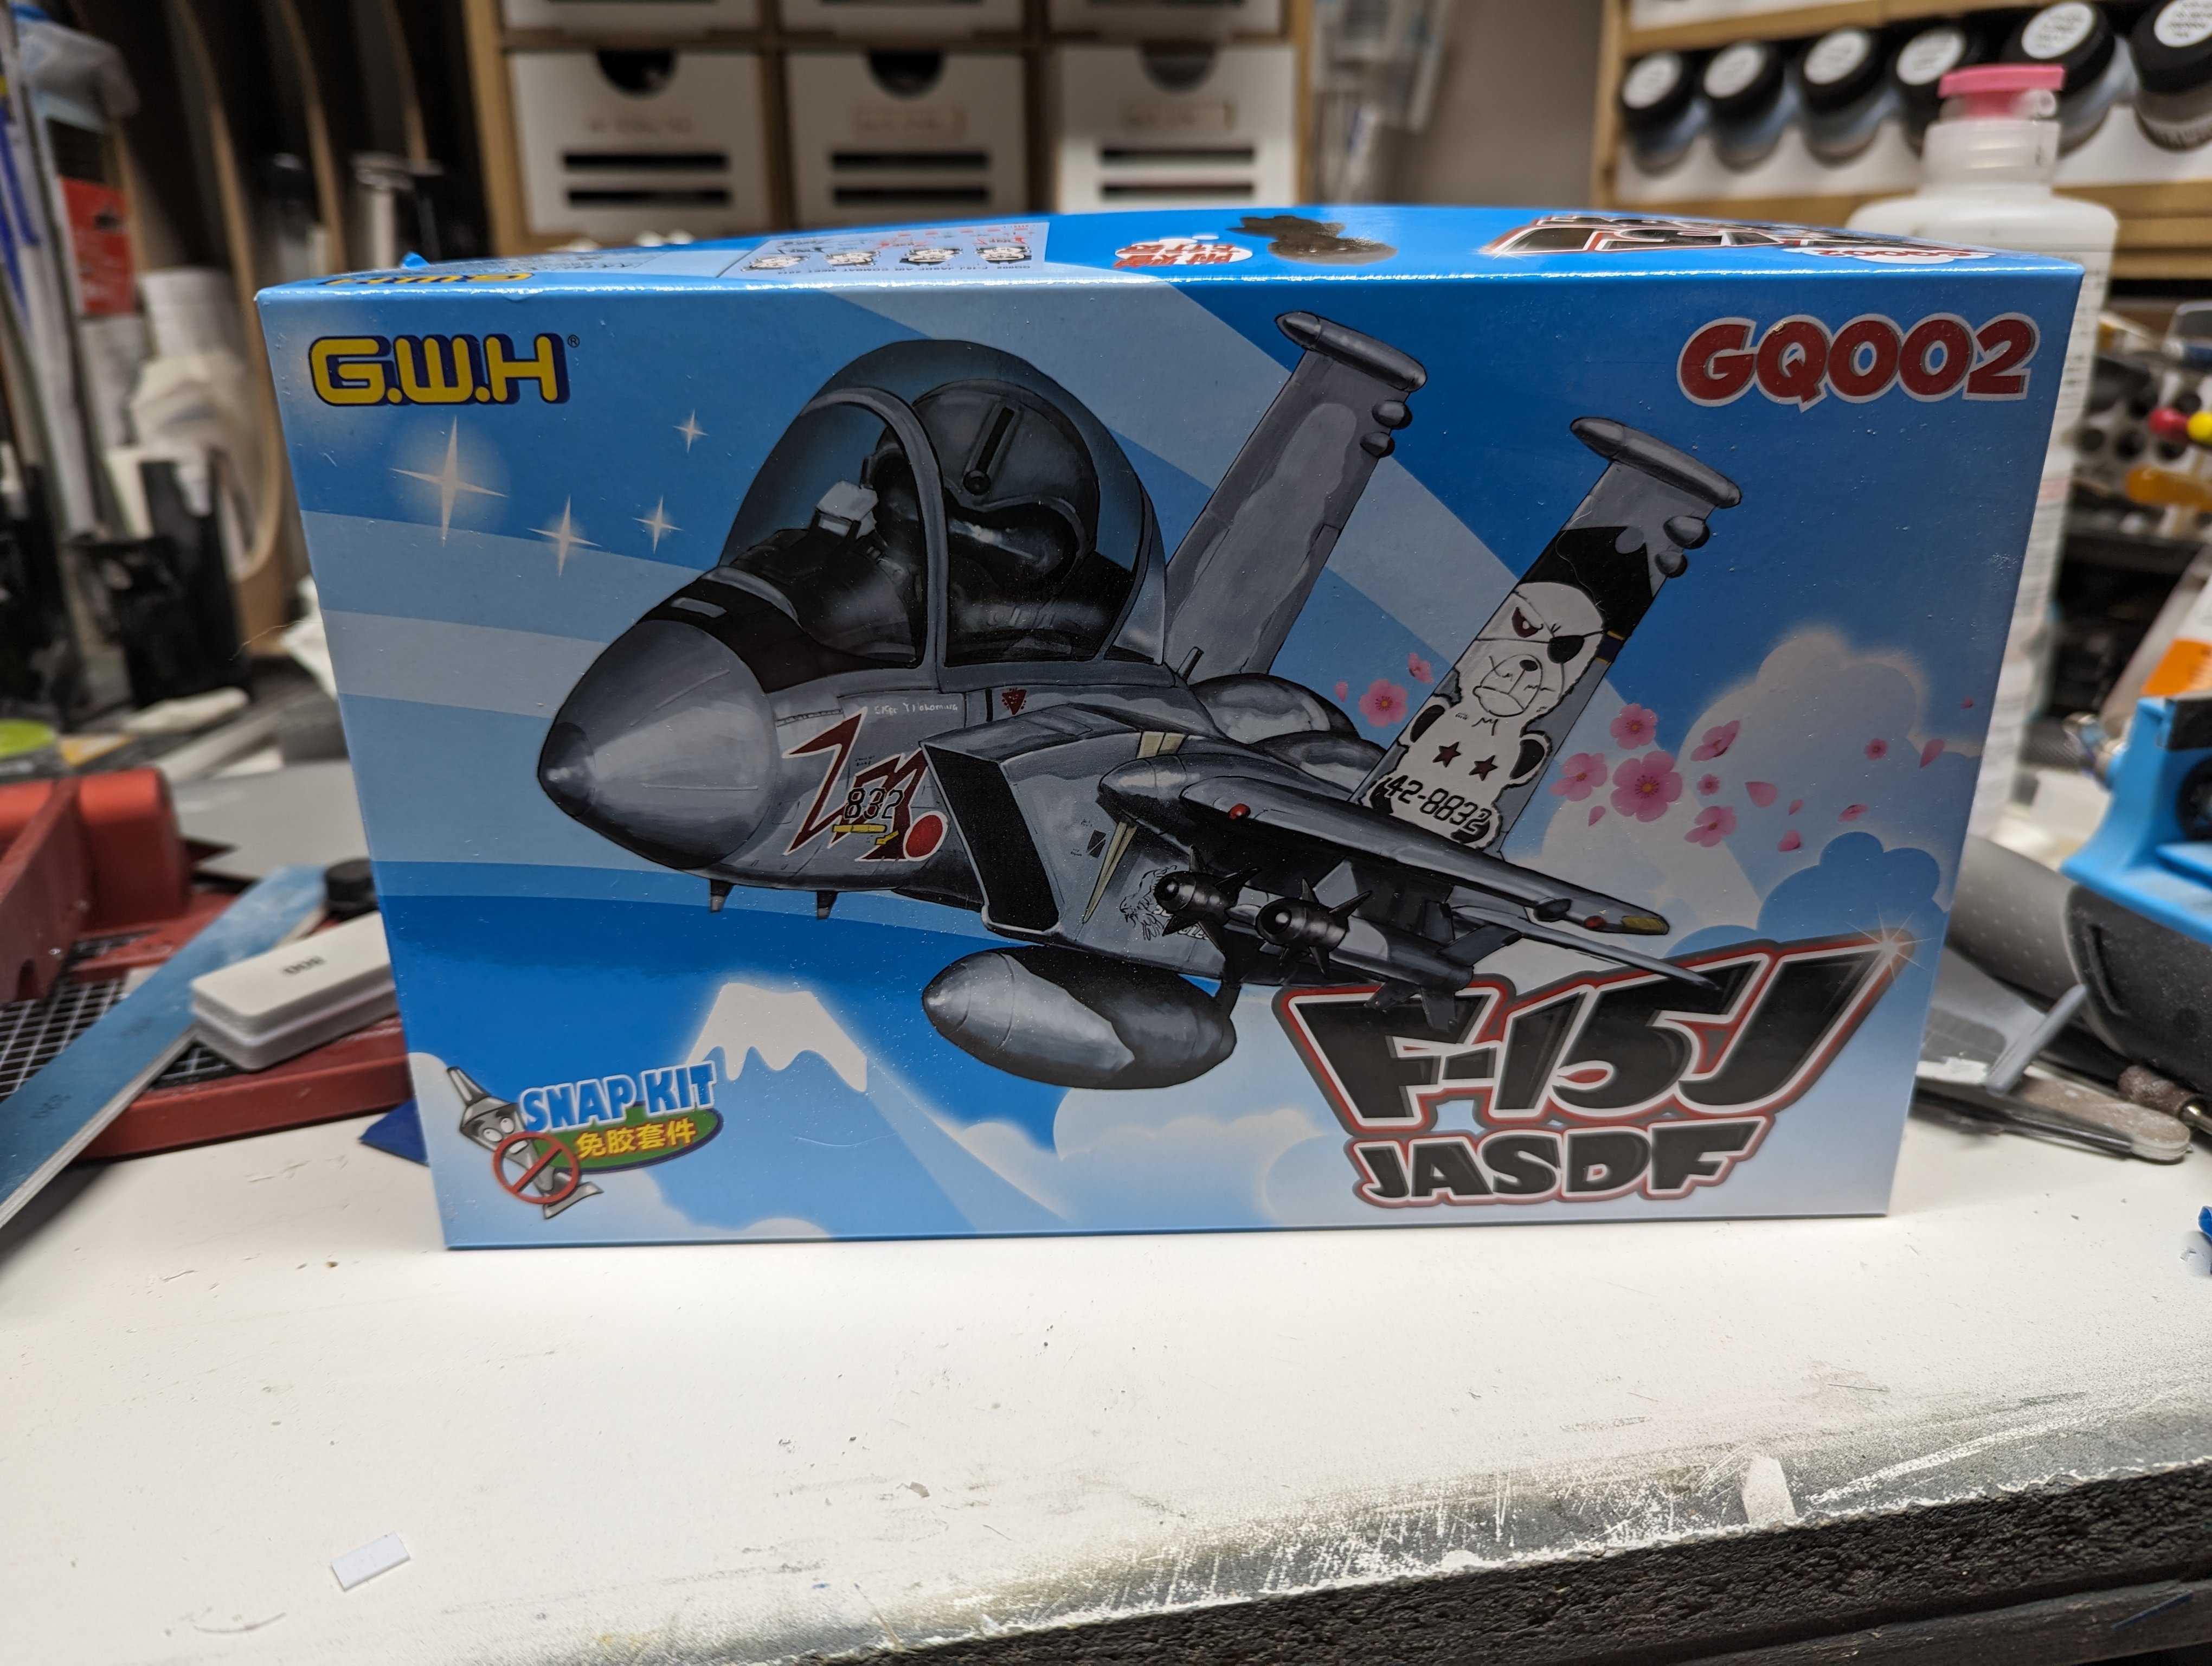
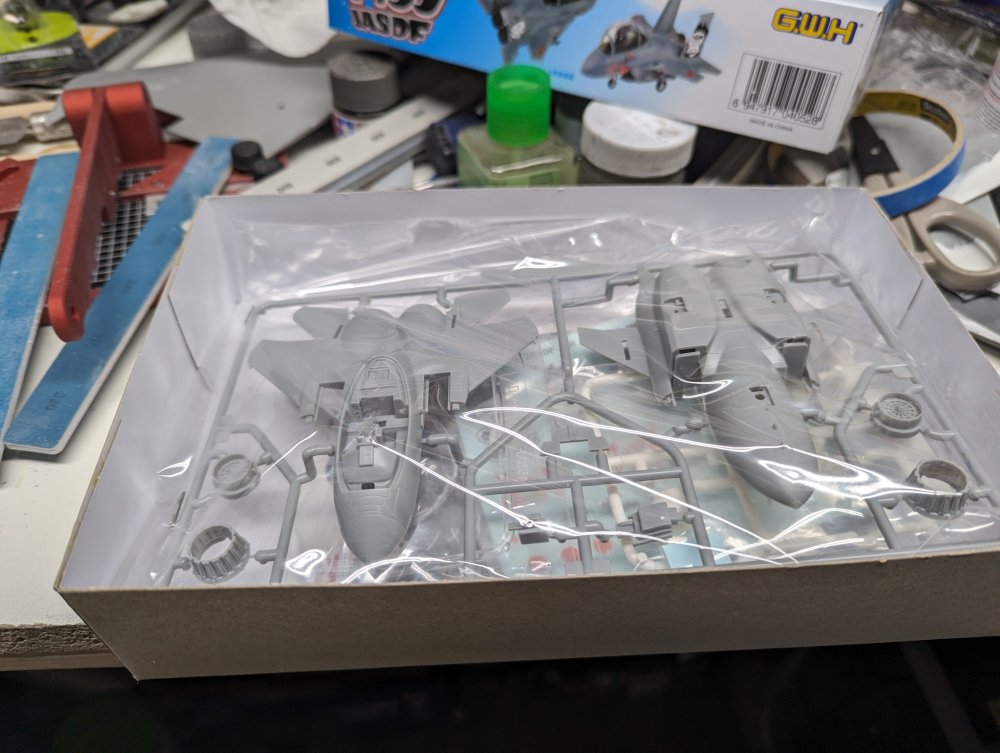
Well, I found this under the bench and I figured since I'm building one JASDF F-15J, I might as well do another. Although this one won't be a fictional version.

-
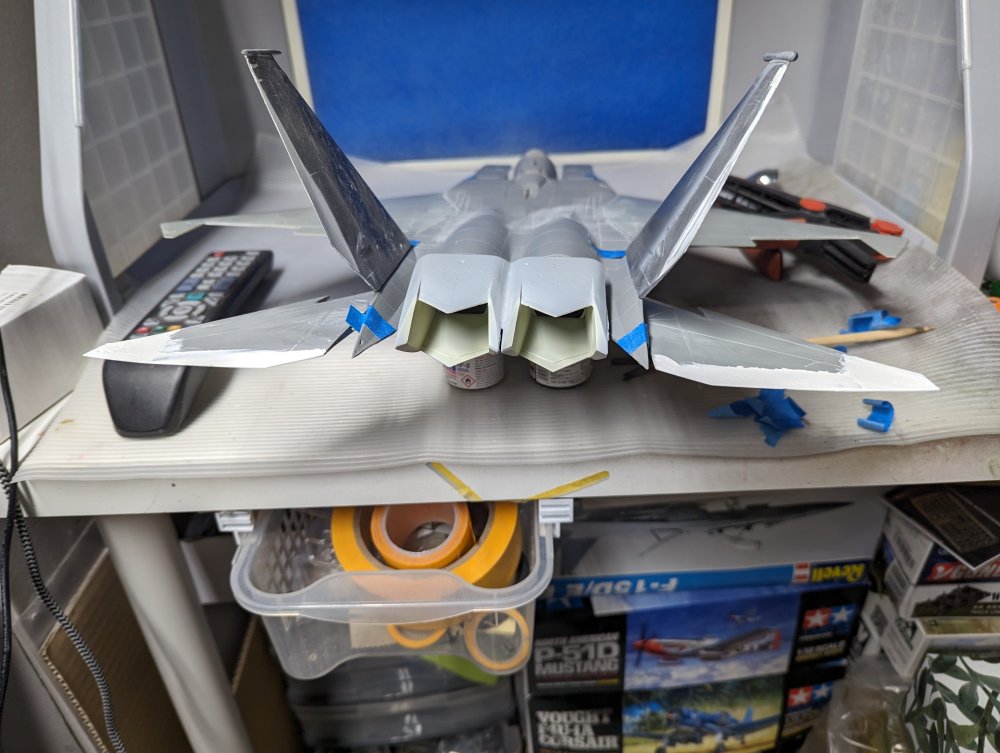
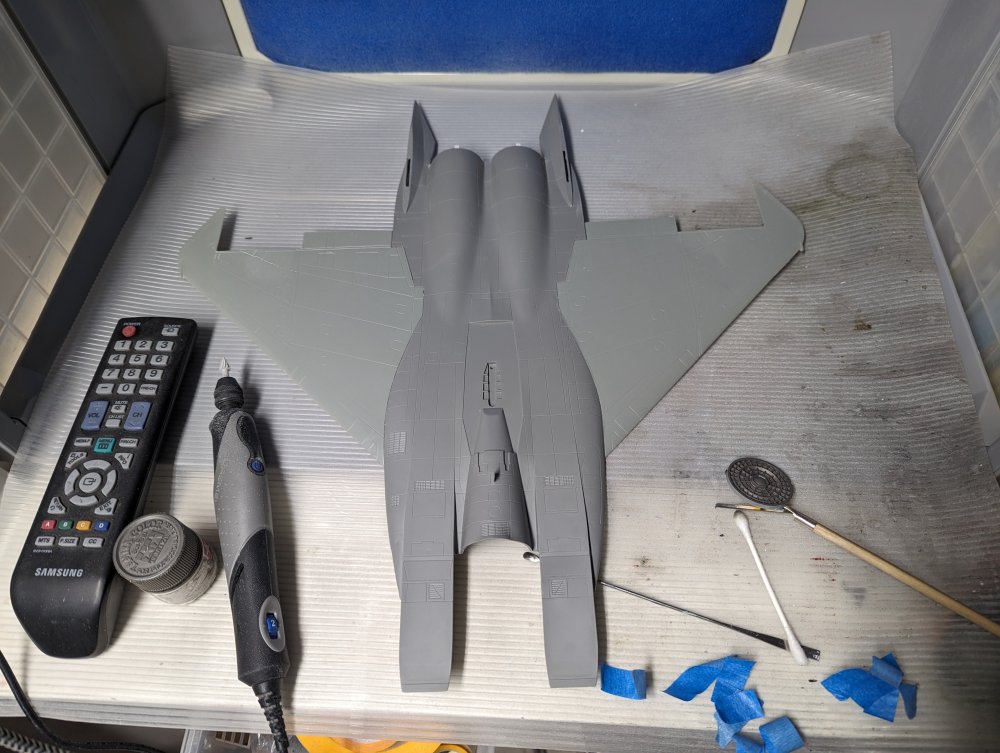
The upper fuselage is now on. With a quick dry fit of the rear stabs.

-
Chris, I would recommend these stencils for your build. https://www.reidairpublishing.com/speed-hunter-graphics-132-decals/big-scale-early-phantom-stencils But how much would they fade I don't know. Some F-4s have a lot more than others which points at them being re-painted or getting painted over. Another option which you could weather is Eduard make a PE stencil set for the F-4. It's doesn't cover everything but if you paint them on, you can definitely weather them. .
-
What is on your bench right now ? Share a picture :)
BlrwestSiR replied to Martinnfb's topic in Modelling Discussion
Wait, didn't you just get this kit? Amazing progress there Martin. -
Drinking and modeling. Just don't super glue yourself to the bench! Other than that, the Heinkel (Dornier!) looks great. Nice and sharp demarcation on the camo.
-
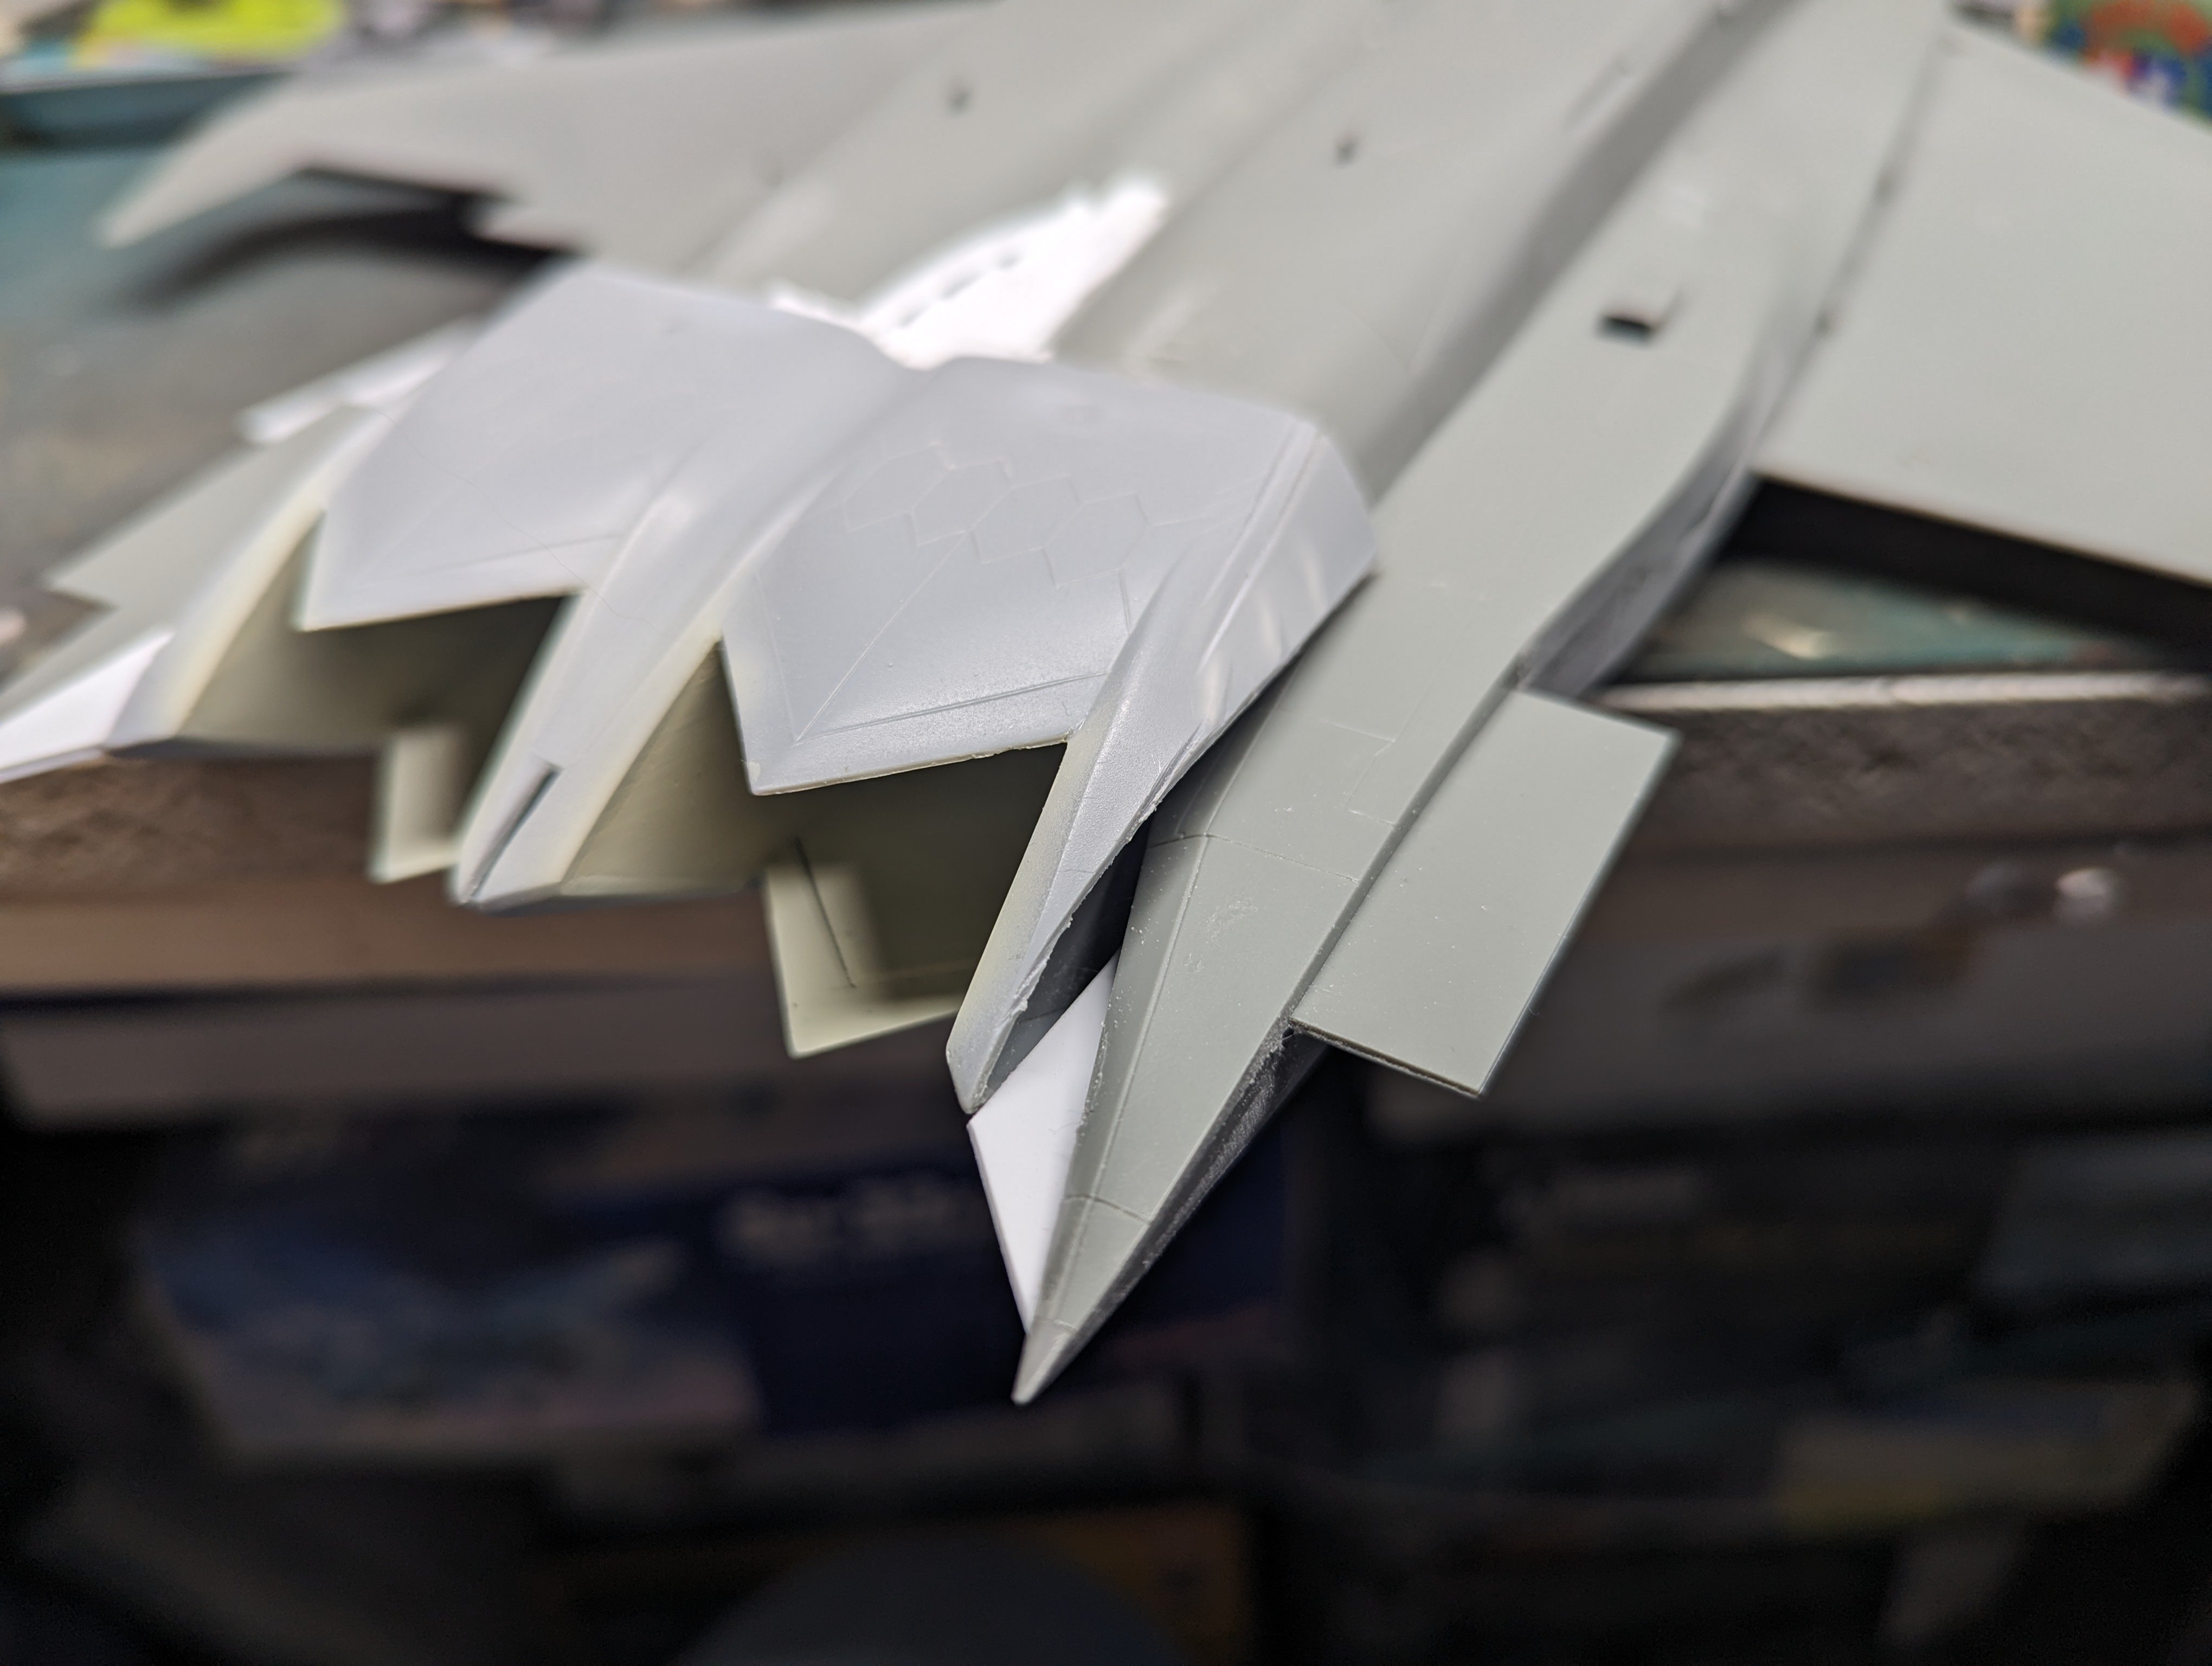
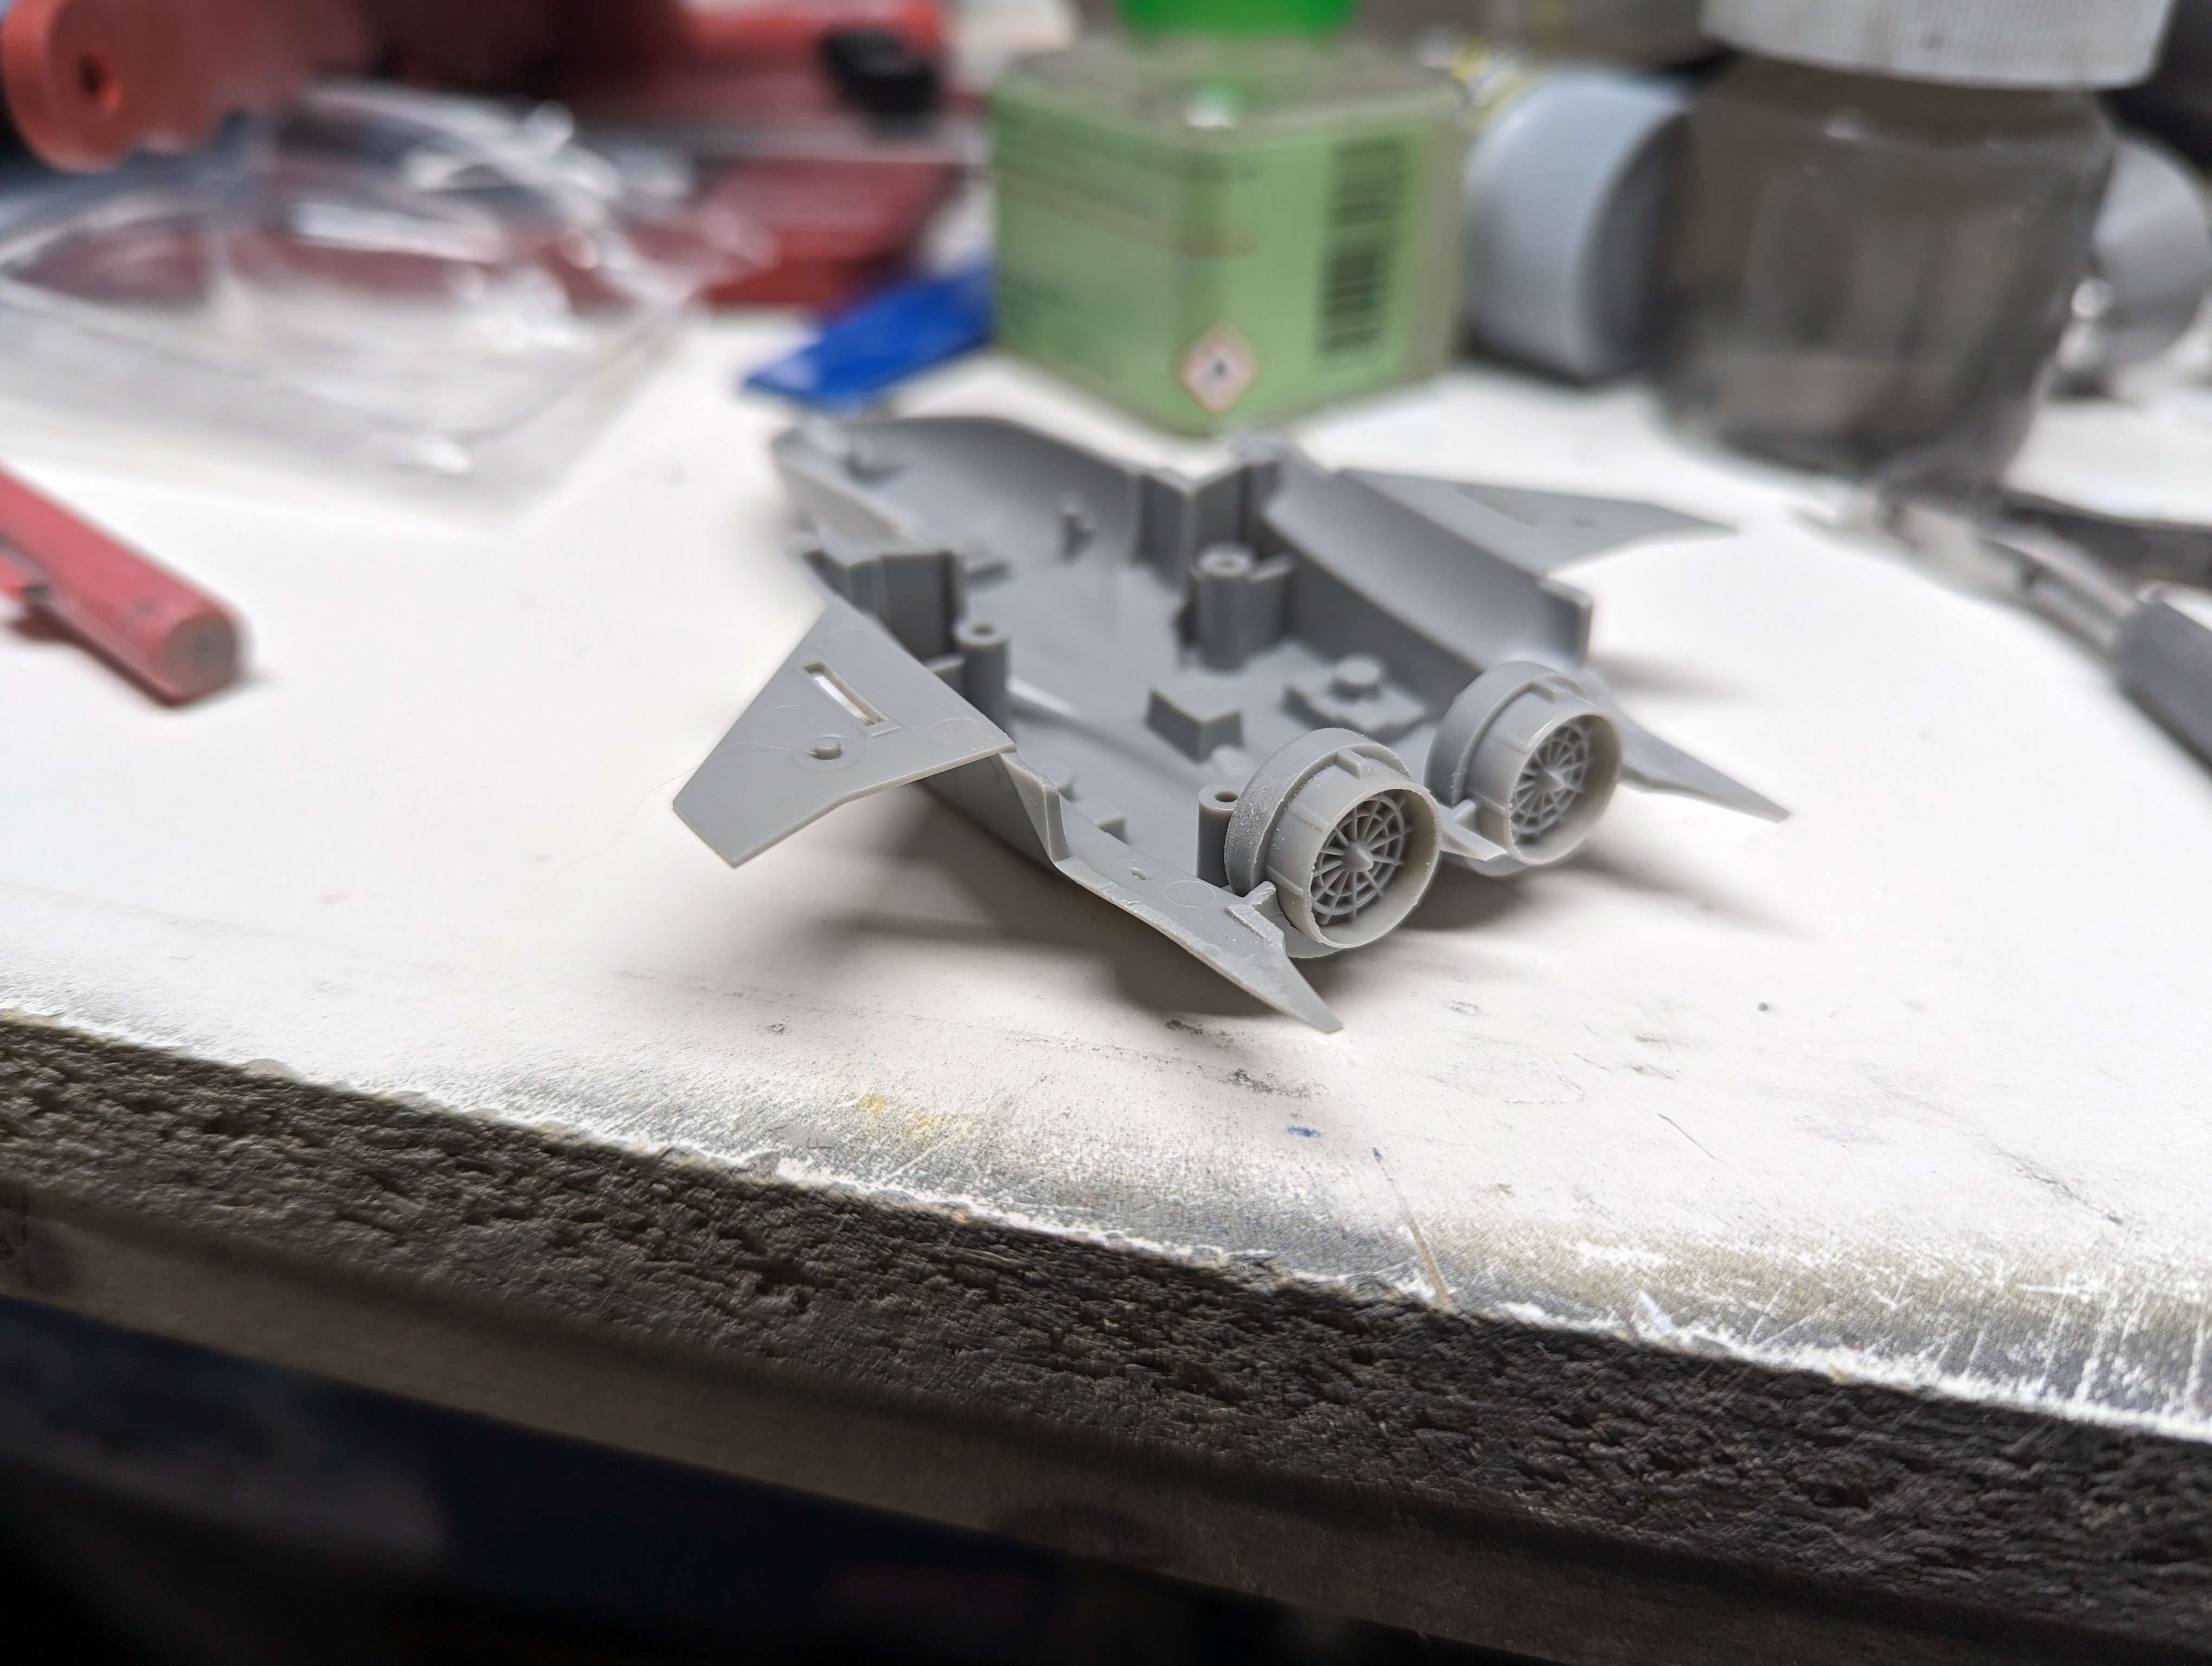
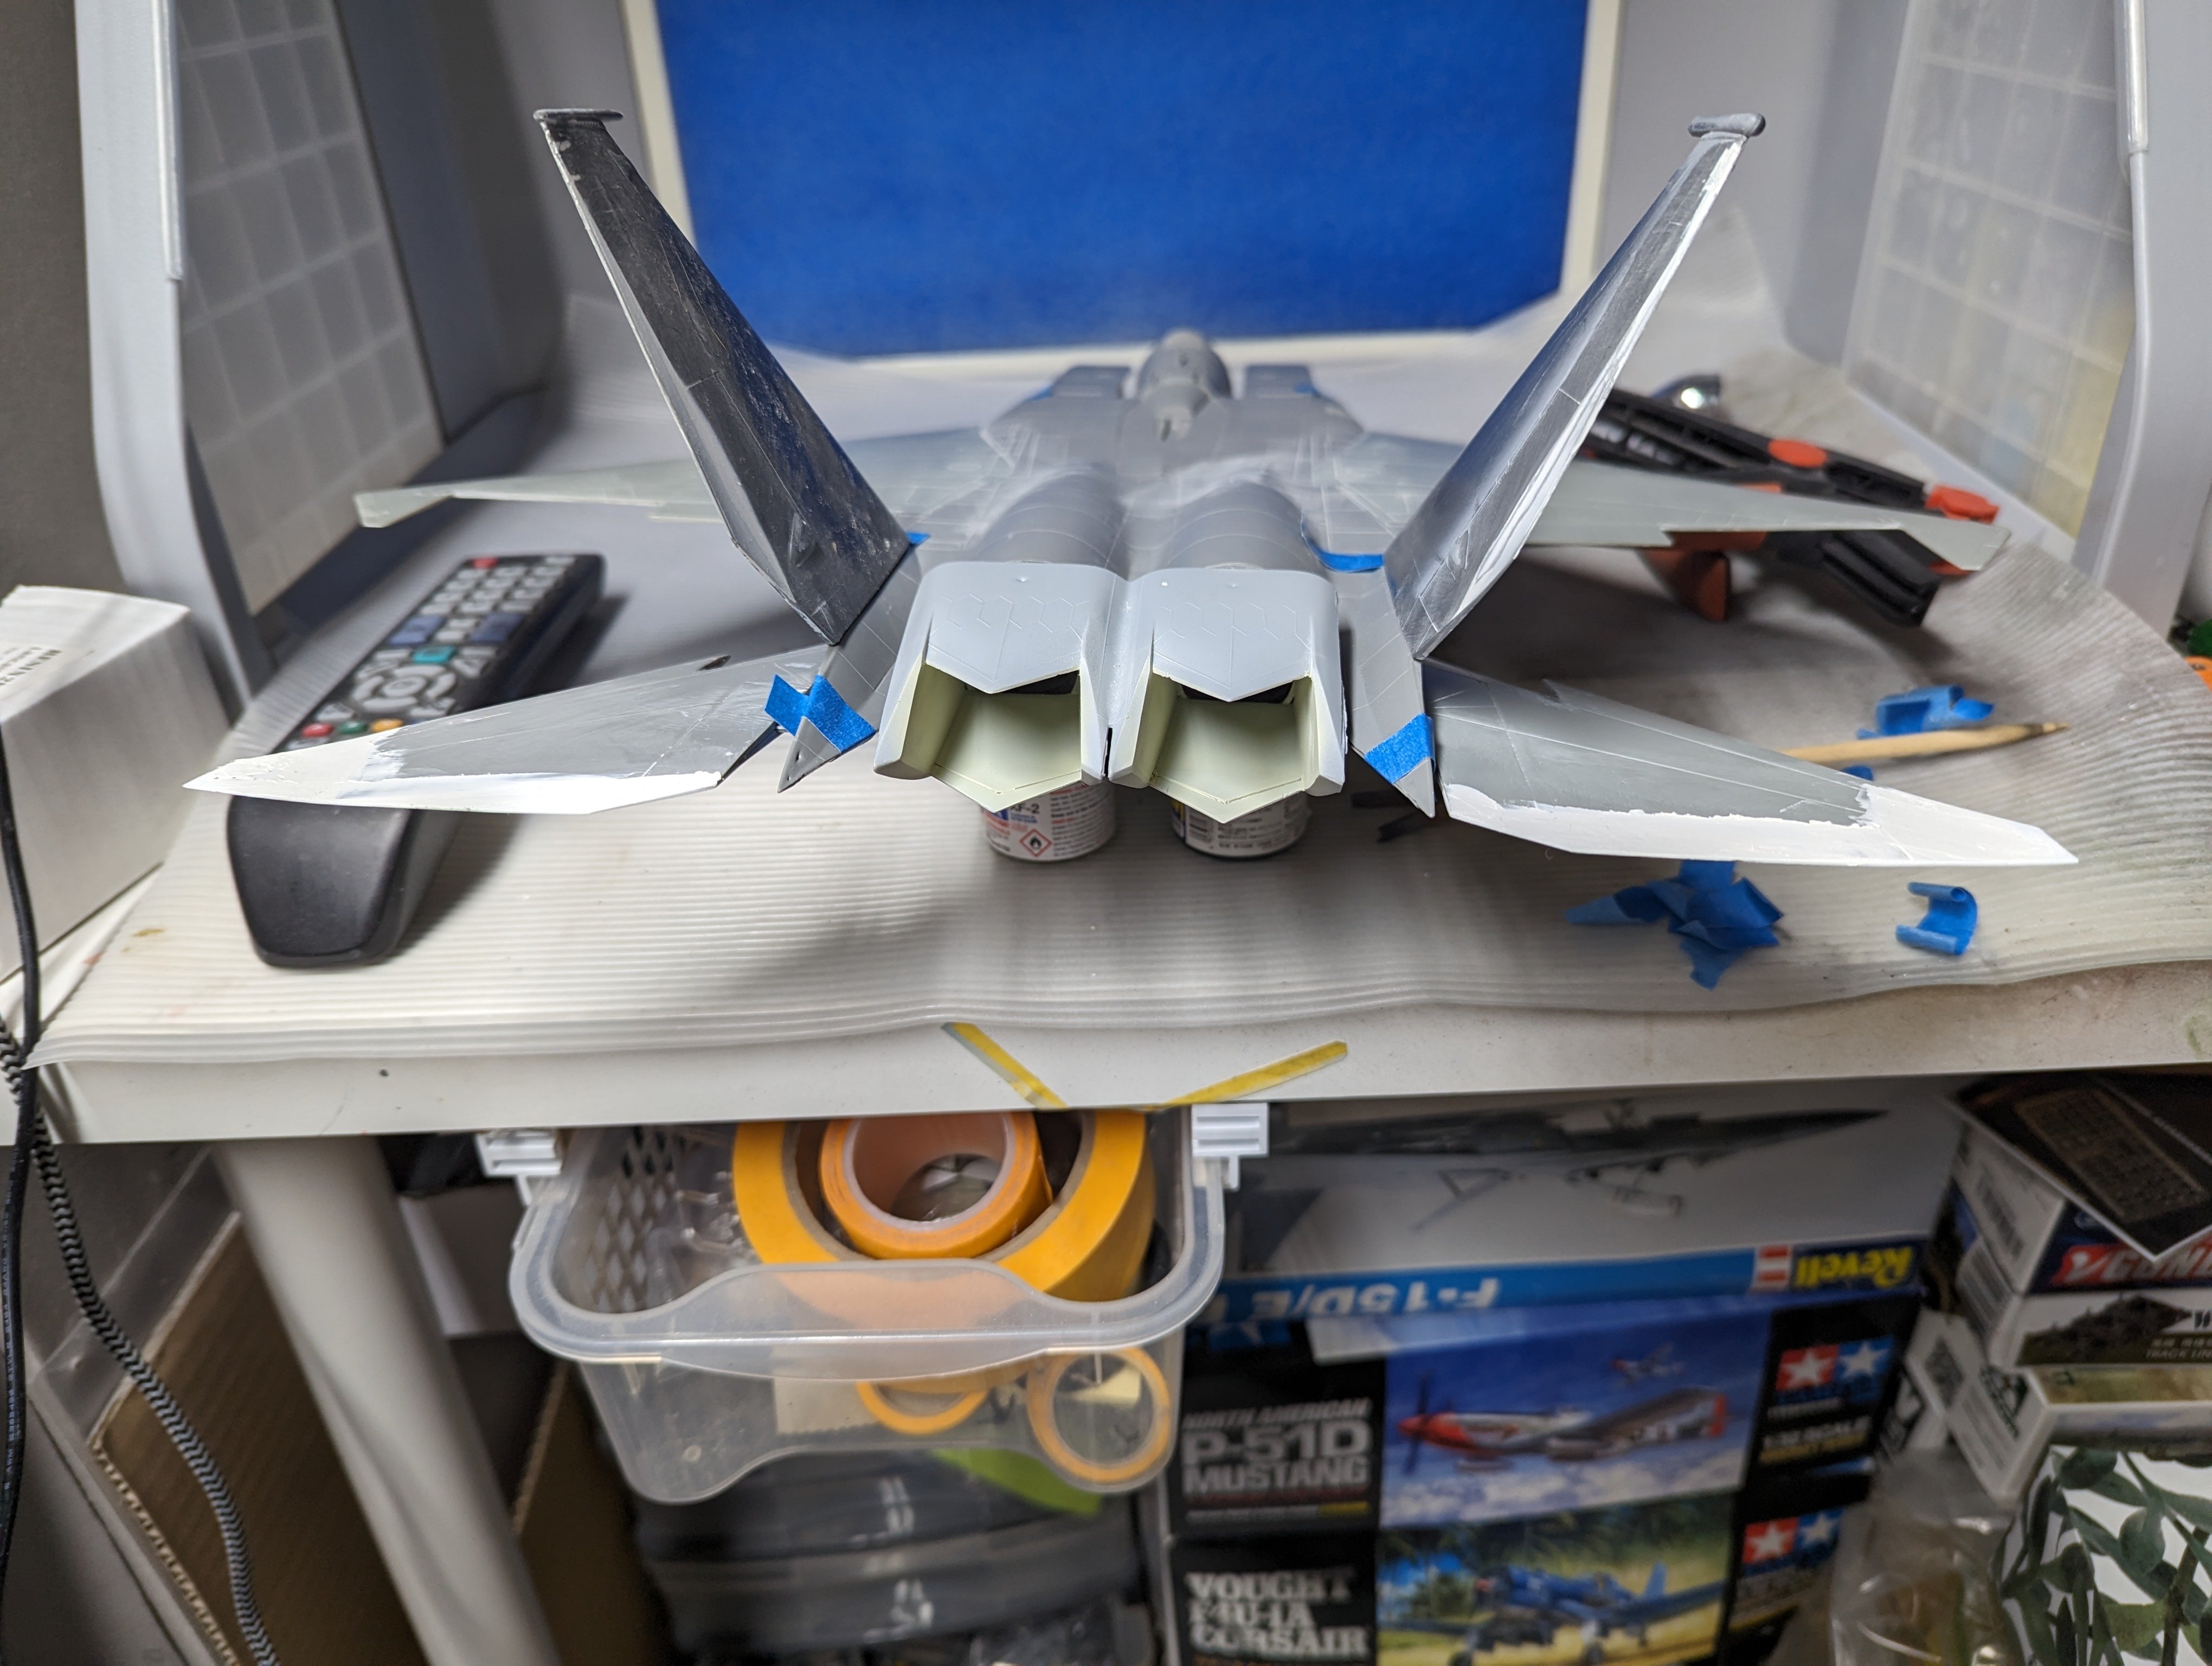
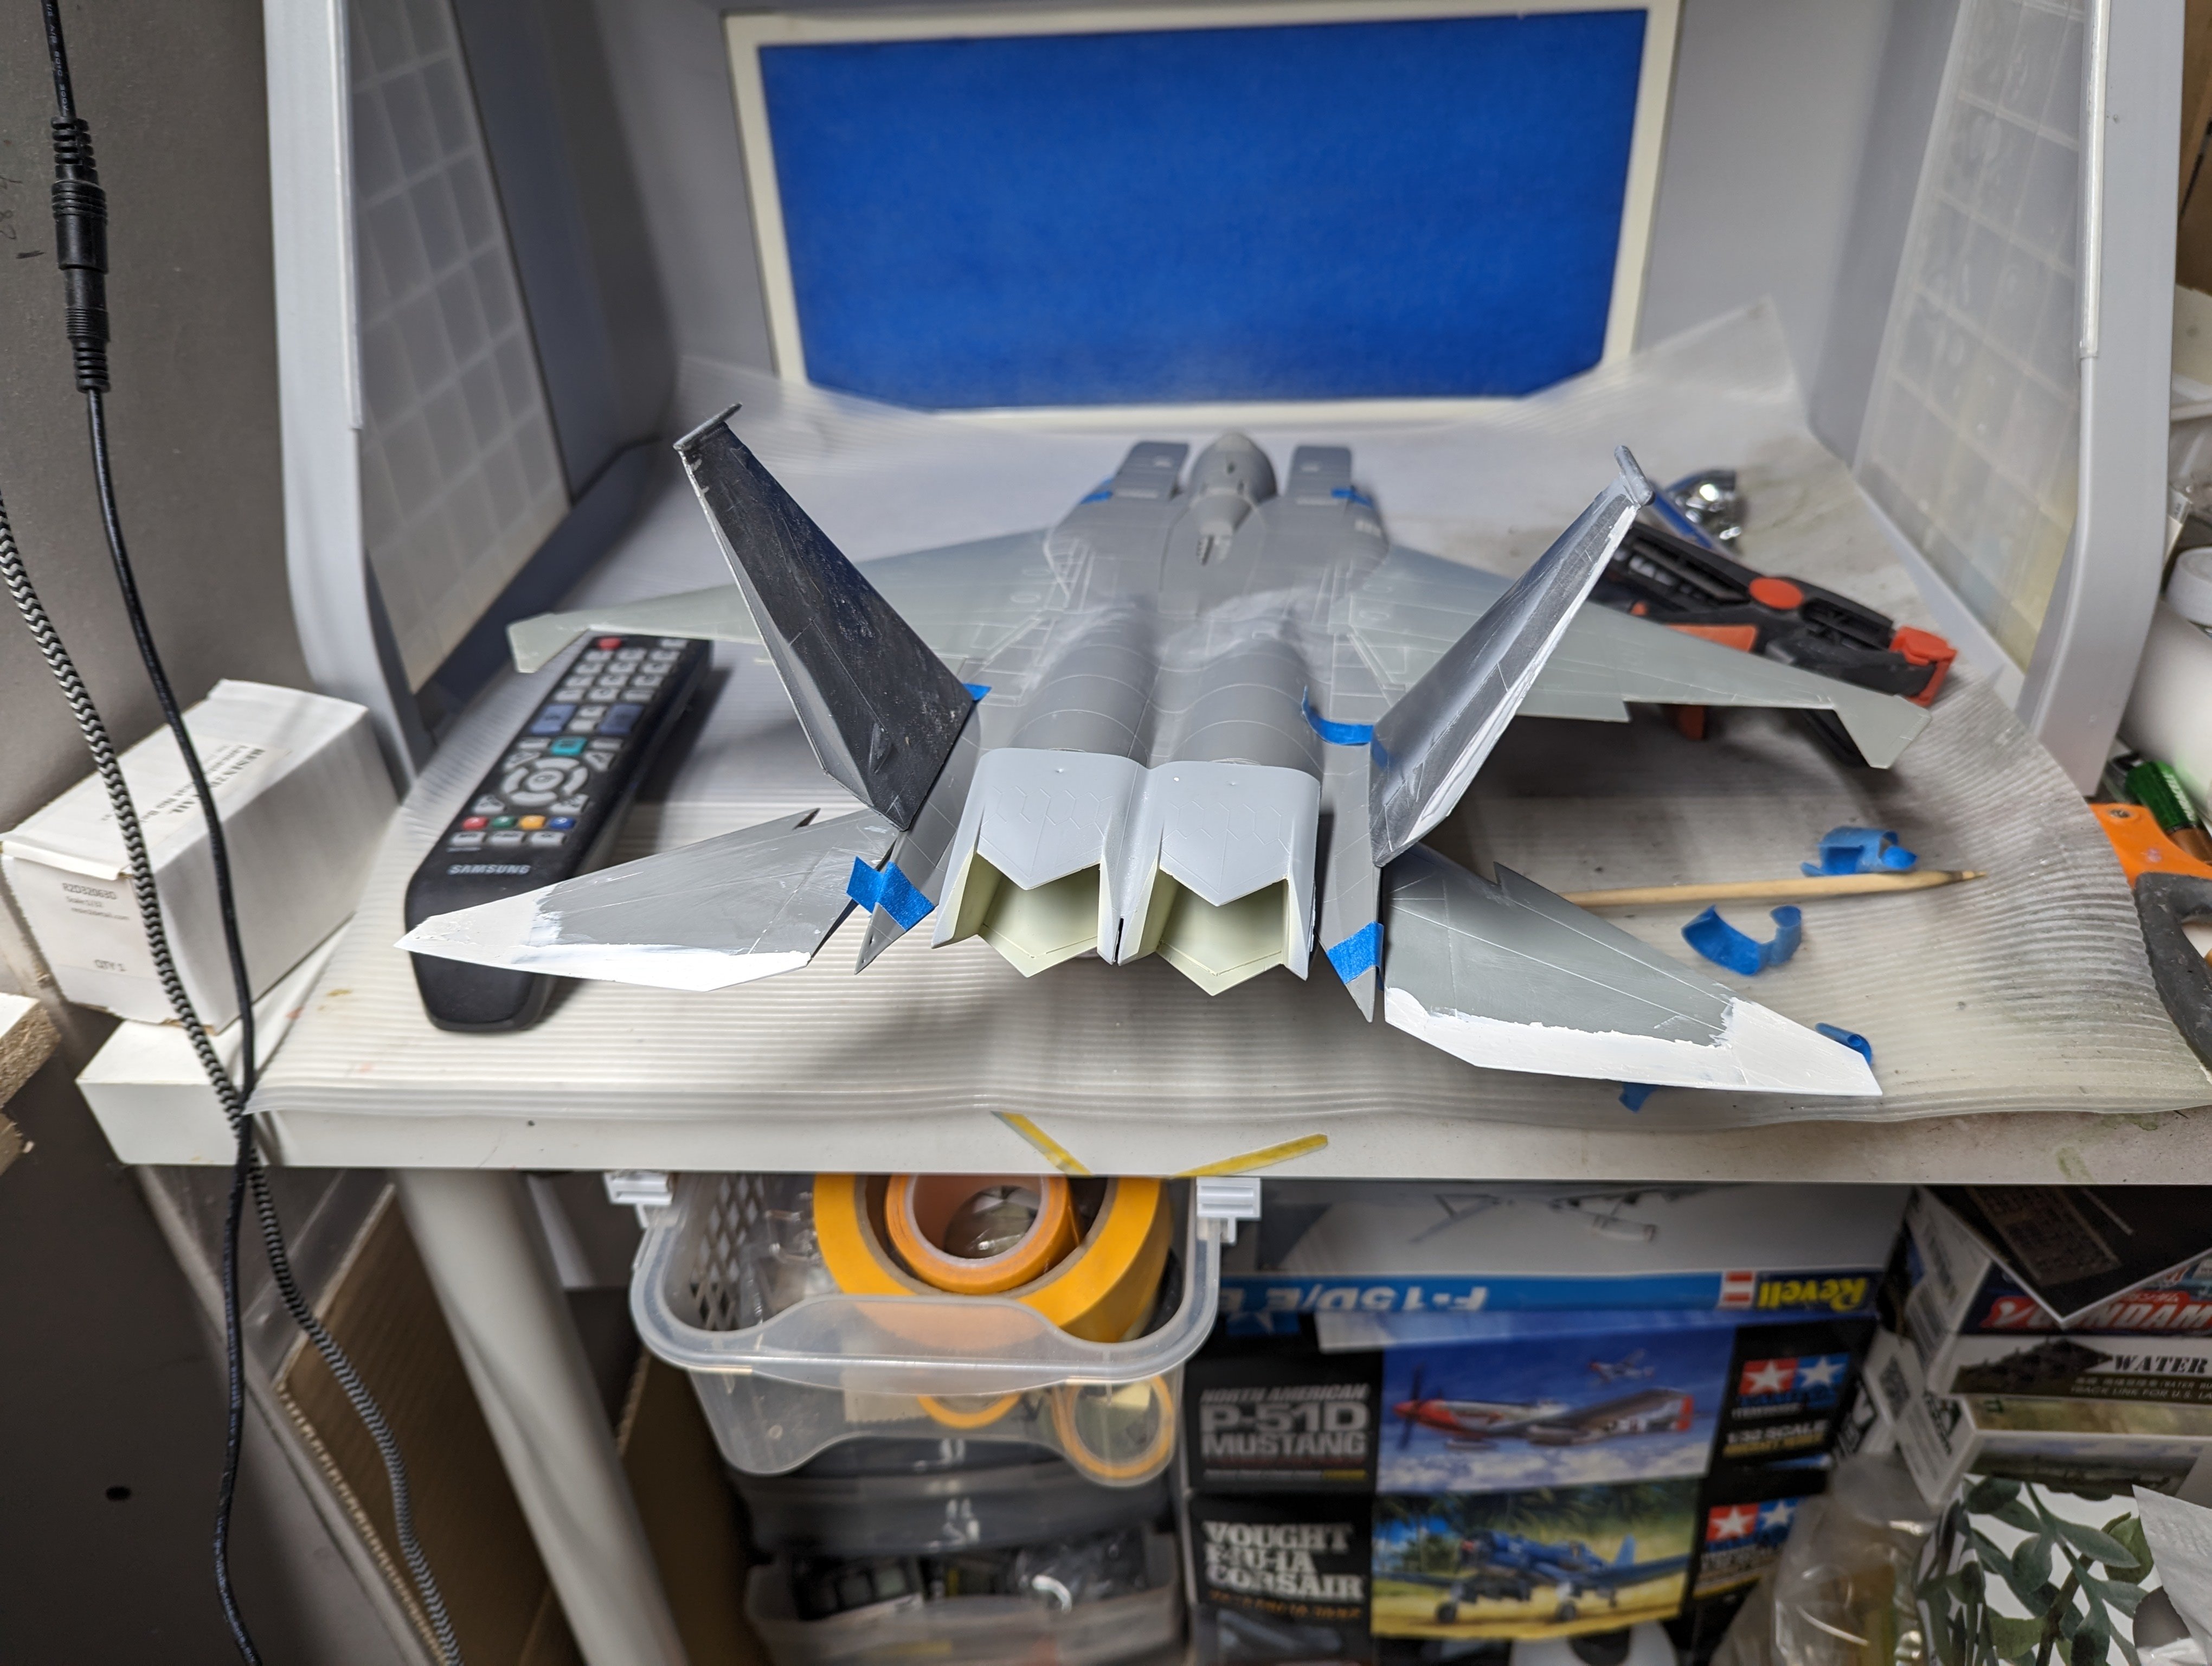
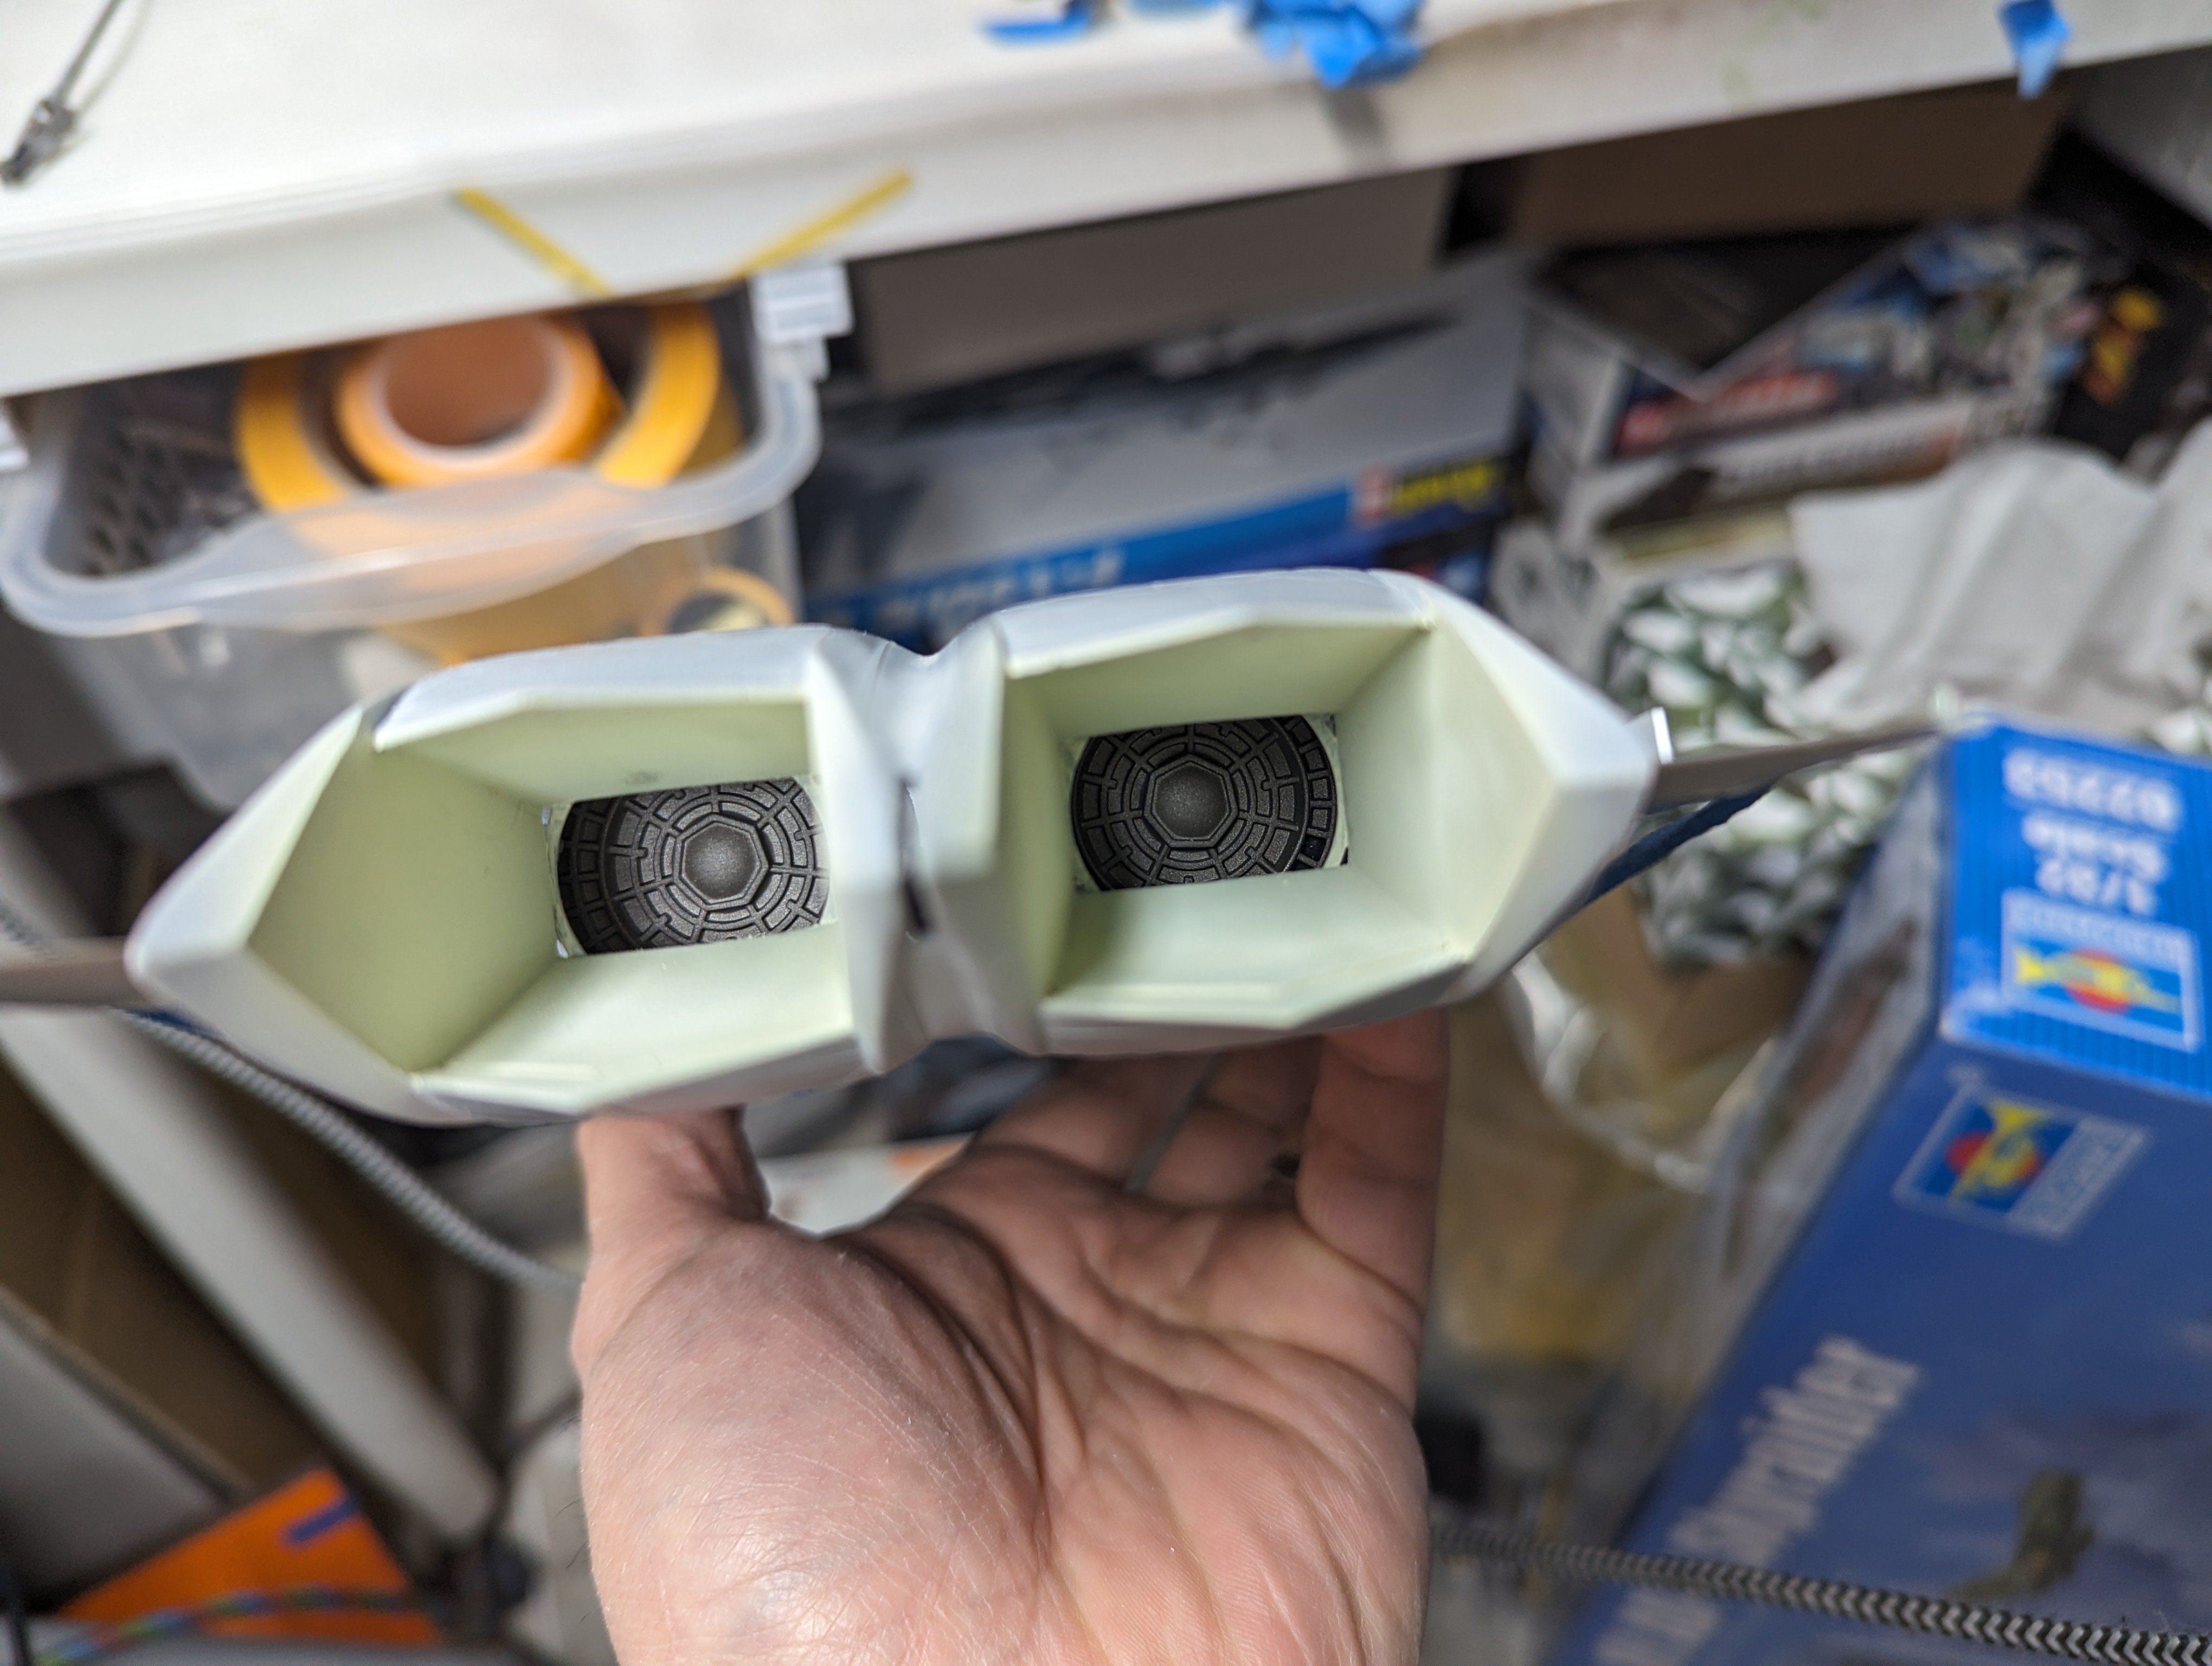
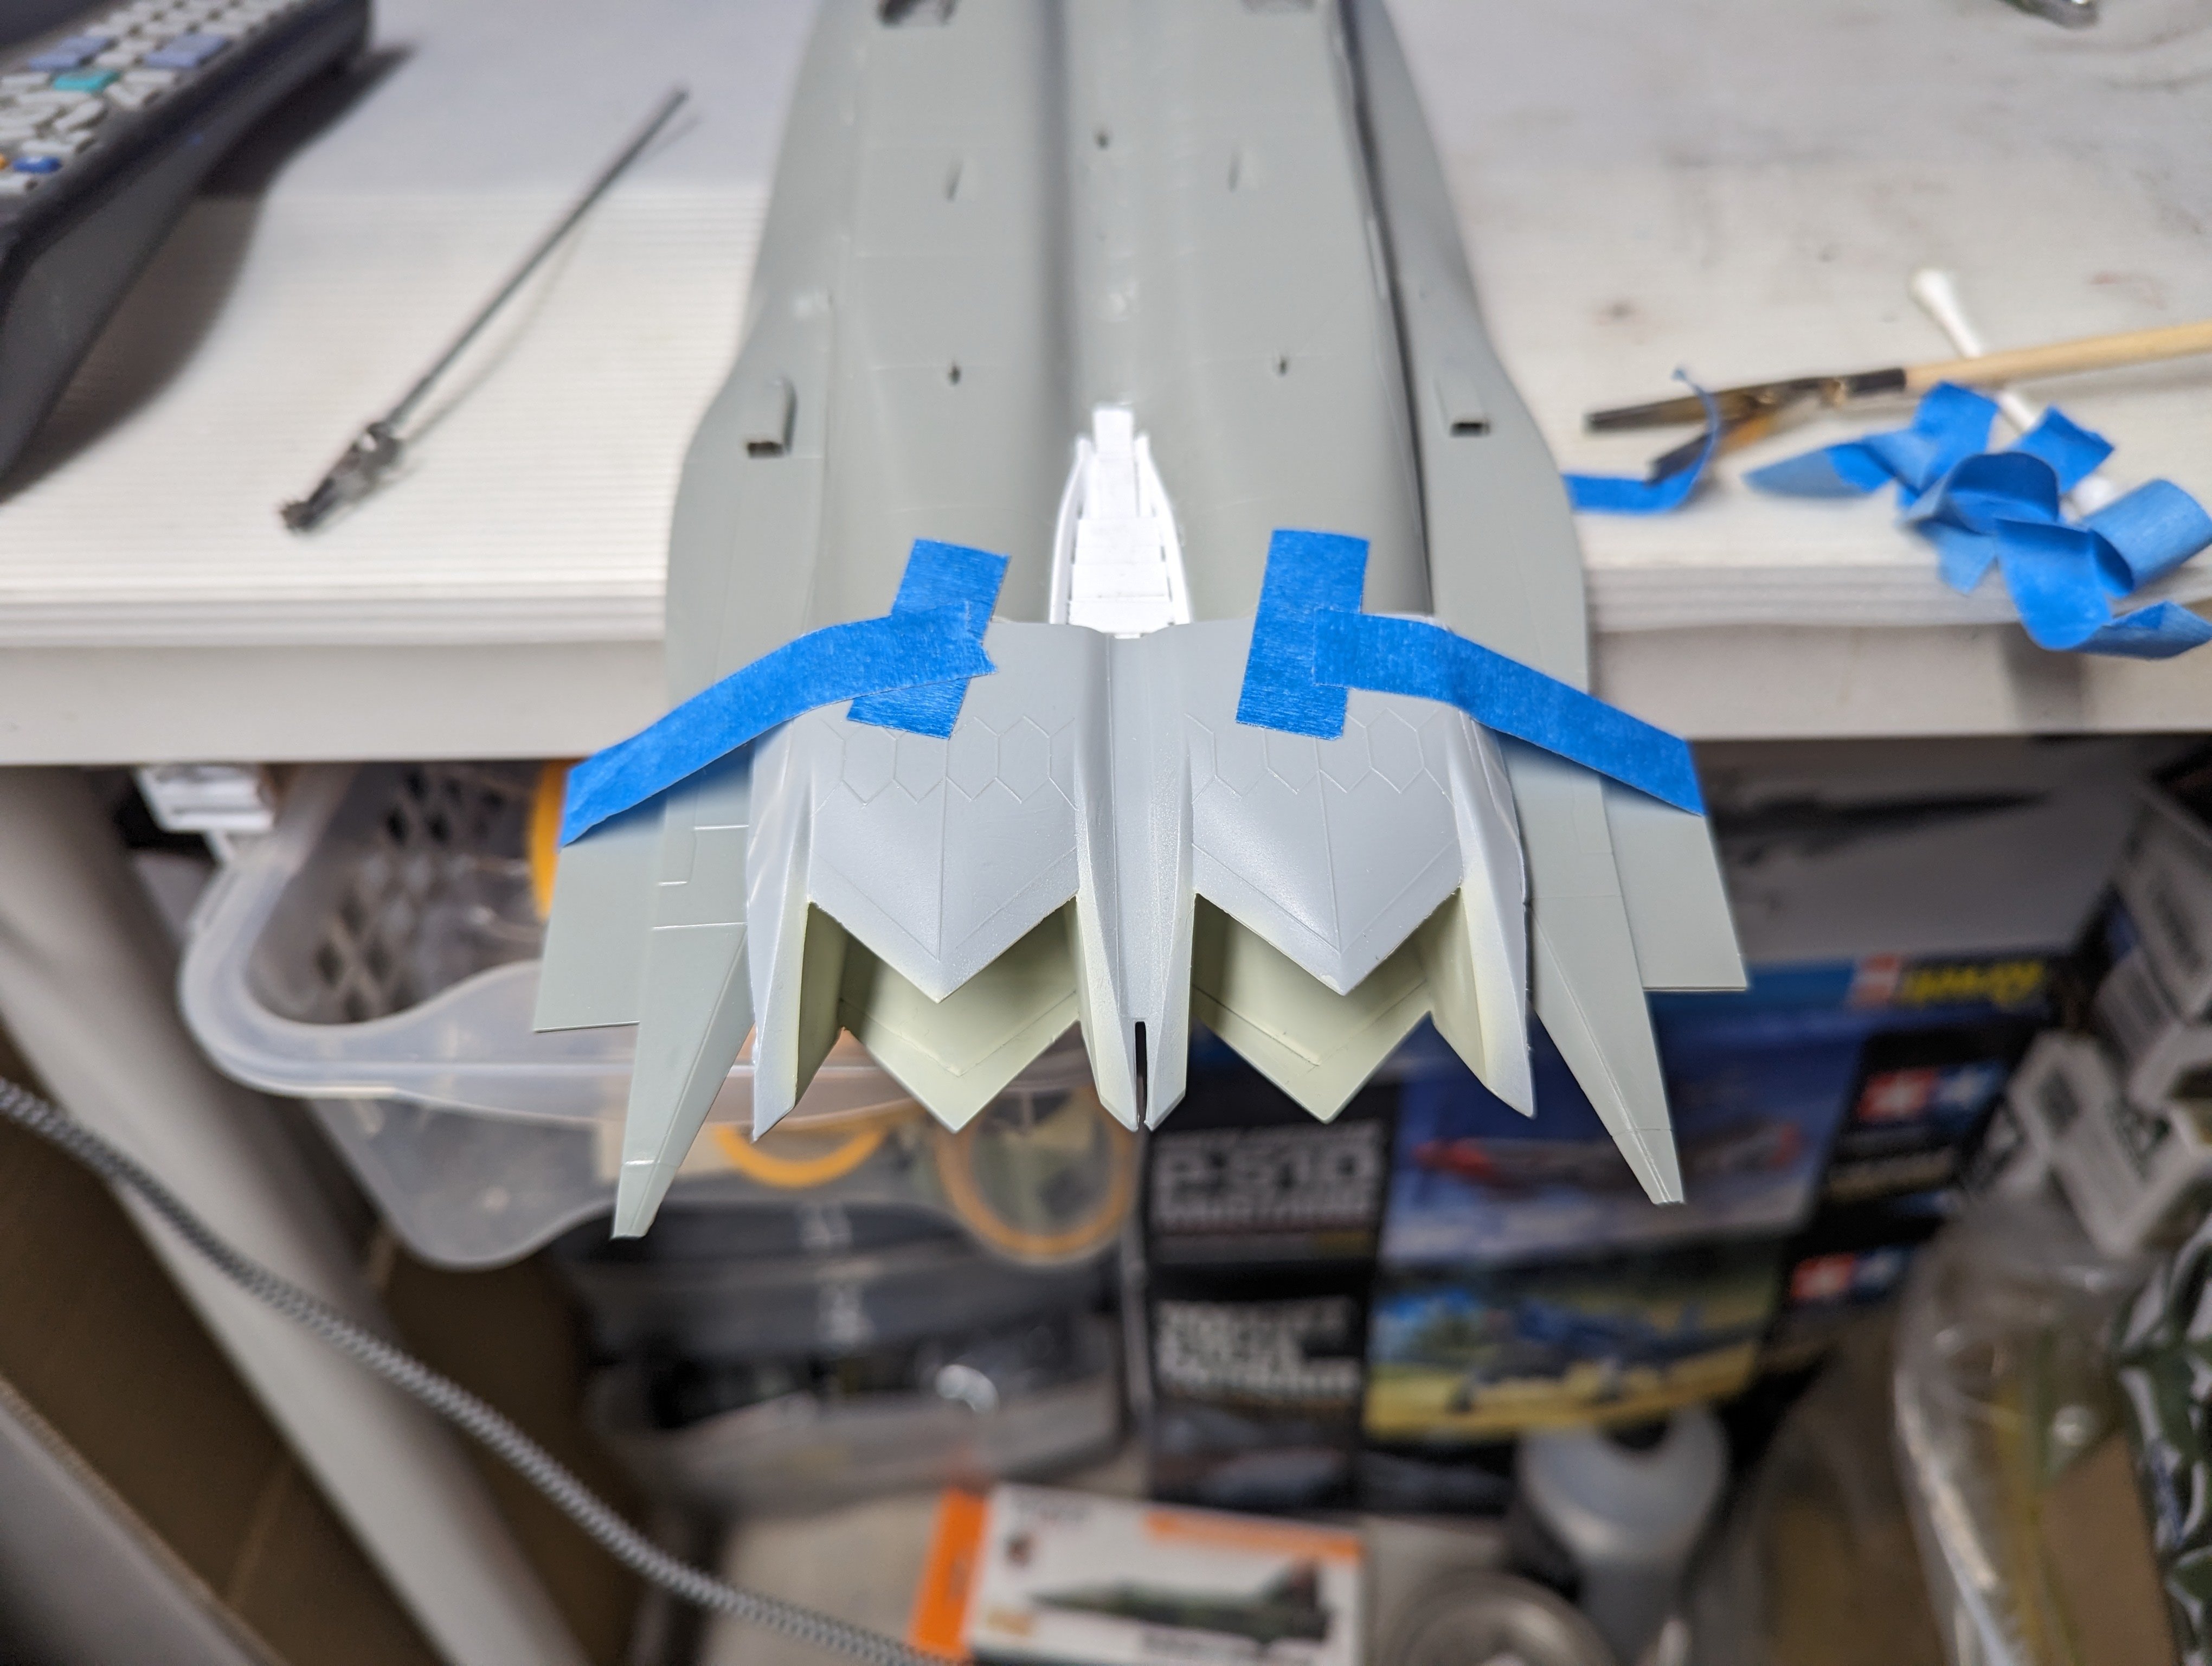
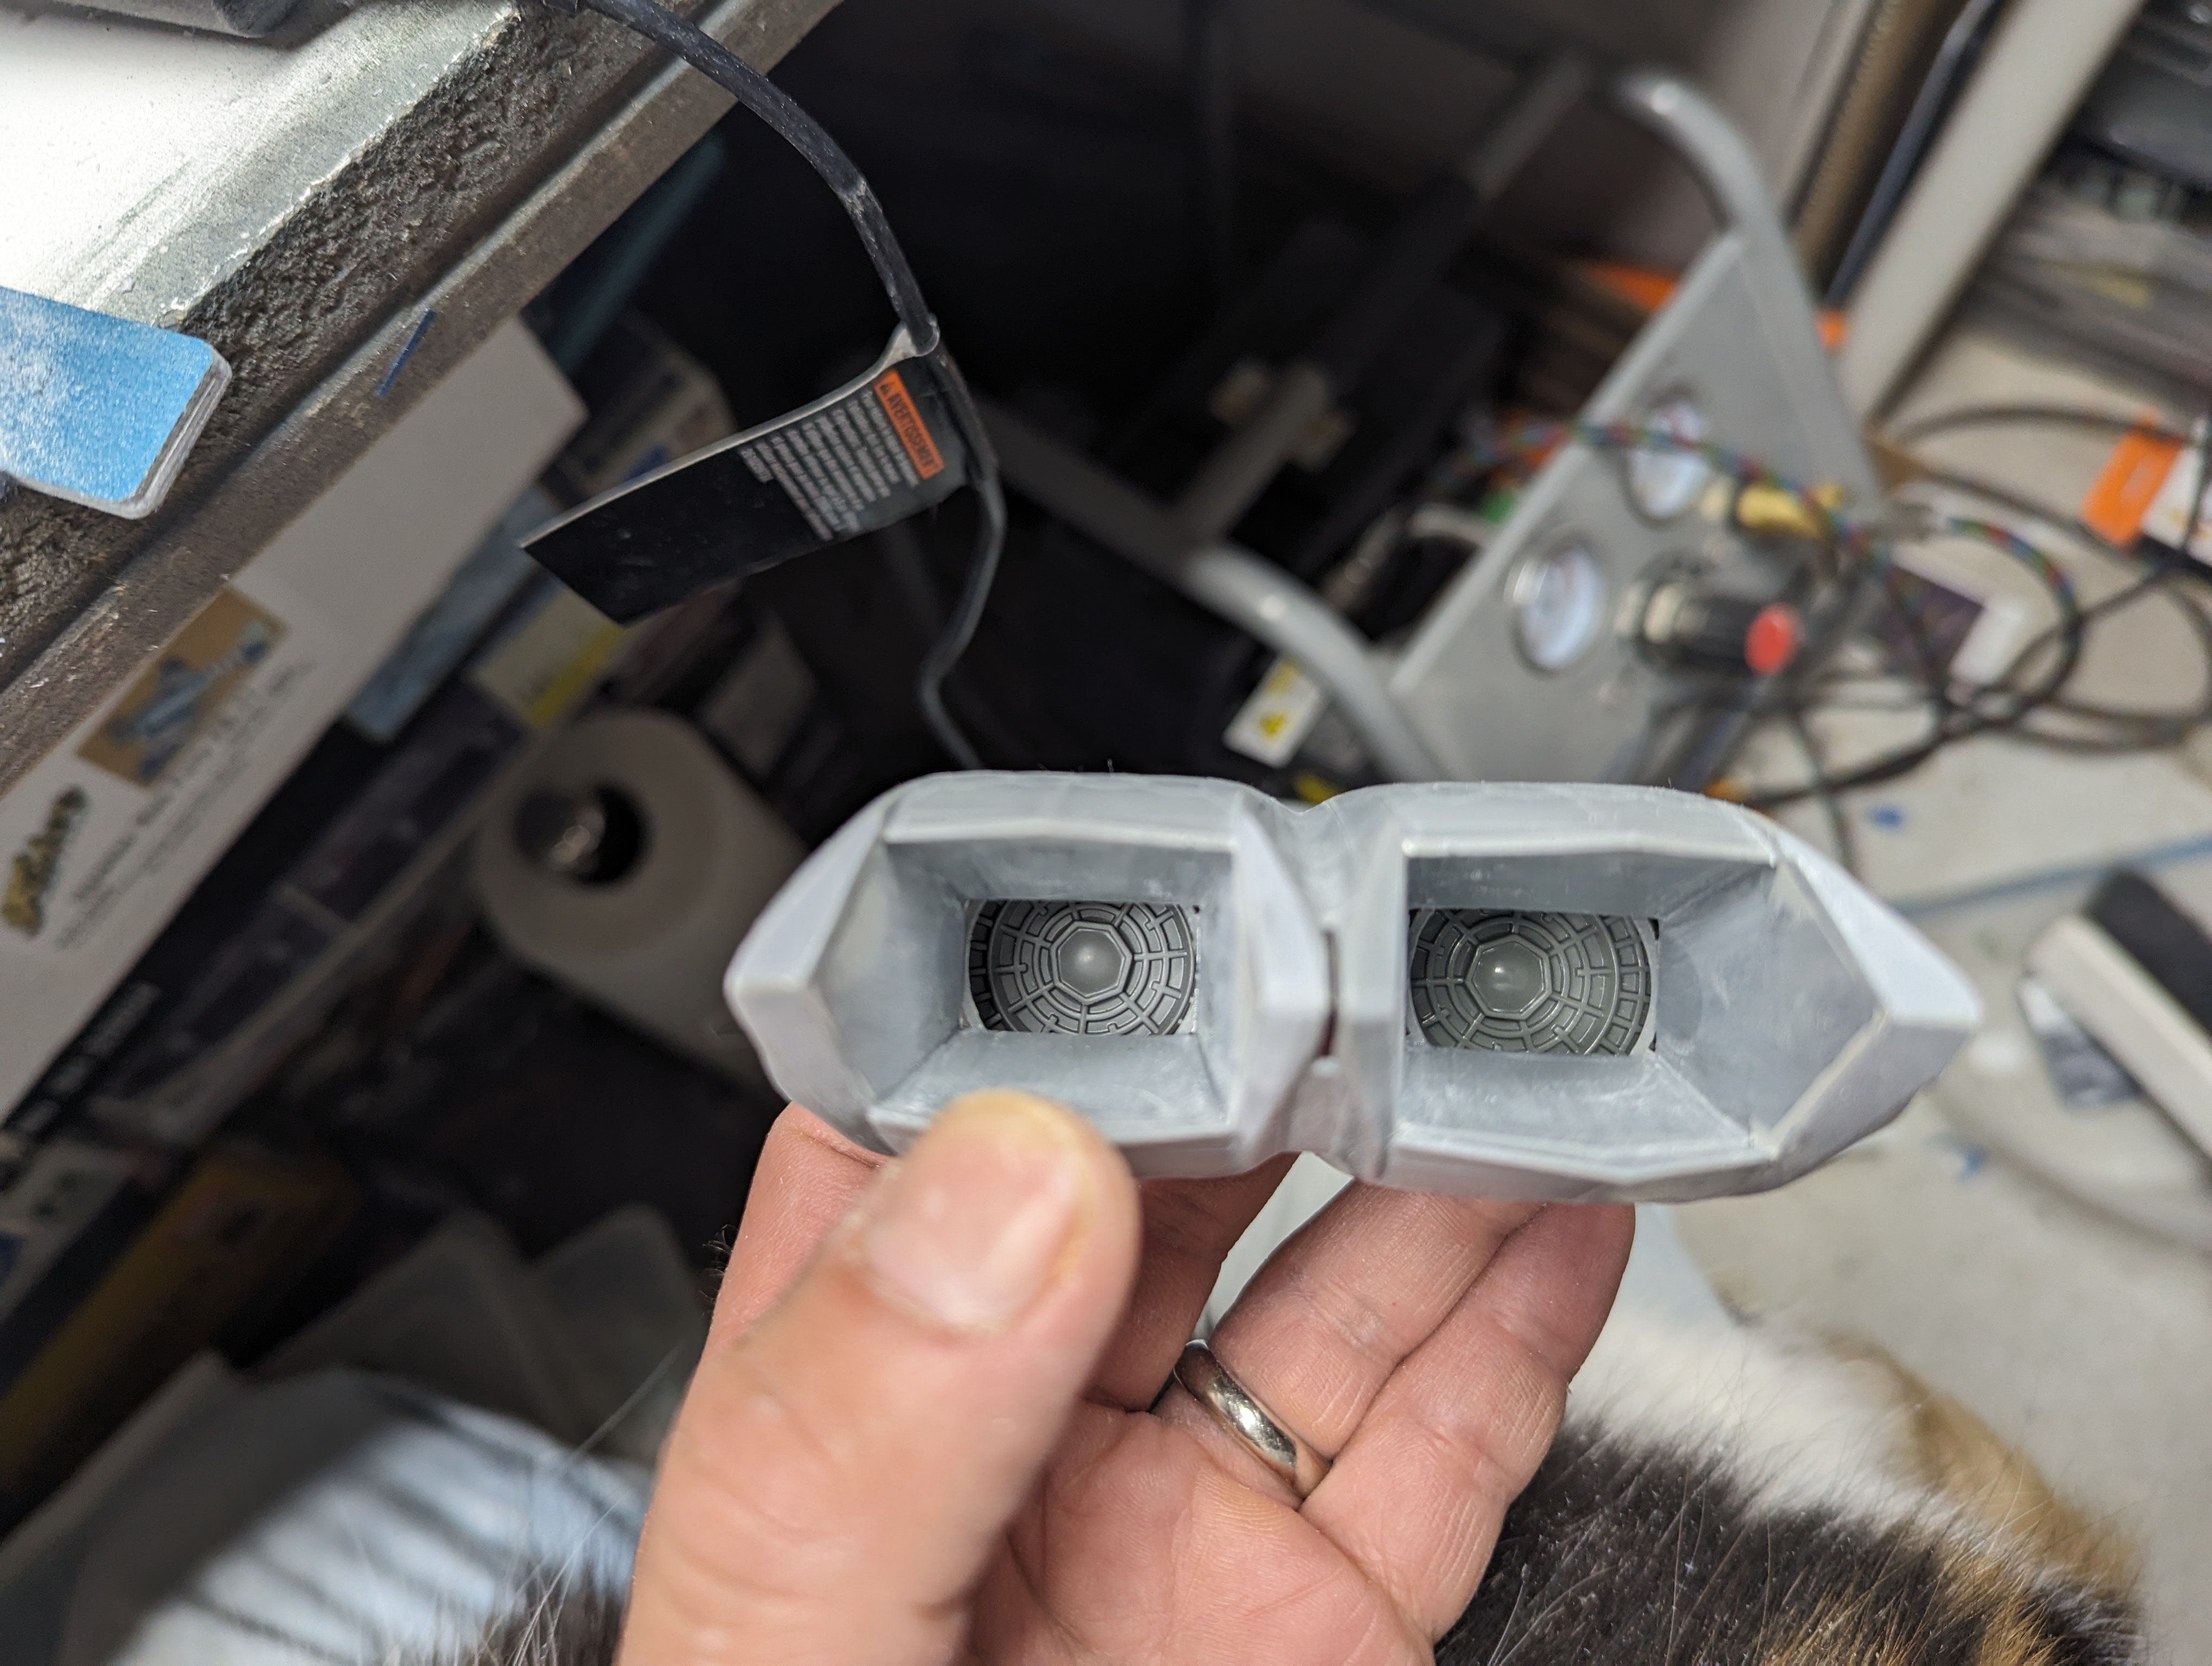
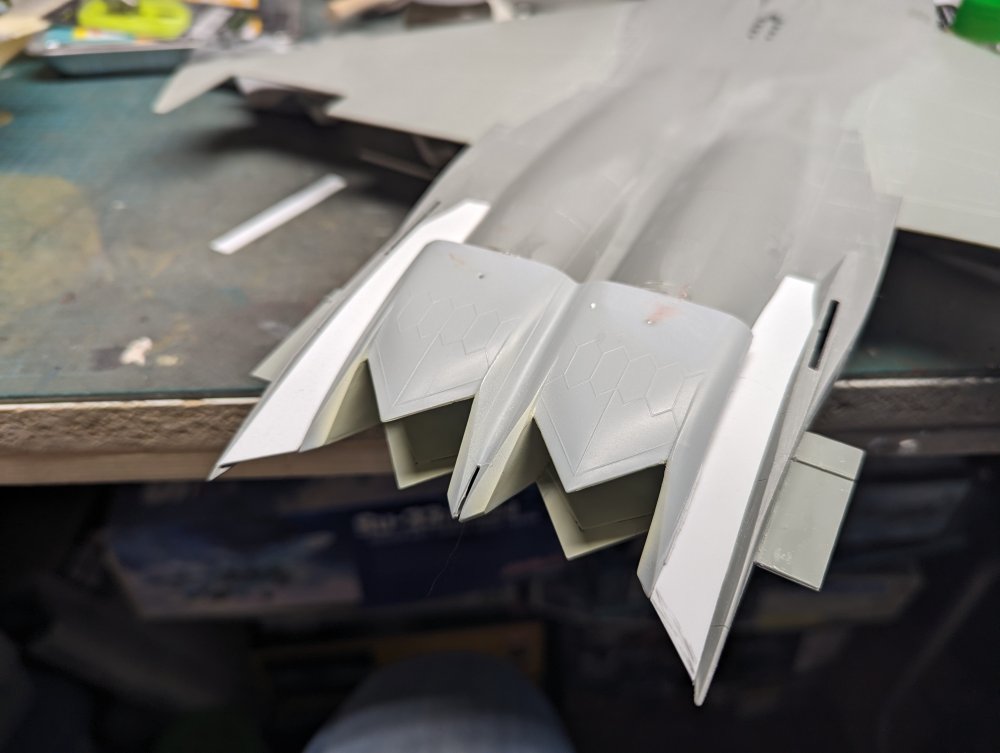
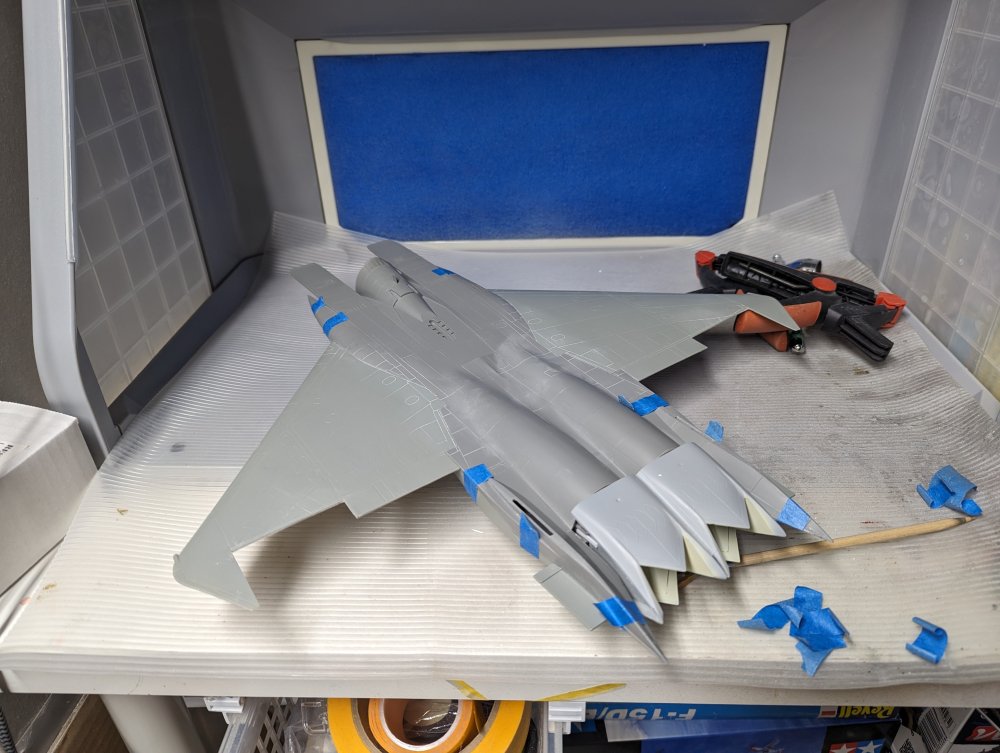
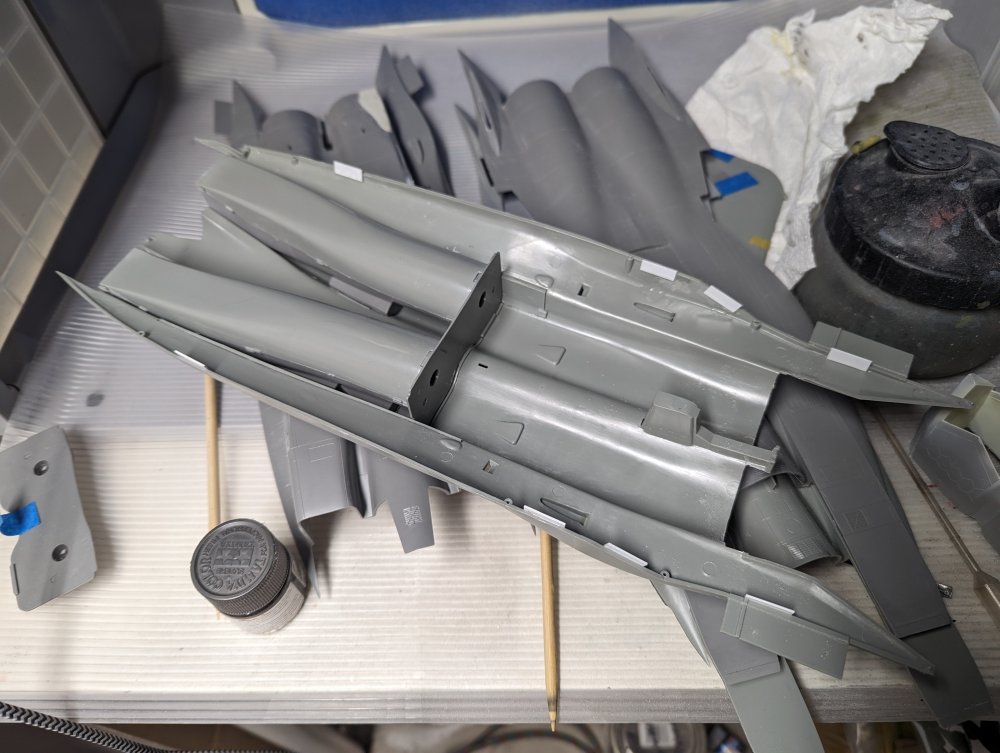
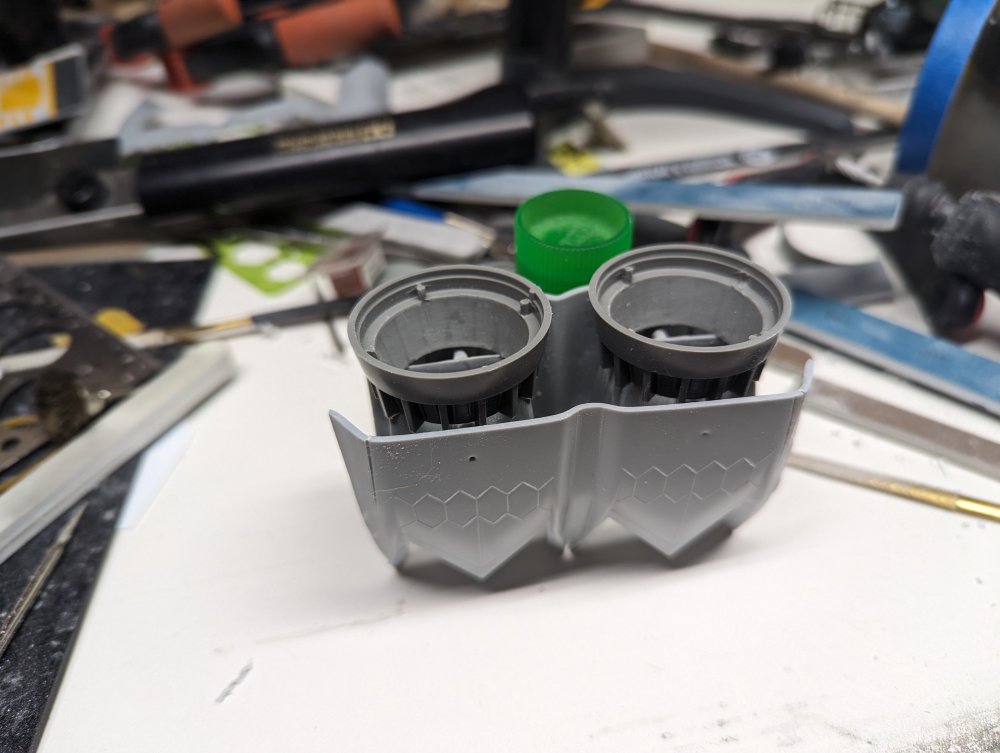
One of my least favourite parts of a jet build- filling and painting the intakes. The F-15 ones weren't too bad but would have been easier if they weren't so long. Anyways, I got them done and installed into the lower fuselage half. I also added some styrene tabs around the sides of the fuselage as the joint doesn't look to be the strongest. They also help a lot with alignment. One thing that seems to be systemic to 1/32 F-15 kits is the wing/fuselage join. Following the instructions, you assemble the fuselage and then add the wings. But if add the wings to the upper fuselage half first, you can tweak the fit and get a much cleaner join. I also added some epoxy putty to the leading edges of the wing shoulders so I can drill and fit the canards easier later. Finally, I glued the nozzles on. Now to let things dry a bit.


-
Revell 1/32 Bell X-1 (Glamorous Glennis)
BlrwestSiR replied to RalphSarc's topic in LSM 1/35 and Larger Work In Progress
That looks great Ralph. Nice to see the tonal variation in the orange. Carl -
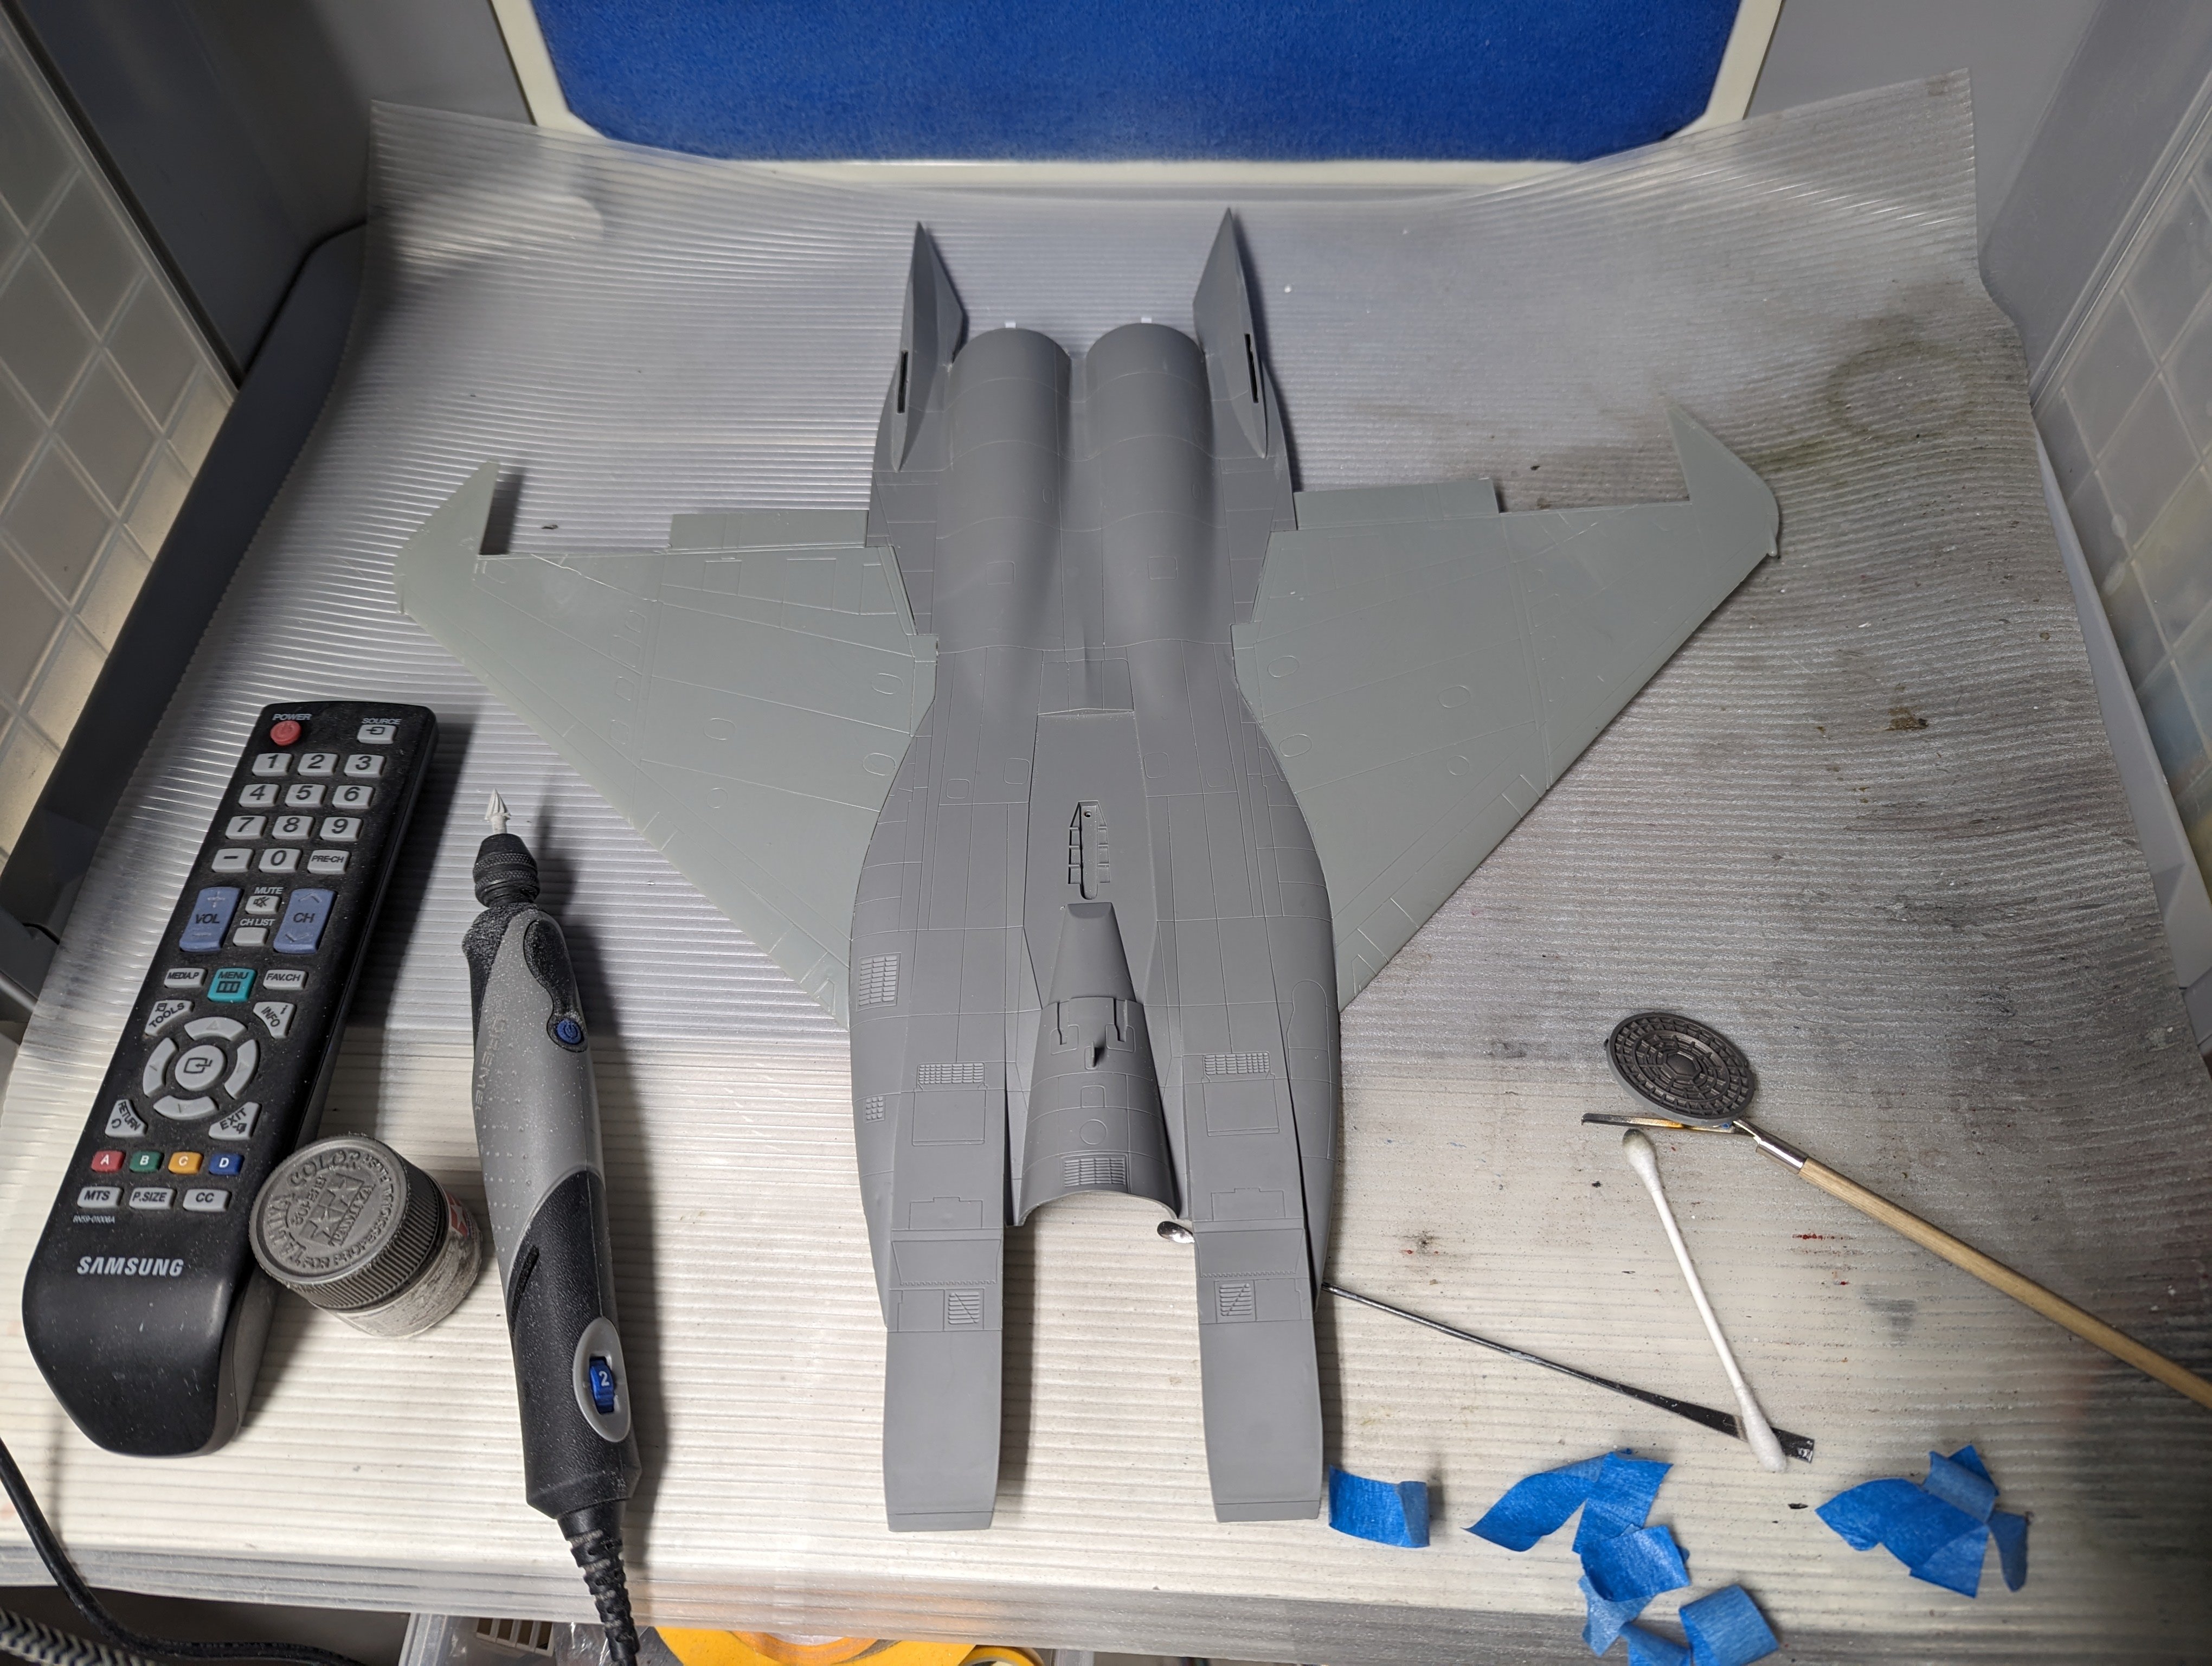
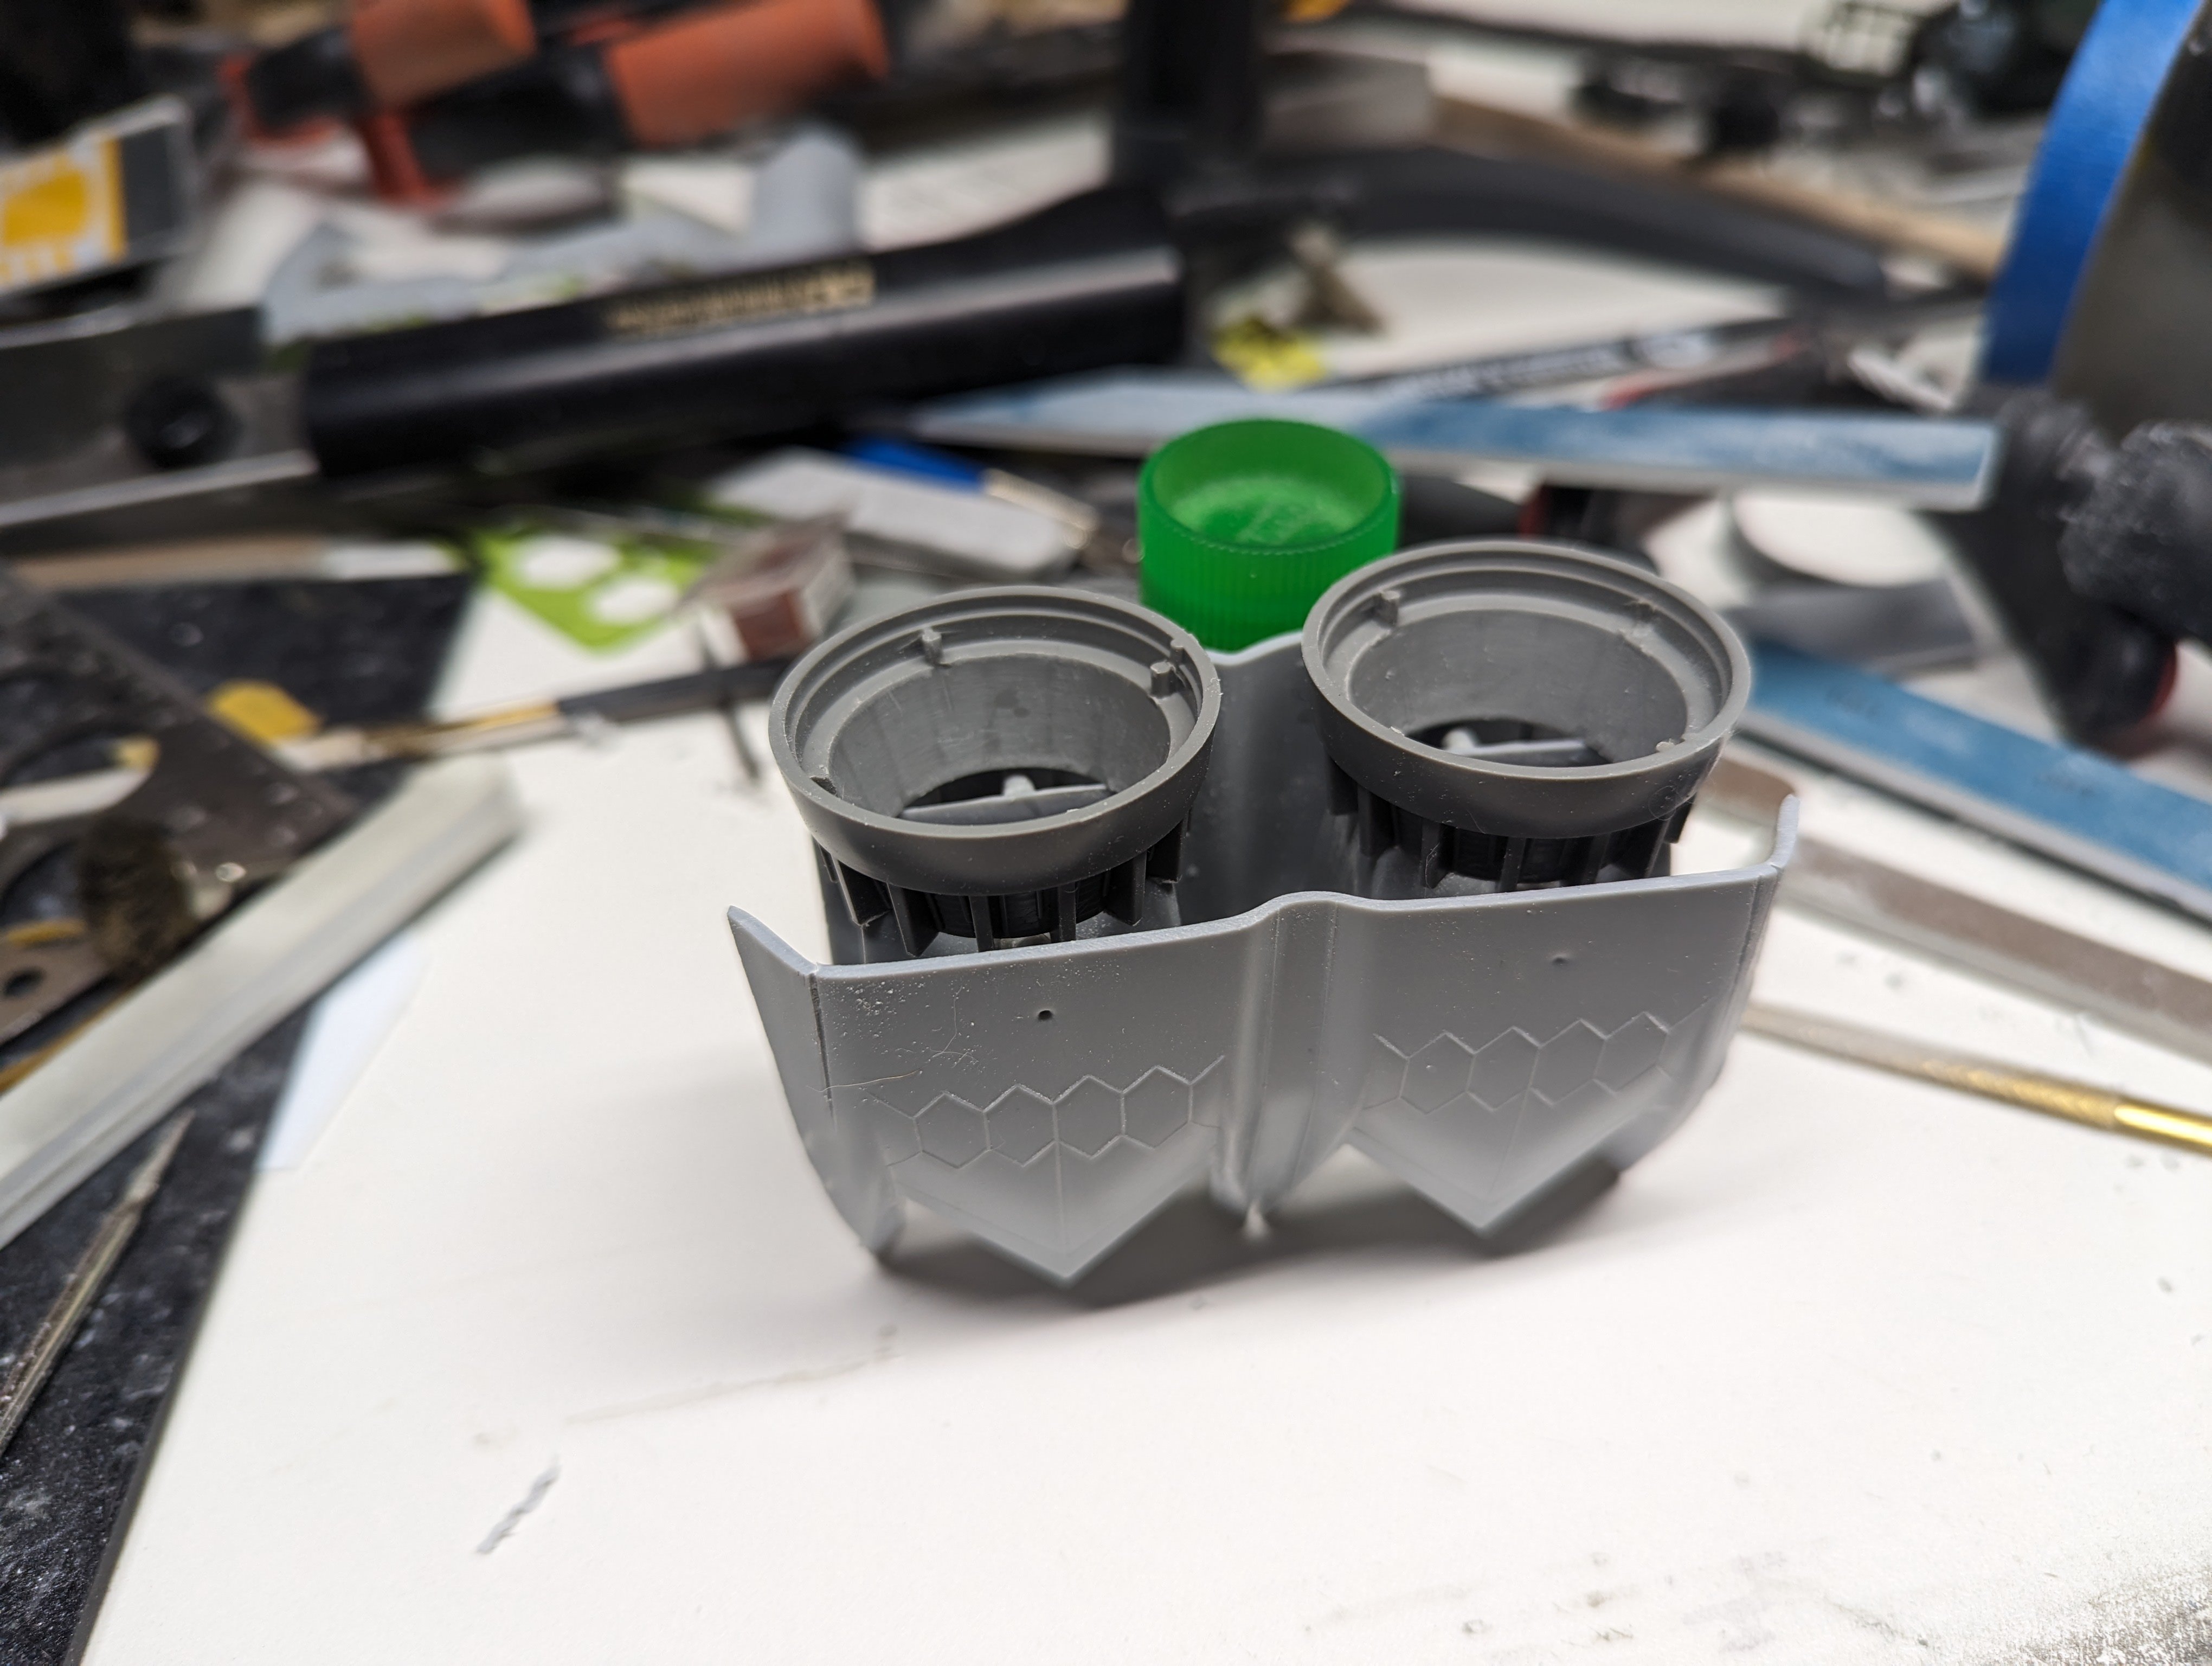
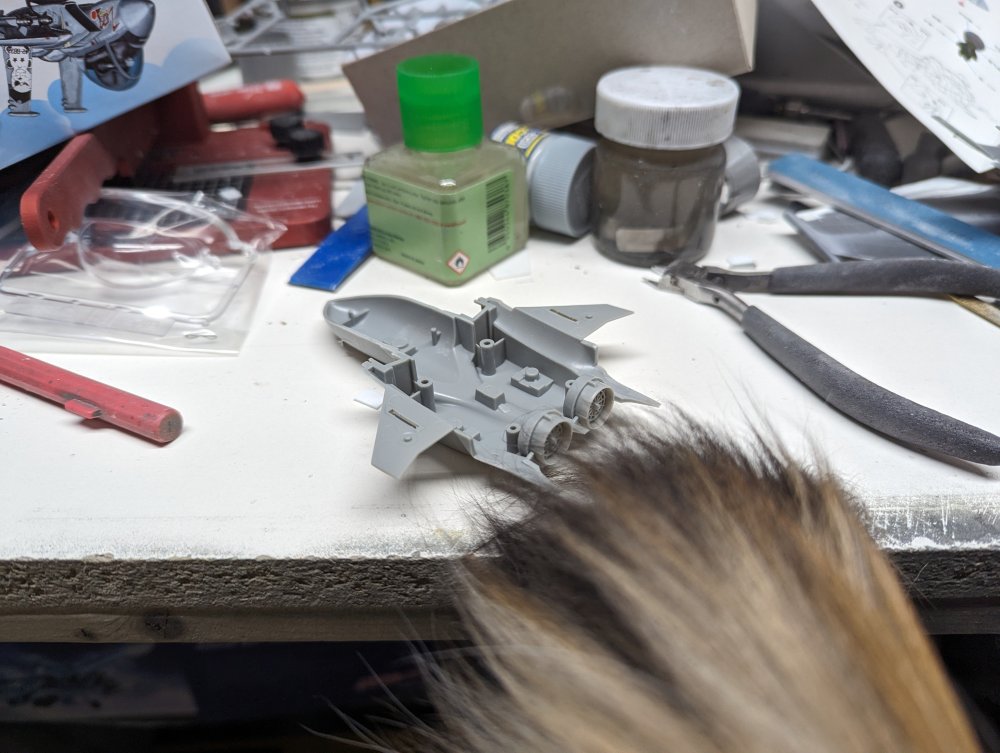
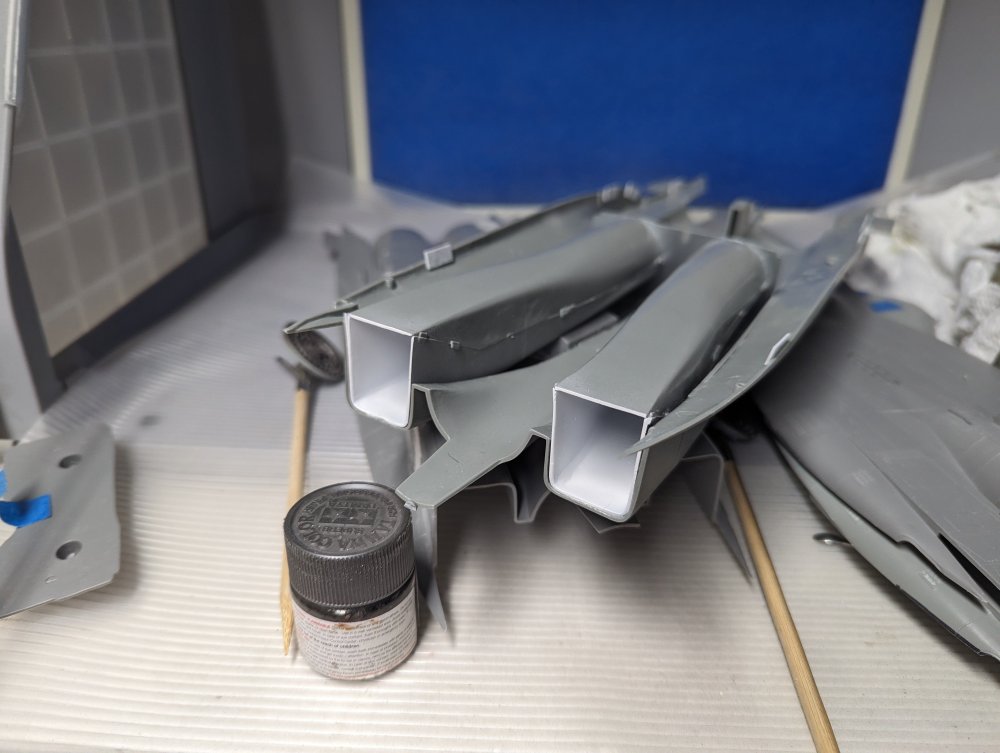
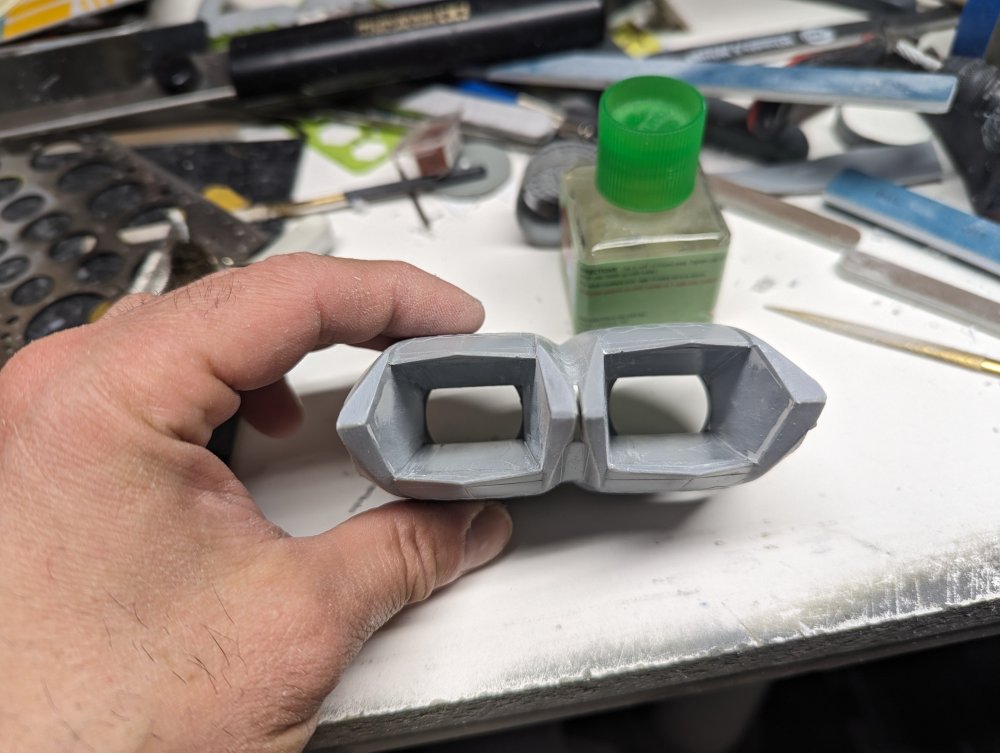
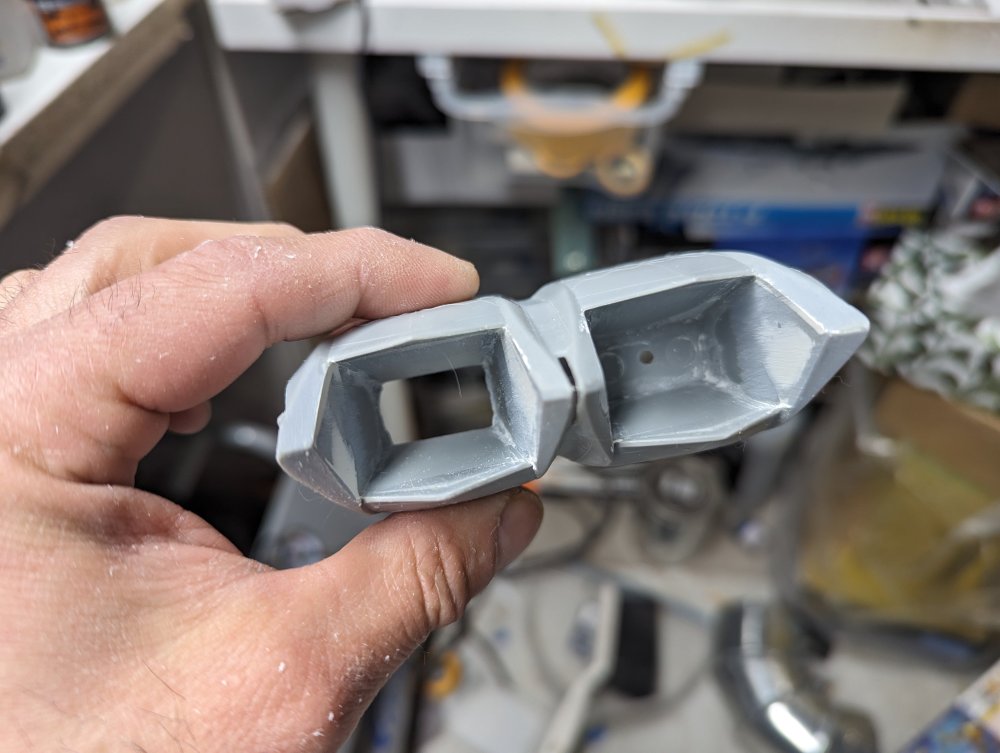
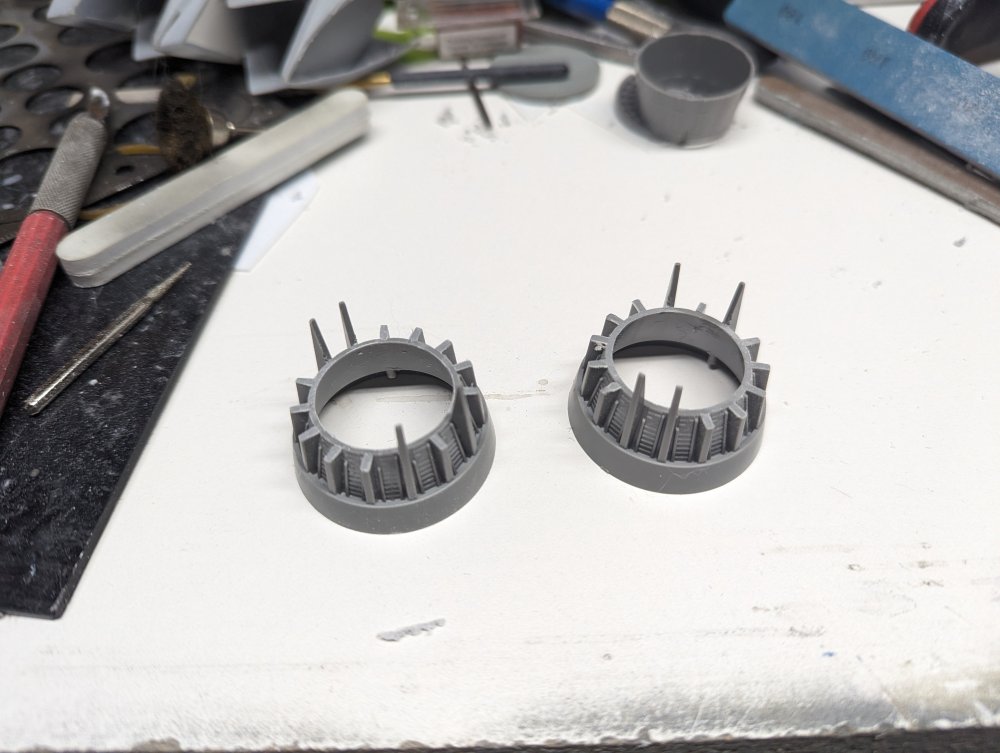
Okay, I stopped sorting out the bench and got back to work on this. Things are packed up and in different storage tubs but I really wanted to make some progress on this build. I cut the back of the nozzles out. First one... ...followed by the second. I then used part of the original burner cans to add some depth. The end result. I think it adds a bit more visual interest even if it's not 100% accurate.

-
Peter, that looks great. A classic paint job for the F-14.
-
Nice progress there Chris. Good idea to paint behind the intakes like Mark suggested. Also a good idea to do the back of the splitter plates too. Your build has reminded me of a couple more things to watch for. When you attach the outer wing panels, the kit angle is a bit off. It's too steep and they need to be slightly flatter. I'll try to find the exact angle for you later. Getting the correct angle leaves a small gap on top that is easily filled with a strip of styrene. Nautilus made a wooden jig for setting the correct angle but if you're just building the one kit, it may not be worth getting. On the forward fuselage, the insert on the right side above the intake, the panel lines need to be filled in after you install it. That's the location for the inflight refueling probe on Navy F-4s and isn't on USAF ones. Speaking of which, the USAF one is on the spine just behind the cockpit. The kit piece usually sits a bit low so you may need to put some strip styrene underneath it to get it level with the rest of the fuselage. Last one for now, the nose has a small vent on the top that's missing. It's an easy one to make from styrene. It's marked out on the nose so you'll know where it goes. Here's the one I did.