BlrwestSiR
-
Posts
9,217 -
Joined
-
Last visited
Content Type
Profiles
Forums
Events
Gallery
Everything posted by BlrwestSiR
-

What is on your bench right now ? Share a picture :)
BlrwestSiR replied to Martinnfb's topic in Modelling Discussion
Phil, that Jeep would look great next to my LRDG Ford. -
Interesting way they stacked the tiles.
-
Great progress there Martin. Nice solution to the broken hub.
-
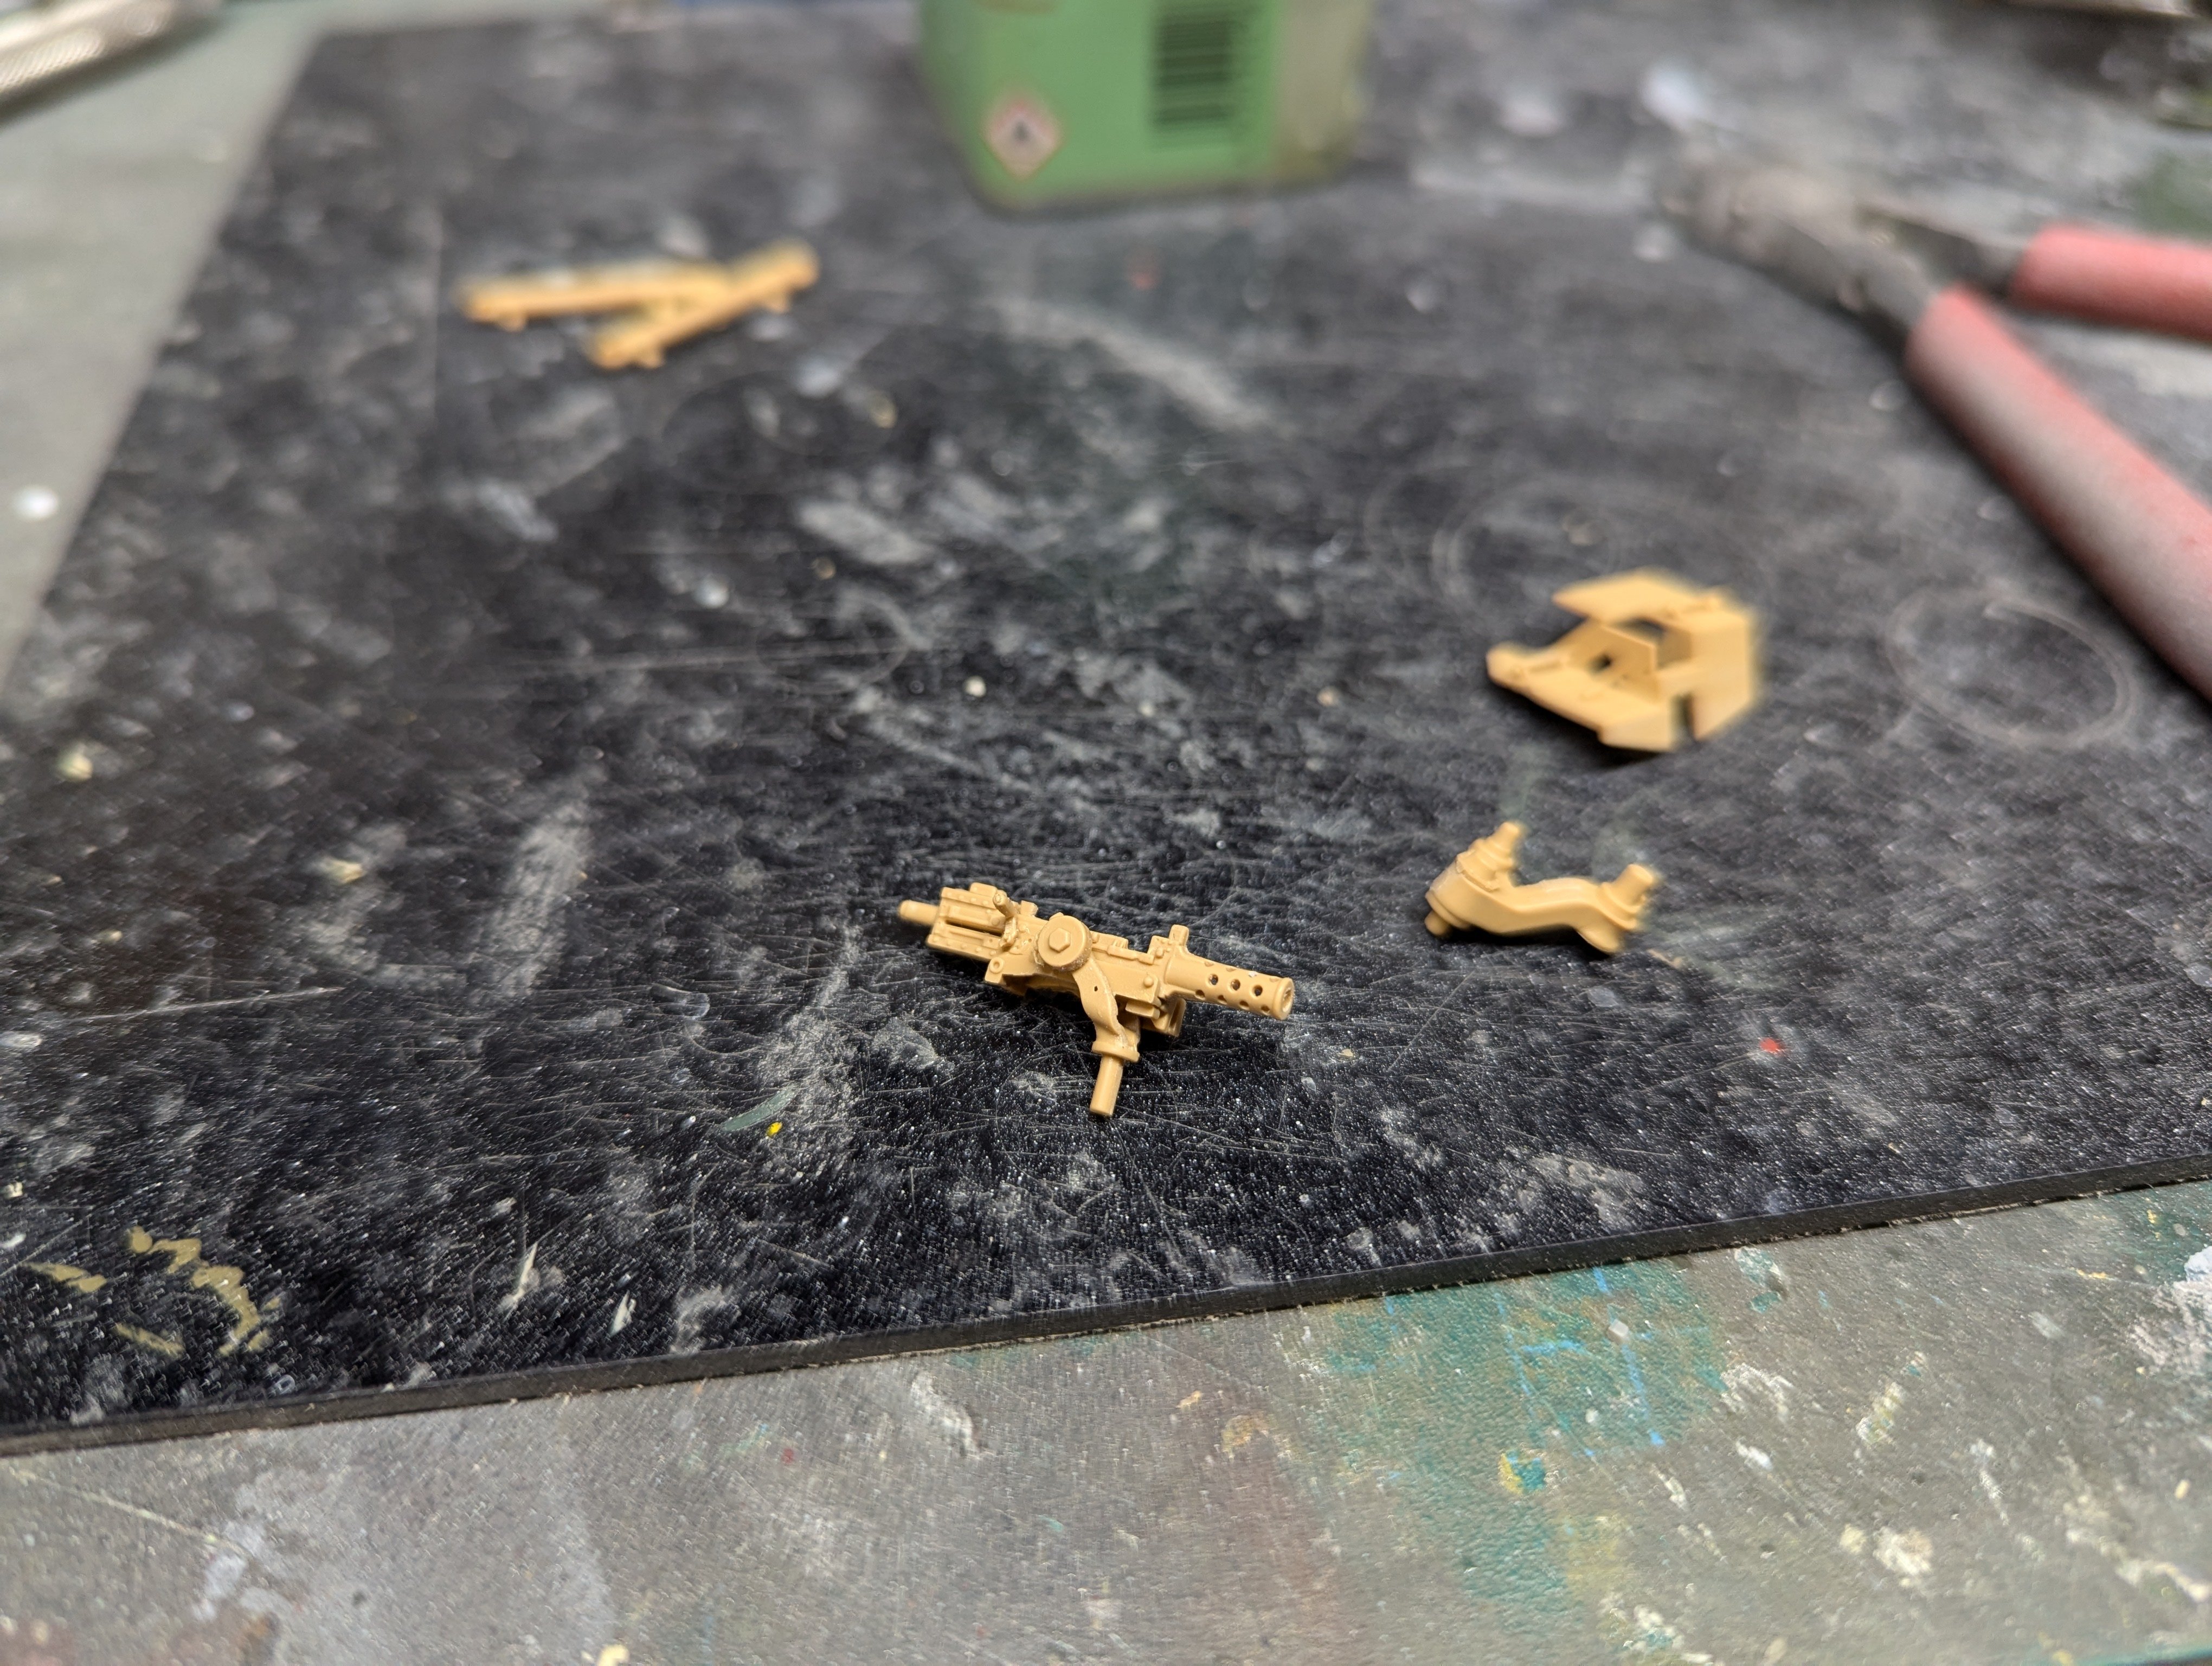
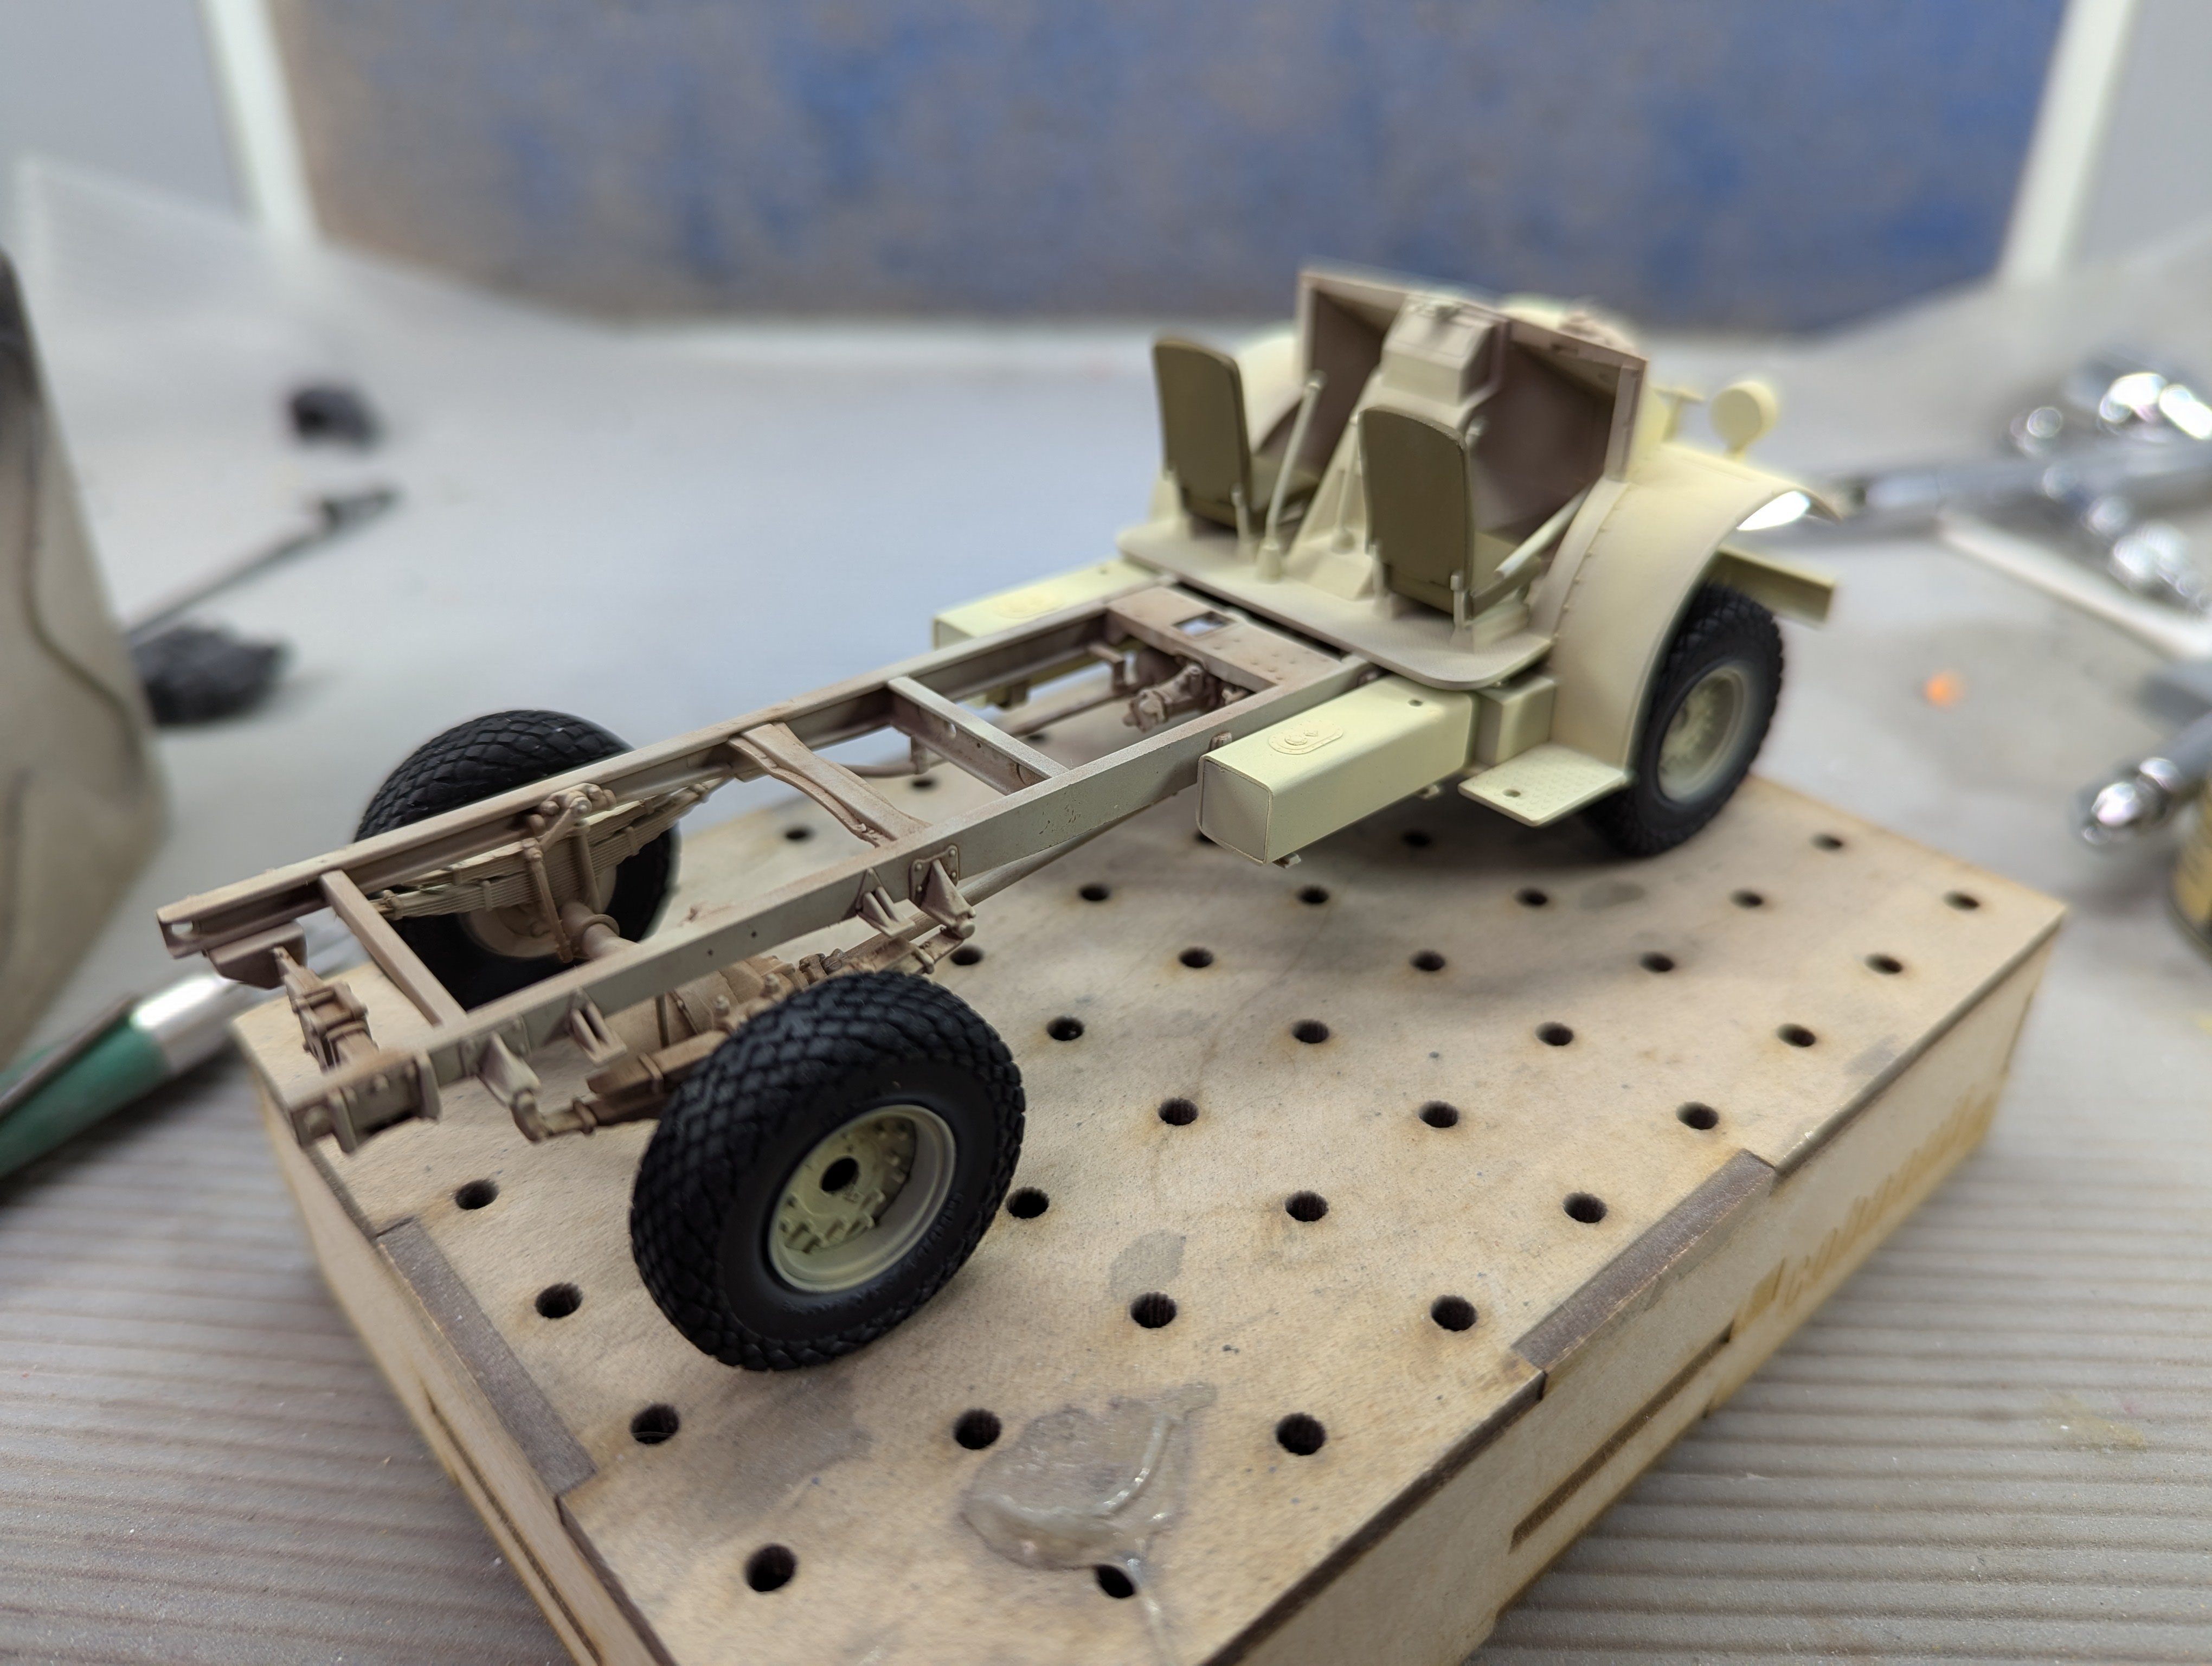
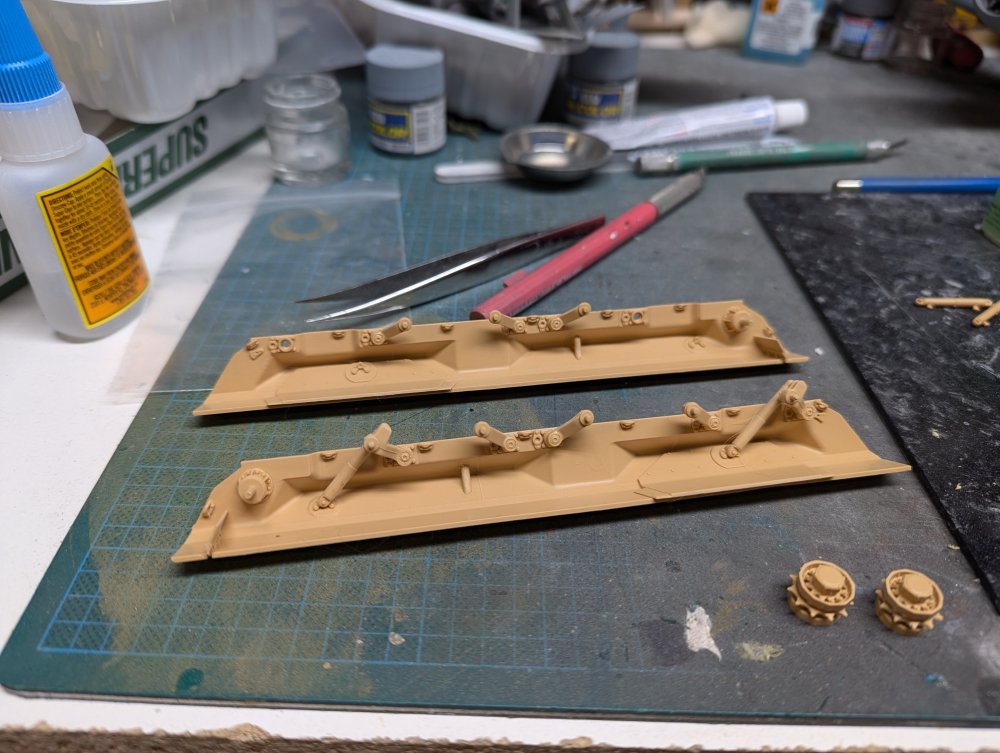
Well, I finally got a start. First up, the .50 Browning on the commander's cupola. Silly number of parts to this bit. Next up, I started on the suspension arms. Again, lots of little pieces to add to the hull sides. Hopefully more to come.

-
That's a good question. Our harsh Canadian winters aren't for the delicate. Or at least when they were harsh.
-
What is on your bench right now ? Share a picture :)
BlrwestSiR replied to Martinnfb's topic in Modelling Discussion
Thanks Martin! It's been fun messing with the paint. -
What is on your bench right now ? Share a picture :)
BlrwestSiR replied to Martinnfb's topic in Modelling Discussion
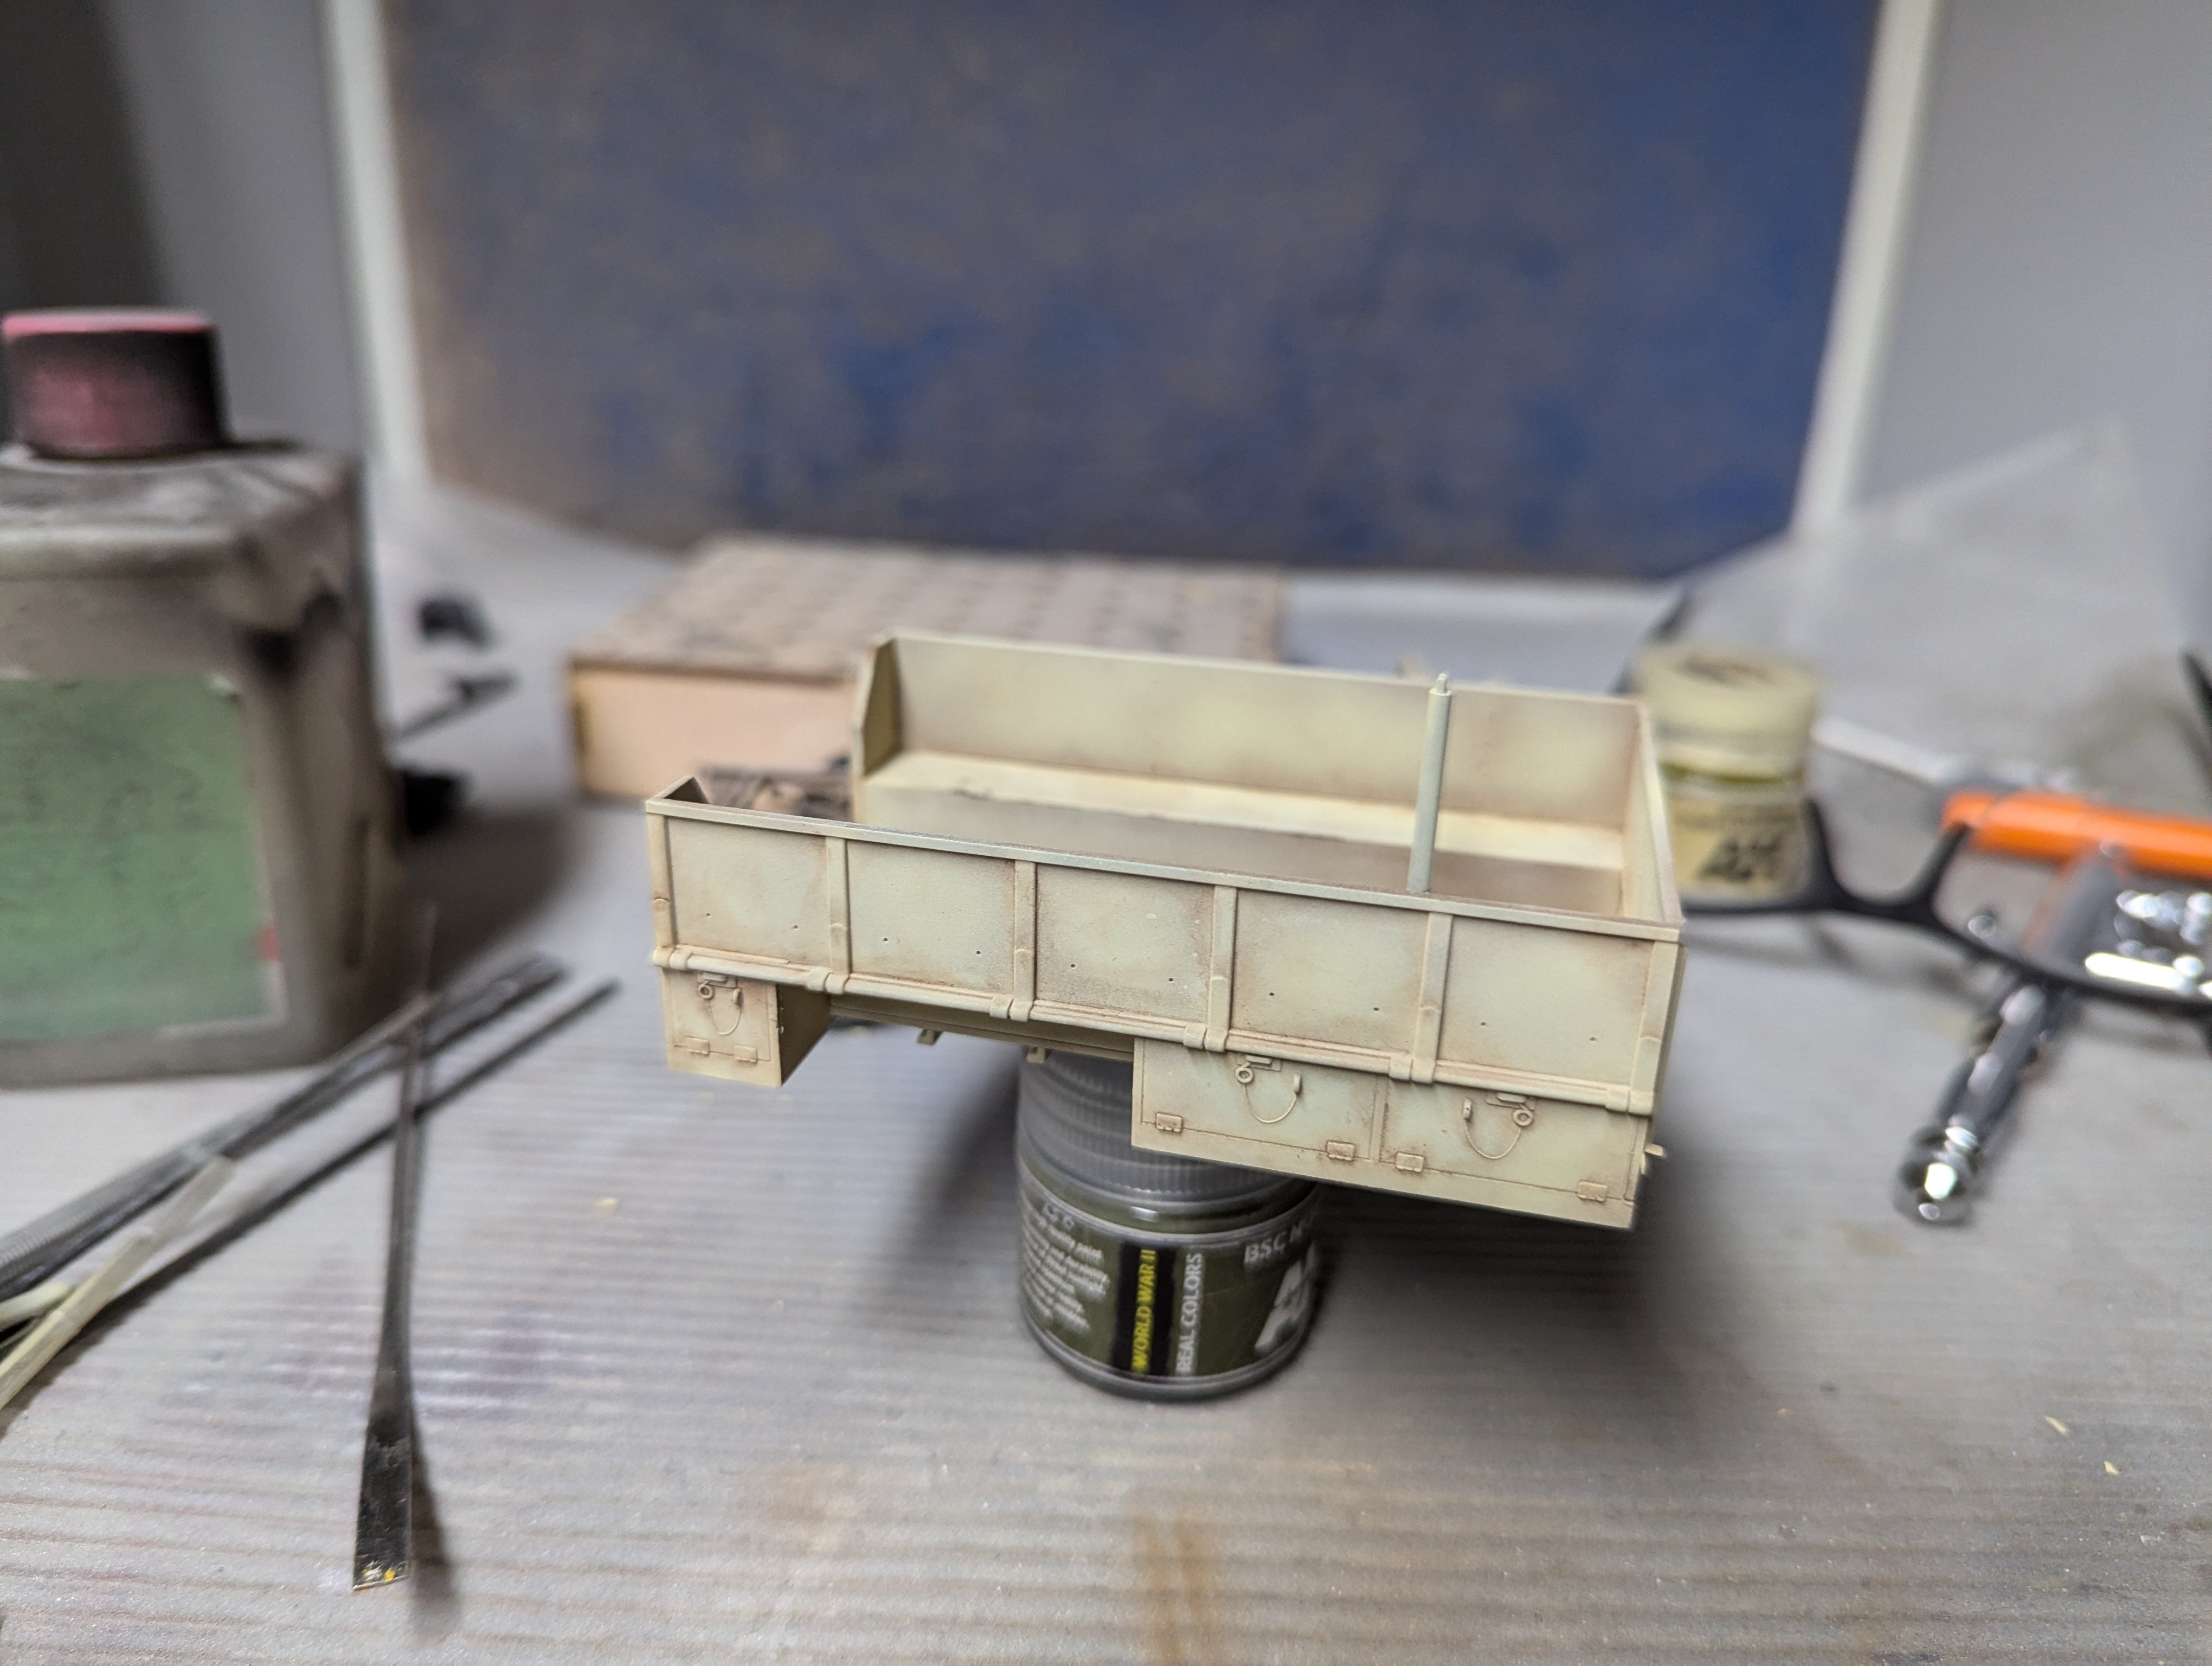
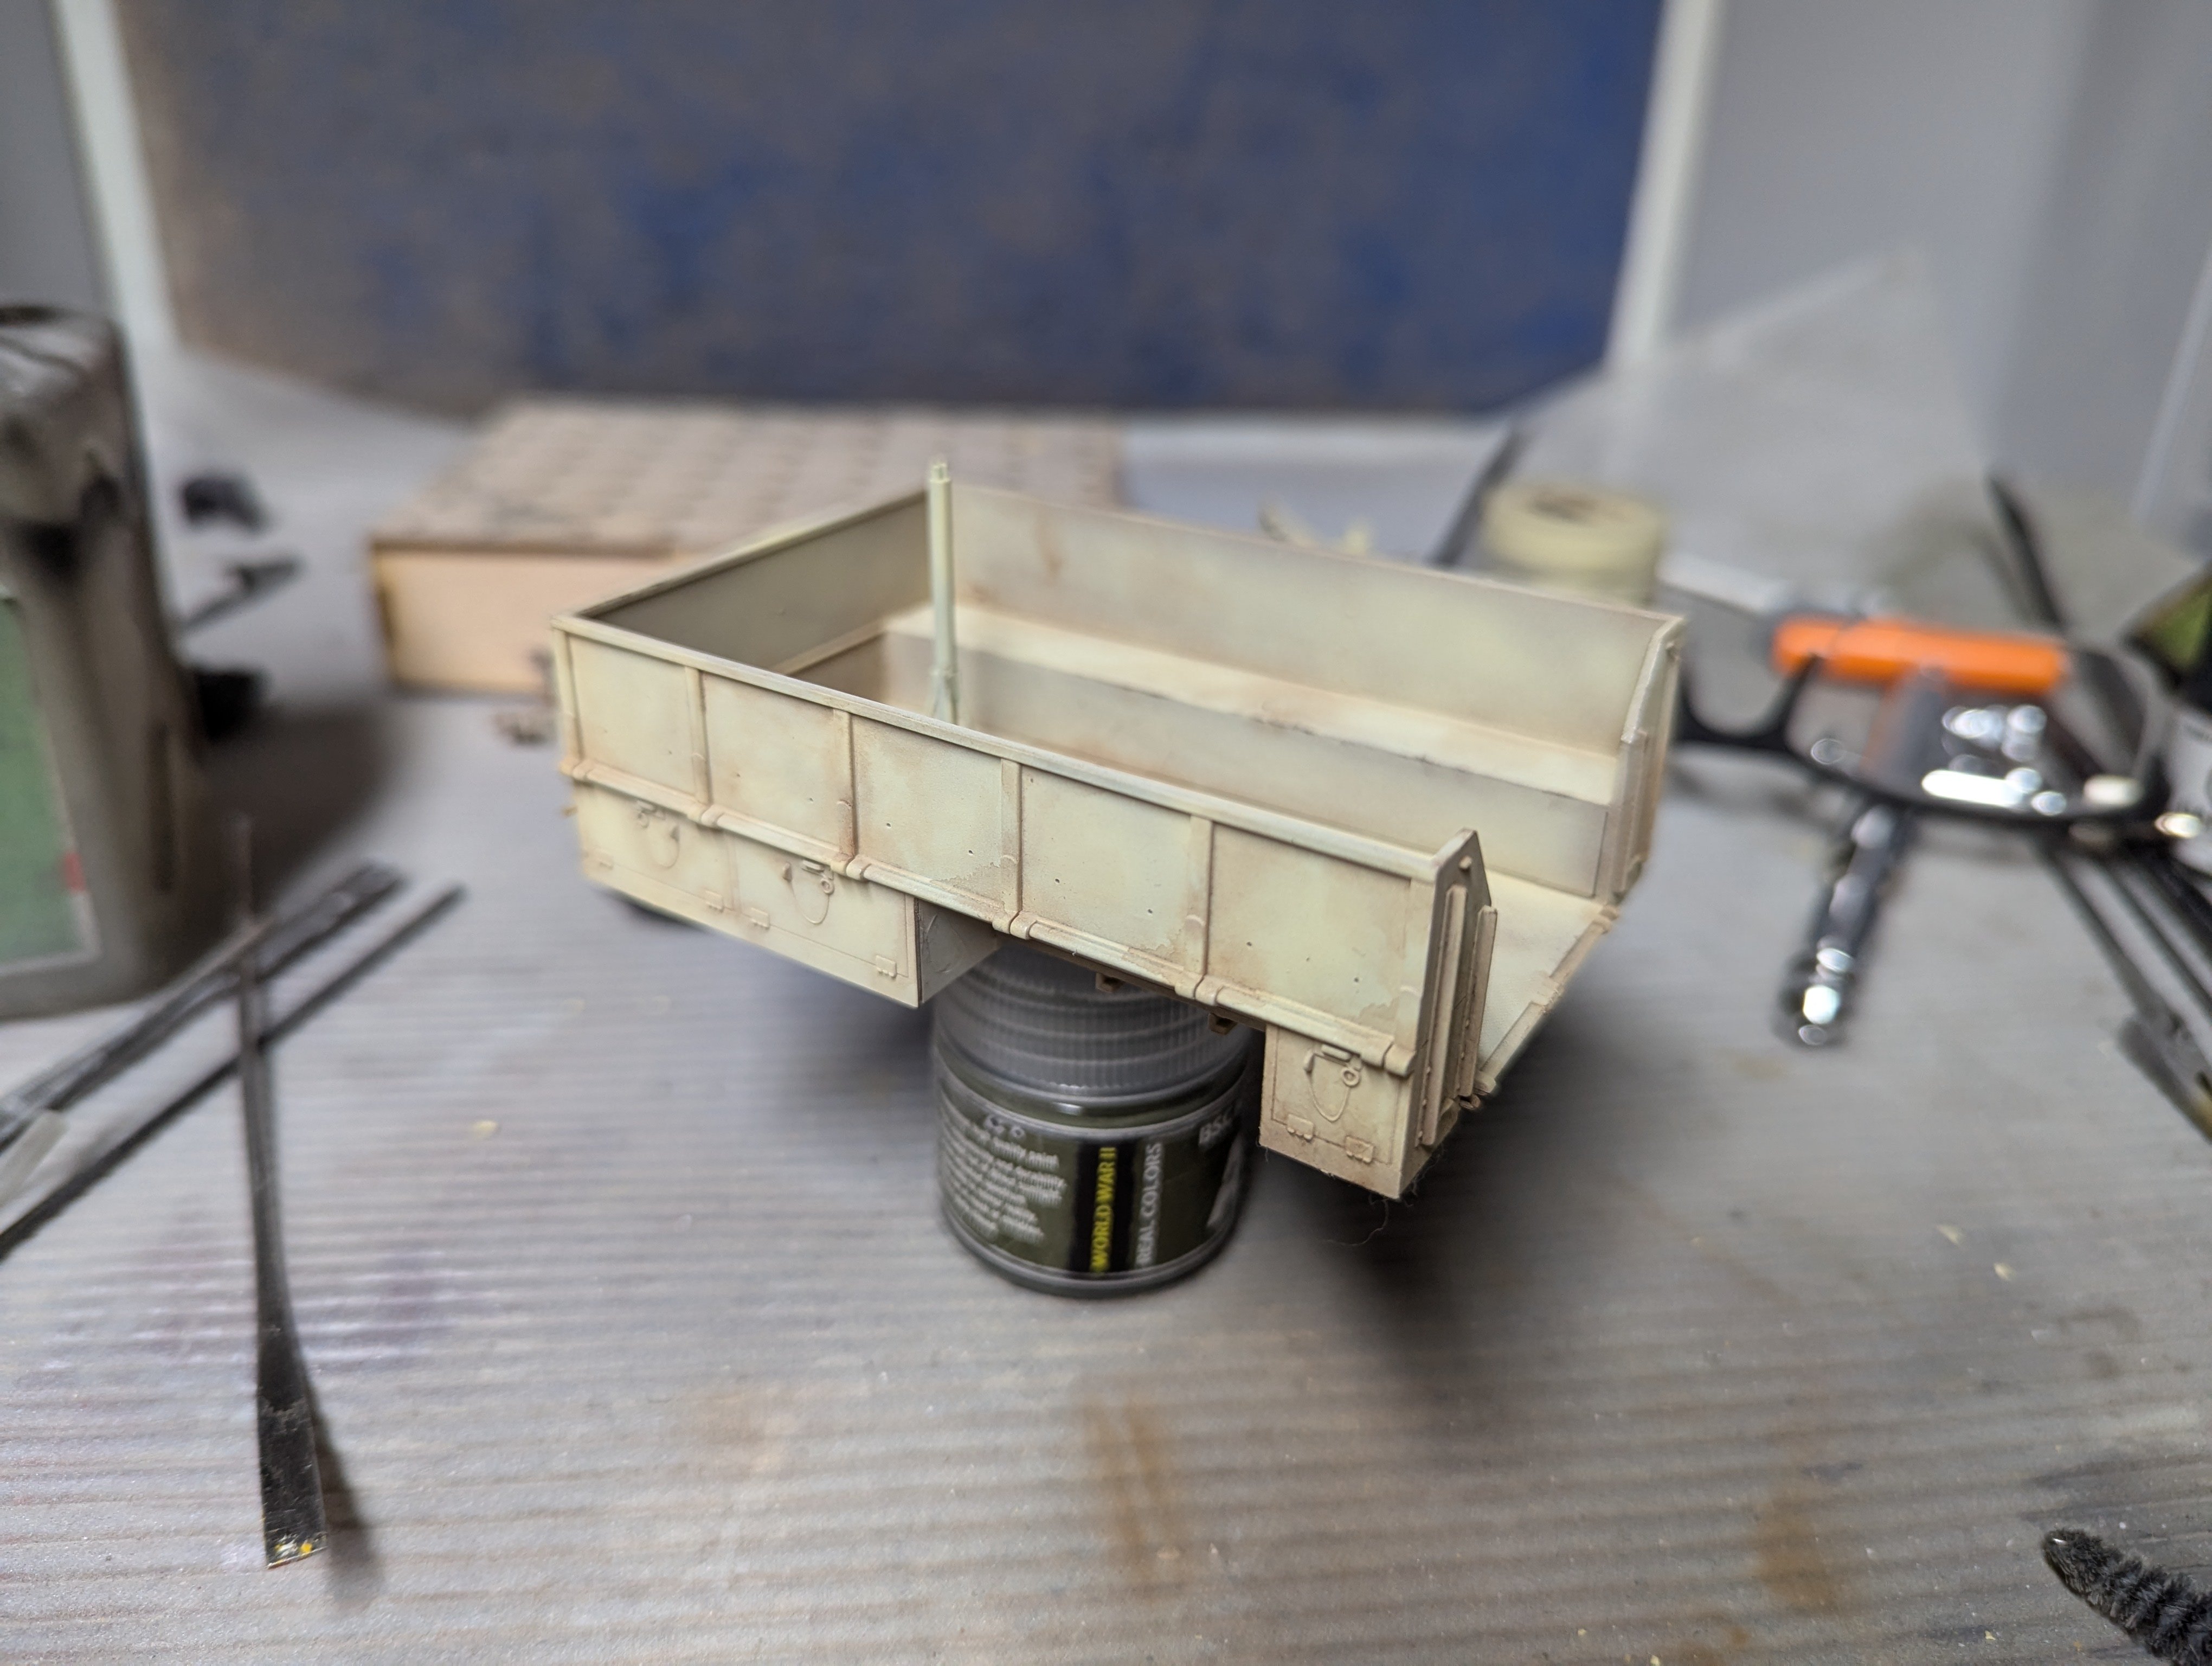
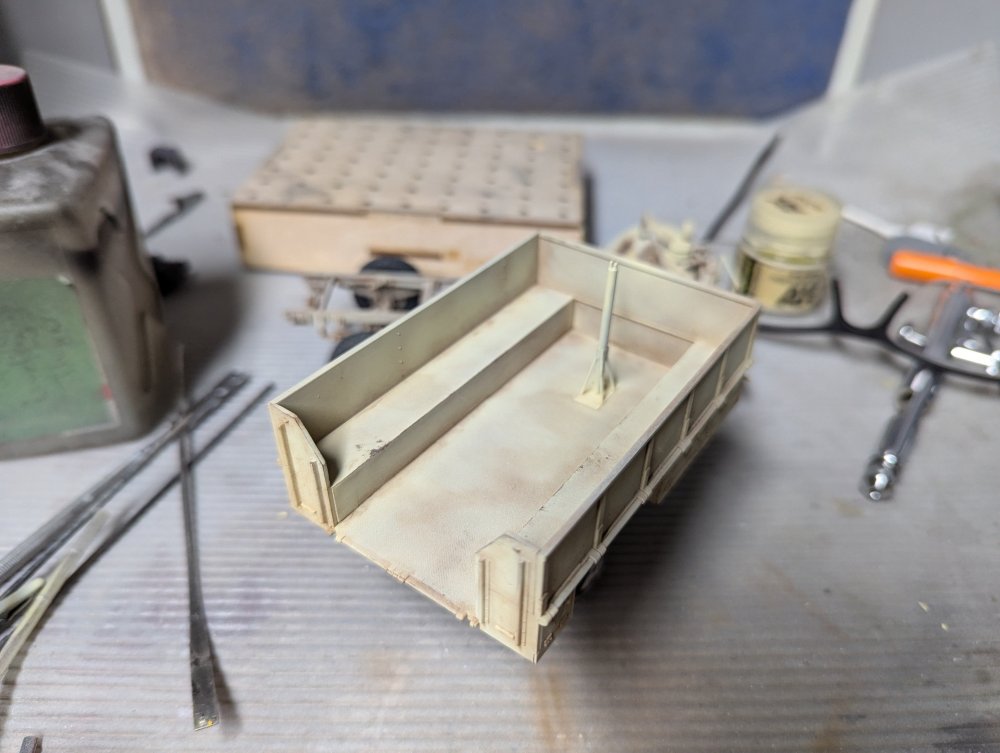
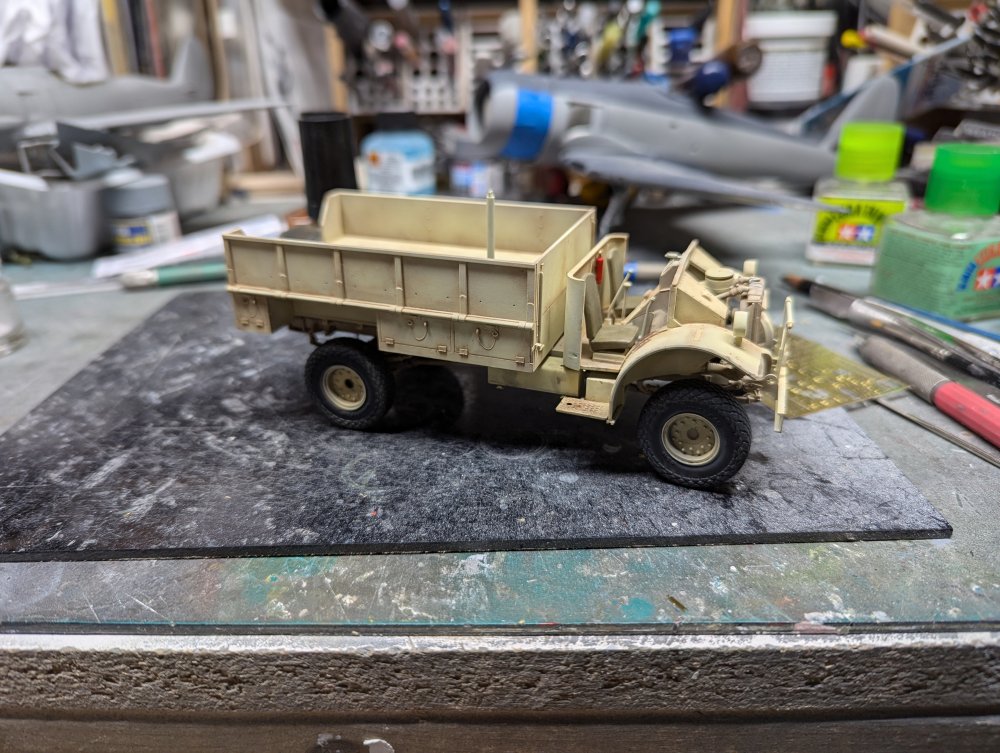
The cargo bed is now weathered. Dry fit on the chassis.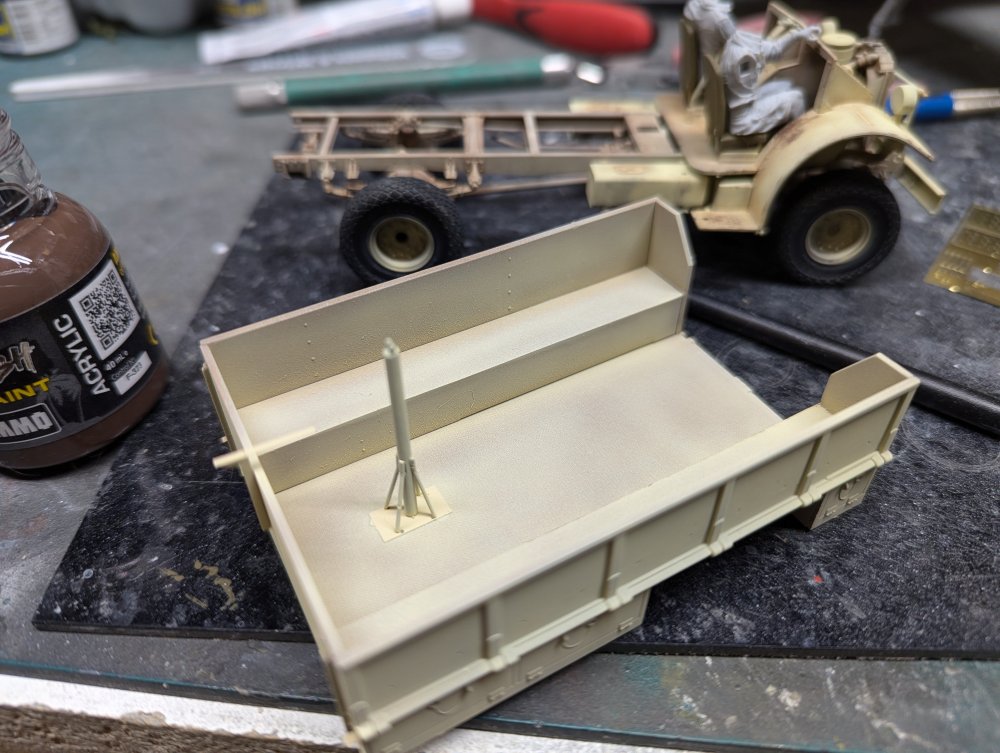


-
Welcome aboard! Very nice looking Sherman.
-
Cobra Coupe - Le Mans - Model Factory Hiro 1/12
BlrwestSiR replied to DocRob's topic in LSM 1/35 and Larger Work In Progress
X5!!! What a stunning looking interior. -
Today's deal is the HK B-25H kit. https://www.bnamodelworld.com/model-planes-hk-models-hk-01e037-1:32-north-american-b-25h-mitchell-gunships-over-cbi Don't think you can find it for cheaper. Even with shipping from Australia.
-
They're a thick acrylic paint. Looks like they have a fairly fine pigment to them. I'll let you know how they work out.
-
I didn't know Aerocraft made a prop for the P-51A, thanks for pointing it out Dennis.
-
Now, now Martin. The 6 or so we got from the RAAF must be in flyable condition. After all, they managed to fly here from Australia.
-
Wow, I'm so slow I haven't even taken the sprues out of their bags yet.
-
What is on your bench right now ? Share a picture :)
BlrwestSiR replied to Martinnfb's topic in Modelling Discussion
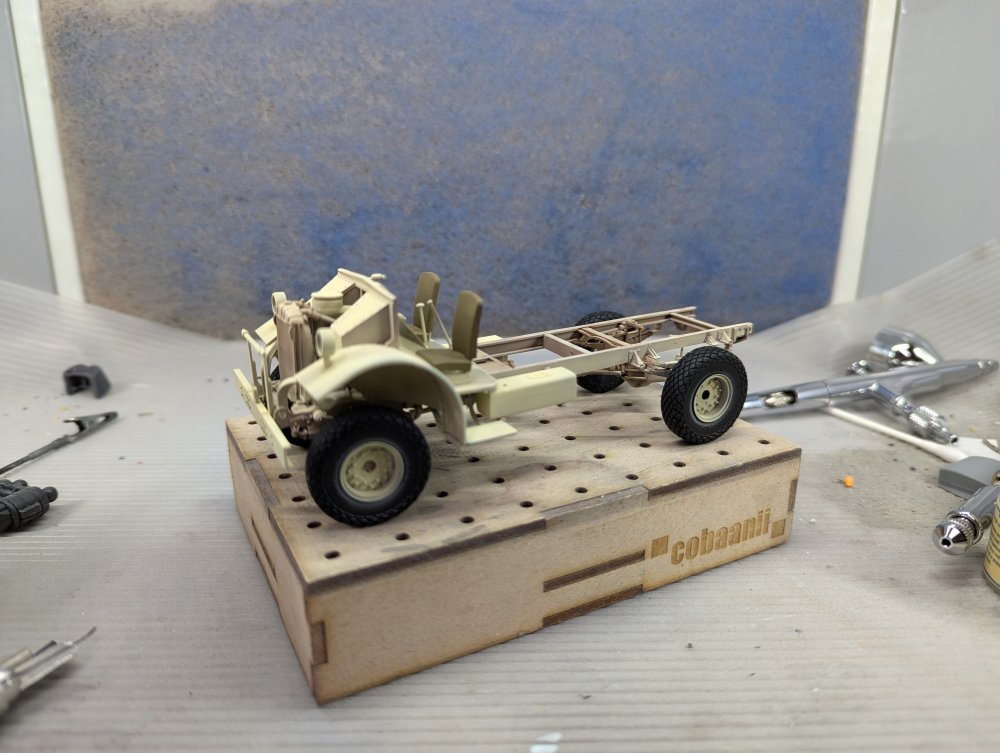
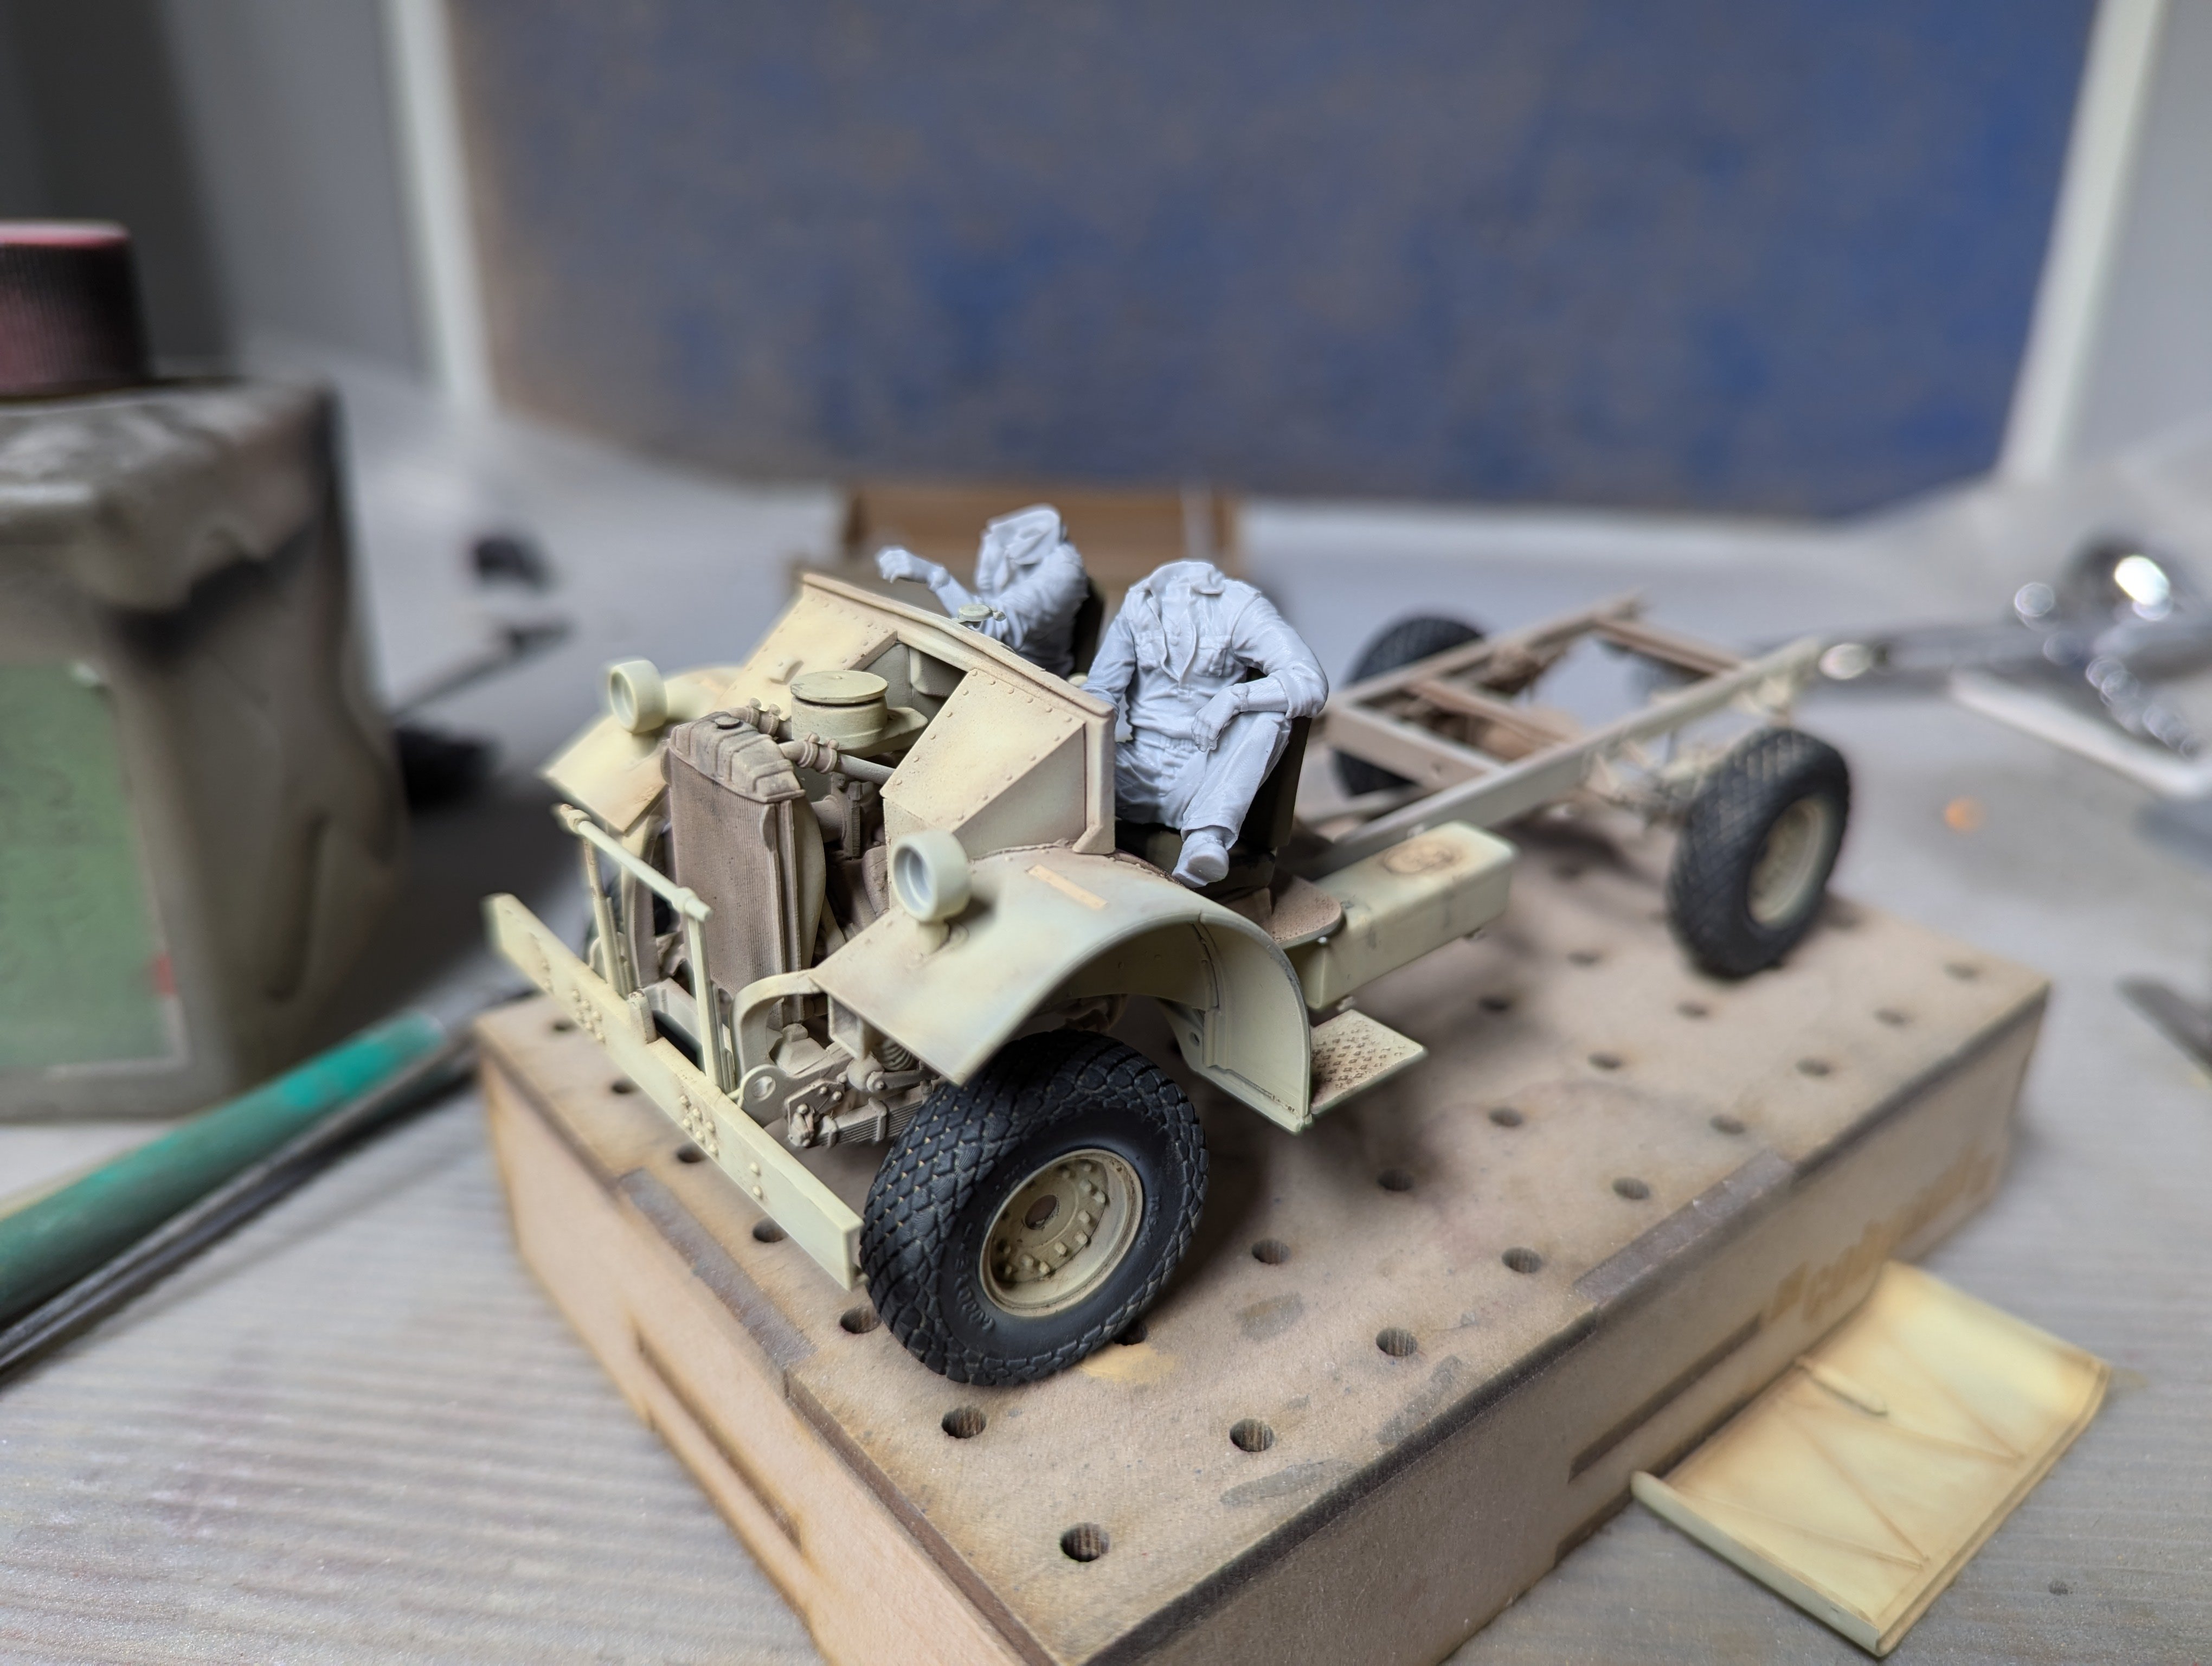
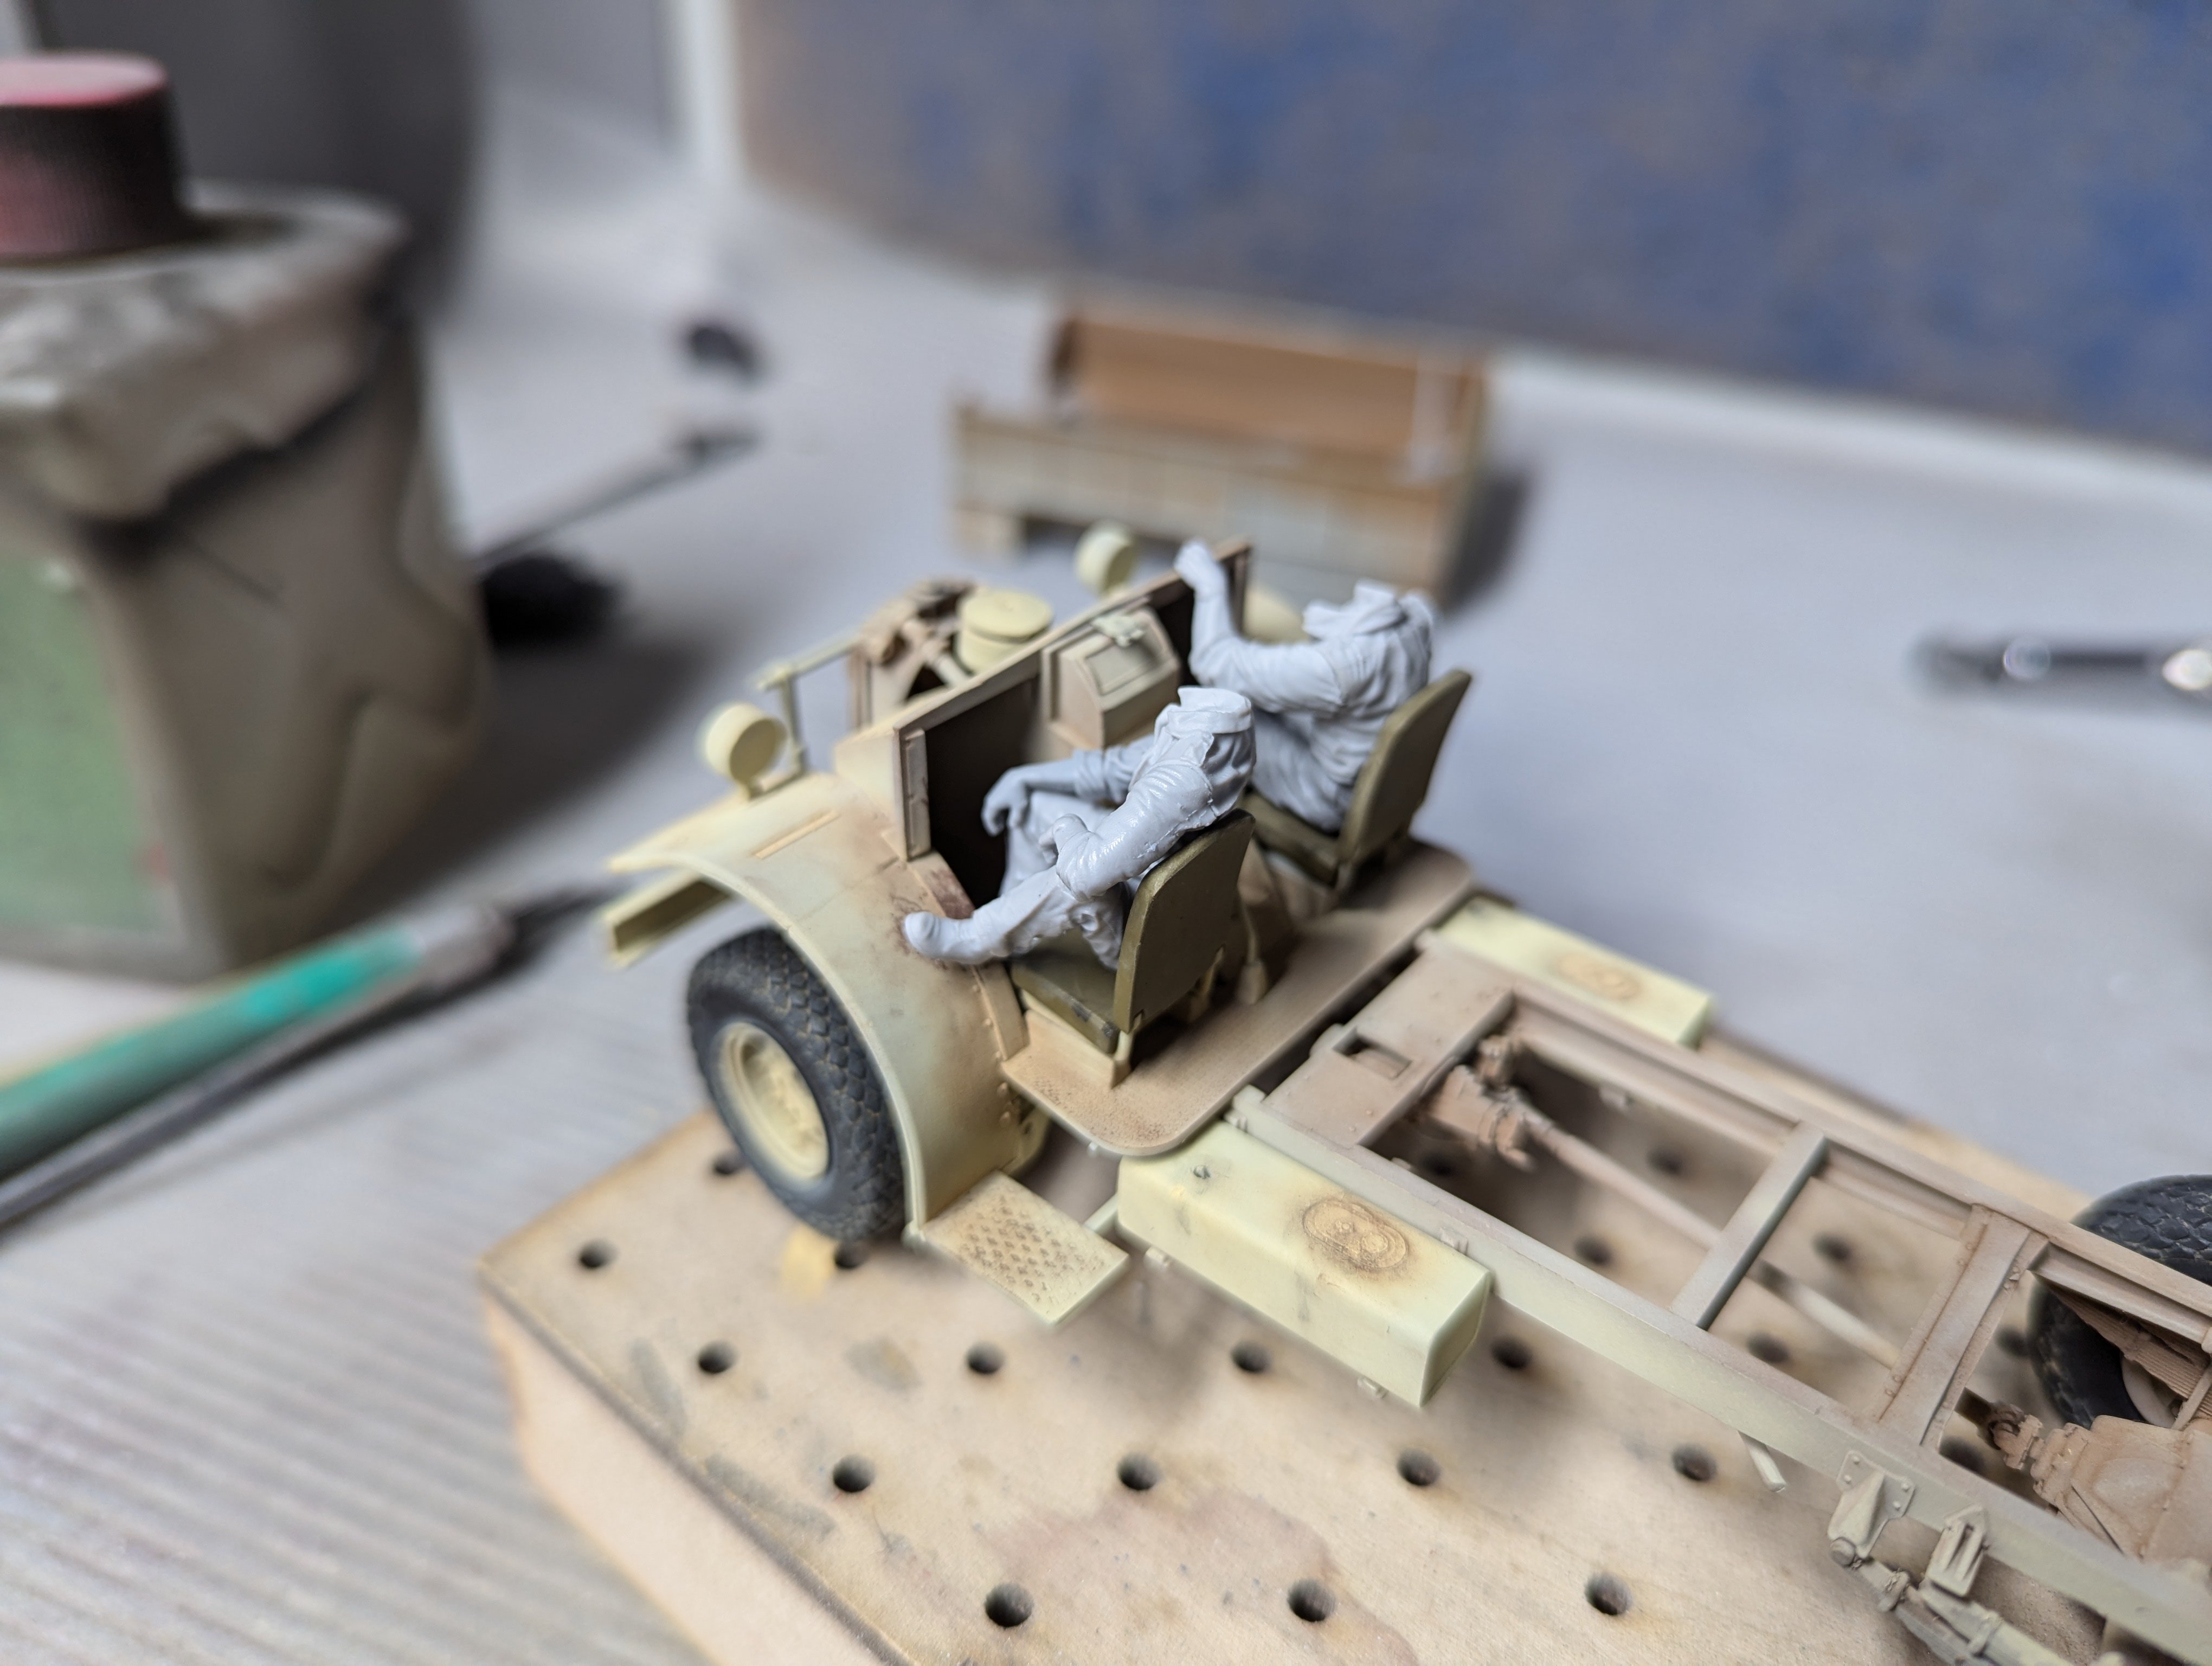
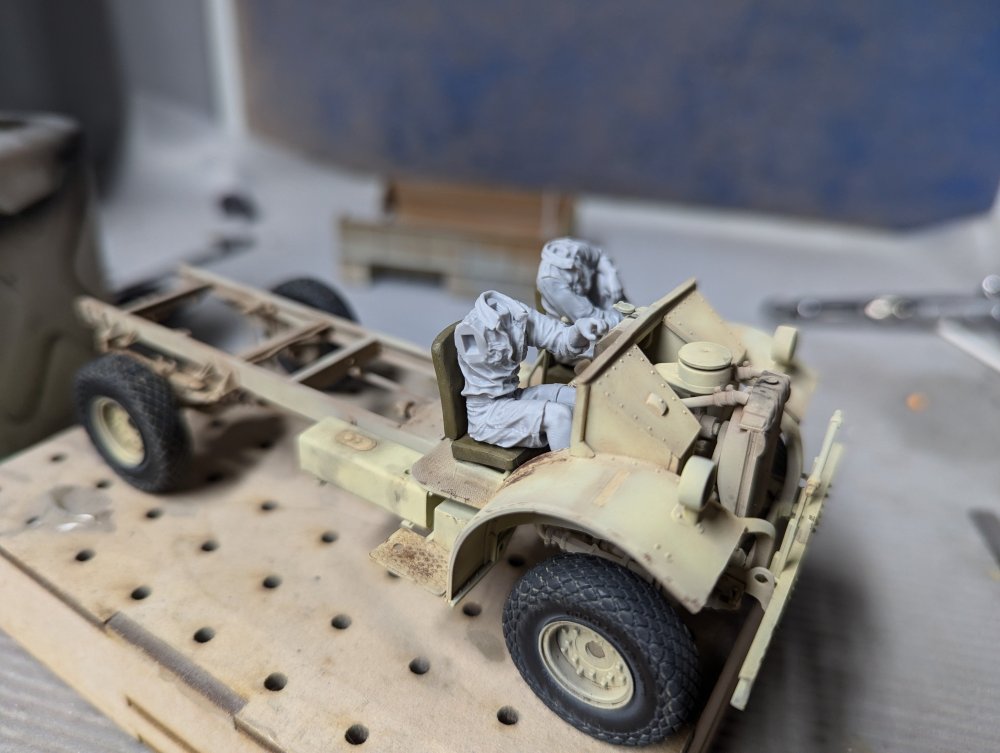
Tiny bit of progress on the LRDG. Some more weathering, and I test fit the crew. Unfortunately I noticed at this point that I was missing the right arm for the driver. I contacted Libor at LZ Models and he said he'd send out a replacement so that was great. The bed is next. Need to make some progress there.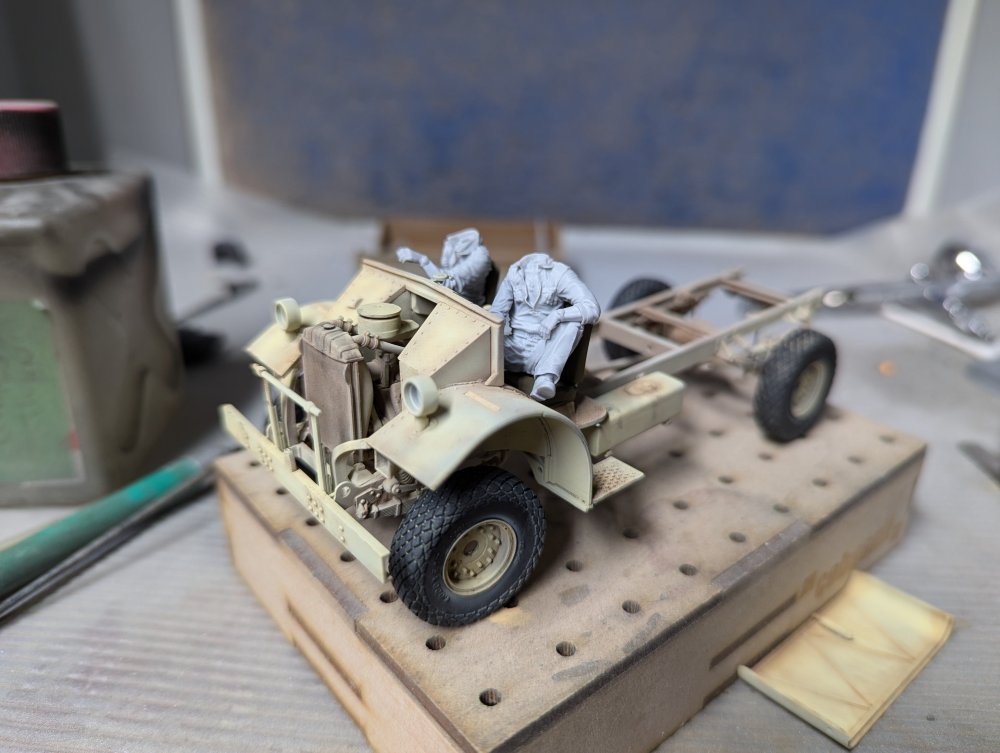


-
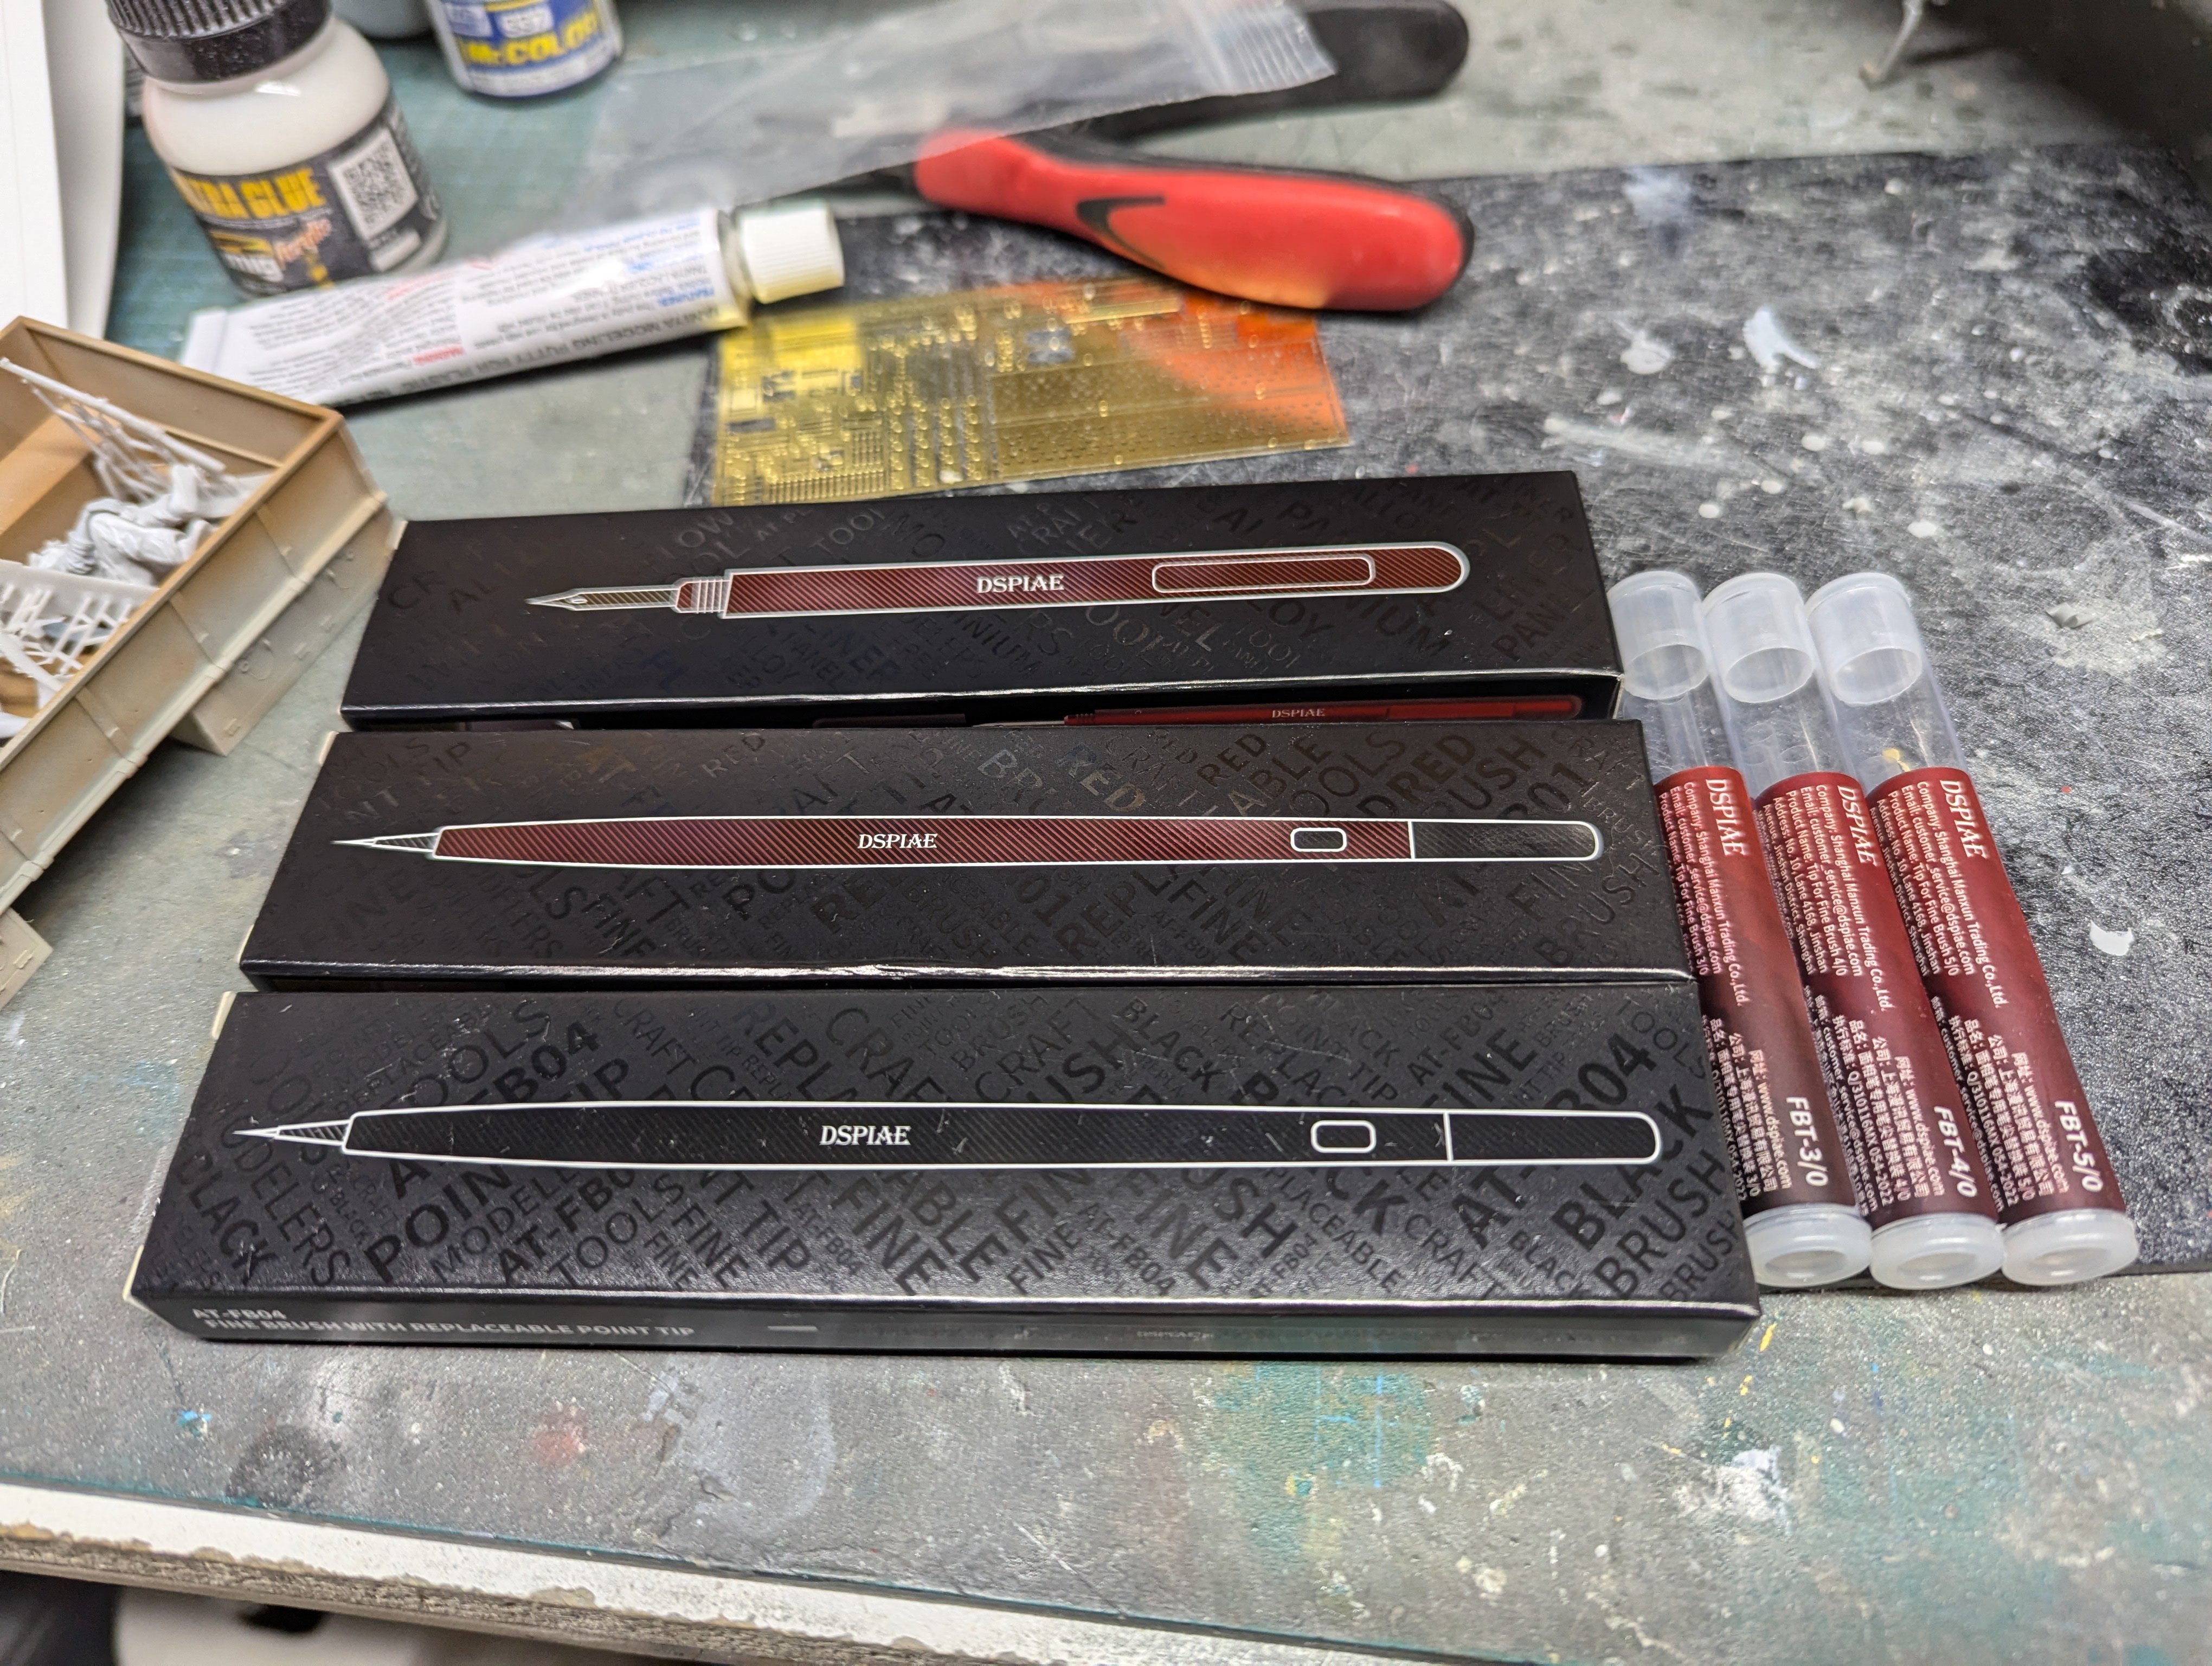
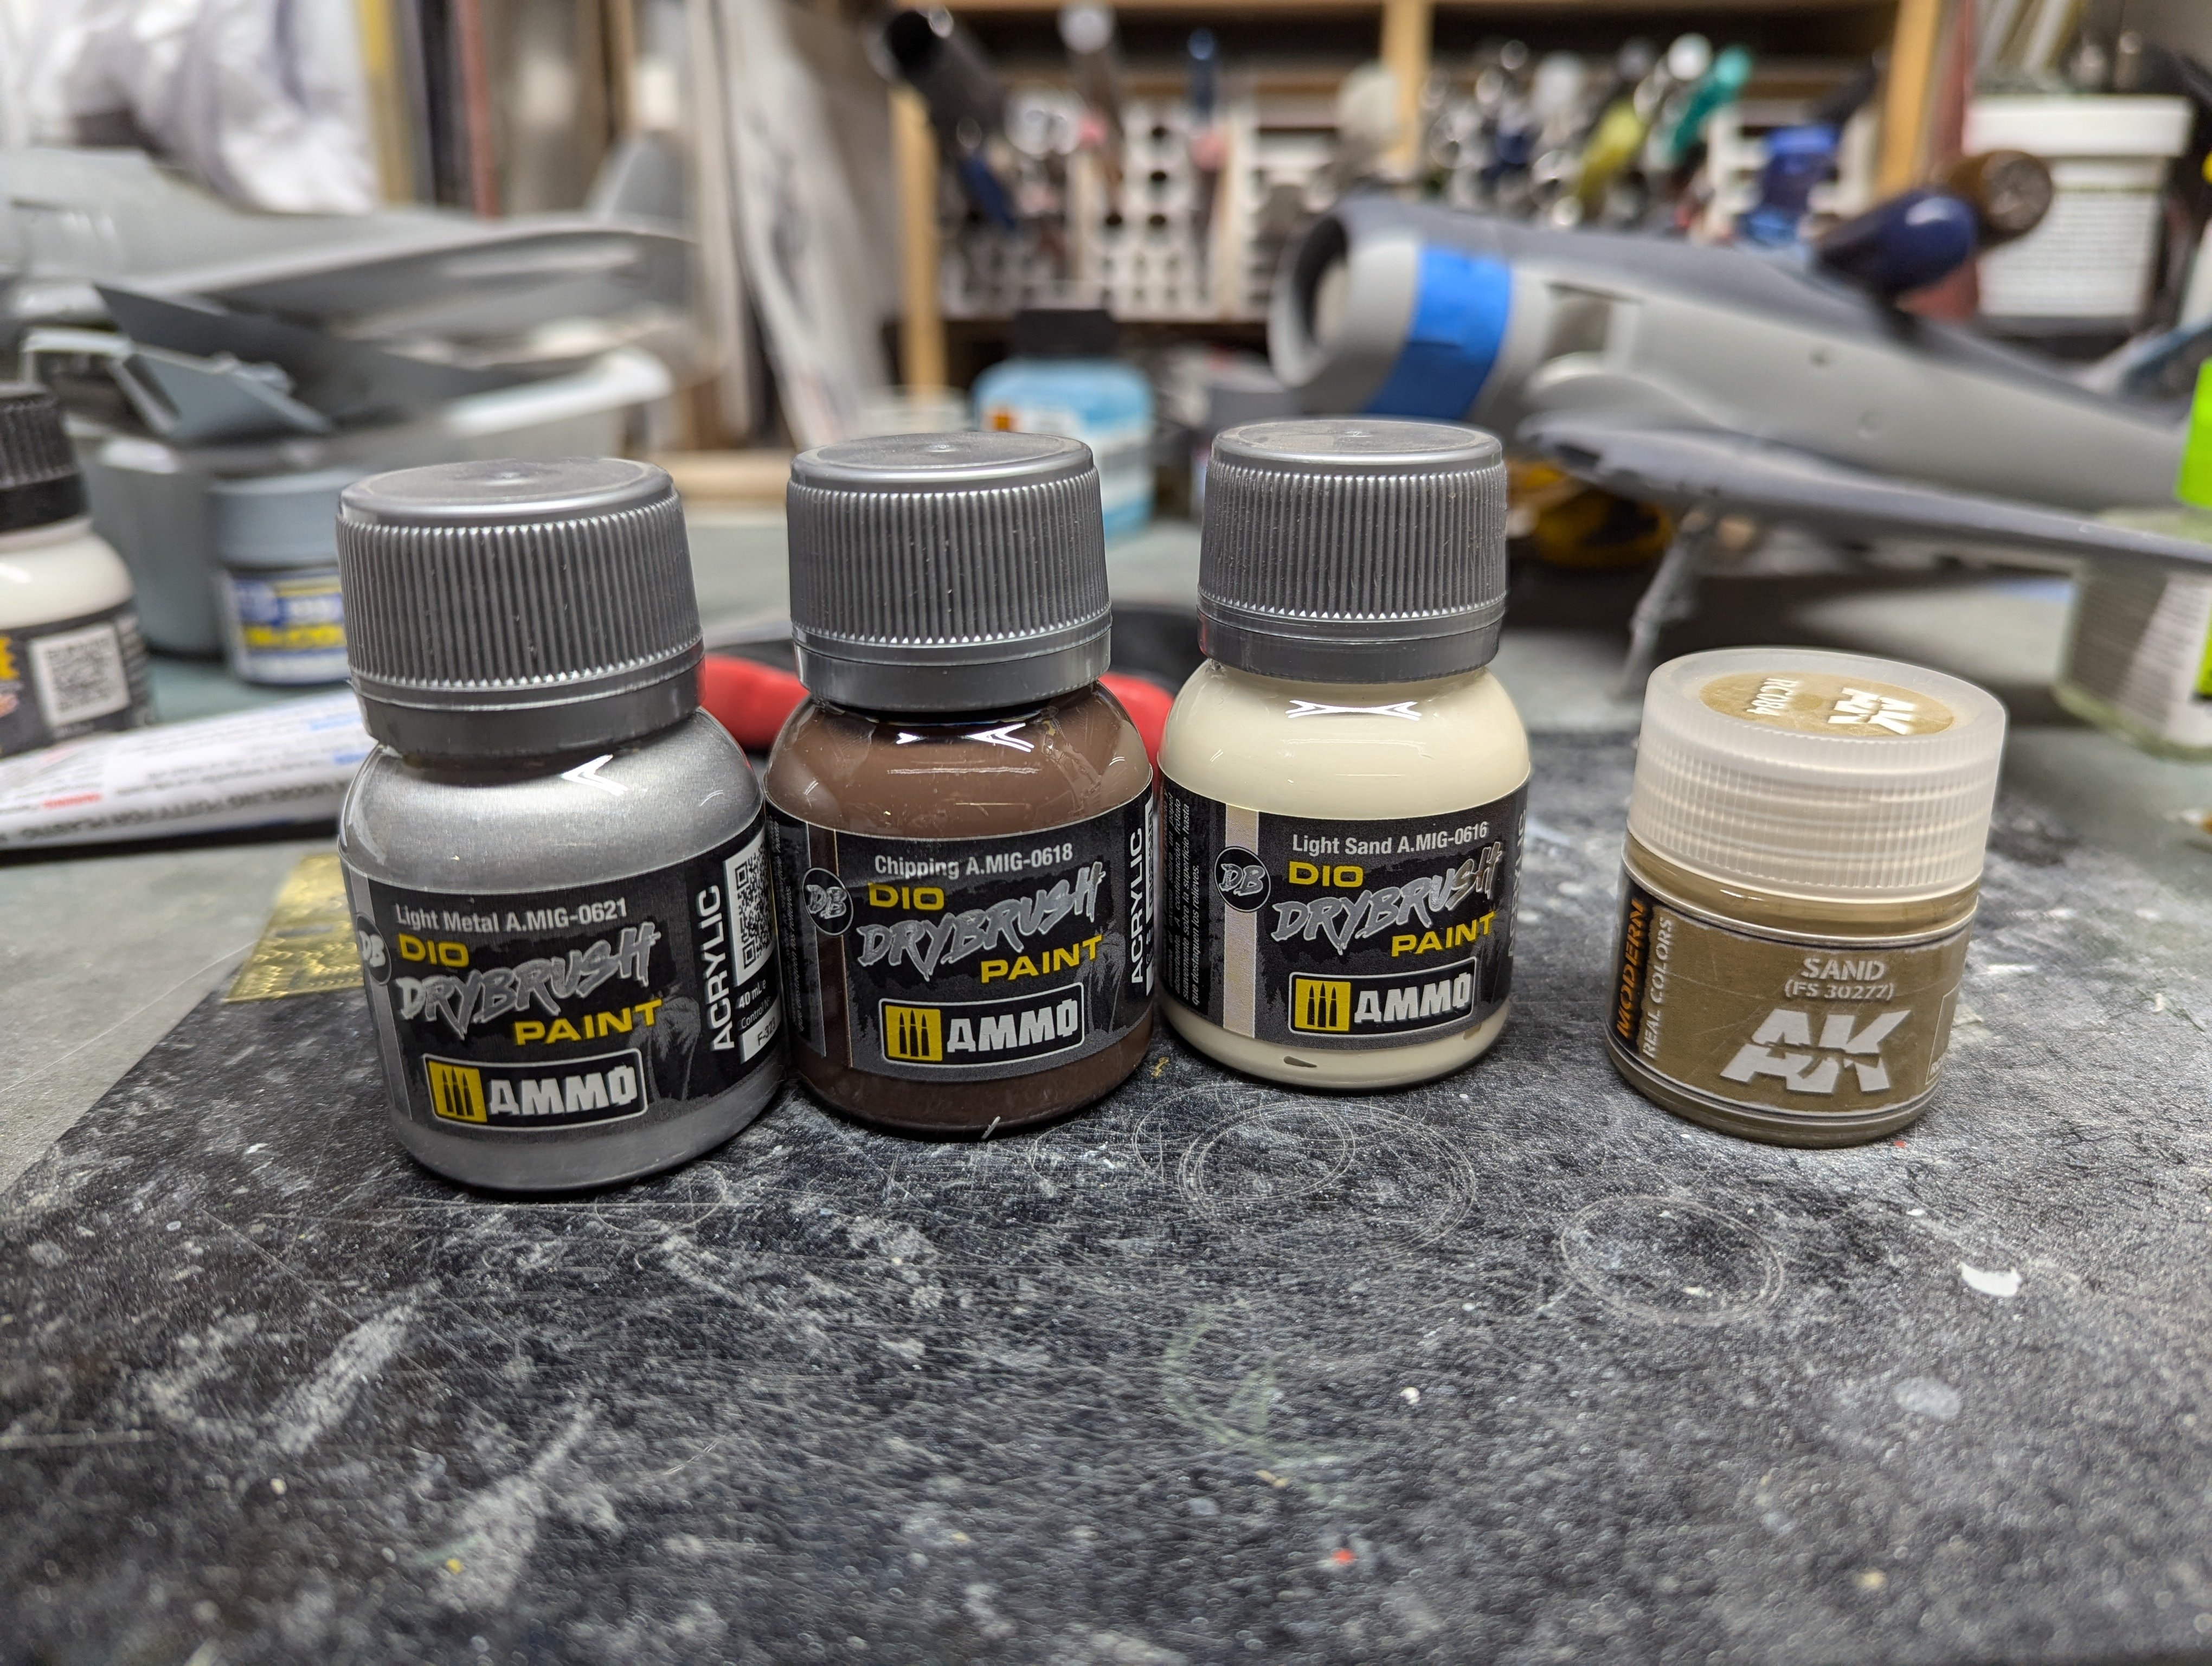
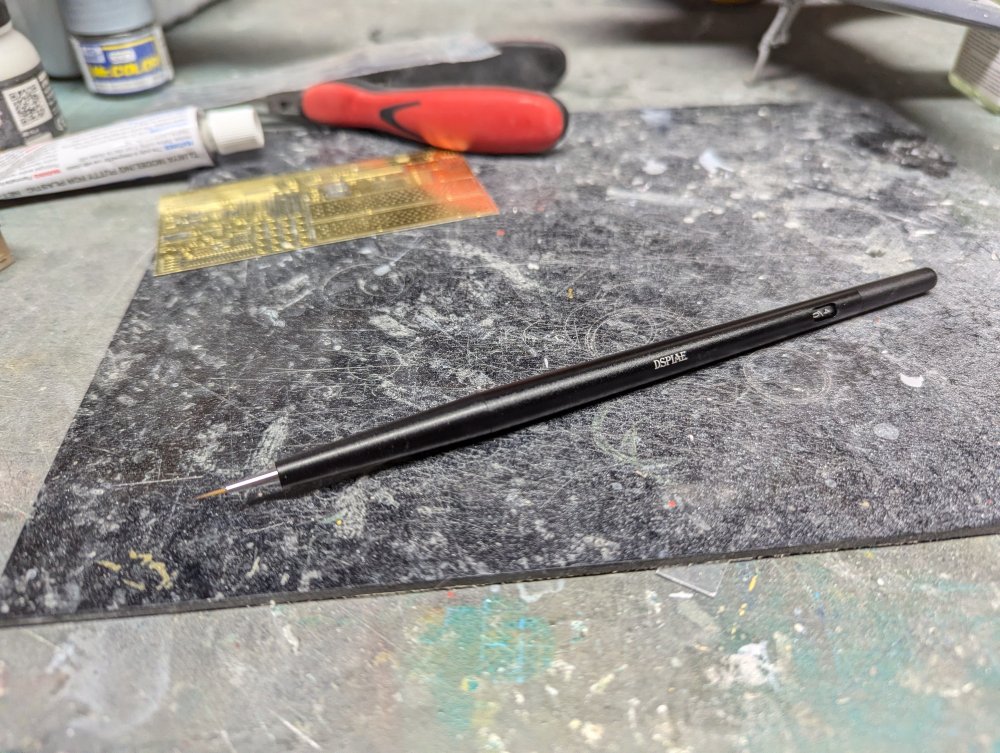
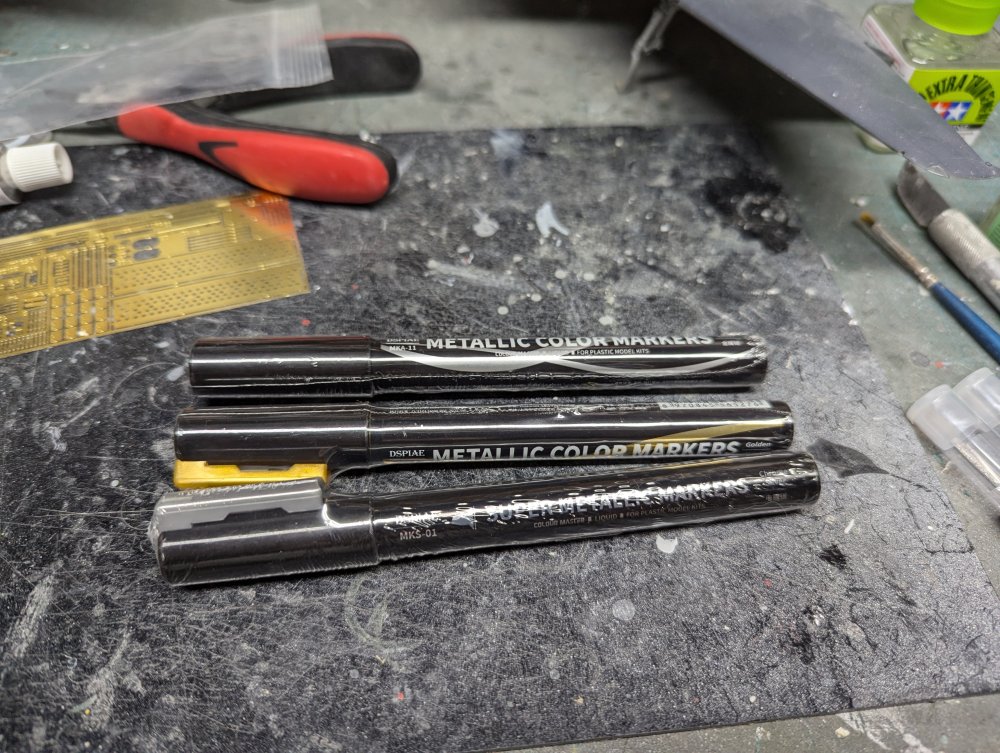
A small order from Great Hobbies. Some Despise brushes and a panel liner. The brushes are an interesting approach. The handles are aluminium and you replace the brush tip. Next up are some of their paint markers. Lastly some dry brush paints and the AK sand I need for my M551 Sheridan build .


-
What is on your bench right now ? Share a picture :)
BlrwestSiR replied to Martinnfb's topic in Modelling Discussion
Glad to see you're able to get back to he bench Dennis. Even happier to hear you've got someone making sure you don't get too carried away and set back your recovery. It can do easy to overdo it at times. Carl -
The seat as others have said really looks stunning. Plus the belts have a natural drape that's hard to replicate in PE, 3D decals or even the fabric/paper ones. Not to mention assembly. Special Hobby have made leaps and bounds in the quality of their kits in the last few years. They still have the odd fit issue from time to time but it's worlds better than they used to be.
-
Gotta love a Sherman with a big gun.
-
Any US vendors carry MLH/Bring It! Resin?
BlrwestSiR replied to ScottsGT's topic in Modelling Discussion
I'm on Britmodeler so if you want me to ask for you, let me know. -
Need a Tomcat to use them on? Asking for a friend.
-
Cobra Coupe - Le Mans - Model Factory Hiro 1/12
BlrwestSiR replied to DocRob's topic in LSM 1/35 and Larger Work In Progress
Rob, some great progress. Interesting to see the fit issues with the body. At least you know where to start with in terms of rectifying the problem. -
Chris, I have a couple kit boxes that are full of leftover parts: - Hobbyboss B-24 with all the stuff for prop kits - Tamiya F-4EJ box for jet parts - - Meng Jagdpanther one for tank parts and another tank box for just leftover track links. Can't recall which one. They worth keeping since you never know what might be needed down the road.
-
"Toss me the idol, I'll throw you the whip!!!" Oh wait, that doesn't quite work in this case. Let me get my kids back to school and then we can sort it out.
-
What is on your bench right now ? Share a picture :)
BlrwestSiR replied to Martinnfb's topic in Modelling Discussion
Getting there.