BlrwestSiR
-
Posts
9,173 -
Joined
-
Last visited
Content Type
Profiles
Forums
Events
Gallery
Everything posted by BlrwestSiR
-

What is on your bench right now ? Share a picture :)
BlrwestSiR replied to Martinnfb's topic in Modelling Discussion
They're low/no viz. -
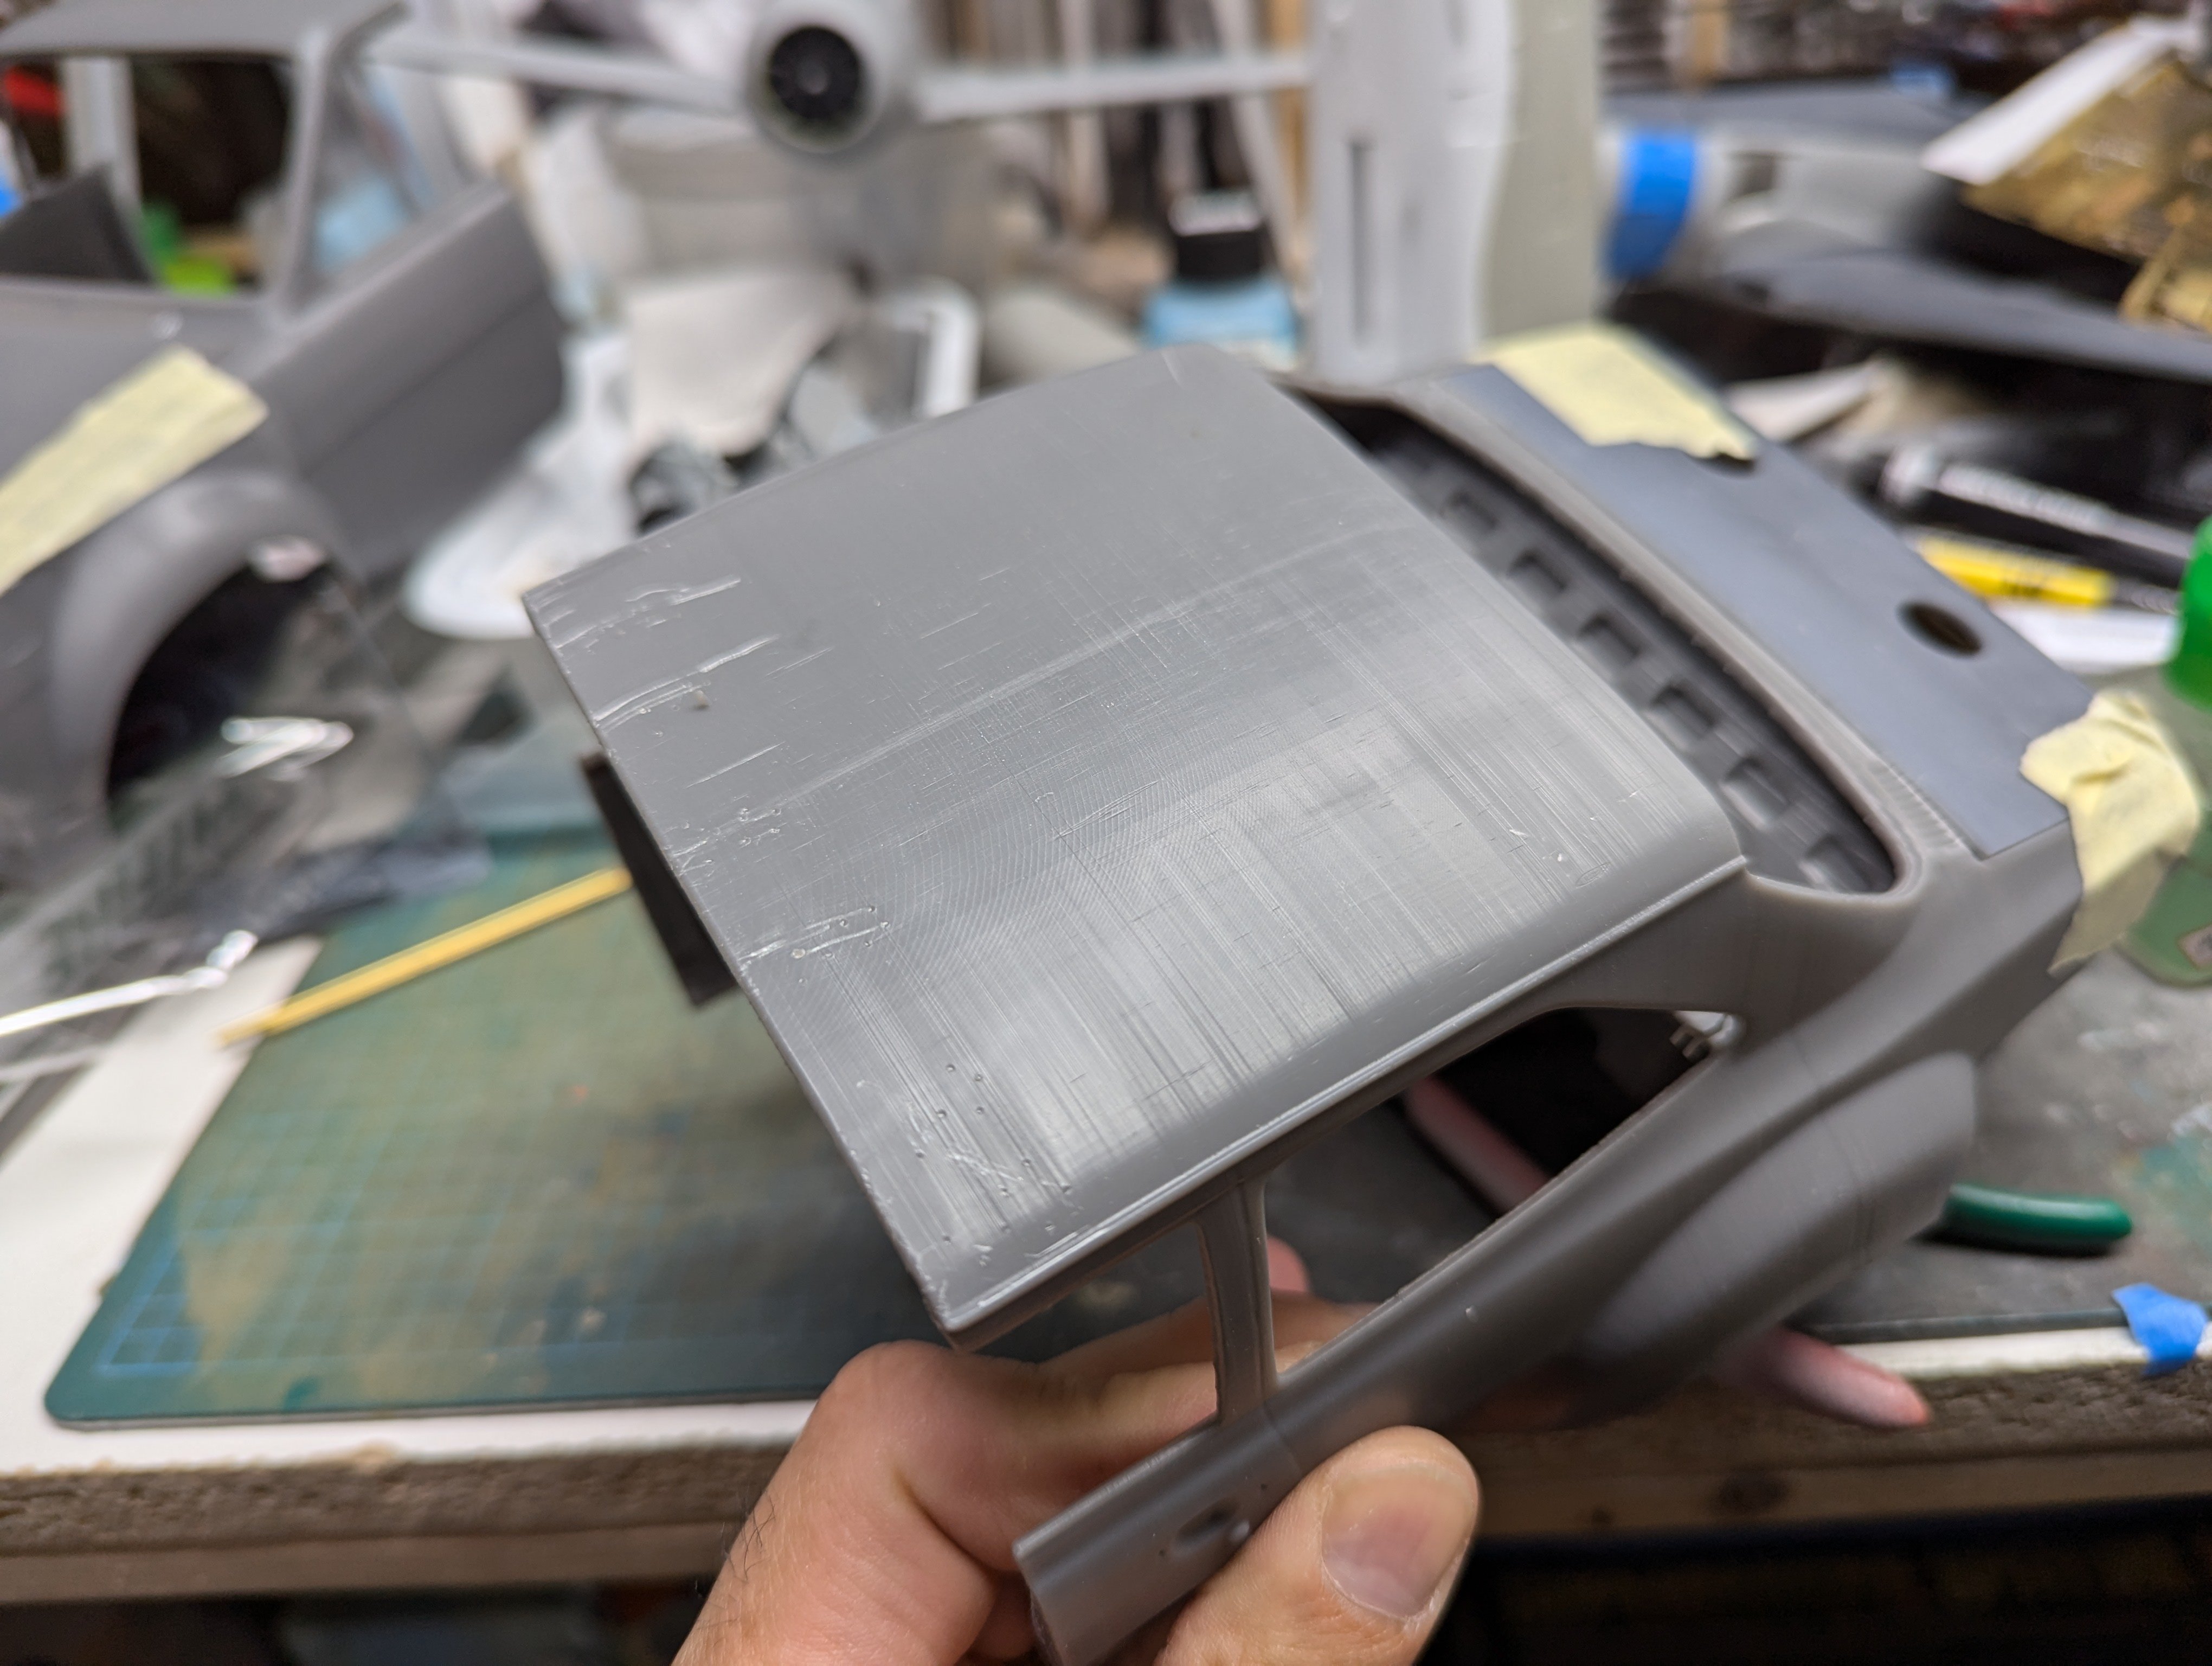
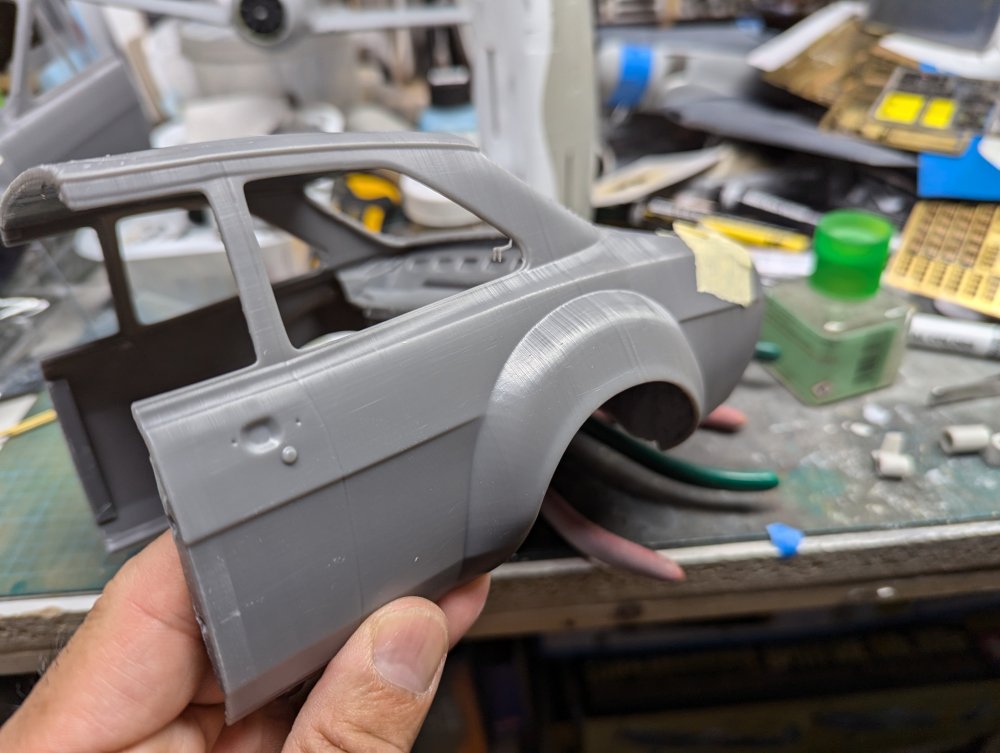
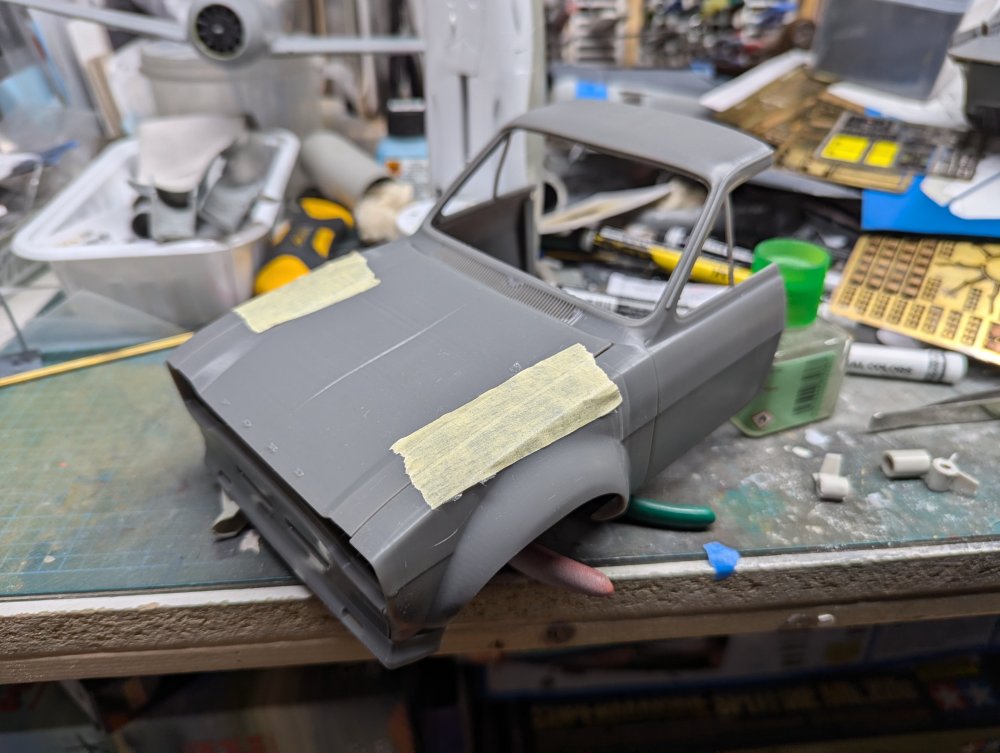
The Ford Escort has arrived. It's definitely a decent size in 1/12. The entire model is 3D printed. The body is too big to do in one print so it was split in half. There's tabs and pins to help align things. I knew about this from a build thread over on Britmodeler. I suppose you could also leave it in two halves and create some sort of fun/whimsical diorama but I digress. There's definite layer lines but I'm hoping that a coat of primer will level them out. There wasn't any mention of them on the aforementioned build thread so I'm hoping that's the case. Over all, for the price I paid I got what I expected. It's no MFH kit but was also 1/4 the price.


-
What is on your bench right now ? Share a picture :)
BlrwestSiR replied to Martinnfb's topic in Modelling Discussion
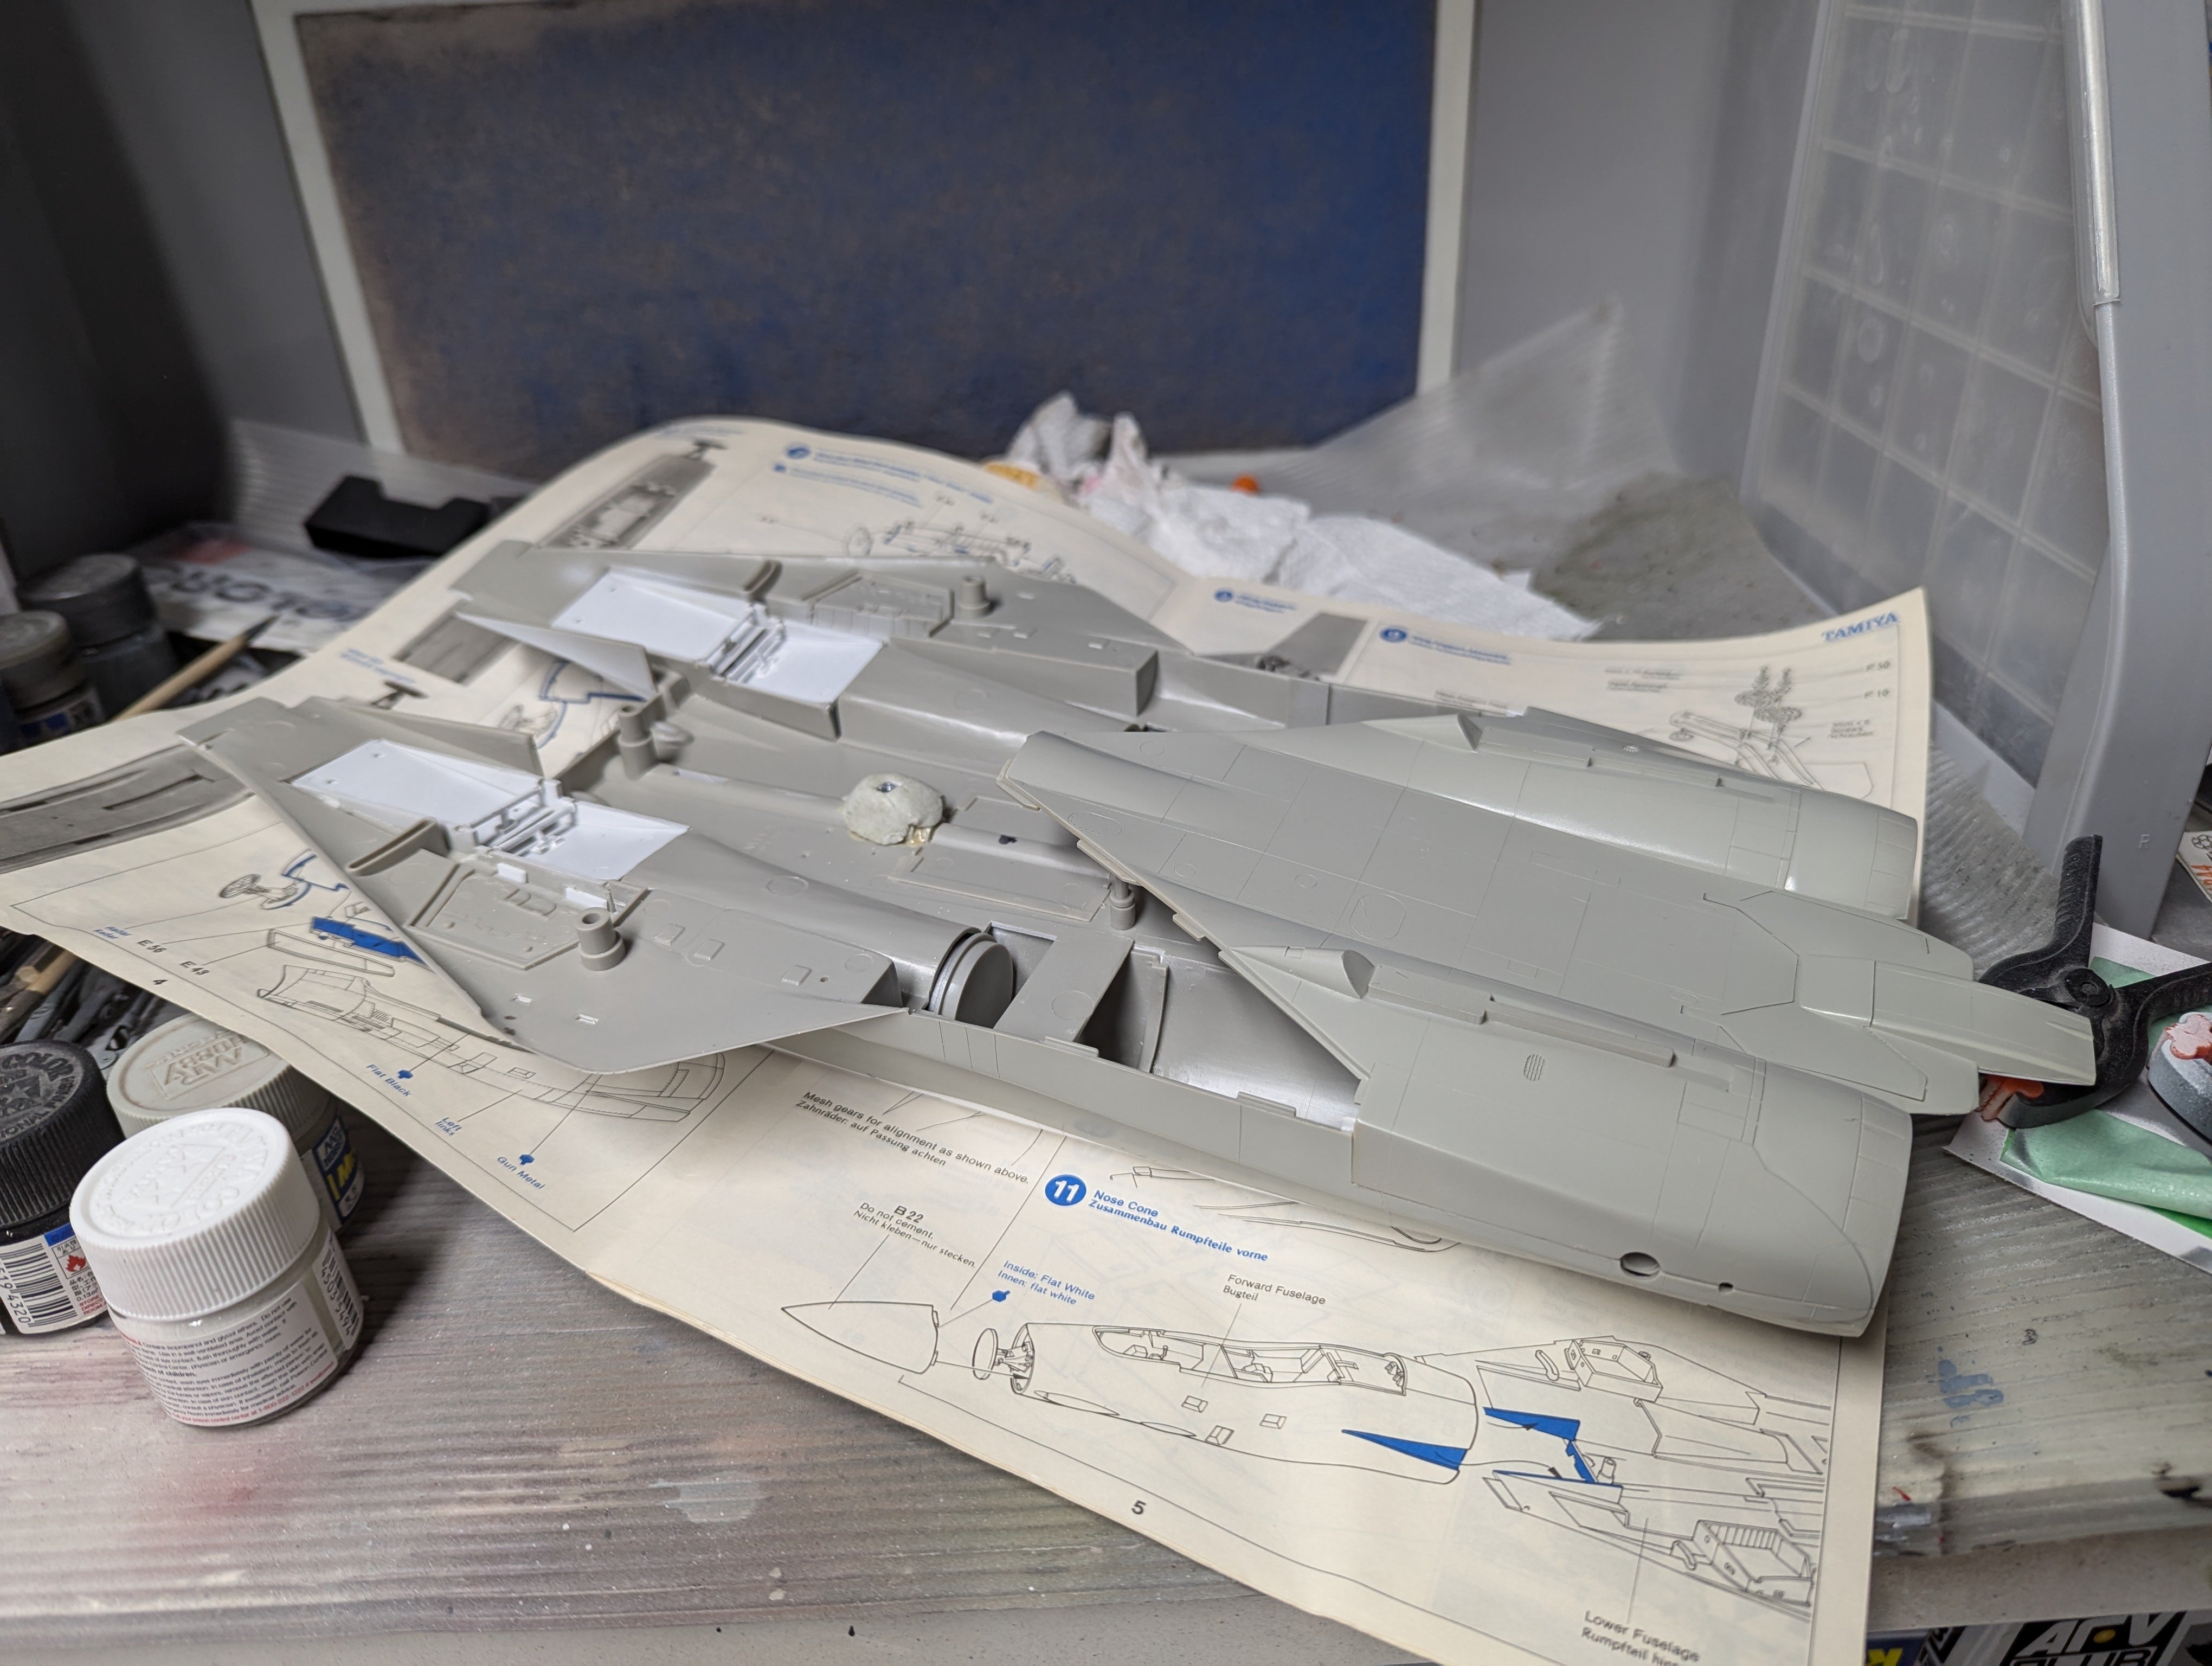
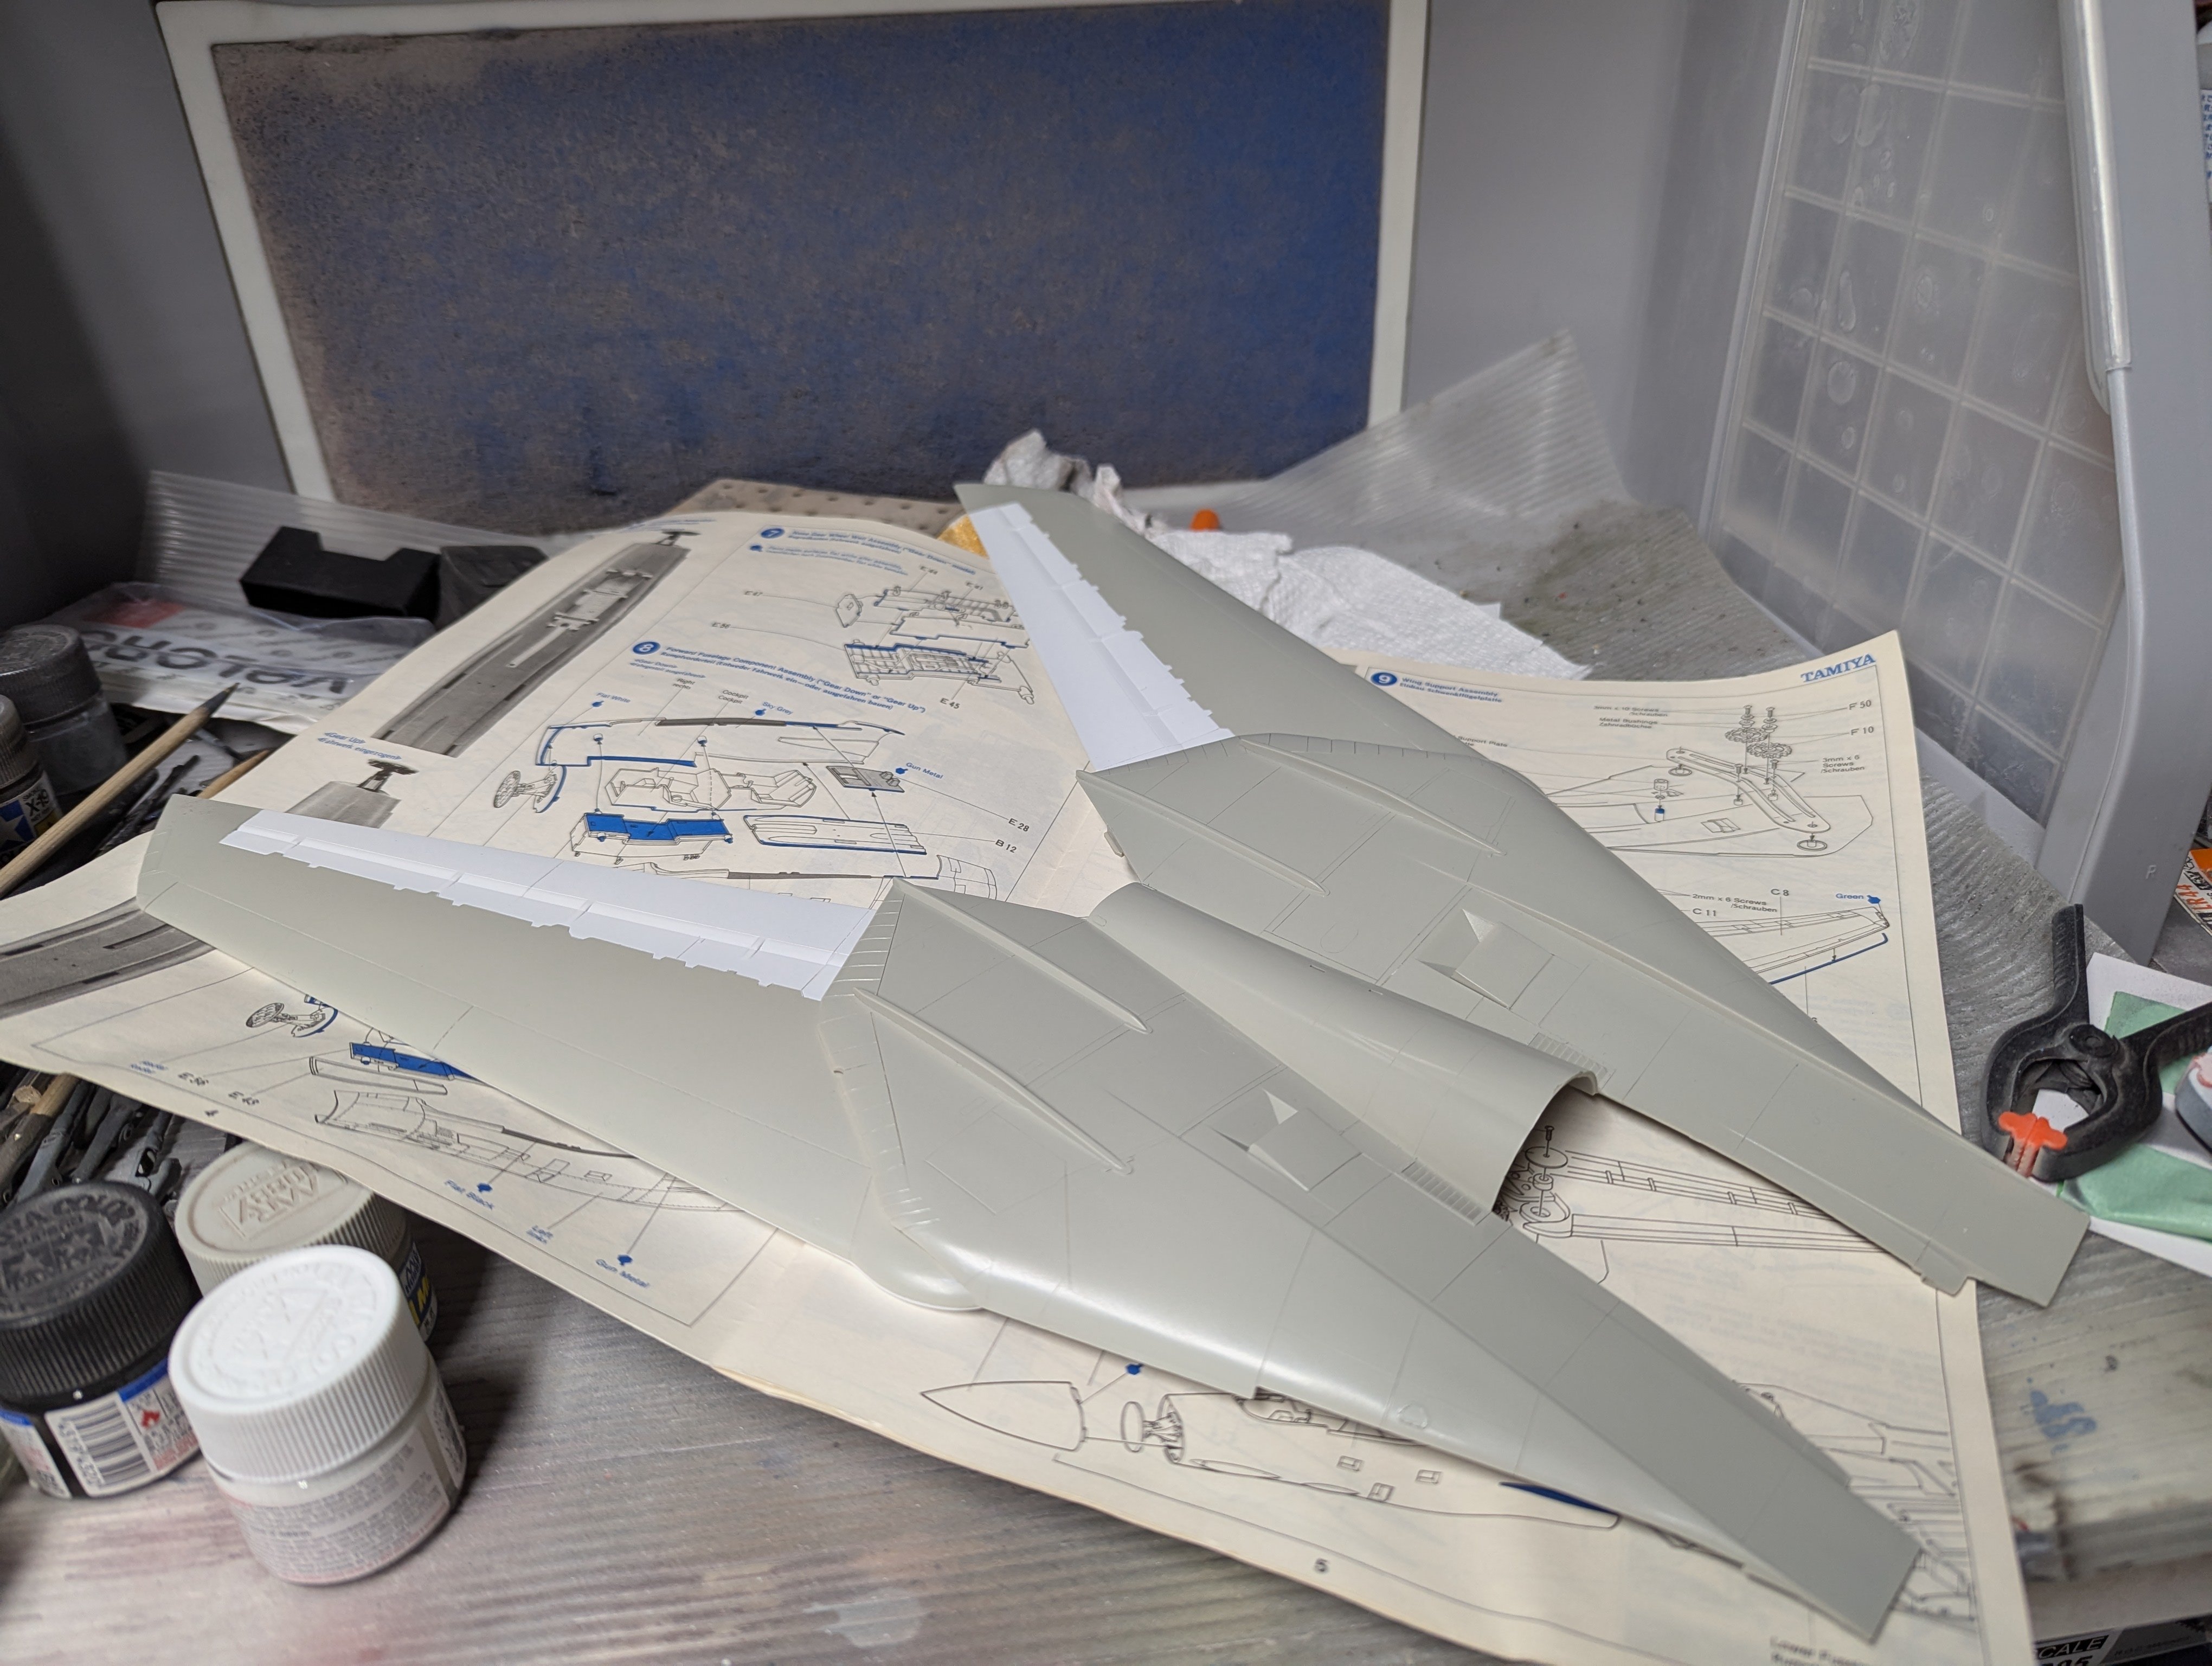
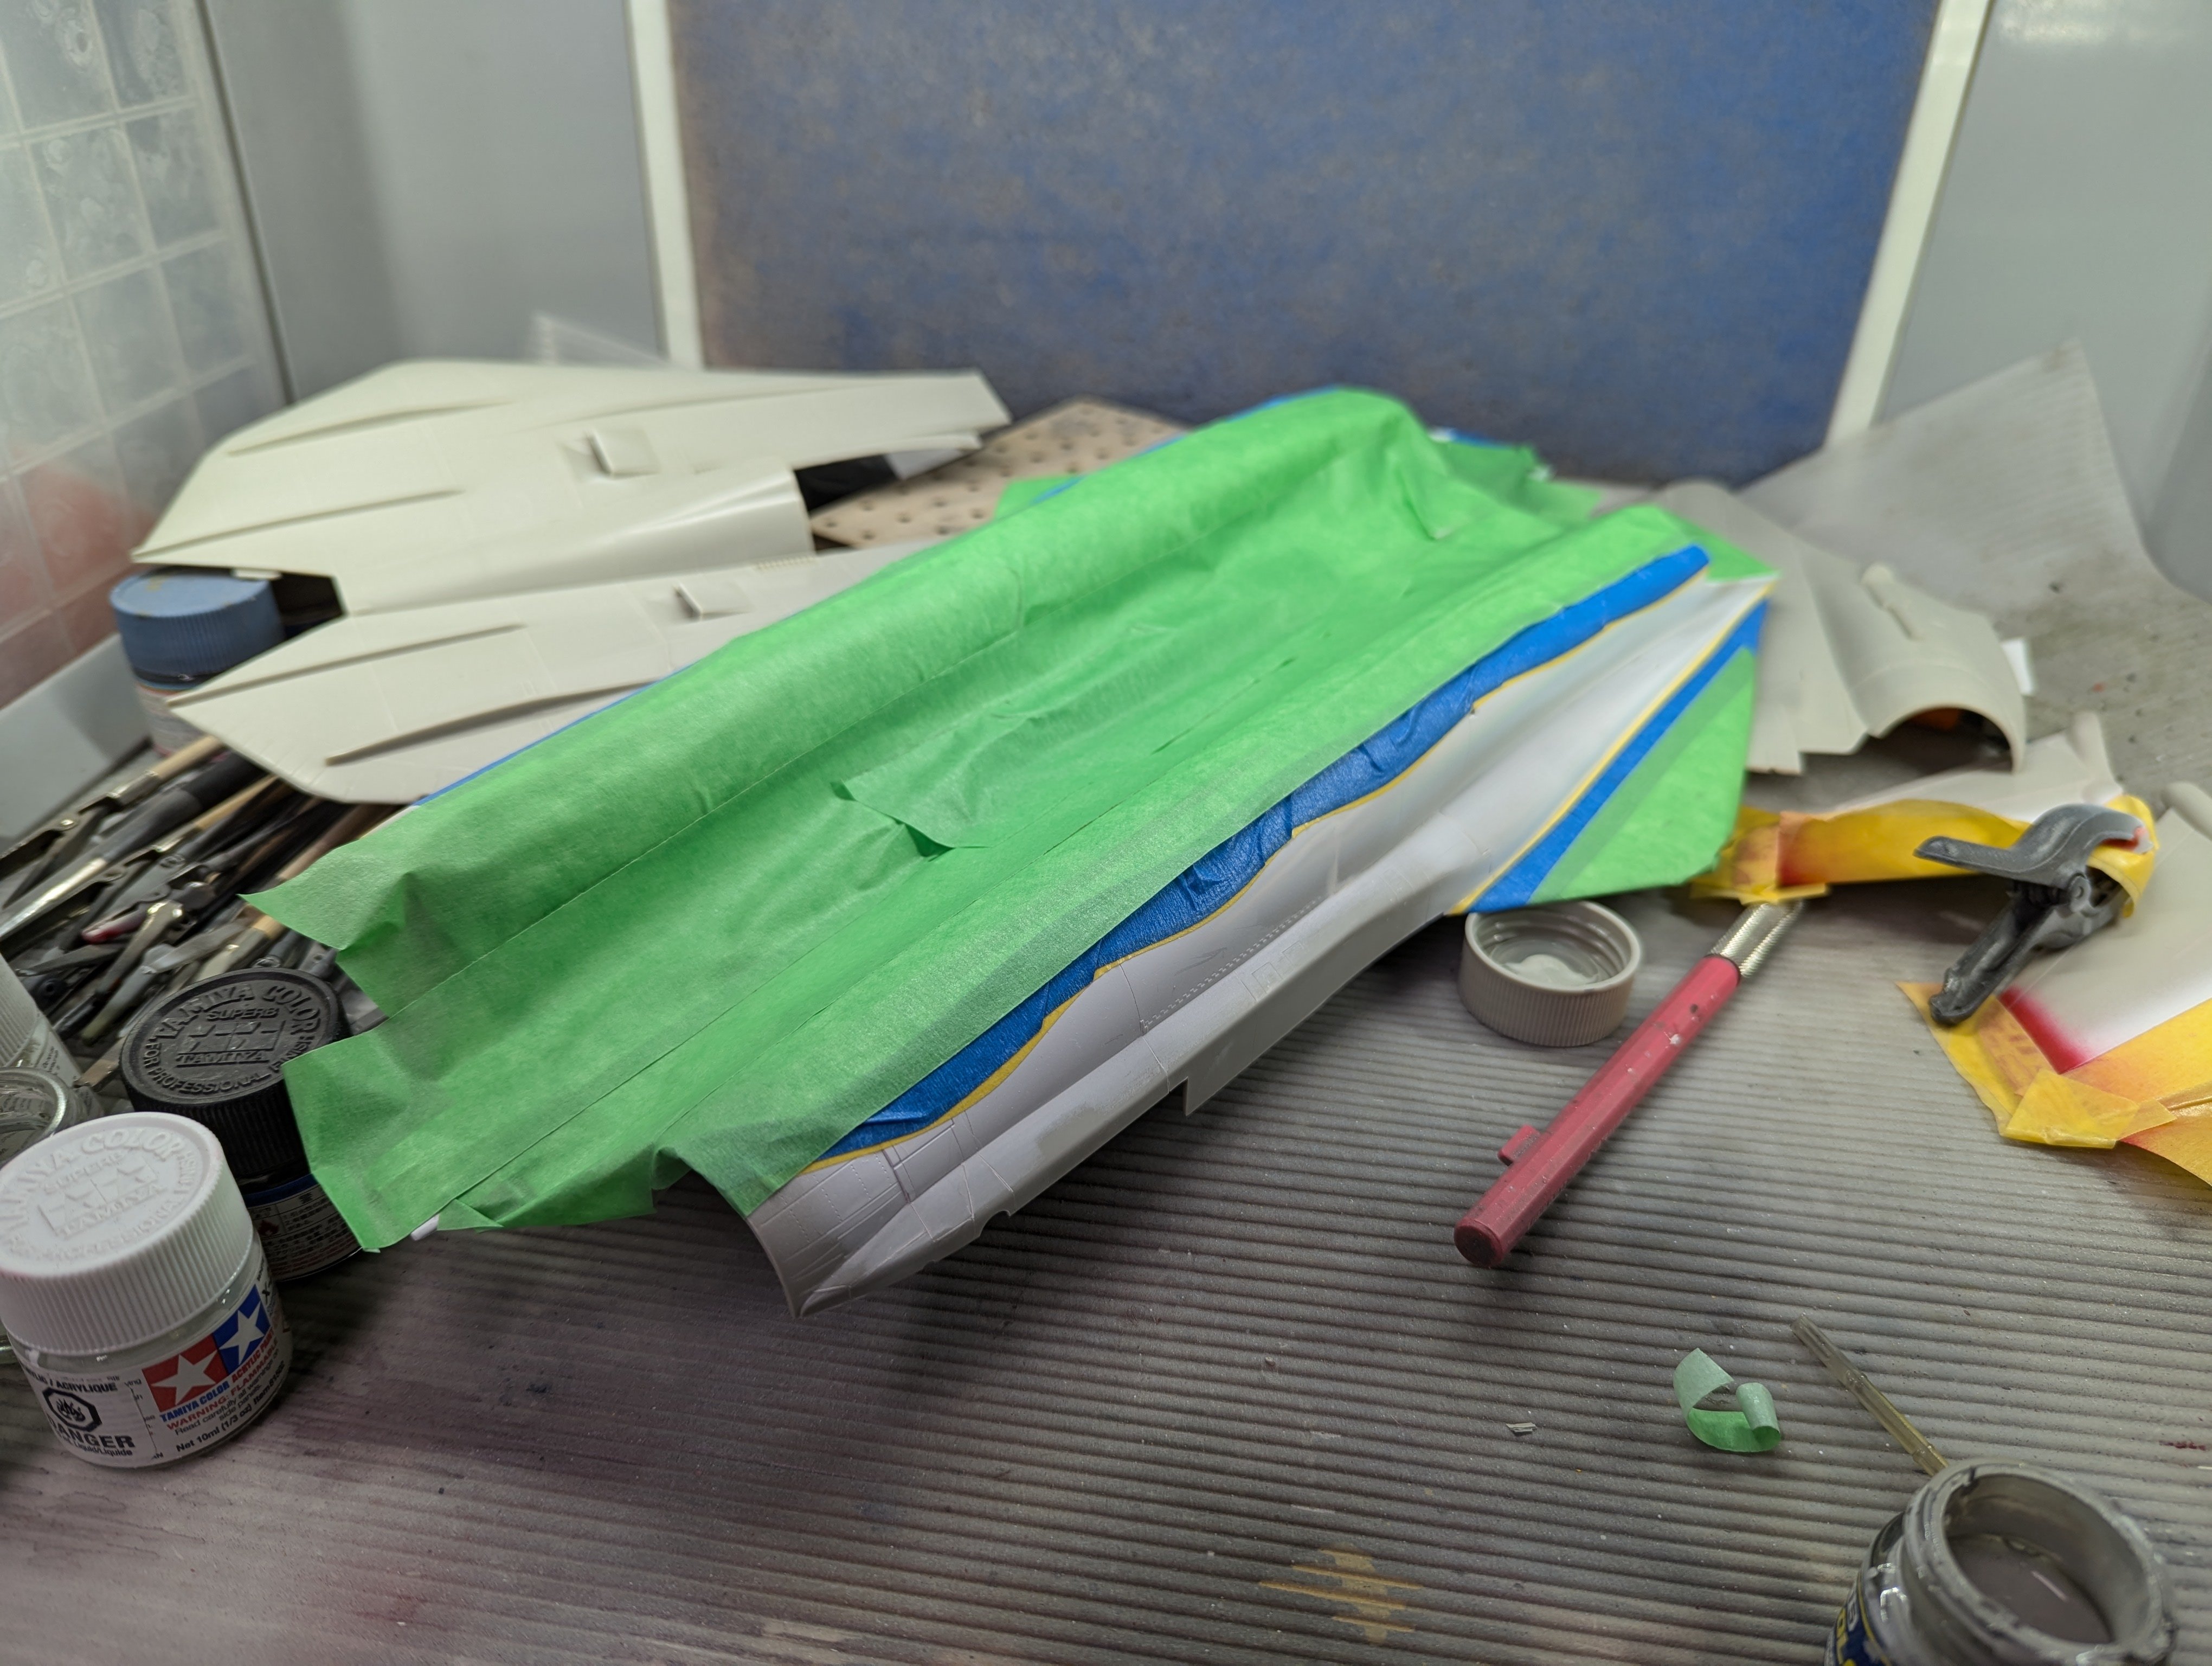
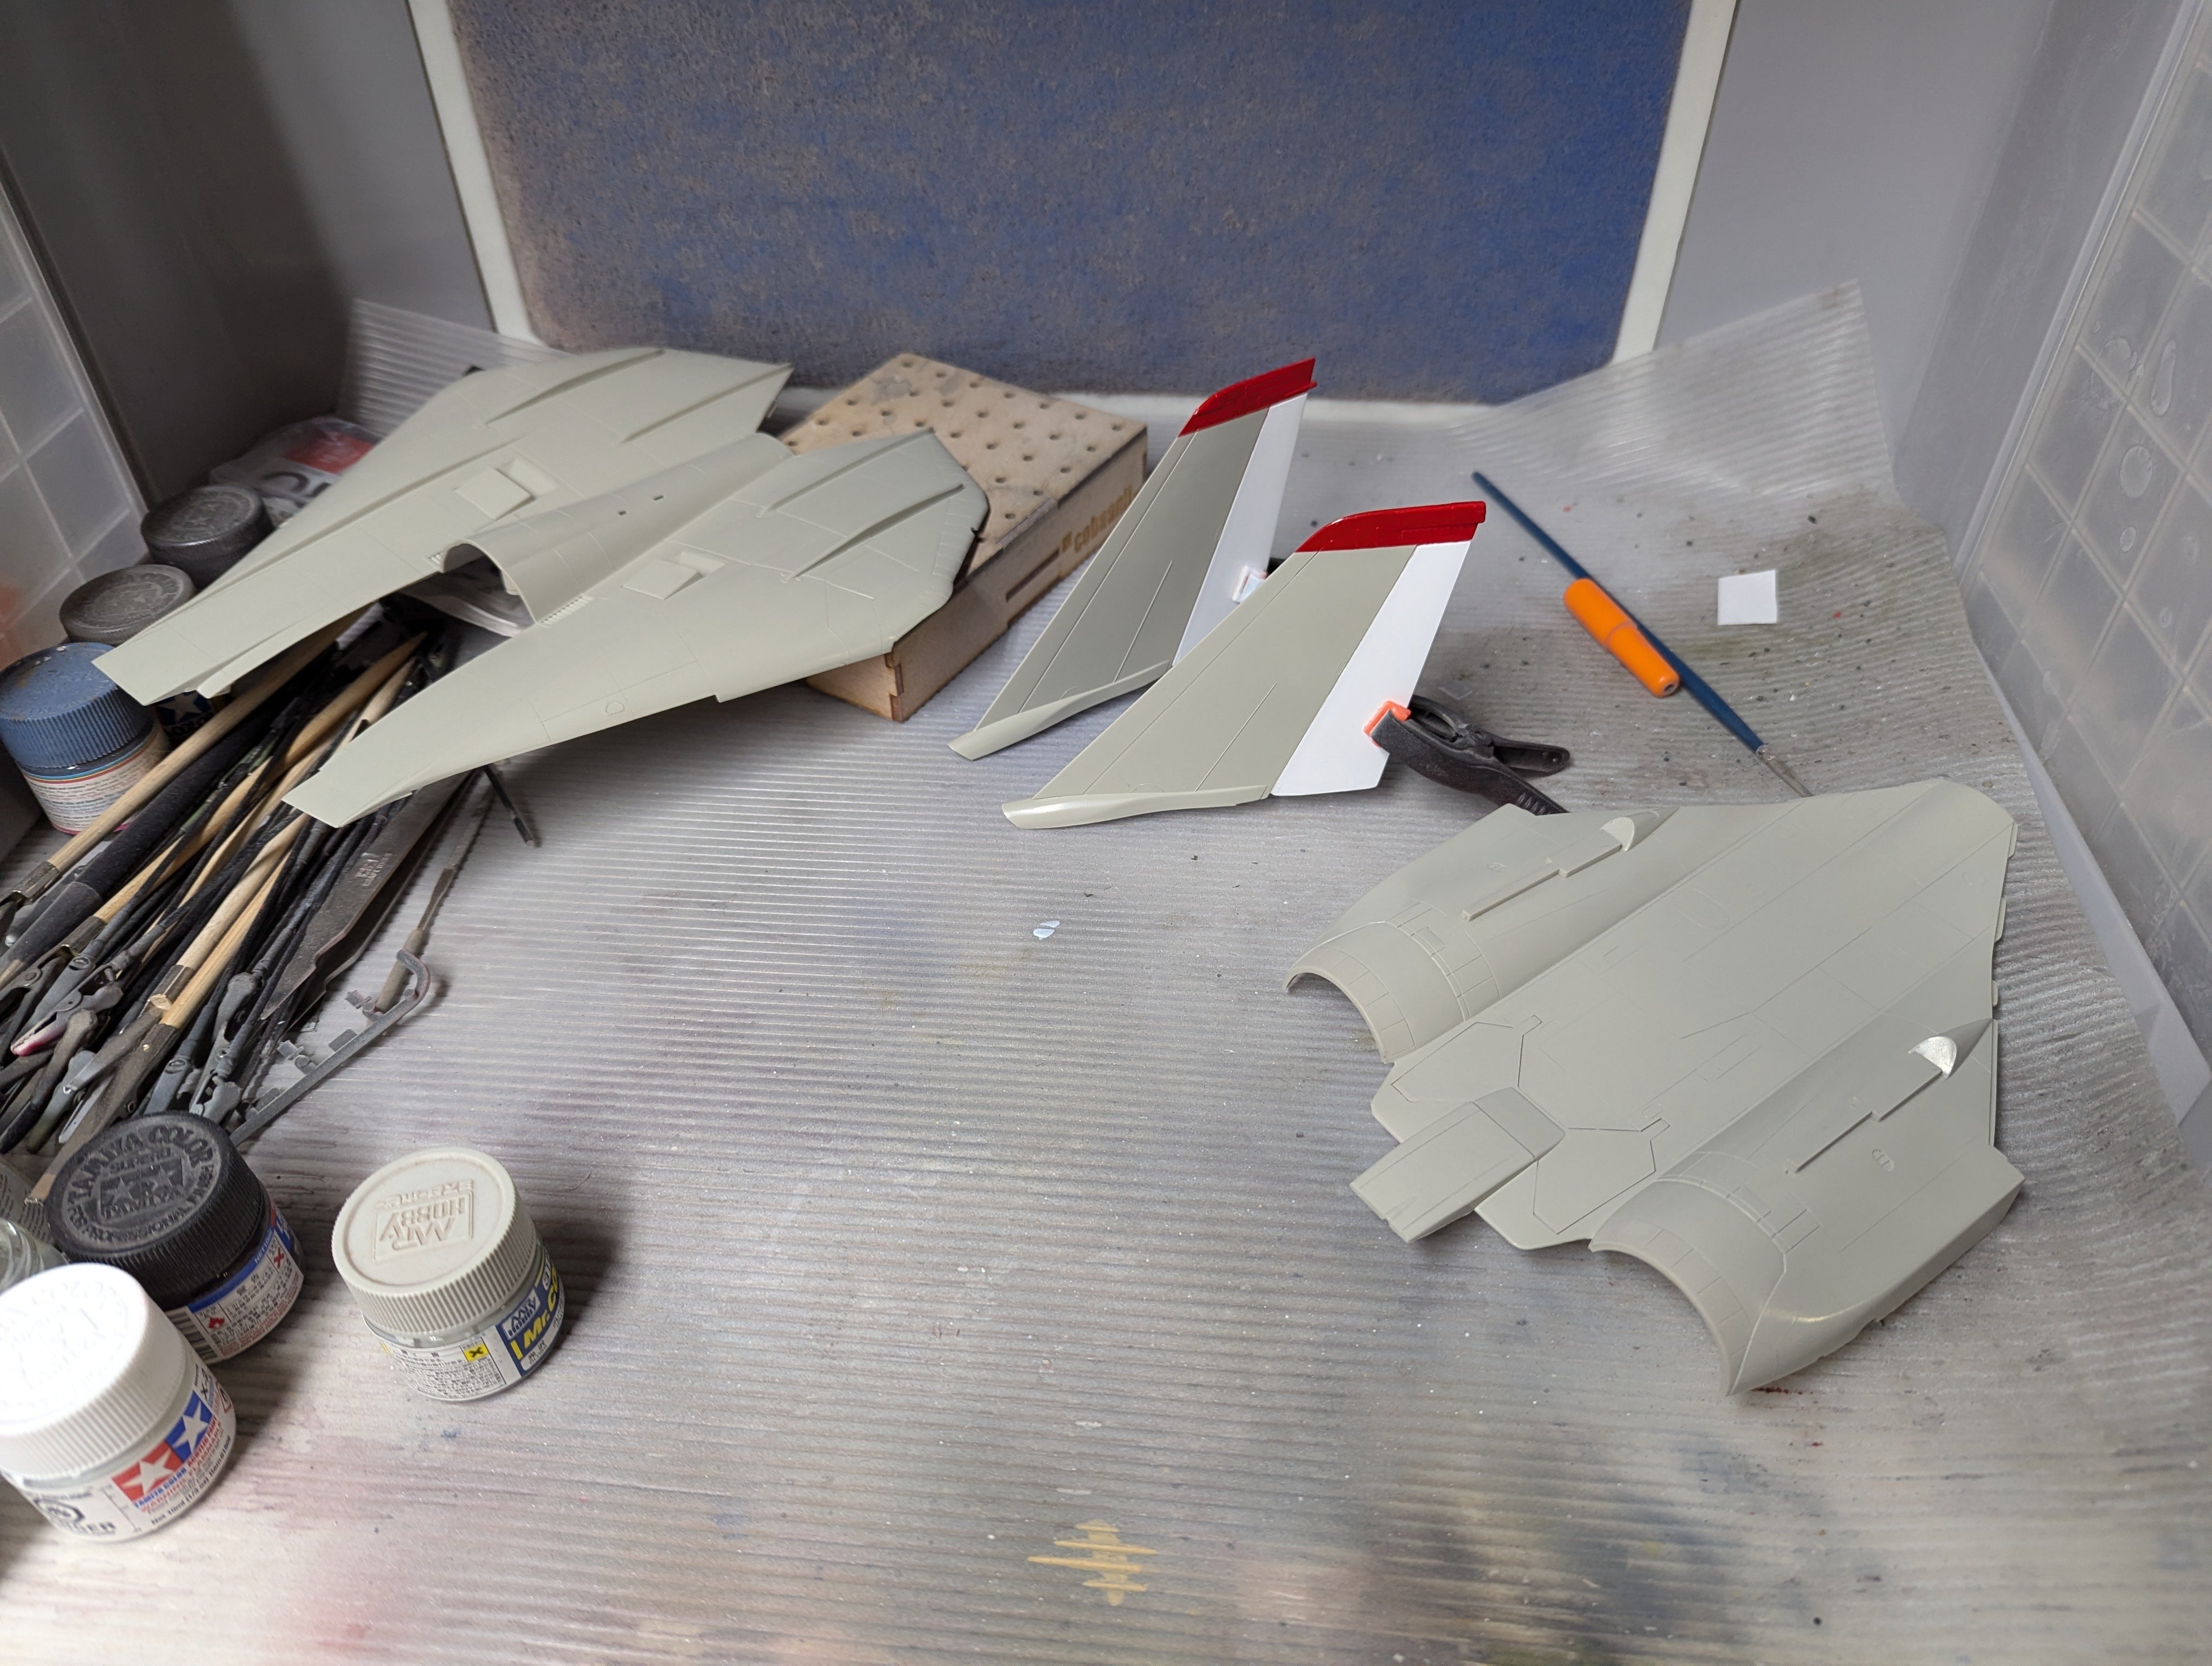
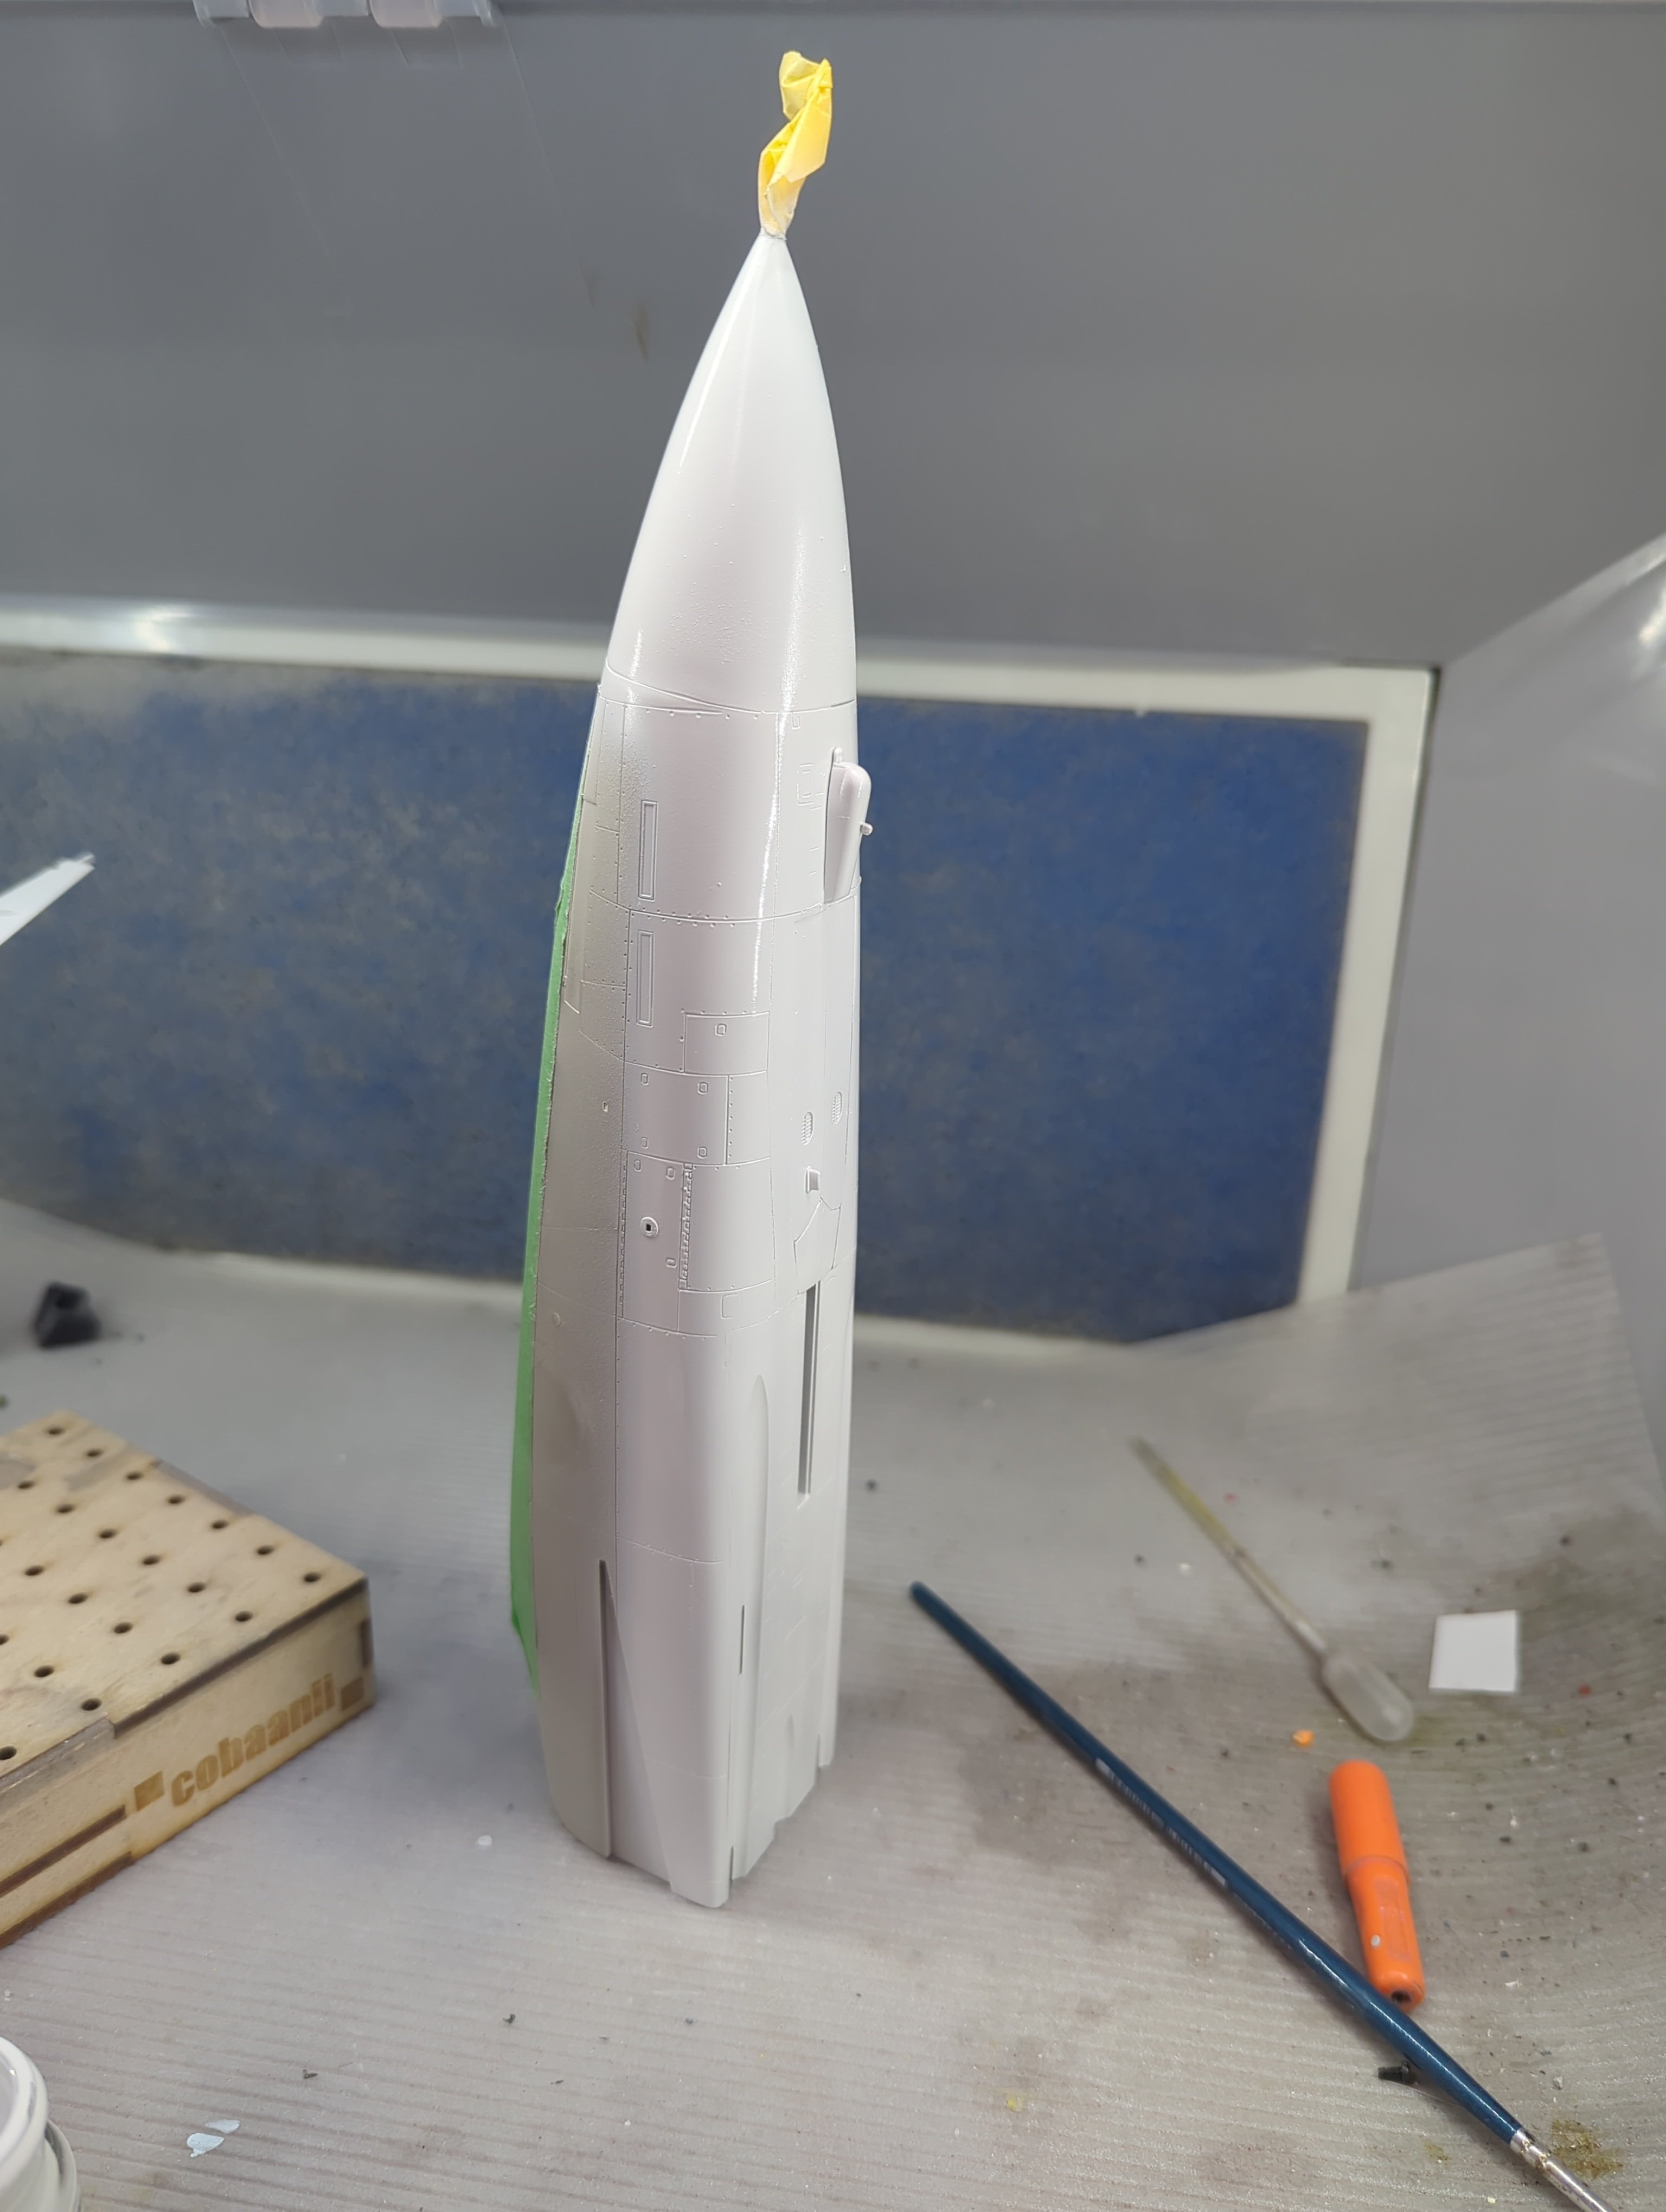
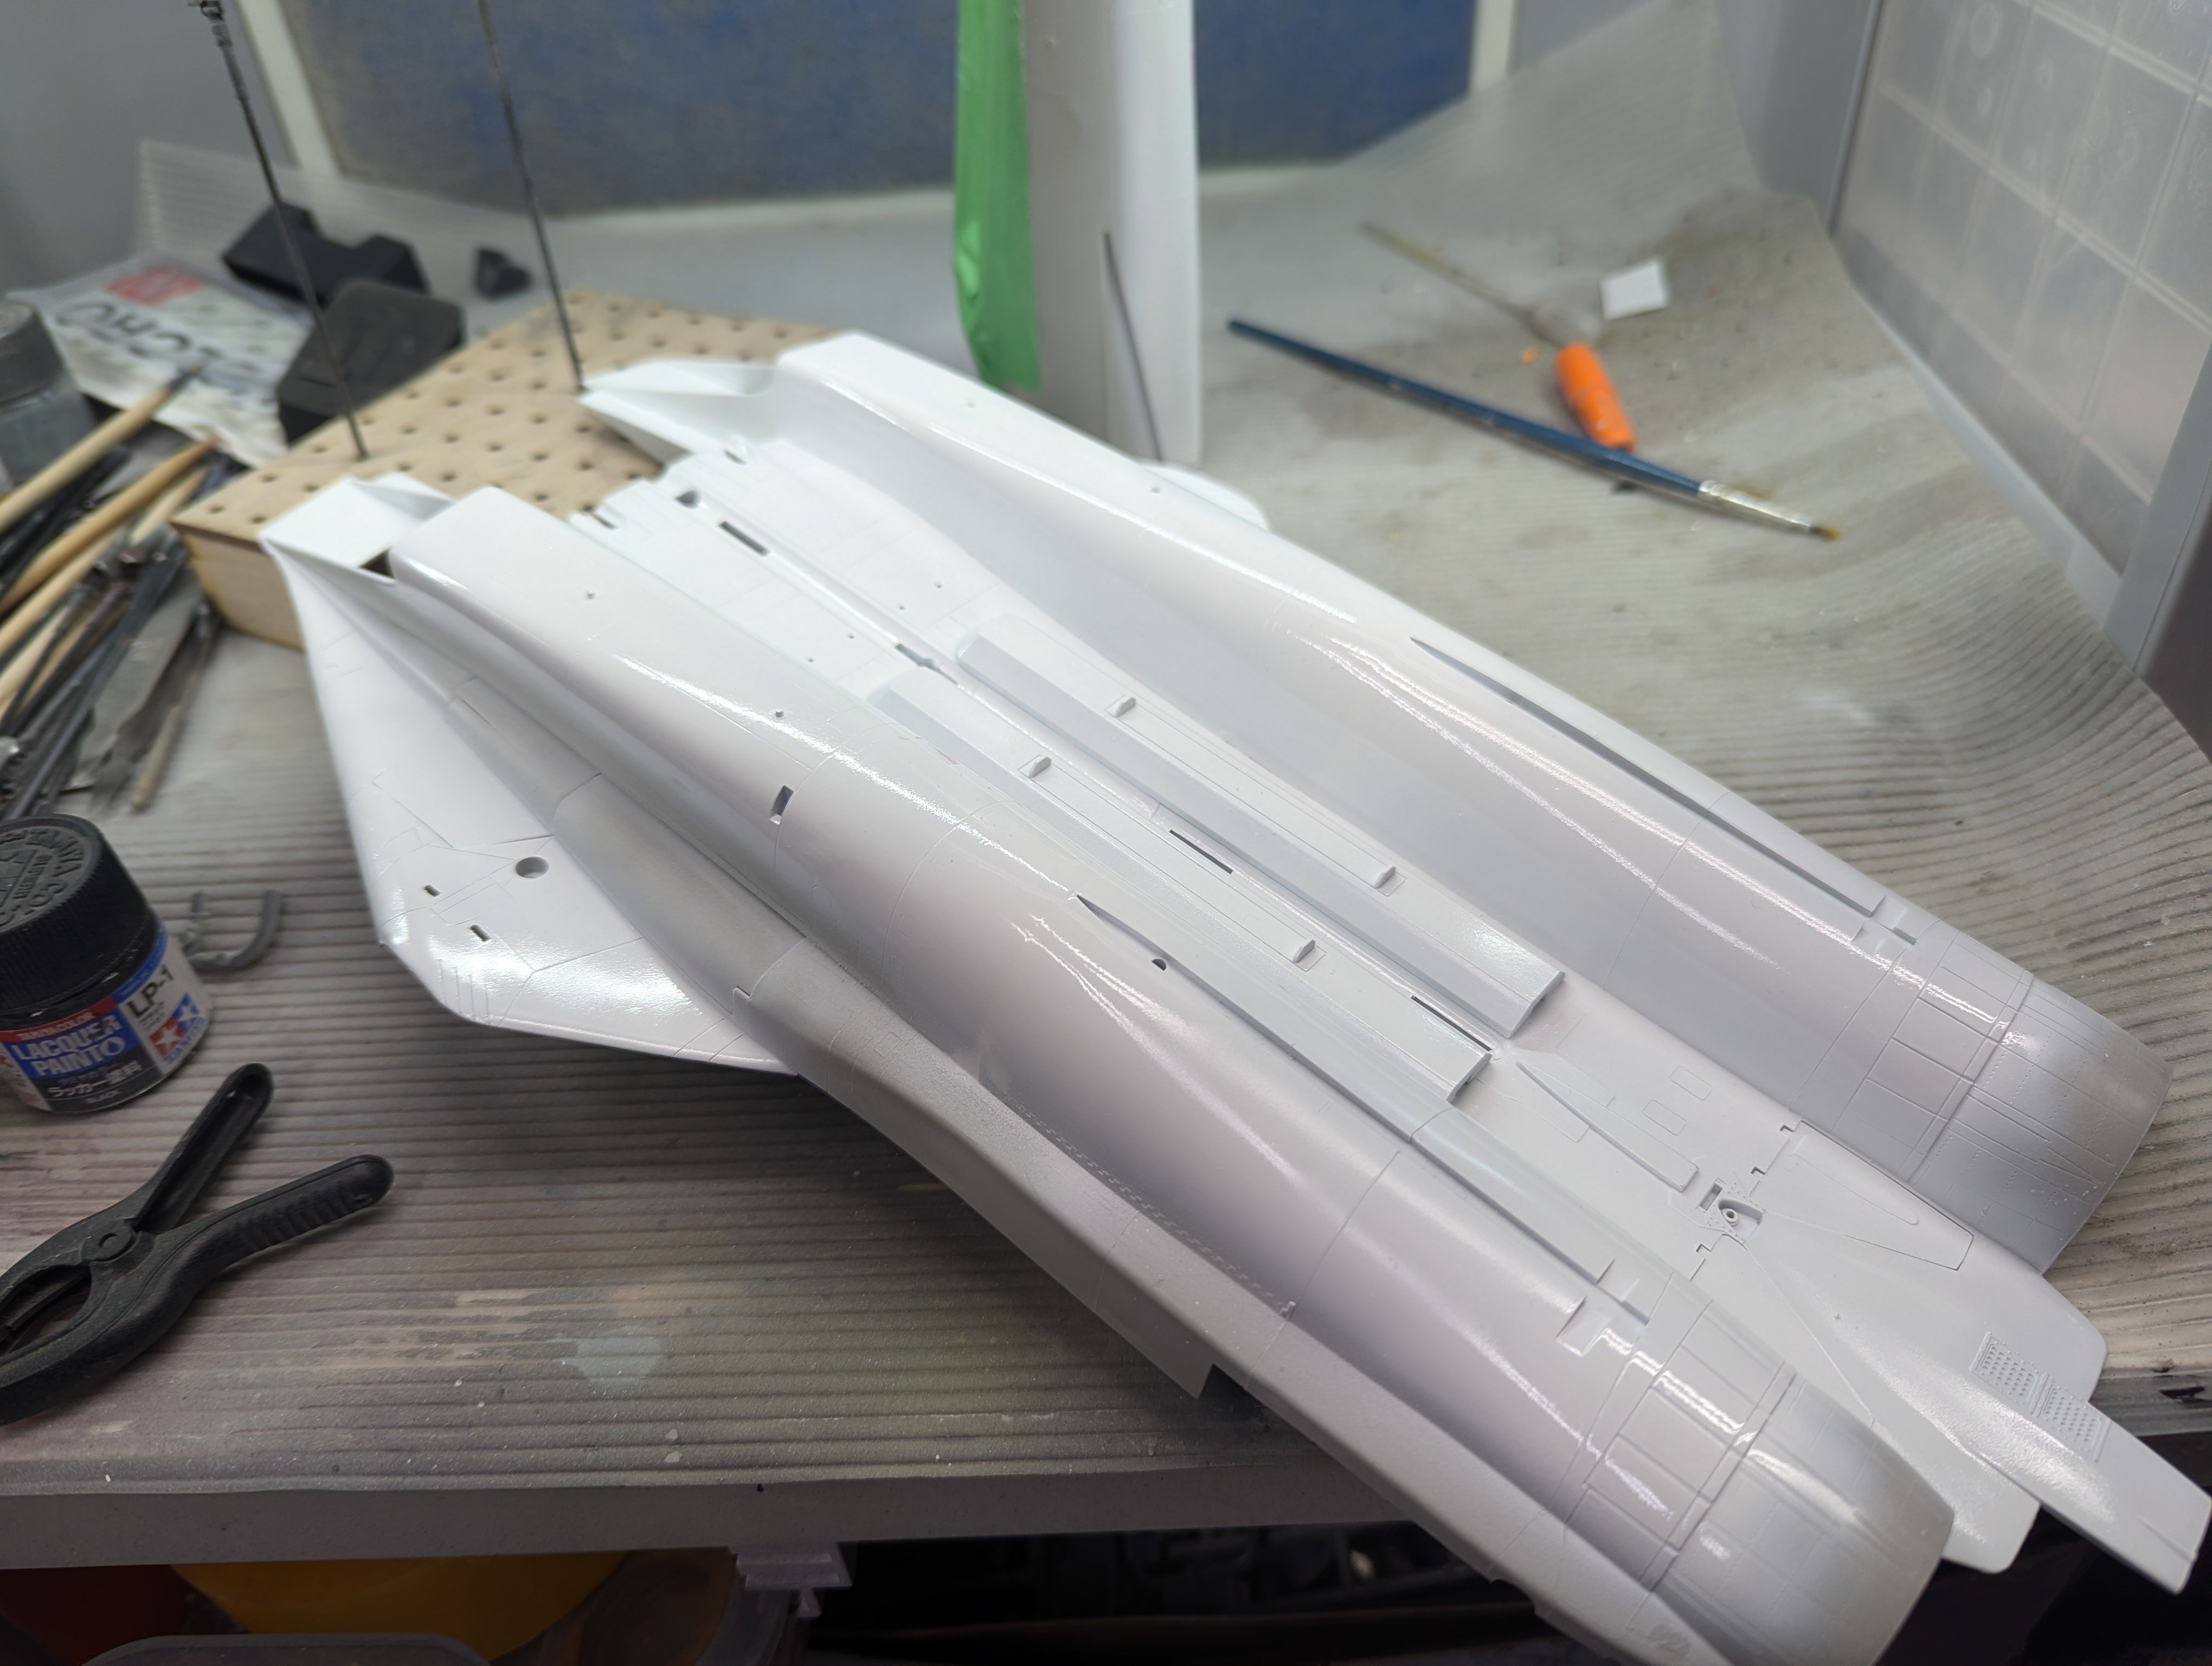
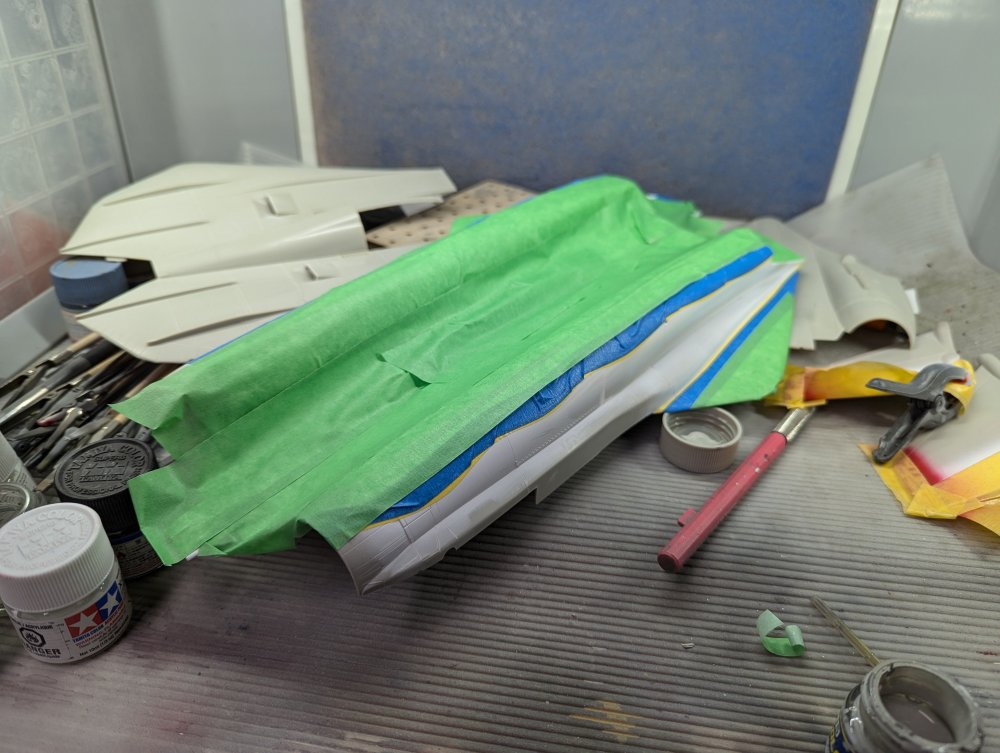
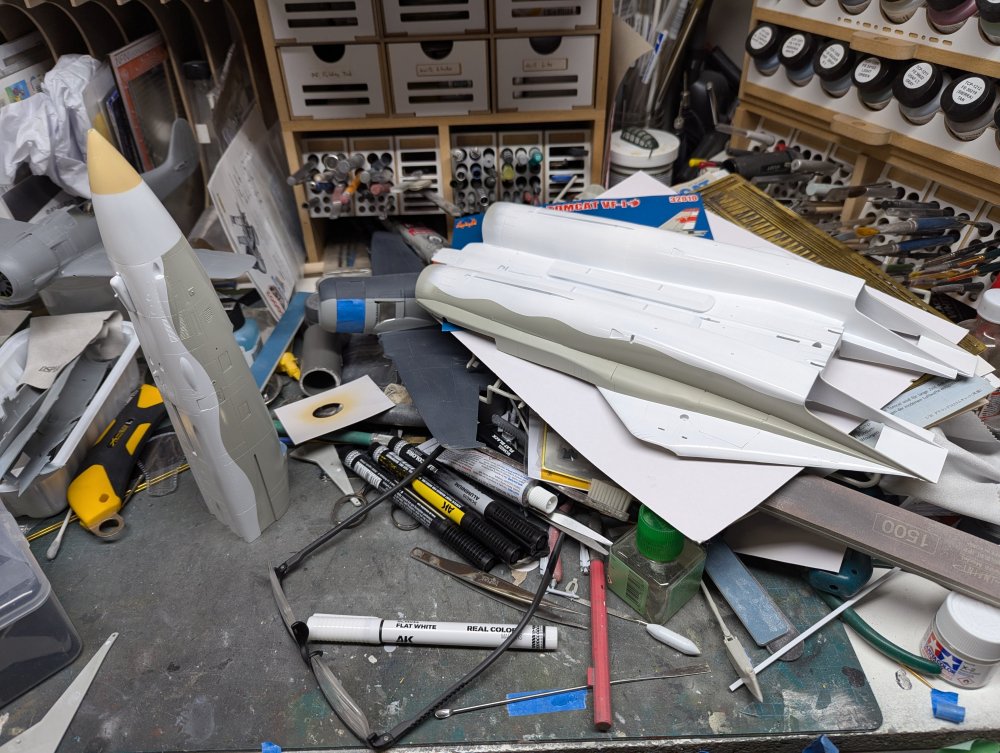
My Tomcat is getting closer. To what, I'm not sure. Nose section has all the major painting done. Lower/rear fuselage is coming together. As is the forward/upper bit.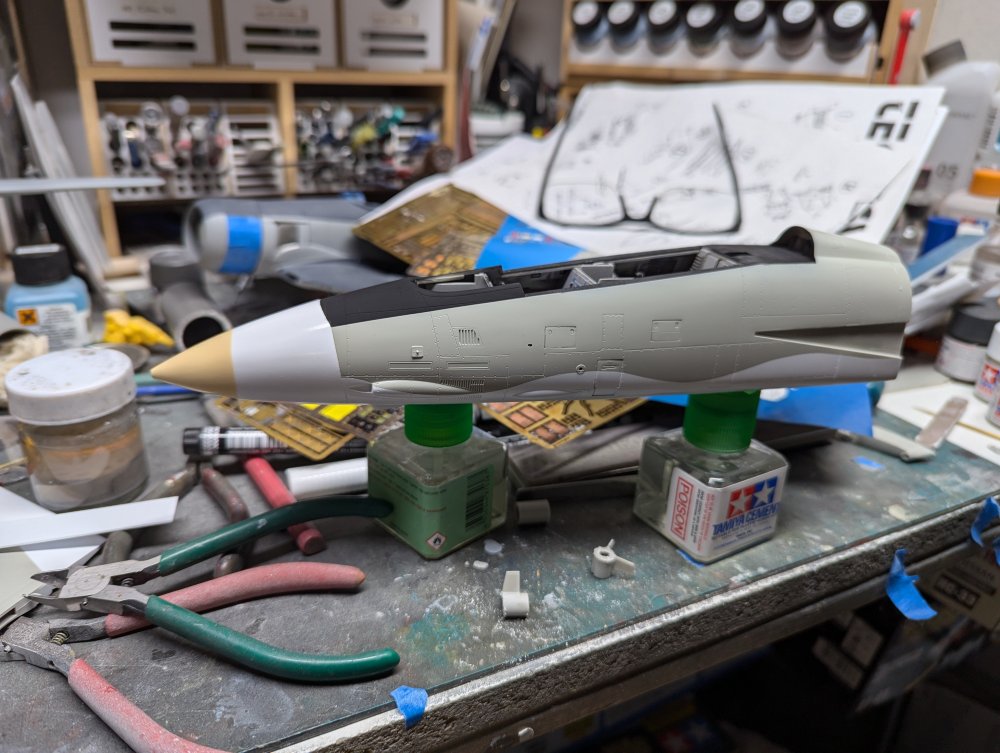


-
Okay, Sparrow fins make much more sense than ones for soup. Scott, hopefully you can get her done before you hit your limit.
-
Shark fin soup? Didn't know the Cutlass had that many fins.
-
What is on your bench right now ? Share a picture :)
BlrwestSiR replied to Martinnfb's topic in Modelling Discussion
Scott the Detail and Wonder stuff is incredible in the detail they've managed to capture. I've got the same set for my F-14 but not he gear bays. Those look impressive too. -
1/32 Hawker Tempest
BlrwestSiR replied to JeroenPeters's topic in LSM 1/35 and Larger Work In Progress
Beautiful work on the cockpit Jeroen. Have you checked the fit of the cockpit between the two MLG bays? I've heard it's very tight and doing a dry fit on the kit I have shows it wont work without some significant sanding of both the cockpit and the bays. -
What is on your bench right now ? Share a picture :)
BlrwestSiR replied to Martinnfb's topic in Modelling Discussion
Peter, would you believe the Tamiya enamels came out before their acrylics? There was a toy store here in Toronto that was bringing them in back in the early '80s. Then when they stopped selling them no one else bothered to import them until more recently. Very nice paint but I liked the water wash up of the acrylics when those came out so I didn't end up getting too many of the enamels. Your AH-1Z looks really good. I've got their much older Whisky Cobra in the stash. That out needs a lot more work. -
What is on your bench right now ? Share a picture :)
BlrwestSiR replied to Martinnfb's topic in Modelling Discussion
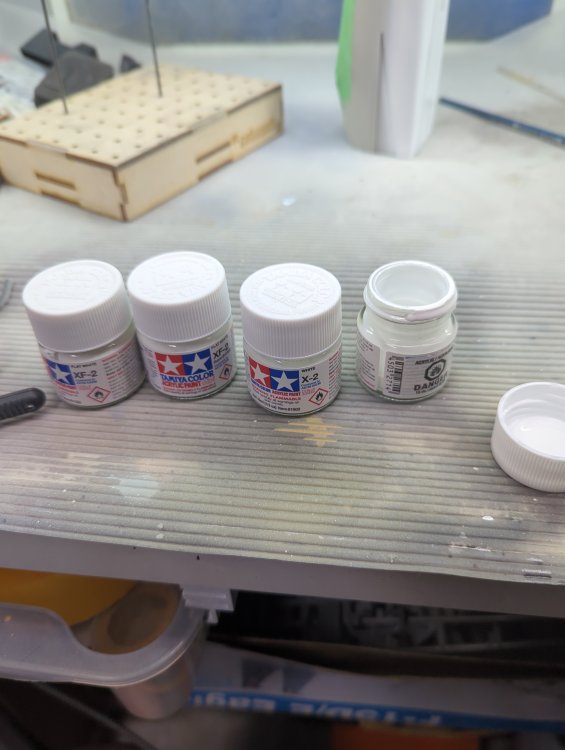
Paul, I didn't know they still had the bigger bottles. Only the mini ones come into Canada. Their enamel paints are in square bottles that are reminiscent of the old Testors glass ones. -
1/48 Monogram B-58 Hustler - SEA
BlrwestSiR replied to CANicoll's topic in LSM 1/48 Work in Progress
Some great progress there Chris. The camo is coming along nicely. I wonder do you're going through as much paint as I am on the Tomcat. -
What is on your bench right now ? Share a picture :)
BlrwestSiR replied to Martinnfb's topic in Modelling Discussion
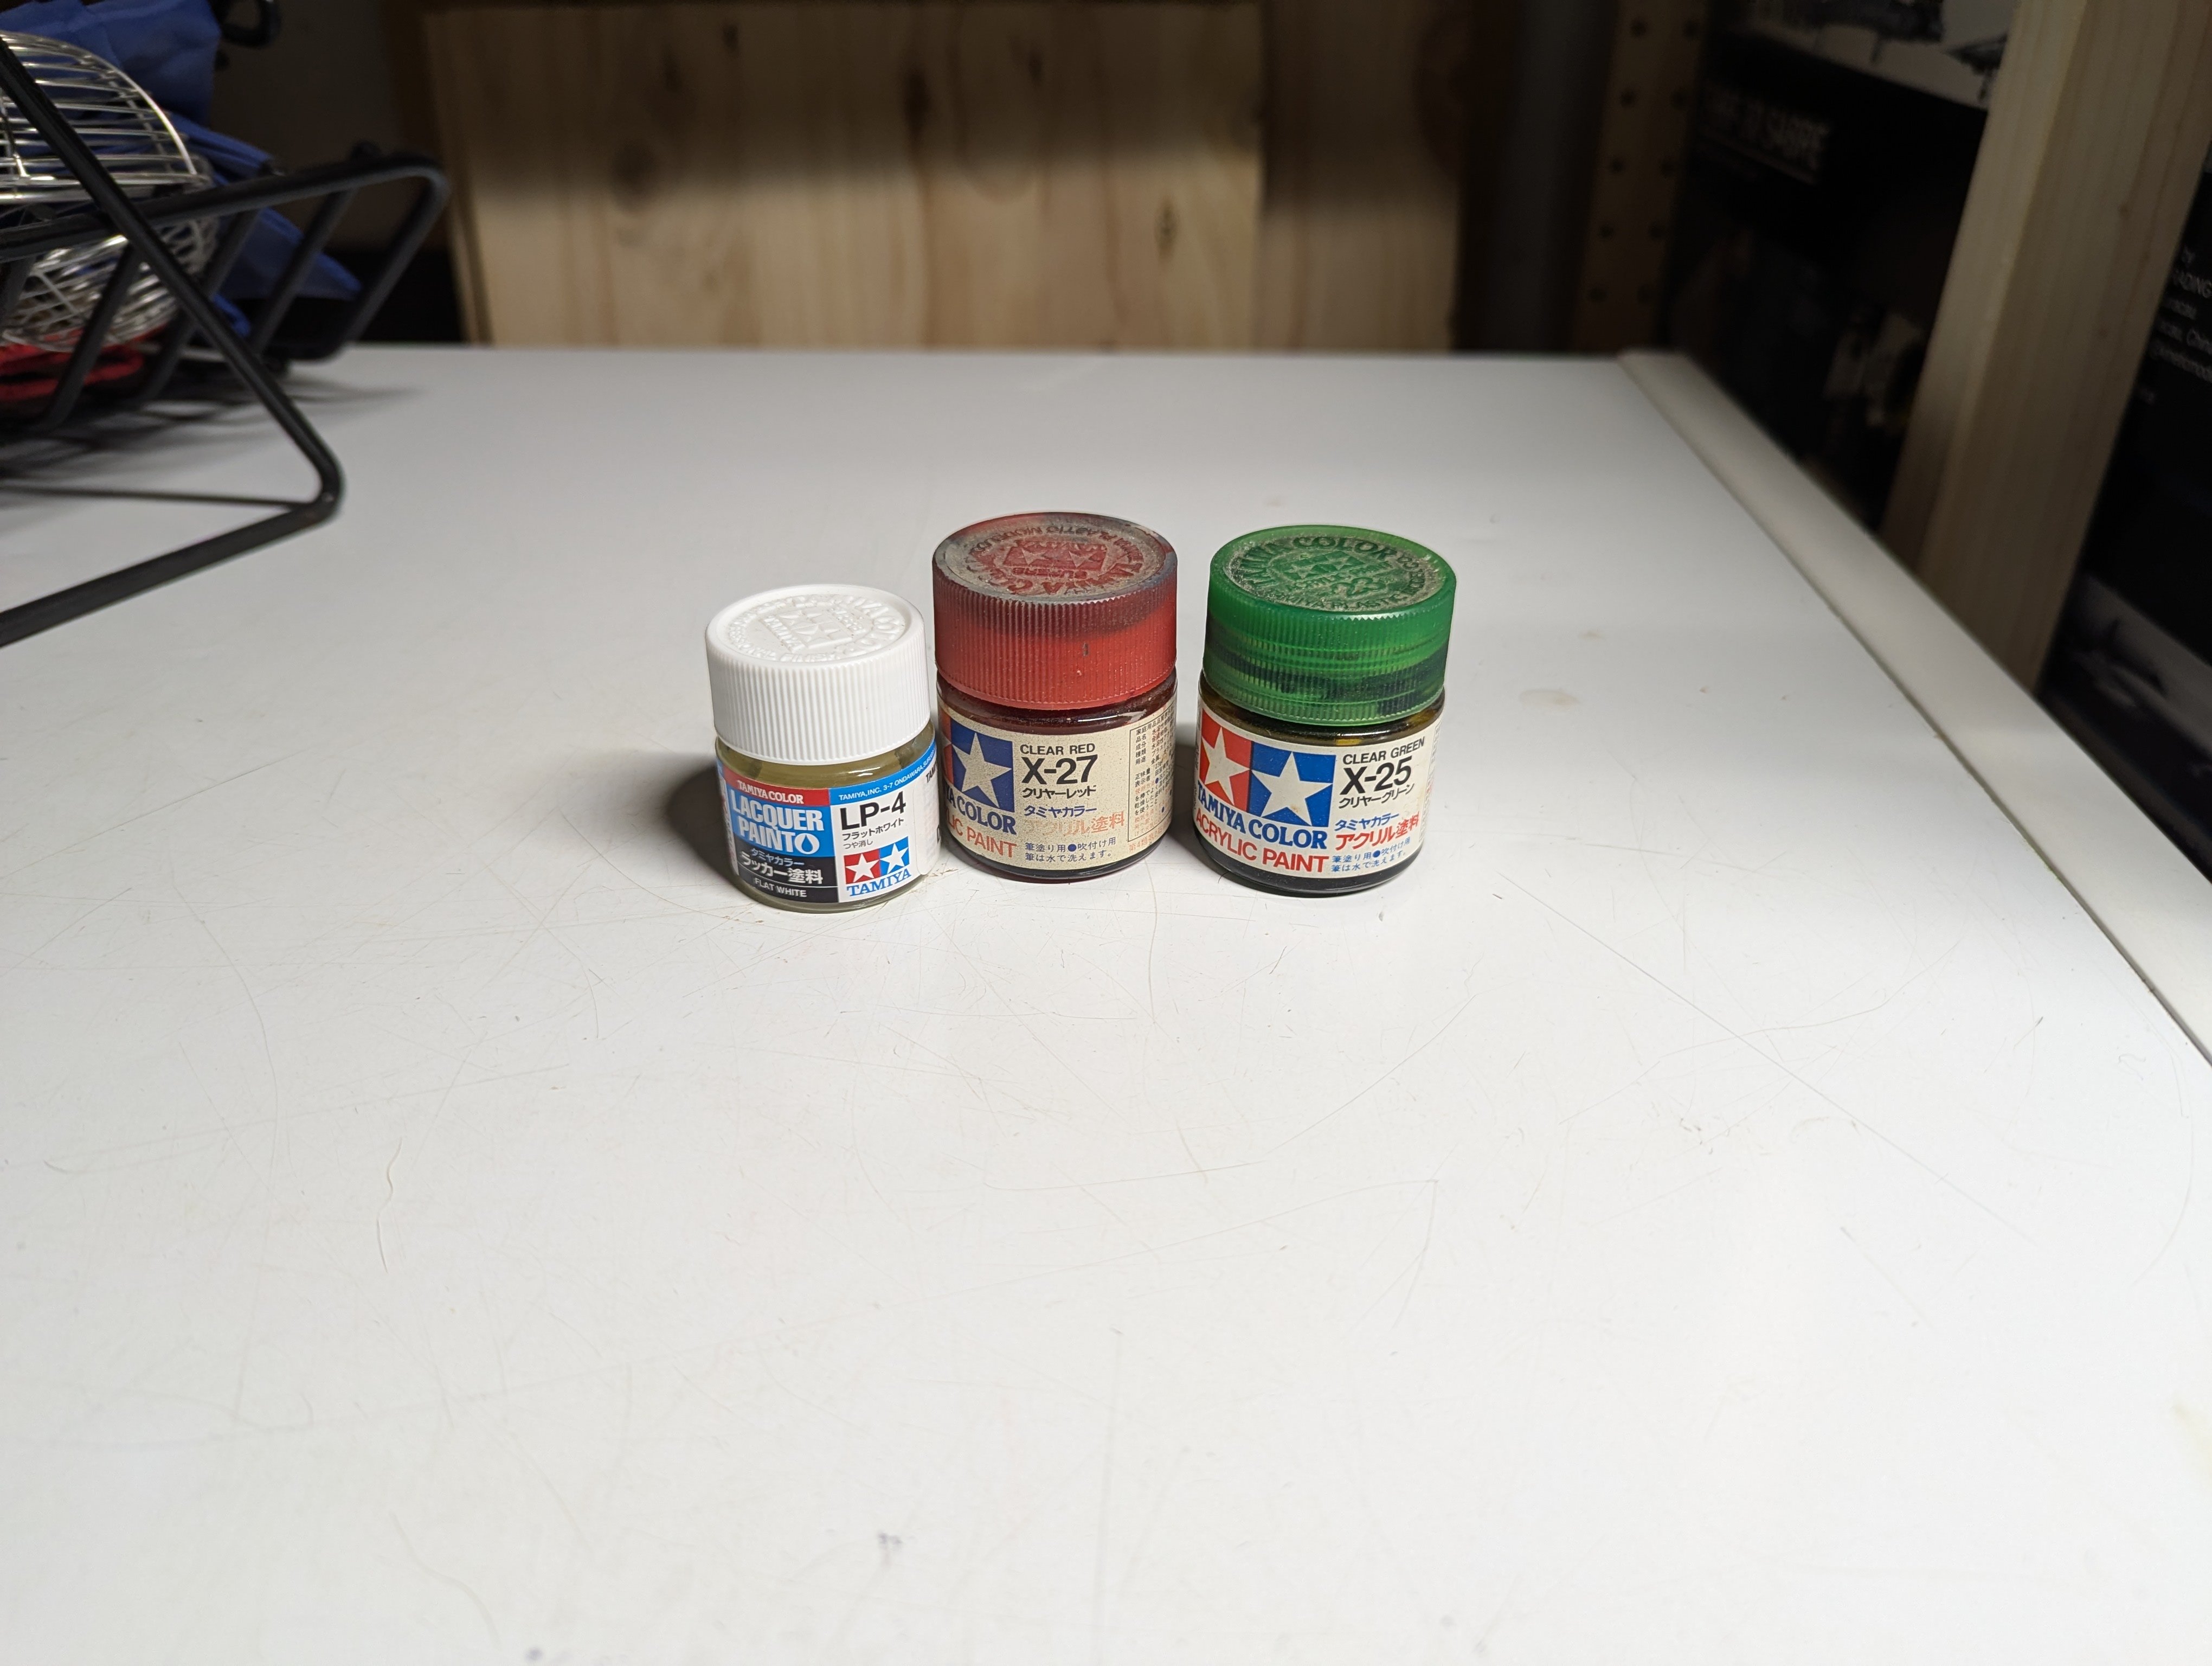
So true. The funny thing is Tamiya acrylic used to come in bigger bottles. Their original size was 23ml compared to the current 10ml size. These two almost certainly are from the late '80s when the paint first came out. At least when I sprayed all the Light Gull Grey surfaces that took less an a bottle of Mr Color.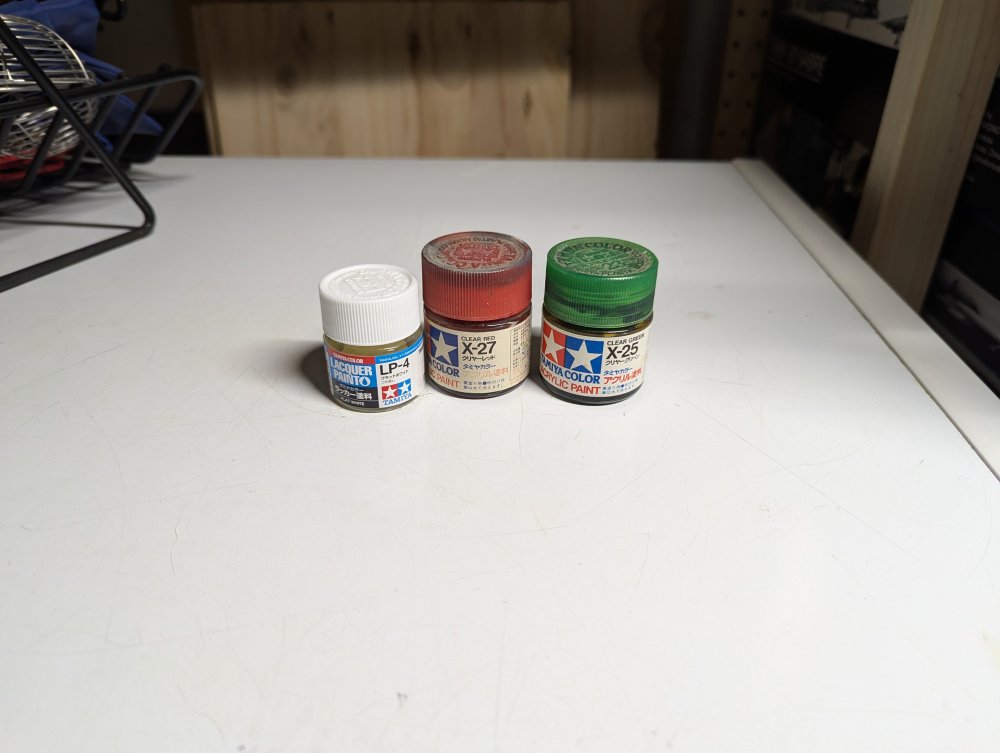

-
The builder is really flying through the construction. Will the garage floor end up getting done in concrete after everything else?
-
Astra Militarum Baneblade warhammer tank
BlrwestSiR replied to FullArmor's topic in LSM 1/35 and Larger Work In Progress
Great work on the hull. The weathering looks impressive, really brings out the cast texture on the model. -
Tamiya Spitfire Mk IXc
BlrwestSiR replied to Peterpools's topic in LSM 1/32 and Larger Aircraft Ready for Inspection
Lovely Spitfire Peter. Great job on it and the flaps. Come to think of it, I've yet to do a Spitfire with the flaps down so may have to do to mix things up a bit. -
Happy belated / early birthday Carl !!!
BlrwestSiR replied to Martinnfb's topic in General Discussion
Thanks Jeff! Yes, I got a cake from Sue and it was everything I'd hoped for in a carrot cake. She makes an awesome carrot cake with cream cheese icing. -
That you did. But I keep thinking it's too big. Same with the Mossie in 1/24.
-
Very nice work on the tail hook mechanisms there Hubert. For small springs, I've found that a number of Japanese companies make them in various diameters and colours. Wave and T2M both come to mind. I think GSI does some as well. I'll grab some pics when I'm at my bench.
-
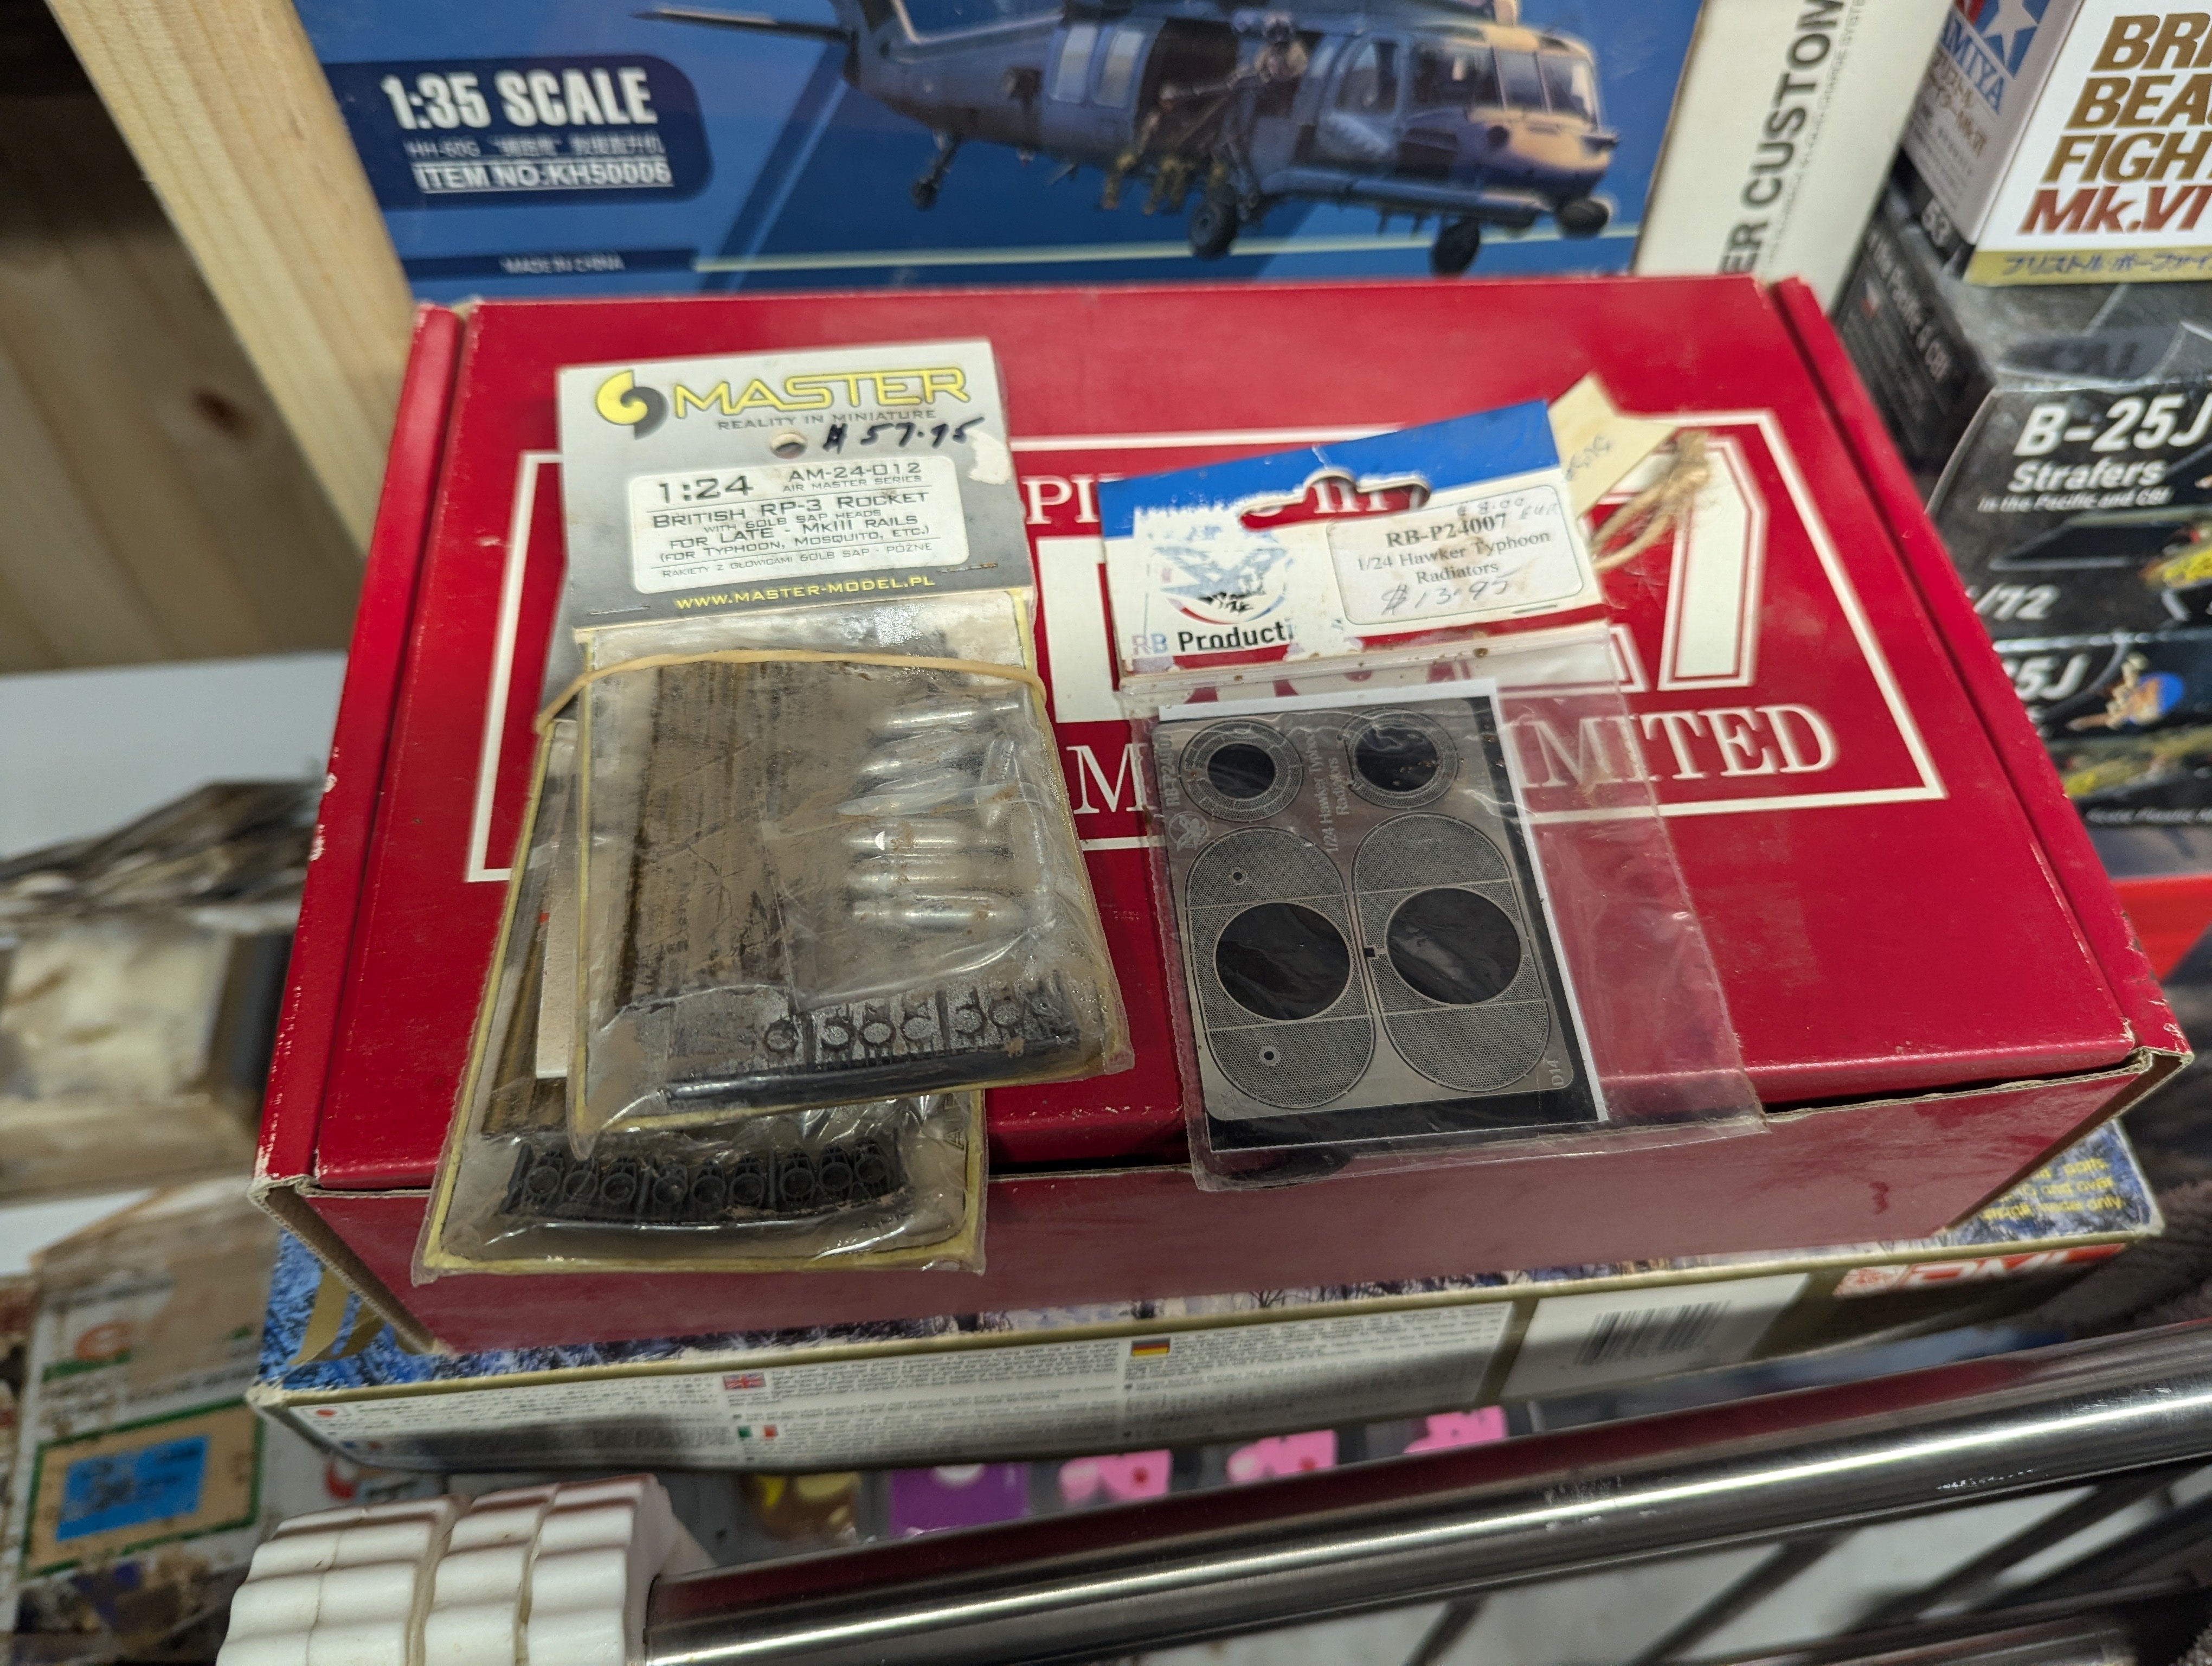
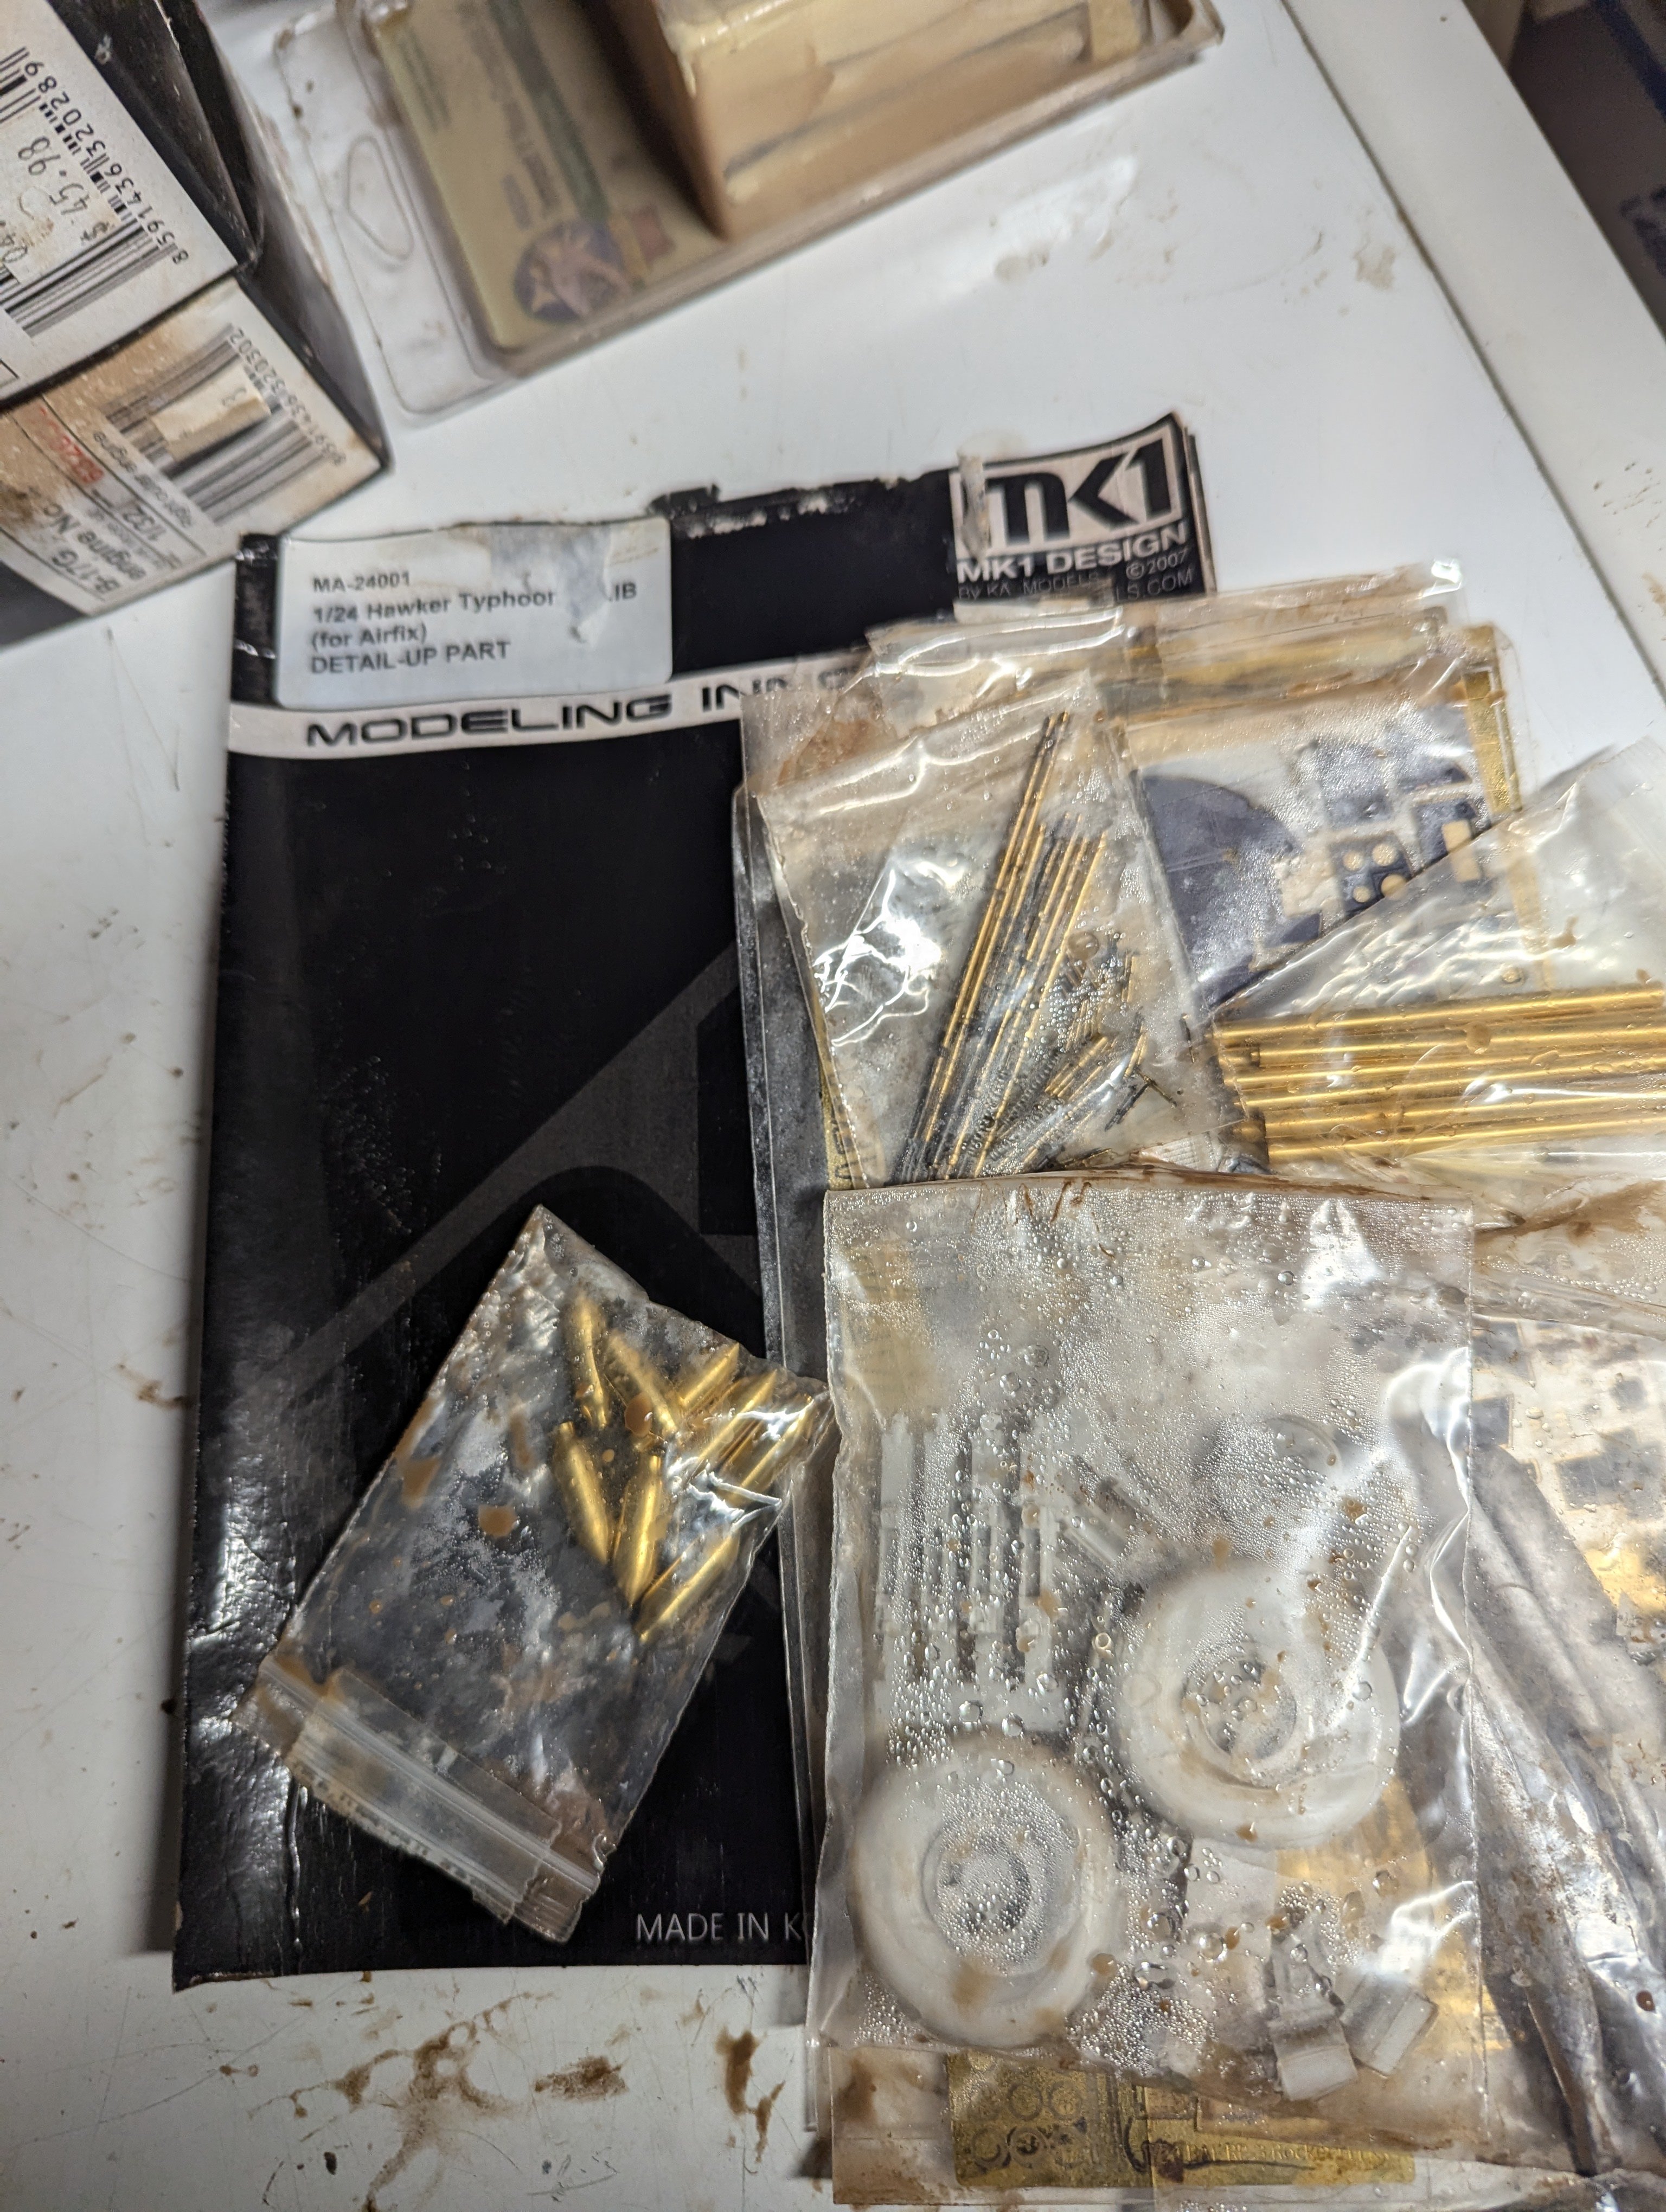
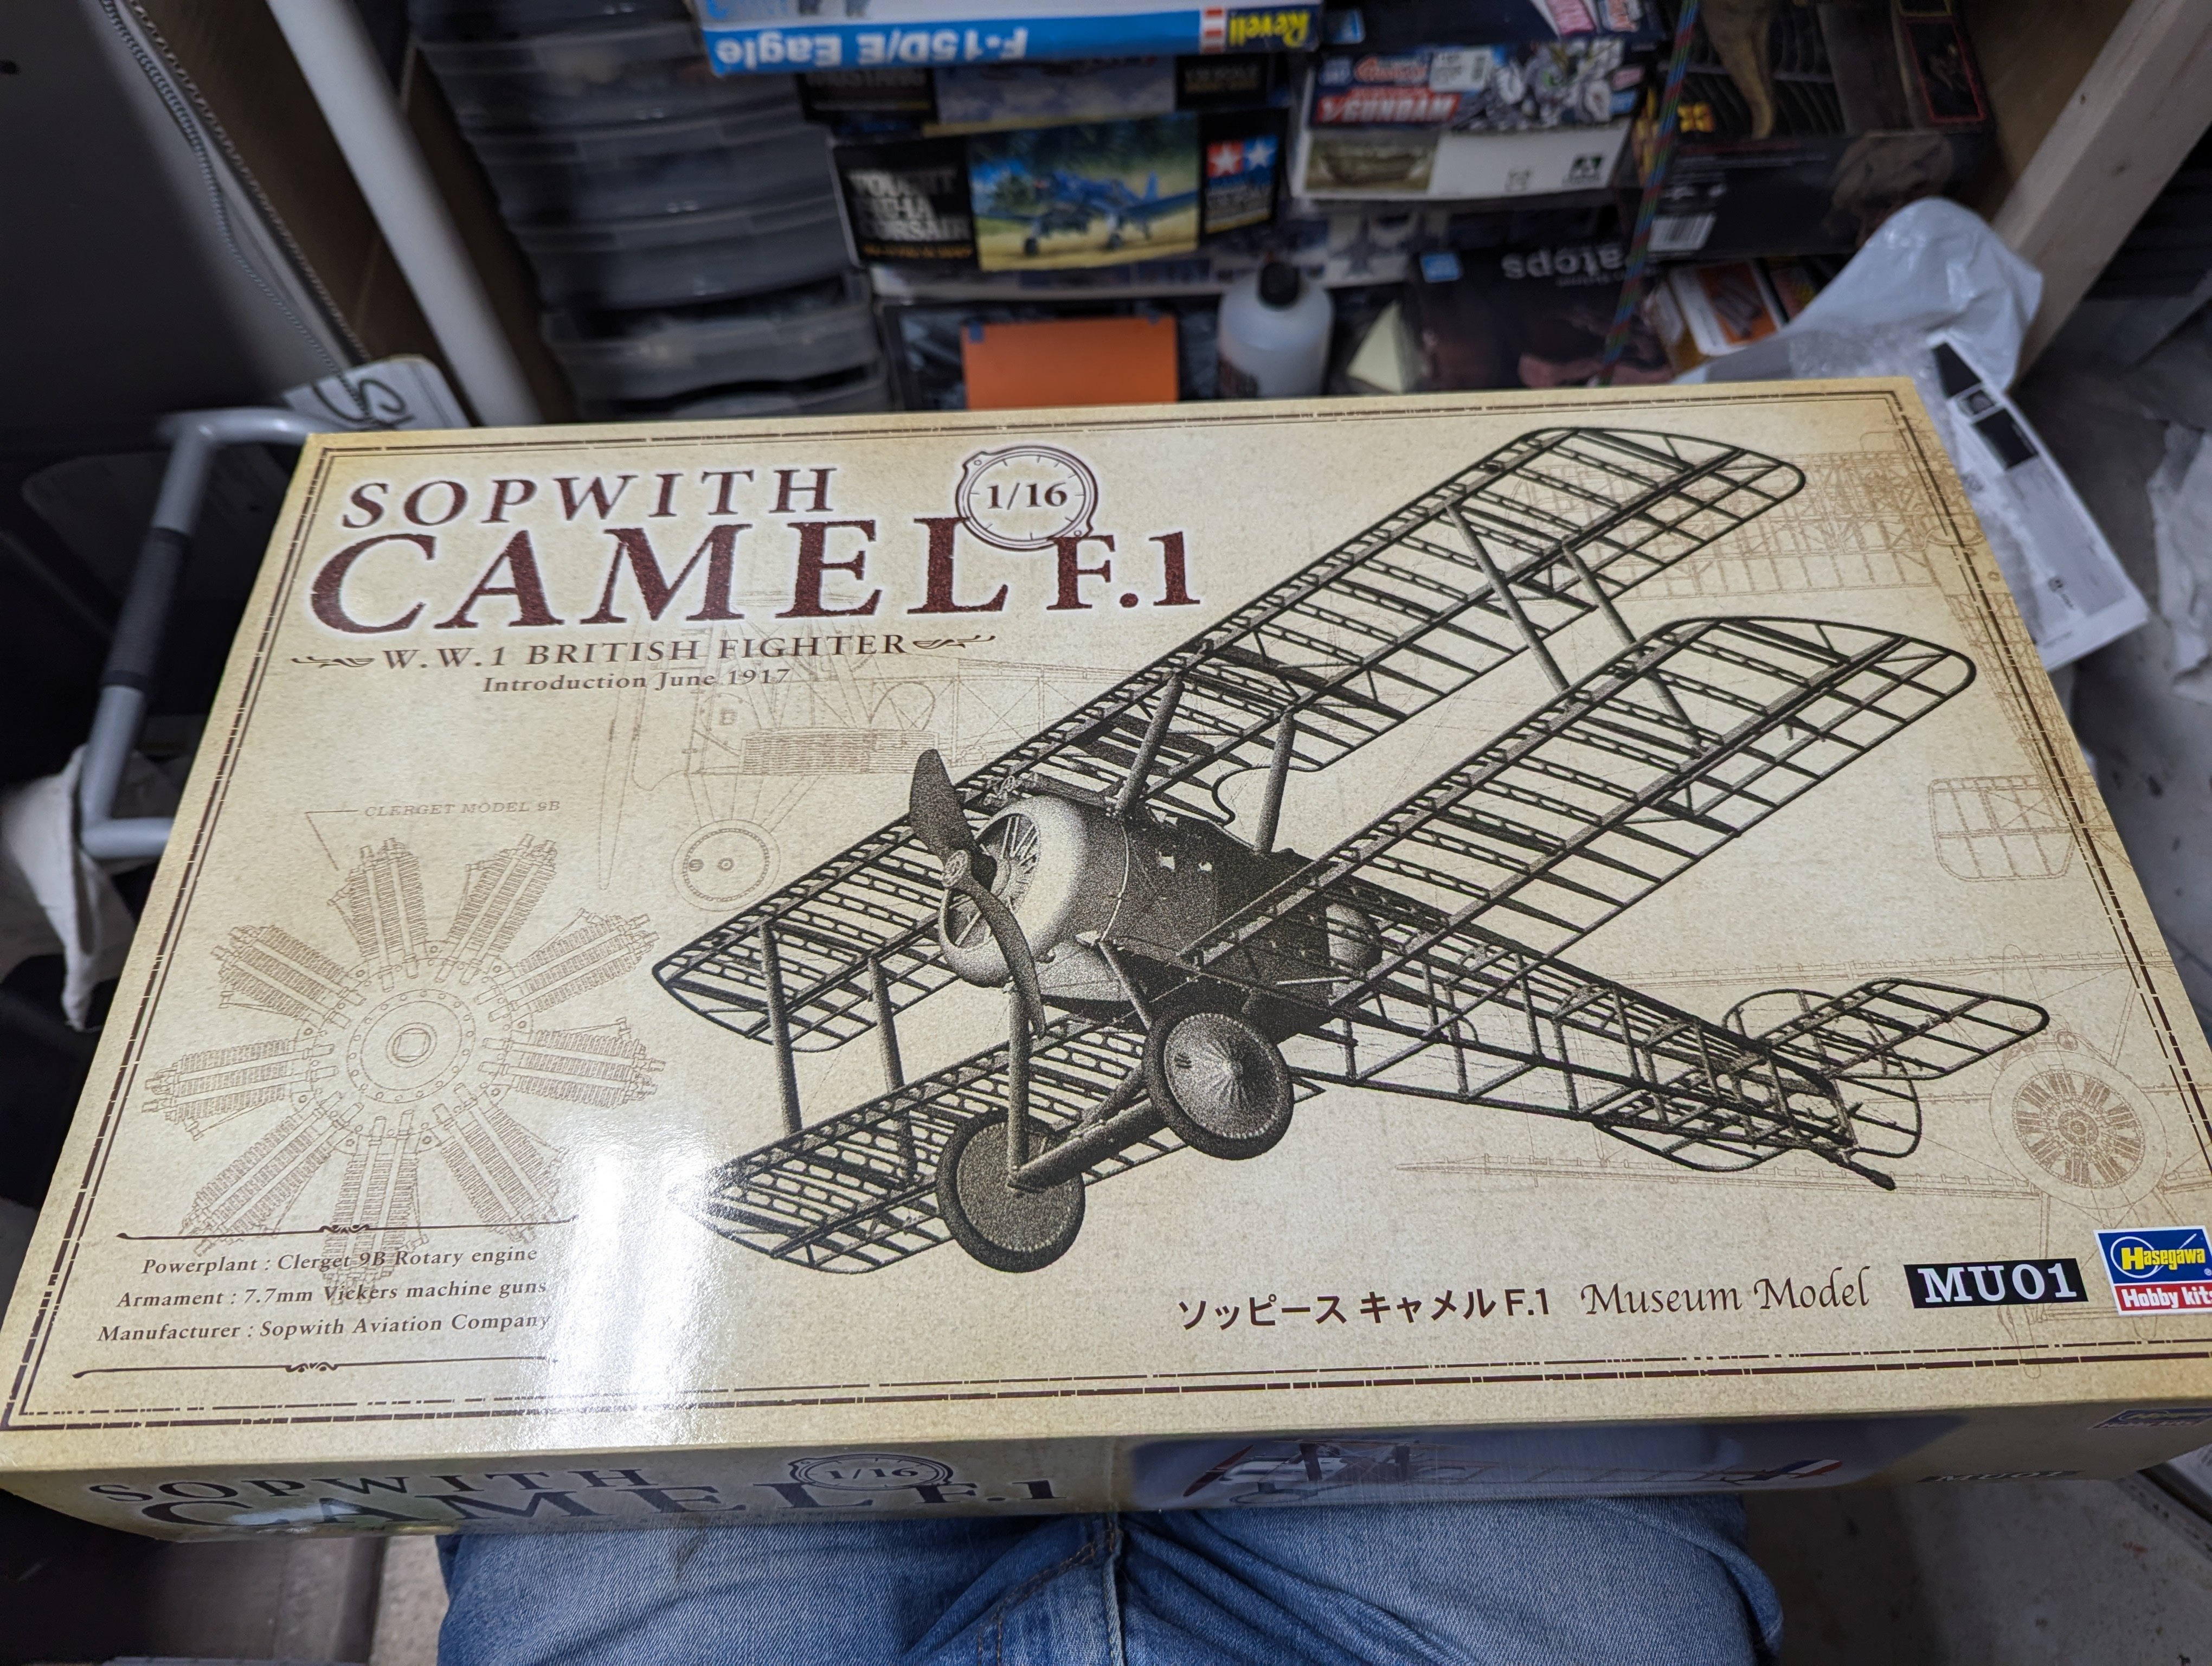
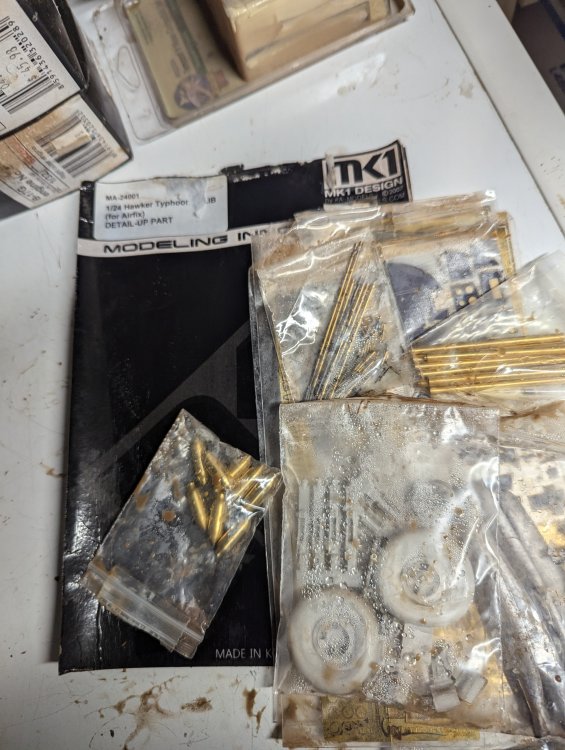
AM time at the LHS flood sale. First up is I'm fairly certain every PE set released by Eduard for the 1/32 HK B-17G. I got them with a full set of their resin engines. I also got a bundled group of Barracudacast 1/32 Spitfire cockpit updates. It ended up being 5 in total along with a Tempest nose correction set. Next up was again a bundle of what turned out o be 3 Master 1/24 RP-3 rocket sets and an RB Typhoon rad set. Also for the big Airfix Typhoon, a Mk1 detail set. At this point, Martin reminded me I don't have a Typhoon kit and he could (hint, hint) use those bits. So I can either find a Tiffie or send them to my esteemed partner in crime. Don the owner asked my son Edward to take a look in one of the boxes and see if there was anything he liked. He picked a 1/48 Tamiya Mossie and a couple Testors/Hawk F8F Bearcats. Don said they were on the house. Those guys have been great any time my sons go with me and this time as no different. That's the end of the flood sale. They've at this point either sold most of it or repacked what's left into bags for sale at a later date. Before I asked, Don mentioned it's not worth their time to put it online so it'll continue to be in-store only. They're afraid somebody will buy a kit and then complain there's no decals or instructions and demand a refund. Which has happened sadly. Lastly, I posted that BNA is doing a Deal of the Day and kicked it off with the big Hasegawa Camel kit. I'm not really a WWI guy, but I've always looked at this kit and thought it would be a nice one. At $130 ish CAD shipped from Australia I finally took the plunge.


-
What is on your bench right now ? Share a picture :)
BlrwestSiR replied to Martinnfb's topic in Modelling Discussion
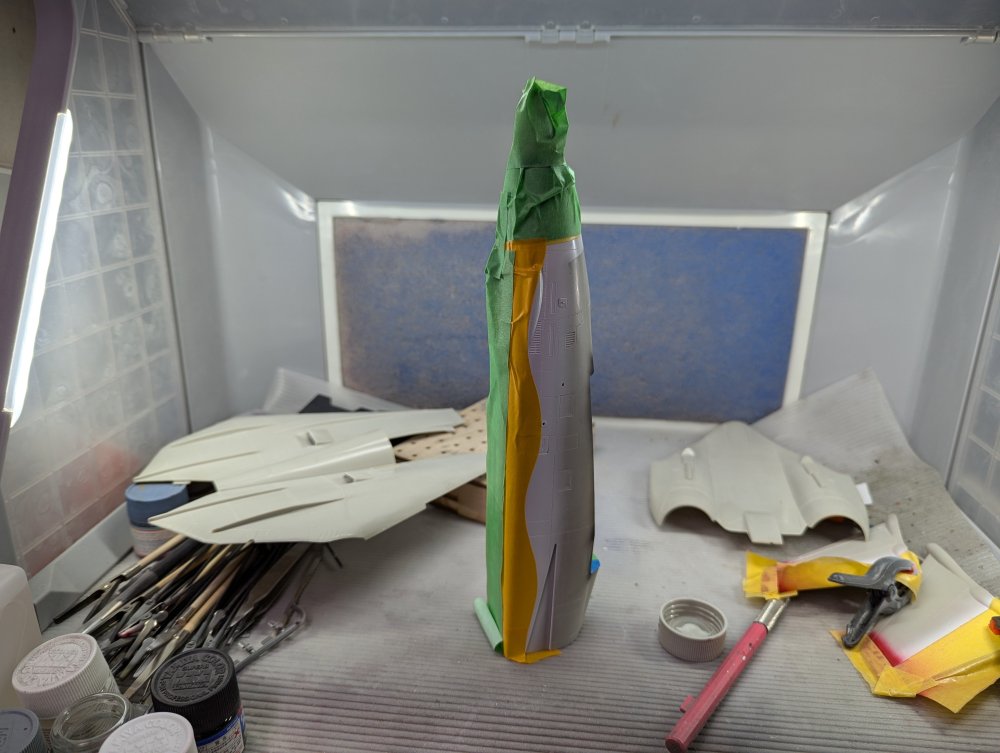
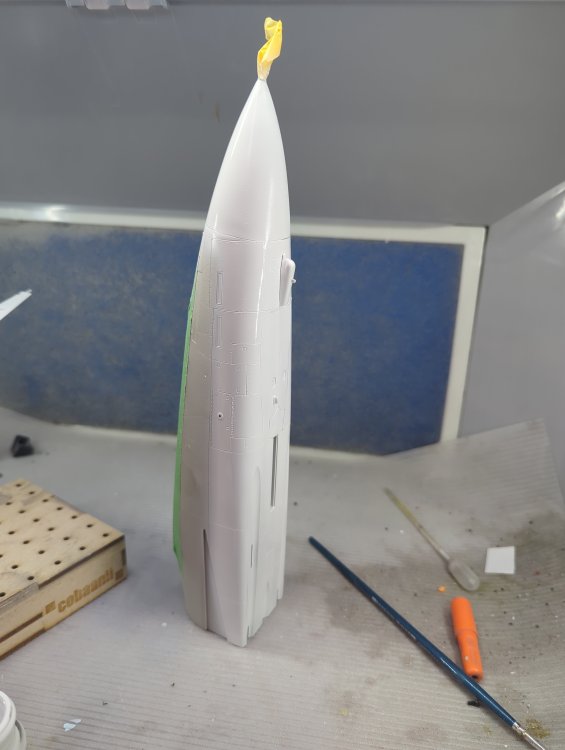
More Tomcat goodness. Primer first... ...followed by gloss white. Now the nose matches the fuselage. Took a bunch of paint to get here.

-
I picked up the same kit at the Nats but has to pay for mine. Can't wait to see your build. For the AK Real Colors, they can be thinned with Mr Color Leveling Thinner without any problem. That's what I usually use. Carl
-
1/48 Monogram B-58 Hustler - SEA
BlrwestSiR replied to CANicoll's topic in LSM 1/48 Work in Progress
Well, you're off to a nice start there Chris. Those gear bay doors look like a lot of fun. Maybe put a strip of styrene on the inside over the centre gap. Then when you add the rounded bit, it'll be a stronger join. As for the centreline tank for, chamfer the sides of the tank mount, this will give you a bit of room to accommodate the curve of the underside. -
I used Sunlight on mine. They came out smelling like fresh laundry.
-
Amazing work there Hubert.
-
Cobra Coupe - Le Mans - Model Factory Hiro 1/12
BlrwestSiR replied to DocRob's topic in LSM 1/35 and Larger Work In Progress
The chassis looks stunning Rob. Glad to see you're making progress on the Cobra. -
Happy belated / early birthday Carl !!!
BlrwestSiR replied to Martinnfb's topic in General Discussion
Thanks everyone! Sue asked me last night what kind of cake I wanted. "Chocolate or vanilla?" I replied "Carrot". I then got a death stare from Sue. But I woke up this morning to the smell of carrot cake baking.