BlrwestSiR
-
Posts
9,155 -
Joined
-
Last visited
Content Type
Profiles
Forums
Events
Gallery
Everything posted by BlrwestSiR
-
Great looking cockpit there Dave.
-

Astra Militarum Baneblade warhammer tank
BlrwestSiR replied to FullArmor's topic in LSM Armour Finished Work
Fantastic looking tank! A cool and unique subject. -
Wow Chris! I missed this earlier thinking it was a different thread. Glad to hear you're on the mend. You and Scott really aren't selling retirement you know.
-
What is on your bench right now ? Share a picture :)
BlrwestSiR replied to Martinnfb's topic in Modelling Discussion
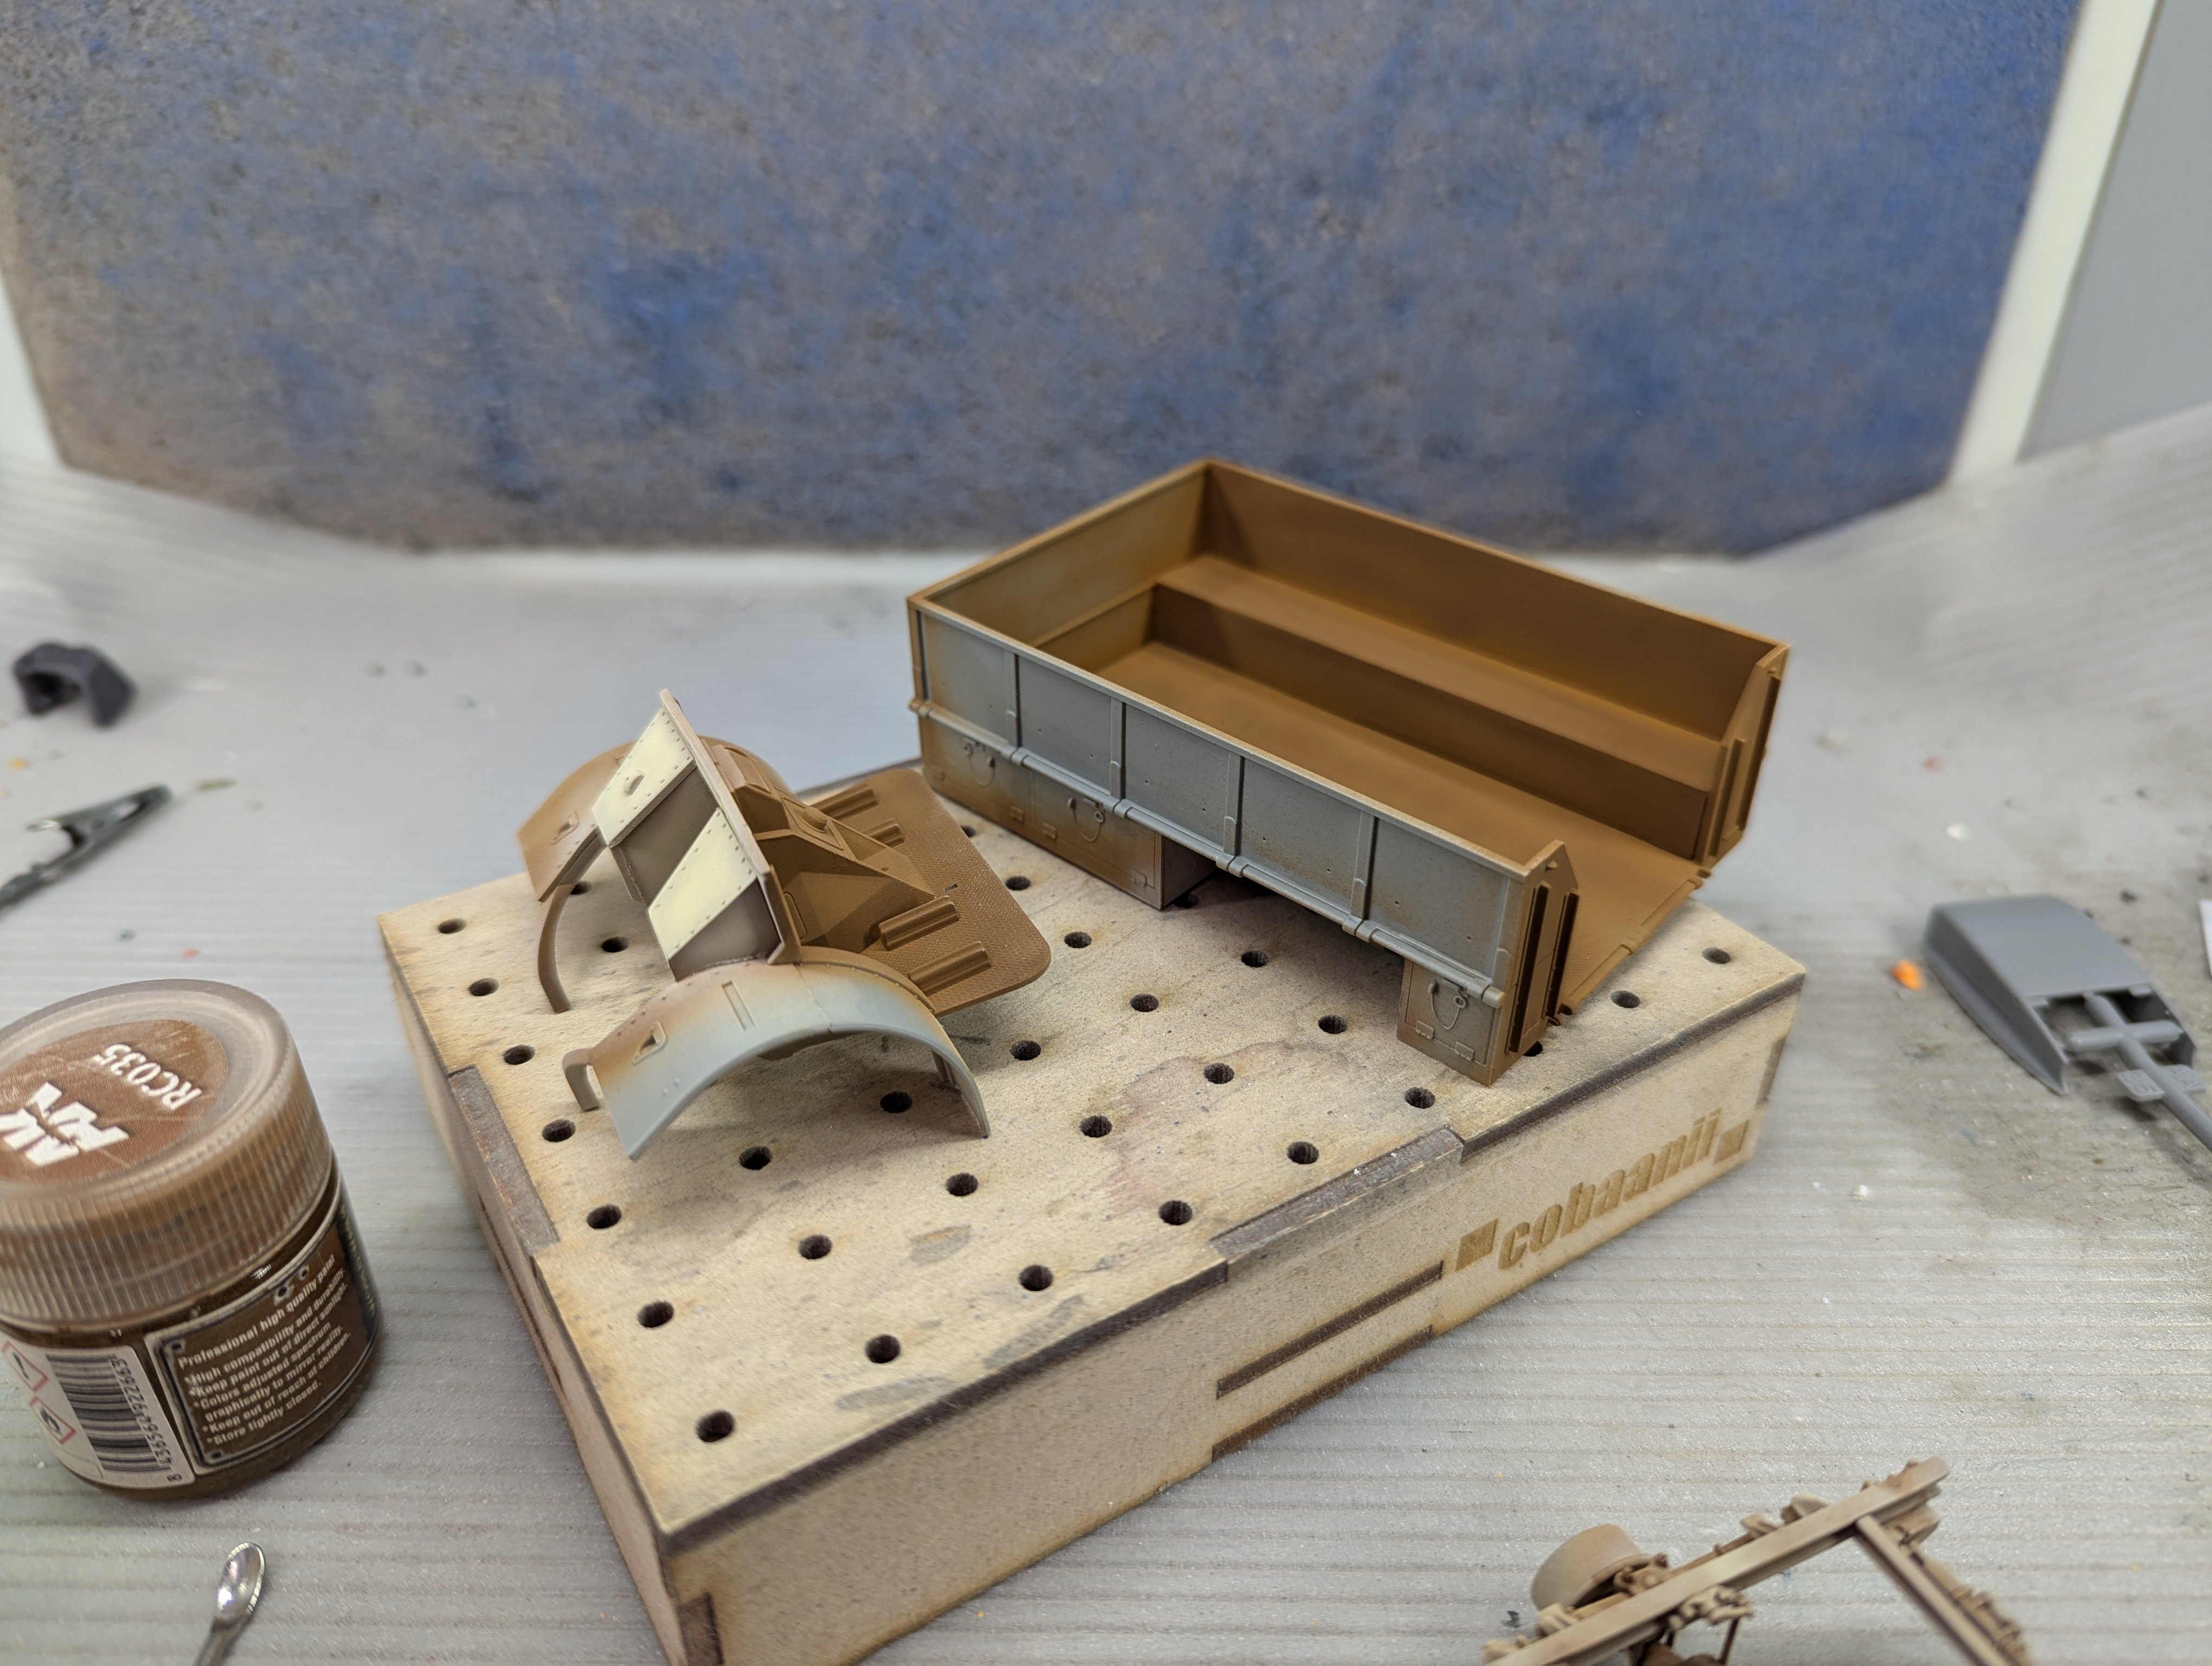
A bit more work on the Ford. I did a base coat of SCC 02 follows by Portland Stone. I did a quick wash with Mr Weathering Color. That really brings out the details. Lastly the cab and bed are assembled.


-
What is on your bench right now ? Share a picture :)
BlrwestSiR replied to Martinnfb's topic in Modelling Discussion
Phil, they make some very nice models. They can get fussy with the small parts at times but they're doing subjects no one else has. Check out LZ Models if you're interested in them. That's where I've been getting the kits from. Libor carries them and often has a package deal on new releases. You may need to sign up for his newsletter to get the offers. Carl -
Cobra Coupe - Le Mans - Model Factory Hiro 1/12
BlrwestSiR replied to DocRob's topic in LSM 1/35 and Larger Work In Progress
Rob, this looks like a restoration of a real Cobra. The quality of your work just makes everything seem so real. -
What is on your bench right now ? Share a picture :)
BlrwestSiR replied to Martinnfb's topic in Modelling Discussion
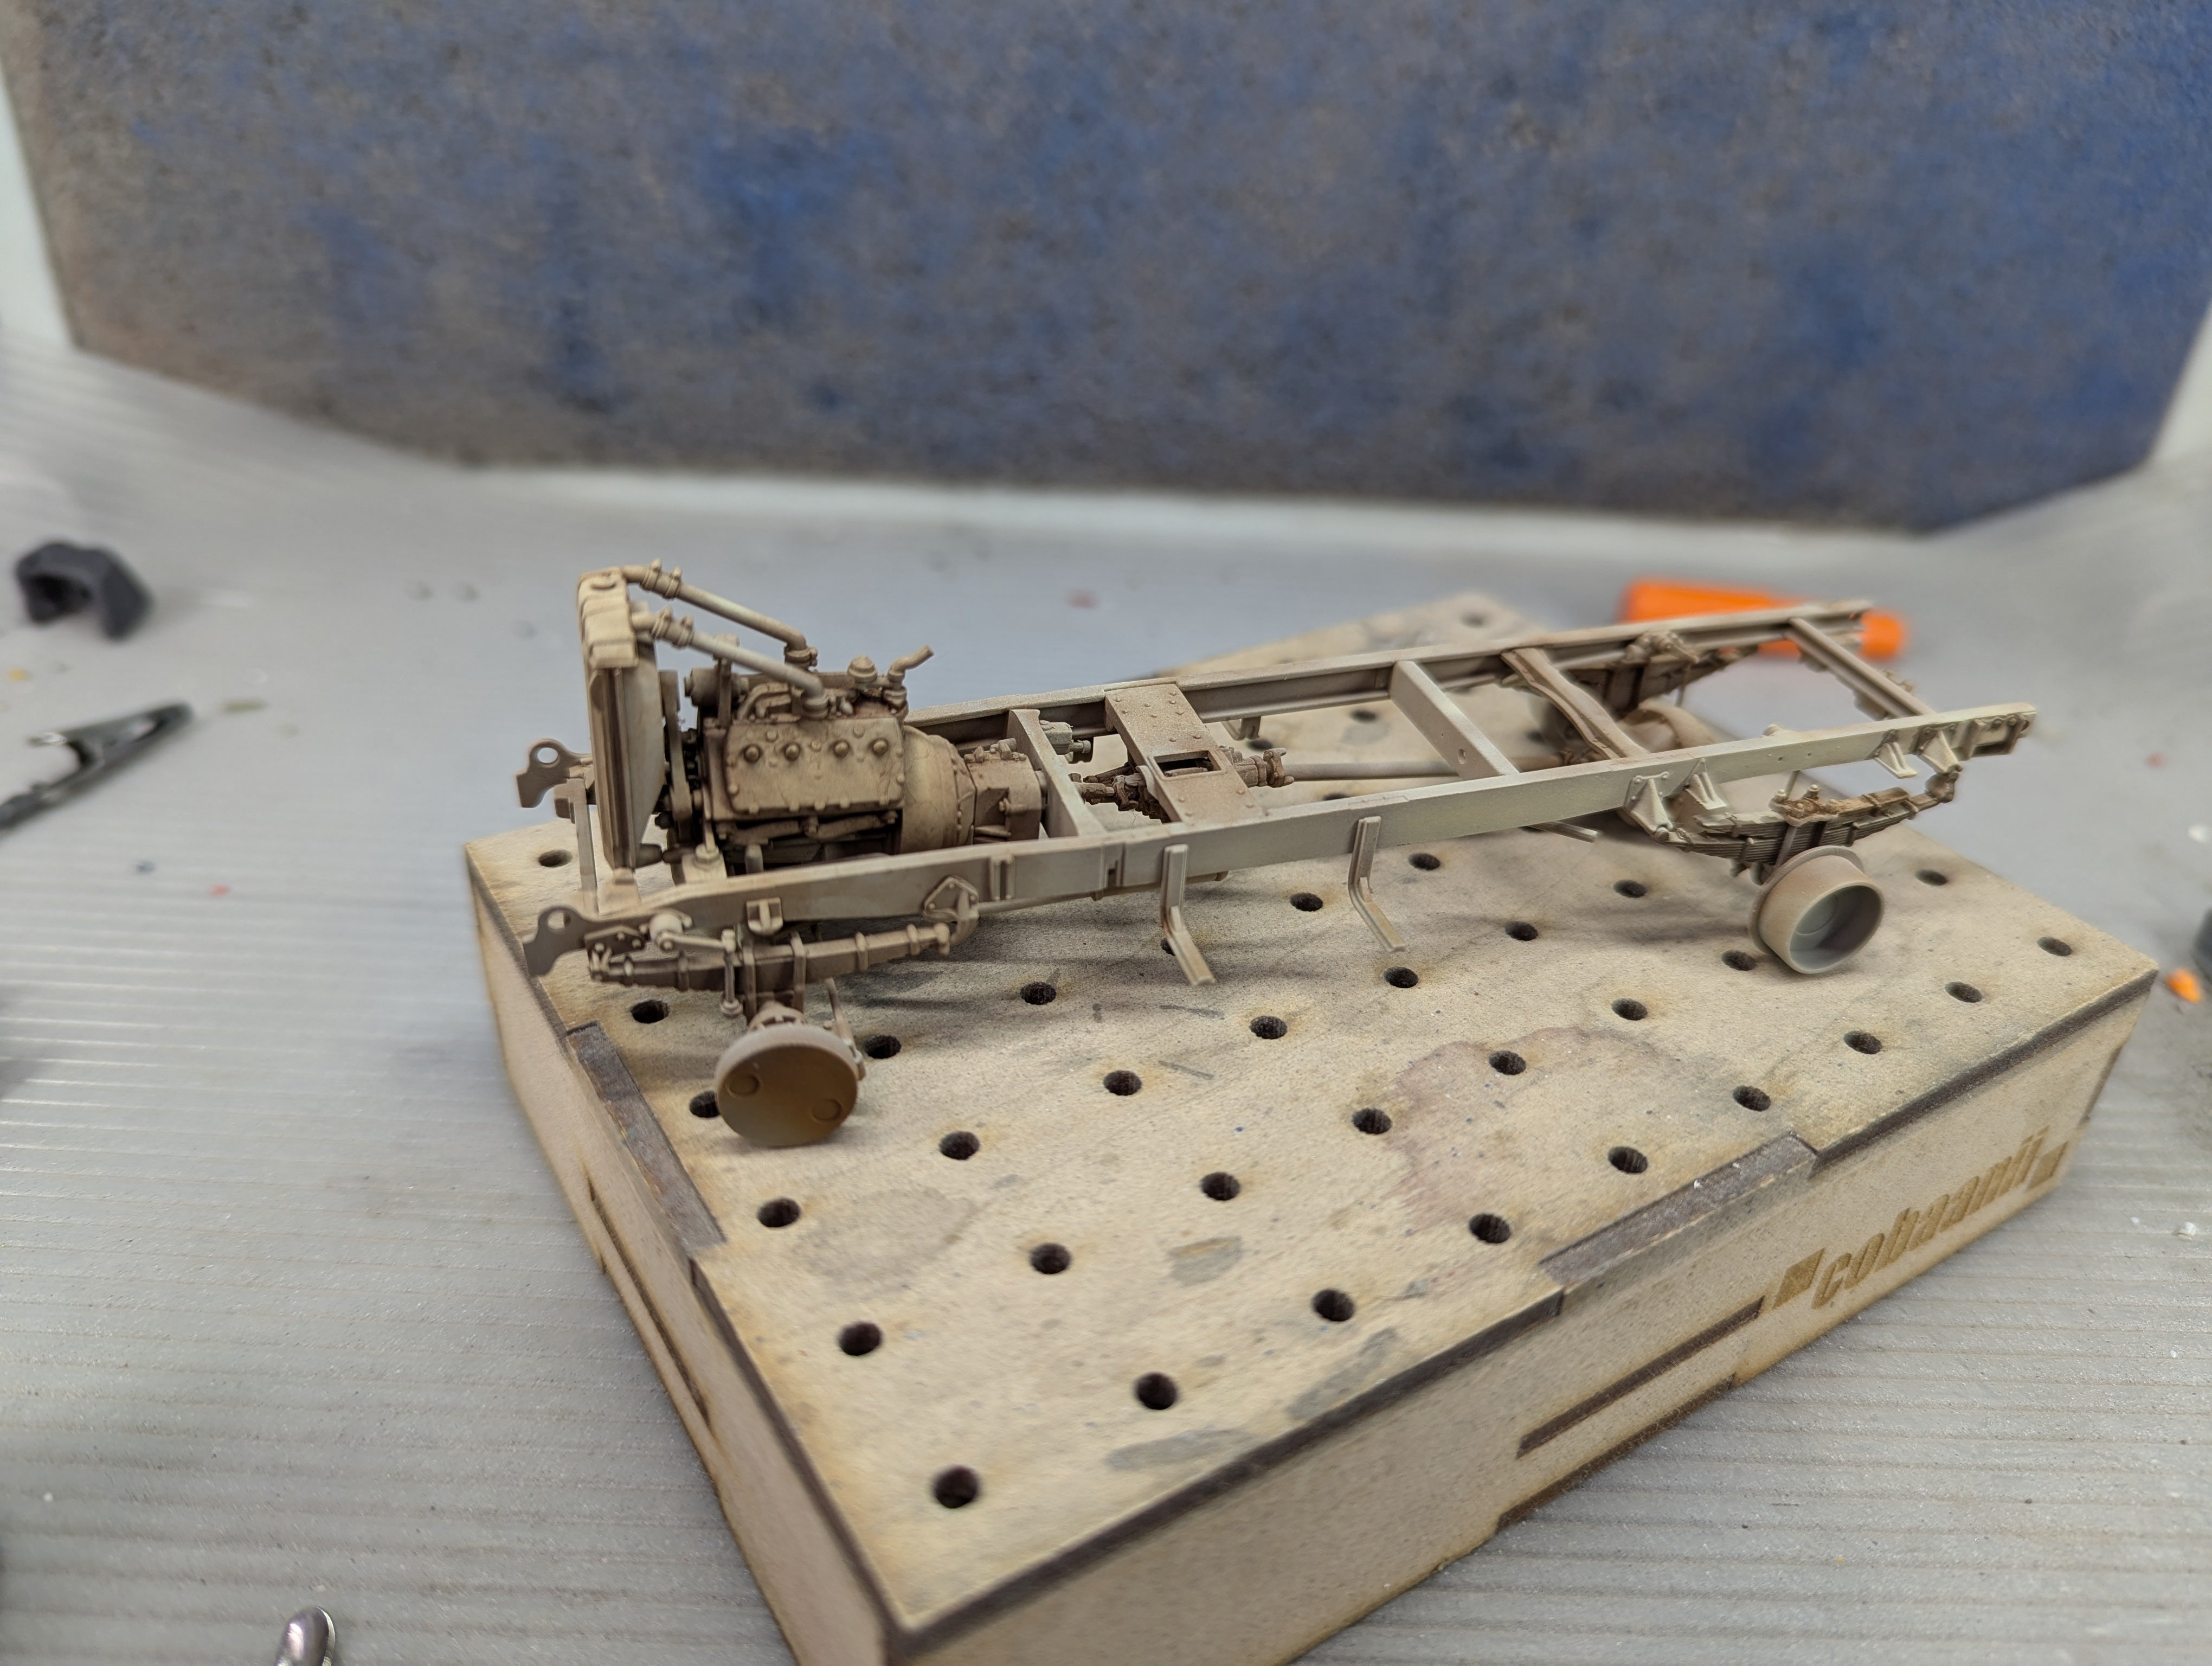
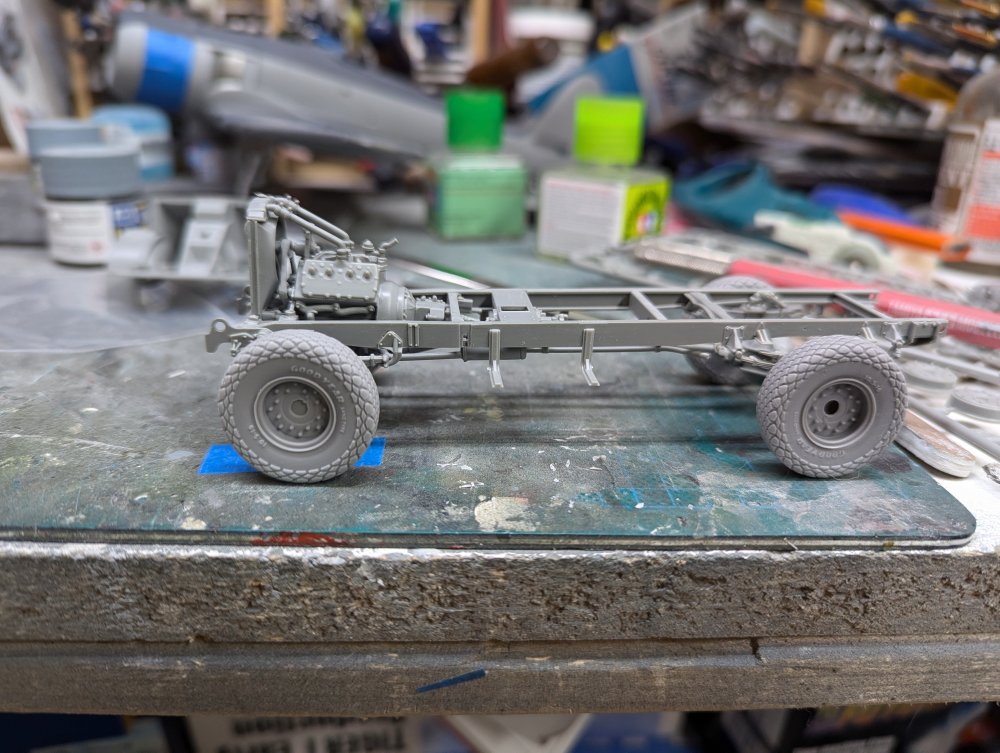
More work on the LRDG Ford. Chassis is now complete so it'll be time for paint. The kit comes with resin wheels so I did a quick test fit to see if it would sit on all fours. Looks good to me.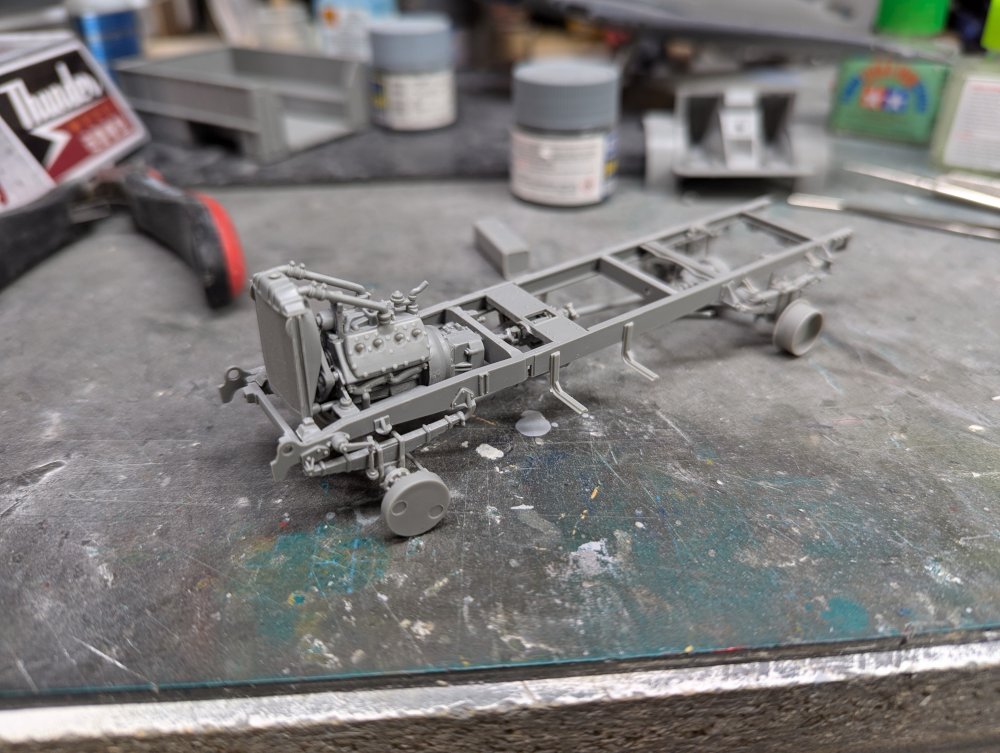

-
Sorry to hear that Scott. Hope things get better for you.
-
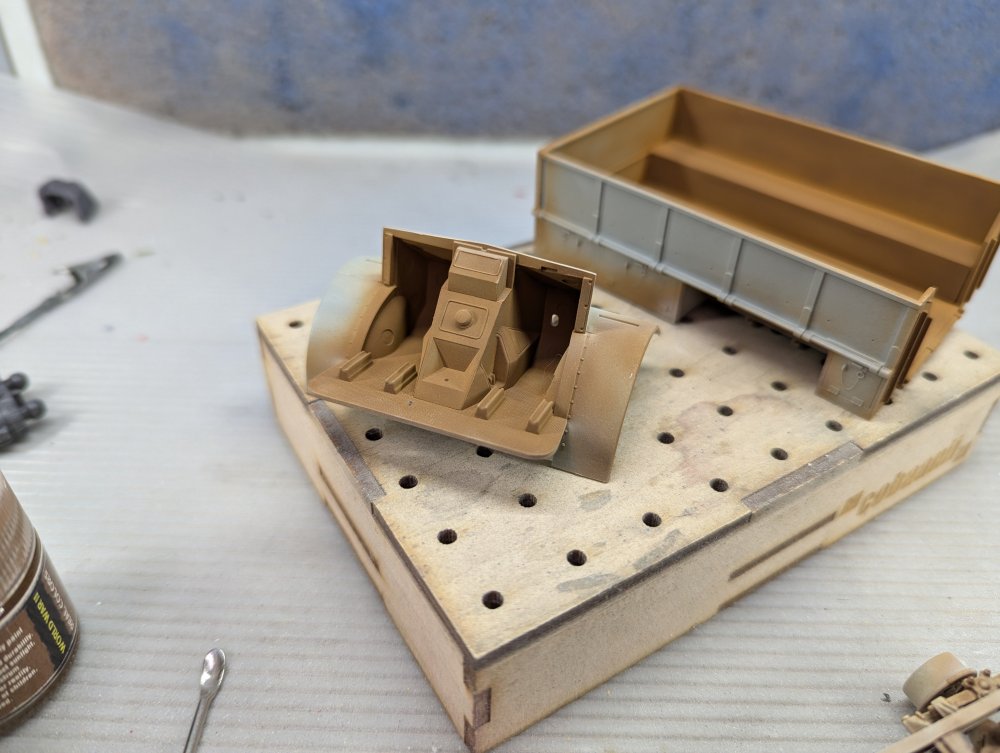
The full interior definitely explains the high parts count. When I start this kit, I'll definitely do a WIP for it.
-
Dragon Bf110E - Wolfgang Falck - Finished
BlrwestSiR replied to denders's topic in LSM 1/35 and Larger Work In Progress
Another one that I've got in the stash as well. I built the C-7 version and enjoyed it a fair bit once I figured out the destructions. Speaking of which, Brett Green did an corrections list for the instructions. You should be able to Google it and find a copy. It's handy to have. Glad you picked up the Quickboost exhausts. Much easier than trying to hollow out the kit ones. Somehow Dragon missed that when they designed the kit. -
What is on your bench right now ? Share a picture :)
BlrwestSiR replied to Martinnfb's topic in Modelling Discussion
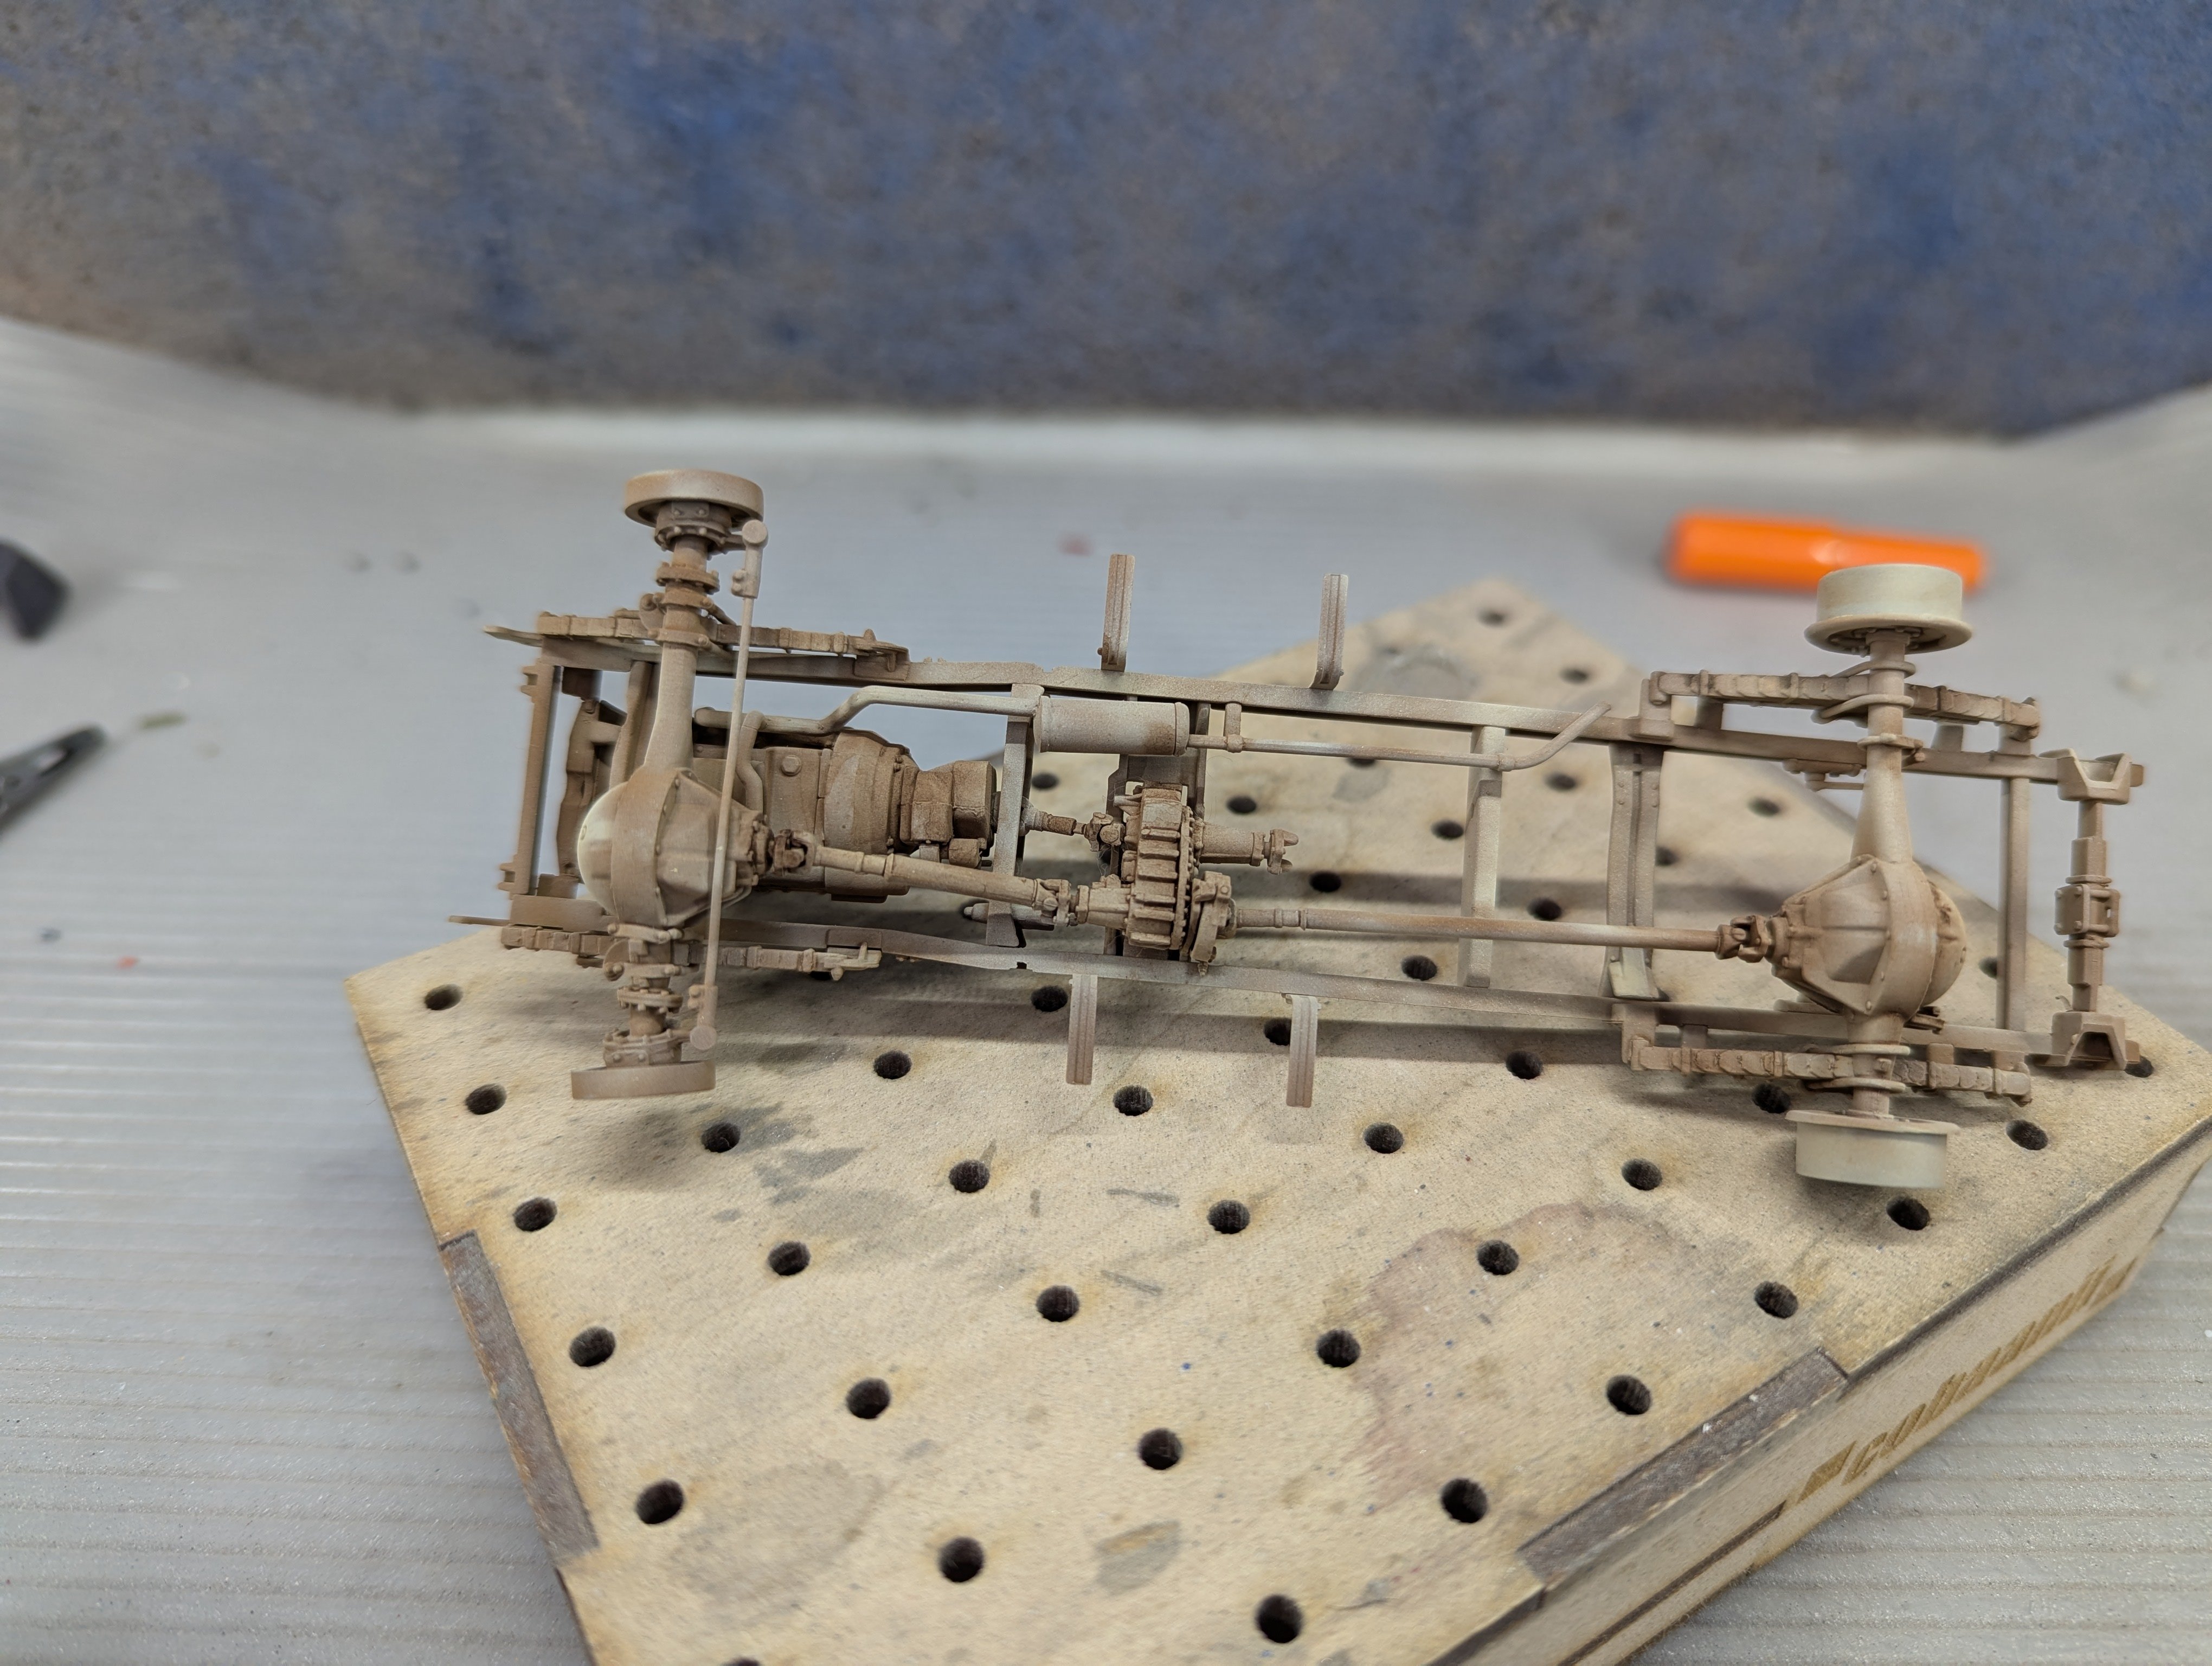
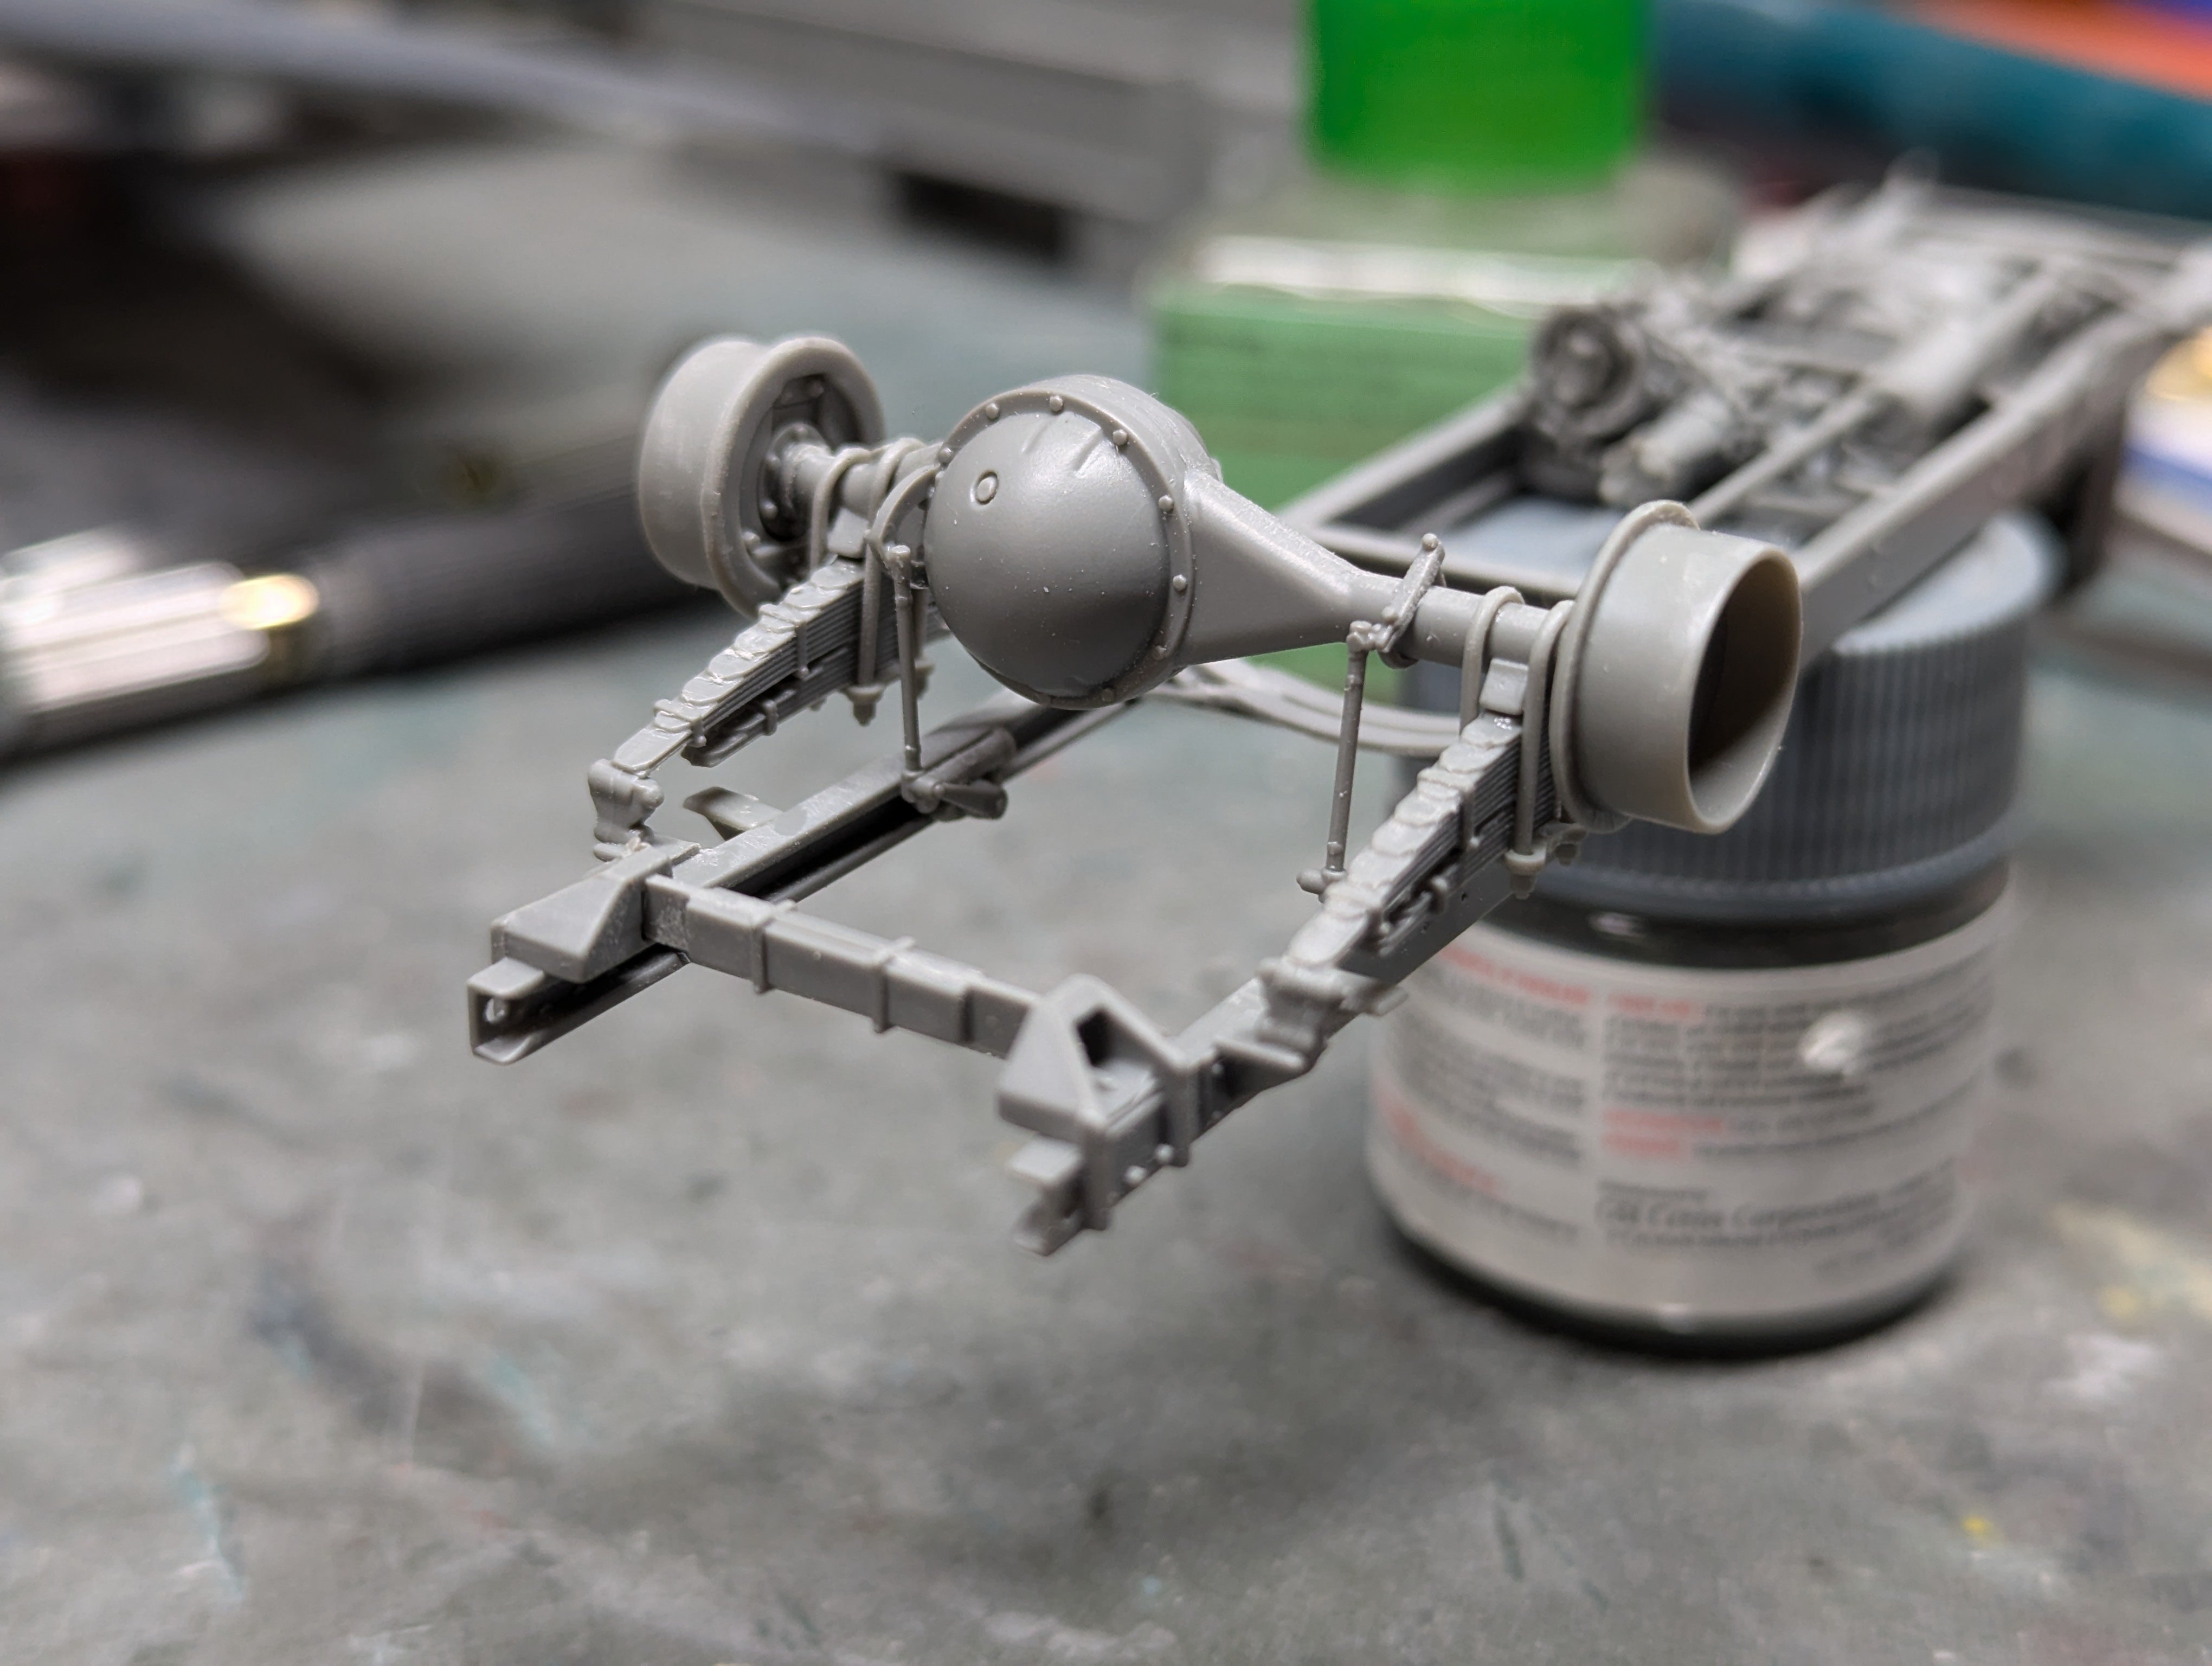
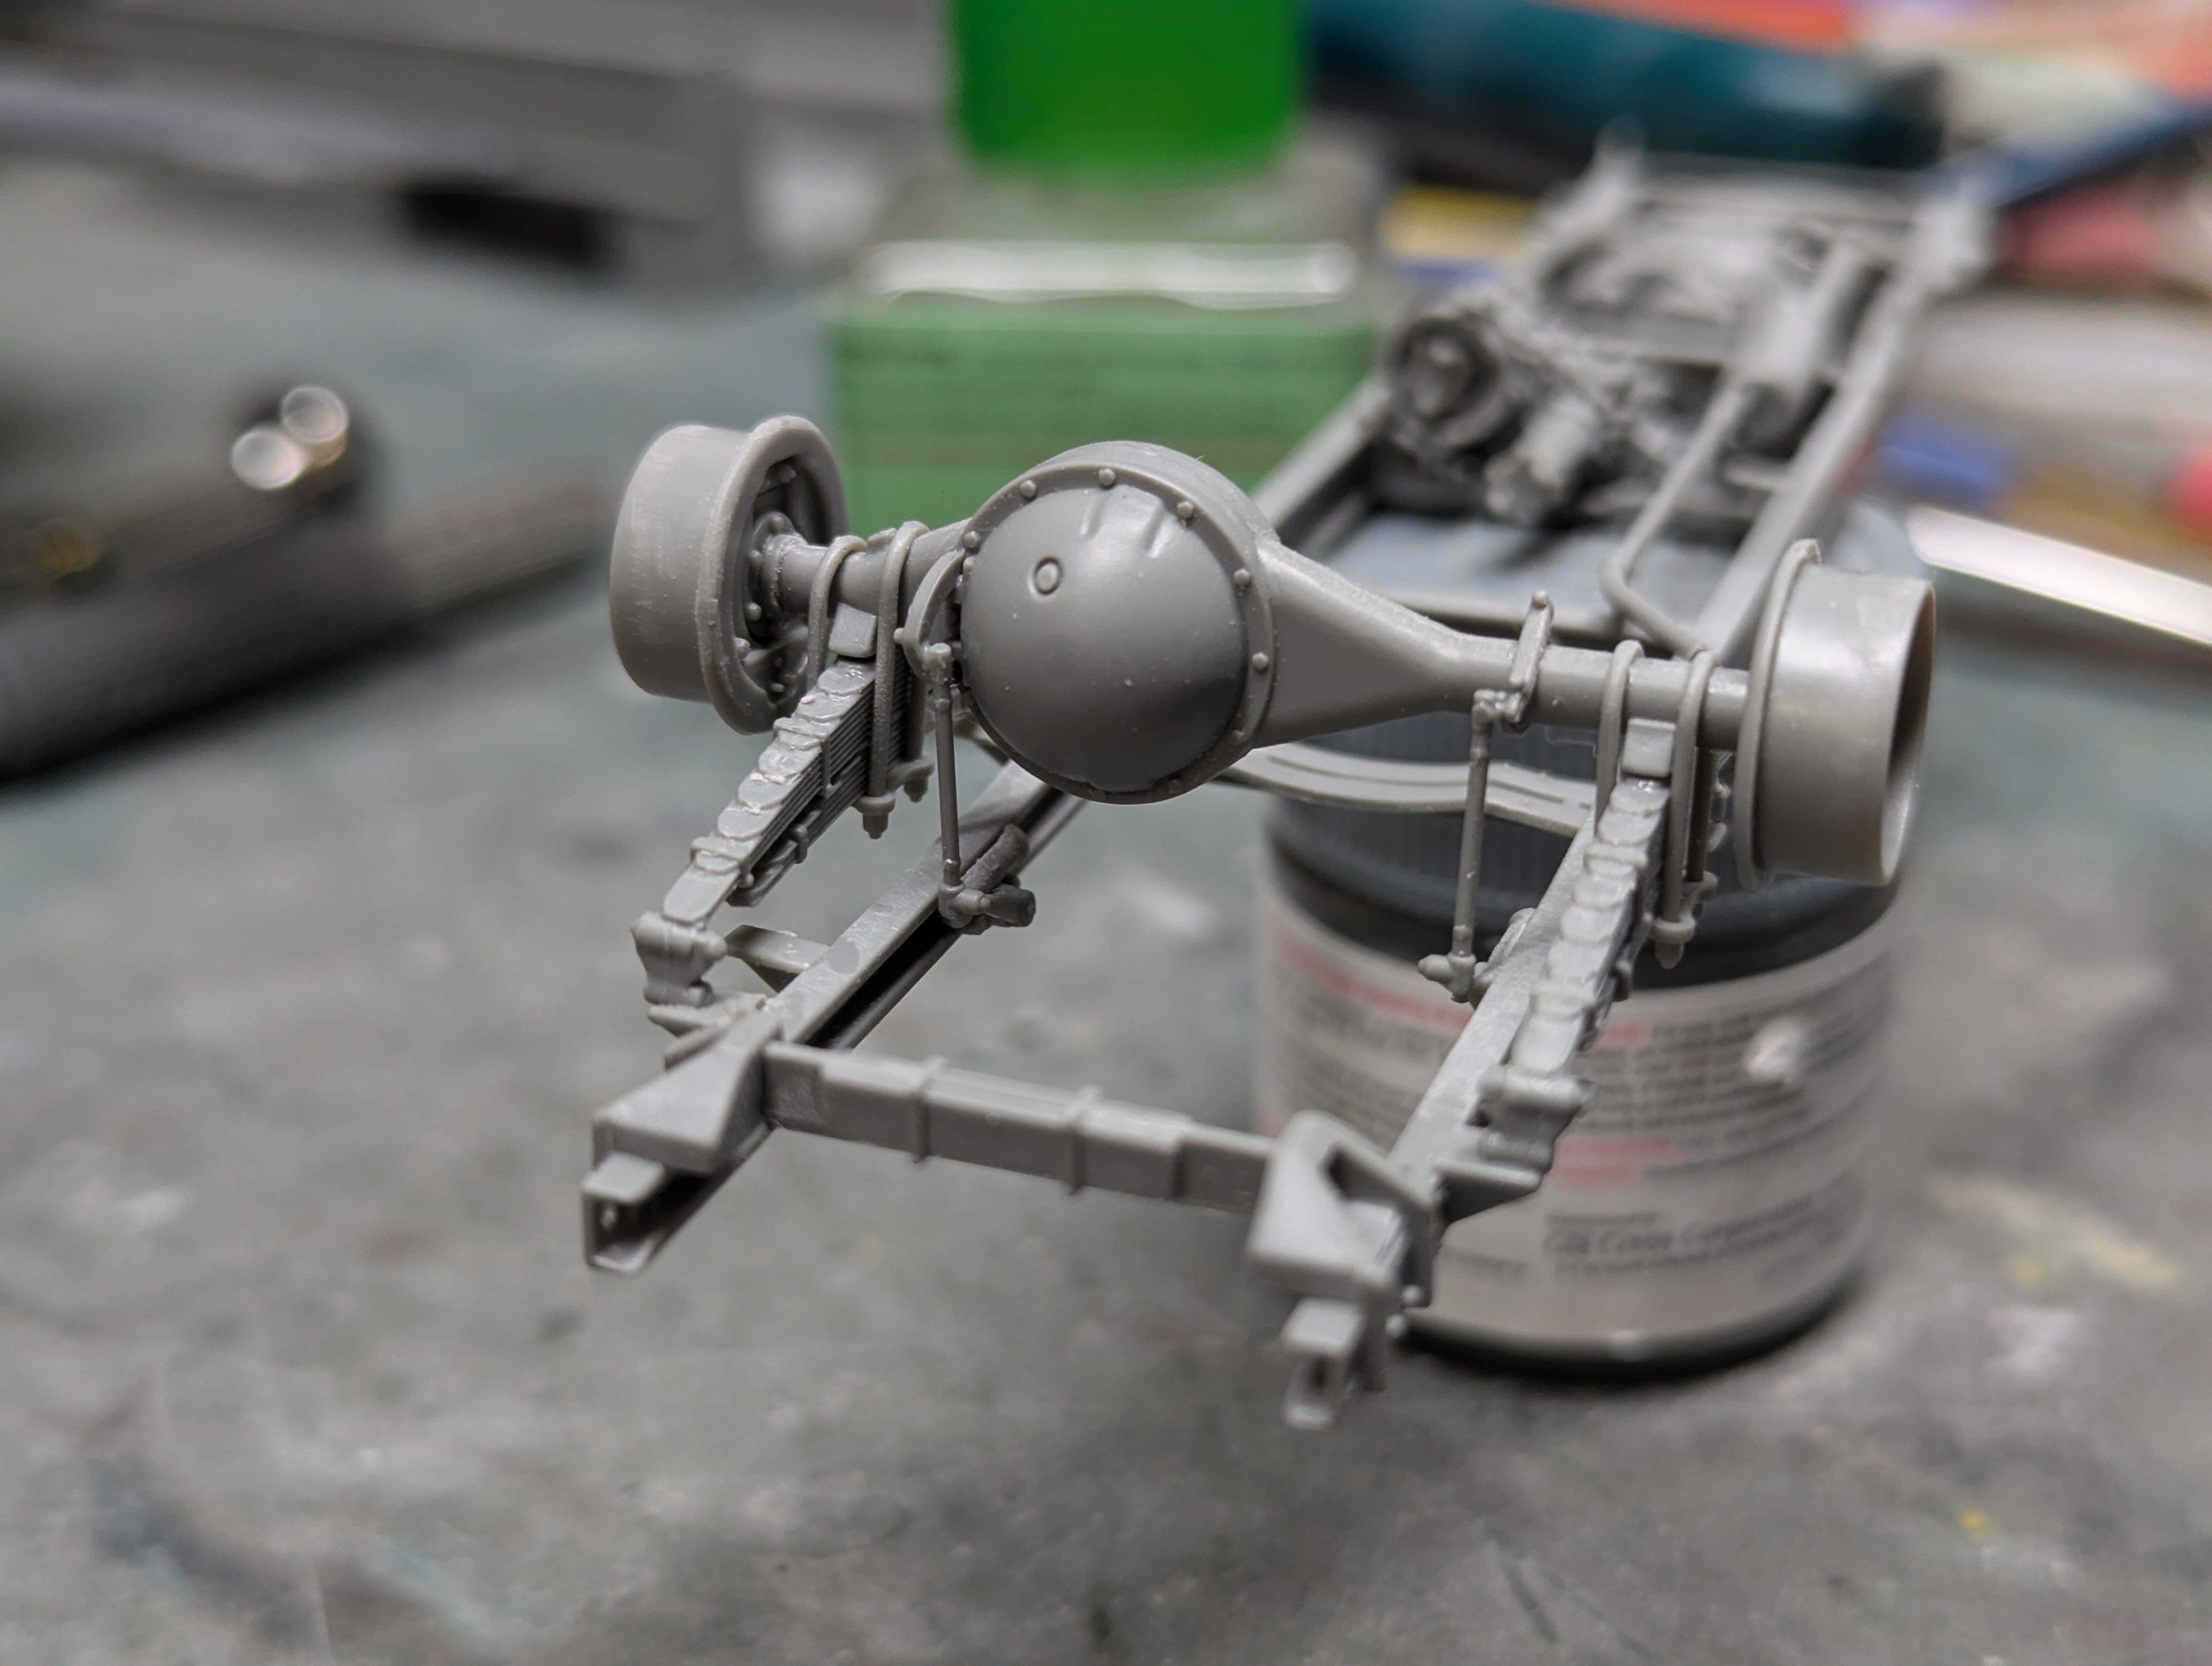
The LRDG Ford continues on its road to completion. The front axle is now done. If you drill out some mounts and use some thin wire for pivots, there's no reason you couldn't make this have working/posable steering.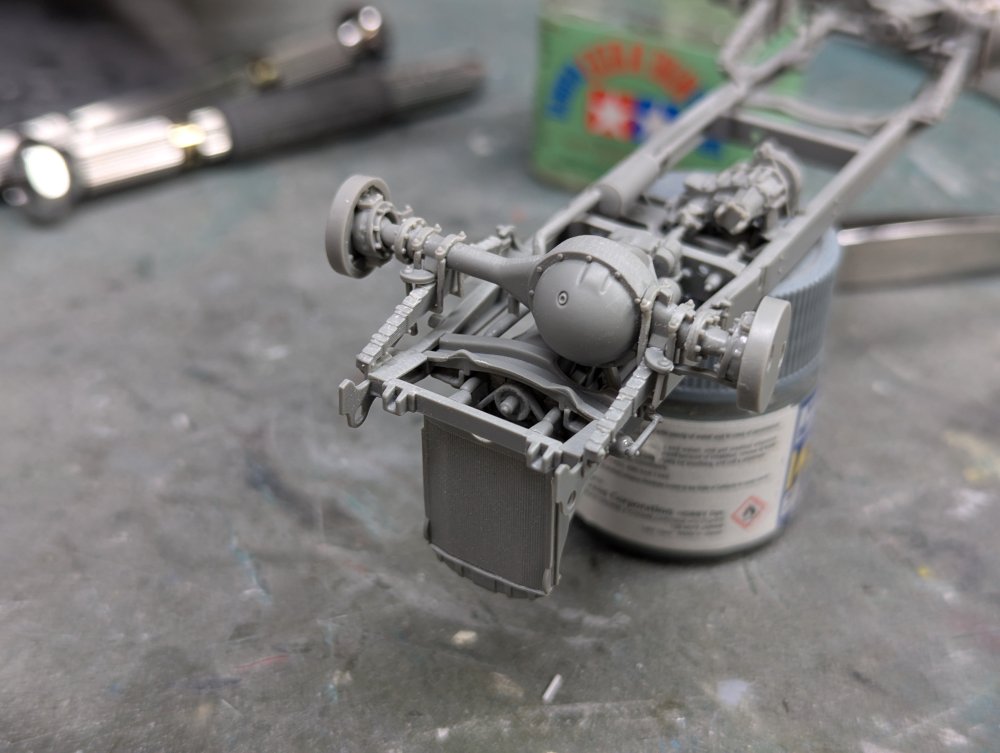
-
Nice progress there Dave. I'm looking forward to seeing how the Red Fox set works out for the cockpit. Carl
-
What is on your bench right now ? Share a picture :)
BlrwestSiR replied to Martinnfb's topic in Modelling Discussion
Can't guarantee a timeline for delivery. Our youngest is already trying to figure out what he wants to print. -
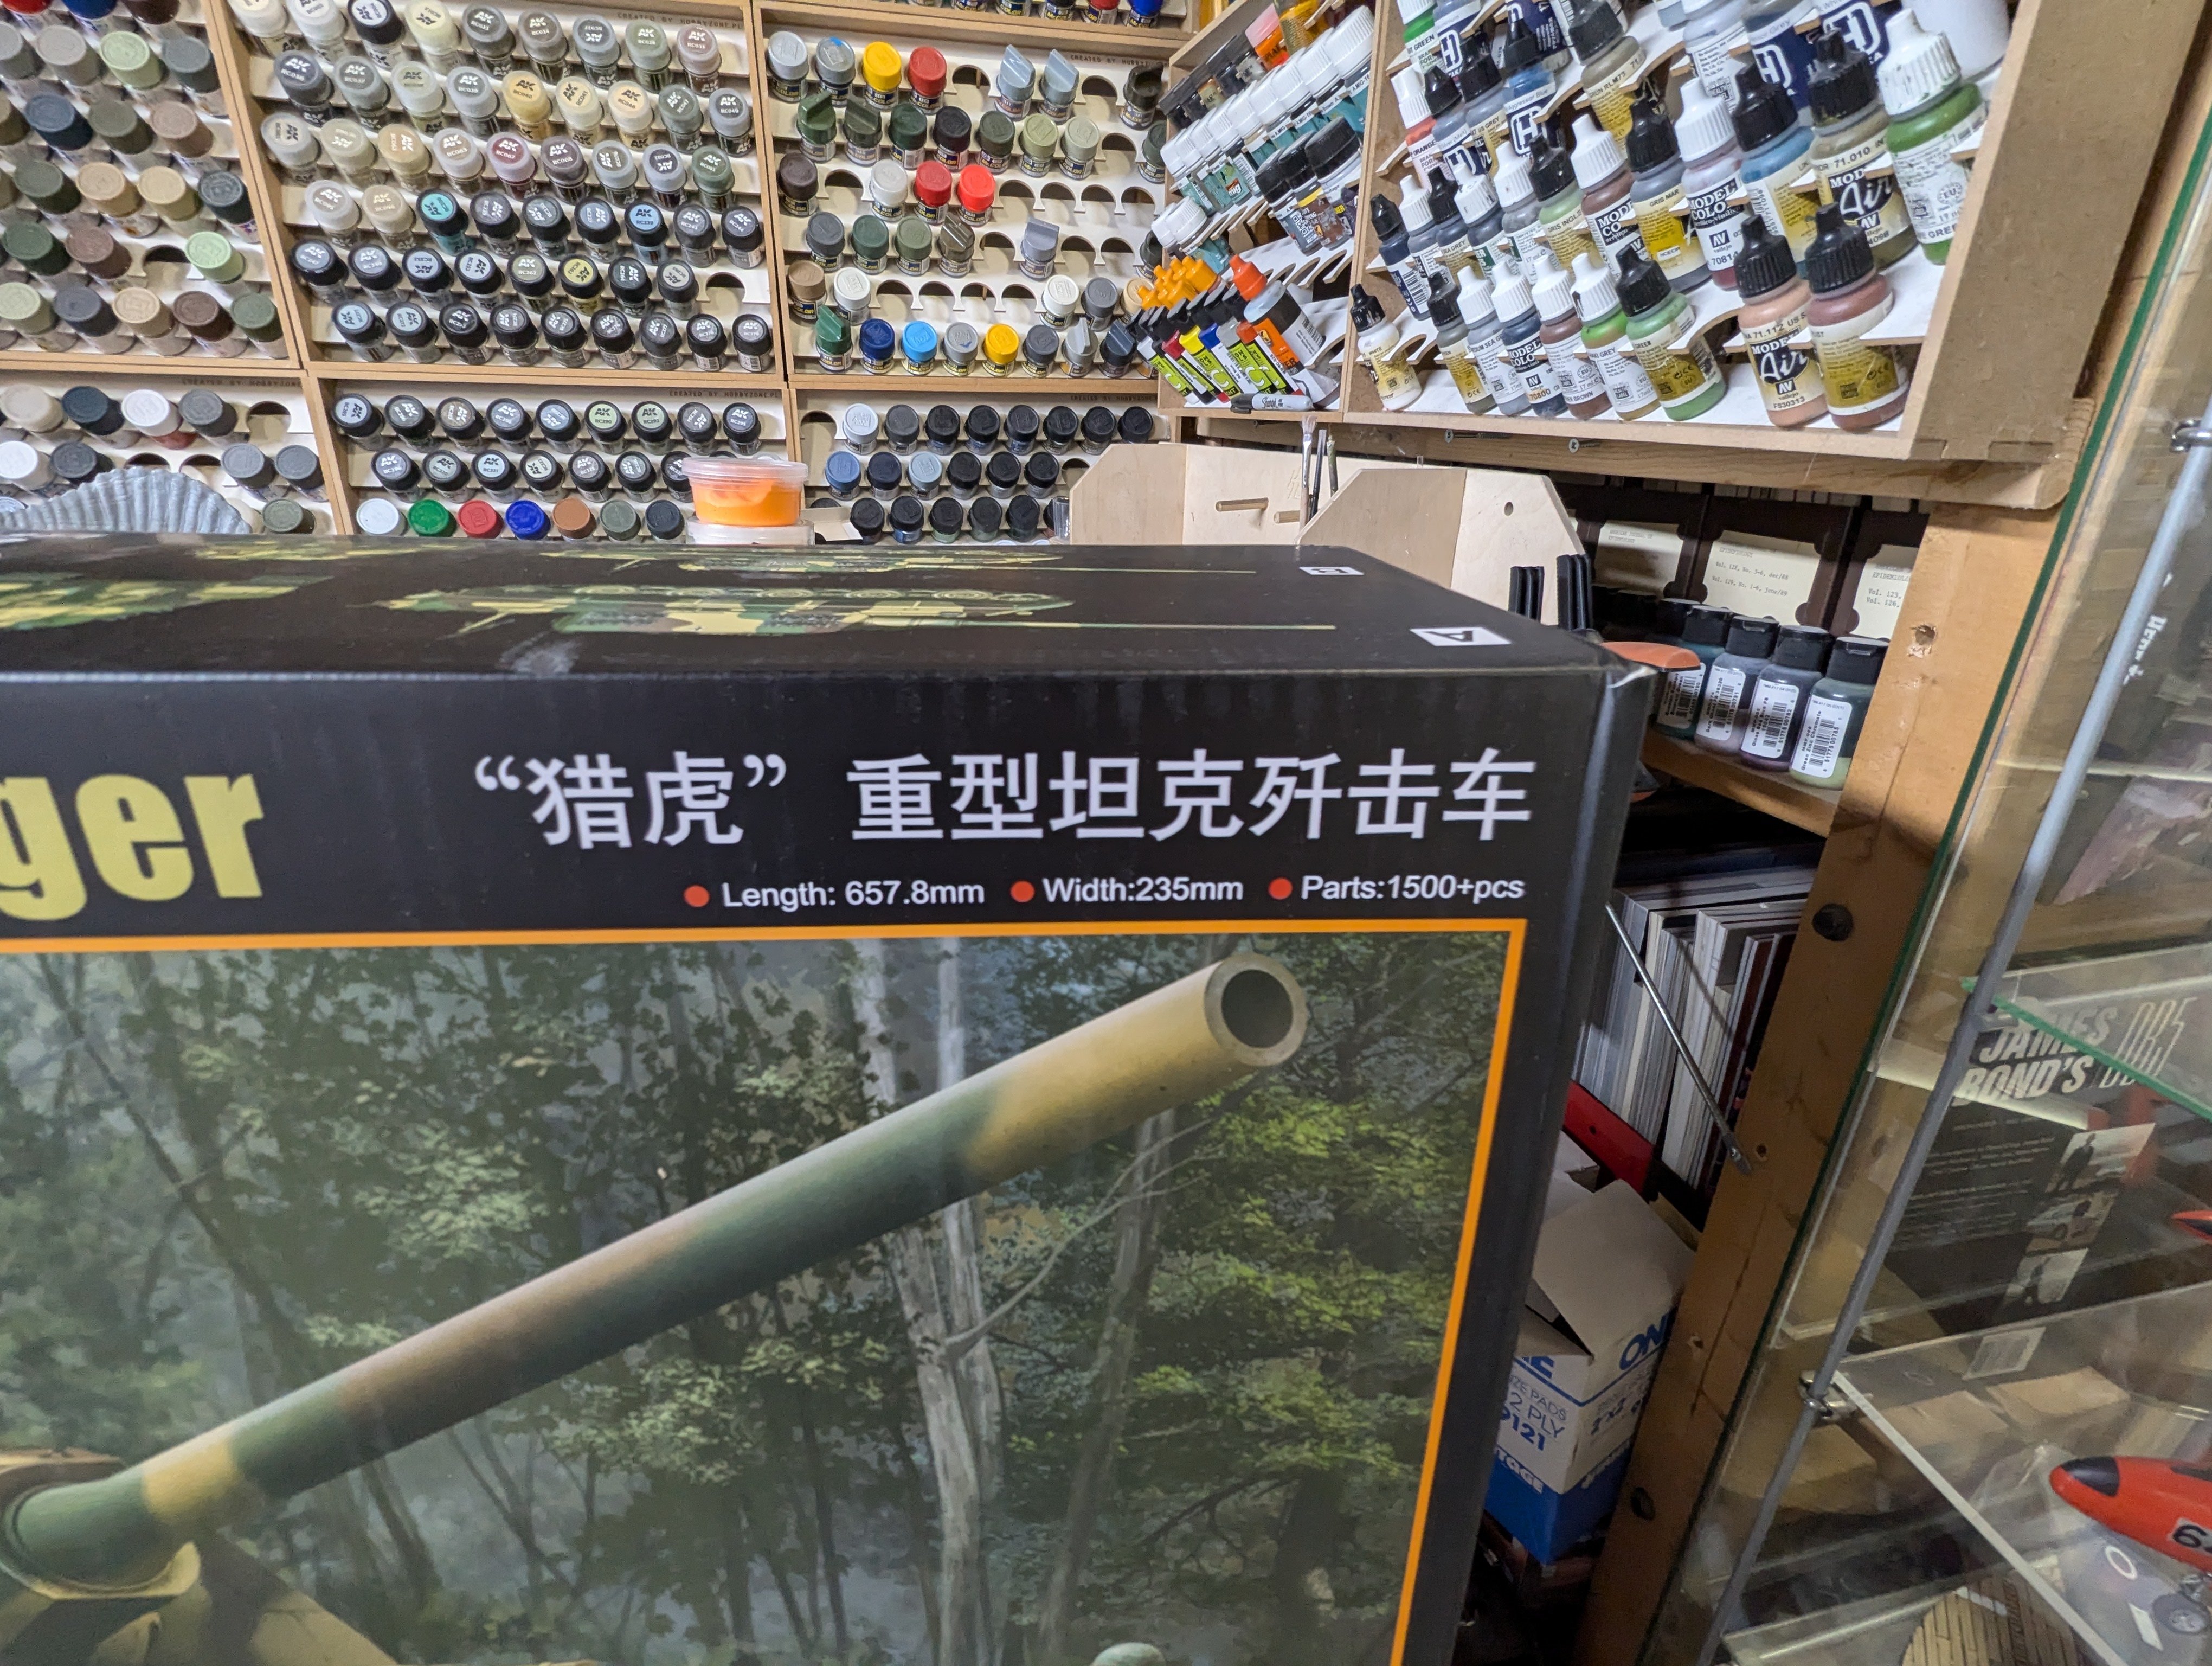
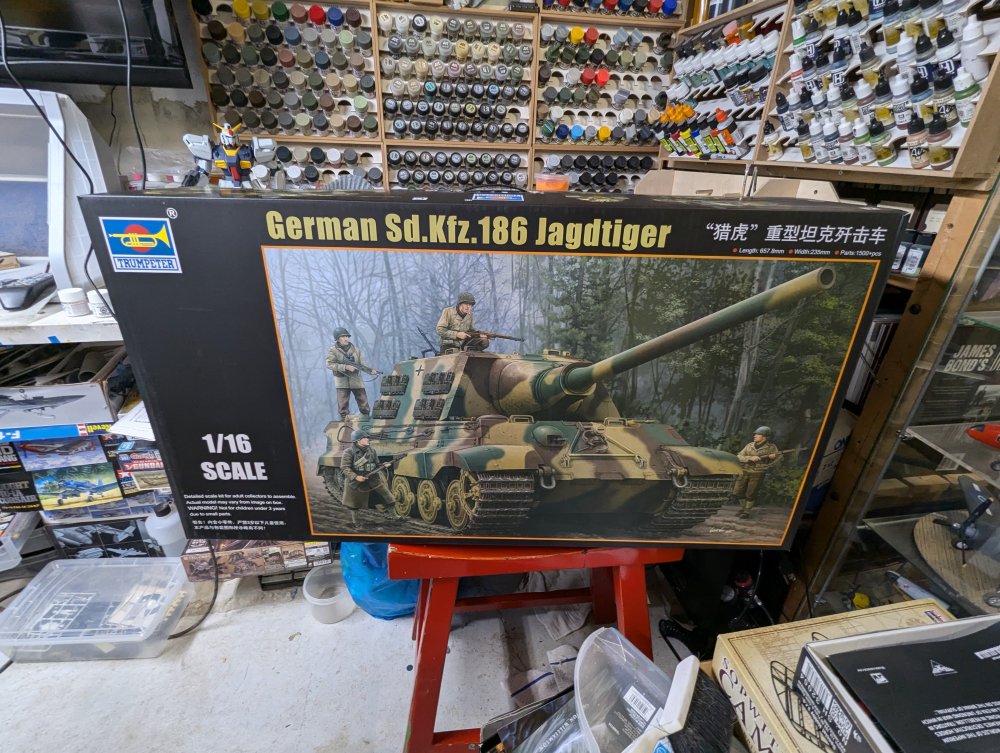
Well, this was wwwwaaaayyy bigger than I expected I've looked at this kit on and off since it came out. Having picked up the Andy's Tiger 1, I figured it's not much bigger. Then Great Hobbies had it on sale this past weekend for $300 CAD, about $220 USD so I finally went for it. Not sure what's scarier, that it's 1500 parts or the "+" sign after it. In any case, Sue now has a box big enough to get rid of my body...


-
What is on your bench right now ? Share a picture :)
BlrwestSiR replied to Martinnfb's topic in Modelling Discussion
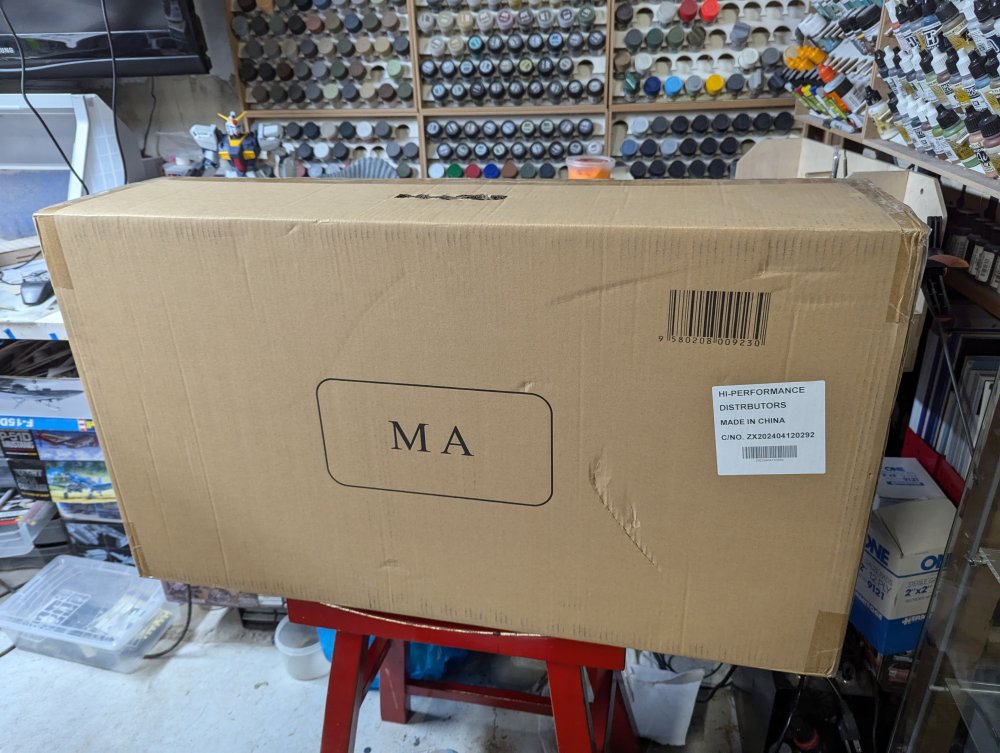
I bought a Bambu Labs A1 printer. It arrived Saturday so finally found some space to set it up. The boys are hugely excited about this. I'm looking forward to seeing what it can do. Just now, Canada Post arrived with a huge box. Much bigger than I expected.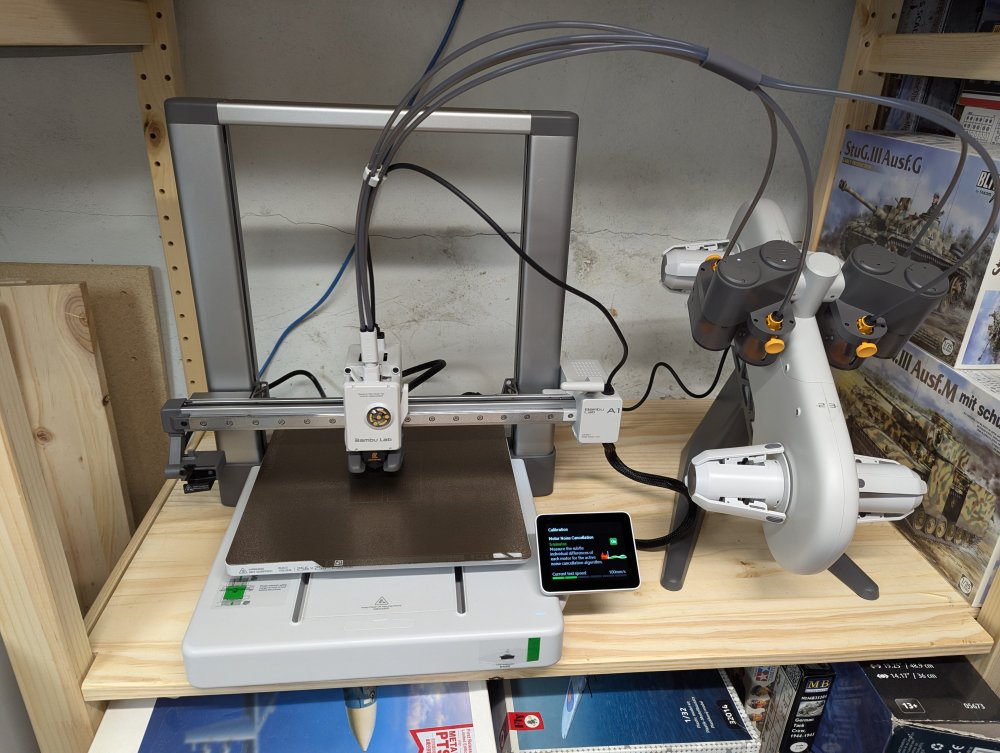
-
Wow, absolutely stunning.
-
Astra Militarum Baneblade warhammer tank
BlrwestSiR replied to FullArmor's topic in LSM 1/35 and Larger Work In Progress
Same here. I'd be very happy if I painted a figure that well. -
Completely missed this so just caught up with your progress. The weathering and paint looks spectacular there Mark. An unusual subject and you're making it look easy.
- 25 replies
-
- 4
-

-

-
- 1/24
- ballaton models
- (and 1 more)
-
What is on your bench right now ? Share a picture :)
BlrwestSiR replied to Martinnfb's topic in Modelling Discussion
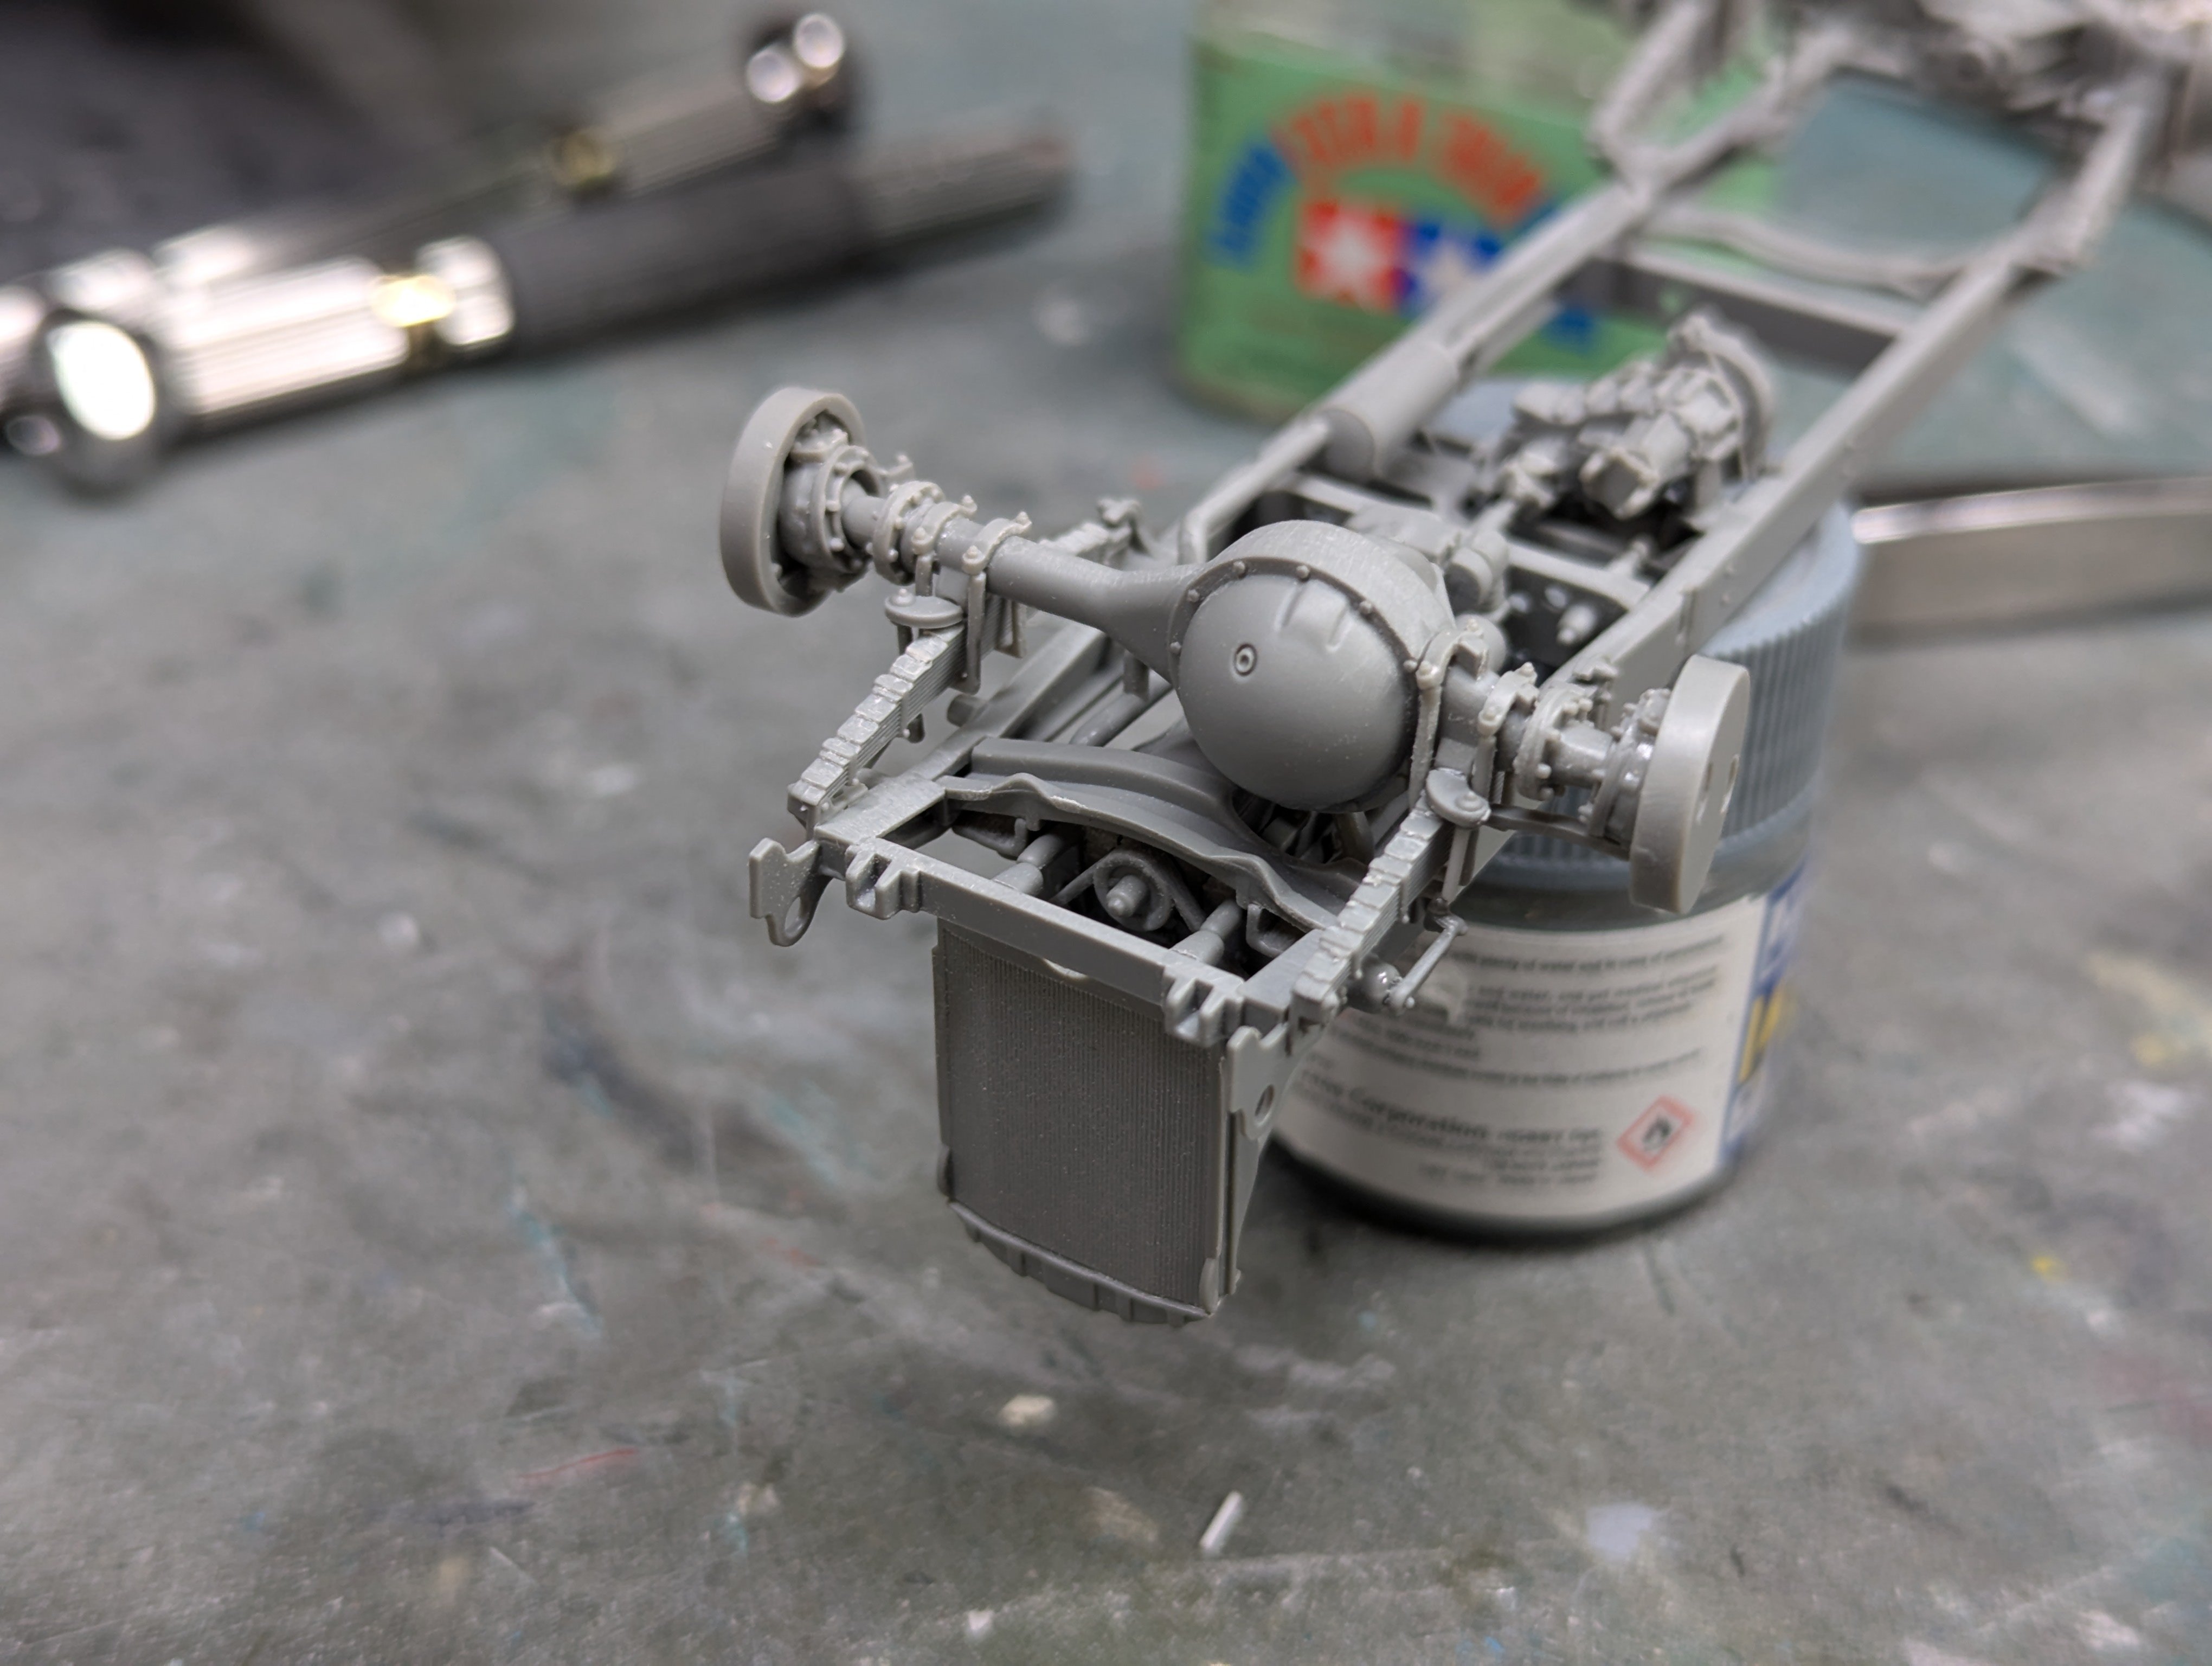
So after being away for the week, I finally spent some time at the bench last night. I did a bit of work on the LRDG Ford. If you don't like lots of small parts, this kit won't be to your liking. So far though, the fit has been great. I finished up the rear axle with the second leaf spring, shackles and torque rods(I think that's what they are).

-
What is on your bench right now ? Share a picture :)
BlrwestSiR replied to Martinnfb's topic in Modelling Discussion
That digger kit is definitely different. A nice way to shake things up. -
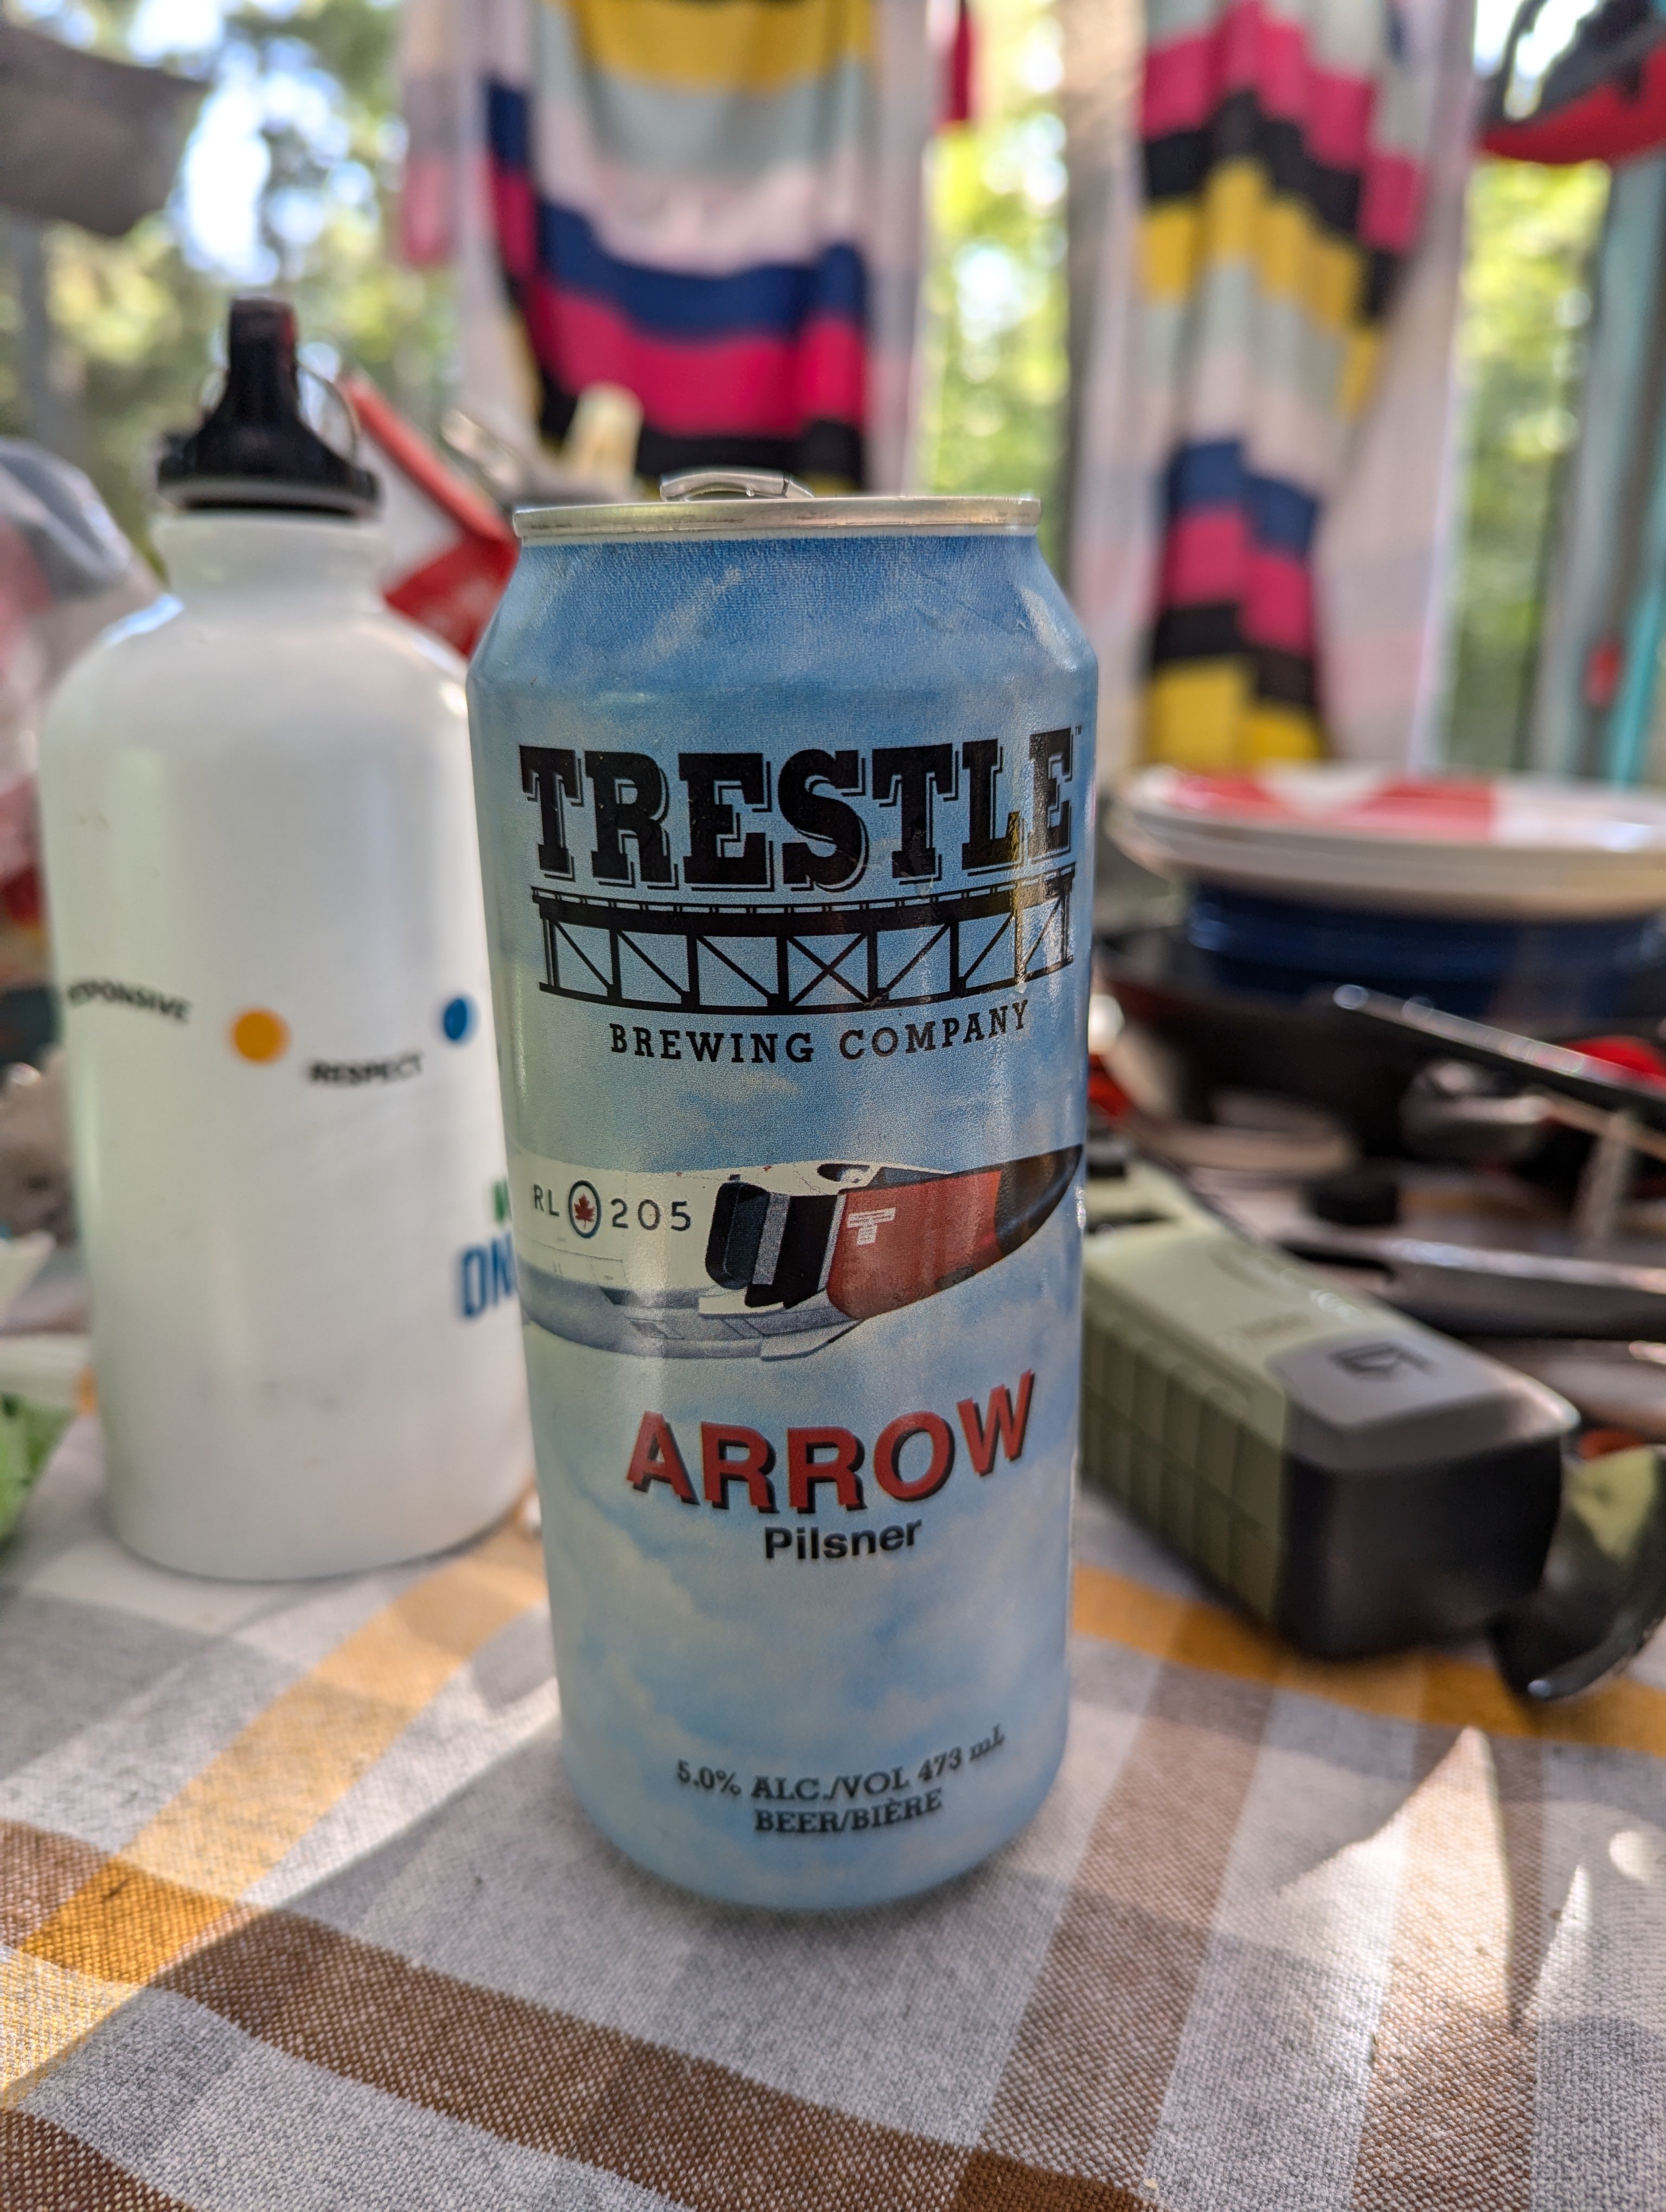
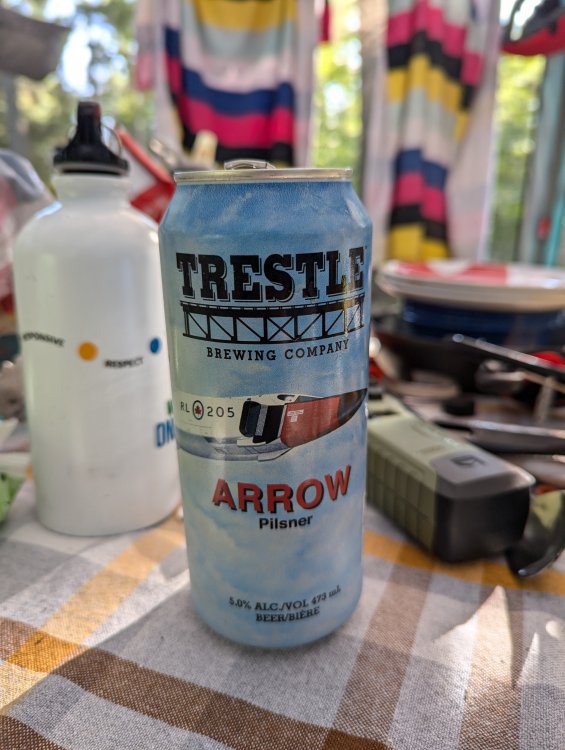
Just got back home from a week in Northern Ontario camping. In the UK, they have a Spitfire beer and I believe a Lancaster one too. So it's only appropriate that we have one for the Arrow. It come from a local brewery located in Parry Sound. The city has historical ties to the development of the Arrow during the '50s.
-

-
Great to hear you found it John, especially a clear part and not after having run over it with a chair.
-
Could also be missions completed. As for kill markings, one of my favourite is this one: It's on a Harvard at Vintage Wings of Canada. Story goes someone was flying an RC CF-105 that ended up crashing into the Harvard. The Harvard came out on top, so it got the "kill". There a Victor (I think) at the RAF museum with a shed kill marking on it. The wingtip apparently smacked into a shed, completely wrecking it.
-
Tally-ho?