
Fran
-
Posts
2,286 -
Joined
-
Last visited
Content Type
Profiles
Forums
Events
Gallery
Everything posted by Fran
-

Lancaster Diorama Accessories
Fran replied to Kaireckstadt's topic in LSM 1/32 and Larger Aircraft Ready for Inspection
Love it!! Those extras make the whole model much more appealling! Great work! -
Thanks so much Carl!!! They look amazing, with keen surface detail... And you got love the little Millenium Falcon.
-
Yes, Its a full article build of it... It took me four long years, in and out the bench..
-
Sorry guys but I very excited!! I made the cover of the MiM Aircraft Edition!! I know was not with a Large Scale Model or a Large Model but nonethless I`m really proud about it!! Fran

- 10 replies
-
- 13
-

-

-
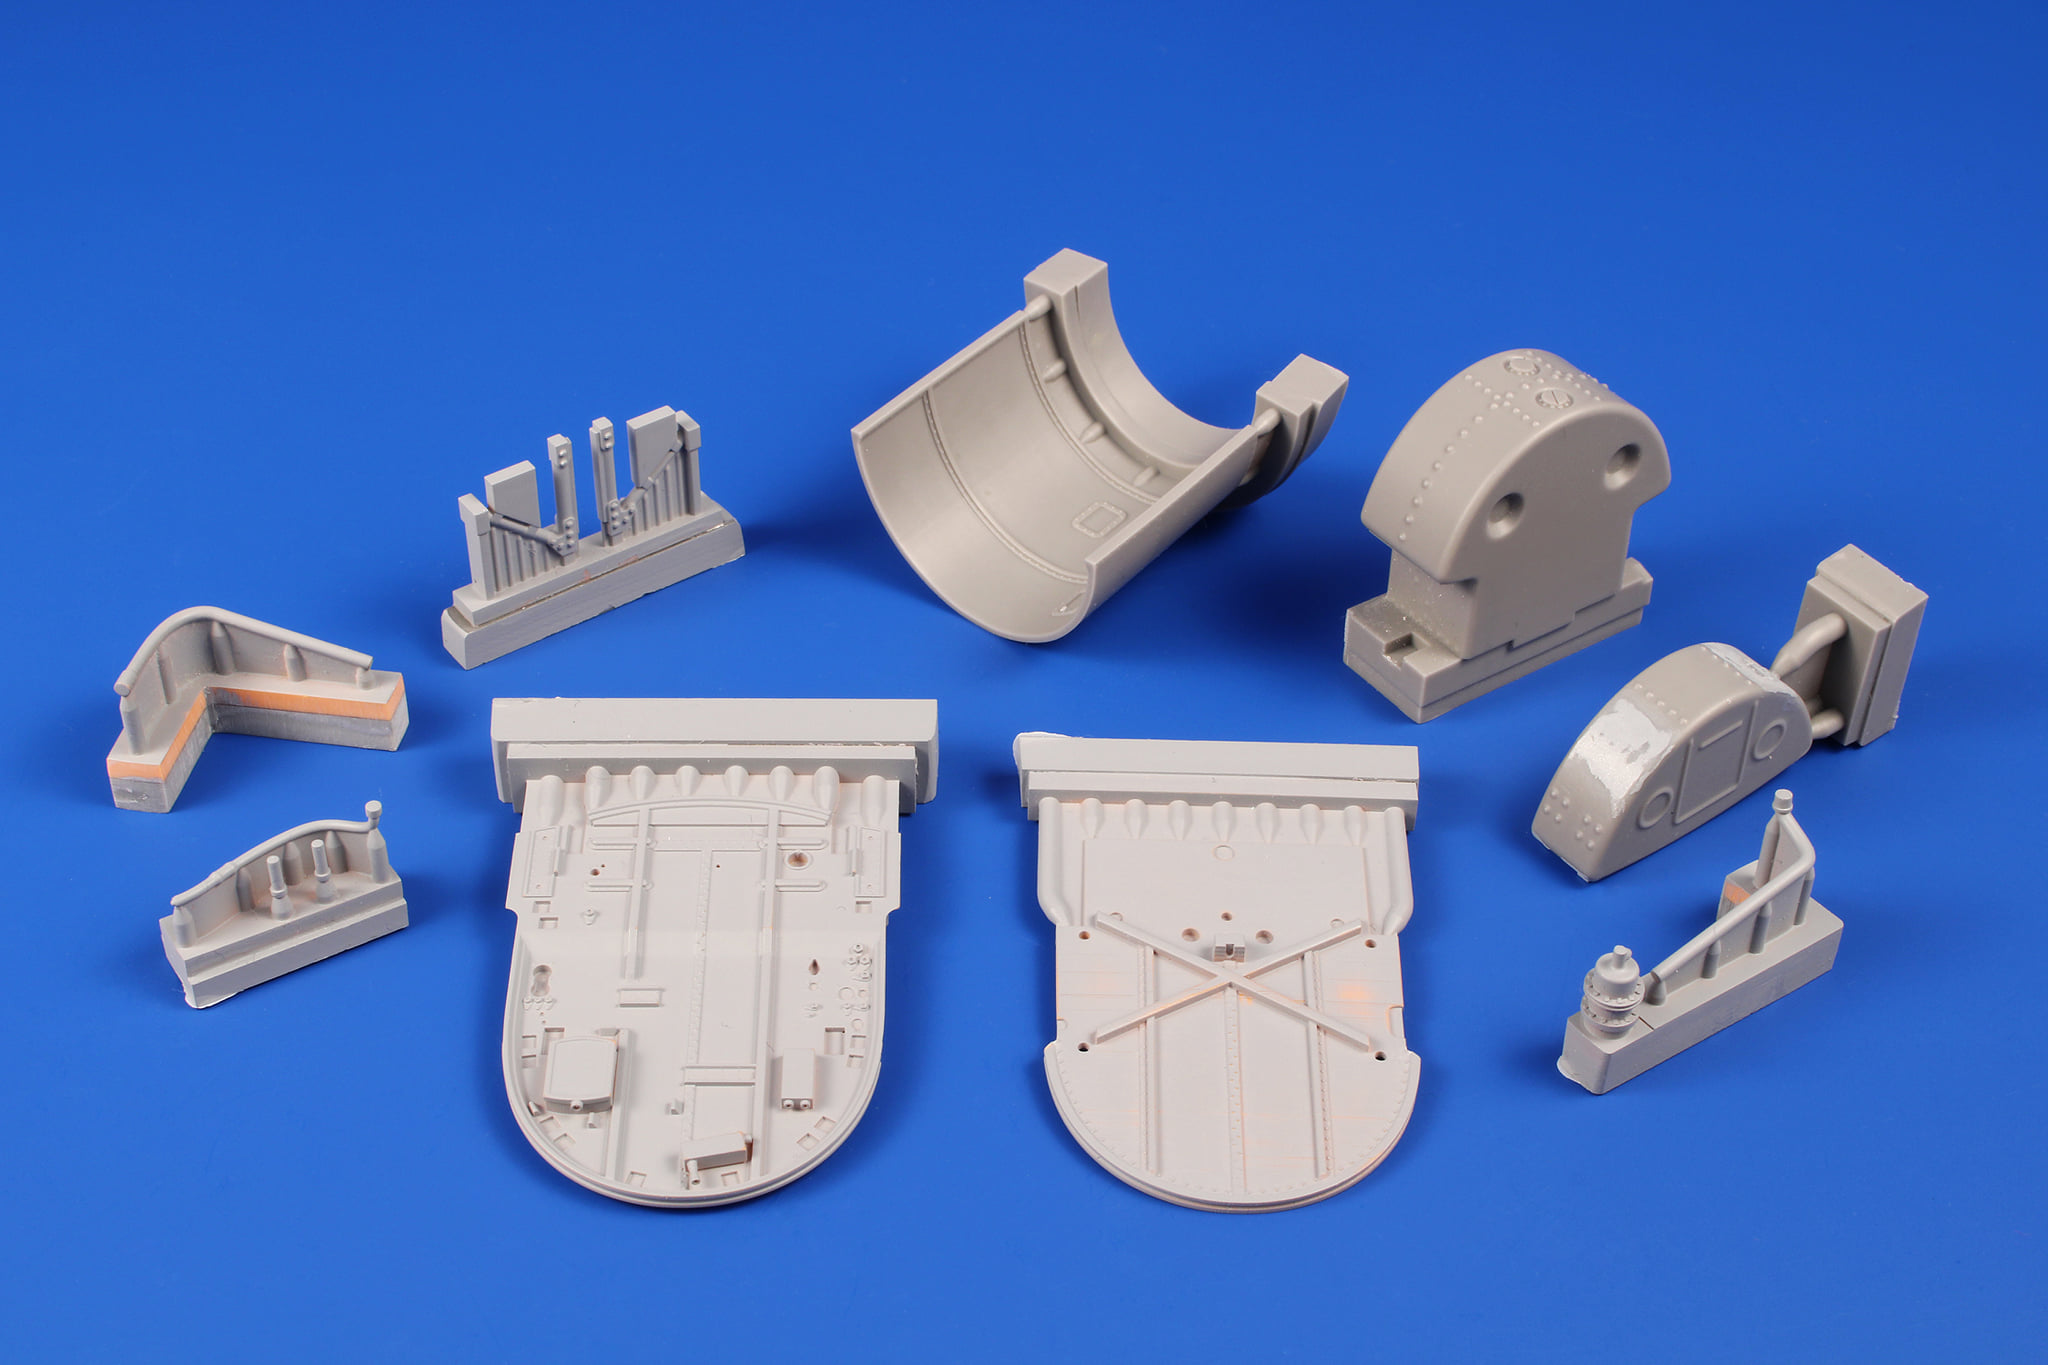
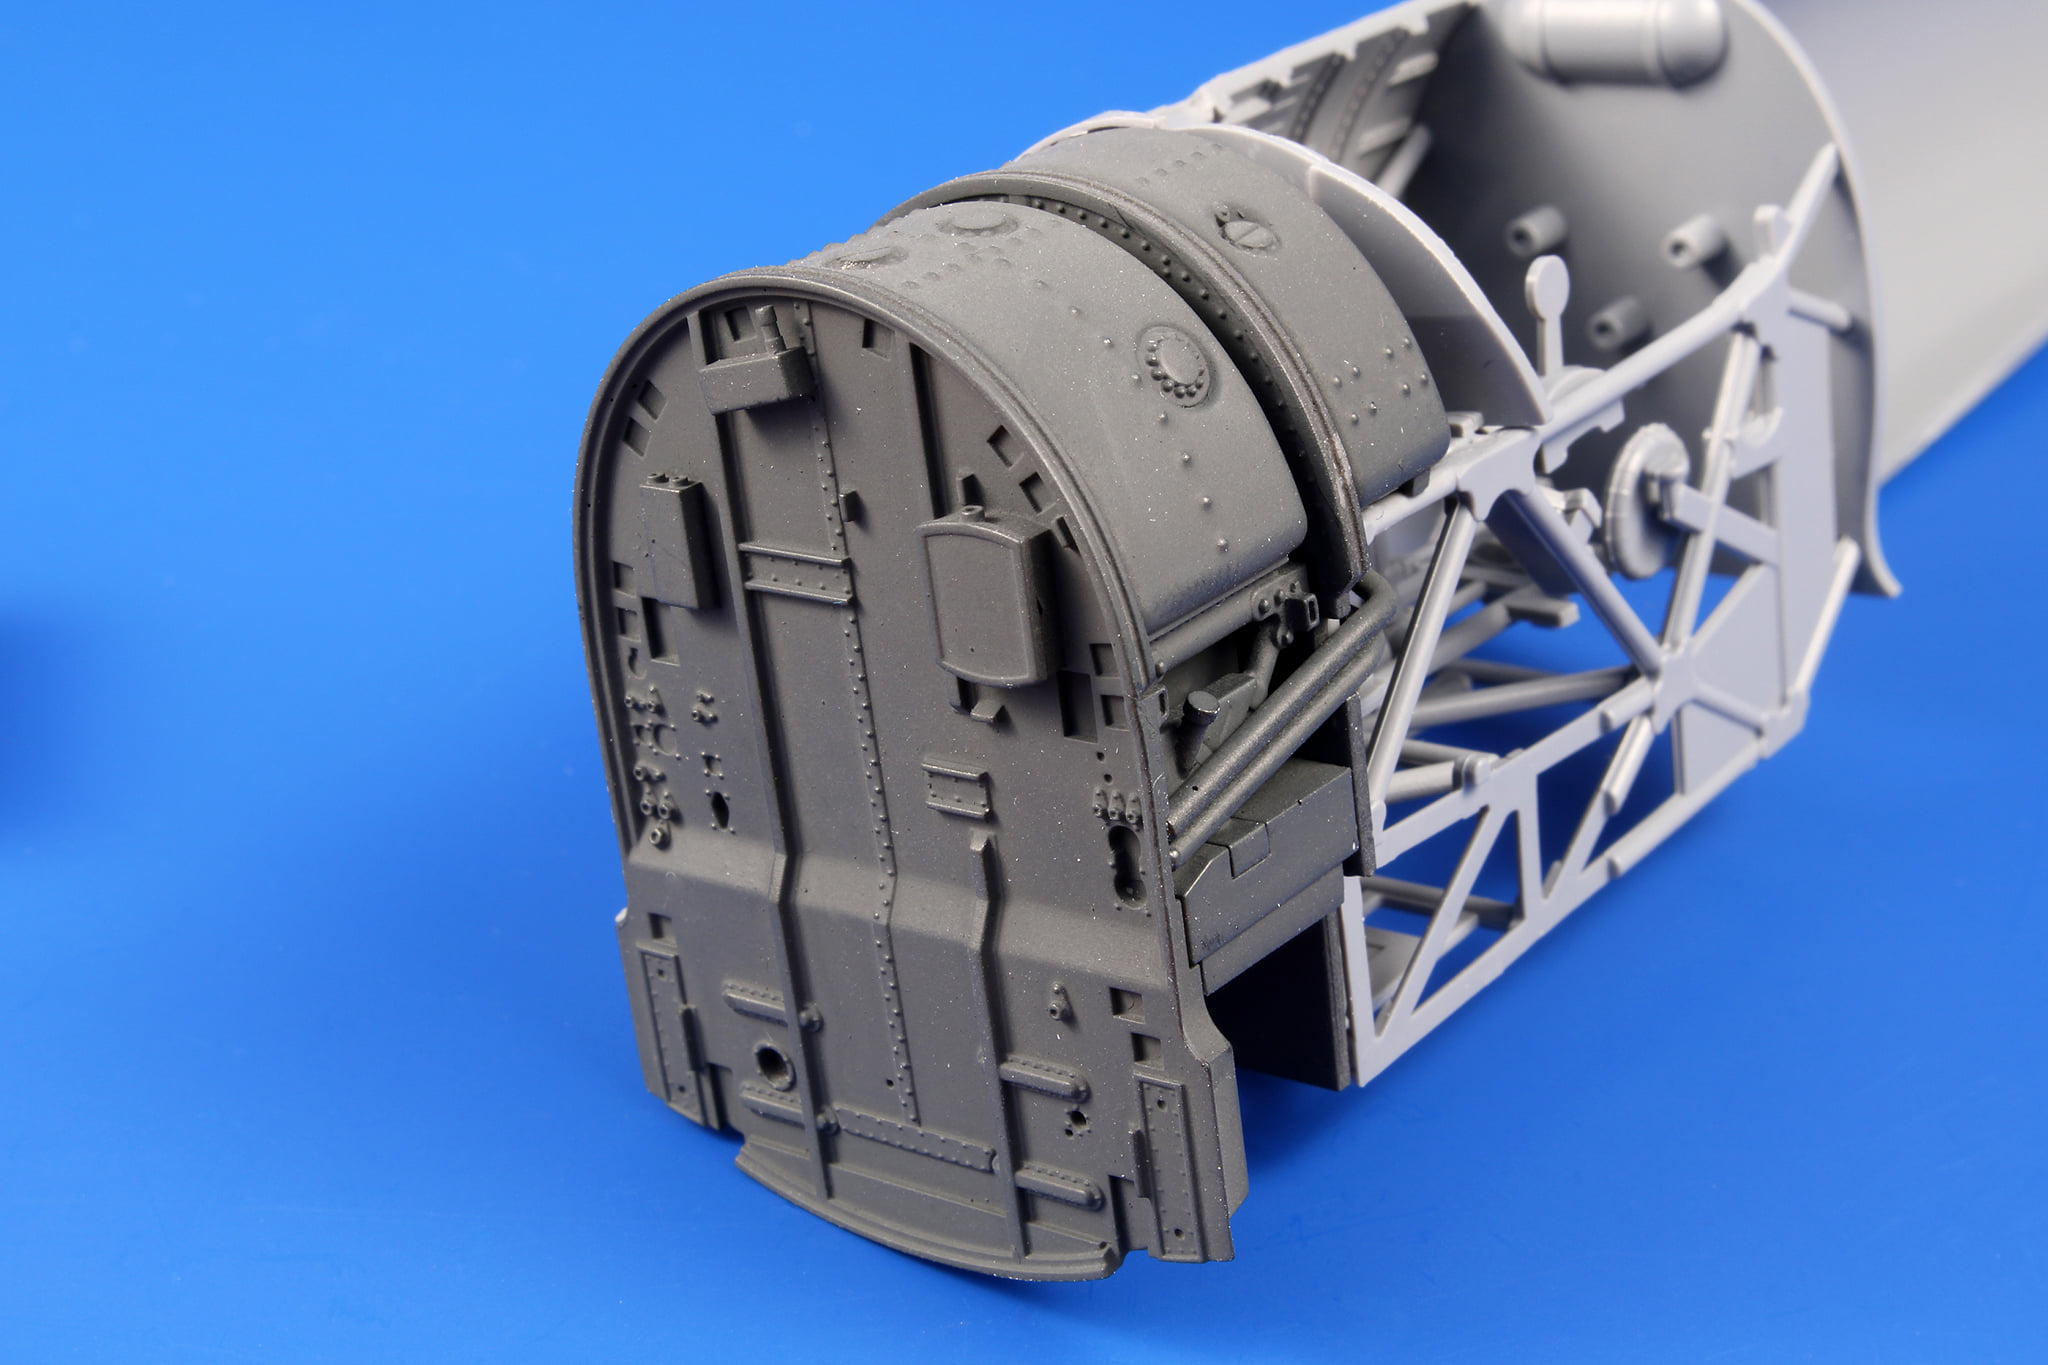
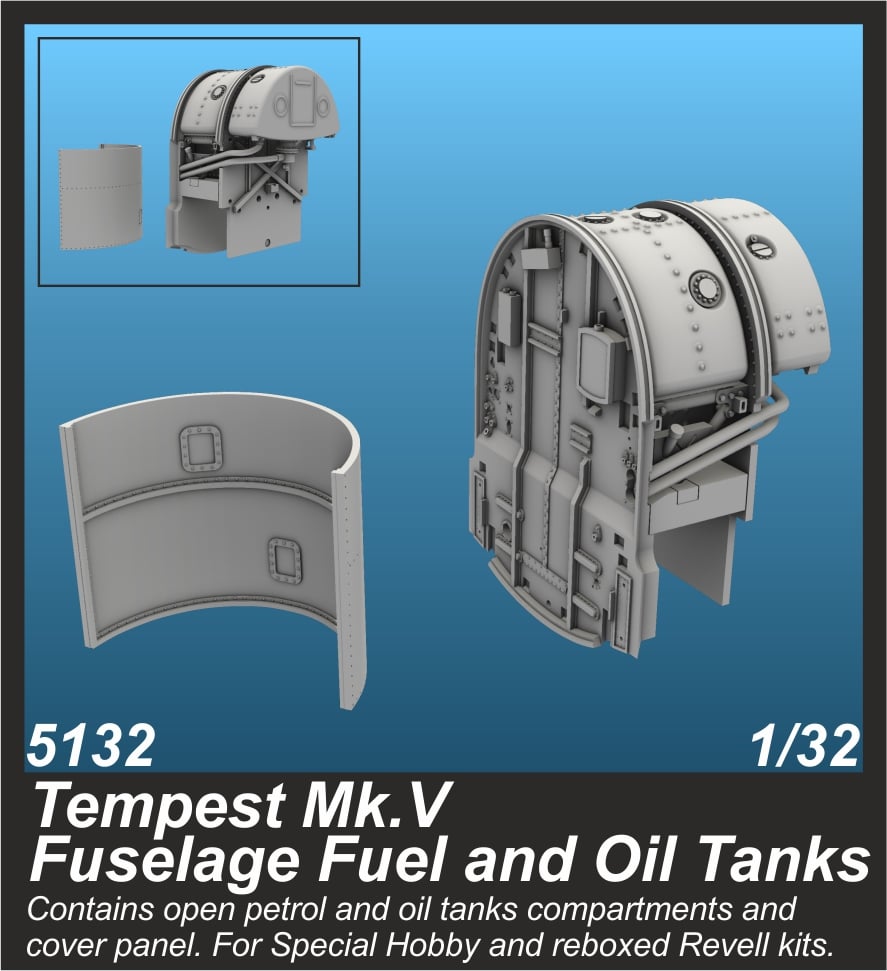
Now from our friends from Special Hobby to be available this month: Tempest Mk. V fuselage fuel tank and oils tanks - 1:32


- 161 replies
-
- 7
-
-
-
- greatwallhobby
- italeri
- (and 6 more)
-
This work is epic!!!! Thanks so much for sharing!!
- 185 replies
-
- 2
-
-
- Scratchbuild
- 1/32nd scale
- (and 1 more)
-
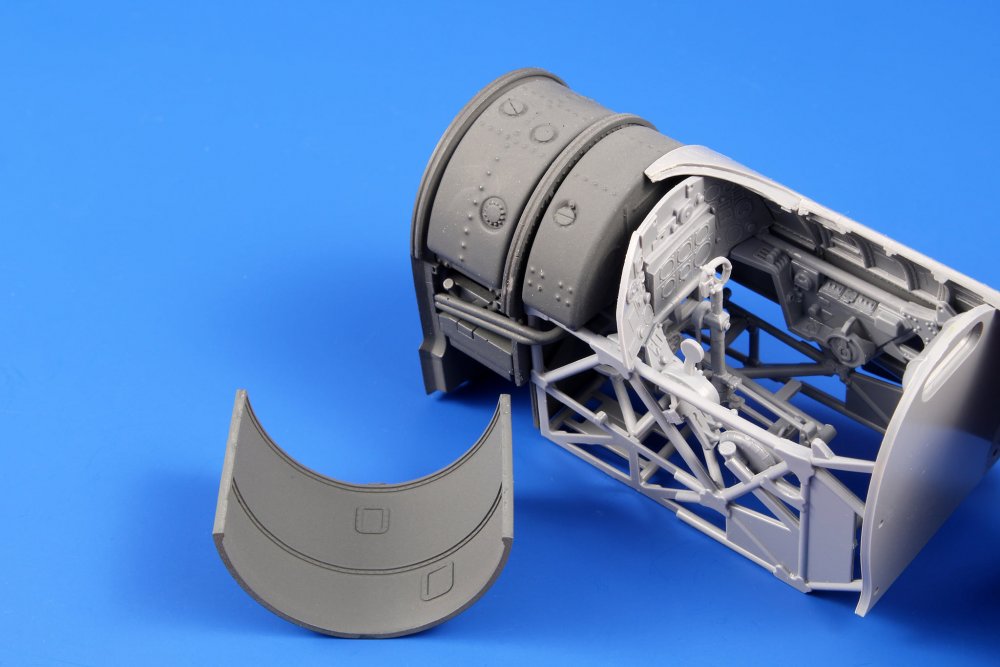
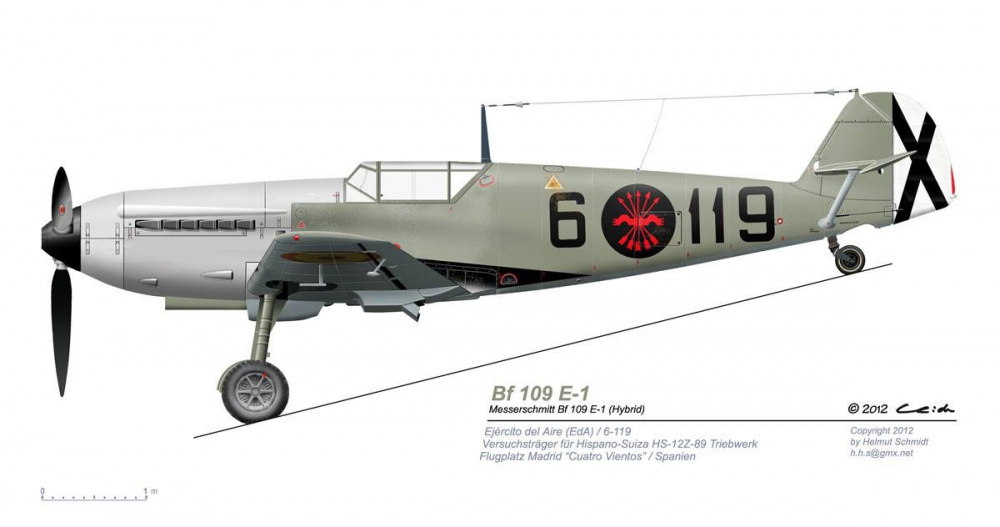
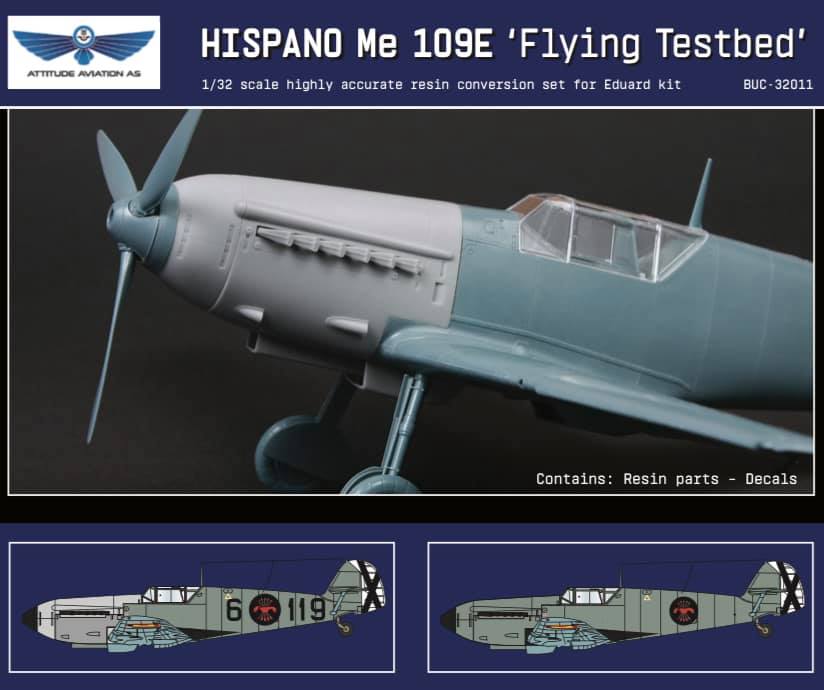
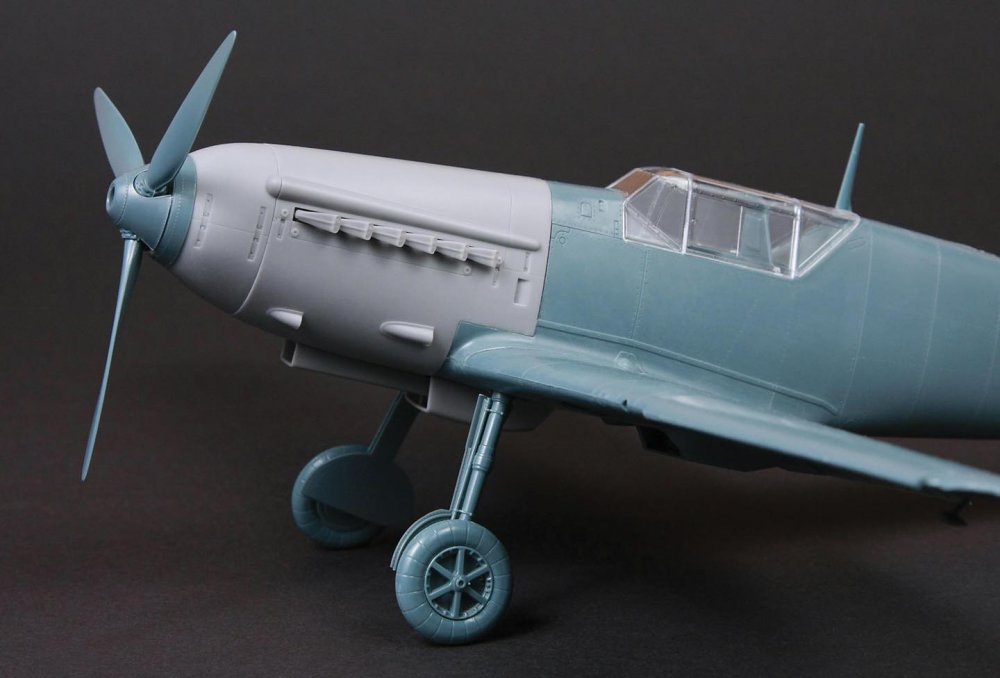
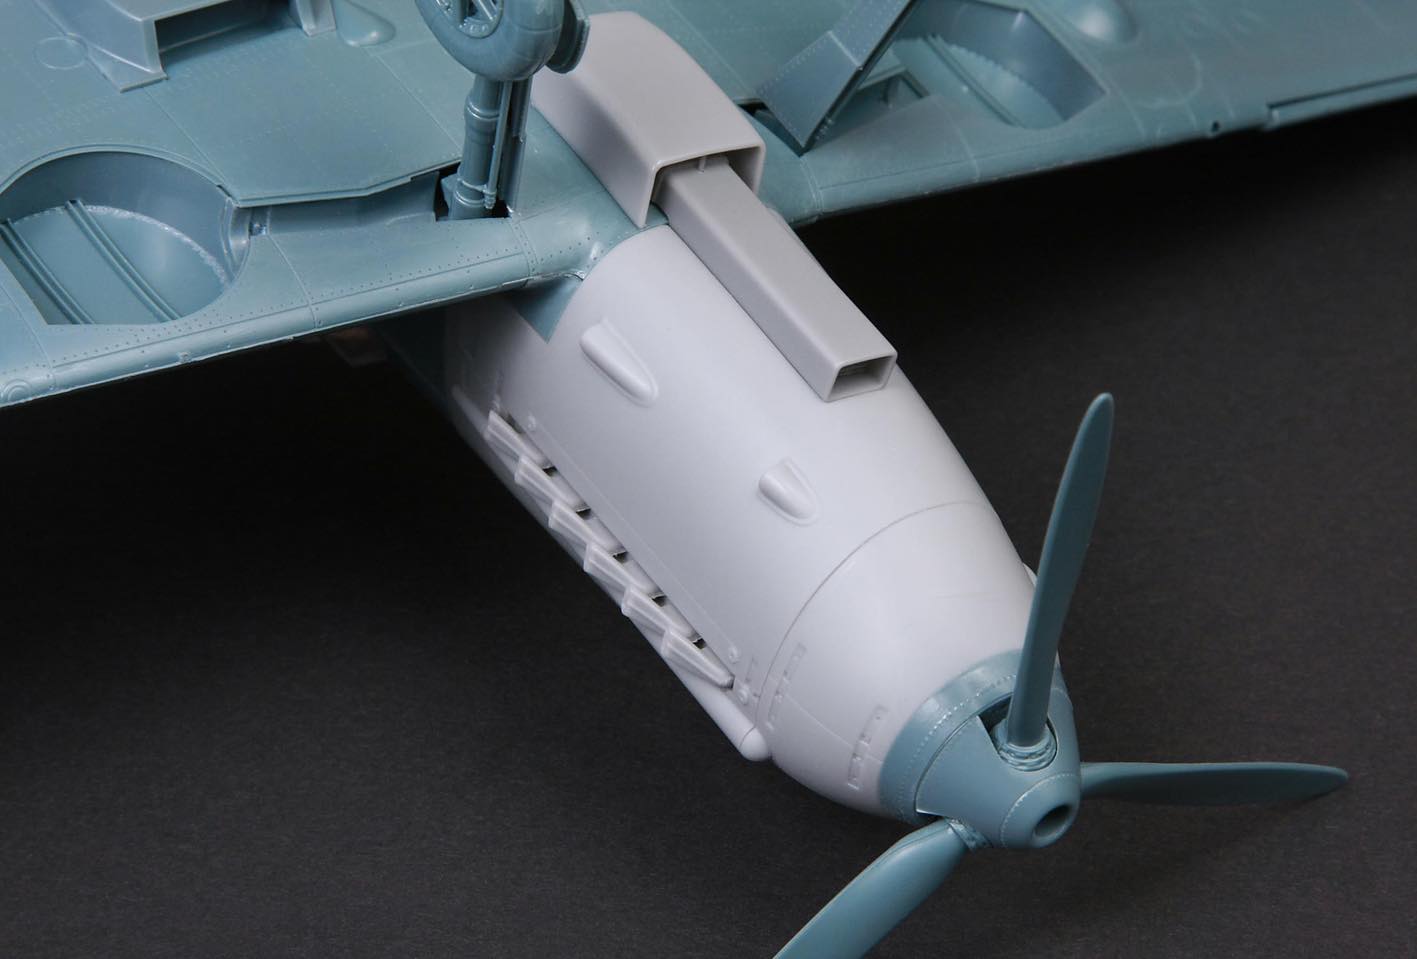
Keeping modelling news 2021 hot here`s one from Buchon Models: Hispano Me-109 E conversion for 1:32 Me-109 Eduard kit.


- 161 replies
-
- 8
-
-
-
- greatwallhobby
- italeri
- (and 6 more)
-
Nice to see a Classic Nichimo build and in a very good way!
-
Thanks!! That`s good news I think! Any new tool (good kit) is good news!
- 161 replies
-
- 3
-
-
- greatwallhobby
- italeri
- (and 6 more)
-
and i cant forget this "new" from Miniart! I really like their Tram and I have one that i reviewc here on LSM. Its a totaly different thing that could look awesome in your colection!
.thumb.jpg.c09697df9a6001786b137f22df50a66b.jpg)
- 161 replies
-
- 6
-
-
- greatwallhobby
- italeri
- (and 6 more)
-
Your Talent and Quinta Studio AM really makes the difference!! Looks great!!
-
F-104 Flyout MFG2 (German Navy)
Fran replied to Kaireckstadt's topic in LSM 1/32 and Larger Aircraft Ready for Inspection
love it!! awesome work with a outstandng presentation.. love the base! -
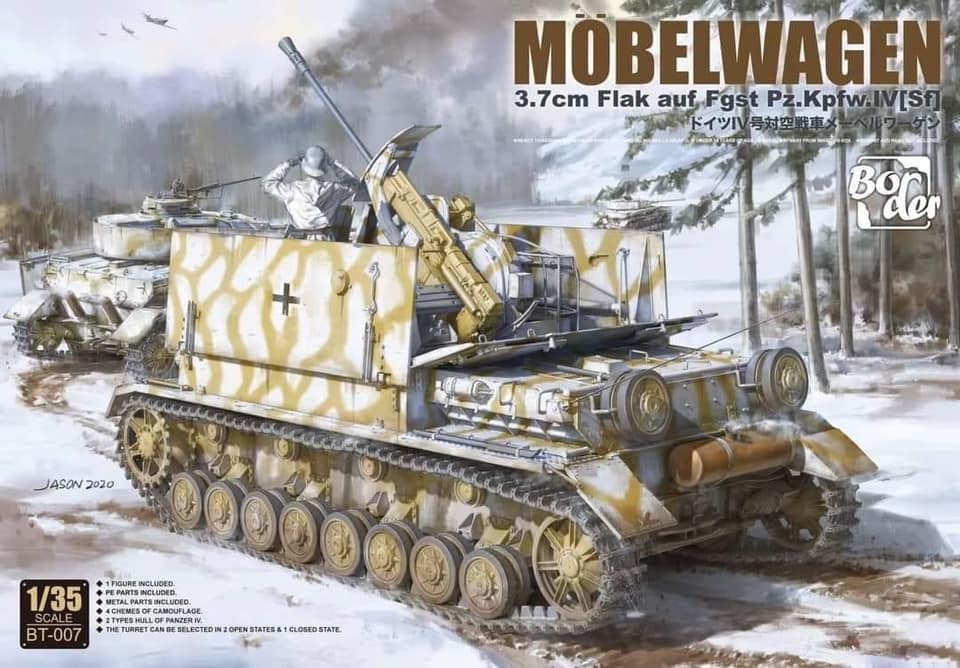
ahh.. and Border still keep them coming!! MobelWagen!!
- 161 replies
-
- 5
-
-
- greatwallhobby
- italeri
- (and 6 more)
-
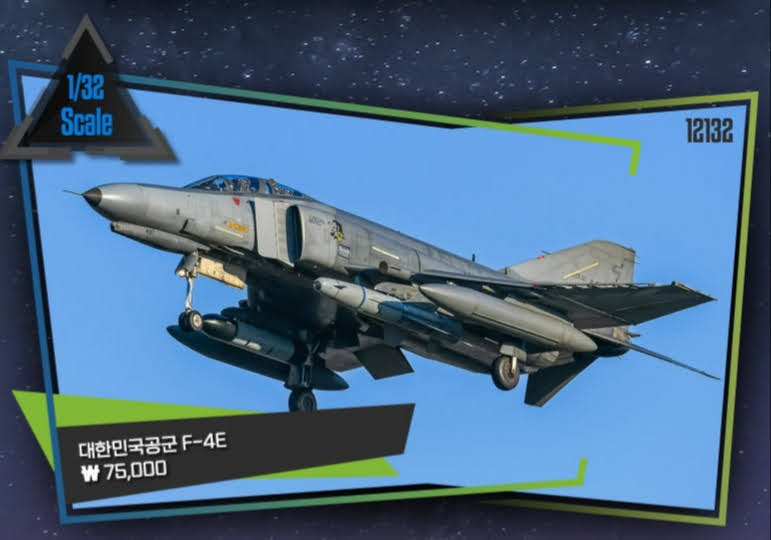
Well, some others modelling news... This time from Academy F-4 1:32 - I saw that this is probably not a new tool but a Revell Re-box. and also


- 161 replies
-
- 4
-
-
-
- greatwallhobby
- italeri
- (and 6 more)
-
Santa came in the mail. Married folks can relate
Fran replied to Clunkmeister's topic in Modelling Discussion
I have a D version to make with all AM for it!! (almost all...) Got it from our friend Hubert! -
Looks like the that Razor Crest is made by Revell!
- 161 replies
-
- 1
-
-
- greatwallhobby
- italeri
- (and 6 more)
-
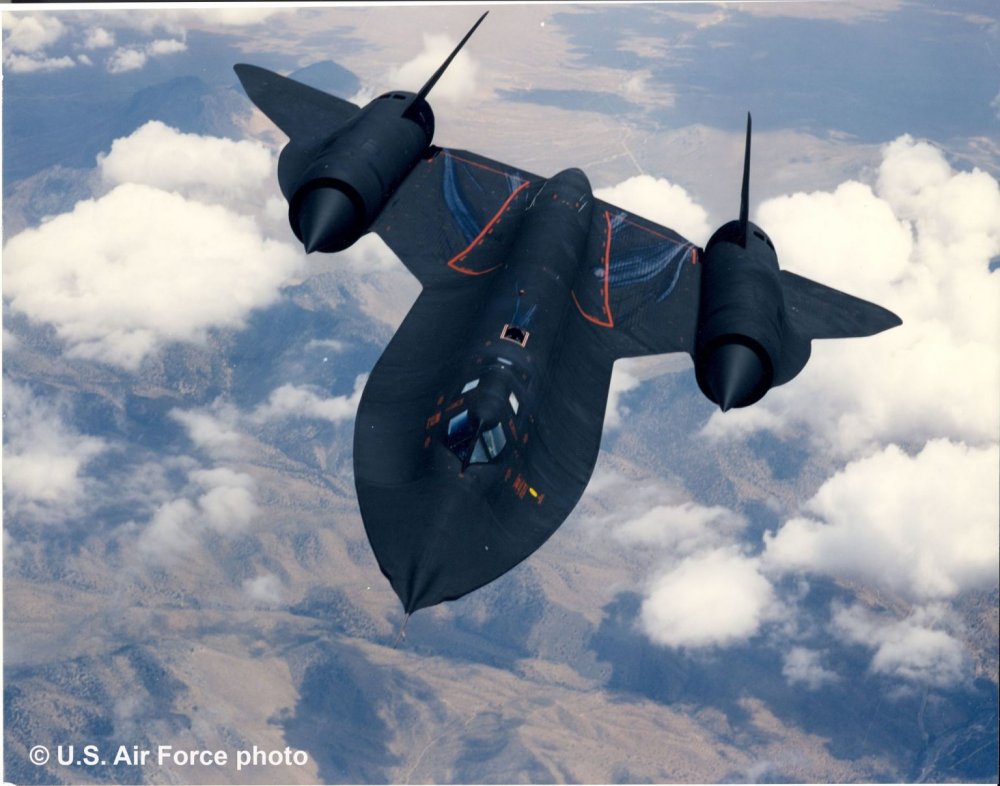
Yes... besides the SR-71 in :48 (new Tool) and the Razor Crest in 1:72... all others are re-pops...
- 161 replies
-
- 2
-
-
- greatwallhobby
- italeri
- (and 6 more)
-
Revell!
- 161 replies
-
- 4
-
-
- greatwallhobby
- italeri
- (and 6 more)
-
and This one I had to have it in a separate post!!! For all Star WArs fans and Mandalorian nuts, the RAZOR CREST in 1:72!!!!! Only in October 2021.

- 161 replies
-
- 7
-
-
-
- greatwallhobby
- italeri
- (and 6 more)
-
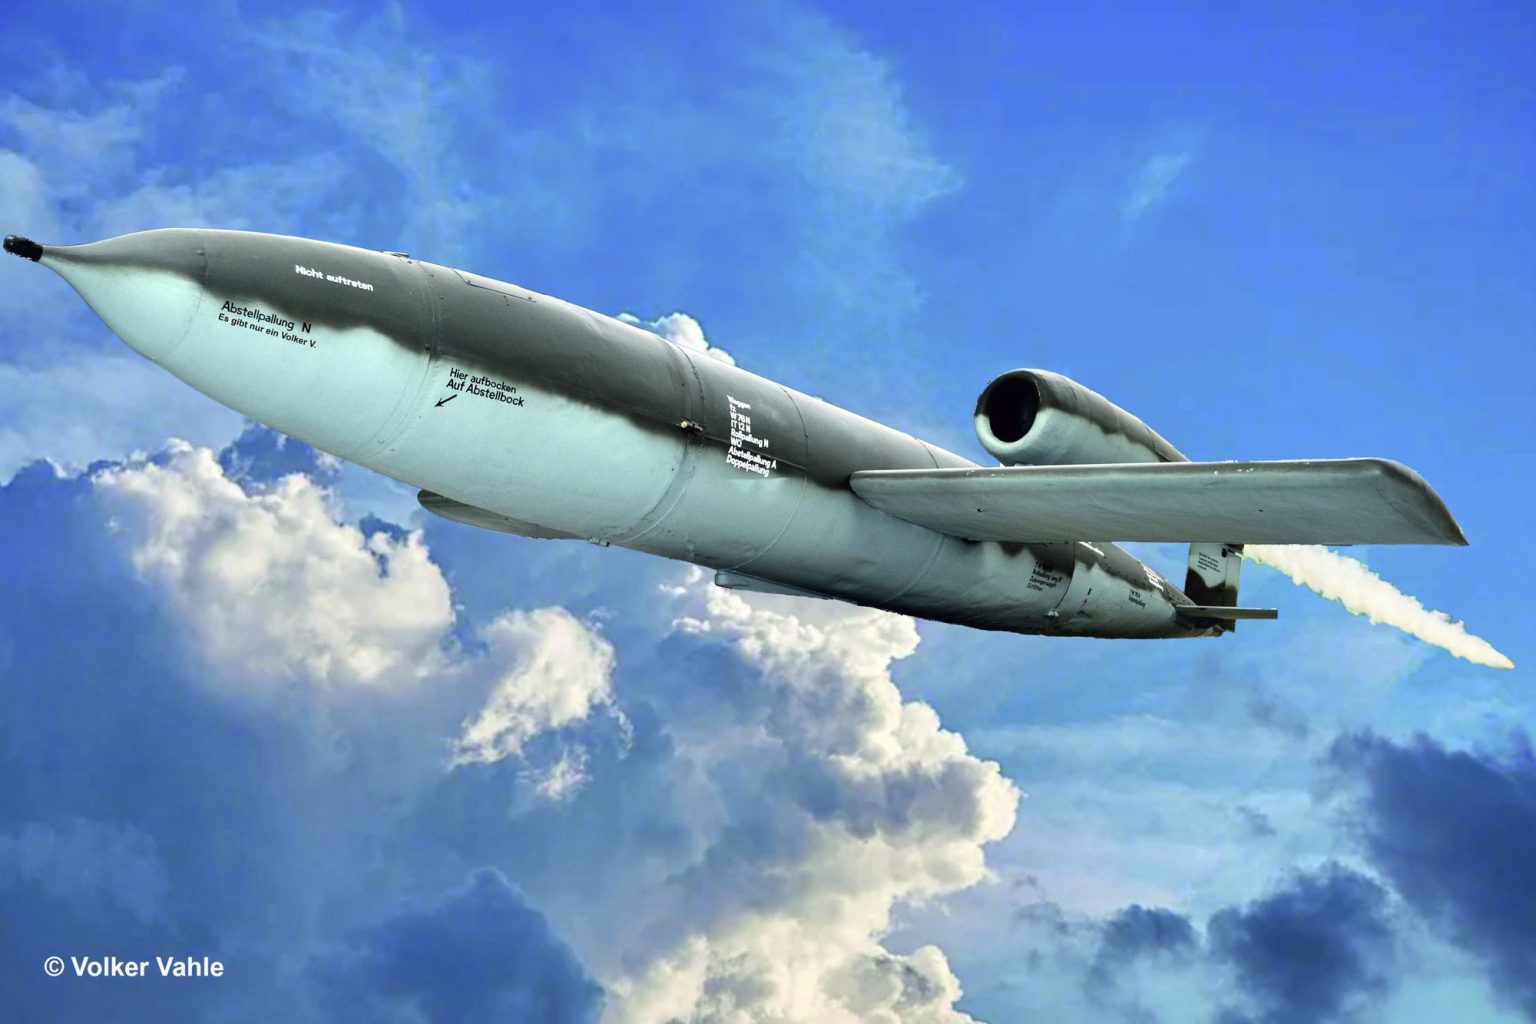
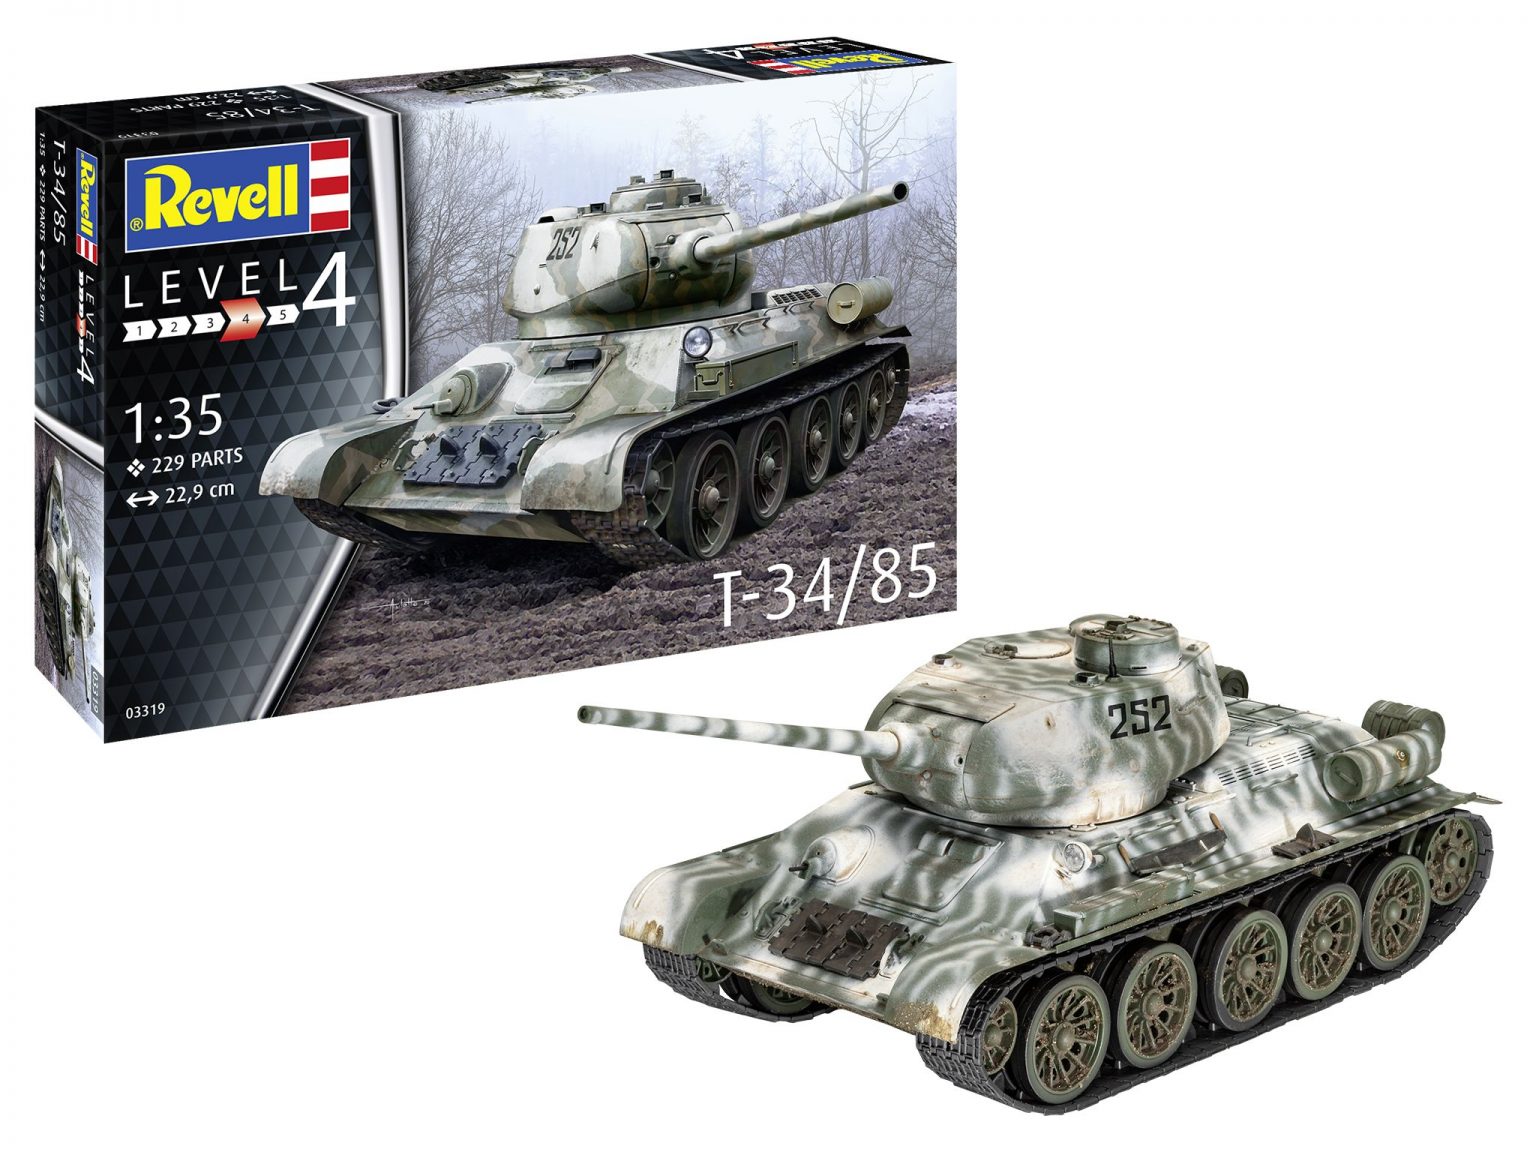
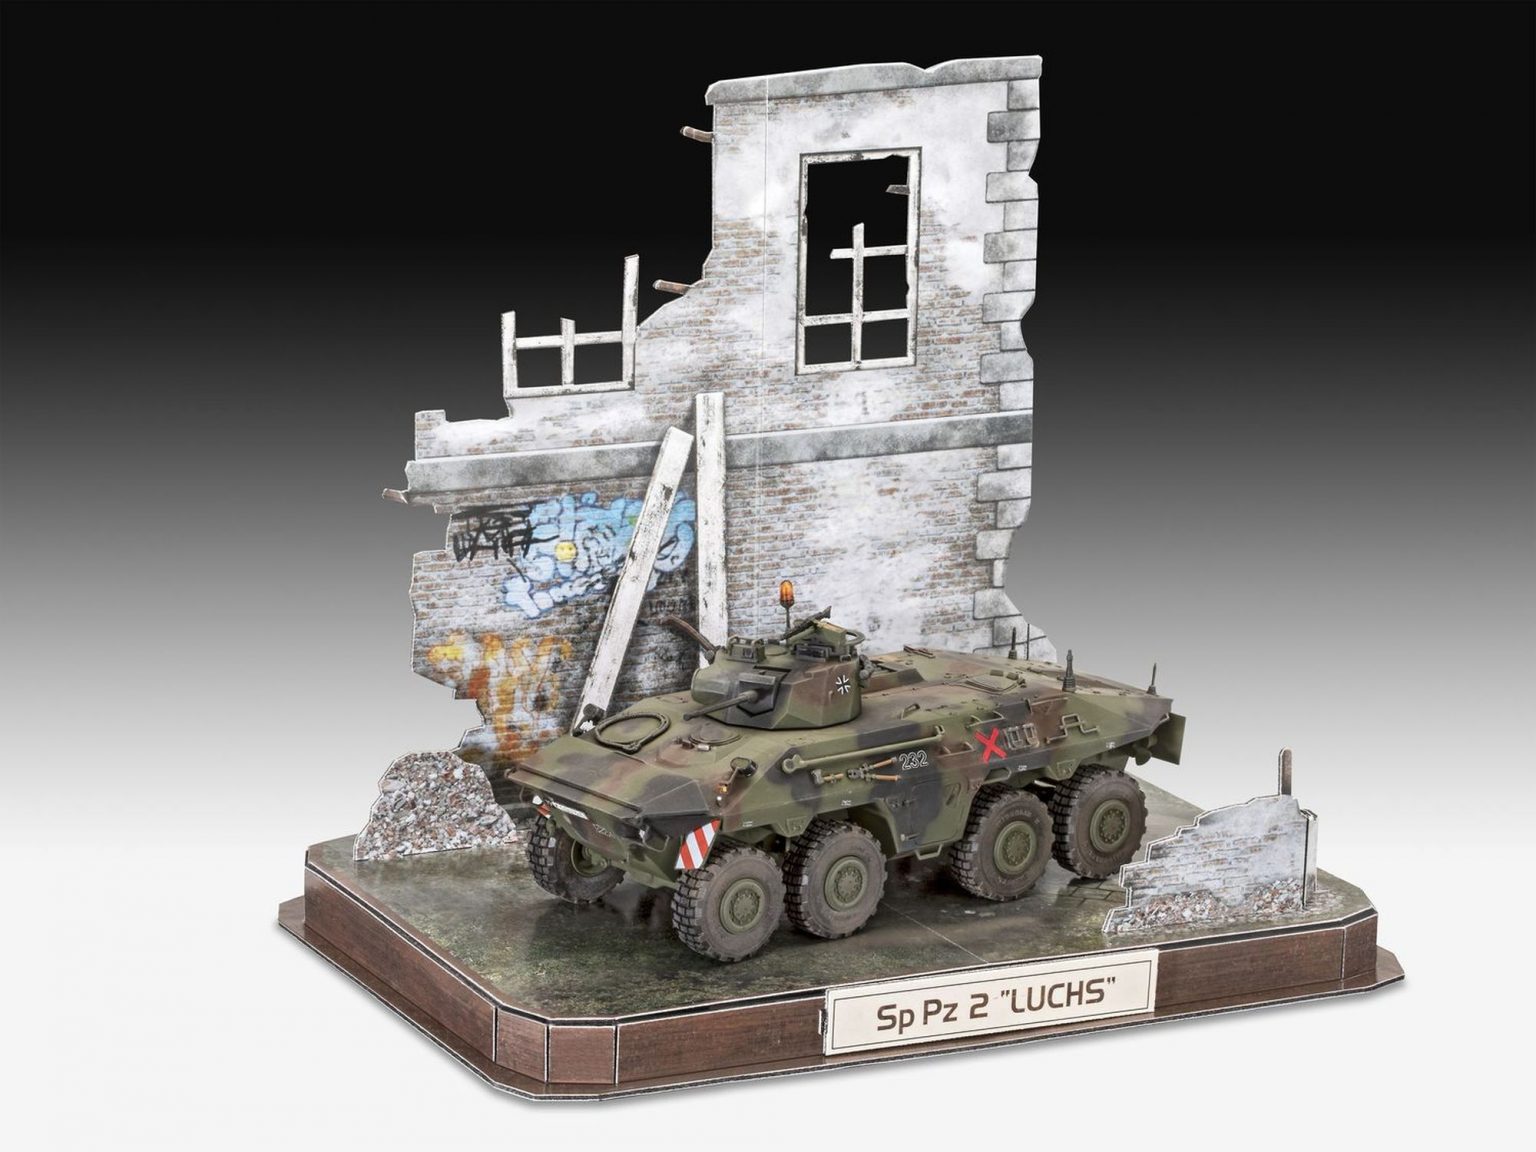
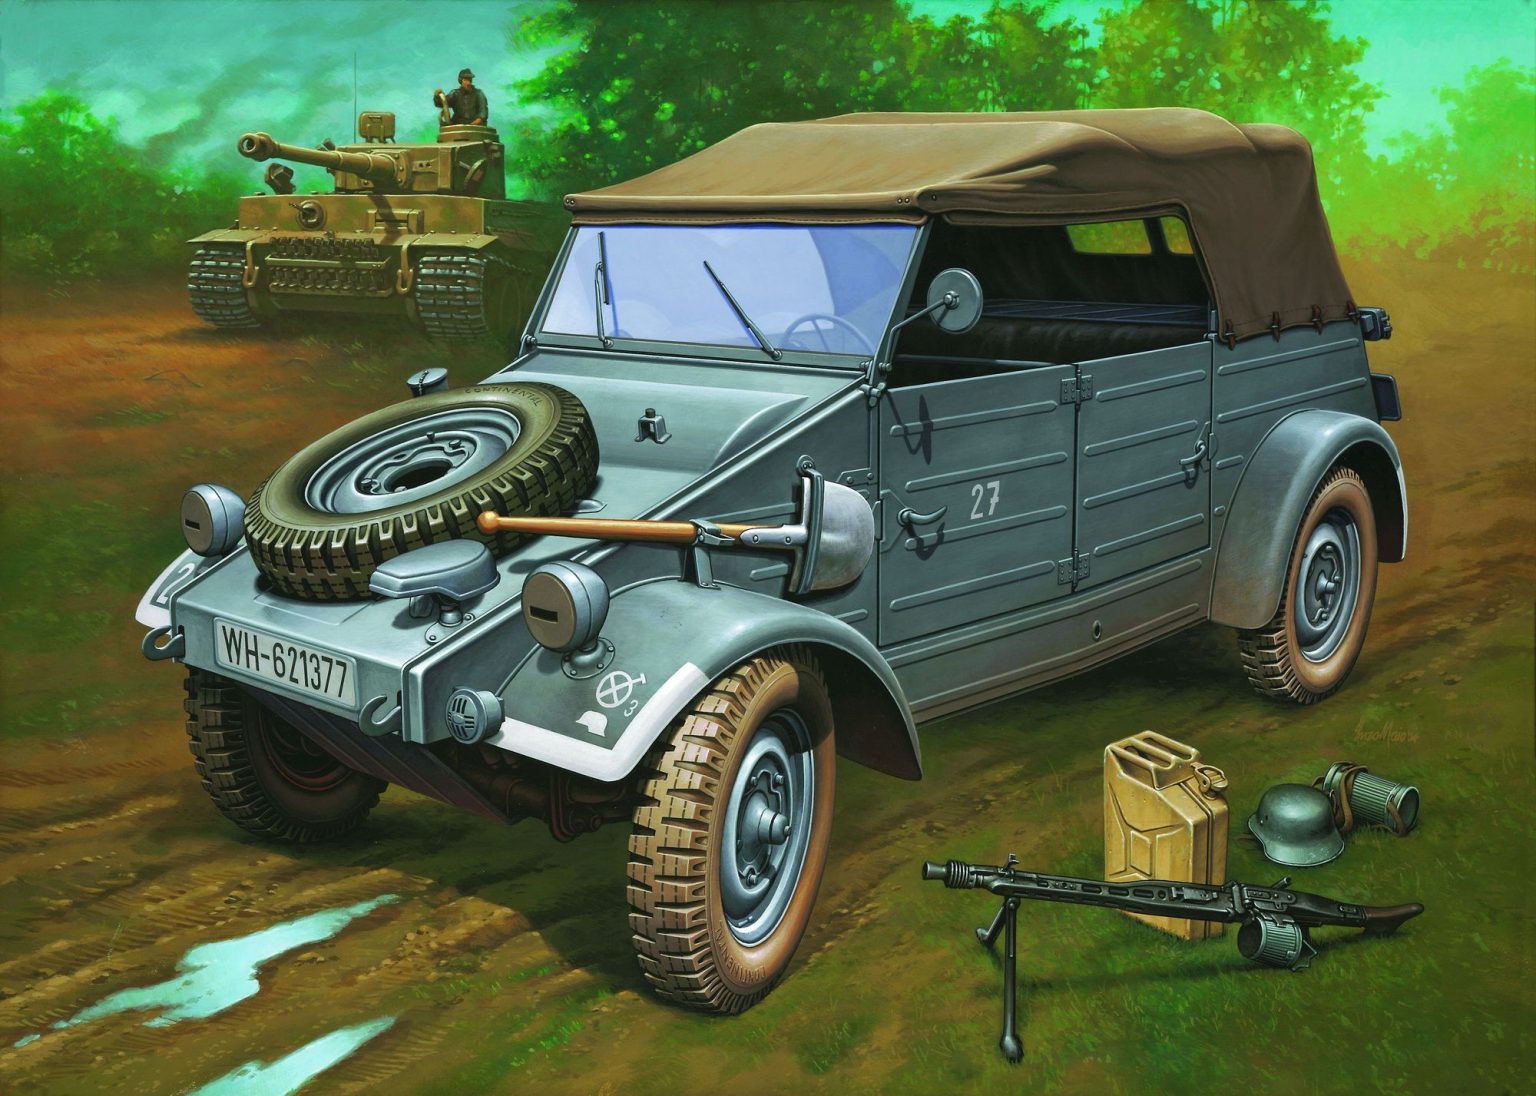
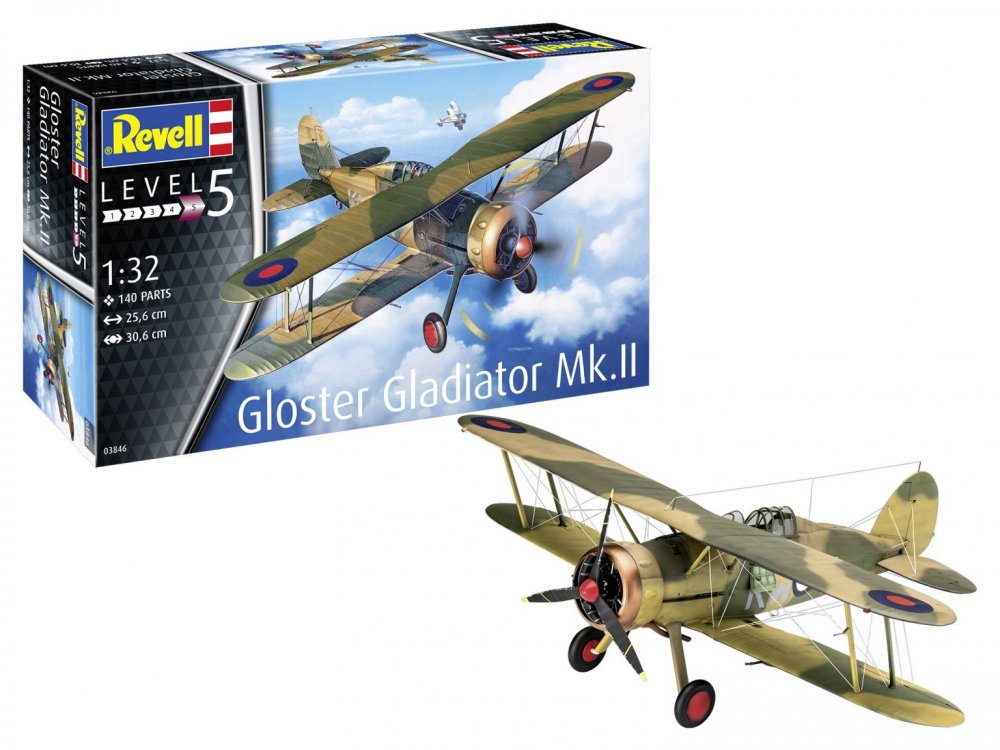
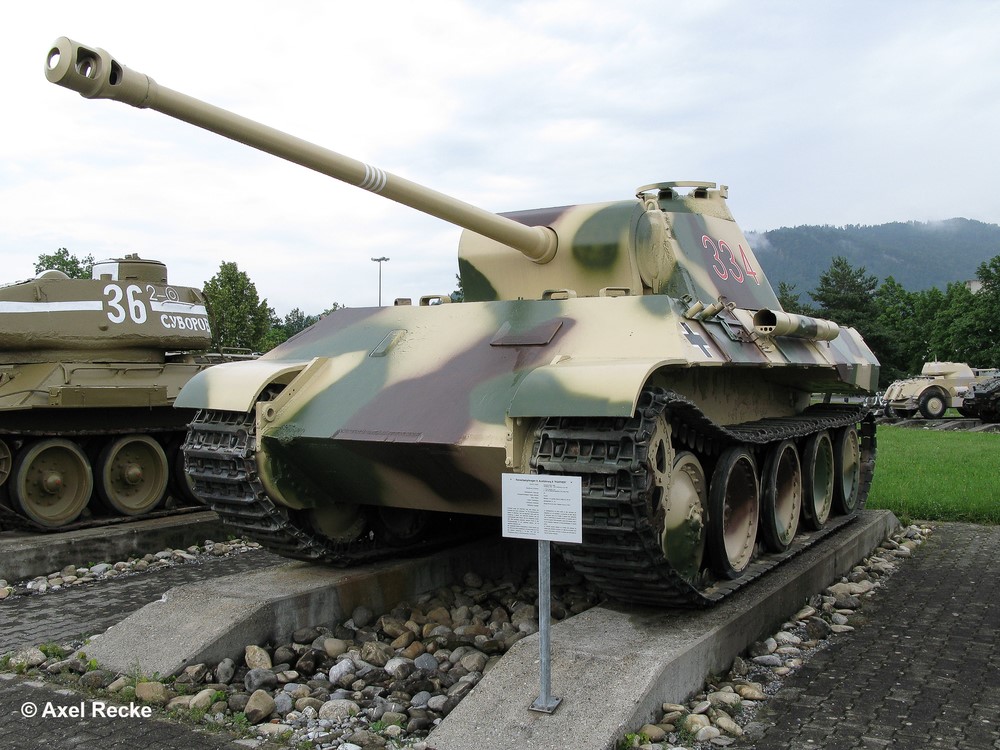
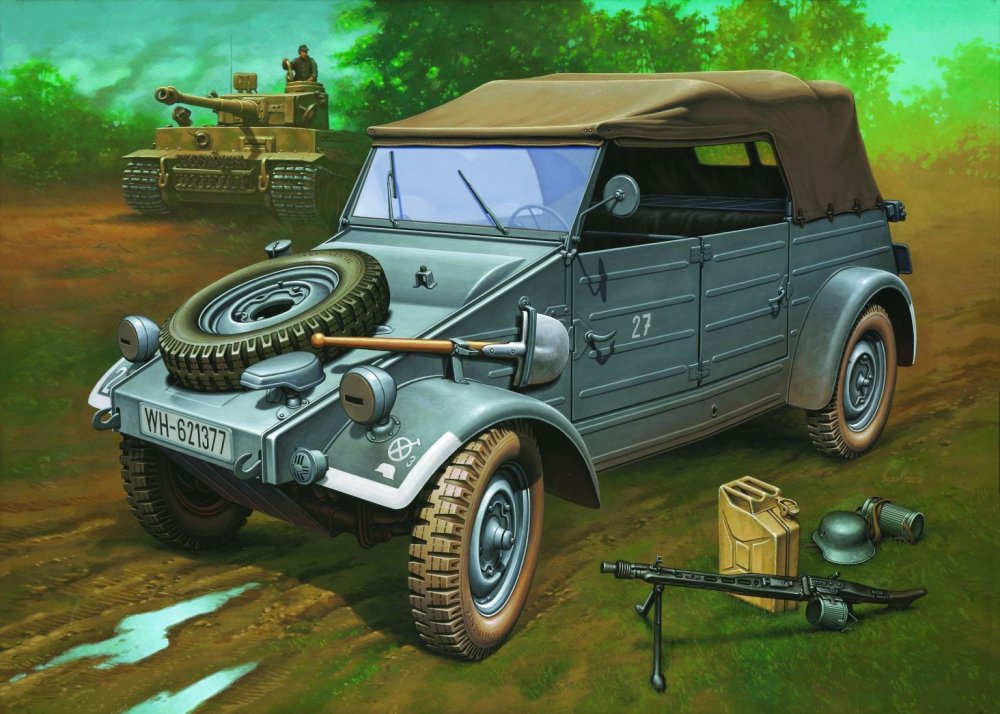
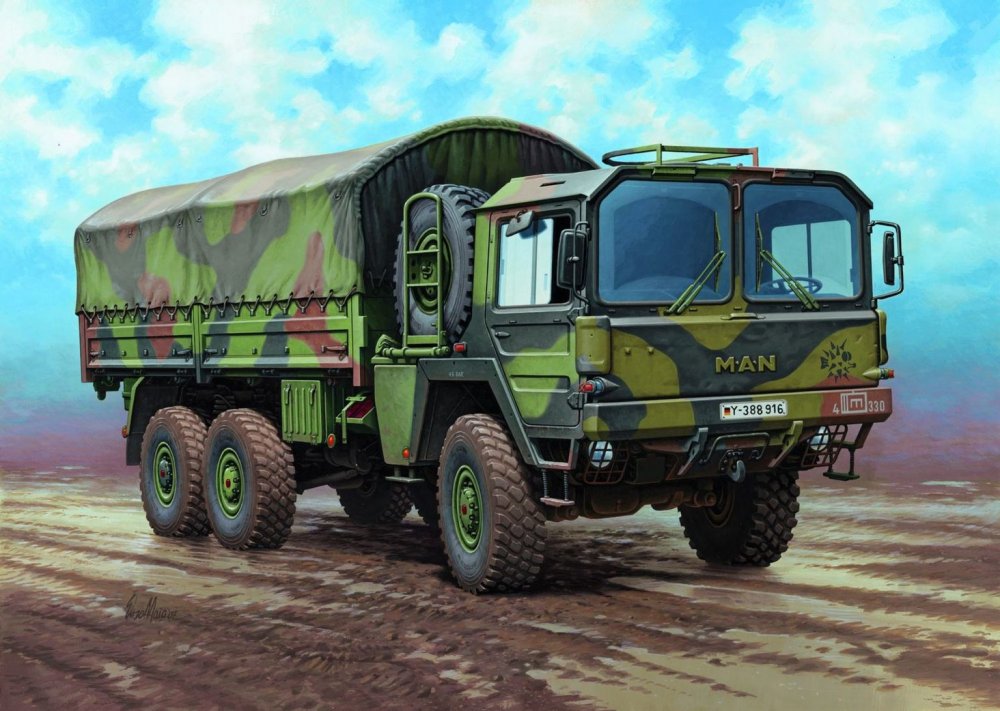
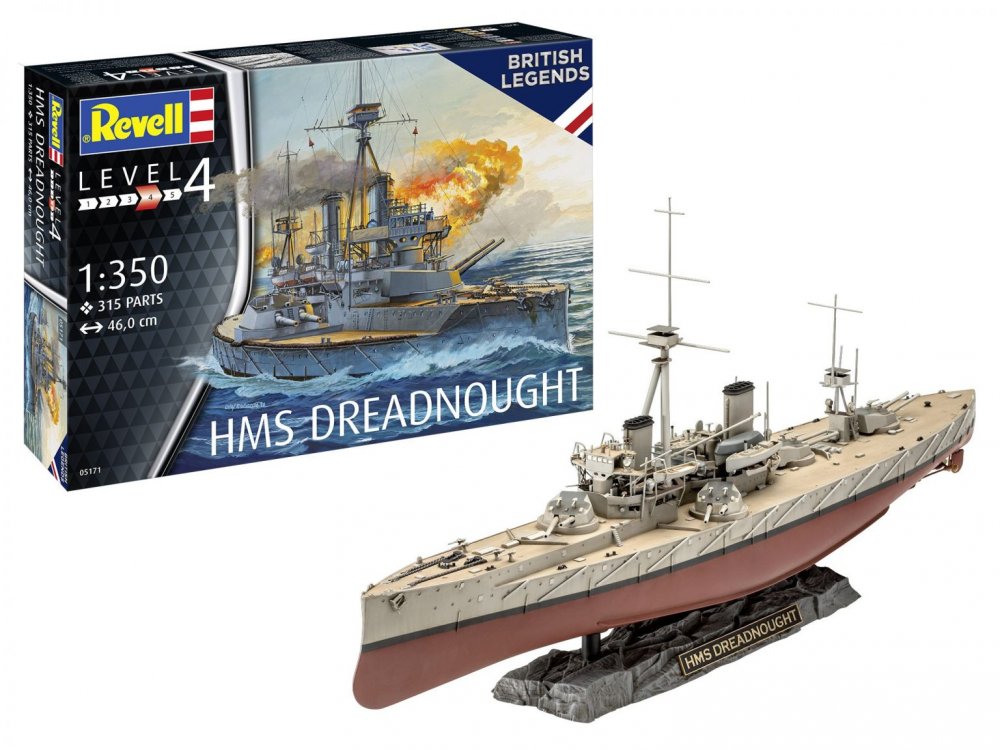
And heres some Revell news: The Gladiator as I already mention: A probably Kinetic mold in REvell box: Bae Hawk T2 A "new" Fieseler Fi 103 V1 (Cooperation with Special Hobby) And for me the most wanted for me: 1:48 SR-71!! As for 1:35, nothing really new: 1:35 Panther (exICM) T-34/85 (cooperation with ICM) MAN 7t Milgl. Re-intro A Luchs with some diorama base included.. And in a big scale, a 1:9 Kübelwagen Type 82 (in Platinum Edition) Speaking of big models, a HMS Dreadnought (Cooperation Zvezda) is also on the way:


- 161 replies
-
- 5
-
-
-
- greatwallhobby
- italeri
- (and 6 more)
-
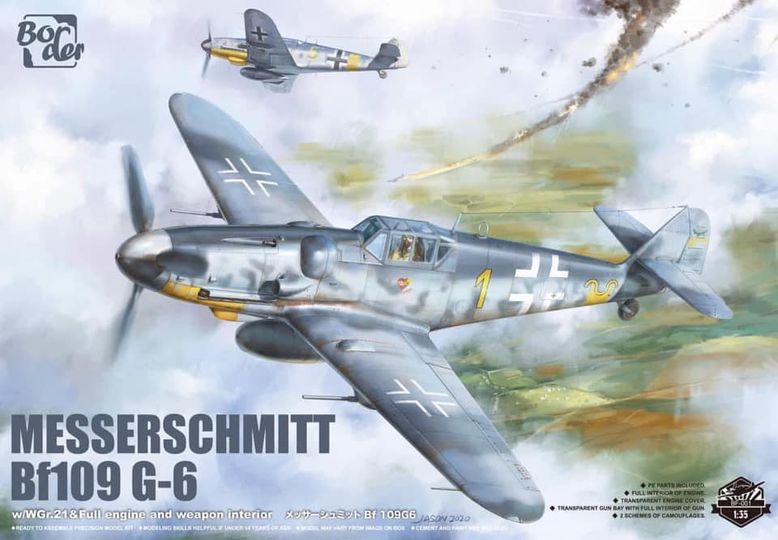
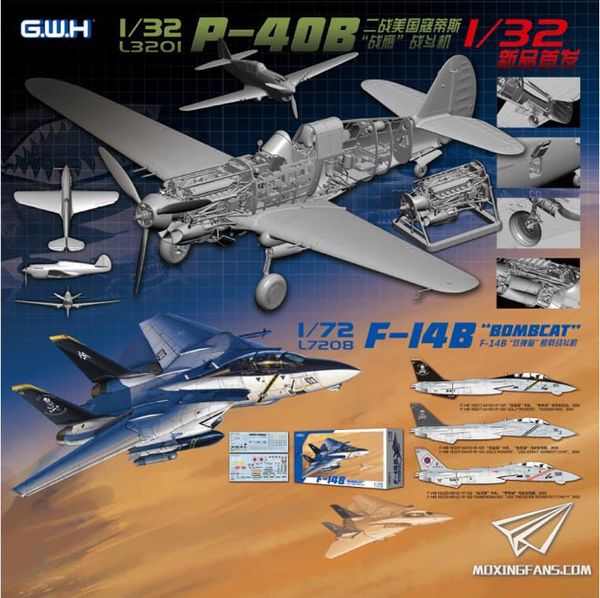
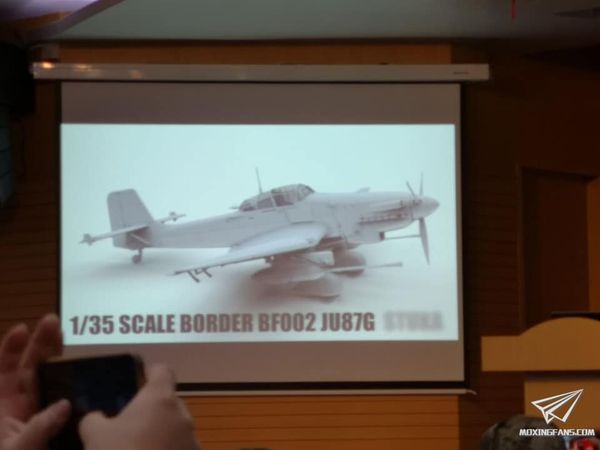
Hi folks!! Well its the first day of 2021 and we already have a few great news of upcoming releases!! We could use this topic for post all news that will appear this yes... But for now we already got announced for this year 1:32 P-40B from Great Wall Hobby 1:35 (YES, 1:35) - Bf-109 G-6 from Border Models 1:35 (YES , 1:35) - JU-87G also from Border Models. Also saw on Revell newsletter that they are reissuing the 1:32 Gloster Gladiator (ICM models). A very good start!!
- 161 replies
-
- 5
-
-
-
- greatwallhobby
- italeri
- (and 6 more)
-
The elegant Pfalz D.IIIa!! and very well done Sir!!
-
1:32 Scale Lancaster Bulged Bomb Bay doors and Tallboy now available
Fran replied to GrahamF@Iconicair's topic in Iconicair
its looks fantastic!!! -
Fast and furious!!! Nice ones!!
-
Love it!! Its 1.35 or 1:16?


.jpg.d80f4c14d9916532ec6d6ce4c54b62e3.jpg)