crazypoet
-
Posts
826 -
Joined
-
Last visited
Content Type
Profiles
Forums
Events
Gallery
Everything posted by crazypoet
-
Let’s! who else is bringing goodies?
-

Zu schnell für Dich!! The Final Update 21/8/19
crazypoet replied to GazzaS's topic in LSM 1/35 and Larger Work In Progress
Awesome approach - I like the way you look for opportunities to play in a bigger sandbox -
I’ll have the Picket Boat there, at least by Friday noon-ish. It’s sadly all I’ll have done. If we have enough Display Models between us, it’d be truly fun to have a table.
-
I can print stickers, but not regular plastic tags
-
I’m arriving Friday mid-morning (I couldn’t get Wednesday or Thursday off work, dammit!)
-
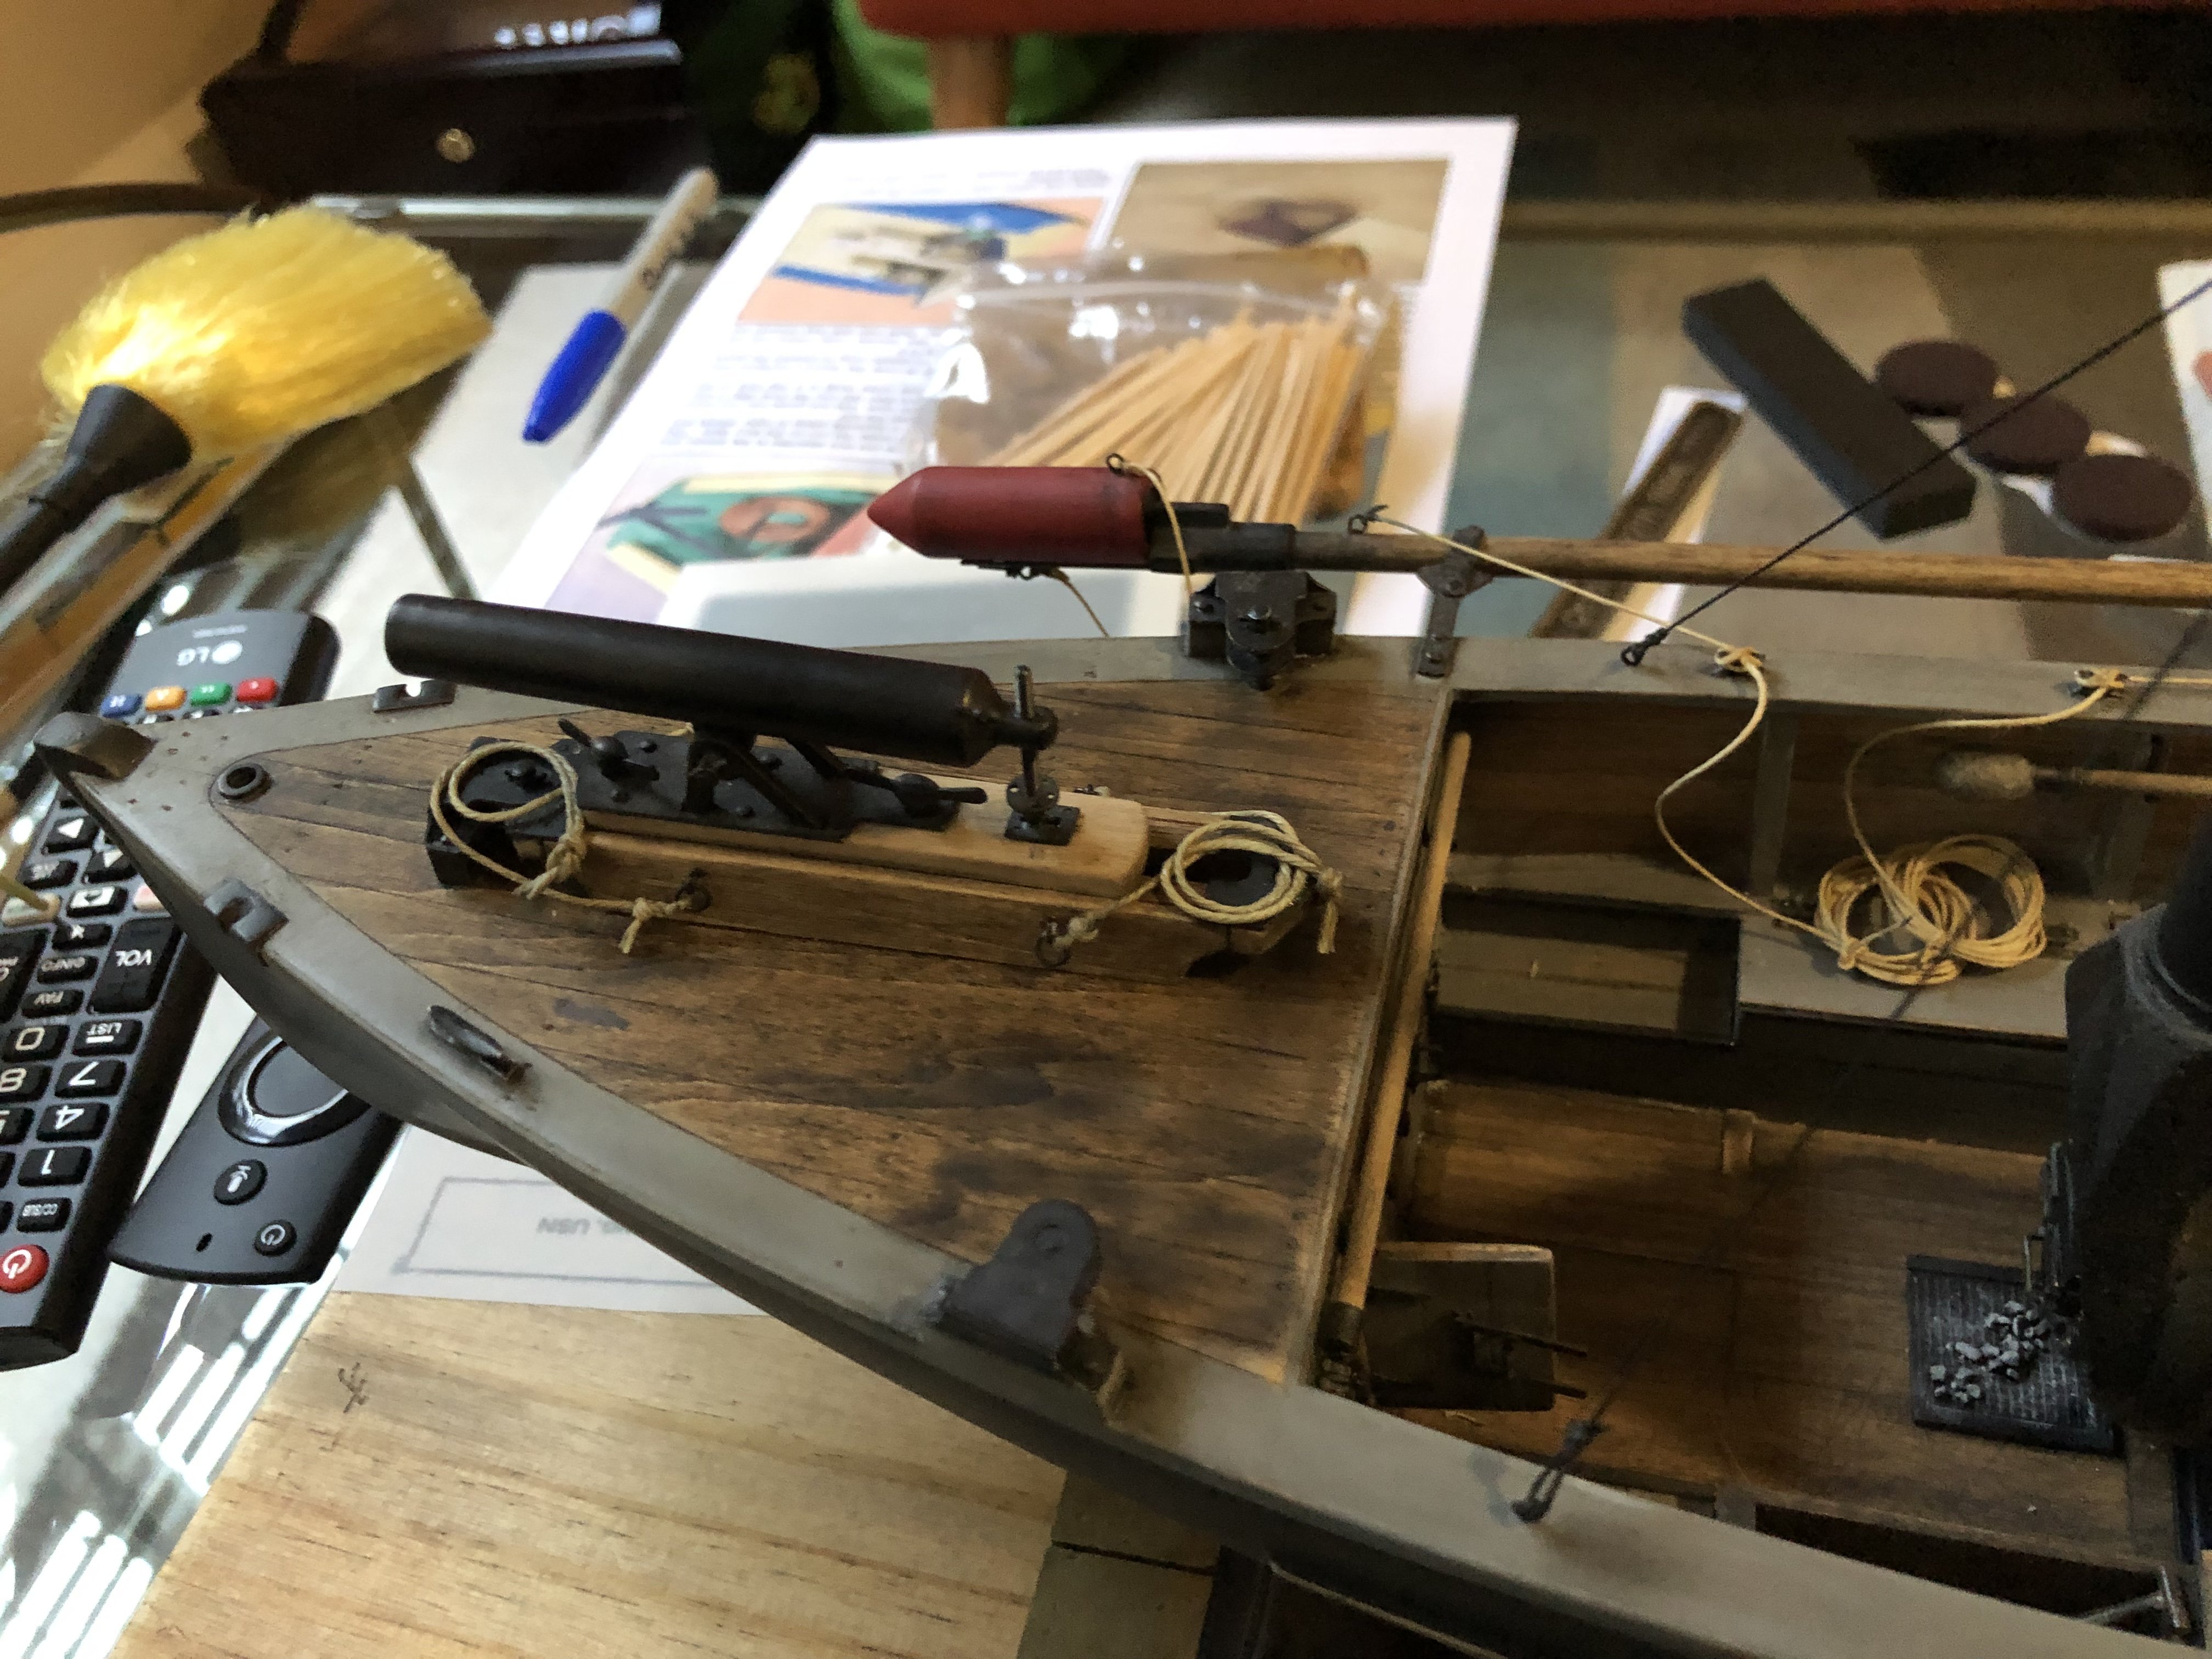
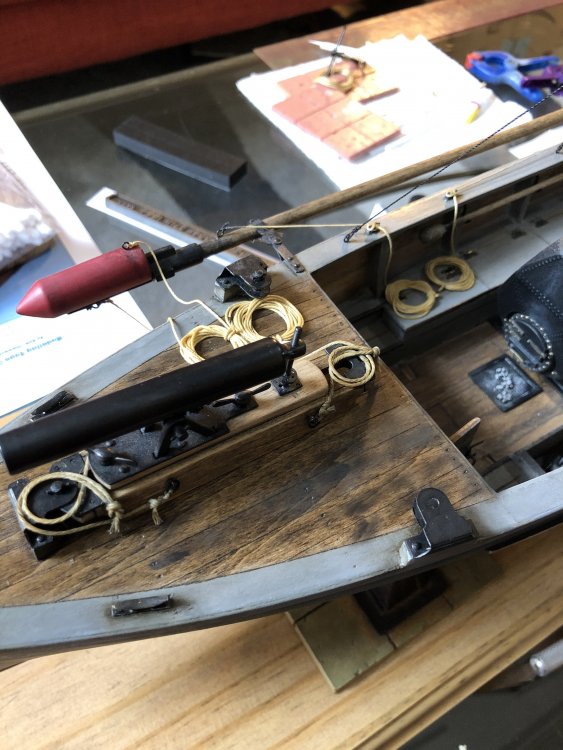
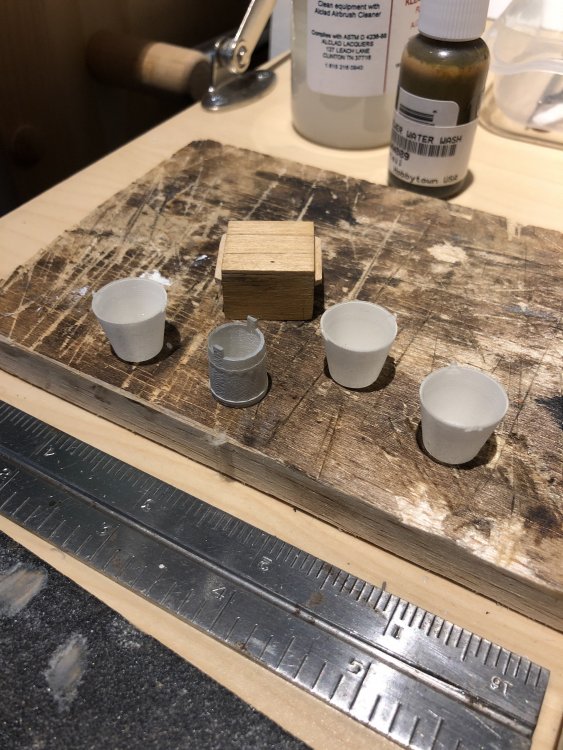
Ropes complete and drying in place. I need to add a touch of weight and a bit more solution (diluted gorilla glue, water and Secret Weapon sewer-water wash) to get the detonator line to hang properly, but i have to wait for the coil to dry first. i’ll be loading coal (O-scale coarse model railroad ballast) into some of the scuttles next, while I wrap up the ammo cases. Ammo case and some 3D printed buckets ready for priming and painting...
-
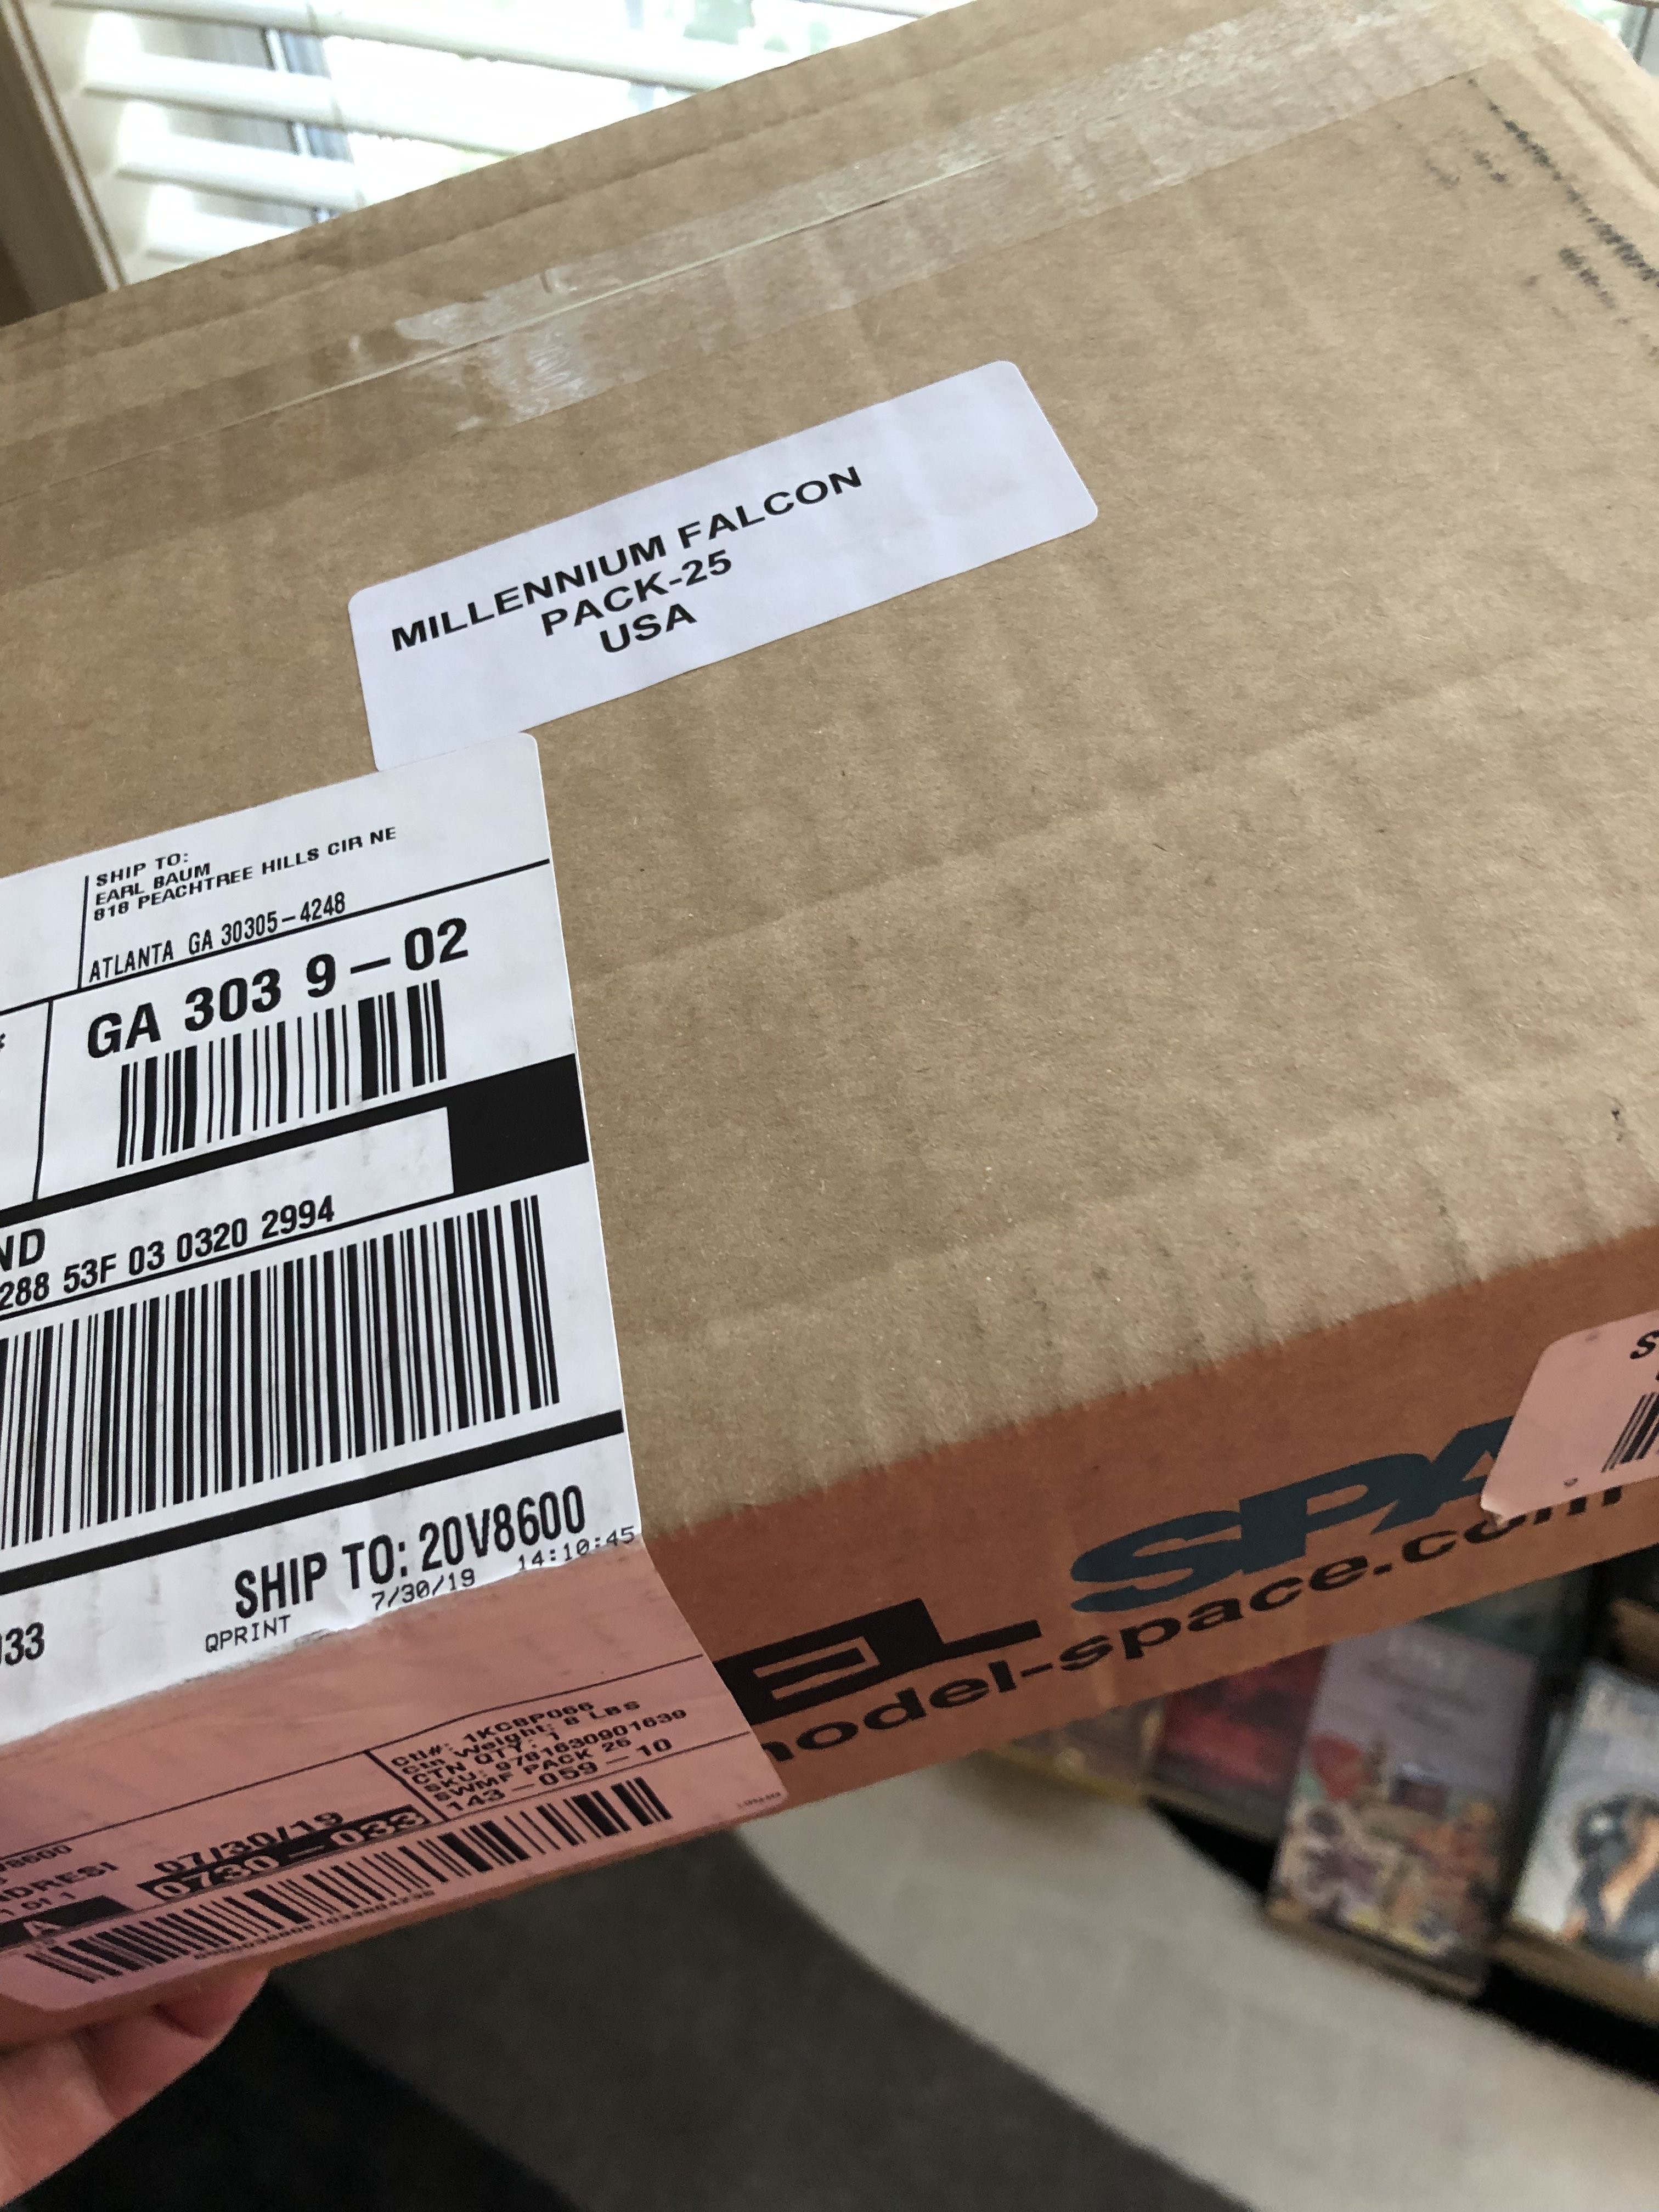
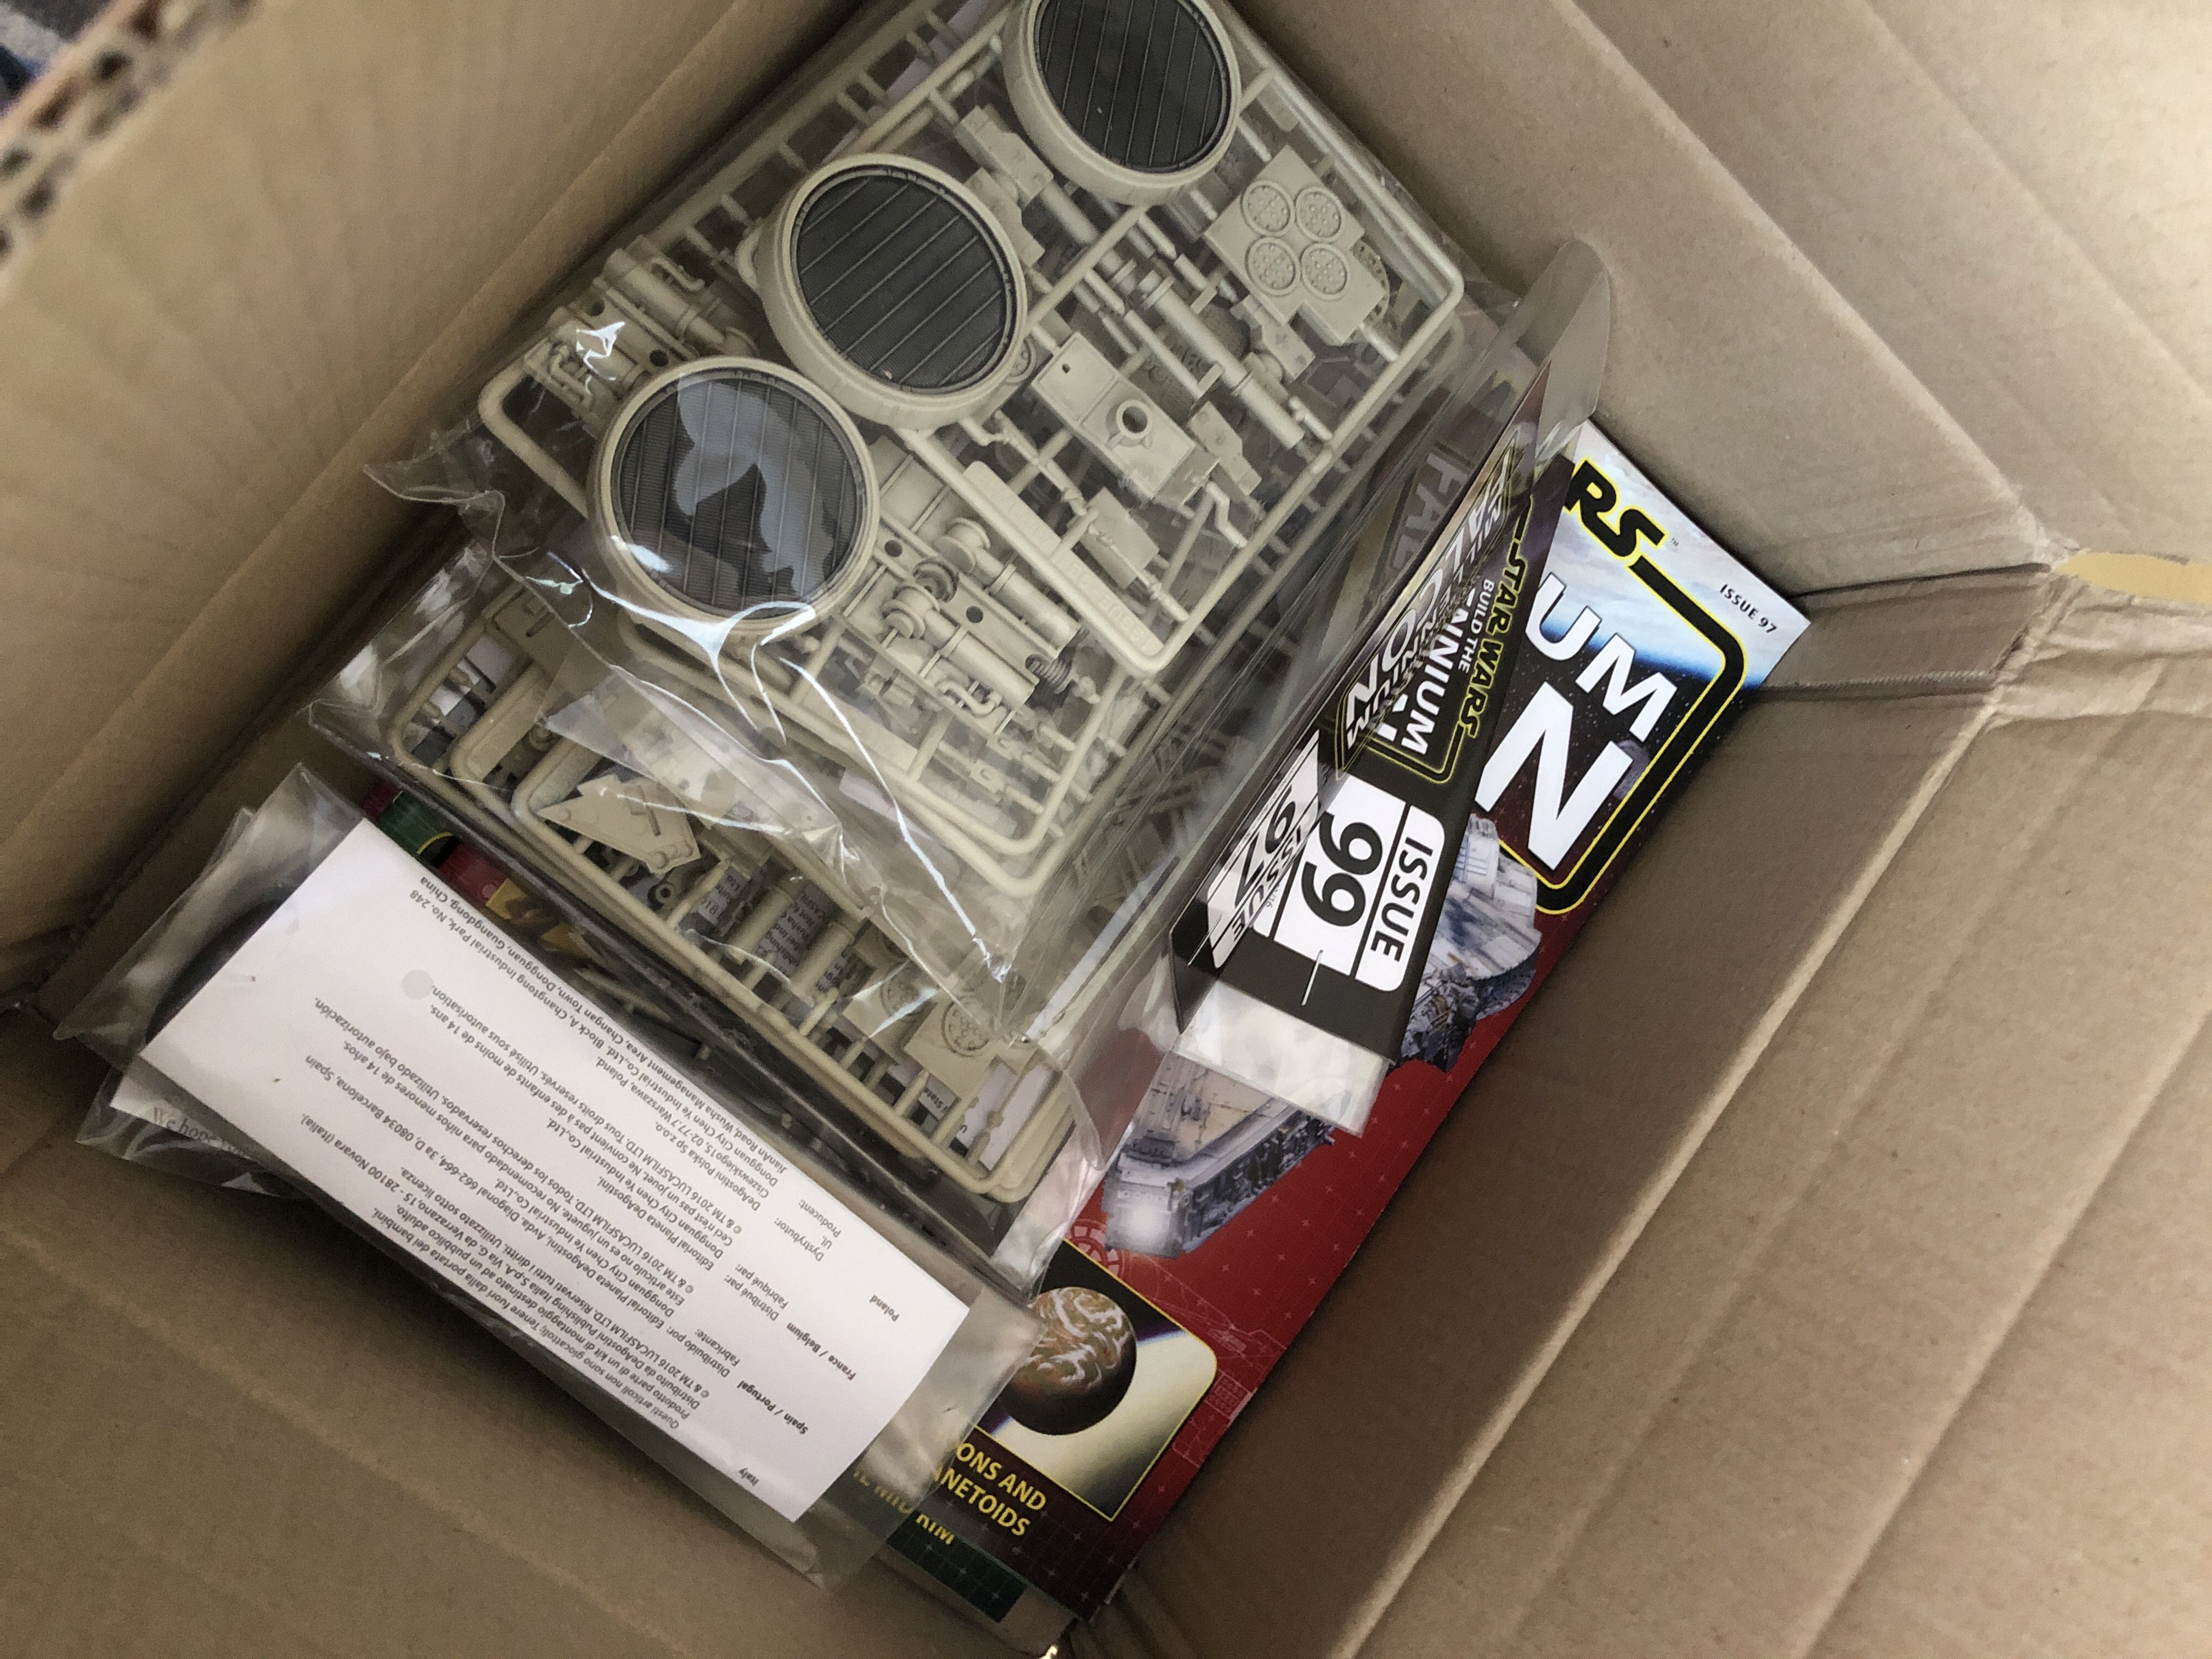
It’s been quite the journey! Issue 25/25 of the ModelSpace Millennium Falcon landed at my front door about two minutes ago... That’s a bit over two years of wait, lost shipments, replacement of missing shipments, 3 or 4 moves... now I just need to build the thing...


-
I don’t look anything at all like my profile pic... but I’ll wear a tag with Crazypoet, LSM and one of the stunning LSM Signatures that have been posted over the years
-
Ha! Yep - first time to this conference. I'm planning to be the worst possible combination of clueless tourist and kid in a candy store!
-
That interior is stunning!
-
Need to find some way to identify each-other... Secret handshake? Specific color of shot-glass? LSM Logo on our conference badges?
-
This looks like a fun conversion! Watching with interest...
-
HK 1/32 B-17G 96th BG "Ragged But Right"
crazypoet replied to Dennis7423's topic in LSM 1/35 and Larger Work In Progress
I'm still catching up on things after a long break myself - this is gorgeous! I'm happily watching over your shoulder.... -
Soooo.... I'll be at the Nationals Friday and Saturday. Any plans for getting together as a group for a pub-crawl or some such on Friday night? I look forward to putting faces to names!
-
That's an awesome Dauntless! Gives me some inspiration - and I look forward to seeing it there
-
Hmmm... i’m Wondering if their 1:32 turnbuckles could work on a 1:24 boat y’all have given me food for thought!
-
Thanks! Despite my intermittent complaints, I love the challenge of research and re-engineering from first principles when docs don’t exist. tech and material-wise, this thing is something akin to Frankenstein ‘s monster. Wood mostly, but also plastic, brass, white metal, 3D printed resin, copper, fiber (I recall that there’s some dryer lint and a few acorns as well!)... that’s been part of the fun, learning new materials and new techniques along the way
-
What is on your bench right now ? Share a picture :)
crazypoet replied to Martinnfb's topic in Modelling Discussion
I need to dig back into the archives to identify which extra bits I picked up. i know I have a couple cockpit mods, some lighting mods and an engine mod, but my poor brain is a bit fuzzy on specifics - i’ll Have to brush aside a thriving spider colony and look! -
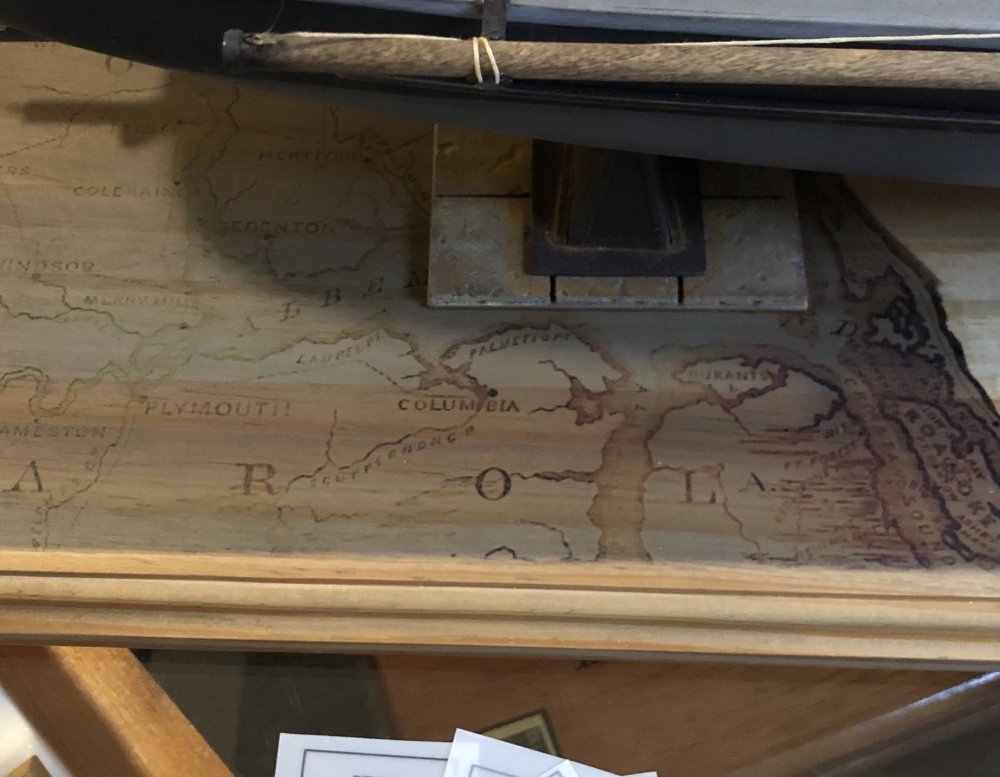
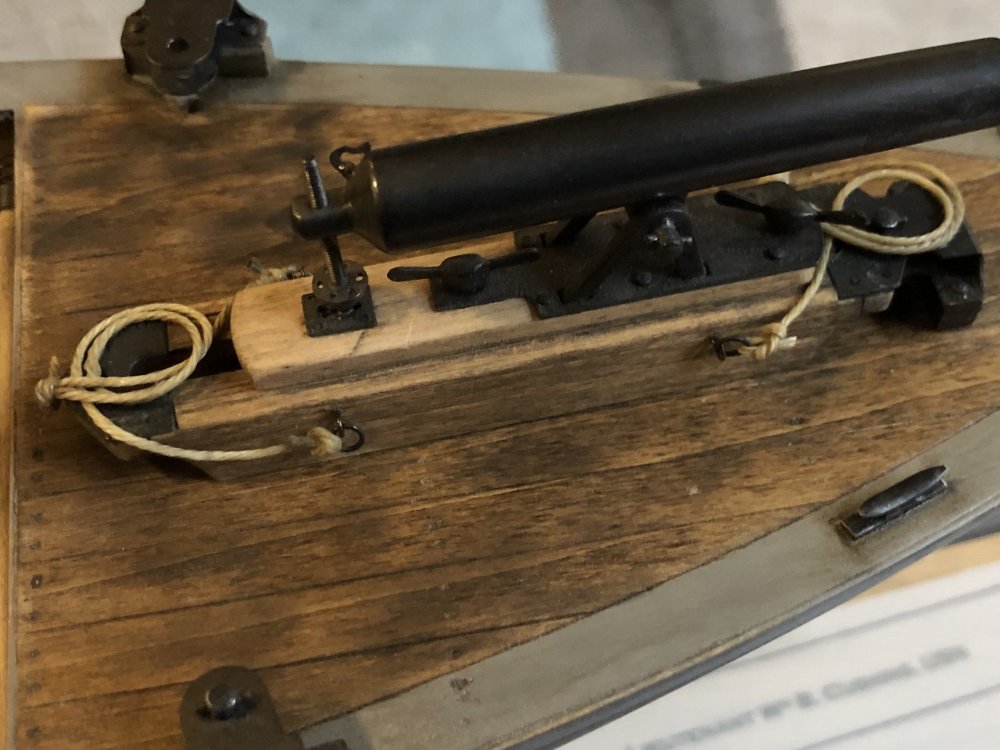
Training Lines done on the carriage - at least so far as my best guess can take me! I also got the first of the big dry transfer decals on the base - an old map of the Albemarle Sound region, where the Actions surrounding October 24 1864 occurred... i still need to finish the torpedo rigging, ammo chests and a few more details on the base... but...PROGRESS!

-
Sweet build - glad you made it through!
-
Nice work!!! I look forward to seeing the rest of the build
-
What is on your bench right now ? Share a picture :)
crazypoet replied to Martinnfb's topic in Modelling Discussion
That’s a bit that I don’t have - i’ll happily buy it from ya! -
What is on your bench right now ? Share a picture :)
crazypoet replied to Martinnfb's topic in Modelling Discussion
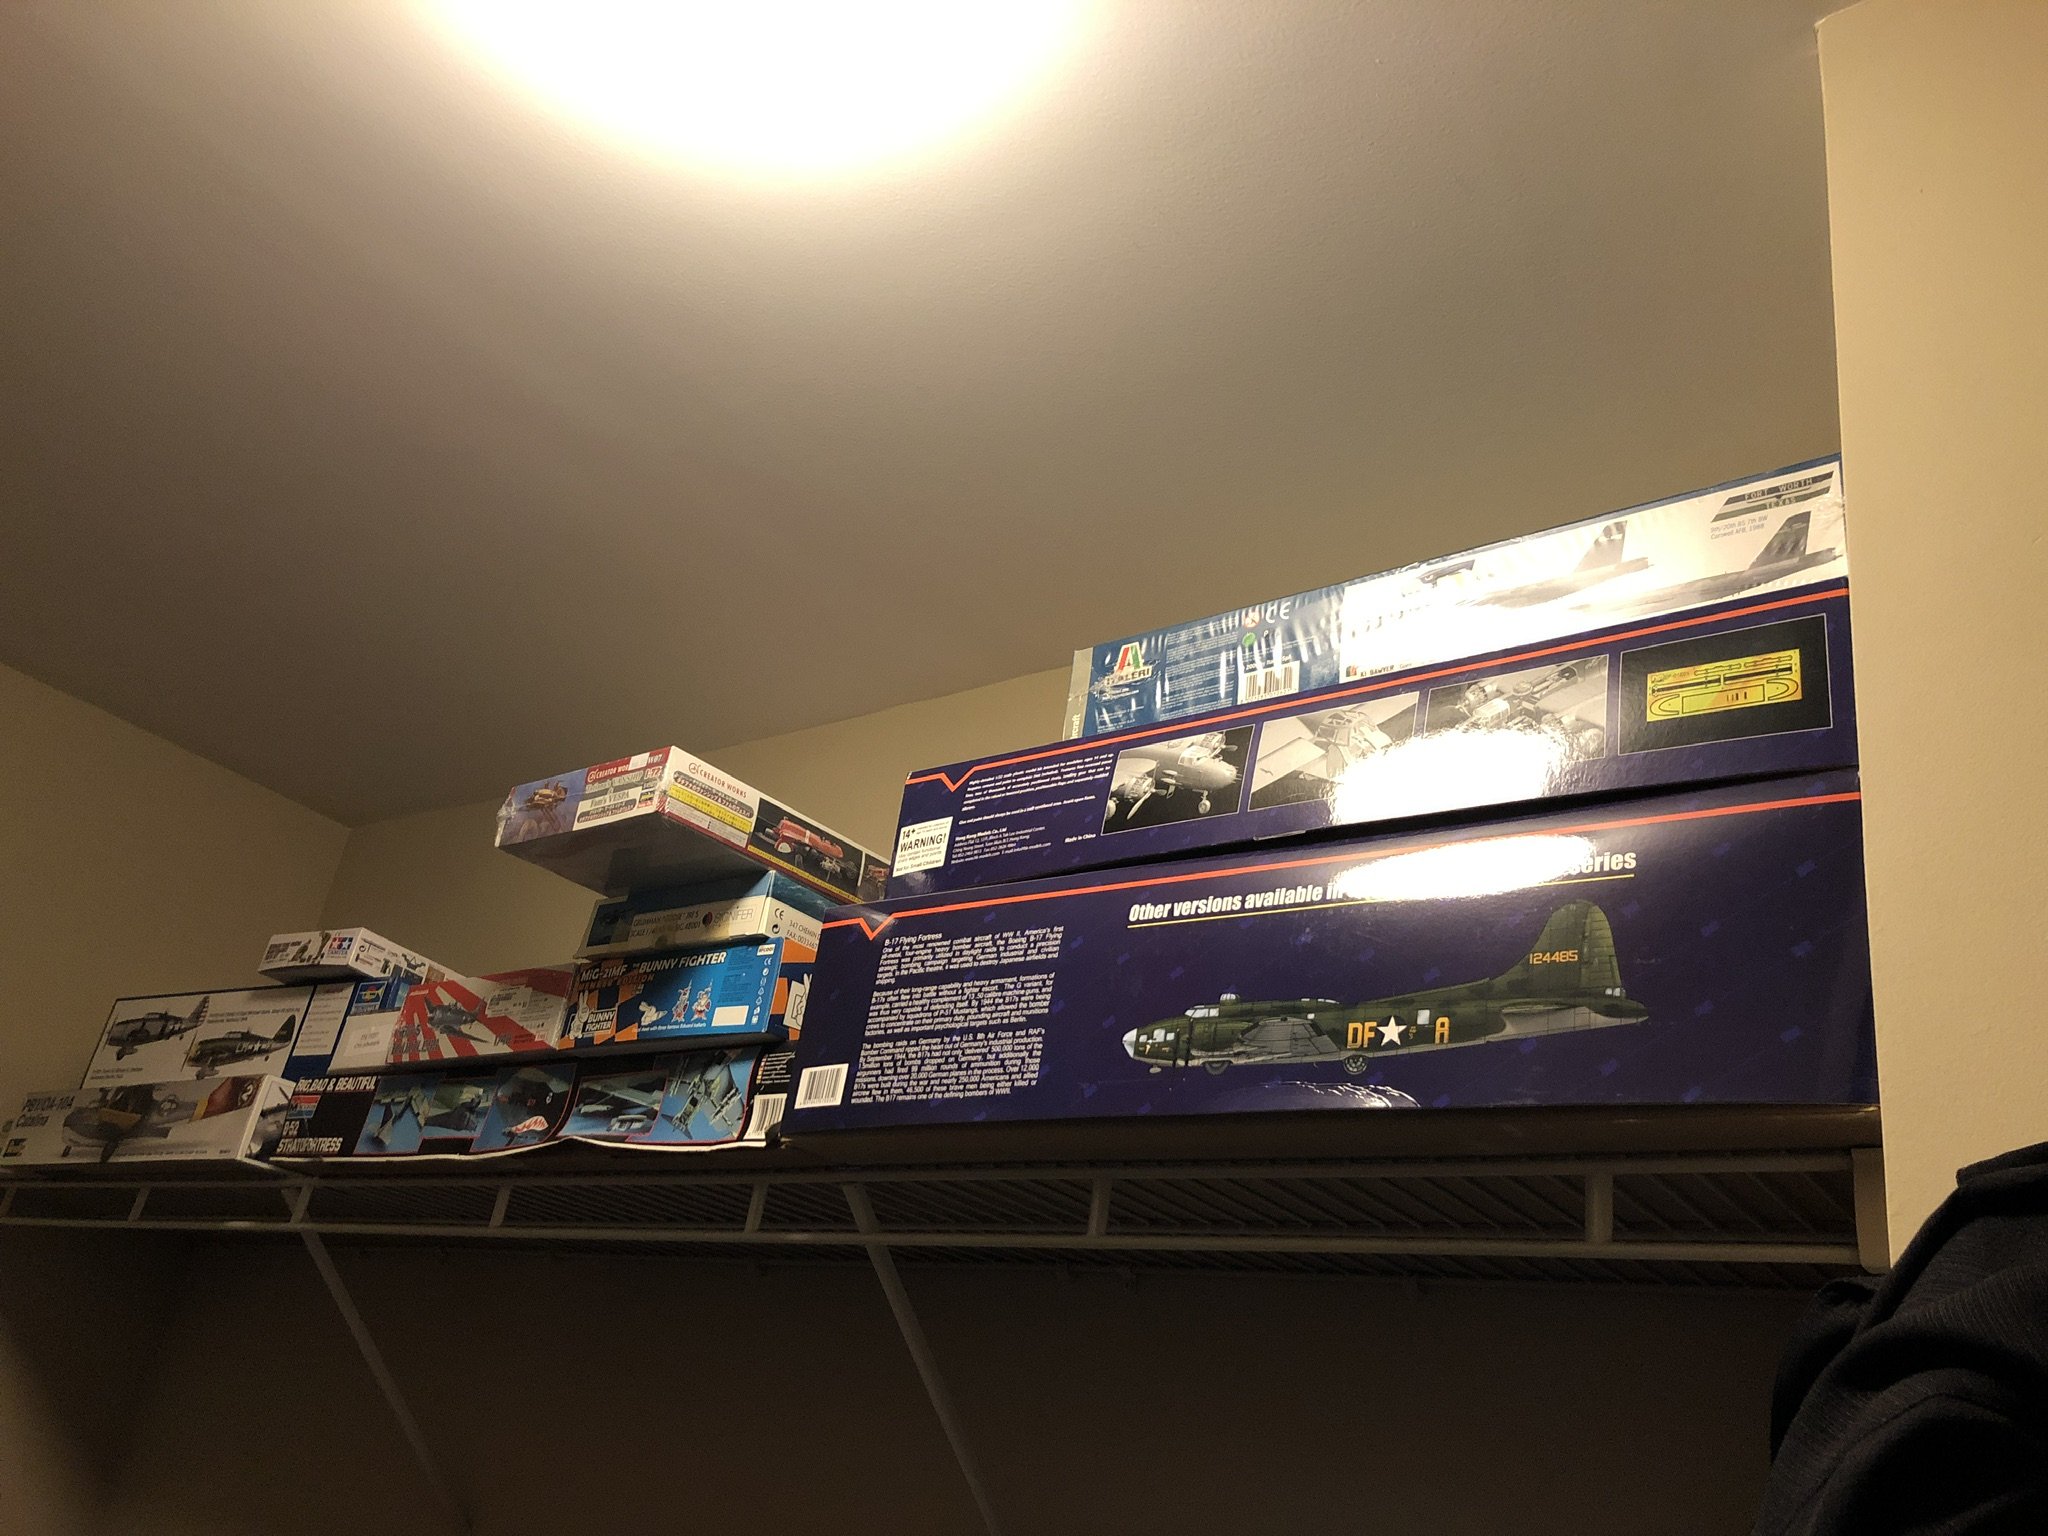
I need to clear the [expletive deleted] Picket Boat off the bench so I can get a running start on the next project. I’ve had some of these waiting so long that the spiders living in the boxes have had time to evolve into entirely new species...! That pile of ModelSpace boxes on the floor? That’s 24 out of 25 shipments of the ModelSpace Millennium Falcon... the last box should arrive this week... and i’ve already squirreled away a boatload of aftermarket mods to make it even more fun... whenever I get to it!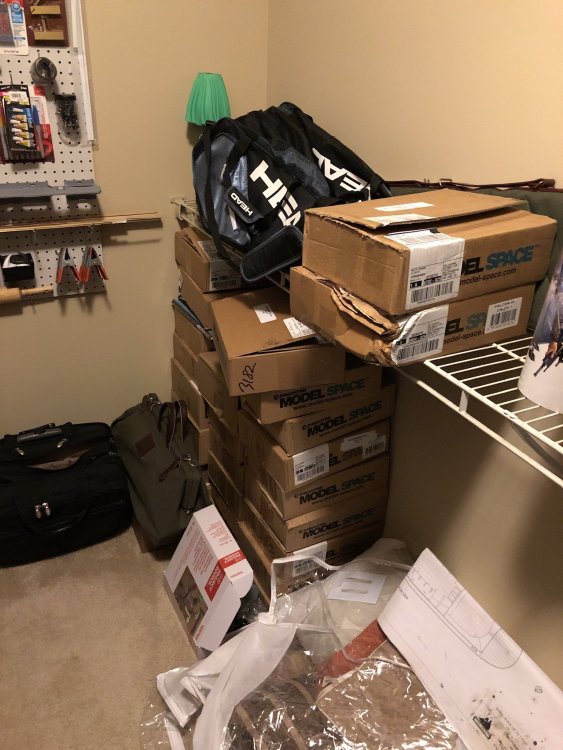

-
Hobby Boss P-61 re-started
crazypoet replied to JohnB's topic in LSM 1/35 and Larger Work In Progress
Sweet! I’m a fan of the P-61, just in general principles. Good to see one here! -
RANT Ok, just venting for a minute. i’ve been nose-down in documentation for this thing all week... you’d think that, given the Navy’s penchant for documenting *everything* (including, for instance, how many times to strike a cannon-wad forming jig with a hammer while forming the wad**), that something as standardized as ammunition cases would be well-represented in the literature. ummm. Not. Army ammo cases are *very* well documented, and period examples exist in sufficient quantity to cross-verify. not so the navy. Small arms? No problem - these are well-attested. but fixed ammunition for the boat howitzer? HAH! I have a set of dimensions for the case (from the Navy Ordnance Manual - exactly where it should be), so that’s not at issue. question is... What color was the damned thing, and how was it marked??? My best guesses of the moment are either blue with white letters (as used for navy small arms ammo boxes) or buff with black letters as specified for army pre-packed canister. Given that the navy packaged their ammo differently (9 rounds per box for the navy vs 8 rounds per box for the army) there’s no specific reason for them to use the army paint scheme, but then there’s no reason *not* to, either... i’m going to flip a coin, have a double gin-n-tonic and make it up. /RANT ** the answer is 21 times, with moderate force, in sets of 3 strikes. Now you know