
Kaireckstadt
-
Posts
1,705 -
Joined
-
Last visited
Content Type
Profiles
Forums
Events
Gallery
Everything posted by Kaireckstadt
-
 Nice start on the build! Are the wheels already glued? How can this be painted if it is so ?
 -
That looks great Gary! Used this method of weathering for planes with raised panellines. Works very well!
-
Israeli Mirage III C with Atar9C
Kaireckstadt replied to Kaireckstadt's topic in LSM 1/35 and Larger Work In Progress
Thank you all for your nice feedback! The rockets aren’t the best since they not only lack details but also have to be bent straight. @ Hubert: here‘s a short list what I still have to do: - Finish and weather rockets and rails - Finish weathering of tanks and pylons - Assemble landing gear and doors - Airbrush matte cote - Attach tanks and rockets - Add missing details to windscreen and canopy - Add position lights to vertical tail - Weather the panellines where crossed by decals with a pencil - Weather the upper/ lower side of the plane with soot and oil stains where necessary - Start preparation of a diorama base These steps are not in the correct sequence. Just how they came into my mind. Consequence: 2 Kilos more and drastical price increase for popcorn in Portugal! -
I‘m not an expert but this looks very convincing to me. This will be an interesting build! Which version will you choose?
-
Israeli Mirage III C with Atar9C
Kaireckstadt replied to Kaireckstadt's topic in LSM 1/35 and Larger Work In Progress
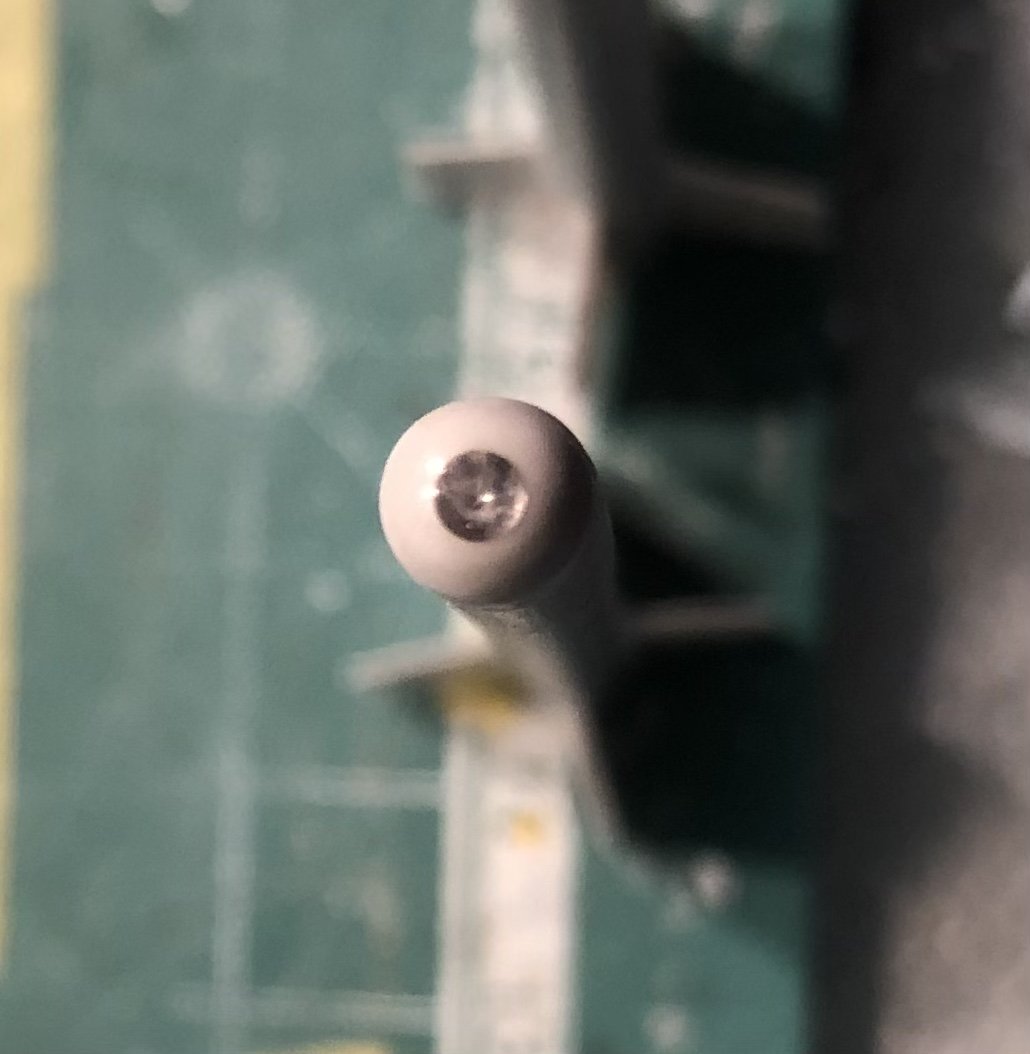
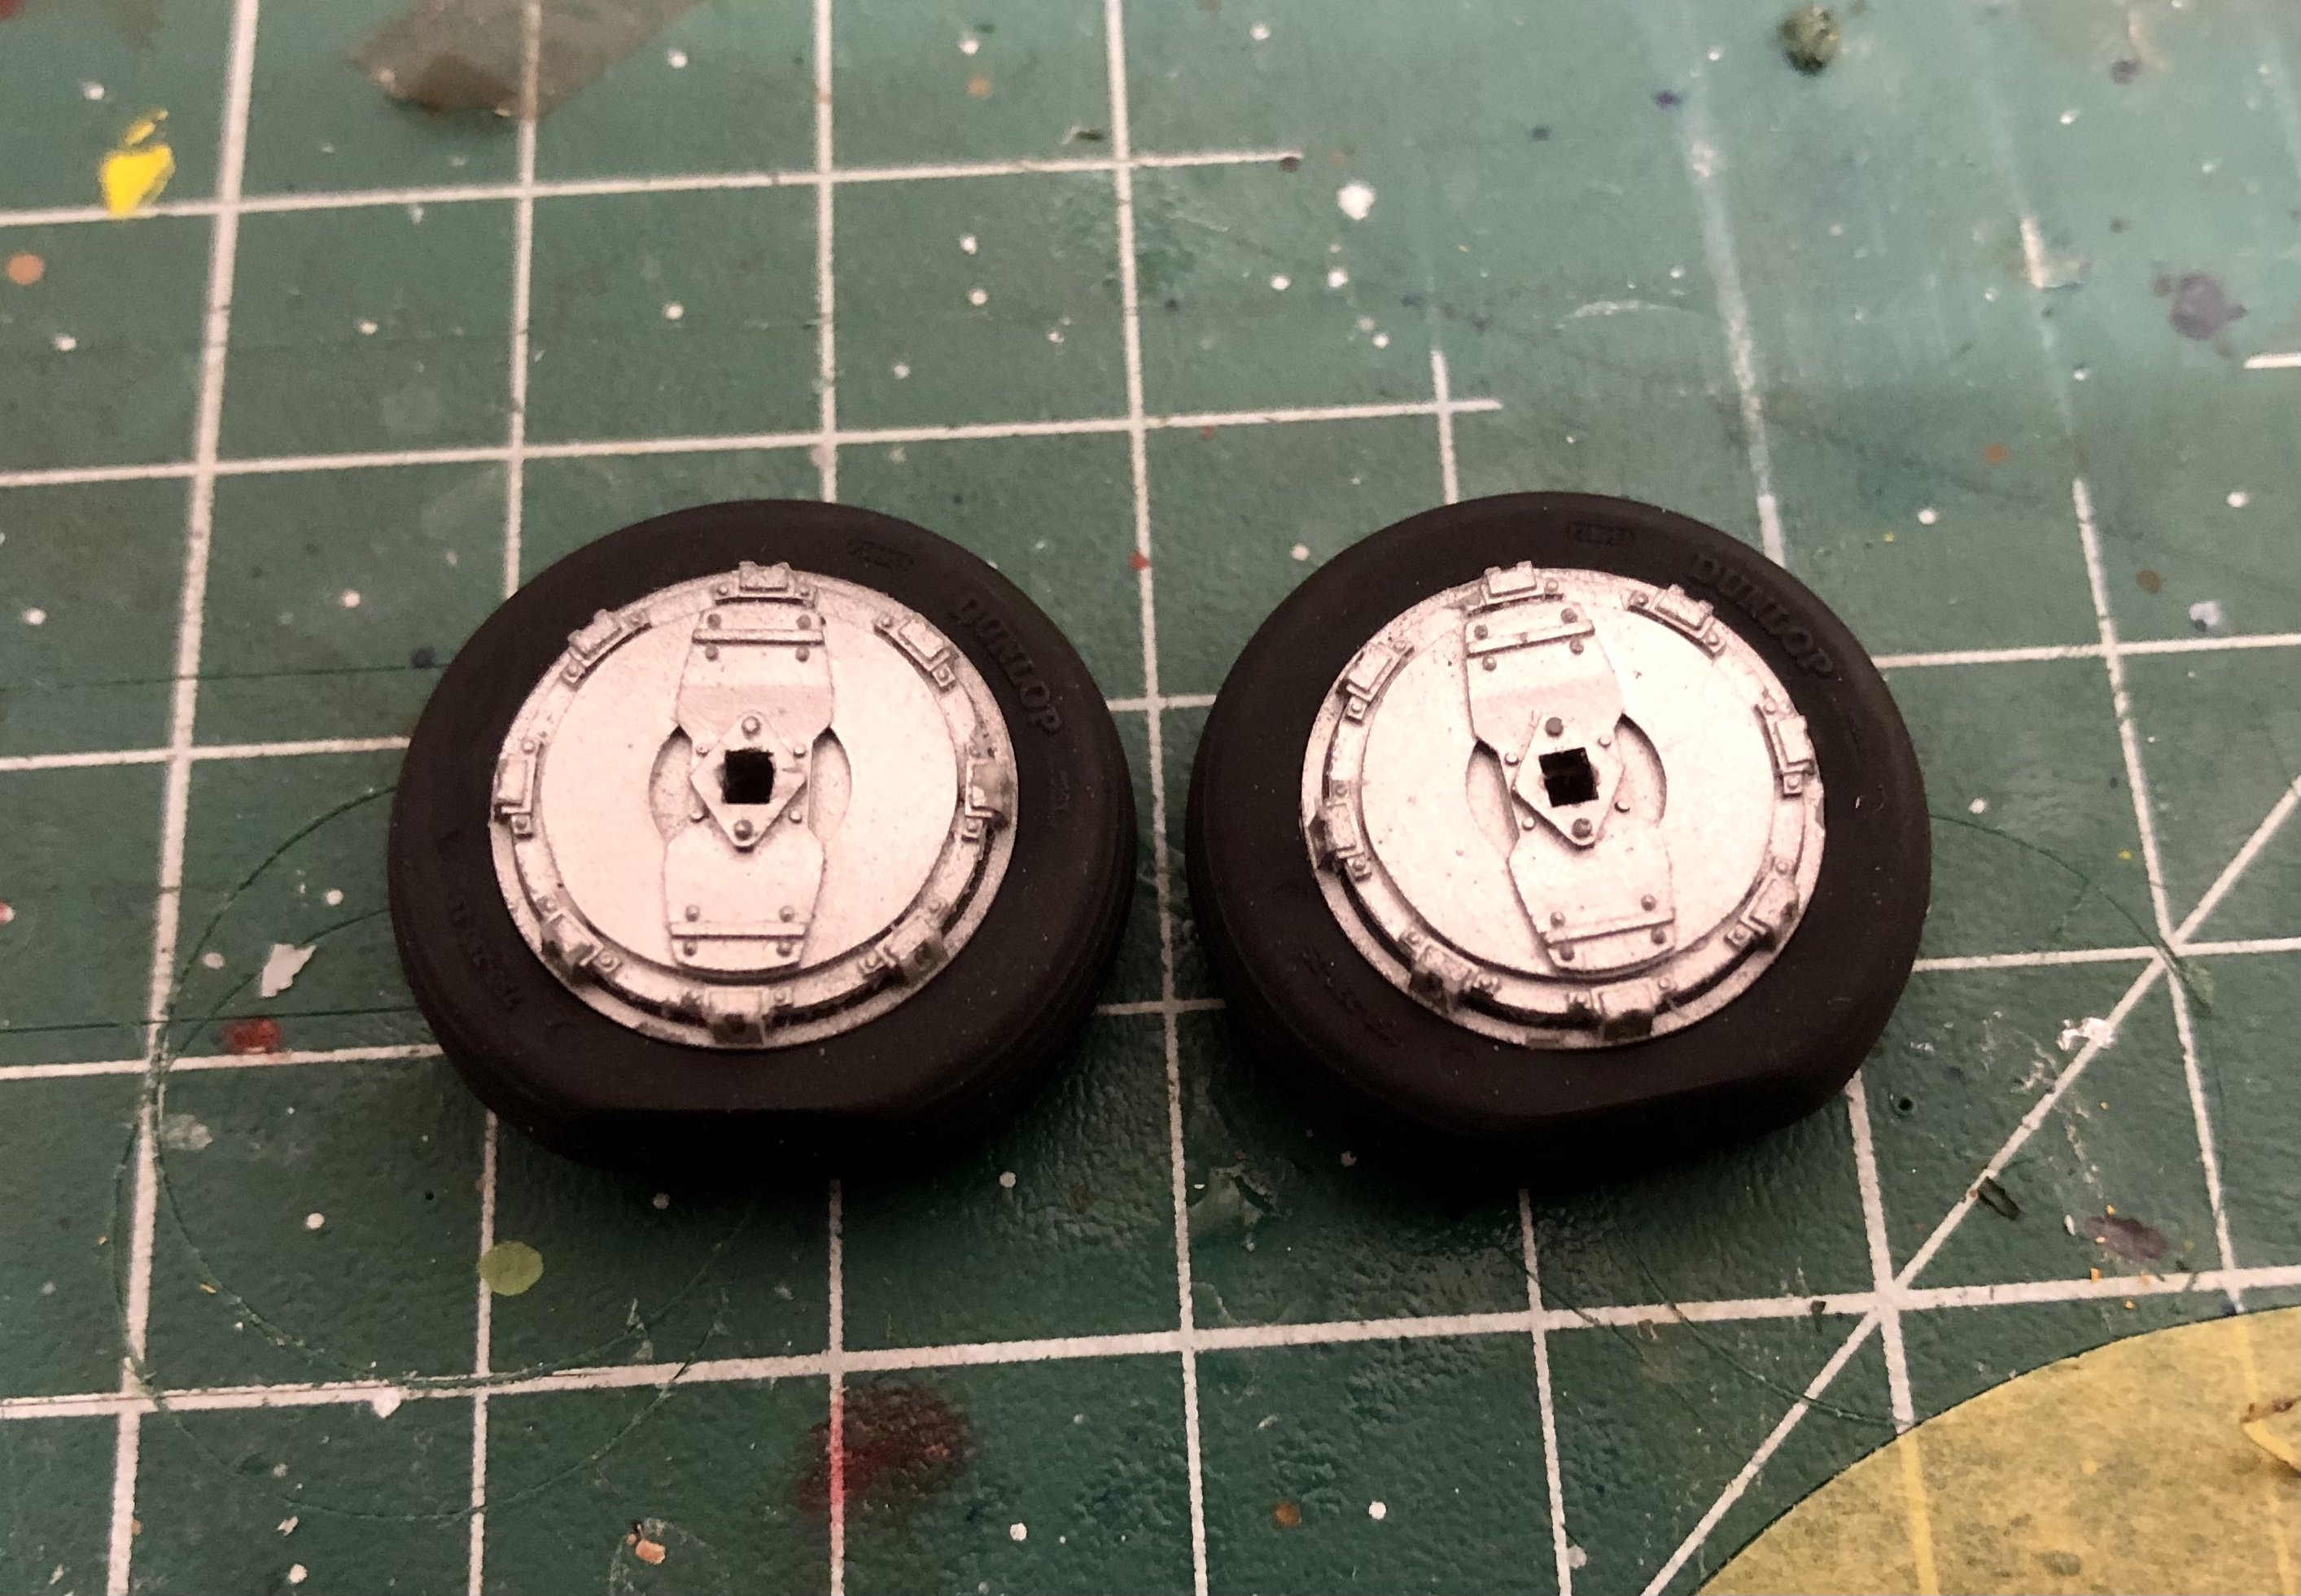
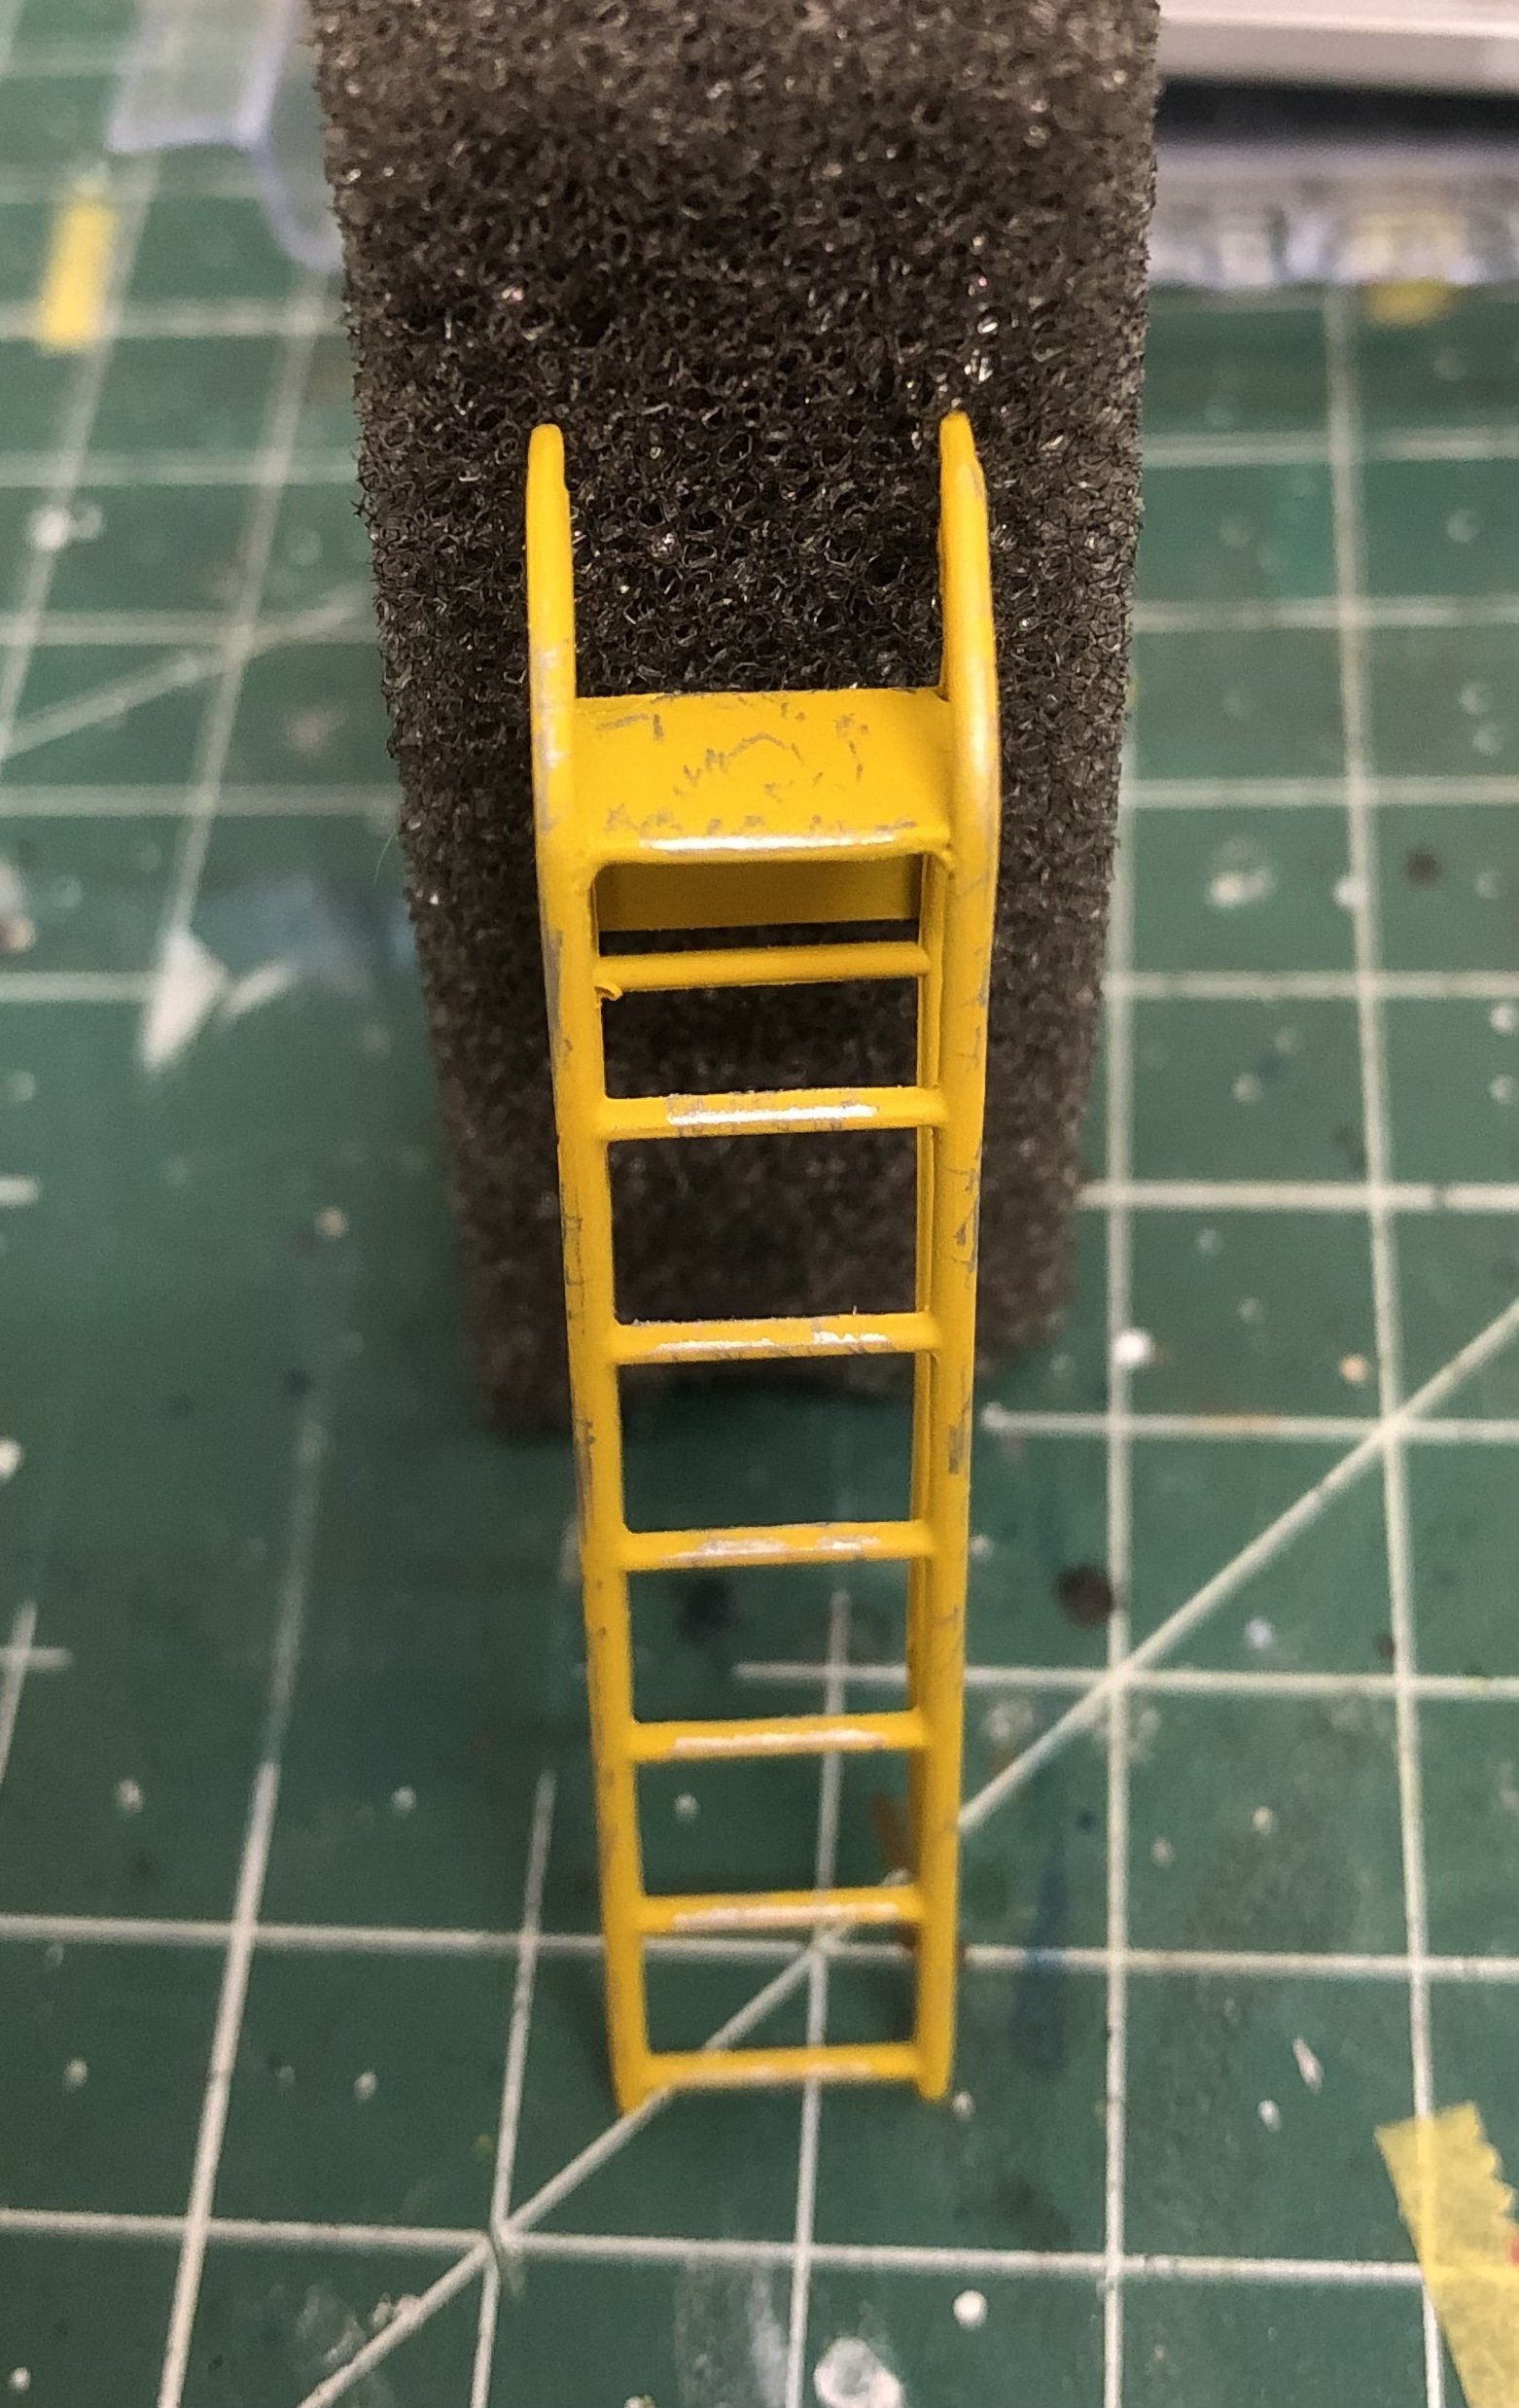
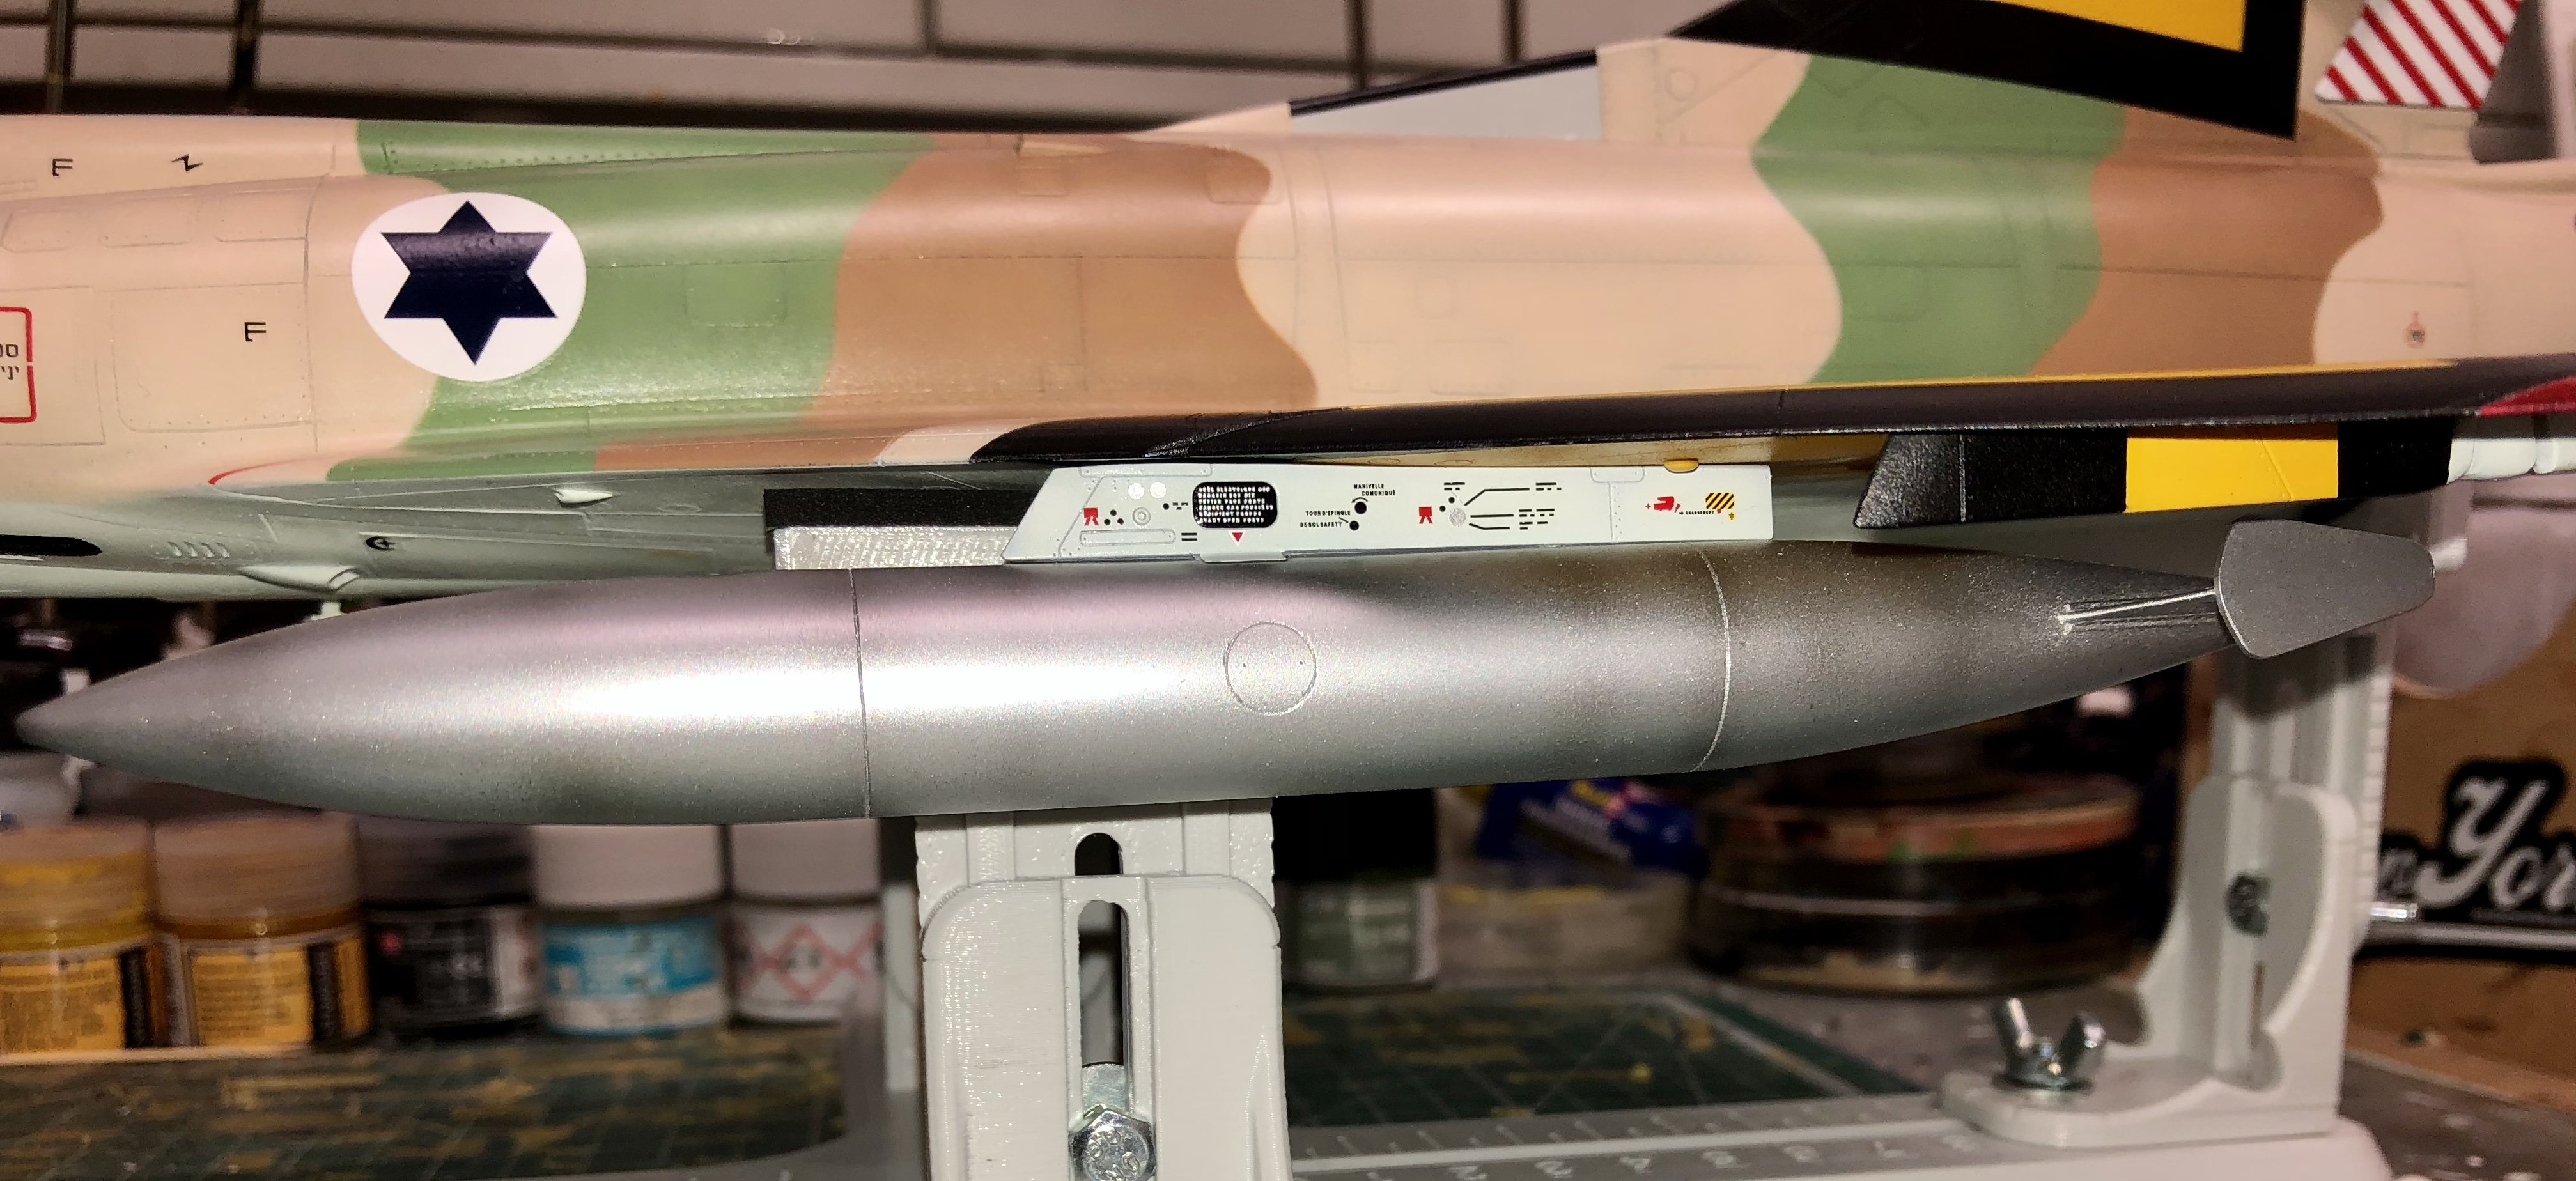
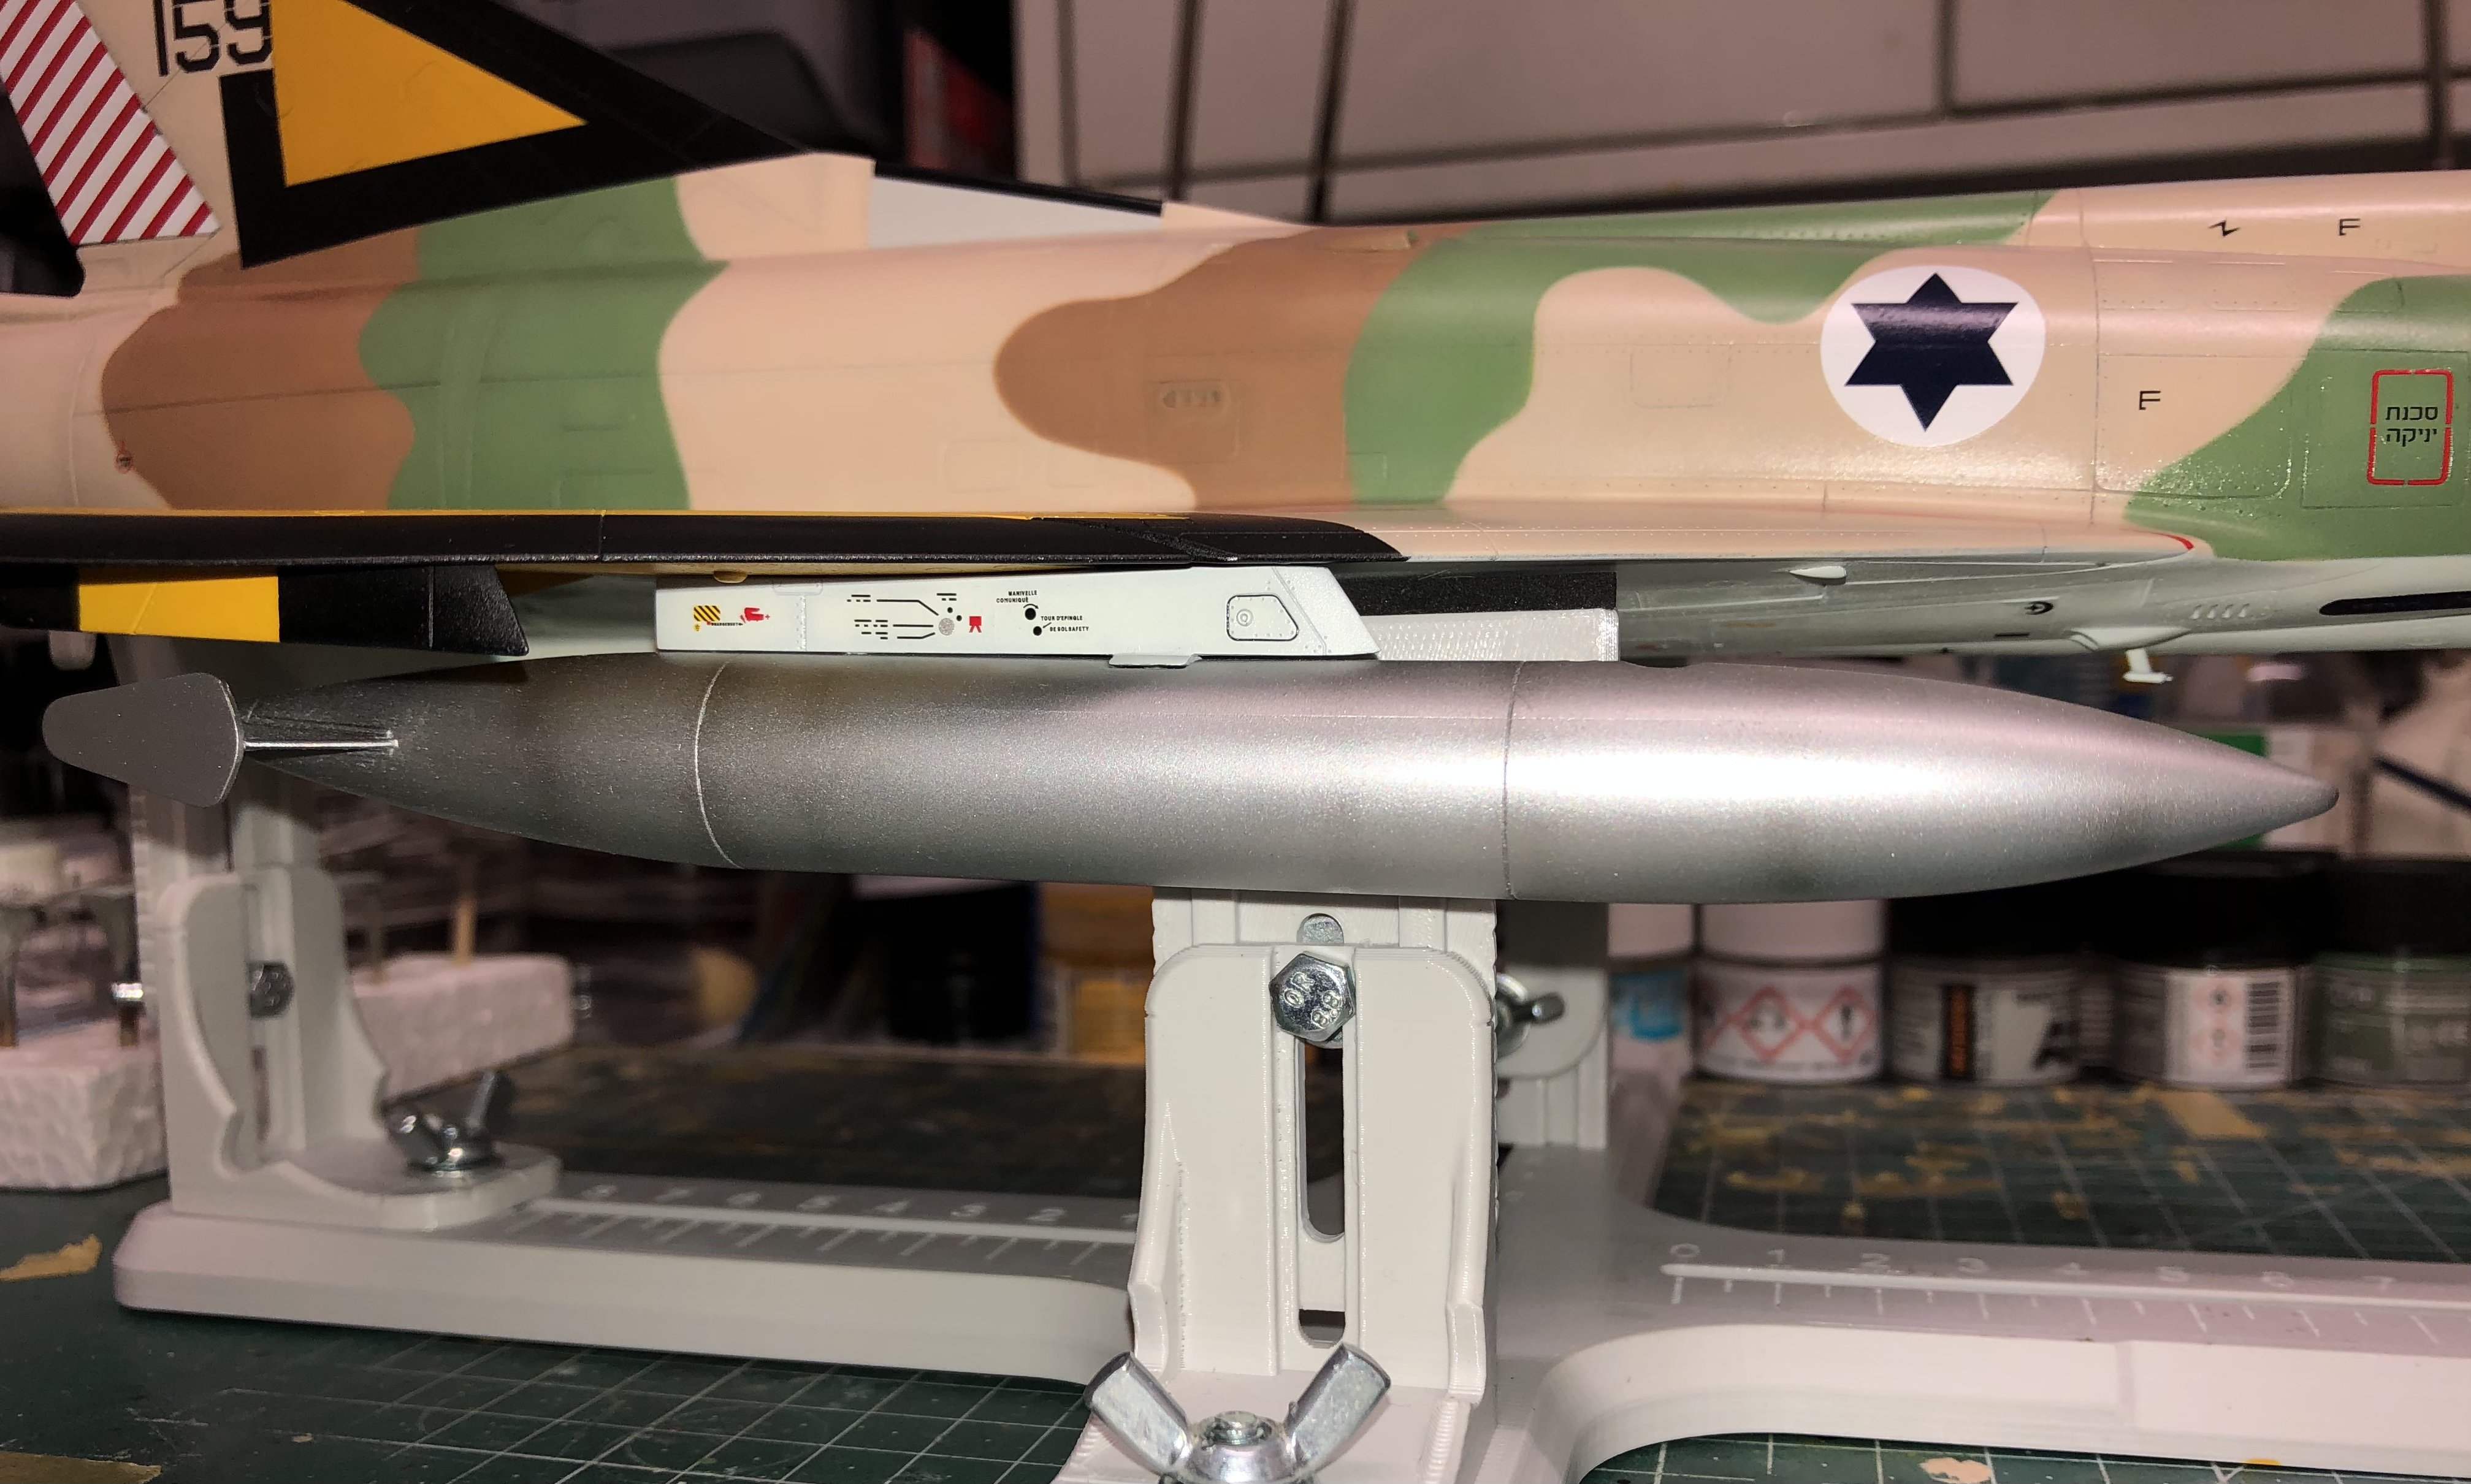
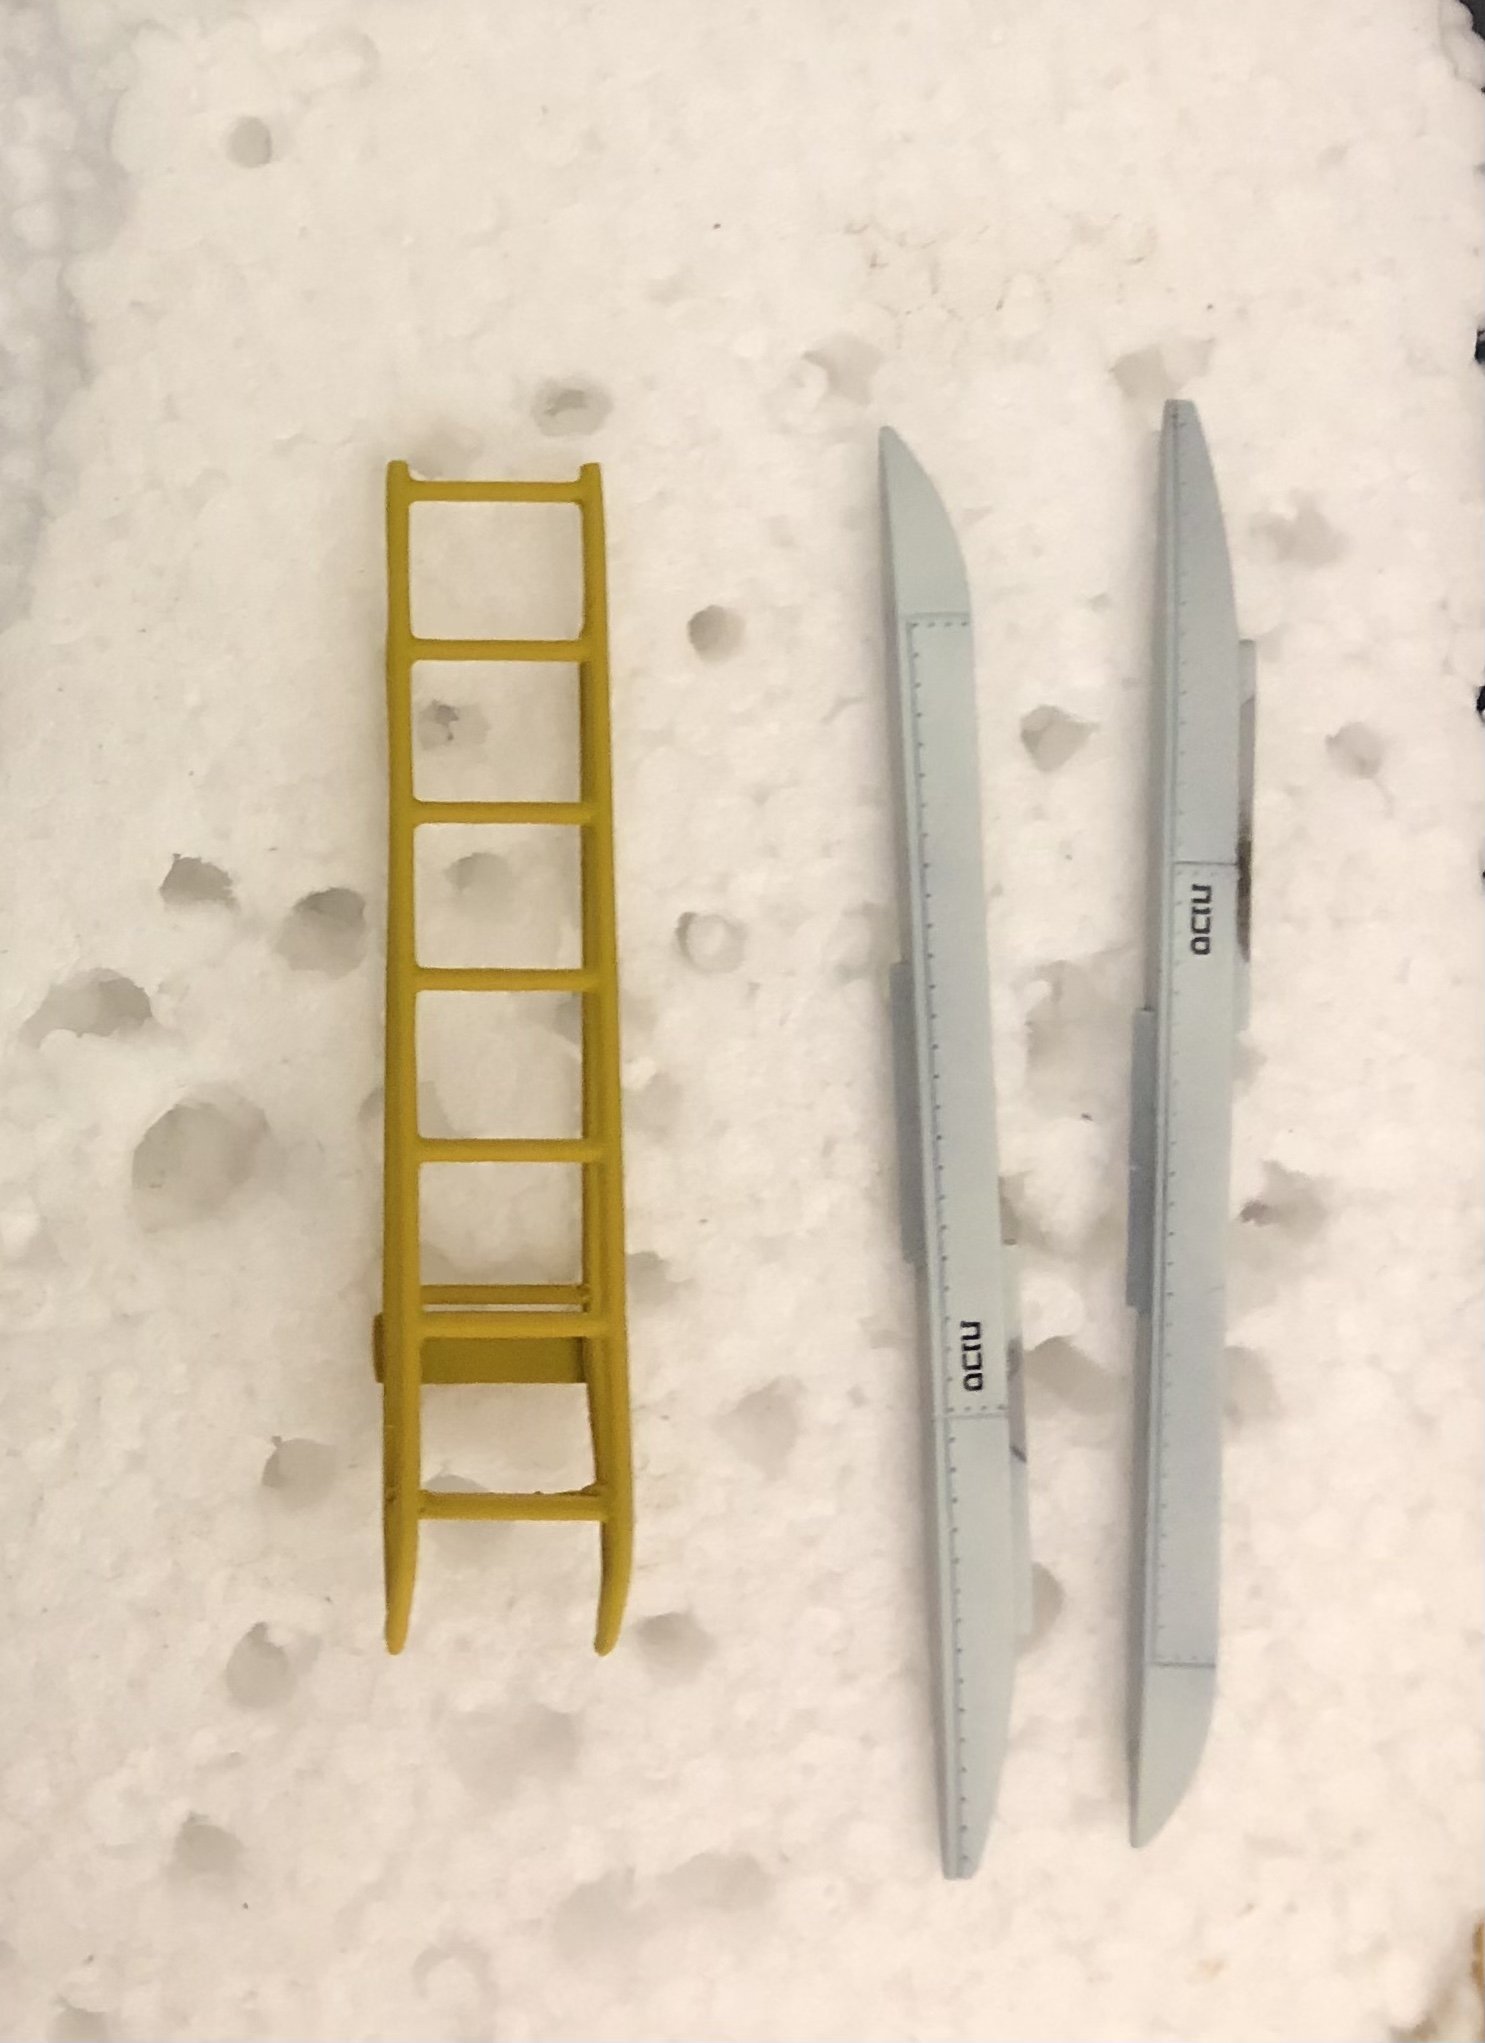
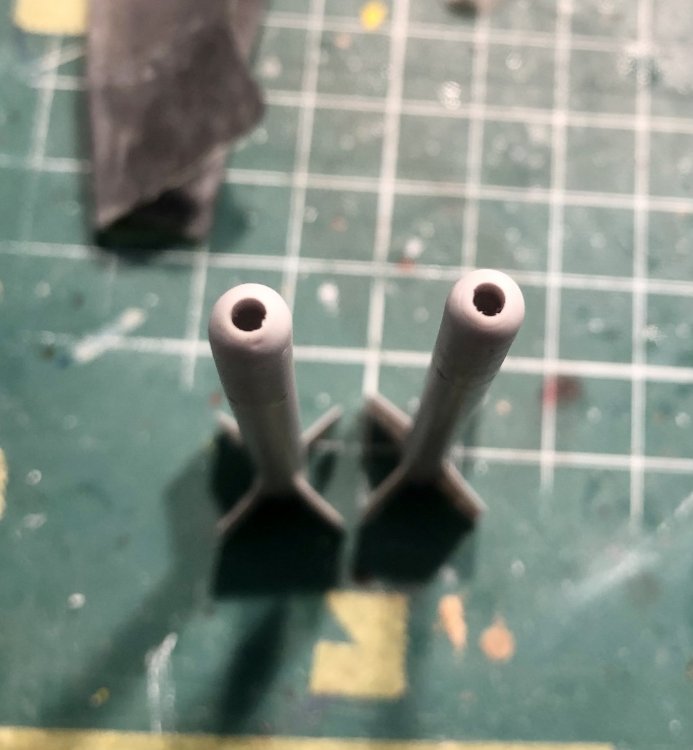
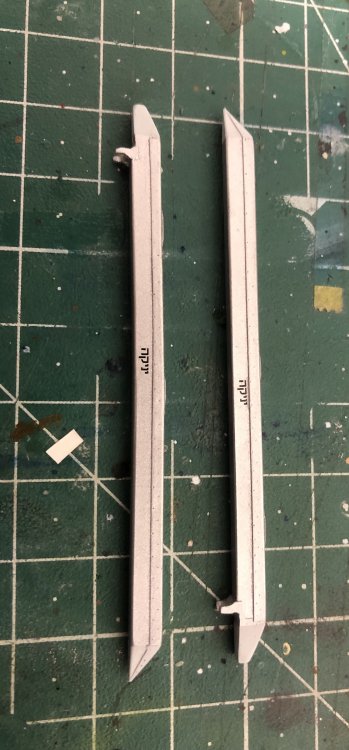
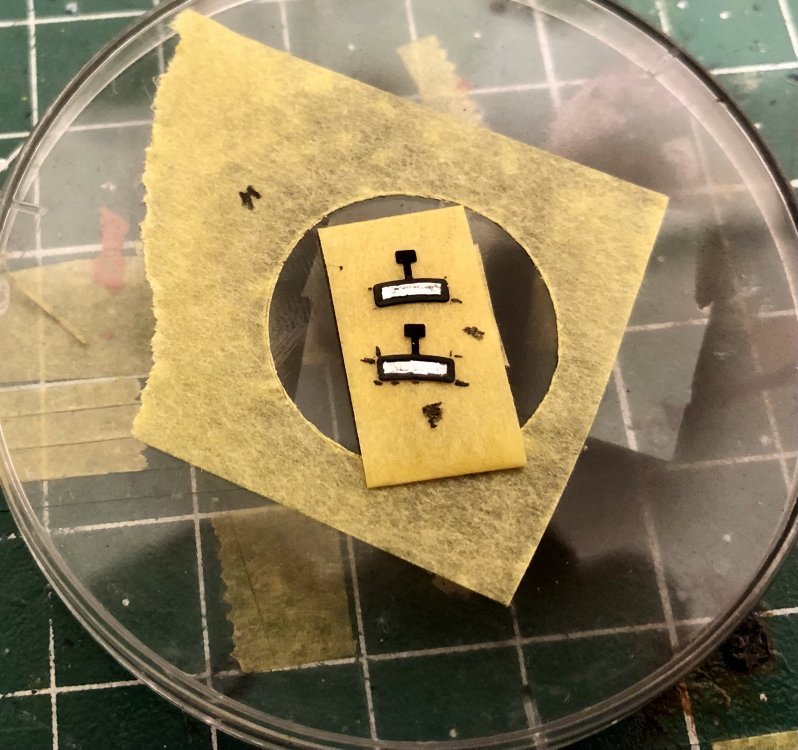
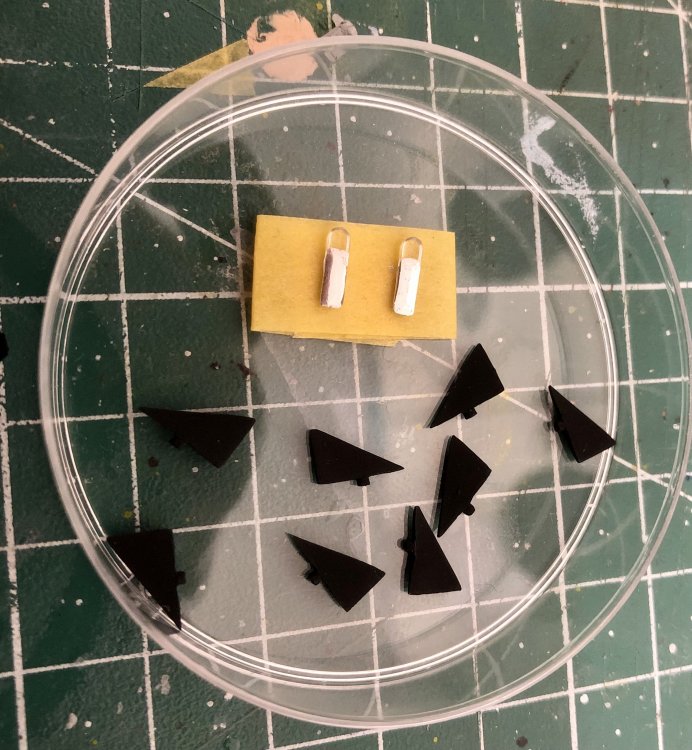
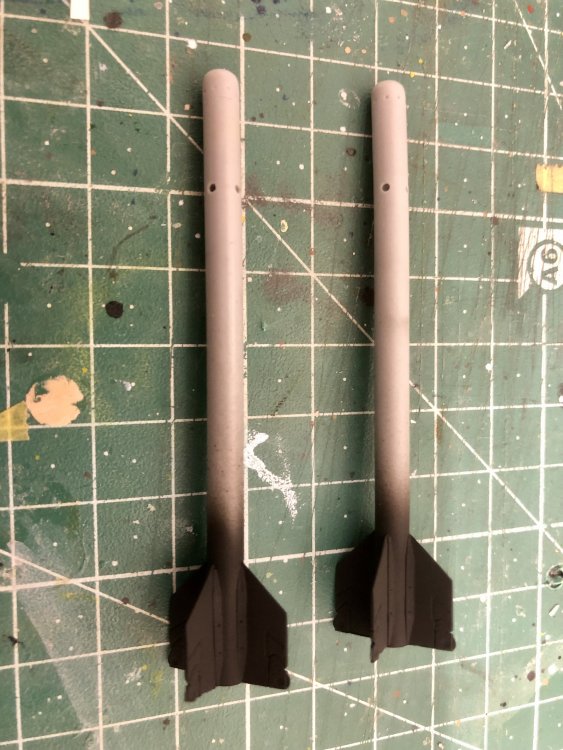
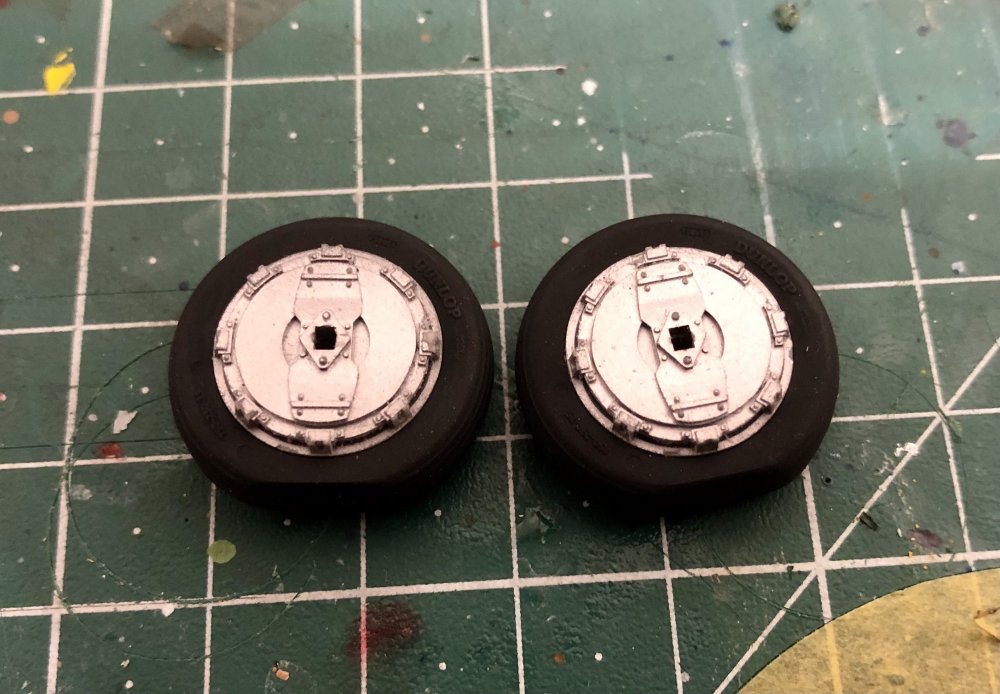
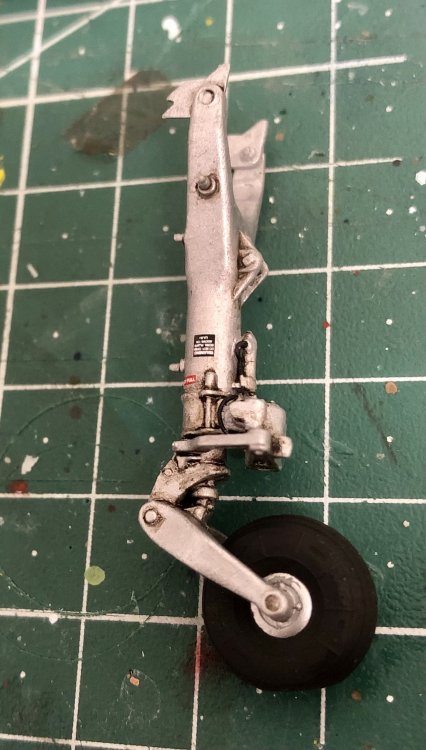
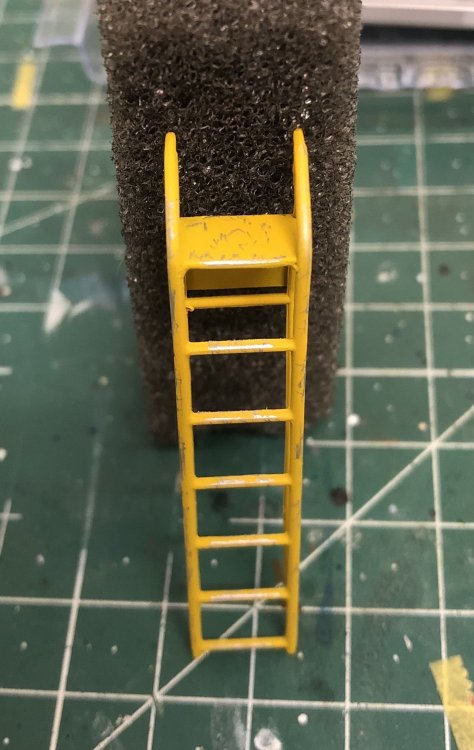
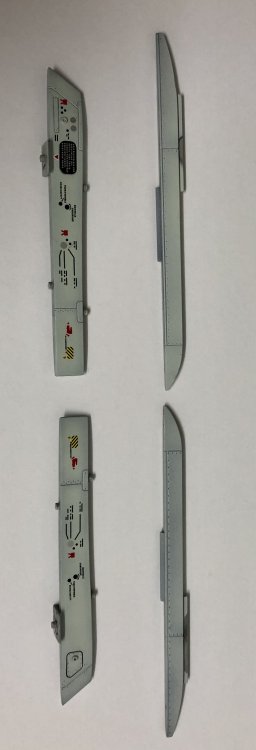
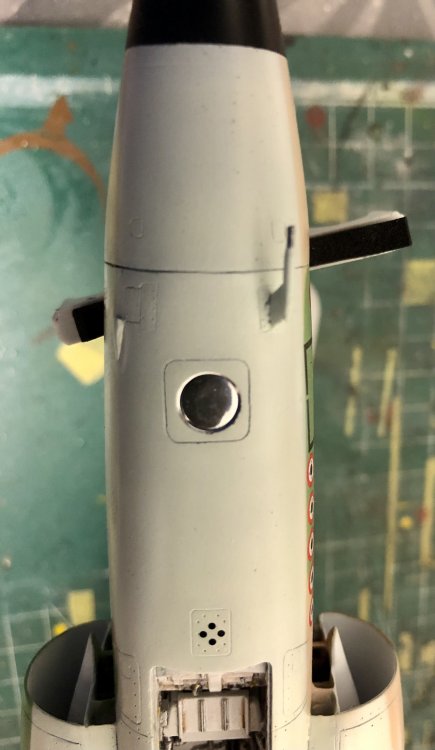
And here is the result of speeding up: The rocket rails for the Shafrir2 Rockets are painted. The kit ones I already finished are wrong and can’t be used: They are painted silver with pale blue front and rear tip. Weathering still to be done. Added glass-parts to the rocket-nose. Housed an IR-seeker. Nothing provided by Isracast: 2mm hole drilled filled with a glass insert. Also started the painting of the rockets and the front fins. It‘s easier to start with the black because it’s much easier to mask for the application of the white: The small glass parts are the position lights for the vertical tail. Since they were switched off on the ground I painted the backside with Molotow chrome. Finished the painting of the wheels and attached the front wheel to the fork: Weathering of the wheels still to be done. Painted the rear view mirrors for the canopy with flat black and Molotow chrome: And finally weathered the ladder with a Prismacolor pencil: That’s all for today. Will go on tomorrow. I speed up Hubert!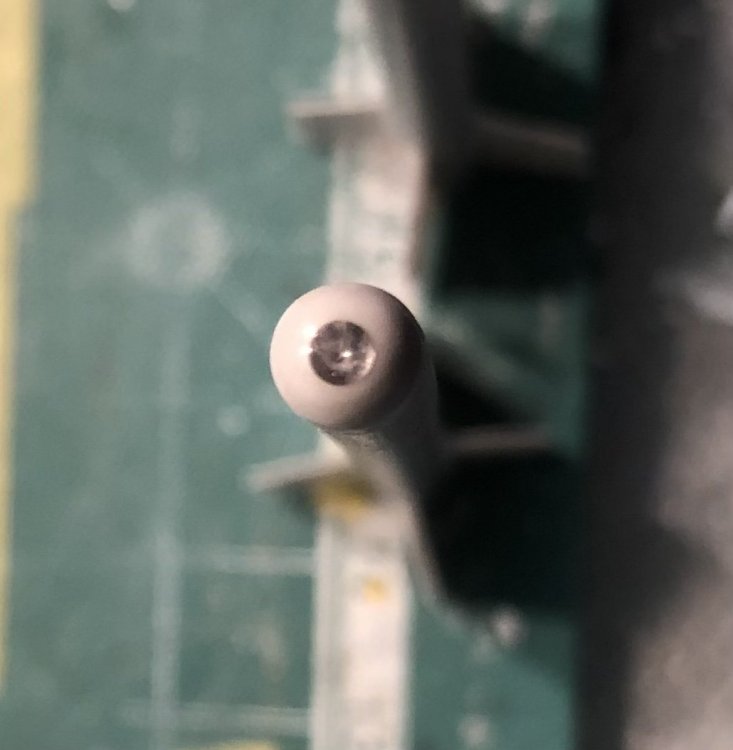

-
Very nice progress Alberto! The light blue and the sand look spot on! You have a holiday place in Tuscany? That‘s one of the most beautiful regions in Italy. Have been there once very close to Siena on an agriculture. Enjoy your stay there!
-
Can you tell us some more about the kit and what you plan regarding the camouflage of the model you plan to build? Is there only the version included in the kit which is shown on the top-box art?
-
Hi Alberto, long time now since your last update. Have you already finished your Mirage? Would be great to see the progress of your build…
-
Israeli Mirage III C with Atar9C
Kaireckstadt replied to Kaireckstadt's topic in LSM 1/35 and Larger Work In Progress
Thanks for your feedback Rob! I will speed up now since I don’t want to be responsible that Hubert has to buy new clothes… BTW: I have to look up all the nice things to eat you mentioned. -
Israeli Mirage III C with Atar9C
Kaireckstadt replied to Kaireckstadt's topic in LSM 1/35 and Larger Work In Progress
Thank you Peter! I‘m moving closer to the finish-line now. Hope that Hubert still has enough popcorn… -
Awesome weapons bay Mark. The weapon tubes look as if they have been just used in a sortie. Well done!
-
That’s my mentality too! Looks very good Gary! And thanks for the tipp with the Blue Tack!
-
Mirage 2000D saved from the shelf
Kaireckstadt replied to mark31's topic in LSM 1/35 and Larger Work In Progress
I remember the Ramstein desaster very well. I‘ve been to the show some years before and was lucky that nothing happened when I was there. Very good choice for your 2-seater livery with the wraparound camo and full load. This will be a stunner when finished! If you want I can take a look into my Italeri Tornado and Academy F/A-18 kit if there are GBU-12s included. If it is so, I could send them to you because I don’t need them. Is this an option for you? Happy modeling! Kai -
Mirage 2000D saved from the shelf
Kaireckstadt replied to mark31's topic in LSM 1/35 and Larger Work In Progress
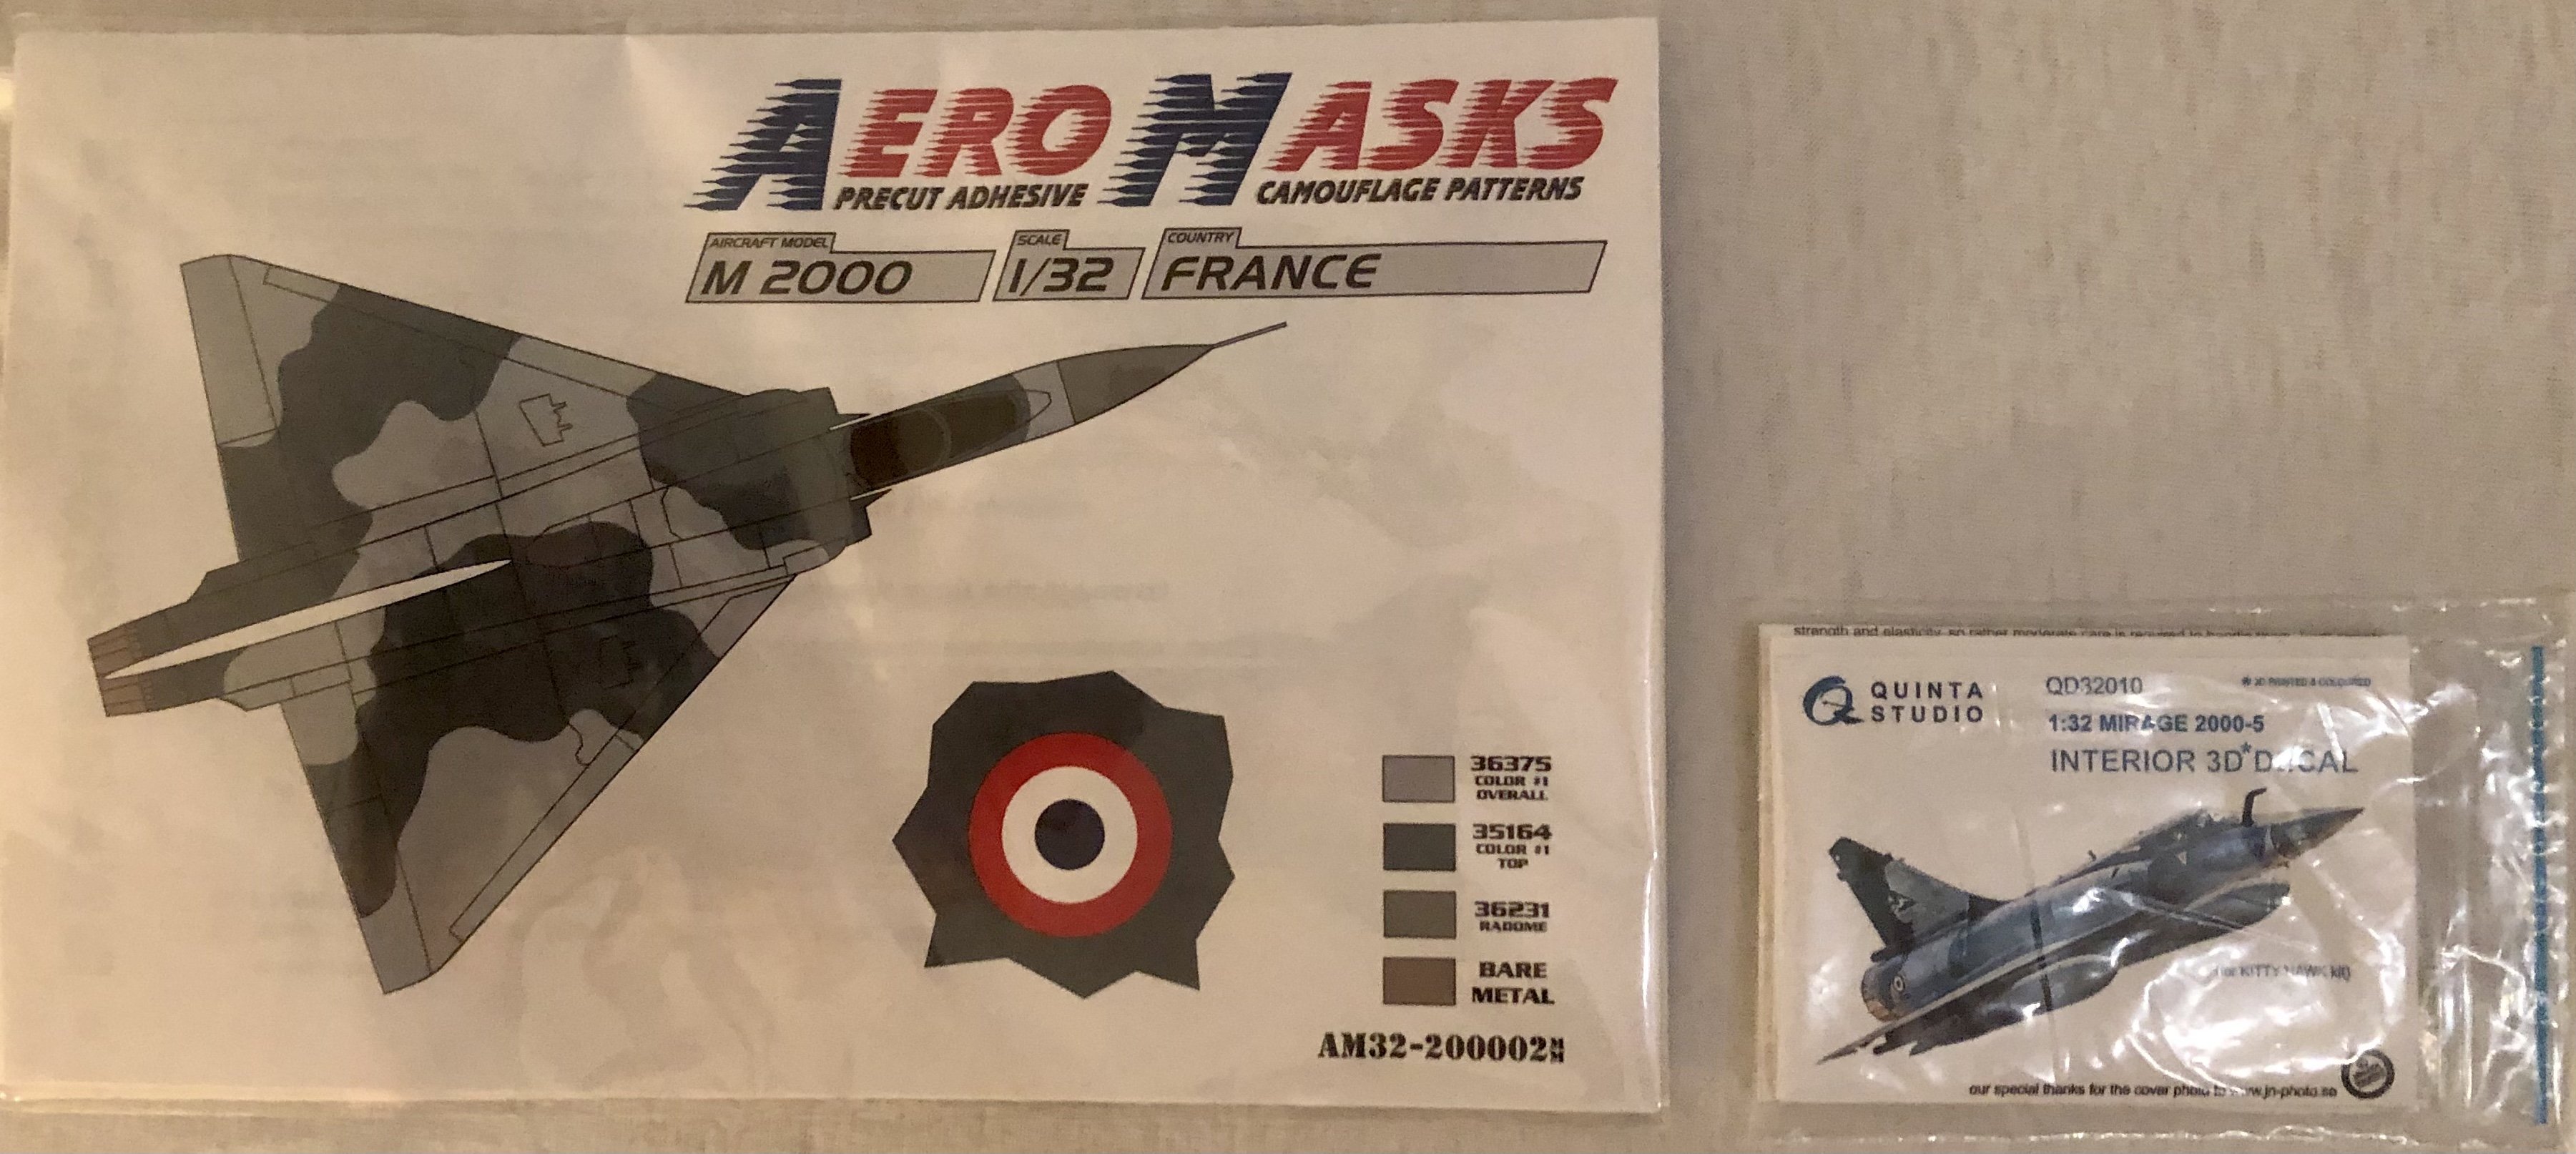
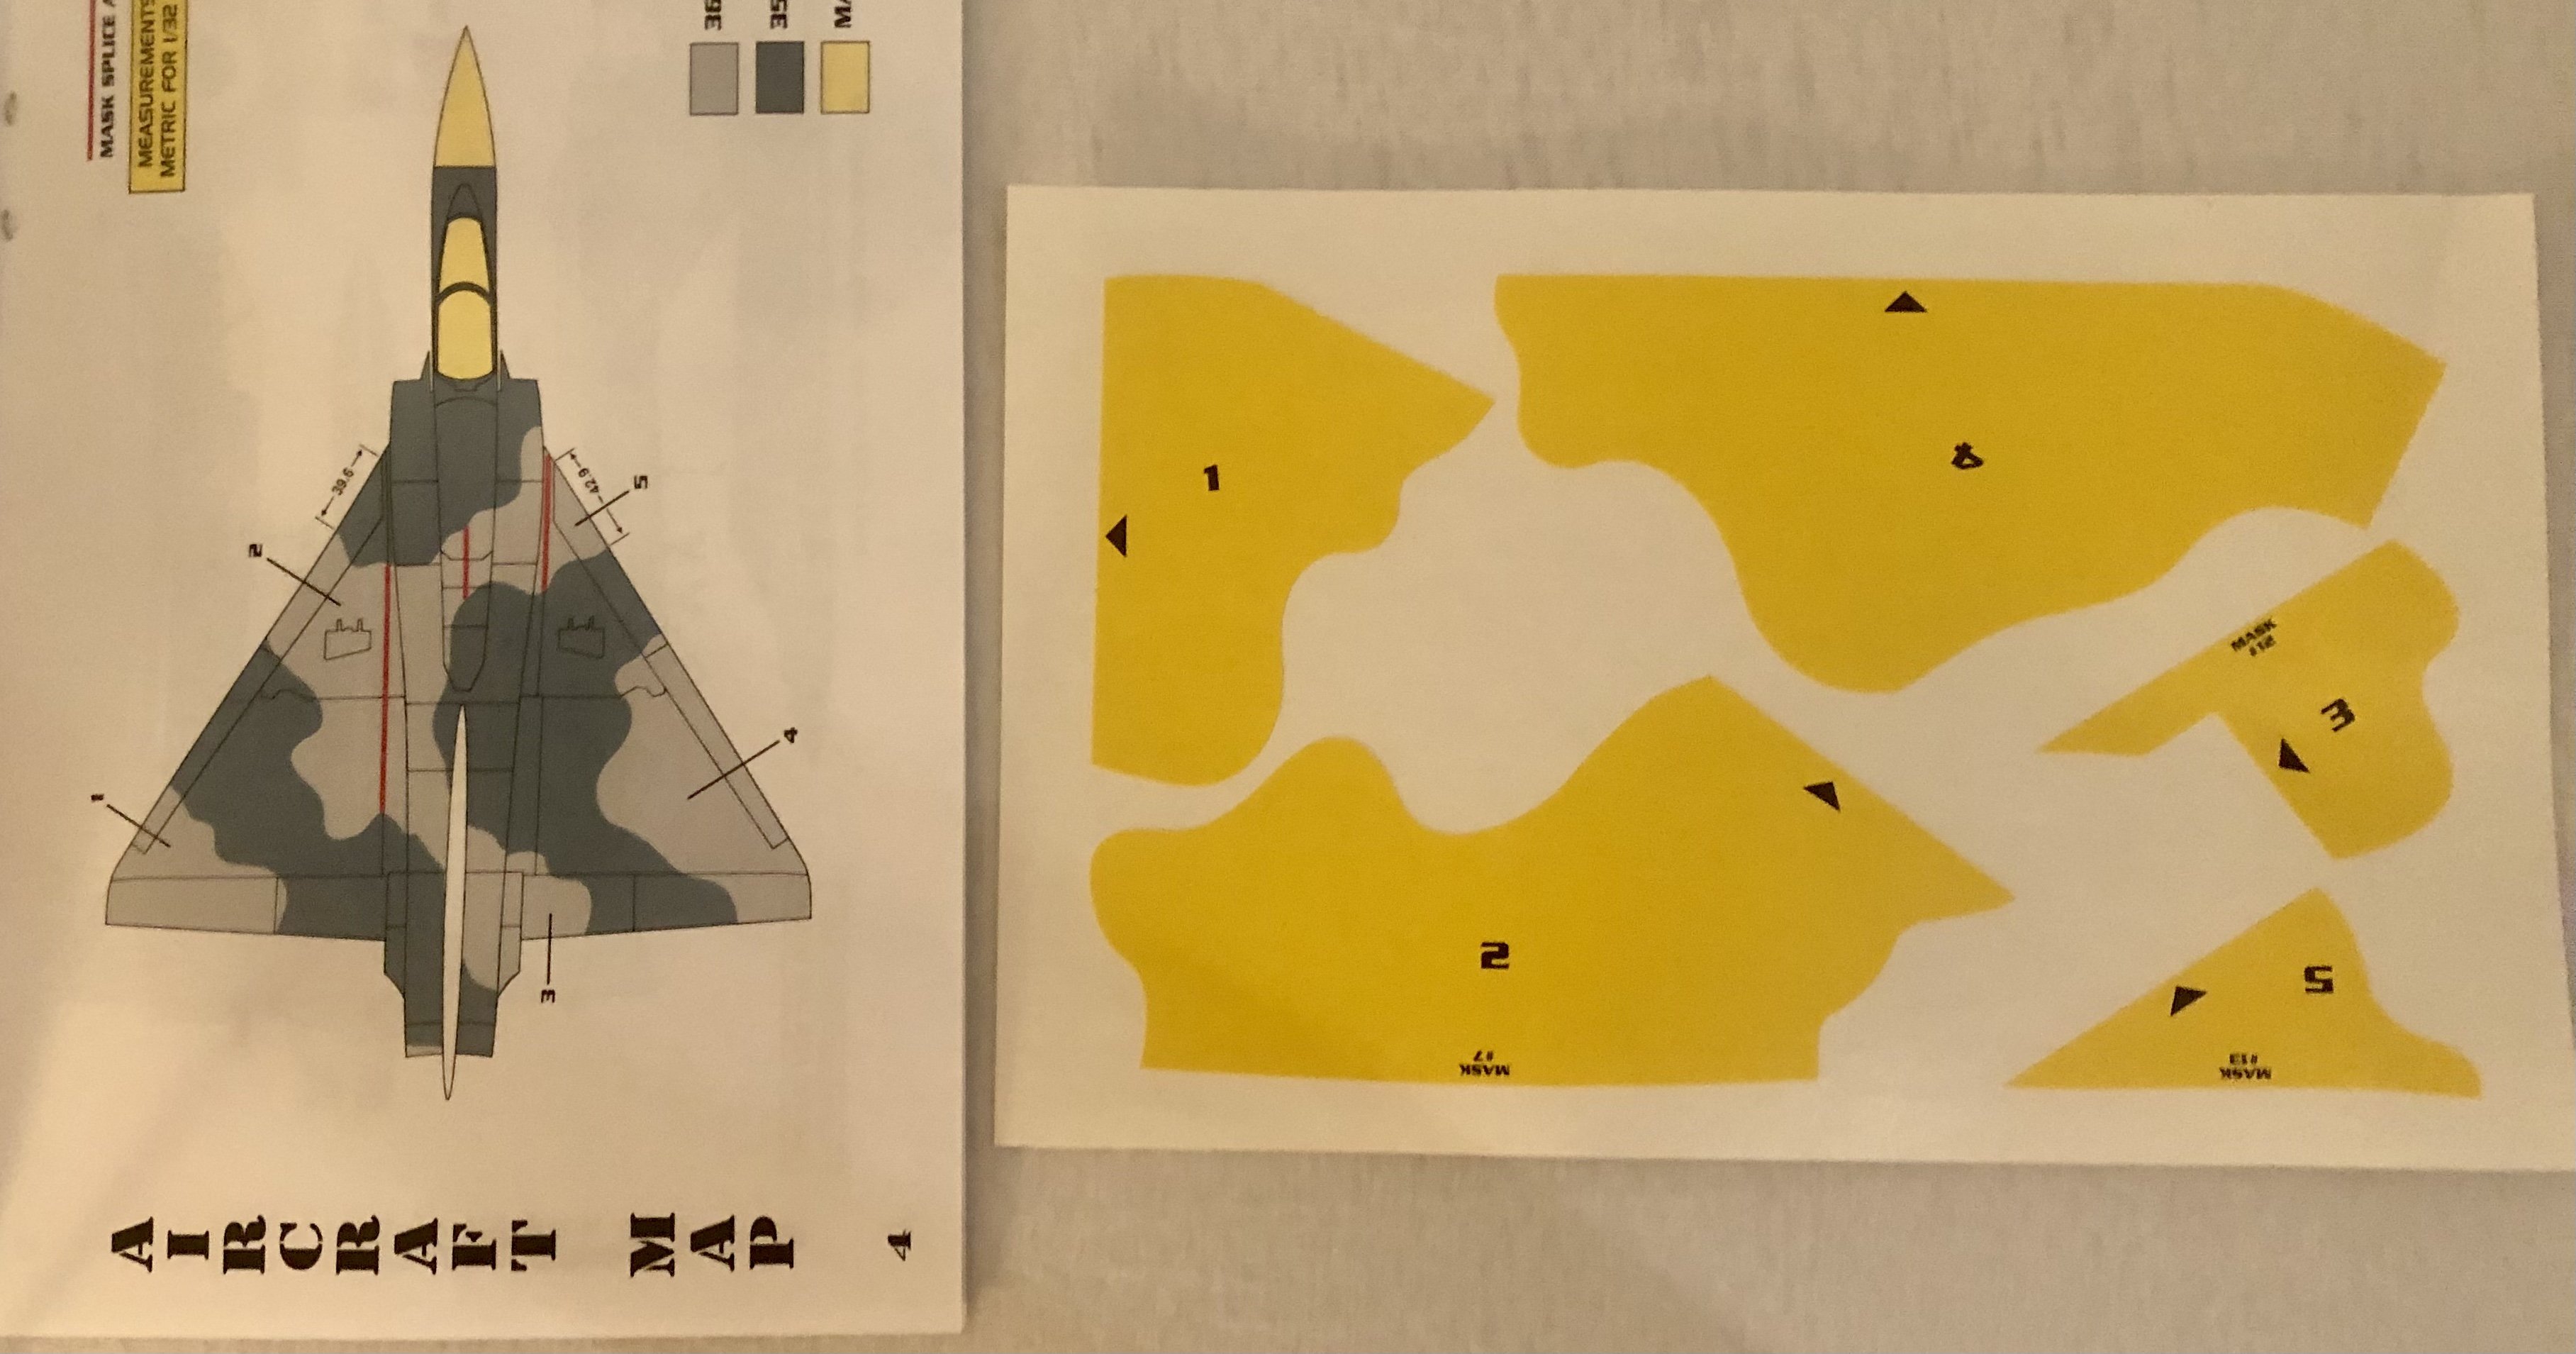
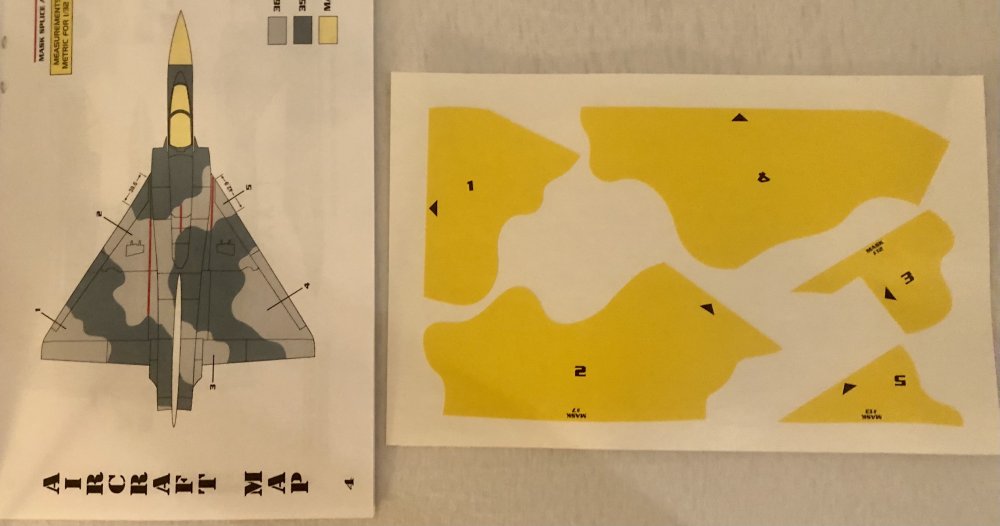
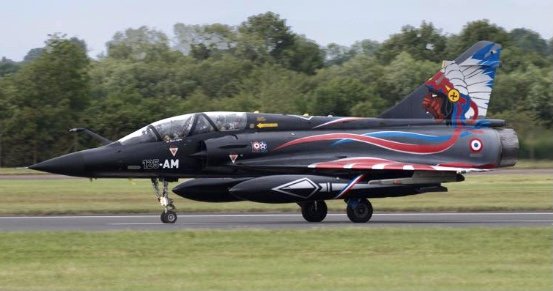
That’s funny Mark. Since I had the same problem like you I also bought 2 books about the Mirage 2000. One is from Duke Hawkins and the second one from 2 Greek authors. Both a must to find out the correct version and its equipment: Which one do you have? Which wraparound bird will you build? I also have the Quinta 3D Cockpit and a really stunning mask-set for the camo. It’s also available for other Mirage 2000 users and they are not expensive. Will use them as „flying masks“: Nice picture of you in the front cockpit! Where was it taken and how old have you been then? This will be the livery for my twin-seater: Hope that I can get a scaled up version of the 48 scale set from Syhart…

-
Mirage 2000D saved from the shelf
Kaireckstadt replied to mark31's topic in LSM 1/35 and Larger Work In Progress
Great start on the pit and exhaust Mark! Is this the Quinta 3D cockpit you used?Looks stunning! The diorama plate also looks awesome! I have both (single and double seat version). You can reserve a place for me in the 1st row! -
Me too John! Will follow this one closely
-
Great looking paintjob on the P-38 Phil! The shiny look is the big advantage of Xtracolor! I love the P-38 with olive-green and pale grey camouflage. Looking forward to seeing the next update!
-
Great models Wolf! Stunning builds of these 3 iconic german WW1-birds!
-
Israeli Mirage III C with Atar9C
Kaireckstadt replied to Kaireckstadt's topic in LSM 1/35 and Larger Work In Progress
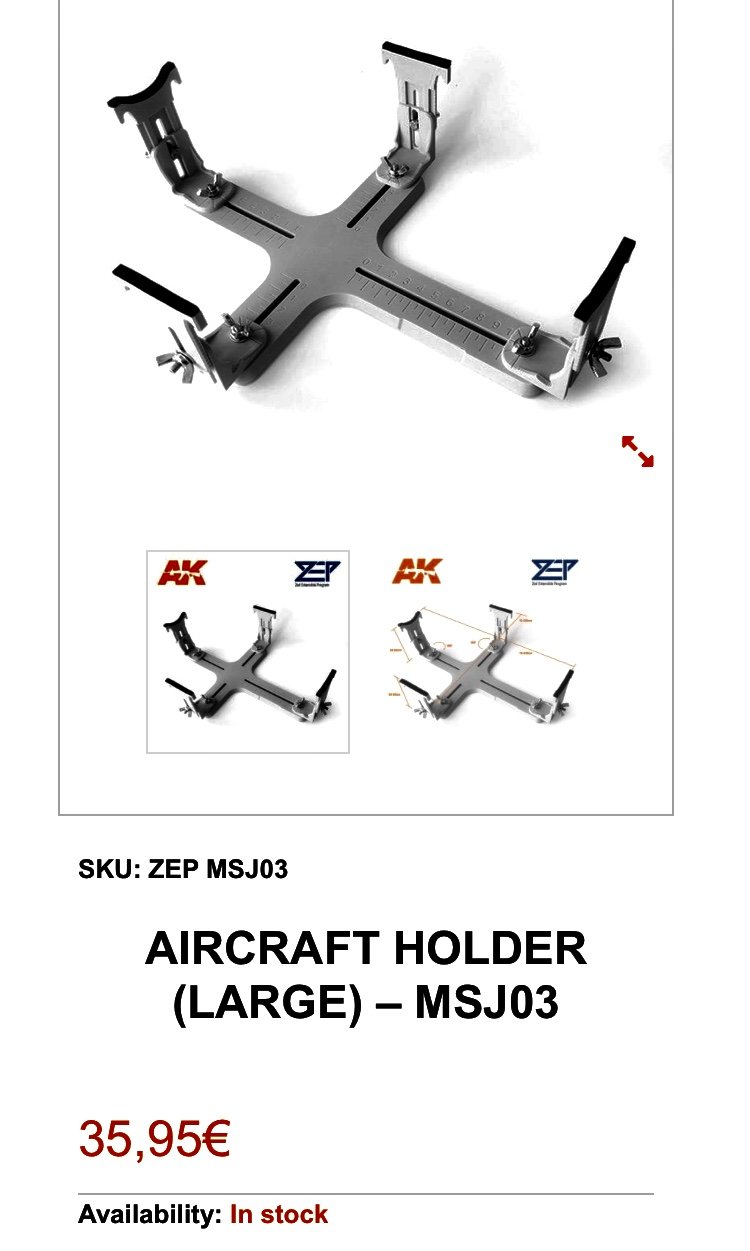
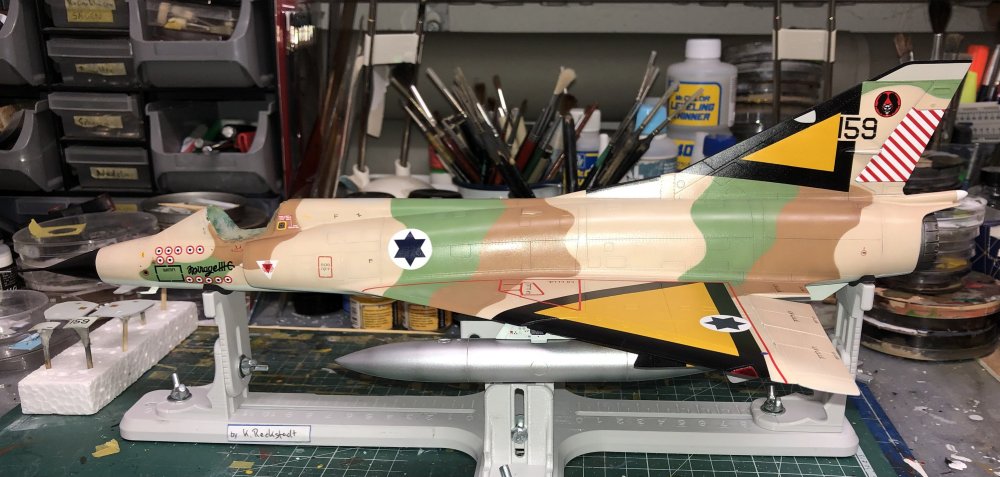
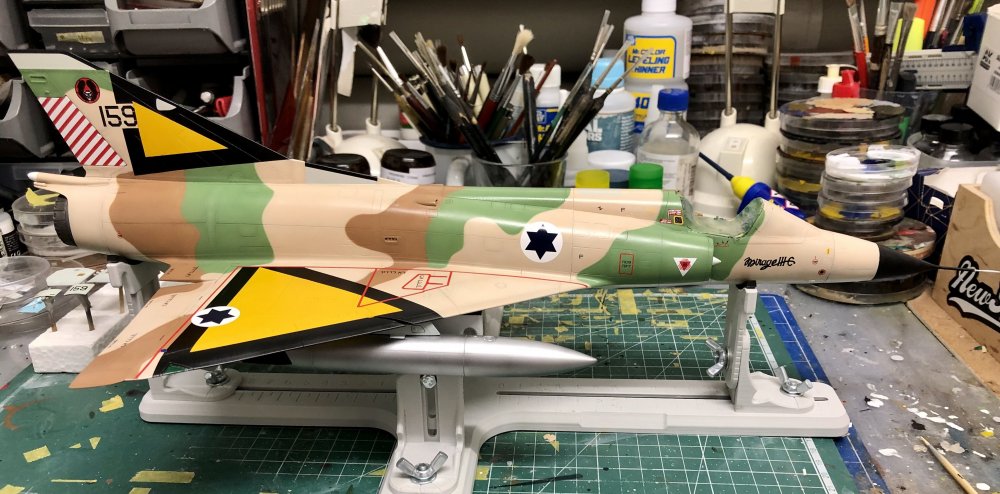
Thanks for your feedback Harv, Gary, Kevin and Mark! The Stand is from AK Interactive and costs 36€. An investment which already completely paid off for me: Cheers Kai
-
Gottfreid Weiroster Bf 109G6 R6 Revell 1/32
Kaireckstadt replied to GazzaS's topic in LSM 1/35 and Larger Work In Progress
That’s sad to hear Gary! Then it’s really better to put it aside! I have another G6 plus the Alley-Cat set in my stash. Do you want that Gary? If you‘re interested please PM. Other possibility: use the inserts you refused to use? -
Good surgery on the engine Harv! Is it easy to glue it back to the rear engine part?
-
Israeli Mirage III C with Atar9C
Kaireckstadt replied to Kaireckstadt's topic in LSM 1/35 and Larger Work In Progress
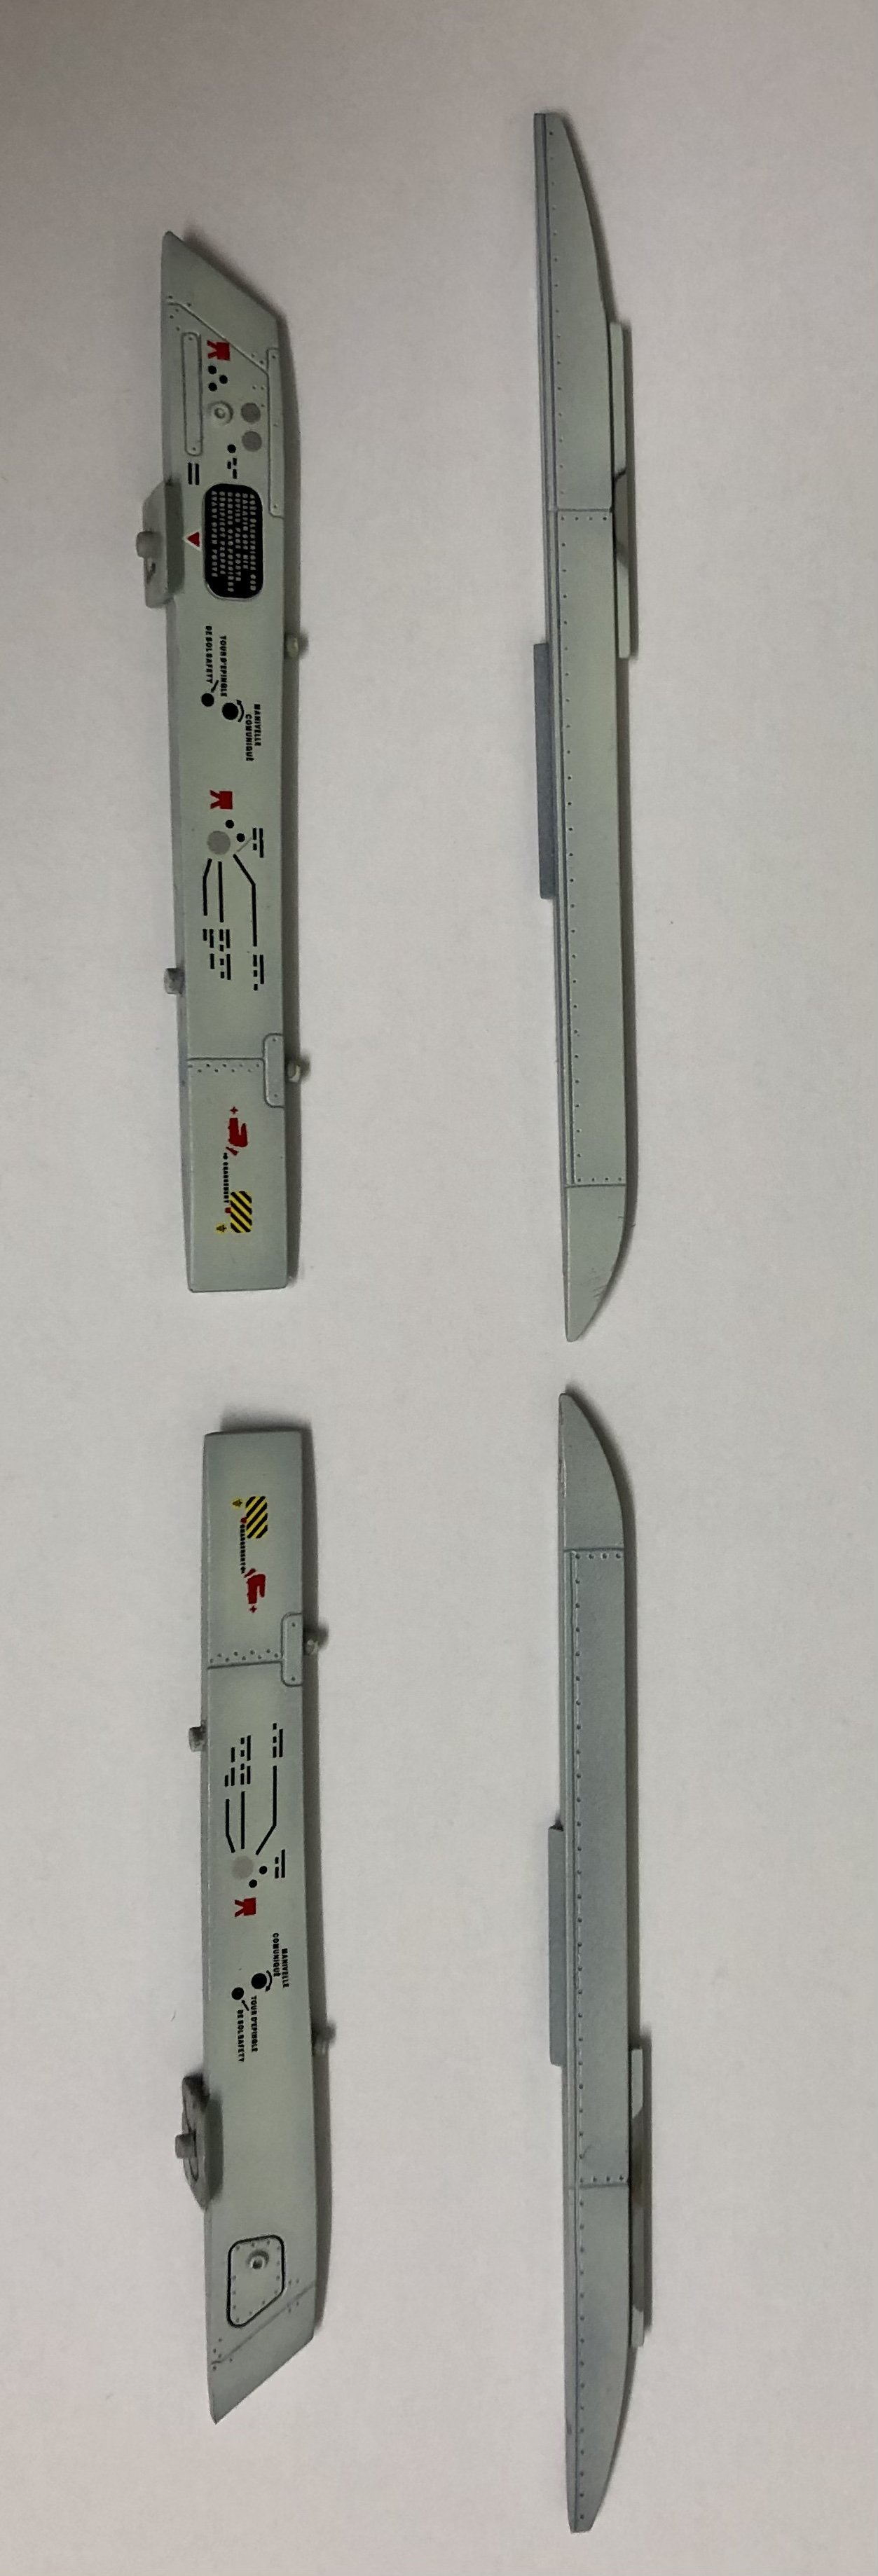
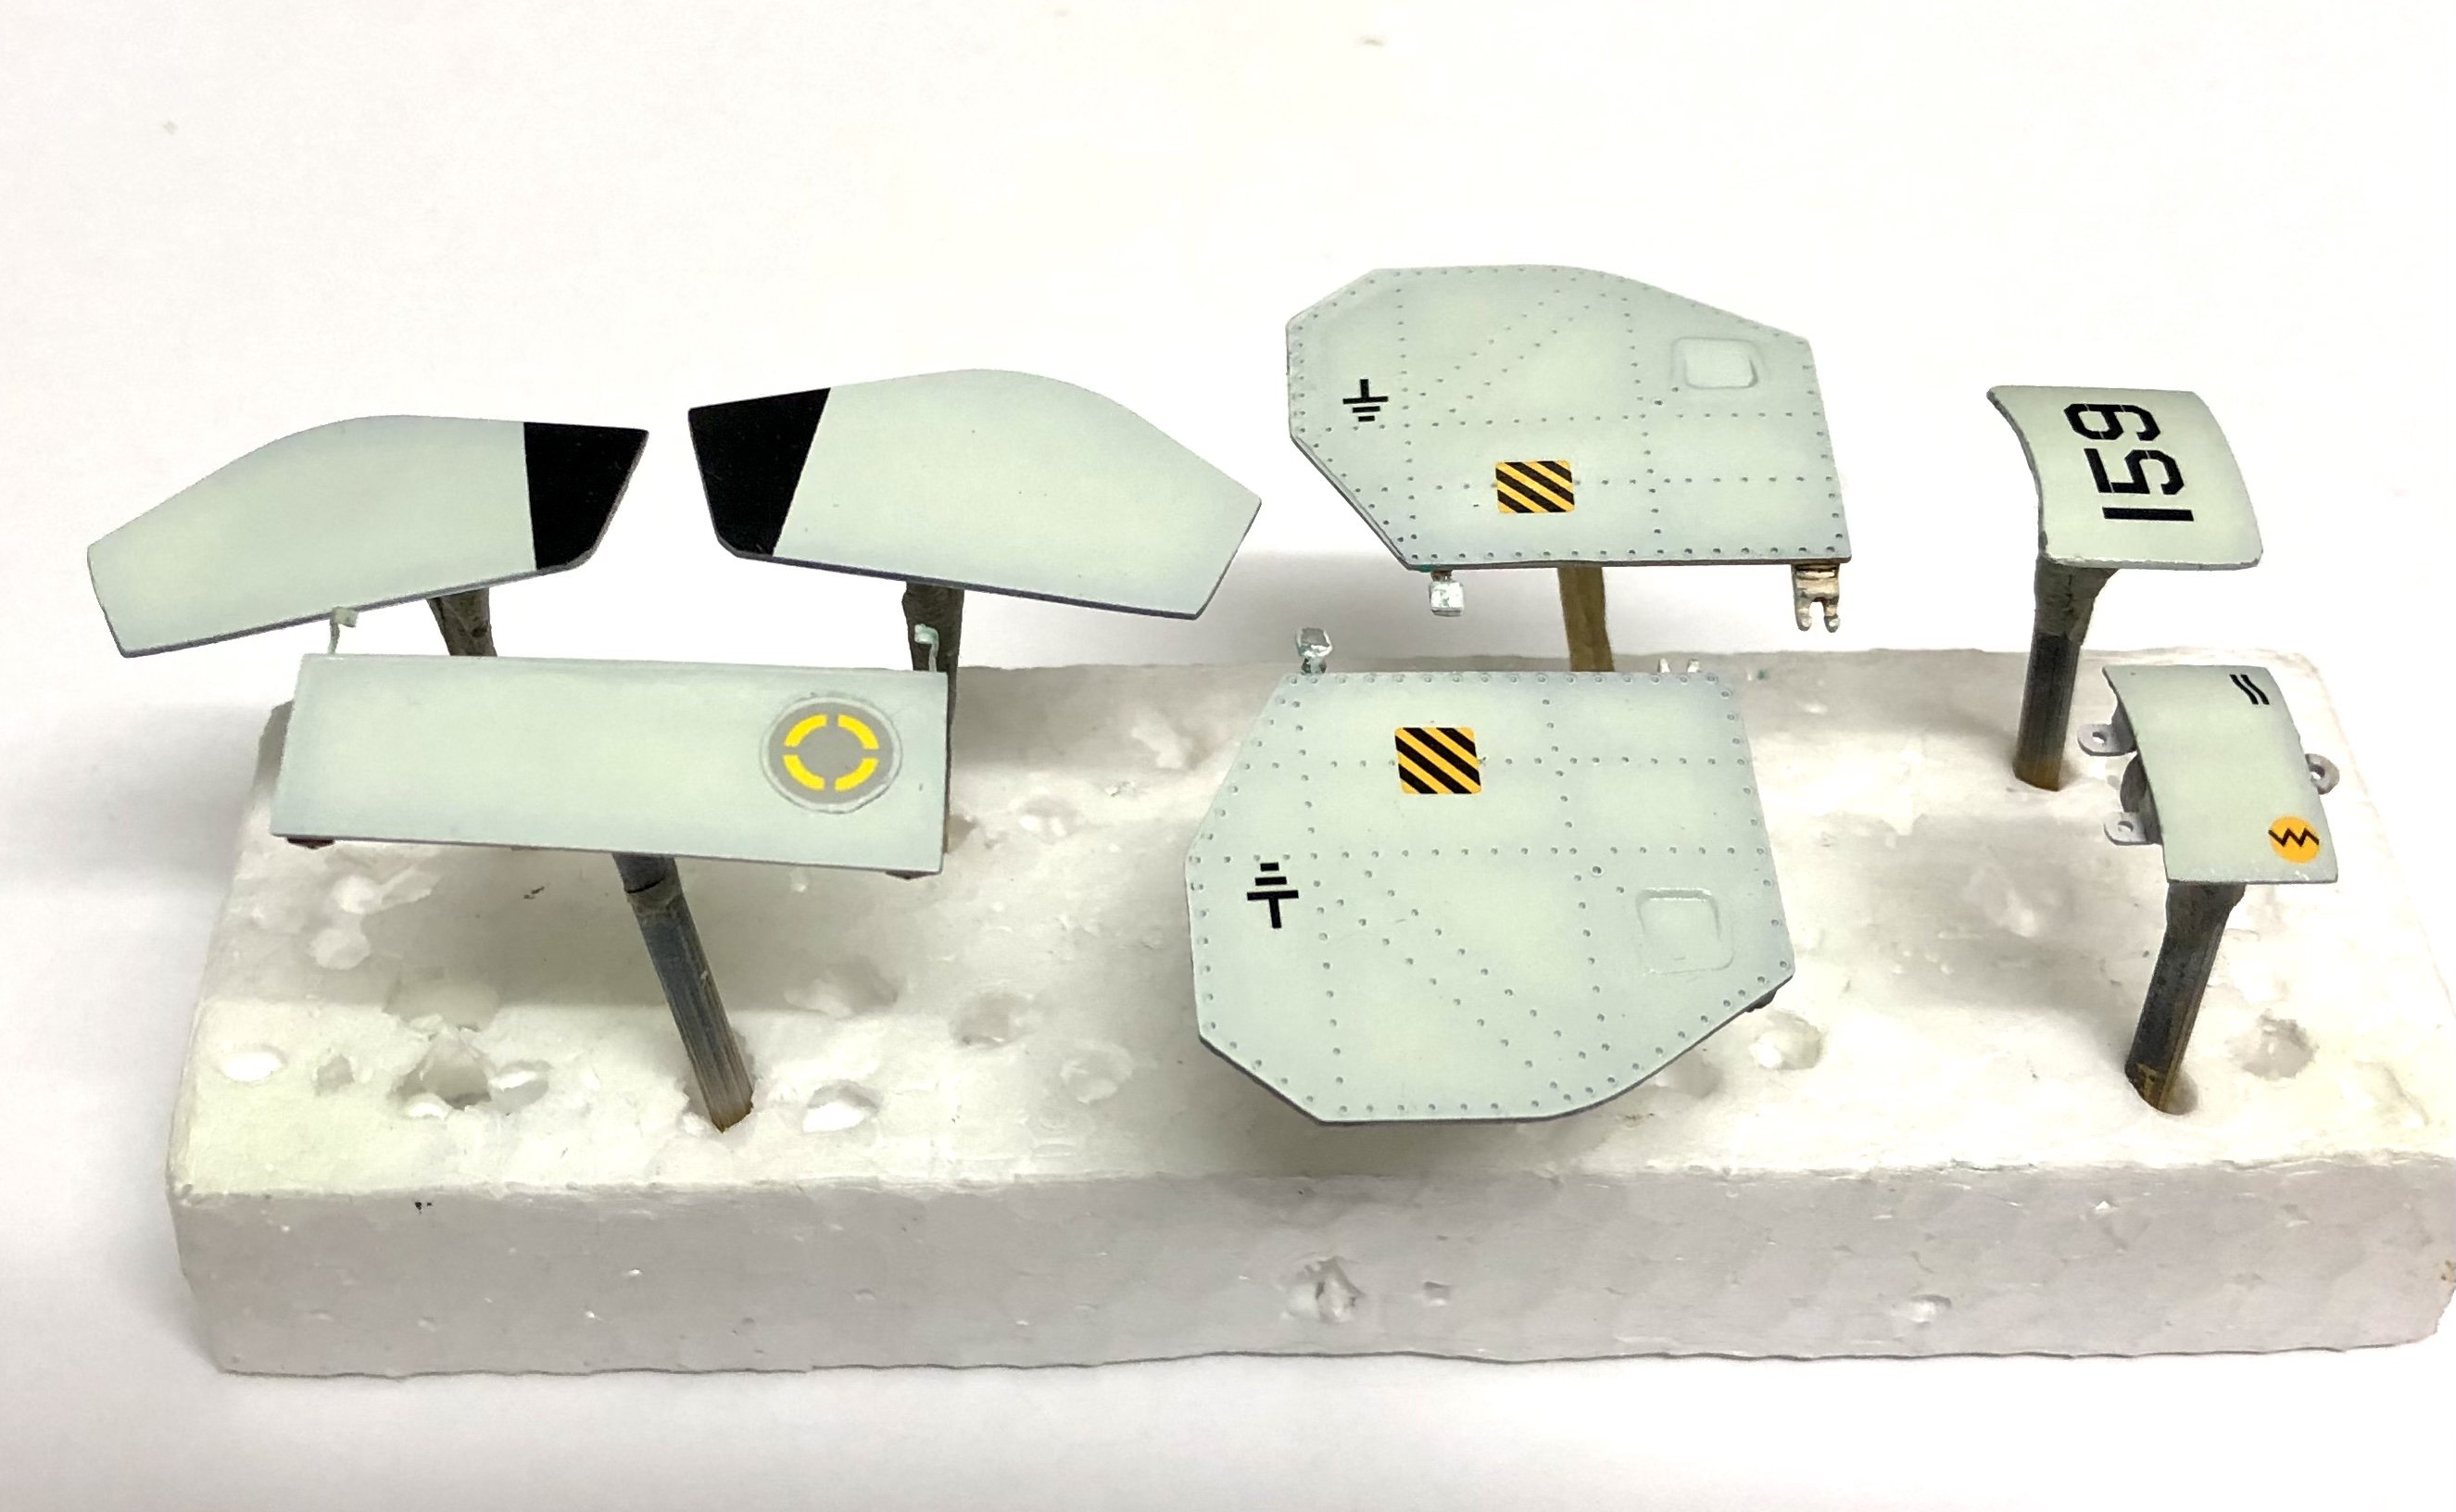
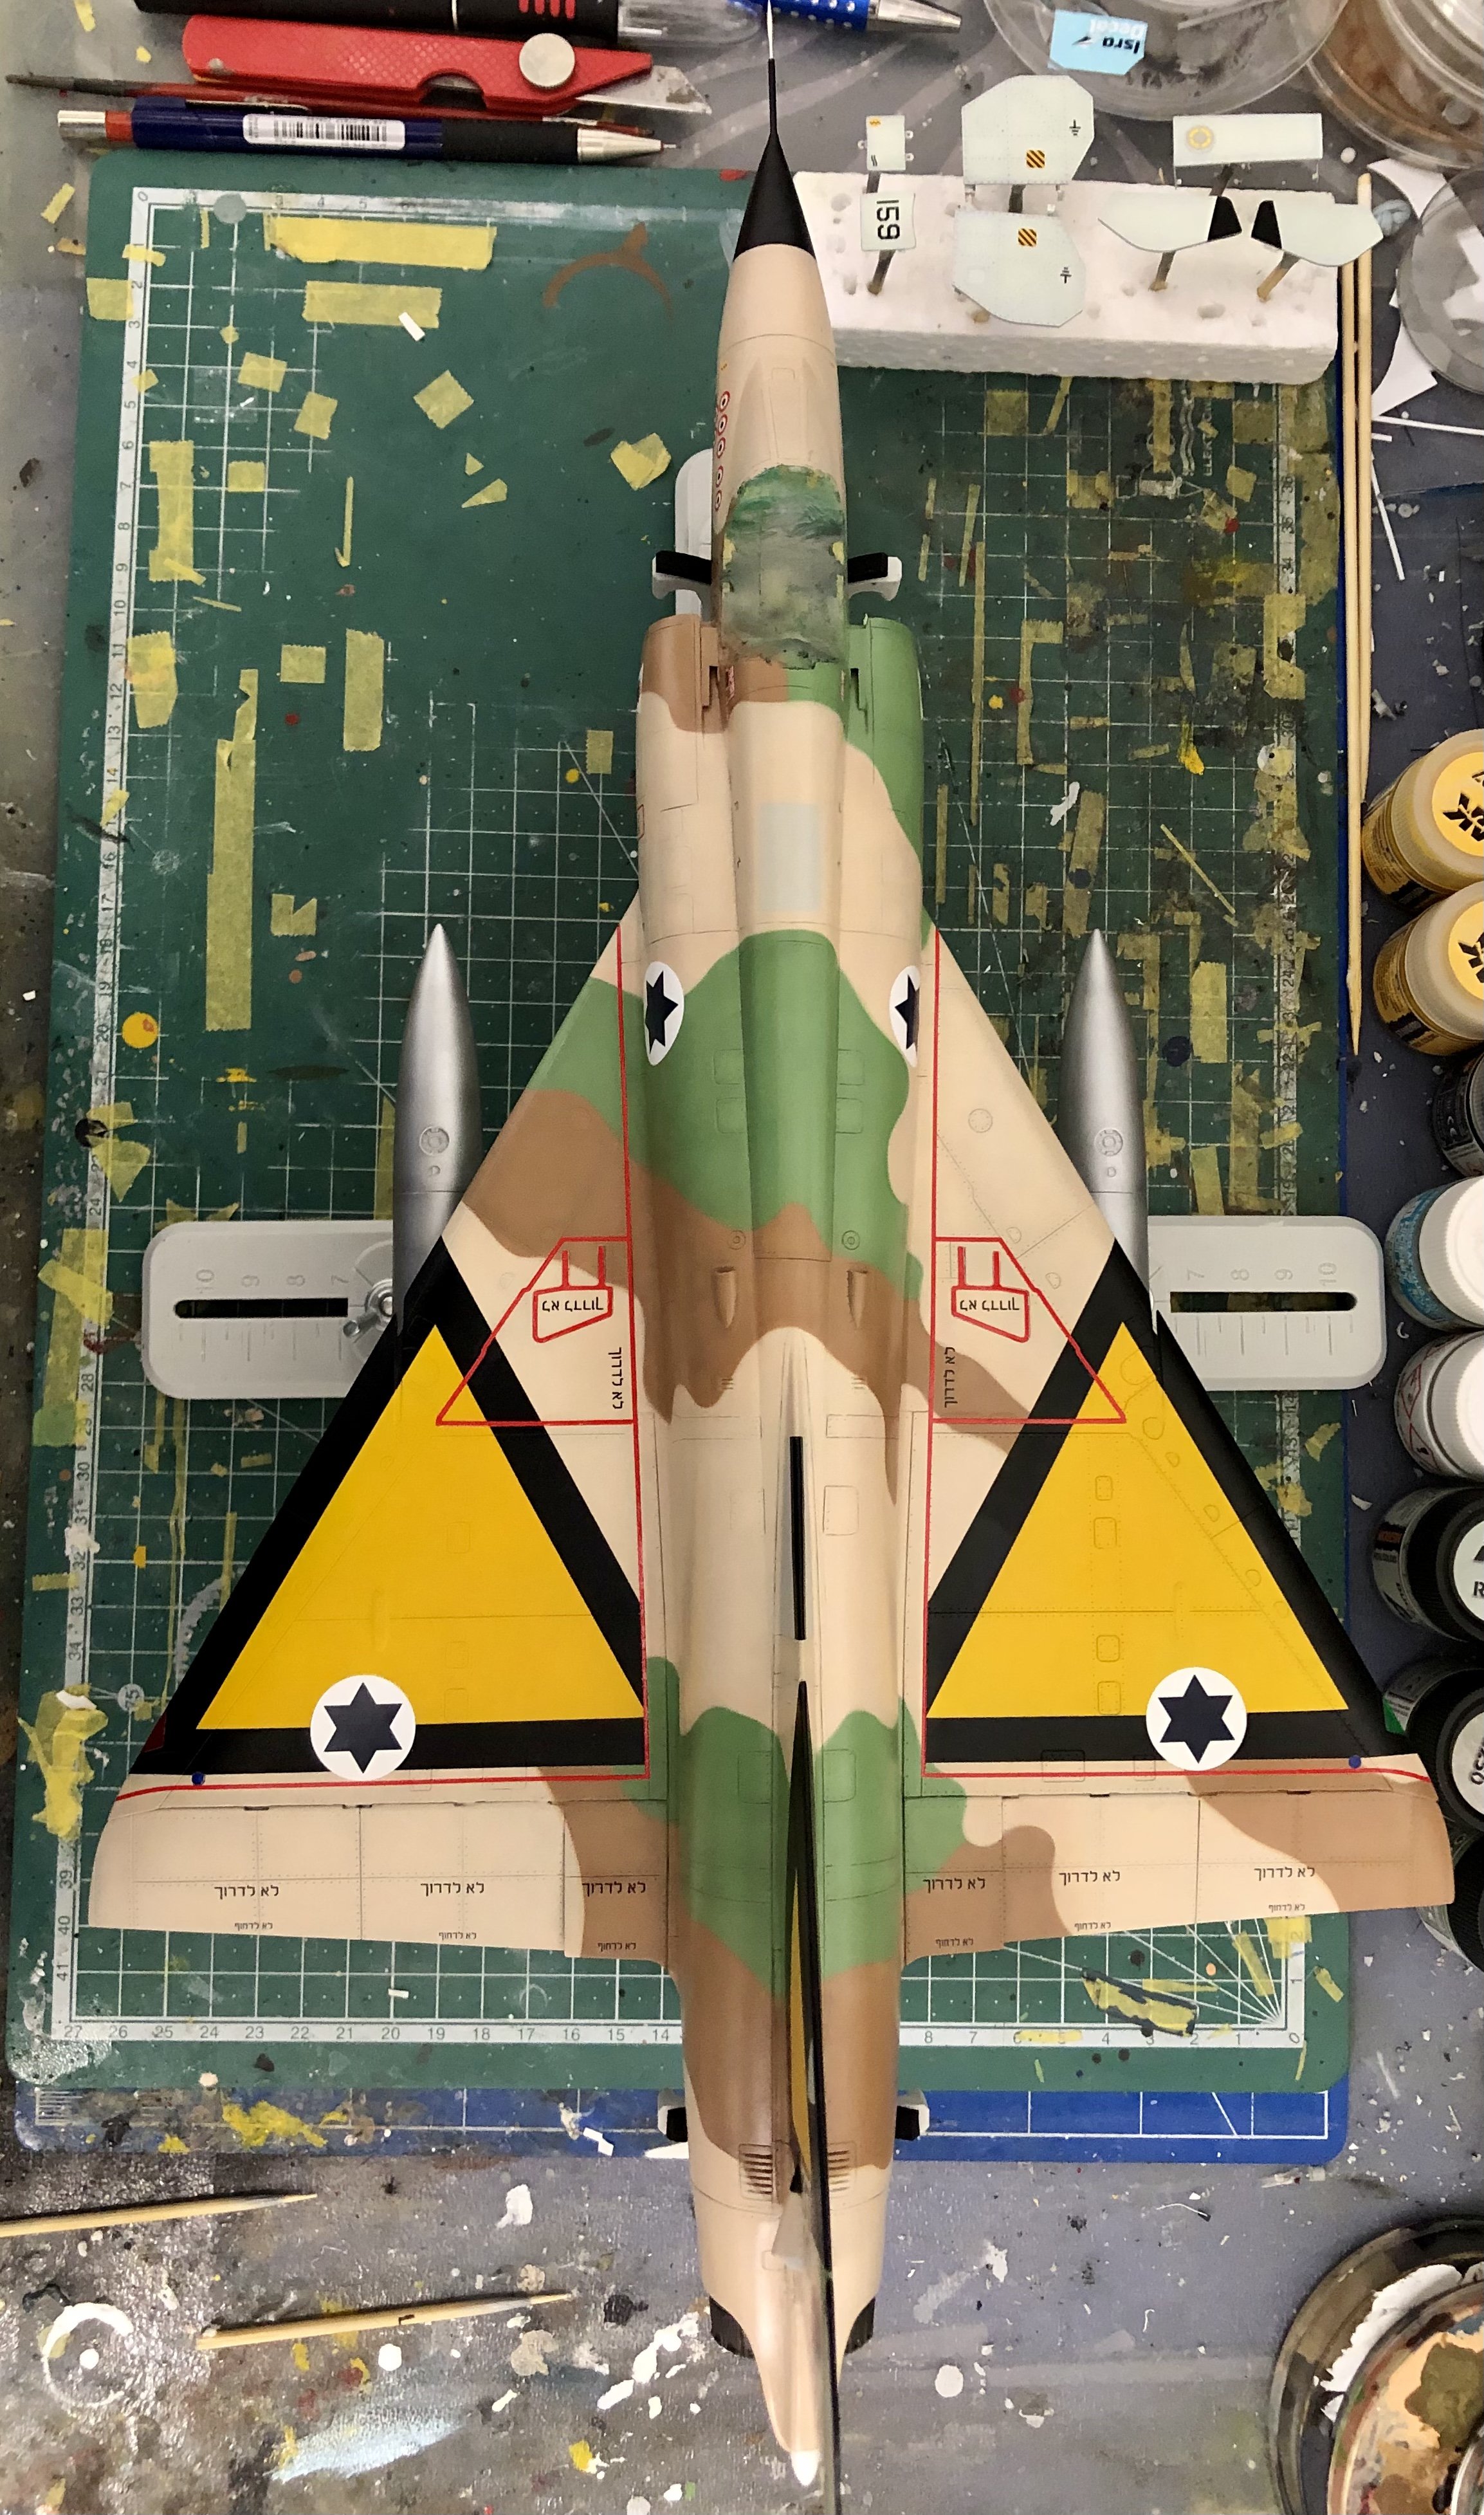
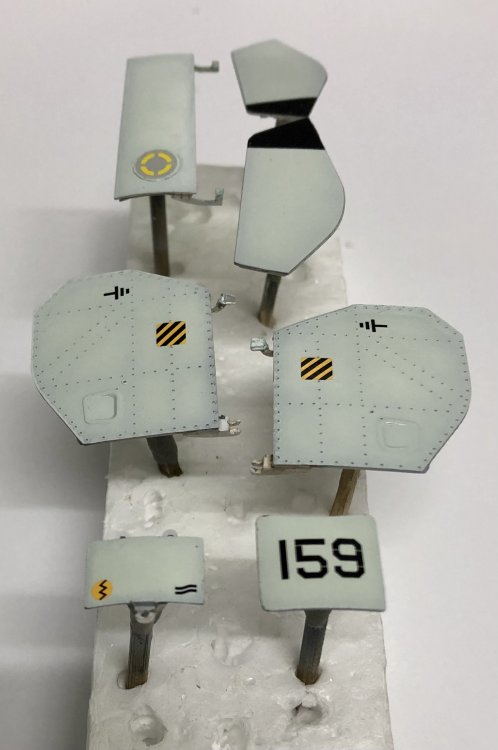
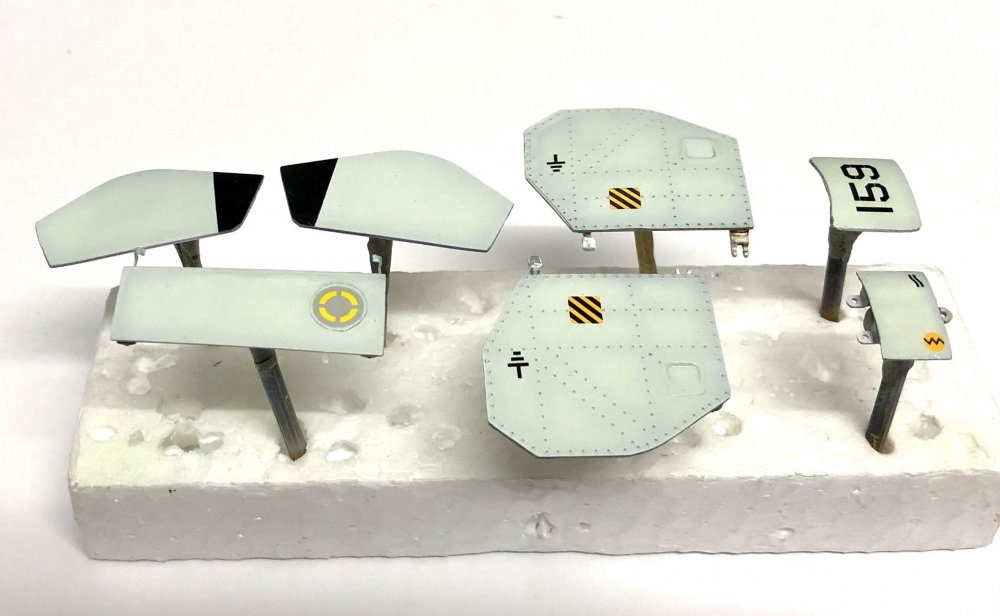
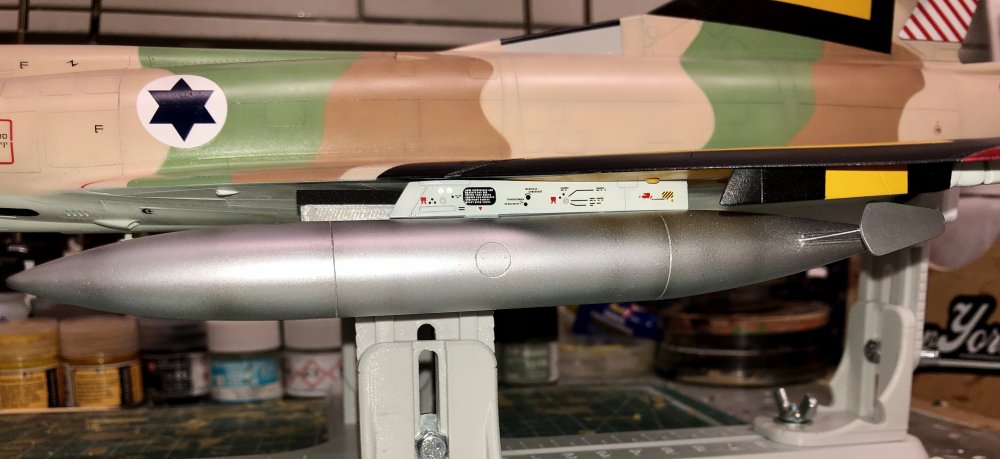
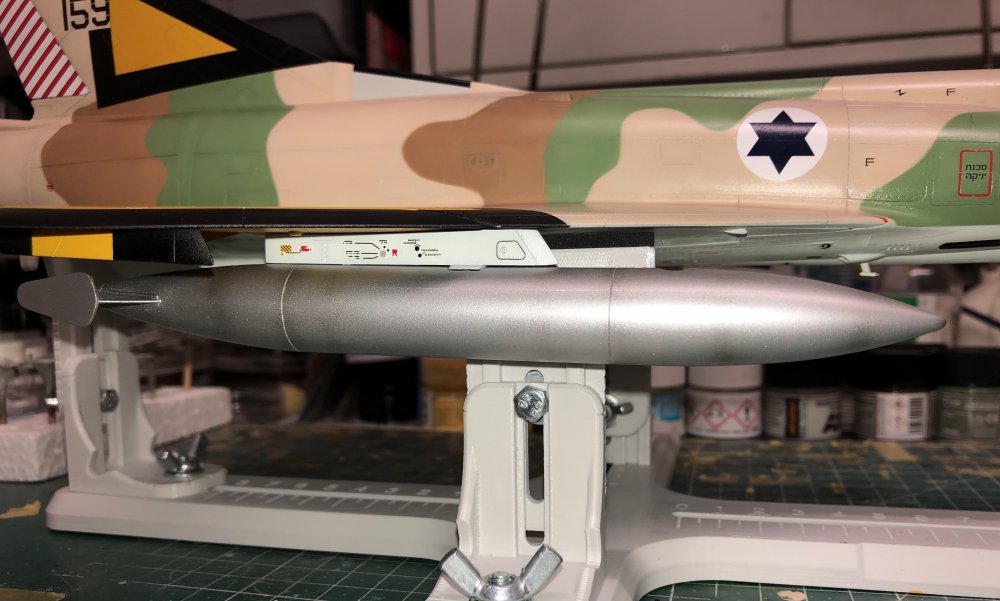
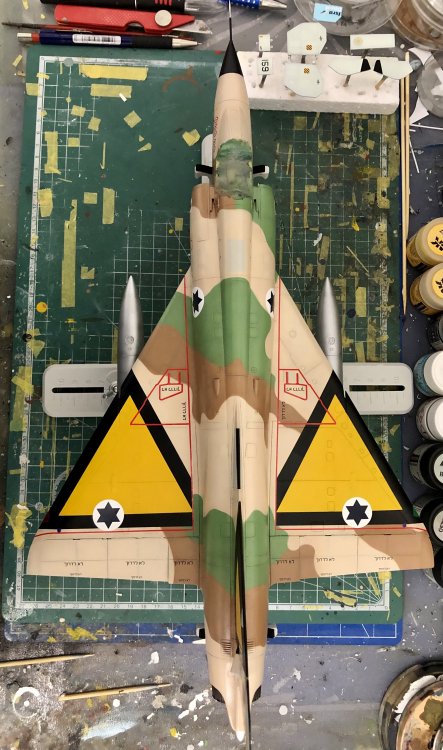
All decals are applied now. Since Isradecal only offers very few decals for the bottom of the plane I used some out of the kit ones. Some of them I had to „glue“ to the model with Pledge Floor Polish because they didn’t adhere: Some were also applied to the landing gear doors: And finally to the pylons for the tanks and the launch rails for the Shafrir 2-rockets. I had to cut the decals for the pylons into 2 x 9 pieces because I didn’t want to apply a whole decal per pylon side. Too high risk for silvering: The tanks used by the Israelis according to my sources had no markings on so I left them off. This is how the tanks look like test-fitted to the wings: Next step is to prepare the wheels and the rockets.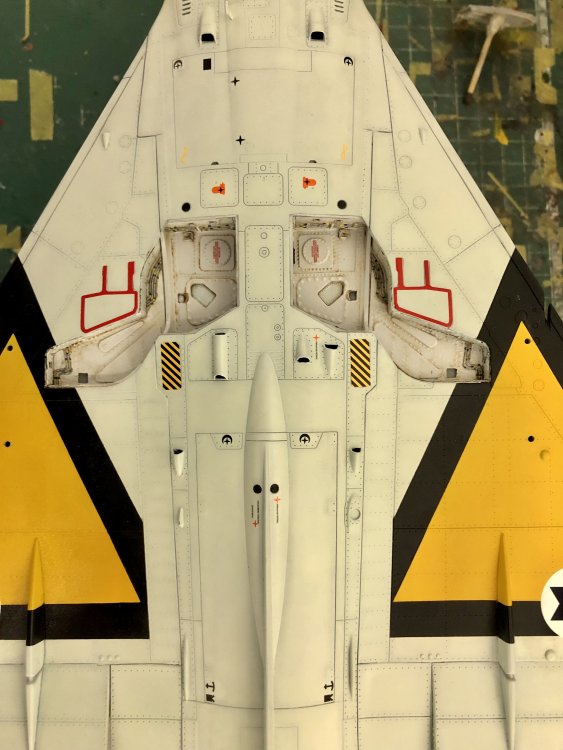

- 719 replies
-
- 11
-

-

-
Israeli Mirage III C with Atar9C
Kaireckstadt replied to Kaireckstadt's topic in LSM 1/35 and Larger Work In Progress
Thanks again for your big compliment and your feedback regarding the colors Anthony. I still have some work to do: Prepare the wheels, Build the Shafrir2 rockets, Apply the matte cote, Weather the plane, Add some small parts, Do the final assembly So you see that there is still a bit to do and some posts remaining. -
Israeli Mirage III C with Atar9C
Kaireckstadt replied to Kaireckstadt's topic in LSM 1/35 and Larger Work In Progress
Thank you Peter! Thanks Harv! The red lines were not that difficult to apply. I don’t use a paper handkerchief to fix them to the model but a cotton swab with which I roll carefully over the surface of the decal. This avoids unwanted movement of it. Thanks Gary and Murphies Law is always present… Thank you Mark! Thank you Rob! Actually I just plan to accentuate the panel lines covered by decals with a pencil after the flat coat. All others will not receive any panelliner. Thats the plan so far. What do you think? -
Mengnut Wings Fokker Dr. 1
Kaireckstadt replied to Wolf Buddee's topic in LSM 1/35 and Larger Work In Progress
Stunning result Wolf. This is such a lovely model. Since I now know all the tricks and tipps I hope that mine will turn out half as nice as yours! Get well soon! What‘s your next project?