
Kaireckstadt
-
Posts
1,705 -
Joined
-
Last visited
Content Type
Profiles
Forums
Events
Gallery
Everything posted by Kaireckstadt
-

ME 109 E4 1/18 scale
Kaireckstadt replied to Trigger's topic in LSM 1/35 and Larger Work In Progress
Hope you enjoyed your vacation Frank! Good to hear that you are back to the bench! Looking forward to seeing your progress! -
Gottfreid Weiroster Bf 109G6 R6 Revell 1/32
Kaireckstadt replied to GazzaS's topic in LSM 1/35 and Larger Work In Progress
Great that you have her back on the bench Gary! The WfGr are really awesome and the improvements pay off ! Curious to see the next update! -
Summer project Kawasaki KI-61, Tamiya 1/48
Kaireckstadt replied to DocRob's topic in LSM 1/48 Work in Progress
Here it is Gary: kit from Hasegaws and still available: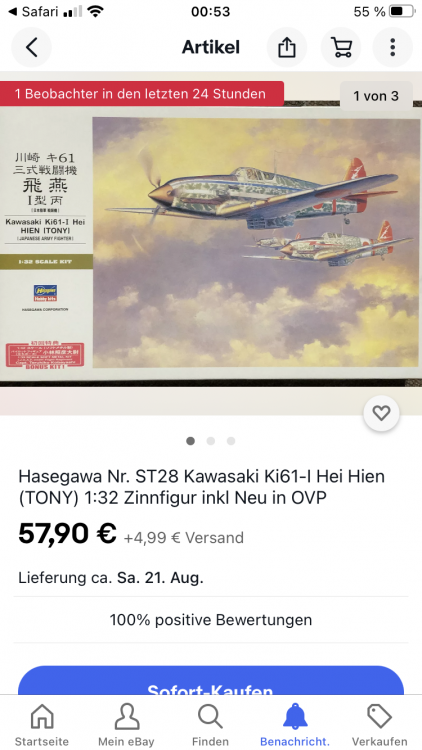
-
Israeli Mirage III C with Atar9C
Kaireckstadt replied to Kaireckstadt's topic in LSM 1/35 and Larger Work In Progress
Thank you Gary! Now most of the challenging work is done! -
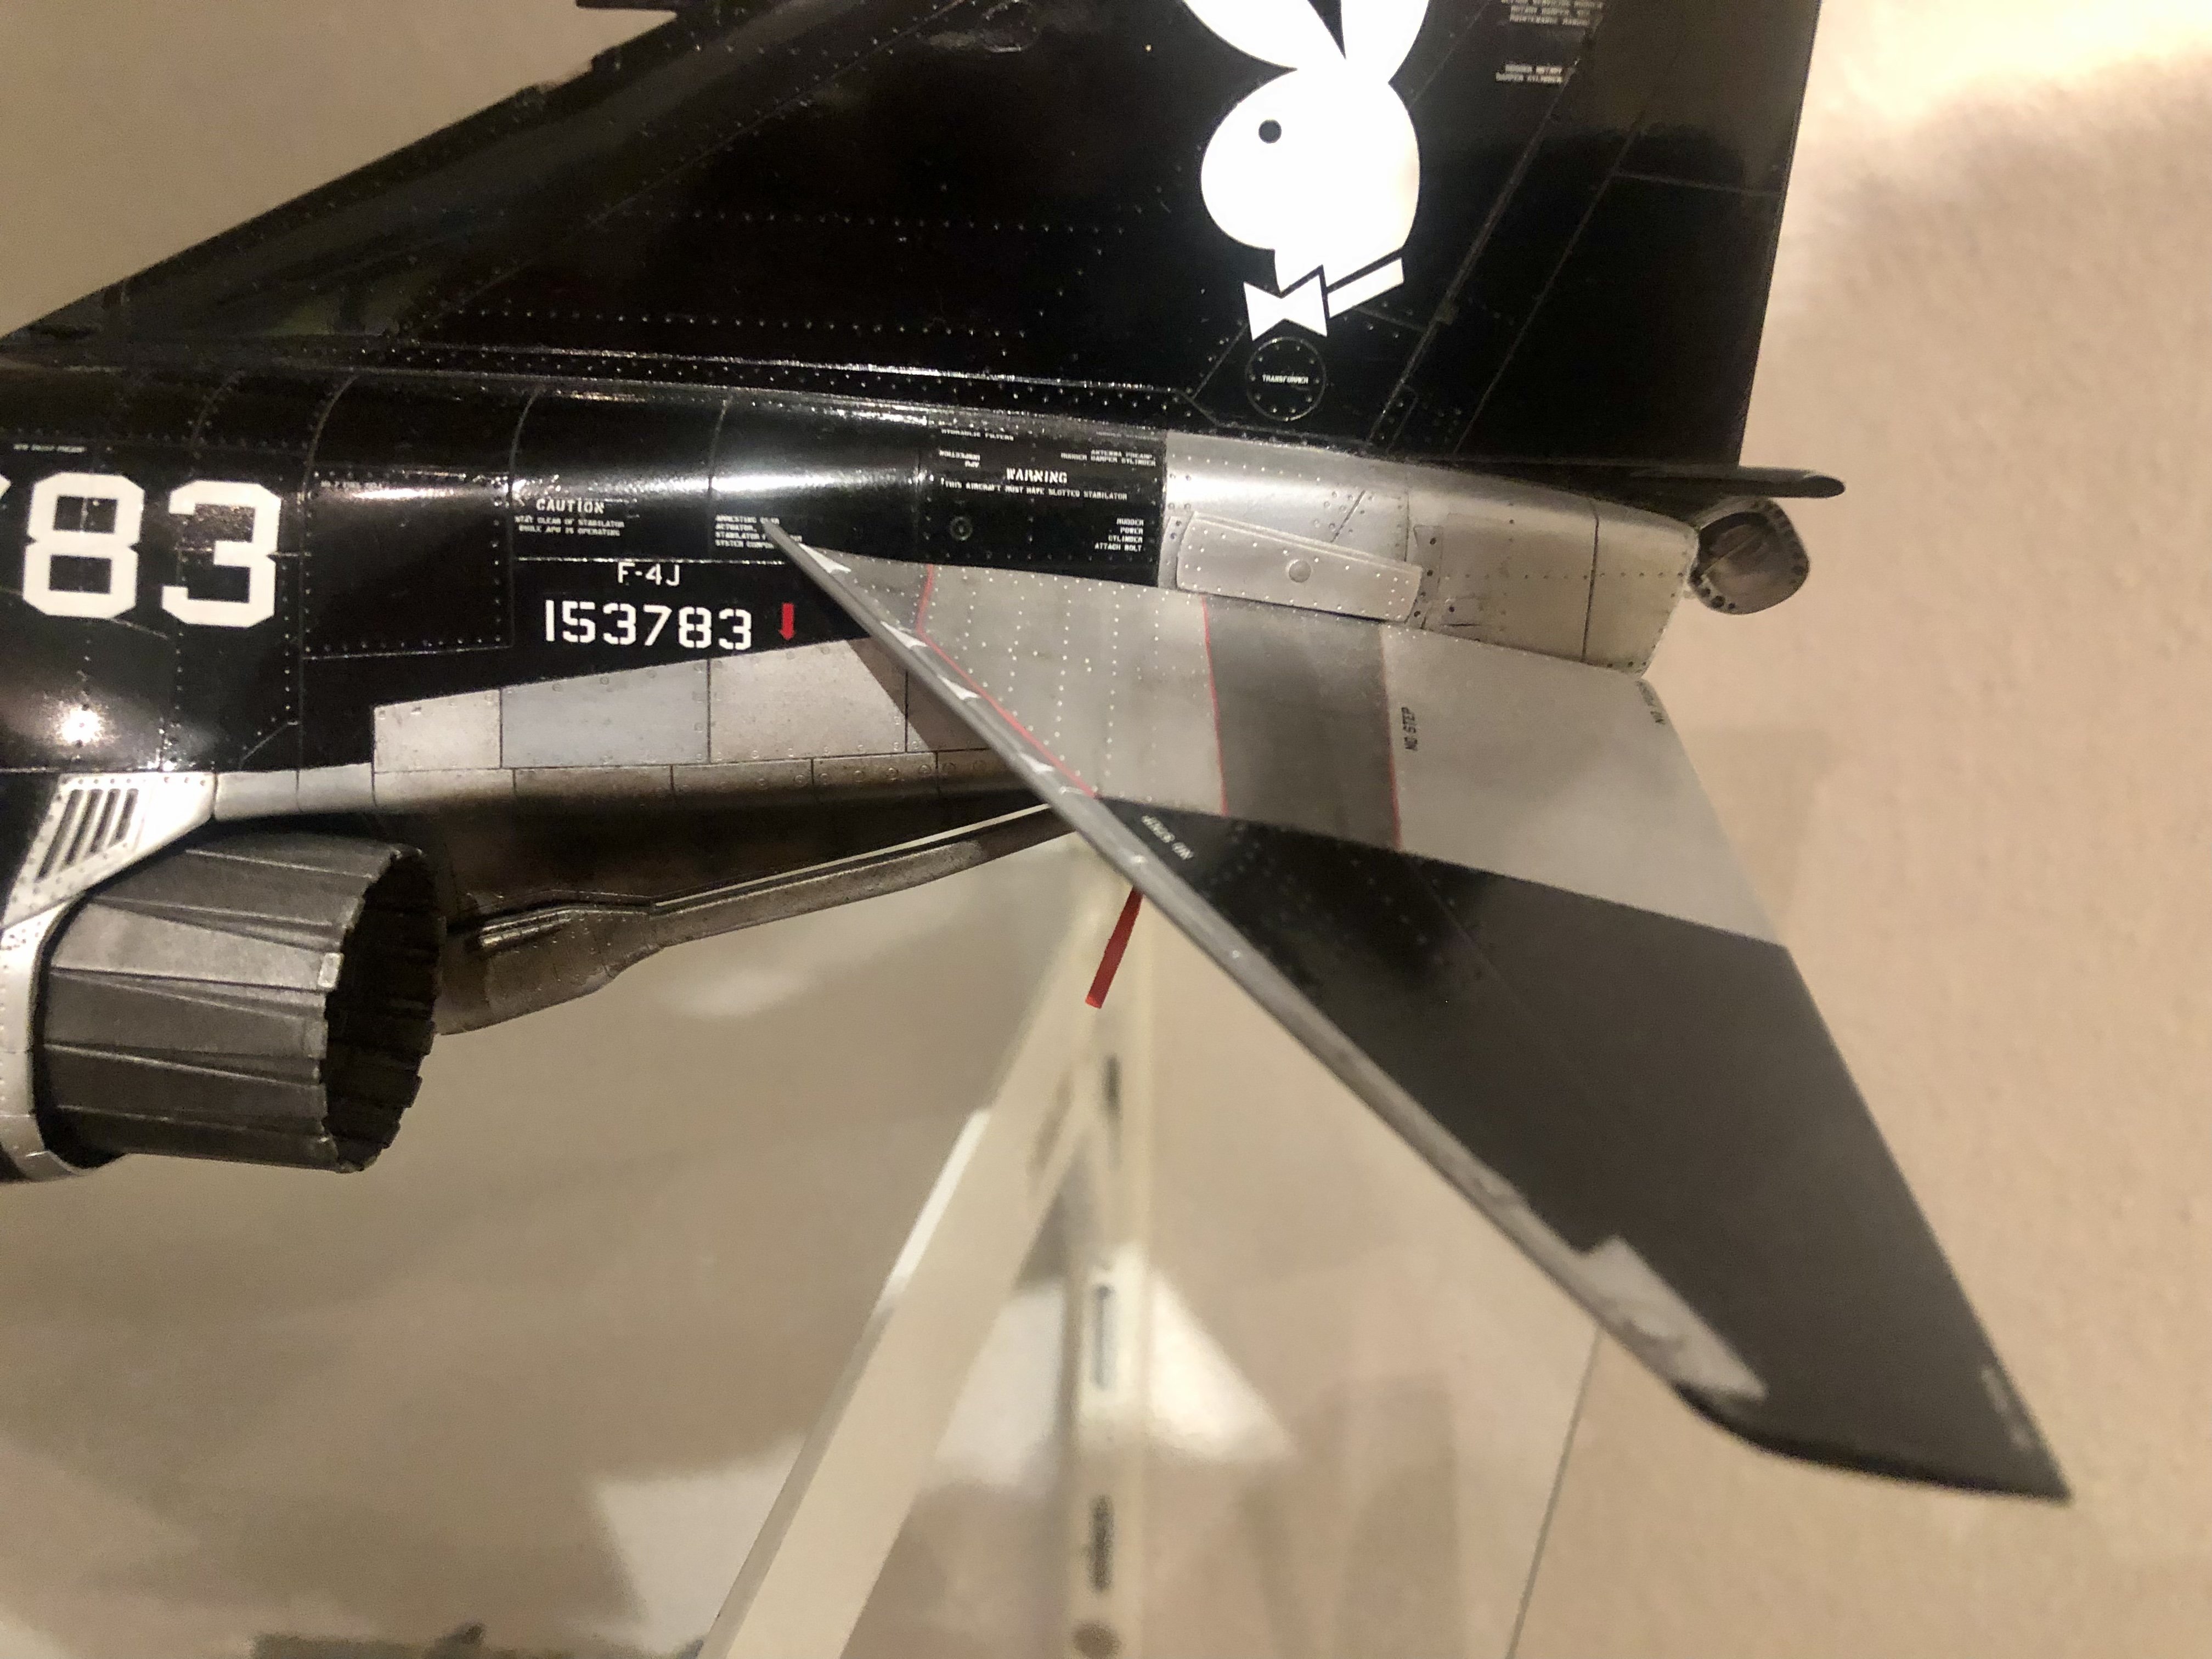
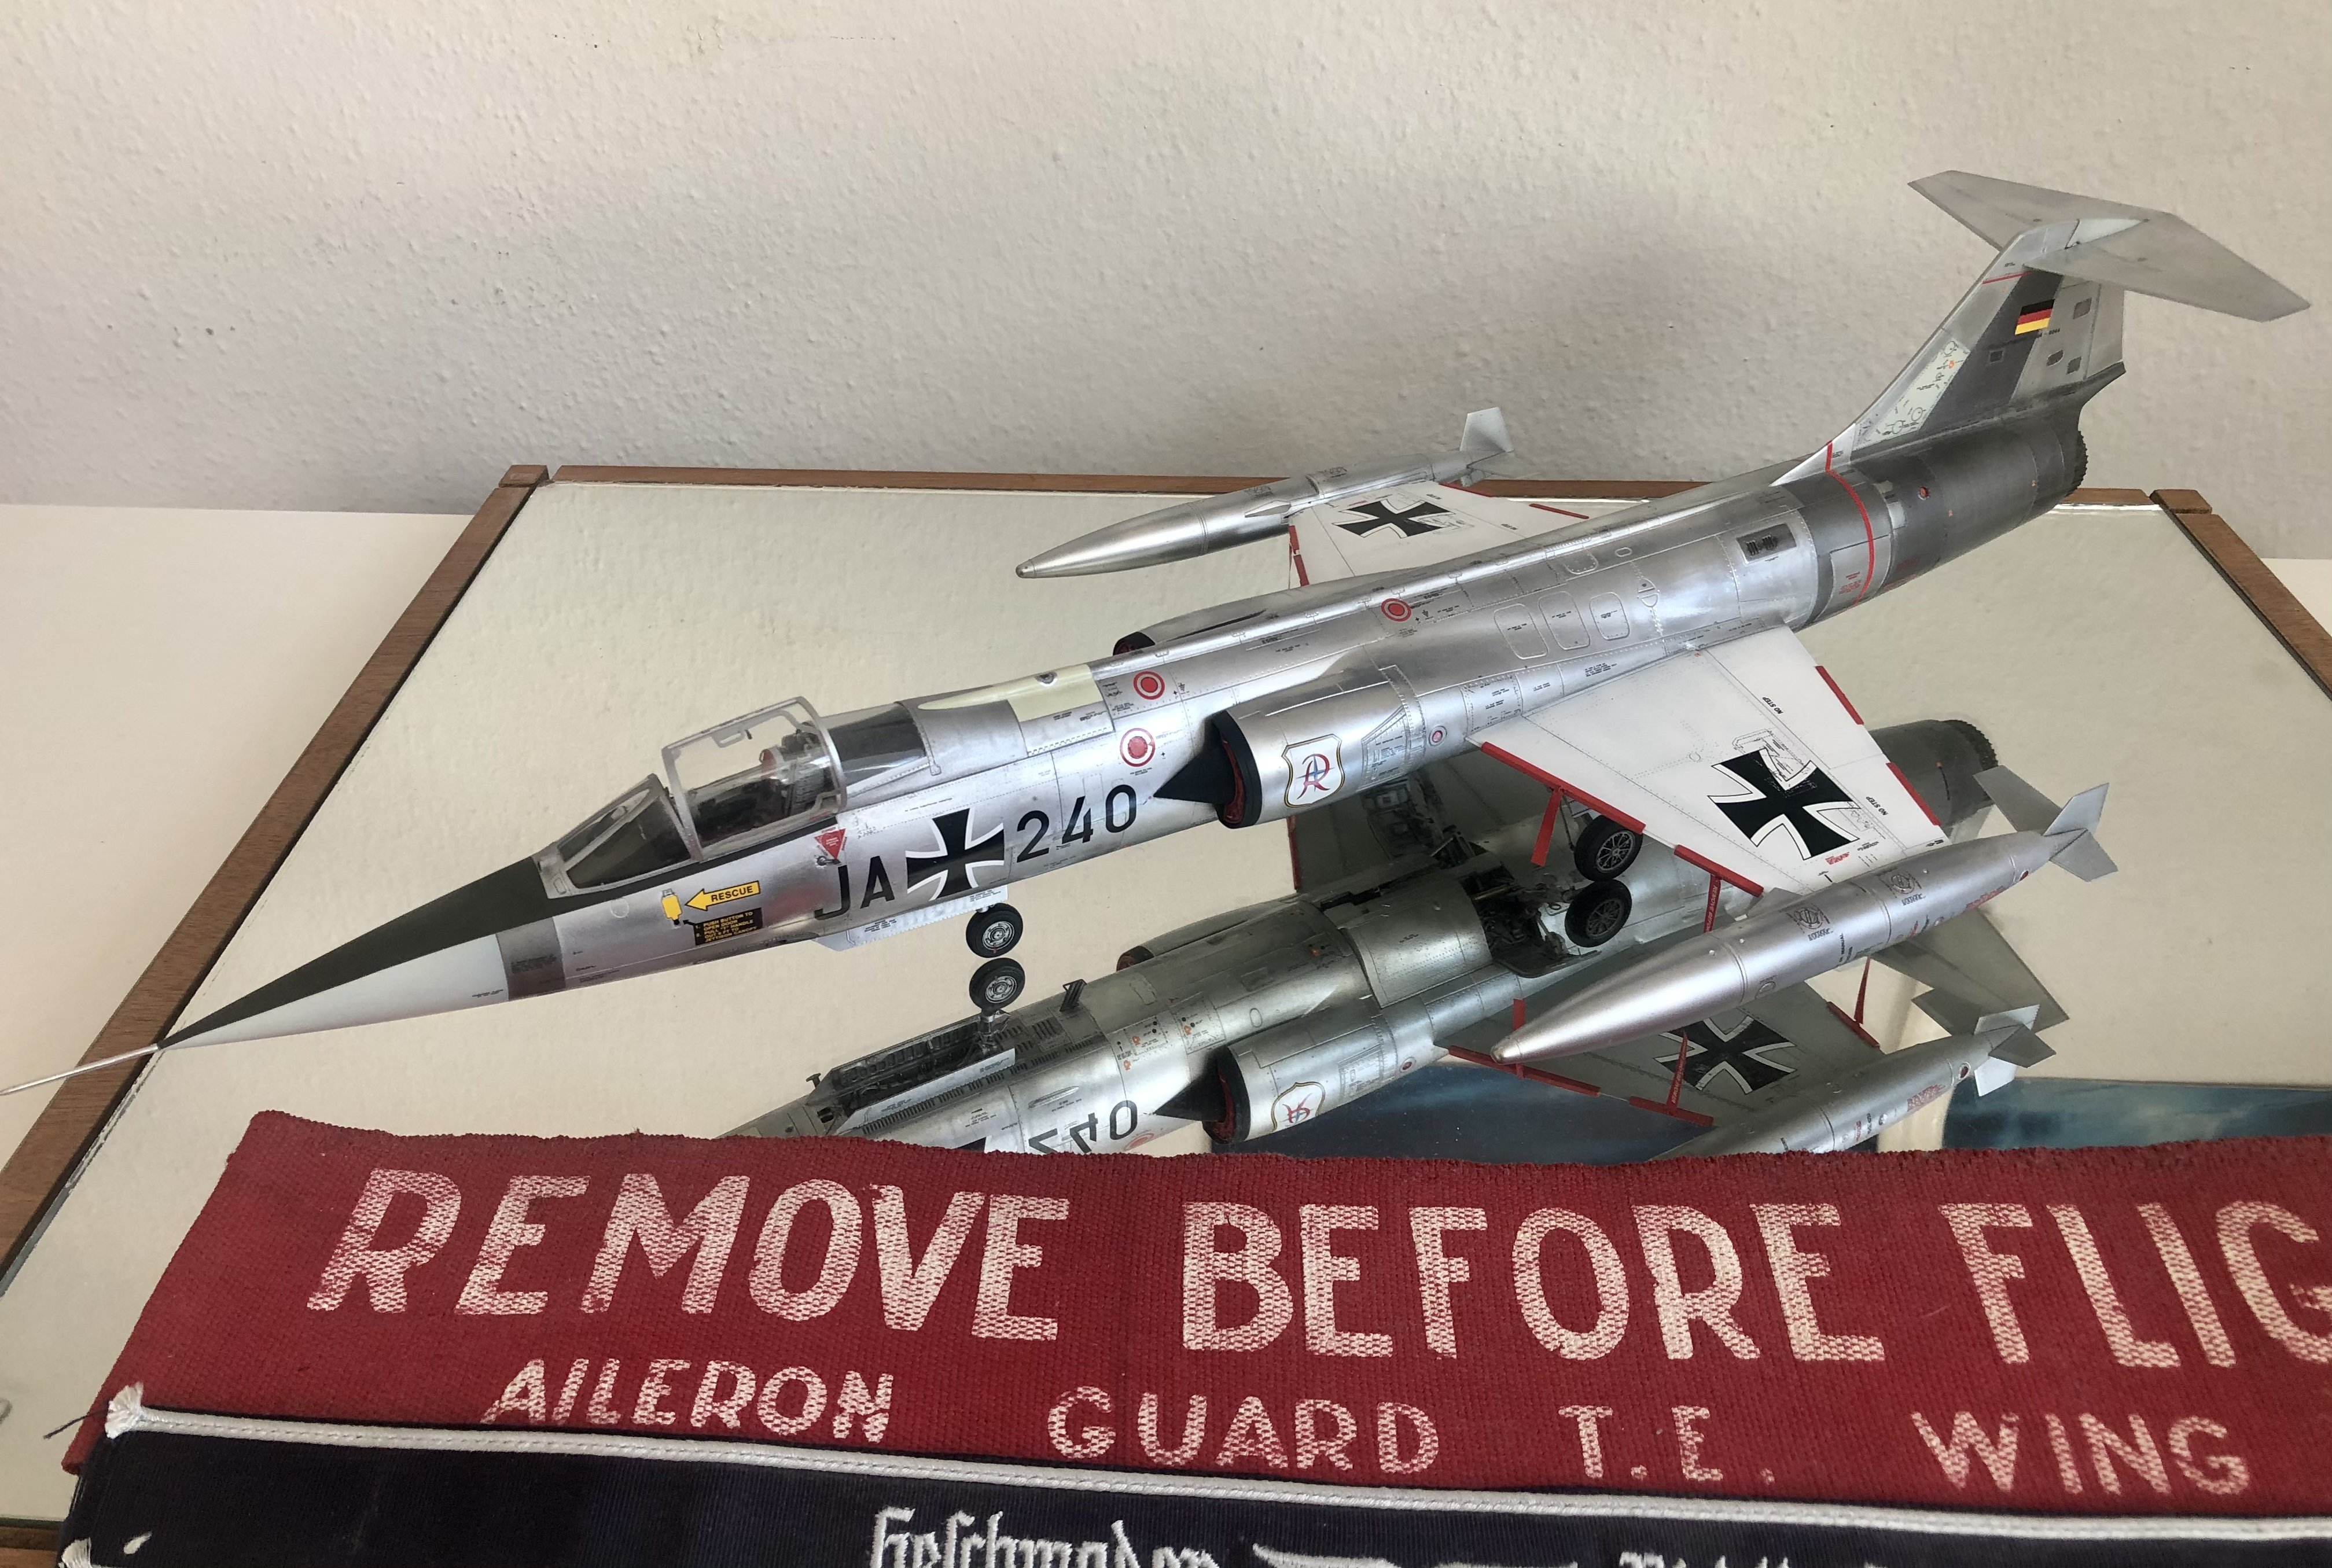
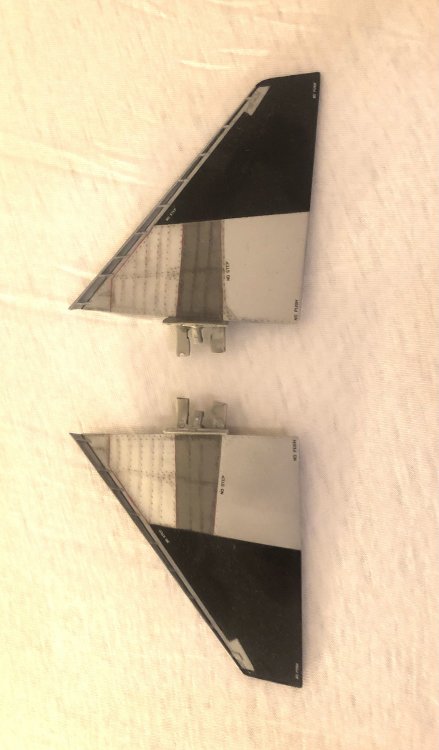
Great work on the aircraft tail Peter. Can fully understand that painting with attached stabilators is a time and tape-consuming job. But your awesome result pays off for that! I solved the same problem on my 32nd scale Tamiya F-4J by cutting the stabilators assembly into 2 pieces and fit them at the end. This made painting very easy. They are still movable and the fit is very nice: Maybe this surgery is also possible in the 48 scale version since the construction seems to be quite similar. Looking forward to seeing the decaled bird!

-
Summer project Kawasaki KI-61, Tamiya 1/48
Kaireckstadt replied to DocRob's topic in LSM 1/48 Work in Progress
If you want to see something awesome and colorful: that’s your KI 61 Rob! This is a real eyecatcher on every exhibition! -
Fantastic work beyond awesome! How will you paint all the details you created? Do you have special brushes with adjustable around-the-corner-joints ?
-
Israeli Mirage III C with Atar9C
Kaireckstadt replied to Kaireckstadt's topic in LSM 1/35 and Larger Work In Progress
Thank you all for your feedback! I hope that I can manage to finish the build till the end of next week. Then my holidays are over (and Hubert us 12 kg heavier… )… -
Good work! These details bring life to the model!
-
Summer project Kawasaki KI-61, Tamiya 1/48
Kaireckstadt replied to DocRob's topic in LSM 1/48 Work in Progress
That’s really a project not suitable for an airbrush. Was it applied with a brush? Maybe it’s possible to do it with a brush on the model too? I did a Me 110 G-4 when I was 19 (40 years ago!) and didn’t know at this time what an airbrush was. I painted all the squiggles on the model with a brush (like the whole model too). Doesn’t look too bad. This is the oldest model I still have.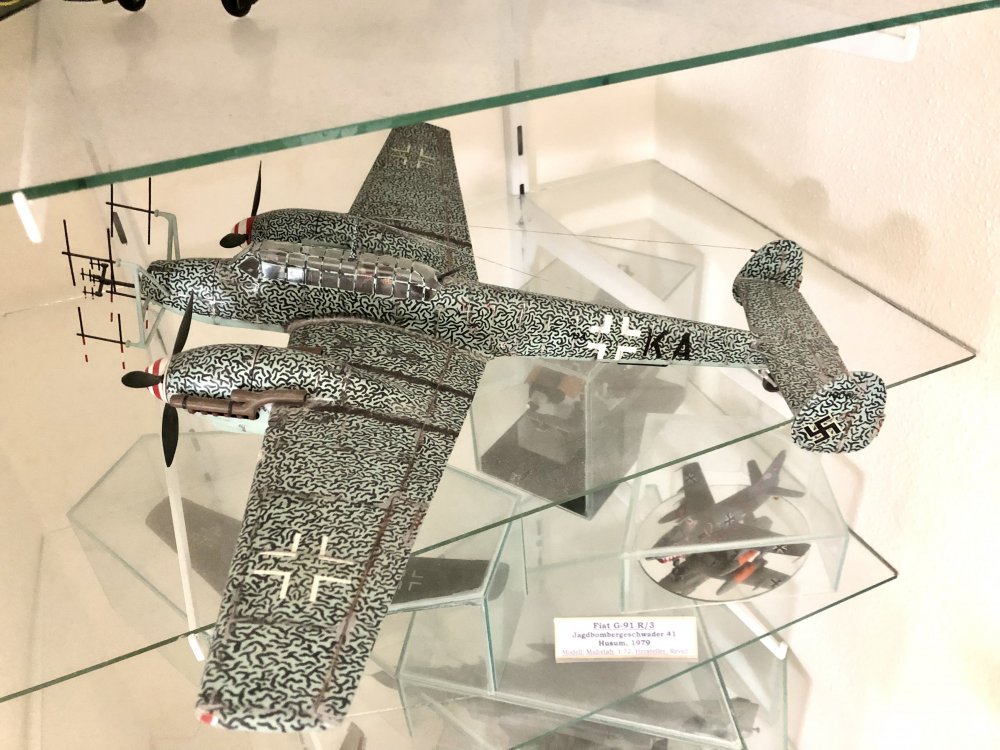
-
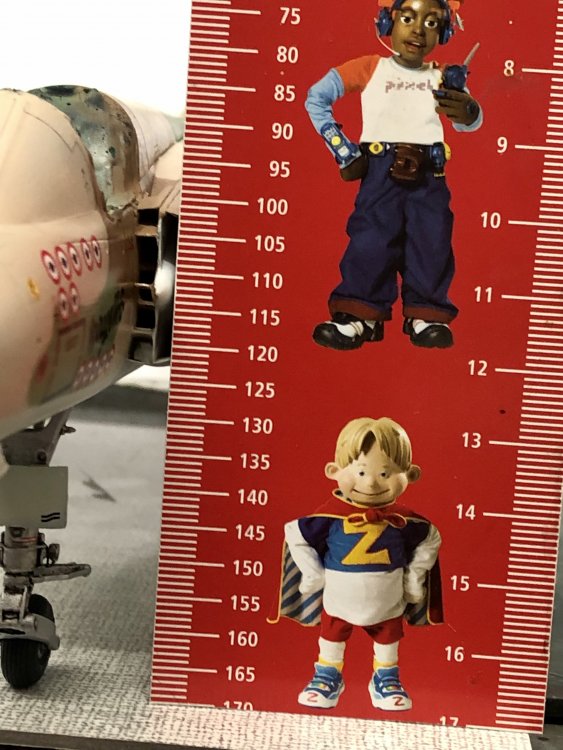
That’s really great detail work Gary. And this will improve much the look of the finished model. The comparison foto is really very good. Clearly shows how small the Marder tank is! And like Rob said: awesome tracks!
-
Gottfreid Weiroster Bf 109G6 R6 Revell 1/32
Kaireckstadt replied to GazzaS's topic in LSM 1/35 and Larger Work In Progress
Ok that’s clear now Gary! What a mess is this kit when even the flaps and ailerons are wrong? I can’t believe how many mistakes Revell made. That’s Italeri-like…😁 -
Israeli Mirage III C with Atar9C
Kaireckstadt replied to Kaireckstadt's topic in LSM 1/35 and Larger Work In Progress
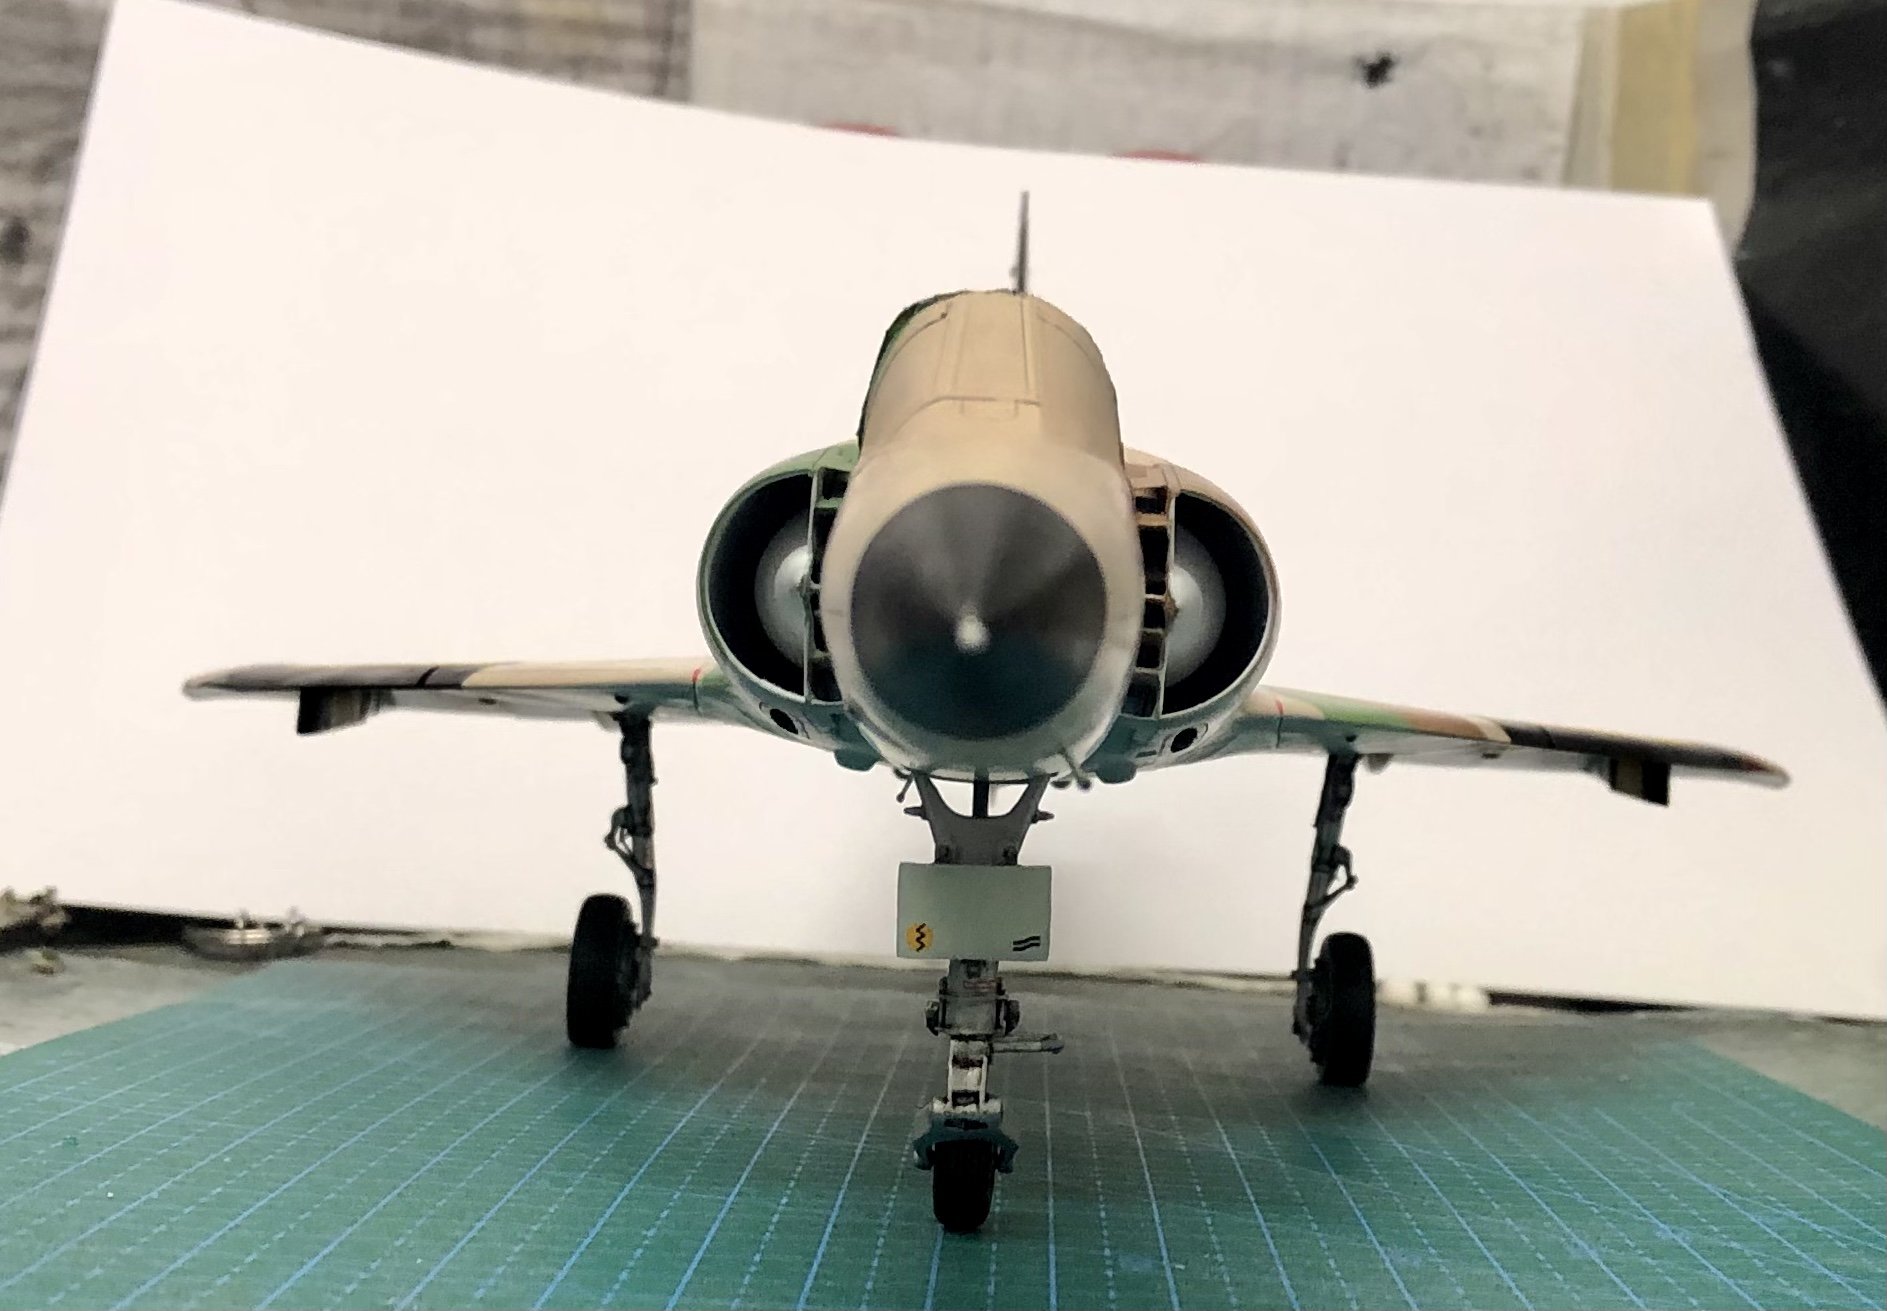
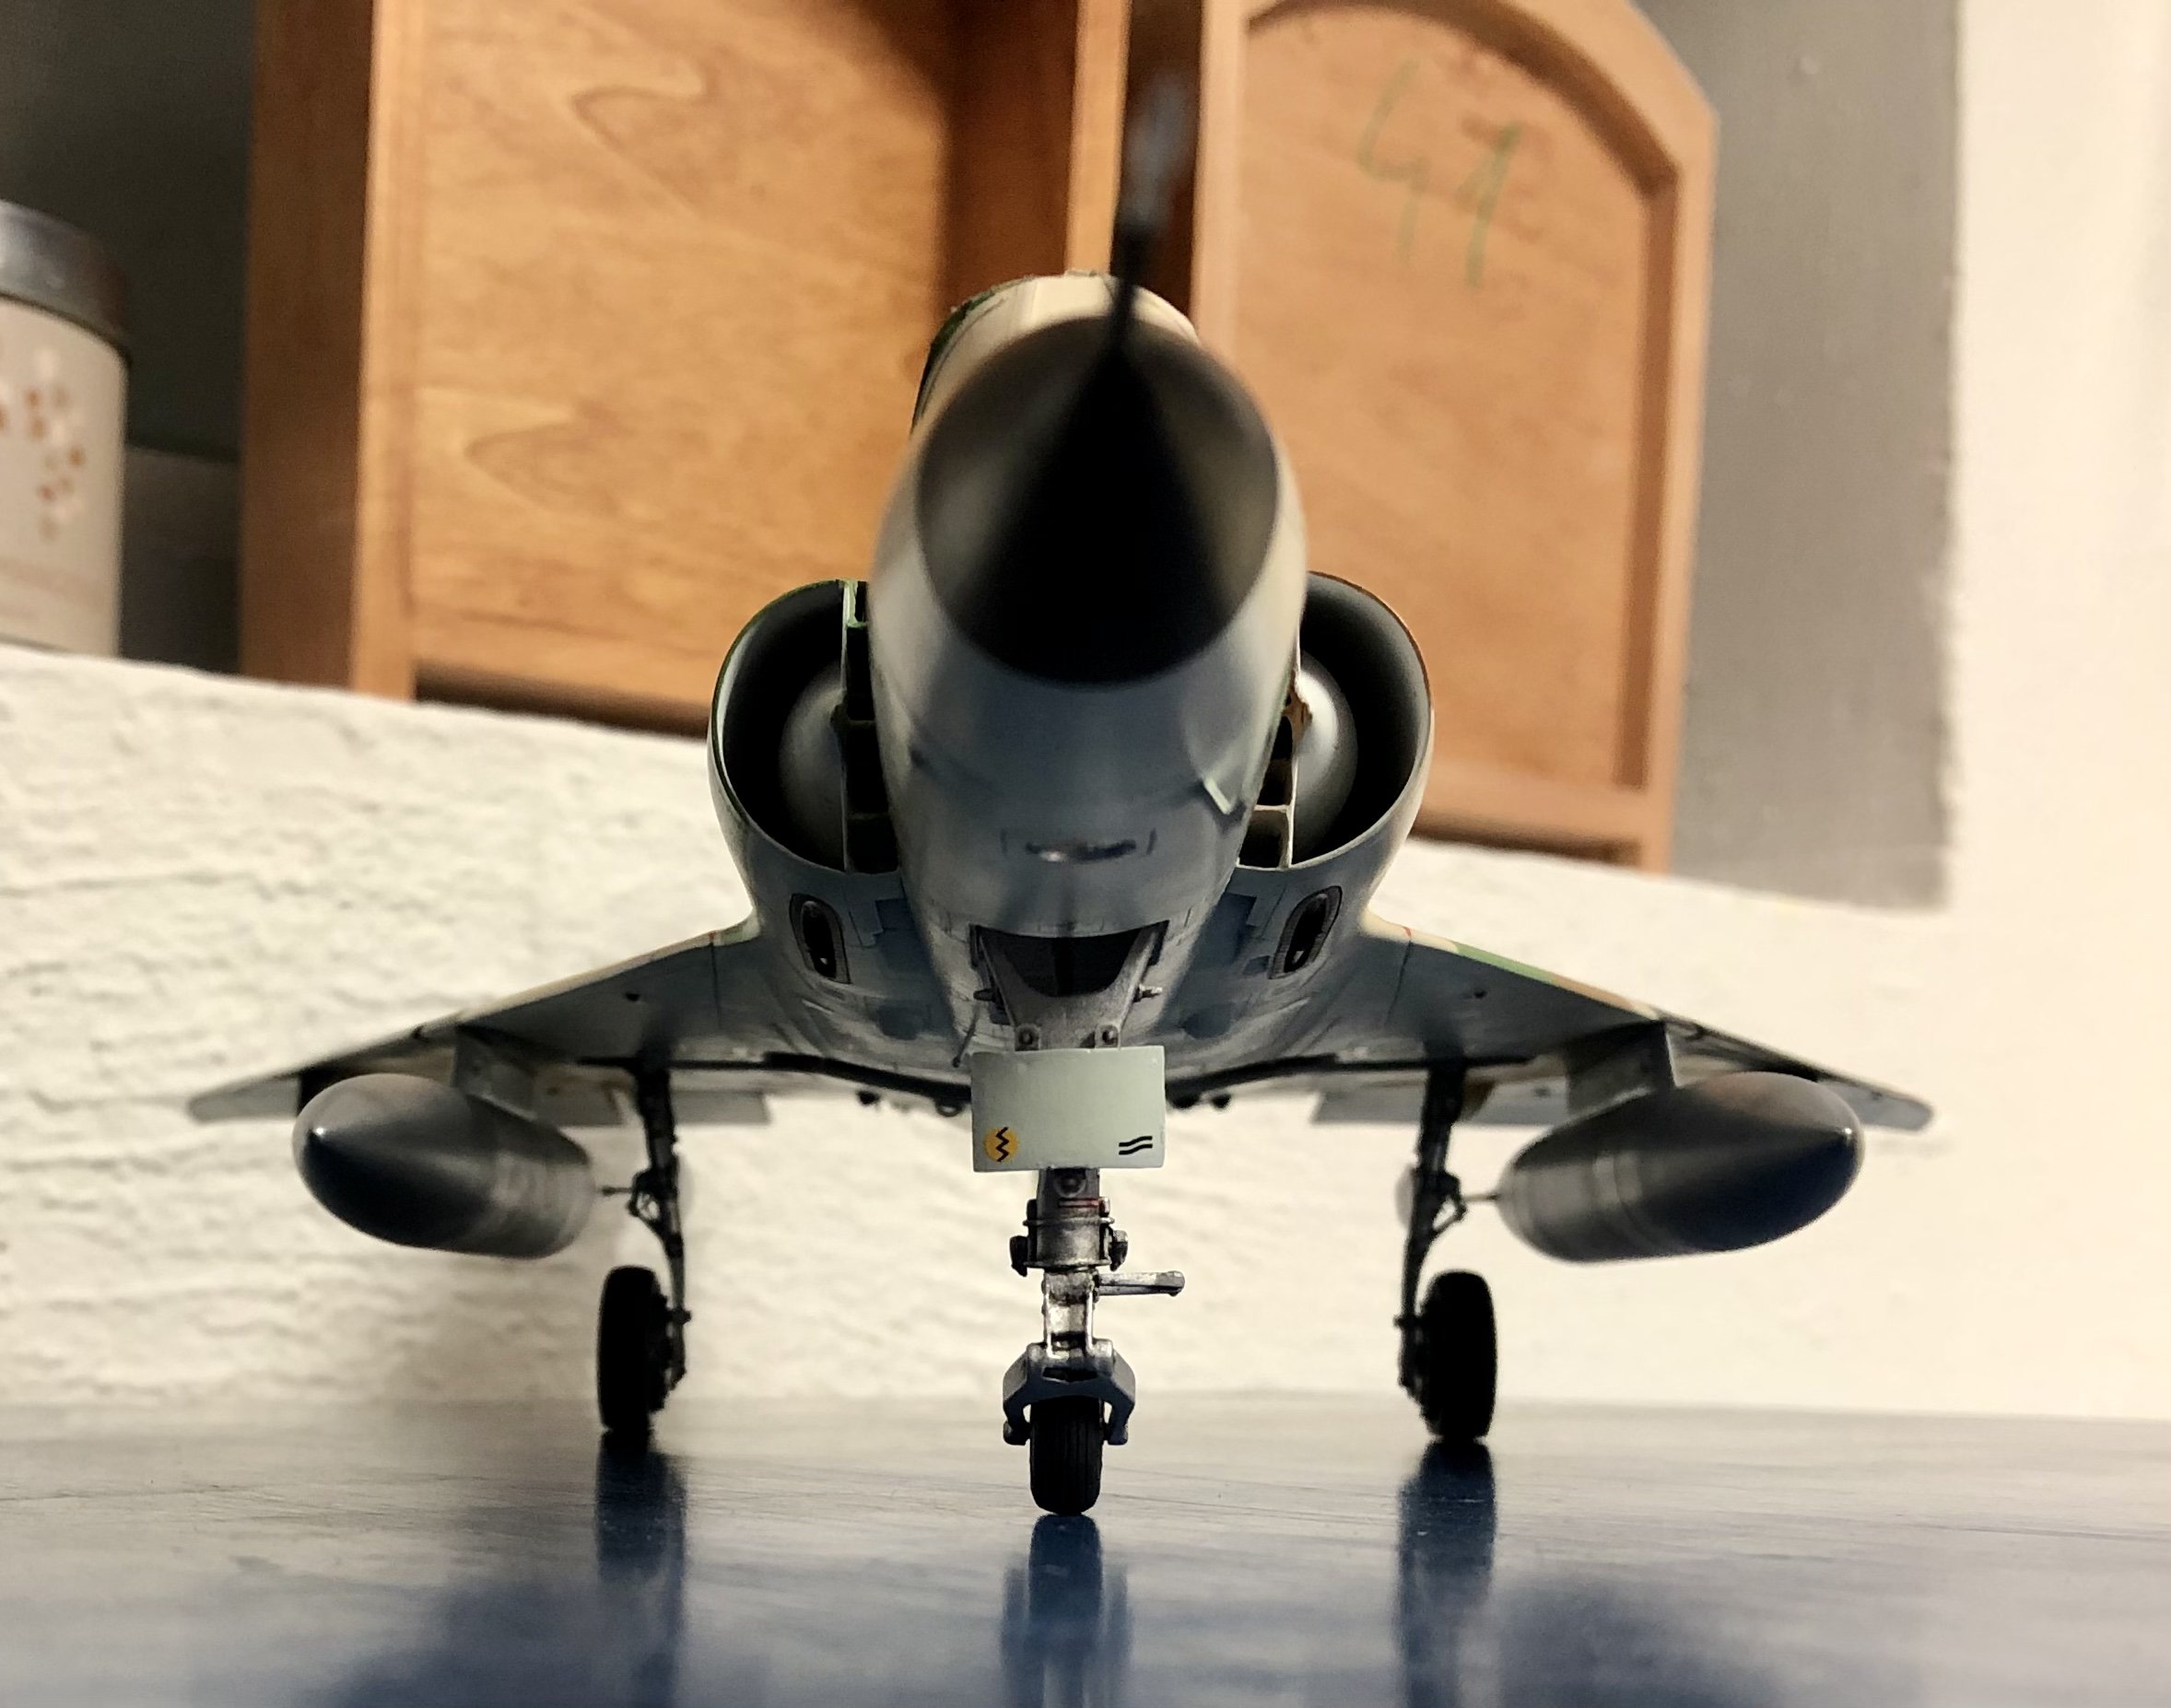
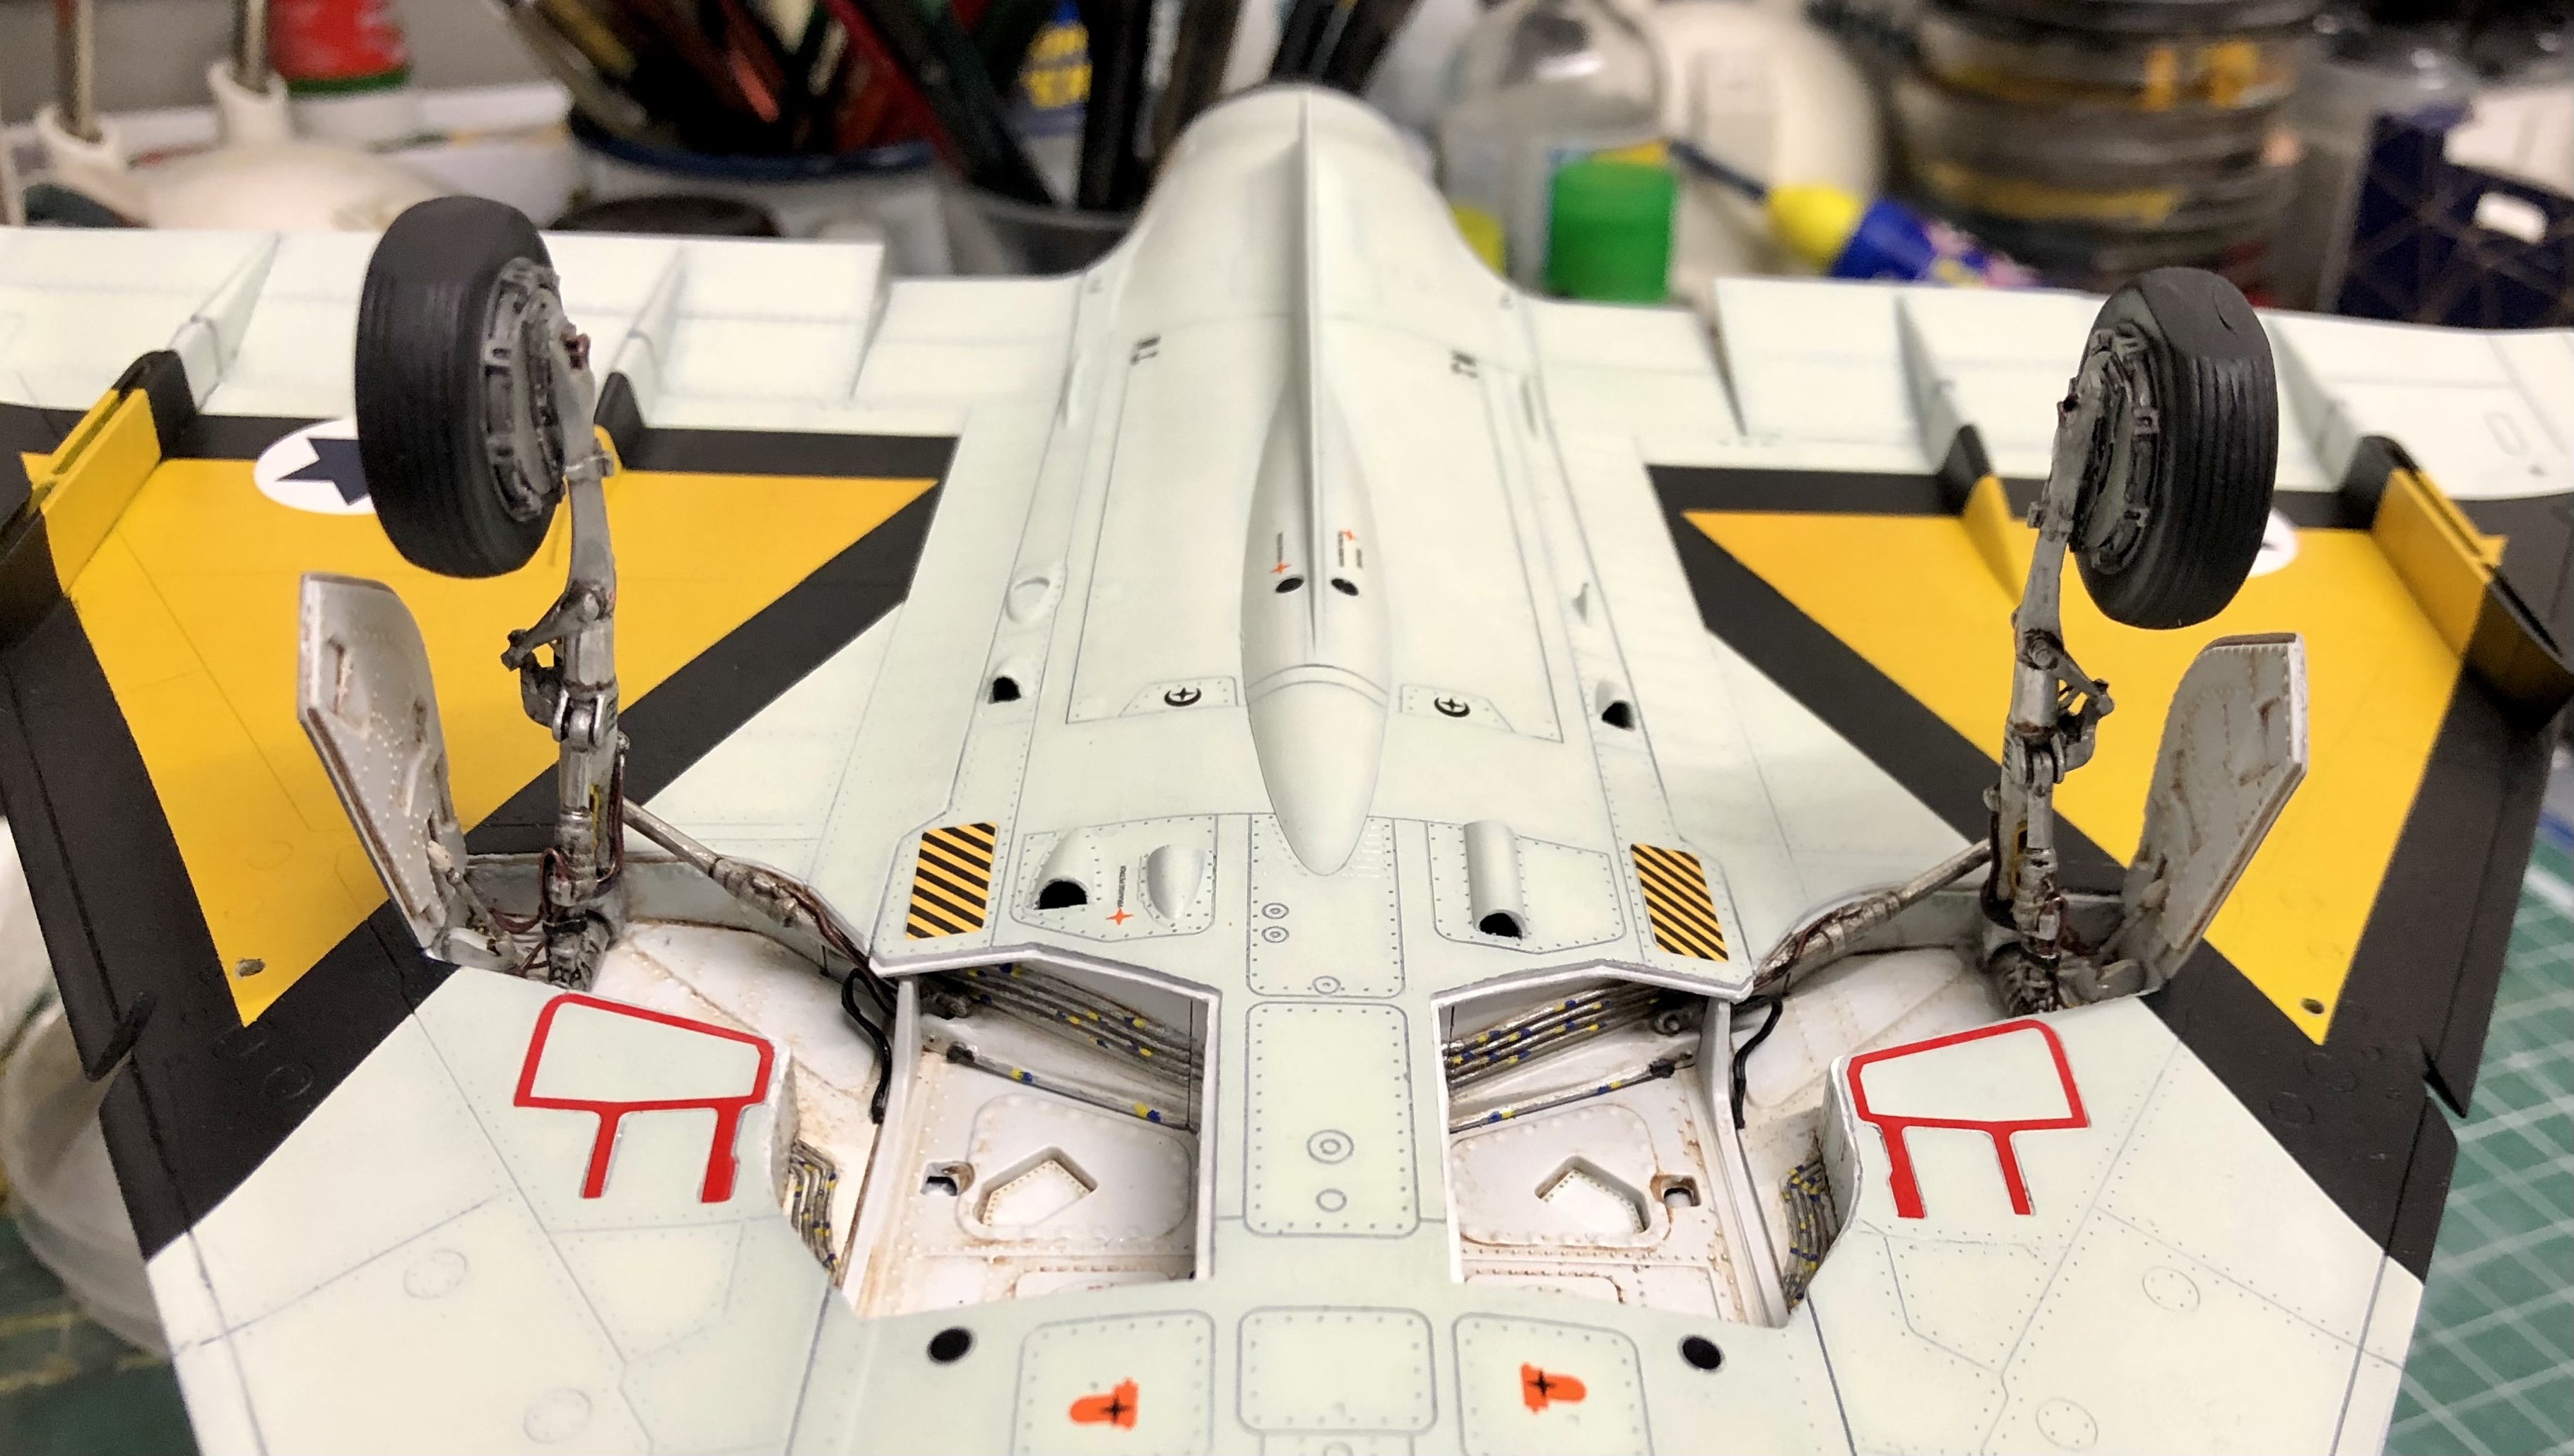
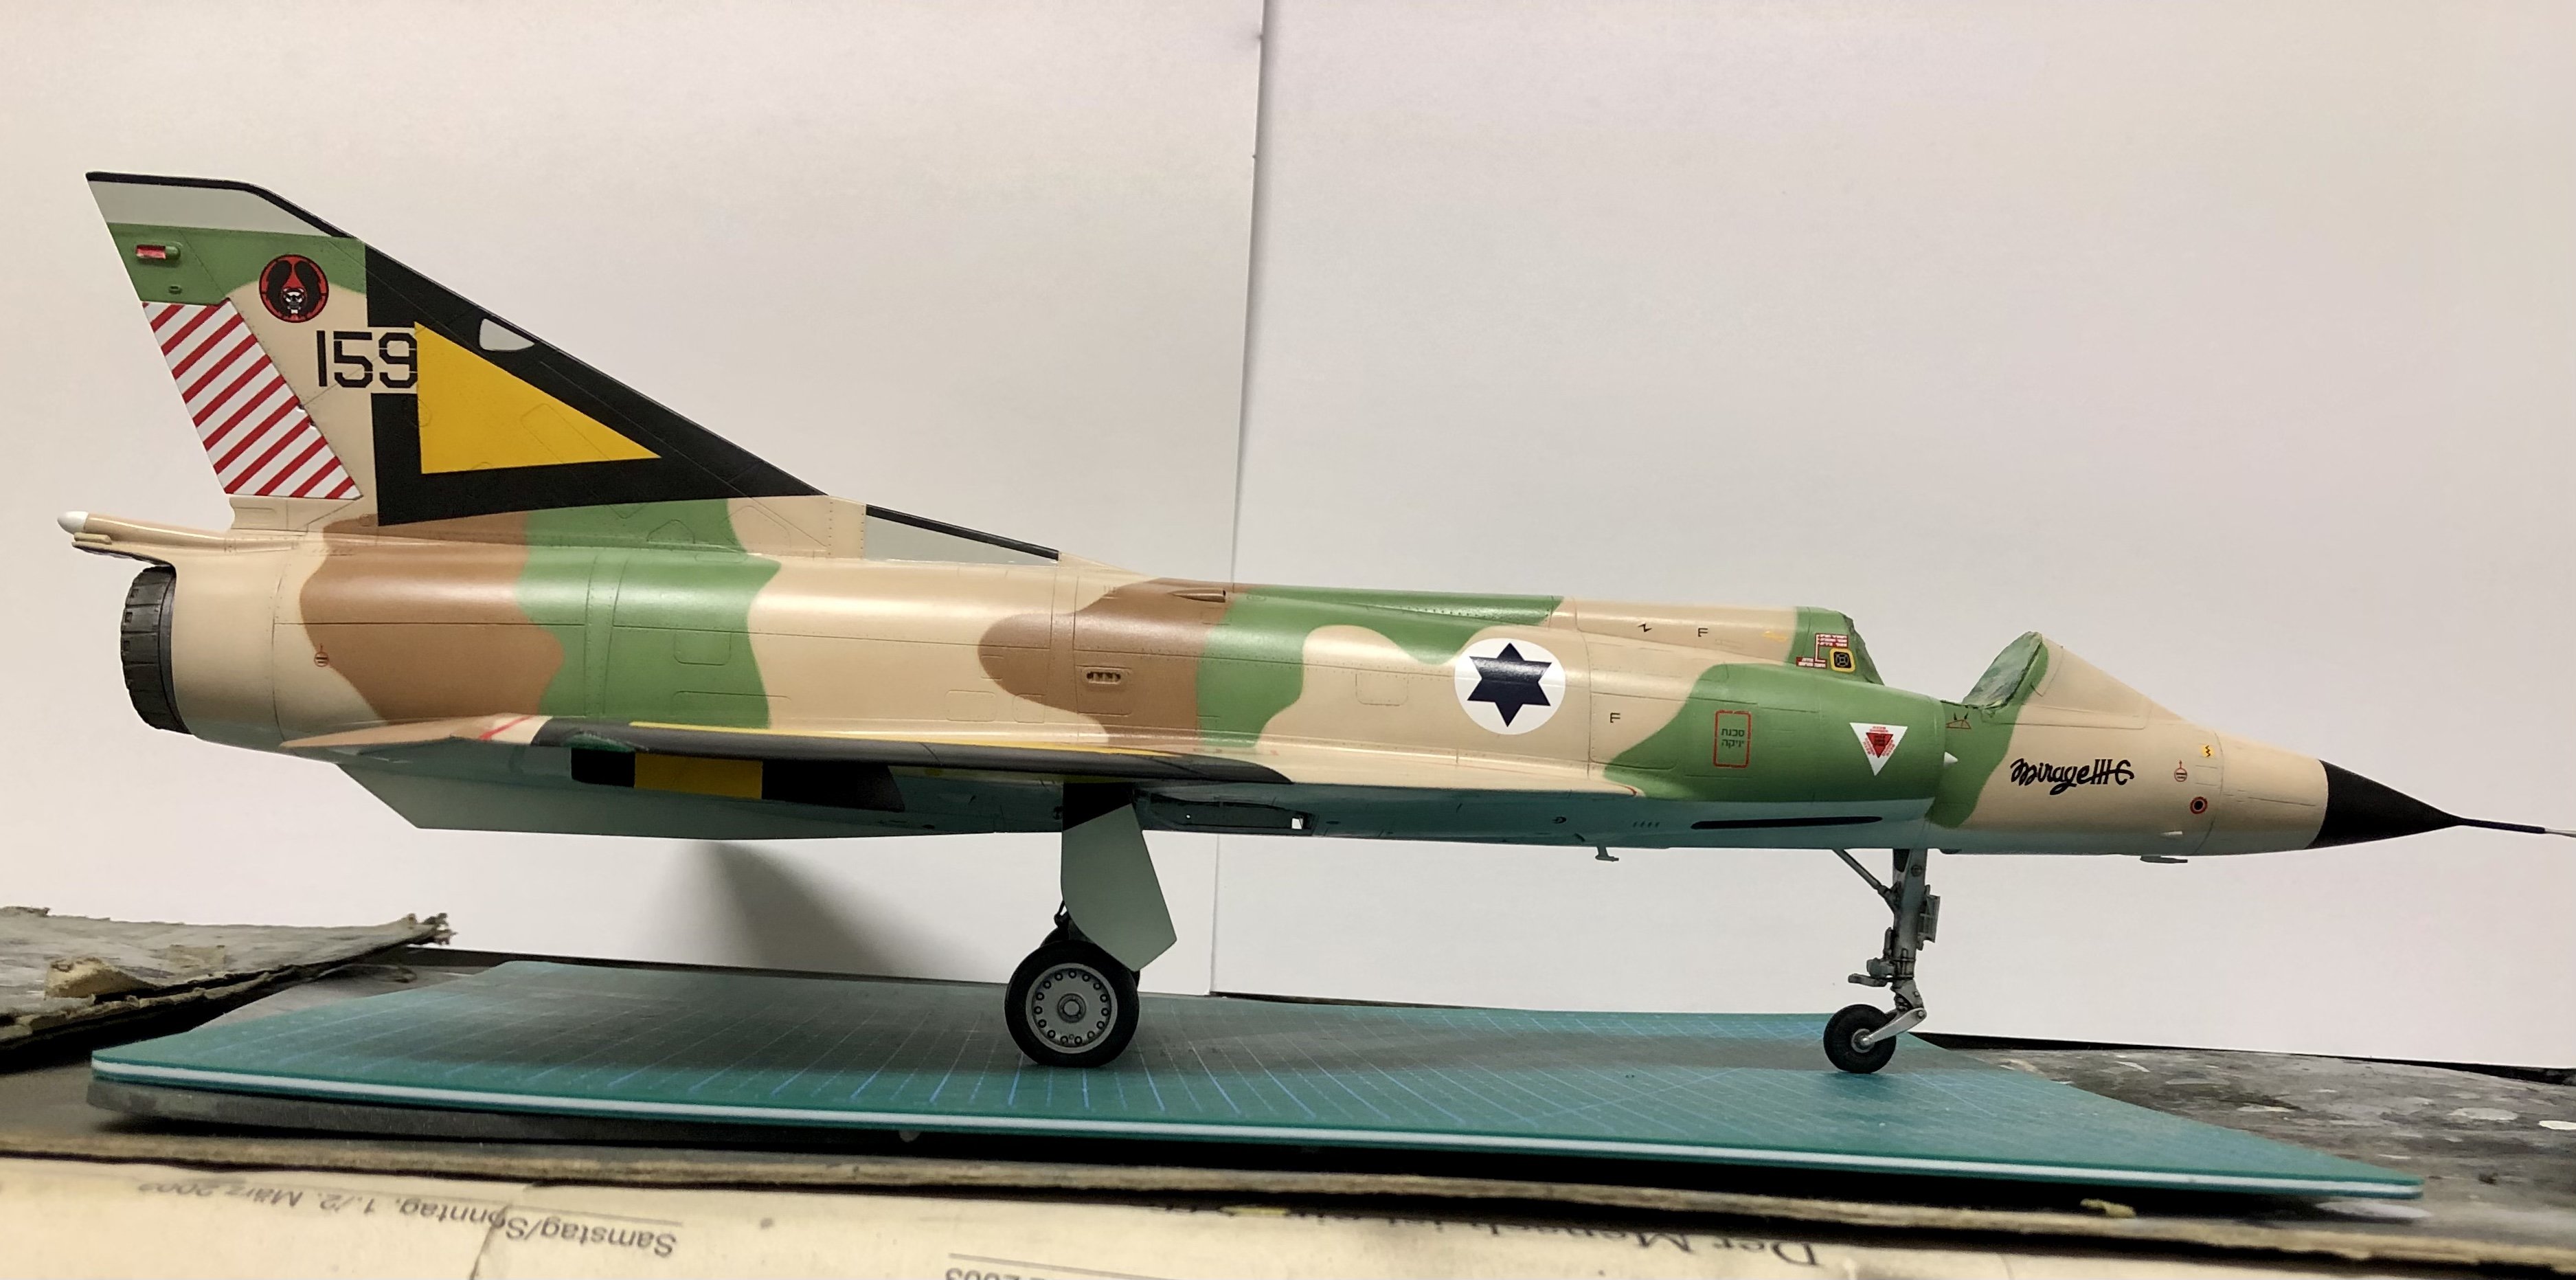
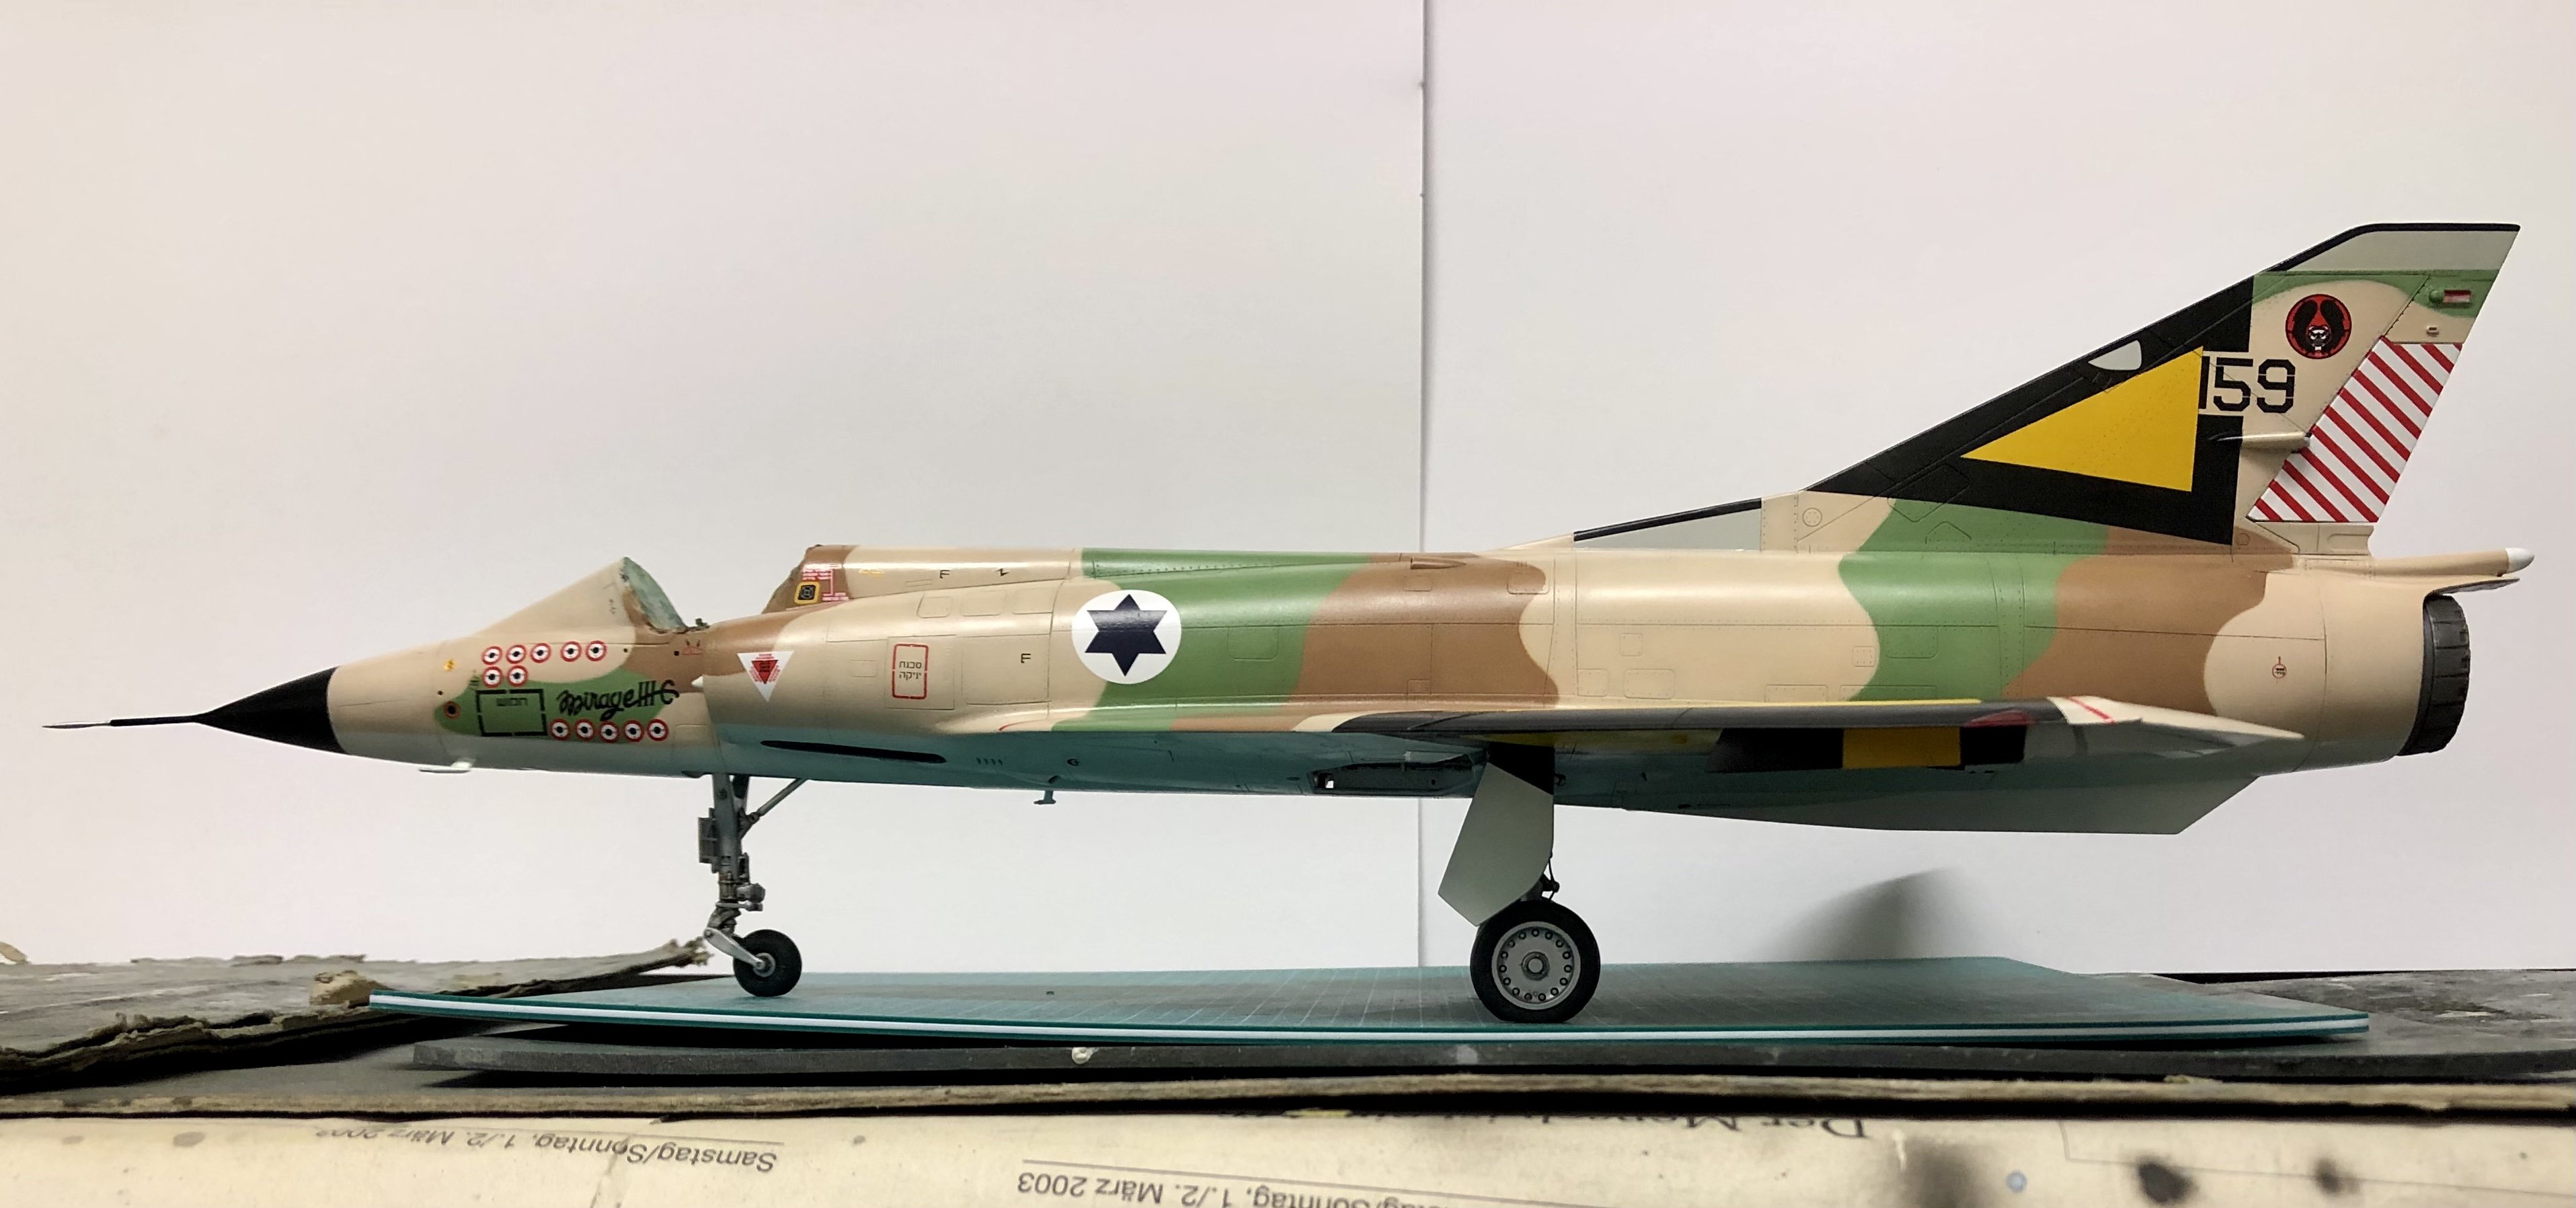
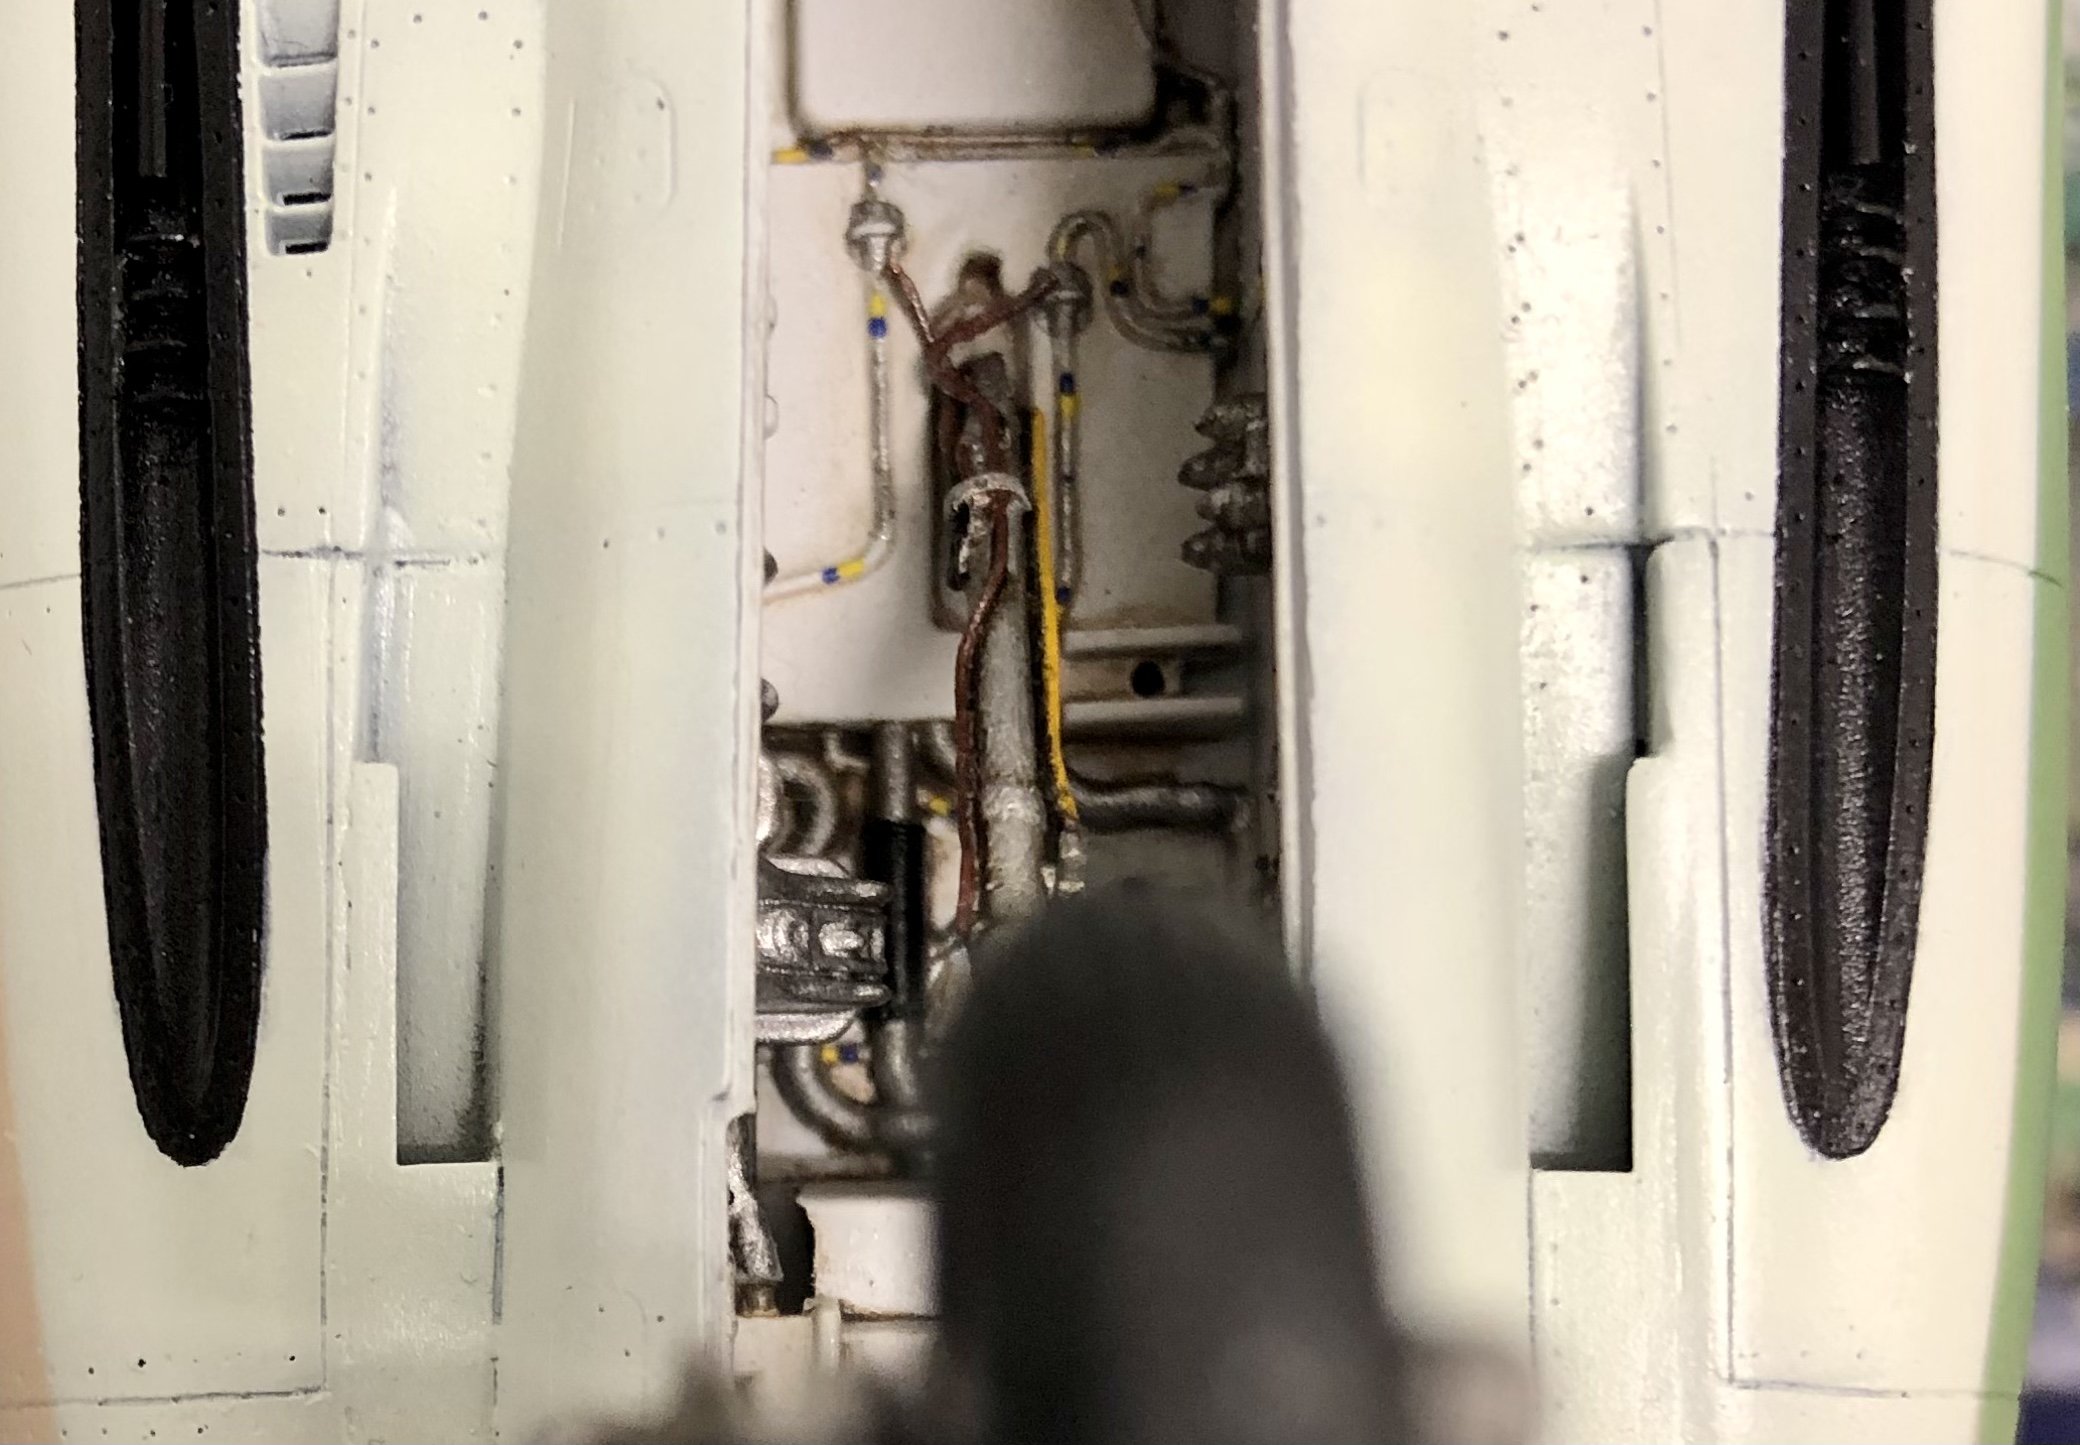
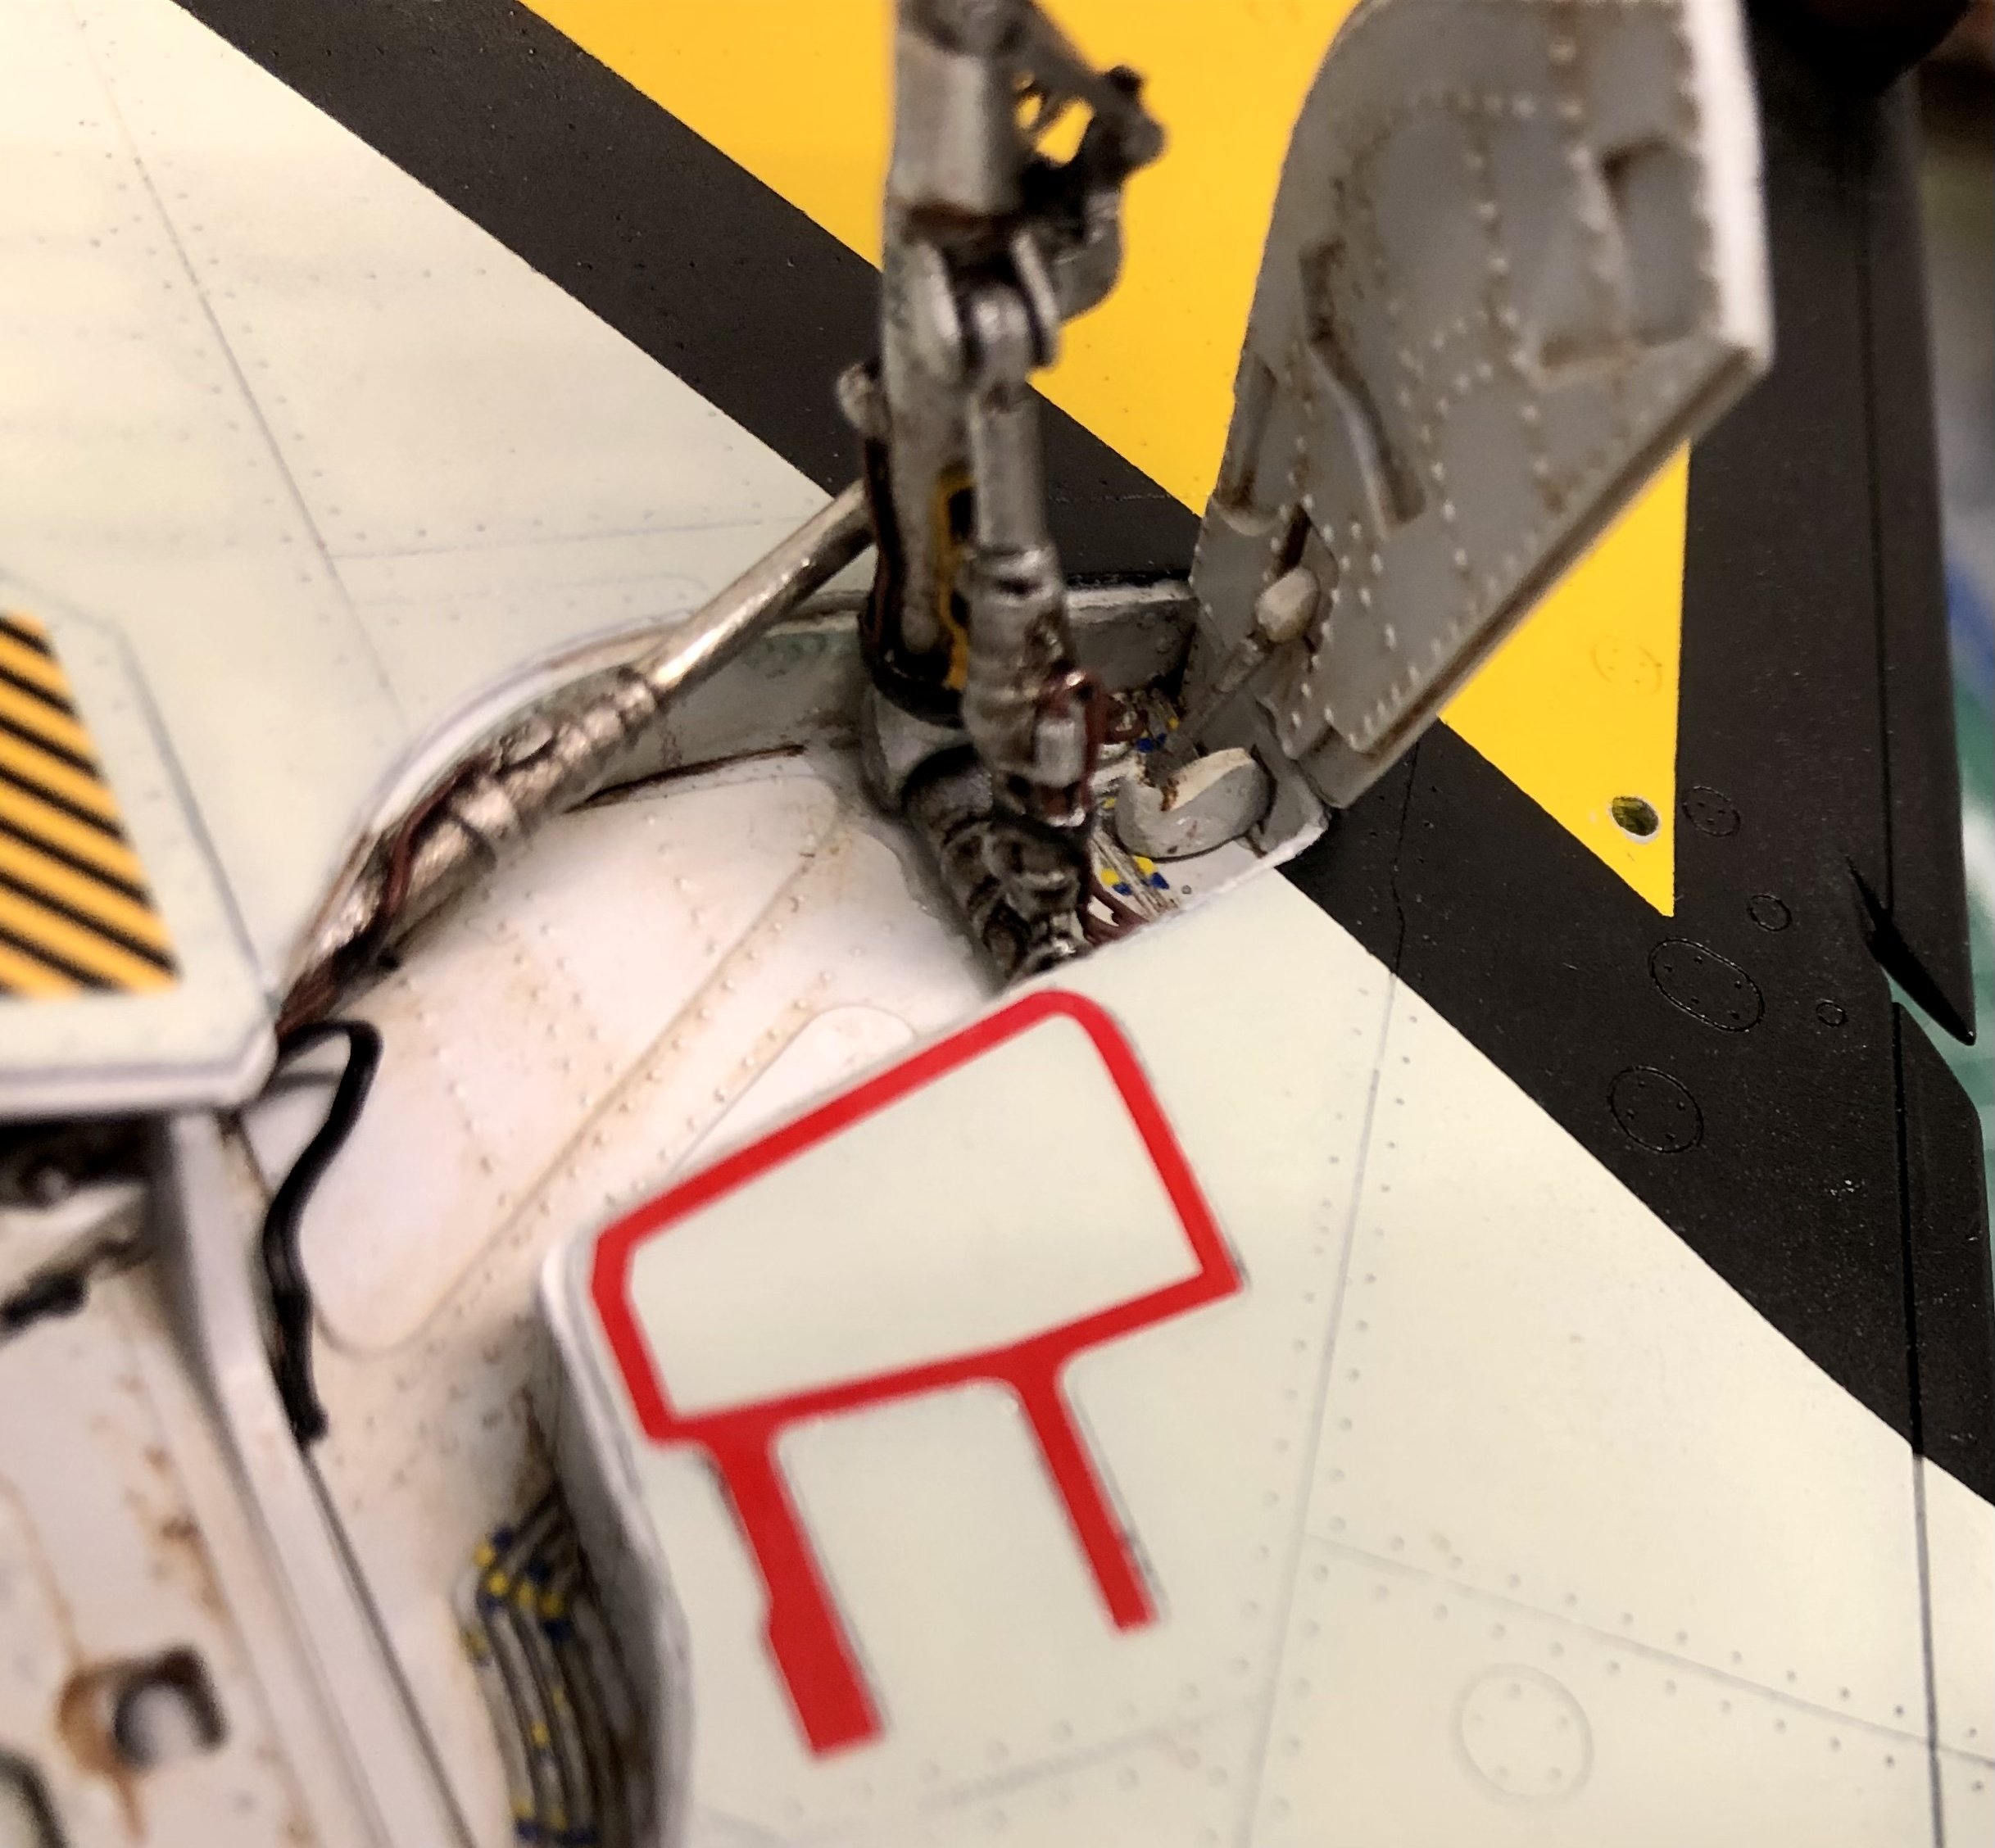
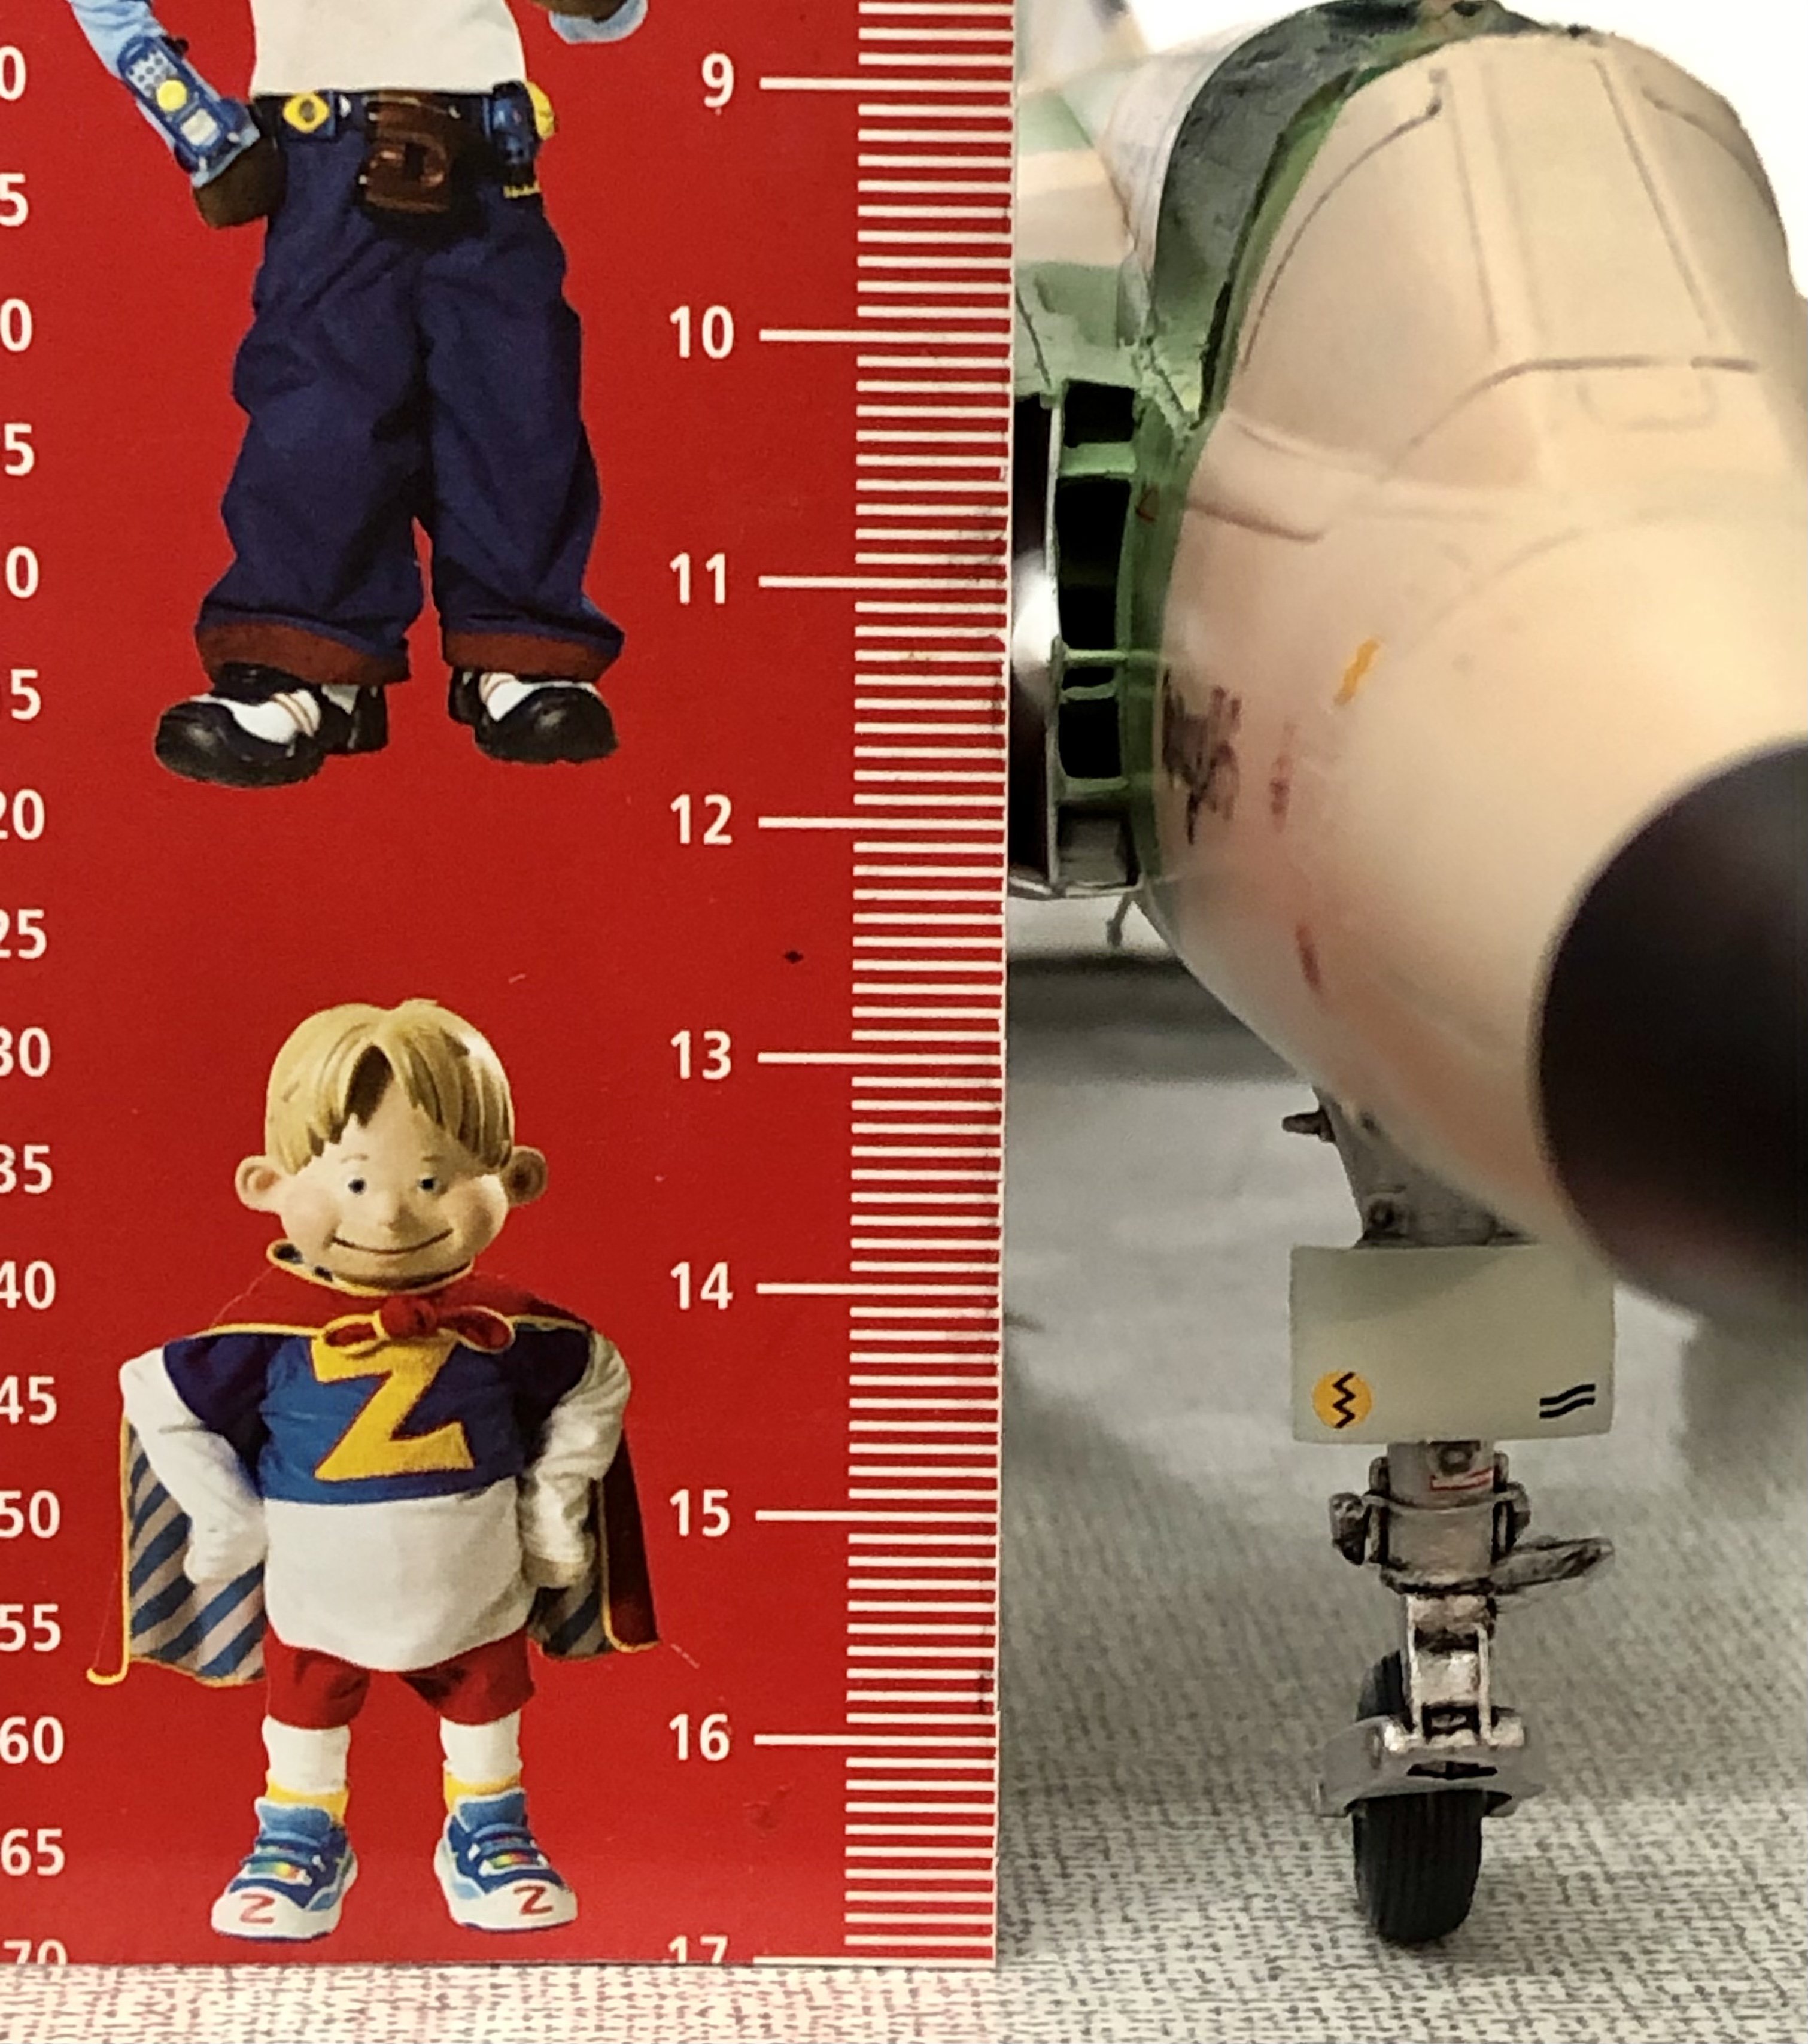
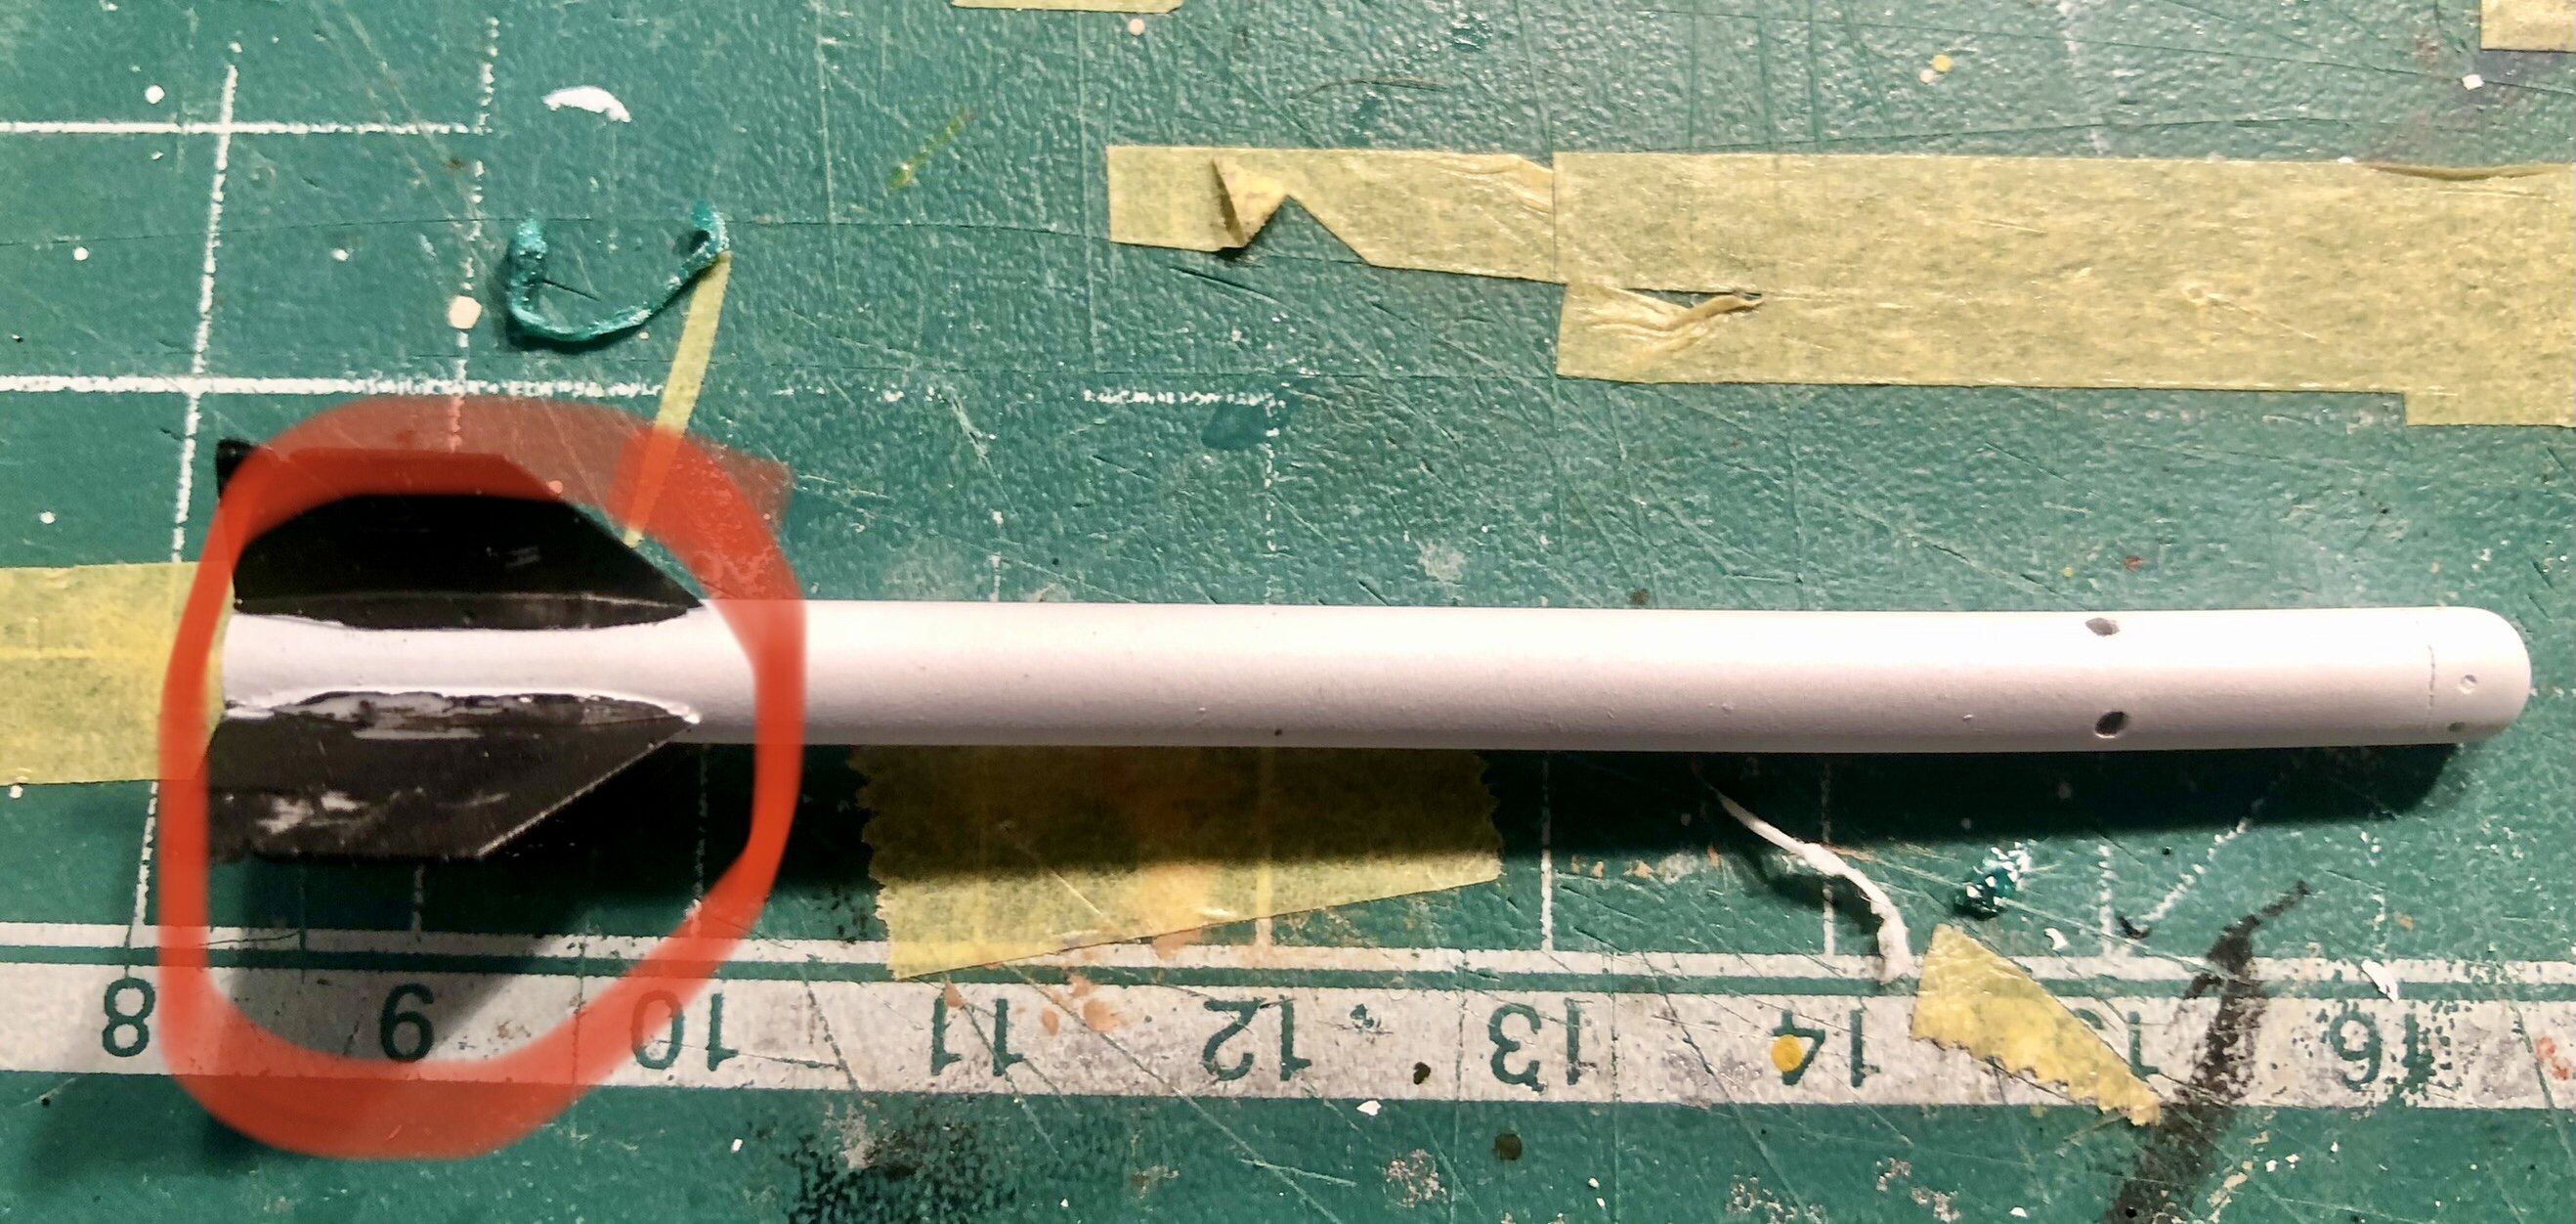
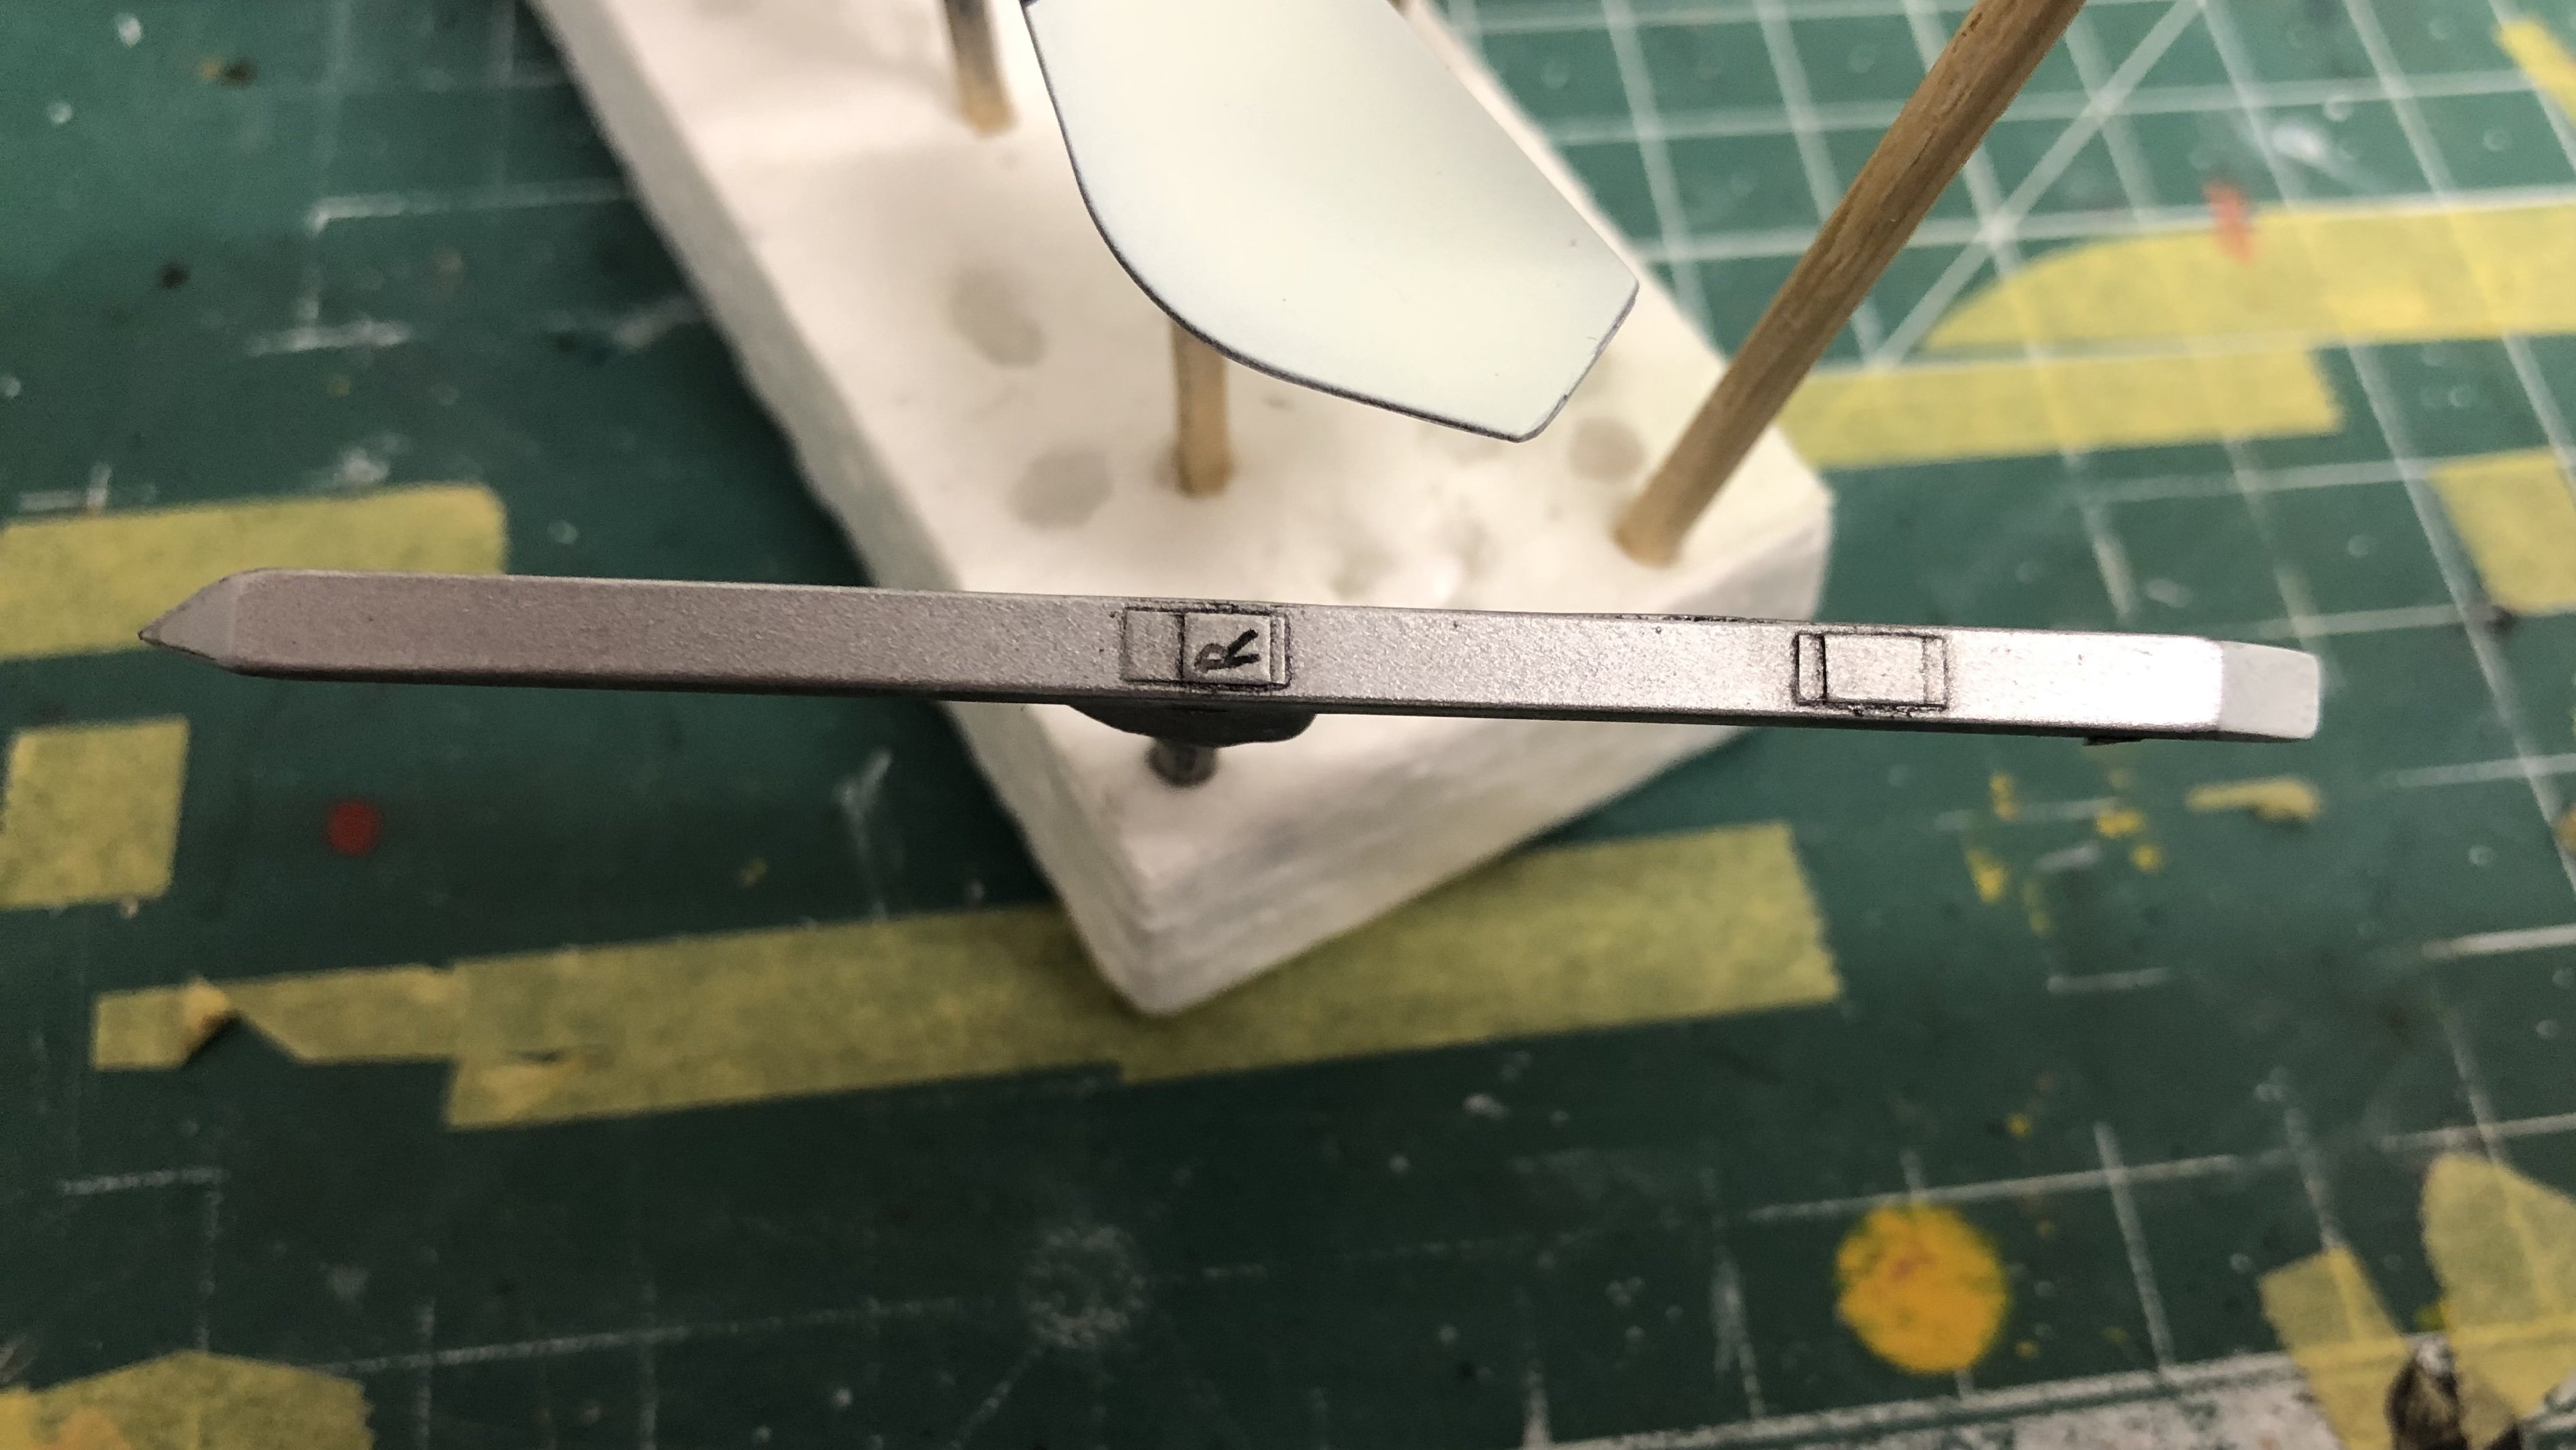
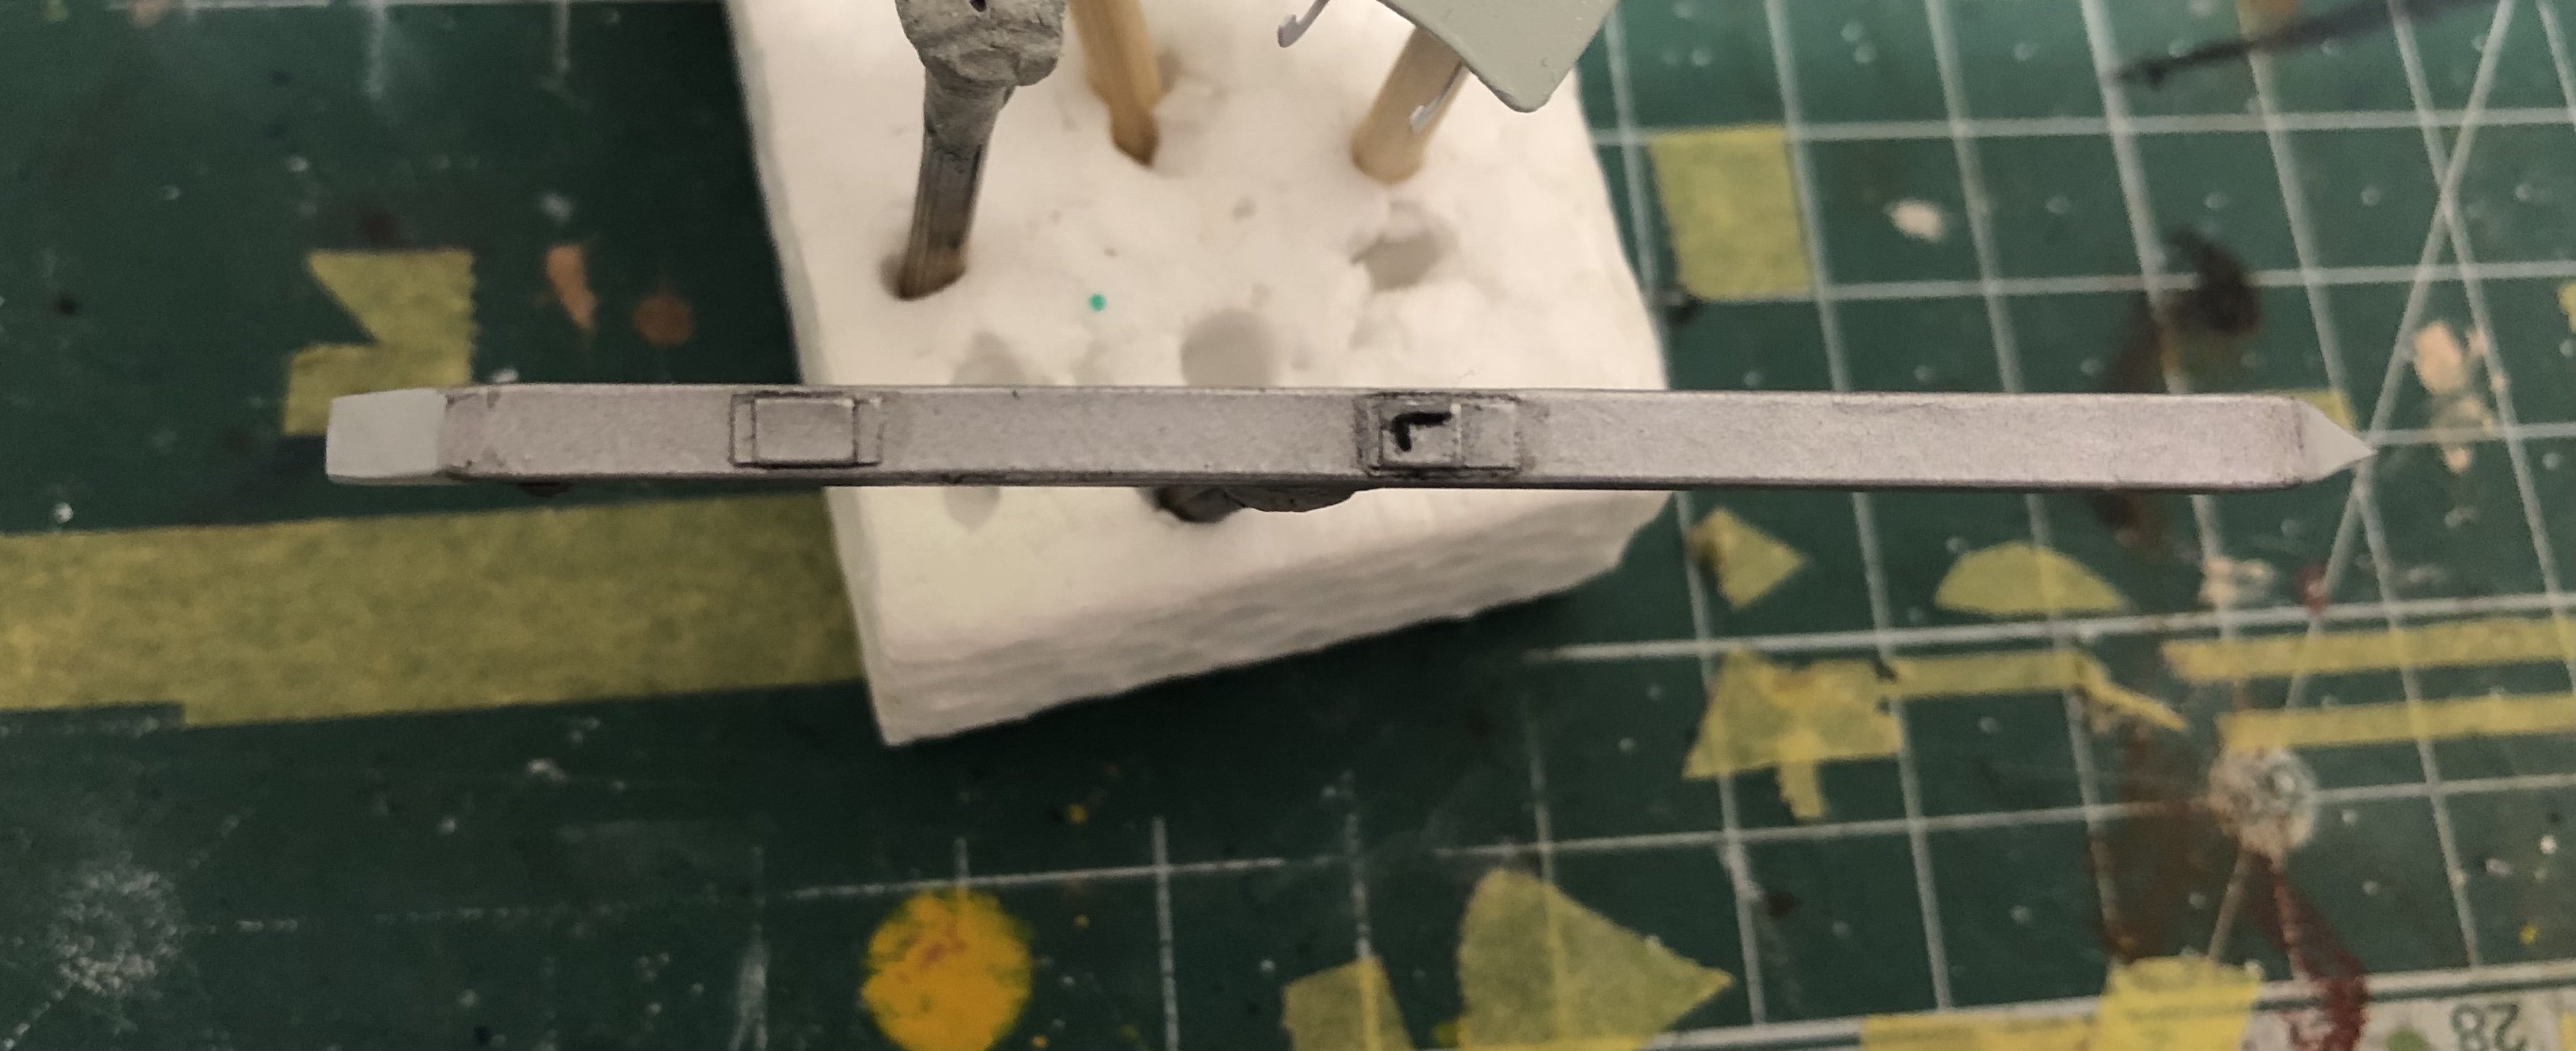
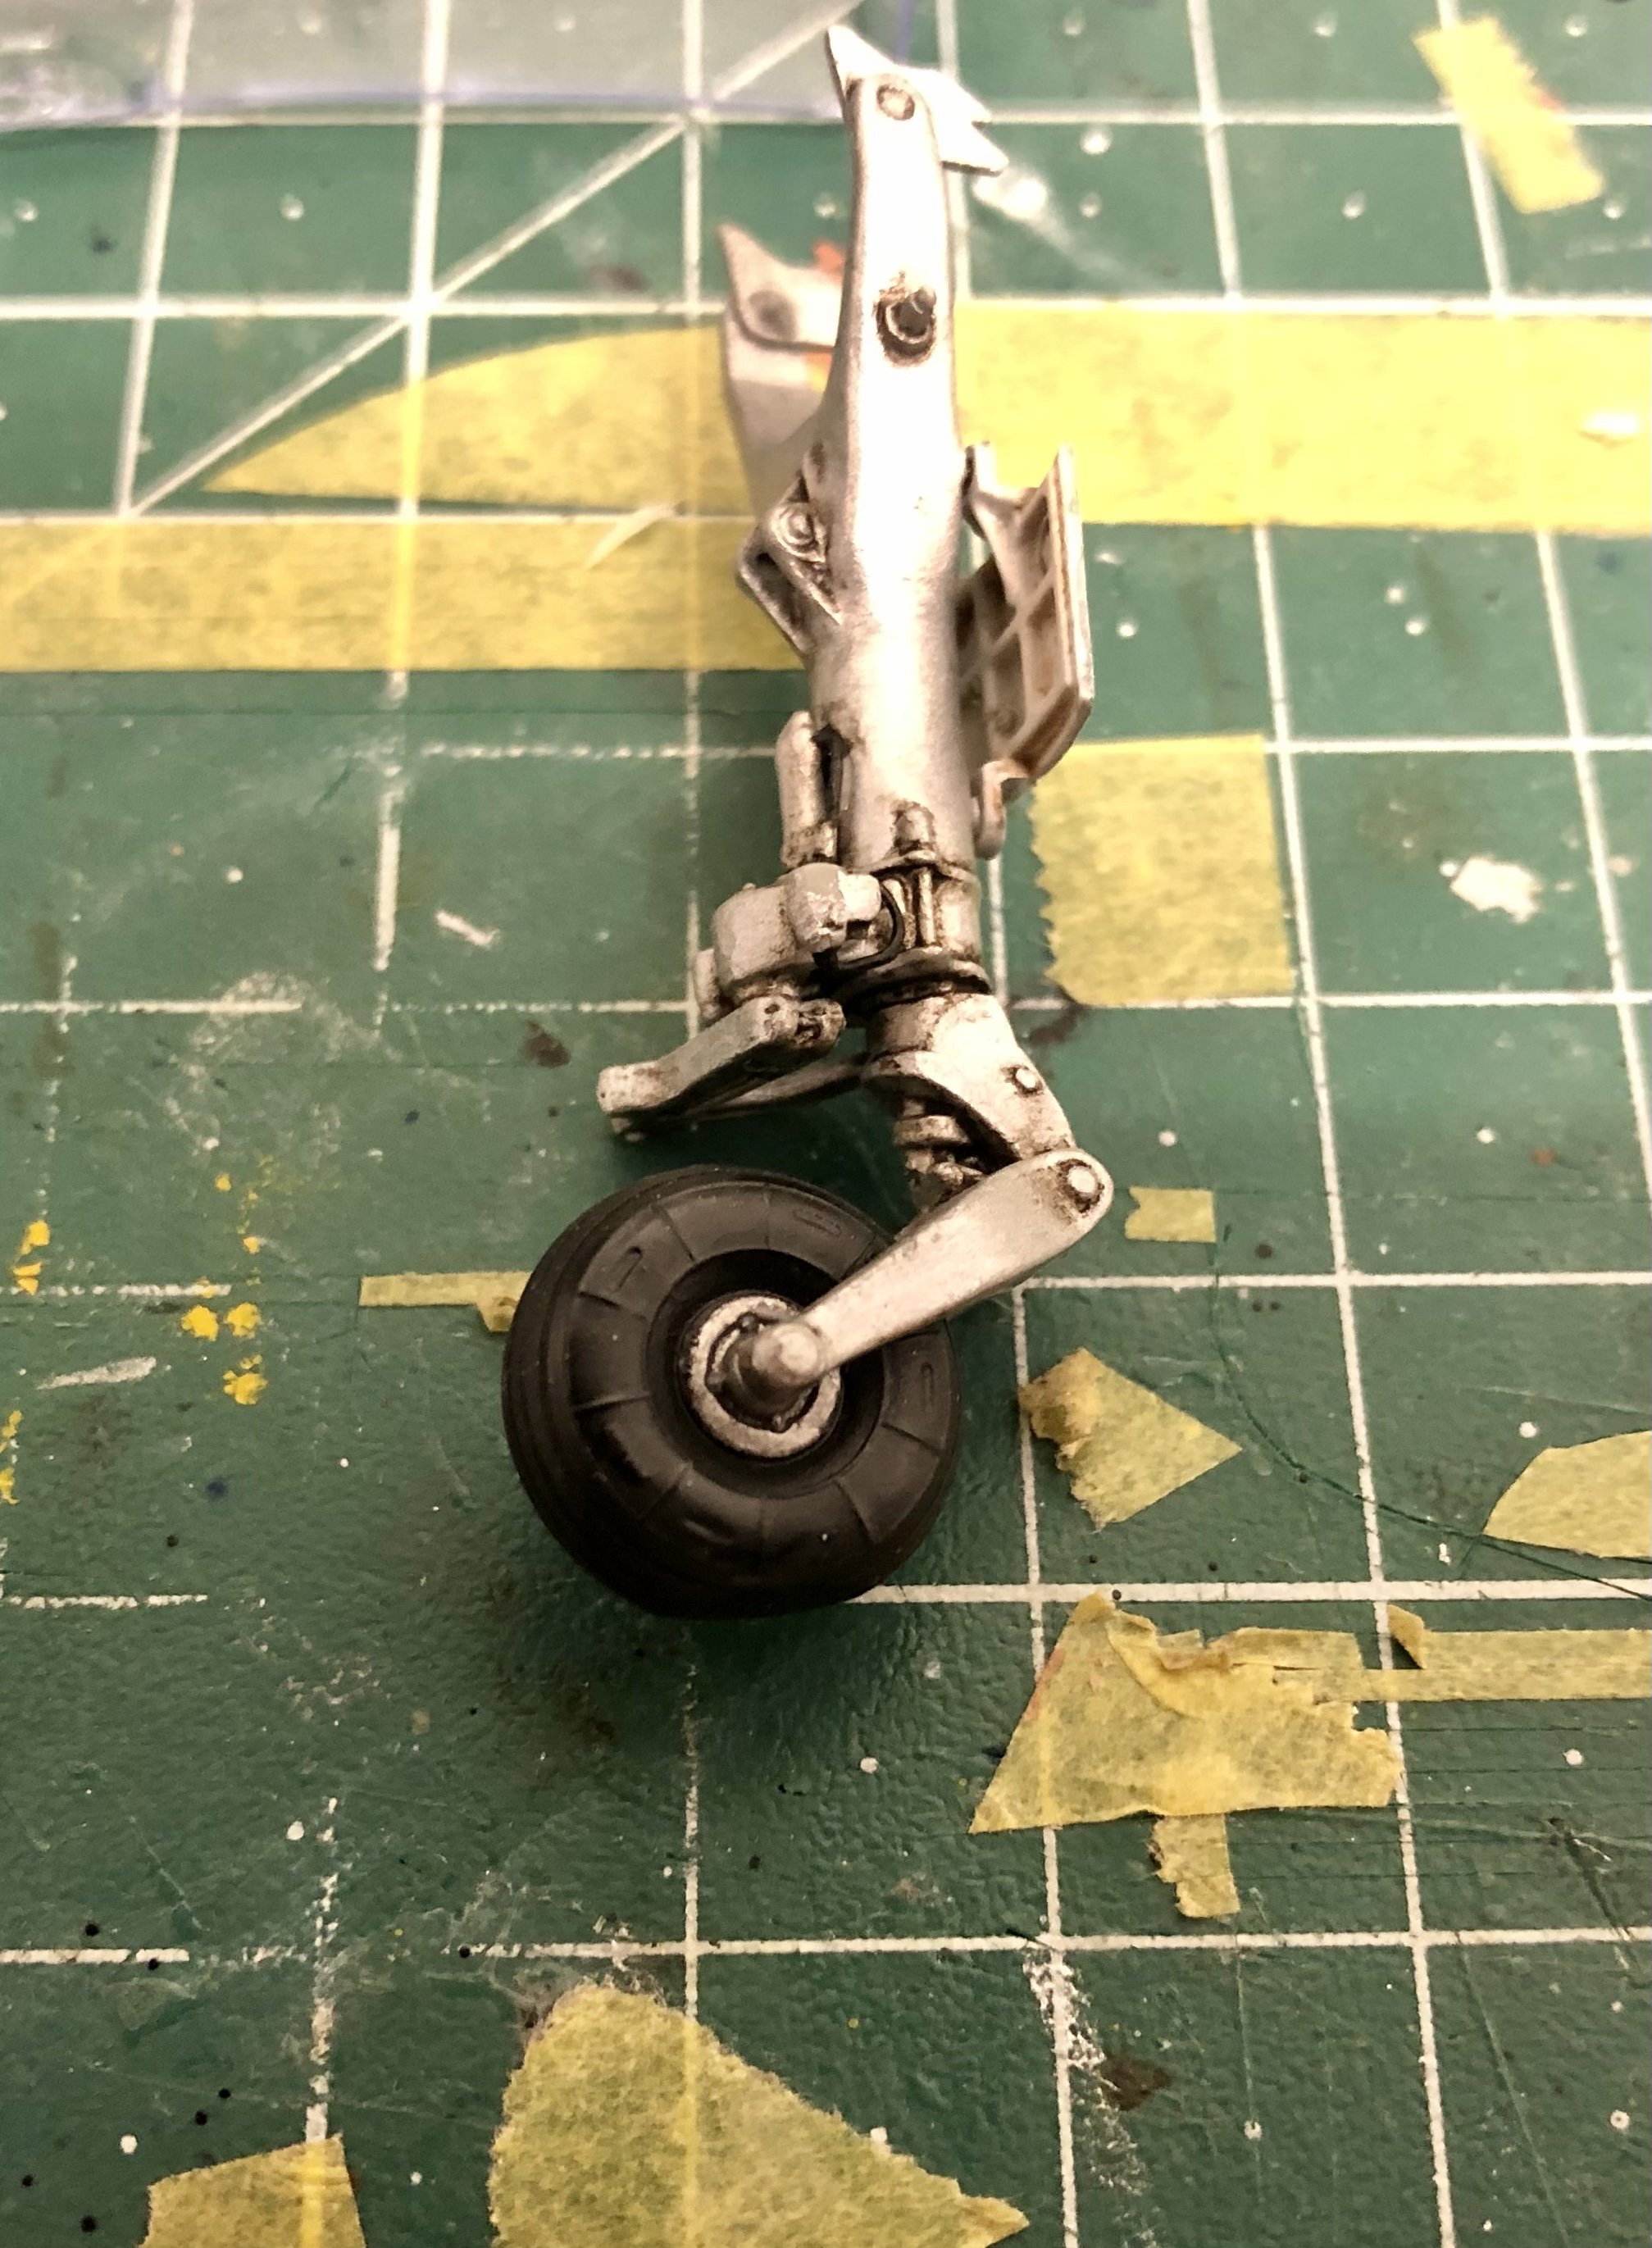
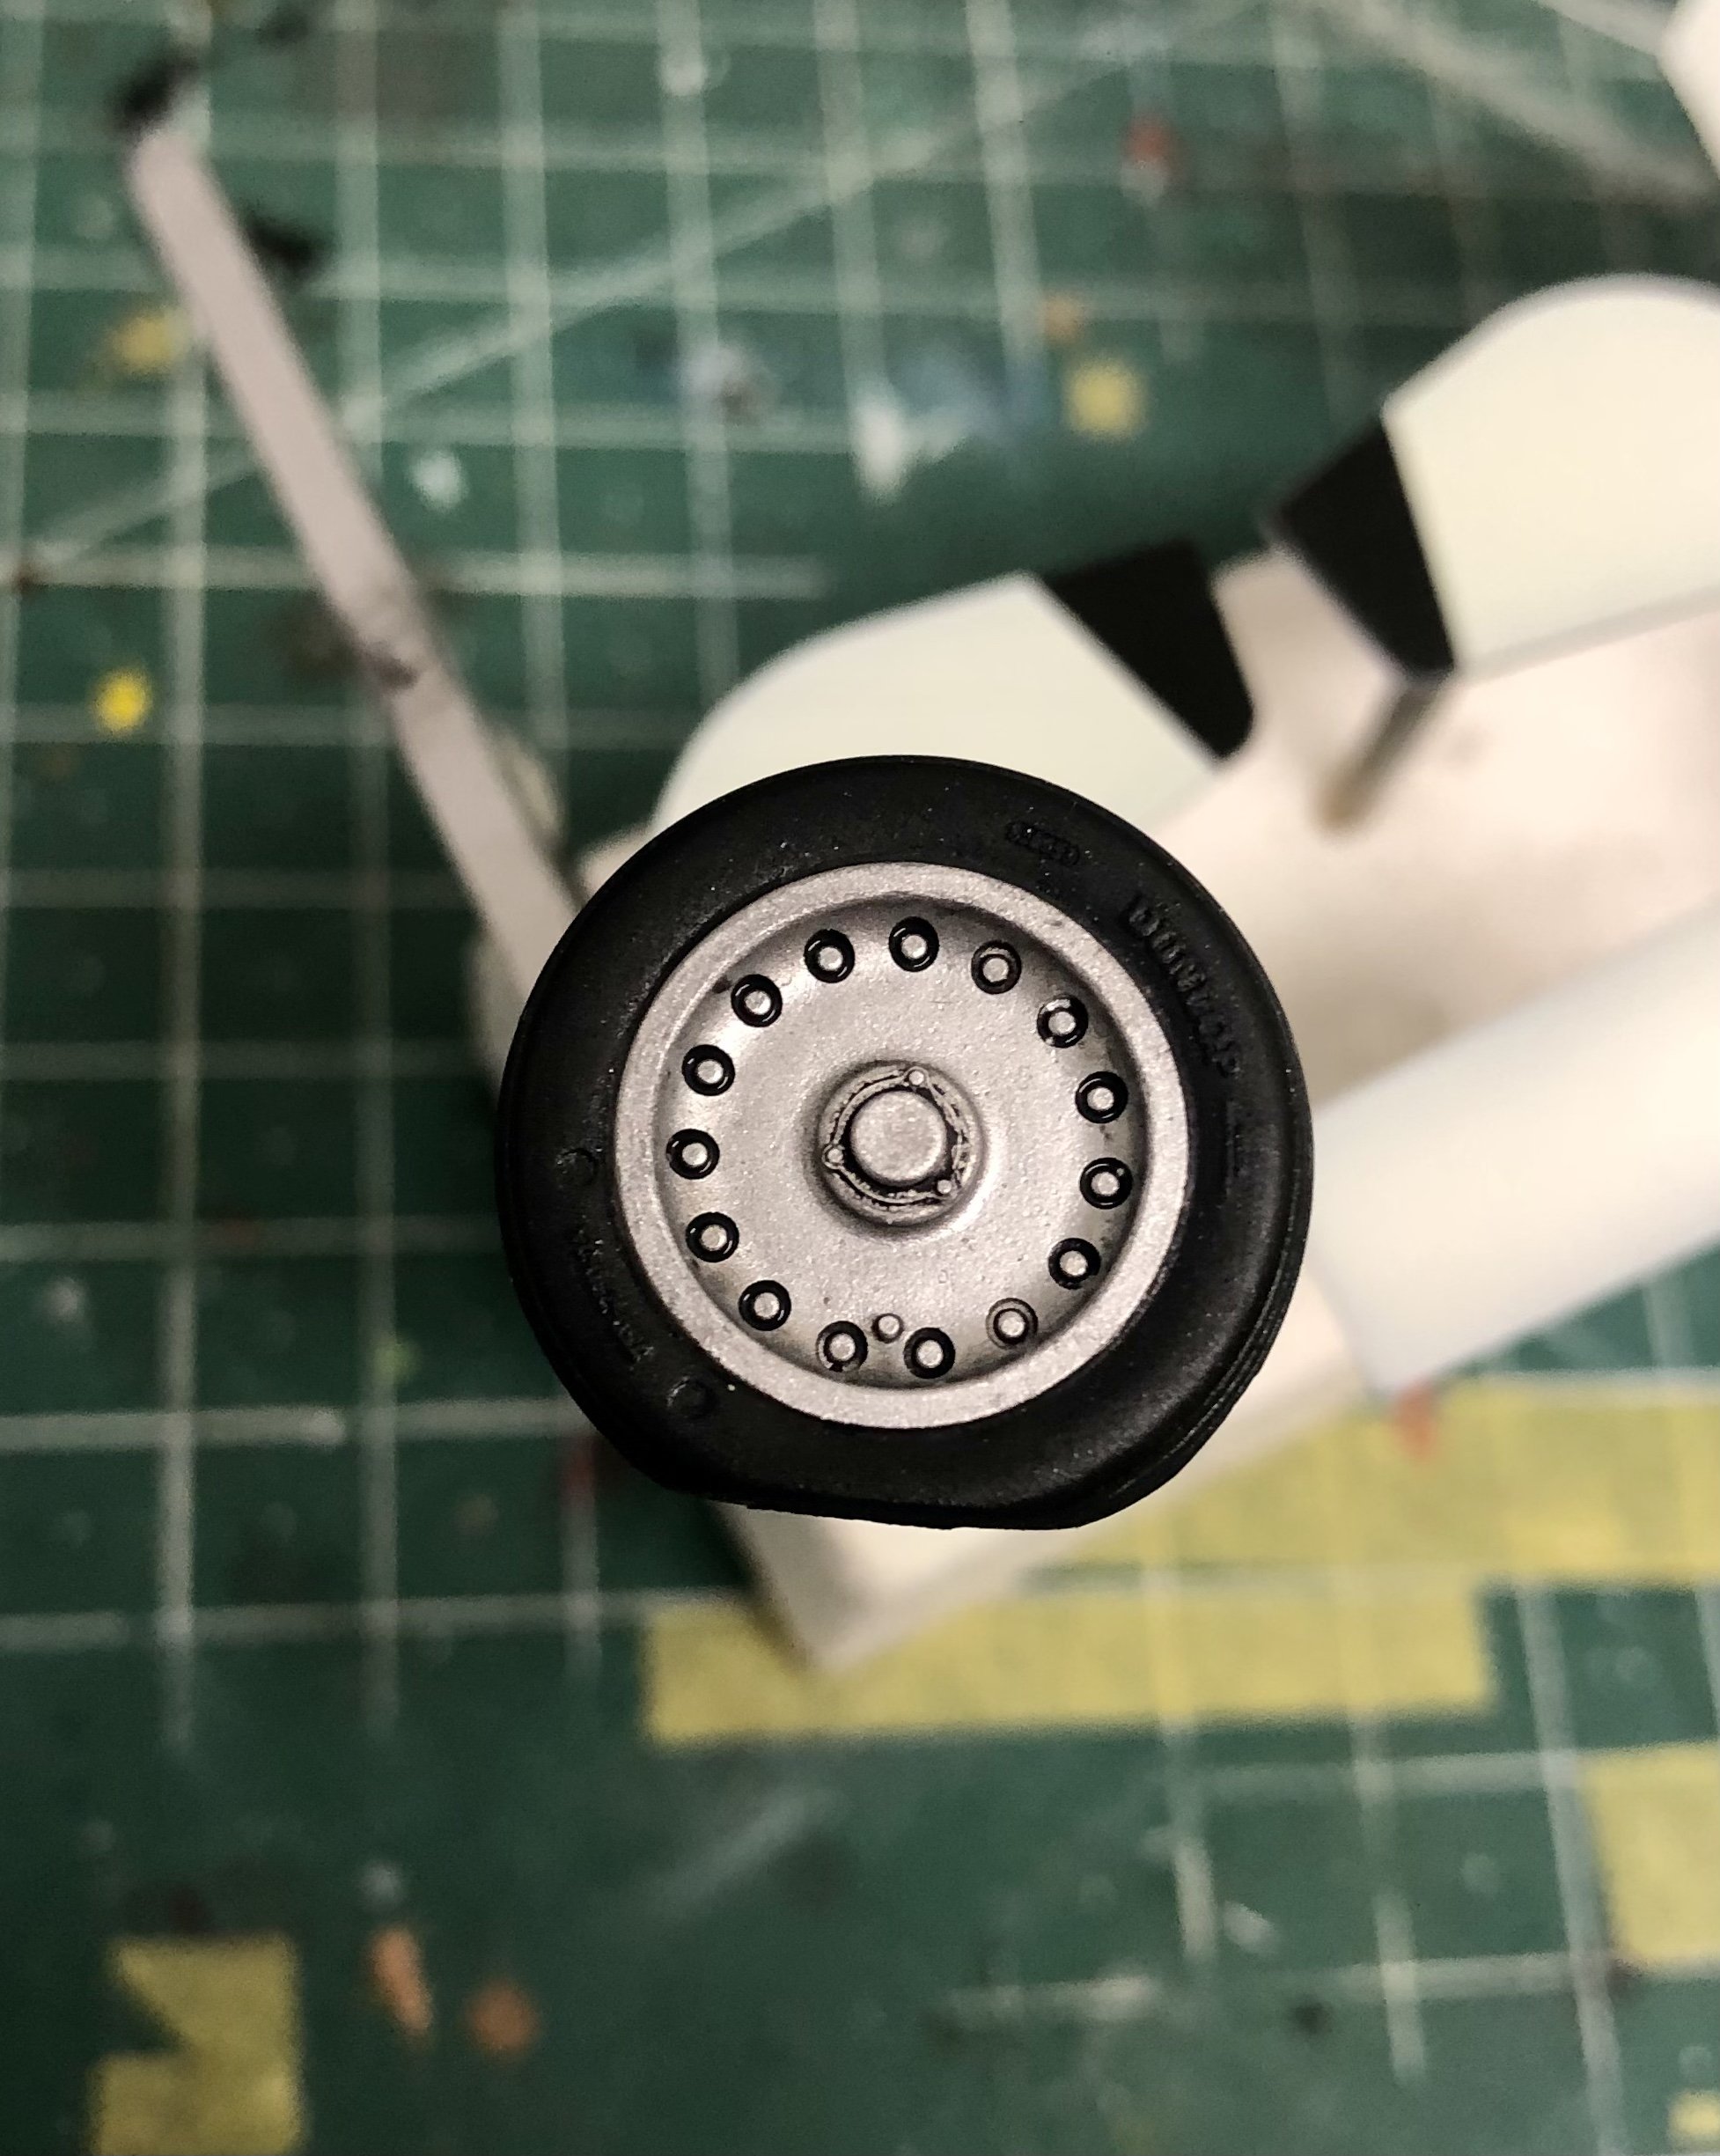
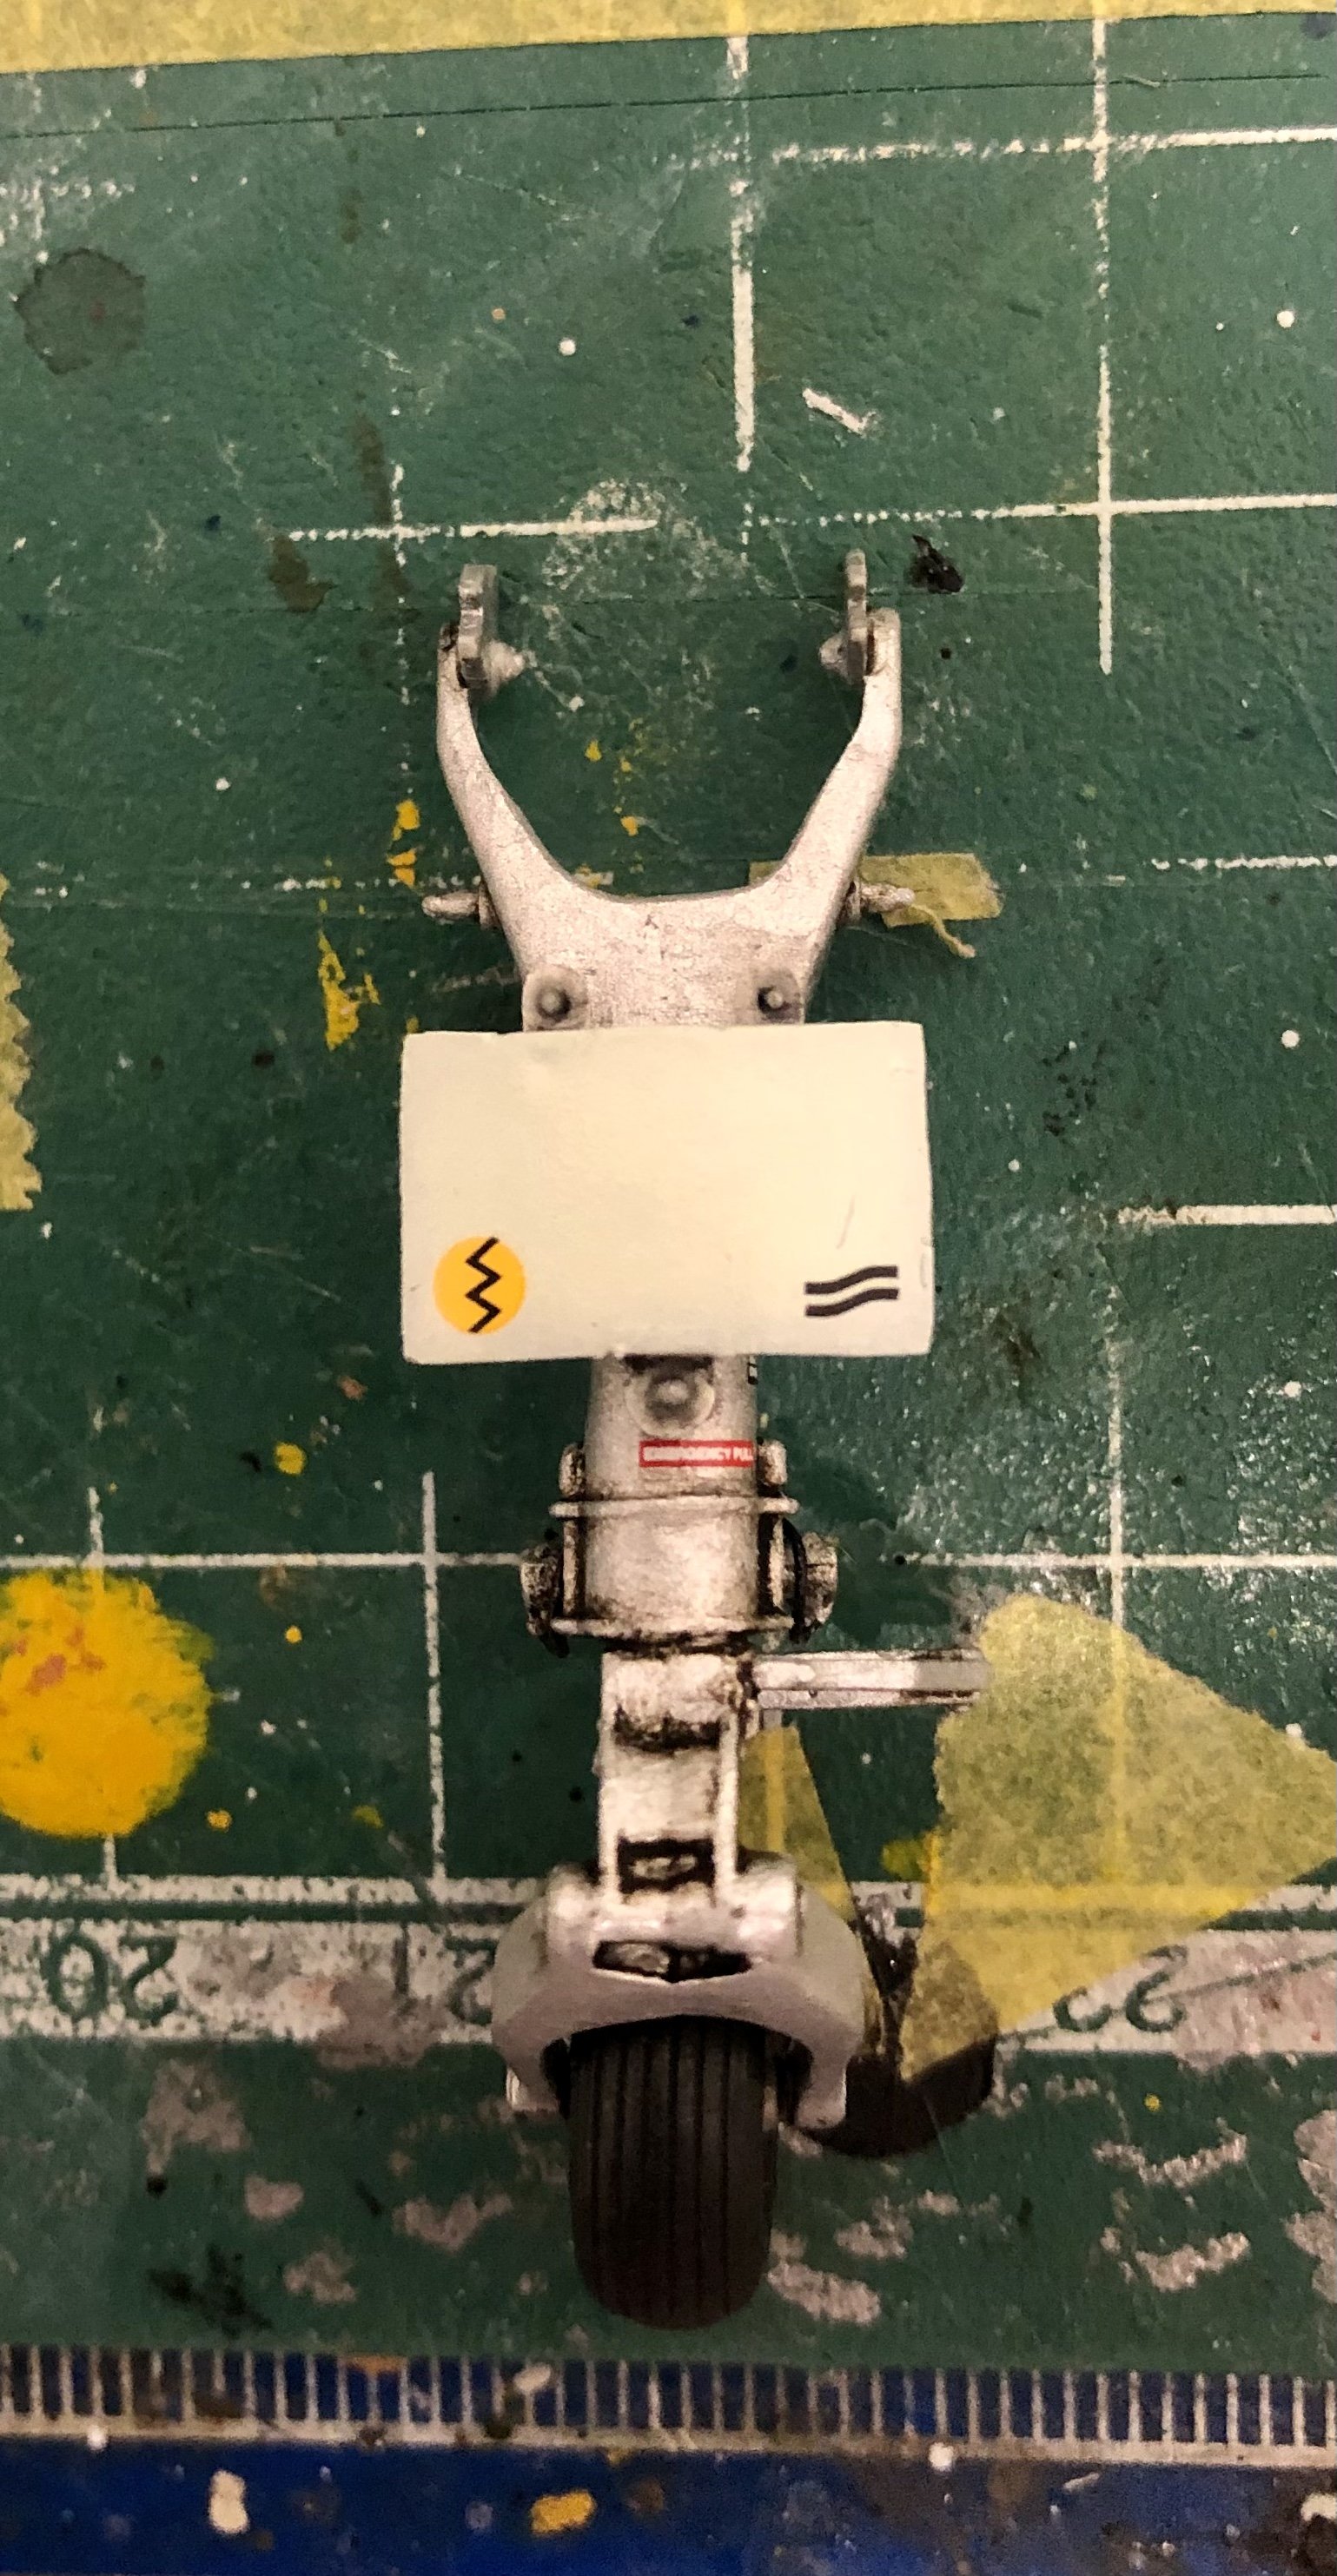
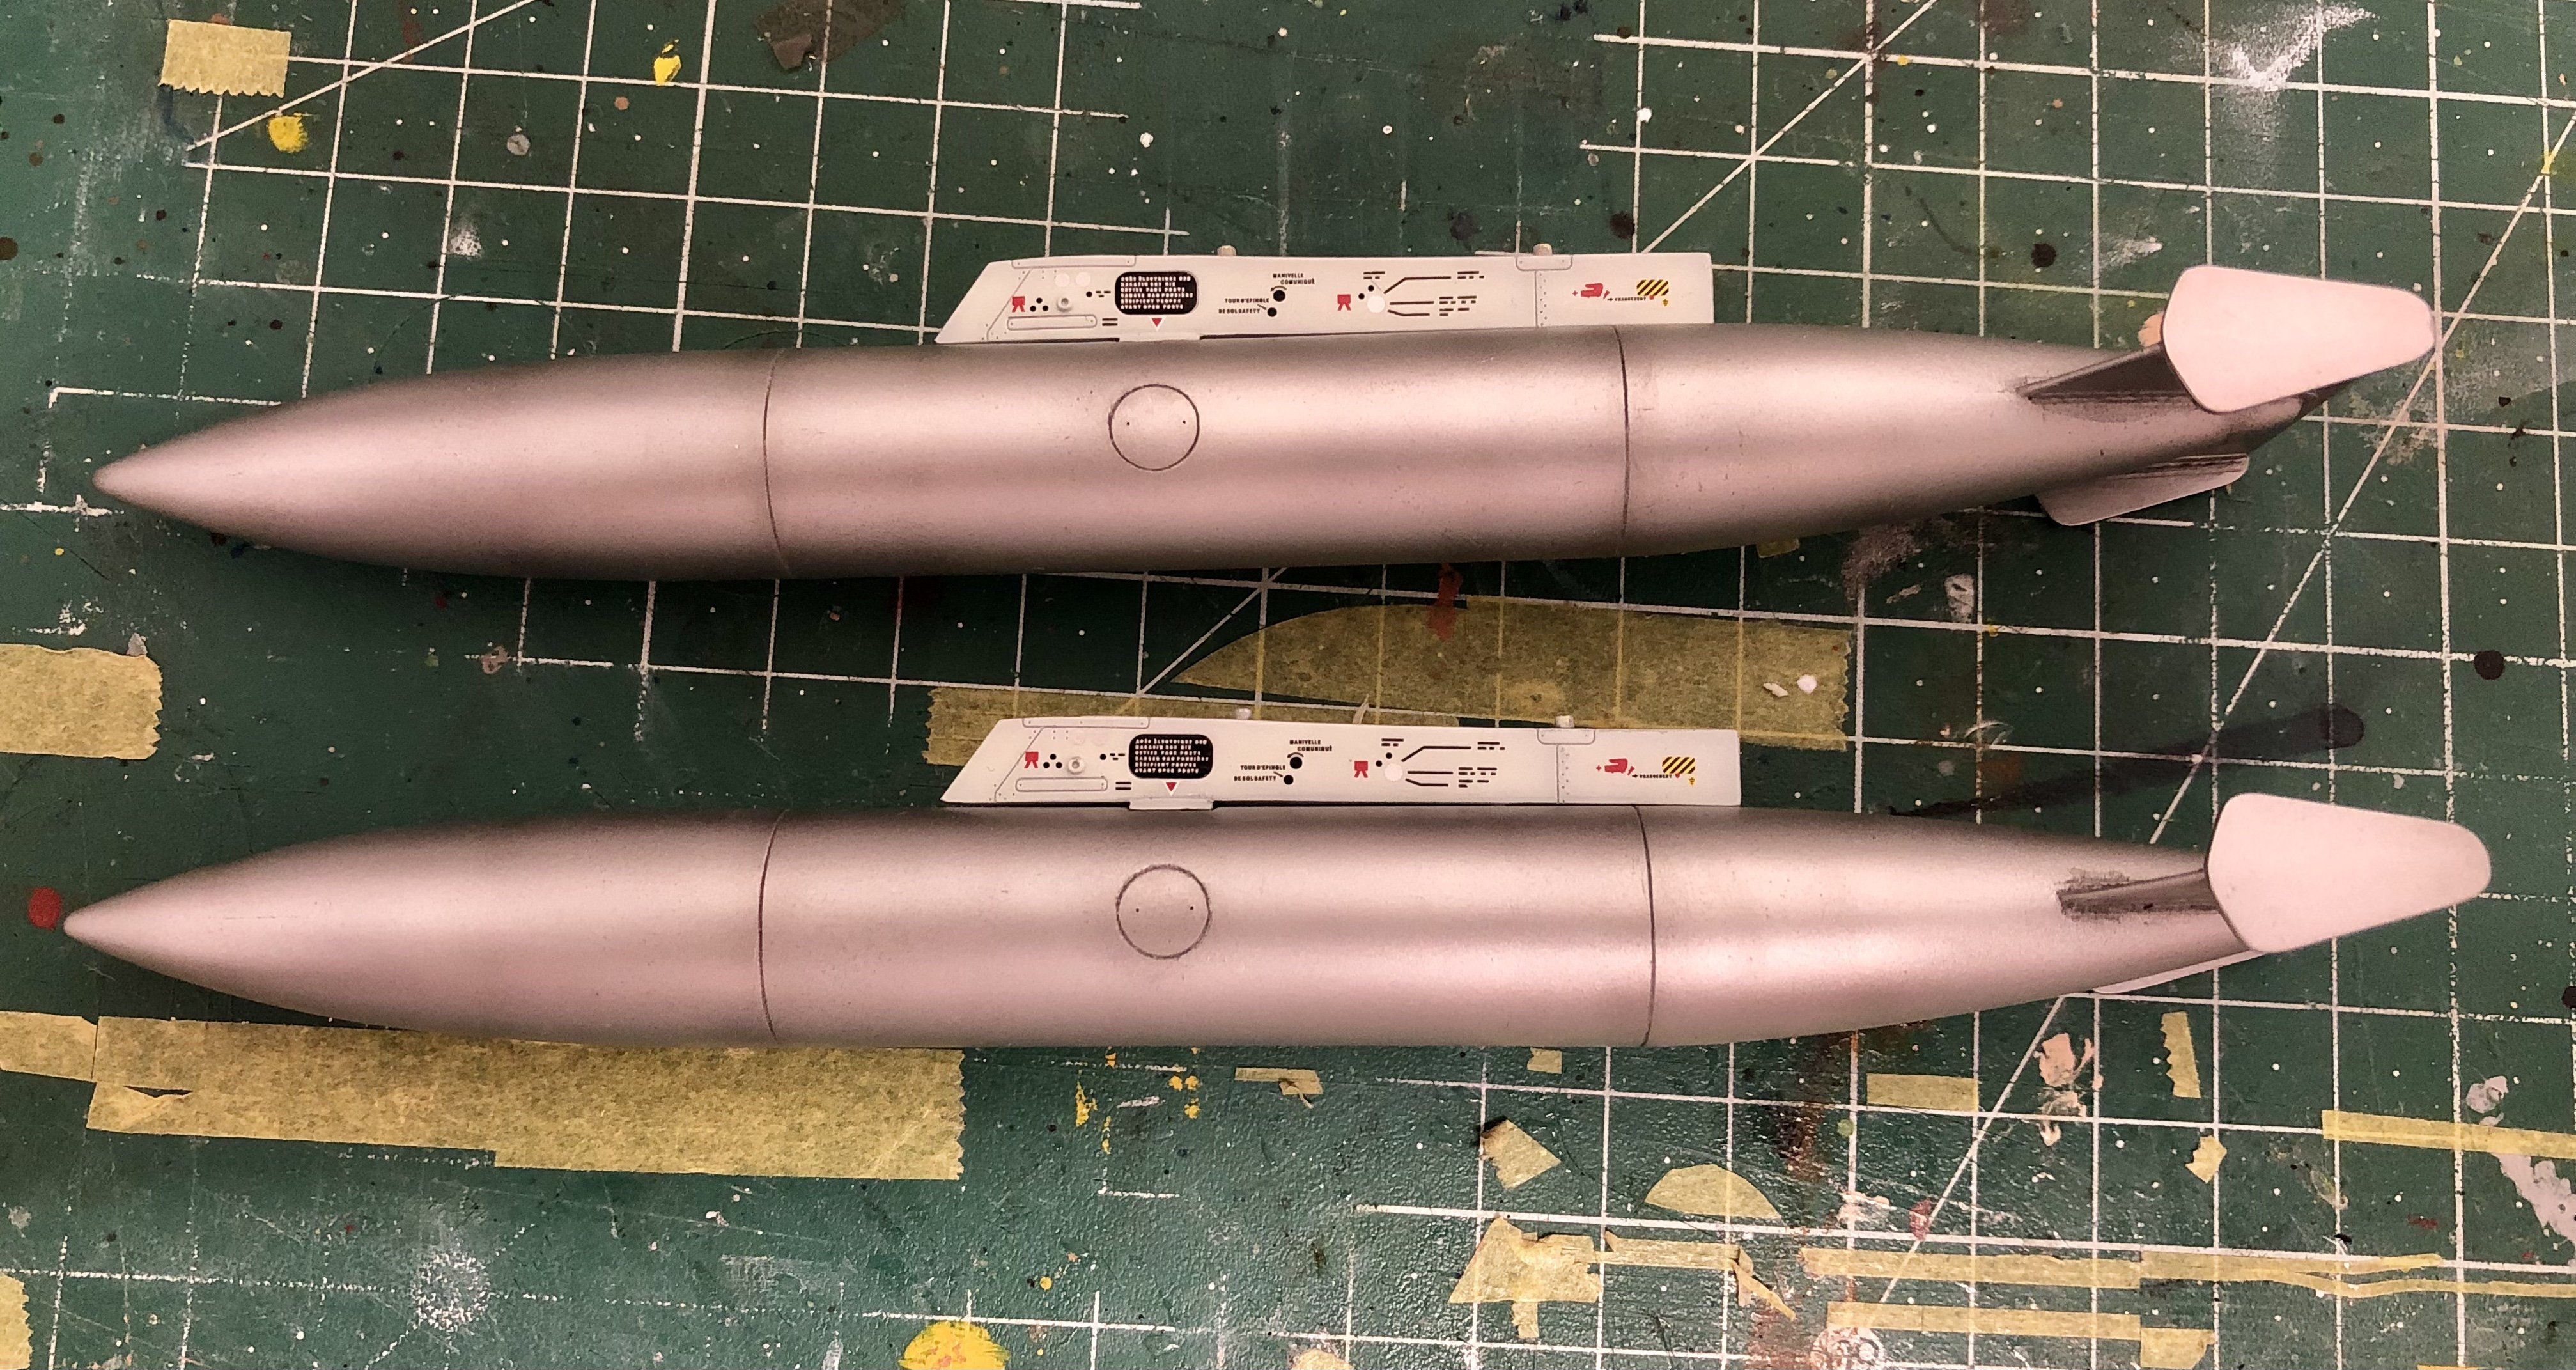
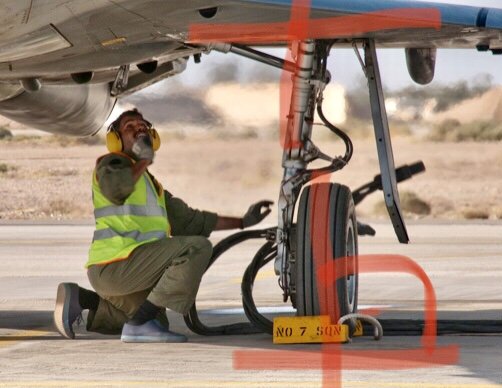
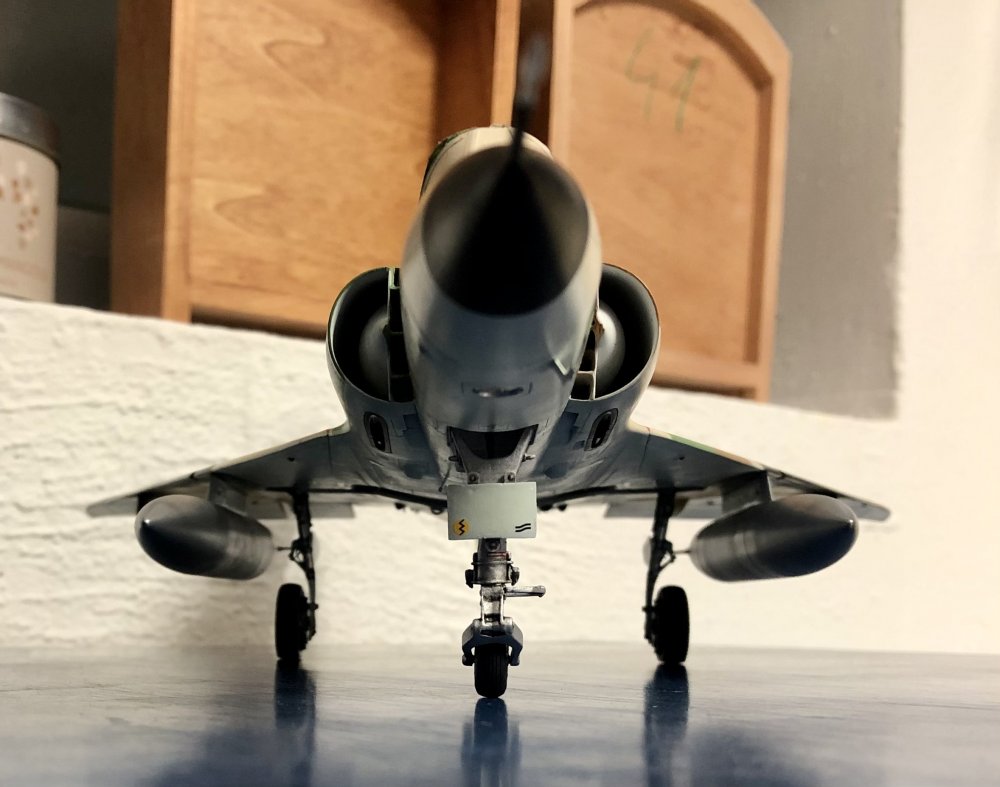
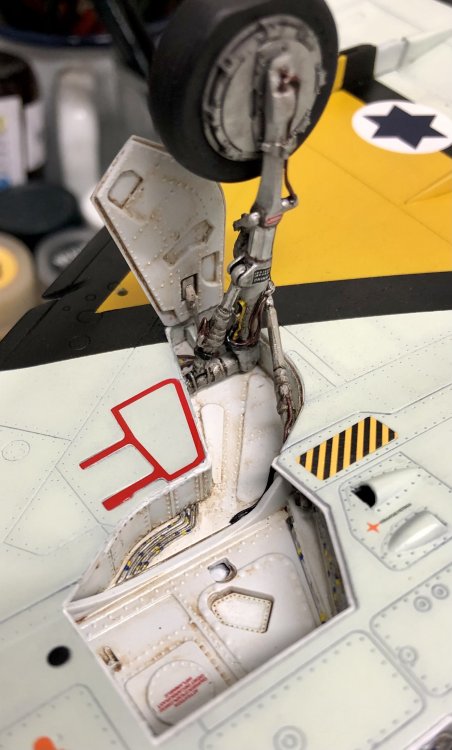
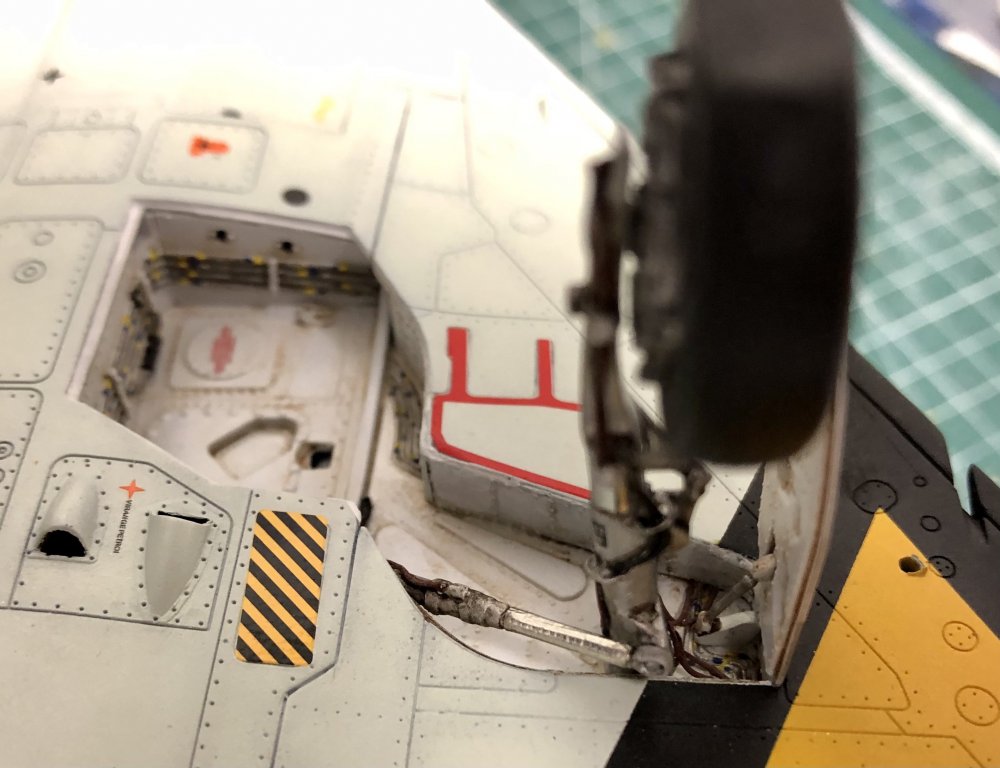
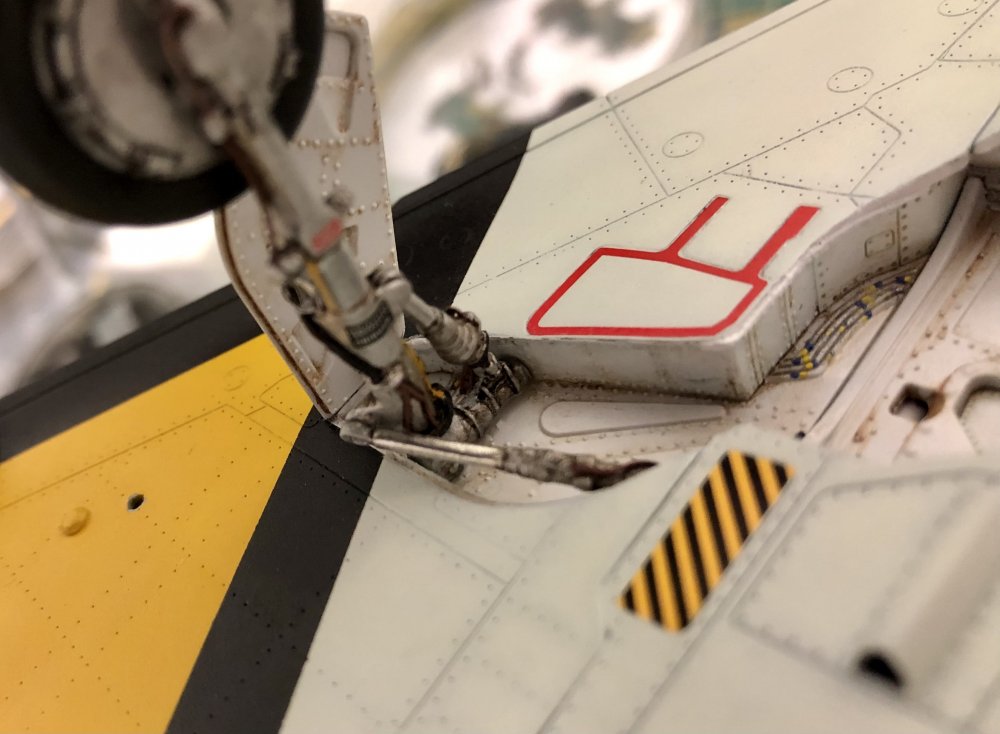
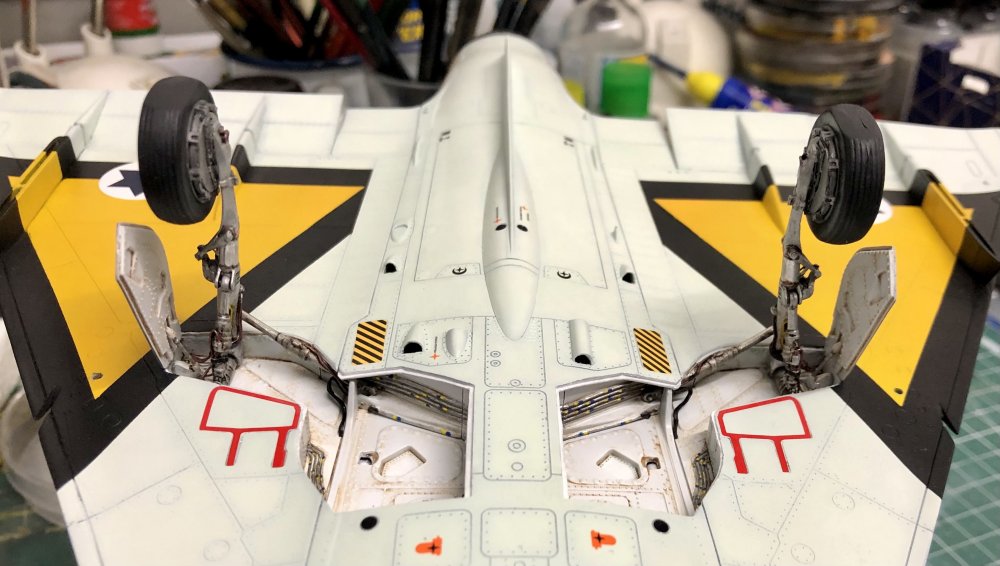
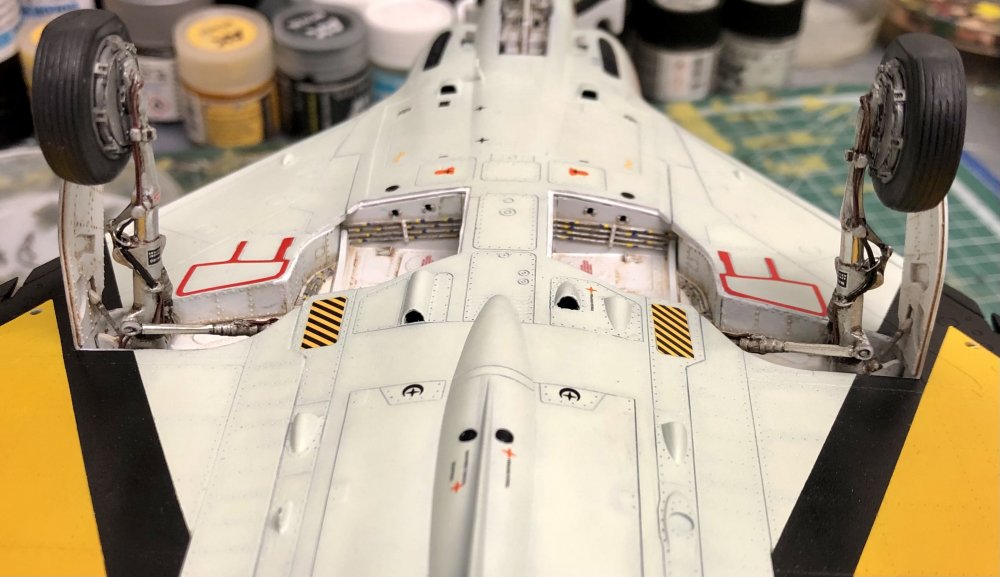
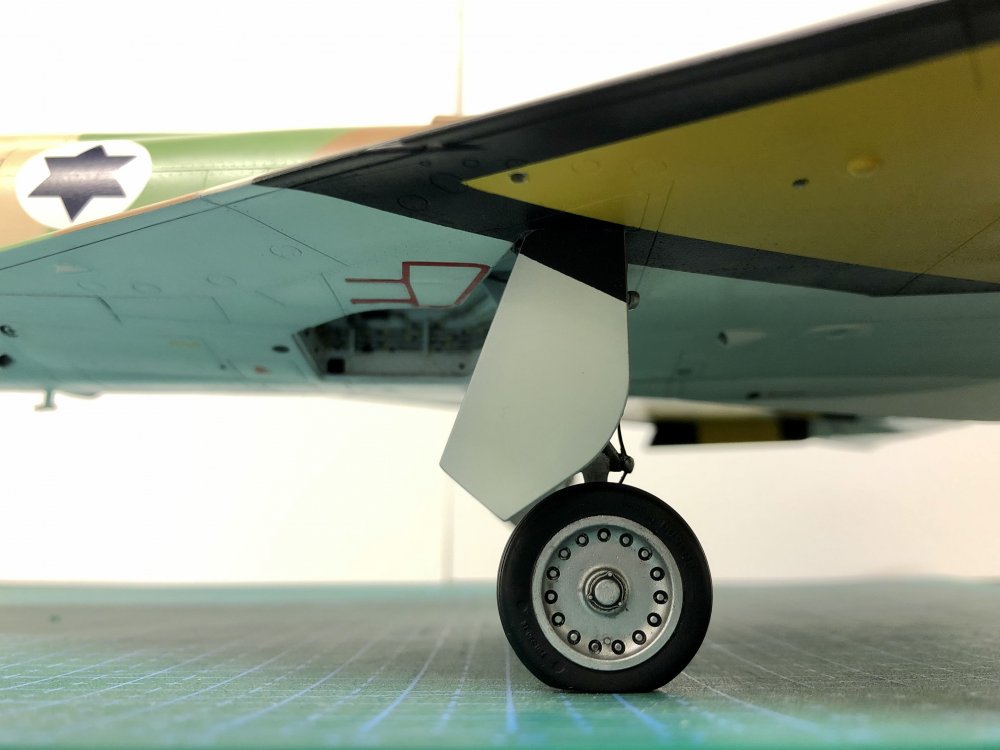
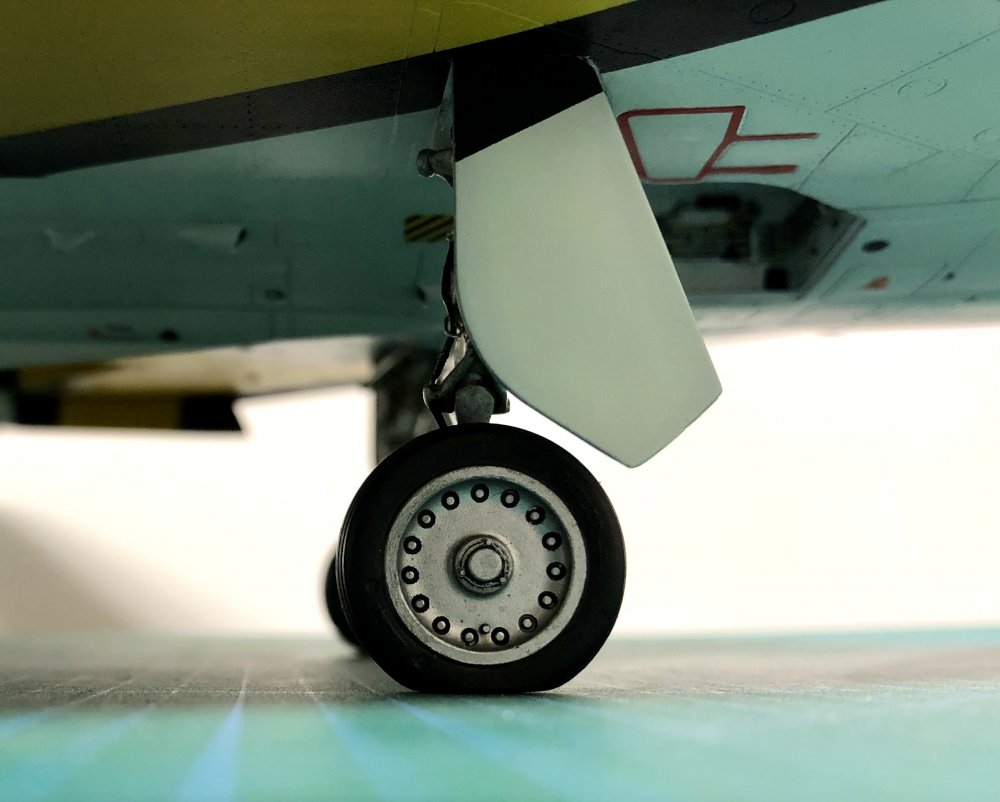
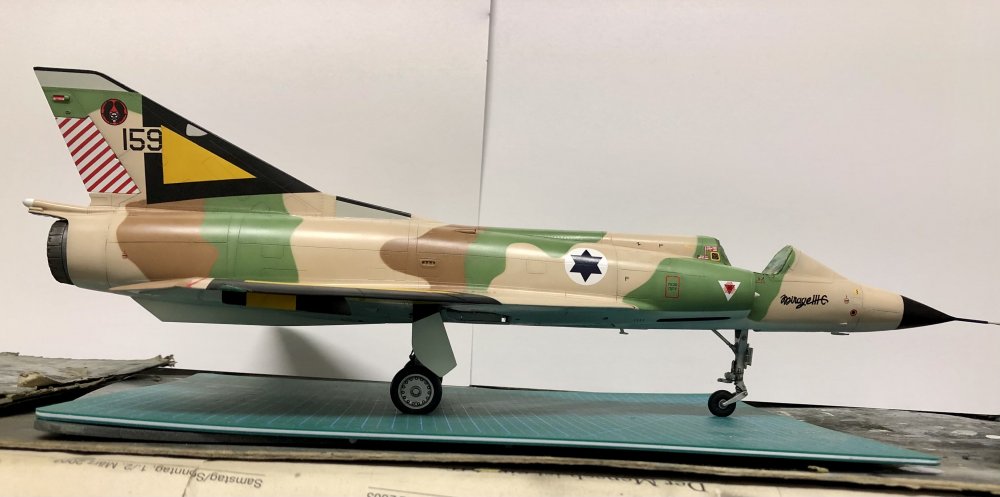
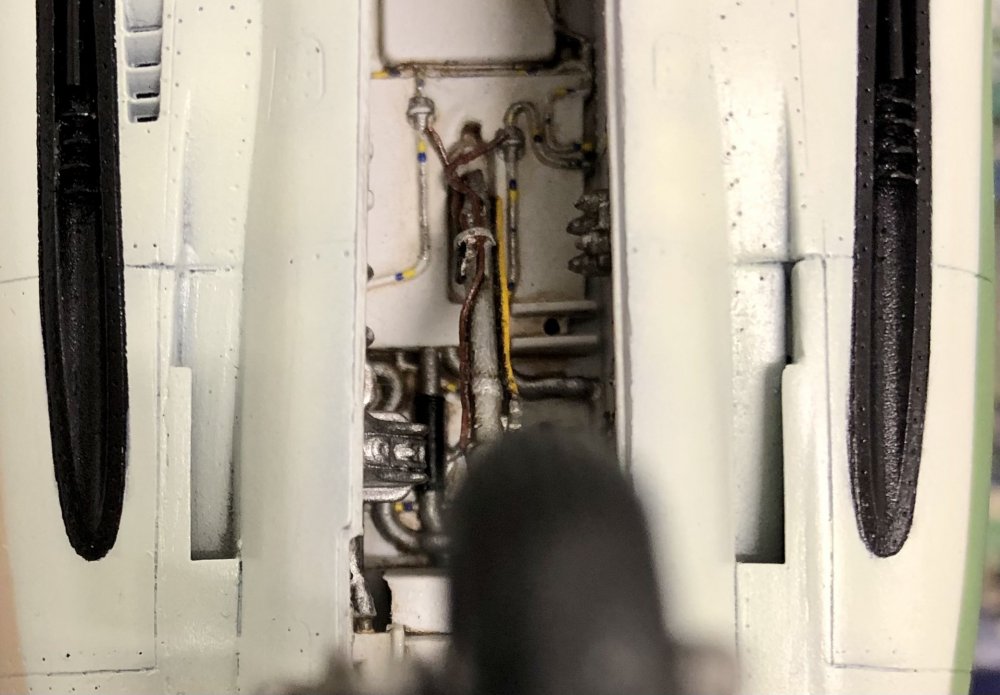
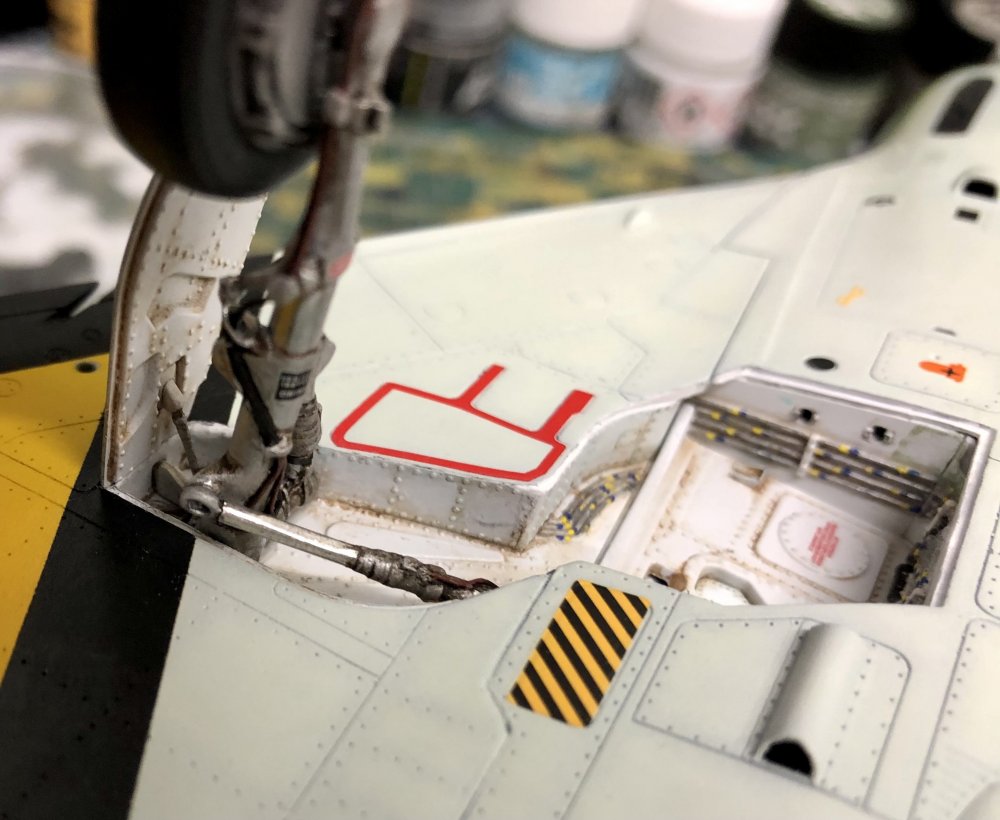
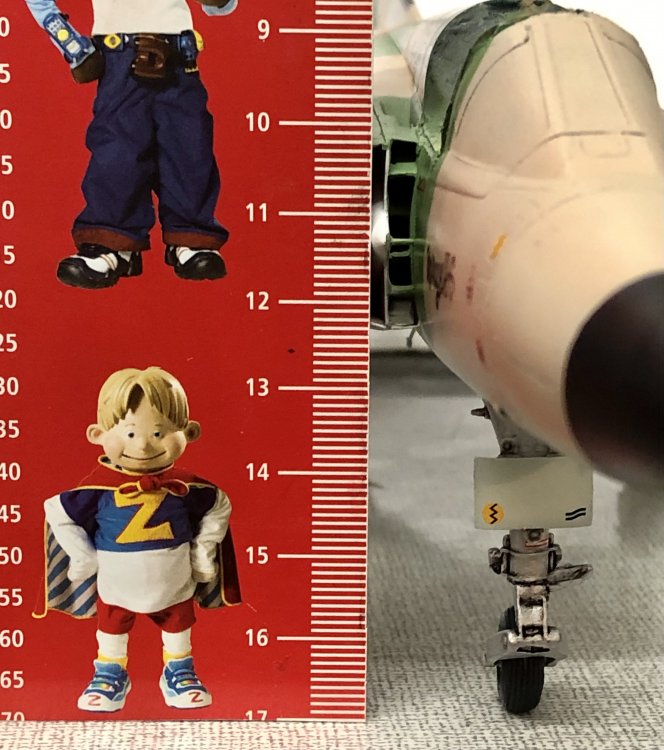
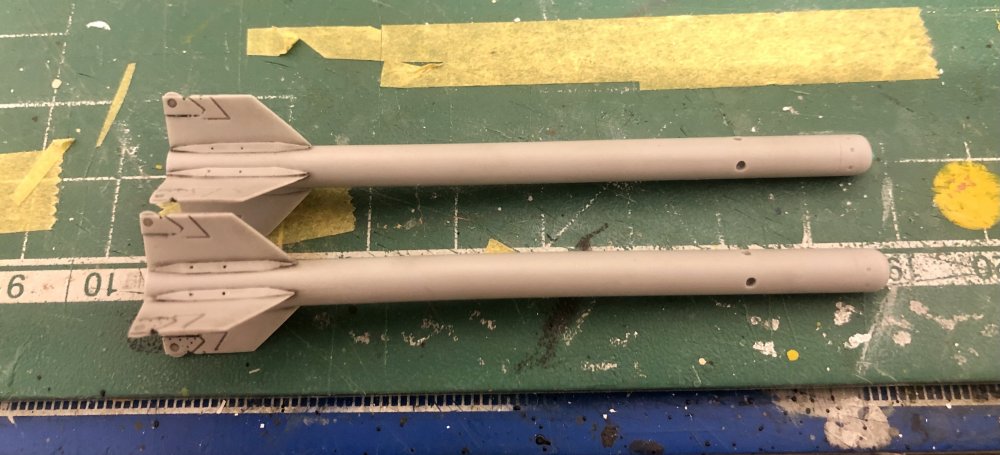
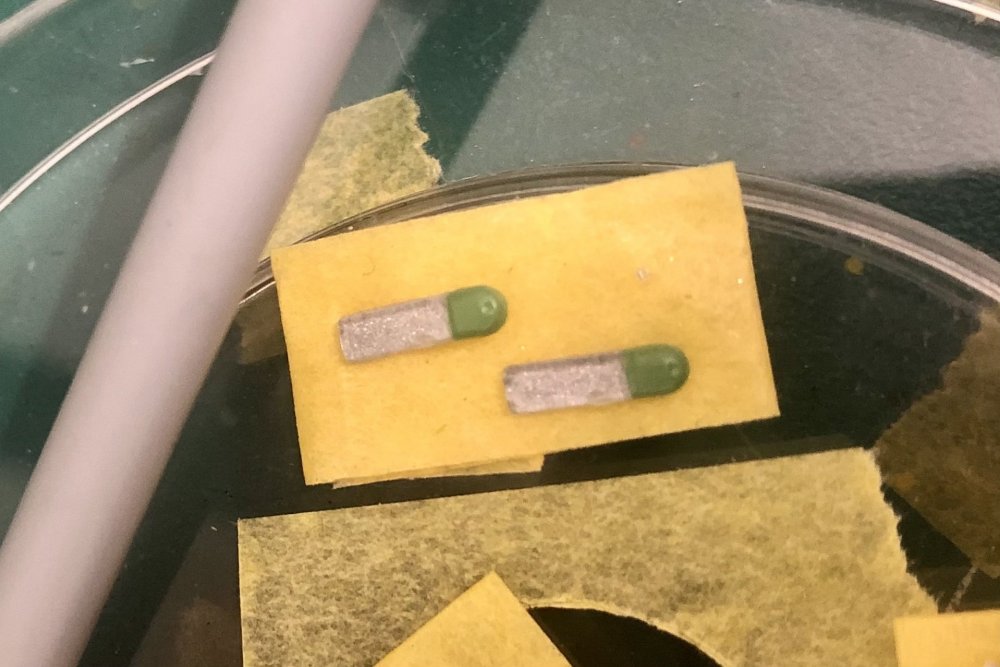
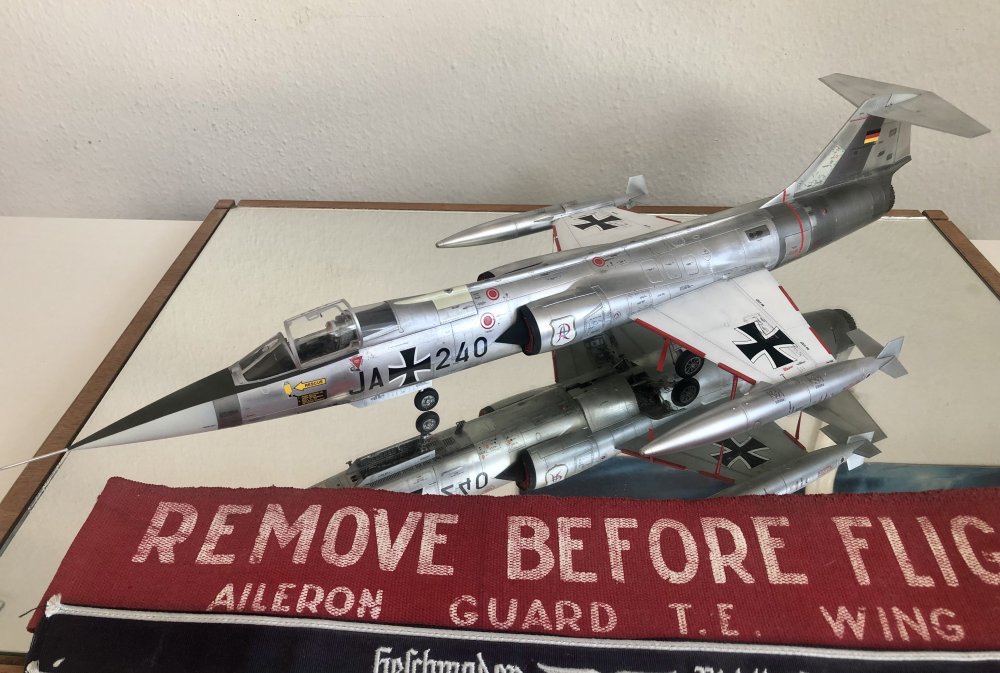
Today I installed the parts of the landing gear I could attach before spraying the plane with flat cote. It was a bit of a challenge since the angle of the main gear legs to the wing isn’t 90 degrees but the wheels are 90 degrees to the ground: Therefore I first glued the nose gear leg and actuator to the hub with superglue and then glued the main wheel legs to the hub with 2 component epoxy cement. This gave me time to adjust the legs in the correct angle: The height is correct on both sides (122). After that the actuators and the small landing gear doors were attached and the hydraulic pipes were positioned in the hub: The actuator of the nose gear leg: I also glued the tail position lights to the tail: This is how she looks like on her legs: And finally I painted the fins of the Shafrir 2 rockets black. Will show you more fotos of them when they are ready for flat varnish. That was it for today. Have a nice weekend !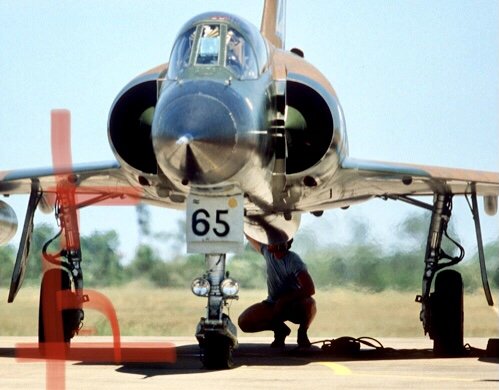


- 719 replies
-
- 12
-

-

-
Israeli Mirage III C with Atar9C
Kaireckstadt replied to Kaireckstadt's topic in LSM 1/35 and Larger Work In Progress
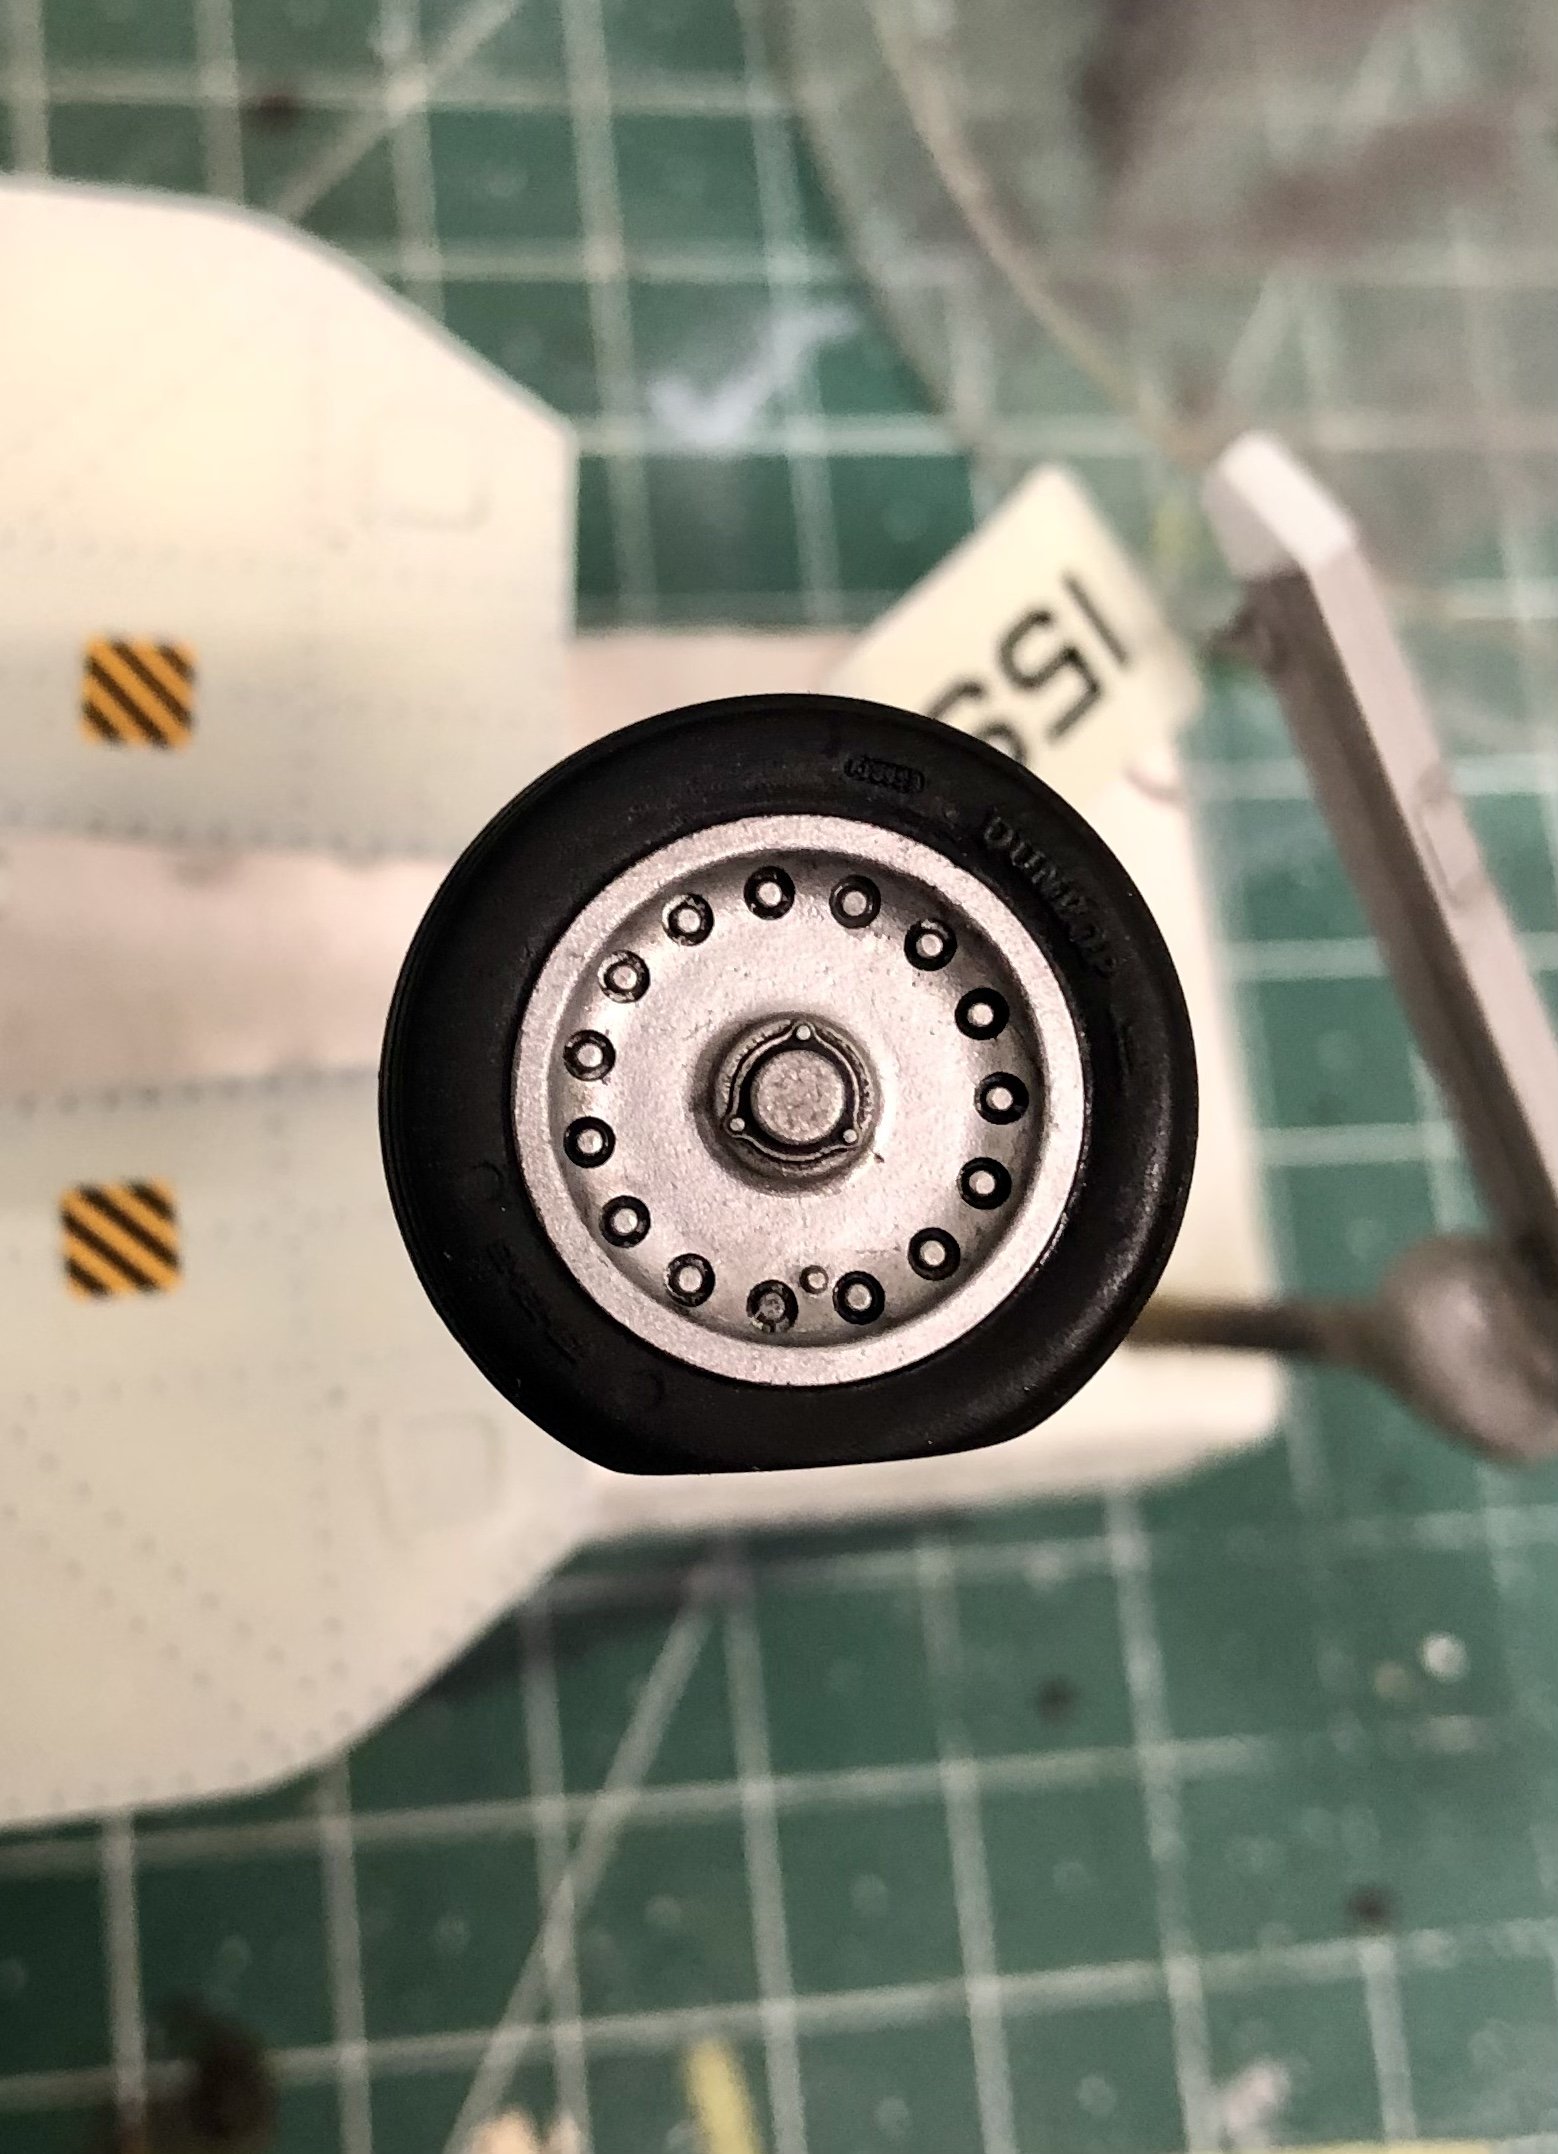
Thanks all for your feedback. I really appreciate that! Anthony, the weathering of the main wheel hubs is simply thinned umbra oil color mixed with black oil color over Future coated Gunze flat white base color. Sometimes applied less dense and sometimes more. -
Wow John ! Looking really good and you have a remarkable building speed! I love the 3-tone camo! Looking forward to seeing it on your beautiful model.
-
Summer project Kawasaki KI-61, Tamiya 1/48
Kaireckstadt replied to DocRob's topic in LSM 1/48 Work in Progress
I‘ve never seen the application of the HGW wet camo-decals before. Now I know what are the traps and advantages and disadvantages of them. One could interprete the damaged squiggles as paint torn of and regarding the picture with the removed foil it is obvious that not only a few were damaged. But the result nevertheless is awesome and saves a lot of paintwork. -
Gottfreid Weiroster Bf 109G6 R6 Revell 1/32
Kaireckstadt replied to GazzaS's topic in LSM 1/35 and Larger Work In Progress
Great surgery Gary! Do you also have some pictures? How will you glue this onto the wing? Similar construction? -
Gottfreid Weiroster Bf 109G6 R6 Revell 1/32
Kaireckstadt replied to GazzaS's topic in LSM 1/35 and Larger Work In Progress
Nice to hear Gary that you found a new kit at a reasonable price. Looking forward to your return to this build. -
Israeli Mirage III C with Atar9C
Kaireckstadt replied to Kaireckstadt's topic in LSM 1/35 and Larger Work In Progress
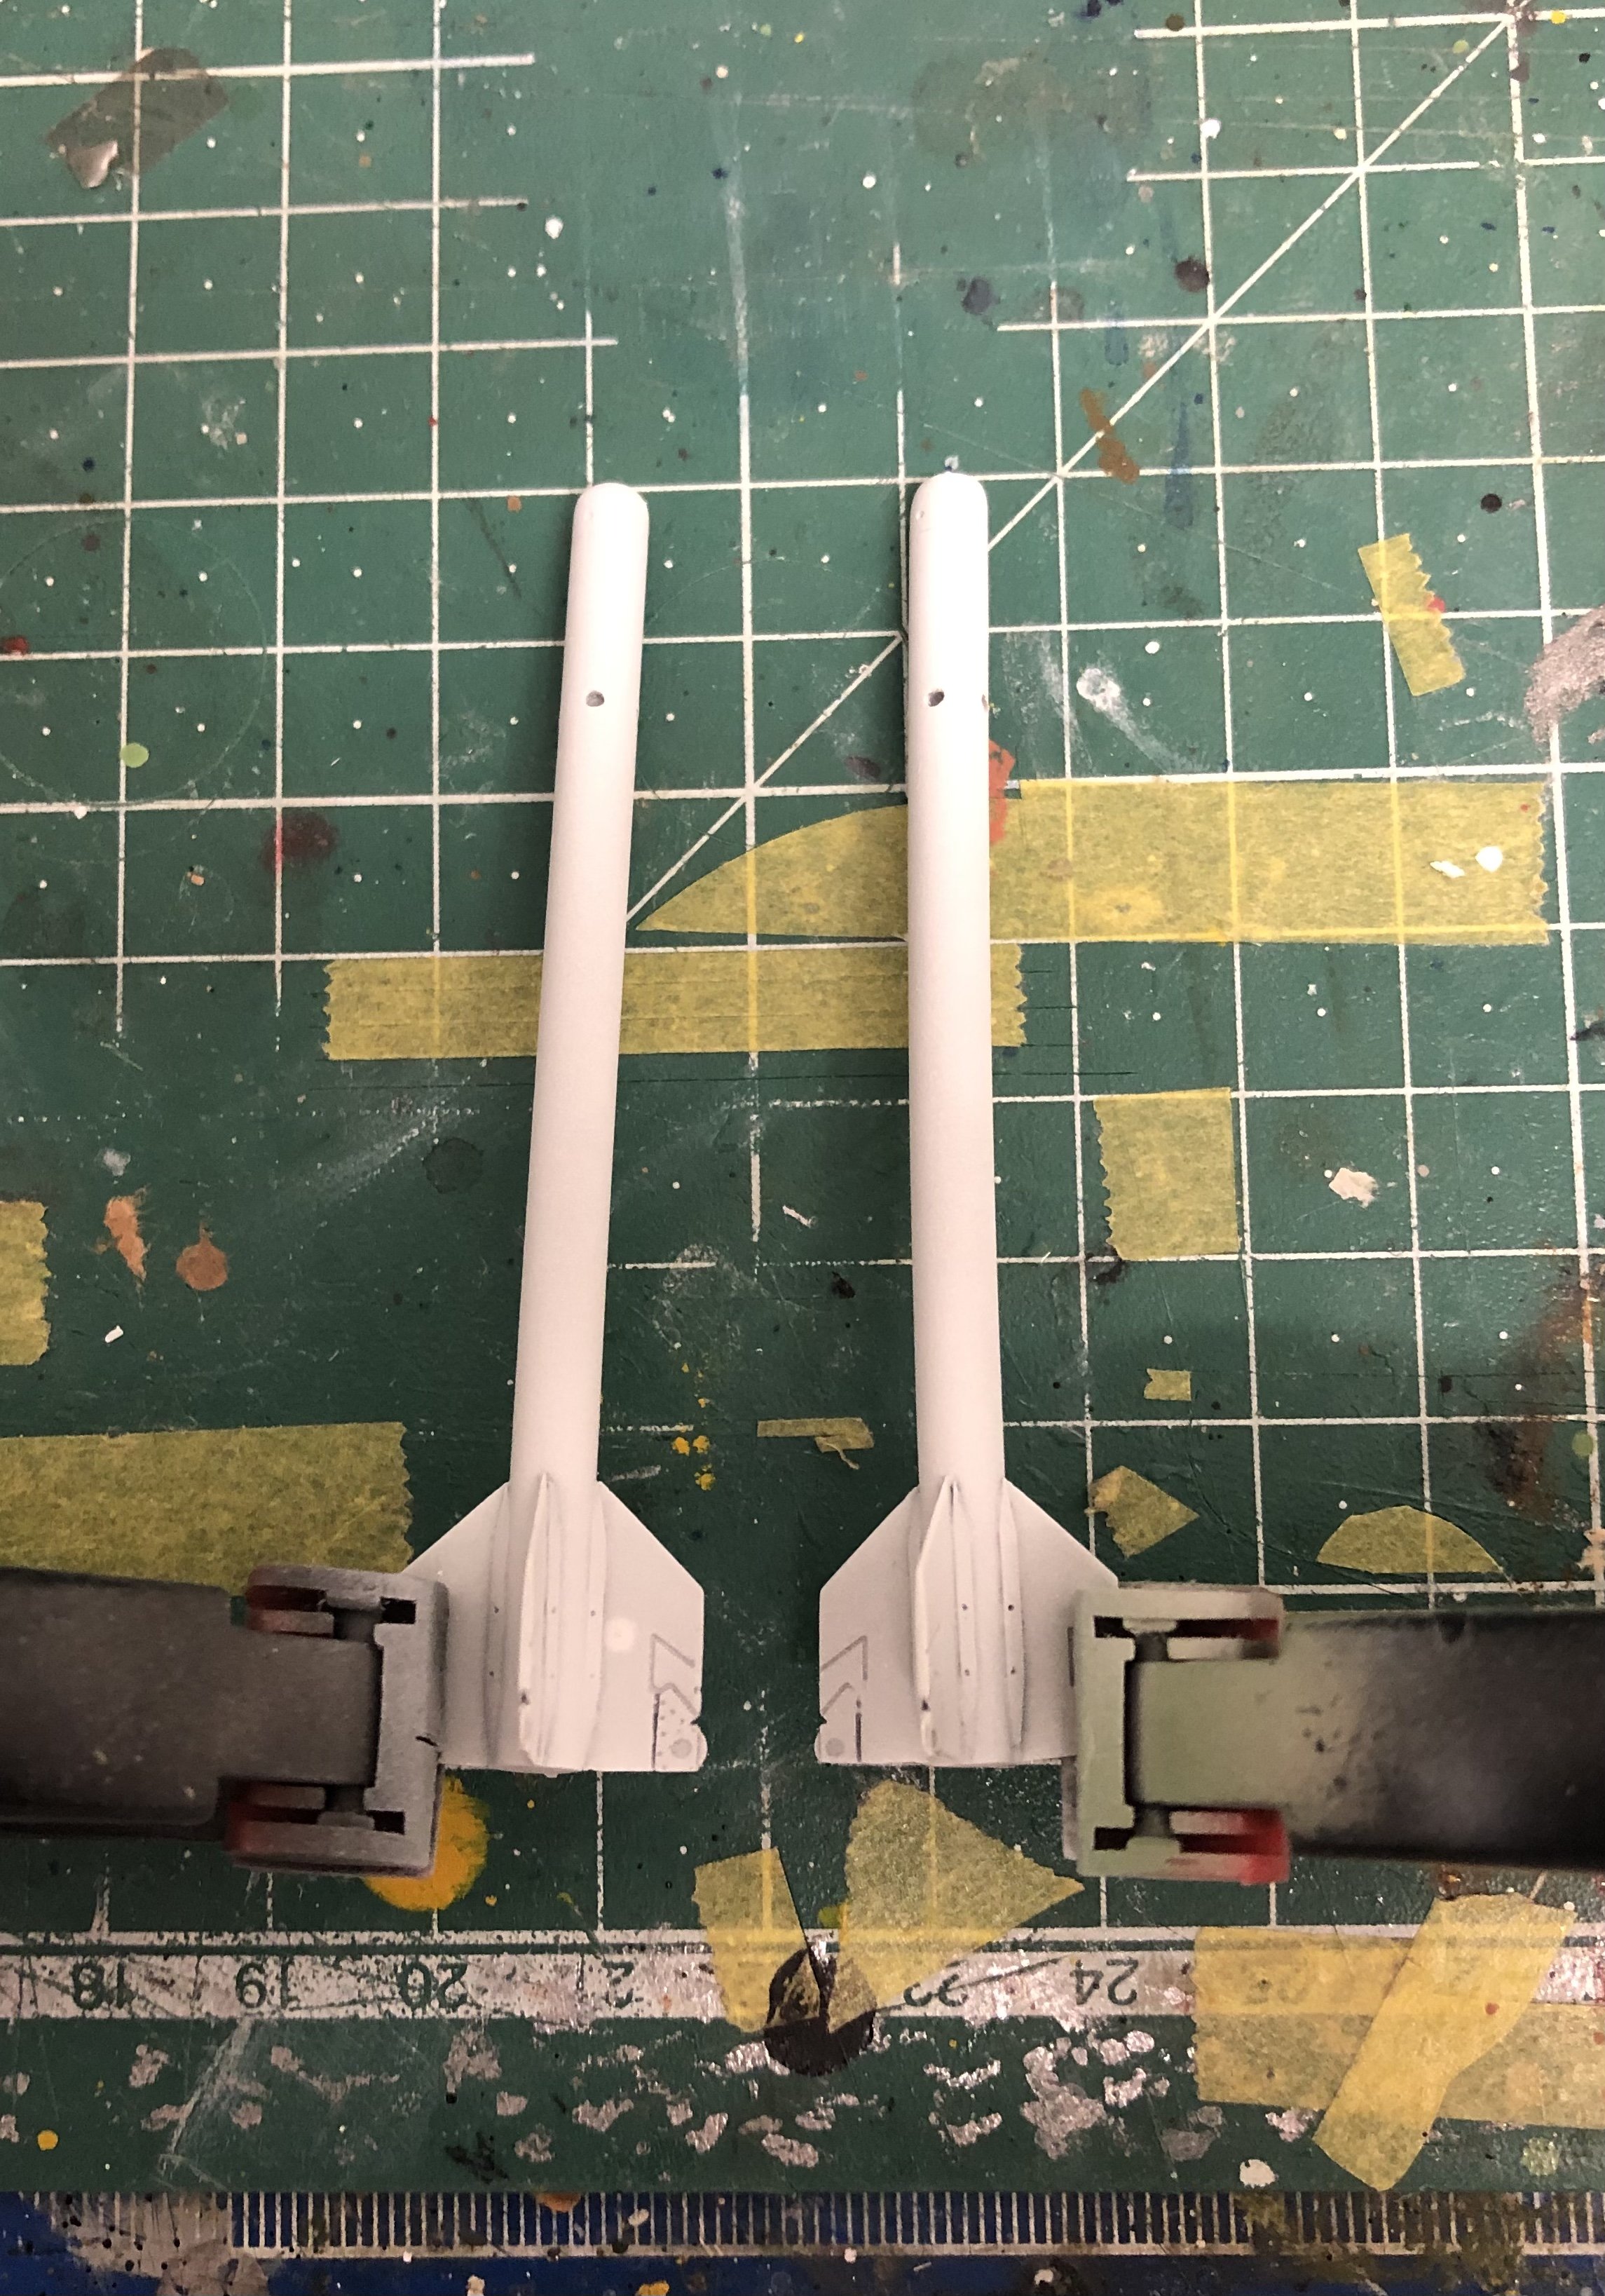
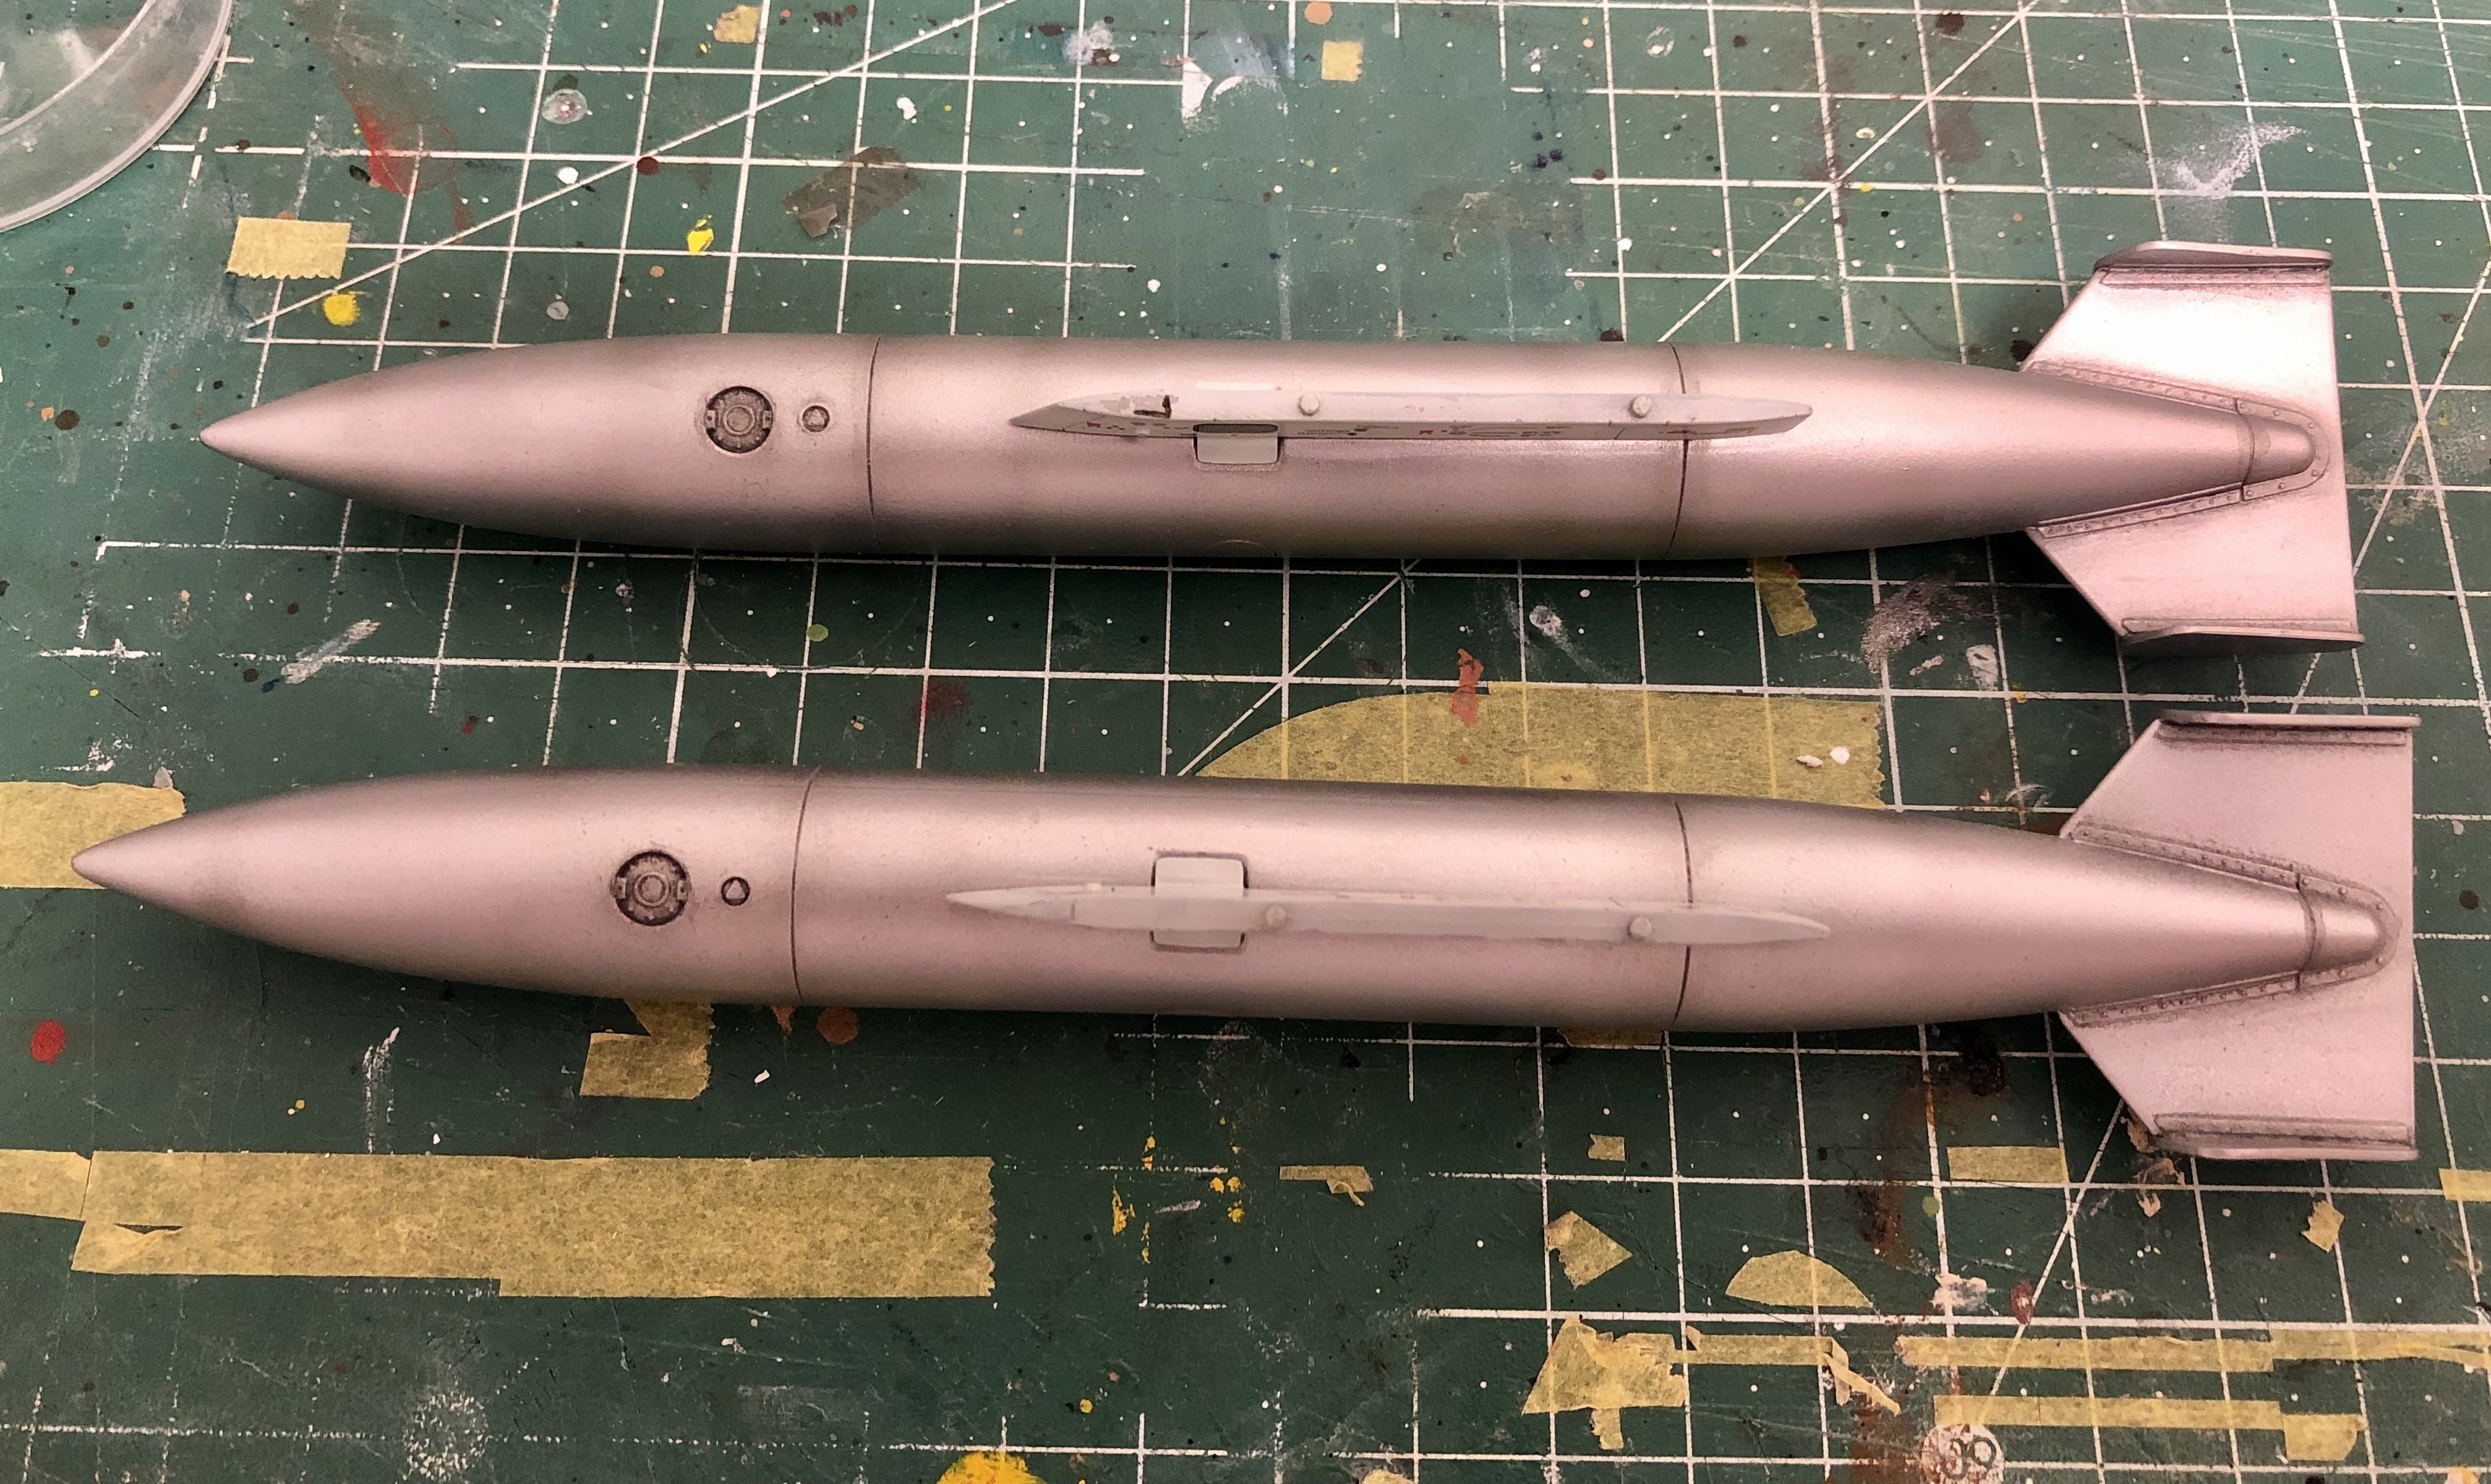
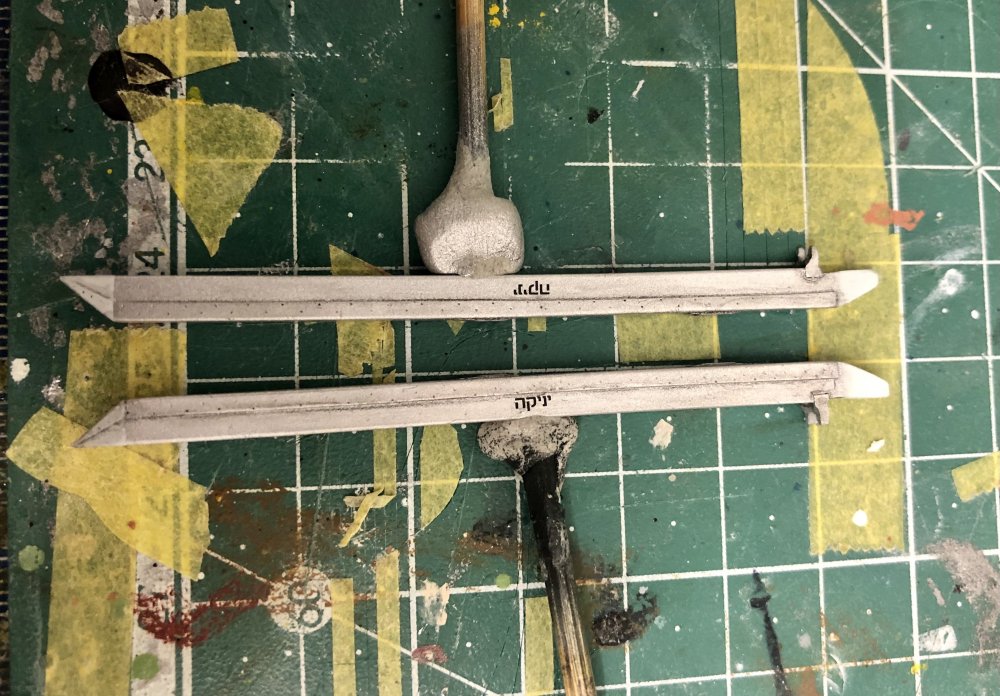
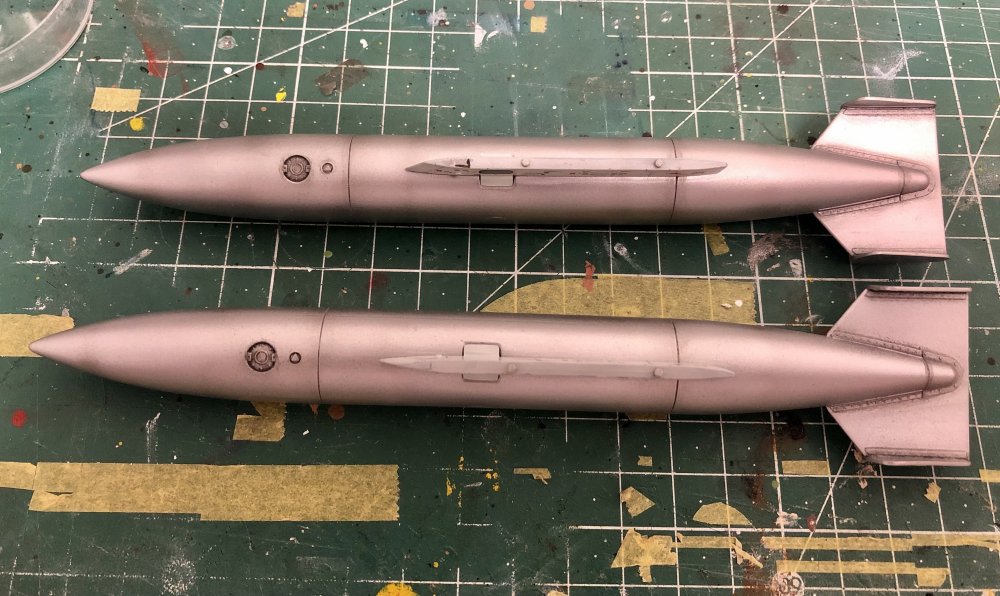
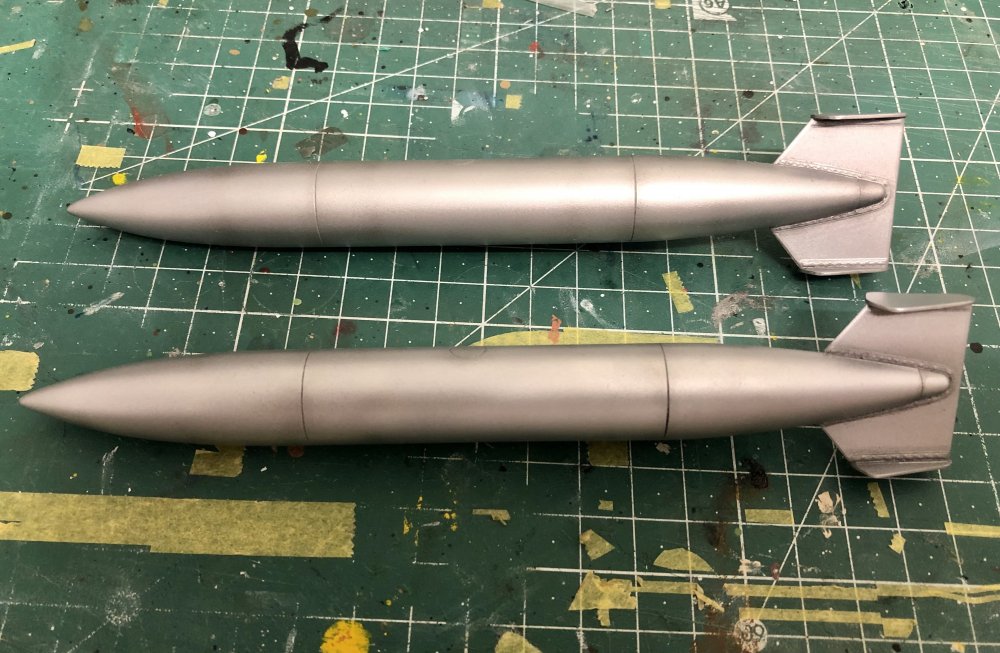
Made a weathering session tonight. But first I had to strip the paint off the Shafrir2 rockets because the masking didn’t work: Then I weathered the wheels, starting rails for rockets and the wing tanks: And finally the tiny position lights: Next task will be to finalize the rockets - I will paint the fins black with a brush because masking is too complicated - and start with the matte coat appliation.


-
Great progress Mark! Looks really very nice! This is a stunning model and build! Enjoy your holidays! The aircraft stand is really very helpful! I wouldn’t want to miss it any more.
-
Israeli Mirage III C with Atar9C
Kaireckstadt replied to Kaireckstadt's topic in LSM 1/35 and Larger Work In Progress
I will describe it in more detail when I come to the step Gary. -
ME 109 E4 1/18 scale
Kaireckstadt replied to Trigger's topic in LSM 1/35 and Larger Work In Progress
Have you gone further with this build and also the beautiful Catalina Frank? Any Update would be more than welcome! -
Fw190A-8 3/JG1 crash Vreeland
Kaireckstadt replied to JeroenPeters's topic in LSM 1/35 and Larger Work In Progress
Any news regarding the build Jeroen? Would be very nice to see the progress! -
Summer project Kawasaki KI-61, Tamiya 1/48
Kaireckstadt replied to DocRob's topic in LSM 1/48 Work in Progress
Should look more often into this category. I missed this completely Rob! What a stunning build and awesome NMF! I‘m using AK Extreme Metal colors along with Alclad and the AK colors seem to be more resistant regarding handling of the airbrushed model. I always clear cote Alclad with Future which makes it much more resistant and reduces risks of damage by decal setting solutions. The appearance of the NMF remains even when covered with Future: Curious to see how your KI-61 will look like with decals on her.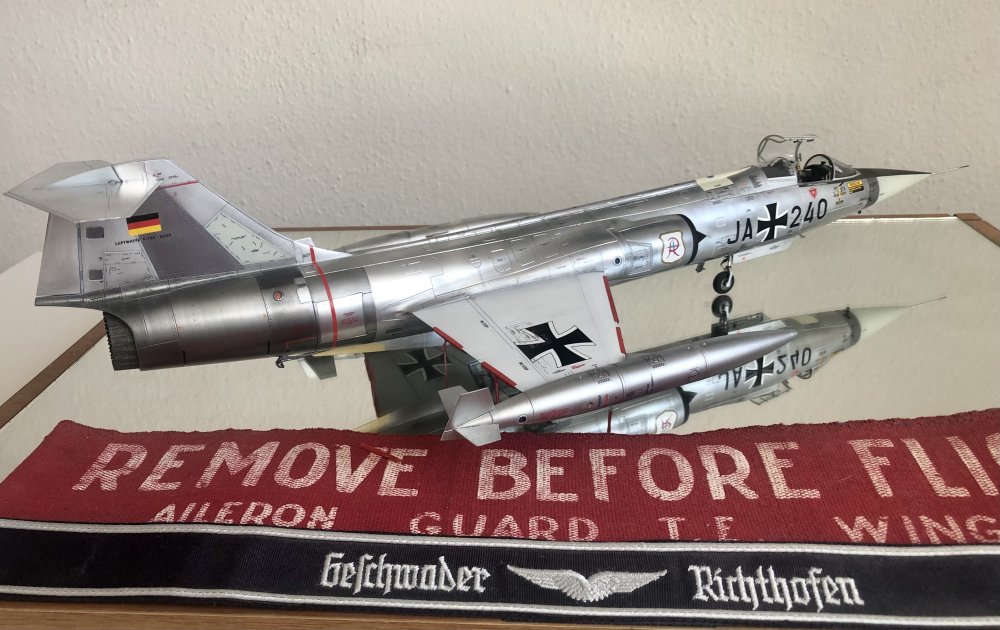

-
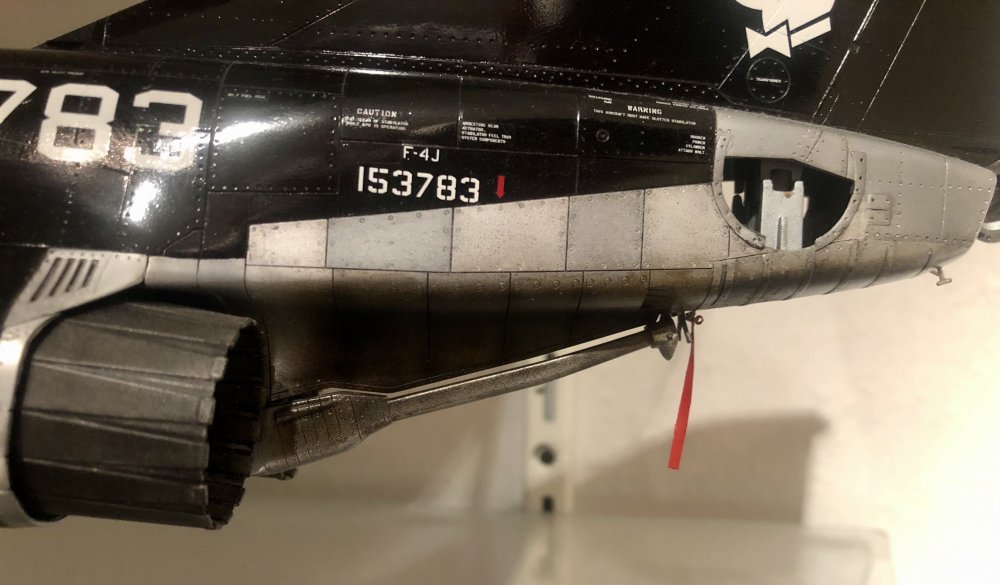
Wow Peter! That’s awesome and absolutely flawless paintwork you are doing! She will be a stunner in the end with the red and black eyecatchers on it. Painting is also my favorite work. Great that you have come thus far with the model. Curious to see how your exhaust section will turn out. That’s one of the most complicated areas on an F-4, but makes a lot of fun.