JohnB
-
Posts
7,206 -
Joined
-
Last visited
Content Type
Profiles
Forums
Events
Gallery
Everything posted by JohnB
-

ZM A-1 Skyraider back on tap!
JohnB replied to JohnB's topic in LSM 1/35 and Larger Work In Progress
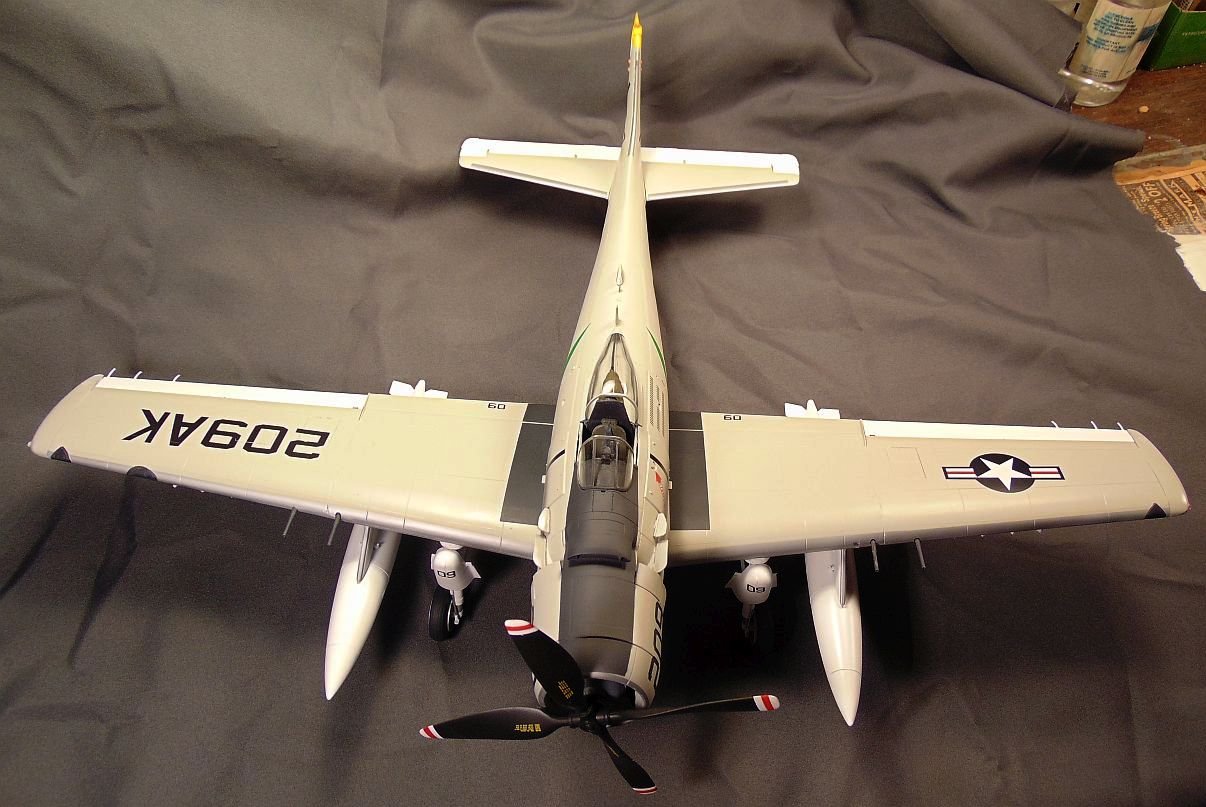
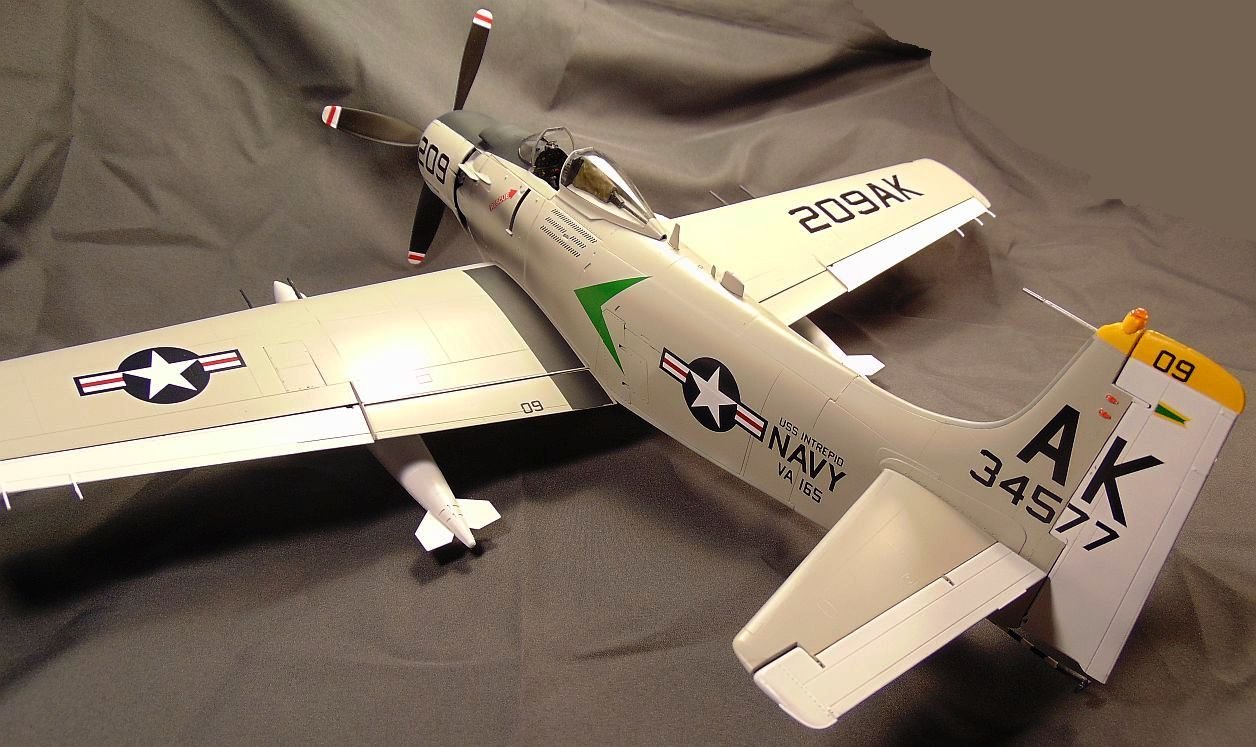
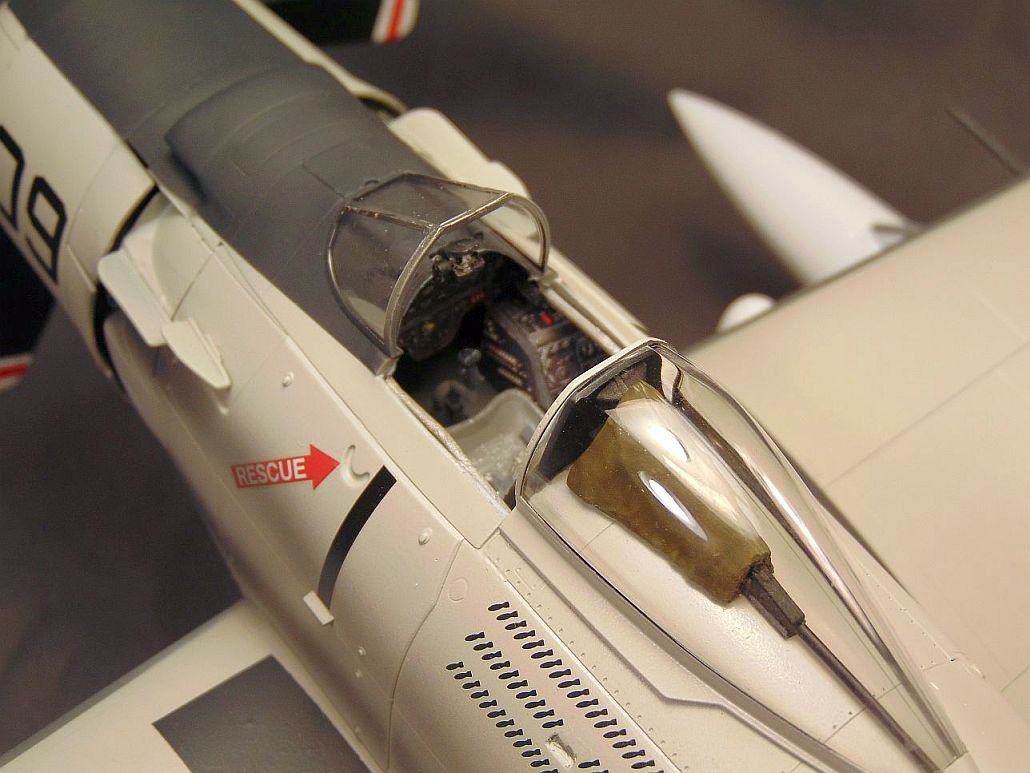
All done with this one! -
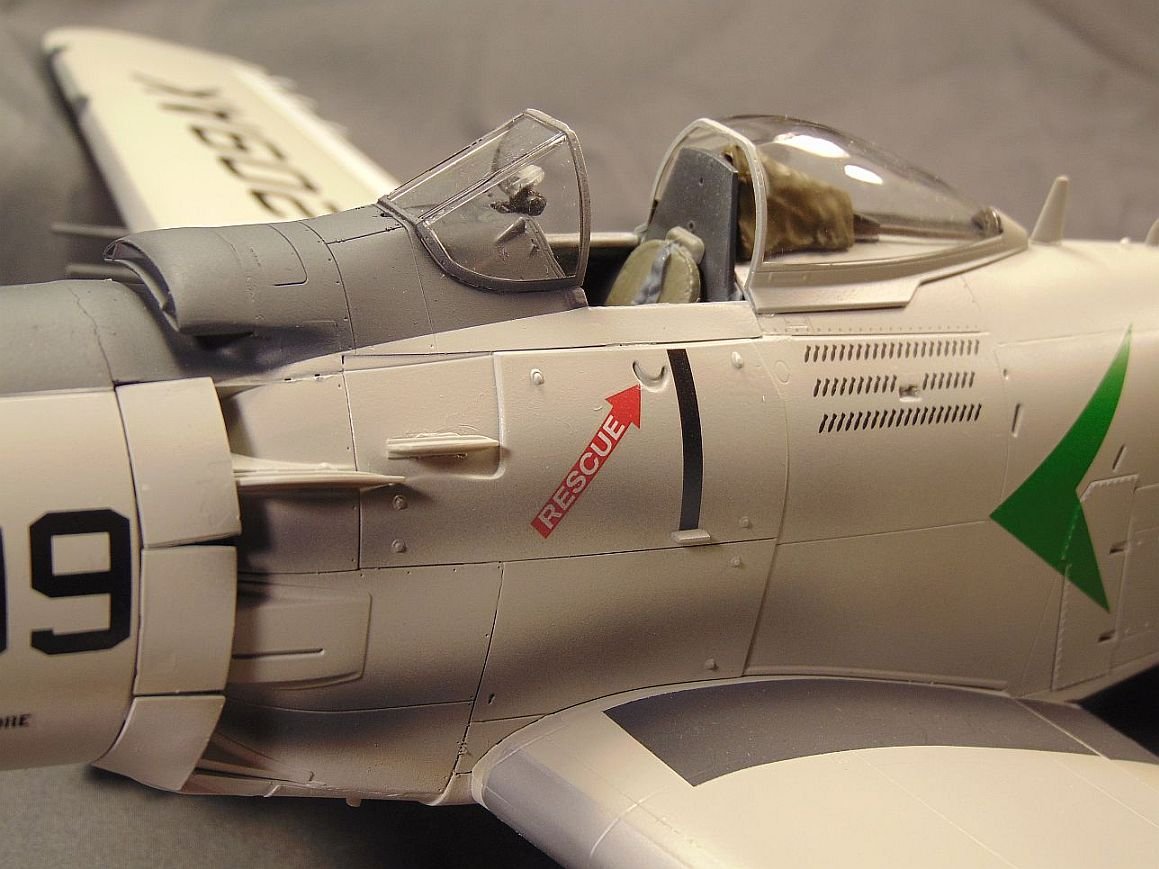
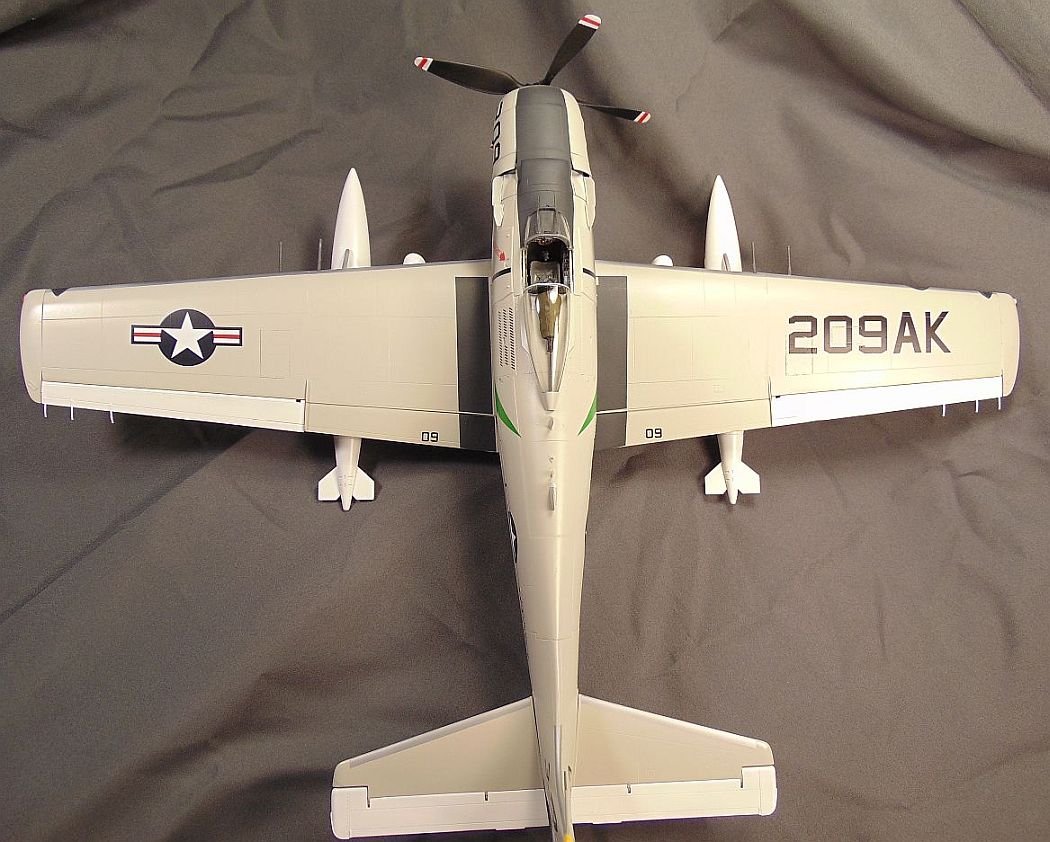
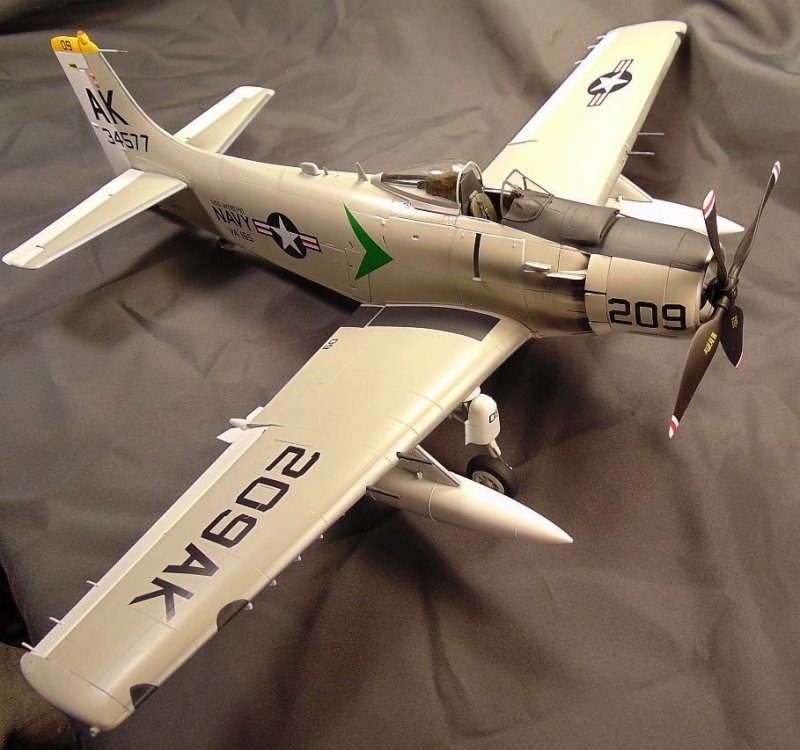
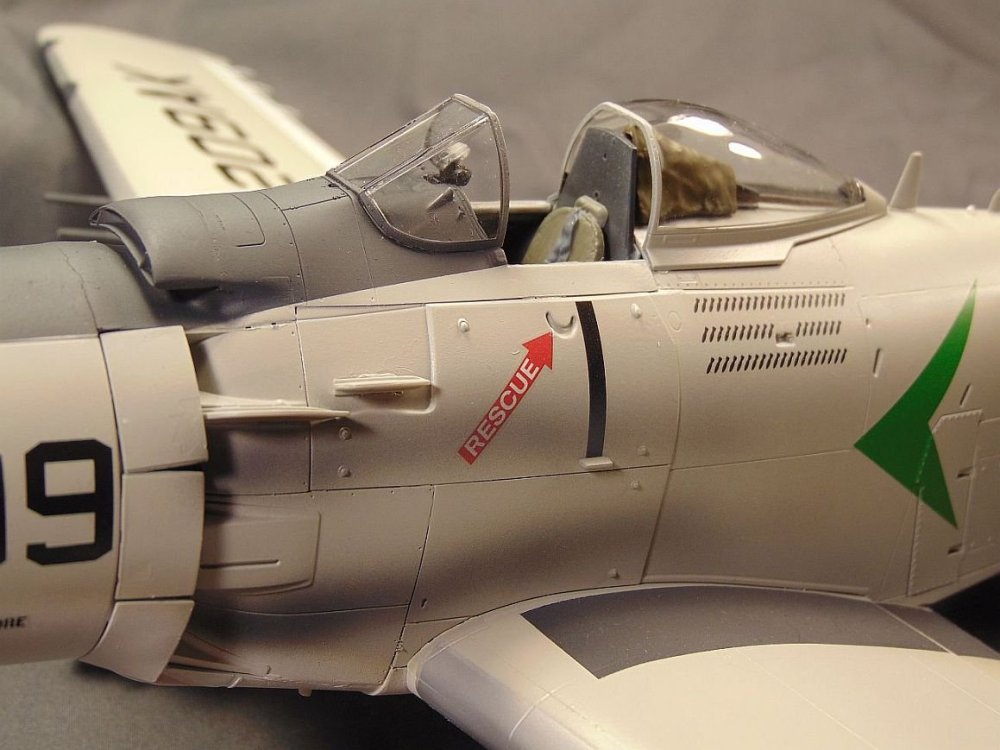
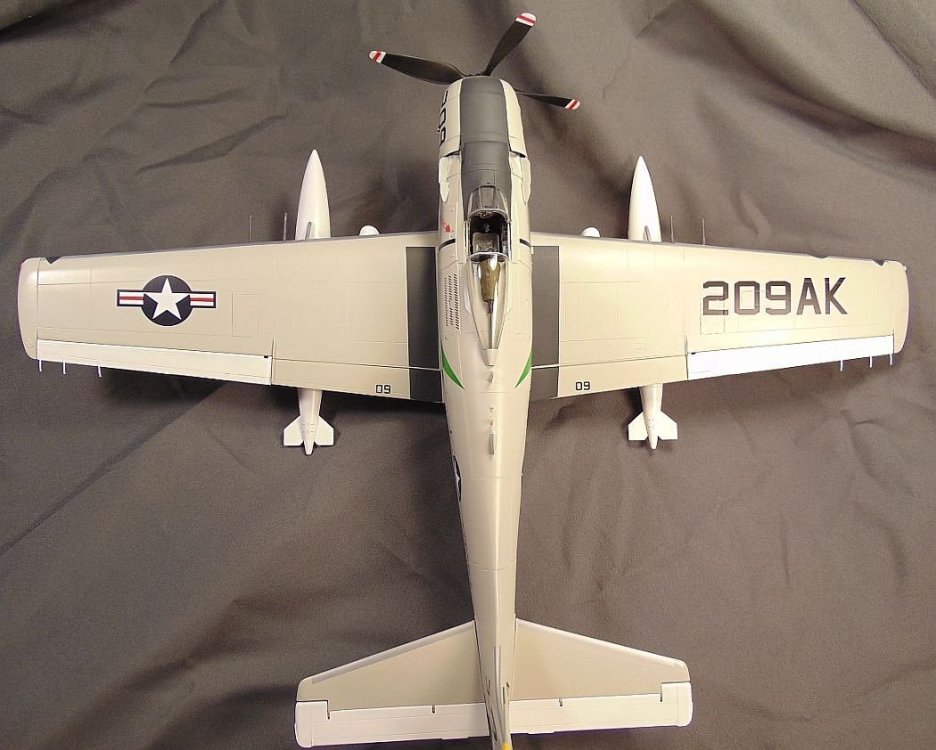
Saved from the SOD. This is a nice kit and can build up to be a very attractive model. I'm pleased with the way it turned out! The only after market I used was the Quinta cockpit set. Painted with Testor's MM. Decals are from C.A.P. decals. I decided to keep it clean except for some exhaust stains. I hope you like the results of my efforts. Please remember to click on the first pic for best resolution and to view as a slide show. Thanks.


- 18 replies
-
- 10
-

-
ZM A-1 Skyraider back on tap!
JohnB replied to JohnB's topic in LSM 1/35 and Larger Work In Progress
I had one of those a while back but sold it. Maybe I'll get another at some point. -
ZM A-1 Skyraider back on tap!
JohnB replied to JohnB's topic in LSM 1/35 and Larger Work In Progress
No more SOD for this one Gaz. Nearly finished and should have it done in a day or so. -
ZM A-1 Skyraider back on tap!
JohnB replied to JohnB's topic in LSM 1/35 and Larger Work In Progress
Thanks Bill. I'll add some exhaust stains but don't plan to do any other "weathering". -
Trumpeter P-51 "American Beauty"-Finished
JohnB replied to KevinM's topic in LSM 1/35 and Larger Work In Progress
Looking good Kevin. Nice work. -
One Month Challenge: COMPLETED
JohnB replied to GazzaS's topic in LSM 1/35 and Larger Work In Progress
Excellent diorama Gaz! Well done. -
ZM A-1 Skyraider back on tap!
JohnB replied to JohnB's topic in LSM 1/35 and Larger Work In Progress
Coming right along now Kai. Decaling in progress so it won't be too long now! -
ZM A-1 Skyraider back on tap!
JohnB replied to JohnB's topic in LSM 1/35 and Larger Work In Progress
Thank you Peter. I plan to attach the landing gear next then start decaling. -
ZM A-1 Skyraider back on tap!
JohnB replied to JohnB's topic in LSM 1/35 and Larger Work In Progress
Progress as of today.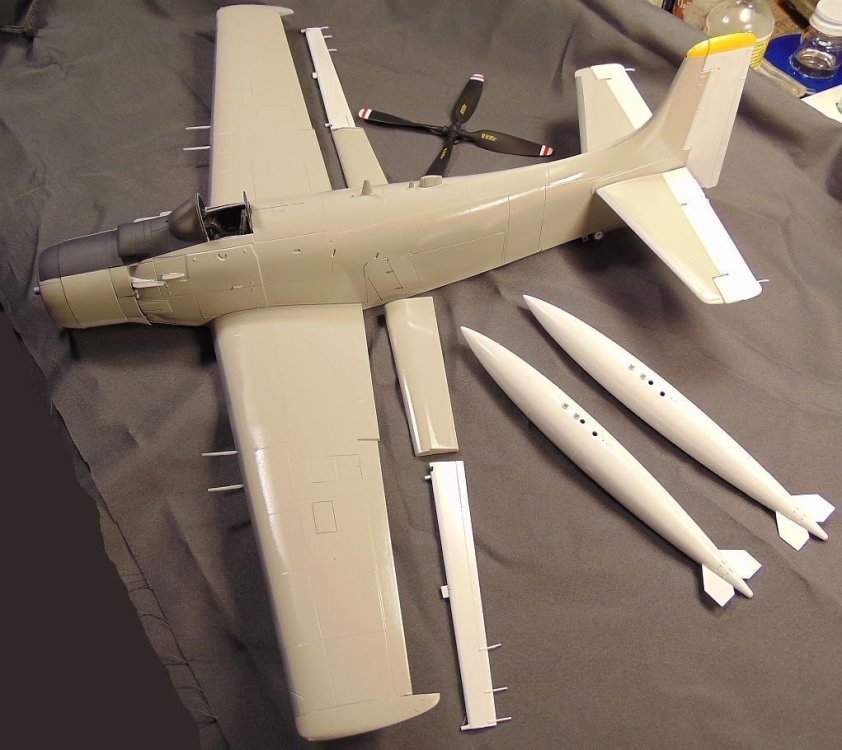
-
Have fun Ernie! It should make a really good looking model when all is said and done. Especially with all the COSTLY after market stuff.
-
Me too Peter!
-
I know what you mean! I feel the same way. We don't need to waste good model building time on crummy kits unless we just GOTTA have it! LOL
-
I look forward to seeing it when the paintings done. Gonna be a beauty! (Hot here also. Yesterday's high was 103.) John
-
It still built up to be a good looking model Jerry. Nice work on a high cuss-factor model!
-
ZM A-1 Skyraider back on tap!
JohnB replied to JohnB's topic in LSM 1/35 and Larger Work In Progress
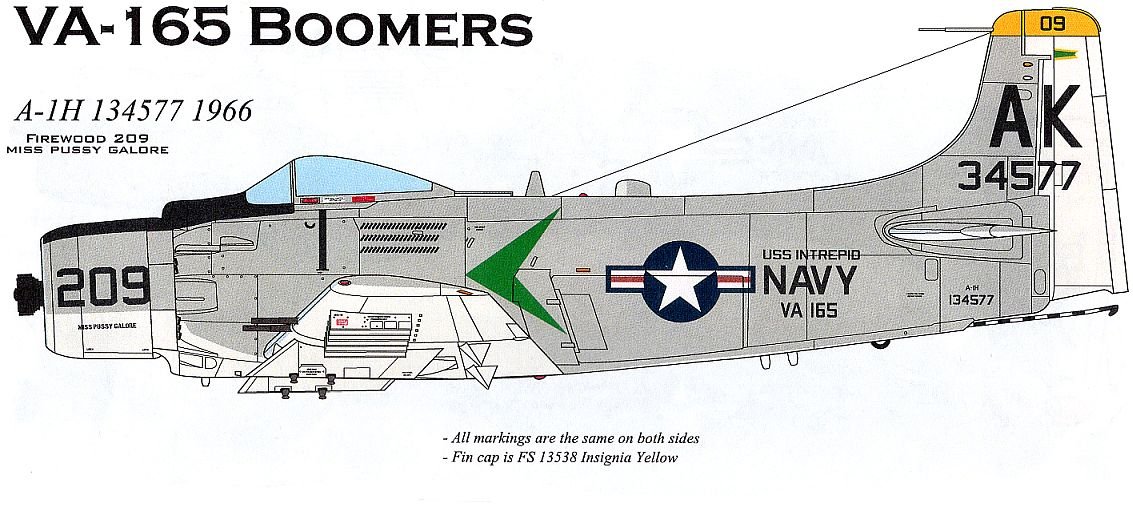
They are C.A.P. decals and I have no idea as to where I got them or when. I think the squadron was on Yankee Station and used those just for fun. There were two others named King of the Load and Puff the Magic Dragon. Firewood 201 and 204. Maybe others but that's all that are on the sheet. -
ZM A-1 Skyraider back on tap!
JohnB replied to JohnB's topic in LSM 1/35 and Larger Work In Progress
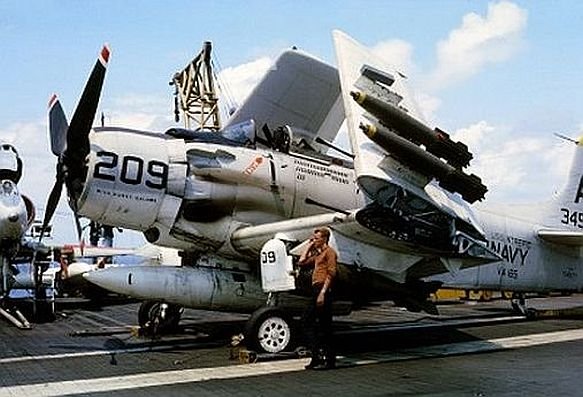
Here is the one I'm doing. VA-165 Boomers A-1H.
-
Hasegawa 1/48 F-4B finished
JohnB replied to JohnB's topic in LSM 1/32 and Larger Aircraft Ready for Inspection
Thanks Bill! I have 5 display cases full plus others on shelves, etc. Running out of room but that doesn't stop me from building. -
ZM A-1 Skyraider back on tap!
JohnB replied to JohnB's topic in LSM 1/35 and Larger Work In Progress
Thanks Phil. I don't recall anything like that but that doesn't mean it wasn't done. -
ZM A-1 Skyraider back on tap!
JohnB replied to JohnB's topic in LSM 1/35 and Larger Work In Progress
I'd say you might be SOL on this one Gaz. LOL -
ZM A-1 Skyraider back on tap!
JohnB replied to JohnB's topic in LSM 1/35 and Larger Work In Progress
Thank you Kai! I think it will make a very attractive model in it's gray/white Navy scheme. -
Hasegawa 1/48 F-4B finished
JohnB replied to JohnB's topic in LSM 1/32 and Larger Aircraft Ready for Inspection
Just for grins I decided to pose my recent build with one I built something like 25 years ago. Paint and decals have yellowed slightly over time.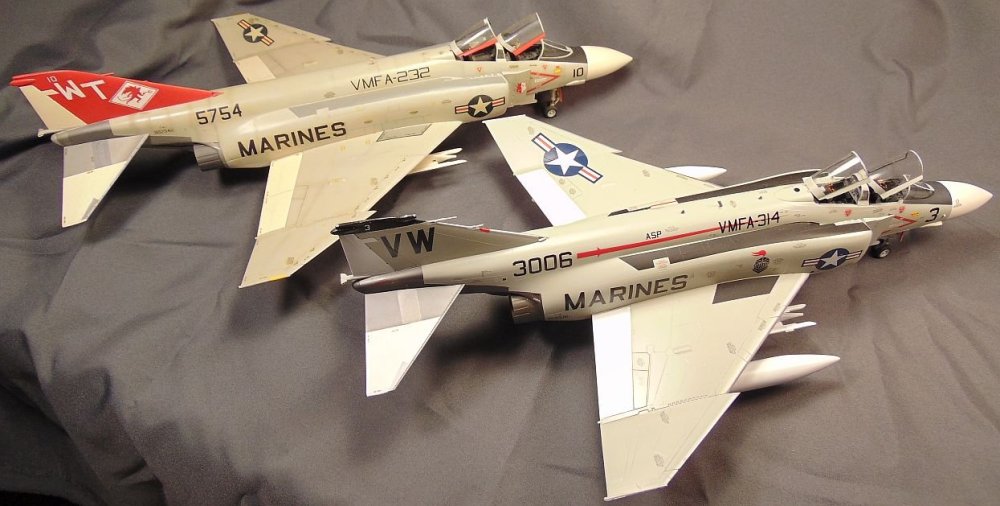
-
Hasegawa 1/48 F-4B finished
JohnB replied to JohnB's topic in LSM 1/32 and Larger Aircraft Ready for Inspection
Thanks Jerry. Like I've said before, just because a kit is old doesn't mean it can't be built up to look good. -
ZM A-1 Skyraider back on tap!
JohnB replied to JohnB's topic in LSM 1/35 and Larger Work In Progress
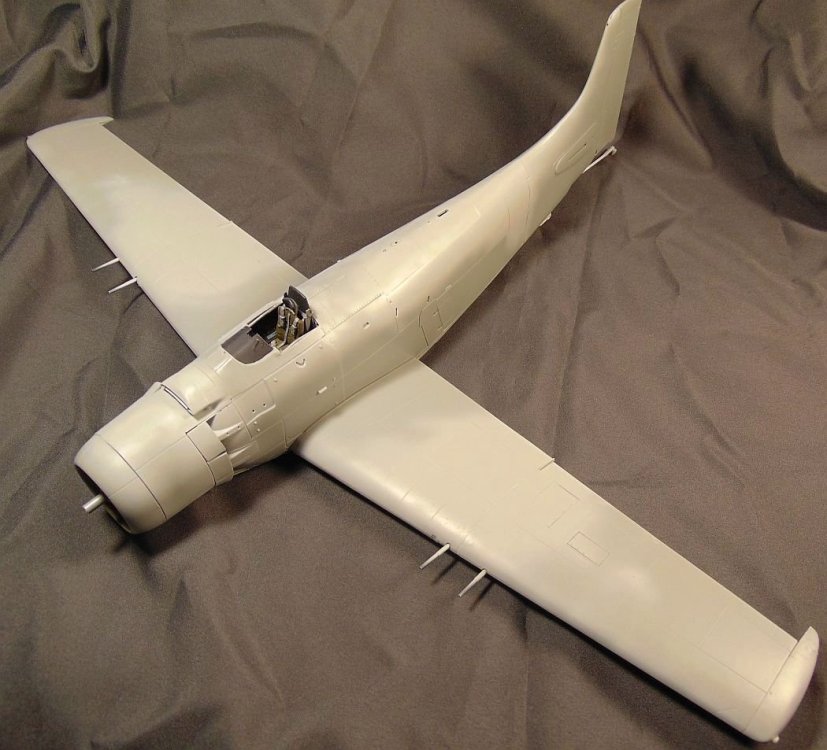
Agreed Peter. Leave off the fiddly toy-like stuff Mr. Mura and others. That might have been a good idea back in the 60's or so but not now. I'm pleased to have been able to "fix" the wings and get this build back on track. I've decided to build it as a Lt. Gull Gray/white US Navy a/c instead of the USAF SEA one I had originally intended. Since I was able to get a resupply of the LGG I can get with that scheme (I used up the last of my supply of LGG on the F-4 but, thanks to Scott and Jerry, I have a good supply on hand now. Thanks guys!!!). -
ZM A-1 Skyraider back on tap!
JohnB replied to JohnB's topic in LSM 1/35 and Larger Work In Progress
Been devoting some time to this one this afternoon. Making some good progress.