HubertB
-
Posts
2,995 -
Joined
-
Last visited
Content Type
Profiles
Forums
Events
Gallery
Everything posted by HubertB
-

One Month Challenge: COMPLETED
HubertB replied to GazzaS's topic in LSM 1/35 and Larger Work In Progress
Great job, Gary ! An ignoramus question: shouldn’t the anti-recoil plows be deployed when firing ? Deployed or not, I would think that their « inside » (deployed or not) would be the most weathered and rusted area of the howitzer. Keep it coming Hubert -
Thanks Ernie for your comments. At least, it’s not 1/35 😂 😂 🤣 Hubert
-
Thank you for reminding me of this thread. I absolutely love the way this gentleman uses simple tools to produce detailed sub-models, and is not afraid of using « exotic » technologies at home like electroforming. Hubert
-
As I keep saying, a model in 1/35 occupies 76 % of the volume of the same in 1/32. We humans look at objects in 3D, not one-dimensional ones, which are mathematical abstractions. So yes, in one dimension, the difference is "only" 9 %, and this may seem insignificant (although I think most would agree it's not insignificant on their paycheck ), but in 3D, it's 24 %, and that's a lot to my eyes .... Hubert
-
I’m sure it must be interesting to see, but, sadly, no pics … Hubert
-
I am always, and have been for some time, irresponsible when I am adding to my stash … 😂 Hubert
-
I’ll be unashamedly in the camp of the moaners and complainers. To summarize my feelings : WTF ? 1/35 is already a weird, « in-between » scale in itself. But to apply it to a WWII torpedo bomber that will in 99.9 % of the cases never be displayed near an armoured or utility vehicle is just preposterous ! And I will repeat myself: if you think 1/35 is an inconsequential difference to 1/32, I hope you will rethink about it with this simple math truth: a 1/35 aircraft occupies 76 % of the volume of the same in 1/32. I can bet this will become one day a business study case : « How to minimise the ROI of a good idea » End of the rant. Hubert
-
I'd say this is typical nowadays, and not only in the US. The problem is the drivers (you can insert Postman/Postwoman instead, just as pertinently) have a target of time per delivery or number of deliveries per day. So, if they are running behind, they just prefer to say you were not here. It counts as a delivery, but saves them the physical time of delivering. And if you happen to live in a place which is far from the main delivery routes, and implies some additional time coming to your place, you are lucky not to end up systematically with a "pick up parcel at pick-up point XYZ" "O tempora, o mores" as they said Hubert
-
Duchess of Kingston - Beauty of the Seas - Wooden Sailing Ship 1/64
HubertB replied to DocRob's topic in Non LSM 'WIP
Maybe just forgot to reset the "zero" on the wheel ? An all-too-common oversight. Ask me how I know ... Hubert -
1:32nd scale RAF BE2c
HubertB replied to sandbagger's topic in LSM 1/32 and Larger Aircraft Ready for Inspection
And, again, an amazing build, Mike 👍 ! Hubert -
RN FG-1 Phantom 1/32 scratch conversion
HubertB replied to Wingco57's topic in LSM 1/35 and Larger Work In Progress
I can’t wait for the forthcoming sextape …. Hubert- 76 replies
-
- 3
-

-
- revell
- 1/32 phantom
- (and 1 more)
-
Tamiya Spitfire MK XVIe
HubertB replied to Peterpools's topic in LSM 1/35 and Larger Work In Progress
So, there was a « before » and an « after » for the crowbar ? Thank you very much for this information. Hubert -
Dragon Jagdpanzer IV 70 (A) Kit 6015 with Panzer Art figures
HubertB replied to GazzaS's topic in LSM Armour Finished Work
Excellent ! I hope that one day I’ll be able to paint figures as well as you. Hubert -
The brand name seems vey apt for the product. And it’s 1/48 ! Wow ! Hubert PS: I am curous to read the « instrution » 😂
-
Tamiya Spitfire MK XVIe
HubertB replied to Peterpools's topic in LSM 1/35 and Larger Work In Progress
IIRC, the crowbar was always there. The (sometimes heated) debate among modellers was whether it was red in wartime. And it was not, as your pics clearly show … Hubert -
Big Yellow Distraction from my B-24
HubertB replied to BlrwestSiR's topic in LSM 1/35 and Larger Work In Progress
As we lose brain cells after 30, maybe it’s more an issue of the driver misjudging that his money bought him extra piloting talents at mid-life ? These Sevens have actually amazing road-handling qualities. Whilst definitely heavier, my Cayman GTS is also amazing. But, frankly, I am not sure I’d ever be able to push it to its limits without overreaching my driving talent Back to the kit. That one piece ABS chassis is a remarkable piece of engineering and molding. Hubert -
ZM A-1 Skyraider back on tap!
HubertB replied to JohnB's topic in LSM 1/35 and Larger Work In Progress
Too bad this one got the best of you, John. Looking at your pics, I feel you were not that far away from success, with a few plastic shims maybe ? Anyway, I’ll be in my chair for your next build. Hubert -
Agreed : very nice ! Hubert
-
Big Yellow Distraction from my B-24
HubertB replied to BlrwestSiR's topic in LSM 1/35 and Larger Work In Progress
I thought you were going for a lemon or a banana 😂 ! Hubert -
Not only are your models great, but your figures deserve the same « wow » ! Hubert
-
What is on your bench right now ? Share a picture :)
HubertB replied to Martinnfb's topic in Modelling Discussion
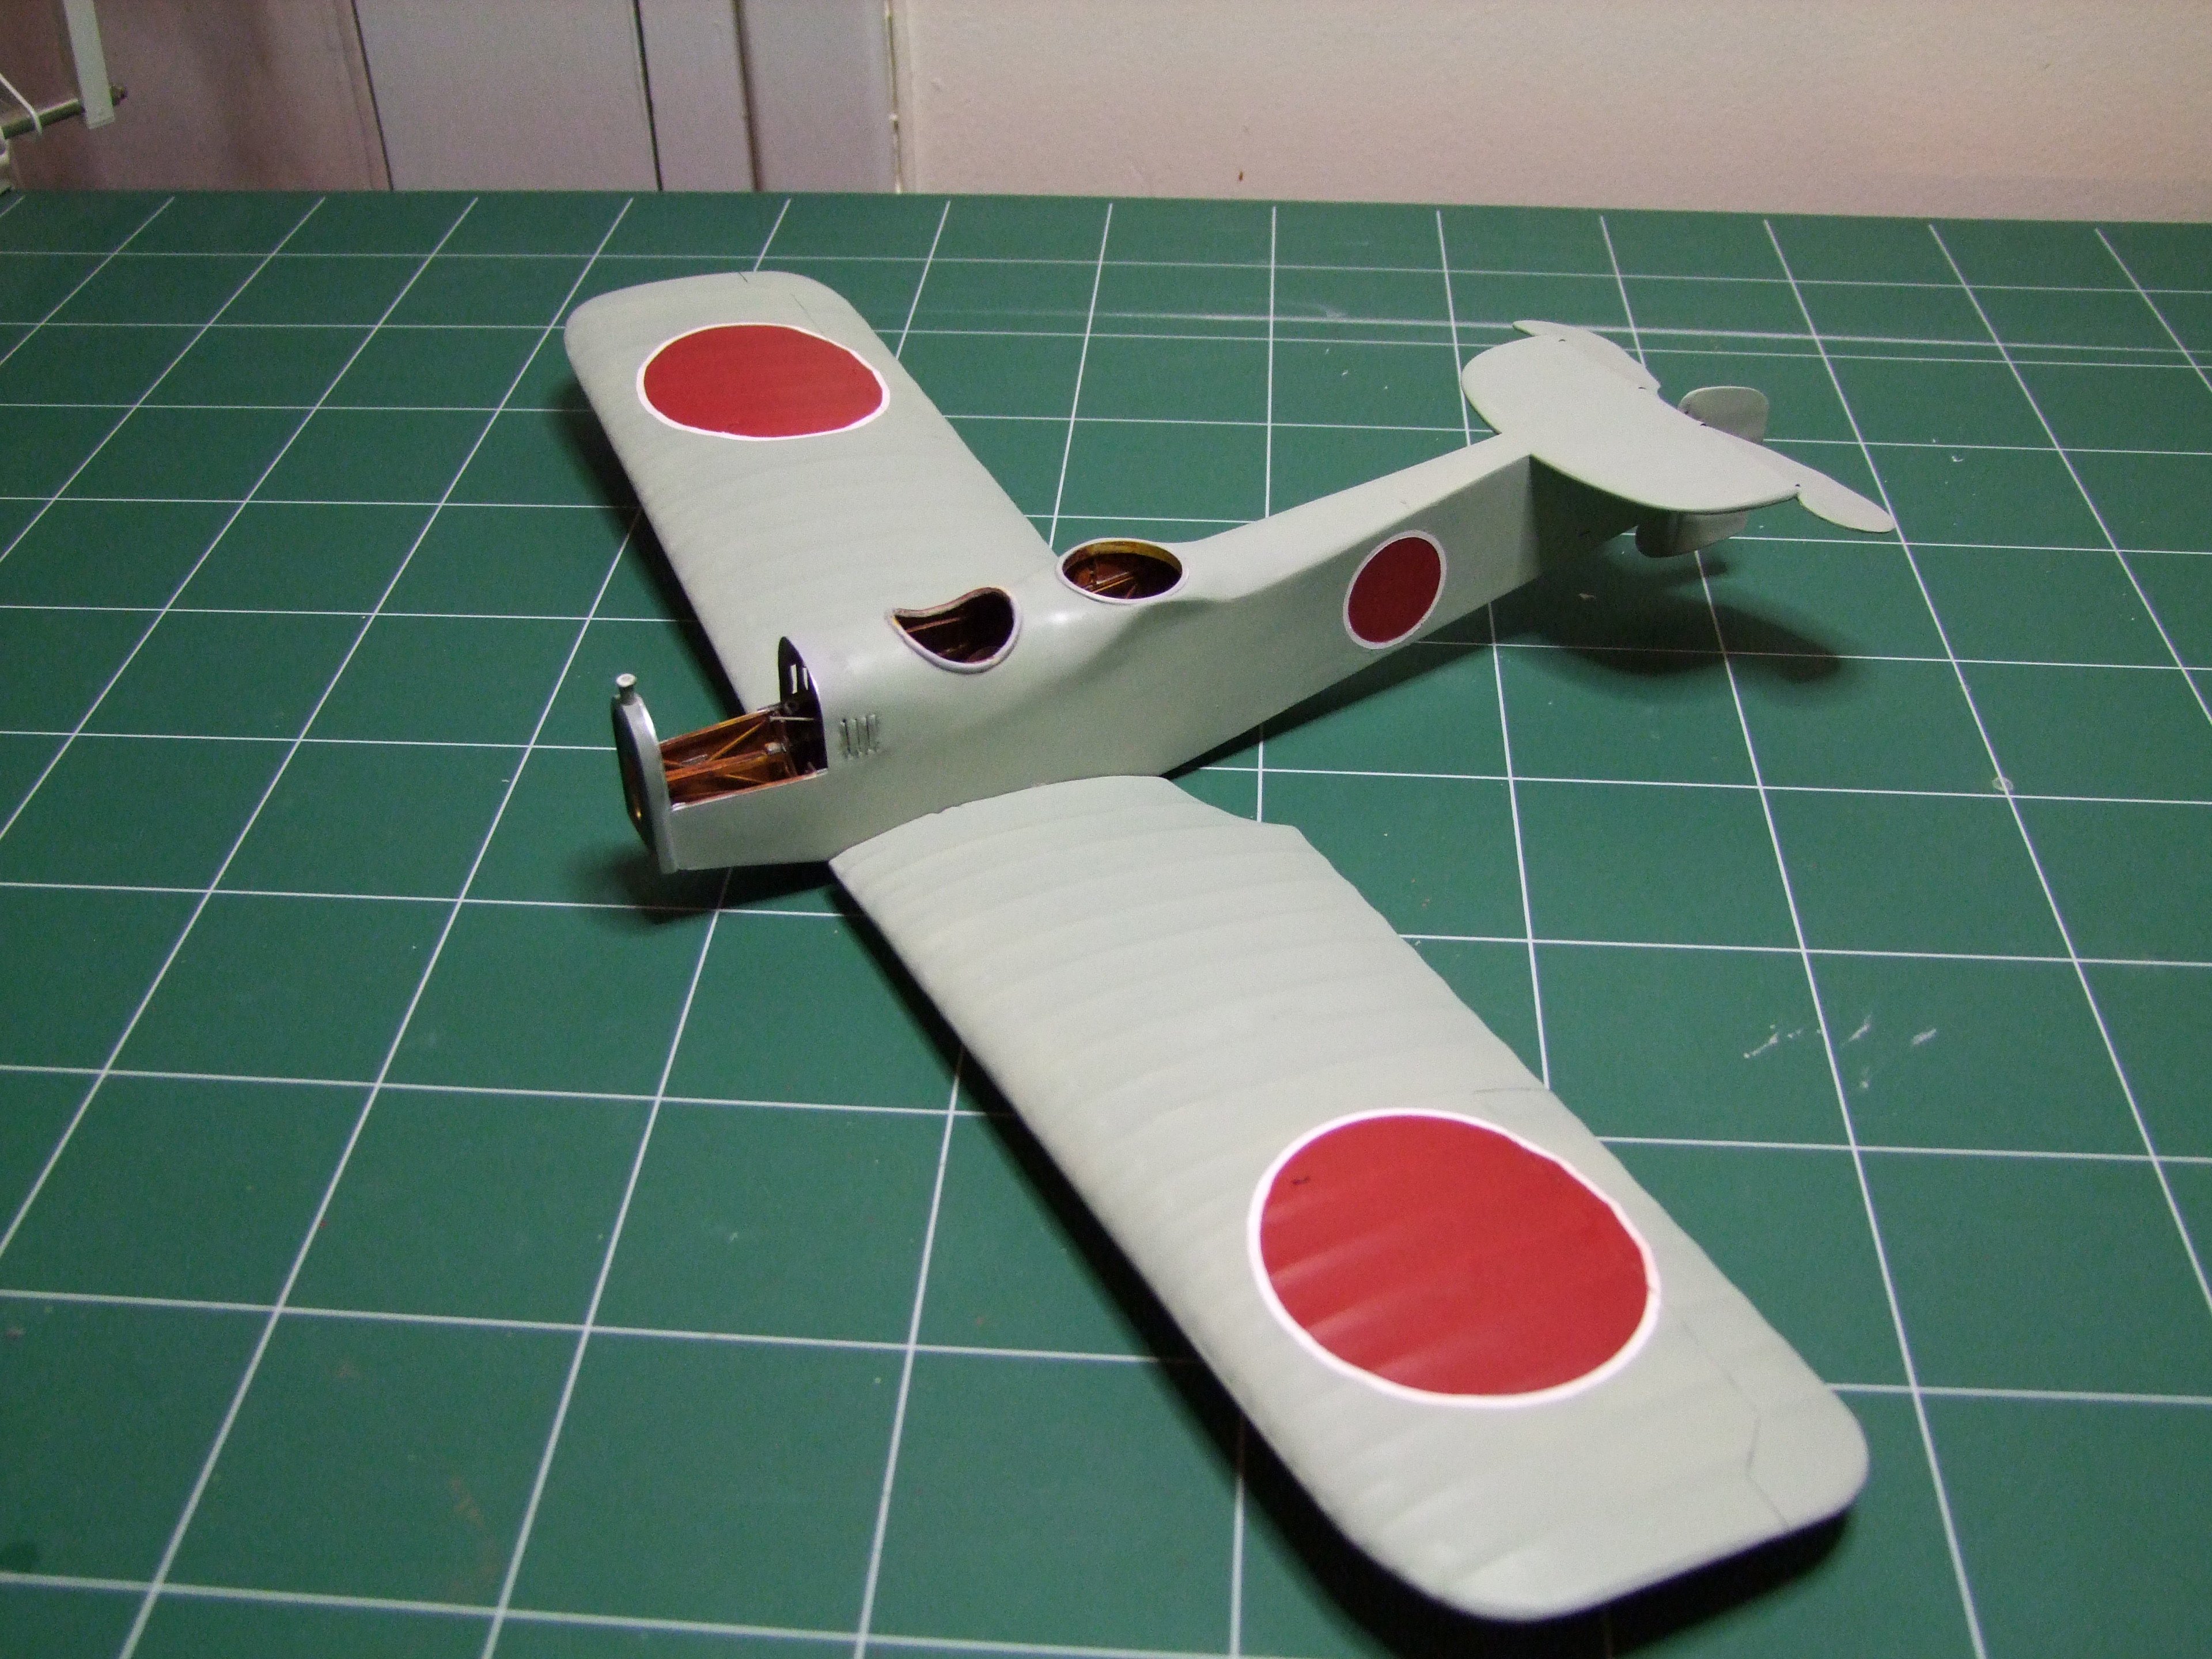
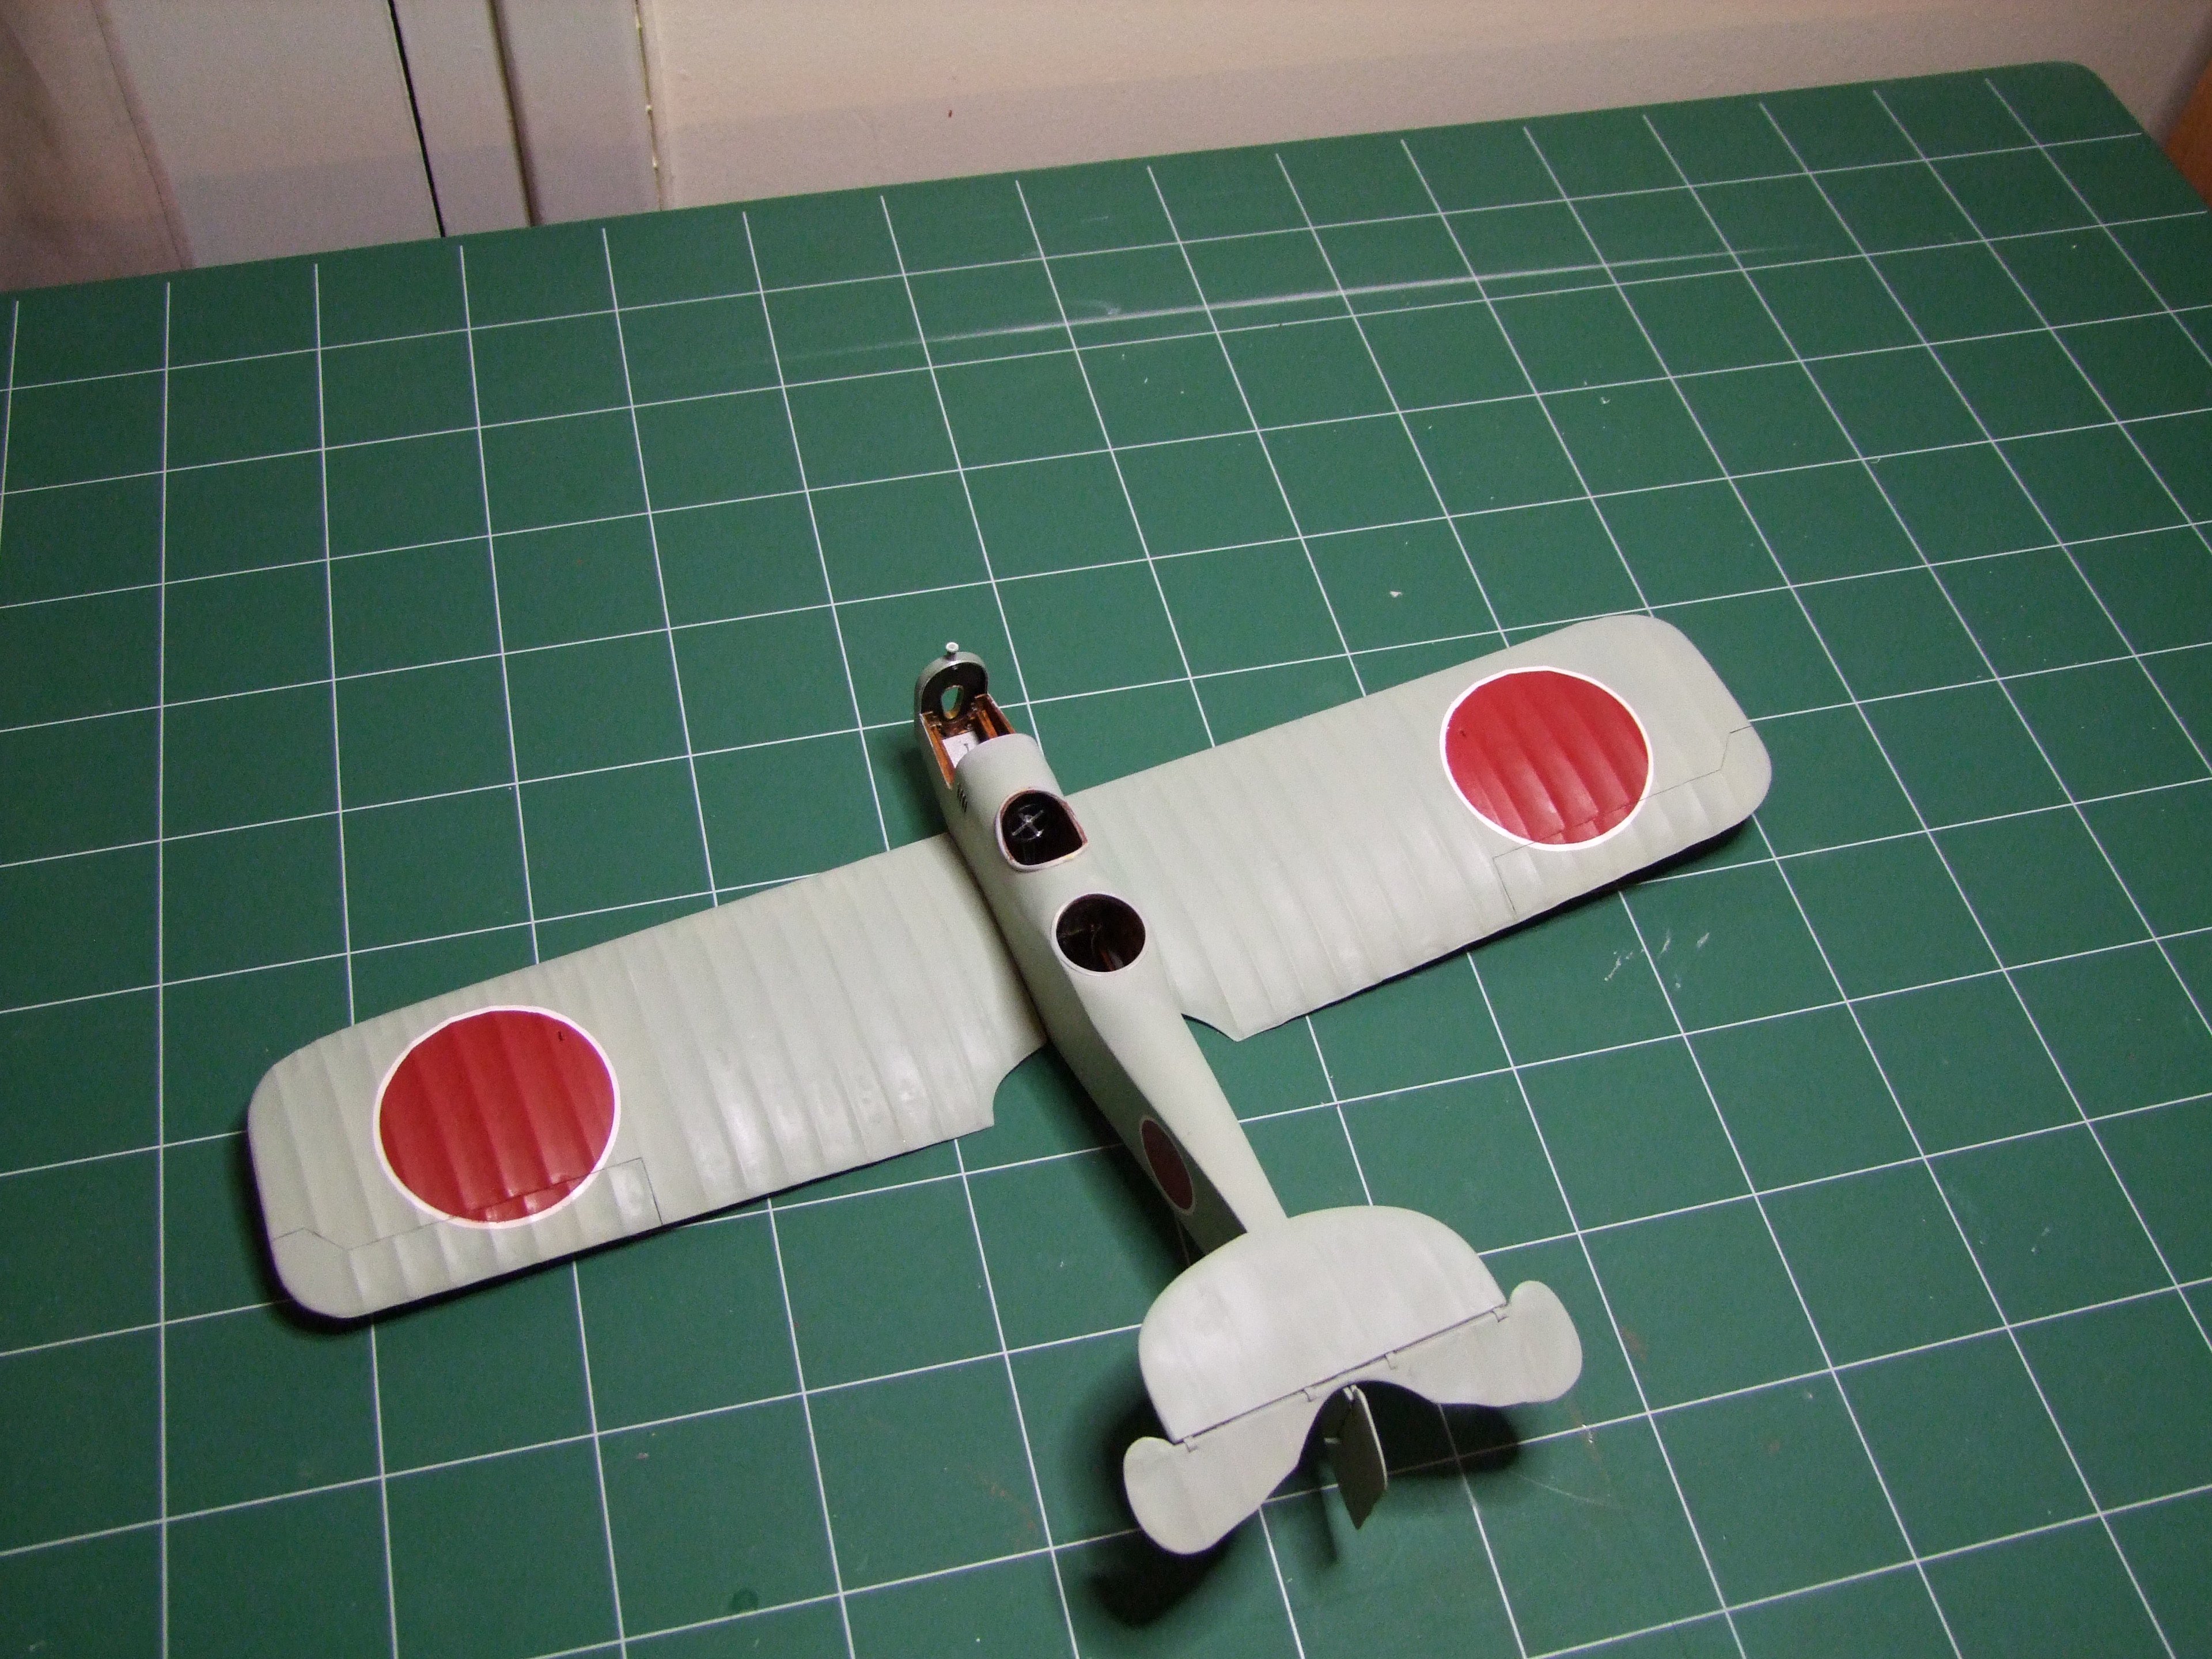
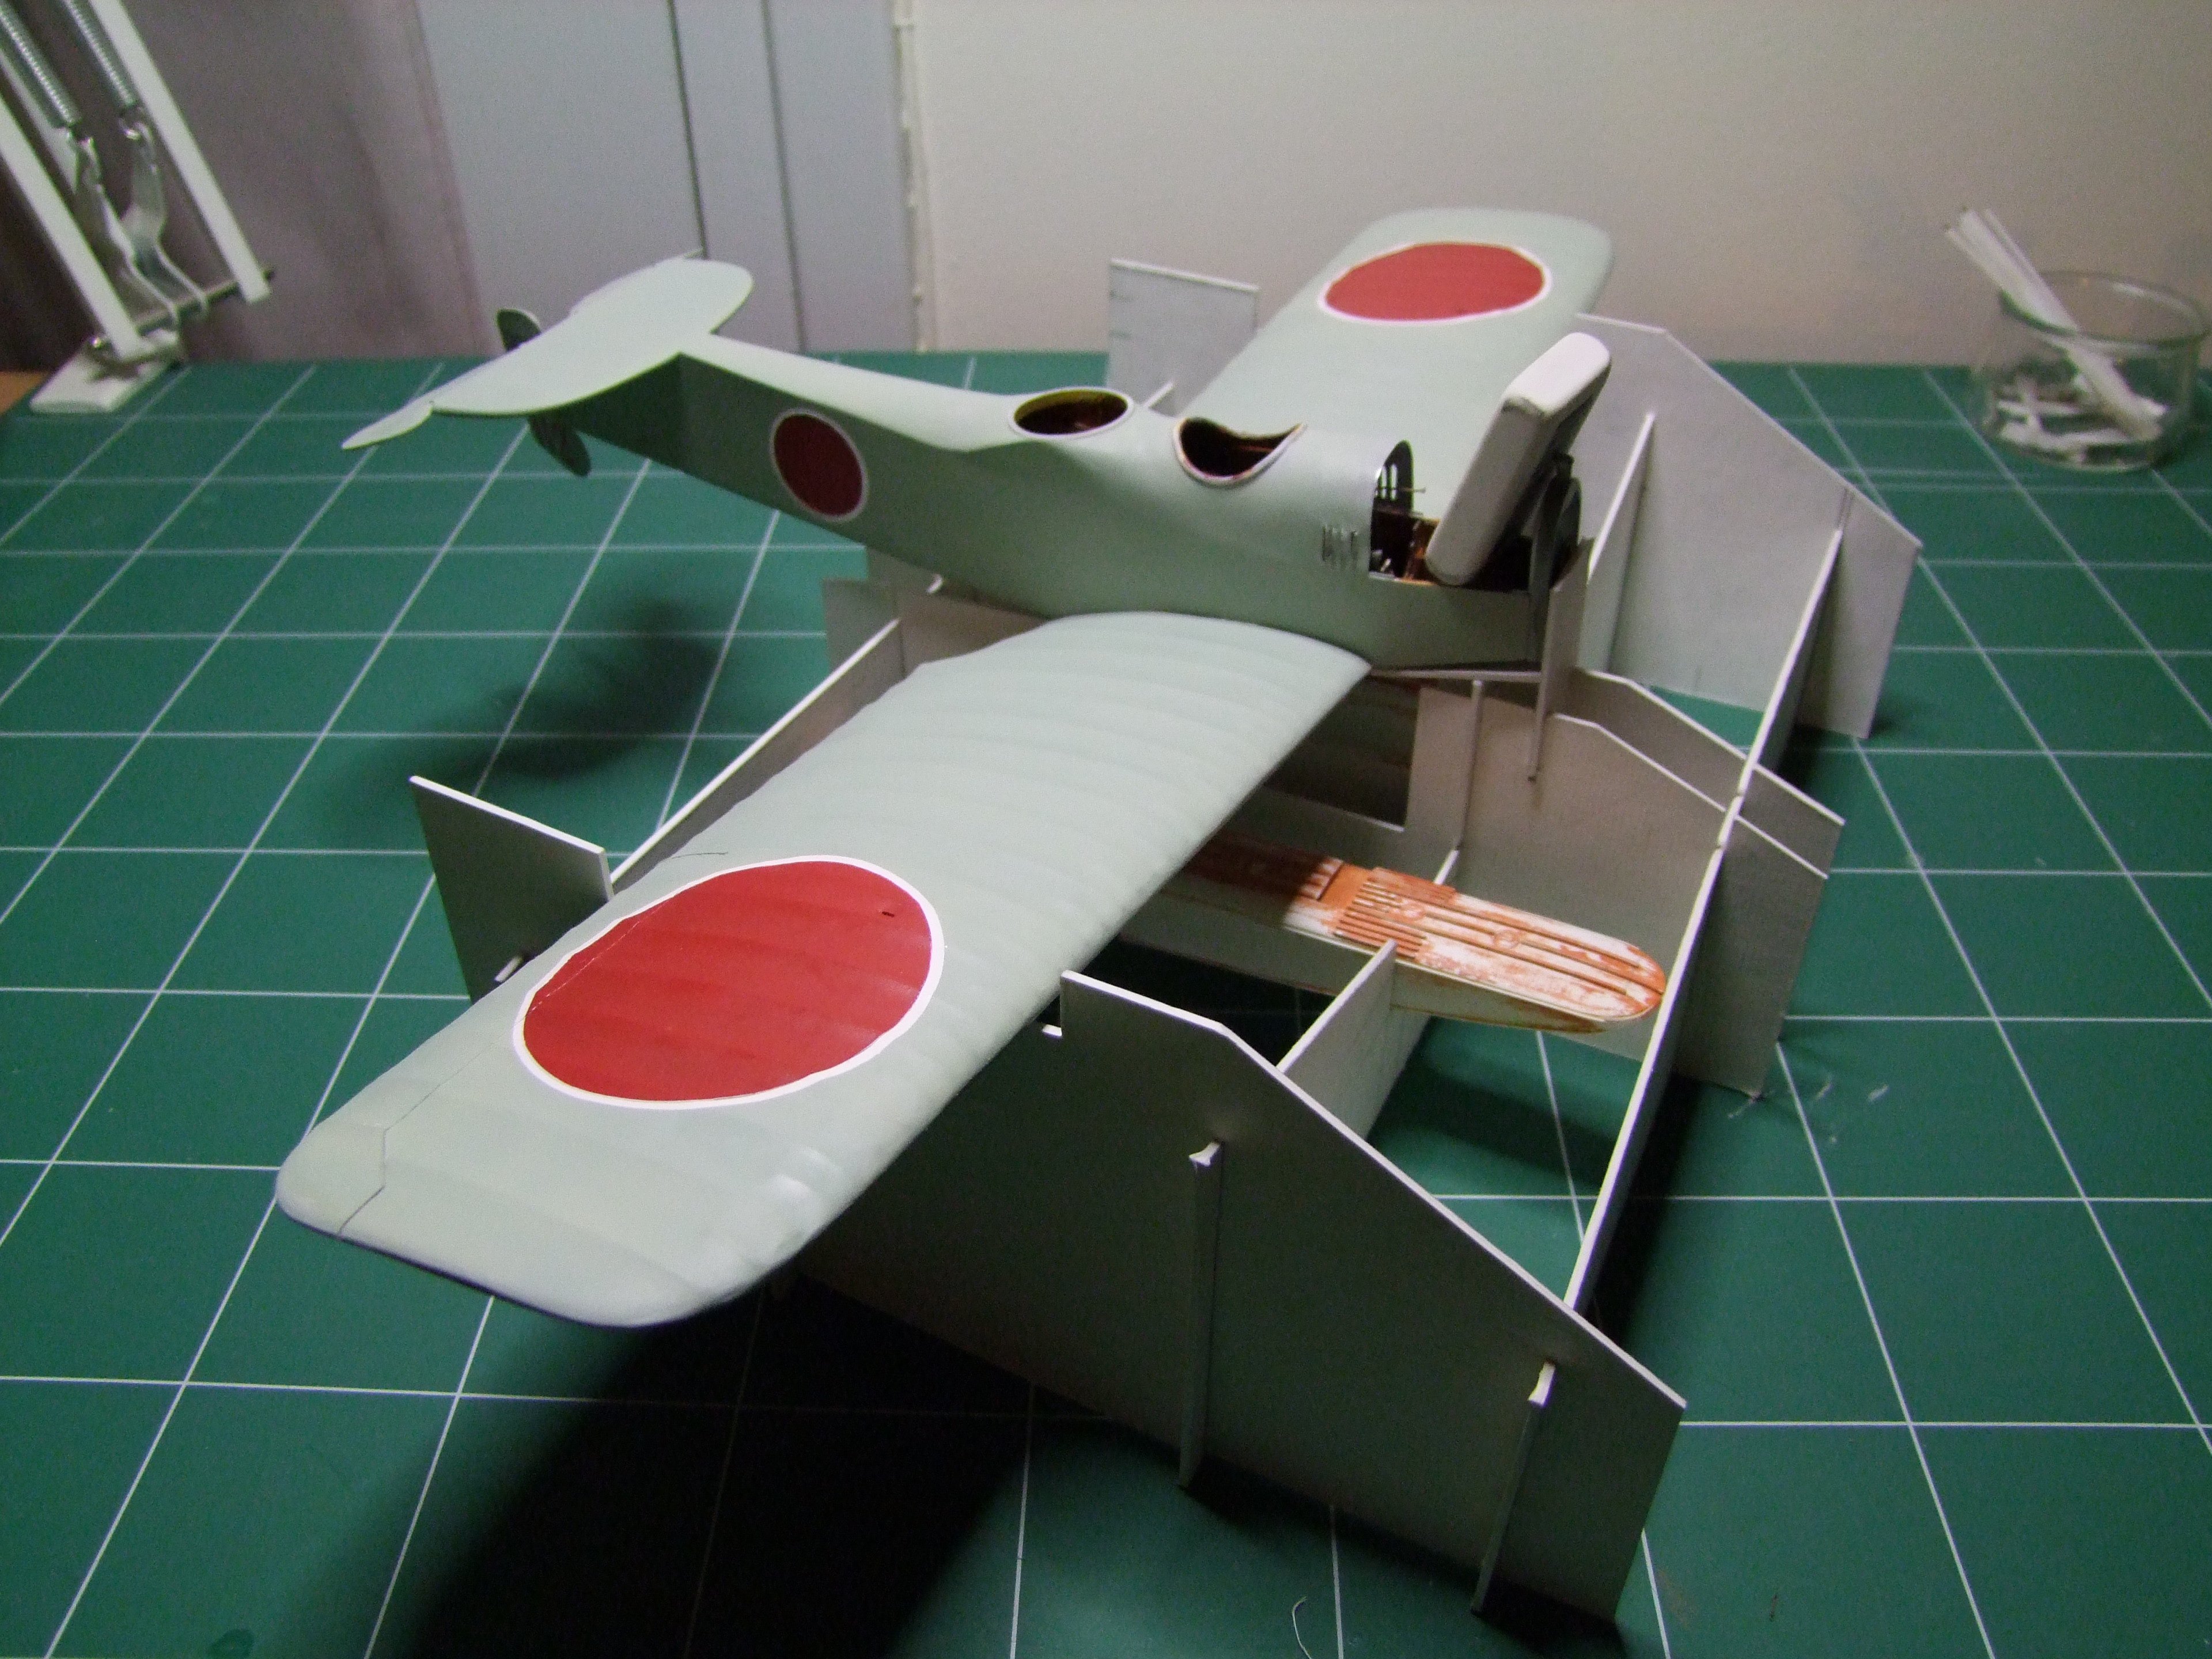
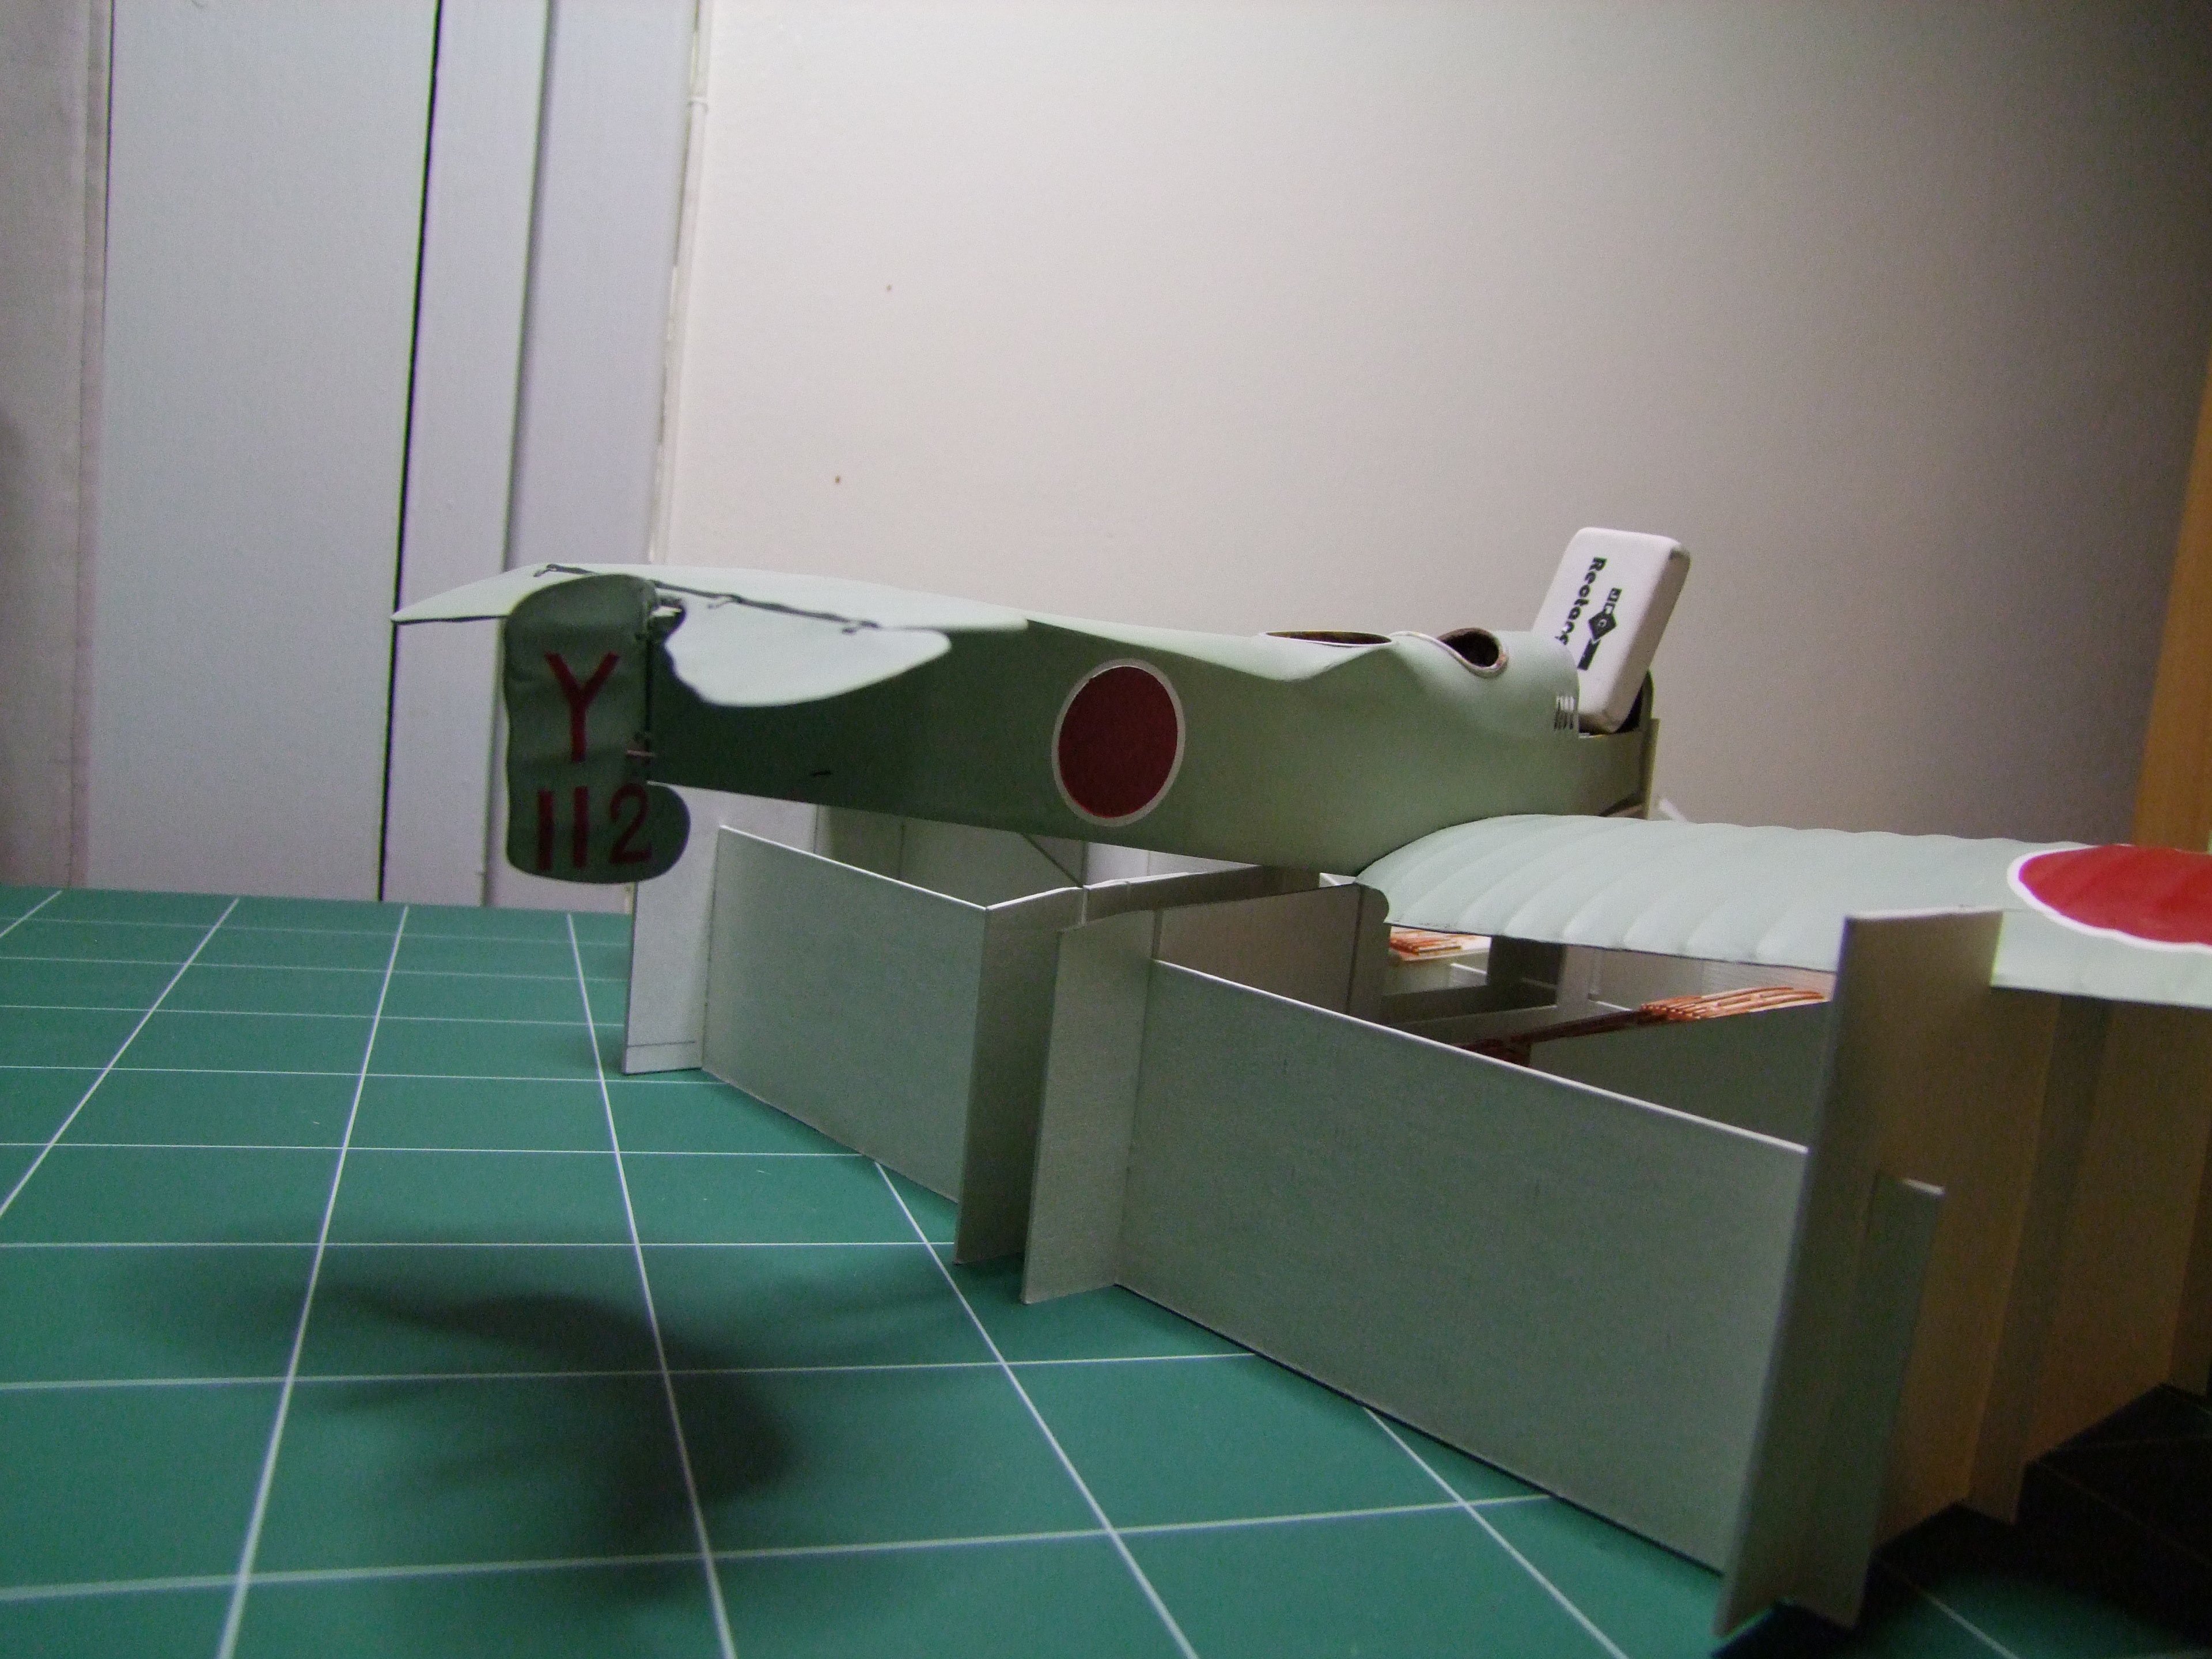
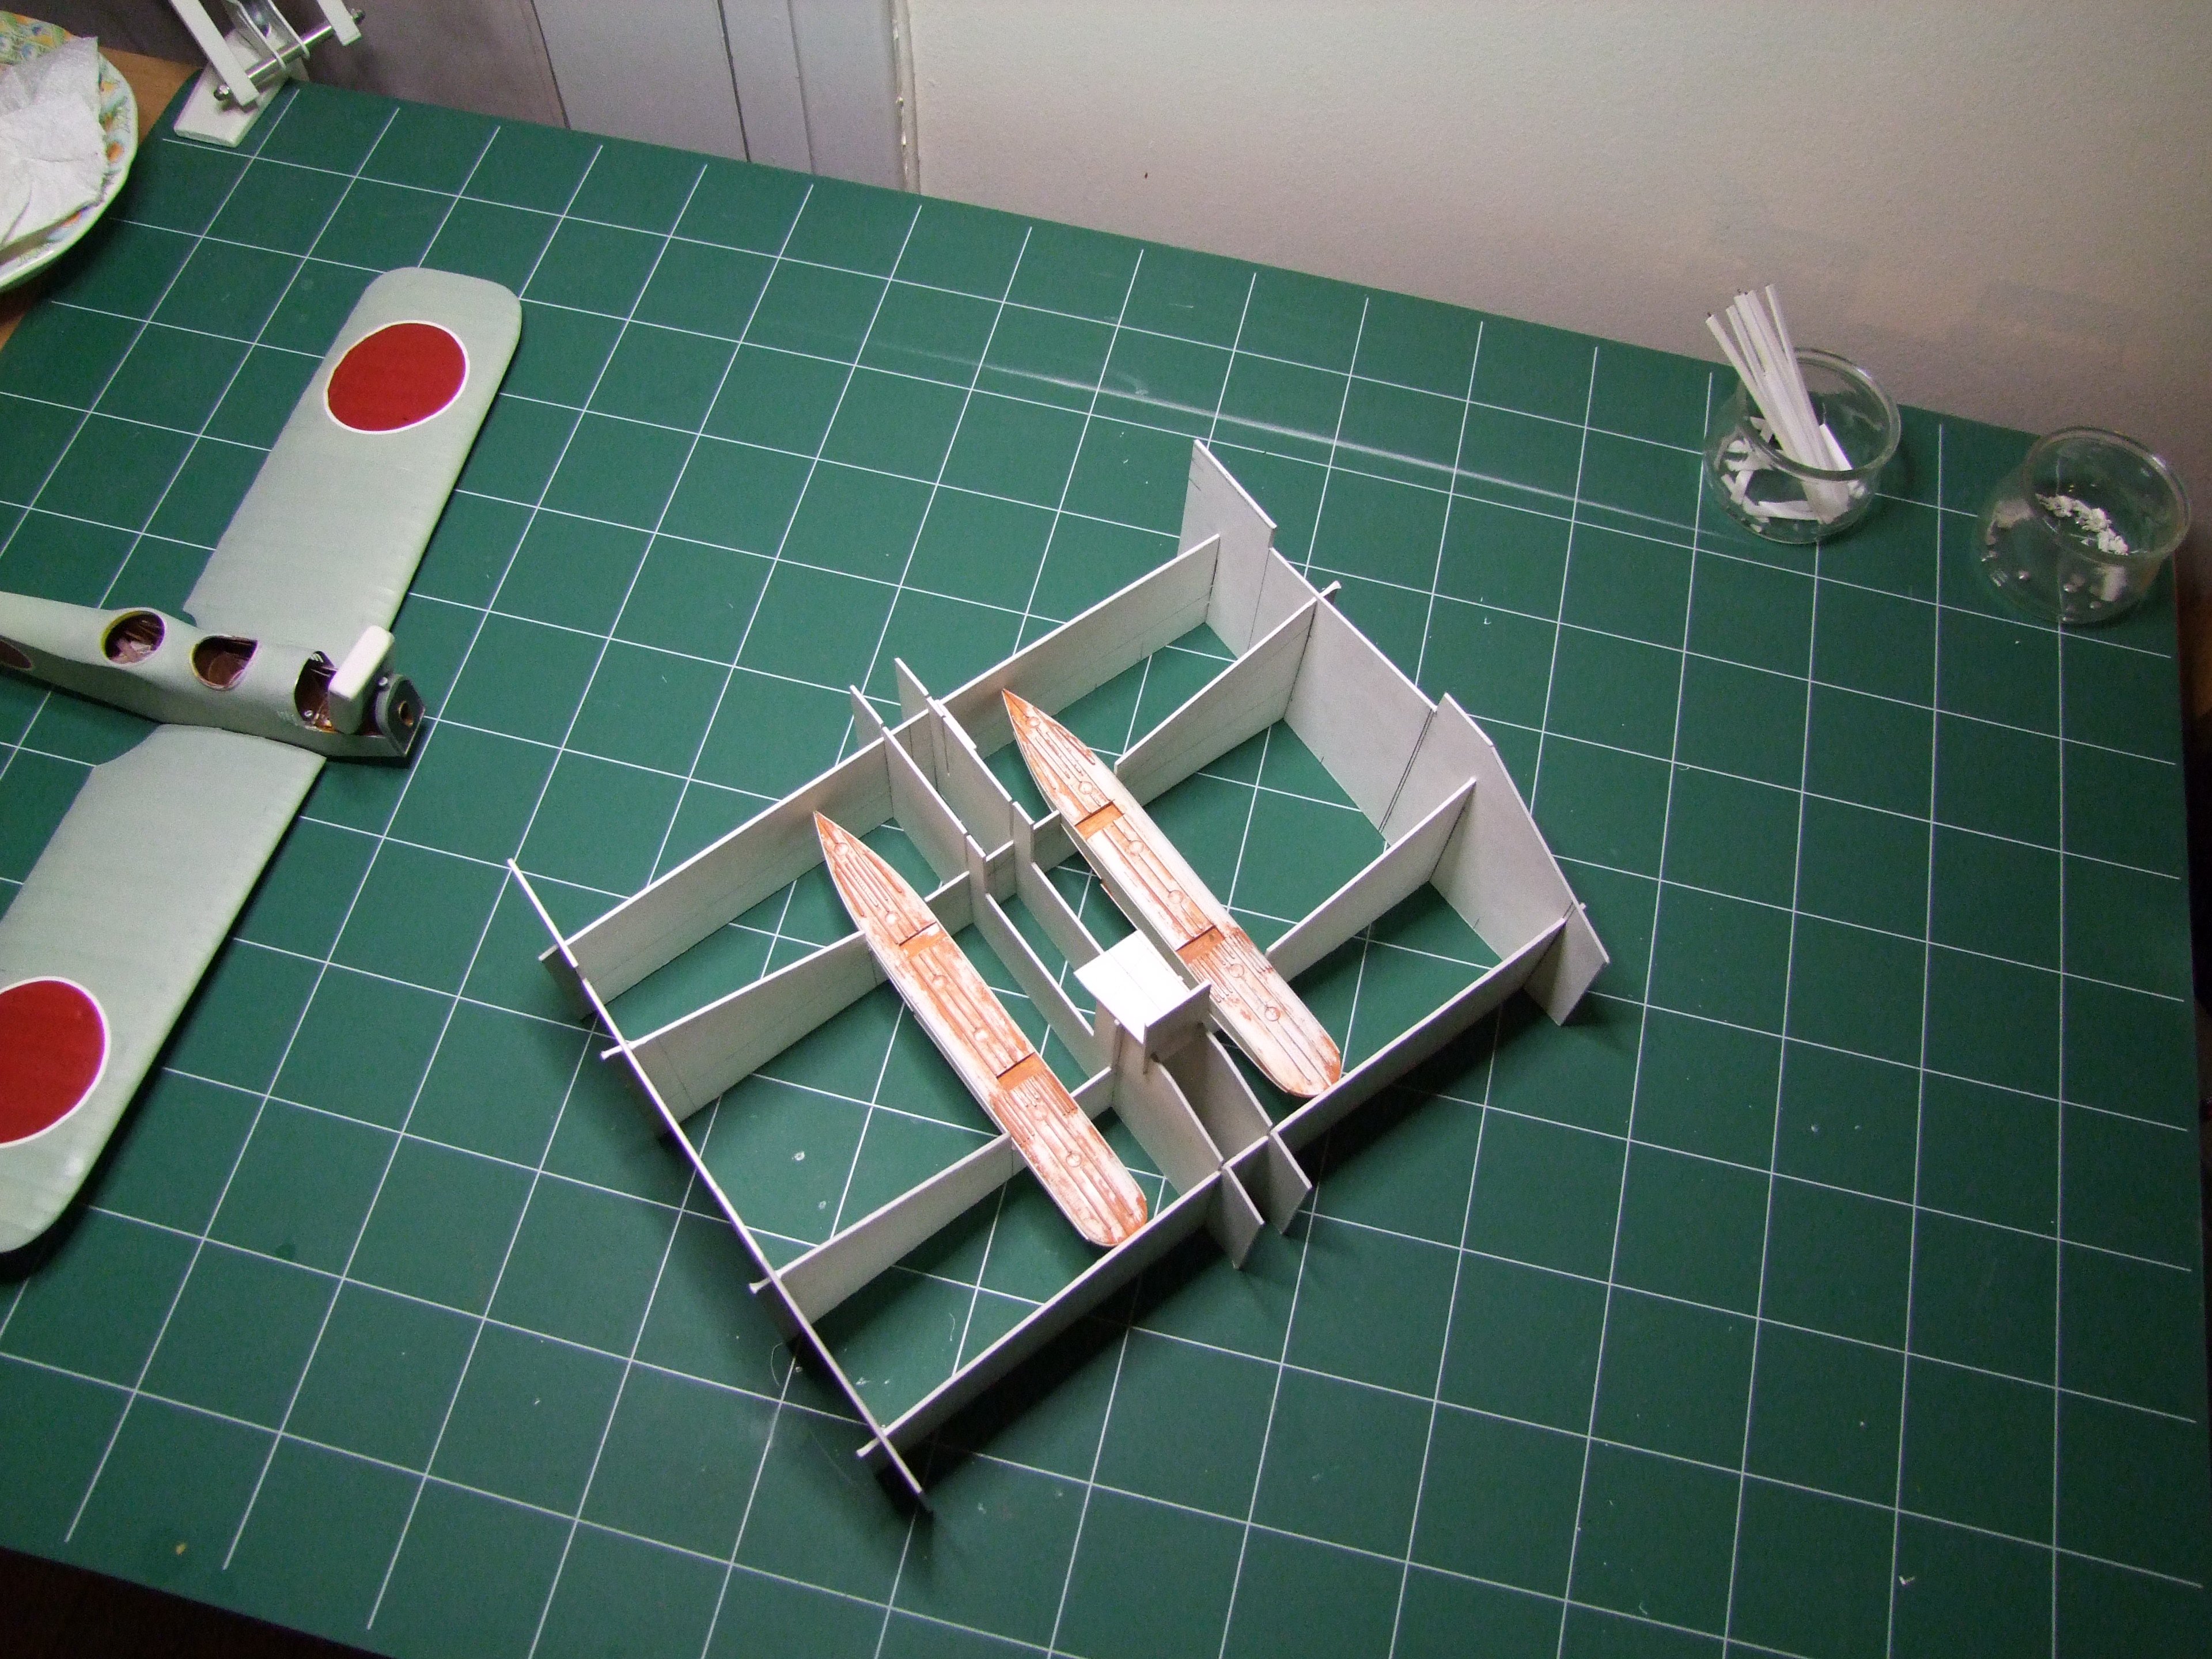
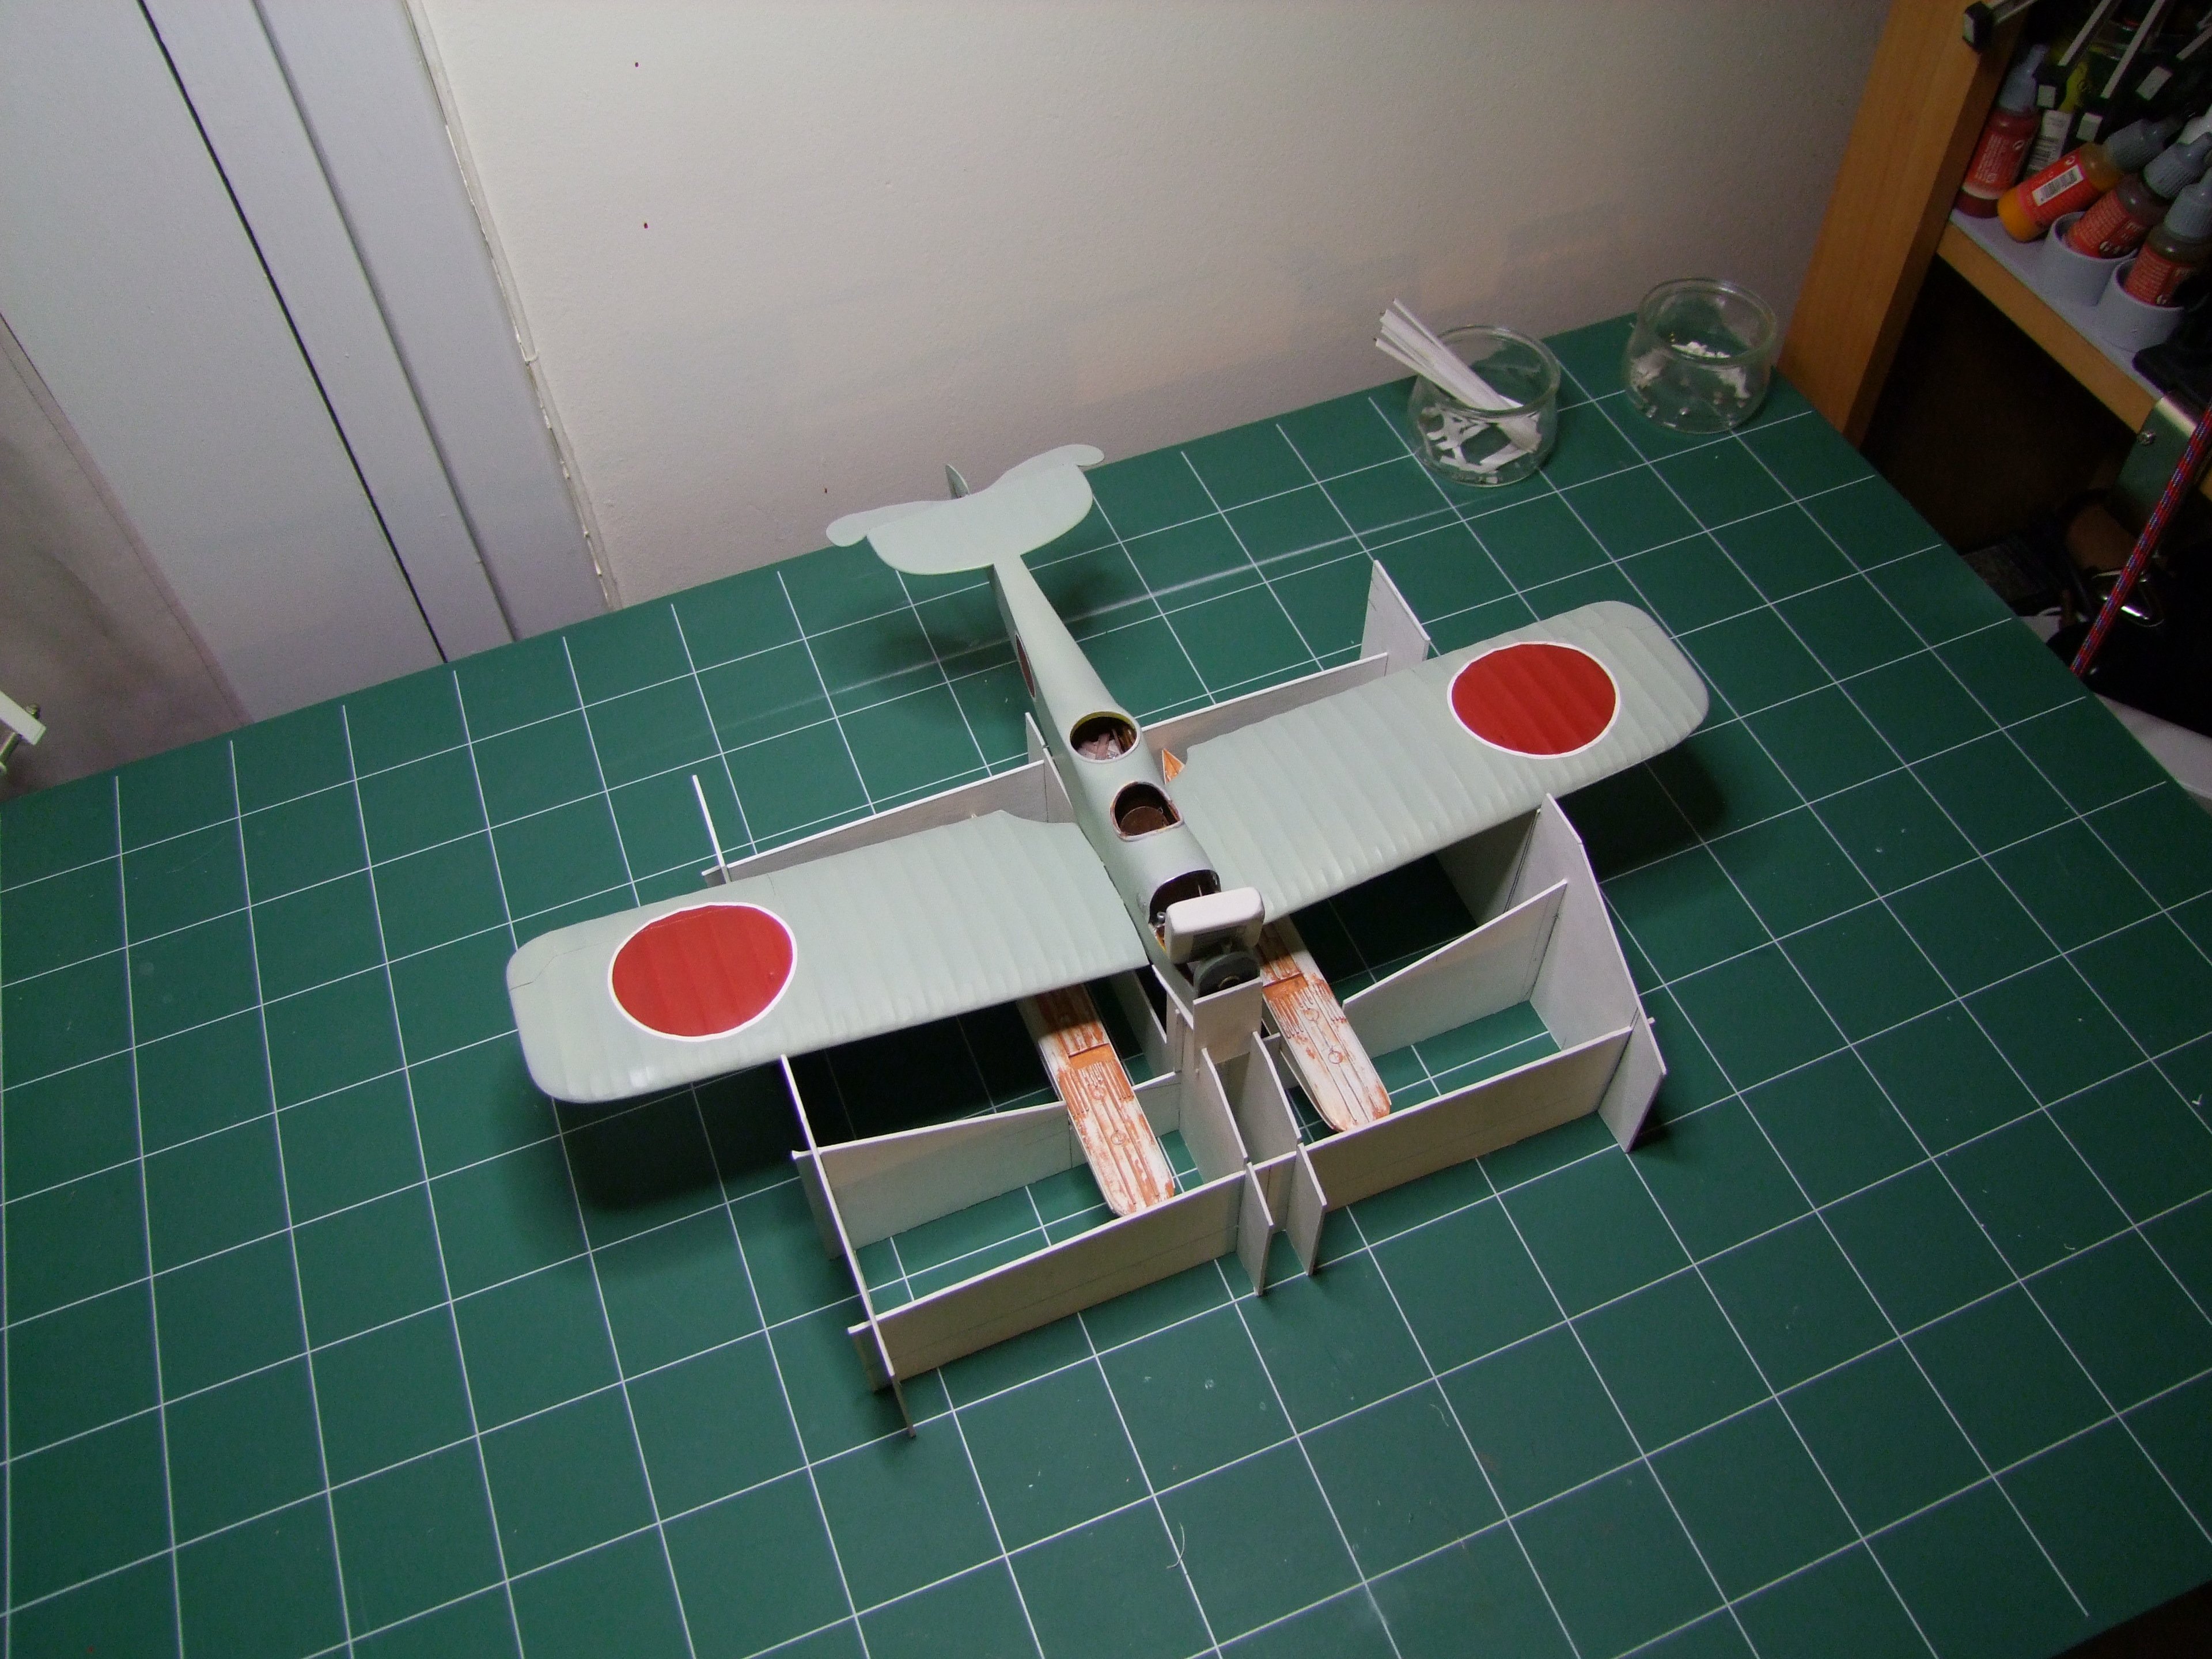
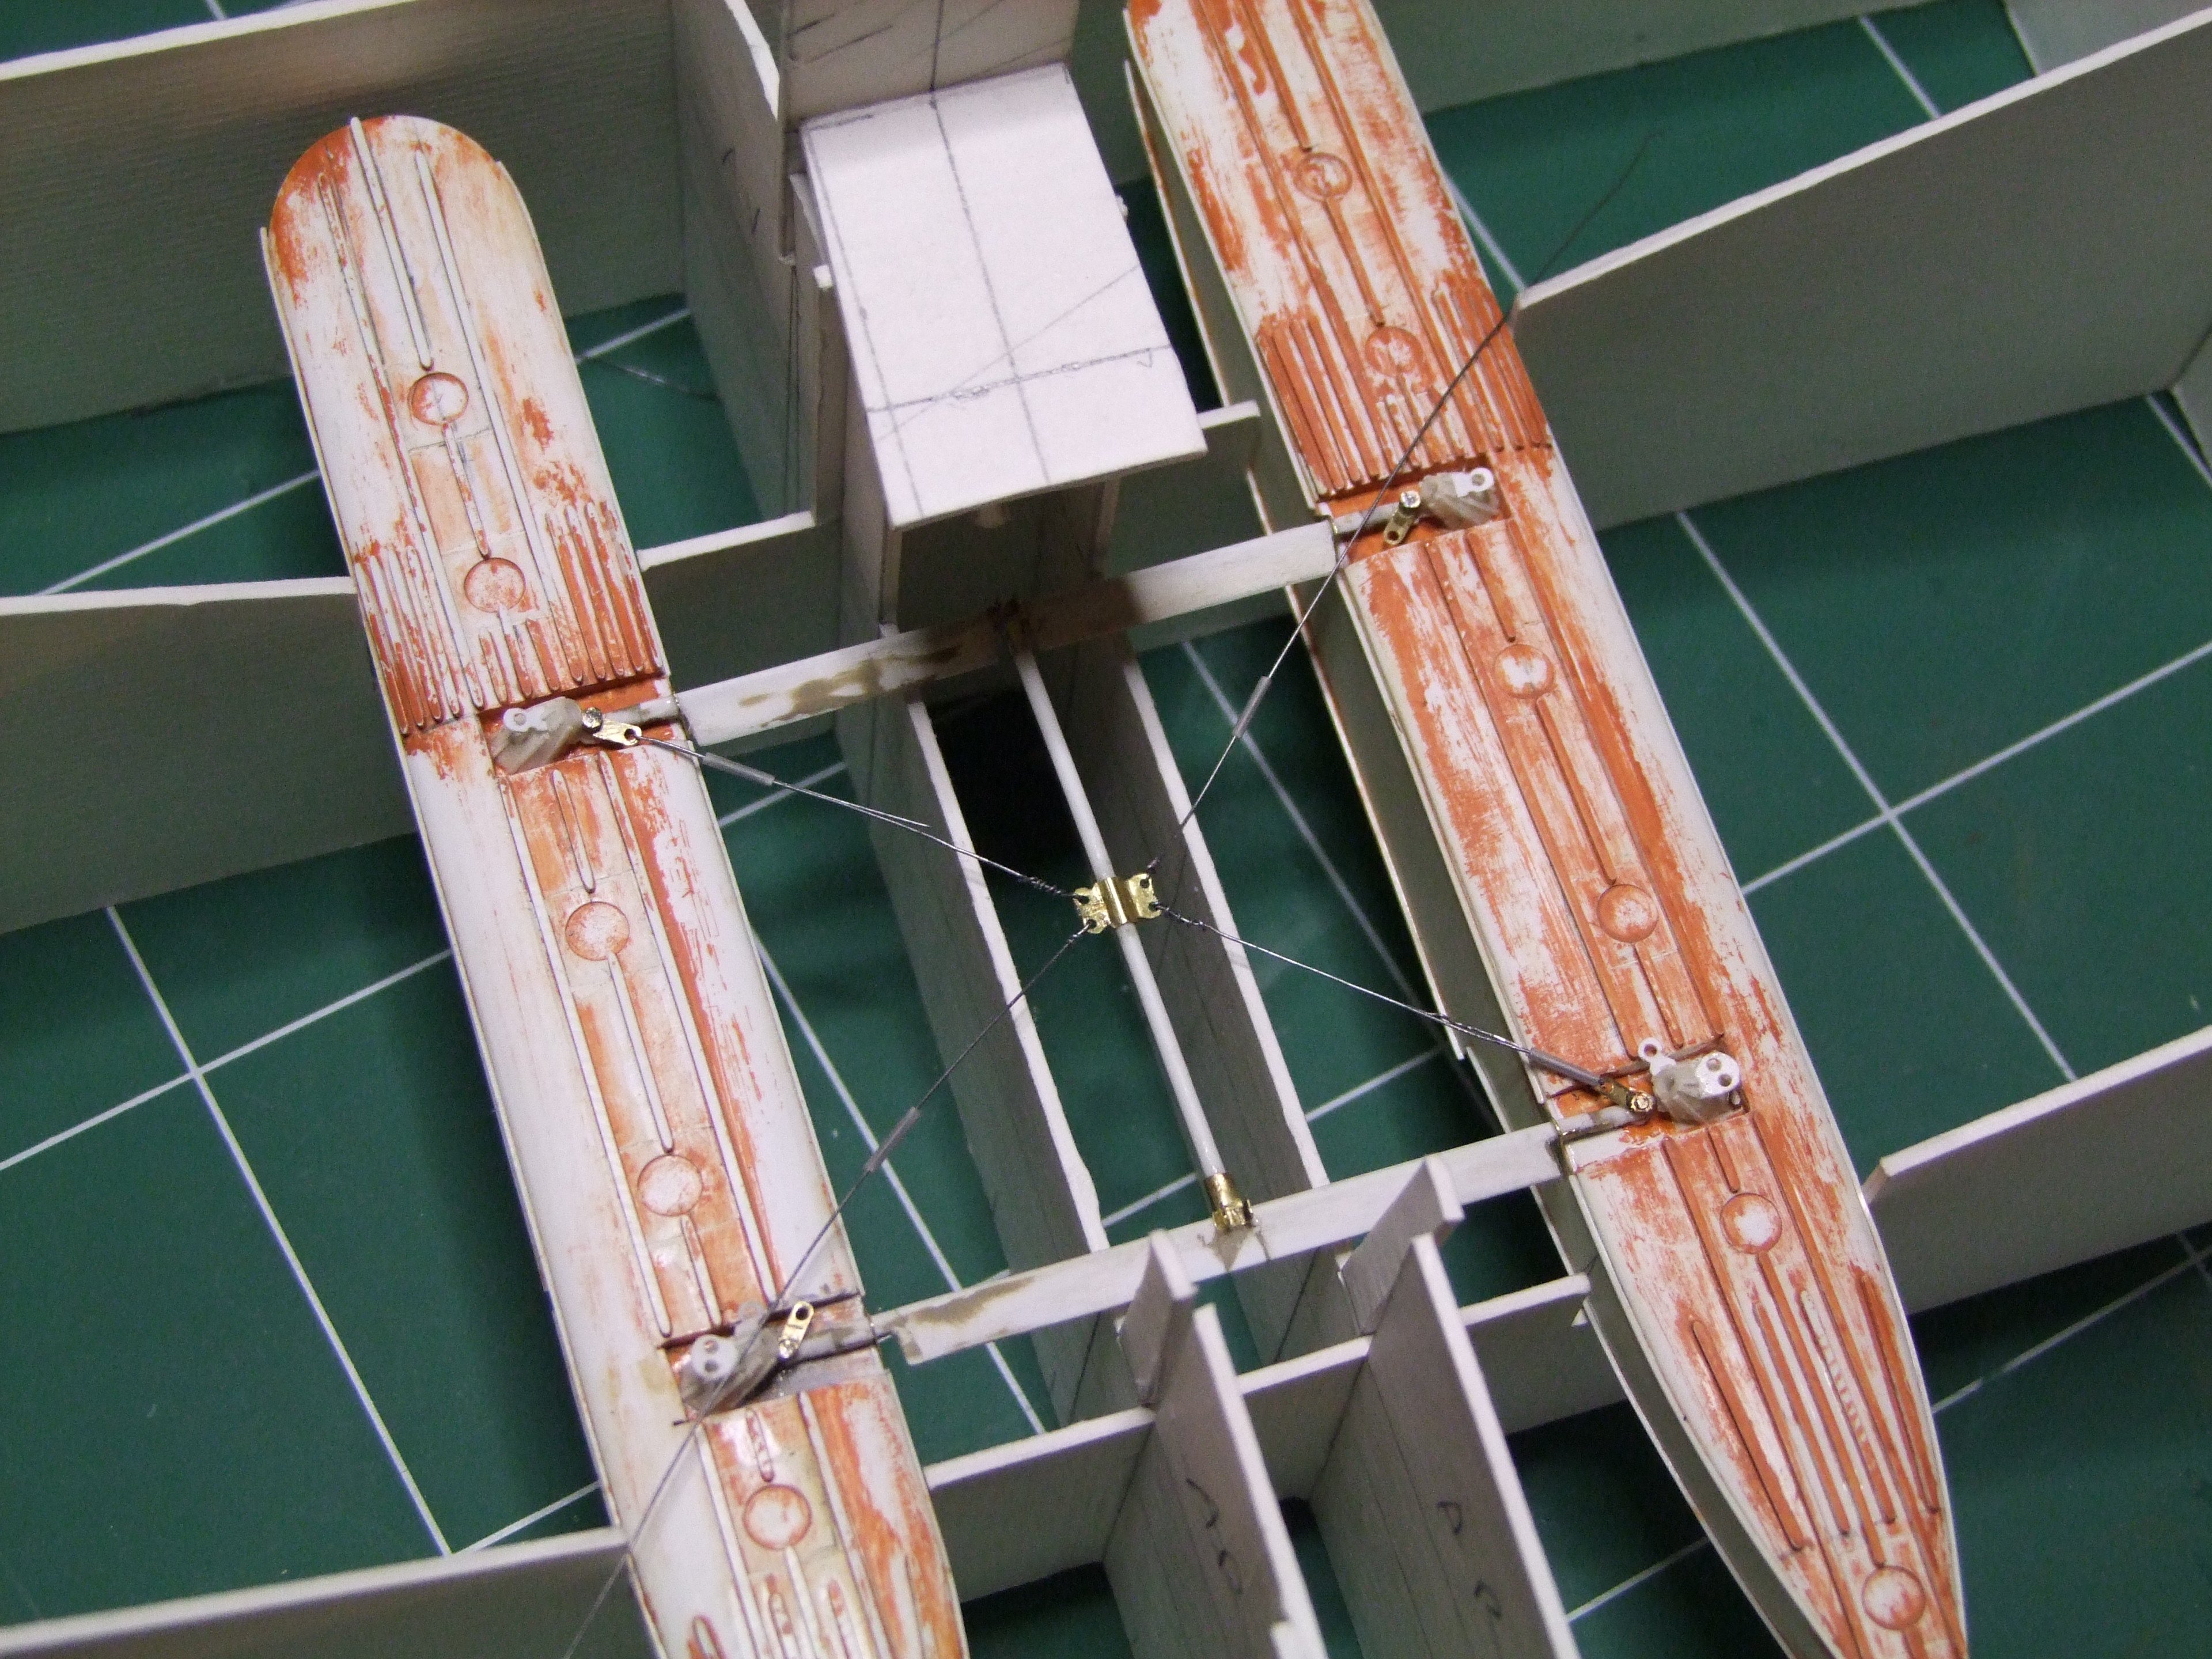
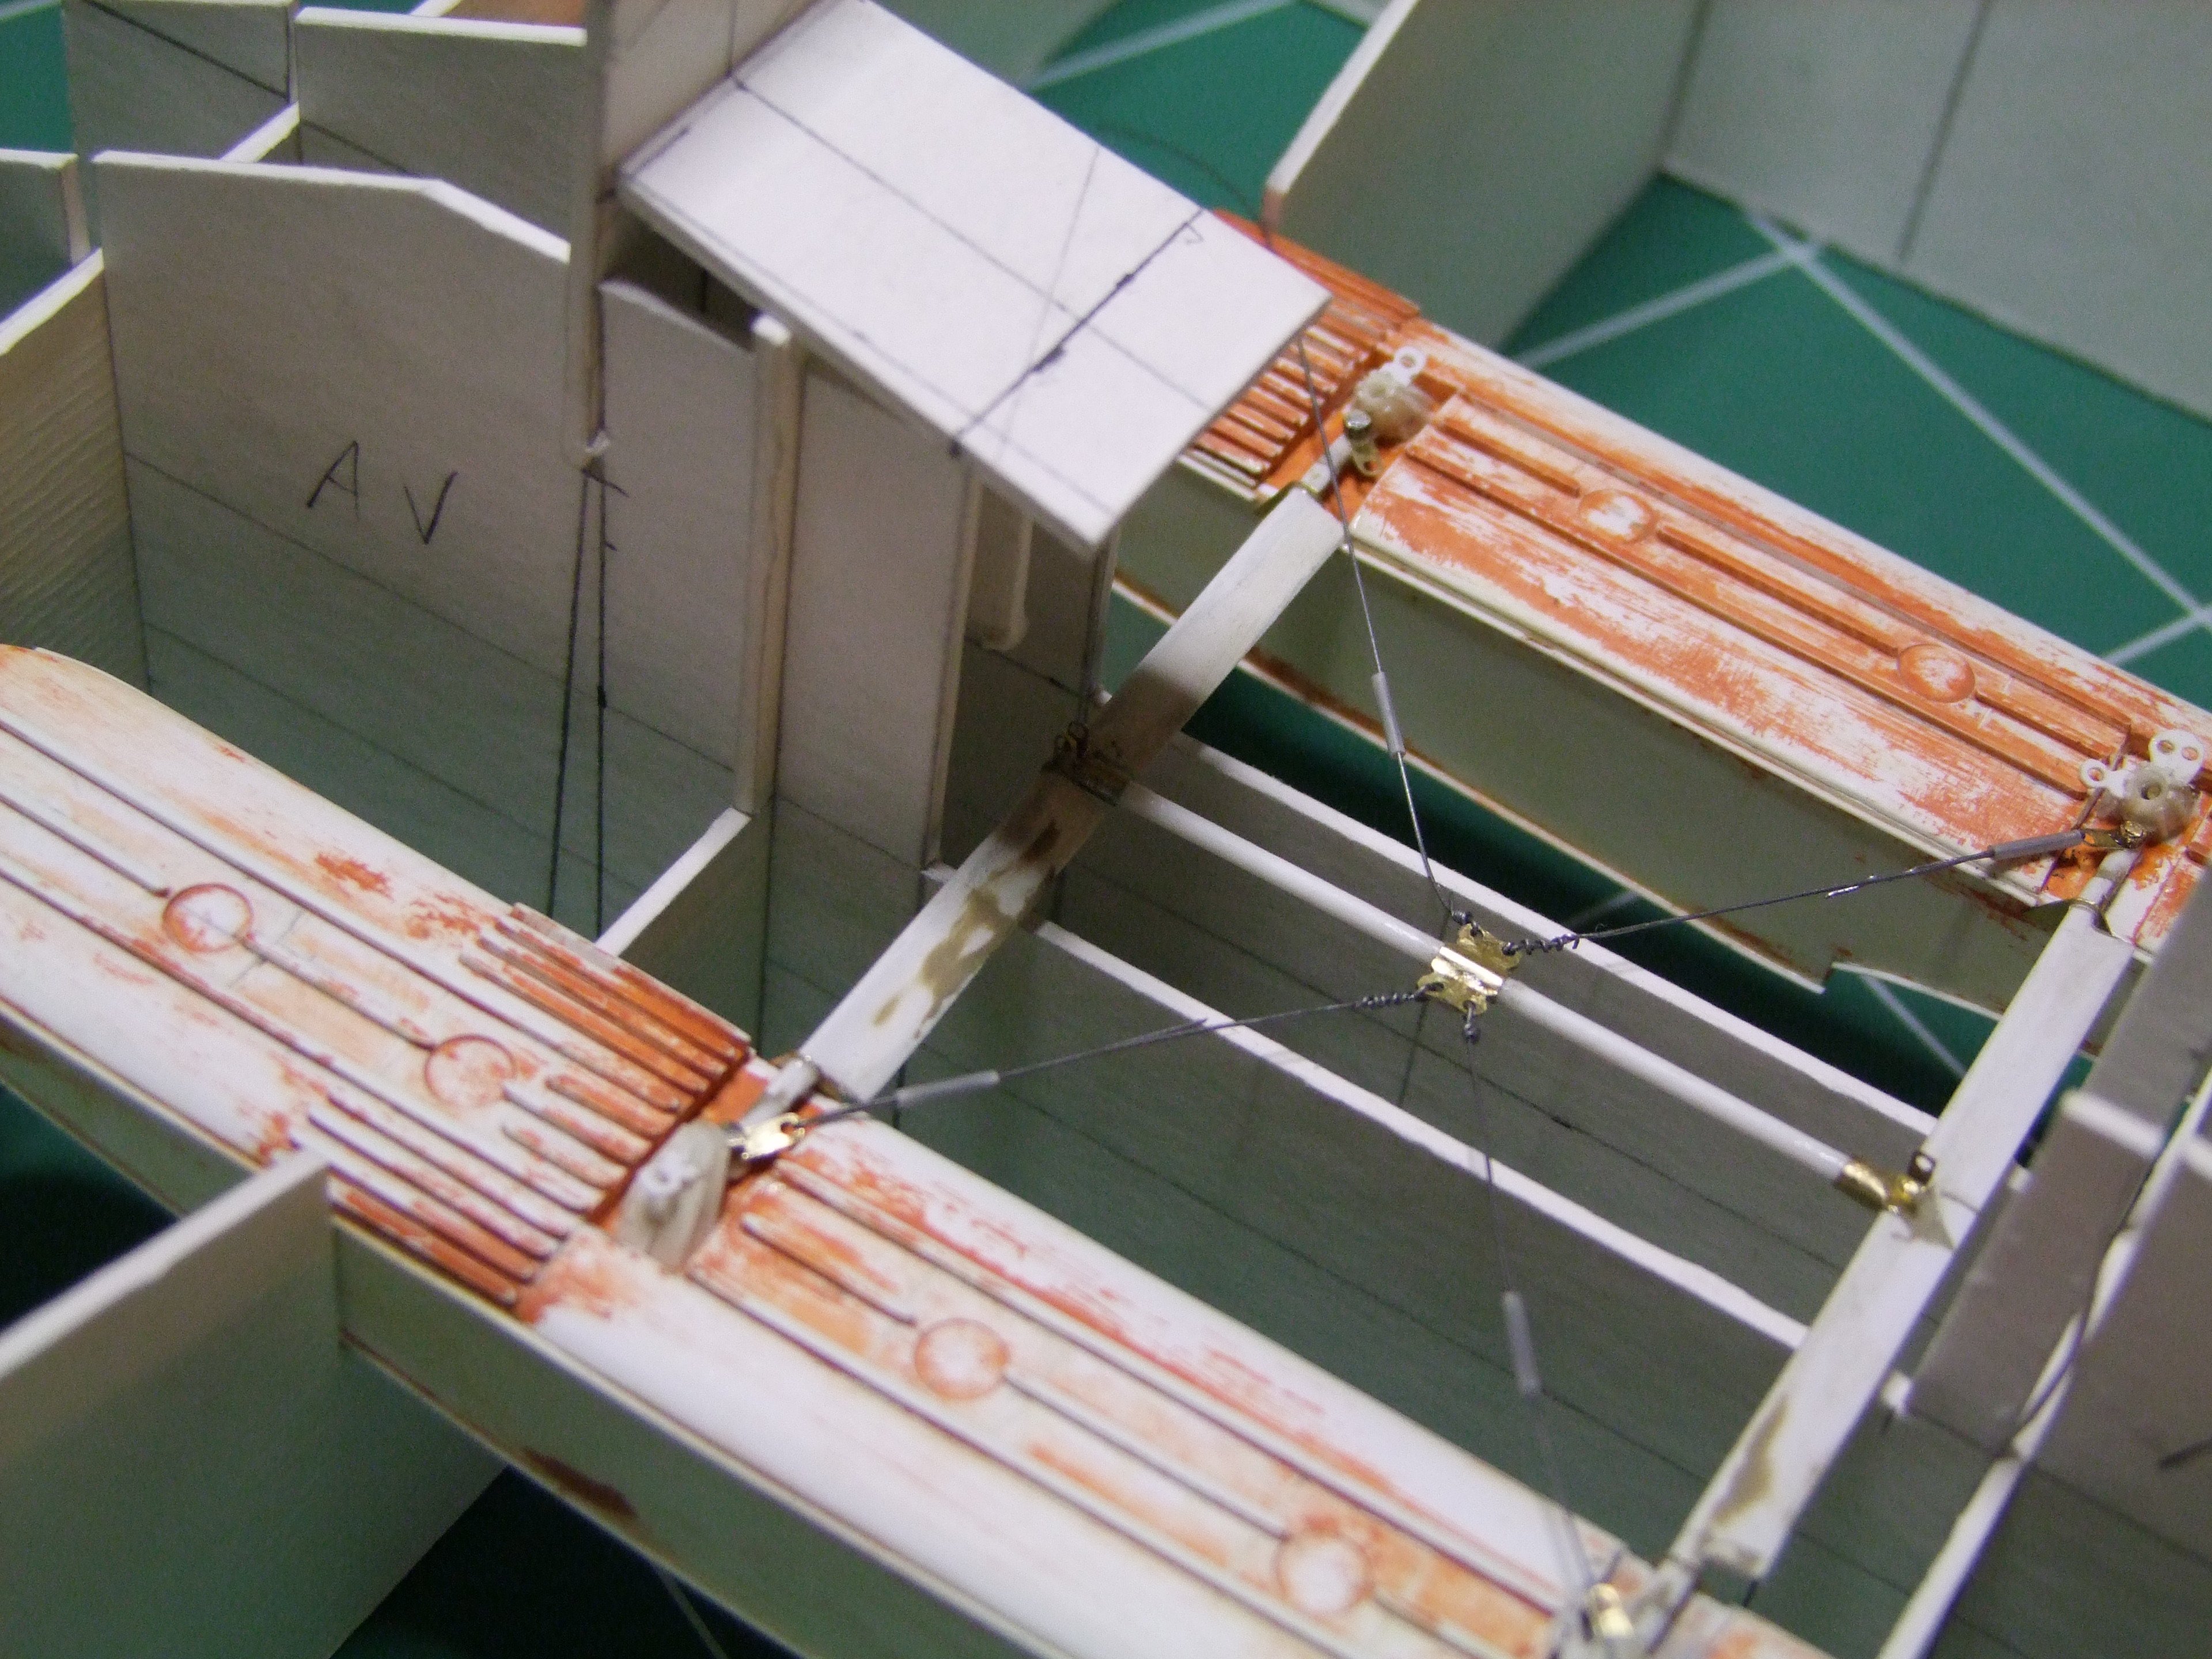
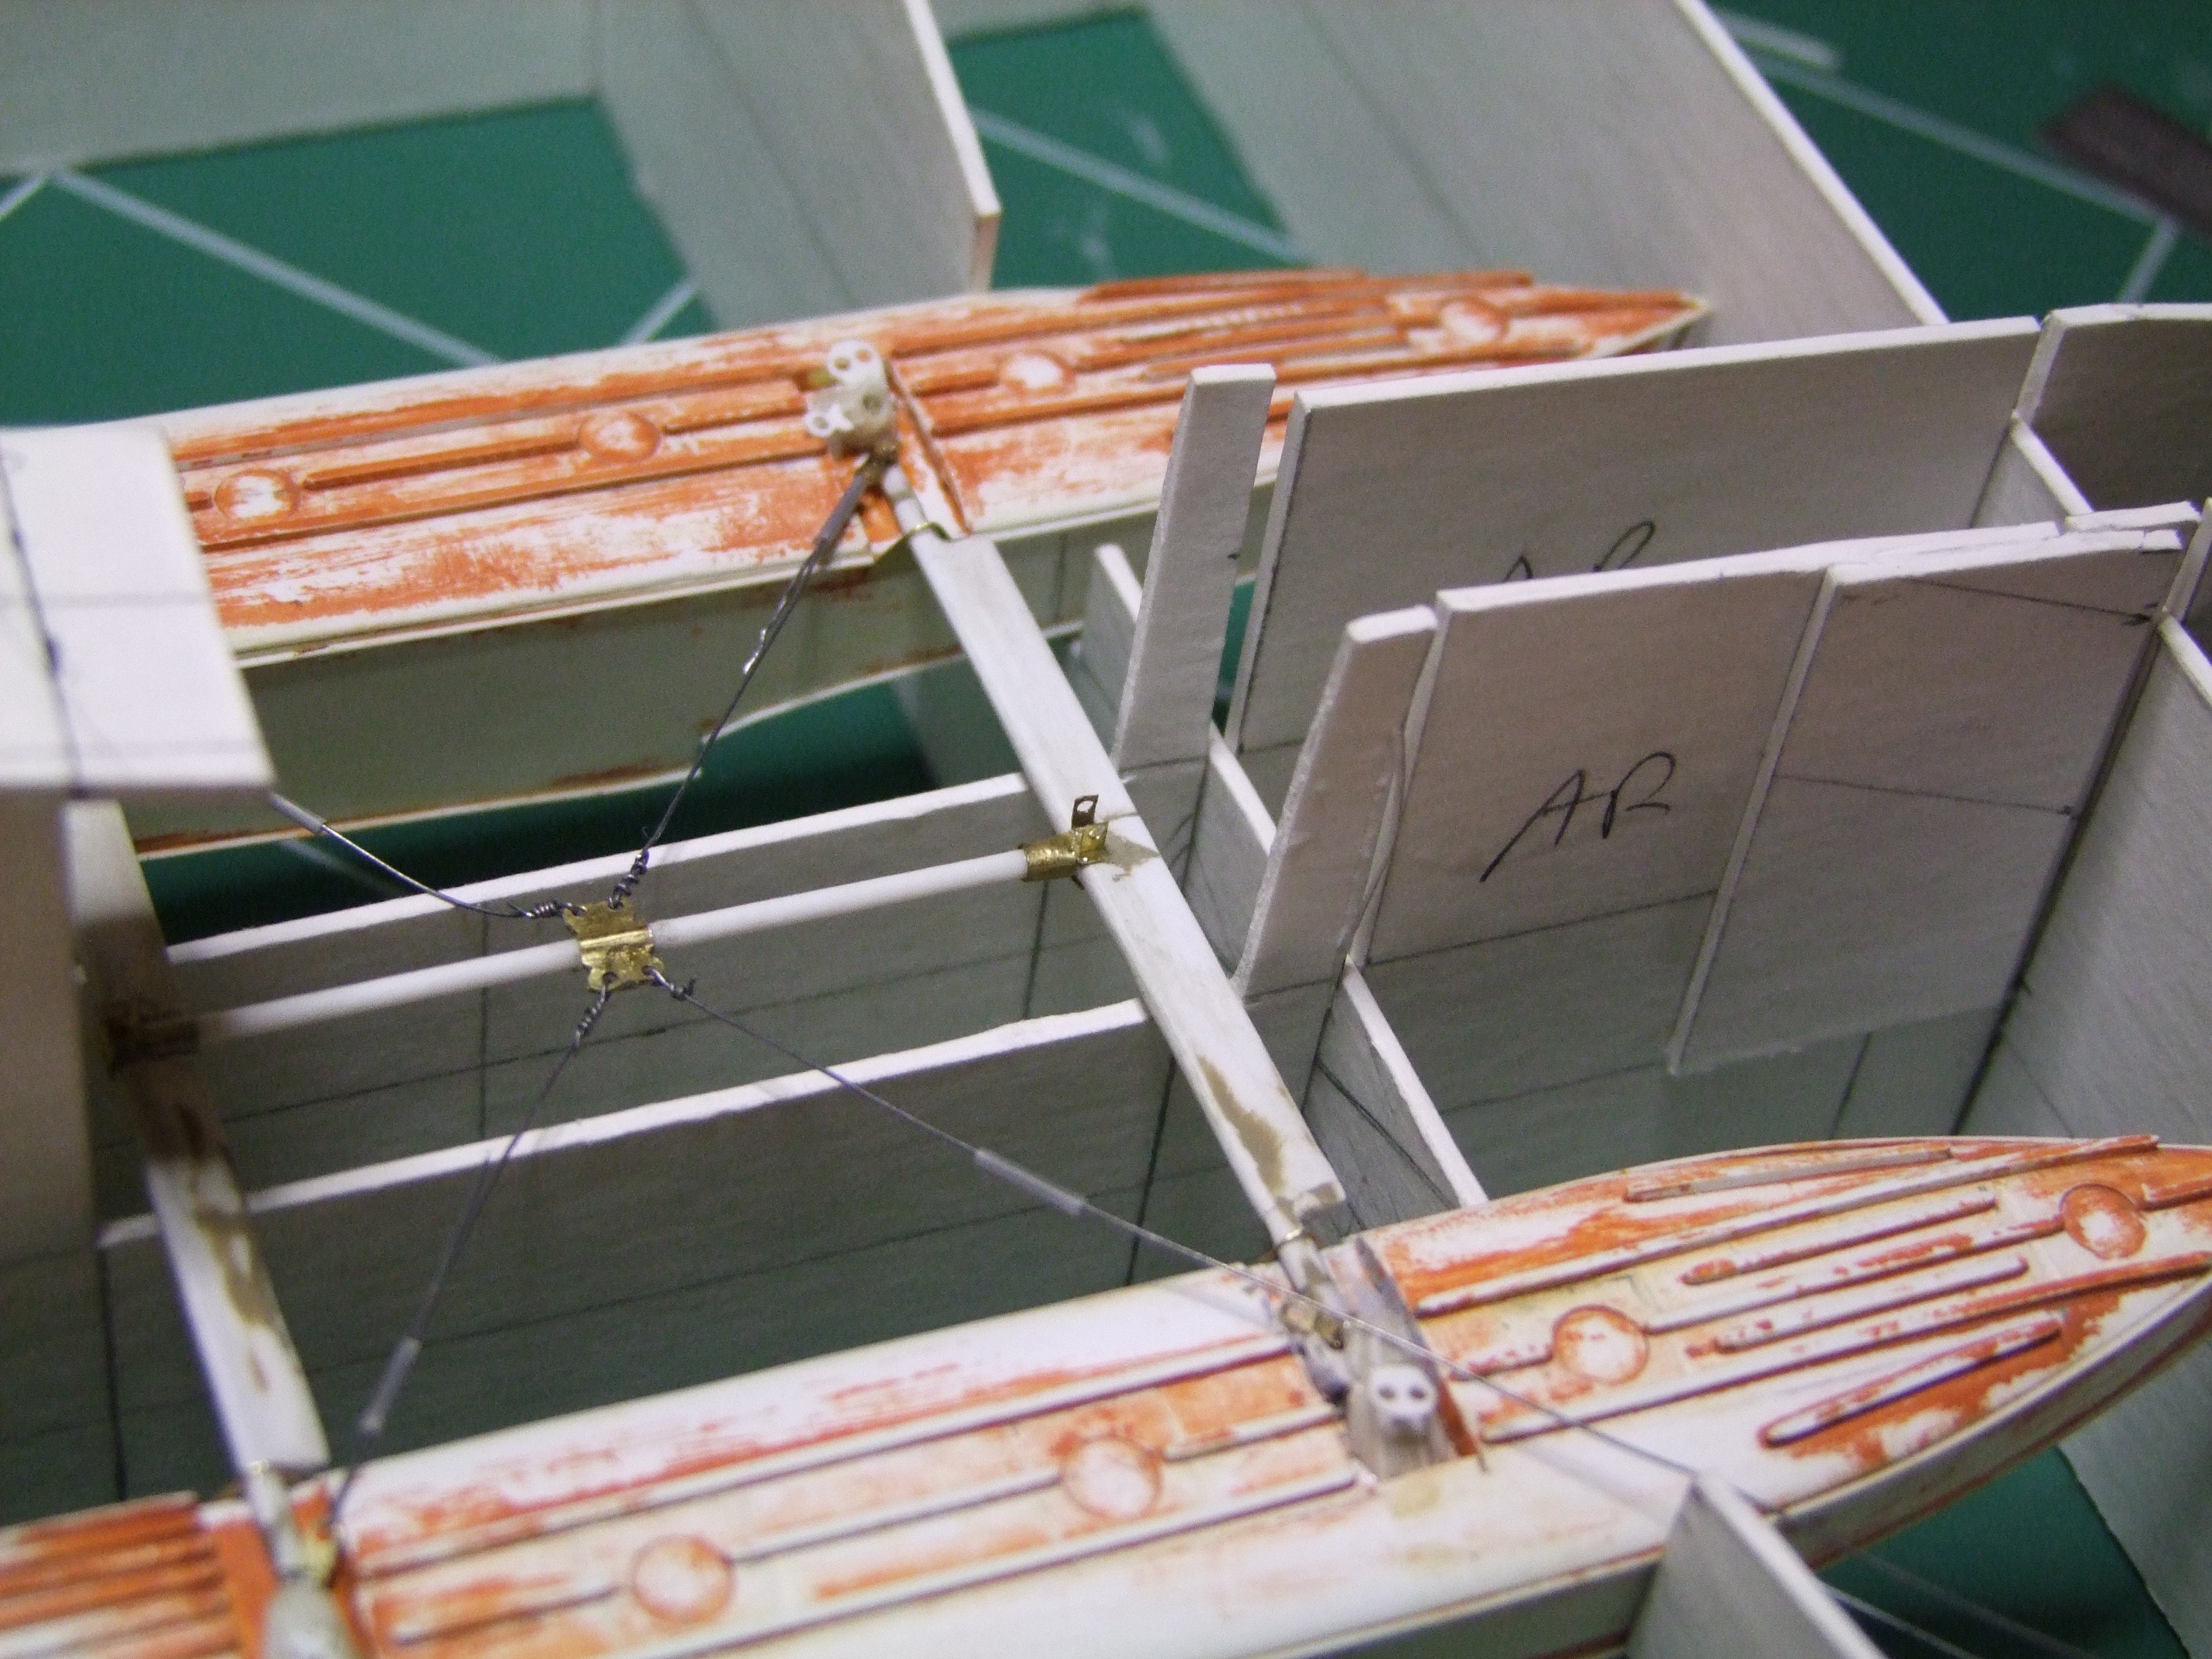
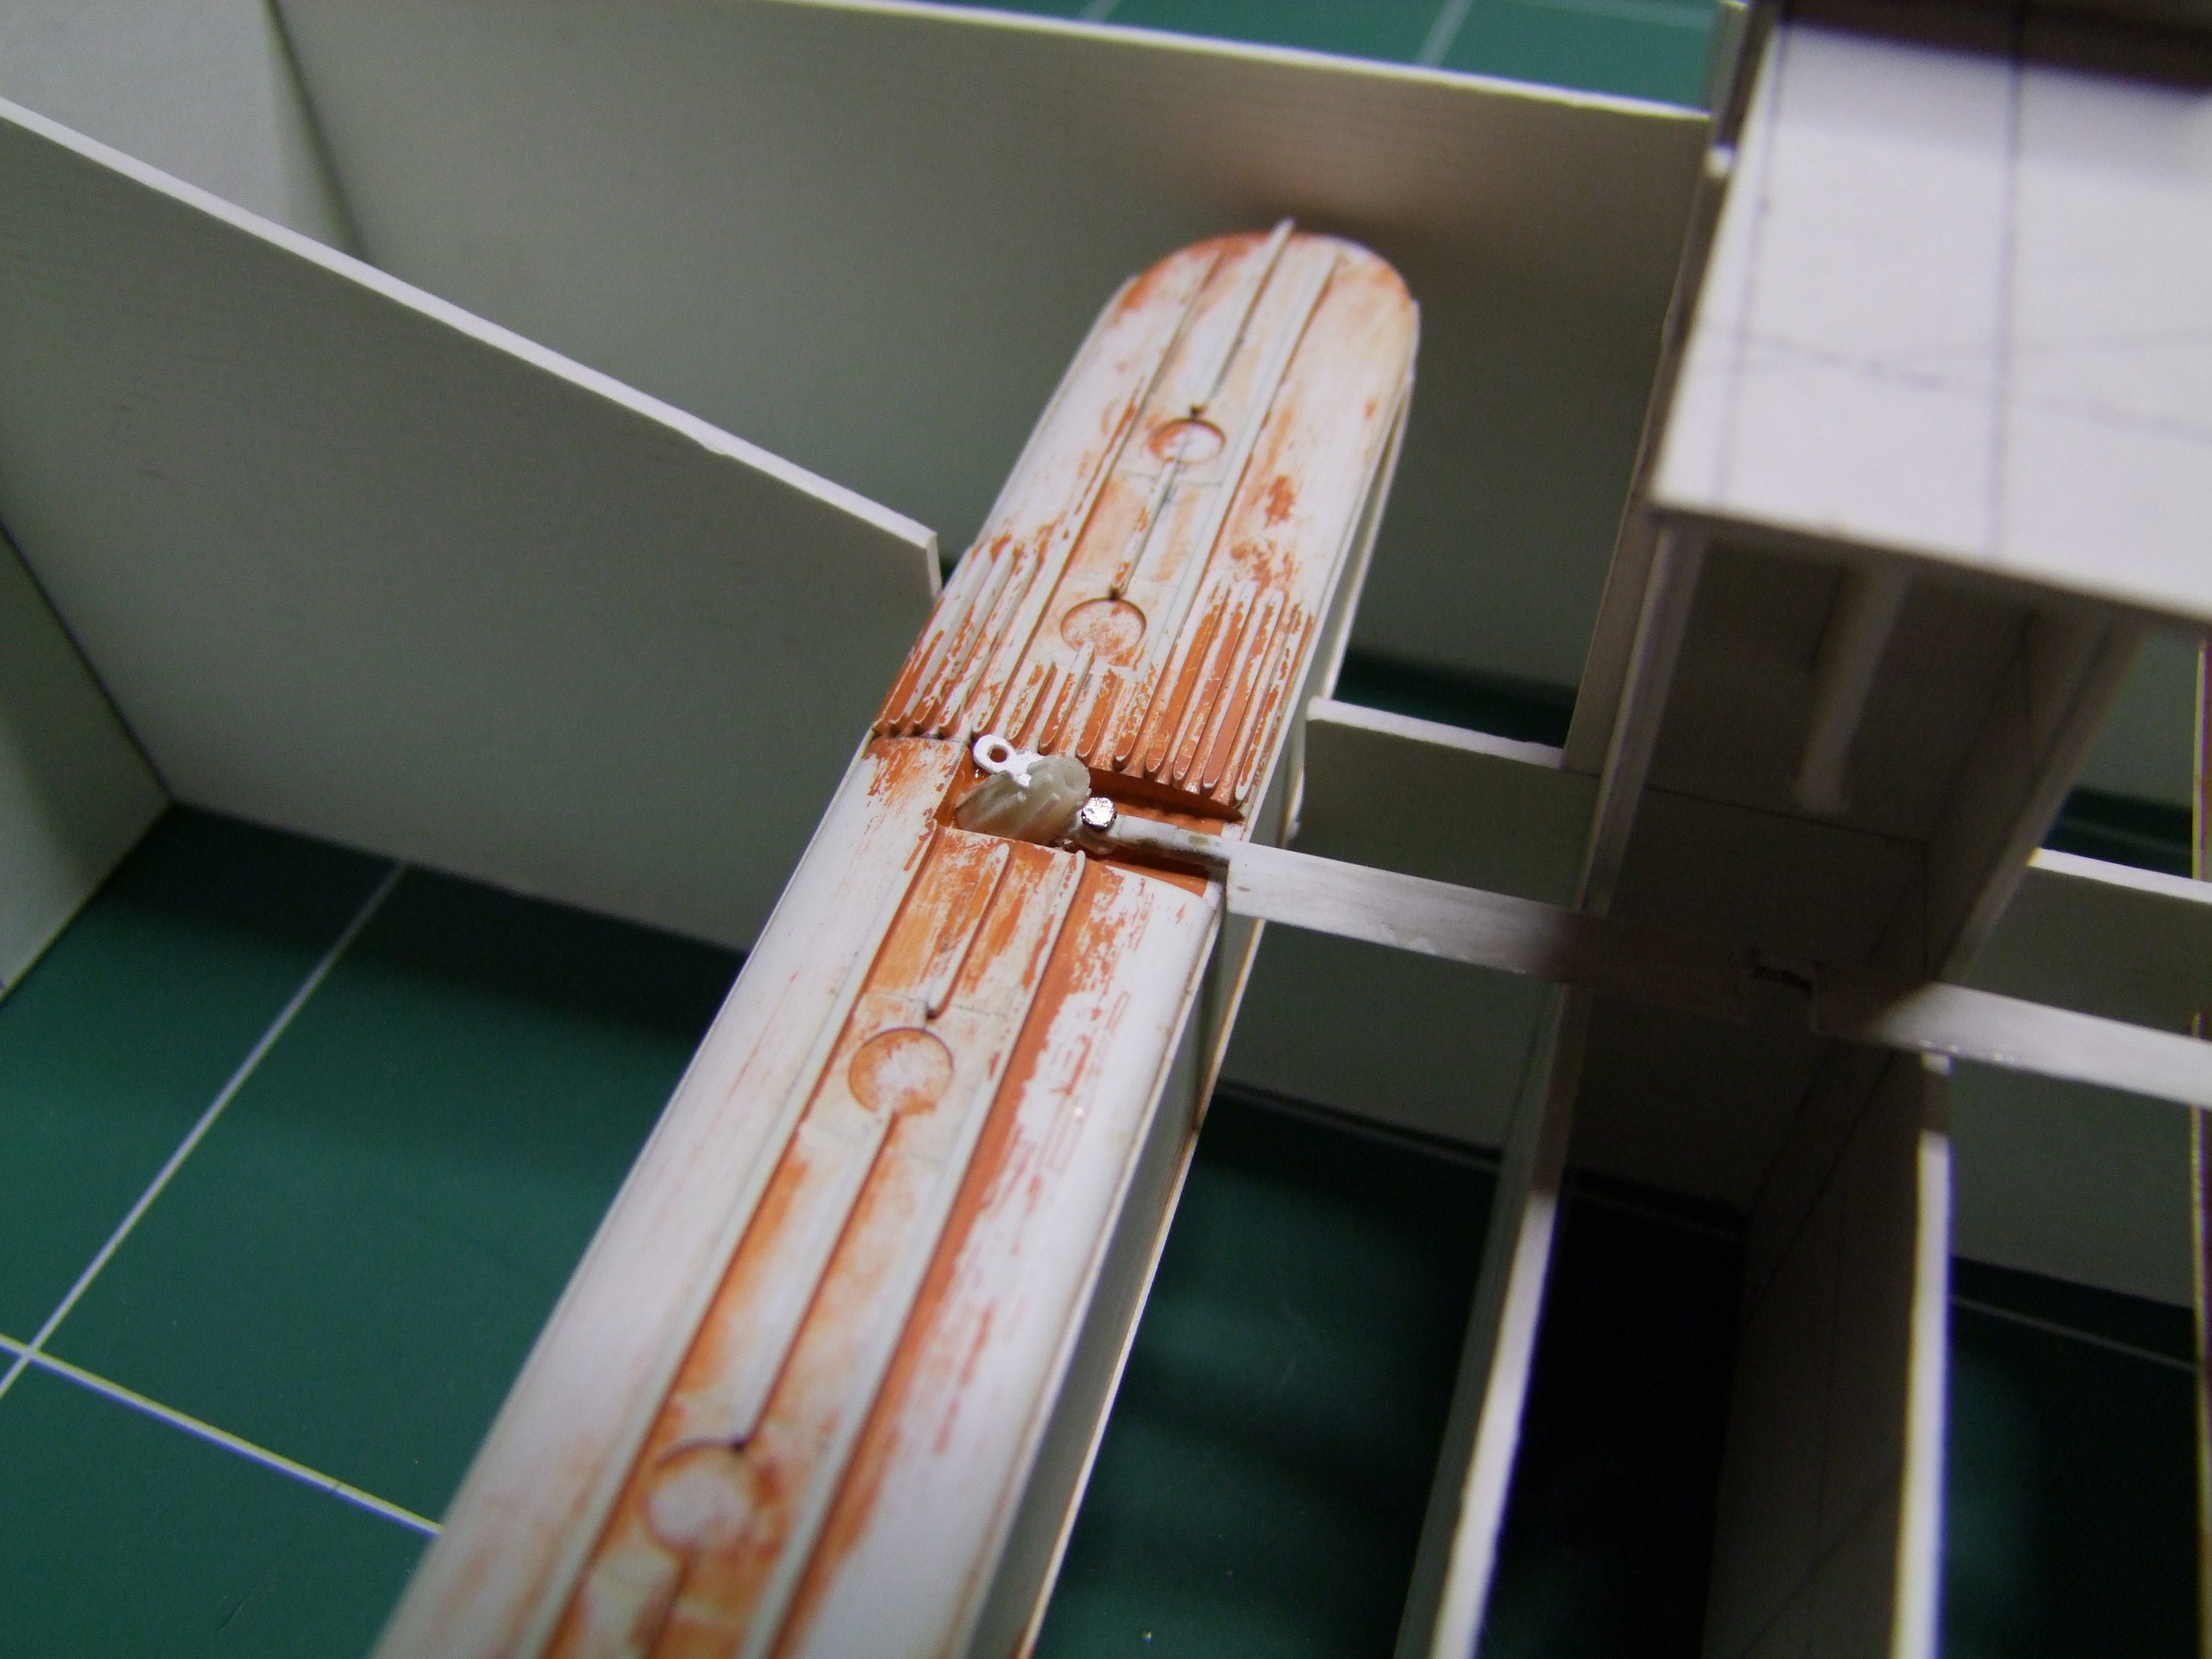
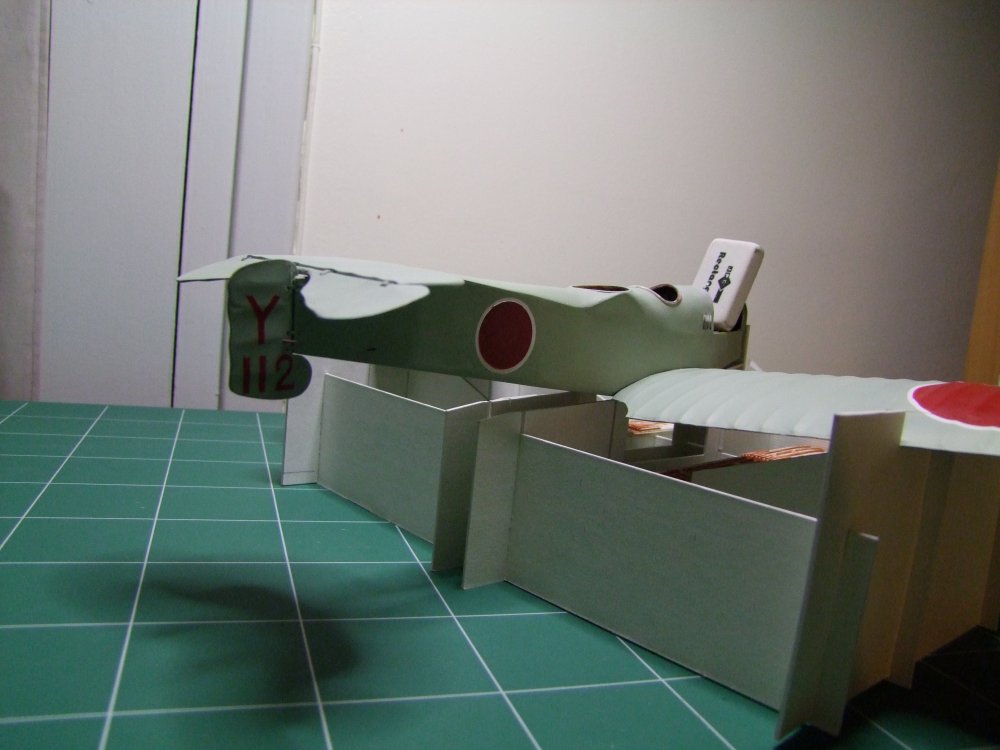
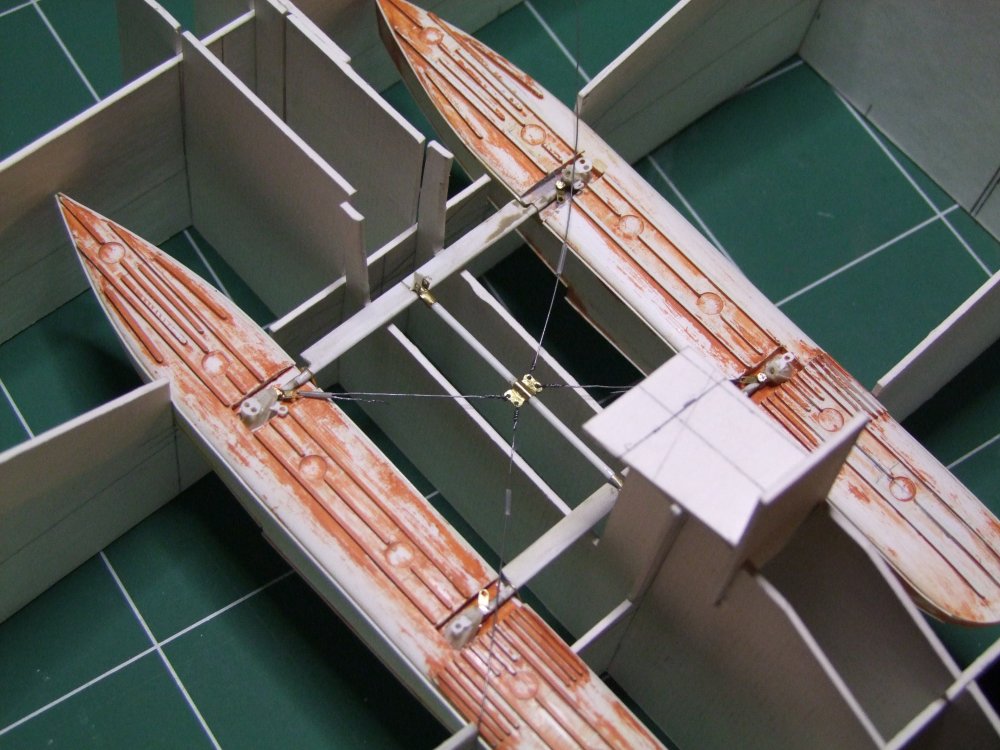
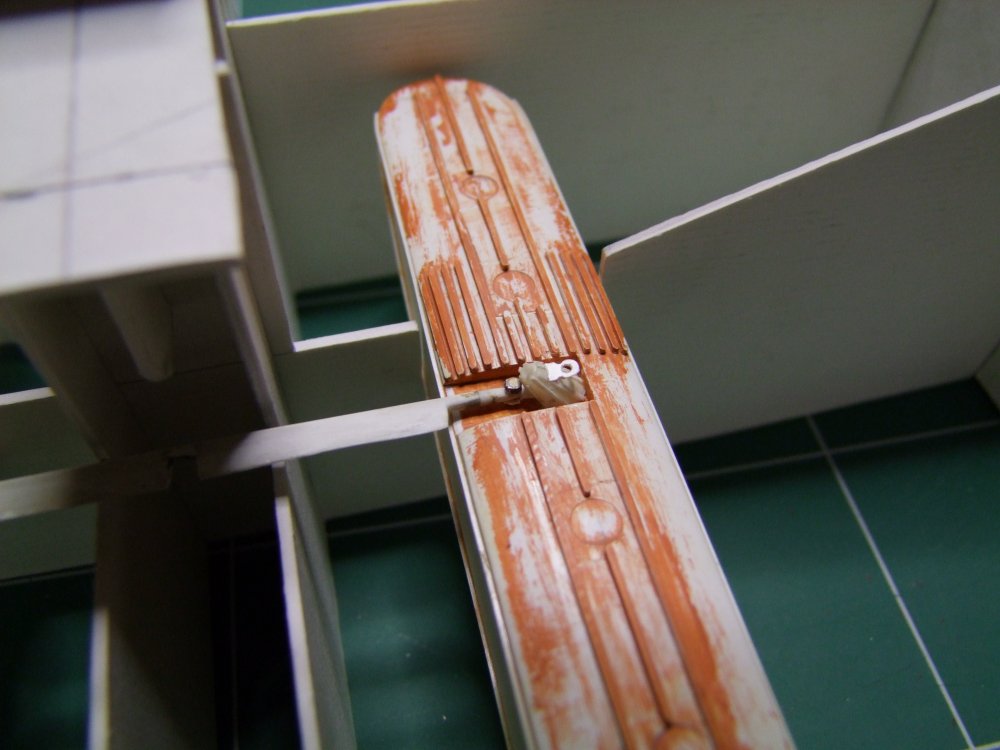
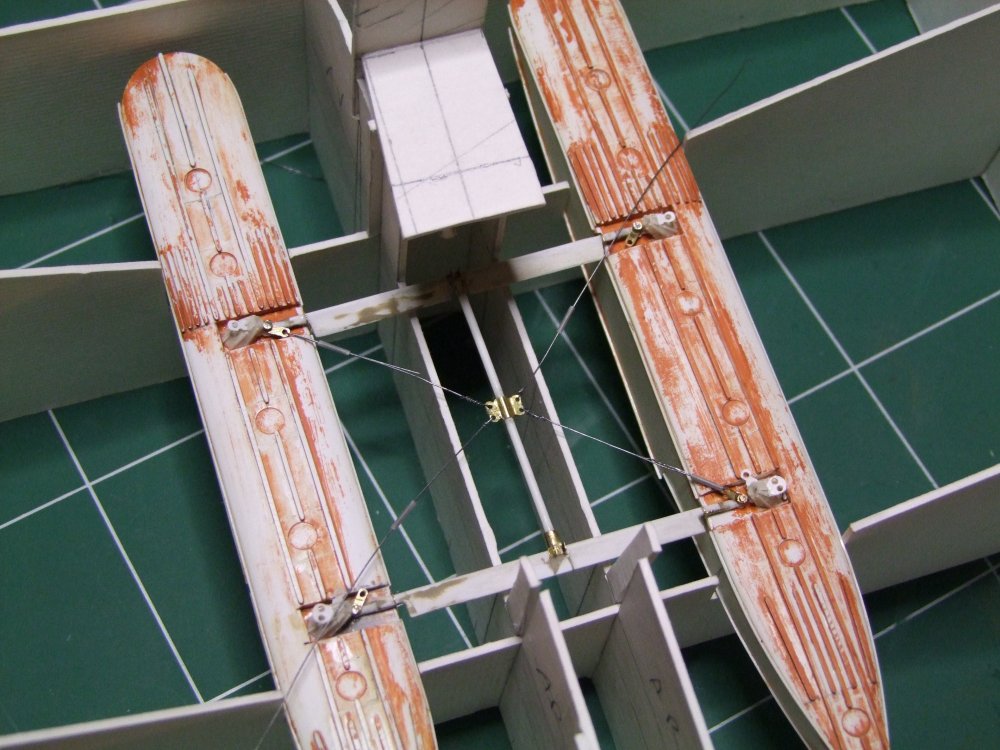
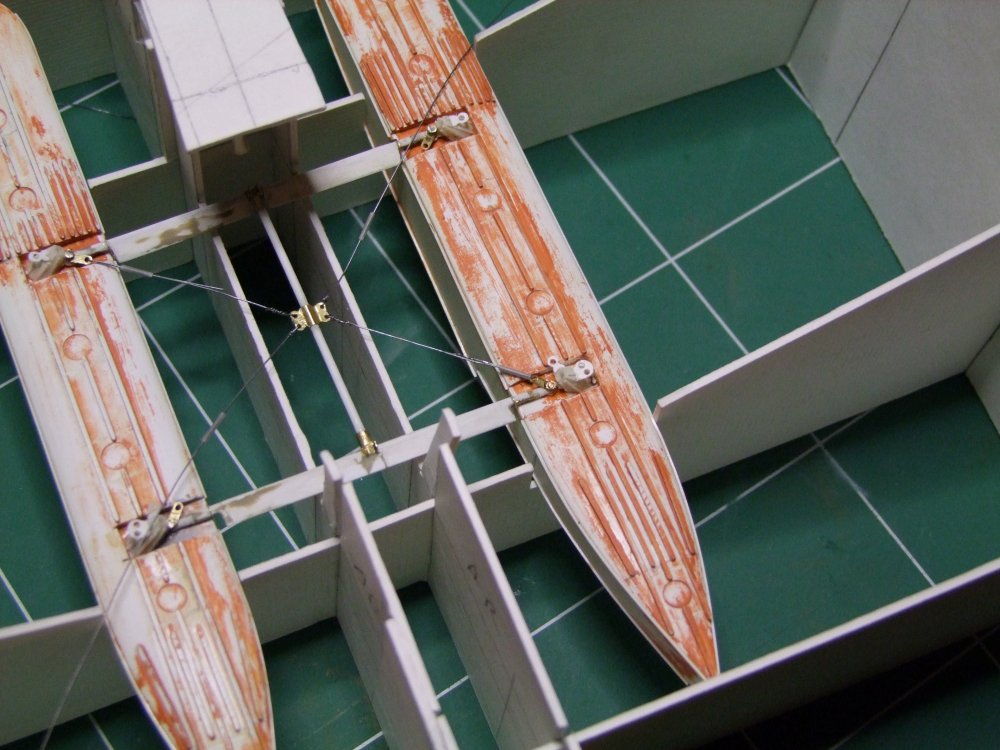
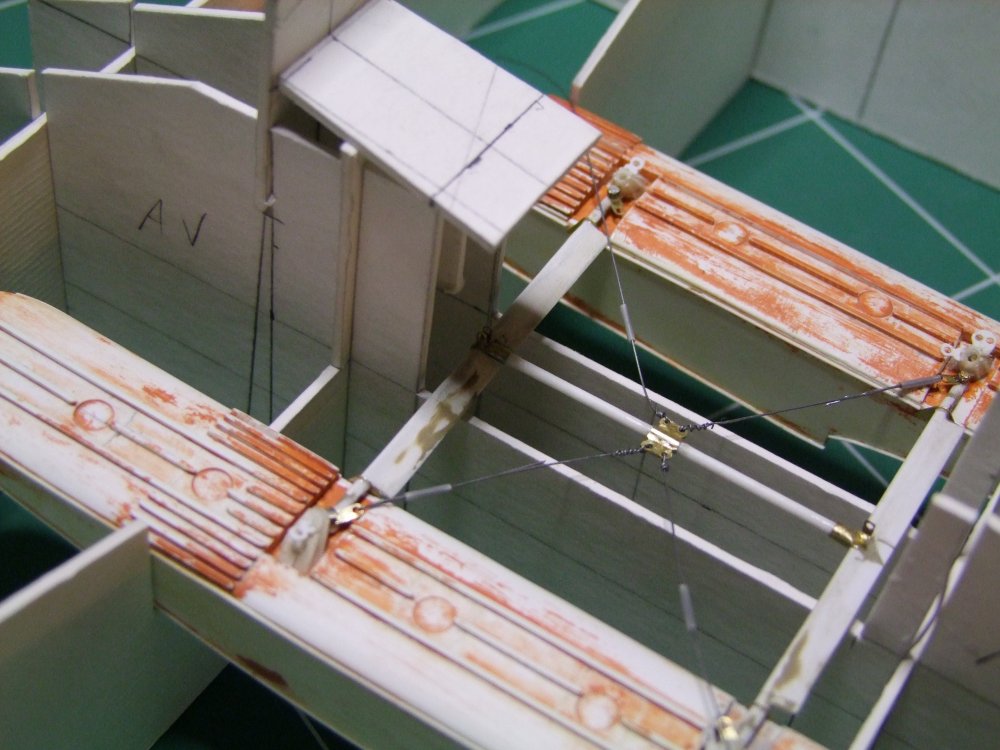
Well, to answer Peter's unanimous demand, I found some pics of the time ...I still have to find the drawings, though... It's totally scratchbuilt. Missing are the pics of the scratchbuilt Hispano and of the 4-bladed prop I carved ;). I hope you like it. Hubert


-
ZM A-1 Skyraider back on tap!
HubertB replied to JohnB's topic in LSM 1/35 and Larger Work In Progress
Well, there was a Spitfire with a beer keg … more interesting IMHO Hubert -
I am with Rob here. Very nice, but we are getting so used to weathered armour, that a little weathering (or « dusting », probably more appropriate in this area of the world) would greatly enhance your very nice build. Hubert
-
Gotta say the main plus about the Matchbox Lysander is that it’s 1/32 … But then that’s about all Hubert
-
Testors reboxed the old 1/48 Hawk Hubert