GazzaS
-
Posts
6,396 -
Joined
-
Last visited
Content Type
Profiles
Forums
Events
Gallery
Everything posted by GazzaS
-

Gottfreid Weiroster Bf 109G6 R6 Revell 1/32
GazzaS replied to GazzaS's topic in LSM 1/35 and Larger Work In Progress
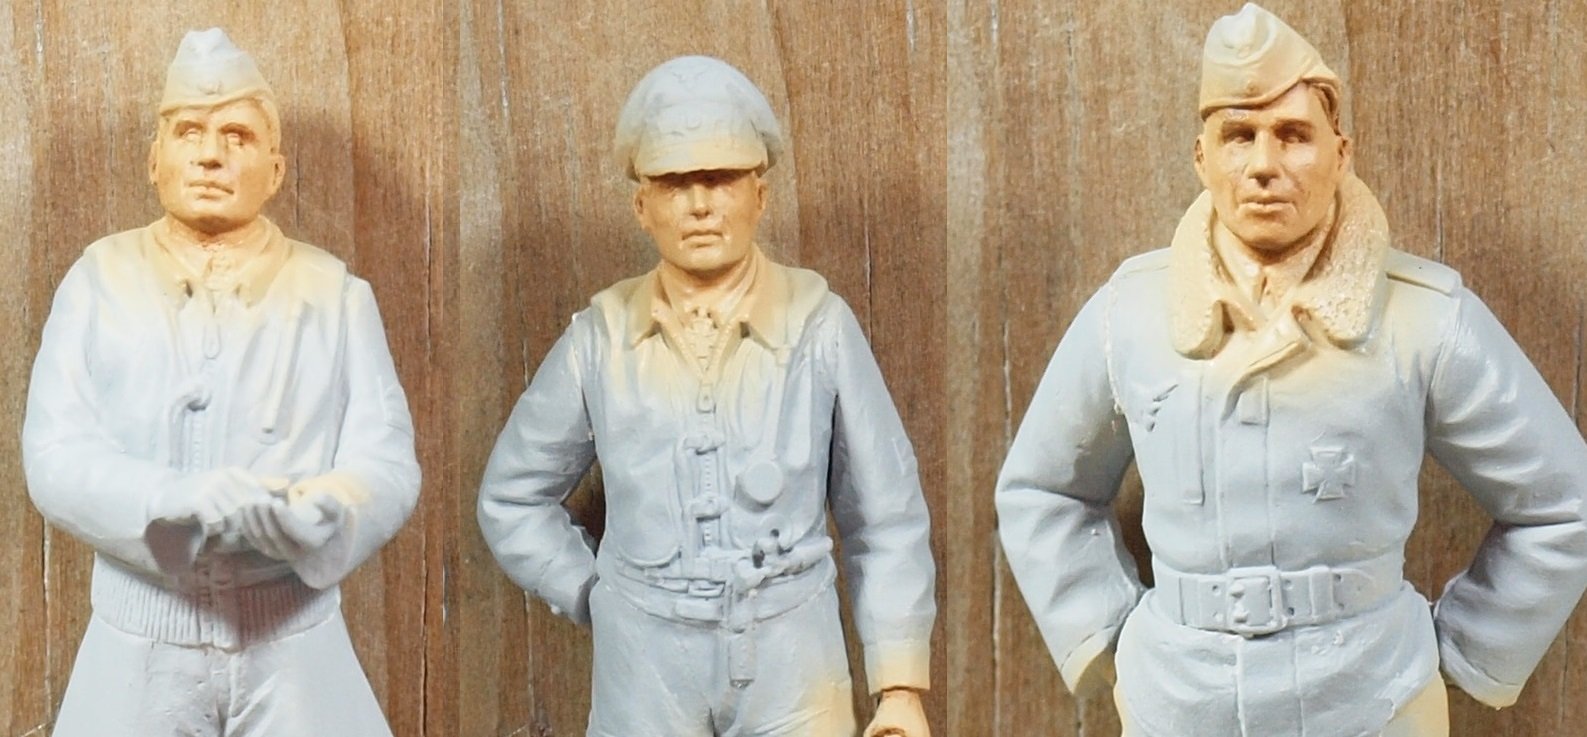
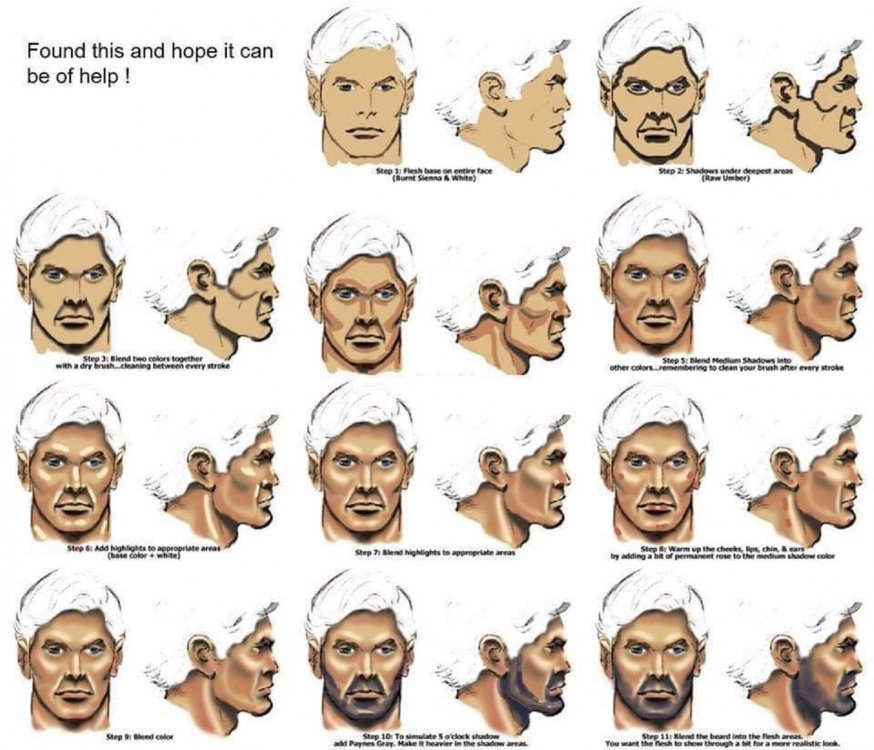
Well Kai... I hope this isn't a let down. Thank you for the kind thoughts. Thank you, Peter. Meine Herren, treffen Sie meine Herren! Gentlemen, meet my Gentlemen. Did google get that right? Here are the three pilots in question after the first layer of oils. This is just burnt umber blended over Tamiya Flesh. These guys are all very broad faced. Not something I'm a fan of... I may have to start investing in other heads. Honestly, I think most sculptors have no idea how to make a narrow face with fine details. Remember WNW's Richthofen? He looked more like Robert Shaw than himself: Anyway... a while ago, a guy on FB posted a bit of a guide. I was just a picture of where to stick paint, and how it should appear once blended. What it didn't say was how long it should take to do it. I mean... how long can it take to paint something smaller than your pinkie finger nail? But it has finally dawned on me that you have to paint in stages, letting each layer/color dry so that you don't mess it up with the next layer. So... just one layer tonight. Here is the guide image: Anyway... come learn with me.

-
Rog, Happy you got good kits.
-
Gottfreid Weiroster Bf 109G6 R6 Revell 1/32
GazzaS replied to GazzaS's topic in LSM 1/35 and Larger Work In Progress
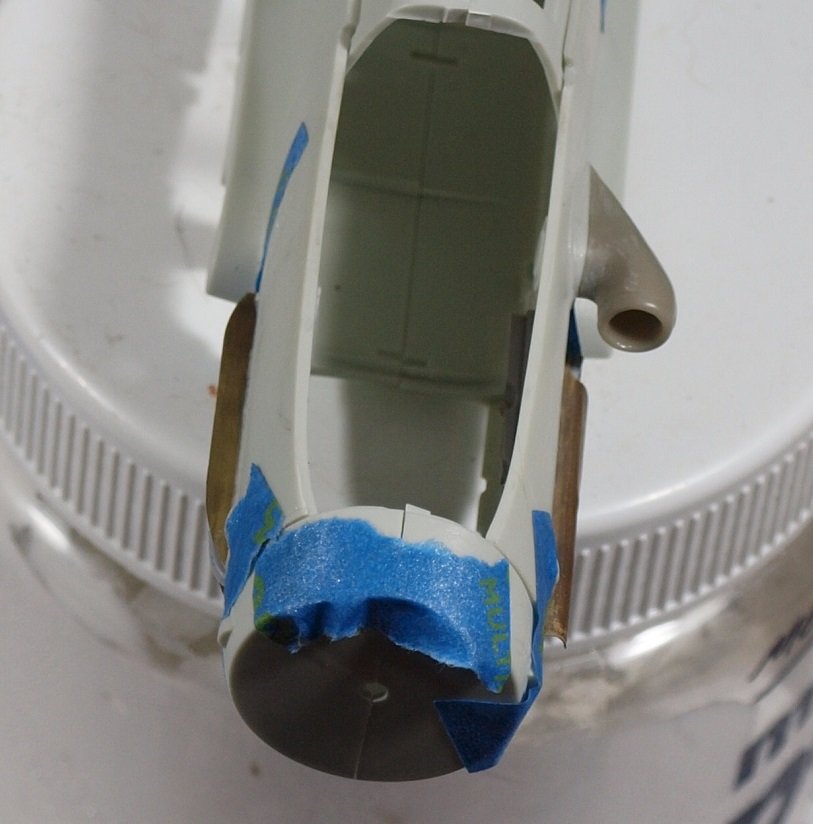
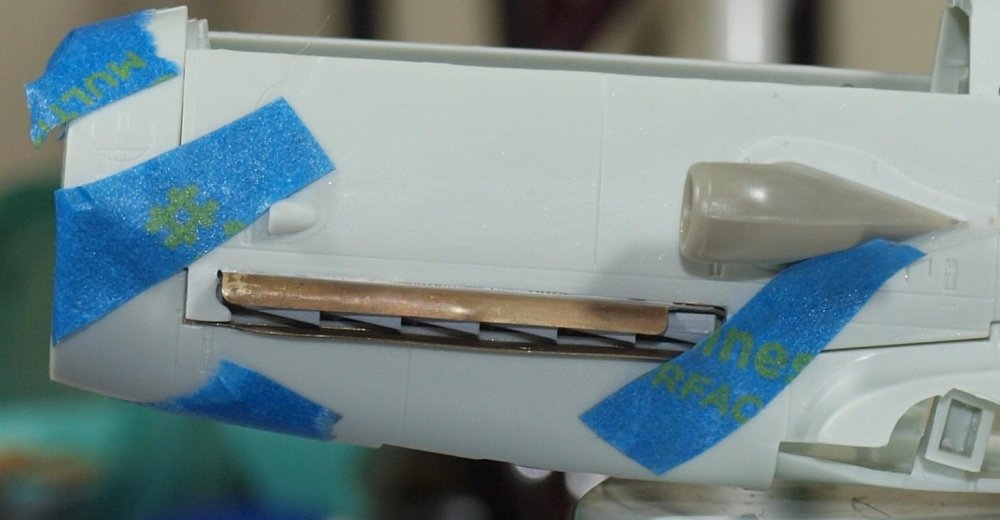
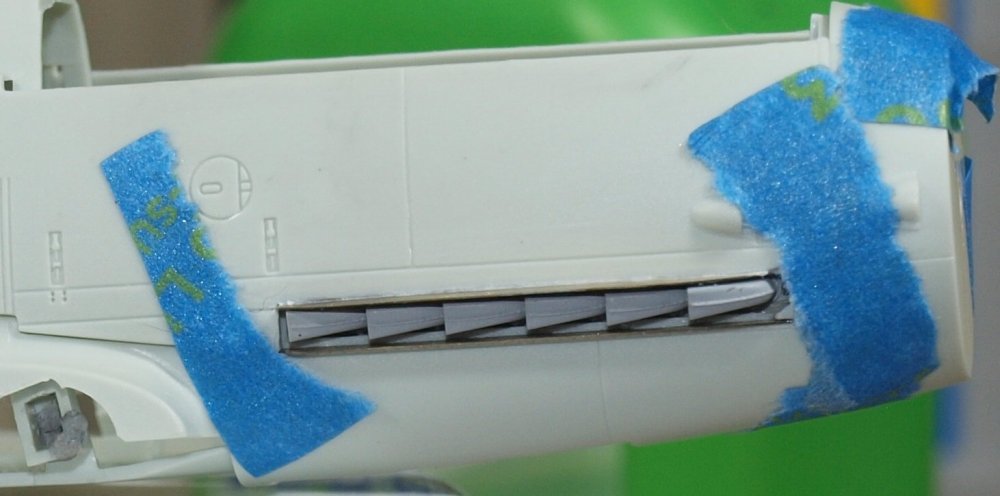
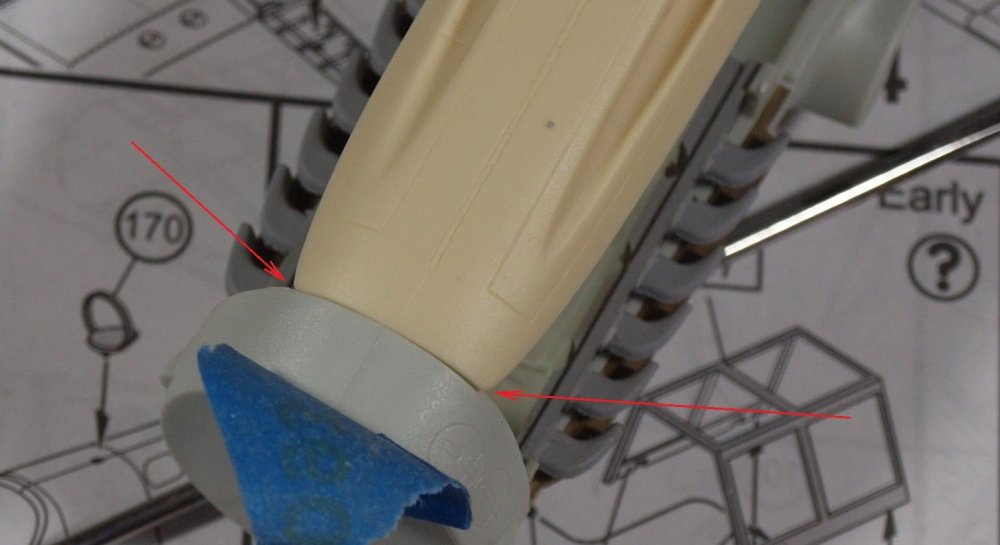
I started modelling today with the goal of finishing the exhausts and associated metal shields and applying the first layer of oil paints to the pilots face. But before I realized it, I was cementing both halves of the fuselage together. So I didn't get to apply any oils to the pilots.... I say "pilots" because I'm going to do three pilots at once so I can have them ready for future builds. Anyway... Adding the Brassin shields was a big hassle. The kit shields aren't overly thick, and might have been thinned by sanding. Anyway... I annealed them so that they wouldn't fight the CA and because I had to put a curve in the port upper. And then the resin exhaust stubs gave a bit of trouble. They just didn't want to stick without clamping for some reason. At the end, I wanted to test the fit of the clear parts. Fortunately they didn't show any bad gaps or overlaps. In any event... it was seven hours of work with only a small advancement in the build. The only real fly in the ointment is the filling that will be required behind the oil cooler where the Barracuda resin cowling piece meets... note the red arrows.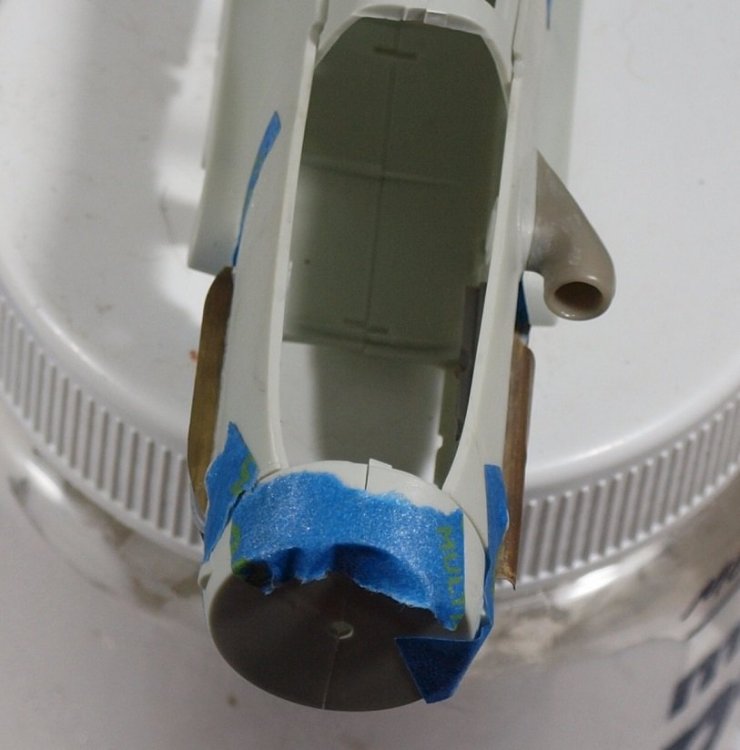

-
Ummm.... cars... yeah

- 2,035 replies
-
- 4
-

-

-
- car related stuff
- anything about cars
- (and 6 more)
-
Wow. Peter those breather areas are stunning! Really happy to see how well this is going together.
-
Atlas Cheetah E Scaleworx Conversion
GazzaS replied to GusMac's topic in LSM 1/35 and Larger Work In Progress
Totally awesome, Gus! -
Hobby Boss F-84E back on the bench
GazzaS replied to JohnB's topic in LSM 1/35 and Larger Work In Progress
Excellent masking and painting, John. Flawless! -
Gottfreid Weiroster Bf 109G6 R6 Revell 1/32
GazzaS replied to GazzaS's topic in LSM 1/35 and Larger Work In Progress
Perhaps I should find someone who makes masking tape in 74/75/76? -
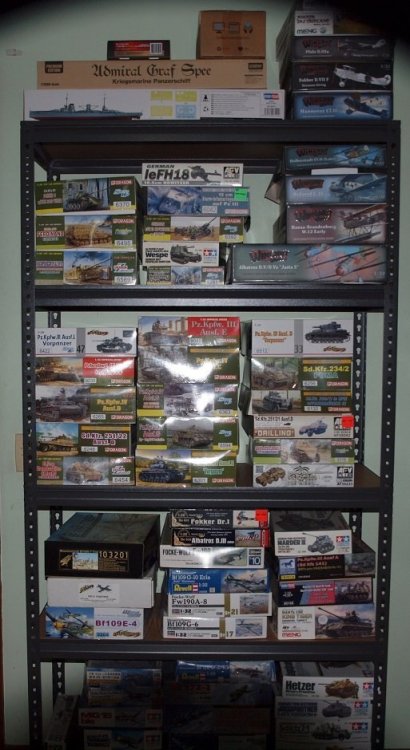
That's an impressive man cave.
-
I'm not afraid to pay more for a better kit. But I don't feel like I have to buy it now. After recalculating my build rate, I may have 7-10 years of kit there. I used to build a lot more 1/48 single engined fighters... but only have a handful left. So, I've slipped from a dozen kits a year to about 8.
-
Gottfreid Weiroster Bf 109G6 R6 Revell 1/32
GazzaS replied to GazzaS's topic in LSM 1/35 and Larger Work In Progress
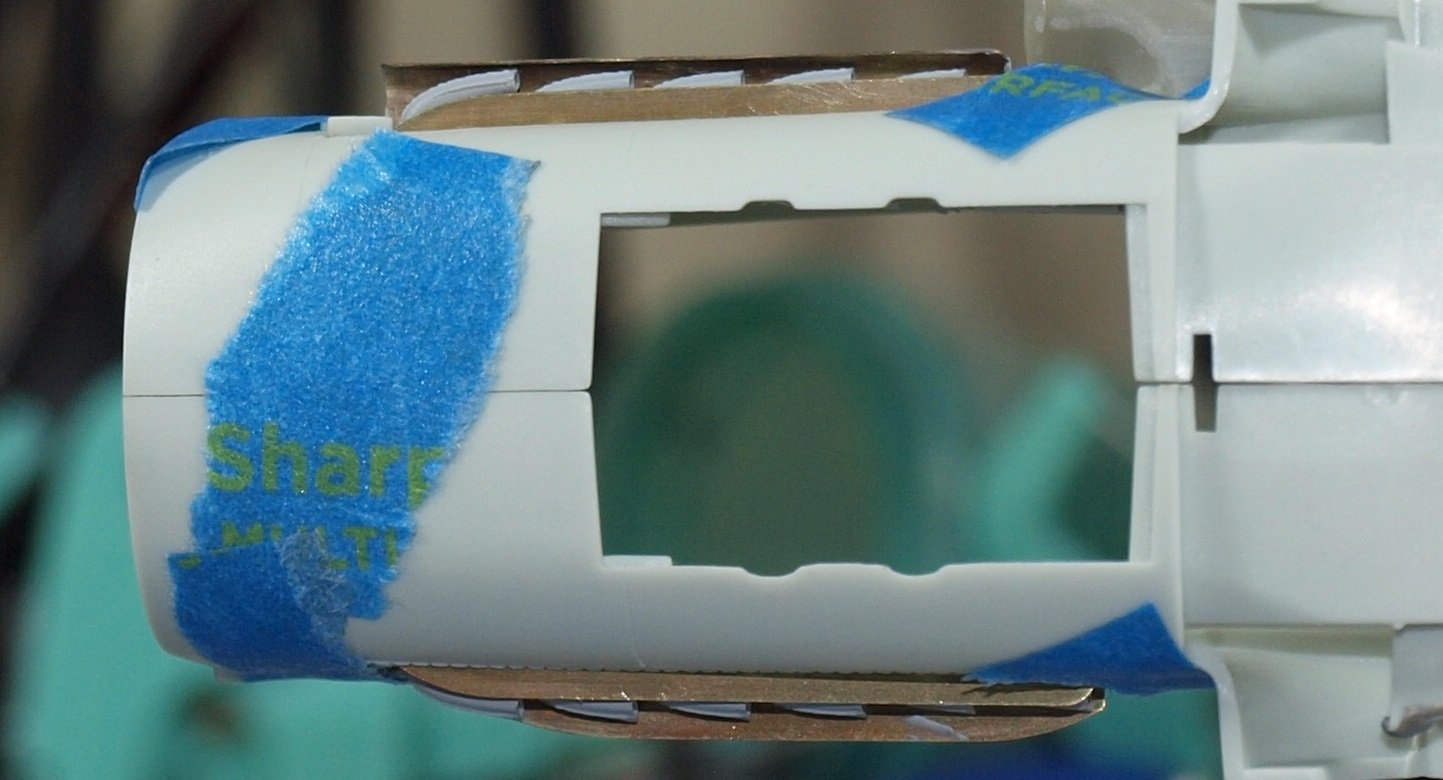
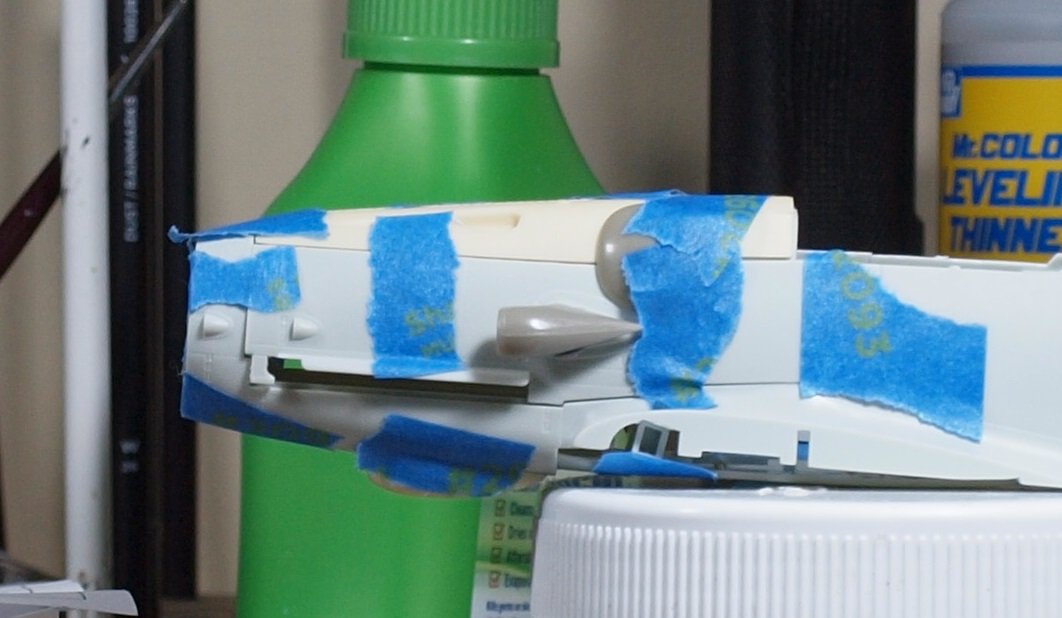
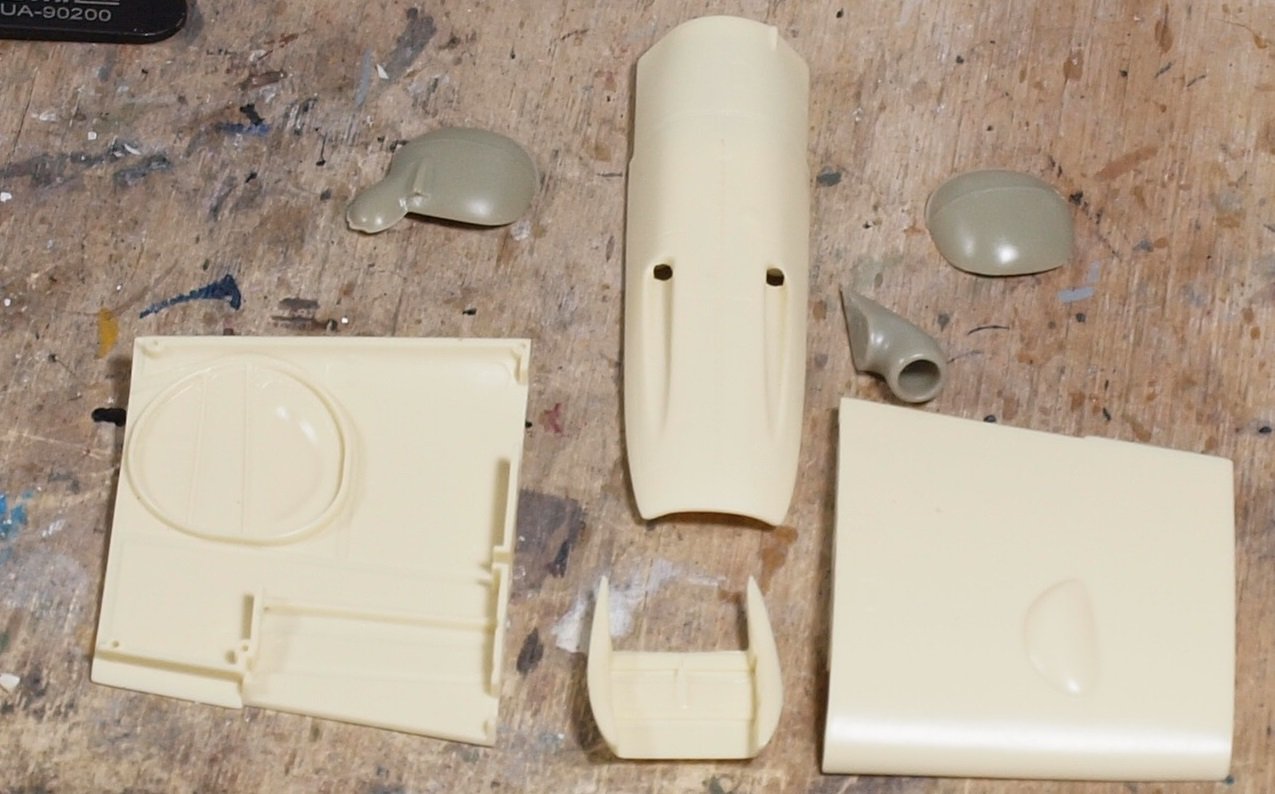
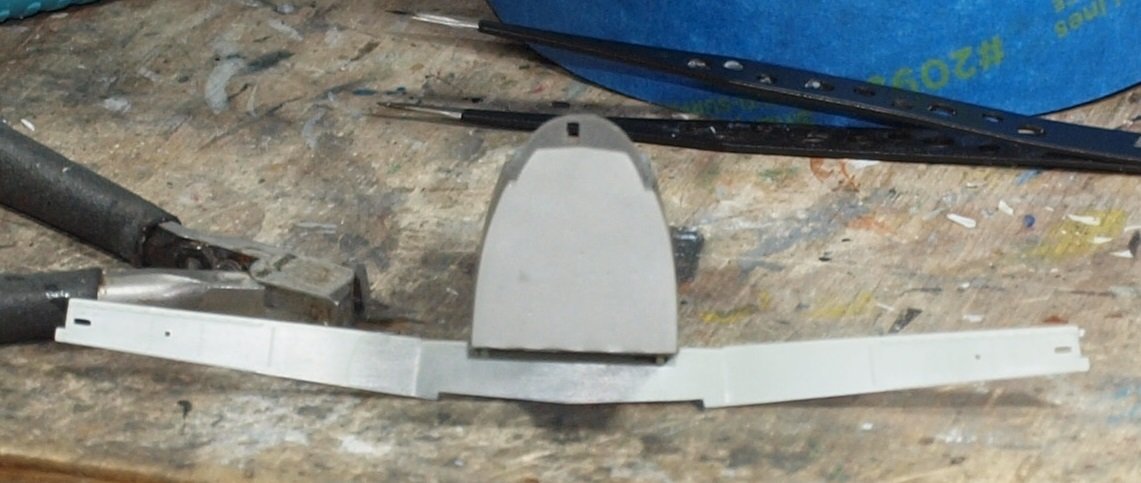
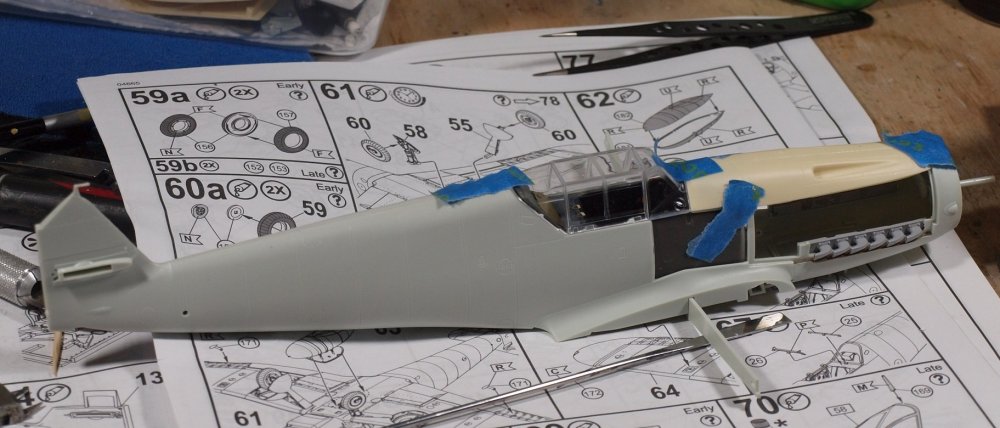
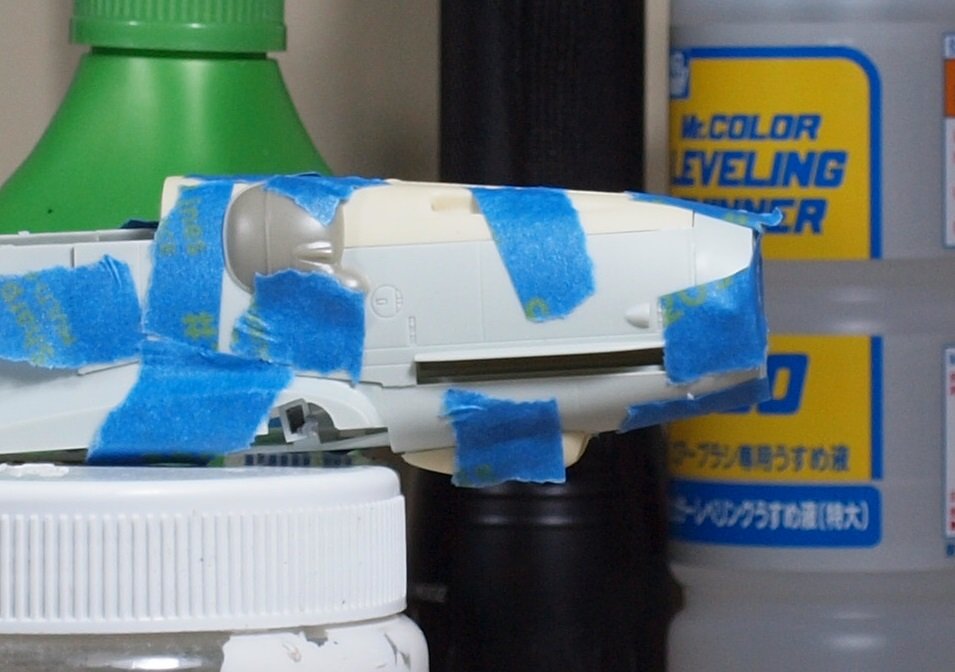
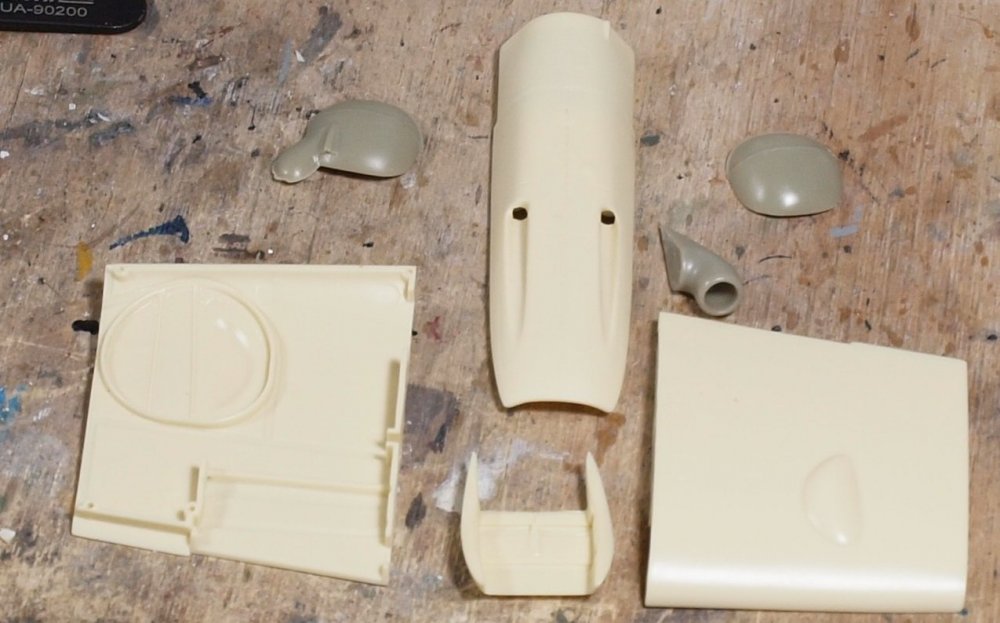
Not much time for modelling this weekend. Though I am happy to have the stash room sorted. I removed all of the pouring blocks and trimmed the resin parts. Then I decided it might be prudent to dry fit all of the parts, excluding the heat shields and exhaust stubs. Hopefully you can make out the parts despite the bits of blue tape. The fit seems ok so far. Finally I glued the spar to the cockpit tub. Happy modelling!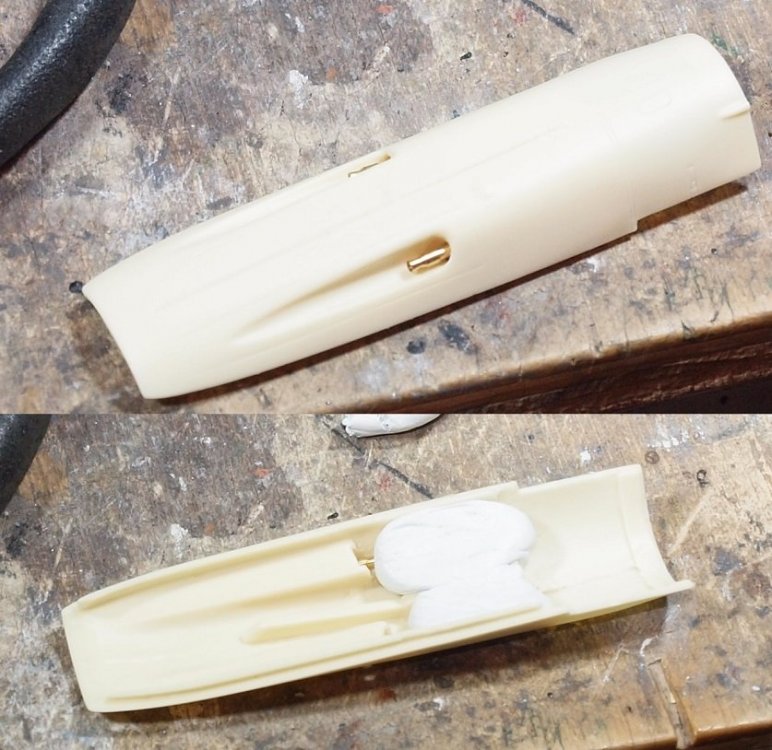


-
Fabulous engine!
-
Israeli Mirage III C with Atar9C
GazzaS replied to Kaireckstadt's topic in LSM 1/35 and Larger Work In Progress
Definite improvement, Kai. A little variation goes a long way. -
Thanks, Carl. Well... It's chock full of detail. I hope to use it during a build some day. I tried reading it, but it's really too technical for that. Some people consider it the panther 'bible'.
-
Yeah, I'll have to deal with it when I get there. Dragon's biggest mistake was using that stuff.
-
Not that kind of stash, Devildog. Unless you're talking about classic Airfix kits.
-
Israeli Mirage III C with Atar9C
GazzaS replied to Kaireckstadt's topic in LSM 1/35 and Larger Work In Progress
Kai, Glad to see some color... I've been looking for it the past few days. The exhaust really stands out compared to the sand color. -
I have the HGW kit which are also the Dragon molds, too.
-
Thank you. I still haven't had the pleasure of a Dragon Tiger II.
-
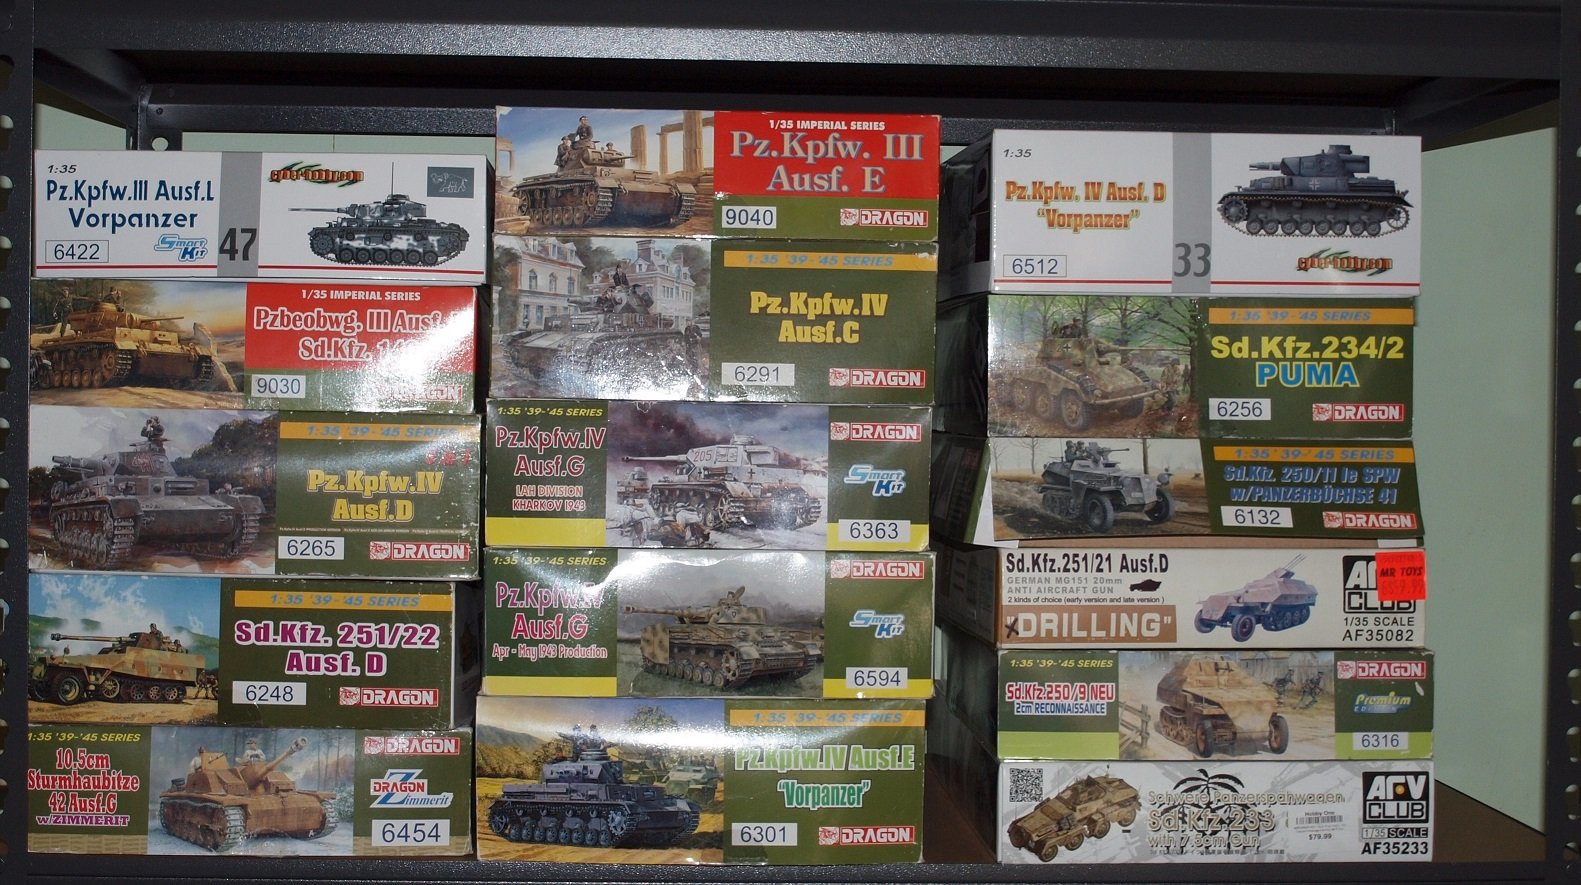
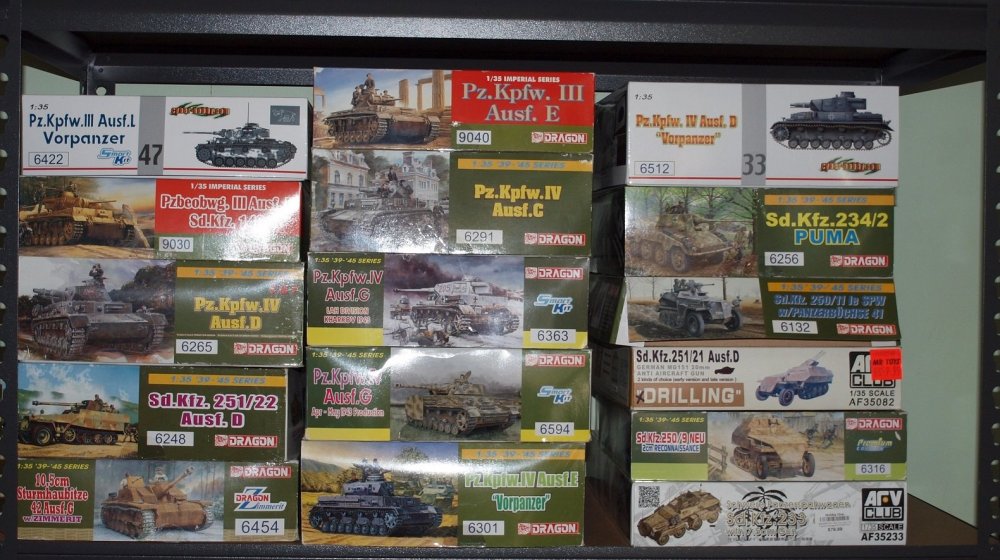
Thank you, Kai. Before I moved to Australia I had many books. I sold some, but most were donated to a local library. They were hard to part with. At any rate. If you want accurately detailed armor kits... Dragon is the way to go. Tamiya is nice, they leave some detail off. Almost all of the Dragon kits you see were pre-owned. Only one or two were bought brand new. Belonging to a model club was the pathway to all of these Dragon kits. When people have too many kits, they sell them for half-price or less, usually at club meetings. It is easier and quicker than selling them via Ebay. I wish I had bought more WNW fighters. But I was a short sighted. And I kept waiting for WNW to make the Alb D. III and earlier fighters. Instead they went off on a crazy tangent of large kits nobody wanted. I got most of these after the collapse at close to retail.
-
I really like how your preshading adds interest to the surfaces.
-
a D out of a G.... HK's B-17 conversion
GazzaS replied to brahman104's topic in LSM 1/35 and Larger Work In Progress
That's just amazing!- 167 replies
-
- 4
-
-
- B-17
- scratch built
- (and 1 more)
-
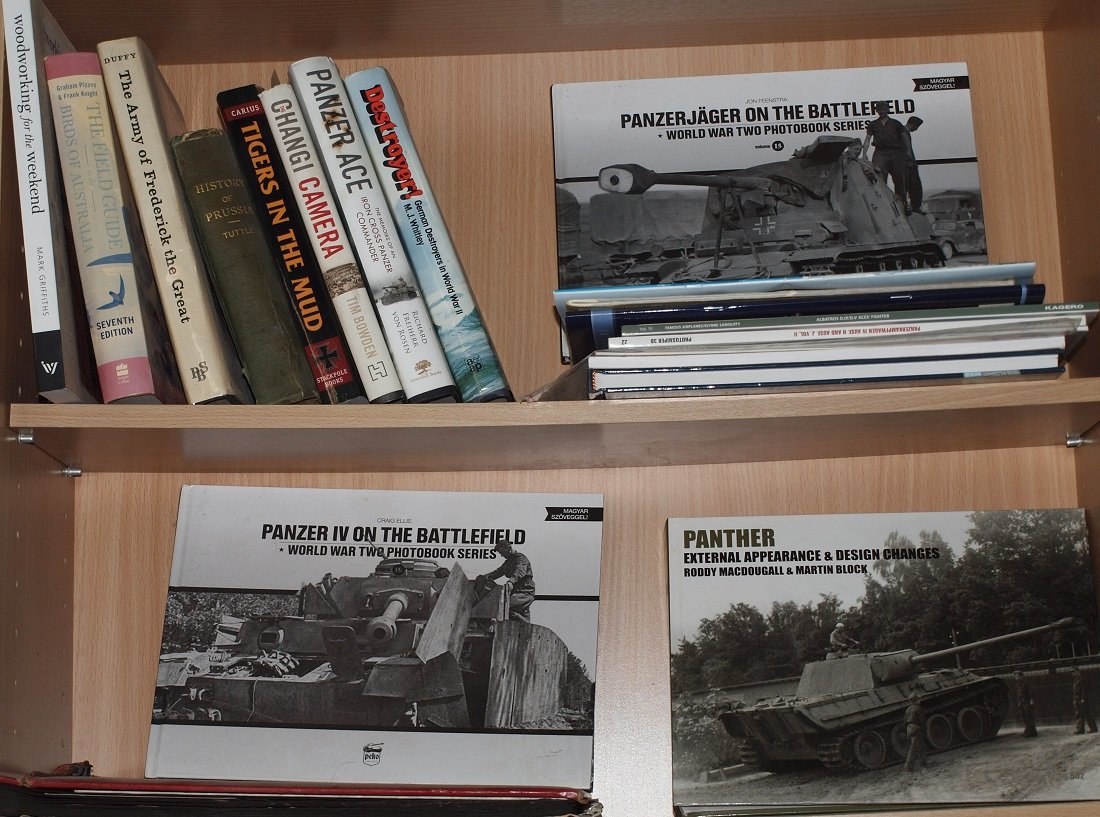
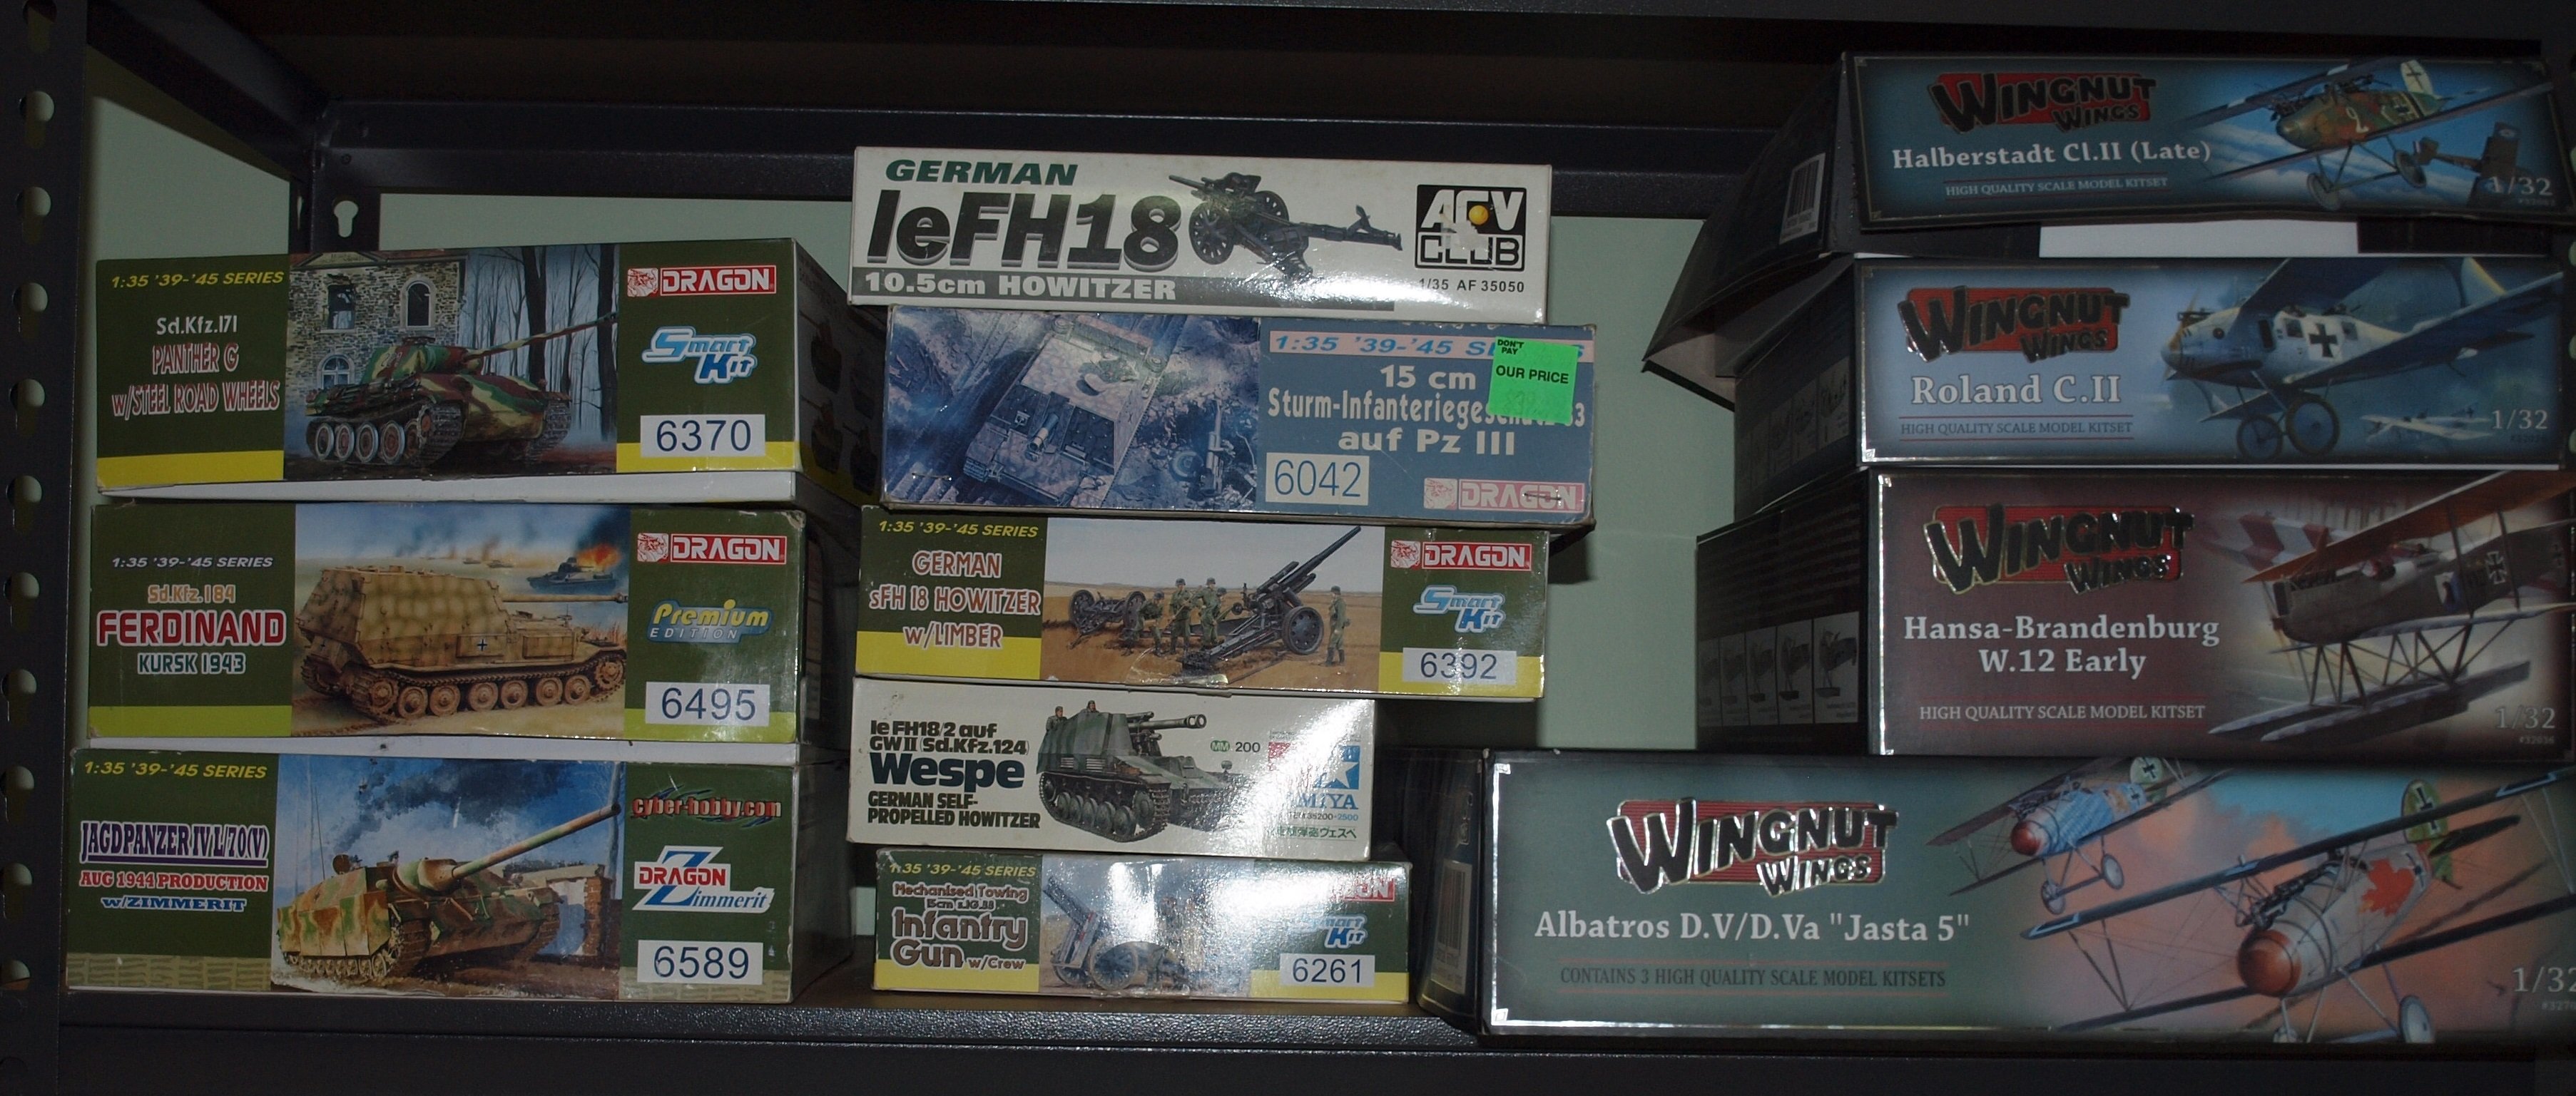
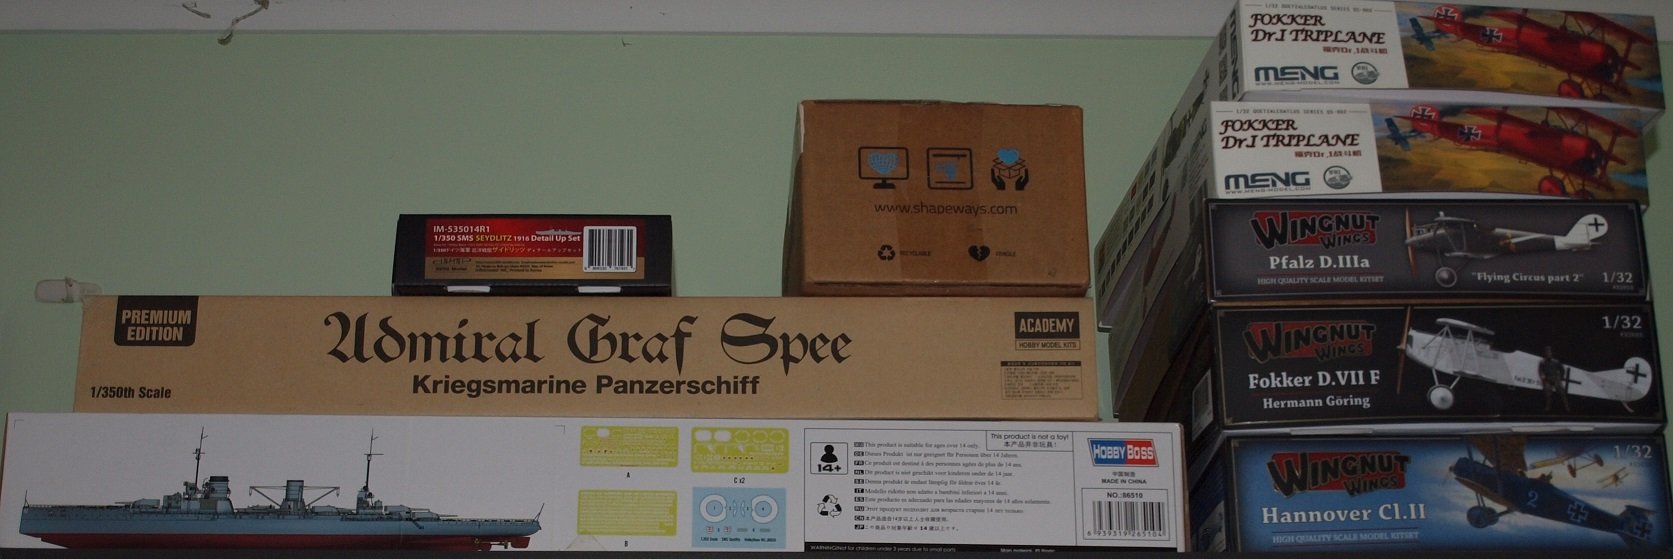
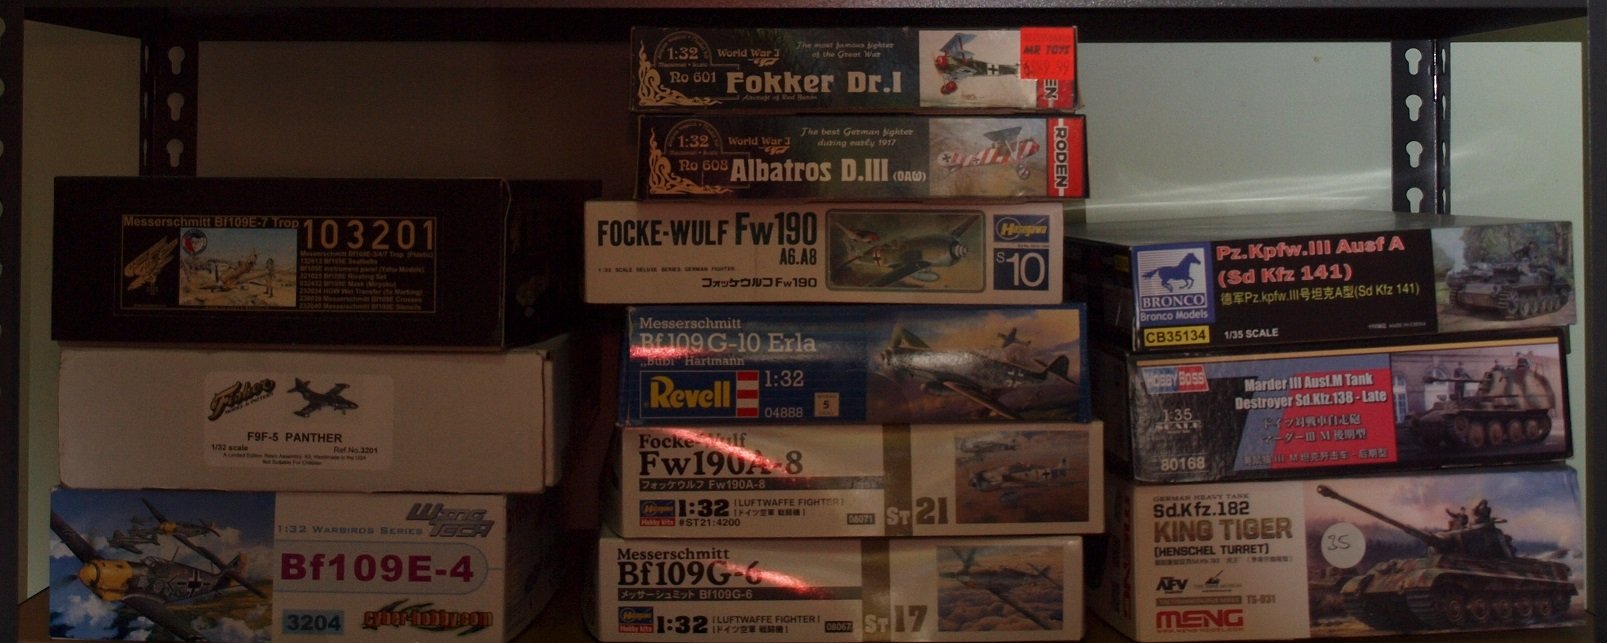
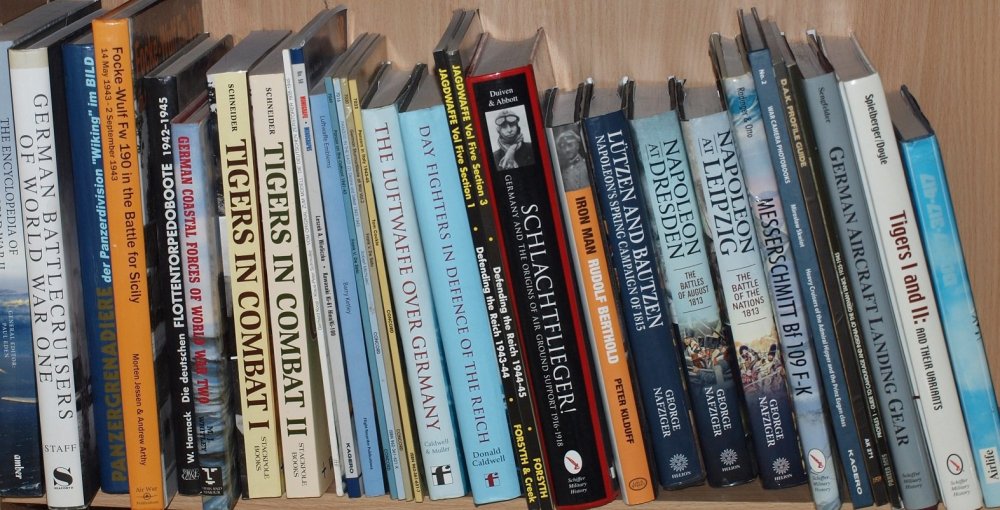
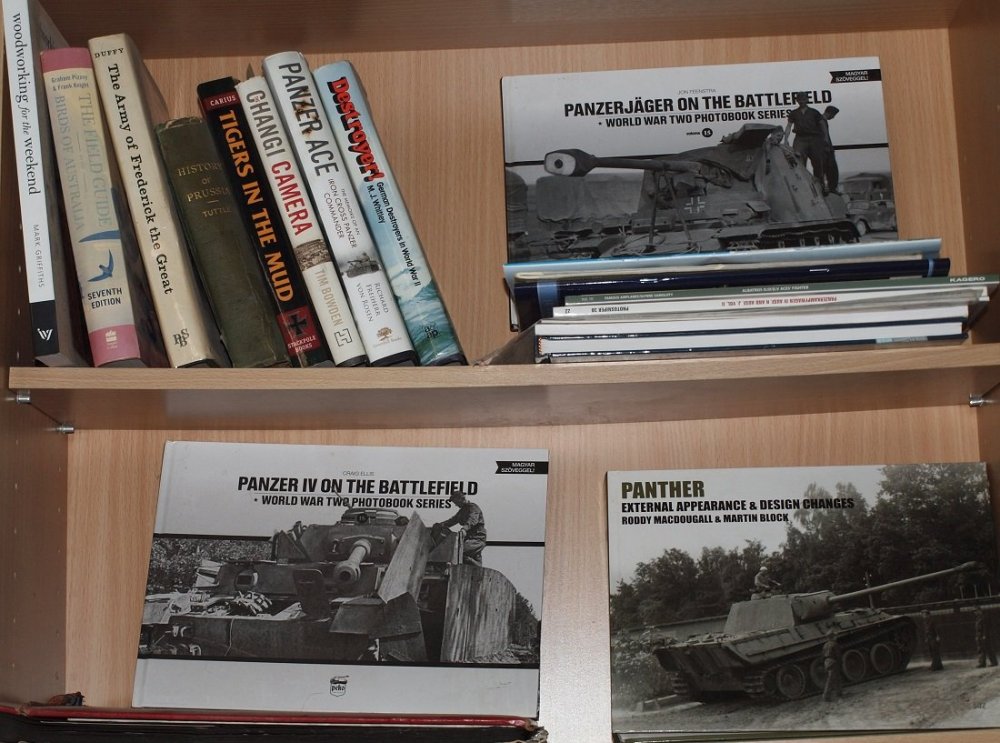
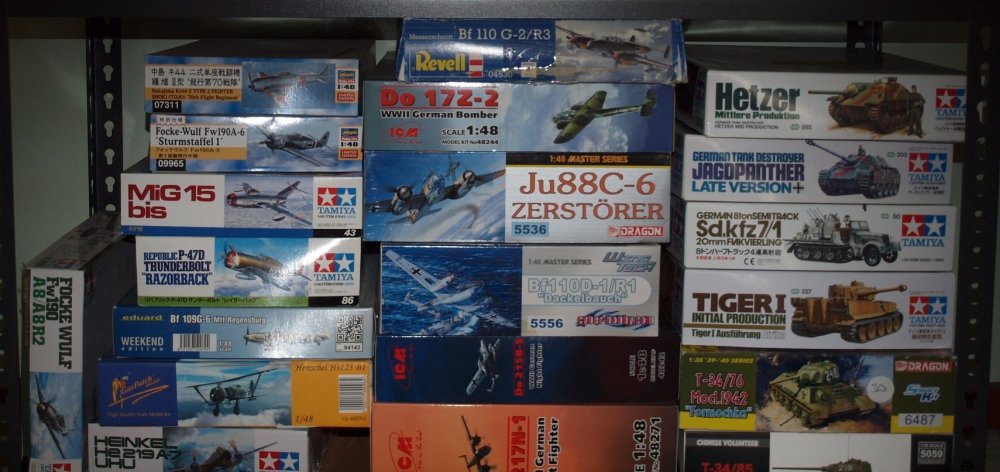
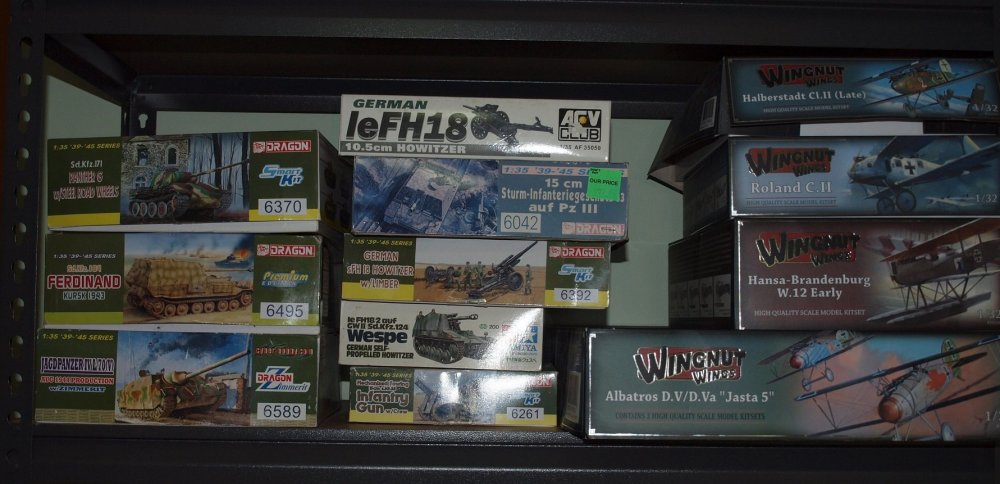
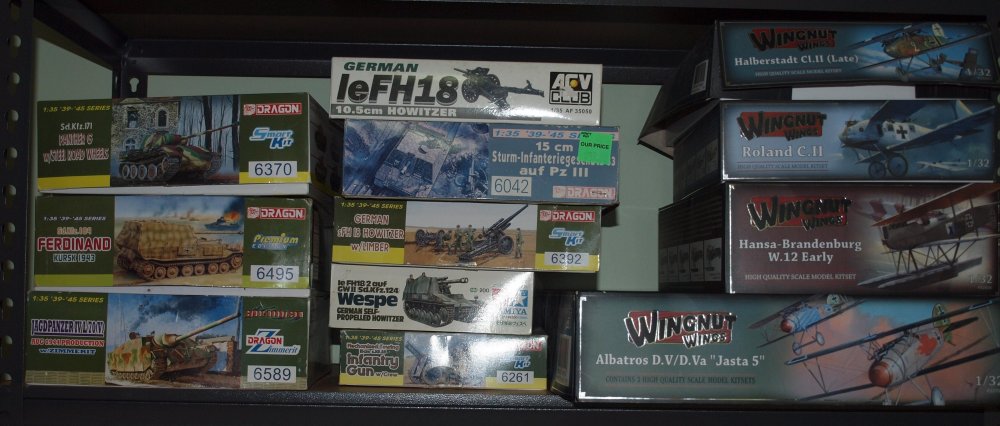
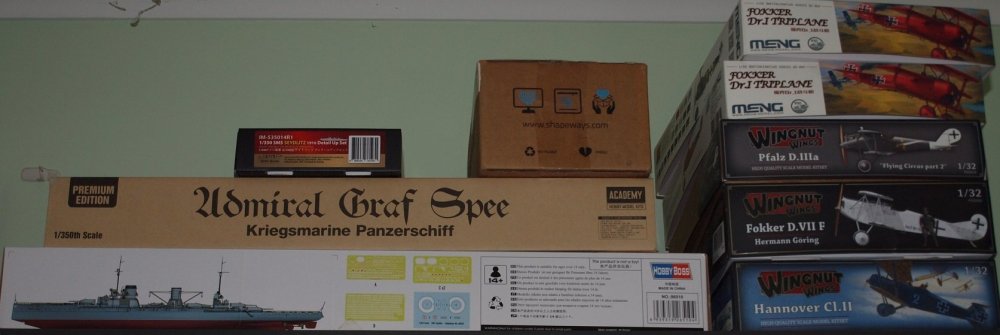
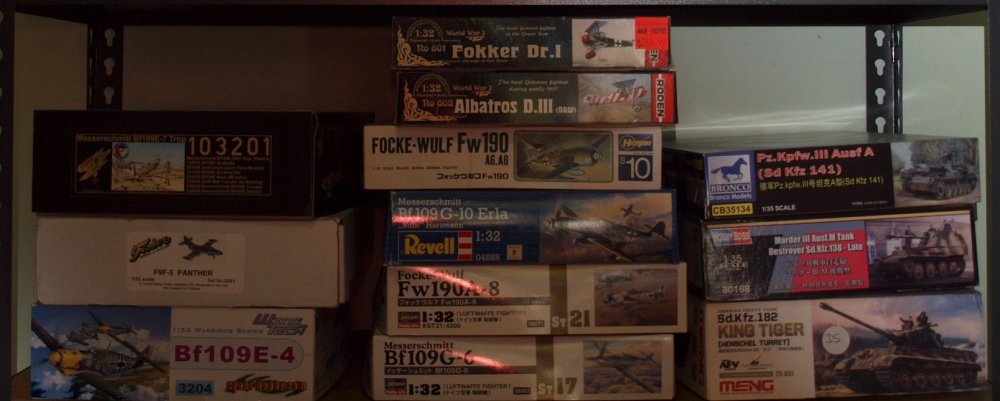
I have a small stash. Except for some two under construction, AM, and twenty or so complete or partial figure kits, it's all on this one set of shelves. Of course... you'd have to have special powers to see much in that photo. The shadow is cause by a fanblade on the ceiling fan. So.... some close ups: From the top: I have a small reference Library, too.... very small. All of the flimsy paperback books aren't pictured... they aren't much to look at from the end or side... I give away a lot of books. I rarely read a book twice. So if there aren't pics I wanna use... I move em' on.
-
1/16 "she's real fine my 359" big Pete
GazzaS replied to CrankyCrafstman's topic in LSM 1/35 and Larger Work In Progress
NOw those.... look excellent!