GazzaS
-
Posts
6,396 -
Joined
-
Last visited
Content Type
Profiles
Forums
Events
Gallery
Everything posted by GazzaS
-

Duchess of Kingston - Beauty of the Seas - Wooden Sailing Ship 1/64
GazzaS replied to DocRob's topic in Non LSM 'WIP
The DOK is looking awesome, Rob! Each detail looks nice an crisp. From another thread... I saw you got new parts for your Proxxon mini lathe. Will this enable you to turn metal? -
What is on your bench right now ? Share a picture :)
GazzaS replied to Martinnfb's topic in Modelling Discussion
I've only done it with Tamiya acrylics. But at first i thought it wasn't working right. Worked a lot better with multiple light coats. When I tried first, with a nice covering coat, the chips came off huge and ugly after trying hard to get them off. With multiple thin coats, the results were a lot easier to accept. -
I wanted to challenge him... I don't think there is a straight line on that machine.
-
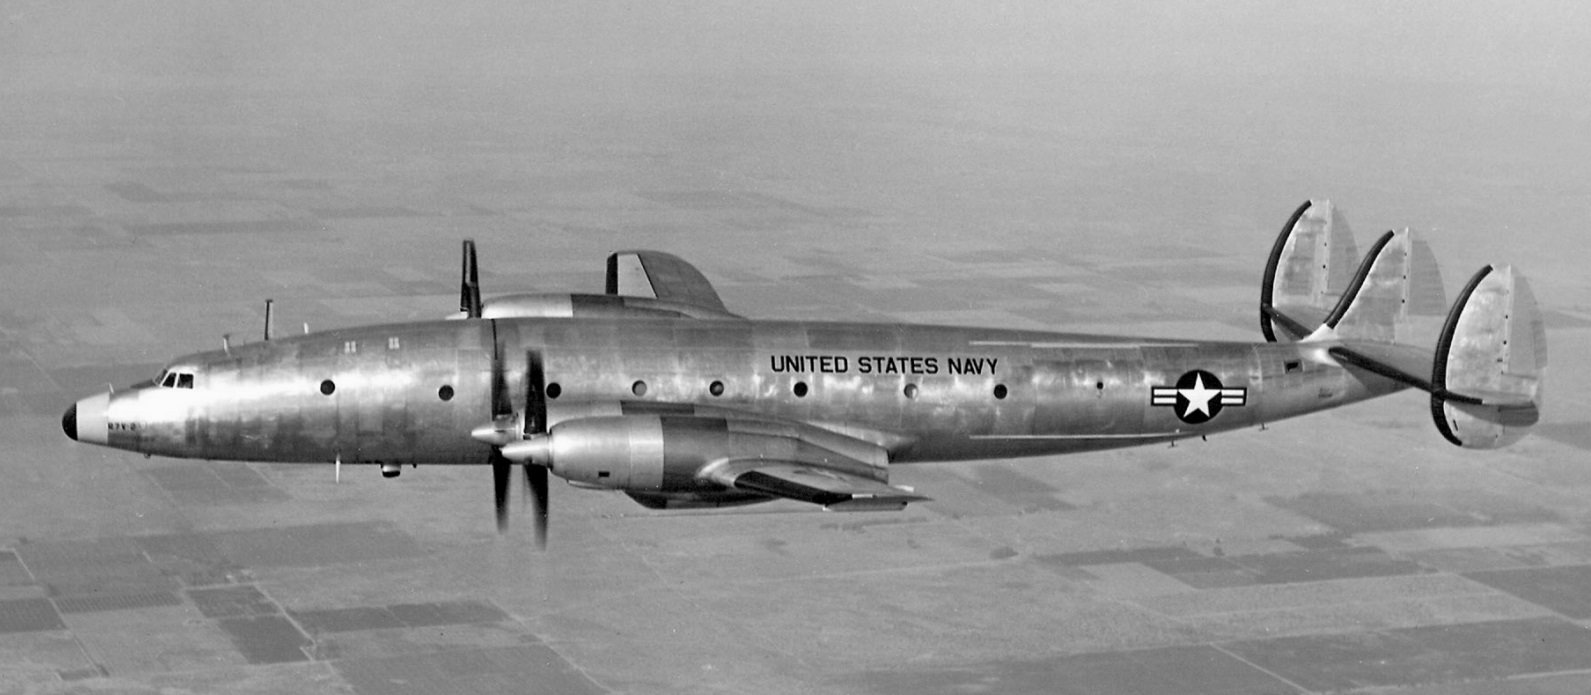
Some handy scratch building, John! Before you know it, you'll be able to scratch build a 1/32 scale Constellation.

-
Tamiya F-14 VF-2 Bounty Hunters
GazzaS replied to Bill_S's topic in LSM 1/35 and Larger Work In Progress
Bri;liant missiles! -
LeO C.30A Early Production MiniArt 1/35 -Finished
GazzaS replied to KevinM's topic in LSM 1/35 and Larger Work In Progress
HI Kevin! Interesting choice. Where do you live?.... that's very warm. There's nothing wrong with the quality of the pics. It's editing where you're coming up short. You have the the "paint" program on your computer? You can use it to edit your photos pretty easily. I spend usually less than 30-seconds editing per photo when I post here. The "Crop" function is great for getting rid of the excess. -
Tamiya Spitfire MK XVIe
GazzaS replied to Peterpools's topic in LSM 1/35 and Larger Work In Progress
Looking good, Peter. I'm glad I'm not the only one taking about parts for wing leading edges not fitting. Whether it's gun inserts or landing lights... the plastic never fits. Even in higher quality kits made by the likes of Dragon and Tamiya. -
What is on your bench right now ? Share a picture :)
GazzaS replied to Martinnfb's topic in Modelling Discussion
This looks good, Martin! Hairspray chipping? -
What is on your bench right now ? Share a picture :)
GazzaS replied to Martinnfb's topic in Modelling Discussion
I liked it. How did you get that opacity with the squiggles? -
Dragon Jagdpanzer IV 70 (A) Kit 6015 COMPLETE
GazzaS replied to GazzaS's topic in LSM 1/35 and Larger Work In Progress
Thank you, Peter! Thank you, Rob! Thank you, Phil. I actually burnt the pad of my left thumb. And that is the thumb I use to open my mobile phone as well. So, for almost a week, I had to use my PIN every time I wanted to use my phone or any app on it. -
Dragon Jagdpanzer IV 70 (A) Kit 6015 COMPLETE
GazzaS replied to GazzaS's topic in LSM 1/35 and Larger Work In Progress
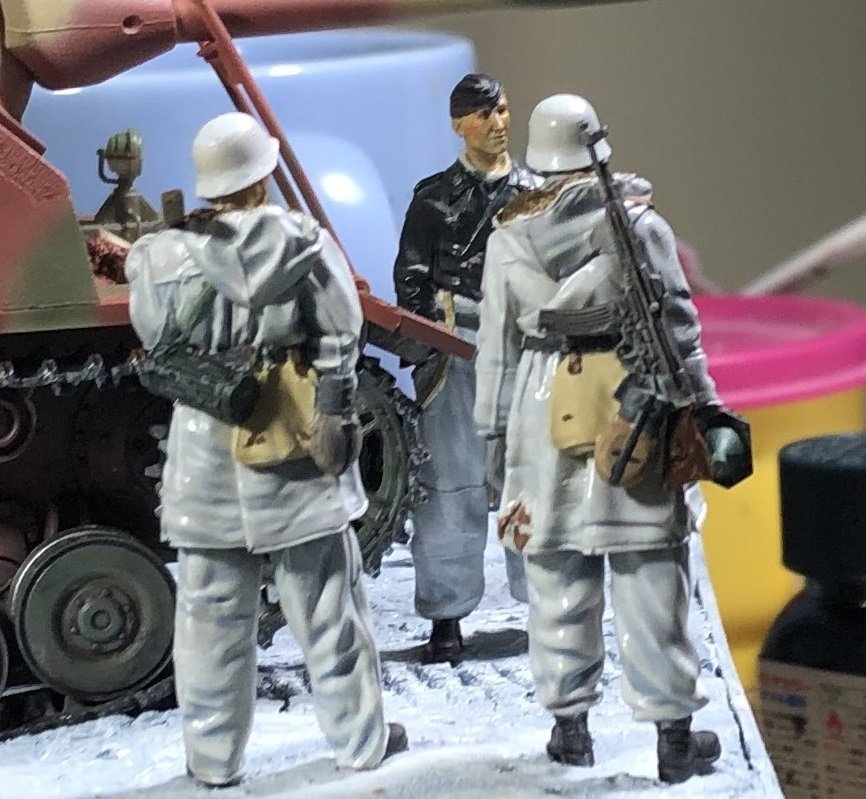
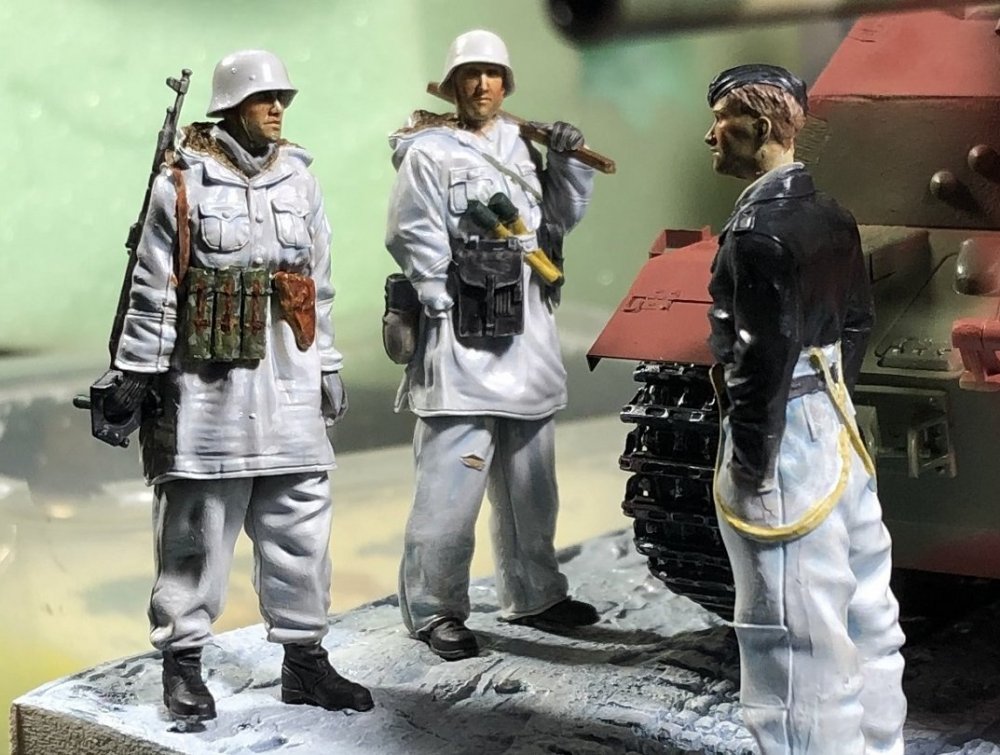
"How many IS-2's have you destroyed with that big hunk of steel?" "More than you've destroyed with that chunk of wood". "We'll be moving on now...." Yep... figure and base painting today... Still lots to do.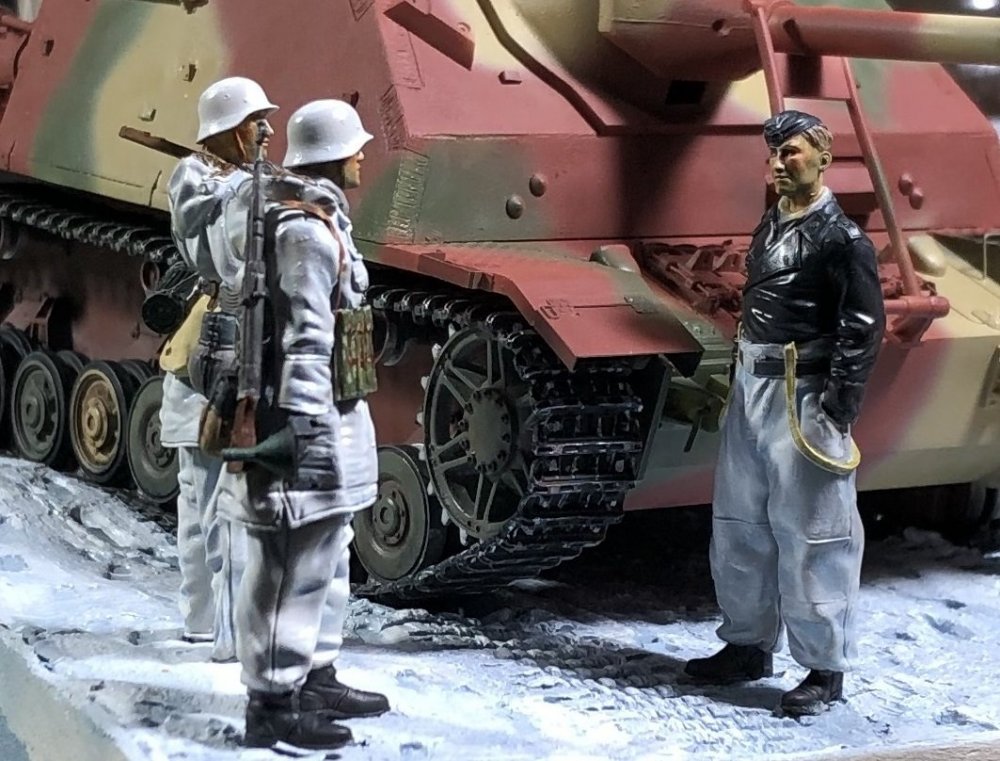

-
I feel a little guilty now. Unless of course, you feel better about your completed build.
-
Dragon Jagdpanzer IV 70 (A) Kit 6015 COMPLETE
GazzaS replied to GazzaS's topic in LSM 1/35 and Larger Work In Progress
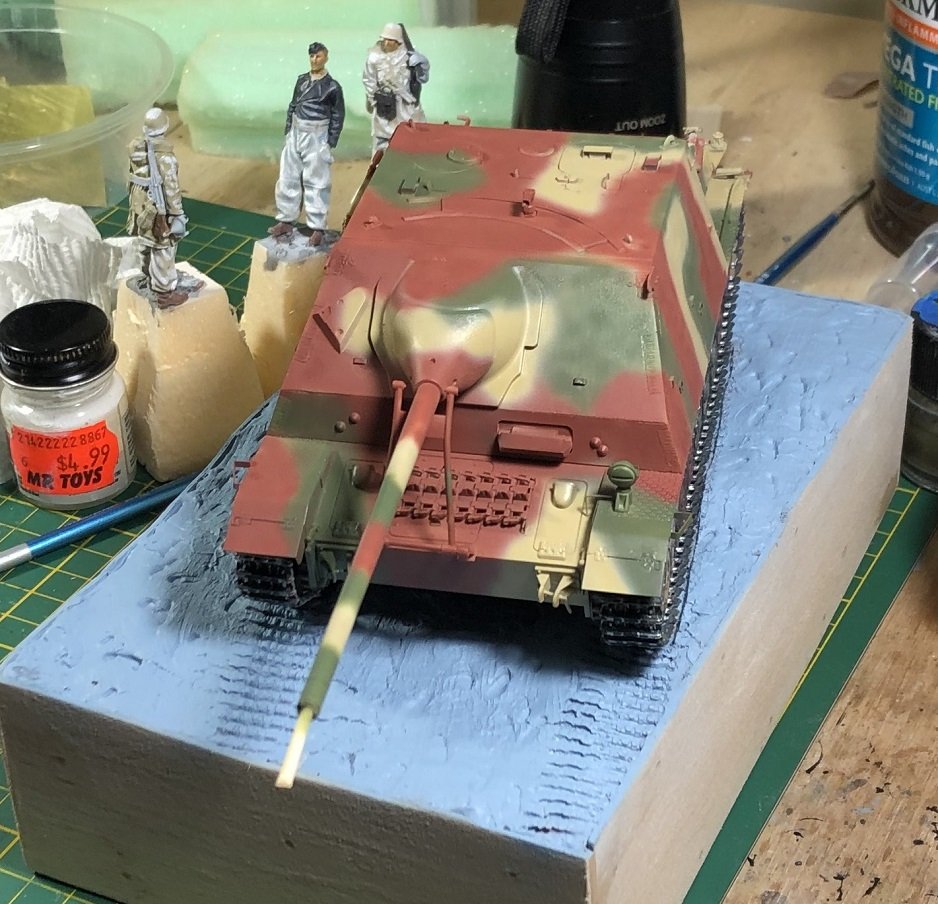
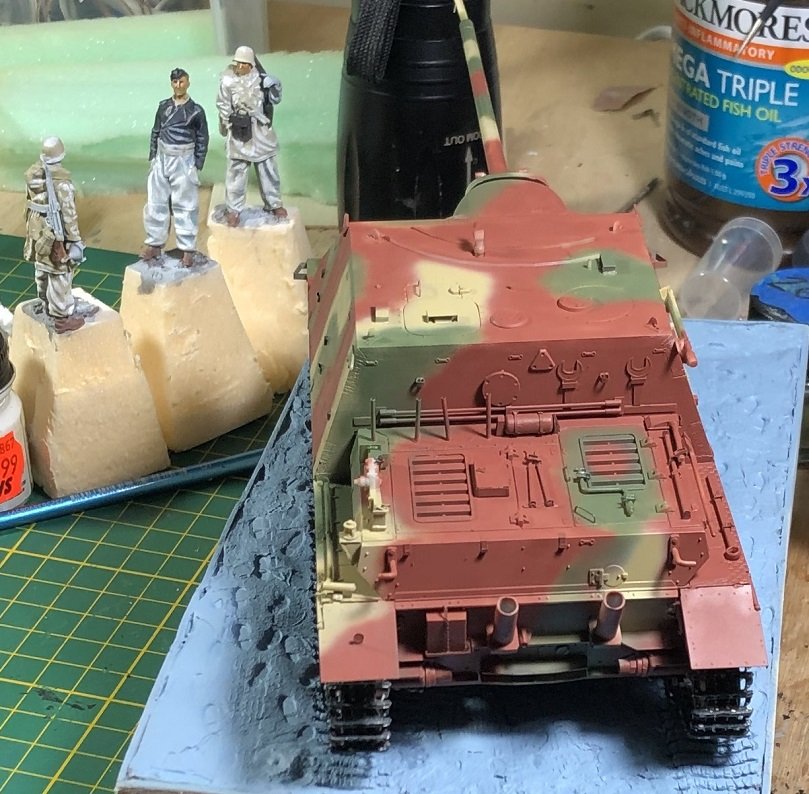
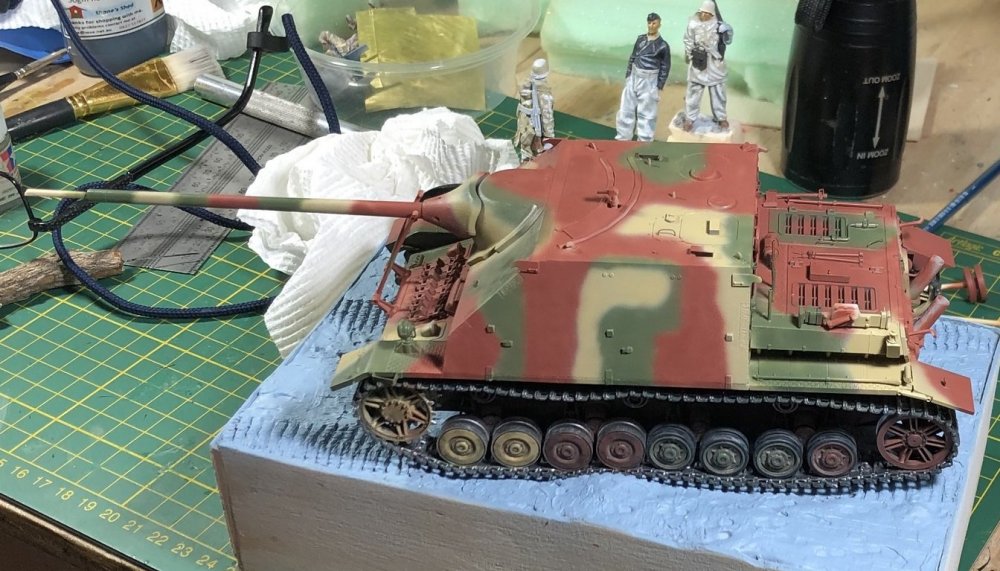
Anyhow.... The camo scheme is on. I've also started the base as well as slowly working on the figures.


-
Dragon Jagdpanzer IV 70 (A) Kit 6015 COMPLETE
GazzaS replied to GazzaS's topic in LSM 1/35 and Larger Work In Progress
Very nice picture, Martin. There is a book out there about a Canadian who served in the German Army during the war. Though most of the time was on Pz IV, the latter part was in a Jagdpanzer IV. It's called Panzer Gunner and the author is Bruno Friesen. In it he details the extra lengths the driver of these Jagdpanzers had to go through to avoid ruining the gun. I highly recommend it. -
Dragon Jagdpanzer IV 70 (A) Kit 6015 COMPLETE
GazzaS replied to GazzaS's topic in LSM 1/35 and Larger Work In Progress
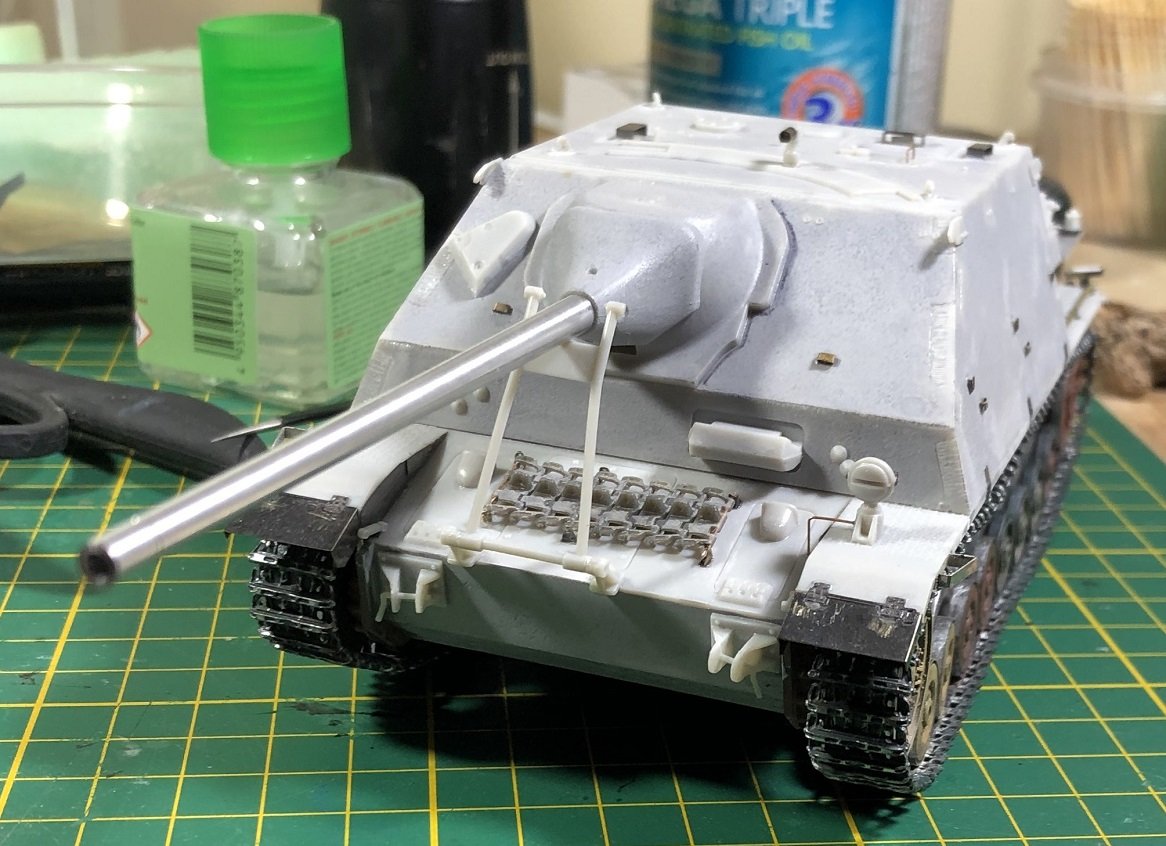
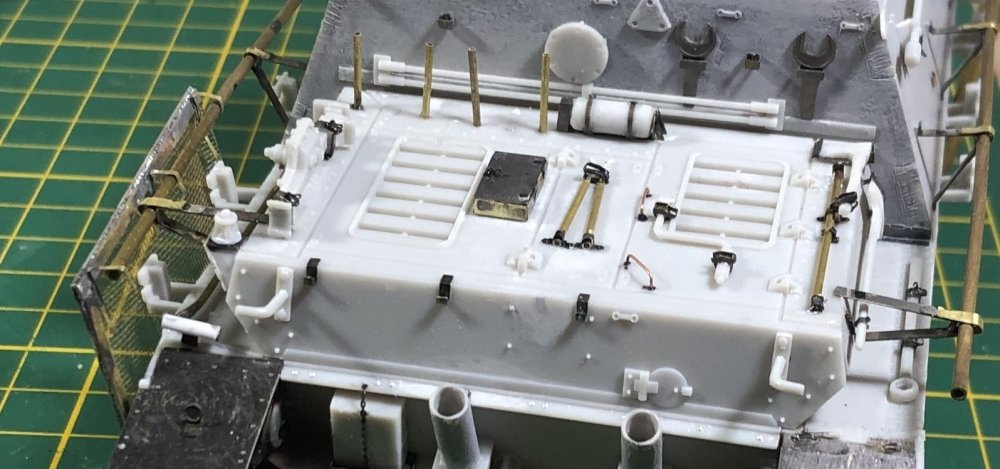
Thanks for your thoughts, Peter. Unfortunately, things have surfaced to completely change my plans and render a lot of work pointless. This morning I woke up and looked at the model and had a suspicious feeling that something just wasn't right. Consulting my reference photos, I realized that the mounting brackets that were attached to the hull were too short. Over 3/8" too short. I compared them with a later iteration of this kit, the size was clearly wrong. So... I had to rip them off. And then add a few more parts from the Eduard PE to show how the brackets had been attached before they were ripped off. So now... she's ready for paint. So... Once it warms up a little more outside, I'll apply the camo.
-
Dragon Jagdpanzer IV 70 (A) Kit 6015 COMPLETE
GazzaS replied to GazzaS's topic in LSM 1/35 and Larger Work In Progress
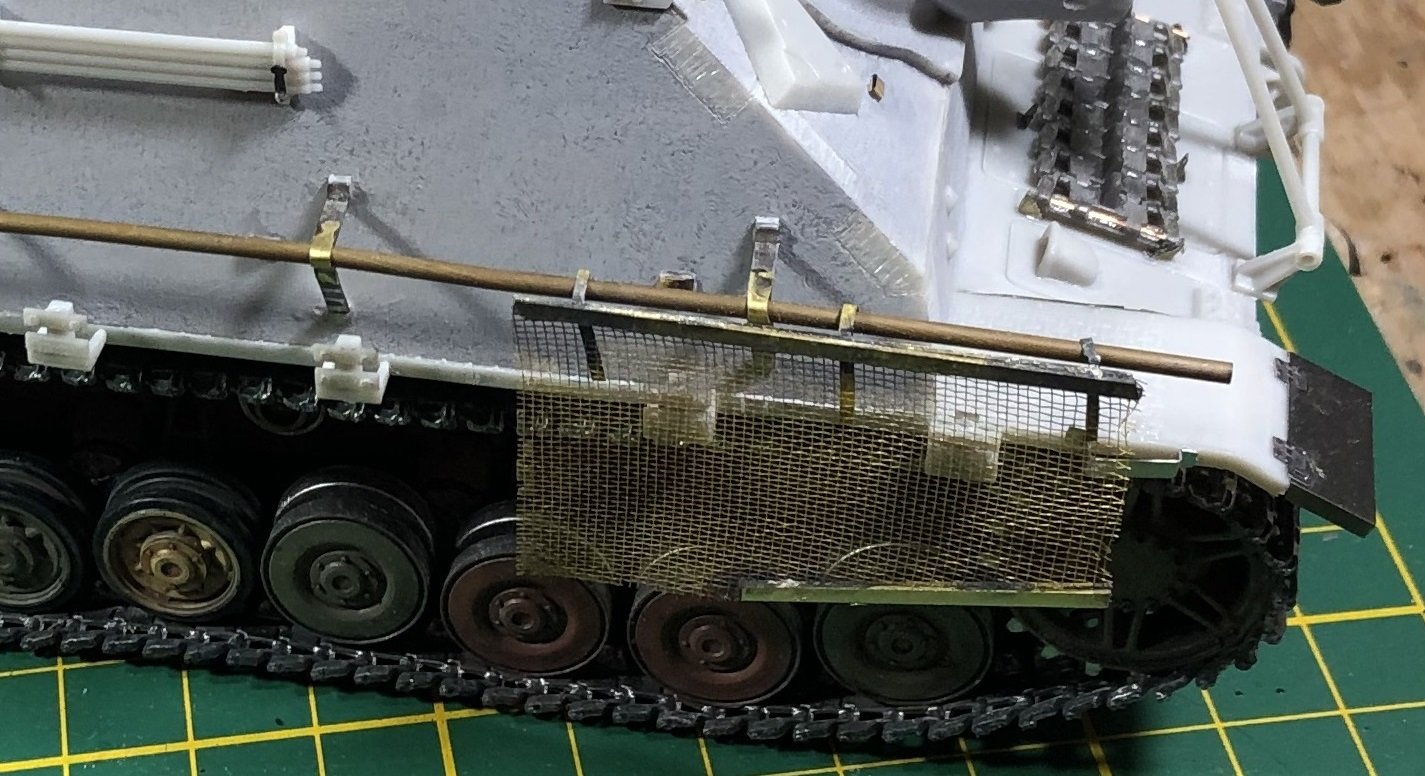
Heh... I'm done with the skirts for now. Pretty much a failure. I've actually made the whole set more than once. The mobility of the brass fibres are part of the reason. It's impossible to lock them in straight lines nor is it possible to freeze the edges. I've tried with both solder and CA. Another reason are difficulties that come with working with tiny parts and a very hot soldering iron. Whereas I've learned to make the solder flow, it's still a messy process and you can;t use your fingers to hold the tiniest parts. Likewise, the alligator clips are too big as well. What you need is a non-ferrous clamp whose ends are as small as toothpick tips. It's just something I'll have to try again later on. Fortunately the brass mesh I bought can be used to simulate the torpedo nets on my 1/350 scale SMS Seydlitz. Otherwise it would be a wasted material. -
Dragon Jagdpanzer IV 70 (A) Kit 6015 COMPLETE
GazzaS replied to GazzaS's topic in LSM 1/35 and Larger Work In Progress
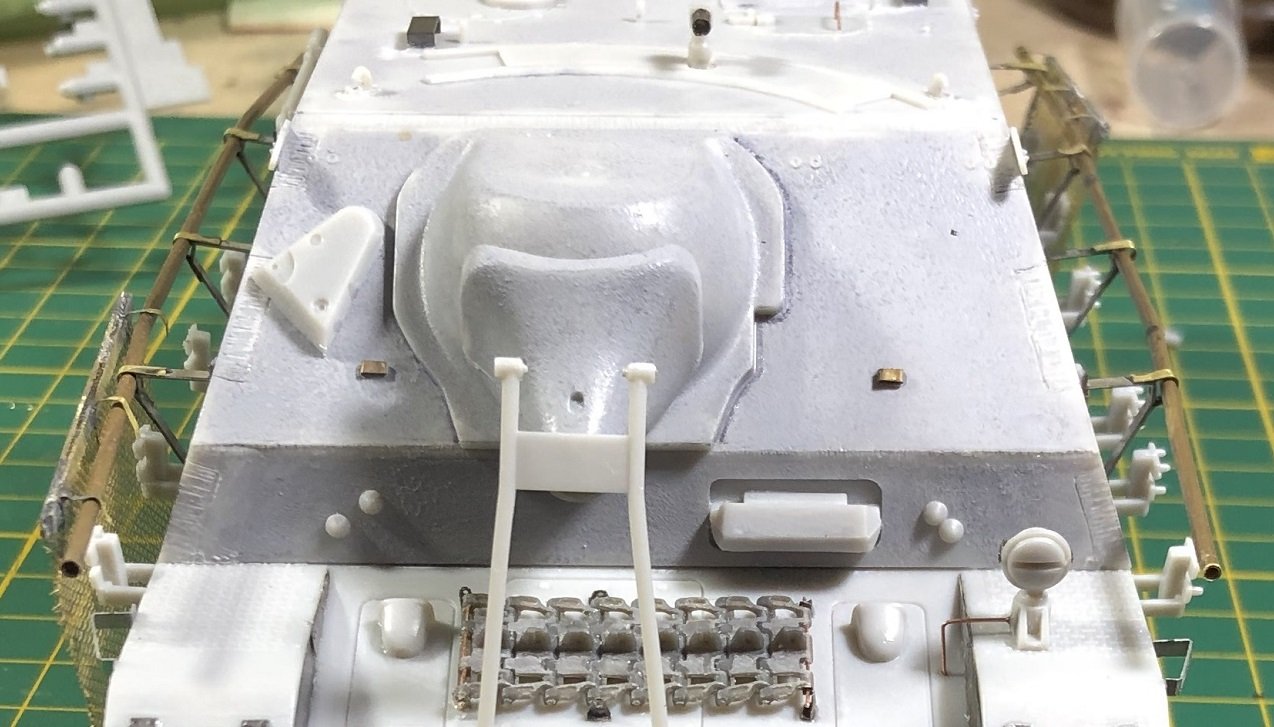
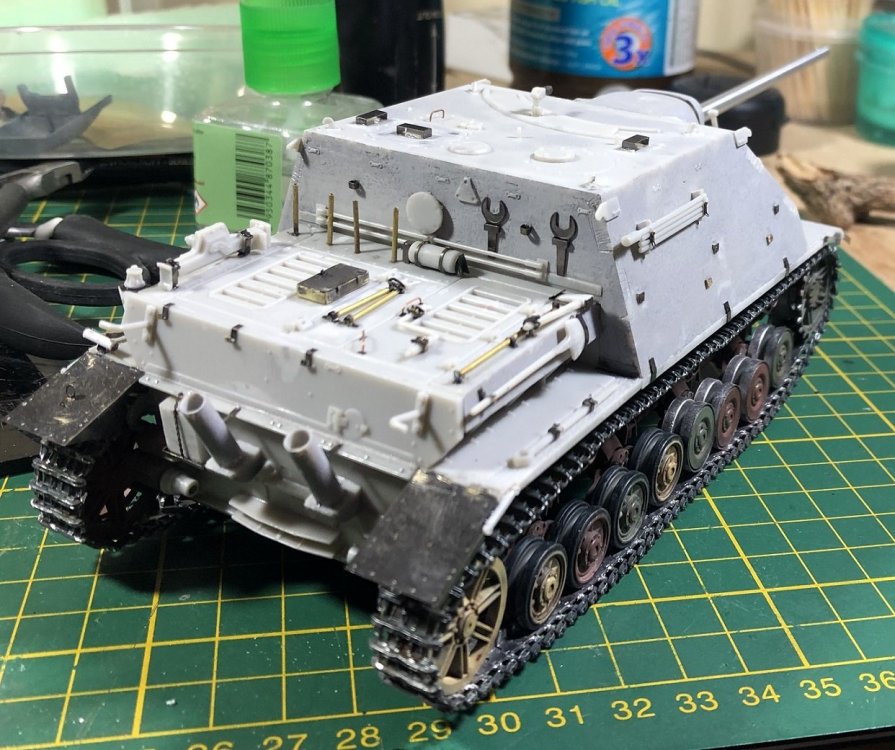
Thanks for the kind words, Gents. My helping hand arrived this week, and I've spent a lot of time trying to get a decent result. Sadly, my work has not yielded impressive results. Soldering tiny parts isn't very easy. And soldering mobile mesh isn't easy, either. Thinking back, another way to do it would have been to do it as one solid skirt. Perhaps I'll do it that way on the Pz IV J I have in the stash. Anyway... there is a lot of detail on the Thoma Schurzen. They may have been lighter than the earlier Schurzen. But they certainly have a lot more small parts holding them on. I wanted my attempt to at least appear more detailed and less clunky than the plastic parts. So, I've used brass strip and rod to replace as much plastic as possible. There is still some bolt heads for me to add, and a few bits of photo etch as well. That nasty stainless steel photo etch. Just thinking about it gives me the shits. Here are some photos.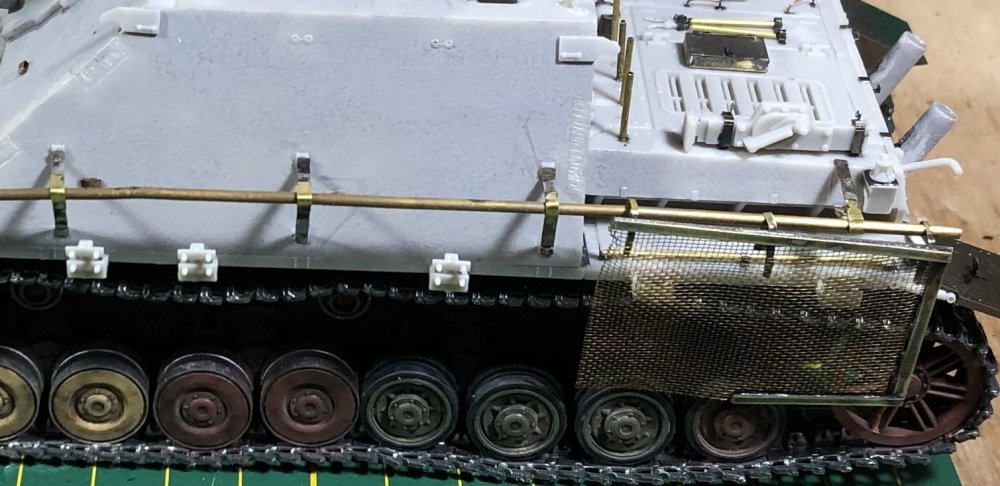


-
Pegasus Fi-103 v-1 1/18
GazzaS replied to belugawhaleman's topic in LSM 1/32 and Larger Aircraft Ready for Inspection
Nice job! -
ICM Gloster J8 Swedish volunteer
GazzaS replied to Drdave's topic in LSM 1/32 and Larger Aircraft Ready for Inspection
Great job, Dave! -
I'd go flaps down just to make all of the spitfire luvers grind their teeth.
-
Very awesome, John. I have a rule I've had to apply to all aircraft builds: If I'm masking an area I give it some gentle sanding with 1200 grit to give the paint something to hold on to. Using Tamiya paints as my primer, it has never failed.
-
I'm just wondering how the guy swung his guns out to use them.
-
You've never heard the story of the kids who wanted to give dad a surprise by washing his car? They used SOS pads.
- 2,035 replies
-
- 4
-

-

-
- car related stuff
- anything about cars
- (and 6 more)
-

- 2,035 replies
-
- 6
-

-
- car related stuff
- anything about cars
- (and 6 more)
-
I've discovered audiobooks on Youtube. I've been listening to the techno-thriller Act of Valor which flies under the Tom Clancy name while authored by two other dudes. Still... pretty good. I love 'reading' books while I model.