ScottsGT
-
Posts
2,767 -
Joined
-
Last visited
Content Type
Profiles
Forums
Events
Gallery
Everything posted by ScottsGT
-
Just dropped a $60 order. Someone posted on TOS that Roy’s business is slowing down and had to do a couple of layoffs. Not good news. Order up guys, we gotta support our cottage industry if we want them to be around tomorrow!
-
Expand beyond WWII market. We’ve lost vendors like DMold and Rhino Models on eBay that we’re selling seamless intakes for Phantoms and Hornets. Not a whole lot of other options and one vendors quality has been hit and miss. Maybe coordinate with lost manufacturers like Paul Fisher to revive some of his lineup? Some of the old Cutting Edge stuff is bringing good money on eBay as well. Hell, I’ve been looking everywhere for the unobtanium 1/48 C-130 Pinocchio nose. With 3D printing now an option storing files doesn’t take up shelf space or go bad from sitting if low demand. FWIW, just dropped a $60 order with Barracuda.
-
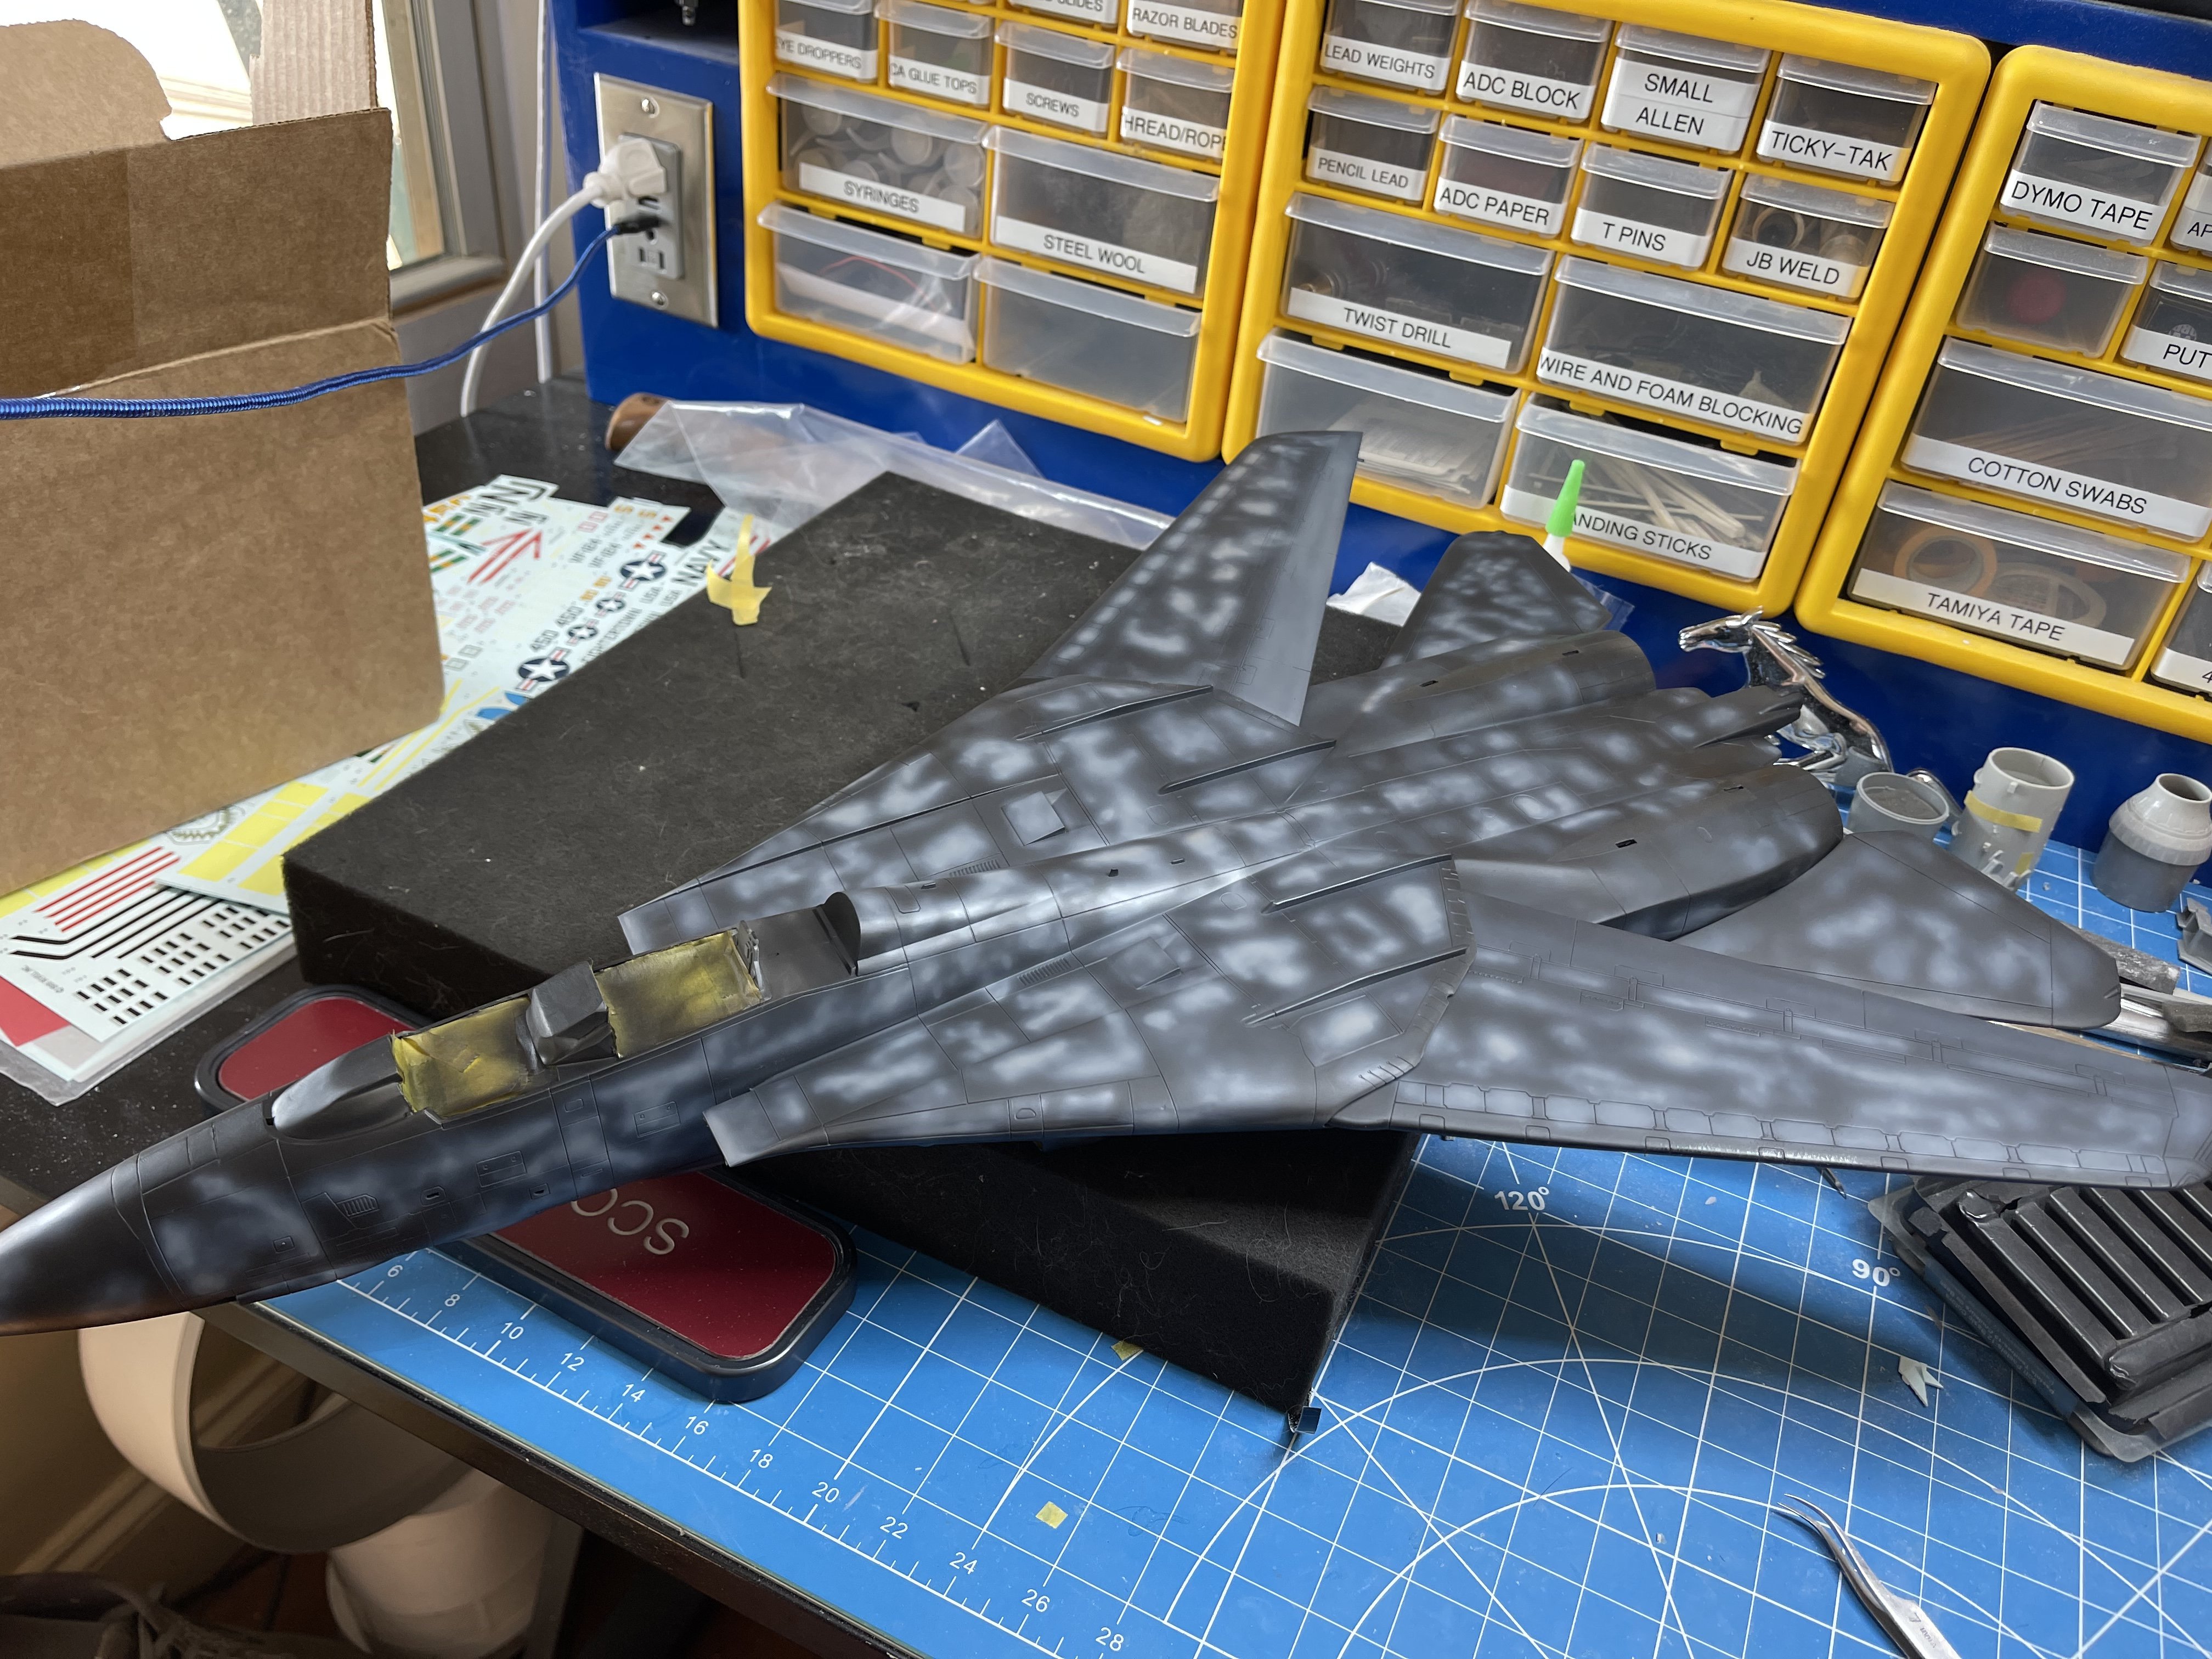
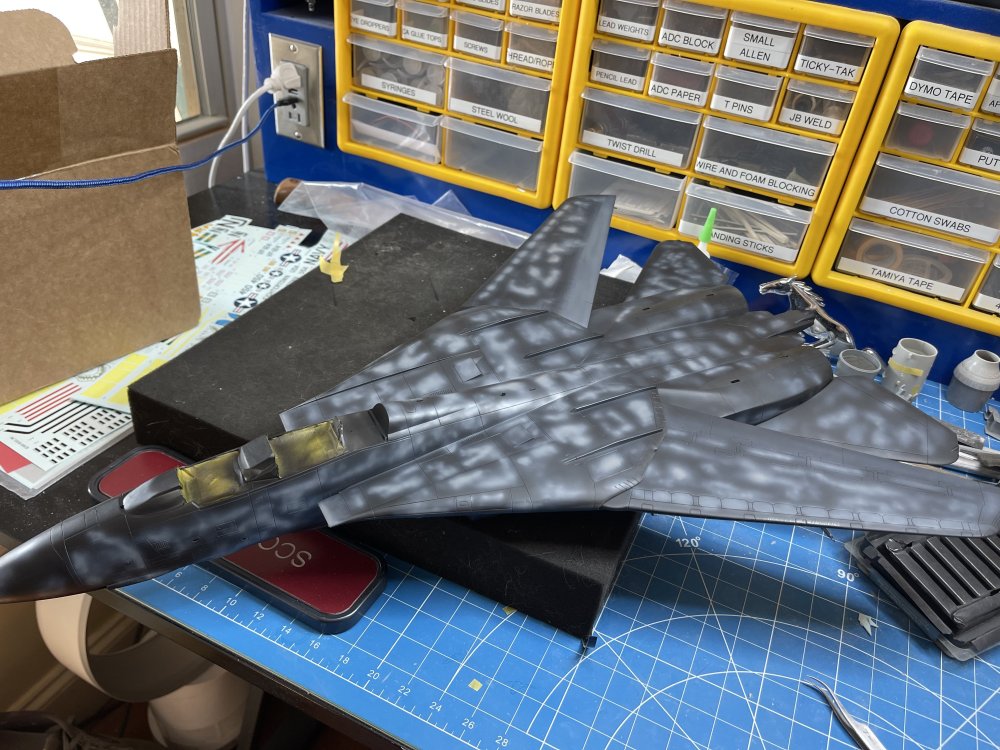
I took the day off from trying to keep the wife happy and had some “Me” time. I honestly have no idea what I’m doing here, but I’m trying to learn this black base technique. I think I need a lot more gray before the top coat.
-
OMG! I just sent that to my wife.
-
This is really great news! Not only because AMS products will live on, but what will this lead to in the future for the both of you? New products, reviving old products no longer made, etc… Congrats and I too look forward to supporting you Tim.
-
Wow Rog! Amazing deals you got there.
-
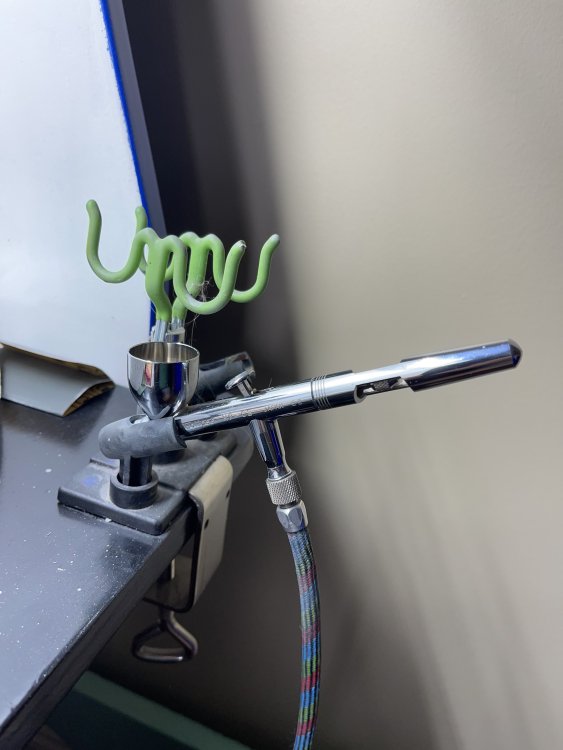
Mines held in place with magnetism. I’d have to pull it out to look, but not sure if the blades are magnetized or if there is a magnet in the holder.
-
Best circle cutter ever! https://www.amazon.com/DSPIAE-Stepless-Adjustment-Circular-Cutter/dp/B07MHMNZMZ/ref=asc_df_B07MHMNZMZ/?tag=hyprod-20&linkCode=df0&hvadid=459567493631&hvpos=&hvnetw=g&hvrand=567171813248764408&hvpone=&hvptwo=&hvqmt=&hvdev=c&hvdvcmdl=&hvlocint=&hvlocphy=9010406&hvtargid=pla-944814535883&psc=1
-
Signature post problems
ScottsGT replied to belugawhaleman's topic in Problems? Suggestions? Tell us!
Just spitballing here, but probably because when you did the copy, it also copies the font size and type and it’s imbedded in the info and cannot be changed. I’ve noticed similar things with doing a copy/paste of passwords emailed to me while trying to access pages. -
Celebrating the US Memorial Day - remembering the sacrifice
ScottsGT replied to Martinnfb's topic in General Discussion
Dads marker. 30 years in the USAF. Started out in the Army Air corps in the Berlin Airlift.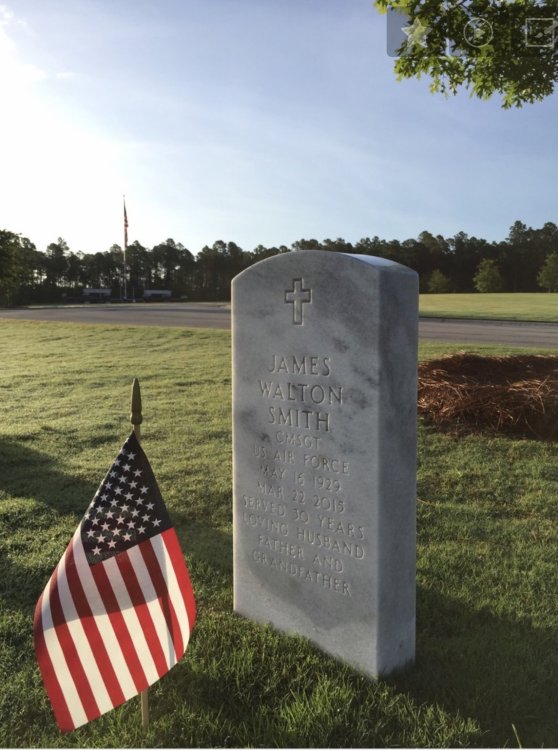
-
Will do!
-
Got back from our Caribbean cruise last week and my machined pitot tube for my F-14 was in the mailbox from Victory Productions. Cool. Set it on my end table next to my recliner. Still in the package. Went to grab it last night, nowhere to be found. Tore the house apart looking for it. Just gave up and ordered another one. $14 probably got tossed in the trash. Or now that I ordered a replacement it will show up. LOL! I just found it after placing the order. Oh well, I guess I’ll upgrade my VX-4 Black Bunny in my display case.
- 12 replies
-
- 14
-

-

-
"Alert 1 to Eagle 1, splash the Zeros!"- Tamiya F-14
ScottsGT replied to BlrwestSiR's topic in Let’s Get Wet Group Build.
Looking good! Due to the weather yesterday I got to get in some bench time on my tomcat project. Did some priming of the small parts like missiles and landing gear doors. As predicted, bad time of the year for me to try and get bench time in with all the spring home projects. I’m hoping one day I can retire from retirement. -
I guess my Google-foo wasn’t weak. I was searching for unobtanium.
-
Lucky…. Just the other day my wife said no more until I either build or sell half my stash. Just under 300 kits in it. I really do need to contemplate if I’m really going to build those 9 phantom kits or all 6 F-16 kits in the stash after I’ve already built 9. I was all about building different versions of the same plane, but since then the 1/32 market has grown so much.
-
I’ve always liked the early Sherman, but my Google-foo is weak tonight. I found articles on a 3D printed hull on other chassis, but I’m just wanting an OOB kit I can mull over buying.
-
Follow up! It’s perfect now! Before: After: Thanks guys!!

-
Seriously, amazing!

-
Wow. Seems that the 1/16 thing is taking over armor.
-
2 reasons…. 1). large surface areas that I know I can’t get enough Tamiya thin on without it starting to dry up before I can assemble the parts 2) Nostalga. Yea, sounds nuts. But it takes me back to a time when all I had to worry about was building my models. Now I’ve got to do lawn care, home improvements and maintenance, keep the wife happy, automotive maintenance, boat maintenance….and these are the reasons I’m not at the bench these days.
-
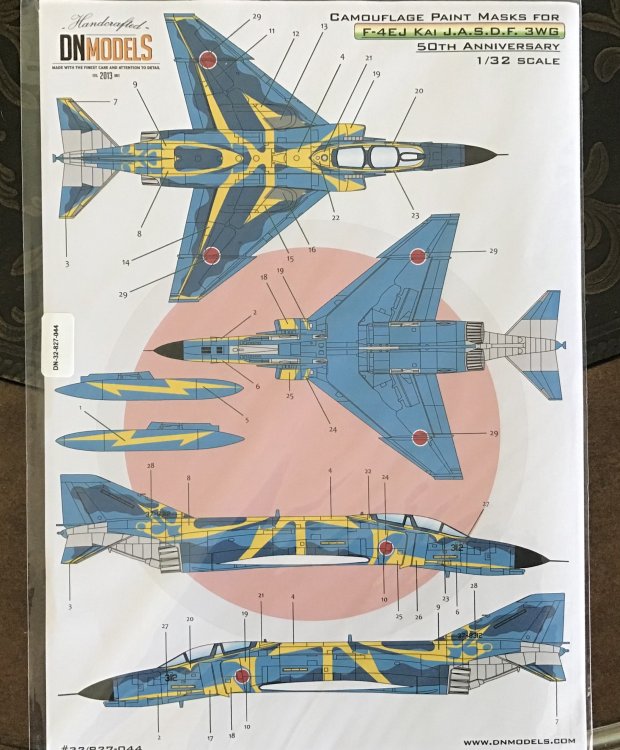
Well that’s the hard part! Wolfpack and Tamiya have both discontinued these. I was surprised to see DNModels offer a stencil set of something that has been OOP for many, many years. I did reach out to DN and ask about a Splinter mask set for the 1/32 F-35 from Italeri. They said they are considering it for the Trumpeter kit. Told them close enough and please do it!
-
I was going to ask how old was it? Might be time to toss it out and buy a fresh tube. Or build faster. LOL, John build faster….
-
Couldn’t help myself after seeing one done over on LSP. I’ve had the Wolfpack conversion and the EJ kit in my stash for years now planning on the blue Panthers scheme. But when I saw this, kind of made me glad I didn’t build it yet.
-
Yea, anything made after 1986 cannot be owned by regular folks like me. Gotta pay to have a special FFL and prove you need it for business or military or LE if you want post ‘86. So pre ‘86 is like ocean front property. Only so much made and prices climb constantly.
-
I wish. Last one I saw for sale was snatched up at $36,000.