
FME erk
-
Posts
518 -
Joined
-
Last visited
Content Type
Profiles
Forums
Events
Gallery
Everything posted by FME erk
-
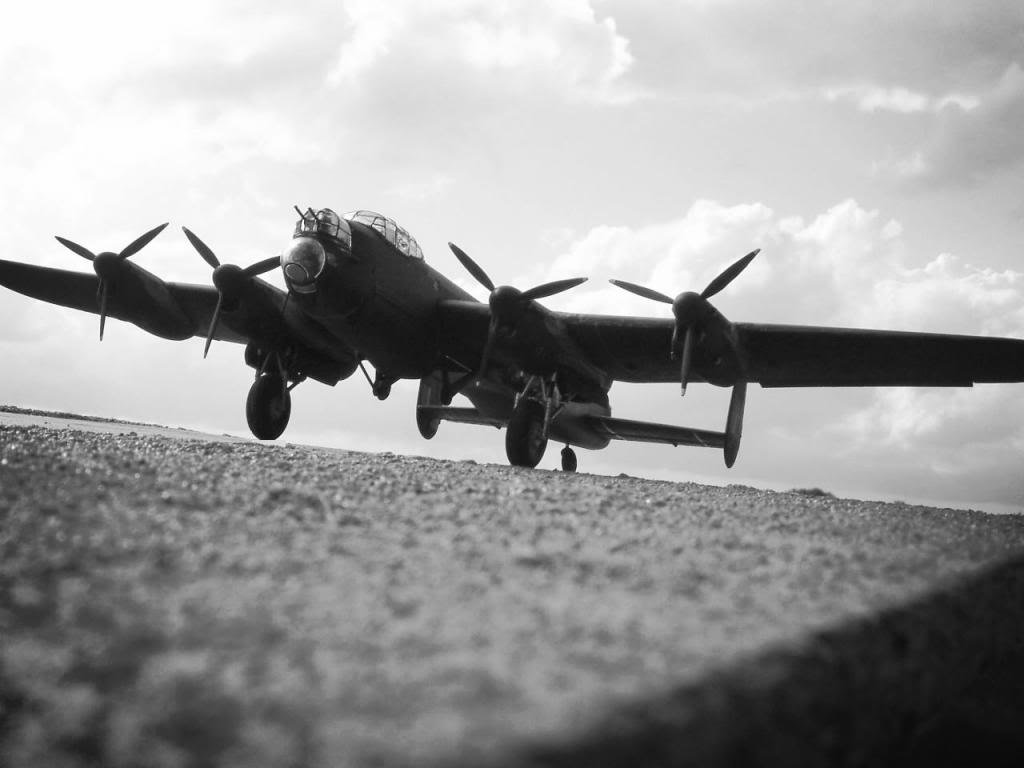
I have been wanting to start this for some time but having read and watched only one build through to completion, it seems that its quite an undertaking to complete. Because of the issues I thought that I would build the support vehicles first as I probably wouldn't want to build such vehicles if the Lancaster was going to become a bind. However, having virtually completed the AEC 6 x 6 refuelling bowser it time to start the beast. Other vehicles and equipment built for the diorama . . . I suppose I have had the advantage of hindsight of other builds so I am able to start with the knowledge of what is required. I have attached a list of corrections required of the HK model, a number are personal choice and I dare say to some modeller(s) the kit is acceptable in representing the finest allied heavy bomber. HK Lancaster fault/correction list (in no particular order) Jan. 2021 Cockpit floor removal as to high Pilots seat height and seat base in-correct Pilots armour needs replacing/re-shaping Pilots Control column to short Flt. Eng. Panel, remove, shape and thin down kick panel New flight Eng. seat required Cockpit rail cut back for IP to fit Replacement IP with AM Instrument panel Bomb-aimer bulkhead 7 sink marks Replace navigators seat with a bench -- personal choice Rear bomb bay bulkhead has 3 viewing windows, Should be 2 ASI position Starboard side fuselage to be eliminated Dinghy stowage in port wing, upper wing removal Landing lights in starboard wing beneath removal Wing tip lights Rearmost Wing tip fitment (5 thou- top) Flap detail missing ‘OOO’ top & bottom sections Flaps additional struts needed Propeller blades need turning Cabin heater openings in front wing section of inner wing sections Exhaust covers (shrouds) to large & need re-sizing Engine cowlings need panel lines removing Engine rad bottom cowlings wants opening - personal choice Engine radiator is post-war, needs a wartime type Reshape inner rad vent, square top Undercarriage to high, needs shortening Undercarriage main legs have 'holes' -need filling Ailerons and brackets, ribbed and bracket re-shaping Ejector stubs in one-piece main wing Ejector marks in undercarriage doors Ejector marks in bomb doors Ejector marks in bomb-bay rack To many bomb positions front section of bomb-bay Remove U/C ‘Non-retraction bars’ Rear entry doorstep wrong Front turret fairing top section broken (at point of delivery) Front turret Sink marks x 5 Front/Mid-upper/Rear turret casings (drill outs) Mid-upper turret fairing requires ‘blending’ Rear turret doors absent - fir turret doors Rear turret front Perspex removal – my choice of aircraft Rear turret centre (gunners feet), personal choice Cockpit framing required? Canopy Escape Hatch framing (additional frame removal ?) Main wheel hubs need drilling (Resin type obtained) Tail wheel needs strengthening, personal choice Tail-plane – 2 tops – 2 bottoms split ------------------------------------------ . . . . indicates item resolved 60” fuselage roundel . ‘ 47.5mm’ 102” wing roundel . . . .‘80.75 mm’ My choice of aircraft is the last one lost flying out of RAF Station Grimsby in Lincolnshire . . . more details of this aircraft as I progress Looking forward to getting some plastic together rgds Ian

.thumb.JPG.91b62a4bb3cd37995388d1d22c61da75.JPG)
- 225 replies
-
- 11
-

-

-
All the very best to One and ALL May 2021 proved to be more worth while . . . Ian
-
Scratch build 1/35th 6W AEC Matador refueller
FME erk replied to FME erk's topic in LSM 1/35 and Larger Work In Progress
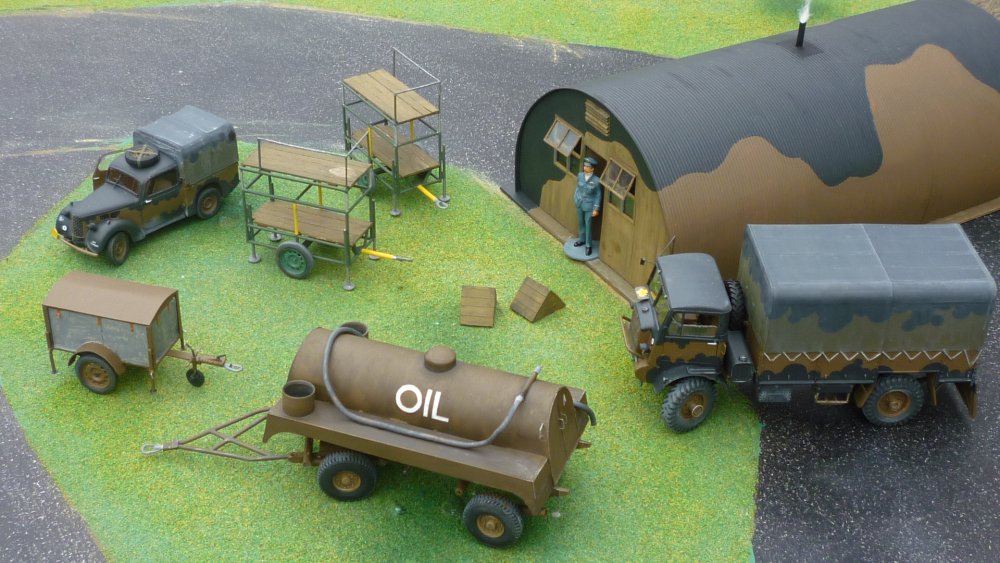
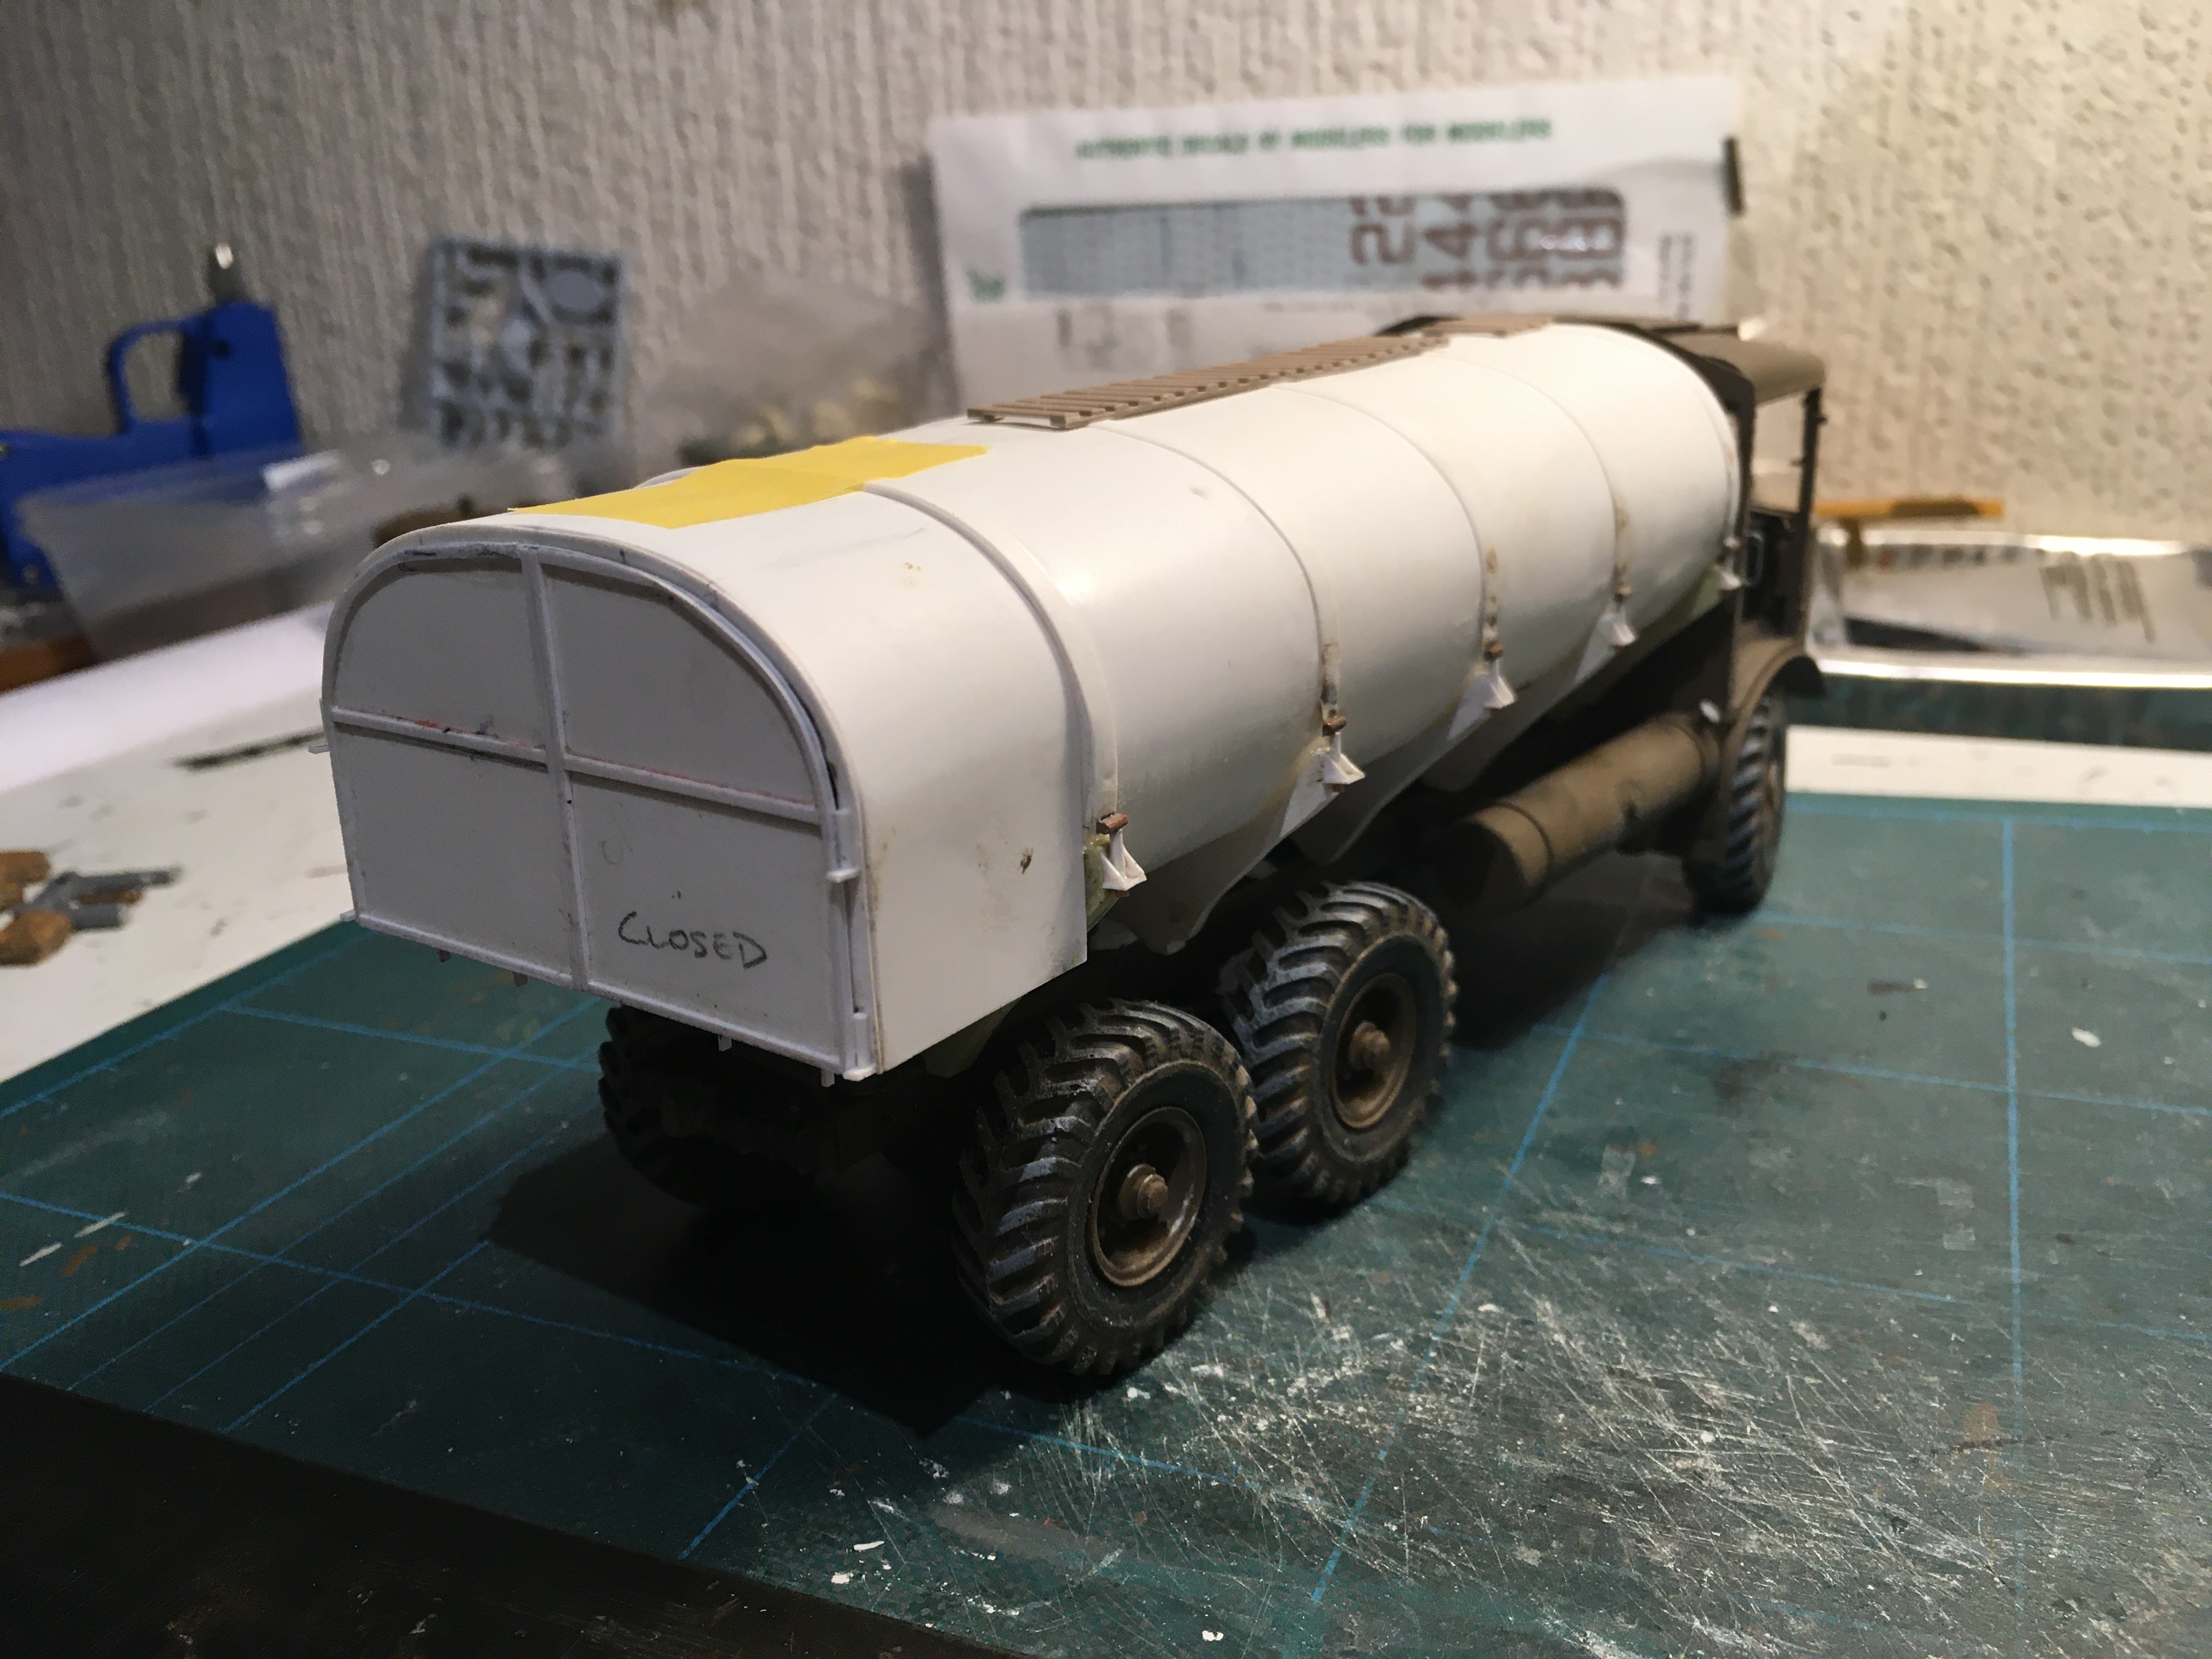
Its almost done . . . I have just applied varnish to then place the decals appropriate for the type and Group for my display. A few progress photos of the mudguards for the rear . . . Hopefully I shall get this completed as far as I can, I still have the circular hatches on the very top to do along with their vents, however, these will be done in between periods of 'waiting' as I start to build the HK Lancaster come the New Year . . . I shall take the photos of the AEC refueller over the next couple of days particularly if I catch a glimpse of sunshine . . .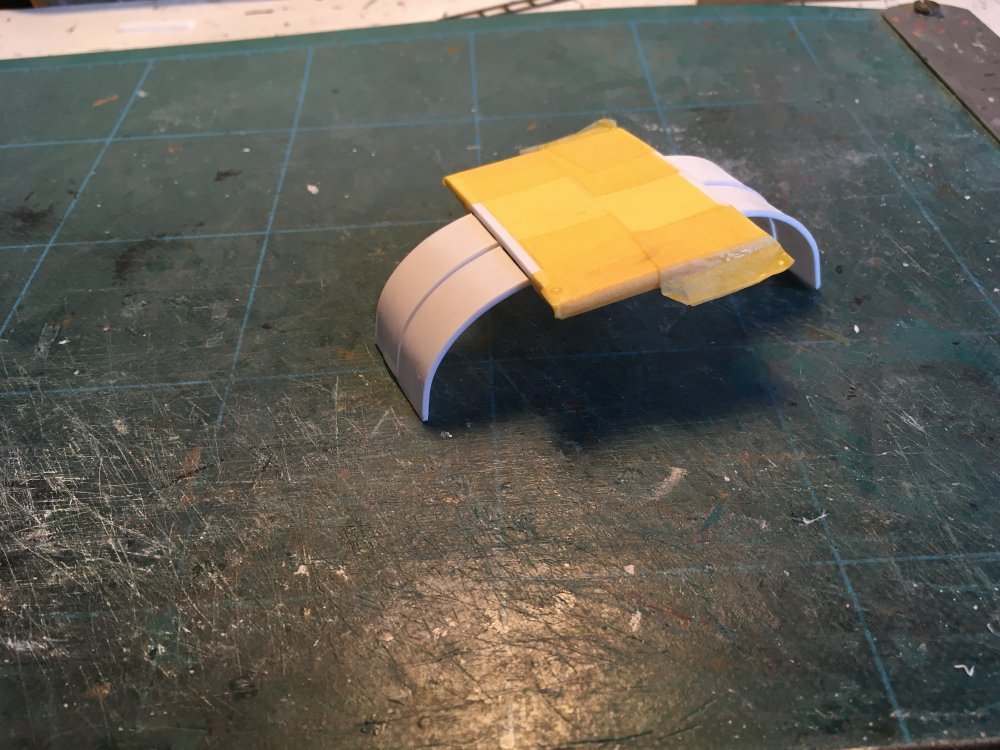
-
I do like the look of that . . .
-
John Its been done so many times, any particular reason for doing so . . . ?
-
HK's 1/32 Mosquito-Finished
FME erk replied to KevinM's topic in LSM 1/35 and Larger Work In Progress
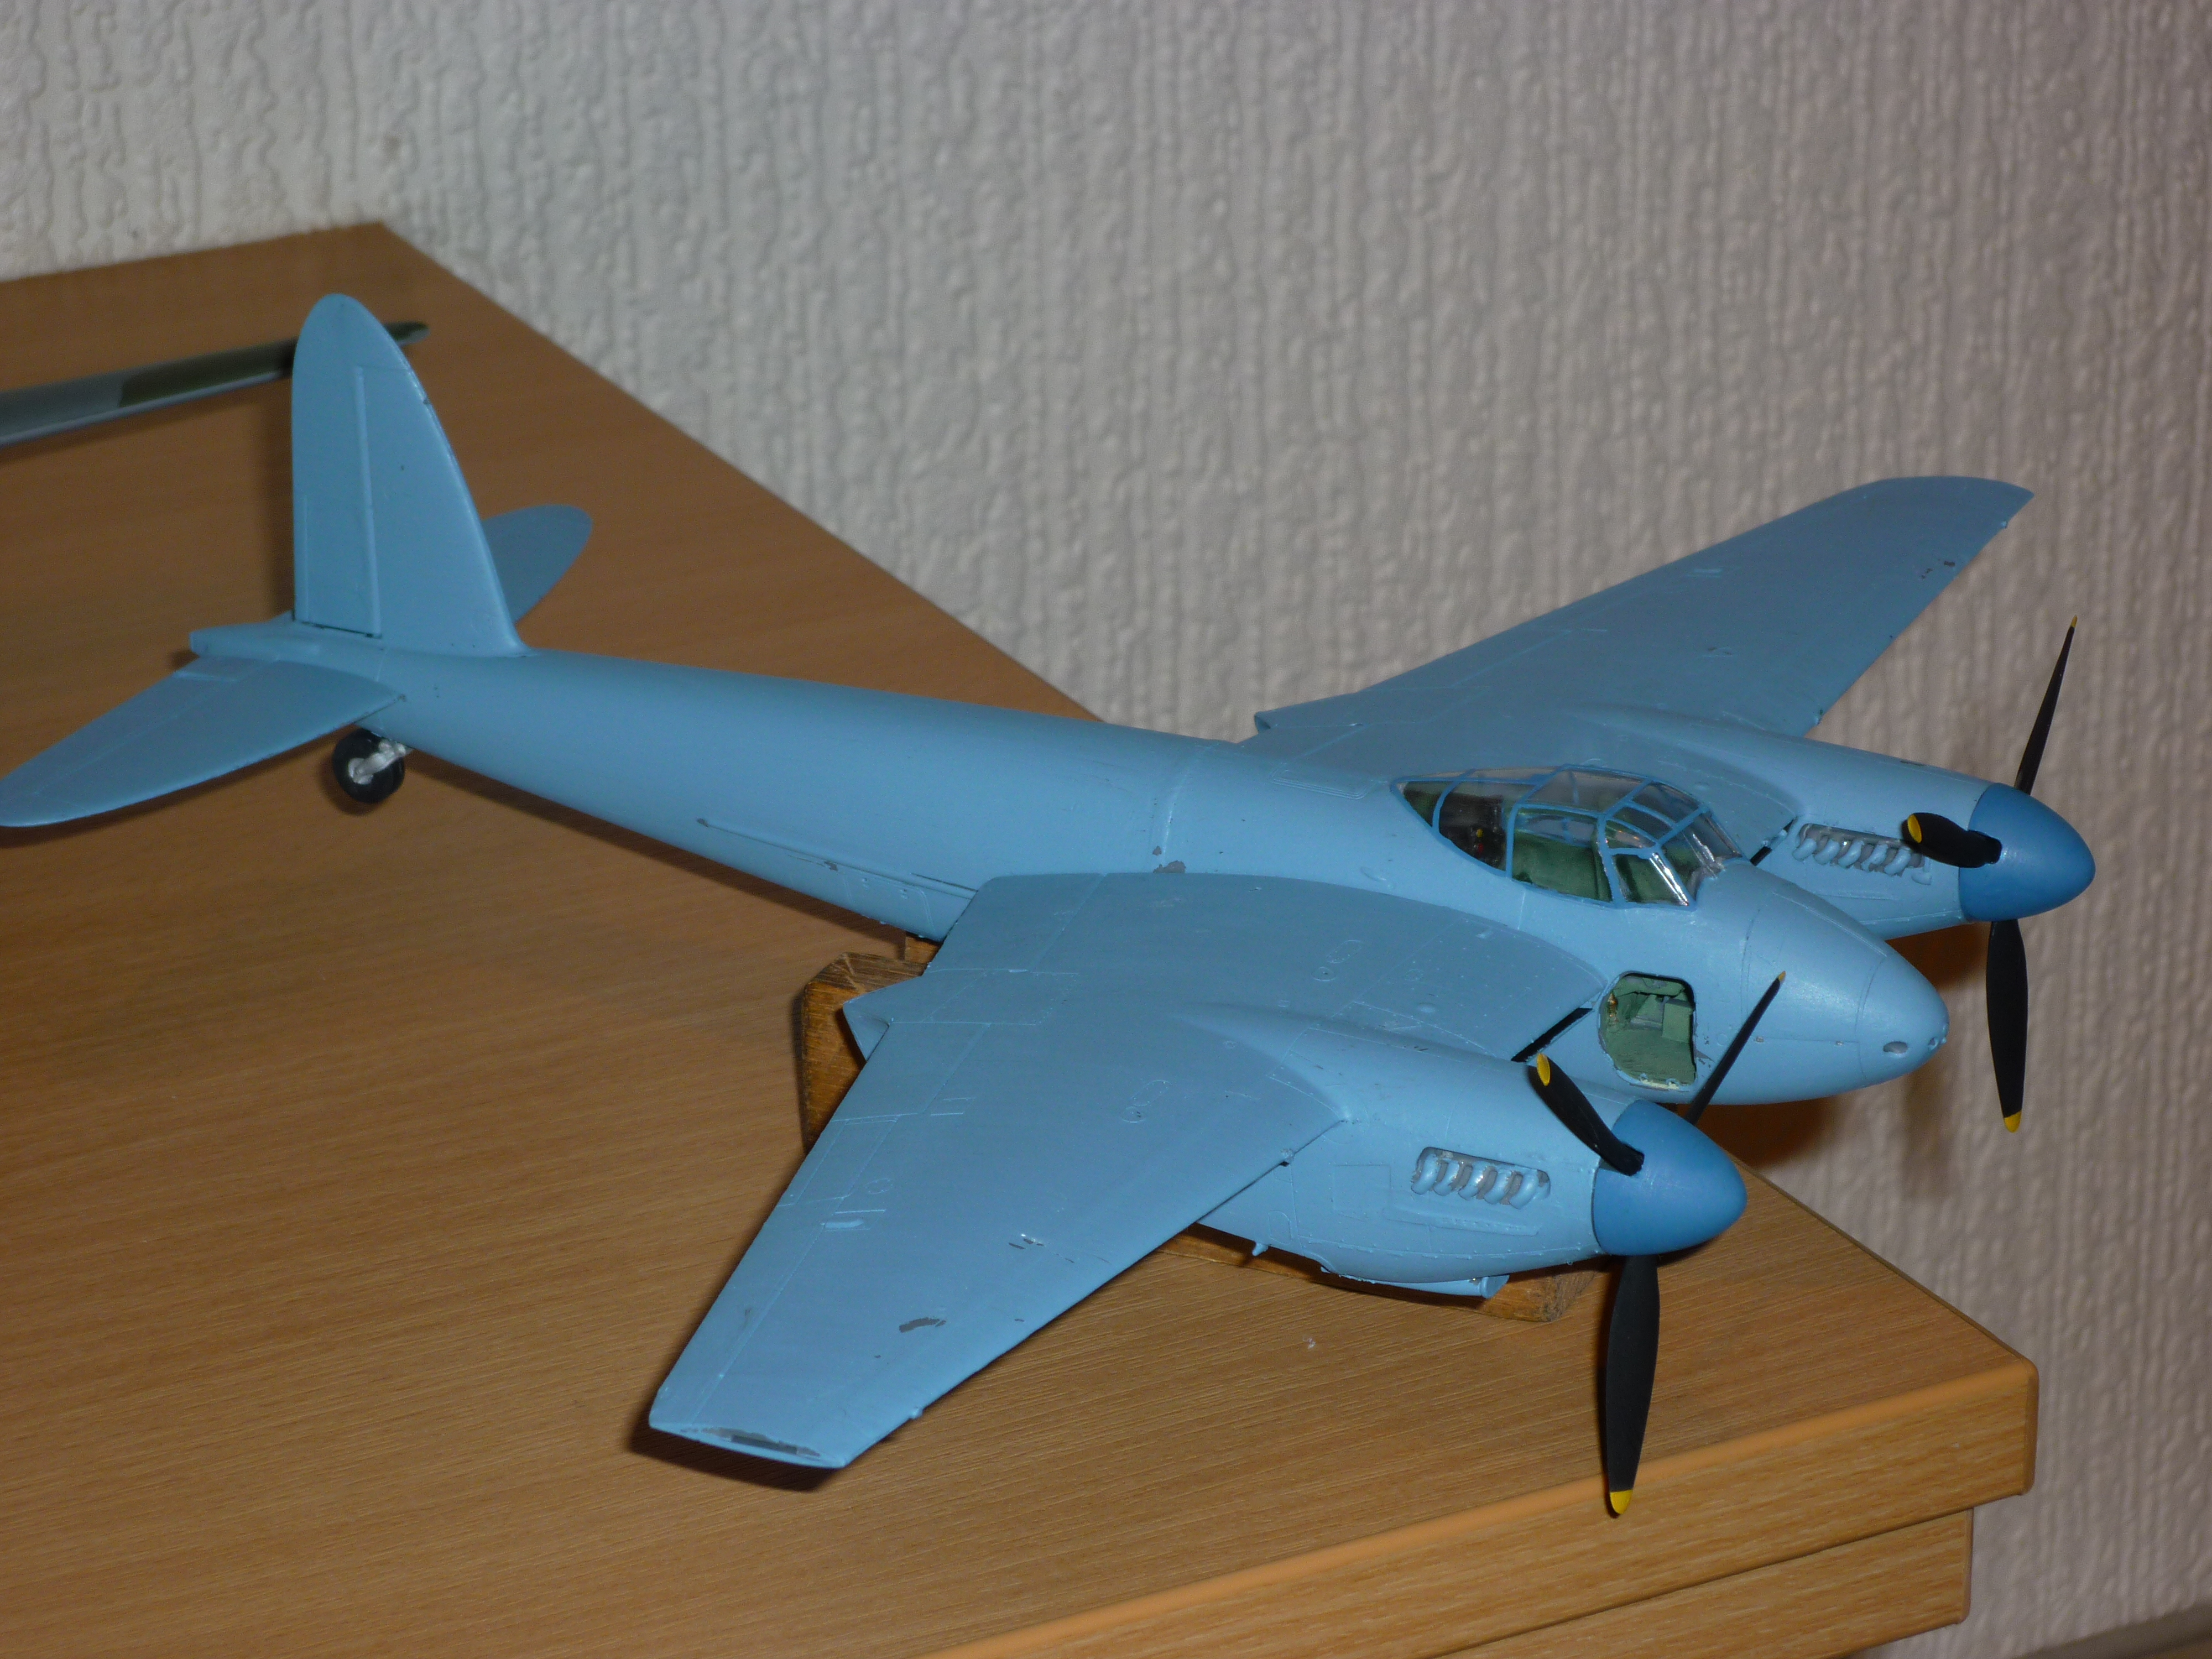
2nd most favourite aircraft . . . The Mosquito was the most versatile aircraft of WWII . . . . it could and did so much . . . Looking forward to seeing it on the bench Kevin, here is a smaller version that I finished some time ago but all I have is this in-build photo . . .
-
Scratch build 1/35th 6W AEC Matador refueller
FME erk replied to FME erk's topic in LSM 1/35 and Larger Work In Progress
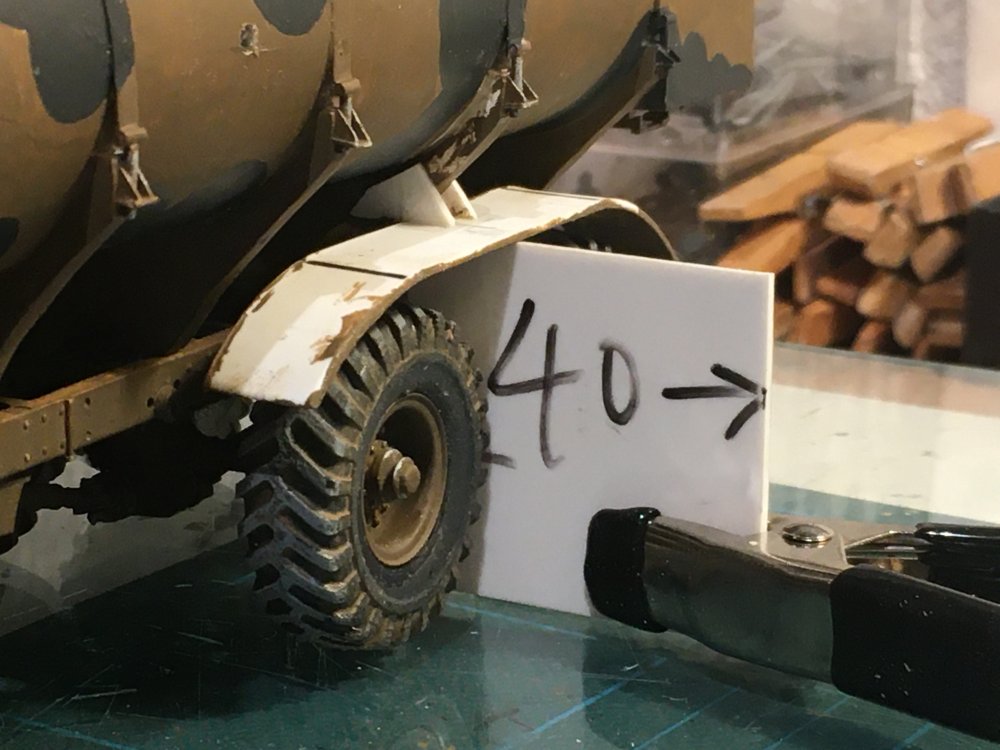
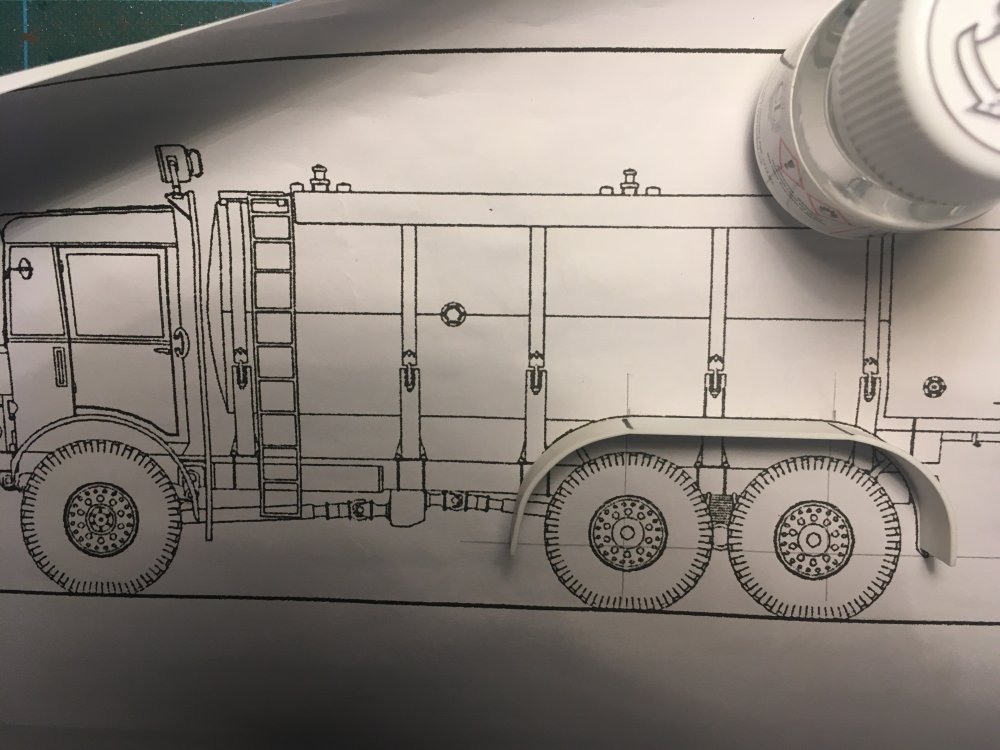
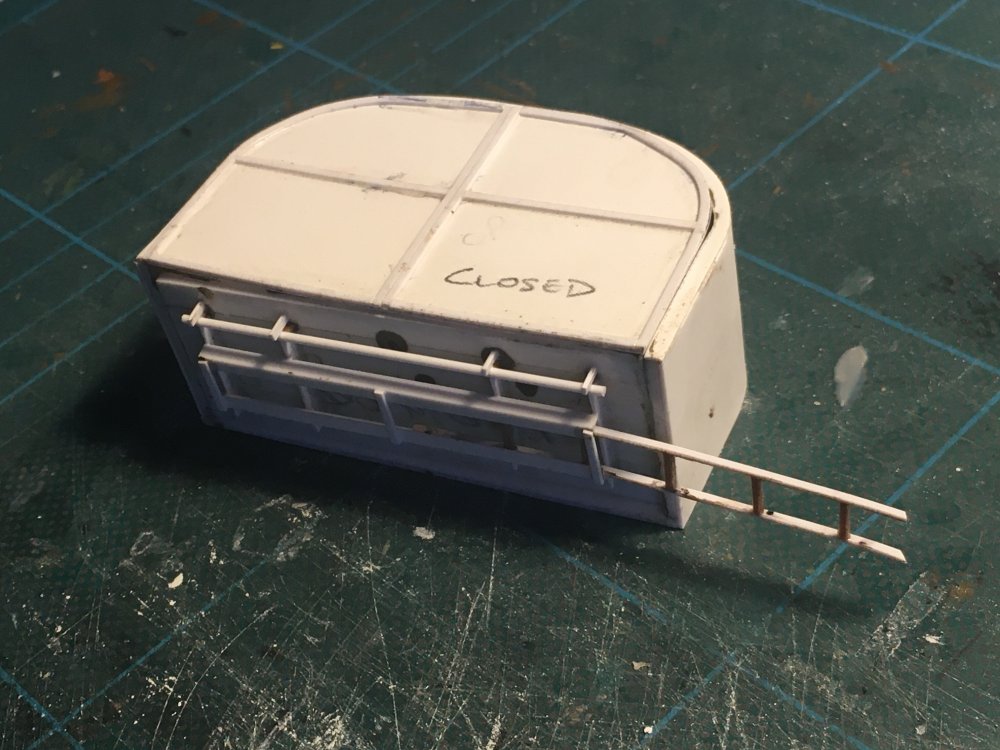
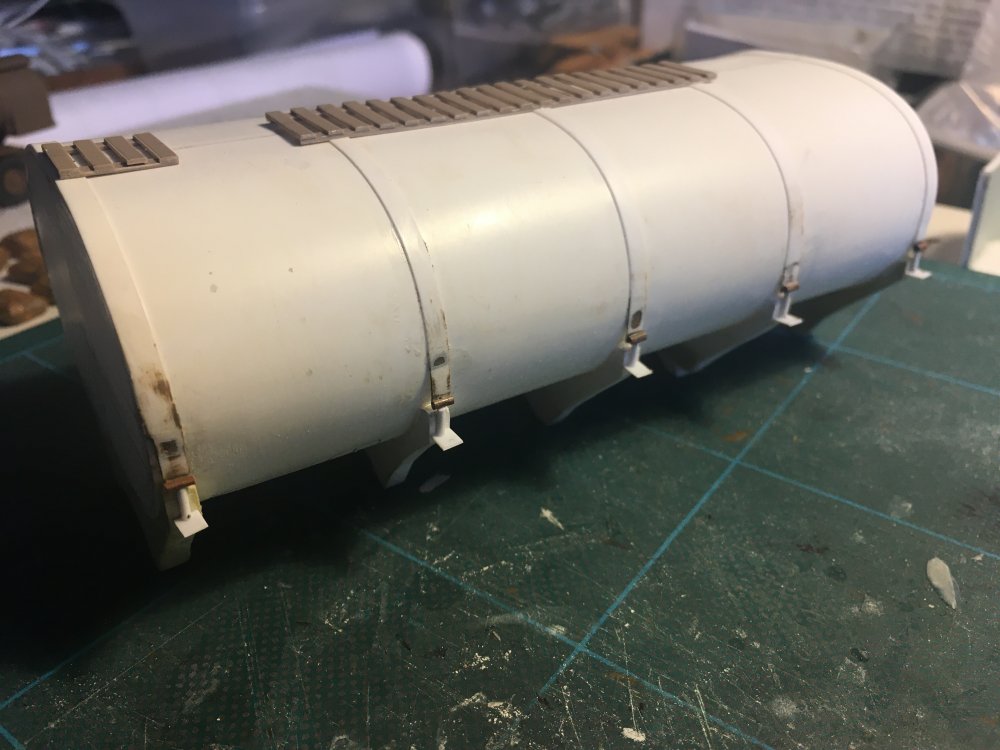
Despite fixing the spare wheel carrier onto the side of the tank I did not think there was sufficient clearance for the main rear bogie wheels so I decided to take it OFF. Bearing in mind that I scaled up the 3-view drawing in the Airfix kit, the third tank support should have been further forward to give me the clearance but hey ho, plenty of vehicles didnt carry the spare wheel. I had to wait for some 'evergreen' stuff to arrive before I could progress with the hose housing on the roof, there being two lots. I have also constructed the access ladder to the said roof . . . . I also sneaked some paint on the rear doors just to give me a tiny lift, to encourage me to reach the finish line . . Final hurdle will be the rear mudguards, not to difficult but just got to ensure that they are the same . . .
-
Vandy1 that looks a beaut ... They used to fly them from nearby Goxhill, Lincolnshire, England, but obviously an early version, one of which I want to model in the future . . .
-
Well it been almost a year but my HK Lancaster only arrived in January and I have been watching other builds and doing some research so I should be good to go in the coming year . . . For me its the ultimate Lancaster bomber kit . . . .
-
I'll just pull up a chair and wait for you to get started then . . . .
-
HK Lancaster Dambuster finished
FME erk replied to Kaireckstadt's topic in LSM 1/32 and Larger Aircraft Ready for Inspection
I always look forward to seeing more examples of the HK Lancaster and your version is one of the better ones. Have you a Link to the electronics pack for the engines I wonder ?? -
Scratch build 1/35th 6W AEC Matador refueller
FME erk replied to FME erk's topic in LSM 1/35 and Larger Work In Progress
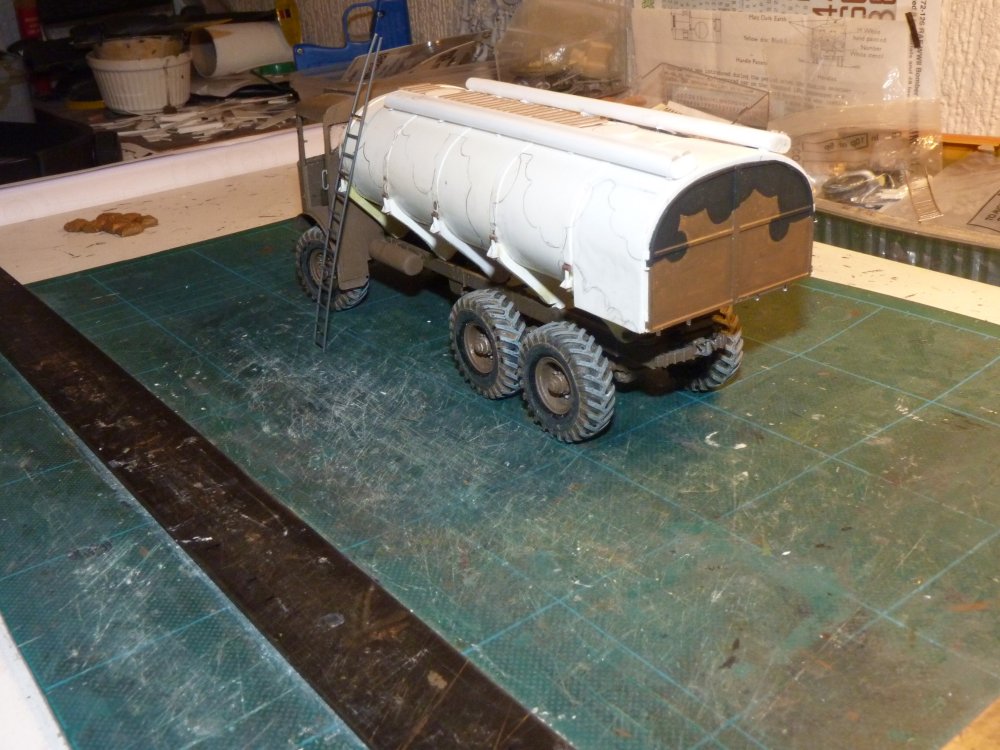
At the moment I am not getting much done at the weekends so here is a little it of progress . . . The tank isnt secured yet to the chassis and the rear pump housing is just taped on. I want to get the spare wheel carrier fitted with its spare tyre taken from the kit and when that done I can secure it all. The last thing will be the mudguards over the rear bogies and then a final paint job . . . .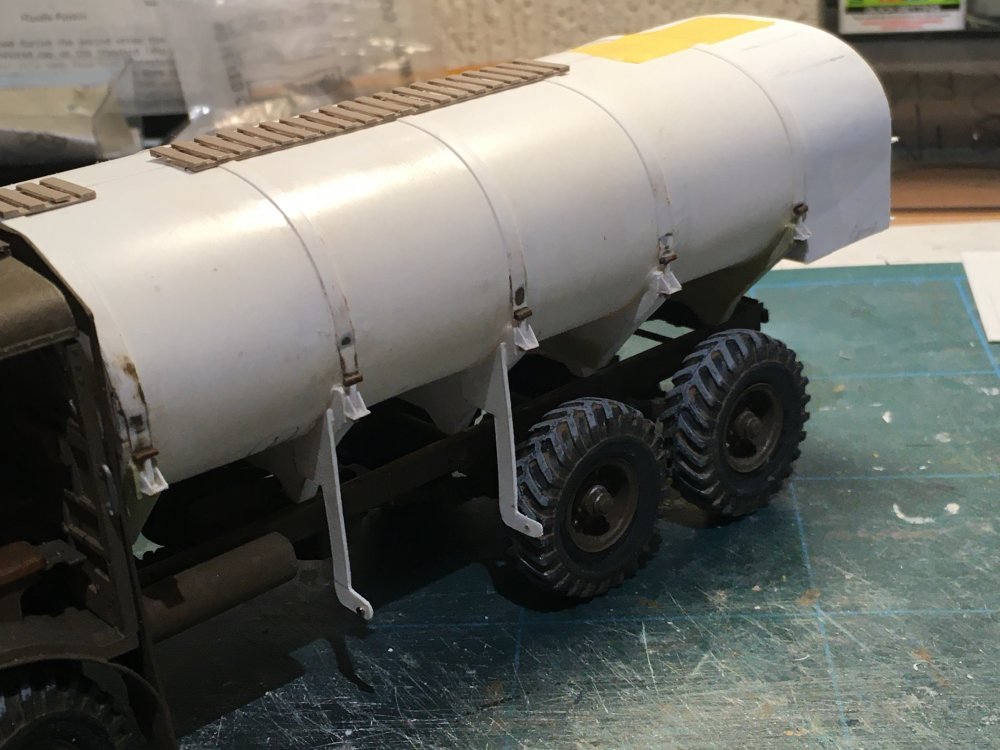

-
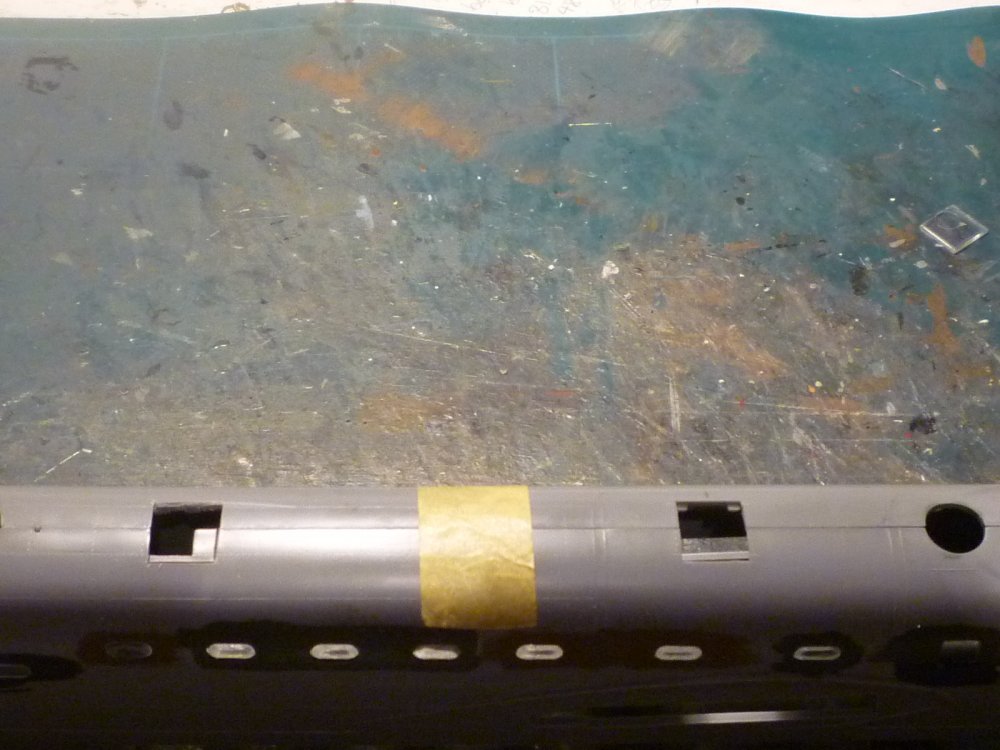
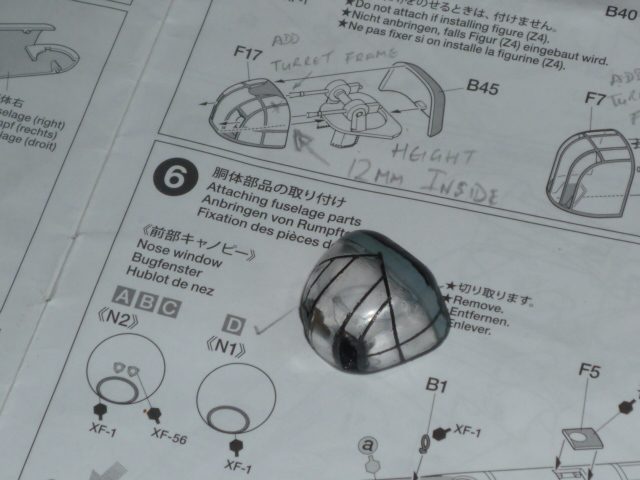
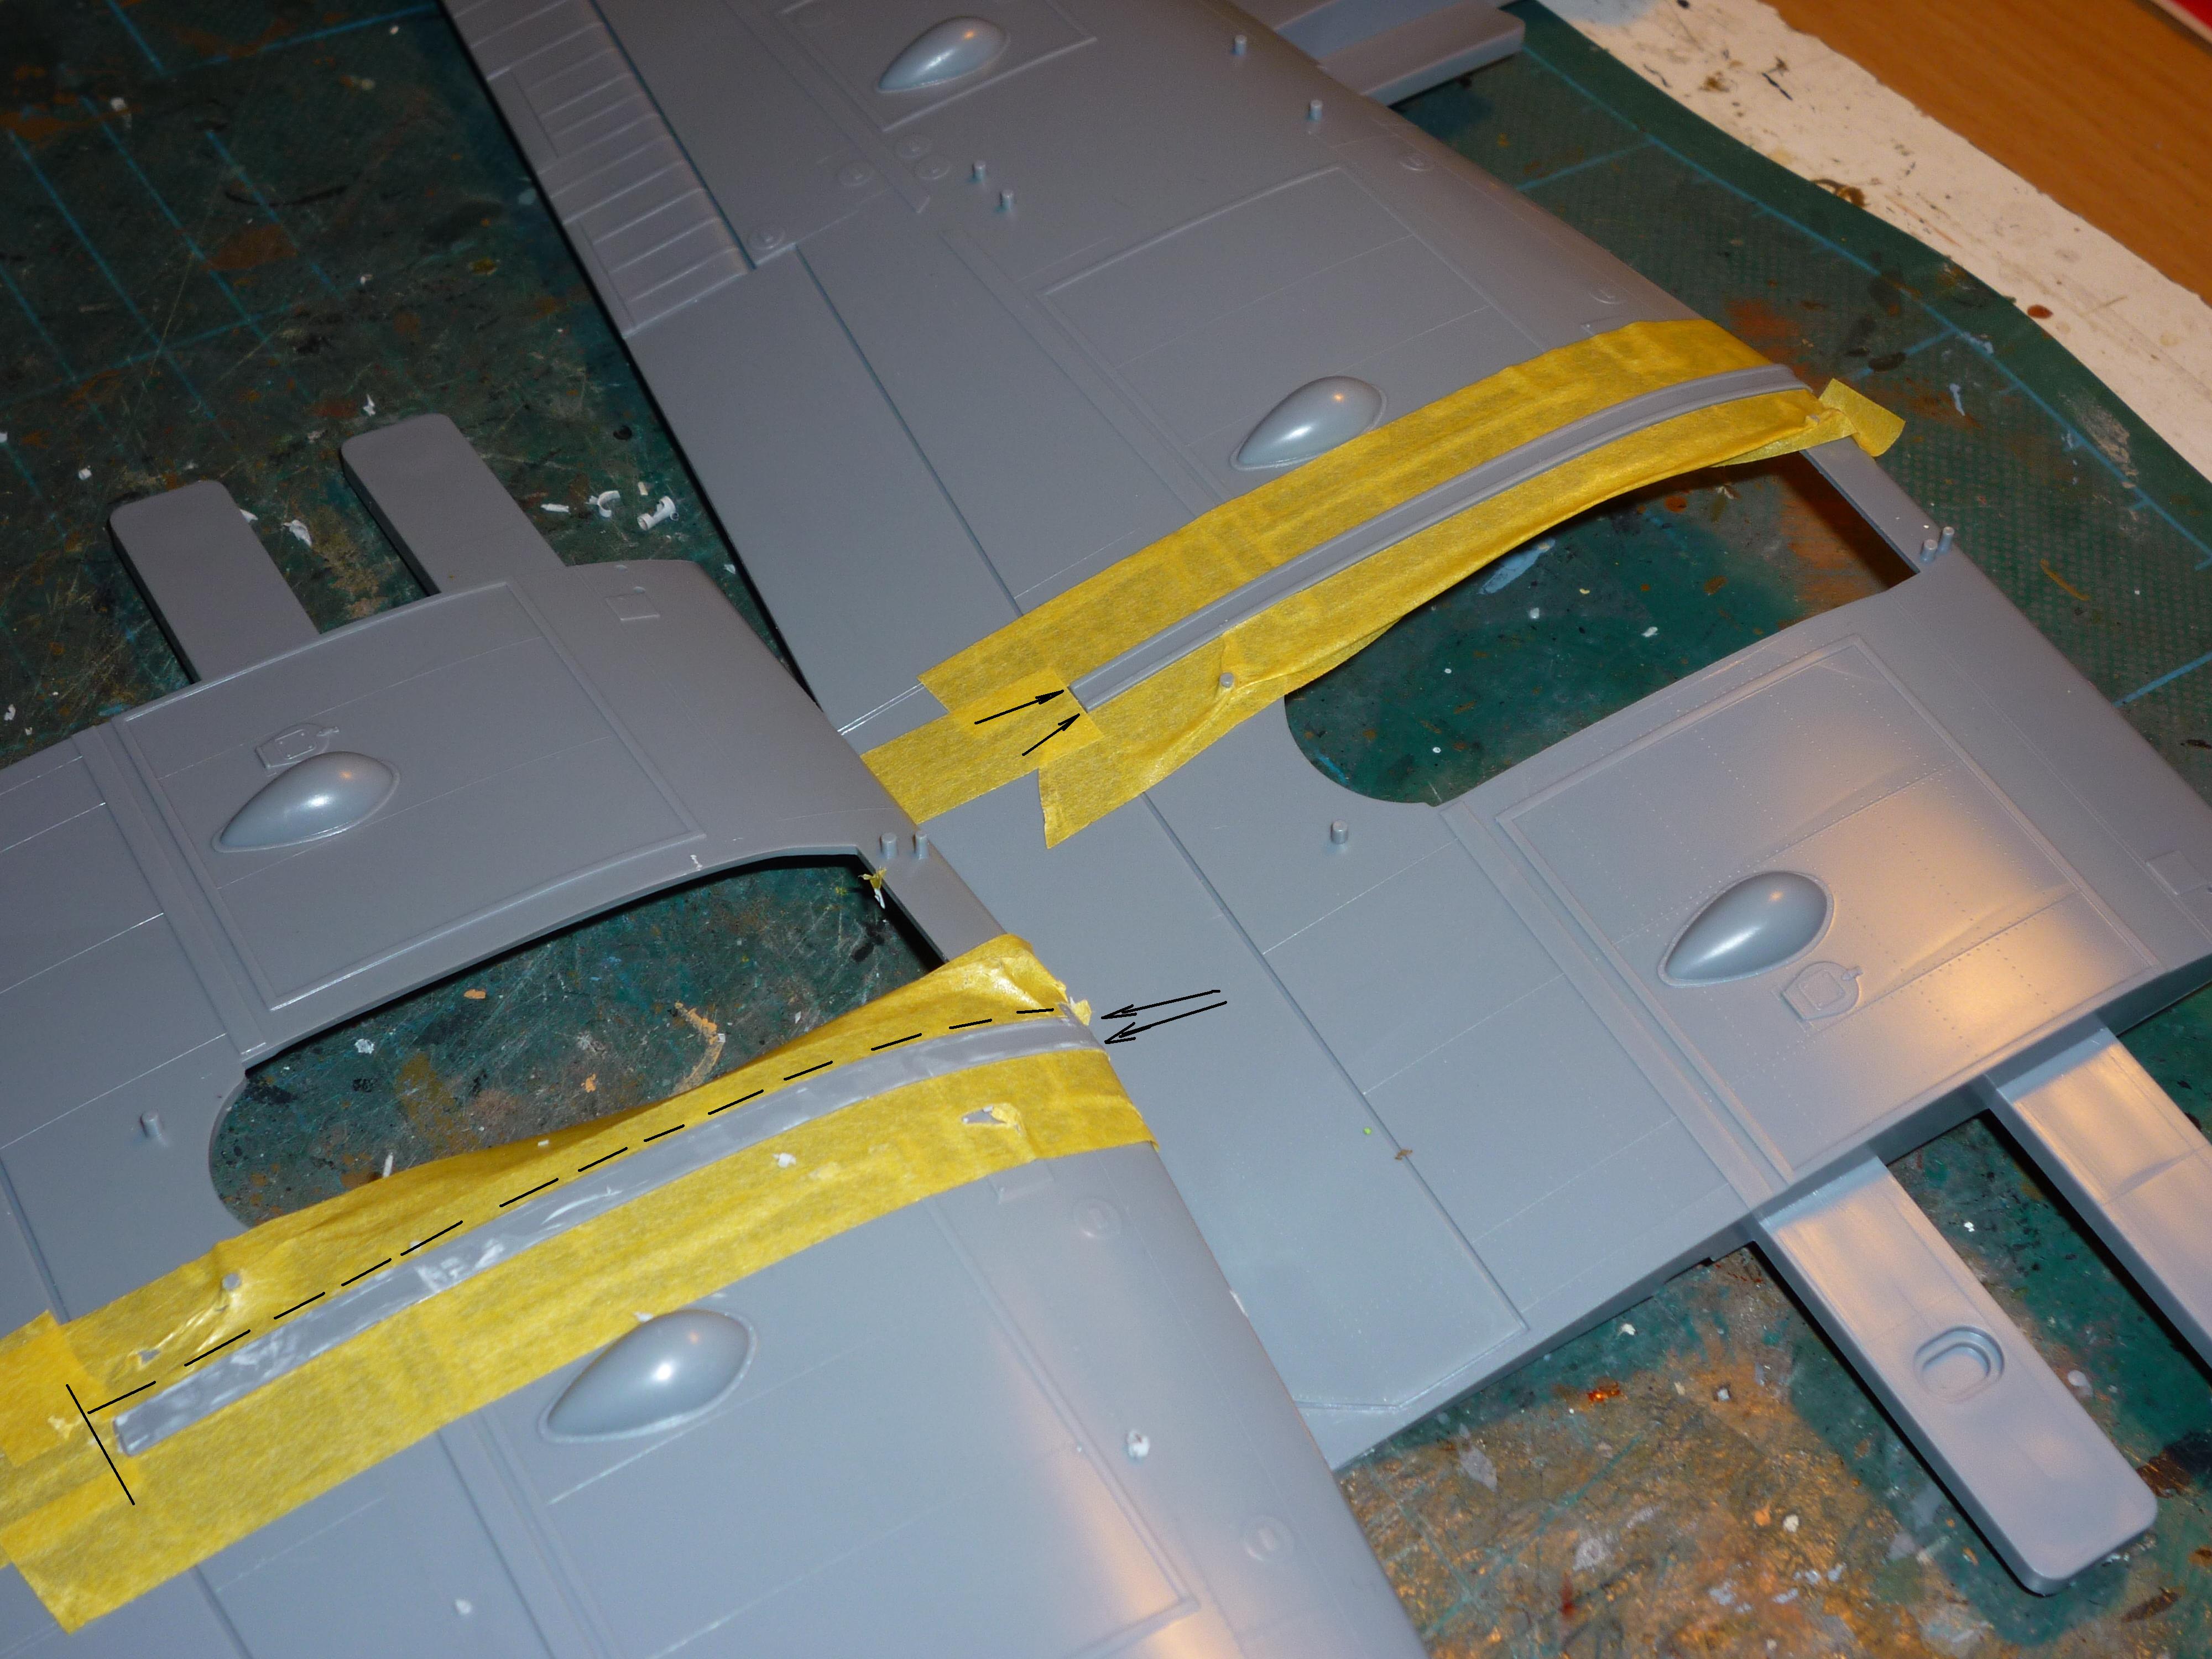
Firstly the W/op. window wants moving back . . . the 'tram lines' on the top (and bottom) of the main wing where the wing joint is need removing . . . I dont know if you are confident enough to erase the frame lines on the front turret and redo to original factory frame work . . . The rear escape hatch on the top of the fuselage needs to be the same size as the front one . . . After market wheel for smooth thread or simply fill them with filler and smooth round . . .


-
Are you going to make good a couple of obvious defects or will it be OOB ? I think its a reasonable kit to build and I am/was in the process of building another (filled the fuselage windows in ) but like a lot of people, another kit takes you away . . . . I shall llok forward to seeing yours progress . . . Ian
-
. . .. thats unbelievable and Lego to boot . . .
-
1929 Fokker Super Universal
FME erk replied to Clunkmeister's topic in LSM 1/35 and Larger Work In Progress
The hey day of flying and what a bird to be building . . . watching with interest- 67 replies
-
- 3
-
-
- fokker
- super universal
- (and 5 more)
-
Scratch build 1/35th 6W AEC Matador refueller
FME erk replied to FME erk's topic in LSM 1/35 and Larger Work In Progress
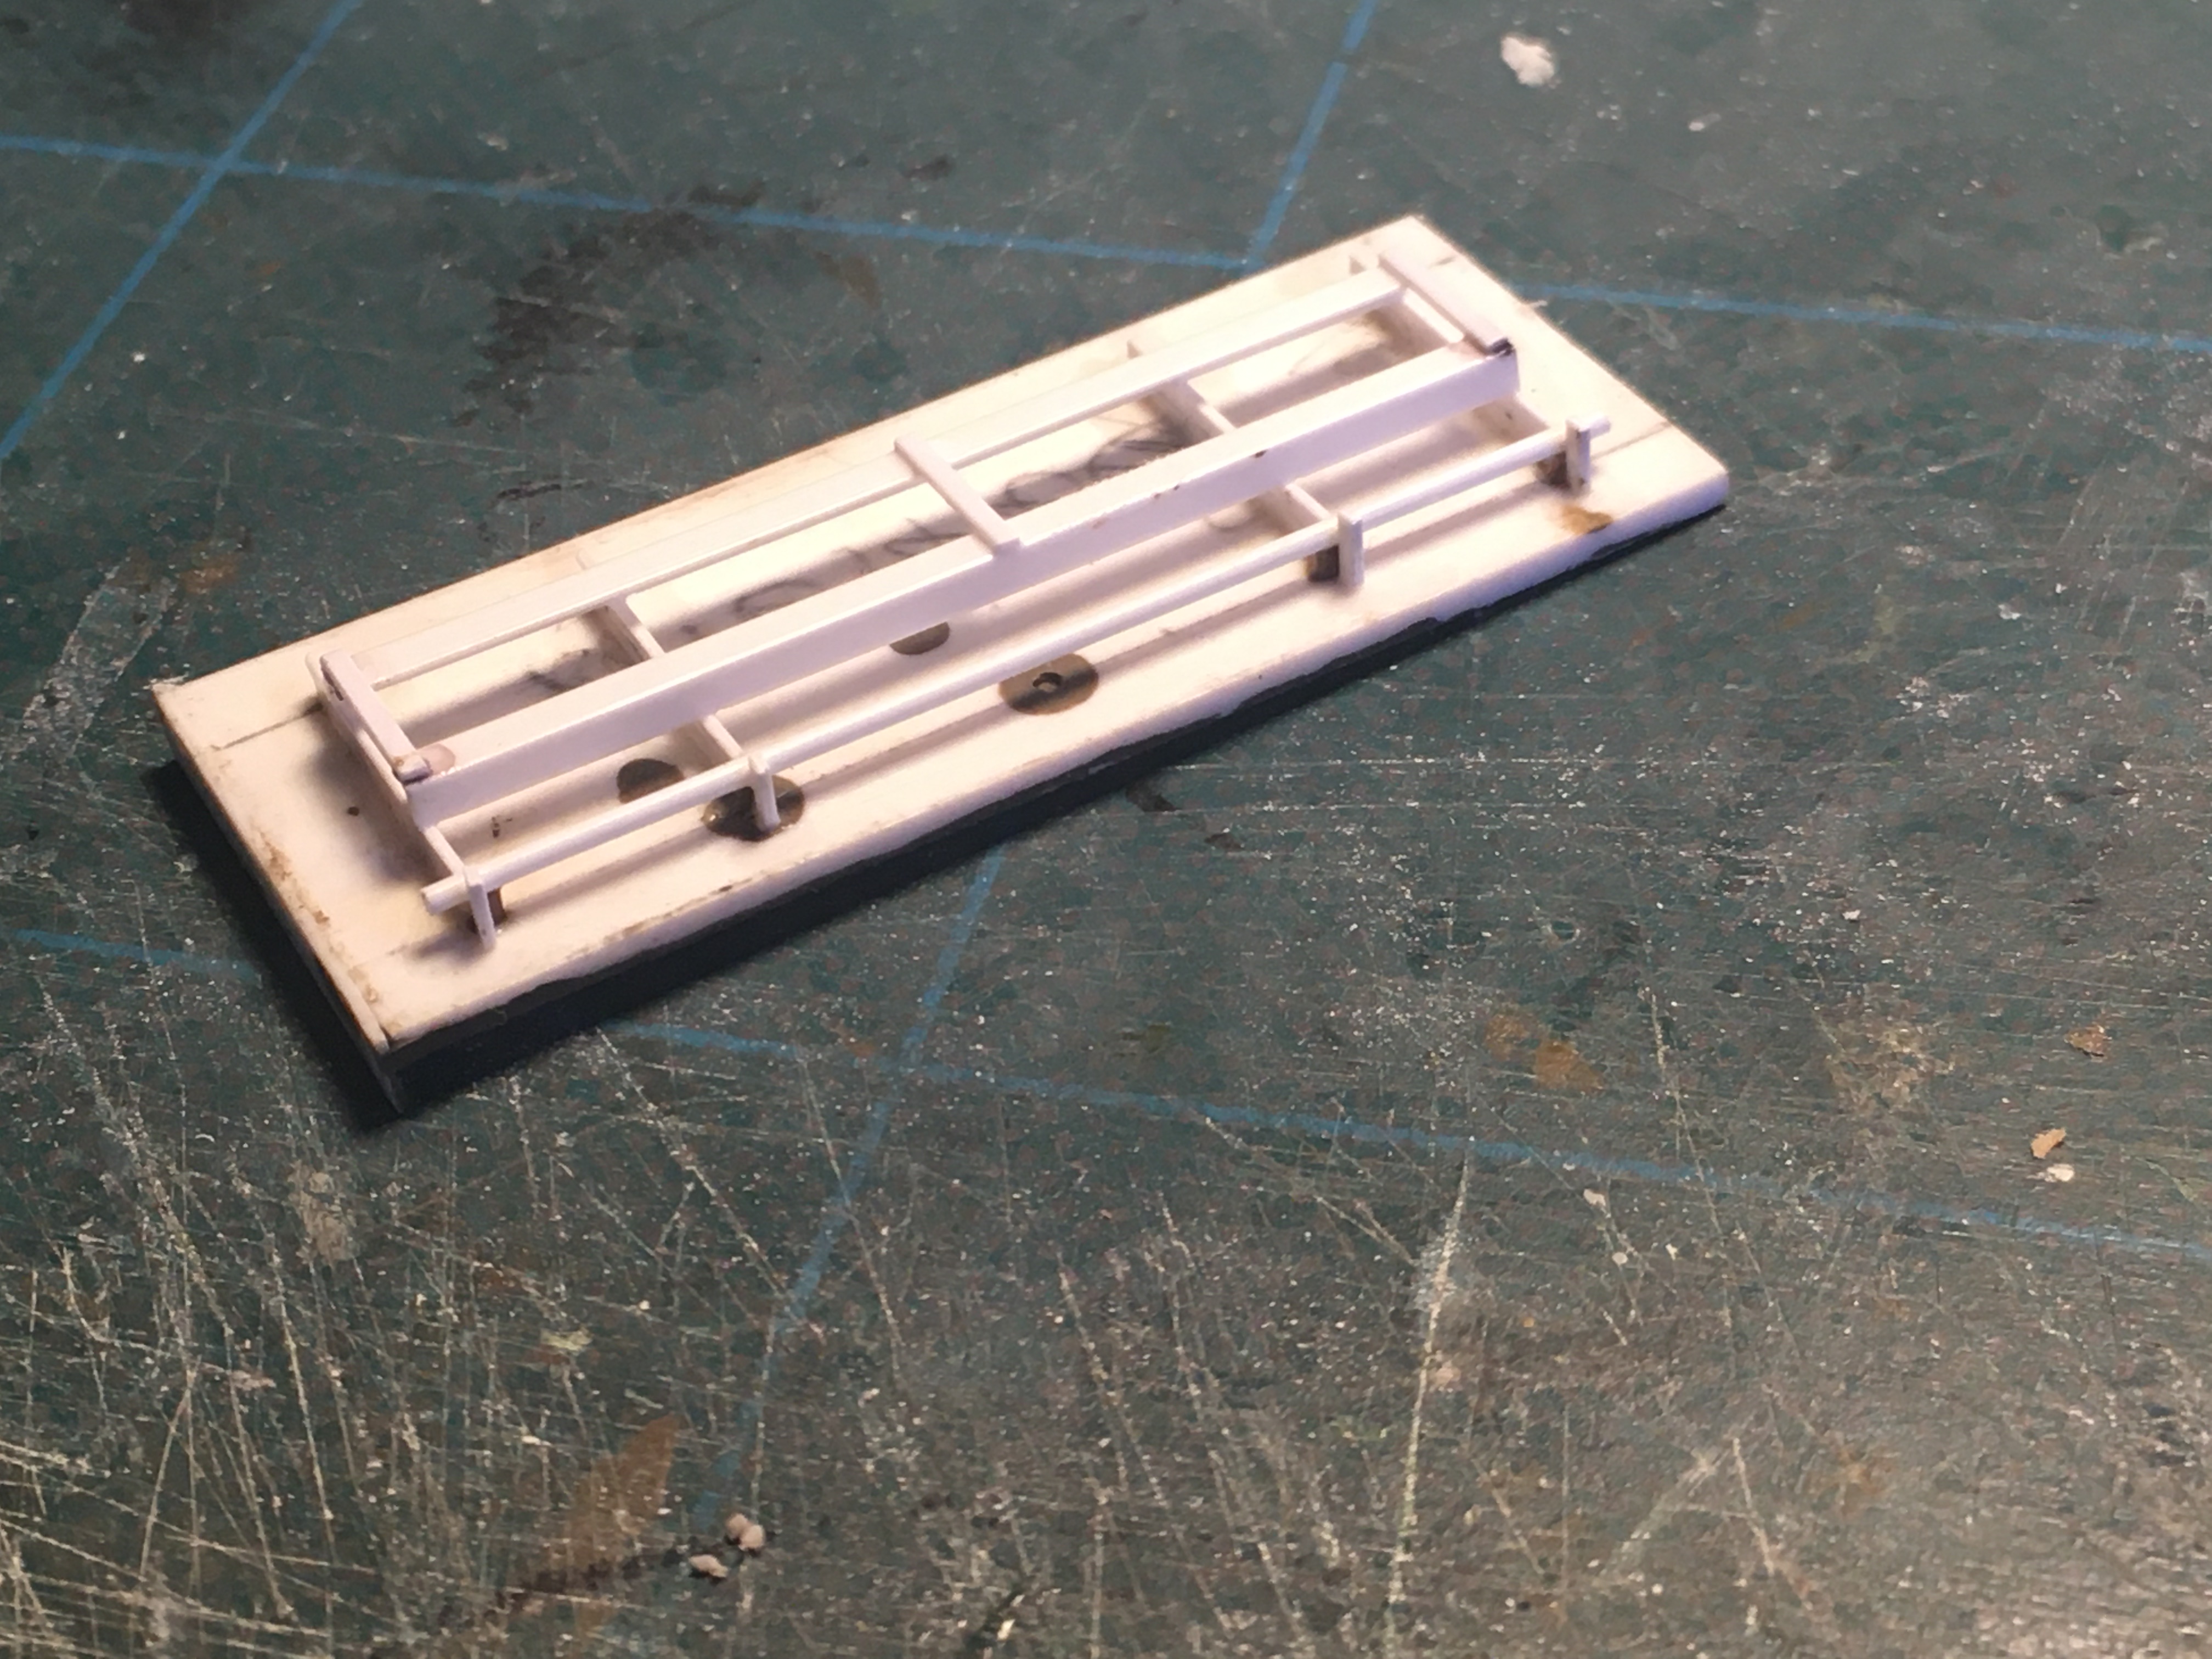
I have managed to construct the framework under the pump housing at the rear of the tank. There is a bar onto which a step ladder rest so the airman can reach up into the pump system, there is also a frame for the ladder stowage . . . . I'm just on with the tank strap buckles which are a bit fiddly . . . rgds to all Ian
-
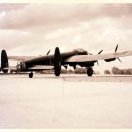
Recently discovered that EE139 has been completed as her later squadron 550 markings . . . . I hope you are still with us Dennis ? this just might spur you on a little rgds Ian
.thumb.JPG.c049b8a883687c3fc0fd7371401f6f69.JPG)
.thumb.JPG.c2874bd1e2b89ab804dd407add9b5a9b.JPG)
-
Scratch build 1/35th 6W AEC Matador refueller
FME erk replied to FME erk's topic in LSM 1/35 and Larger Work In Progress
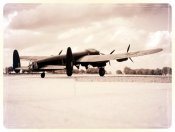
No 1 Group . . . to sit with my No1 Group Lancaster from my nearest airfield; RAF Station Grimsby. -
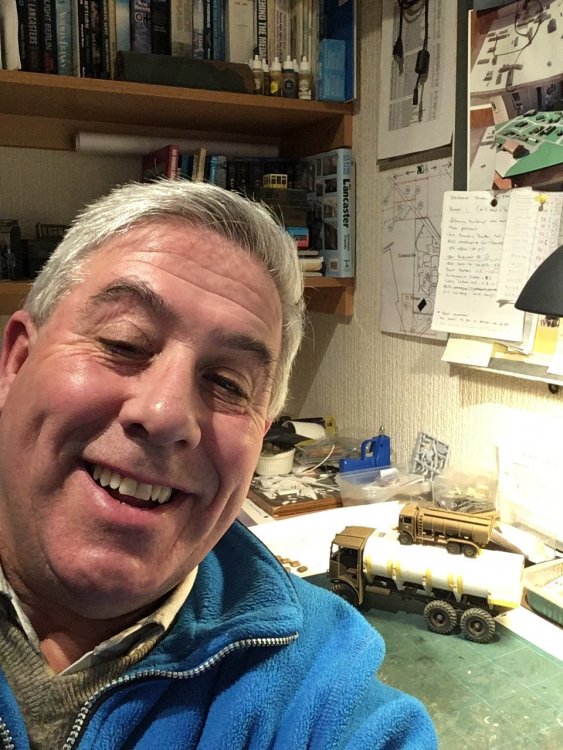
This is as updated as you can get . . . taken not ten minutes ago
- 77 replies
-
- 13
-
-
-
Scratch build 1/35th 6W AEC Matador refueller
FME erk replied to FME erk's topic in LSM 1/35 and Larger Work In Progress
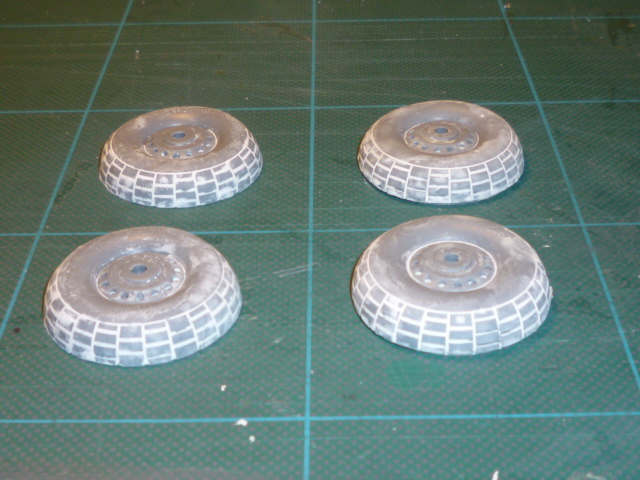
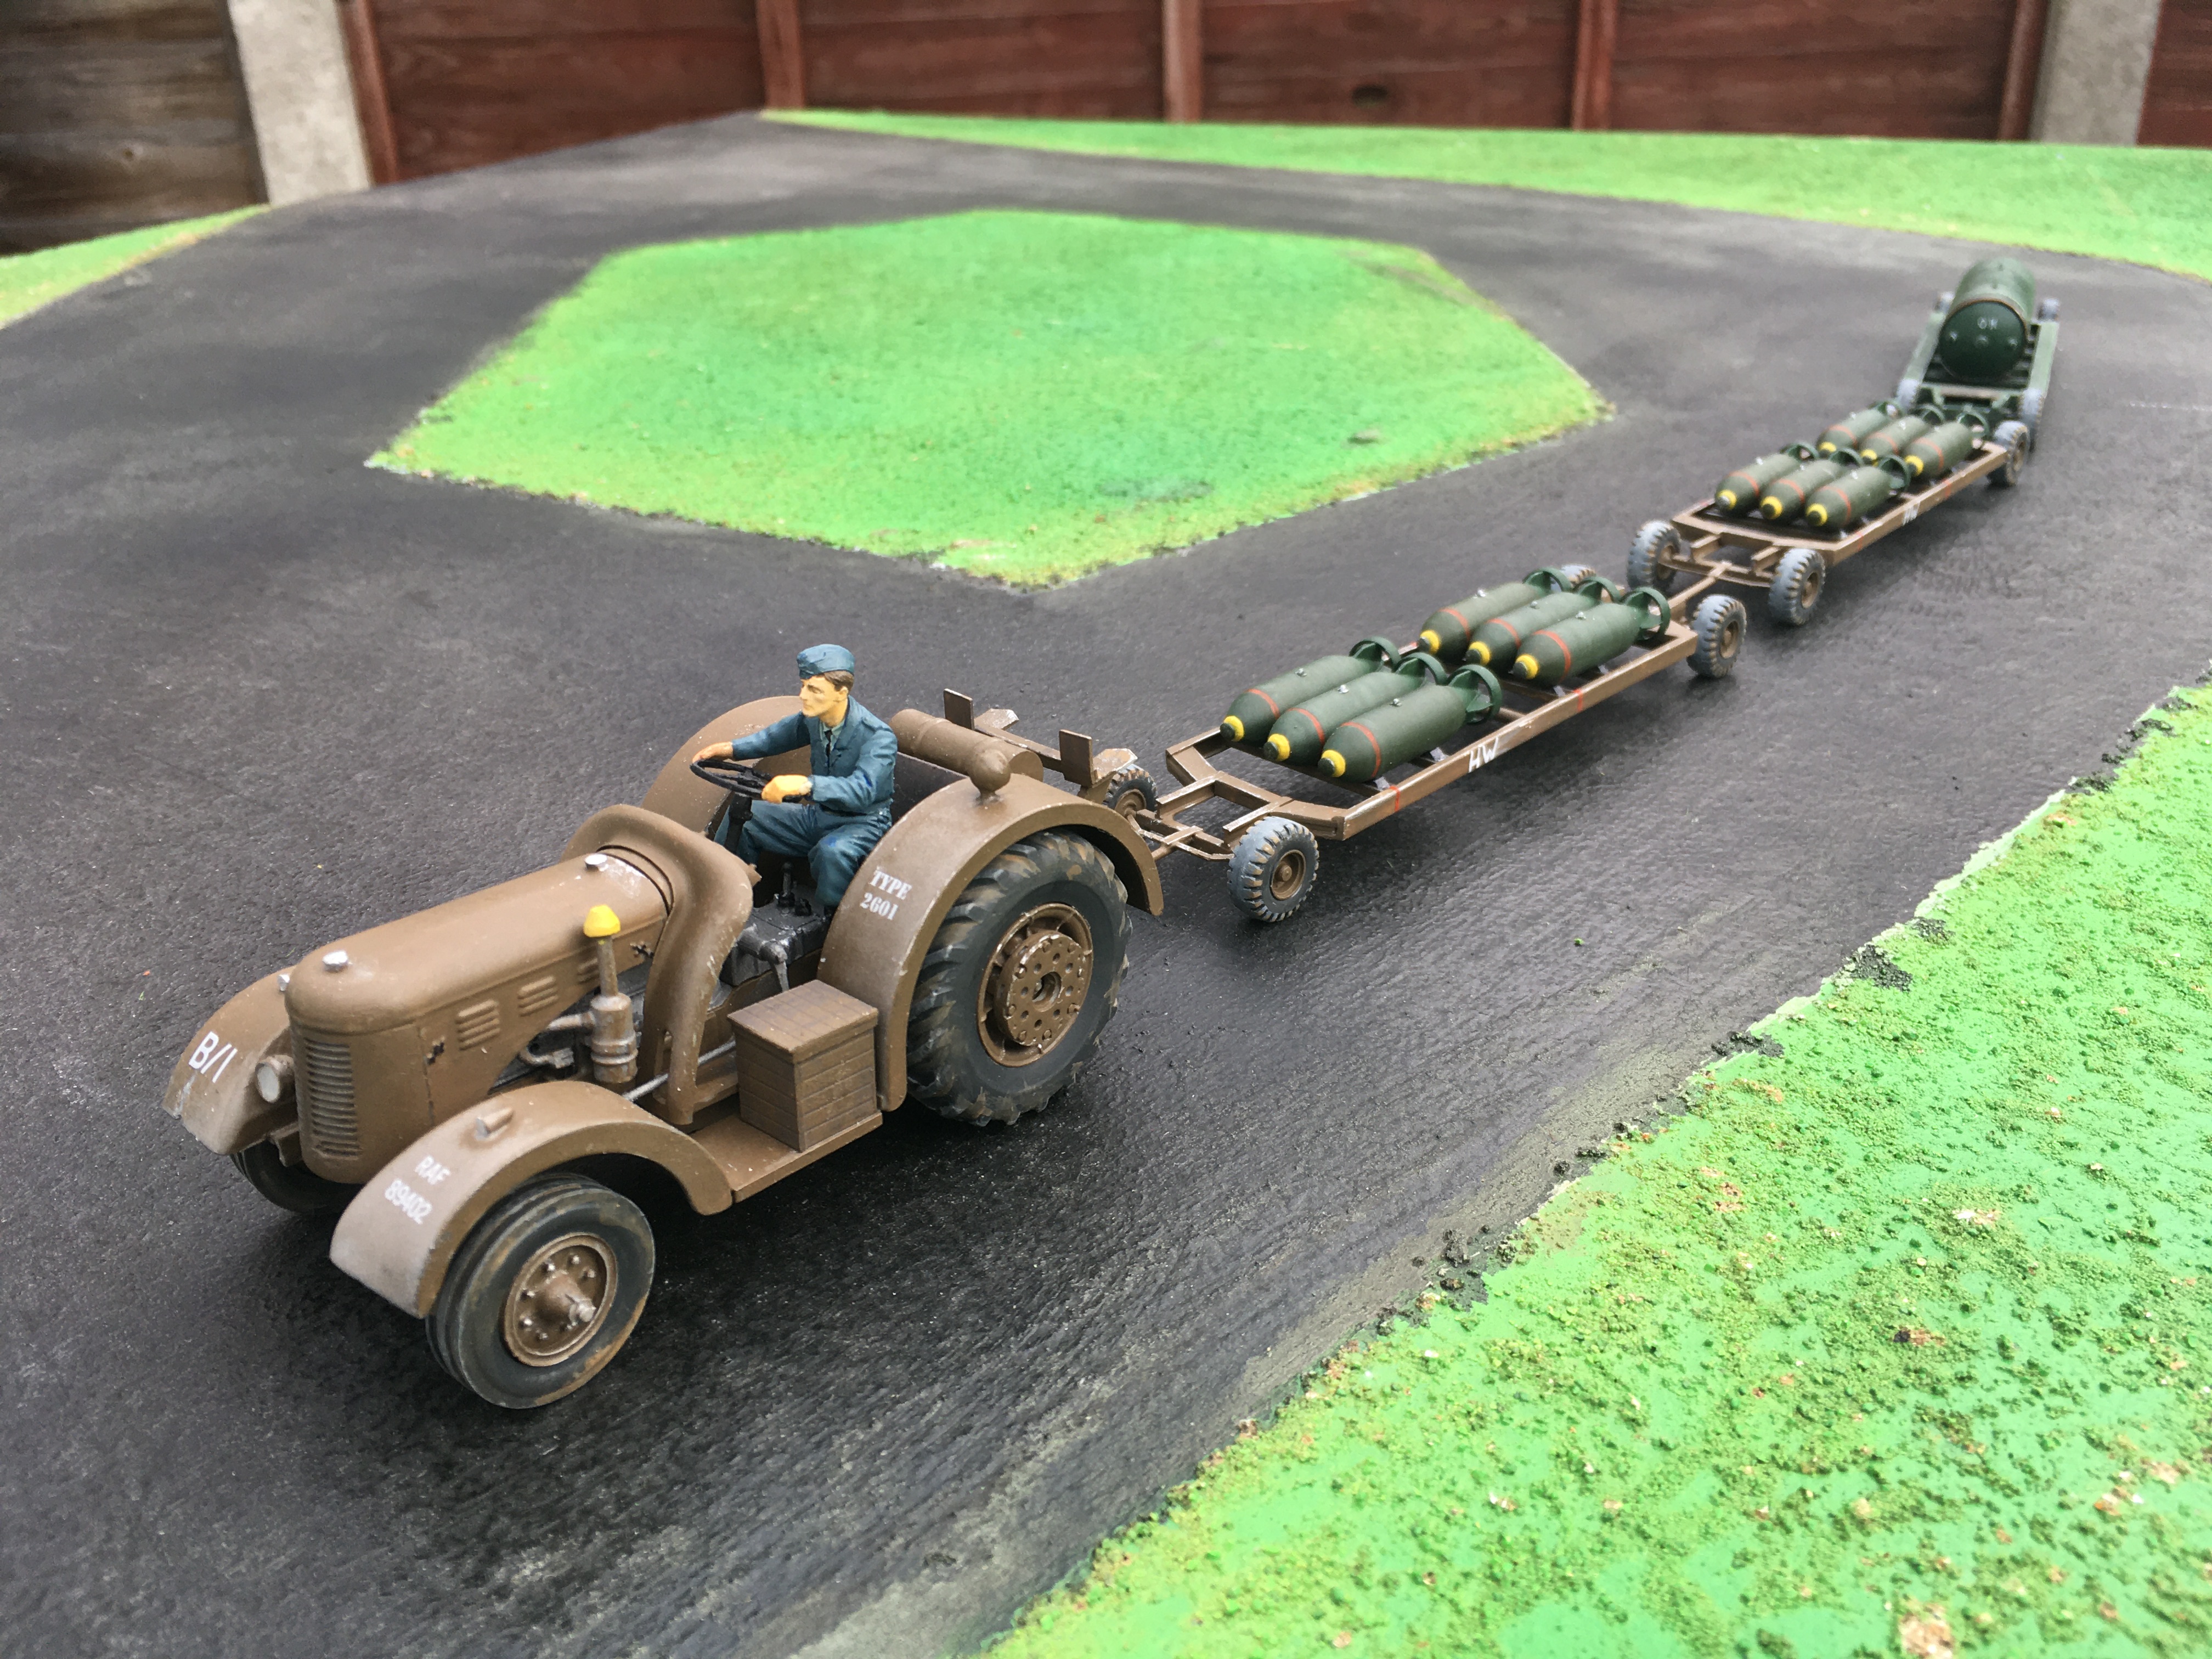
I'm sorry to say that I did stall with the tank supports and struggled to find the best way to produce five such supports. The original one that I shaped was two pieces of 60 thou. plasti-card. I stopped after the thought of doing a support 10 times and trying to shape them all the same. I aint into resin so I didnt know how to cast anything like that so as i said, I stalled. I built some bomb trolleys for my David Brown tractor. I looked up on YouTube vids for inspiration and found a material called 'Blue Stuff'. My first attempt . . . I had varying success after failures and eventually ended up with five decent tank supports . . . I decided to use some Epoxy resin to best secure them . . . and with all five secured I tried to sit the tank on the chassis . . . I am now trying to get this completed before the end of December as I want to start the HK Lancaster in the New Year, so I have completed the access ladder and cracking on with the box housing for the pump system . . . More to come in the following weeks, Thanks for looking in Ian -
What is on your bench right now ? Share a picture :)
FME erk replied to Martinnfb's topic in Modelling Discussion
Just a peek at some progress, its rather slow burning I'm afraid . . . A conversion of the AFV 4 x 4 Matador . . .
-
I think I got my first one around 1977 . . . . A more recent addition
-
I'd like a couple of 48th Lancasters if they do produce a scale down version . . .
-
I am curious about the bottom left hand message . . . 'Replacement parts info ' does that mean they are to provide spares ????

.JPG.2dc04cd8fe1b5fb040d9668aad9ac0c1.JPG)


.JPG.06cda93a91663599459c13d6d45f564c.JPG)
.JPG.d49fcaf1ce8370db738f69349631d05e.JPG)

