FME erk
-
Posts
518 -
Joined
-
Last visited
Content Type
Profiles
Forums
Events
Gallery
Everything posted by FME erk
-
Apparently WNW are coming to be an airshow at Hood Airfield, Masterton . . . .
-
Key players may have left the company but who is to say that WNW has closed down altogether ???
-
Lancaster ND644 in 32nd scale
FME erk replied to FME erk's topic in LSM 1/35 and Larger Work In Progress
I used Hum 90. Hum 78 Interior Green is just too Green and although Hu 90 might be lighter, I think it may looked better . . . You may be right but the other colour I considered was Tamiya SKY . .. . -
Lancaster ND644 in 32nd scale
FME erk replied to FME erk's topic in LSM 1/35 and Larger Work In Progress
Little progress is better than No progress and to date I have been doing the Nose section. I have also been indulging in a GB on another forum, another Lancaster that is no yet finished . . . G-George This is HK's second choice of aircraft, W4783 Getting back to the front nose sections . . . Apart from painting the interiors note also that the navigators small window has gone. Small bits of wiring added and the white square is the beginning of the bomb sight frame holder . . . I plan to add more detail in the nose and of course I have the Airscale panels to fit fairly soon . .. . On the port side of the fuselage, there are two Control rods visible between the pilots platform and the navigators table. There are also three pipes visible at a lower level between the same positions. More to come and thanks for looking in Ian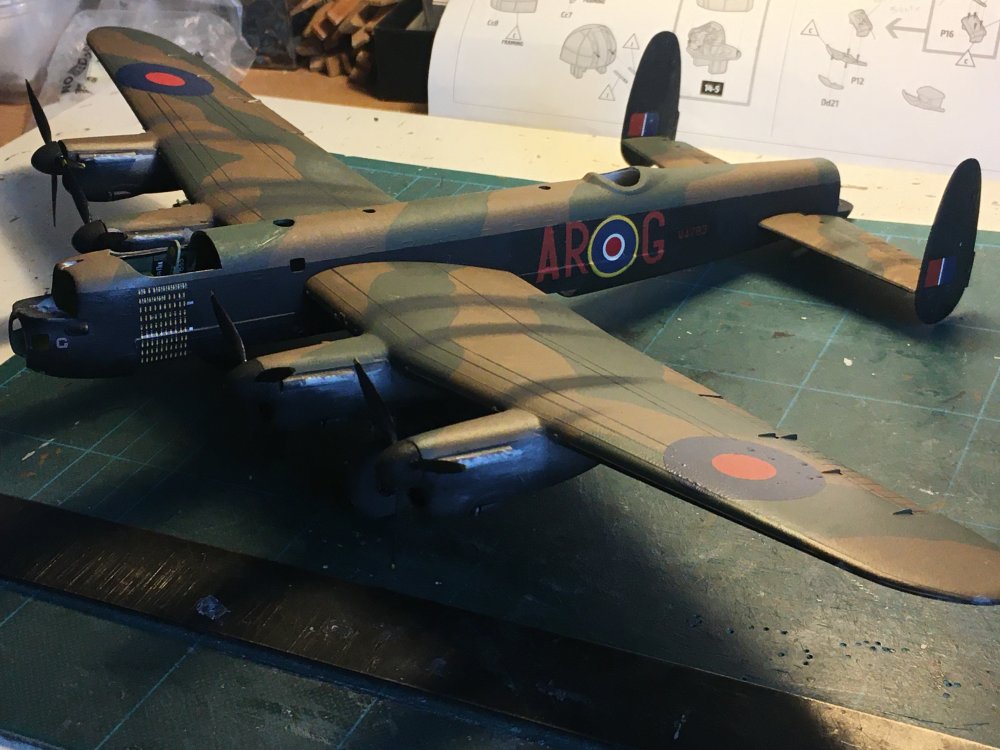
.thumb.JPG.9238bc8e1715e239935ca1b432753ce8.JPG)
-
Were routin for ya Harv . ..
-
Wishing him all the best . . .
-
“Dinghy” Young’s “Dambusters” Lancaster
FME erk replied to Wingco57's topic in LSM 1/35 and Larger Work In Progress
I think it was to give strength to the wing root as there is a plan to build the two Vulture engines from resin . . . . -
“Dinghy” Young’s “Dambusters” Lancaster
FME erk replied to Wingco57's topic in LSM 1/35 and Larger Work In Progress
Nice to see the tail comparisons . . . I spotted the cockpit section already completed (?) in the background . . . you are really motoring on with this Look forward to seeing a bit more Ian -
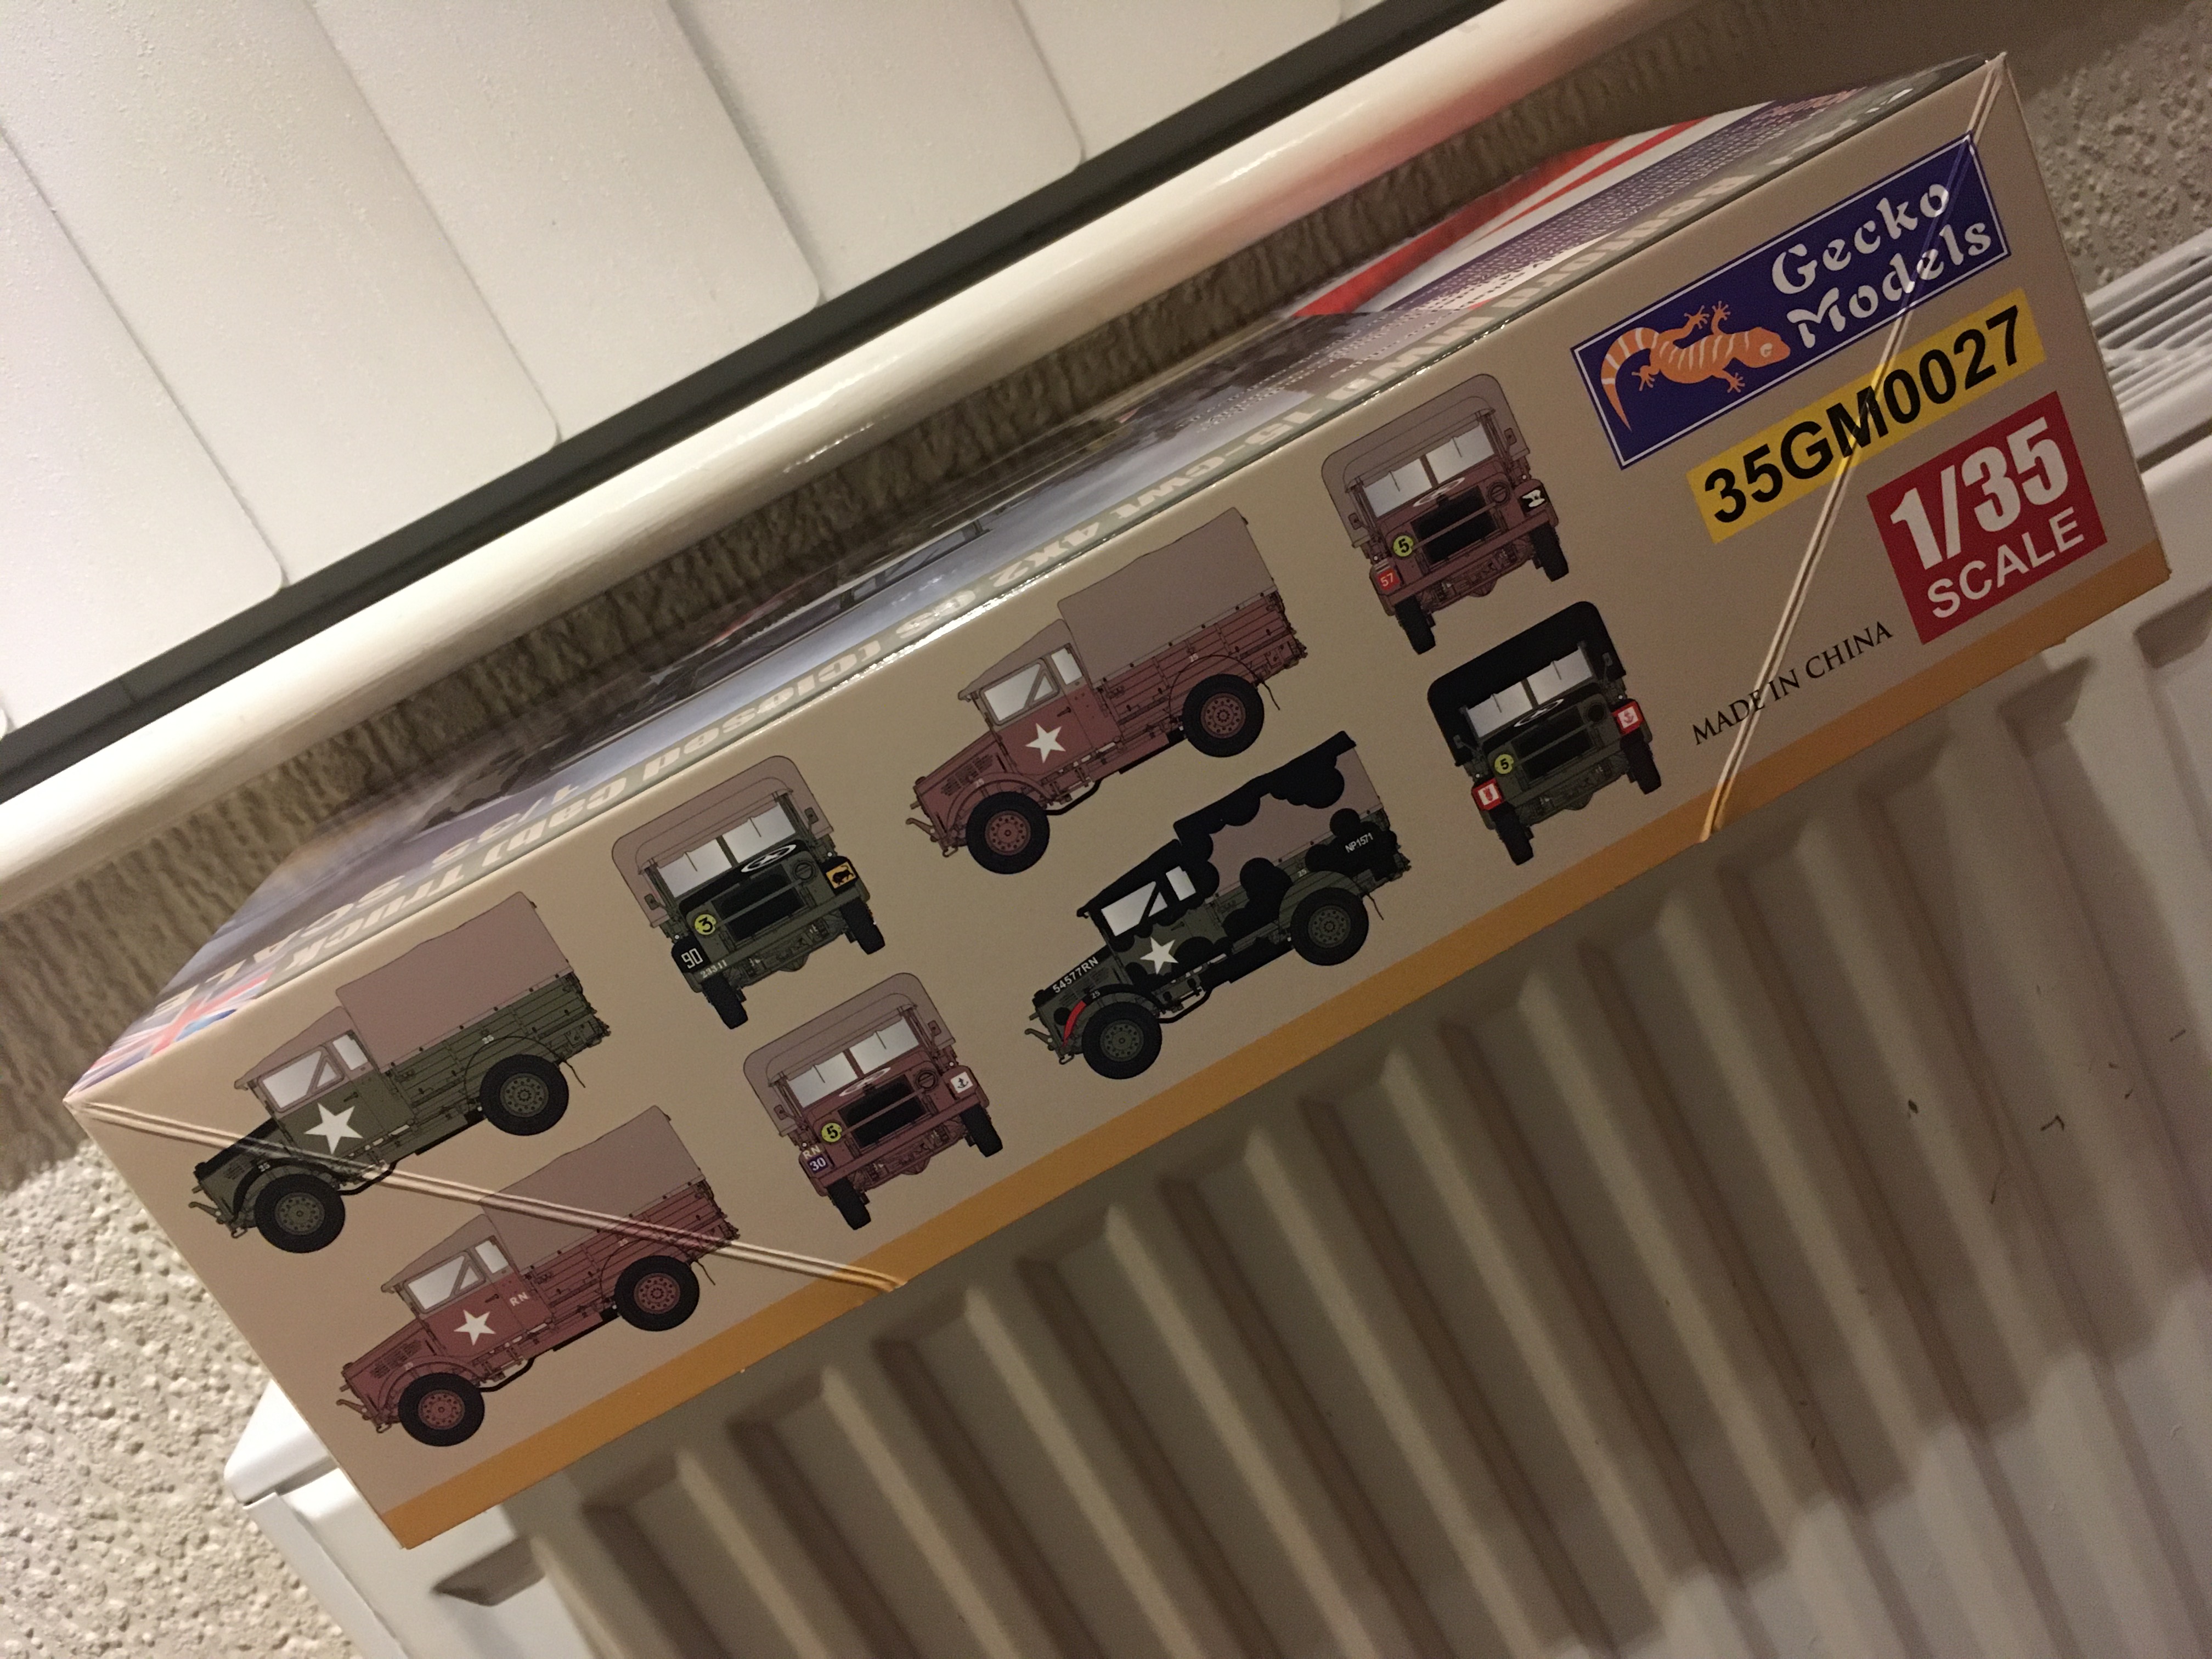
Ordered this on 'pre-order' before Xmas and the ship recently docked having been delayed at sea . . . Informed by email last Friday that I could complete payment and by jove it was here on Monday (8th Feb.) Every aircraft relies on transport at some point and this will help . . . best to all Ian

-
Its a shame when, with much enthusiasm, one starts an ambitious project of building multi-number of kits simultaneously only to fall back due to the dreaded mojo decline . . . . Like most, I have only ever attempted two aircraft at once, although I did build several small scale vehicles collectively, and I found that manageable. I am building two Lancasters now and I find that I can work on one then the other . . . . You seem to have dropped off the radar Mark, I trust things are well with you ? It would be nice to see an update on what are nice aircraft even if the kits are fighting back . . . .

-
Lancaster-Crew finished
FME erk replied to Kaireckstadt's topic in LSM 1/32 and Larger Aircraft Ready for Inspection
I also have the aircrew figure set, I must have over looked the British Ground personal, I will order some in pretty soon . . . Thanks for the heads up Kai Ian -
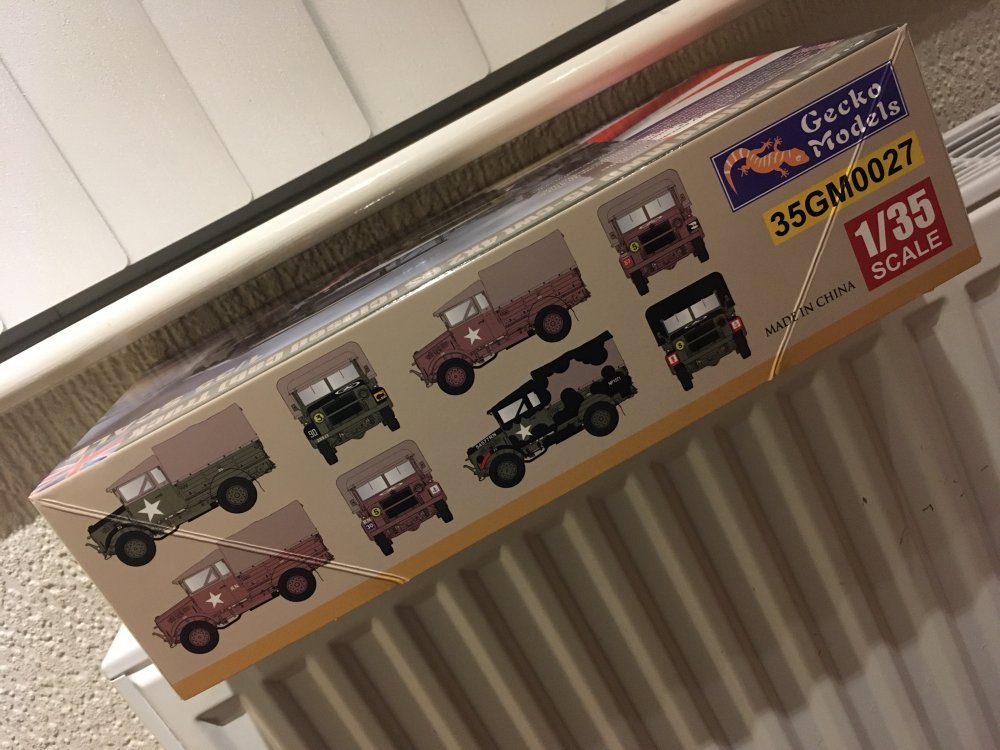
Gecko: Bedford MWD 15 cwt (4 x 2) Closed Cab - 1/35th scale
FME erk replied to FME erk's topic in Armour/AFV Reviews
Phil You would need either a Bedord OX or a Commer tractor units which would have to be scratch built along with the Queen Mary trailer . . . It would be massive . . . . Time is not yet available to build such a tractor unit, (would prefer the Commer) but I do think the trailer would be fairly straight forward . . . Ian -
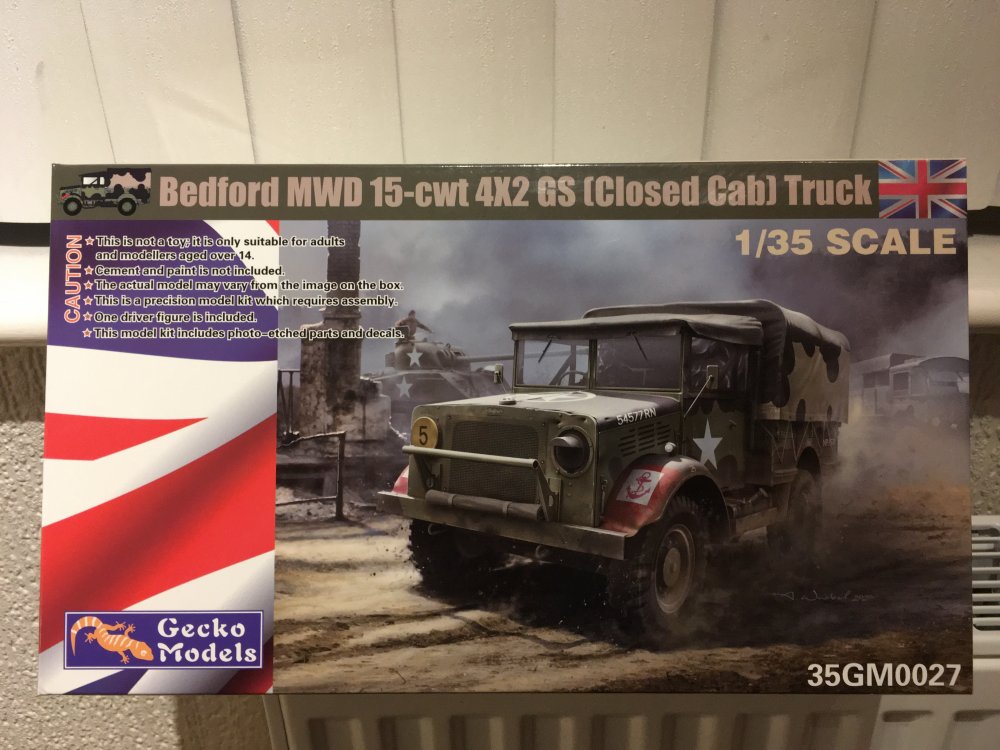
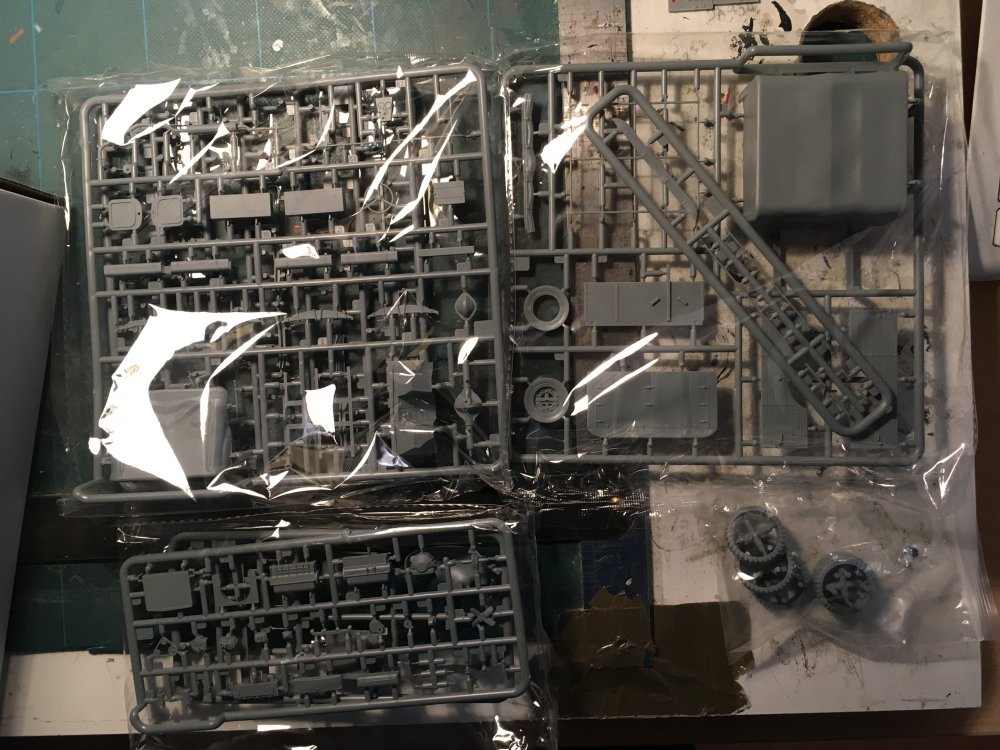
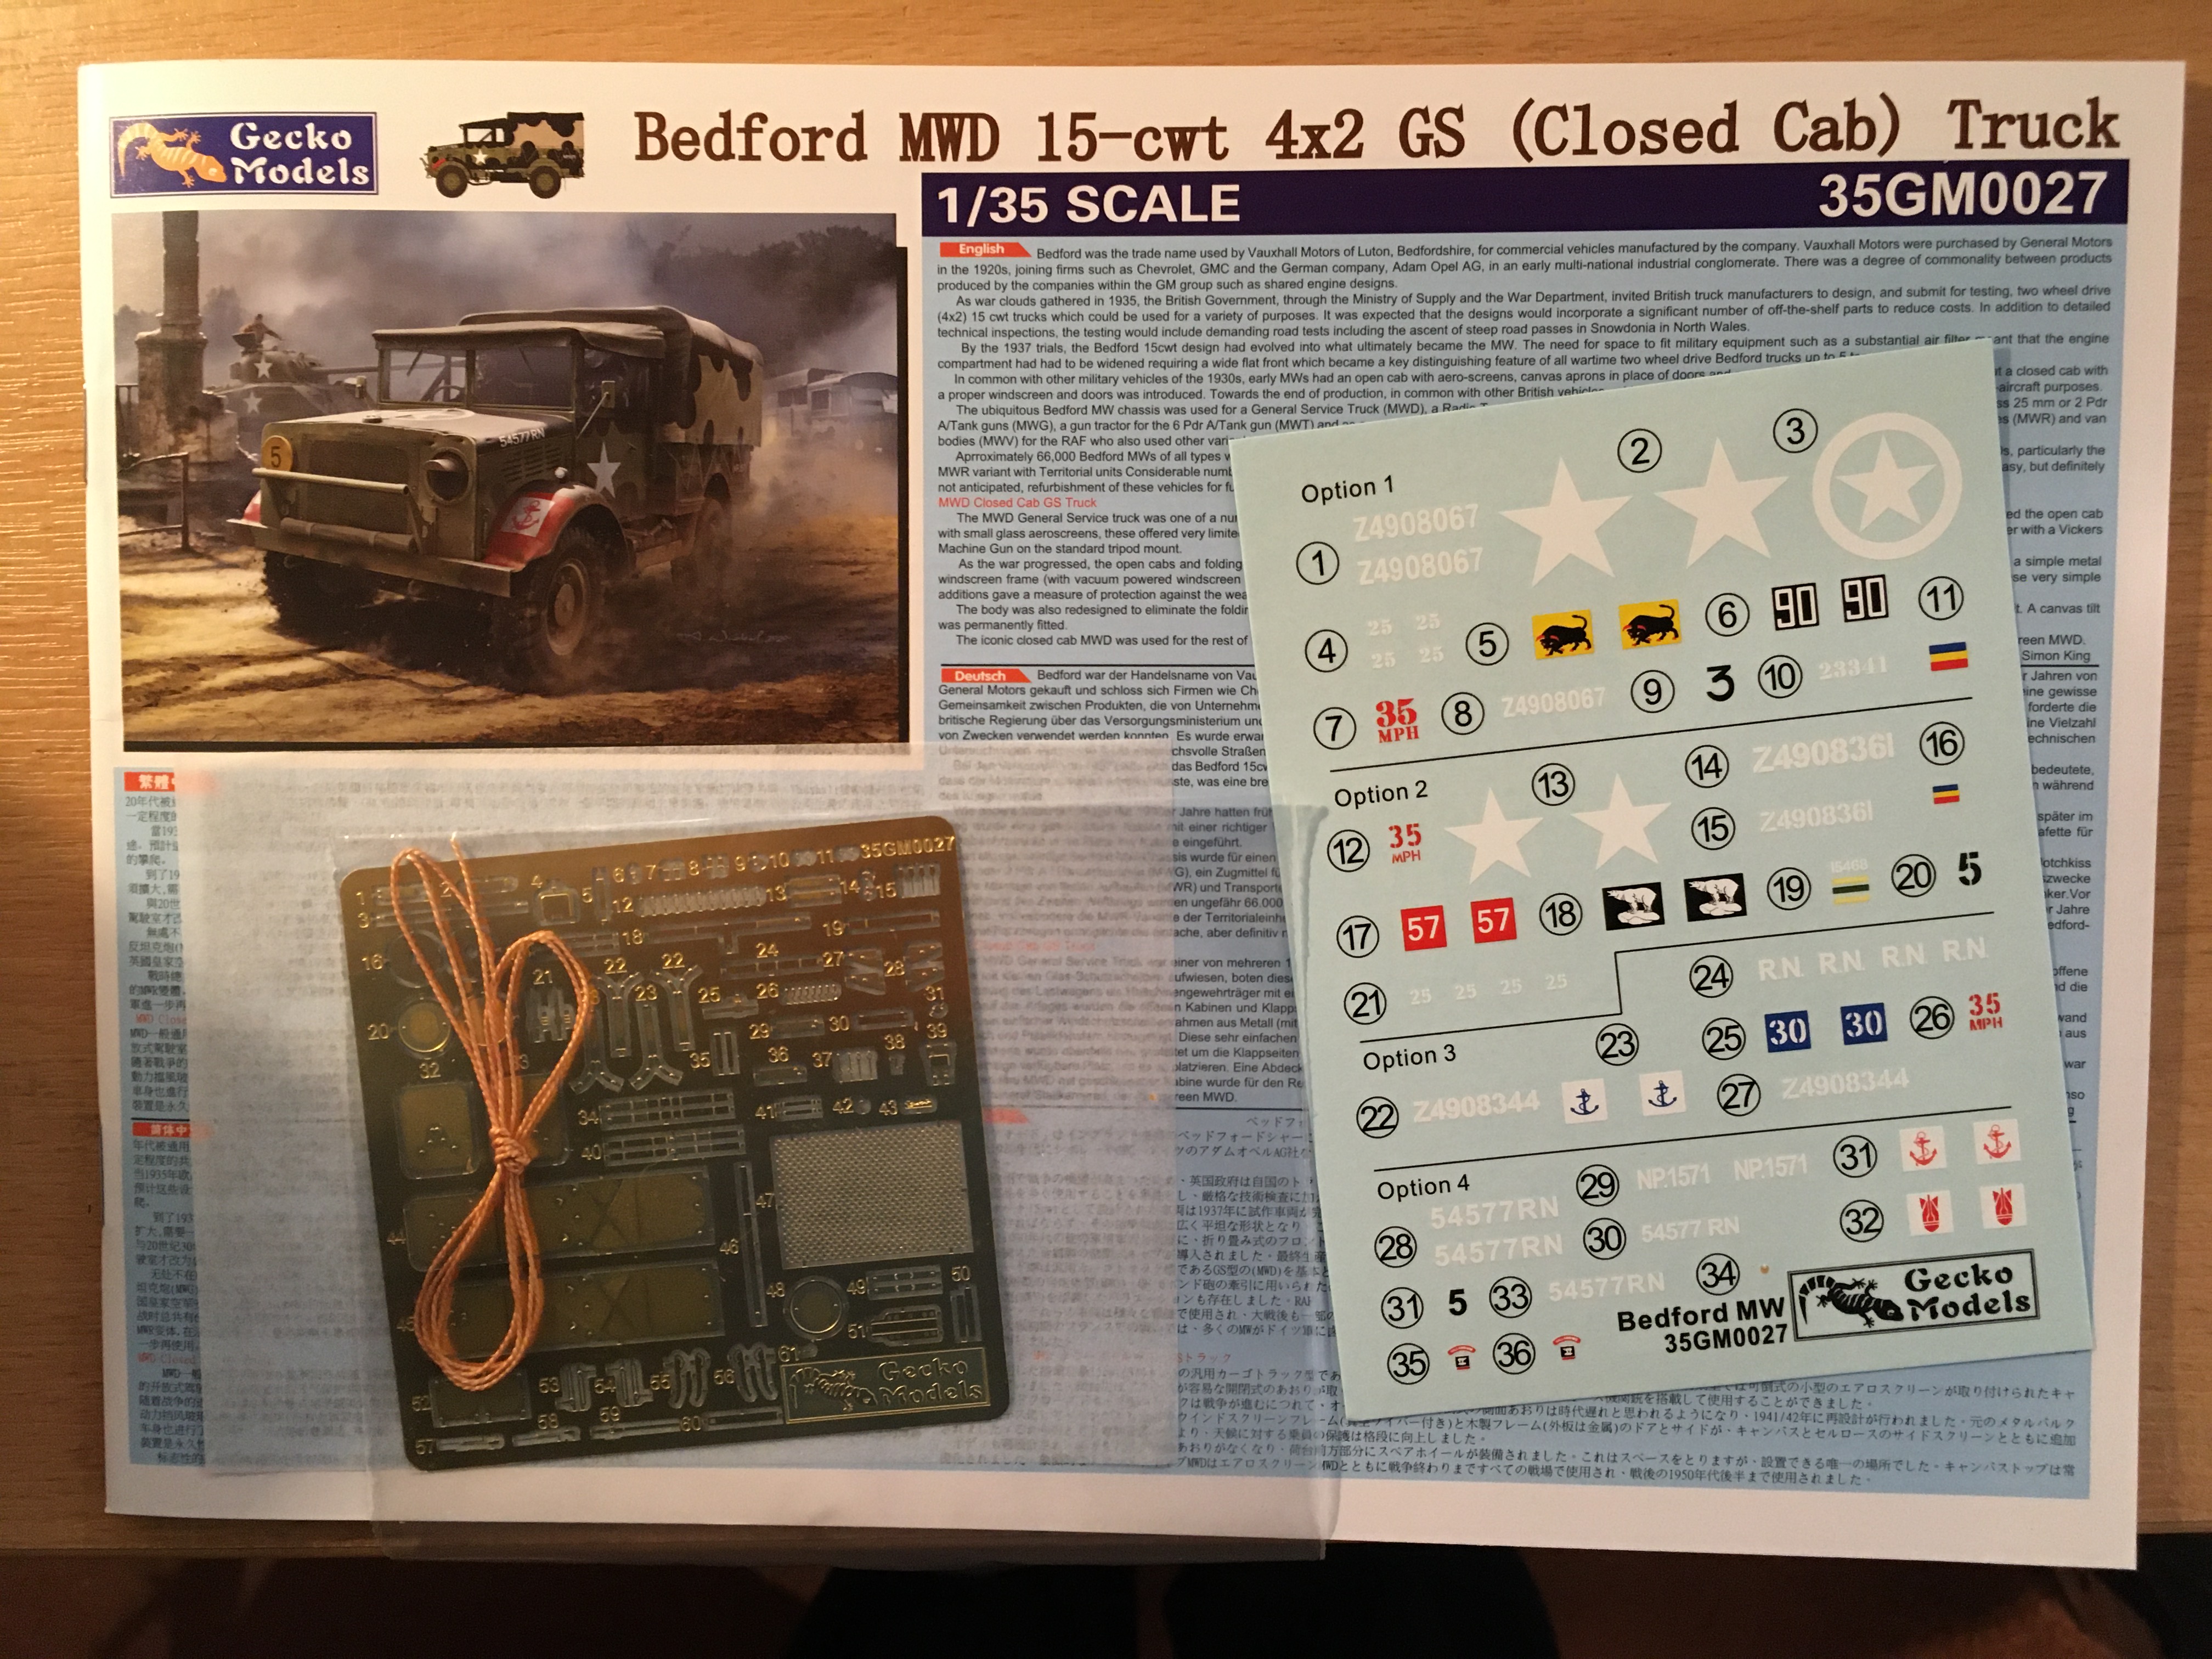
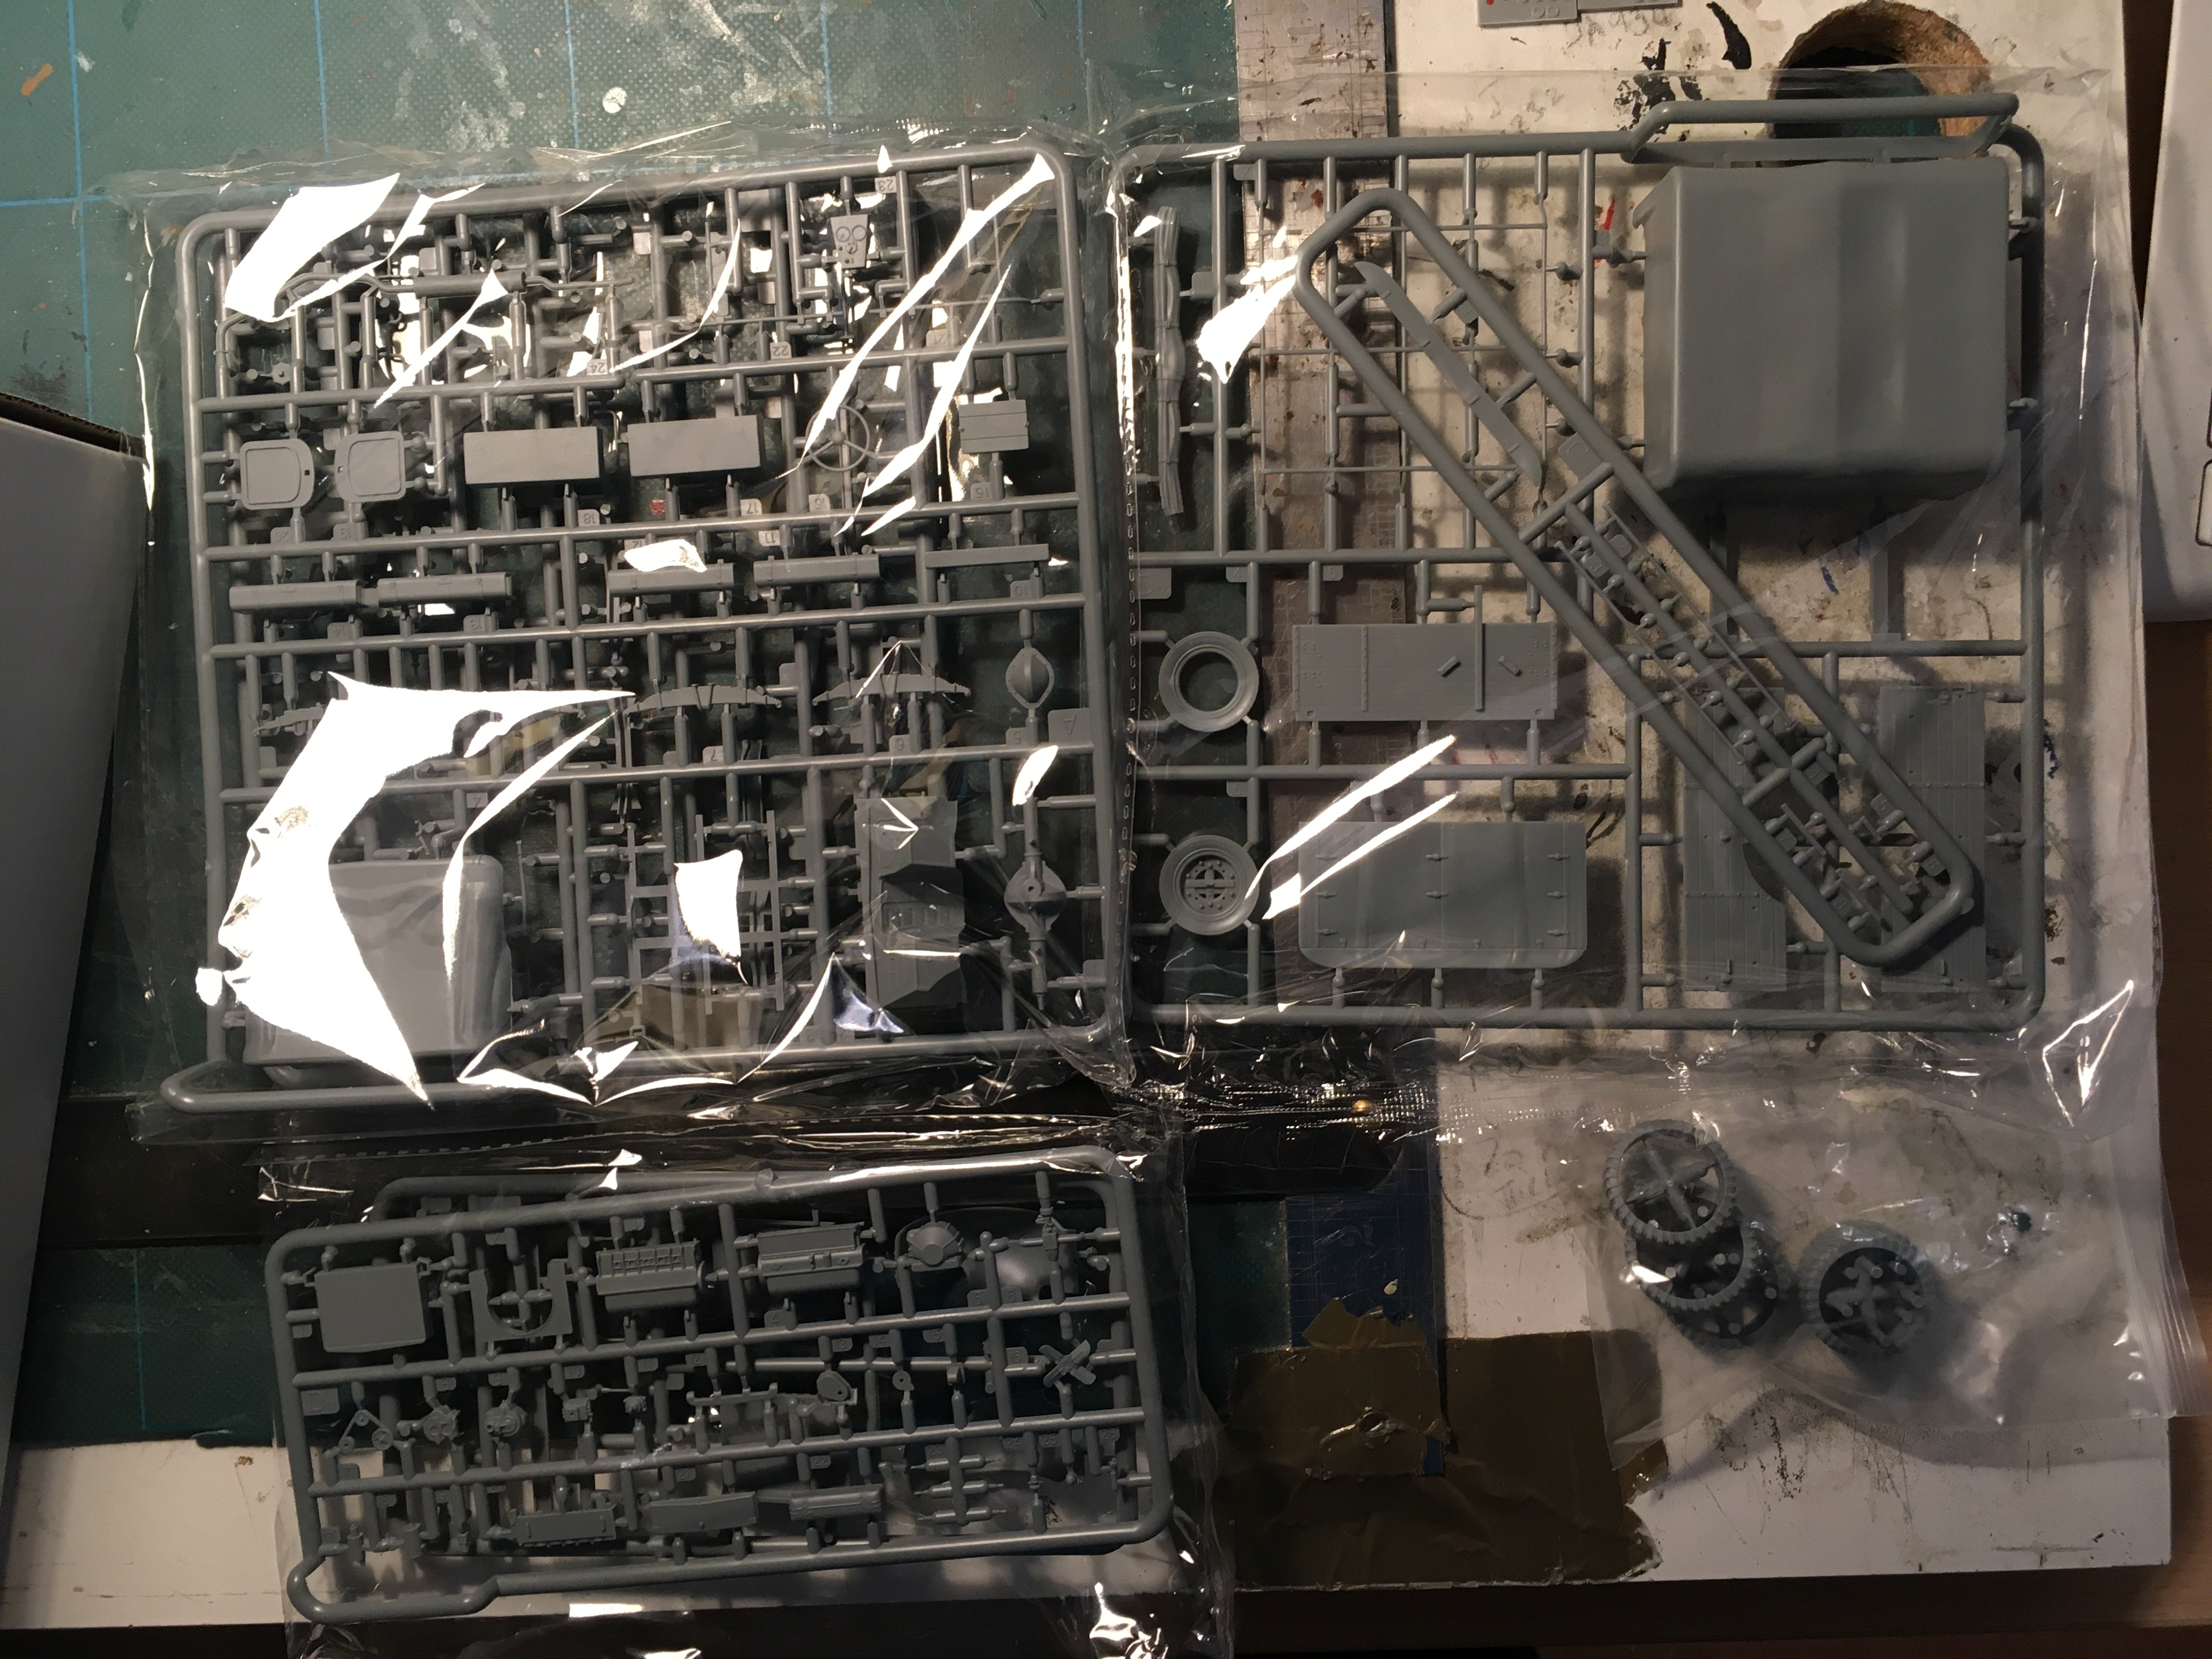
As a avid vehicle modeller this kit will be useful along with 32nd scale aircraft as long as it doesnt sit too close . . . I received this today and thought I would share some of the details. New tool of a Bedford Mwd with a hard top, previous version have been an early wartime with aero screens and another version is a water bowser. A few photos . . . Four decal version included Box includes a lot of PE fitting particularly for the distinctive front grill and a driver with two heads, a side cap or beret . . . The molding is in grey plastic and although there are TEN bags, a couple of bags have two differing frets . . . I dare say once this becomes readily available it will adorn many a photo platform with the appropriate RAF aircraft . .. best to all Ian

-
Lancaster-Crew finished
FME erk replied to Kaireckstadt's topic in LSM 1/32 and Larger Aircraft Ready for Inspection
Out of interest, are the ground crew figures from the German tank crew sets ? I have a couple of them already, seen repairing my damaged Lancaster, as there are VERY few RAF ground bods Ian -
Lancaster-Crew finished
FME erk replied to Kaireckstadt's topic in LSM 1/32 and Larger Aircraft Ready for Inspection
Kai First thing . . . Bloody marvellous I too have this set and will probably be the last thing that gets painted. Patience's is indeed the requirement to get these young fellas looking the part. The two pigeon boxes are Yellow as clearly seen in the authentic shot with the airmen carrying two under his arms . . . I am hoping to take them from their base and peg them into drilled holes in the base board Great job and perfect for the diorama Ian -
What an eye-catcher that is . . . Certainly cant miss seing that when formatting Cracking paint work so far, will the fuselage be brightly covered ?? Ian
-
Lancaster ND644 in 32nd scale
FME erk replied to FME erk's topic in LSM 1/35 and Larger Work In Progress
Rob Thank you for the generous comments I think alot of modellers put a great deal of effort into the interiors especially with PE, covered with paint then all enclosed as the fuselage goes together. I know what is in there and the photos are always available to show people the detail should the need arise . . . Ian -
Lancaster ND644 in 32nd scale
FME erk replied to FME erk's topic in LSM 1/35 and Larger Work In Progress
Hi John It one of those aircraft kits that you just have to finish or it will be a waste of time. (shelf of Doom) Thats why I started and built the vehicles first , many have said that this kit became a bind with the many issues so a combination of patiences and dedication should get me through along with the encouragement of the many contributions from the likes of your good self . . . Ian -
Lancaster ND644 in 32nd scale
FME erk replied to FME erk's topic in LSM 1/35 and Larger Work In Progress
Had a bit of paint to some pieces in the front cockpit section . . . I shall take a look at the Airscale bits and think about wiring etc . . . cheers Ian.thumb.JPG.025aac293e12bea3ba6ff1d6d6c6b136.JPG)
-
“Dinghy” Young’s “Dambusters” Lancaster
FME erk replied to Wingco57's topic in LSM 1/35 and Larger Work In Progress
Not to go off topic to much but I thought you had produced the Vulture with certain profiles that were built up ?? Ian -
I would say it has to be my 72nd scale technical site of my Bomber Command airfield, still unfinished . . . other than that it got to be my HK Lancaster . . .
-
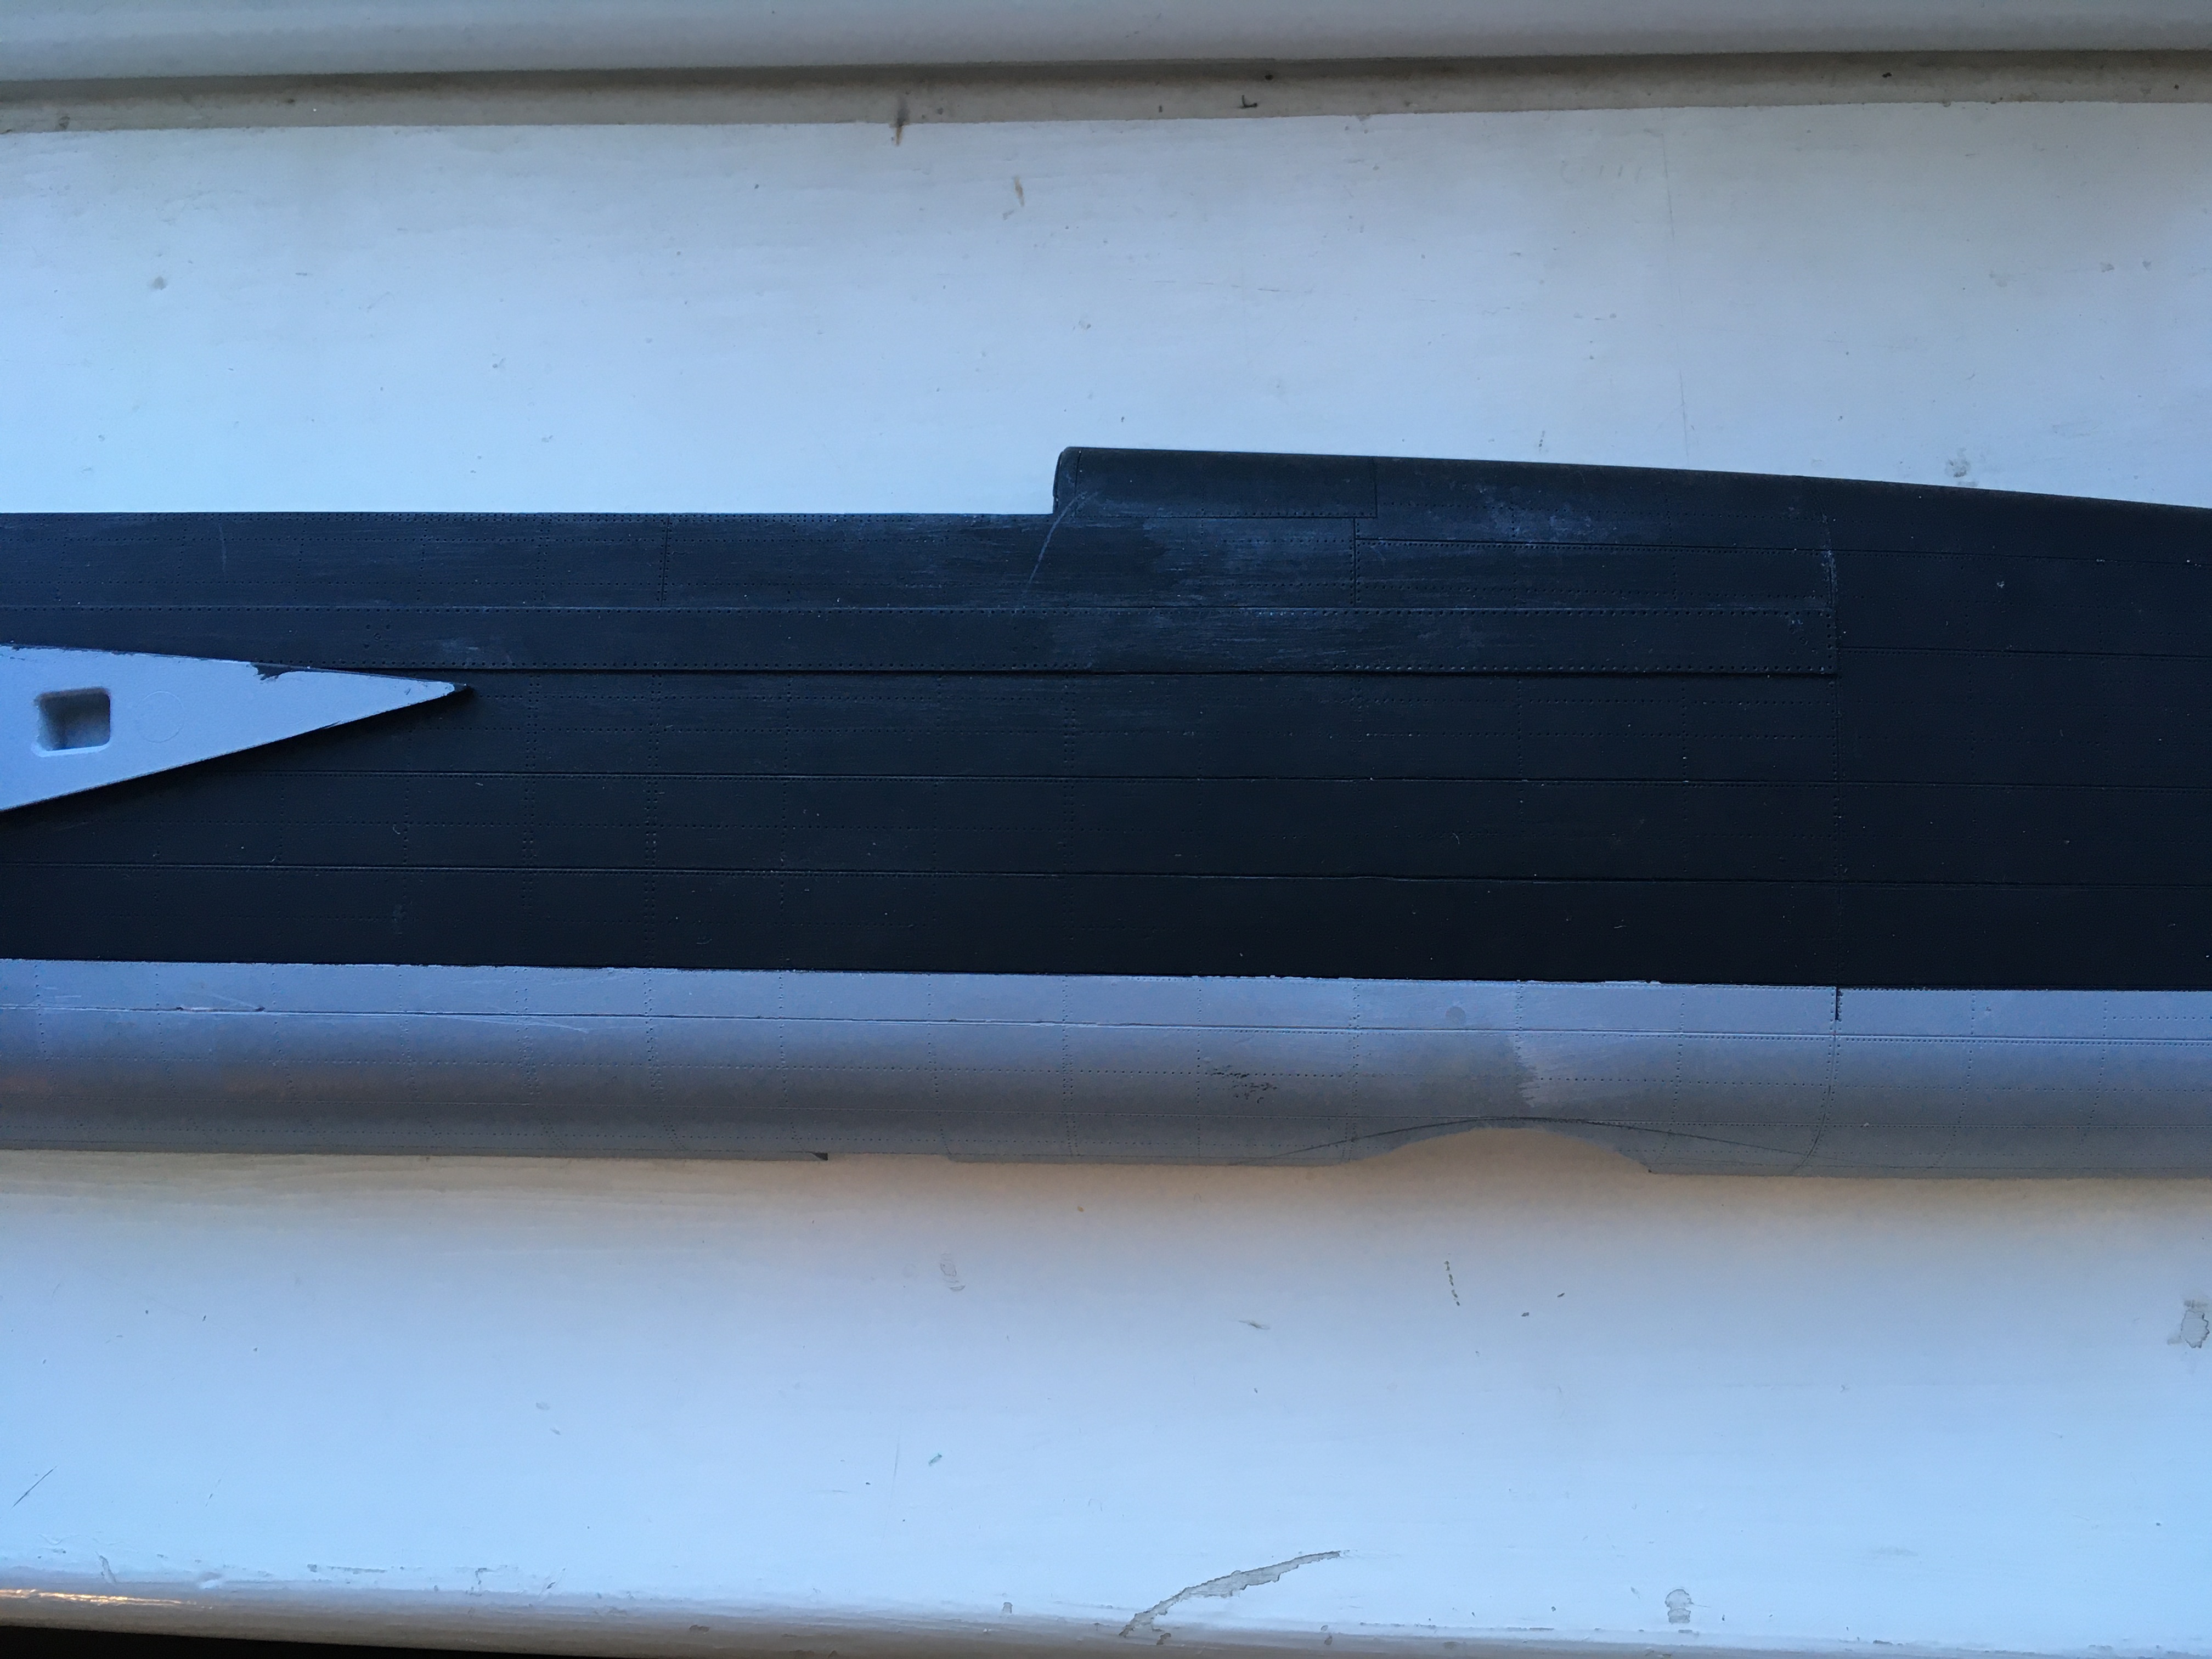
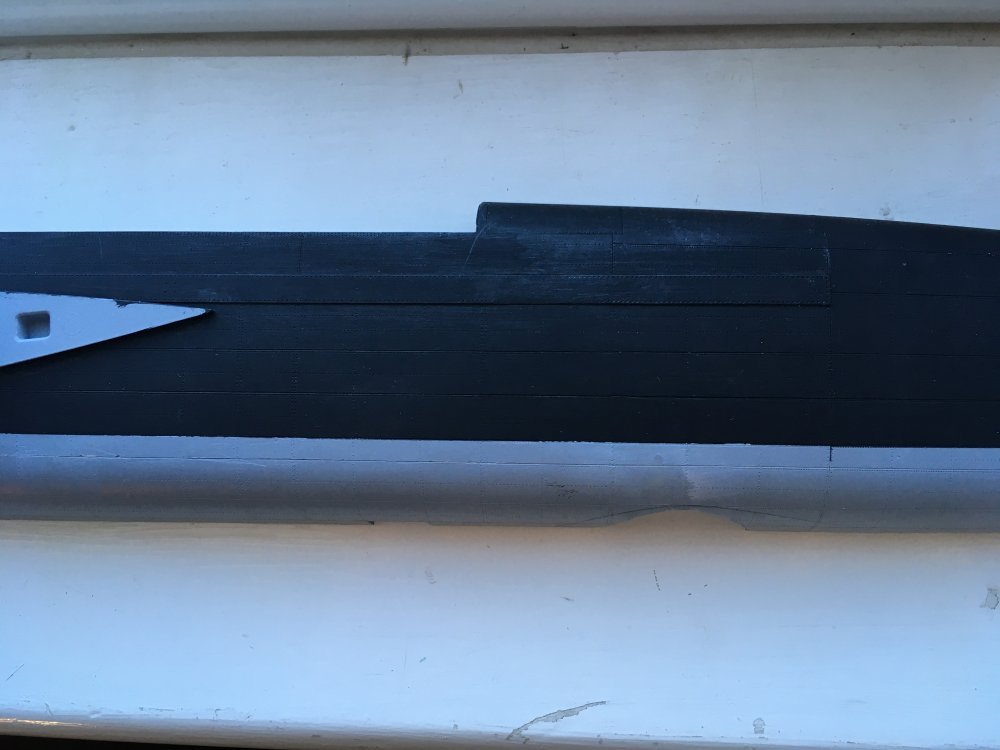
Lancaster ND644 in 32nd scale
FME erk replied to FME erk's topic in LSM 1/35 and Larger Work In Progress
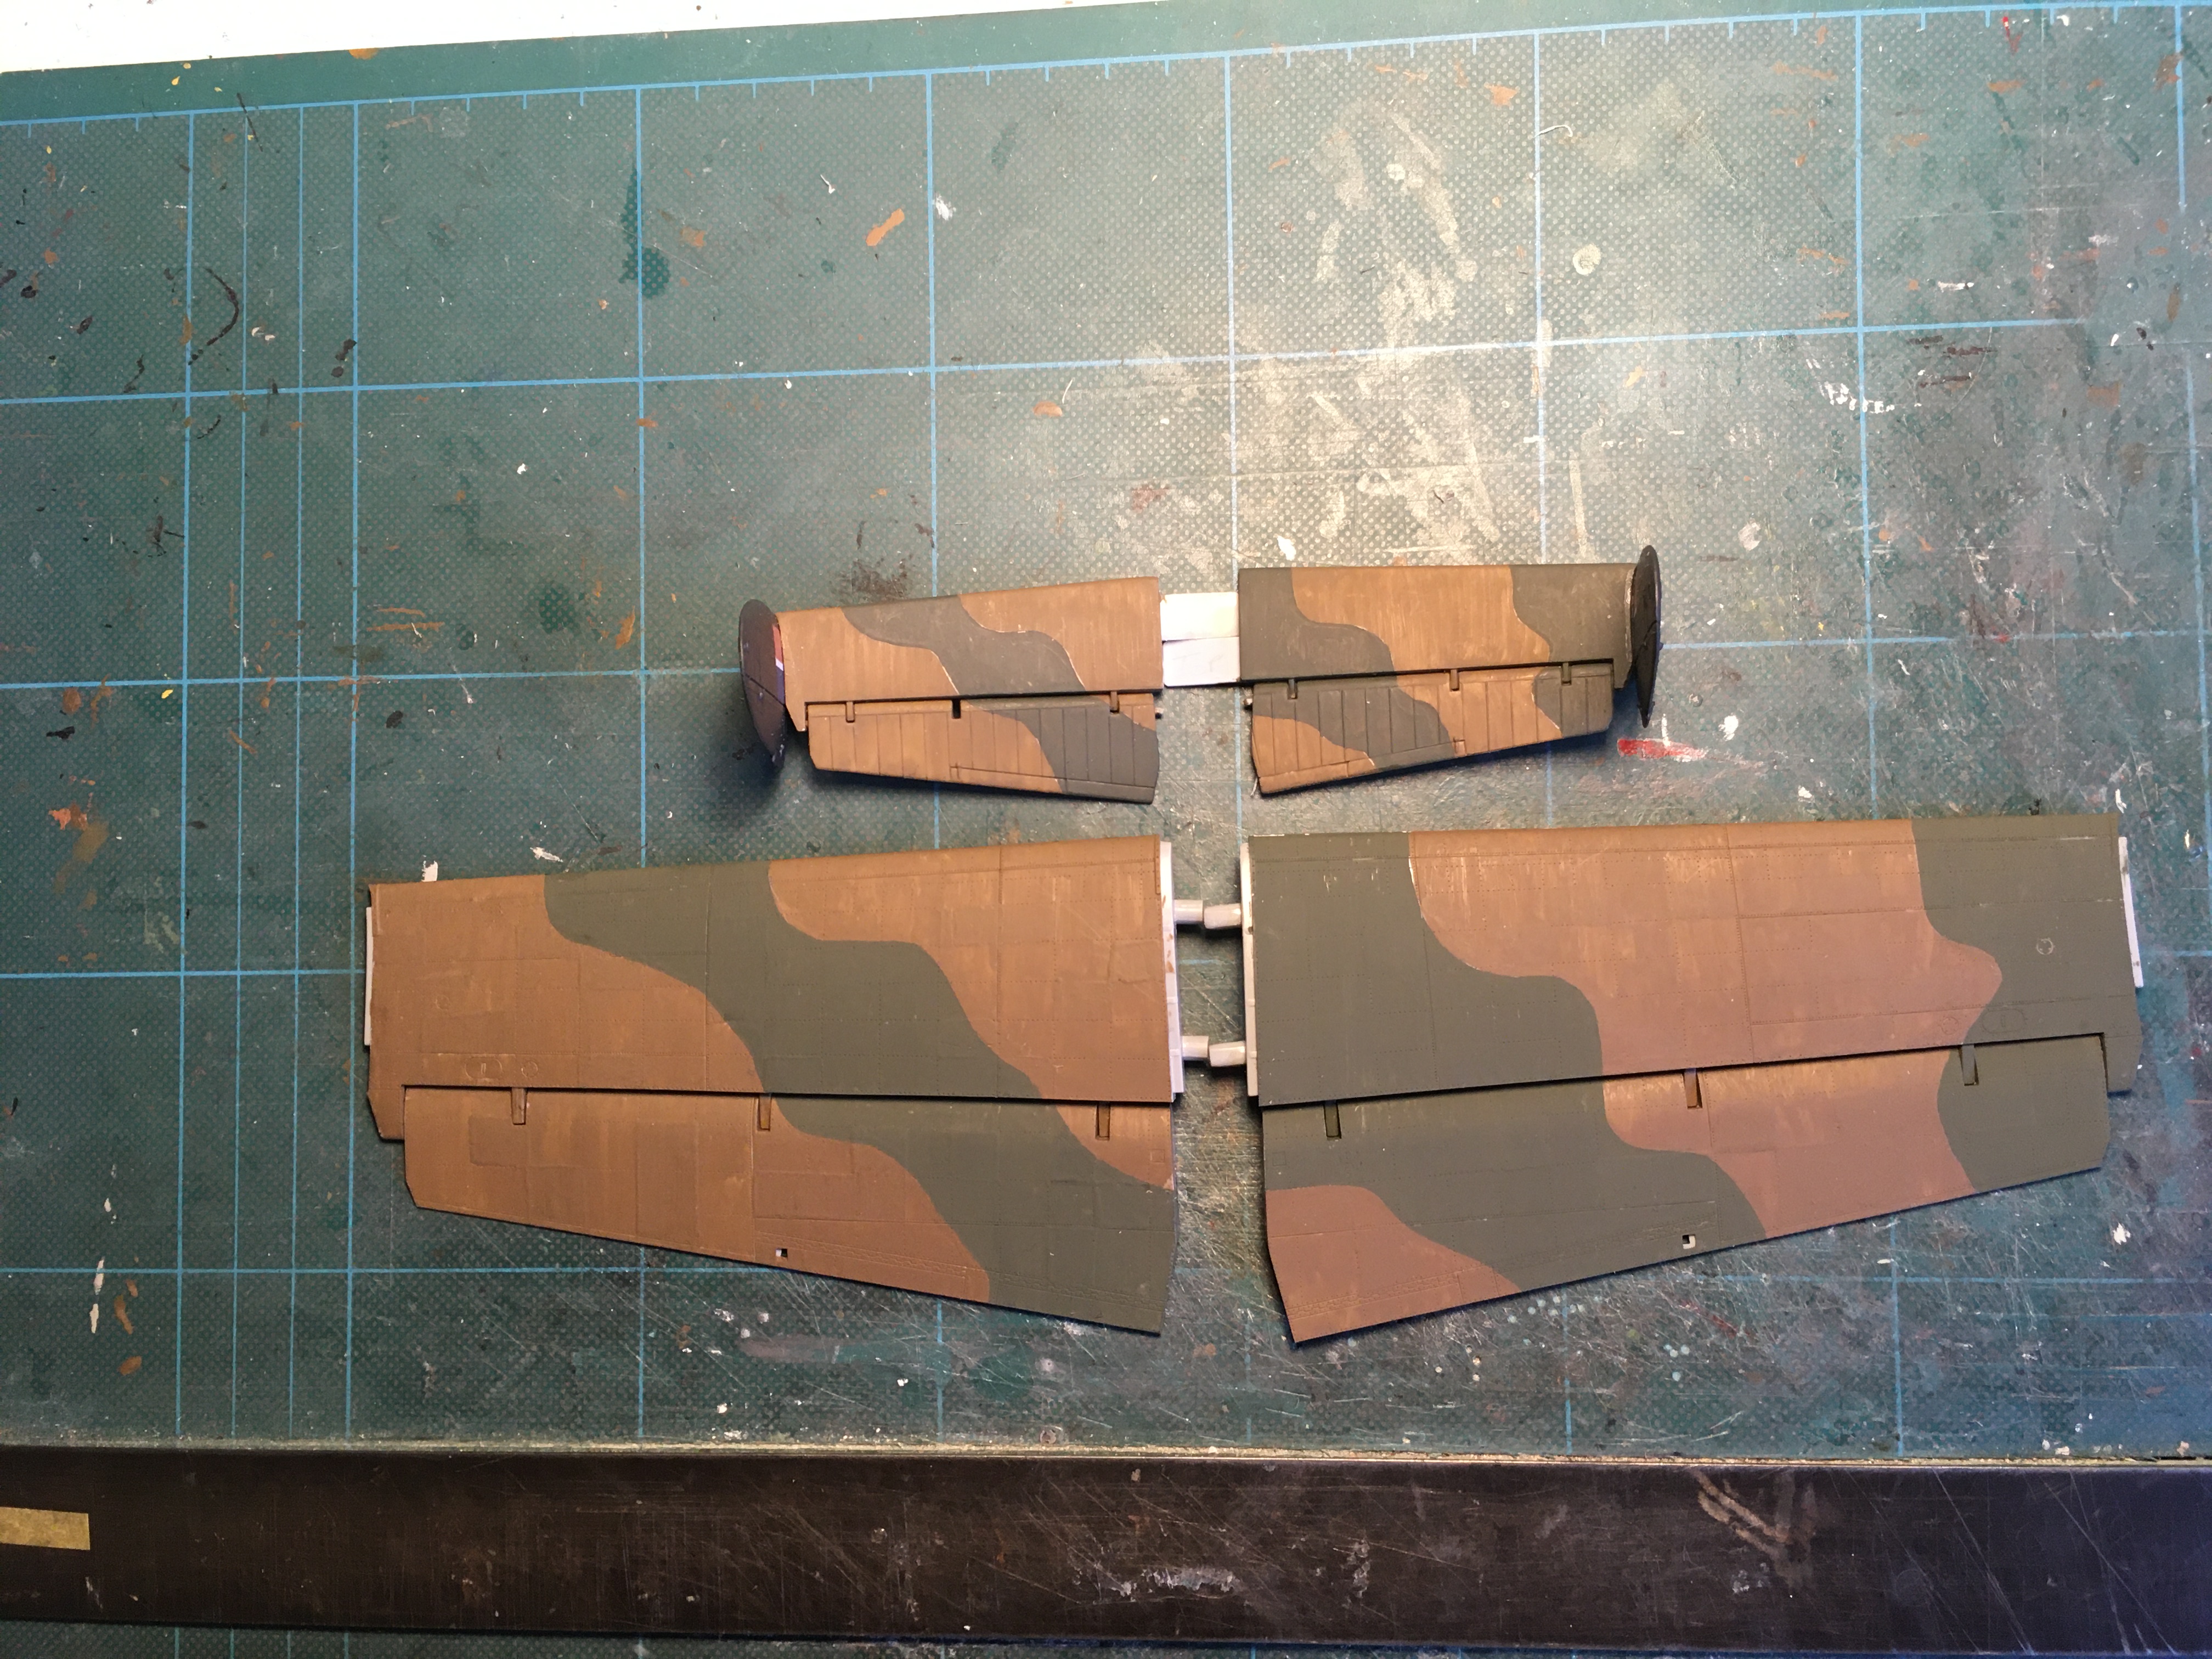
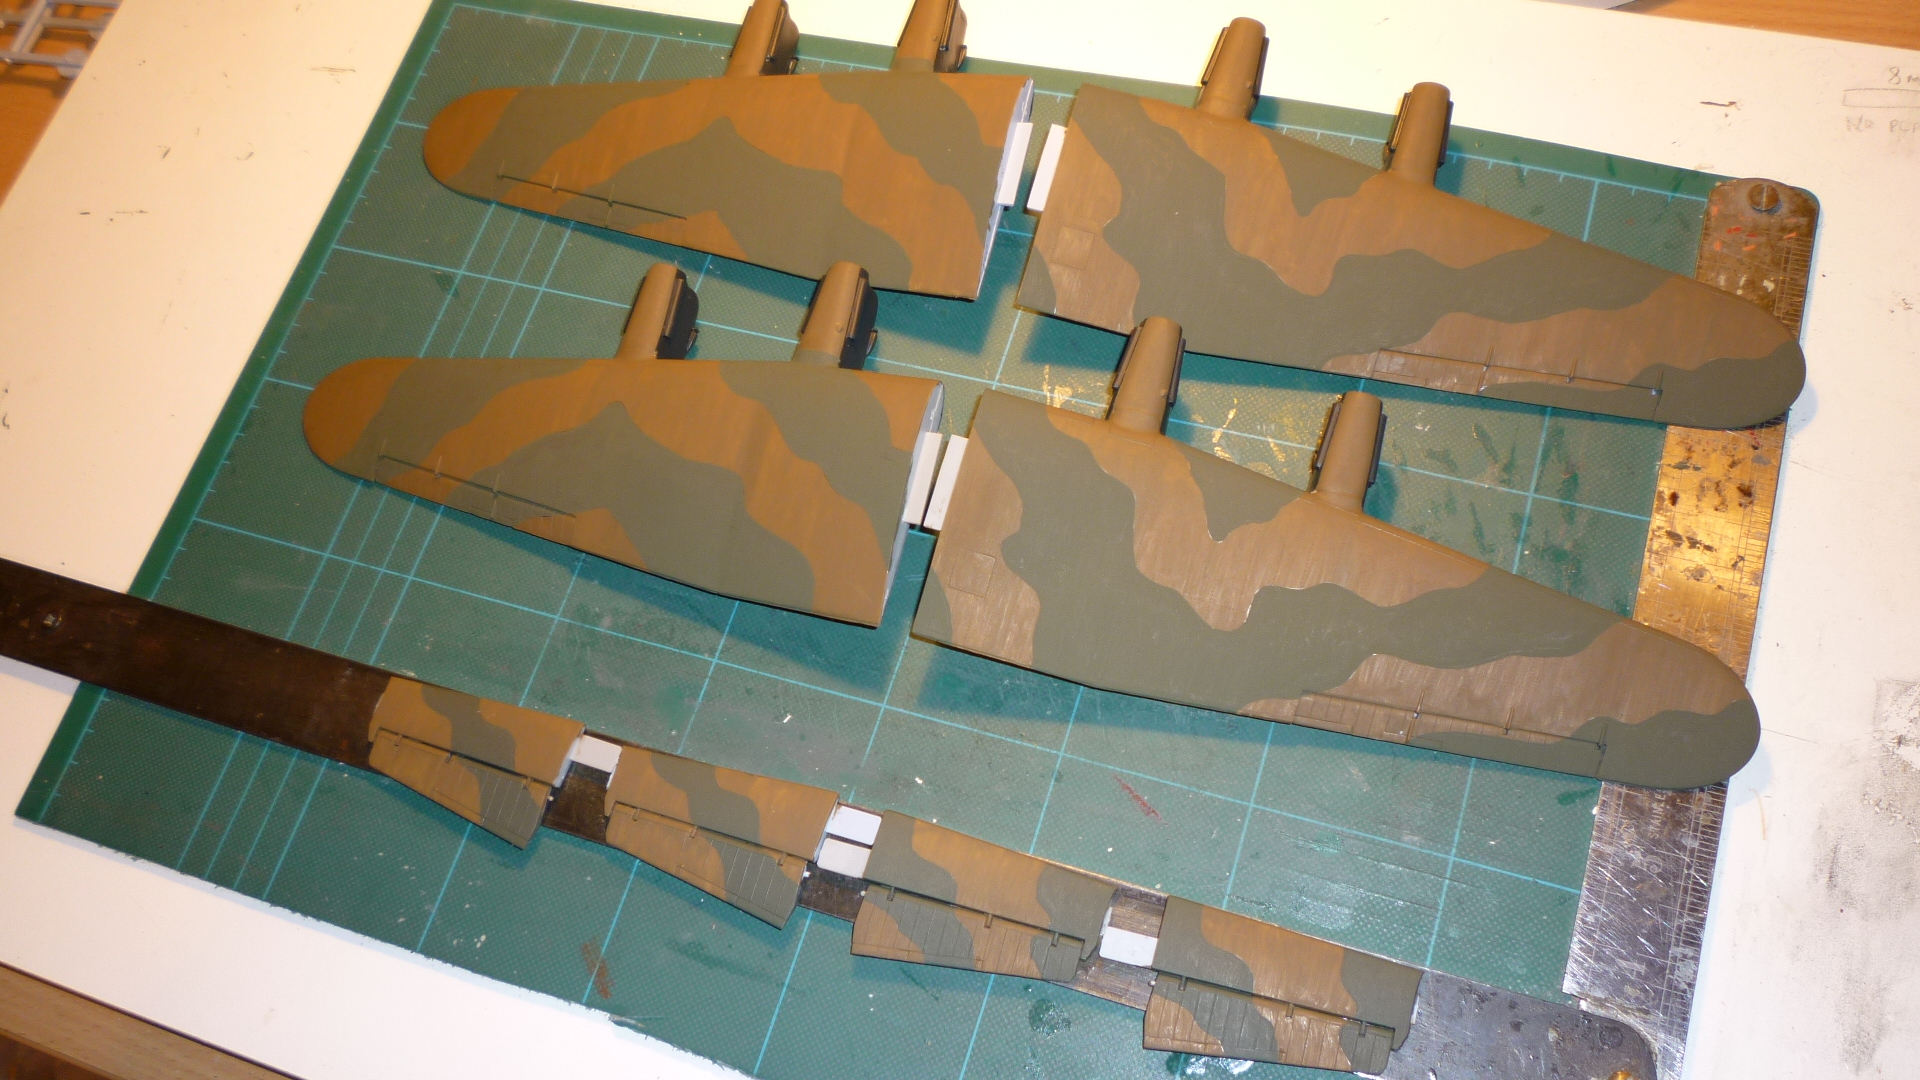
Thanks Kai I was hoping it would turn out so its wasnt to obvious that it HAD been broken. Paints I used are still Humbrol cos I'm still a brush painter and Ye, a home made mask. I have had a camouflage plan blown up to scale and then cut out the tail=plane, pasted to card and then cut out . . . . I did try to create 'canning' with paint, slightly sanded and then camo applied. Hard to see but in the right light you can see an uneven surface across the tail-planes . . . I keep persevering . . . might try it on the main wings when I get around to them Cheers Ian.thumb.JPG.a39c7382043b34189ee139f01e48ea4e.JPG)
.thumb.JPG.c26aaaf6bde40694bead32b225a94ed9.JPG)
-
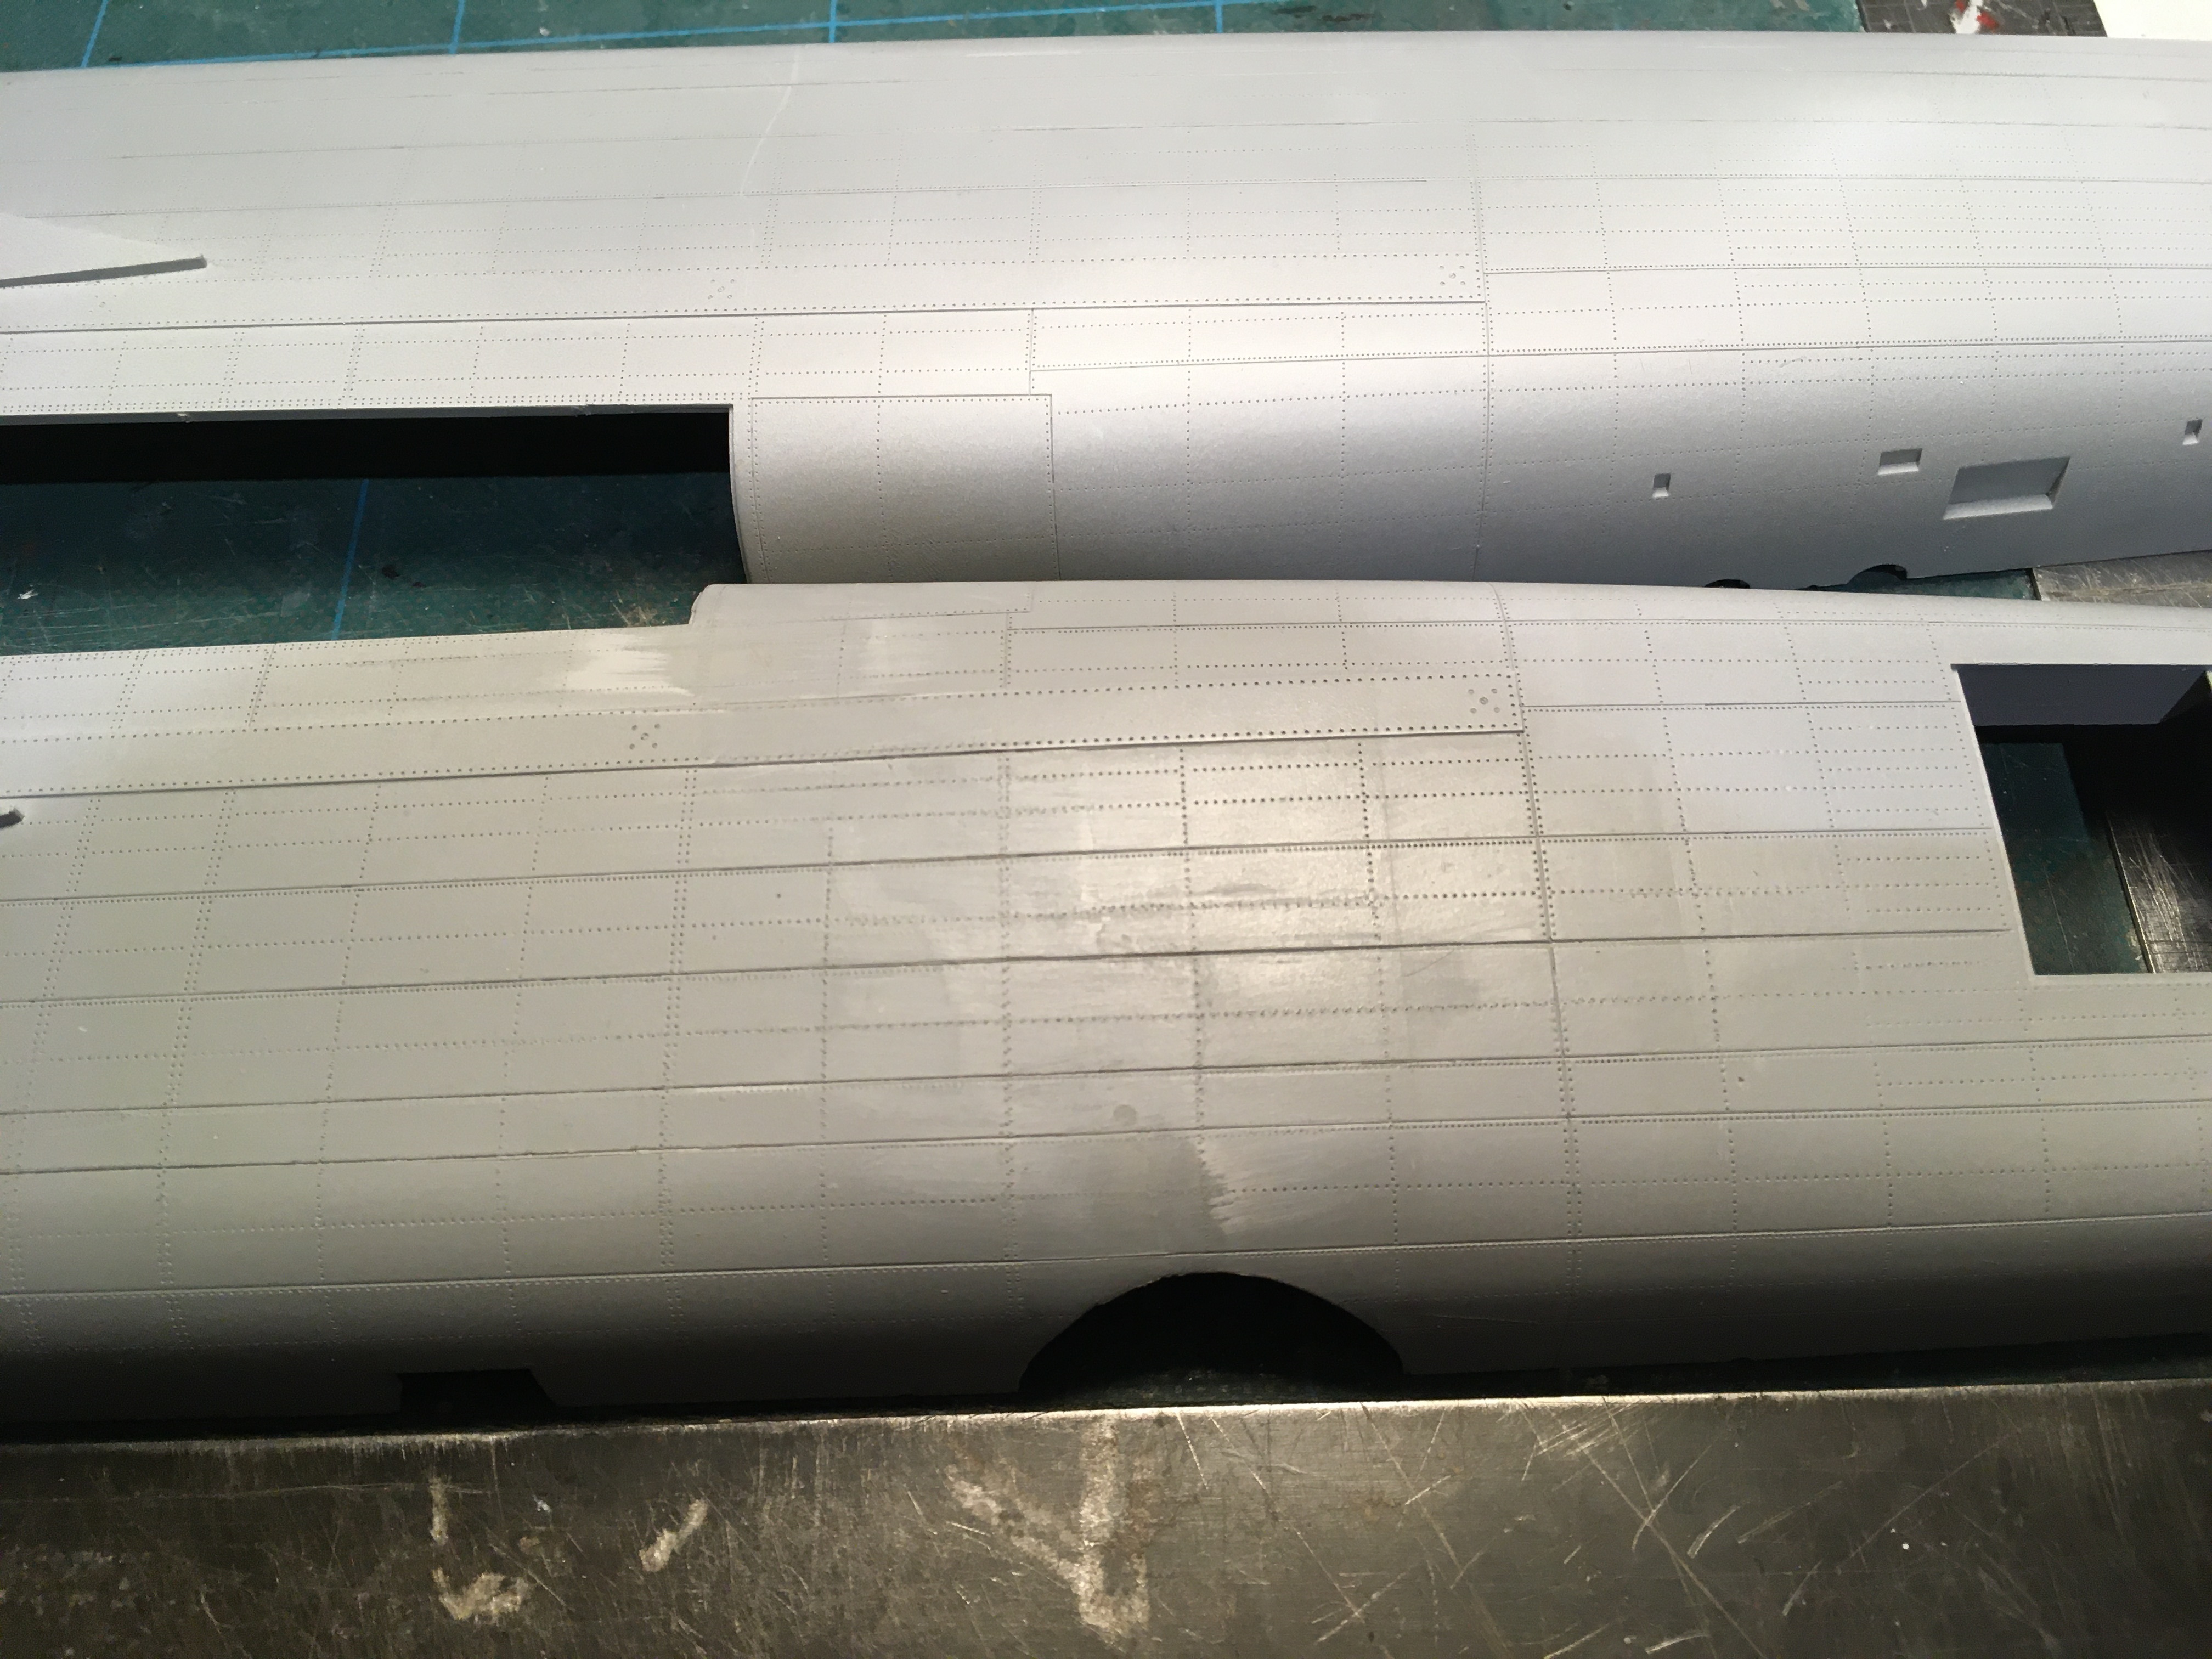
Lancaster ND644 in 32nd scale
FME erk replied to FME erk's topic in LSM 1/35 and Larger Work In Progress
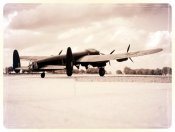
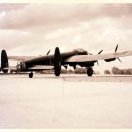
I got around to cleaning up that breakage down the fuselage and scribing some of the fuselage lines and rivets . . . . and with a touch of paint on . . . and whilst waiting for the repairs to be completed I got a touch of paint on the tailplanes, comparison to the 72nd scale included Still working on the correction list . . . cheers for now Ian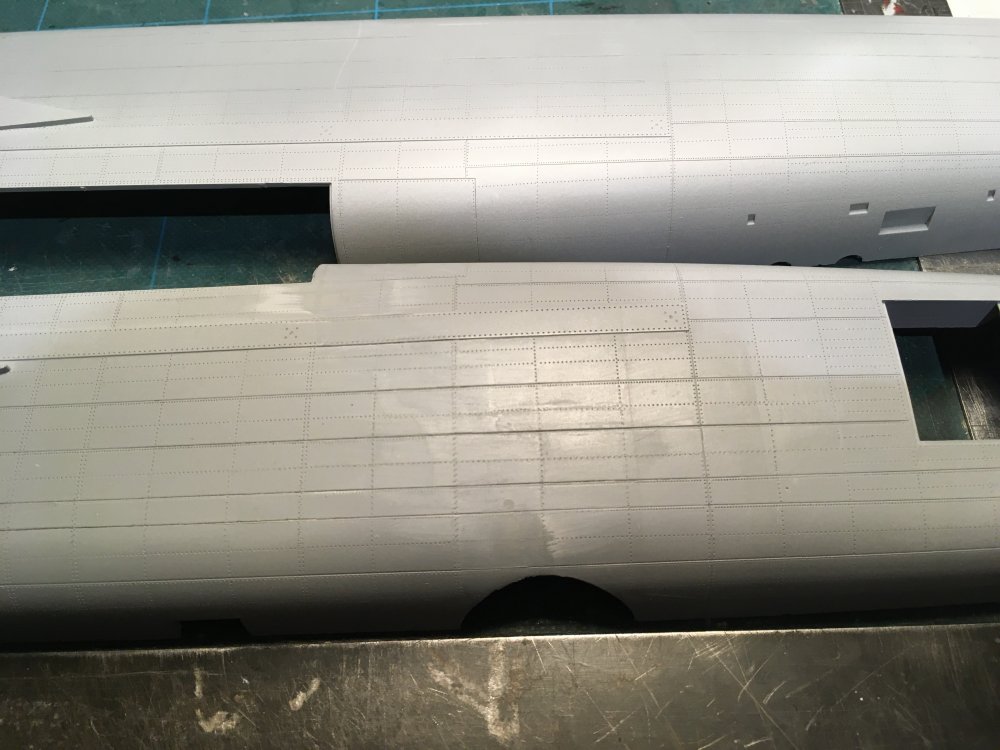

-
I shall watch this hoping I can get some ideas about building the body as I would like to do a particular English lorry . . . .
-
HK's 1/32 Mosquito-Finished
FME erk replied to KevinM's topic in LSM 1/35 and Larger Work In Progress
Slowly but surely . . . Ian

.JPG.e404d155f62a0d79aa38df185d95cea6.JPG)


.JPG.c253bd4cdd1c8d009f91ebc2179ddda9.JPG)
.JPG.f548868311077dfd073efb24a200c66d.JPG)
.JPG.968df33a961a310b32660c574815ee2c.JPG)