BlrwestSiR
-
Posts
9,173 -
Joined
-
Last visited
Content Type
Profiles
Forums
Events
Gallery
Everything posted by BlrwestSiR
-

What is on your bench right now ? Share a picture :)
BlrwestSiR replied to Martinnfb's topic in Modelling Discussion
Nice looking DC-3, opps C-47. -
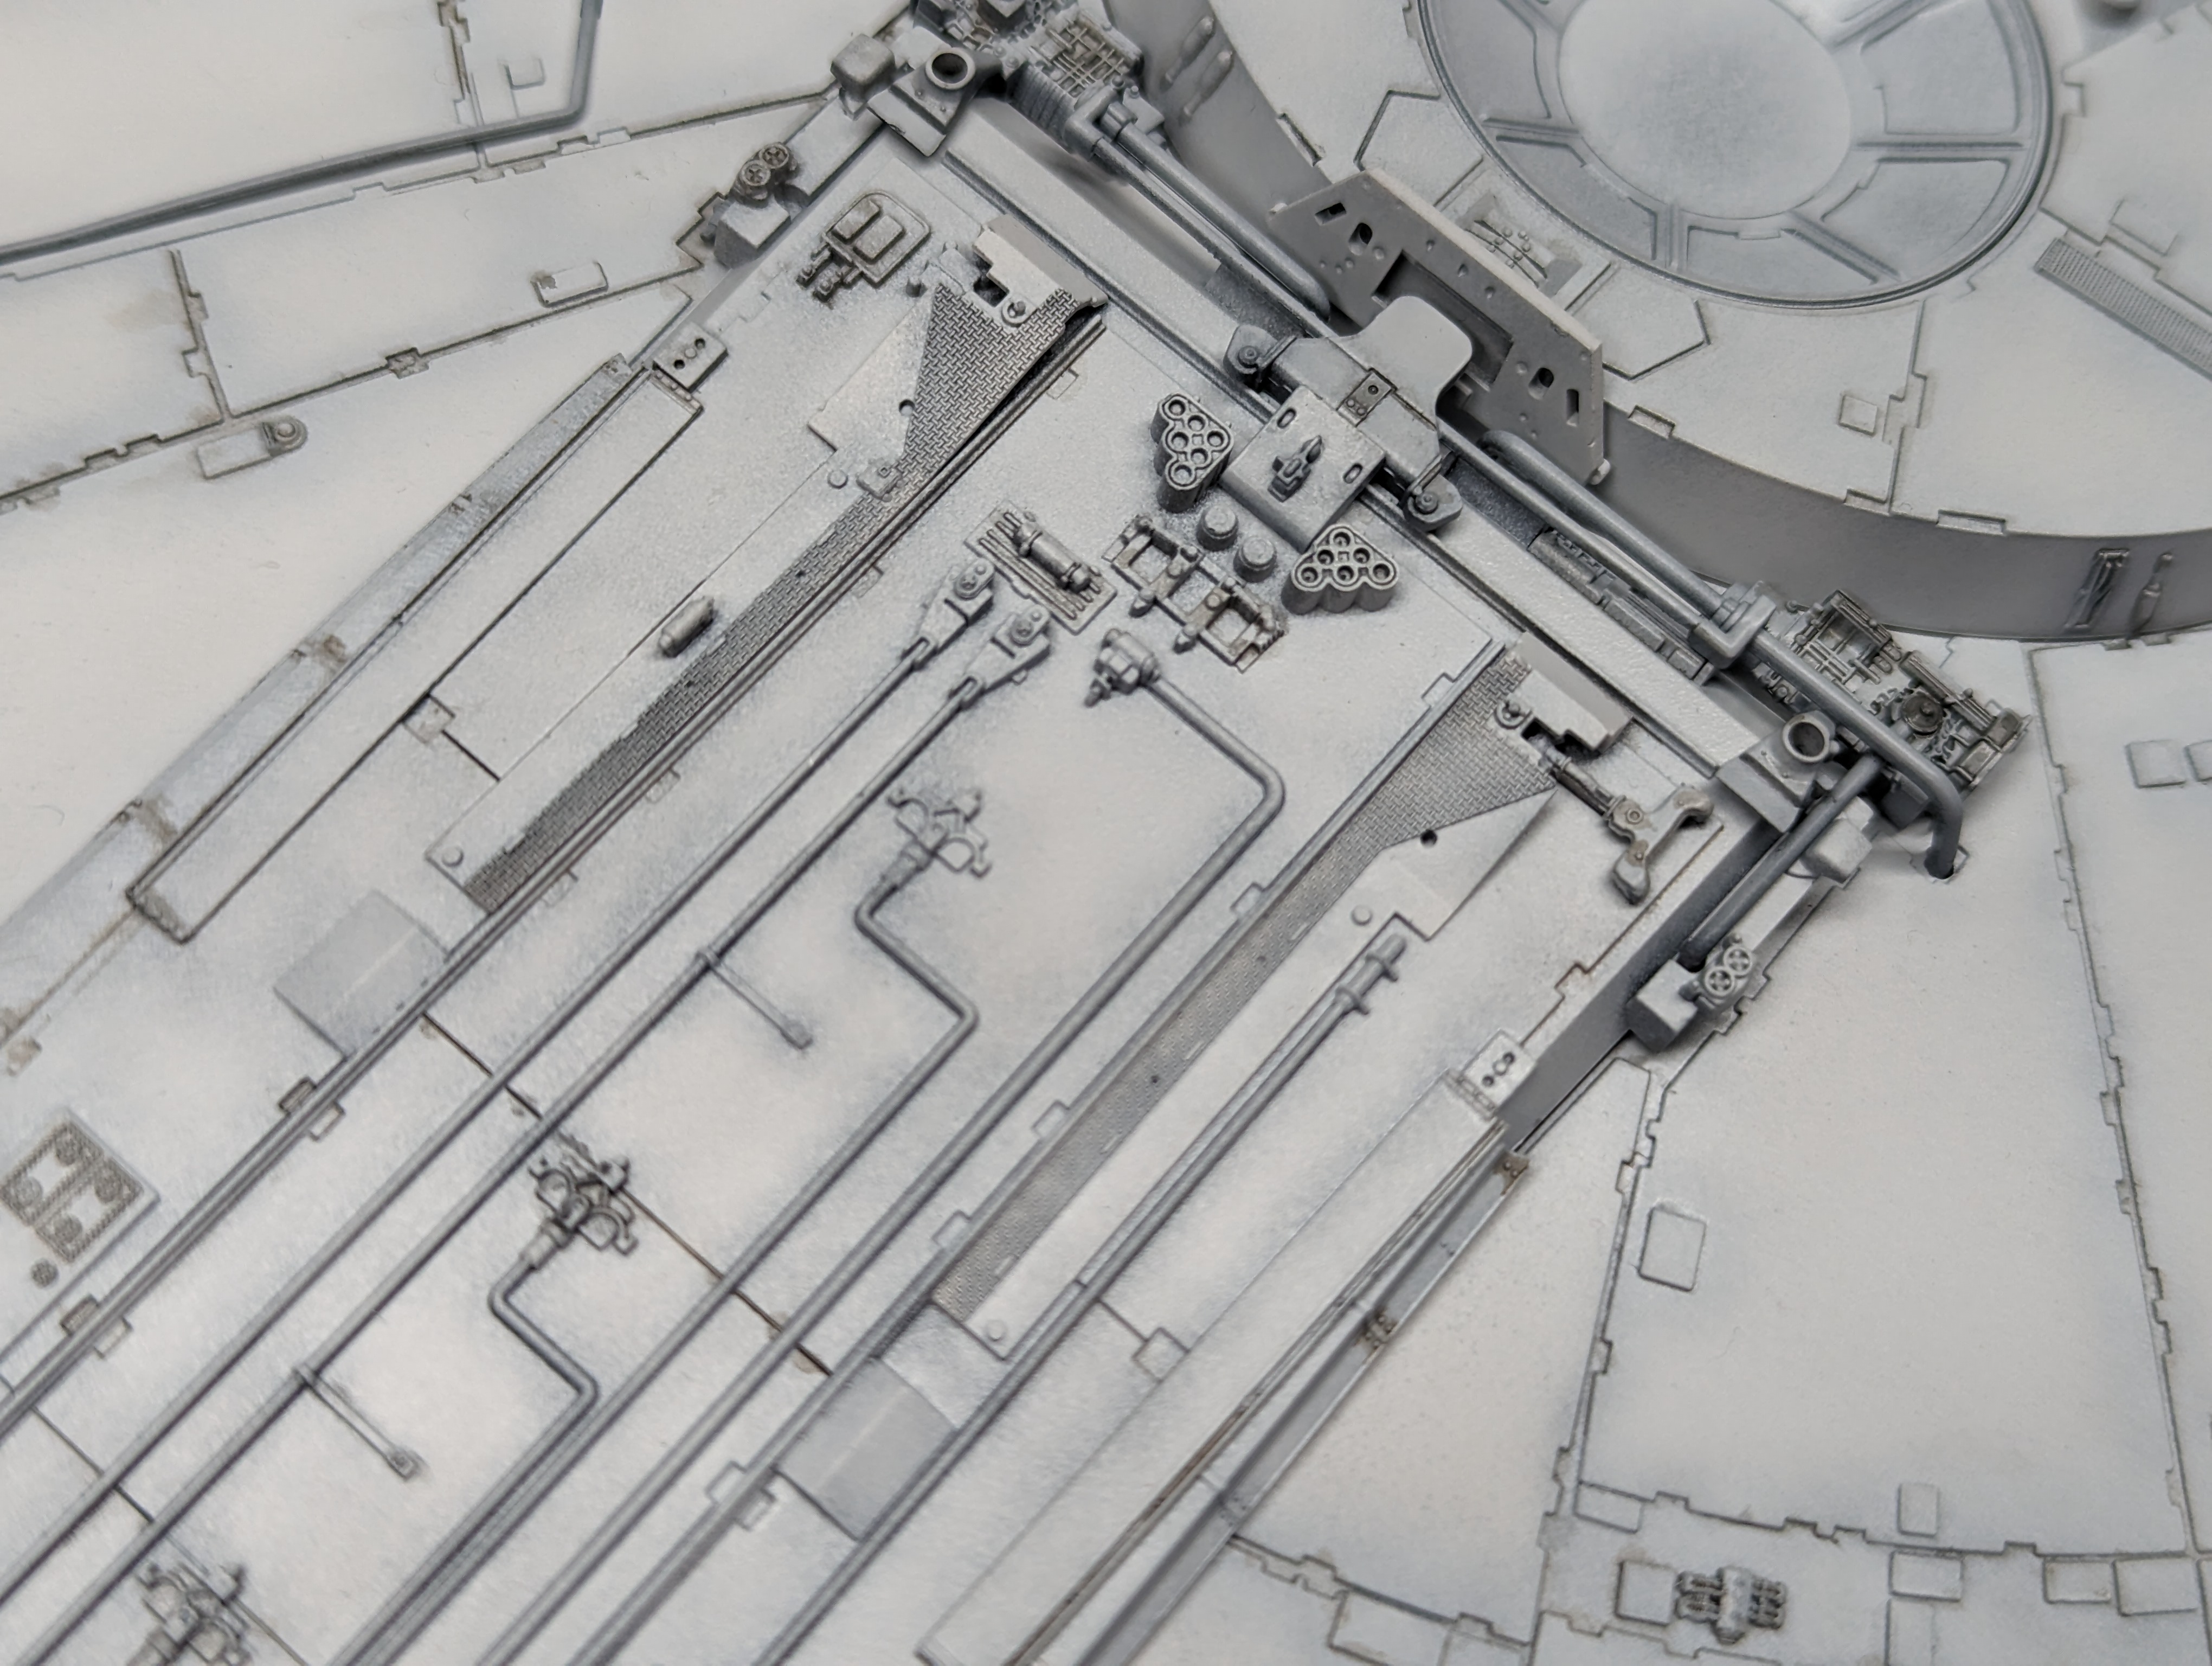
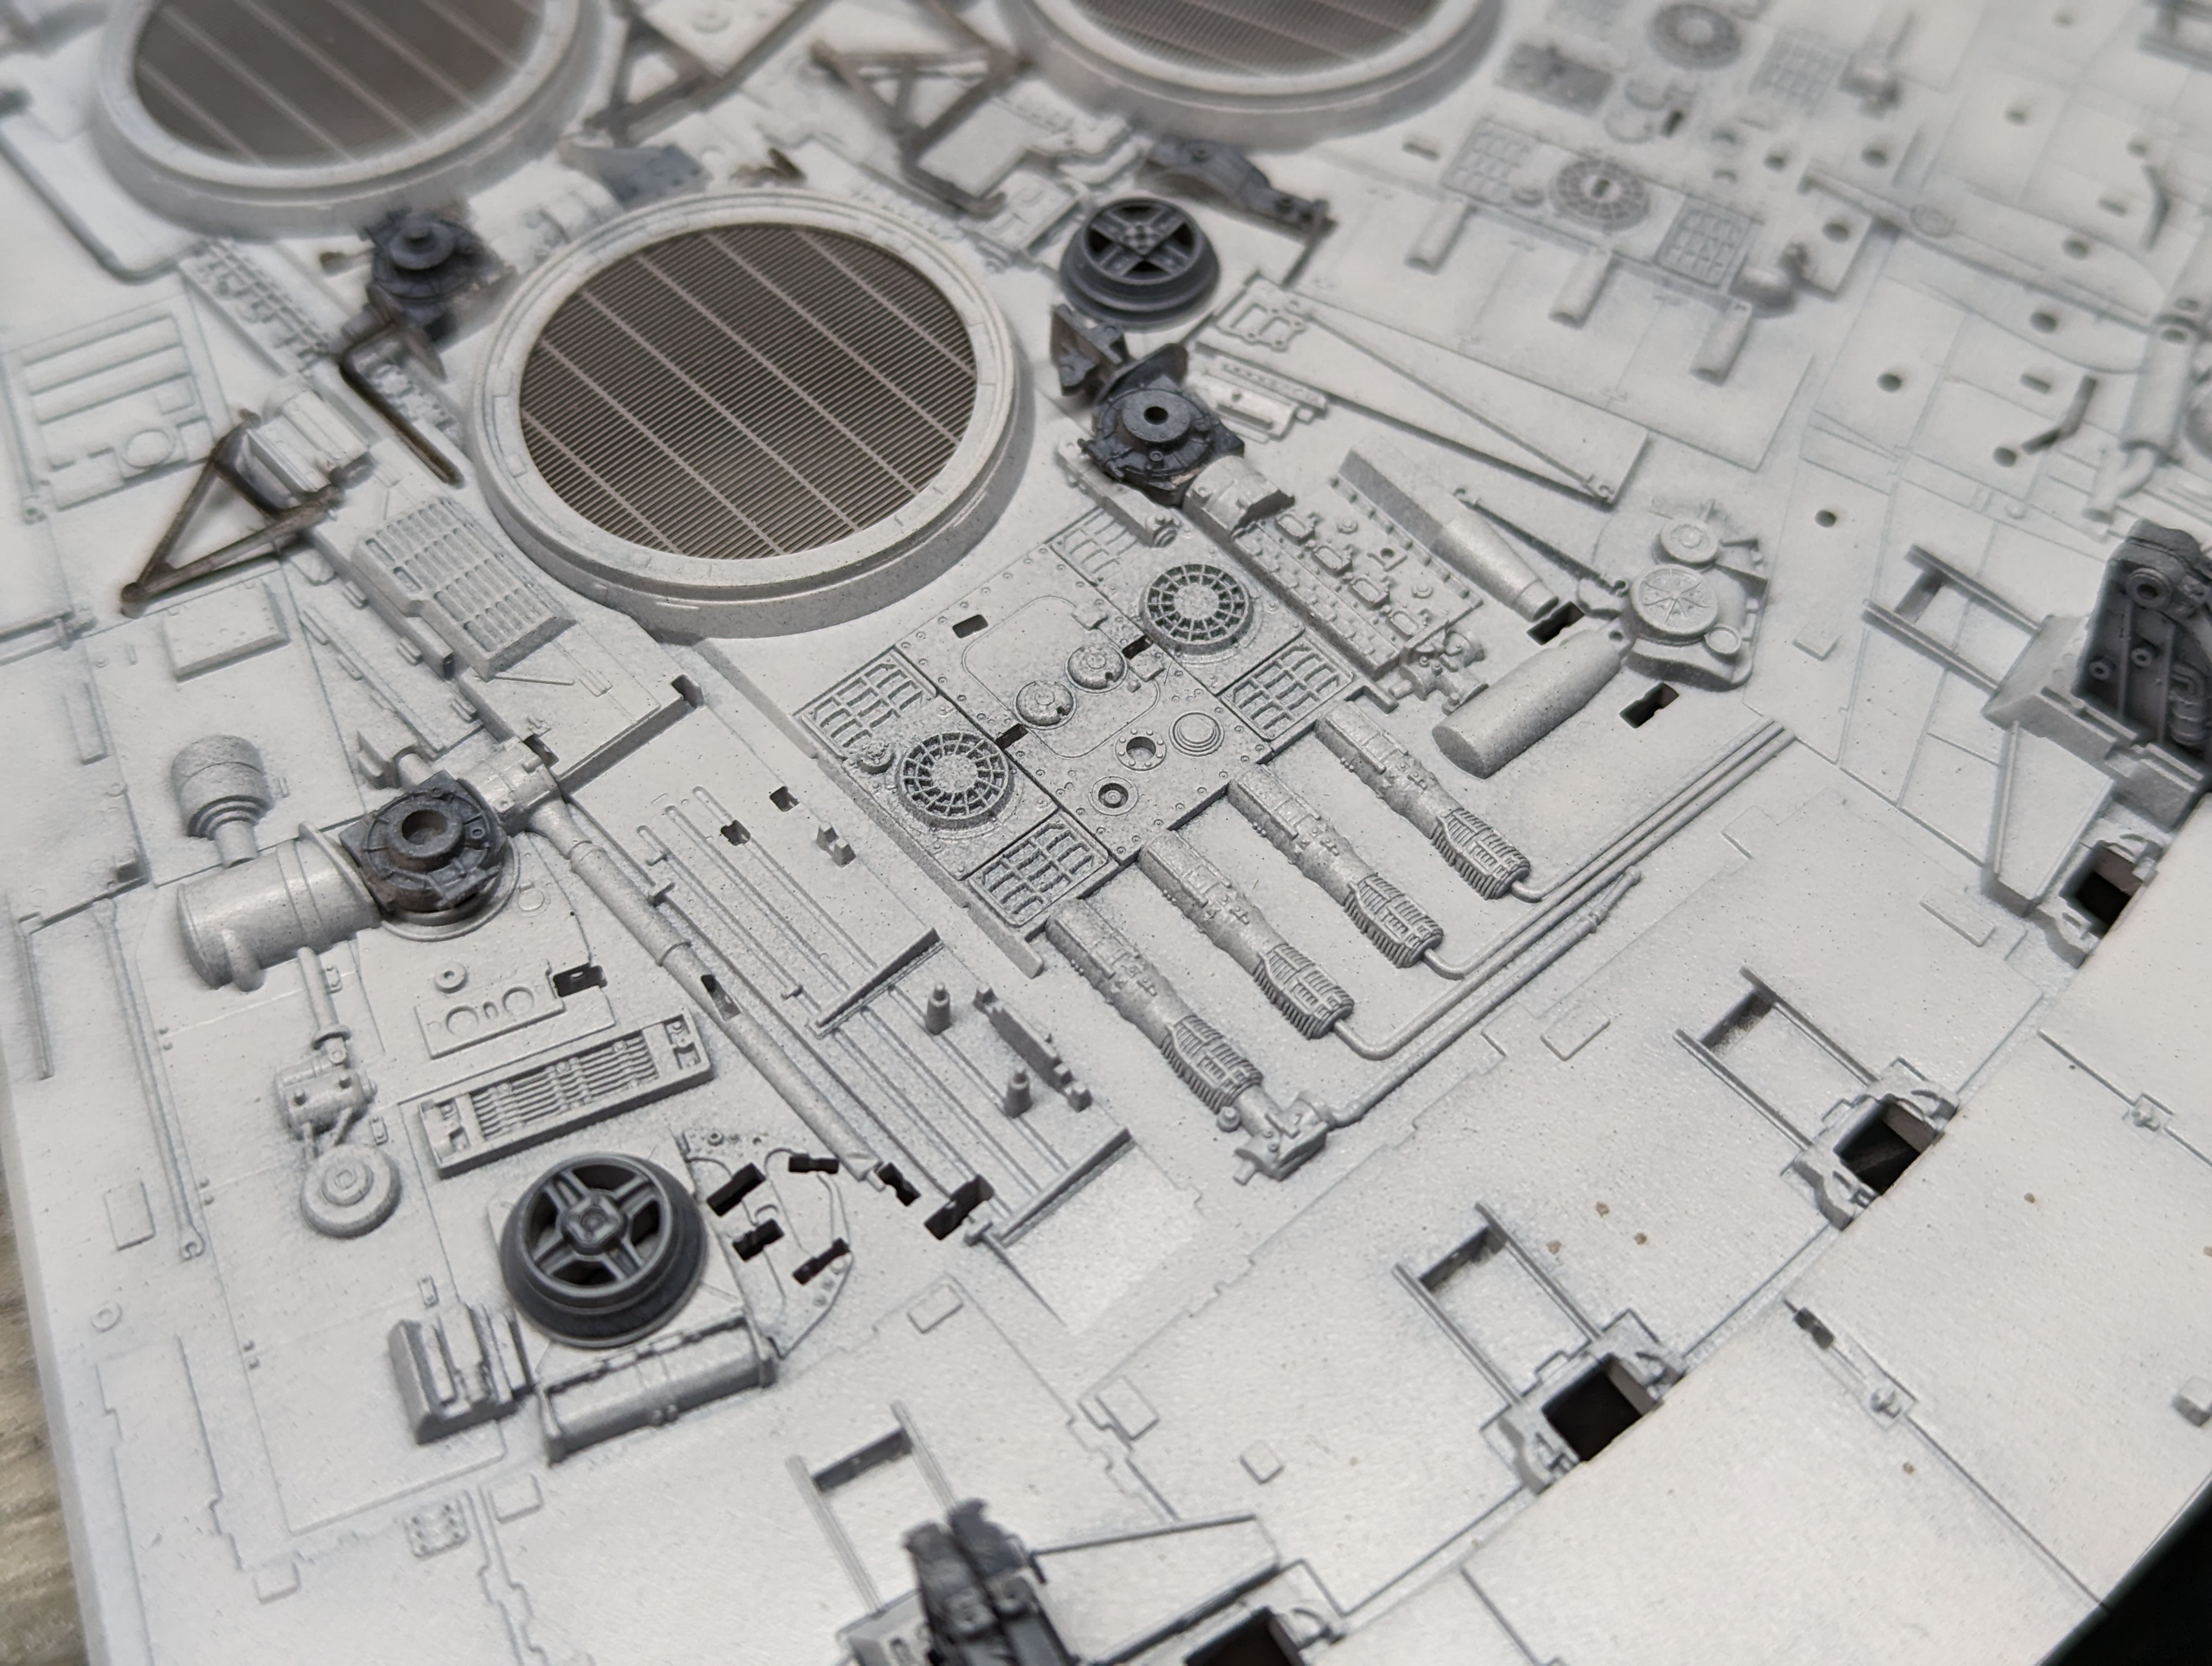
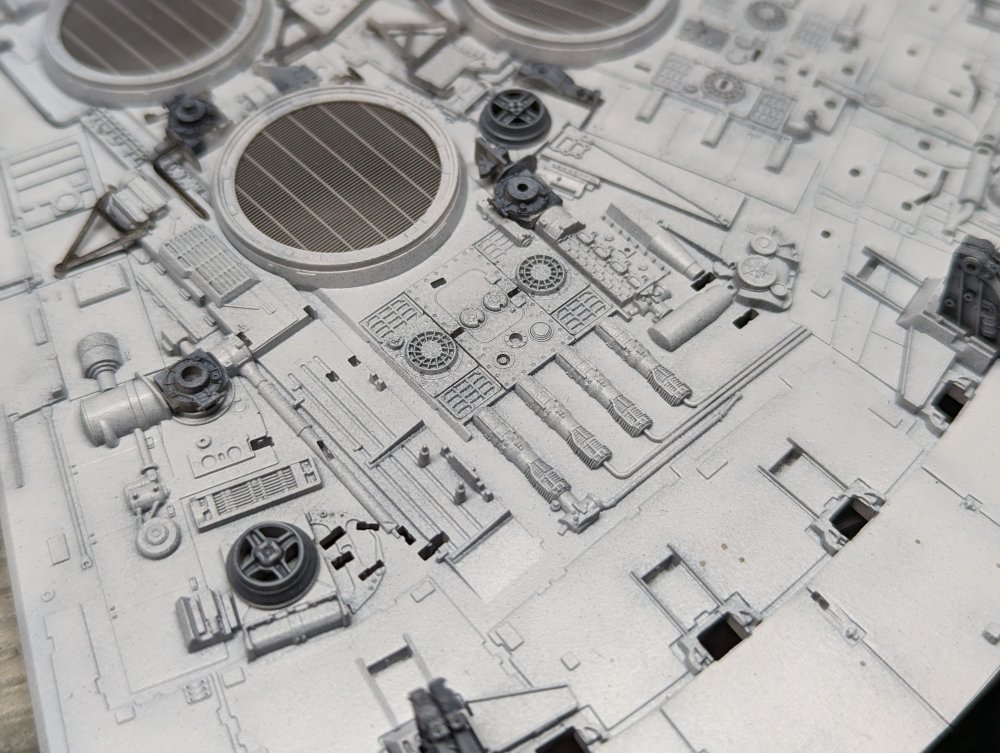
Martin, the crazy part is how fine some of the detail is. Some of it you don't noticed until you put the wash on it. Like here for example.

-
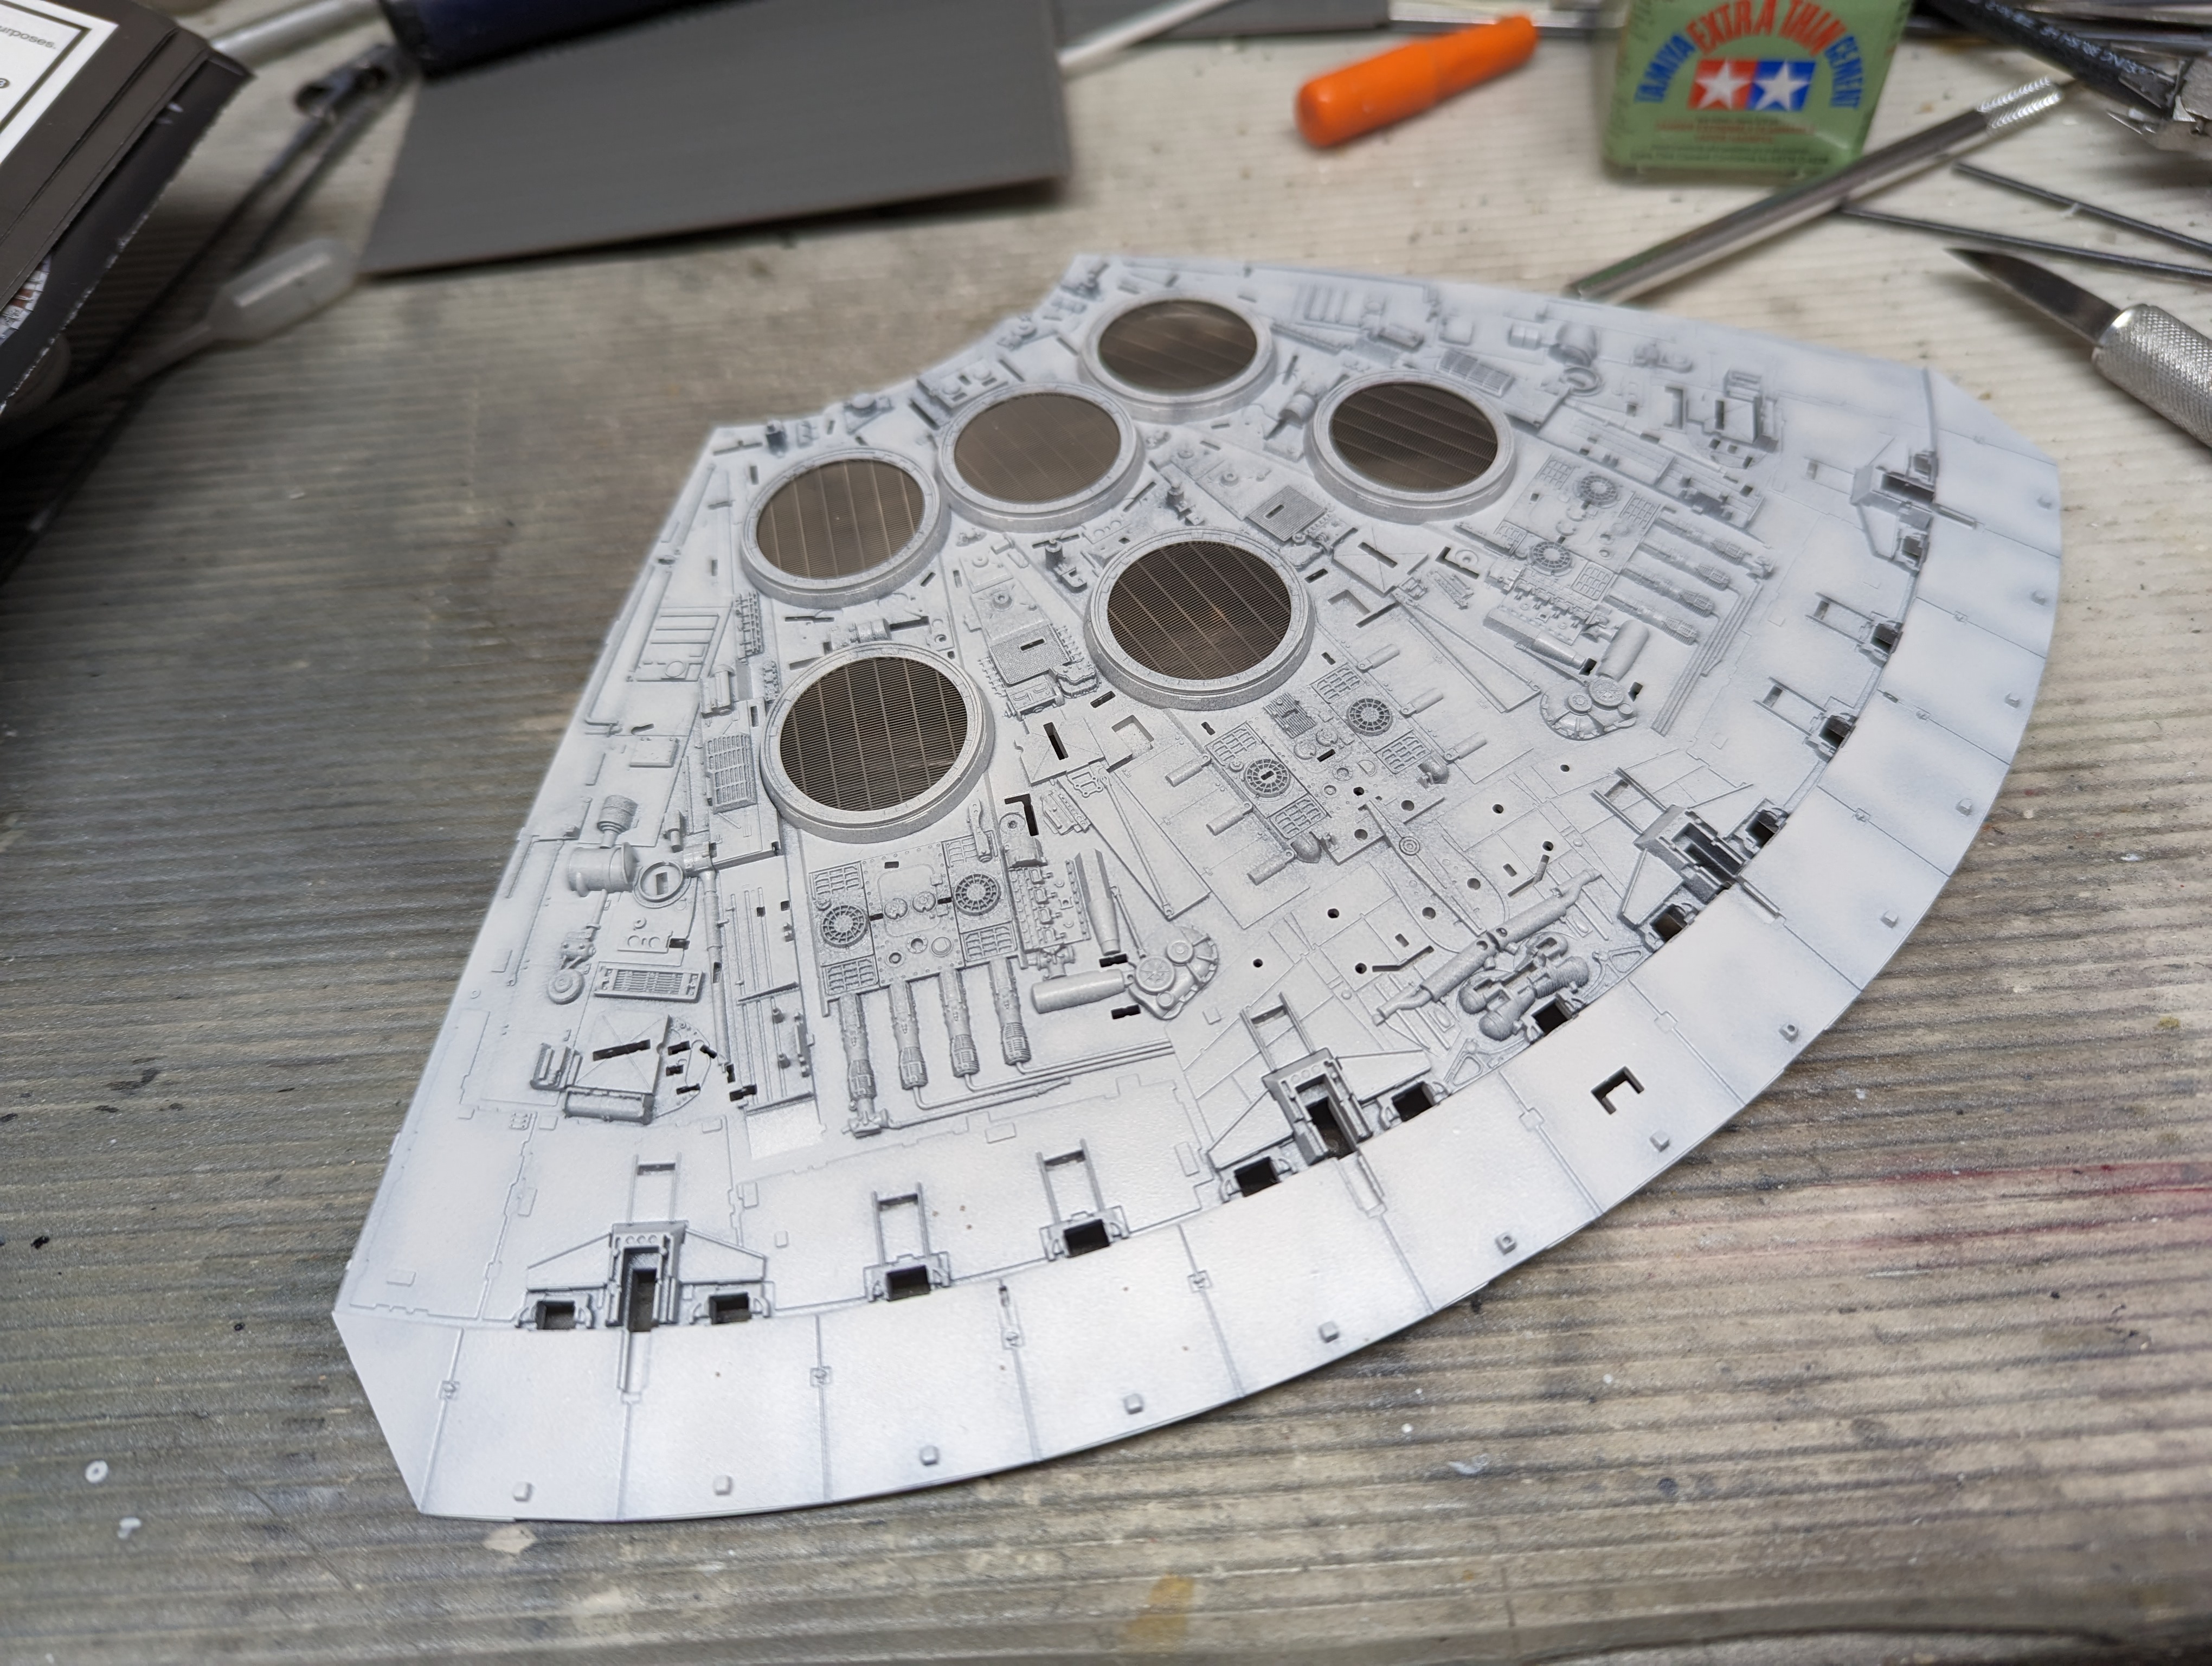
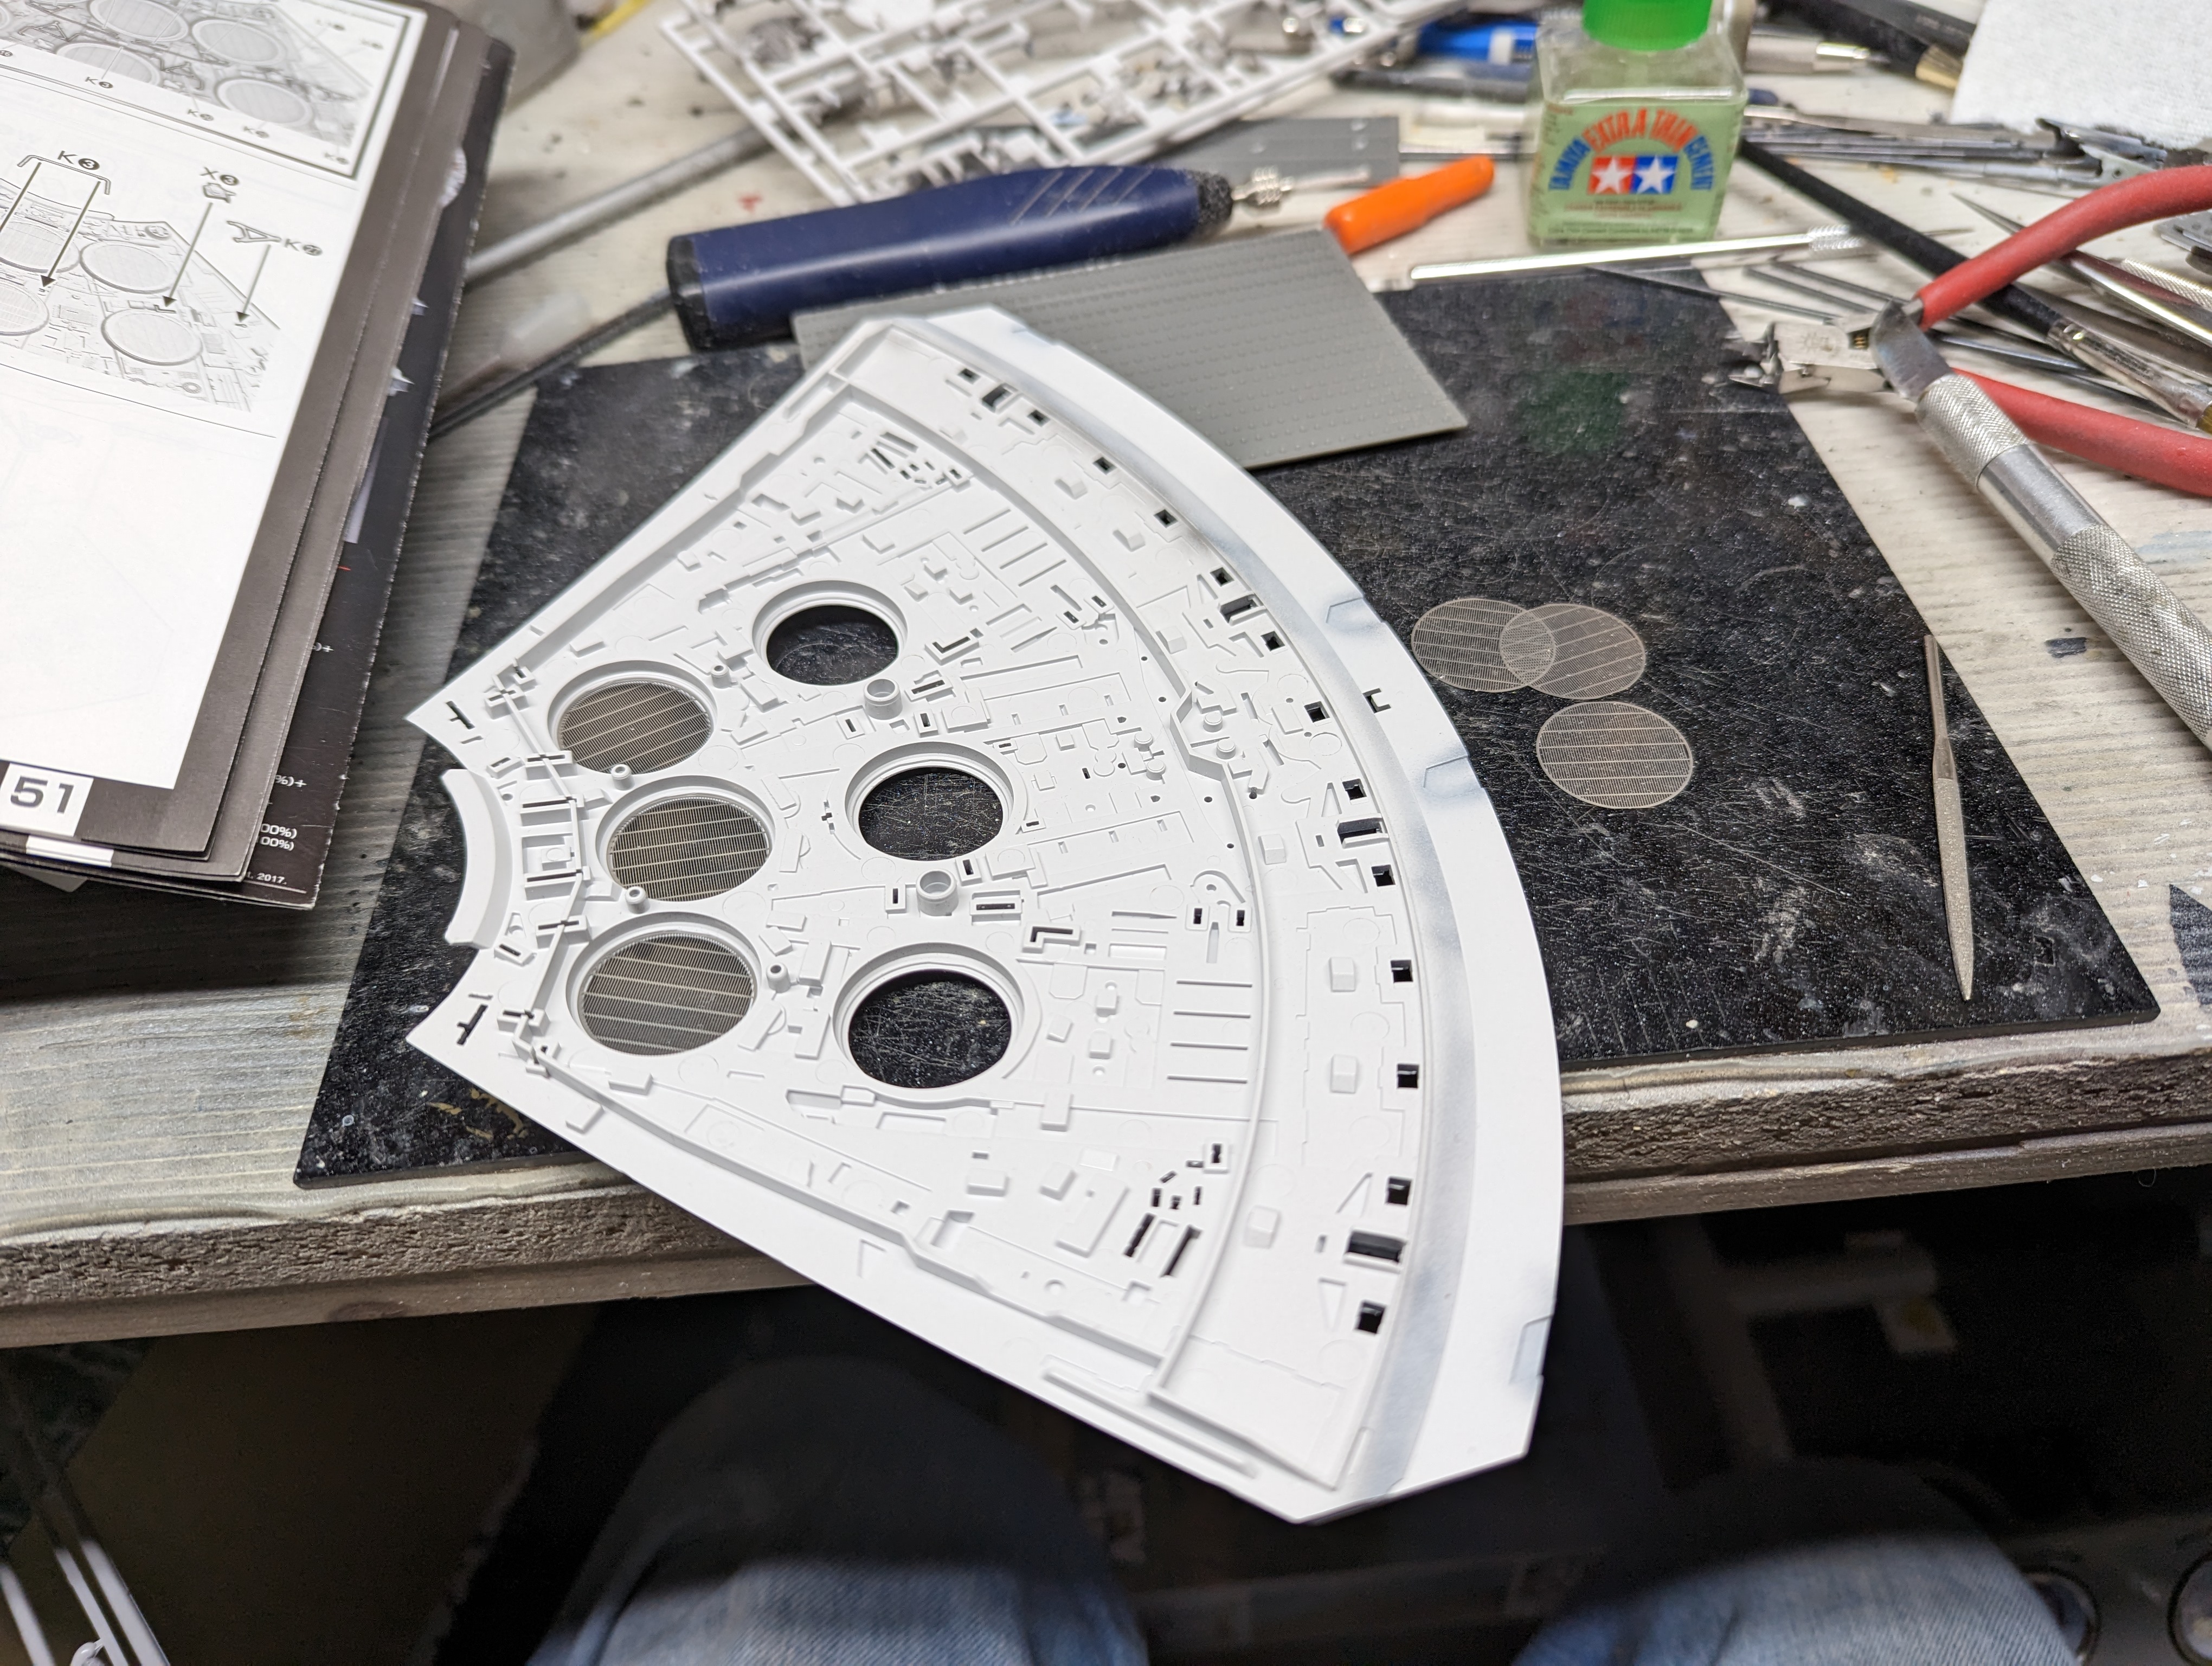
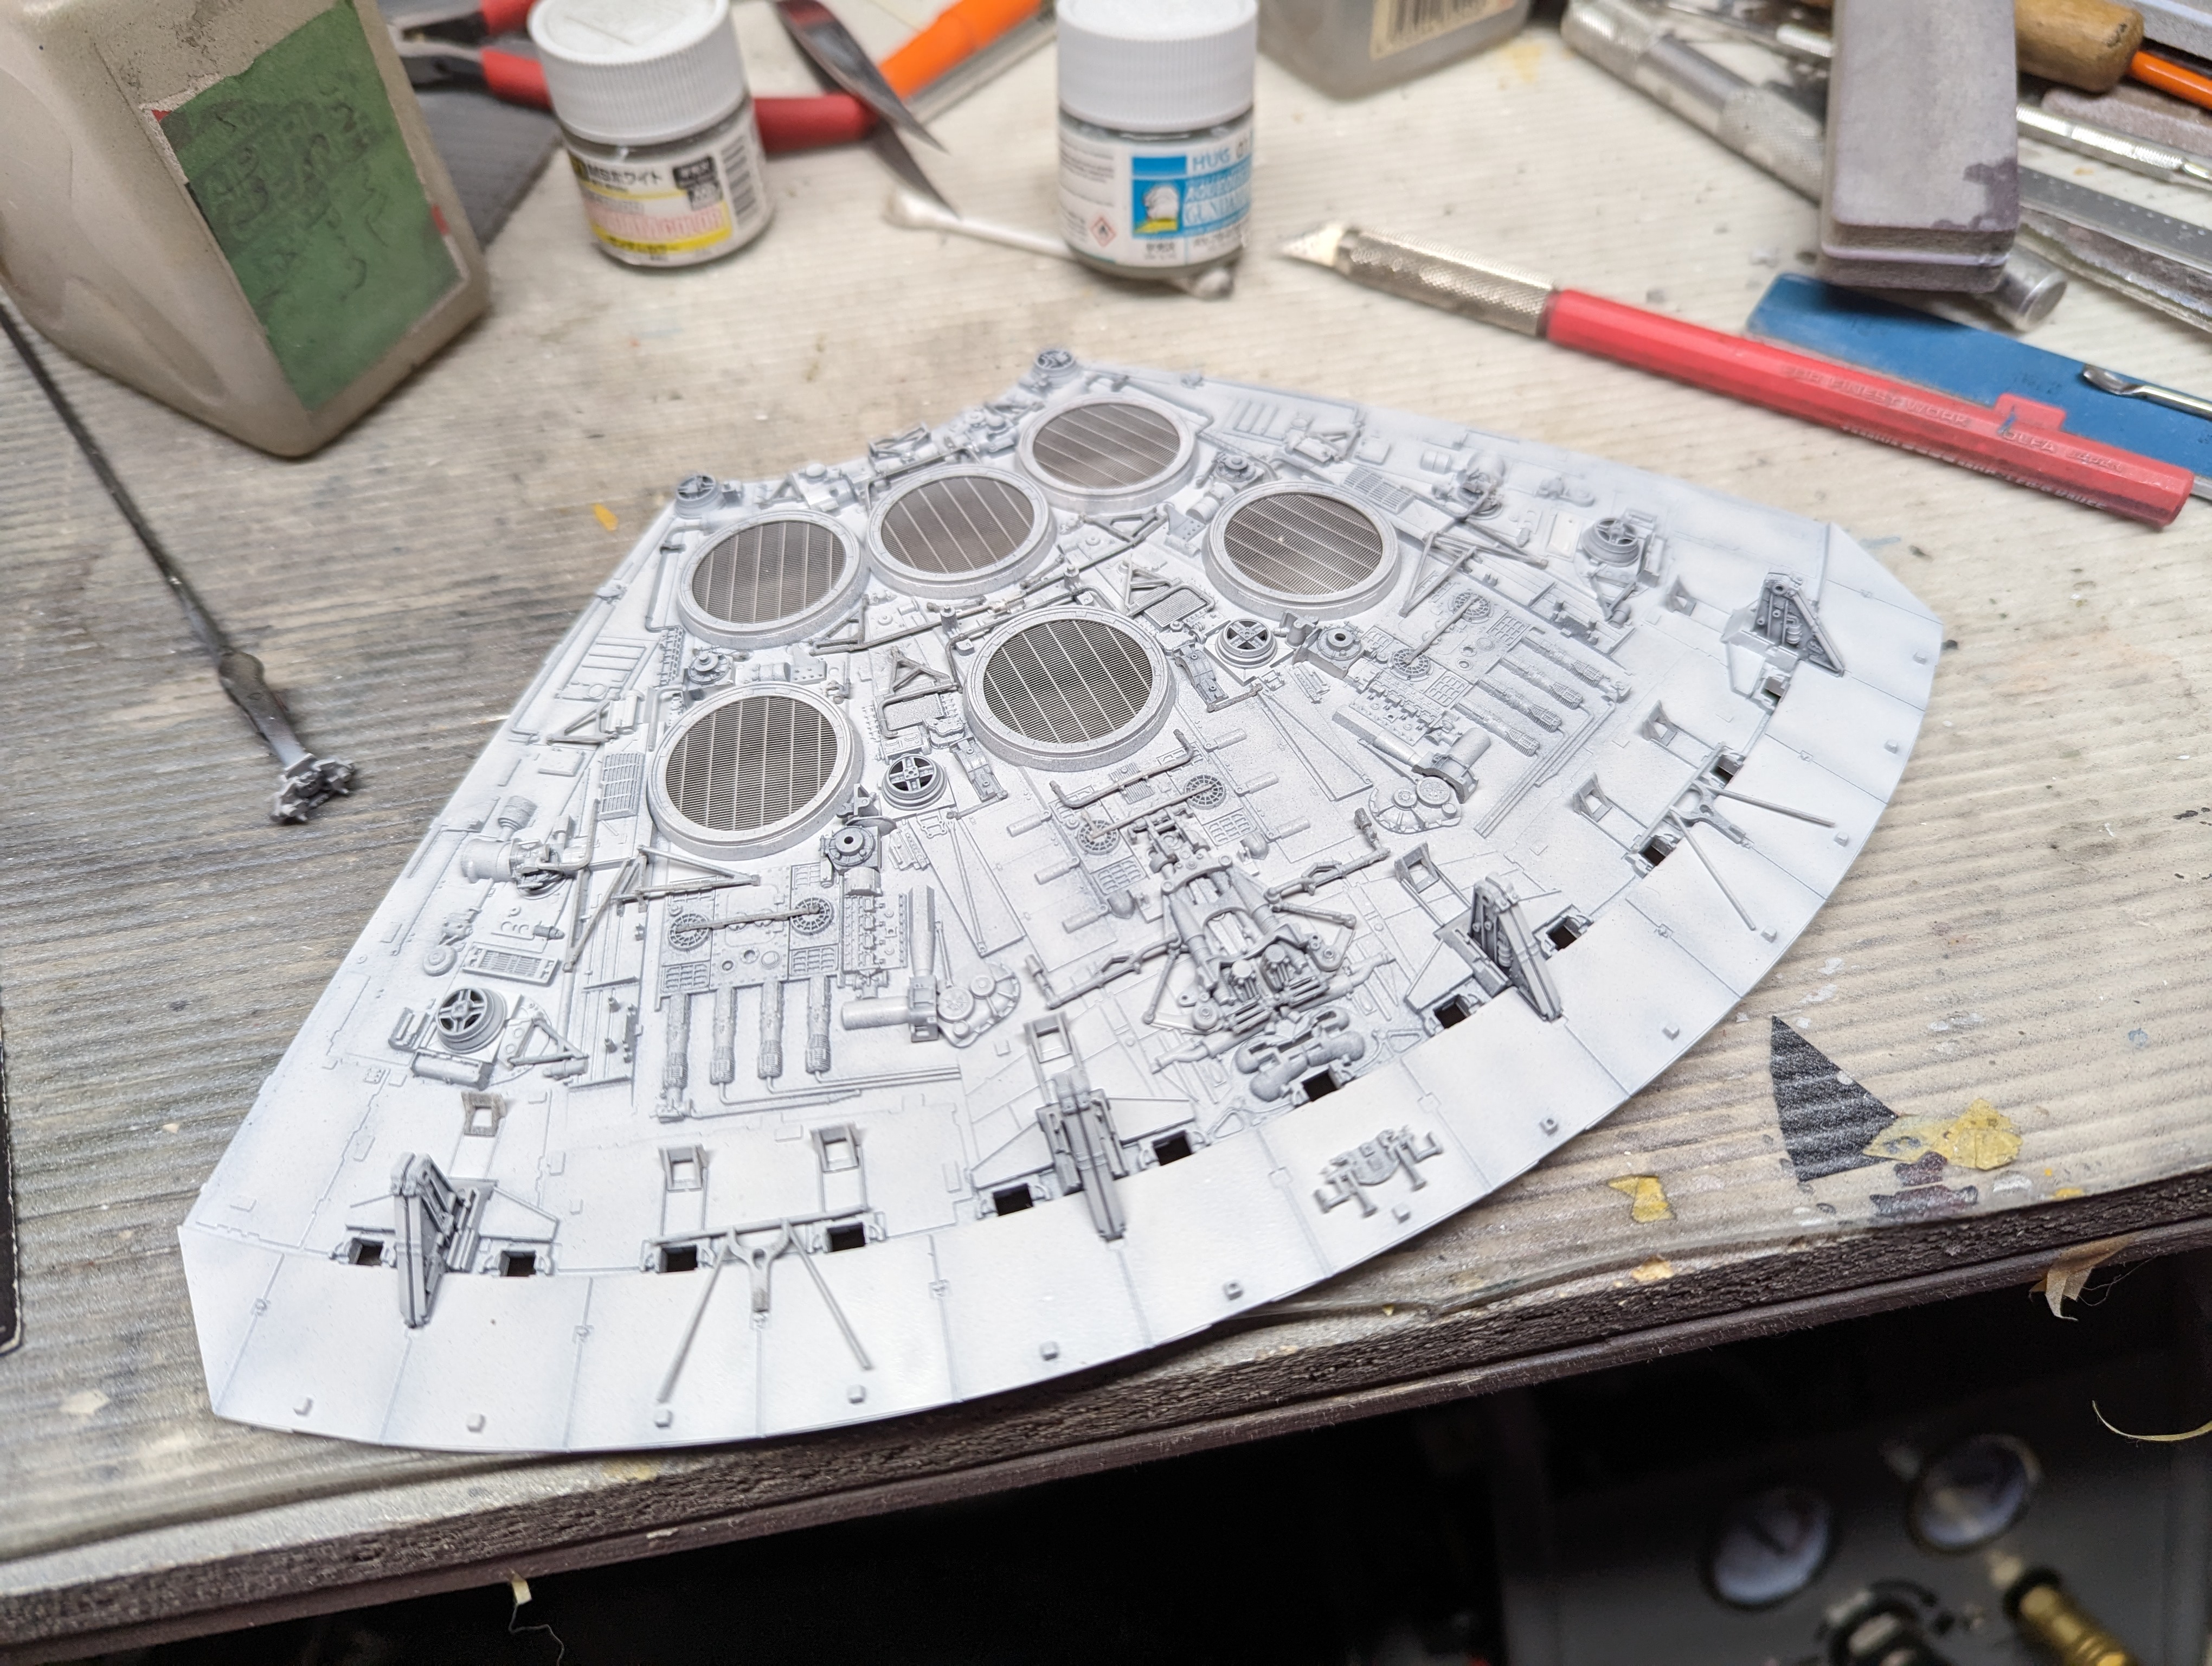
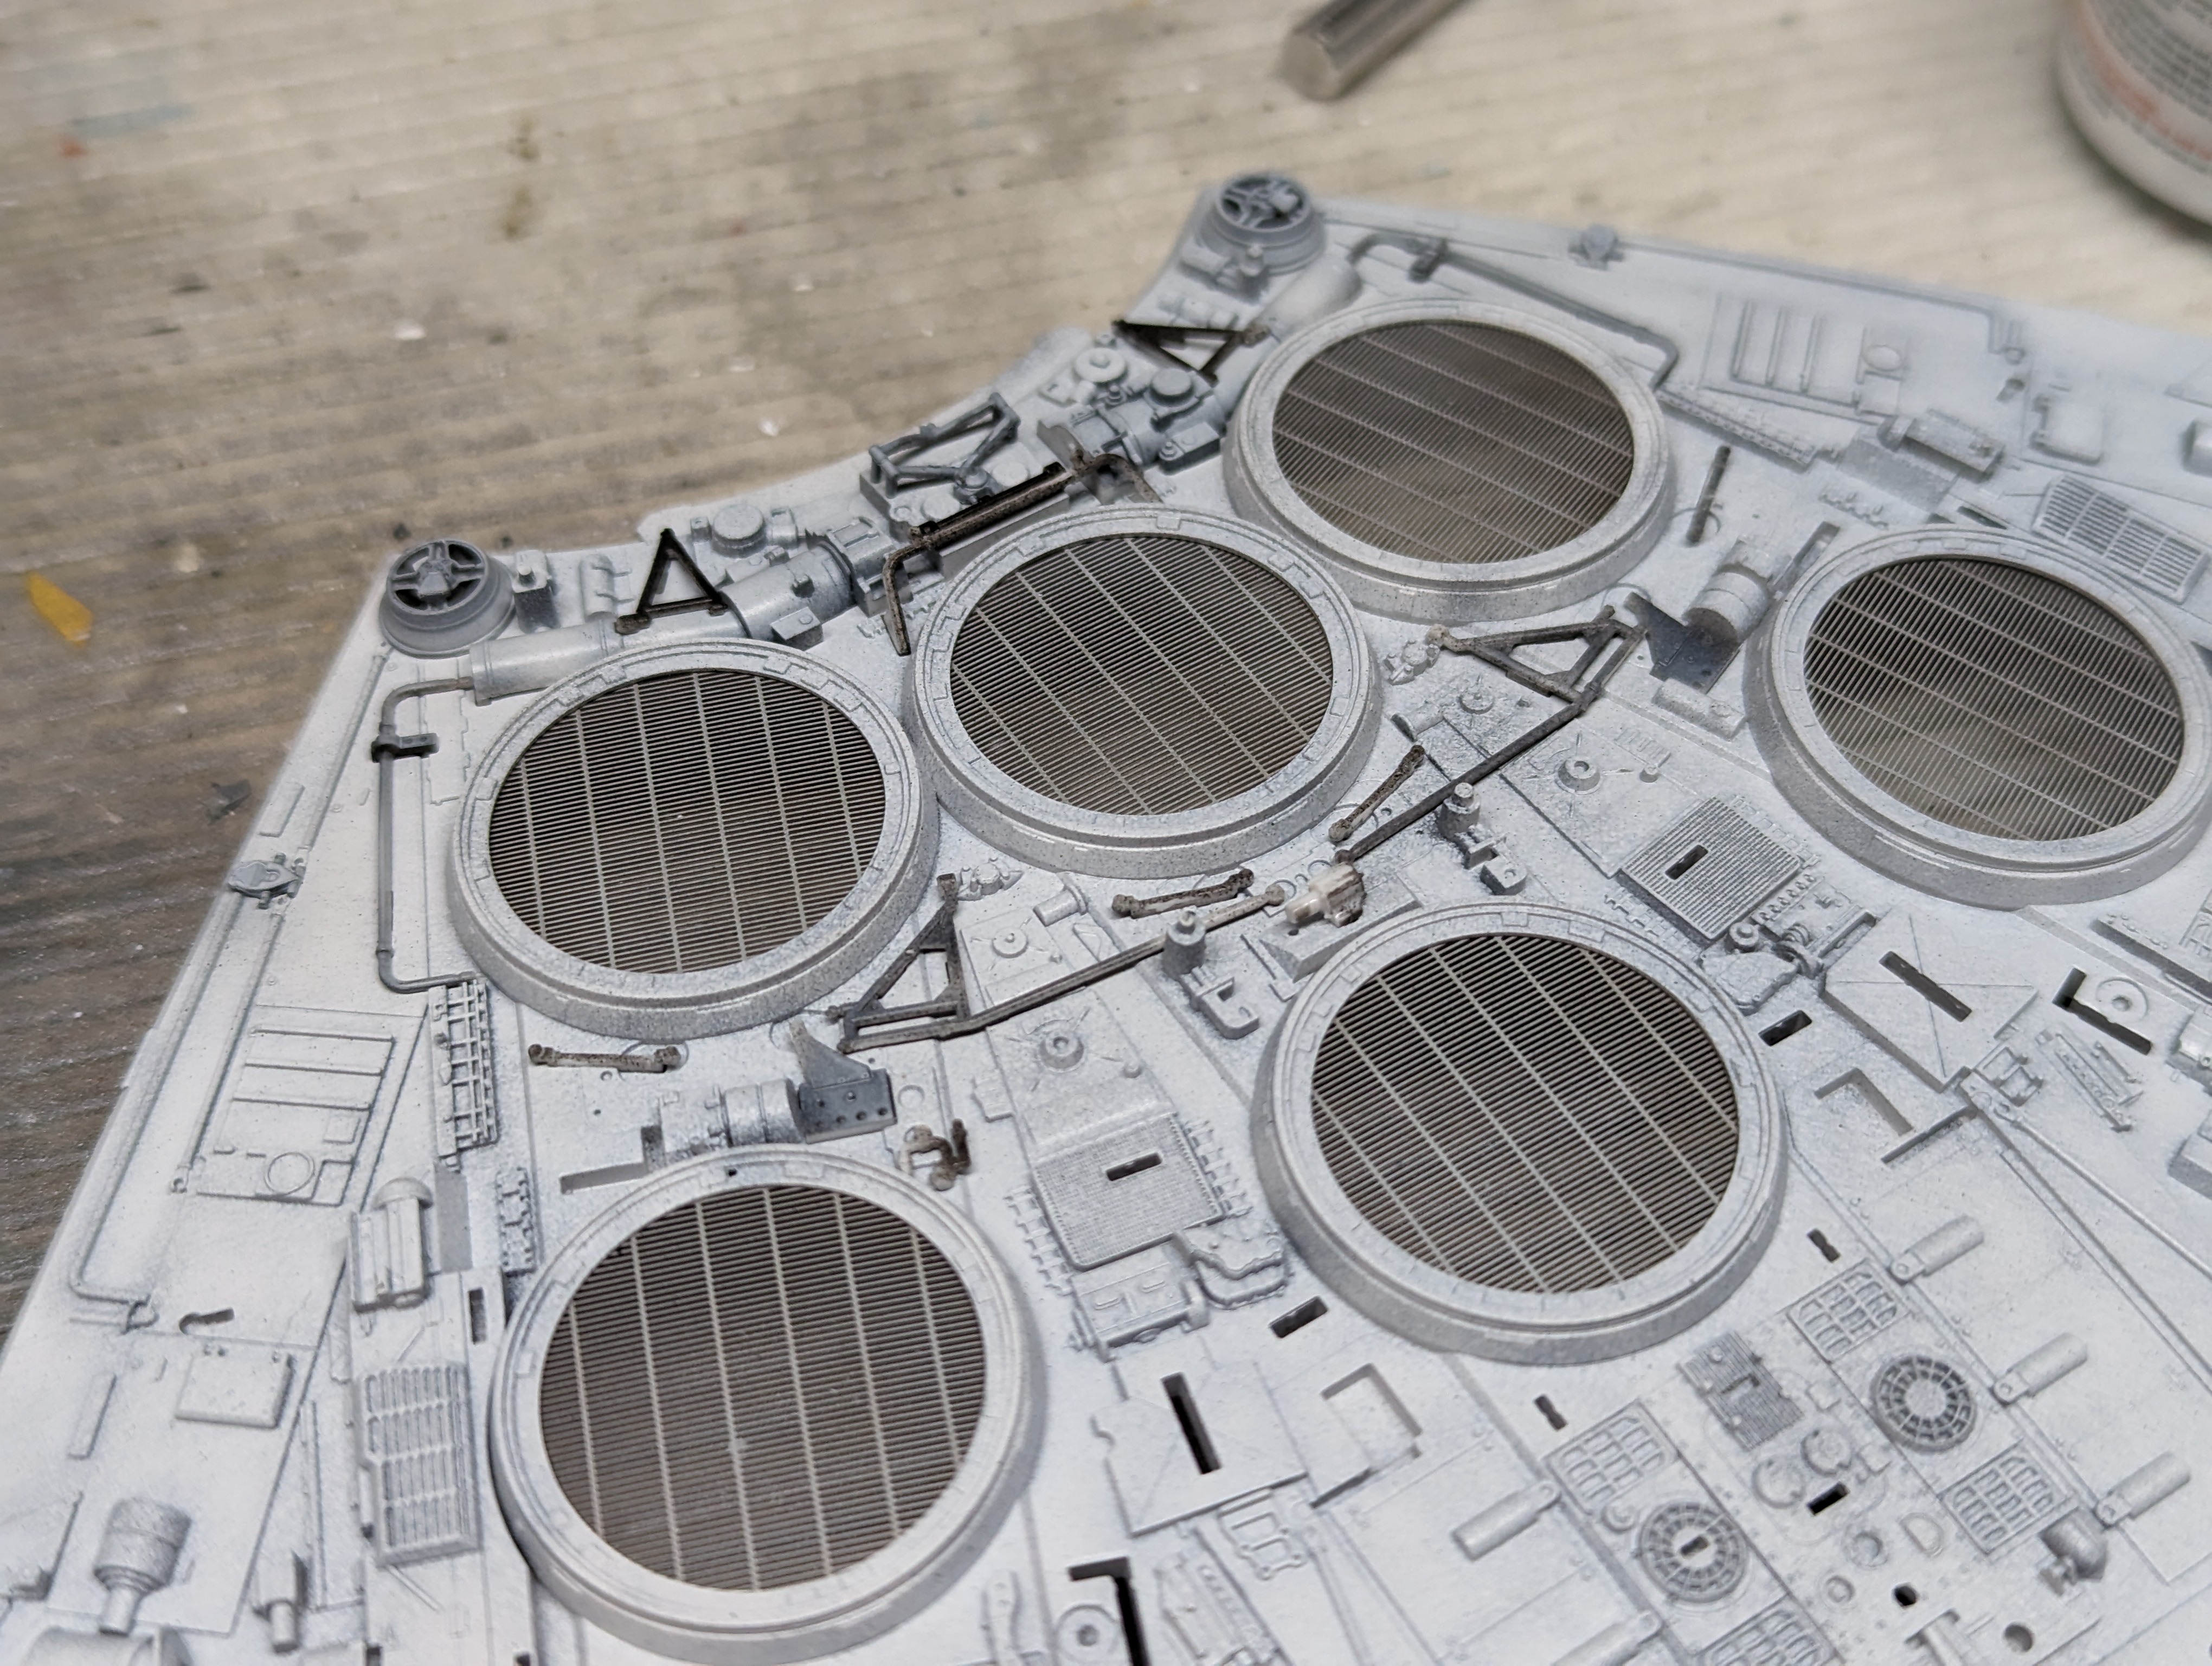
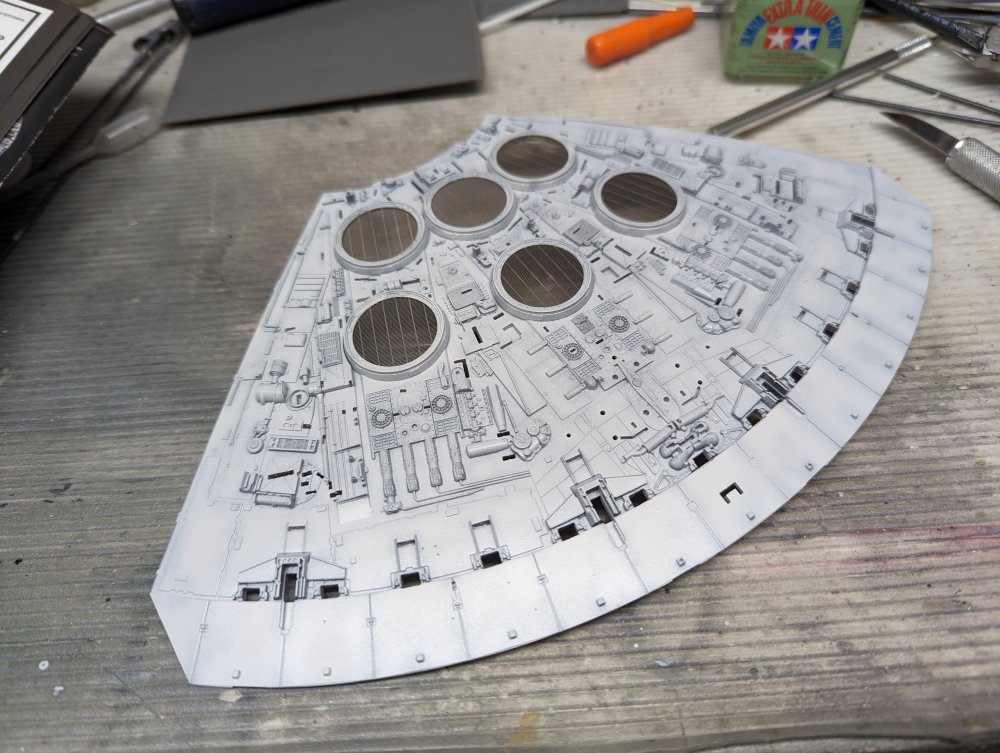
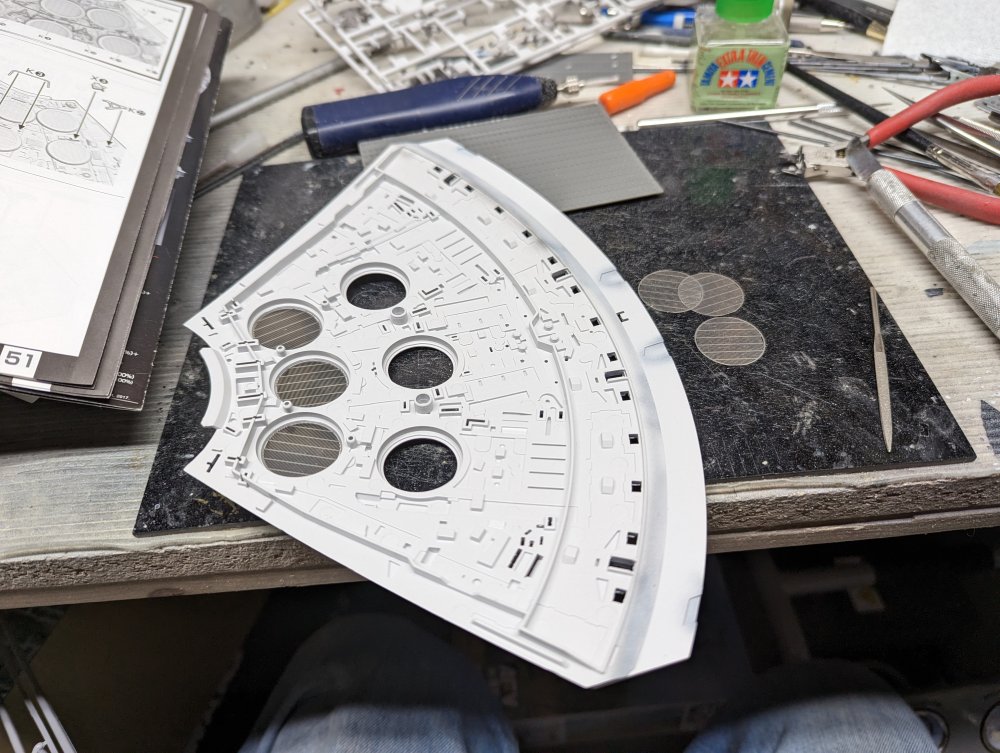
Ok, I'm finely getting things done and closer to the finish line. The engine panel was the last major sub-assembly to finish. There were a bunch of detail bits to add, some going on top of others. First up was the PE for the engine grilles. These go in from underneath and there's a blanking panel that will fit under them to prevent a see-through effect. I've left that off for now so it doesn't get any overspray on it. With all six grills in place. I then started adding the detail bits. These had been pre-shaded in black. Finally a coat of paint to tie the bits together. There's still one set of parts to go on but I need to apply some decals first as the parts fit over the decals.


- 115 replies
-
- 10
-

-
Thanks for the tips on the Revell P-51. I still haven't built the one that I have.
-
My HB B-24 box is full of leftover parts from all my prop kits. The jet kit parts are in a Tamiya F-4 box that's overflowing.
-
Nice progress there Bill. And yup, canopy masks are a great invention. Carl
-
WNW kits available at Great Hobbies and Wheels and Wings
BlrwestSiR replied to BlrwestSiR's topic in Modelling Discussion
Forgot to mention, Great Hobbies list real time inventory so you know what's in stock. Also, if their warehouse doesn't has something but one of their shops does, they'll still sell and ship it to you. Just takes longer to get to you. -
For anyone still looking or for those of us in Canada, Great Hobbies and Wheels and Wings have both got some kits in stock. https://www.greathobbies.com/search/results/index.php?srchtype=AdvSearch&srchvendor=WNW&utm_source=Great+Hobbies+E-News&utm_campaign=f51c366a0a-EMAIL_CAMPAIGN_2023_01_20_08_04&utm_medium=email&utm_term=0_-f51c366a0a-[LIST_EMAIL_ID] https://wheelswingshobbies.com/aircraft/wingnut-wings/ Great Hobbies has free shipping over $99 and Wheels and Wings have the same but the minimum is $200. Wheels and Wings is my LHS so I don't worry about the minimum. Remember, the prices are in Loonies so figure a 30% discount or more with the exchange.
-
They certainly are good. I picked up a couple RC truggies a few years ago for $99 each. The regular price was $799 each. That was an awesome deal.
-
Chris, Here's the VIII https://www.tamiyausa.com/shop/132-aircraft/supermarine-spitfire-mkviii/ And this is for the XVI https://www.tamiyausa.com/shop/132-aircraft/supermarine-spitfire-mkxvie/ Looks like the IX isn't part of the sale. Carl
-
Italeri 1/35 Elco 80' Torpedo Boat PT-596
BlrwestSiR replied to Bomber_County's topic in Let’s Get Wet Group Build.
It's like my Vosper, adding those details really makes a difference. -
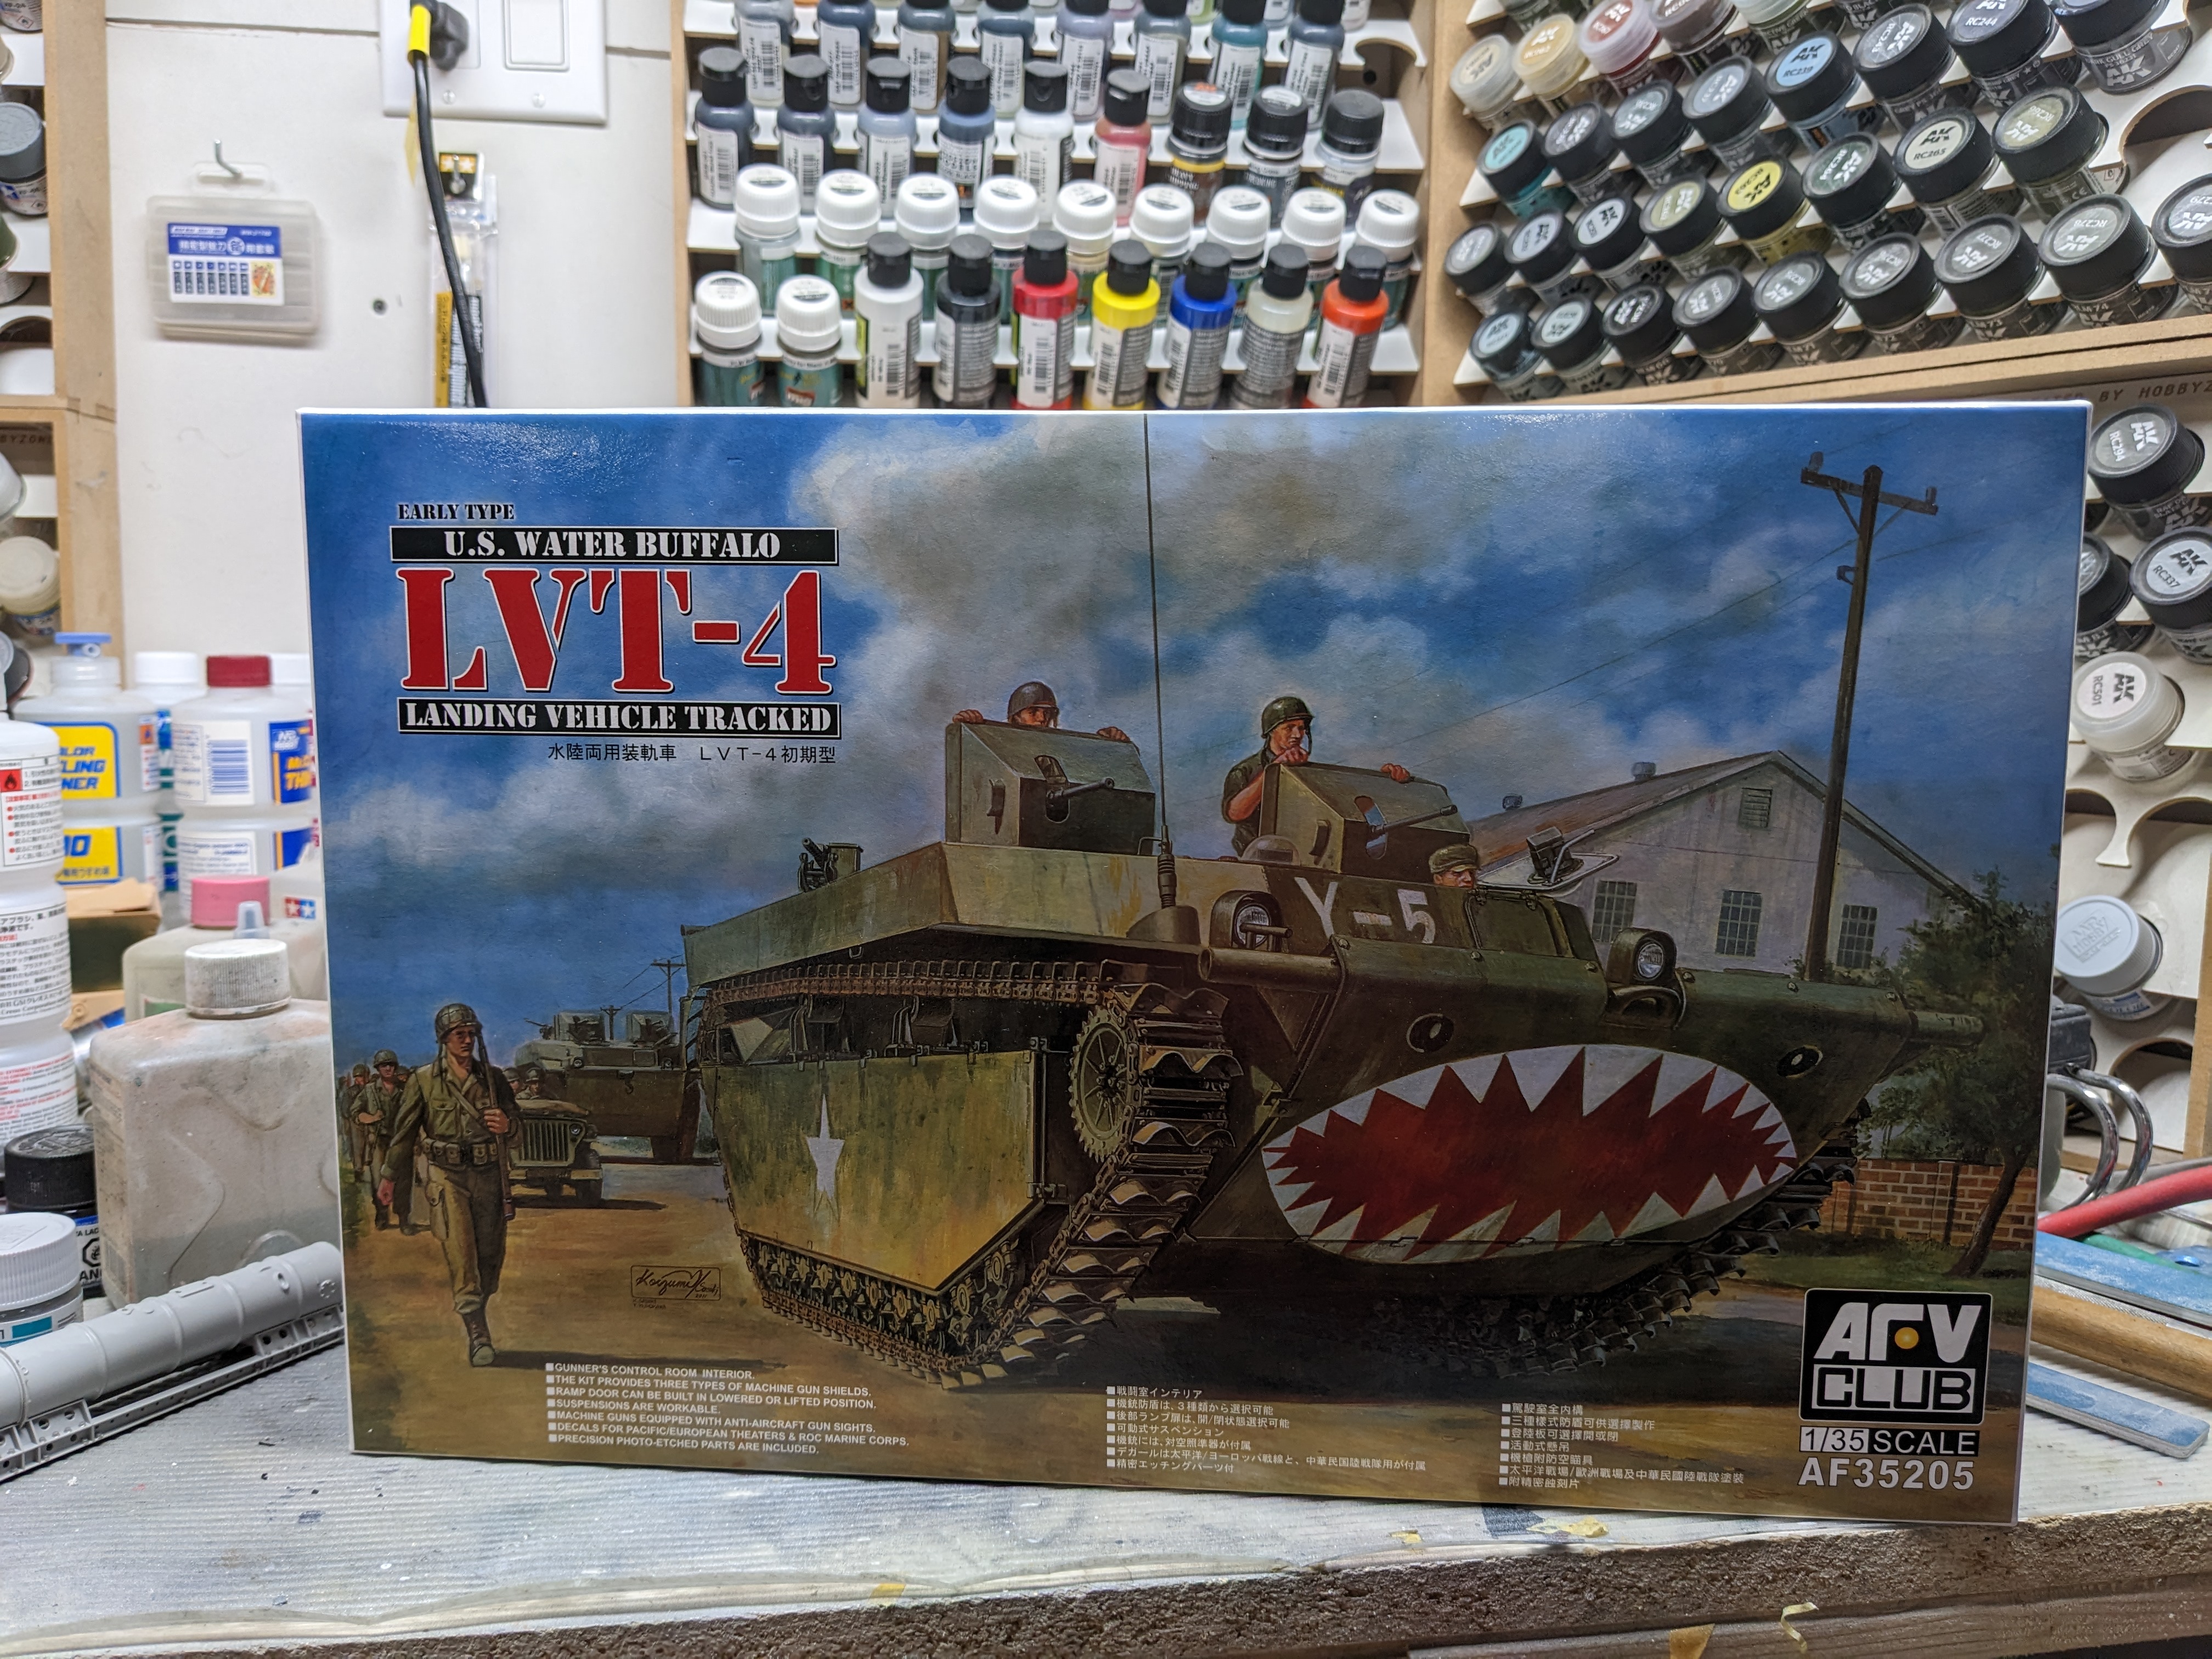
With the gift card I won in the Christmas raffle (thanks @GazzaS!) I picked up a Water Buffalo. I thought this would be a good back up for the Get Wet group build but I'm enjoying doing the Vosper build.

-
39” 1/128 Seaview and Flying Sub
BlrwestSiR replied to ScottsGT's topic in Let’s Get Wet Group Build.
But it looks good though. Can't wait to see it under a coat of paint and the added details. -
There's a XIVe conversion coming soon for the Tamiya Spitfire kits. They're starting with the XVI kit to make a low back XIV Spitfire. So that could be a good reason to get some more donor kits.
-
Best price I can find in Canada is $149 CAD which is about $110 USD with free shipping. When I bought most of mine, they were around $80-90 CAD with some even cheaper than that. Probably why I've bought in total 13 of them with 4 left in the stash.
-
I'm with Hubert and agree that using brass rod is a good idea. The nub the kit has for an attachment point just isn't enough.
-
Nice! I wish they were still that cheap in Canada. Then again, I just checked and still have 4 in the stash. So I guess I'm good for now.
-
Next up....Revell Mk II Spitfire
BlrwestSiR replied to JohnB's topic in LSM 1/35 and Larger Work In Progress
No, the kit was finished by the time I found it. No one will notice unless they look in the cockpit. -
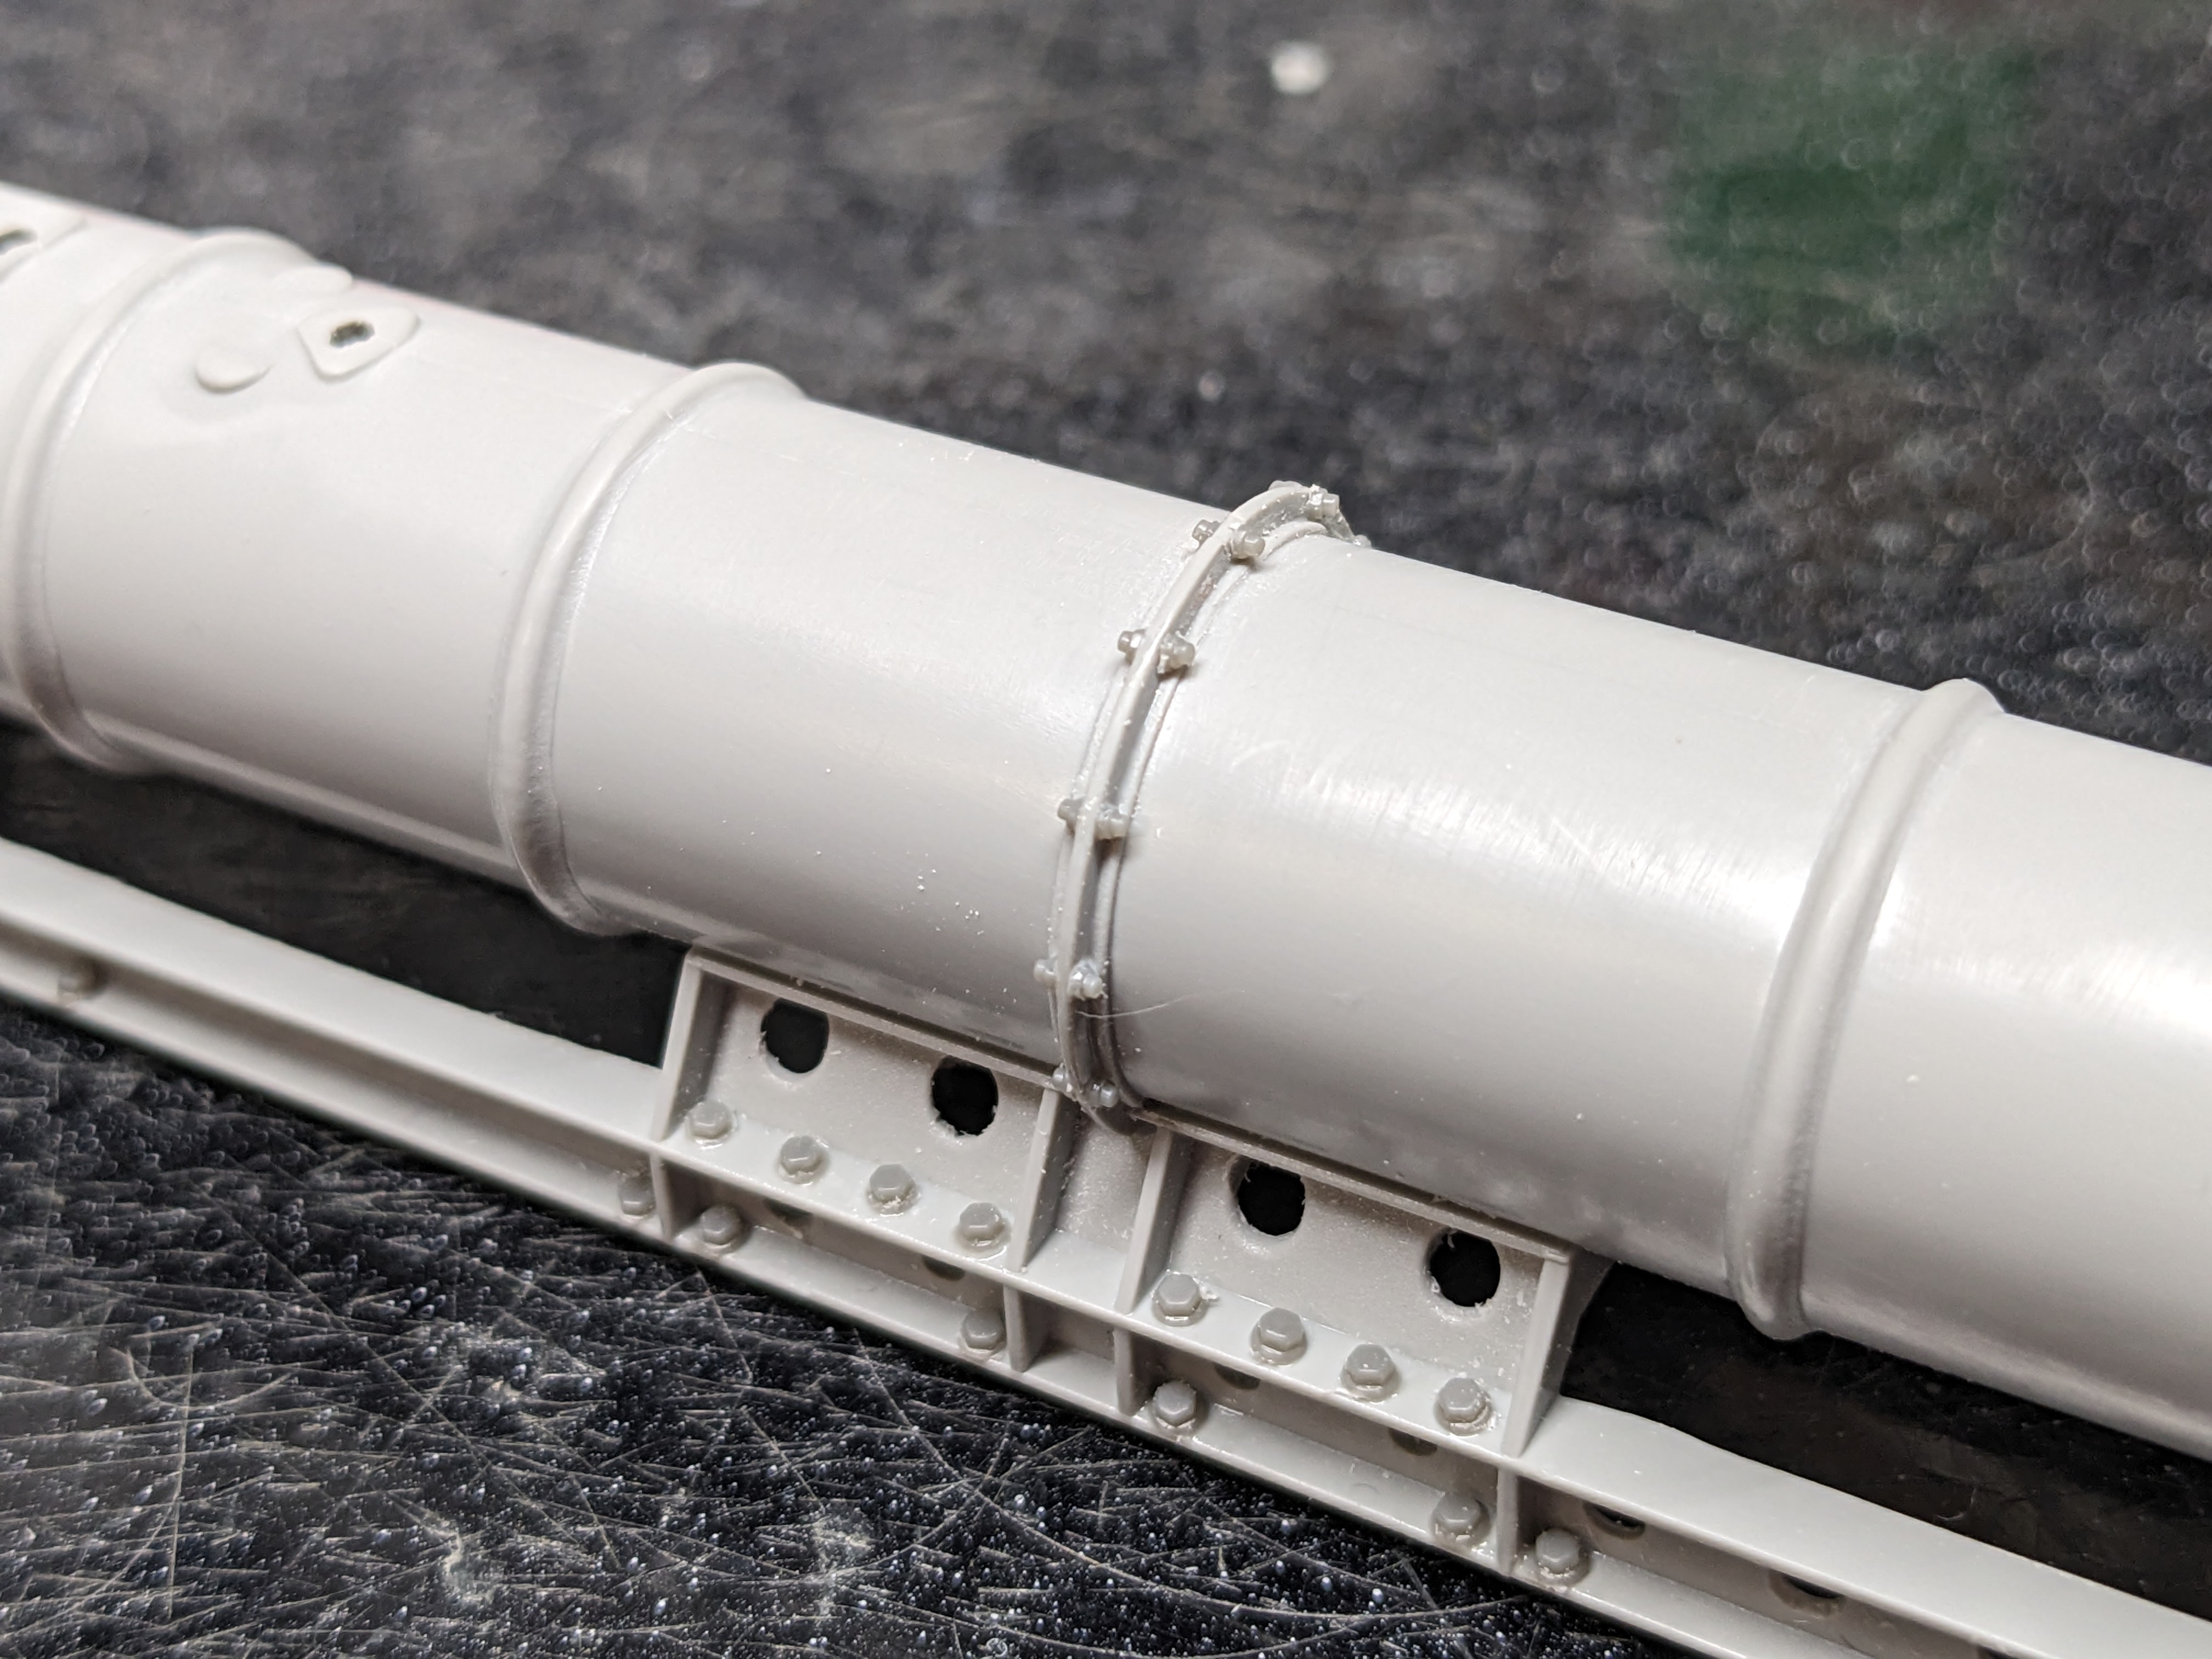
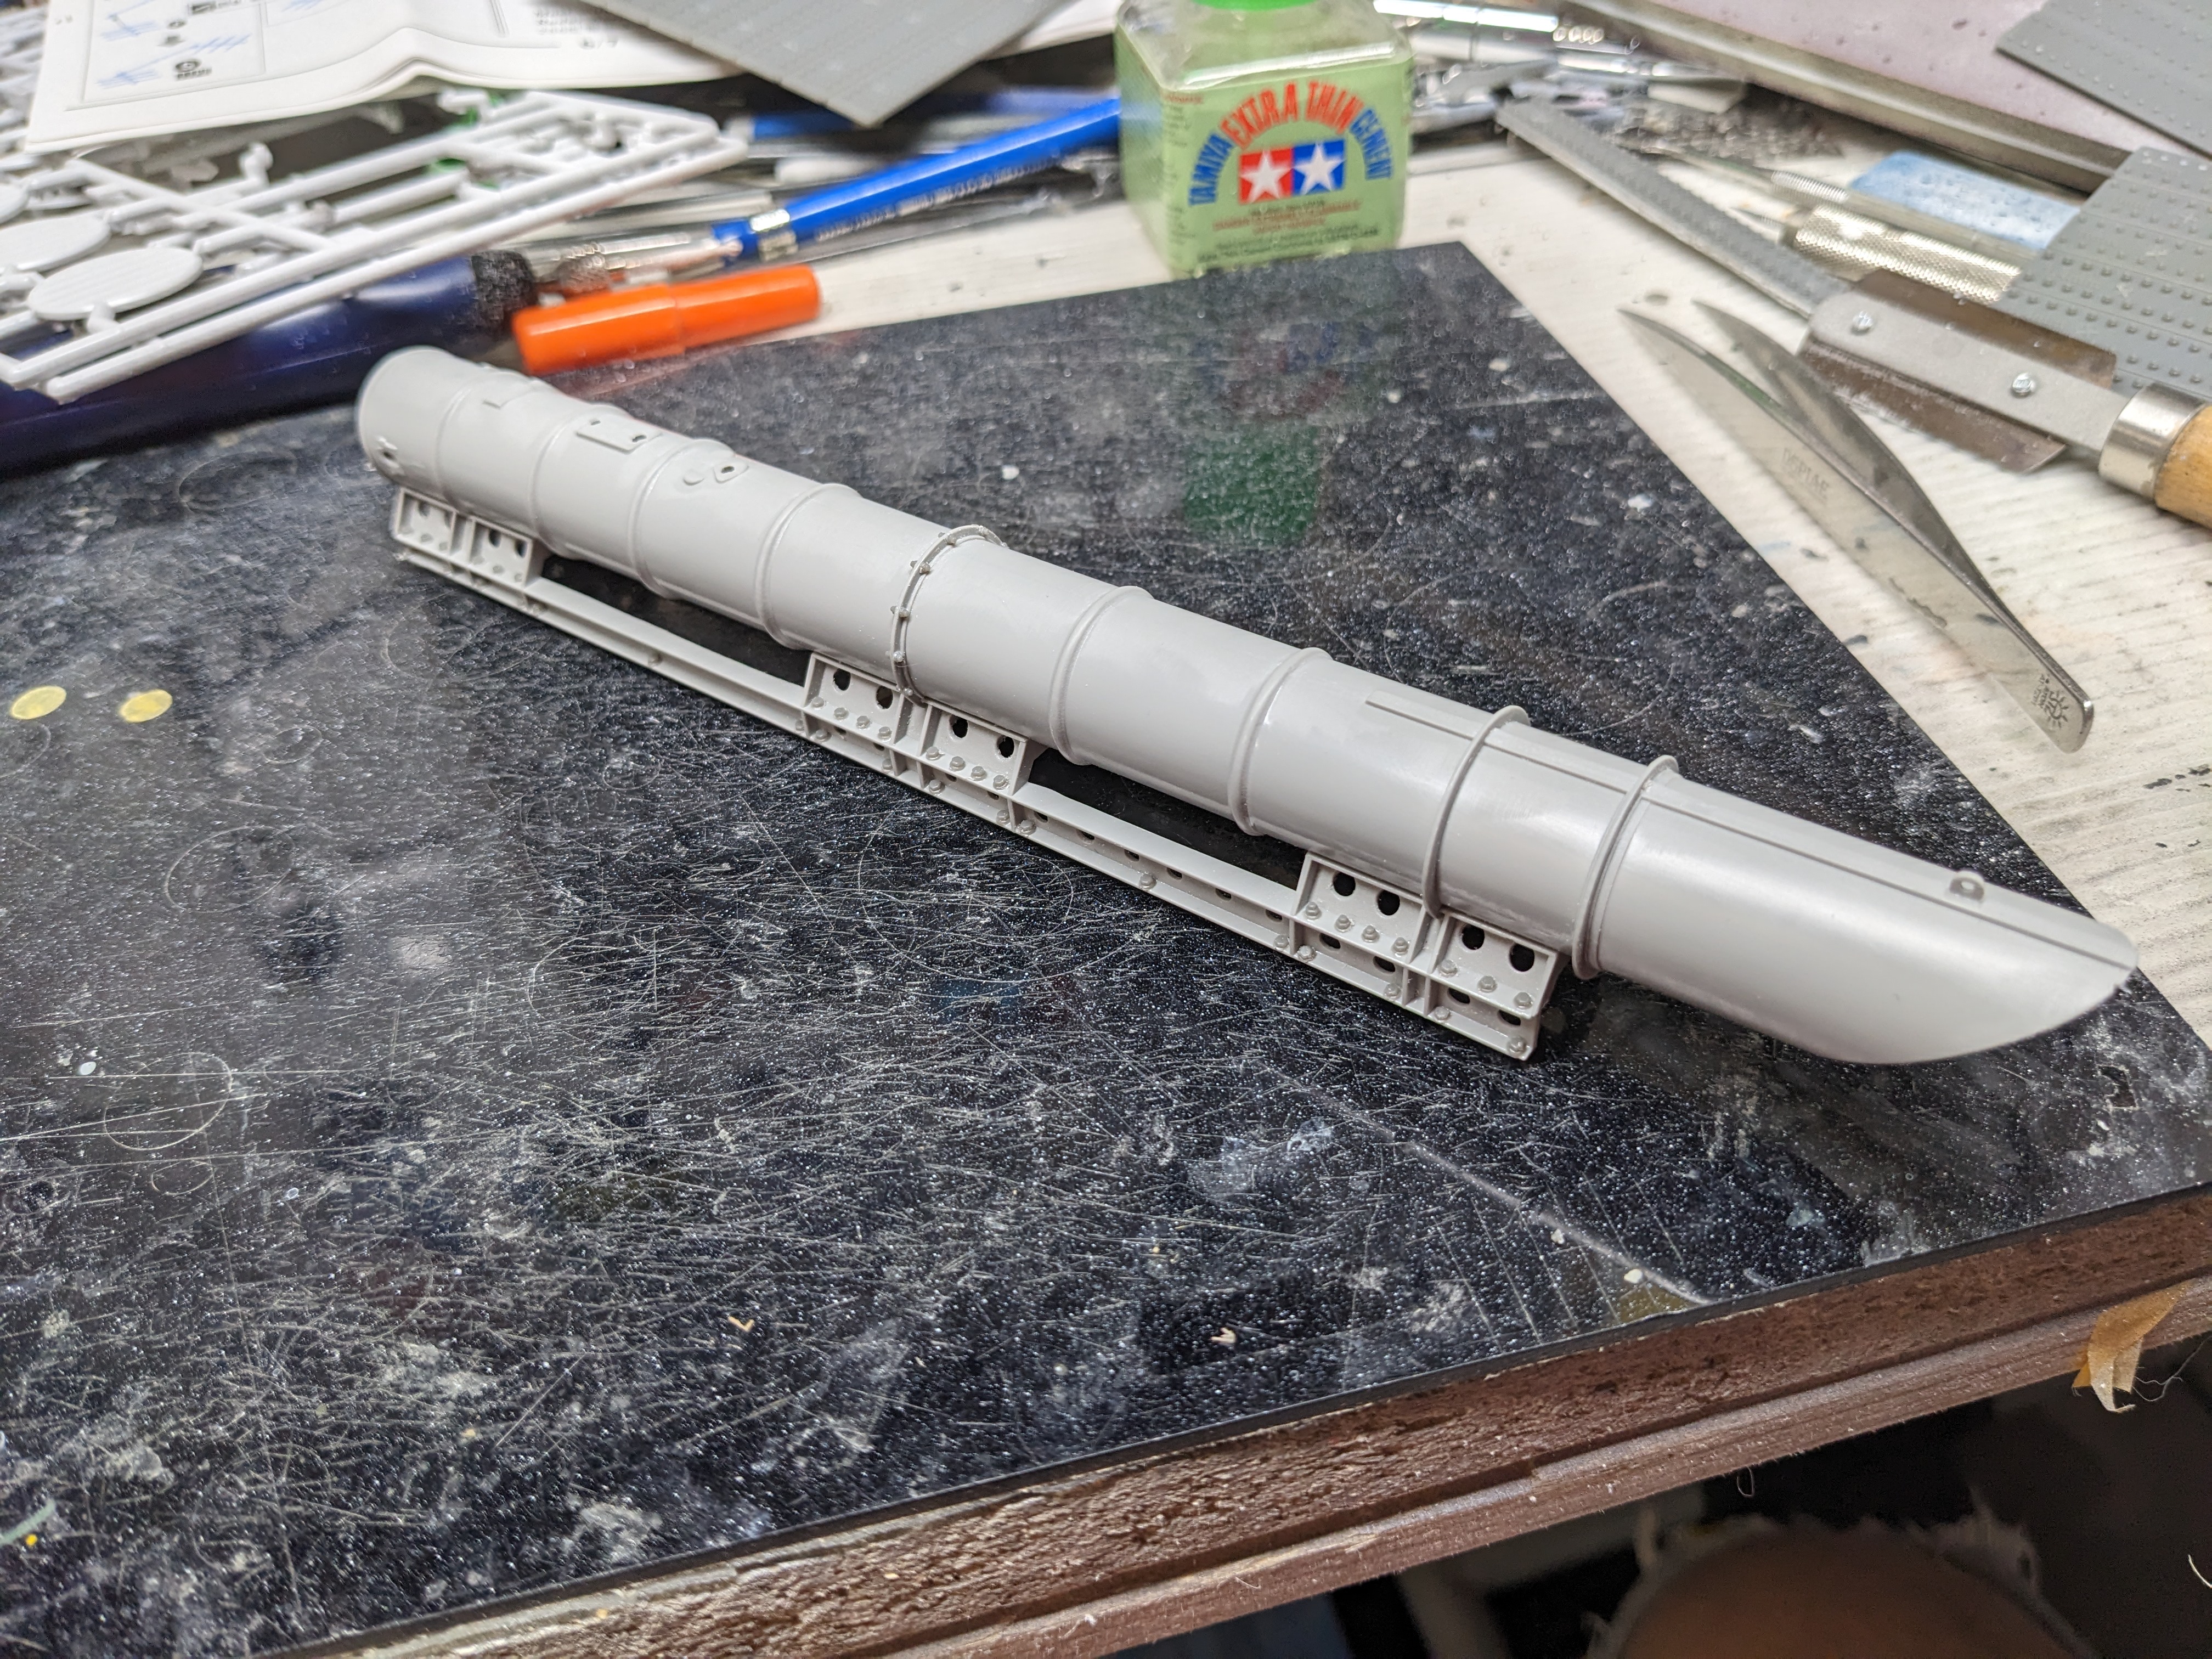
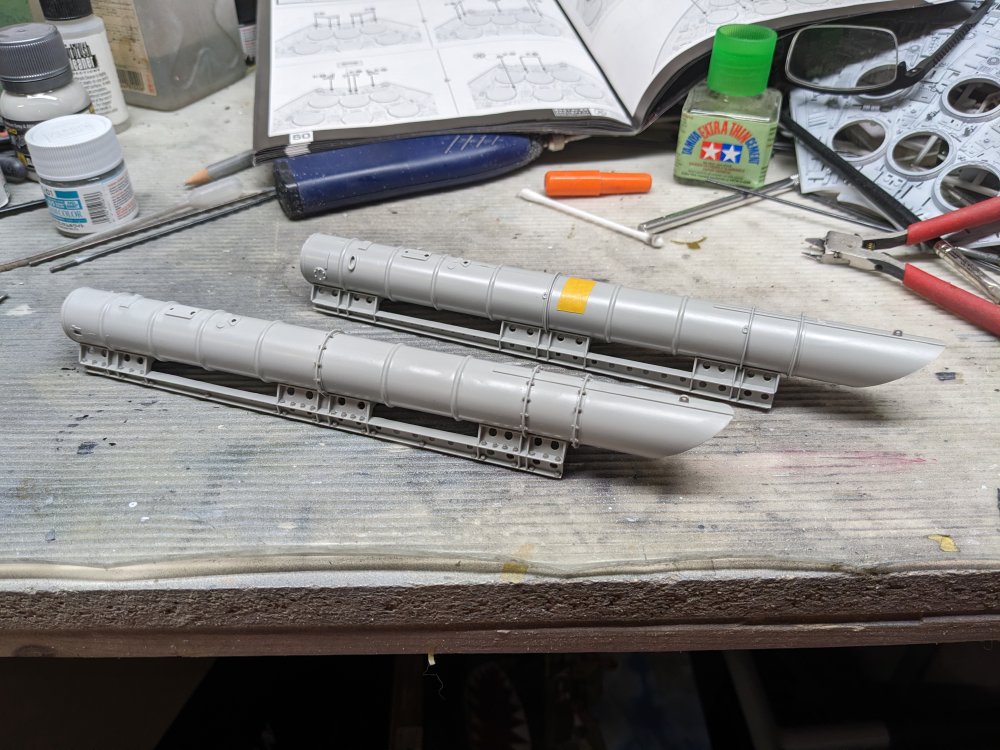
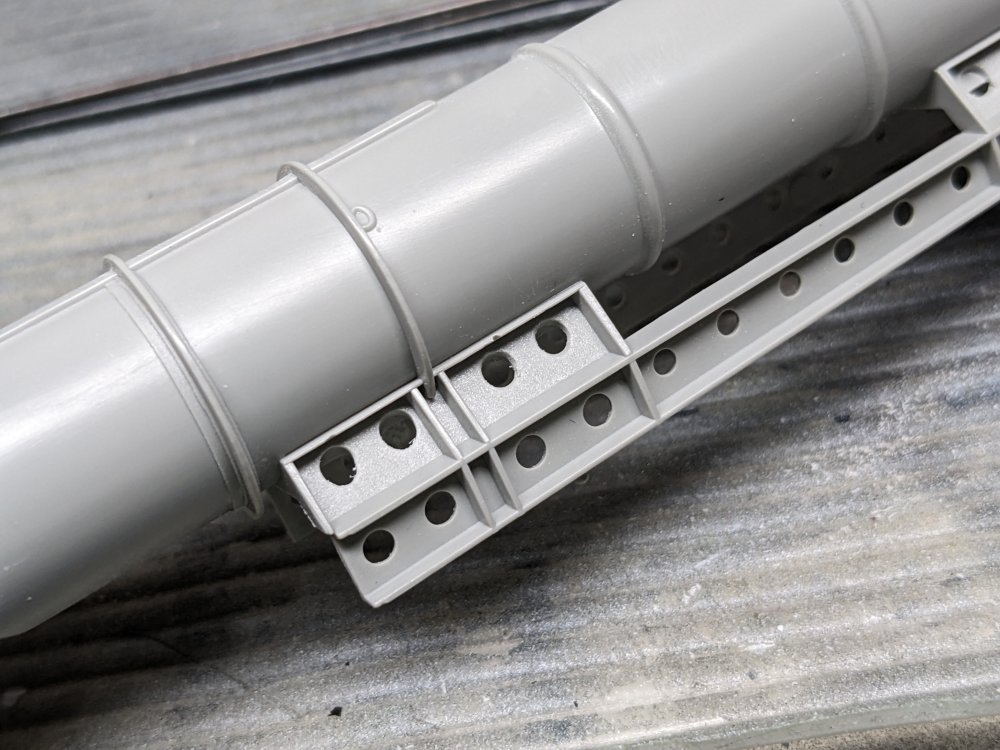
Thanks Peter. I just finished adding all the bolts to the first torpedo tubes. Here it is compared to the second one which I haven't started on yet. Now to add the PE details to it.
- 103 replies
-
- 10
-
-

-
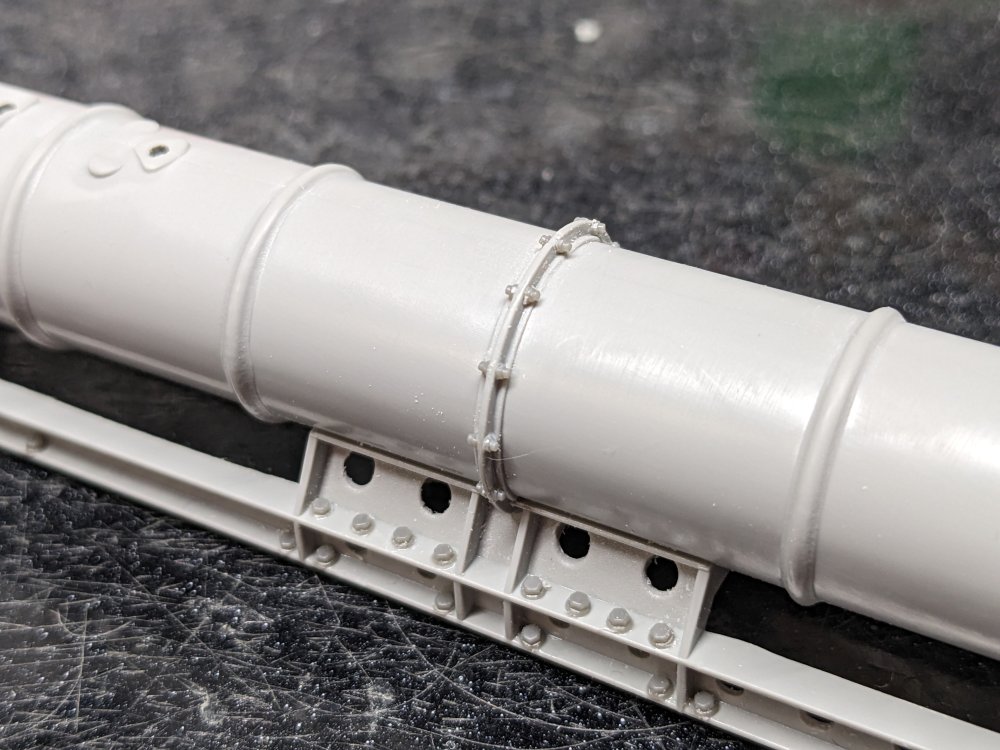
Peter, BNA really are great to deal with. Having gotten the hang of adding the bolt heads, the other side went much faster. I then started adding the smaller bolts that go on some of the tube flanges. Griffon give you a template so you space them out correctly. Again, I'm subbing in Meng plastic ones instead of the PE versions.

-
That looks great. I never knew that the thermal covers would fall apart. Adds a nice differentiator to the model.
-
Next up....Revell Mk II Spitfire
BlrwestSiR replied to JohnB's topic in LSM 1/35 and Larger Work In Progress
You could always deal with the seam the way I did. I completely left the sidewalk out by accident. I didn't notice until much later when I found it on my bench. -
It's a good question. Makes you wonder. It does sound like the basis of the story they used in Top Gun for Maverick's father.
-
Phil, that's why I ordered them from BNA. Not only did they have them in stock, their shipping was cheaper too.
-
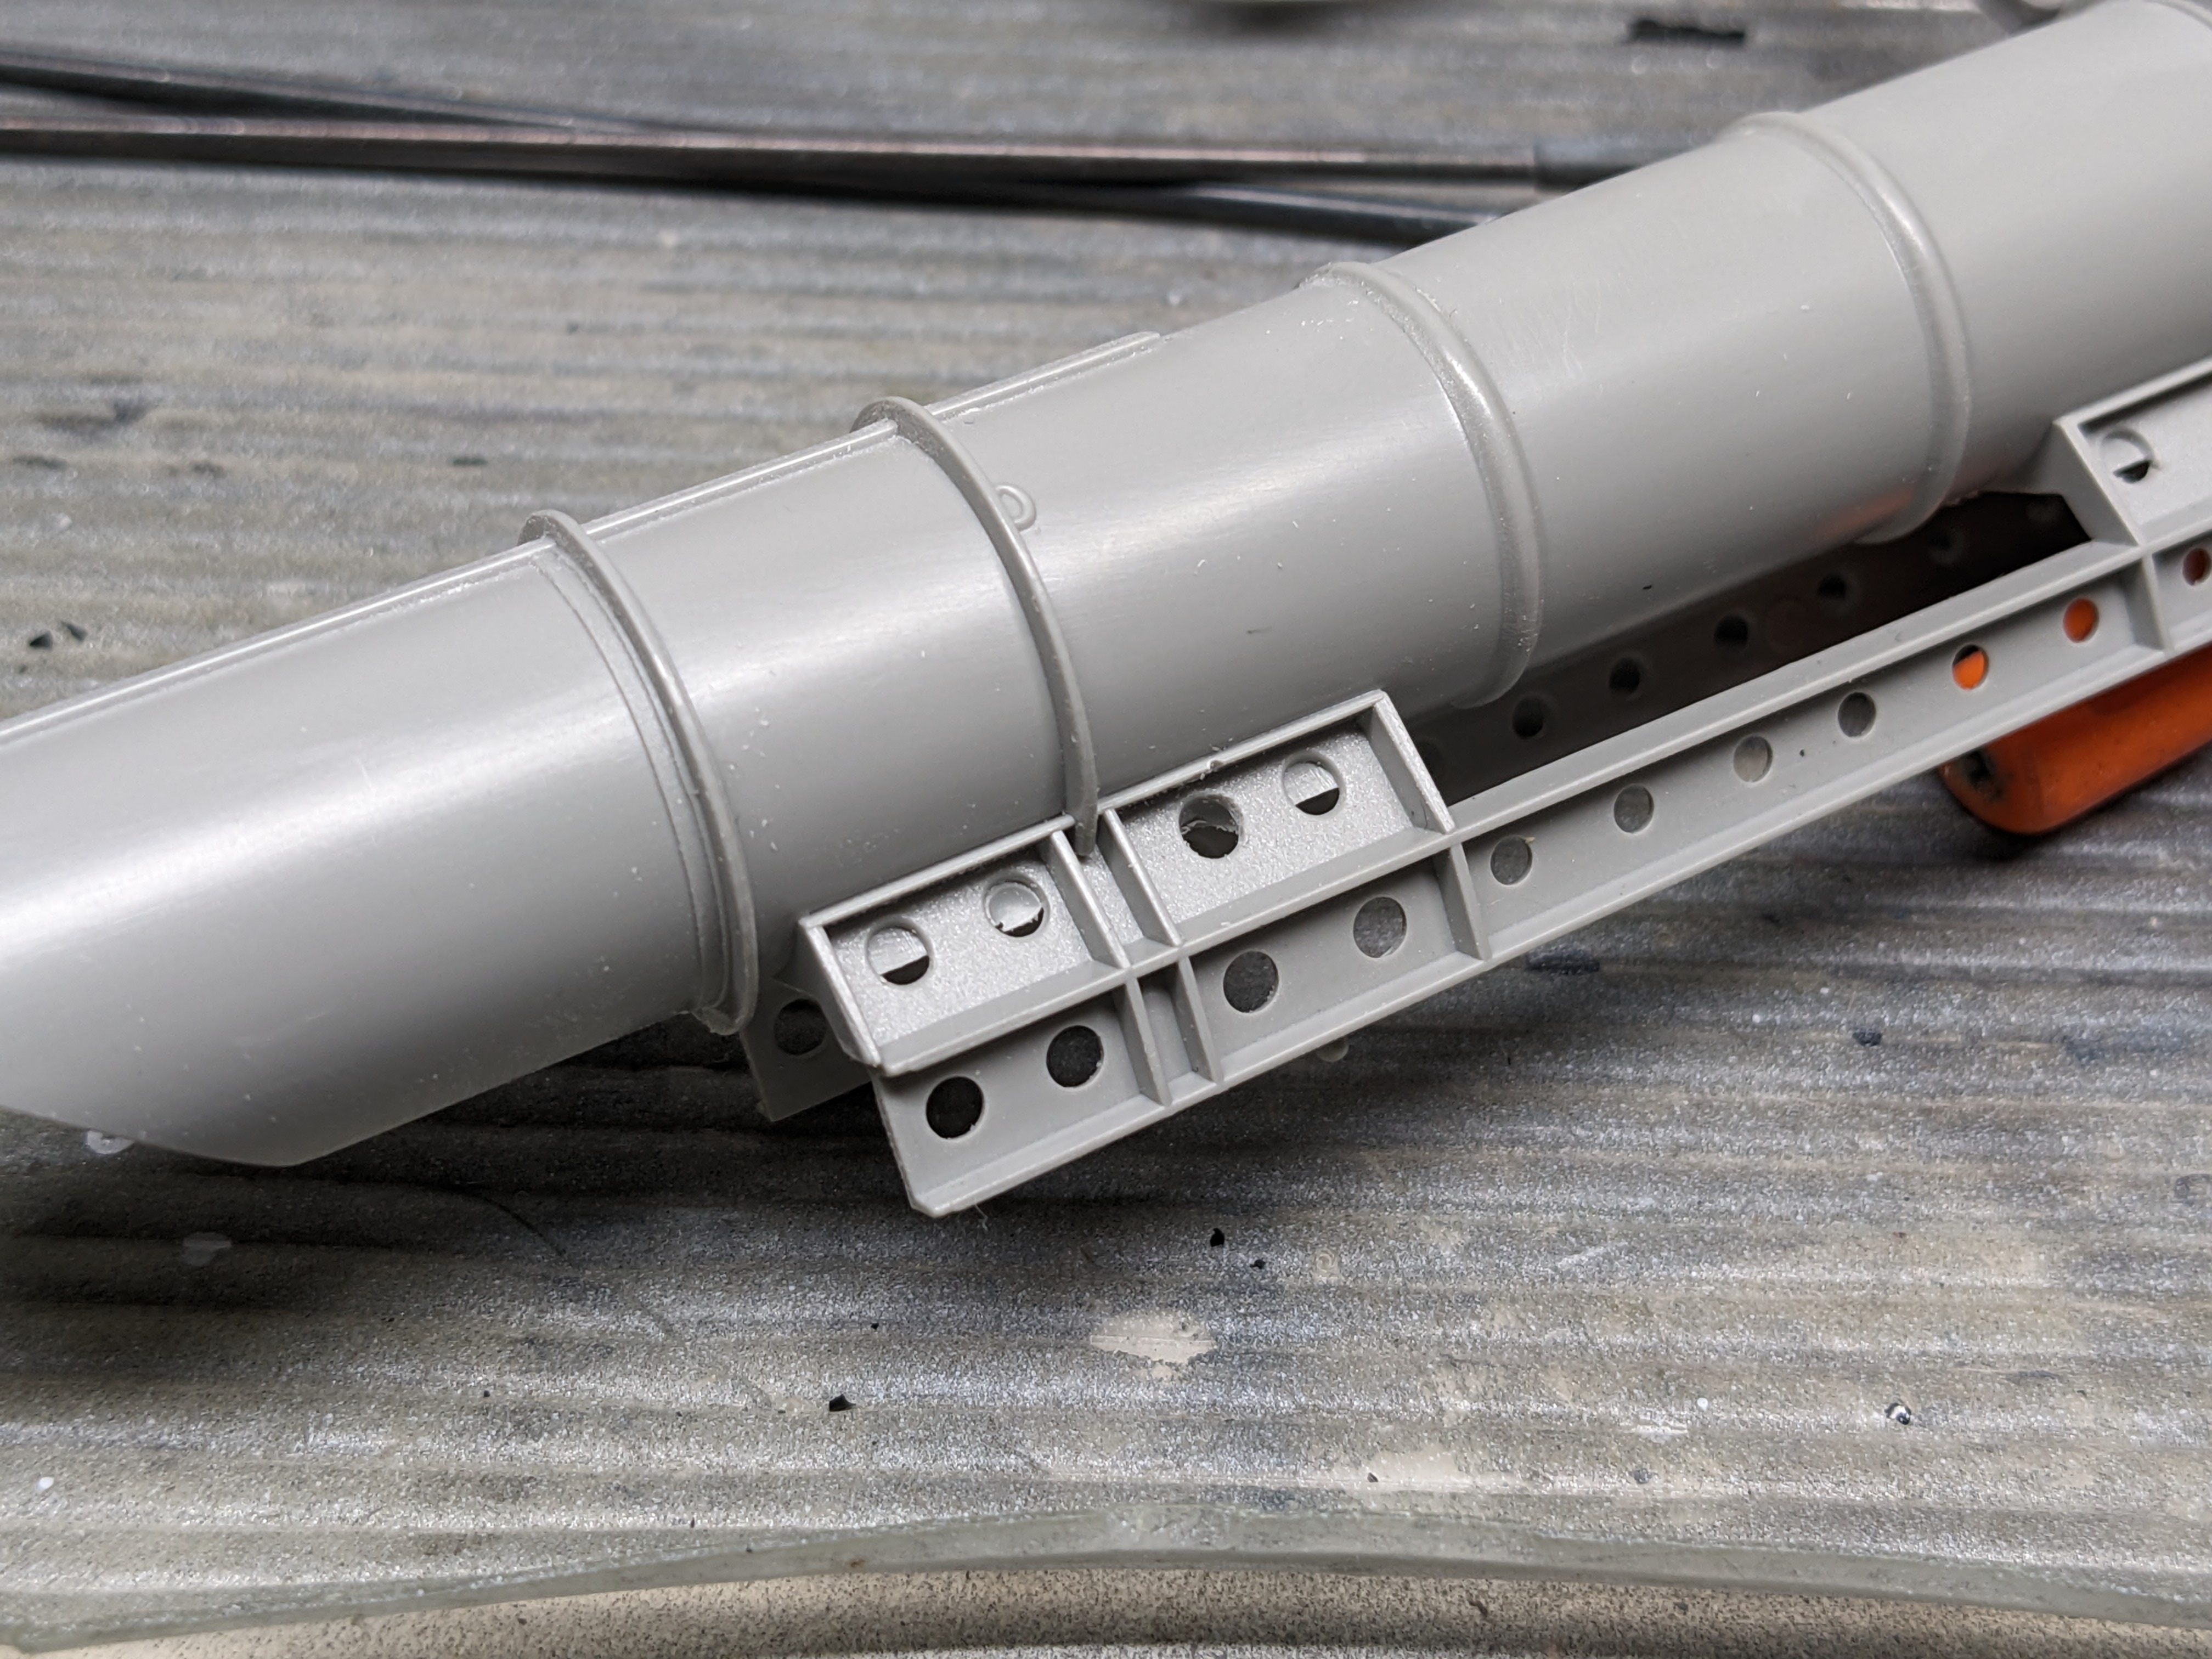
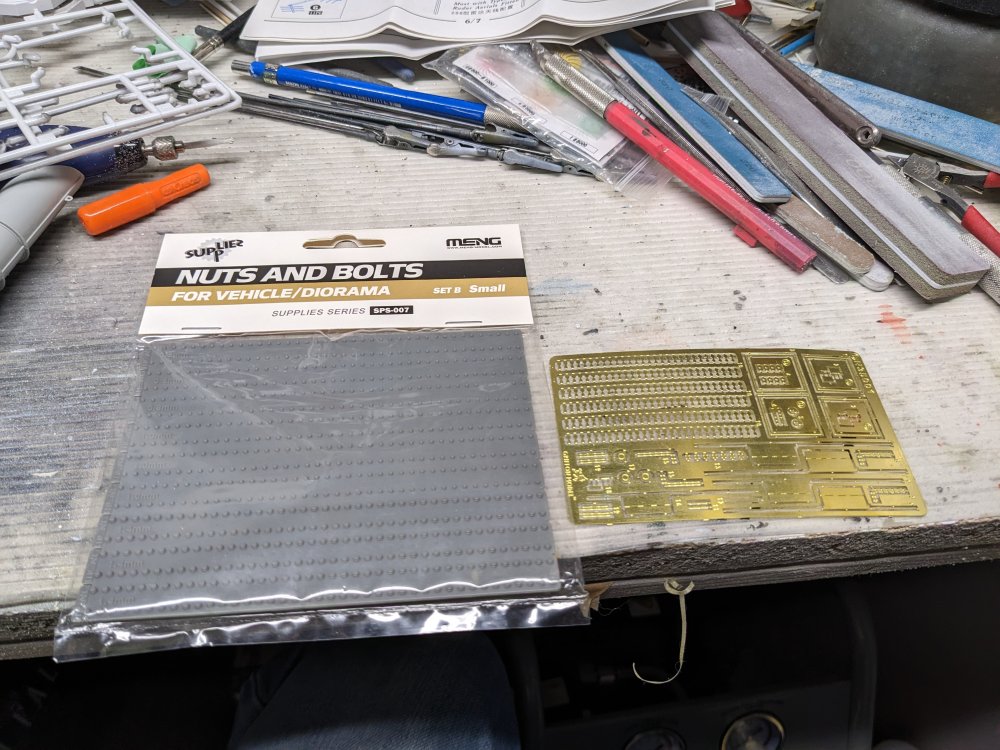
Thanks guys! It's definitely the PE set making me look good. They did a great job in the engineering of it. I think there's at least 3 thicknesses of brass sheet that they used never mind the thought into how the folds go and what have you. I was hoping to have the Falcon done by now to focus on the Vosper but no such luck. As it was, I got a delivery from BNA World today with some bits for this build. Still don't know how the Aussies can get a package to me faster than one from 20 km away. I received a sheet of moulded bolt heads as the PE set has you trim them, fold them over after cleaning up the attachment point and then glue them on. Repeat a total of 156 times. The Meng bolts I just slice off and glue in place. Much easier. I hope. Before that though, I had to drill out some holes as they are only partially open. You can see the first one I've done. Huge difference once they're all cleaned up. Now I've started on adding the bolt heads to the frame. Just a few more to go.


- 103 replies
-
- 16
-
-