BlrwestSiR
-
Posts
9,173 -
Joined
-
Last visited
Content Type
Profiles
Forums
Events
Gallery
Everything posted by BlrwestSiR
-
What's not to like about the box art? A USAAF crew in an RAF night bomber during a daylight raid and some seriously point blank dogfighting.
-
 Martin and I have been discussing the kit offline and it got to the point where I've been sent one to review by the admin here. It arrived yesterday and the first thing I did was take a look at the tail. My feeling is that ZM overemphasized the fairing that's at the front of the vertical rudder. This, plus just enough of a loose tolerance in the fit and you get the huge step you encountered. At the moment, I think the best approach to fixing the vertical tail is to lightly sand down that fillet until it's more reflective of the pics Martin has posted. I'm planning to get the review done this weekend if all goes to plan. Carl
 -
I use Tamiya branded Olfa knives like @Peterpools does. They're inexpensive a dni find the shorter blade means I'm less likely to break the tip off. Which still happens but not as frequently it seems. Then again, it's been probably more than 20 years since I used a #11 blade. Carl
-
It's a gorgeous kit Peter. I have it in the stash too. Eclipses the Trumpeter one in so many ways and really ups the bar. I'm hoping GWH does more 1/32 stuff. Oh and they've just announced a Pearl Harbour version coming out around Christmas.
-
CF-104D Triple Sick
BlrwestSiR replied to BlrwestSiR's topic in LSM 1/35 and Larger Work In Progress
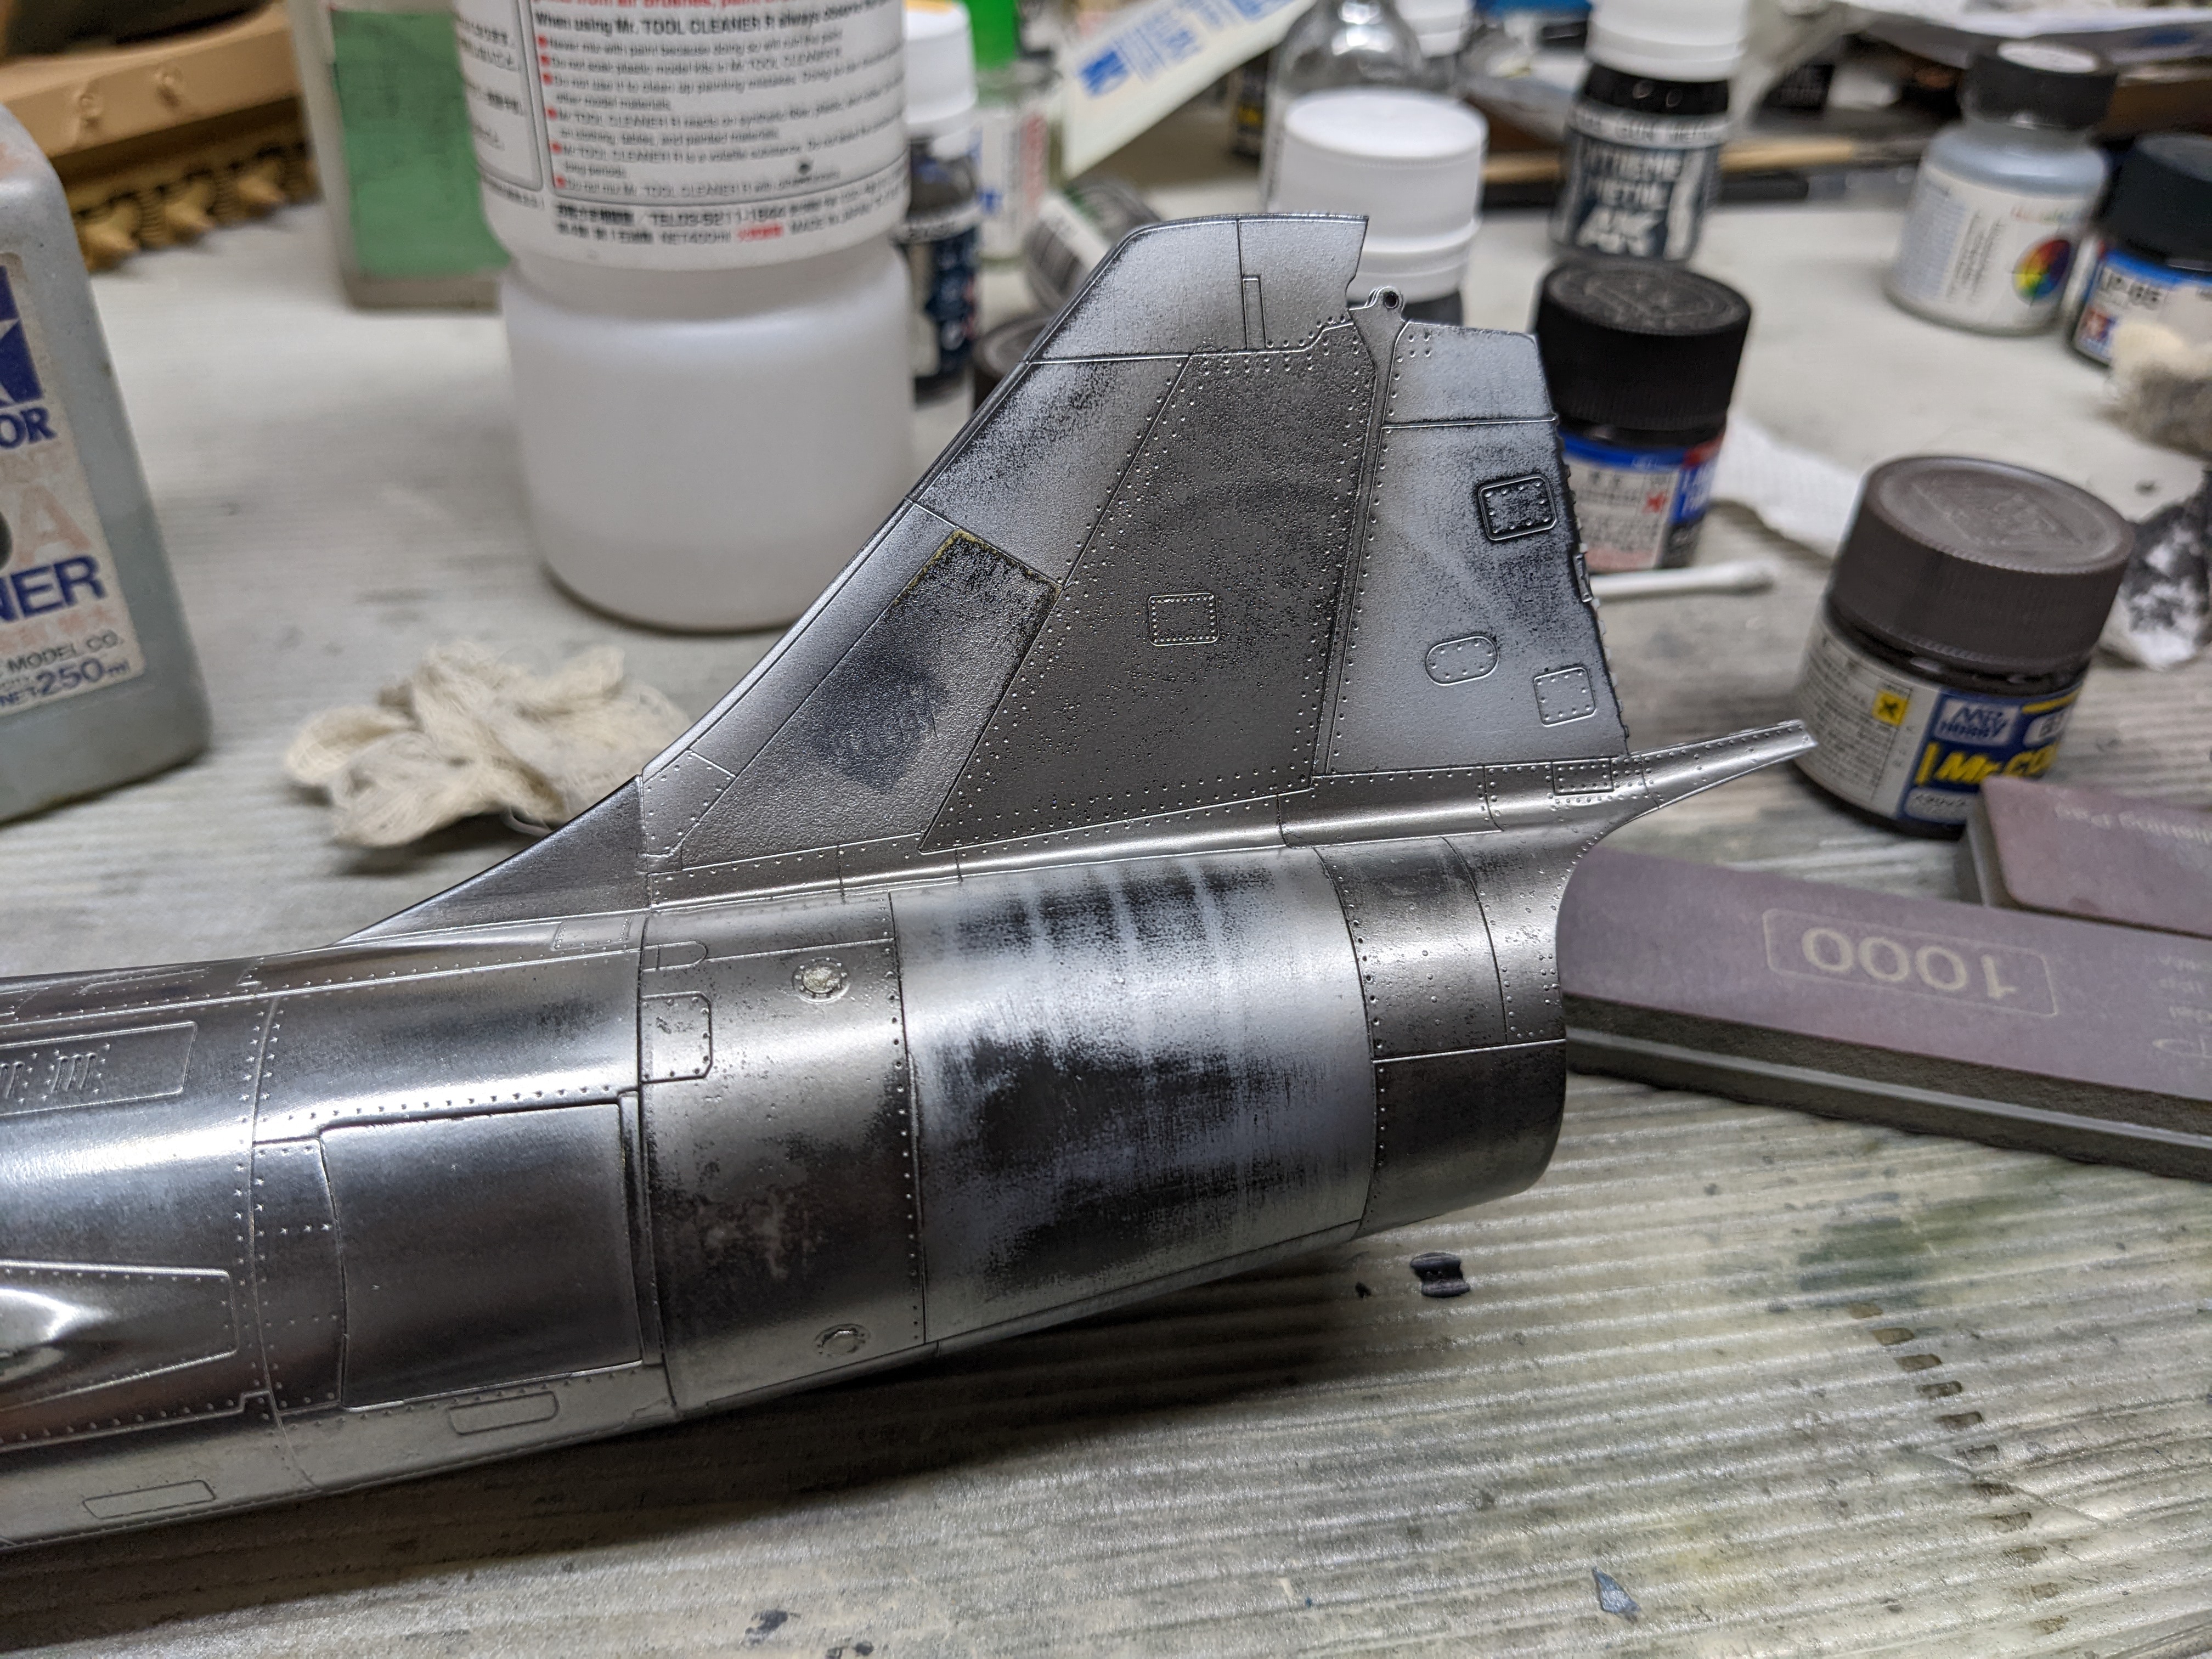
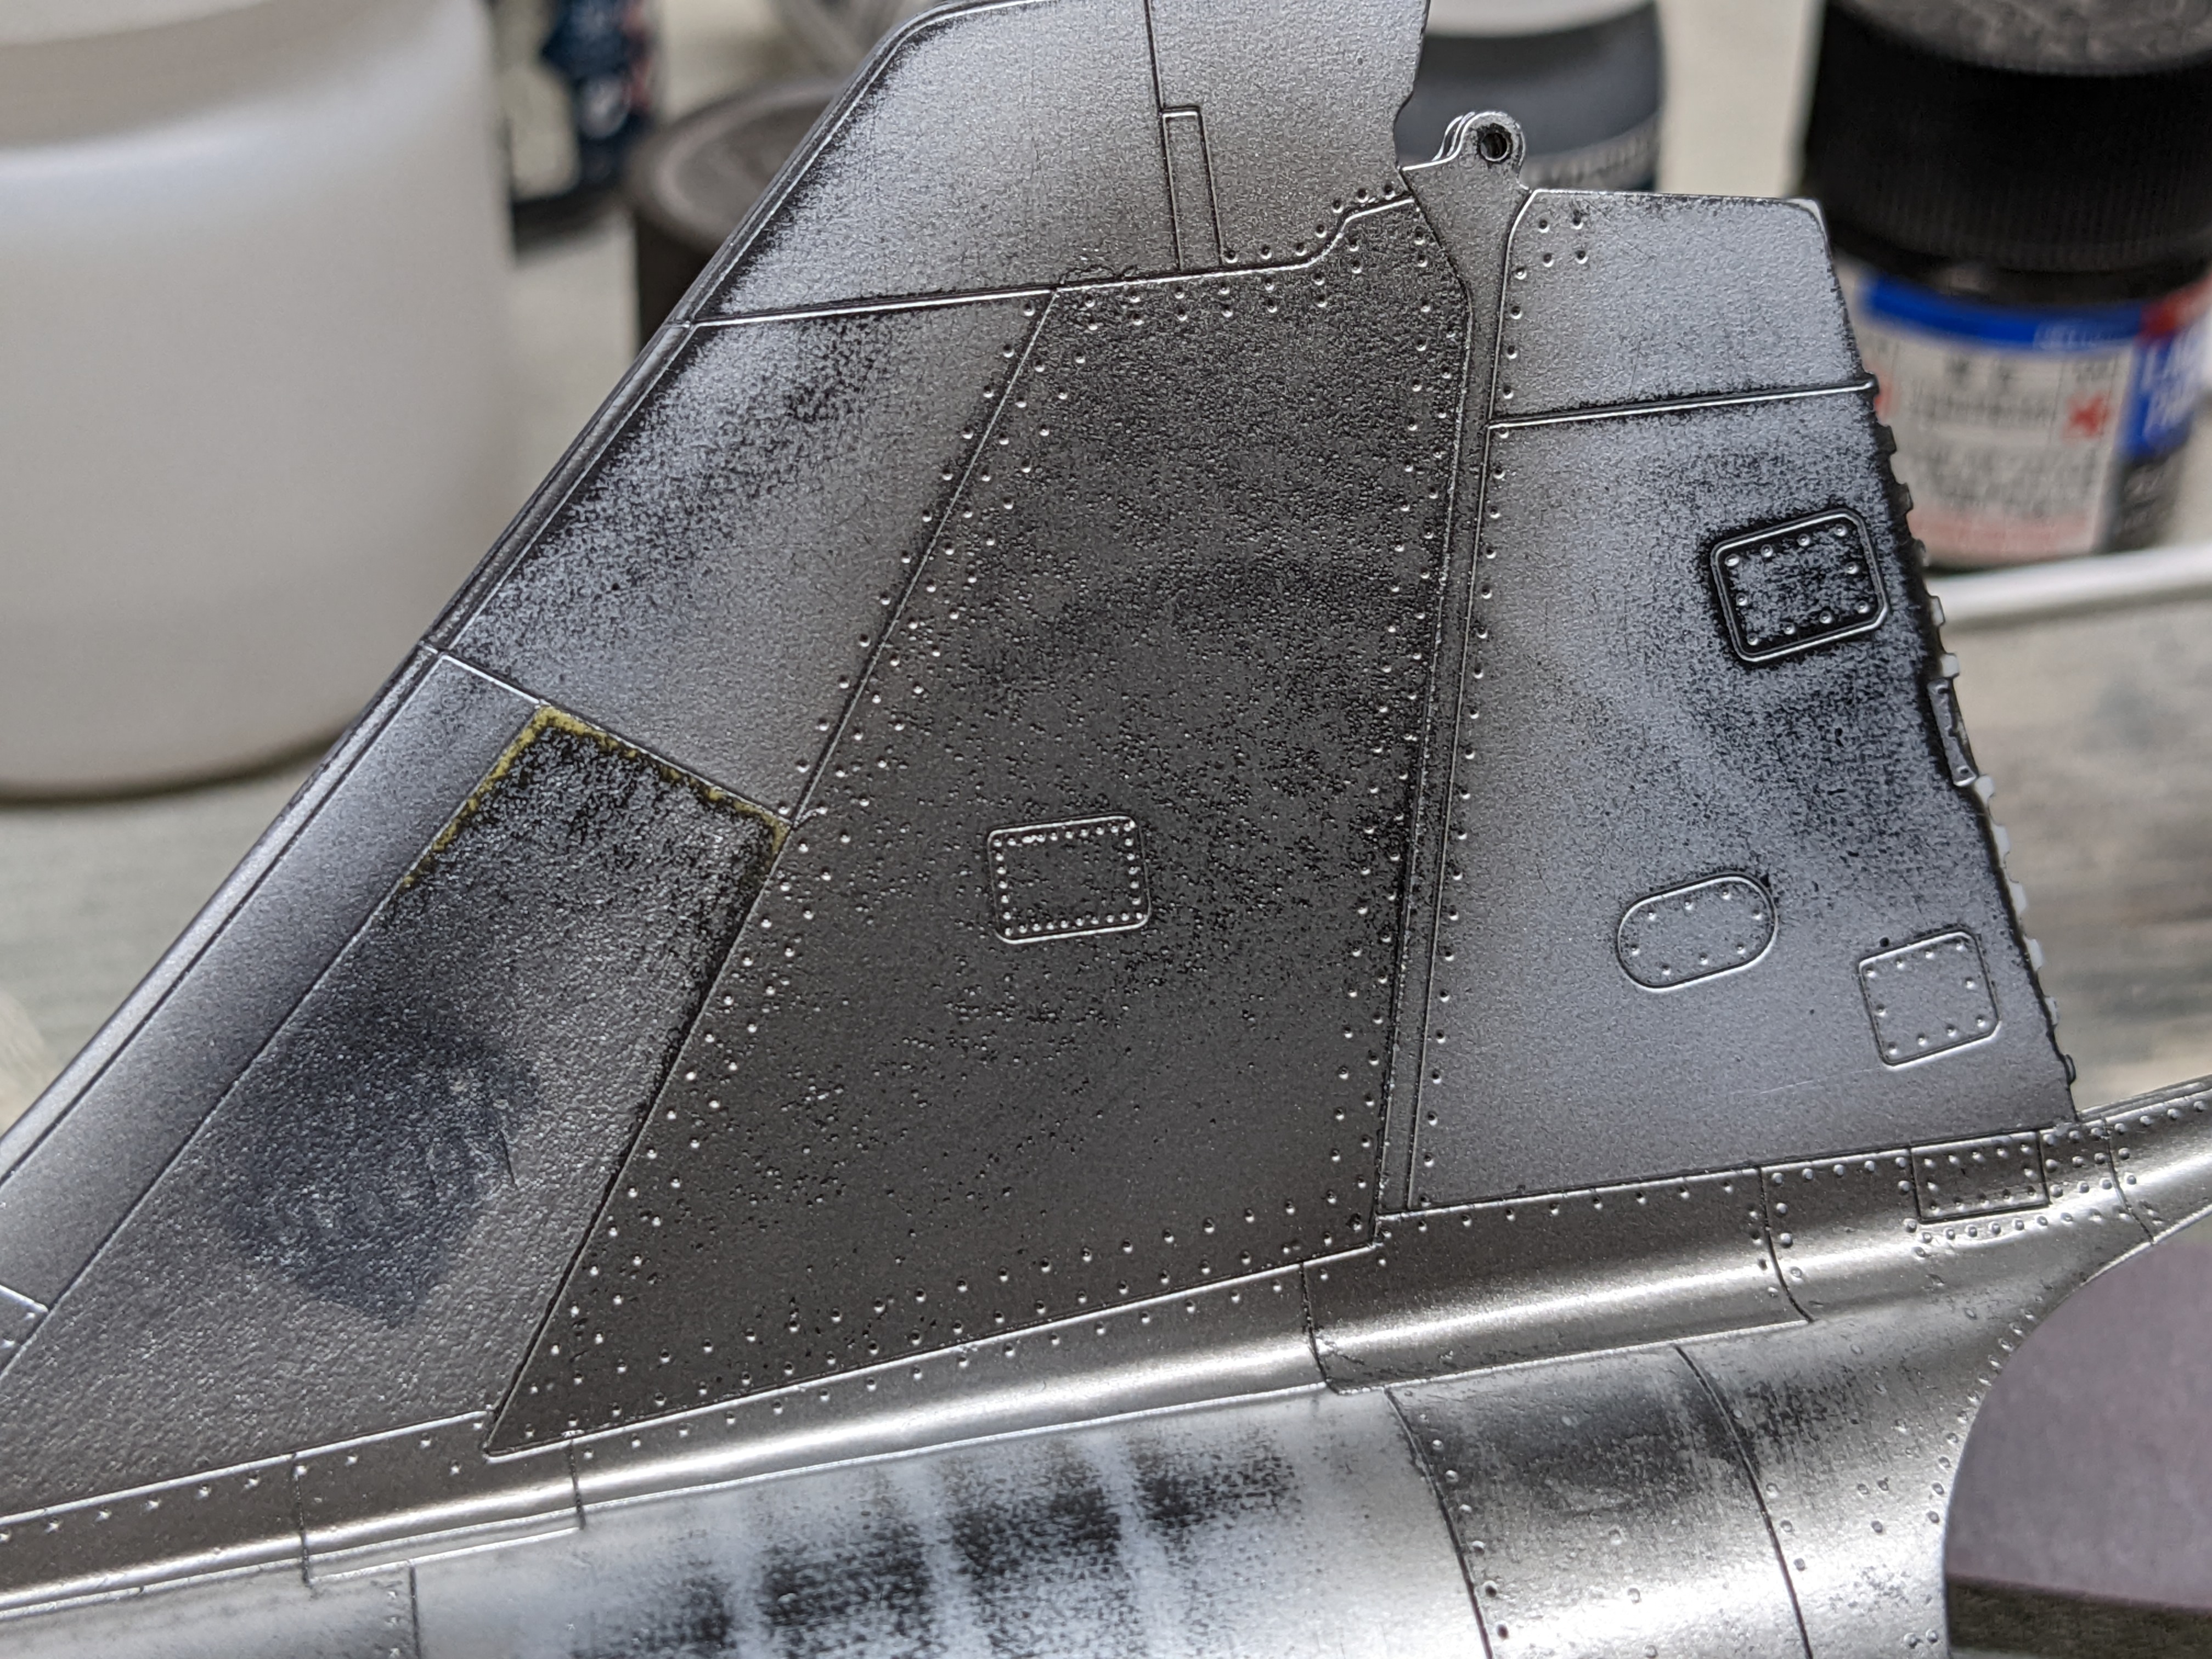
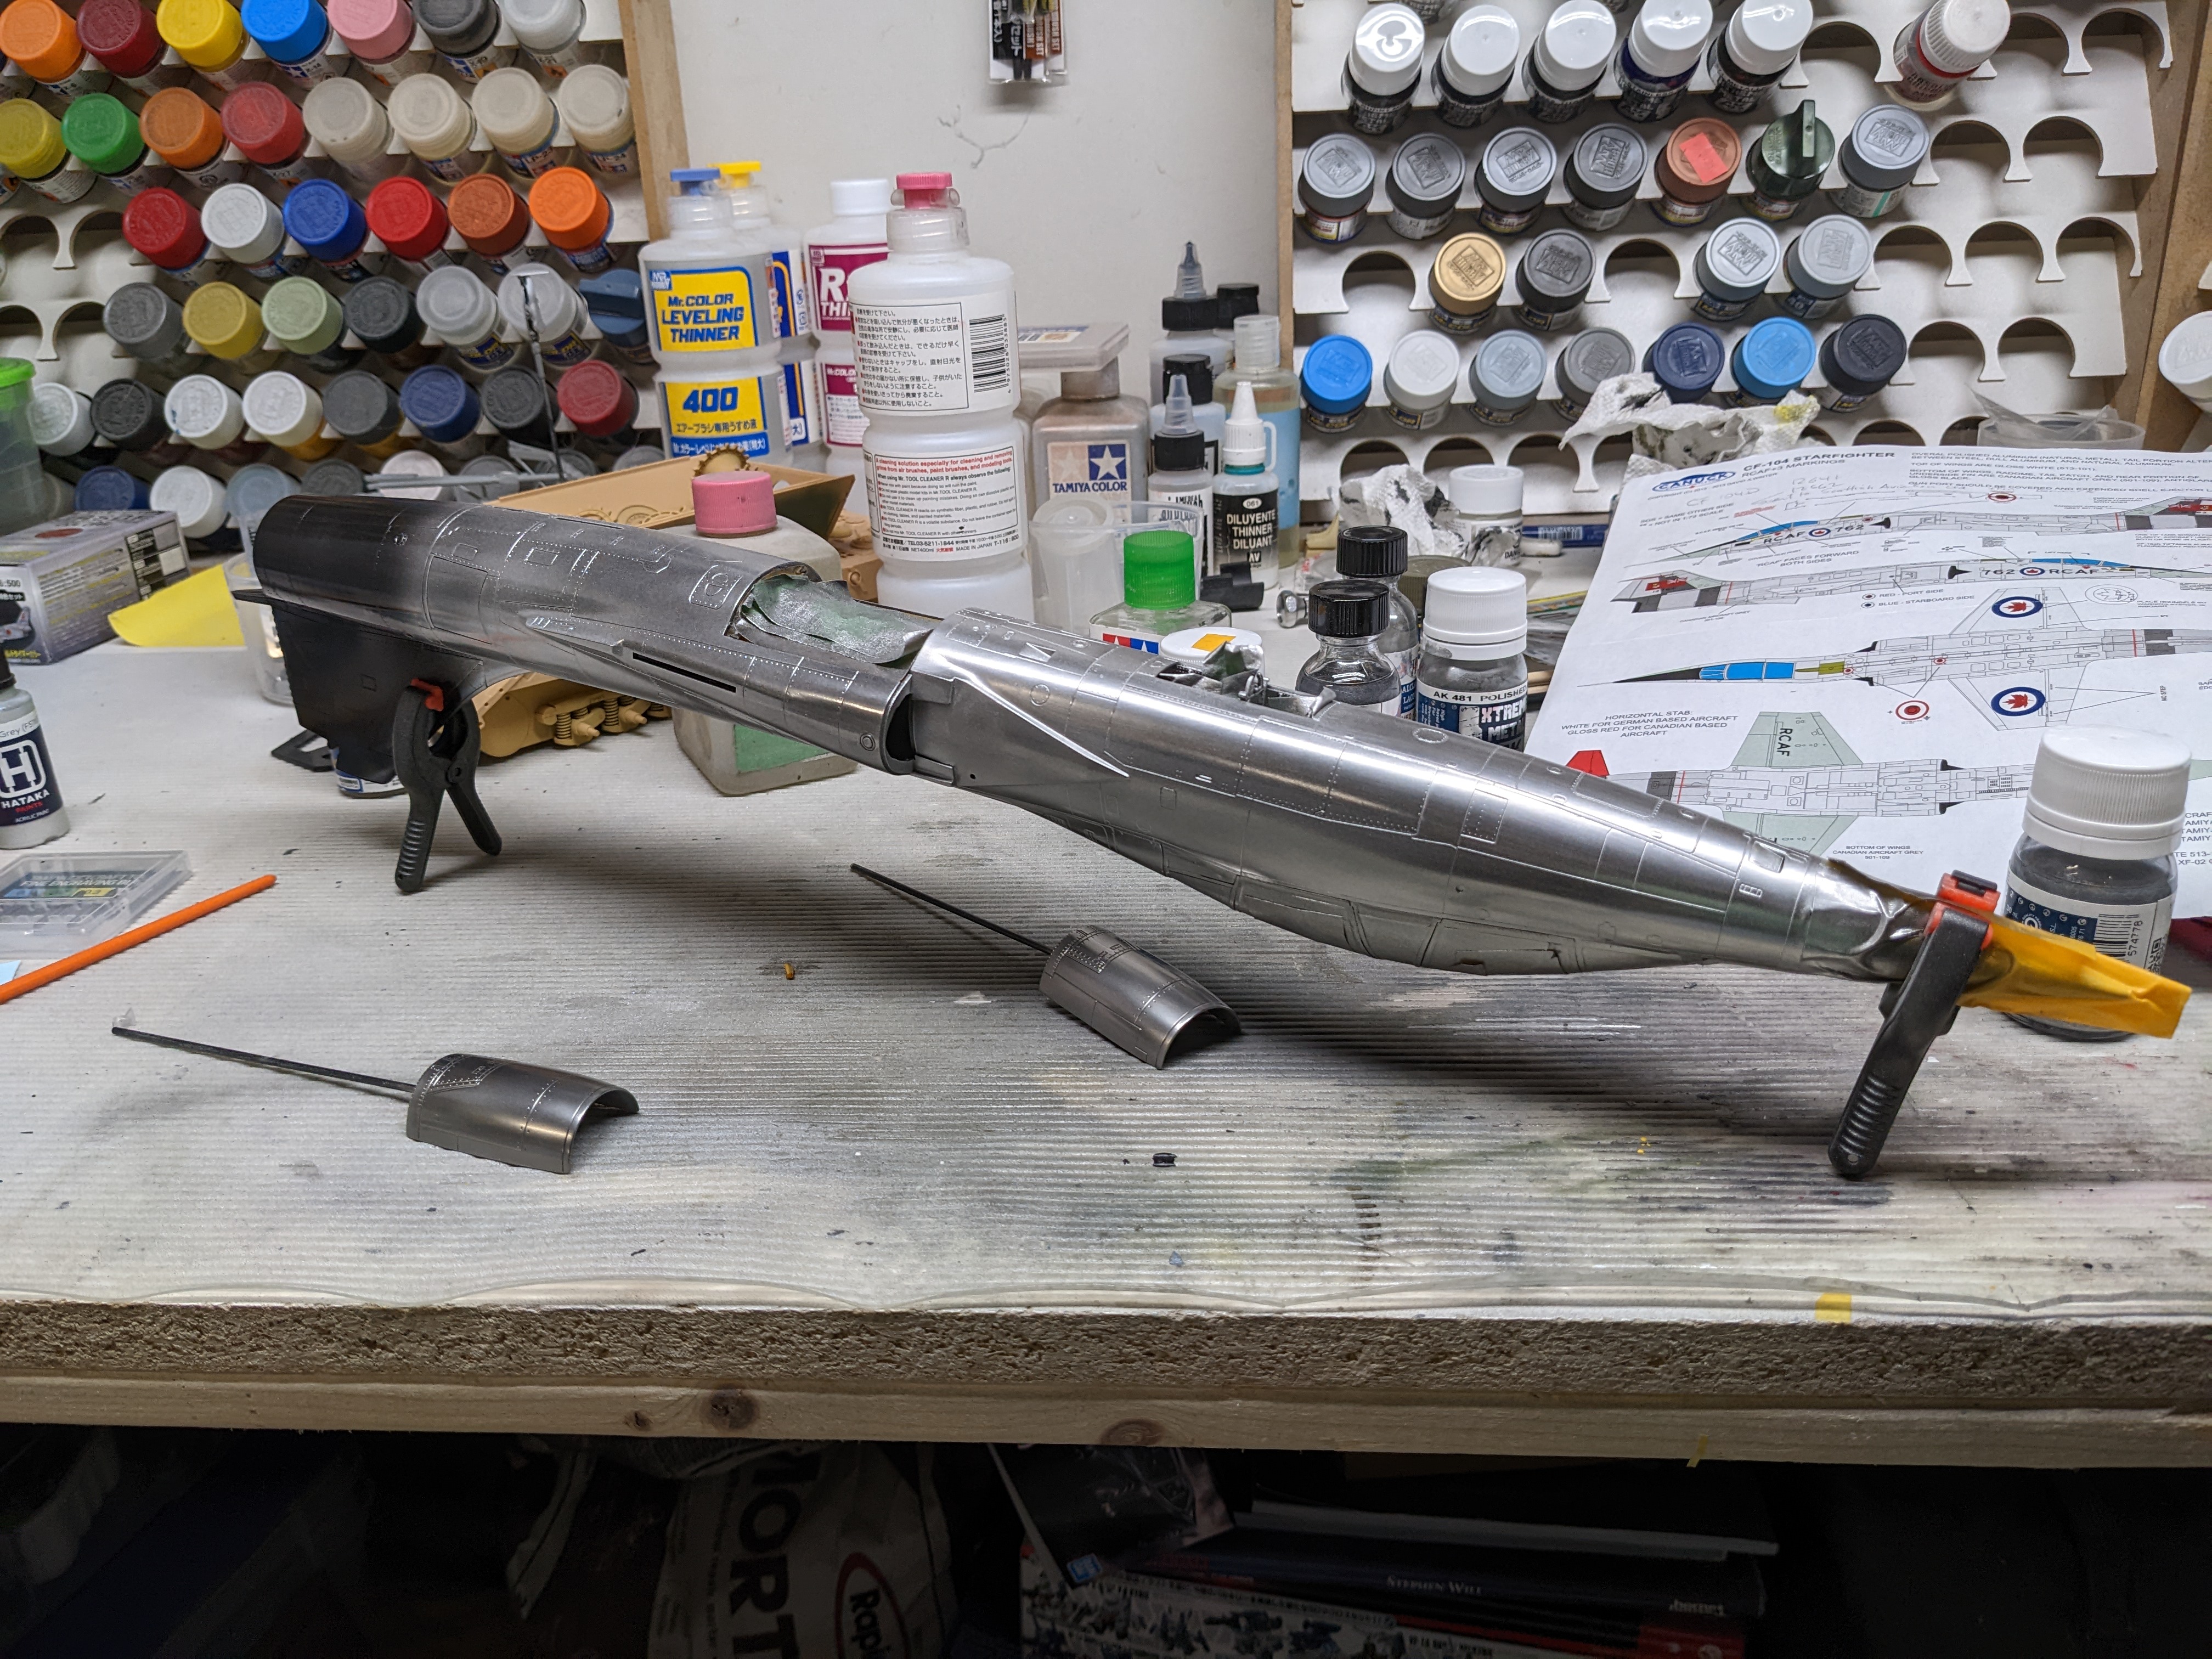
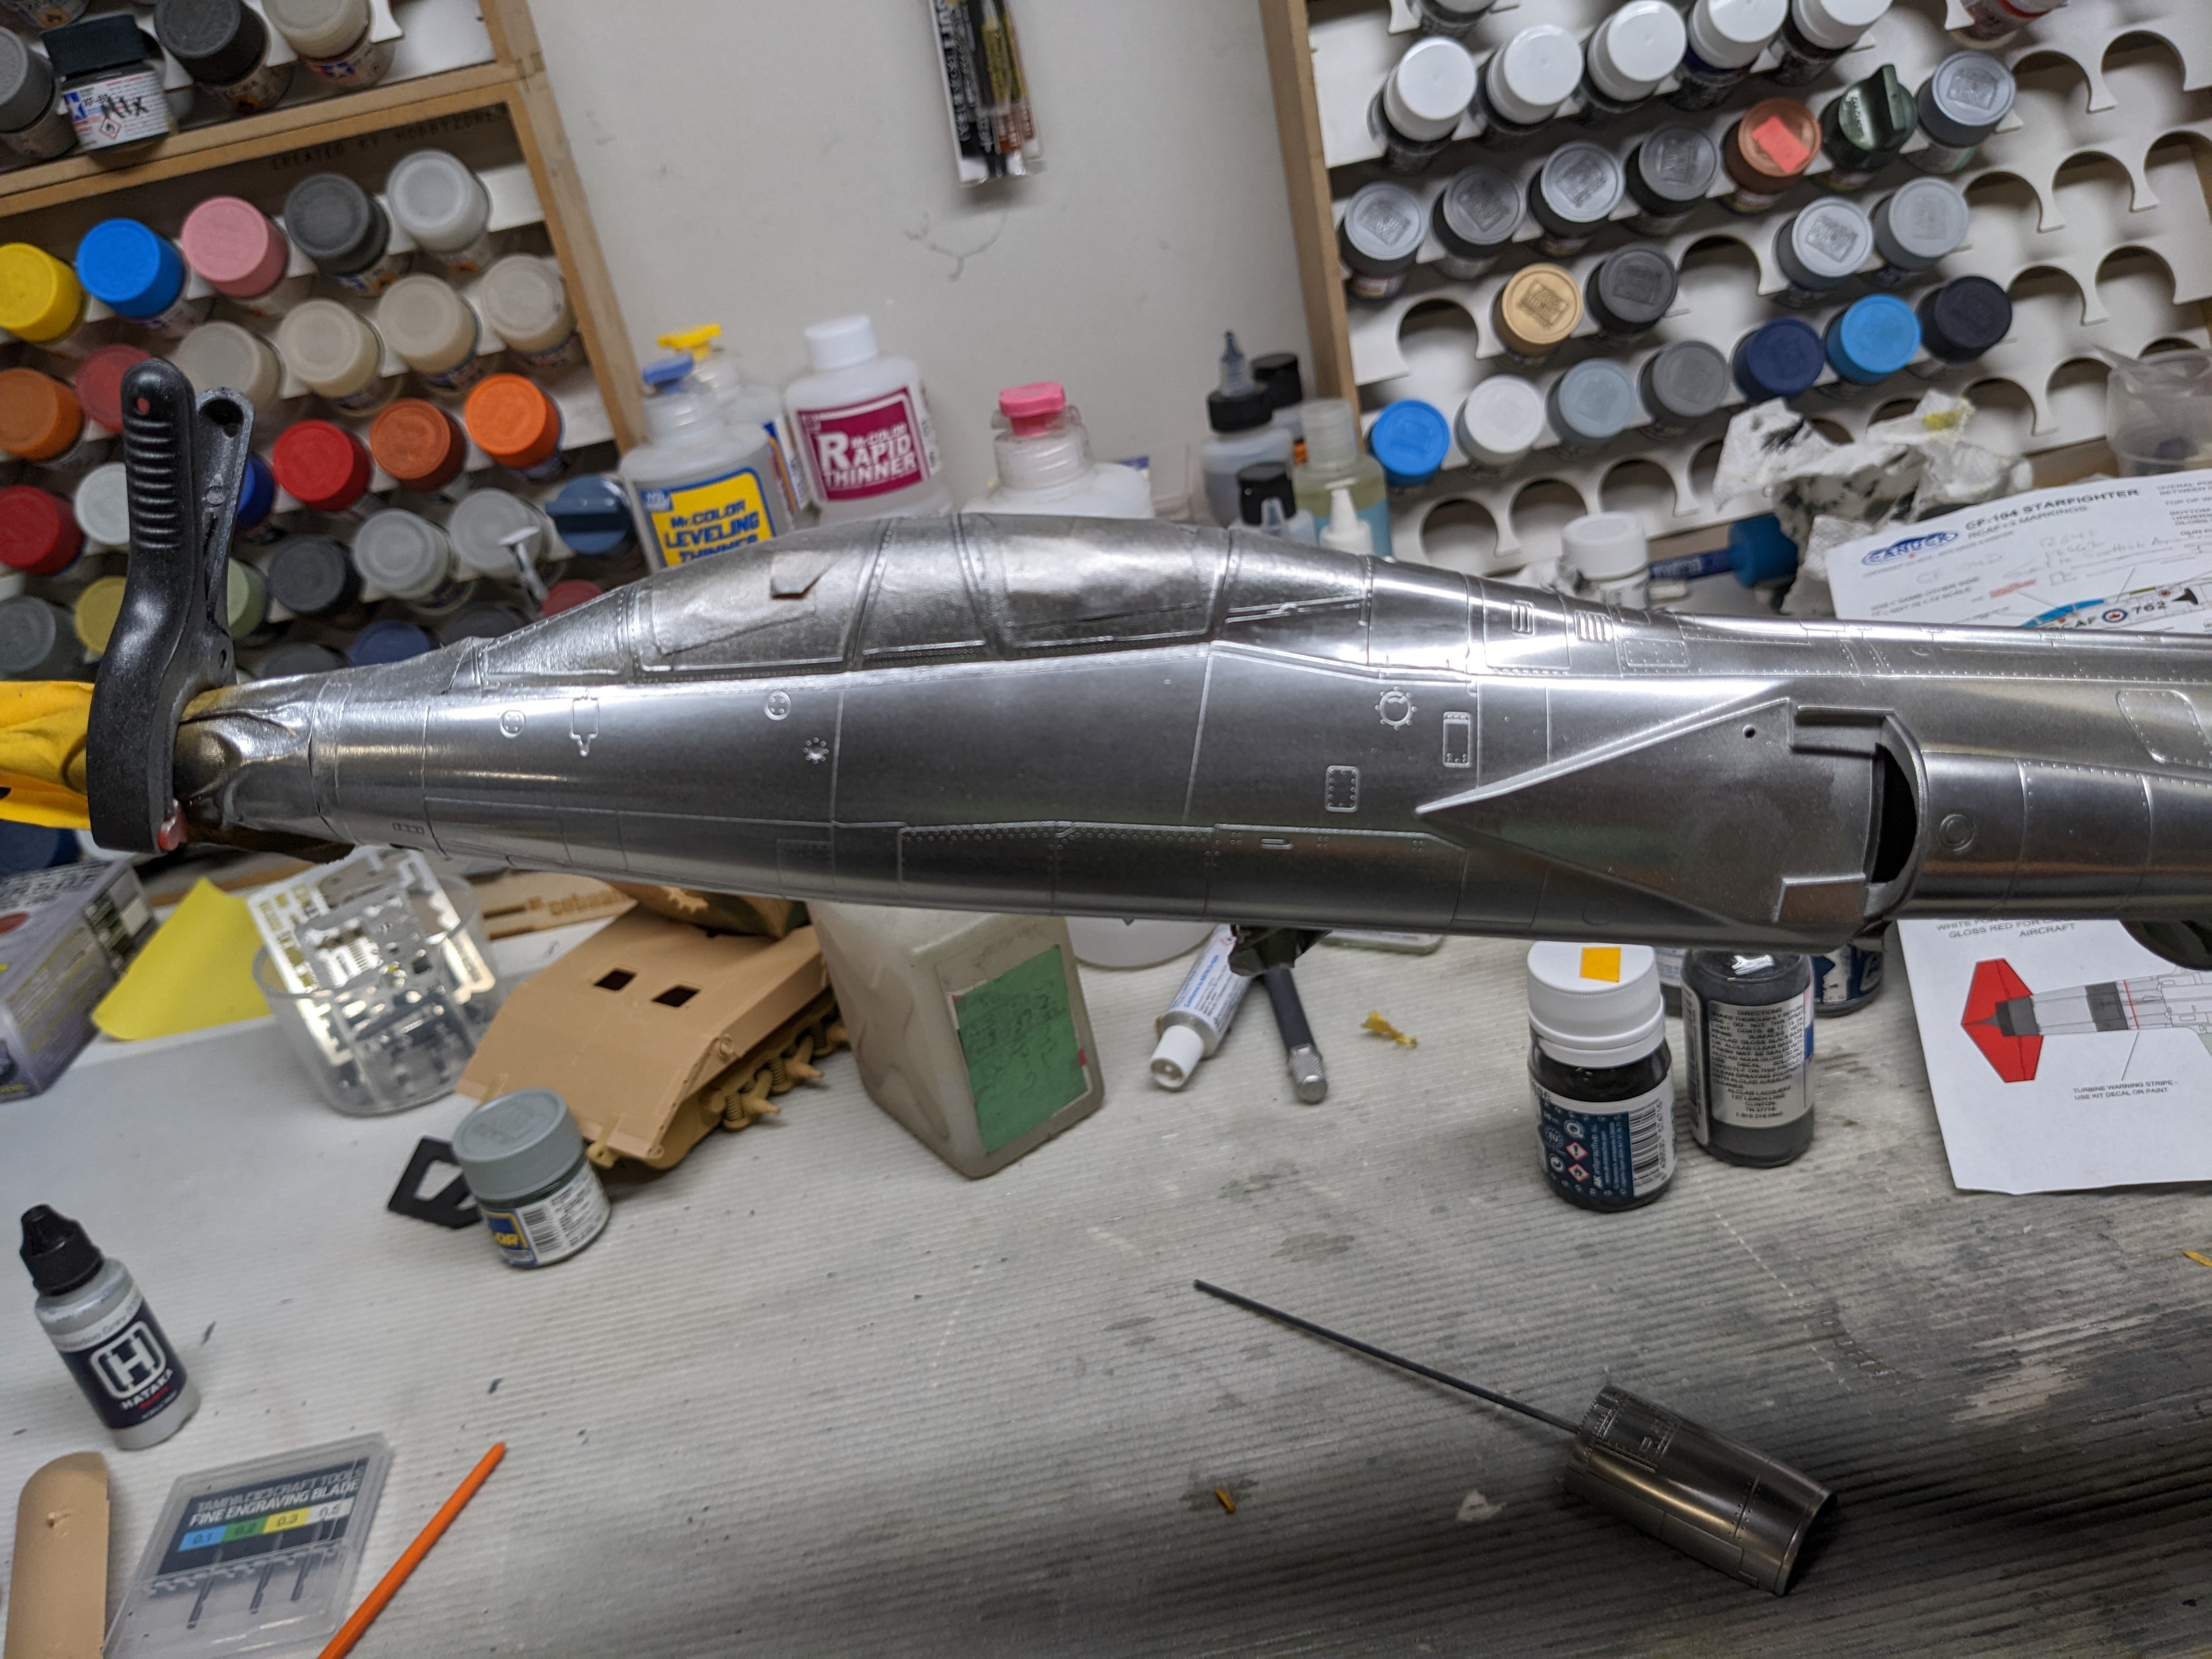
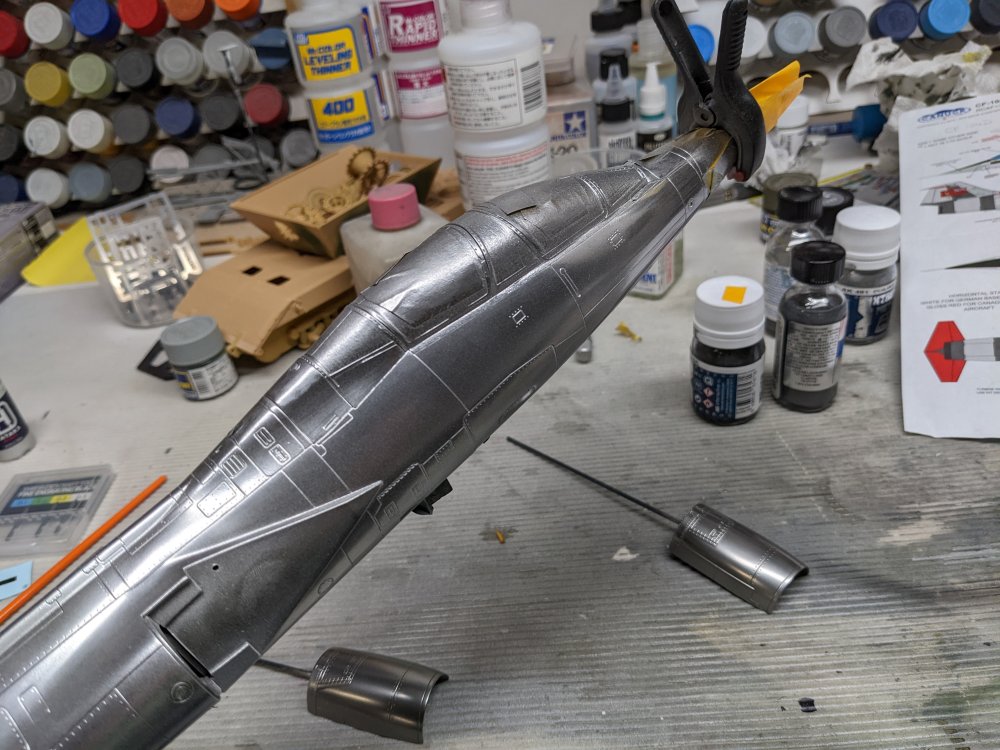
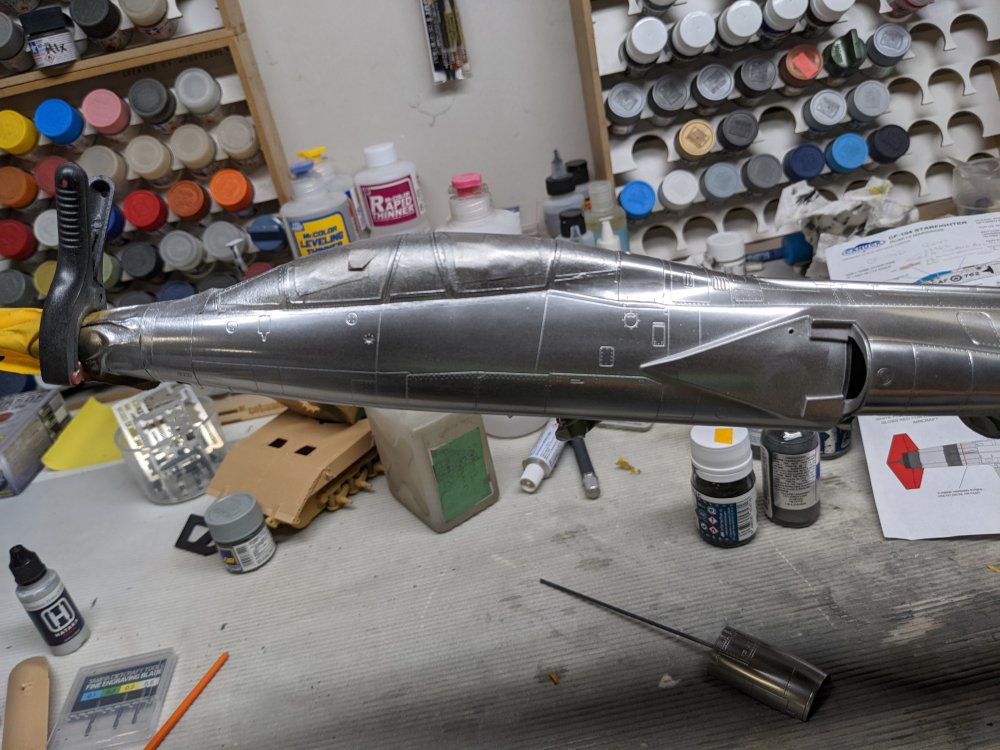
So Plan B is a fail. After getting rid of the tape residue, I decided to switch to Mr Color for the dark steel panels. The paint is fairly sturdy and sticks well. So I sanded the tail section smooth, but left the black primer in place to give it that mottling look Martin suggested. Well it seems very thinned Mr Color does not like an enamel base. I've now got a rolled steel sort of look to the panels I sprayed. Seeing what was happening, I didn't even bother to make the cost solid. Here's a close up of the texture I'm encountering. So onto Plan C which is: - strip the tail back to bare plastic -paint the grey panel - mask, and paint the steel ones - finally put the primer and silver over top. Hopefully that works.

-
F4U-1A Corsair Tamiya 1/32
BlrwestSiR replied to DocRob's topic in LSM 1/35 and Larger Work In Progress
You can never have too many Corsairs. -
Revell Me262 B-1a/U-1 Nachtjäger "Red 12"
BlrwestSiR replied to CANicoll's topic in LSM 1/35 and Larger Work In Progress
It's really coming together. It hopefully isn't too much work to touch up the camo after you get the canopy on. Carl -
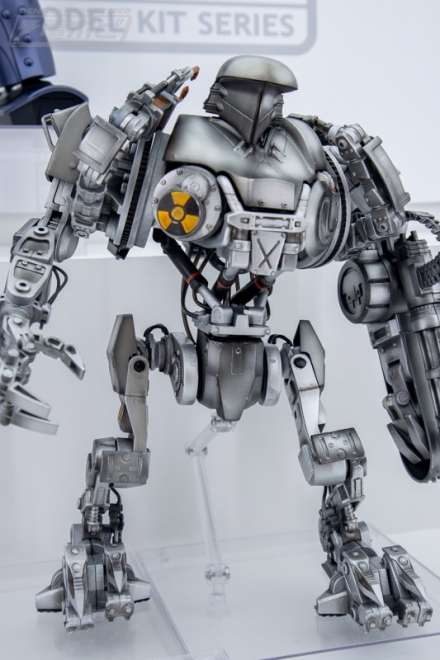
Moderoid is releasing a Cain to go with their ED-209!!! Yes!!!
-
The scary part is I had just masked the fuselage so can't imagine what it might have been like after a few years.
-
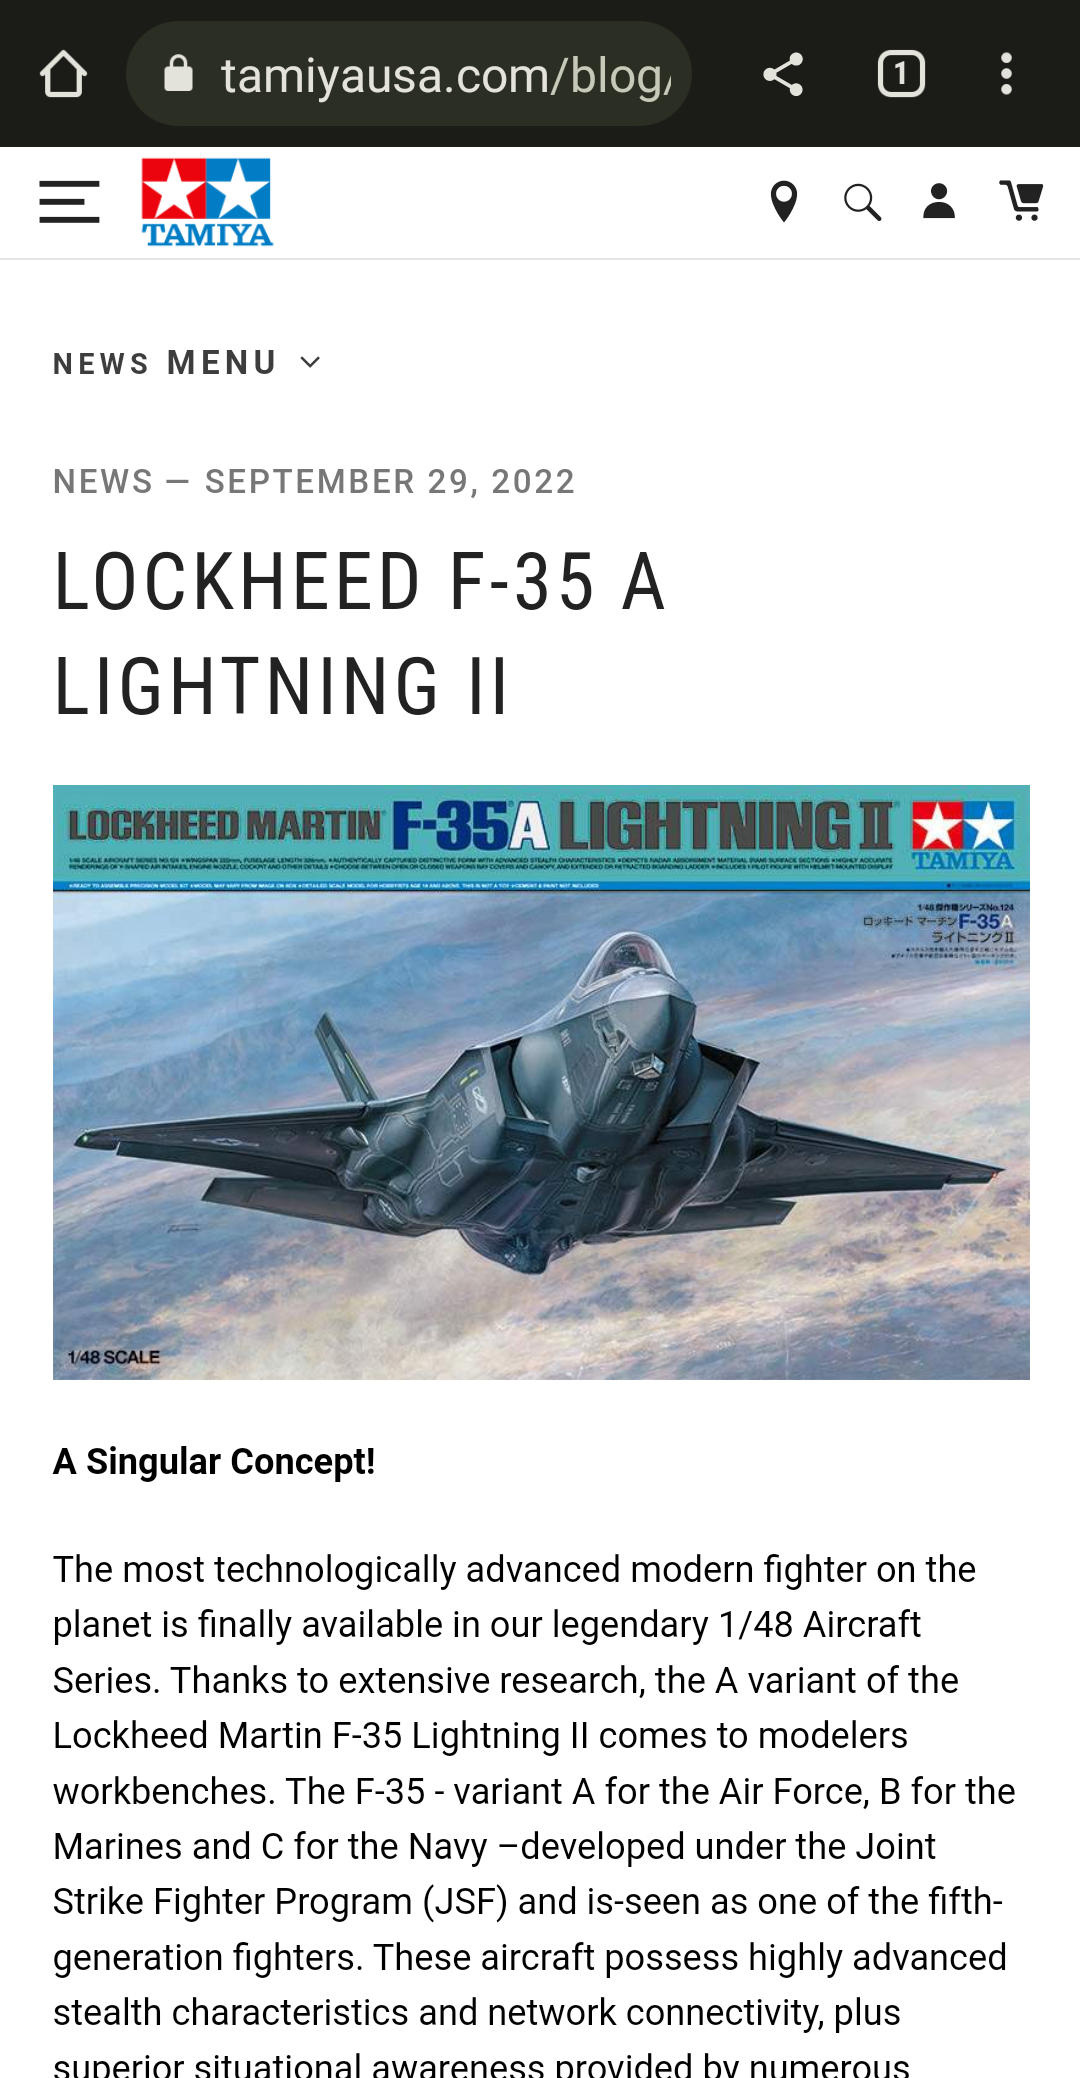
Tamiya had just announced a 1/48 F-35A There's one more surprise release coming.
-
Hopefully none of them are a 5 lb sledge hammer... It seems there's been an influx of 'cuss worthy' builds on here of late. This, Peter's Whirlwind, John's F9, Ernie's Helldiver. Somebody please take a Tamiya kit out, throw some cement in the box and give it a good shake for a no fuss build!
-
CF-104D Triple Sick
BlrwestSiR replied to BlrwestSiR's topic in LSM 1/35 and Larger Work In Progress
Martin, that's not a bad idea. Let me see how that turns out. -
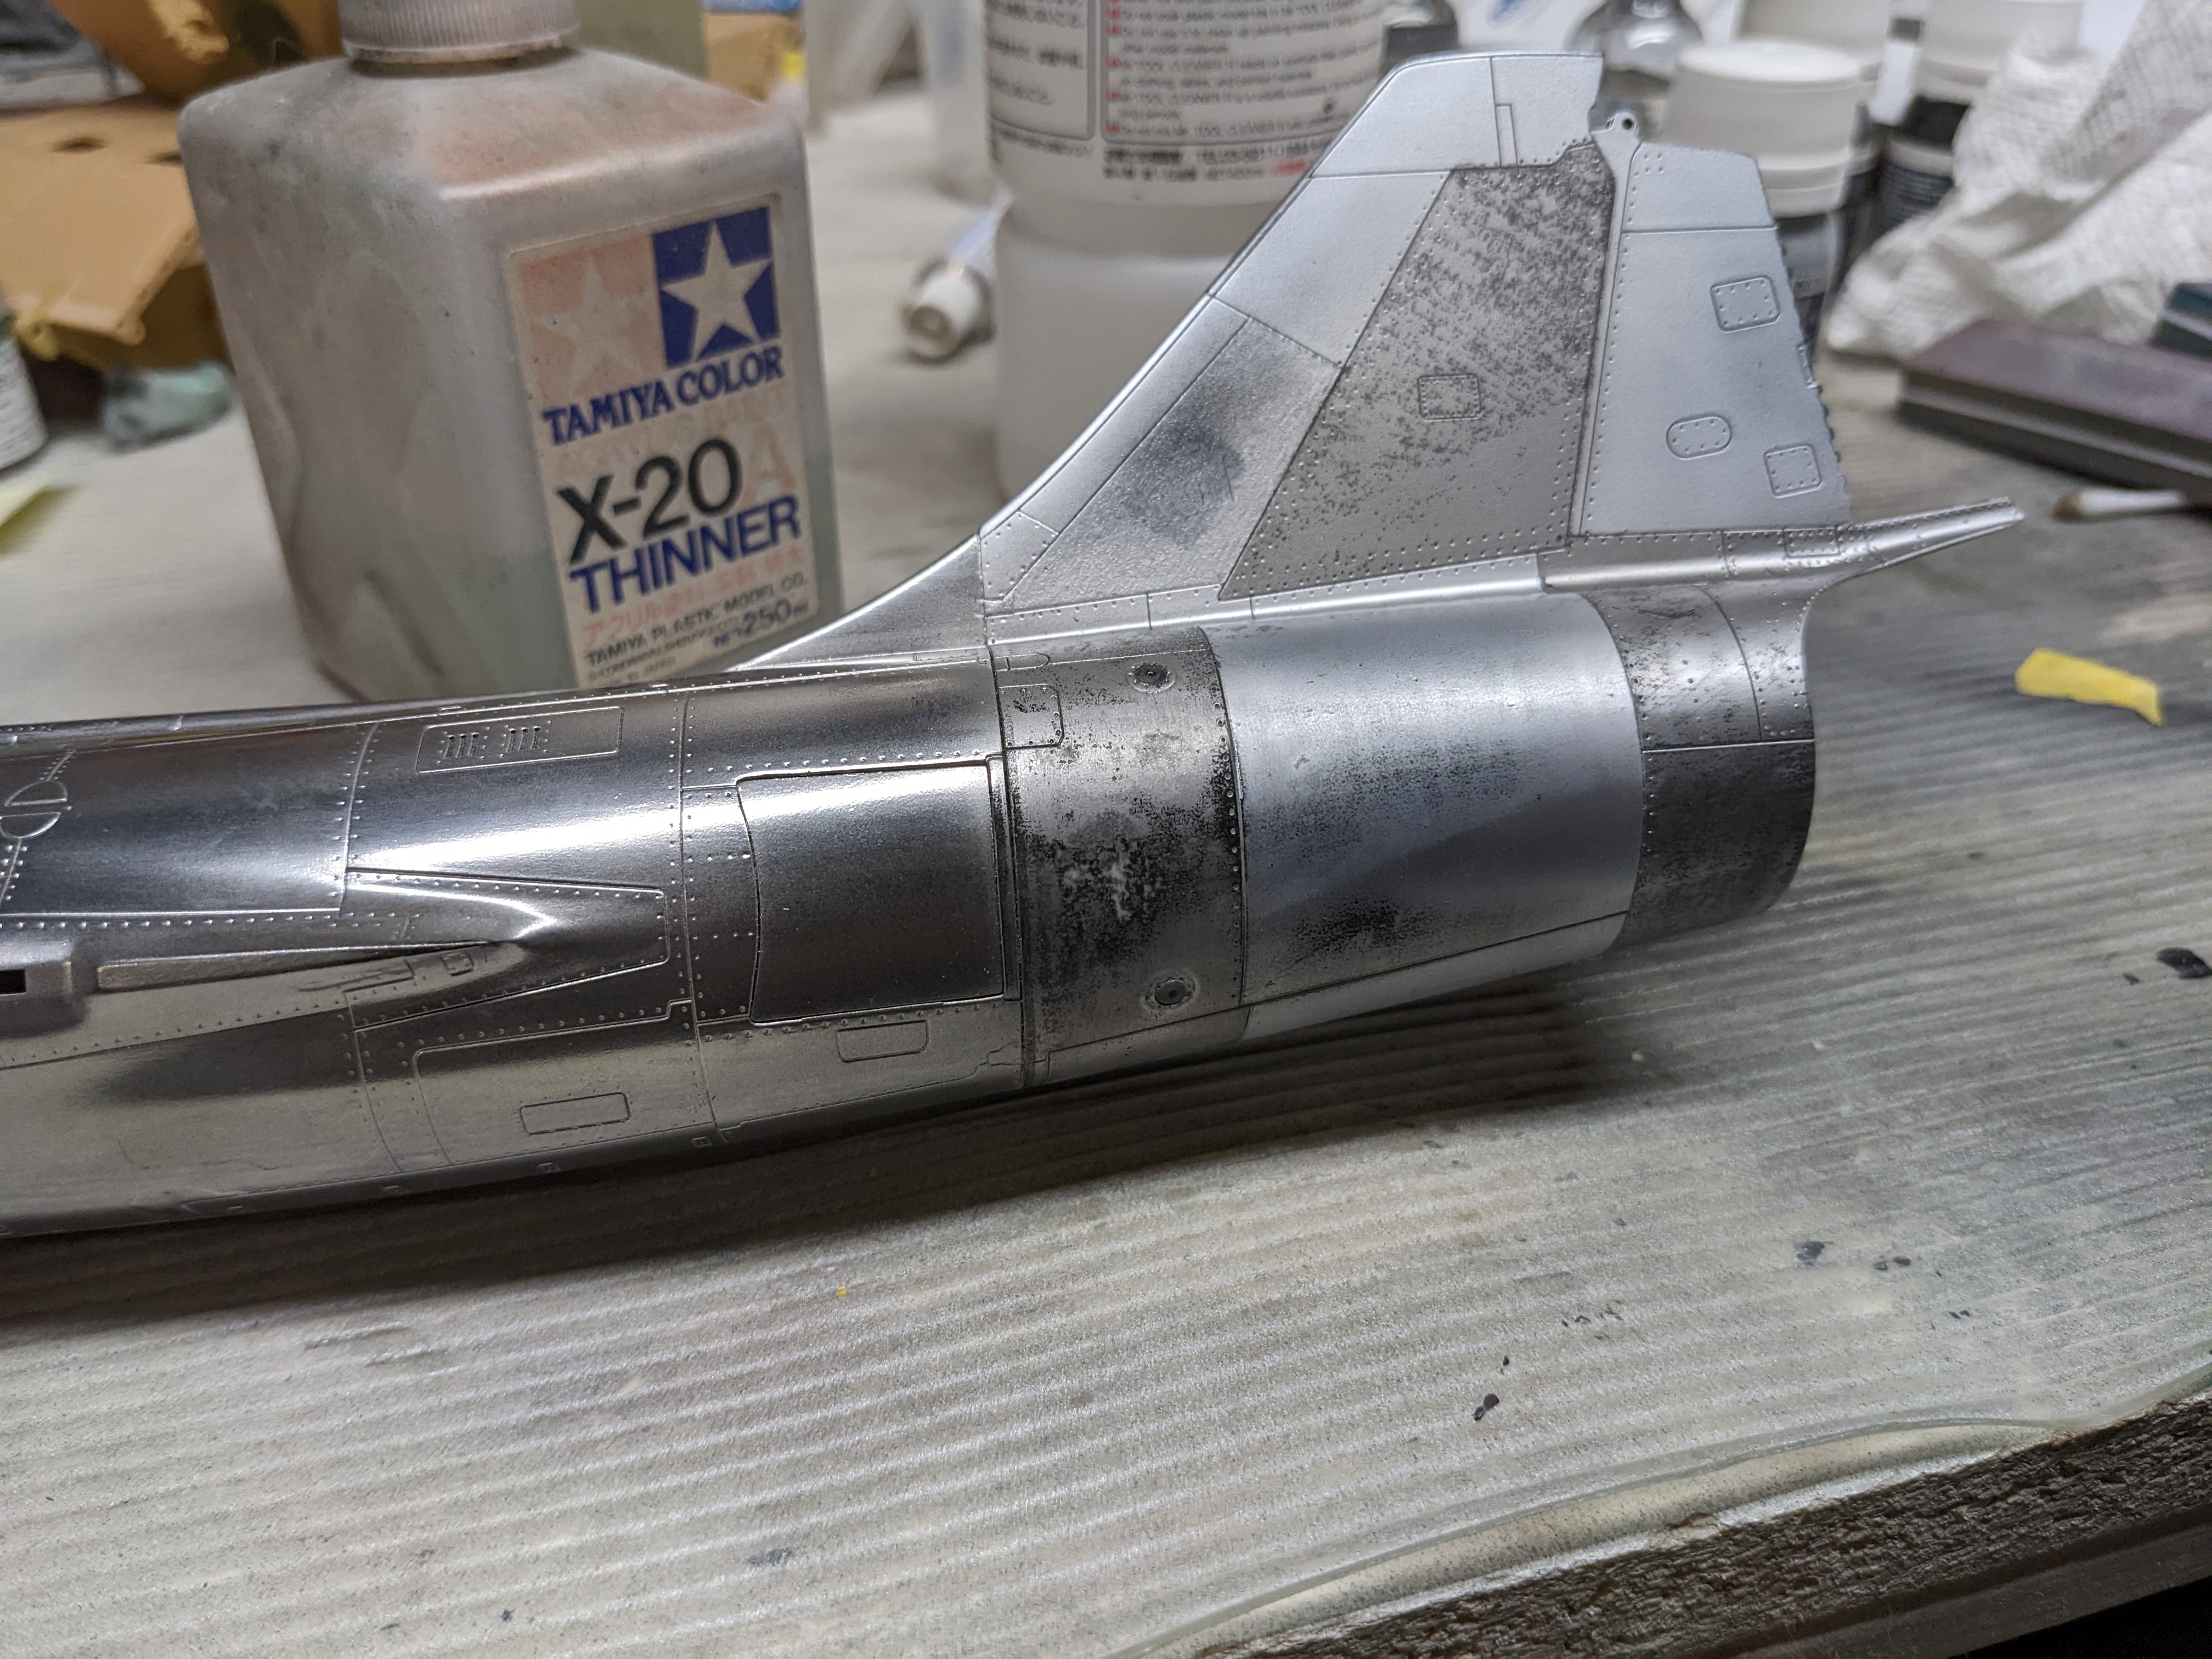
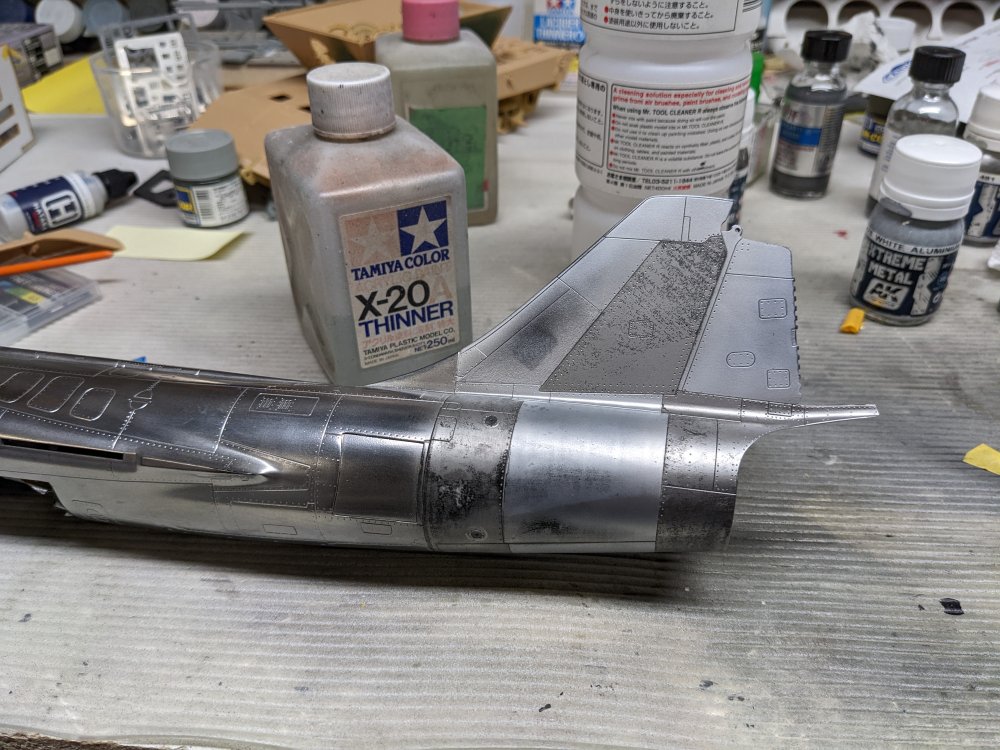
I had some seriously stuck on tape residue on my CF-104 so had to use Tamiya X20A thinner to get it off. It's pulled off a bunch of the paint too so some touch ups are going to be needed. Thanks for trying that on your canopy and giving me the info I needed to fix my build. Carl
-
CF-104D Triple Sick
BlrwestSiR replied to BlrwestSiR's topic in LSM 1/35 and Larger Work In Progress
Thanks Gary. It's more than paint lift, the tape left residue all over the tail. I had to use Tamiya X20A thinner to get that off. -
I can't imagine the gun being another 1.5m longer. It would have gotten caught on well, everything!
-
Yikes, quite a bit of finessing there. Looks like it's one of those kits where if you're slightly off in one spot, it just magnifies things down the road. The question is figuring out where the first issue propped up.
-
CF-104D Triple Sick
BlrwestSiR replied to BlrwestSiR's topic in LSM 1/35 and Larger Work In Progress
Hit a small setback. The tape I was using on the tail has decided it really liked being there. It's basically shredded in trying to get it off. So needless to say, some of the paint has come with it. Thankfully it's all just on the tail so I'm going to let the paint dry a bit longer, it back and start over.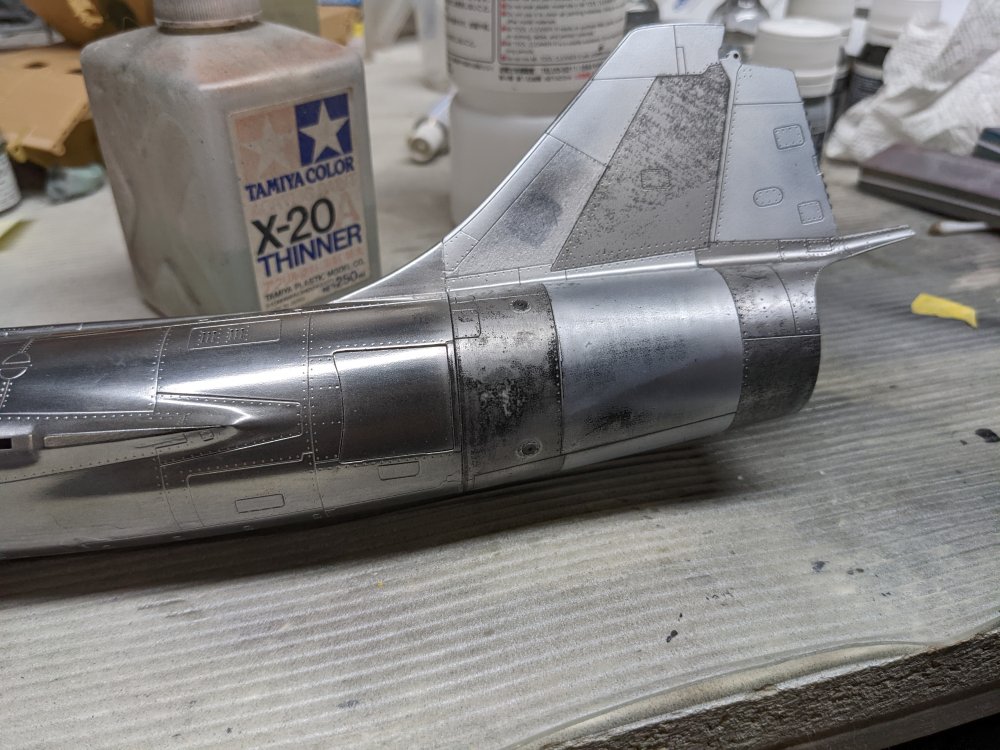
-
CF-104D Triple Sick
BlrwestSiR replied to BlrwestSiR's topic in LSM 1/35 and Larger Work In Progress
Thankfully, the real plane was that shiny so I'm all good. Just wasn't expecting polished aluminium to be so bright. -
I love big gunned Shermans! It's a nice kit. The rubber band tracks aren't that obvious and are decently detailed. The only part I found to be a bit lacking were the headlight guards. I swapped mine out. Here's the kit one with some I found in my spares box.
-
What is on your bench right now ? Share a picture :)
BlrwestSiR replied to Martinnfb's topic in Modelling Discussion
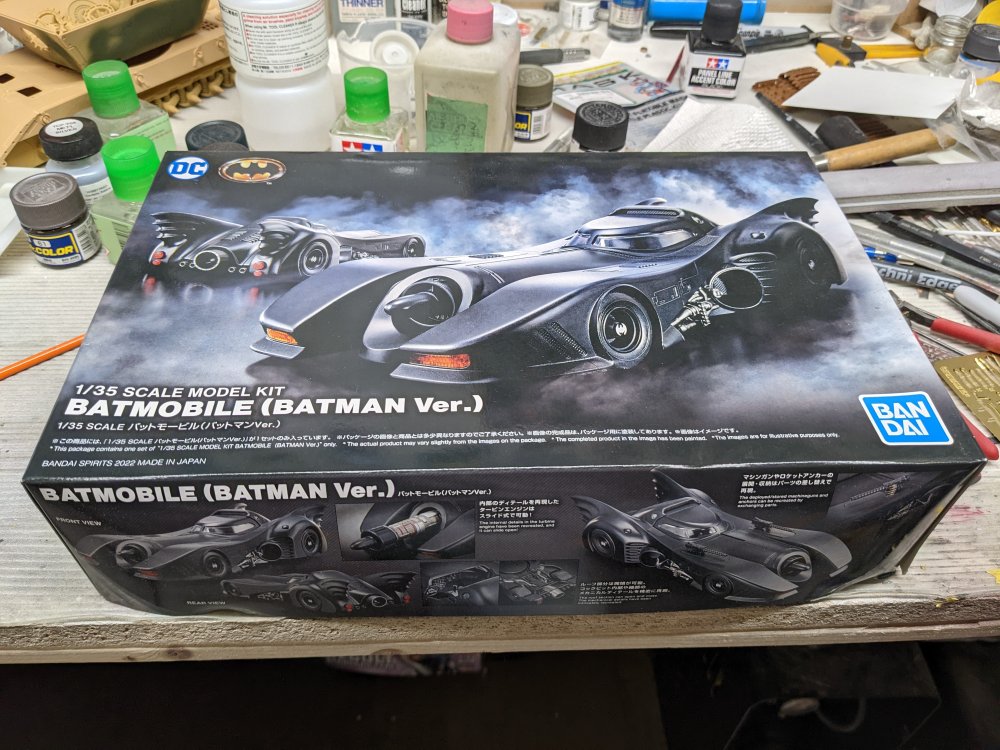
Ok, who said Batmobile? How hard can it be? Everything is one colour.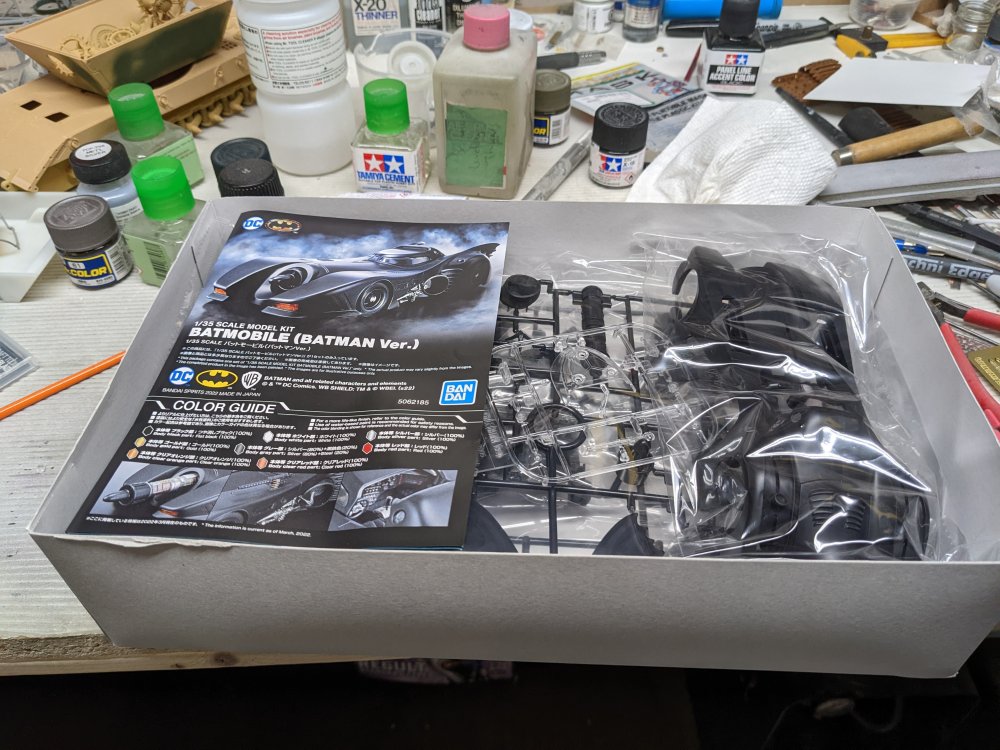
-
Dec 1 works for me. Gives me time to make space on my bench and maybe finish up some of what's on it already. Carl
-
CF-104D Triple Sick
BlrwestSiR replied to BlrwestSiR's topic in LSM 1/35 and Larger Work In Progress
I think they mislabeled the bottles and I used chrome rather than polished aluminium...
-
CF-104D Triple Sick
BlrwestSiR replied to BlrwestSiR's topic in LSM 1/35 and Larger Work In Progress
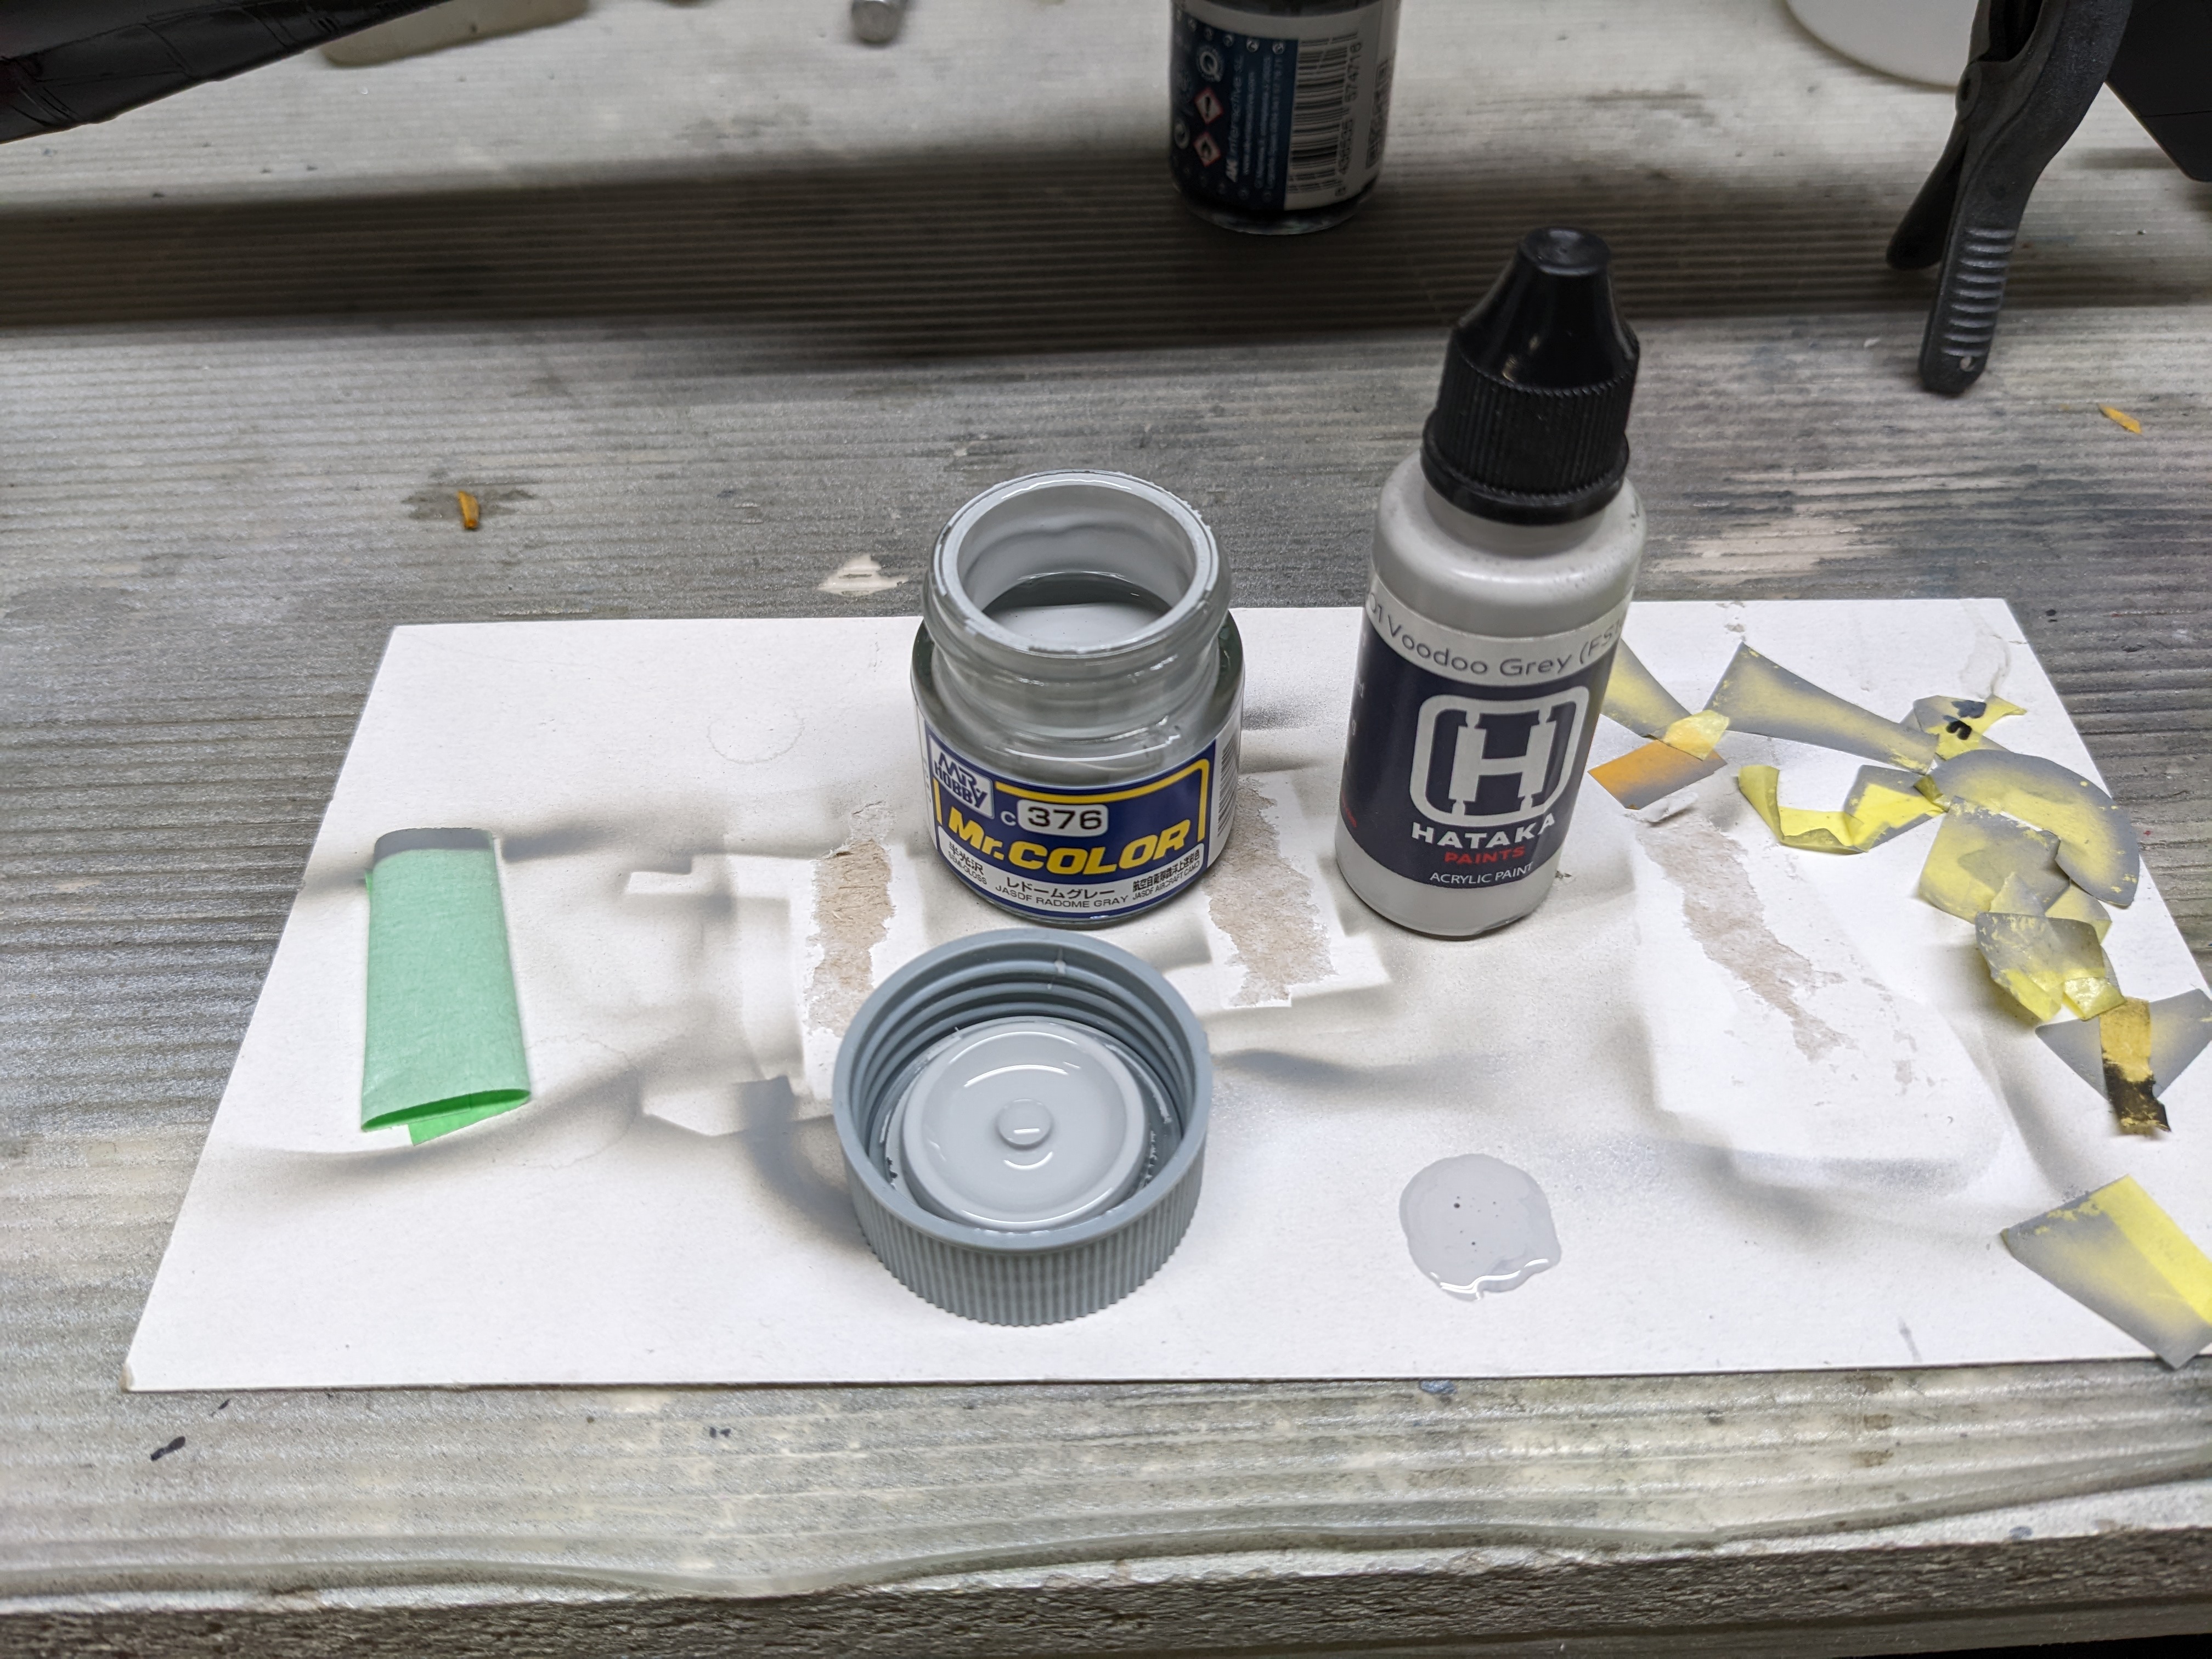
Hataka makes a Voodoo Grey in both acrylic and lacquer. I have their acrylic version. With the masking involved, I wanted to use a lacquer to reduce any chance of paint lifting. I noticed I had Mr Color 376 JASDF Radome Gray. In comparing the two, they looked close so that's what I went with. You can see the comparison below.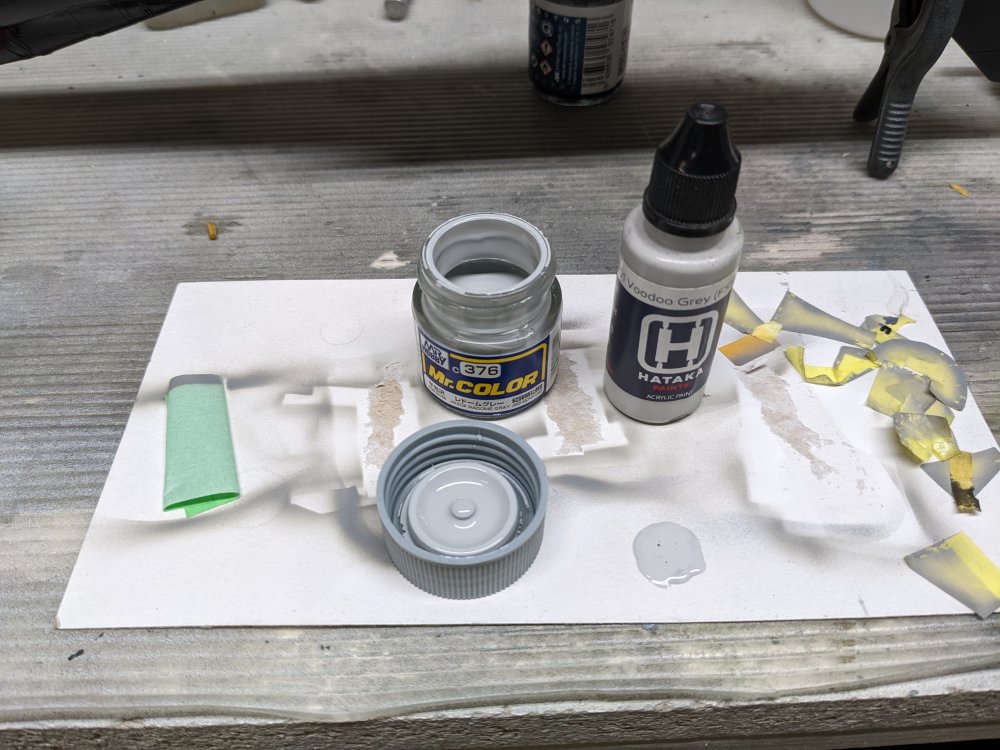
-
What Harv said!
-
Off to a great start there. Glad to hear you're on the mend. Carl