BlrwestSiR
-
Posts
9,173 -
Joined
-
Last visited
Content Type
Profiles
Forums
Events
Gallery
Everything posted by BlrwestSiR
-
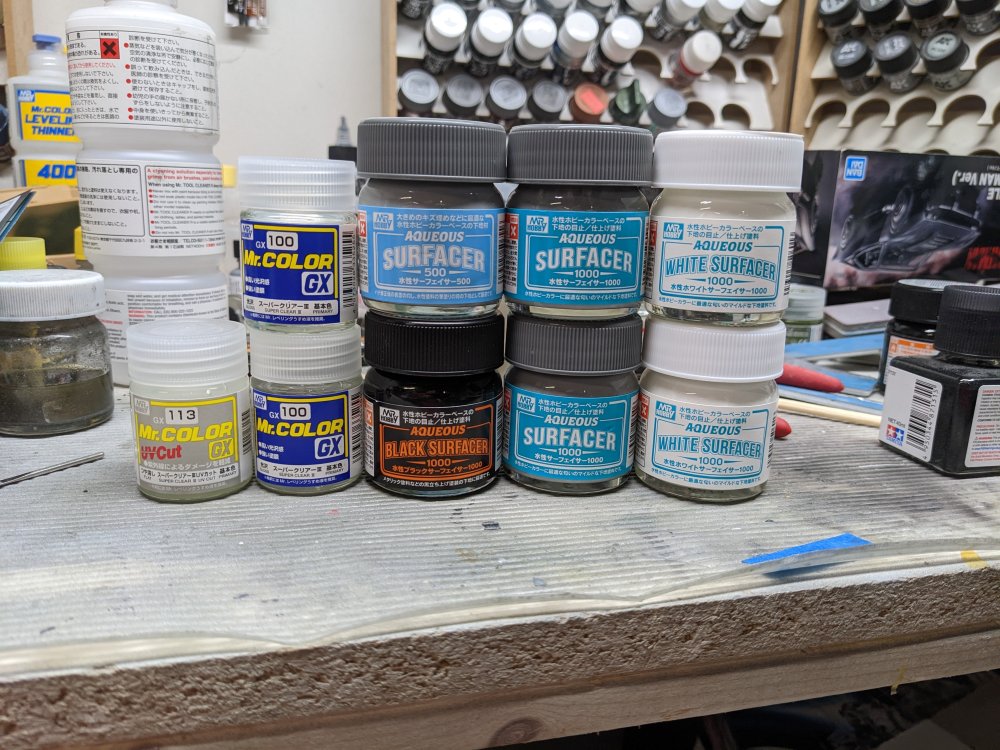
Some primer and paint as the LHS is having a no tax Tuesday sale for the month. Works out to around 11% off as the sales tax is 13%. I picked up the Mr Surfacer 500 in the aqueous form so I'll see how that works. On my way to the register I ended up grabbing the recently reissued Revell 1/72 Shuttle. $25 was a bit too hard to pass up on for that beast. Probably inflict it on one of my sons.
-
I've got the old Revell 1/48 B-1B and always wanted to do it in-flight dropping/launching a load of cruise missiles. Those would be handy for that.
-
I've had since I was a kid in the '80s. It's great stuff. Bit pungent at times. My wife makes a kimchi fried rice. I don't have the recipe but I believe she found it online. Before that, my mom would do a homemade pickled daikon radish and carrots which was sweet in nature. Sometimes she would make a spicy one with a hot pepper thrown in for a kick This is more Chinese which makes senses as that's my background. Carl
-
Nice choice John. Starfighter is such an iconic plane. Carl
-

Border Models Lancaster B.1 "Victorious Virgin"
BlrwestSiR replied to Winnie's topic in LSM 1/35 and Larger Work In Progress
Border has announced they're going to release a nose kit with just the forward fuselage. I'm tempted to get one and use one of the clear HK fuselages I have on one side. Would probably need a lot of work to make it fit but could make for a nice display. -
F4U-1A Corsair Tamiya 1/32
BlrwestSiR replied to DocRob's topic in LSM 1/35 and Larger Work In Progress
Catching up on your Corsair Rob and there's been lots of great progress. The engine looks fantastic and the wheel bays are spotless. I'm still fighting my cold so can't wait to have the fog lift. Carl -
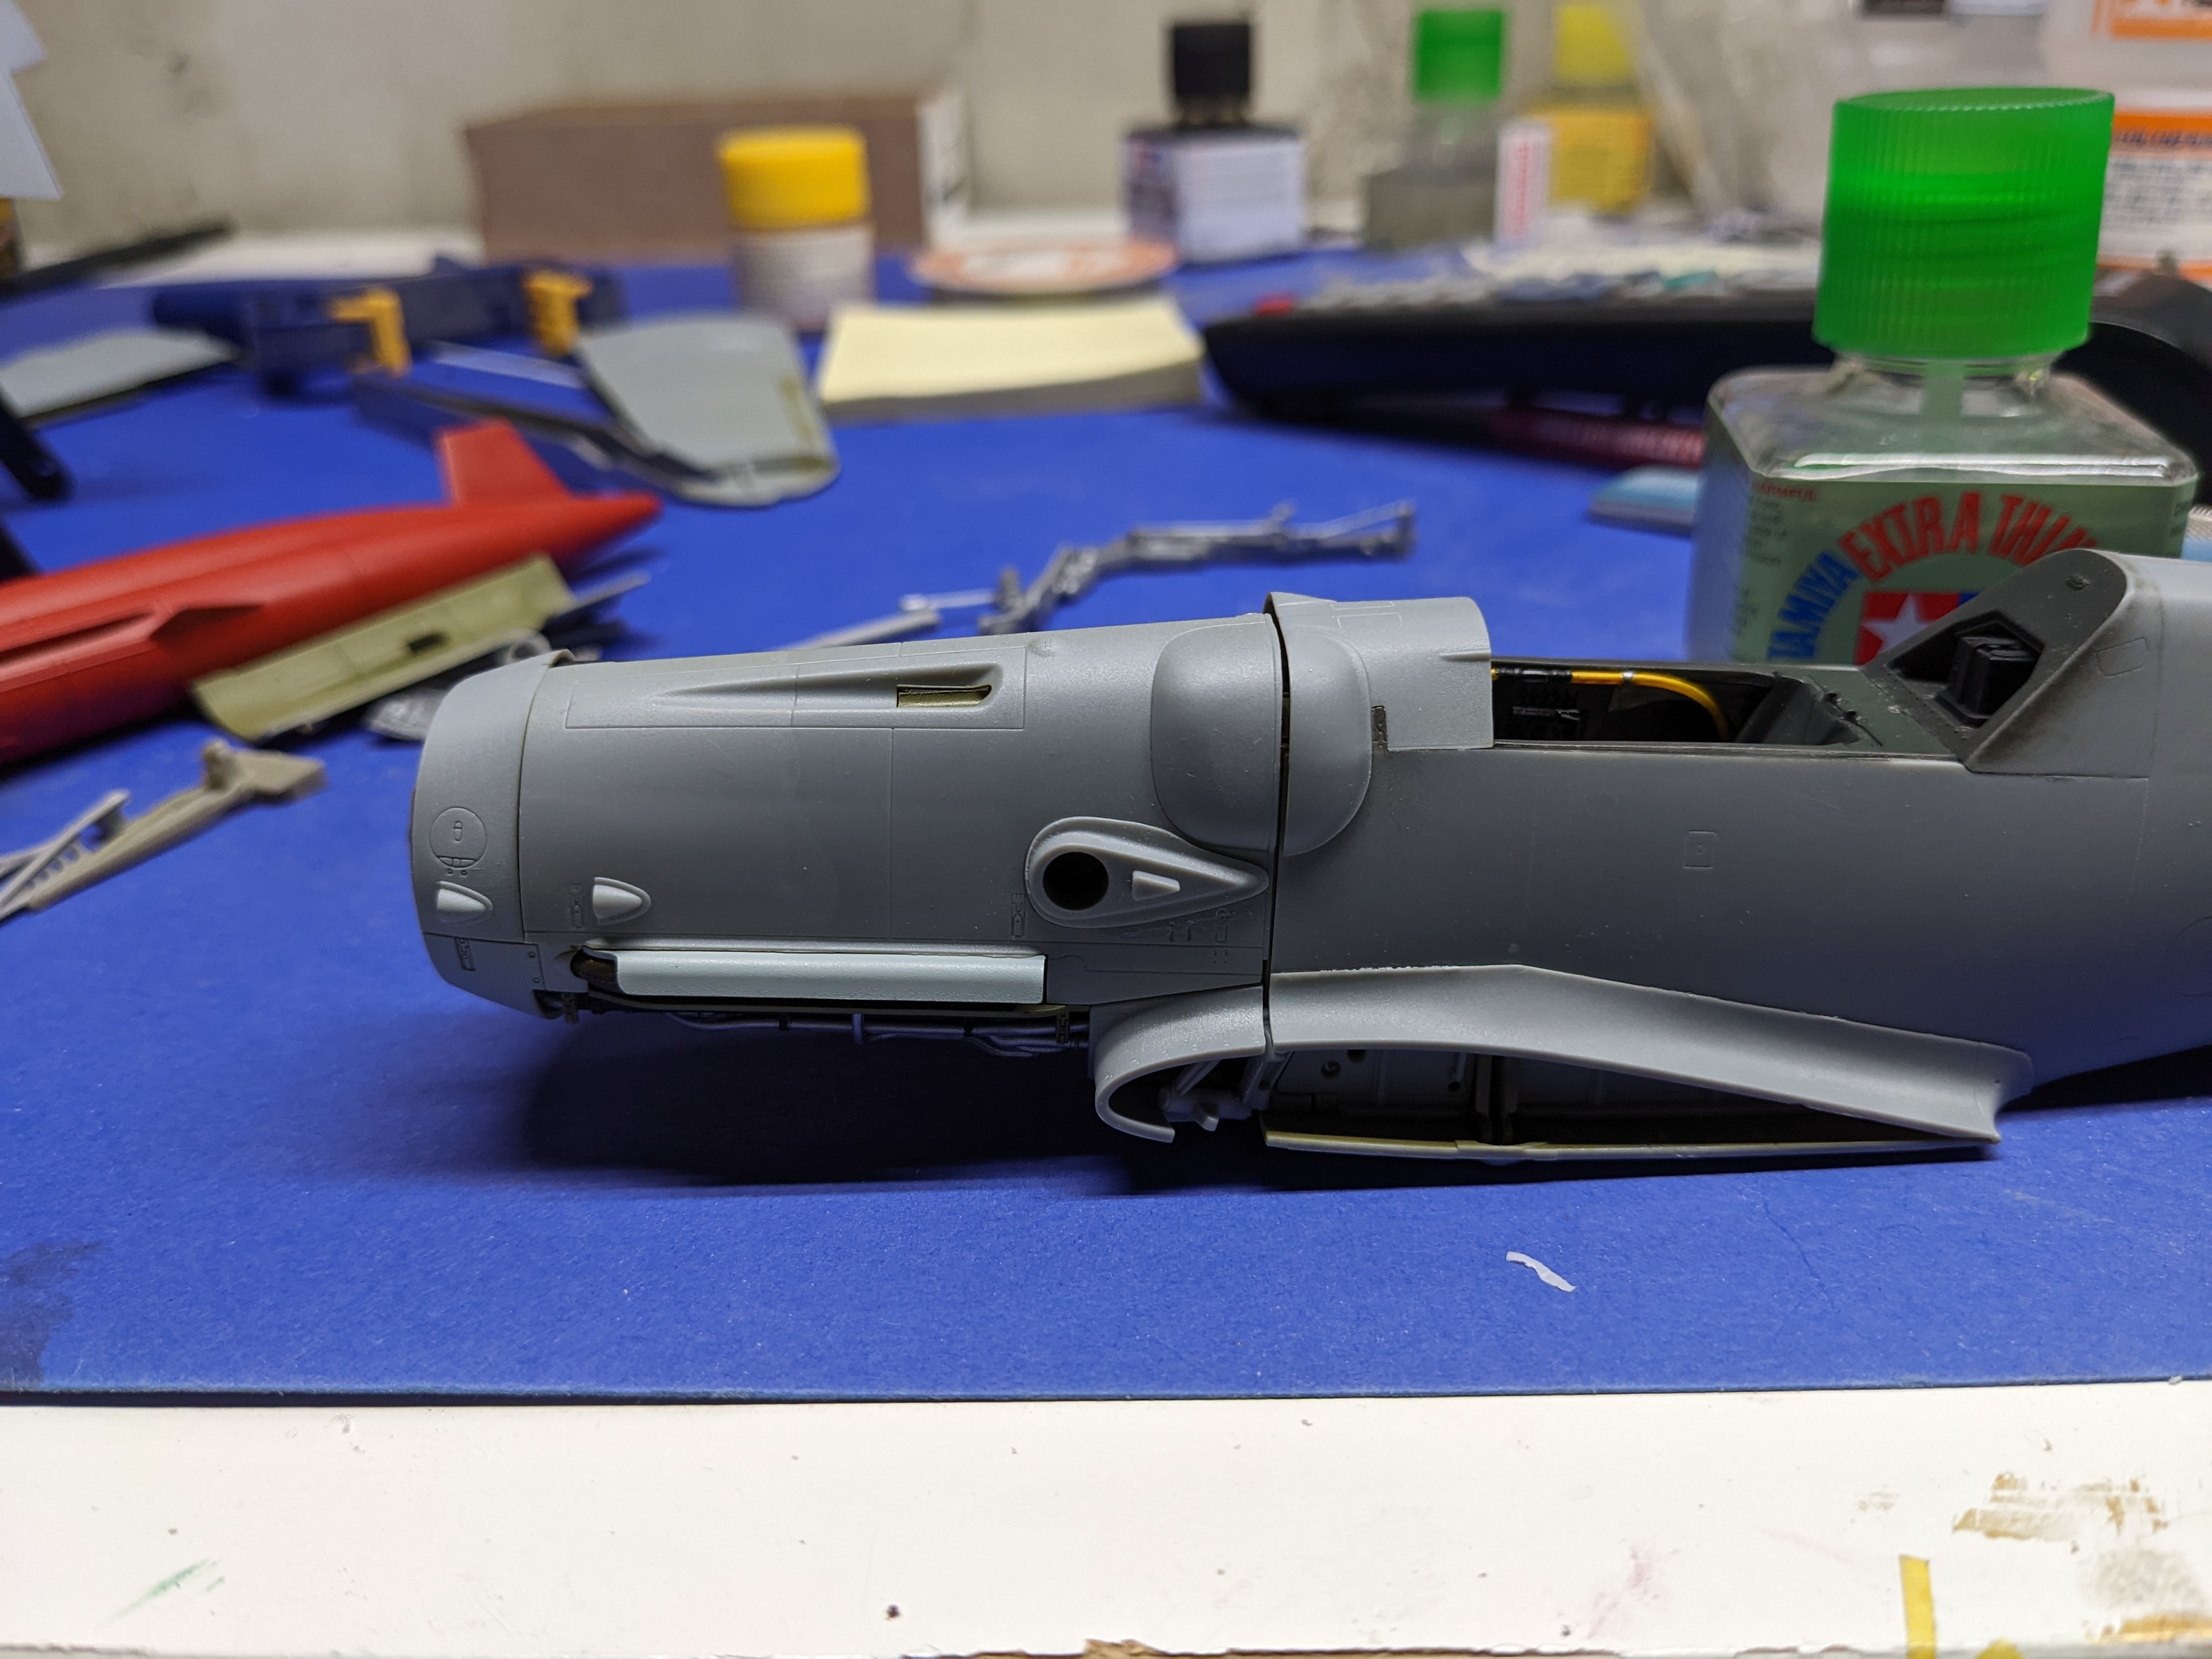
Time for a very belated update. I ran into quite the issue on the build. Totally my fault and not a design error on the part of the kit. Unless complicating things is a design flaw. I was focused on making sure I got the engine bearers lined up correctly that I didn't notice that when I glued the fuselage halves on, the left side shifted. As a result, the firewall instead of lining up and being flush with the fuselage side is slightly forward. Ignore the lower wing root fairing as it's not actually glued in place. This is only on the left side, the right side lines up correctly. As a result, there's now a gap in the engine cowl fit. I've spent a couple days trying to figure out if there was a simple solution or fix but can't come up with anything. There's no way to separate the fuselage. It's on solid. I think I can either live with the gap or do it with the cowls open. Hopefully once I'm over my cold I can get back to this and be a bit more productive. But that really knocked the wind out of my sails.


- 90 replies
-
- 6
-

-

-
- zoukei-mura
- 109
- (and 1 more)
-
Vintage Hasegawa F-16A
BlrwestSiR replied to ScottsGT's topic in LSM 1/32 and Larger Aircraft Ready for Inspection
Beautiful model there Scott. The red white and blue F-16 scheme was definitely a sharp looking plane. I did the Hasegawa CCV kit in that scheme but it was brush painted. Brush strokes everywhere. Carl -
I've always wanted to see a build of the Seaview so I'll be looking forward to it.
-
Do they make something similar for a 2007 Element? Our headlights are well, ok for reading in daylight.
- 2,036 replies
-
- 3
-

-
- car related stuff
- anything about cars
- (and 6 more)
-
Poor girl is all tangled in her seatbelt. Somebody help her out.
- 2,036 replies
-
- 5
-
-
- car related stuff
- anything about cars
- (and 6 more)
-
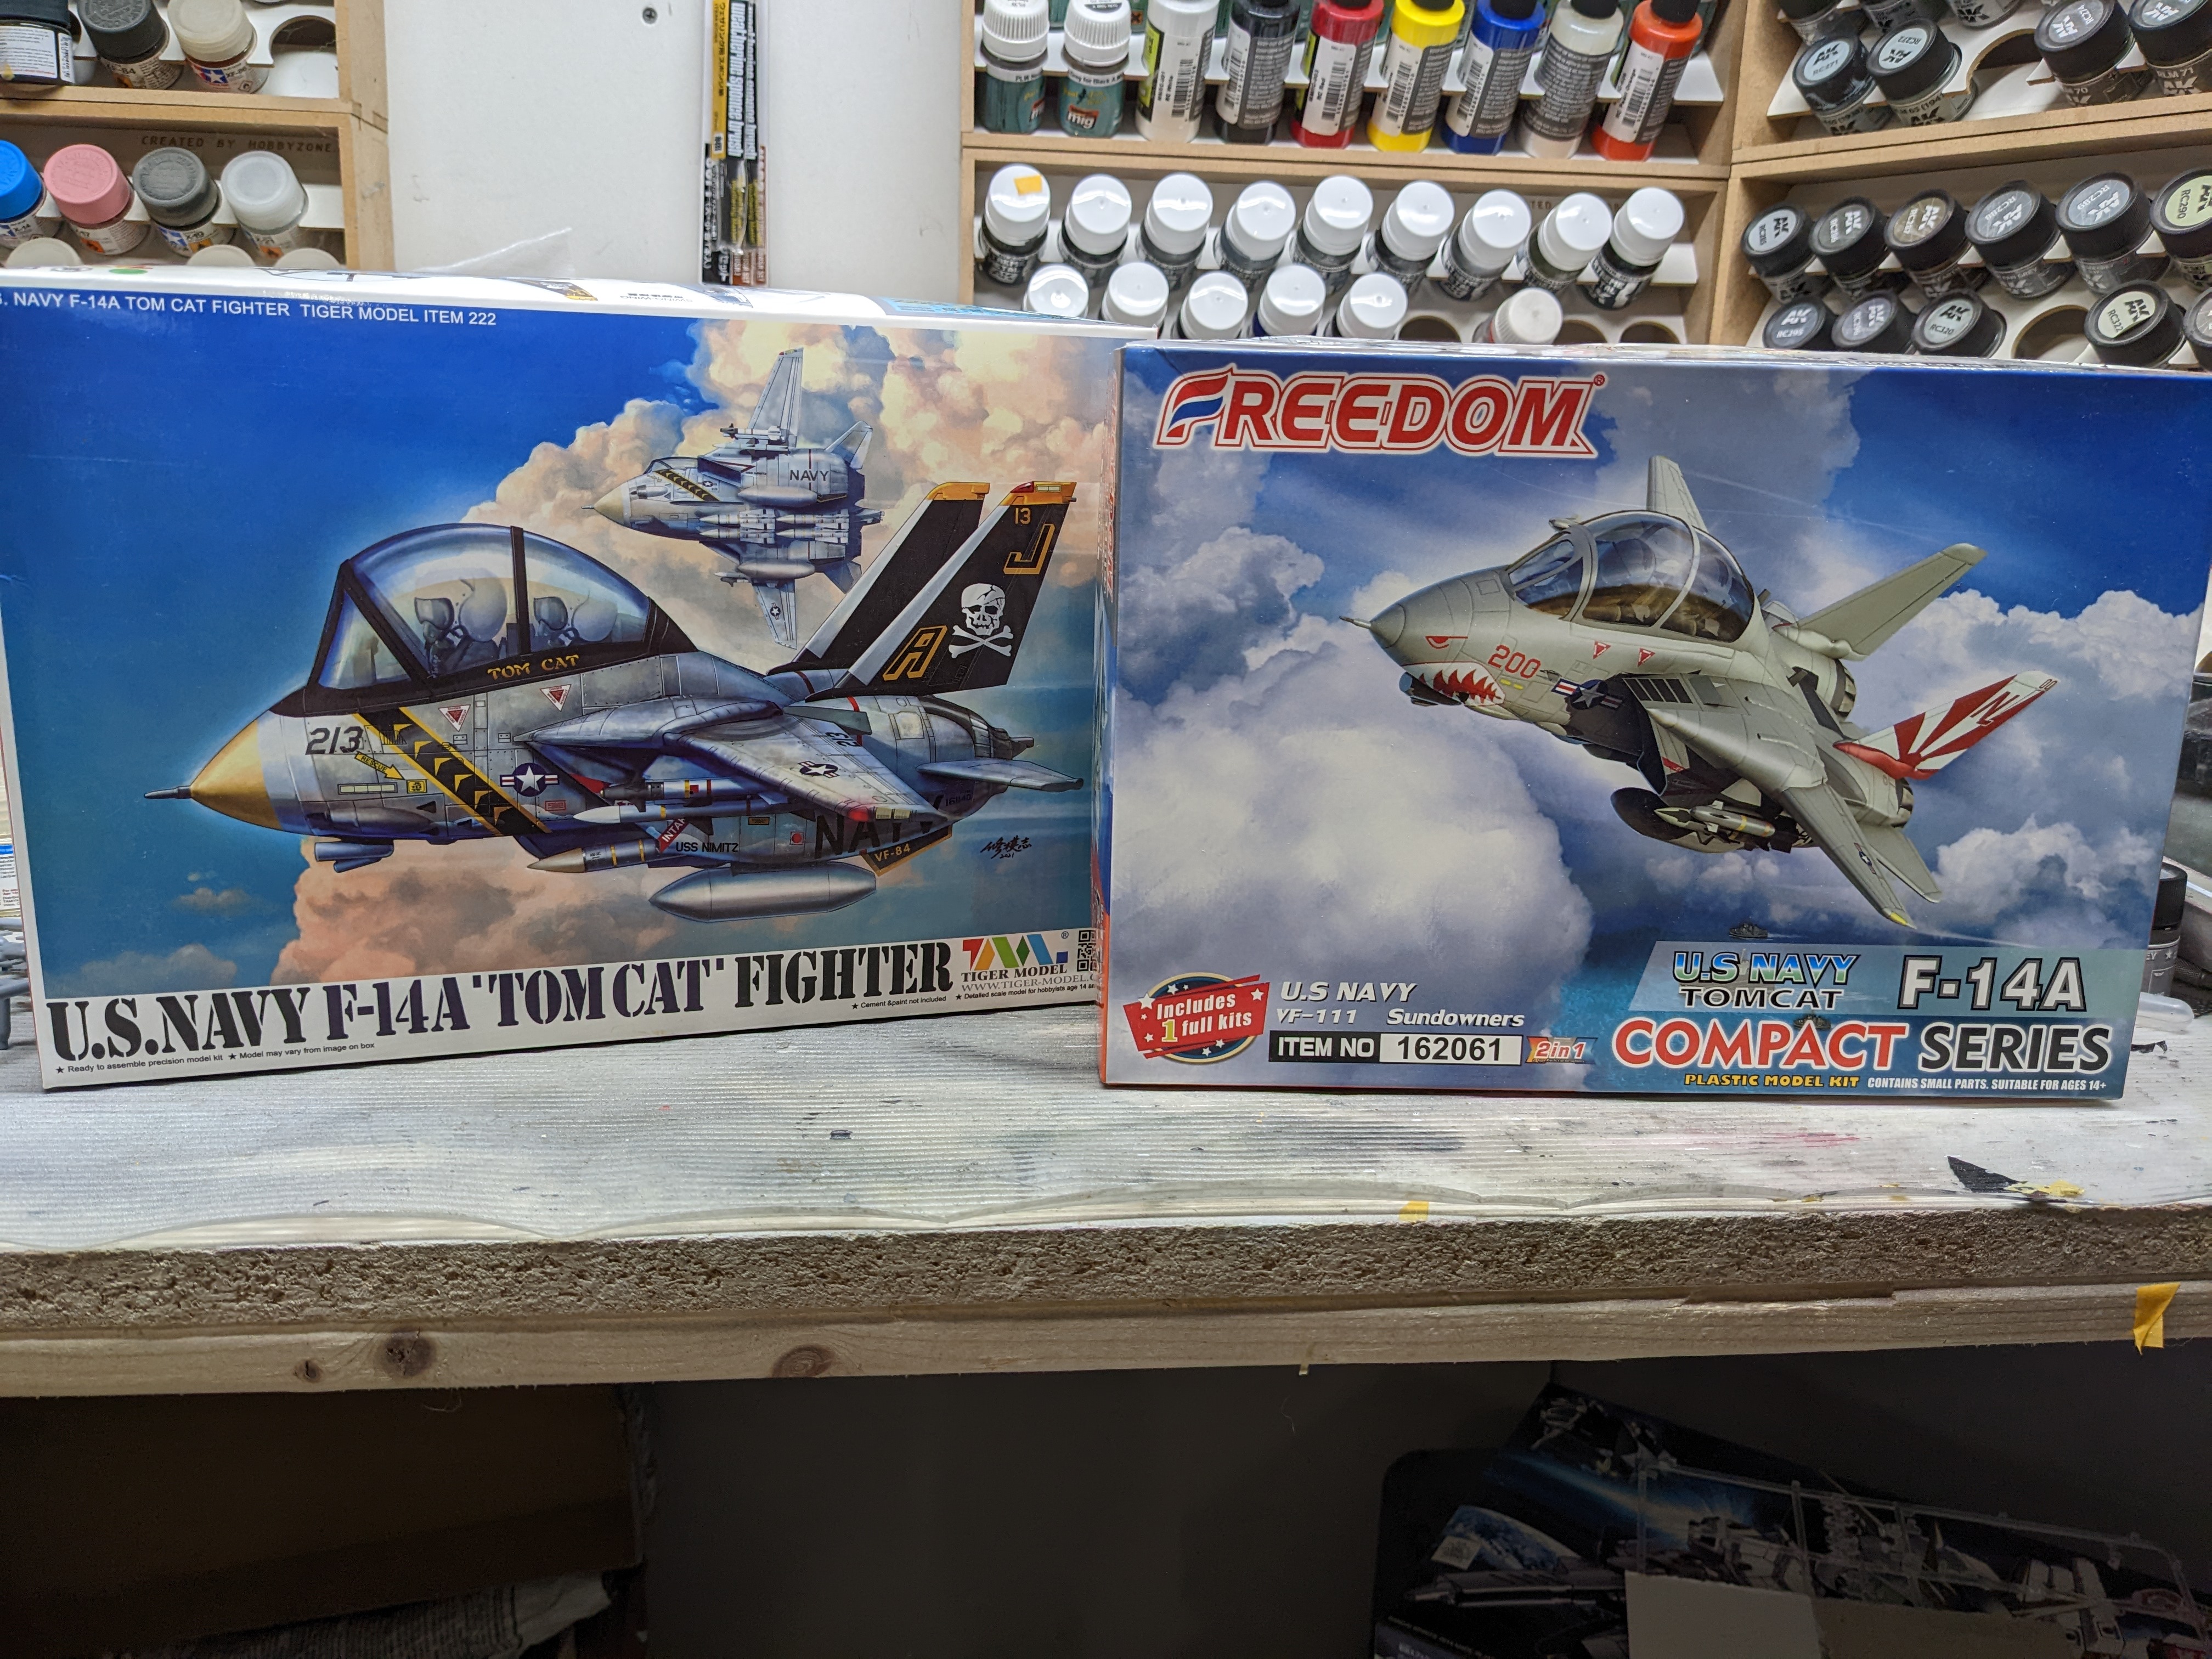
Been under the weather for the last week with an absolutely brutal sinus cold. So haven't really spent any time at the bench so I figured I'd best pick up a couple Tomcats. Definitely not the same plastic in the box.

-
I haven't had a chance to but hopefully one day...
-
It's the water Ernie uses to make his firewater.
-
I figured we're old enough to remember the movie so it was a decent guess. Of course it could have been their giant scale Flying Sub kit. Paragrafix does several PE sets for the Seaview. Check out Culttvmanshop.com for lighting kits. Carl
-
Seaview? My second guess would be Nautilus but you already built one.
-
Thankfully the bike.
-
Mine was yellow with a white seat made by CCM. If you're Canadian, you'll know the brand. Carl
-
Looks fun.
-
I wish my 97 Caravan had airbags like those.
- 2,036 replies
-
- 4
-
-
- car related stuff
- anything about cars
- (and 6 more)
-
Whoah....
-
I do it all the time and haven't had any issues. In fact, it's my go to thinner for Tamiya acrylics, lacquers, Mr Color, and AK Real Colors. Carl
-
Sums it perfectly I think.
-
The same way it happens to all of us.
-
What is on your bench right now ? Share a picture :)
BlrwestSiR replied to Martinnfb's topic in Modelling Discussion
Thanks for the info. I think it'll work nicely for my needs. My original compressor was a Silentaire and that was truly silent. You barely heard it. The airbrush was louder than it. But it's got a leak somewhere and a new one is almost $2K!!!. My current one is a Badger but as I said, is underpowered so runs a fair bit.