BlrwestSiR
-
Posts
9,173 -
Joined
-
Last visited
Content Type
Profiles
Forums
Events
Gallery
Everything posted by BlrwestSiR
-
Tamiya lacquer thinner is cool enough to use on plastic to strip paint. I haven't tried it on resin but have done several regular canopies with no side effects. I do give them a final polish to remove the last bit of residue and then they're as good as new.
-

Special Hobby Whirlwind
BlrwestSiR replied to Peterpools's topic in LSM 1/35 and Larger Work In Progress
Very nice paint job Peter. Glad something went your way on this build. Hope I haven't jinxed things 😄 -
Trumpeter/Revell P-51B done
BlrwestSiR replied to JohnB's topic in LSM 1/32 and Larger Aircraft Ready for Inspection
Really nice nose job and build John. Quite the improvement over the original. I thought resin canopies weren't supposed to fog over from CA fumes? Maybe just a quick polish and it'll be good as new? Carl -
Great sleuthing and problem solving there Ernie. It really is astounding how those canopies can be so different. Not in a good way either unfortunately. I think the chop and channel is the way to go with the rear canopy. Now to figure out the best spot for the cut
-
CF-104D Triple Sick
BlrwestSiR replied to BlrwestSiR's topic in LSM 1/35 and Larger Work In Progress
Peter, clear resin is exactly what I was reminded of when I was trimming the parts and cleaning up the attachment points. -
CF-104D Triple Sick
BlrwestSiR replied to BlrwestSiR's topic in LSM 1/35 and Larger Work In Progress
So did my single seater that I built earlier. -
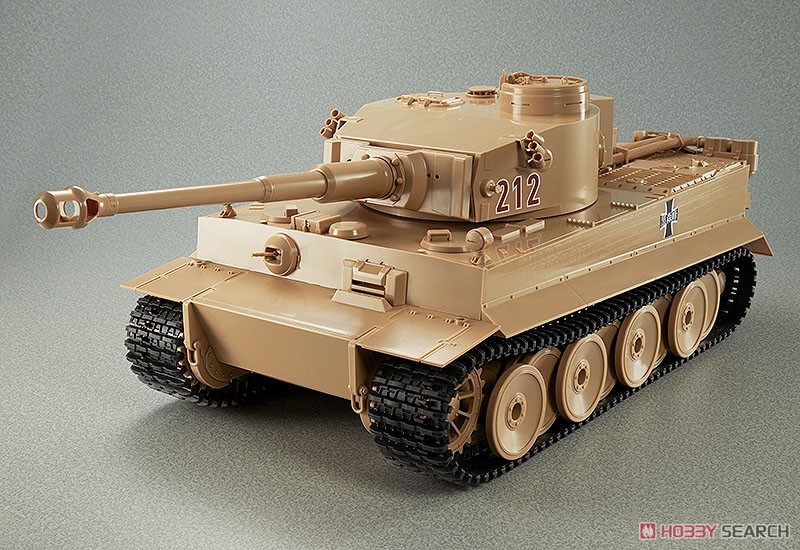
1/12 scale Tiger 1 anybody? https://www.1999.co.jp/eng/m/10921175 Even comes with crew figures.

-
Much of the recent Tamiya kits are quite nice. Their M18 Hellcat and Achilles are both very nice. Having built the AFV Club versions of both, I was happy to see modern versions of each one. Carl
-
Border Models Lancaster B.1 "Victorious Virgin"
BlrwestSiR replied to Winnie's topic in LSM 1/35 and Larger Work In Progress
It's awesome already. The amount of detail crammed in is truly impressive. -
What is on your bench right now ? Share a picture :)
BlrwestSiR replied to Martinnfb's topic in Modelling Discussion
Definitely a cool looking camo scheme. -
CF-104D Triple Sick
BlrwestSiR replied to BlrwestSiR's topic in LSM 1/35 and Larger Work In Progress
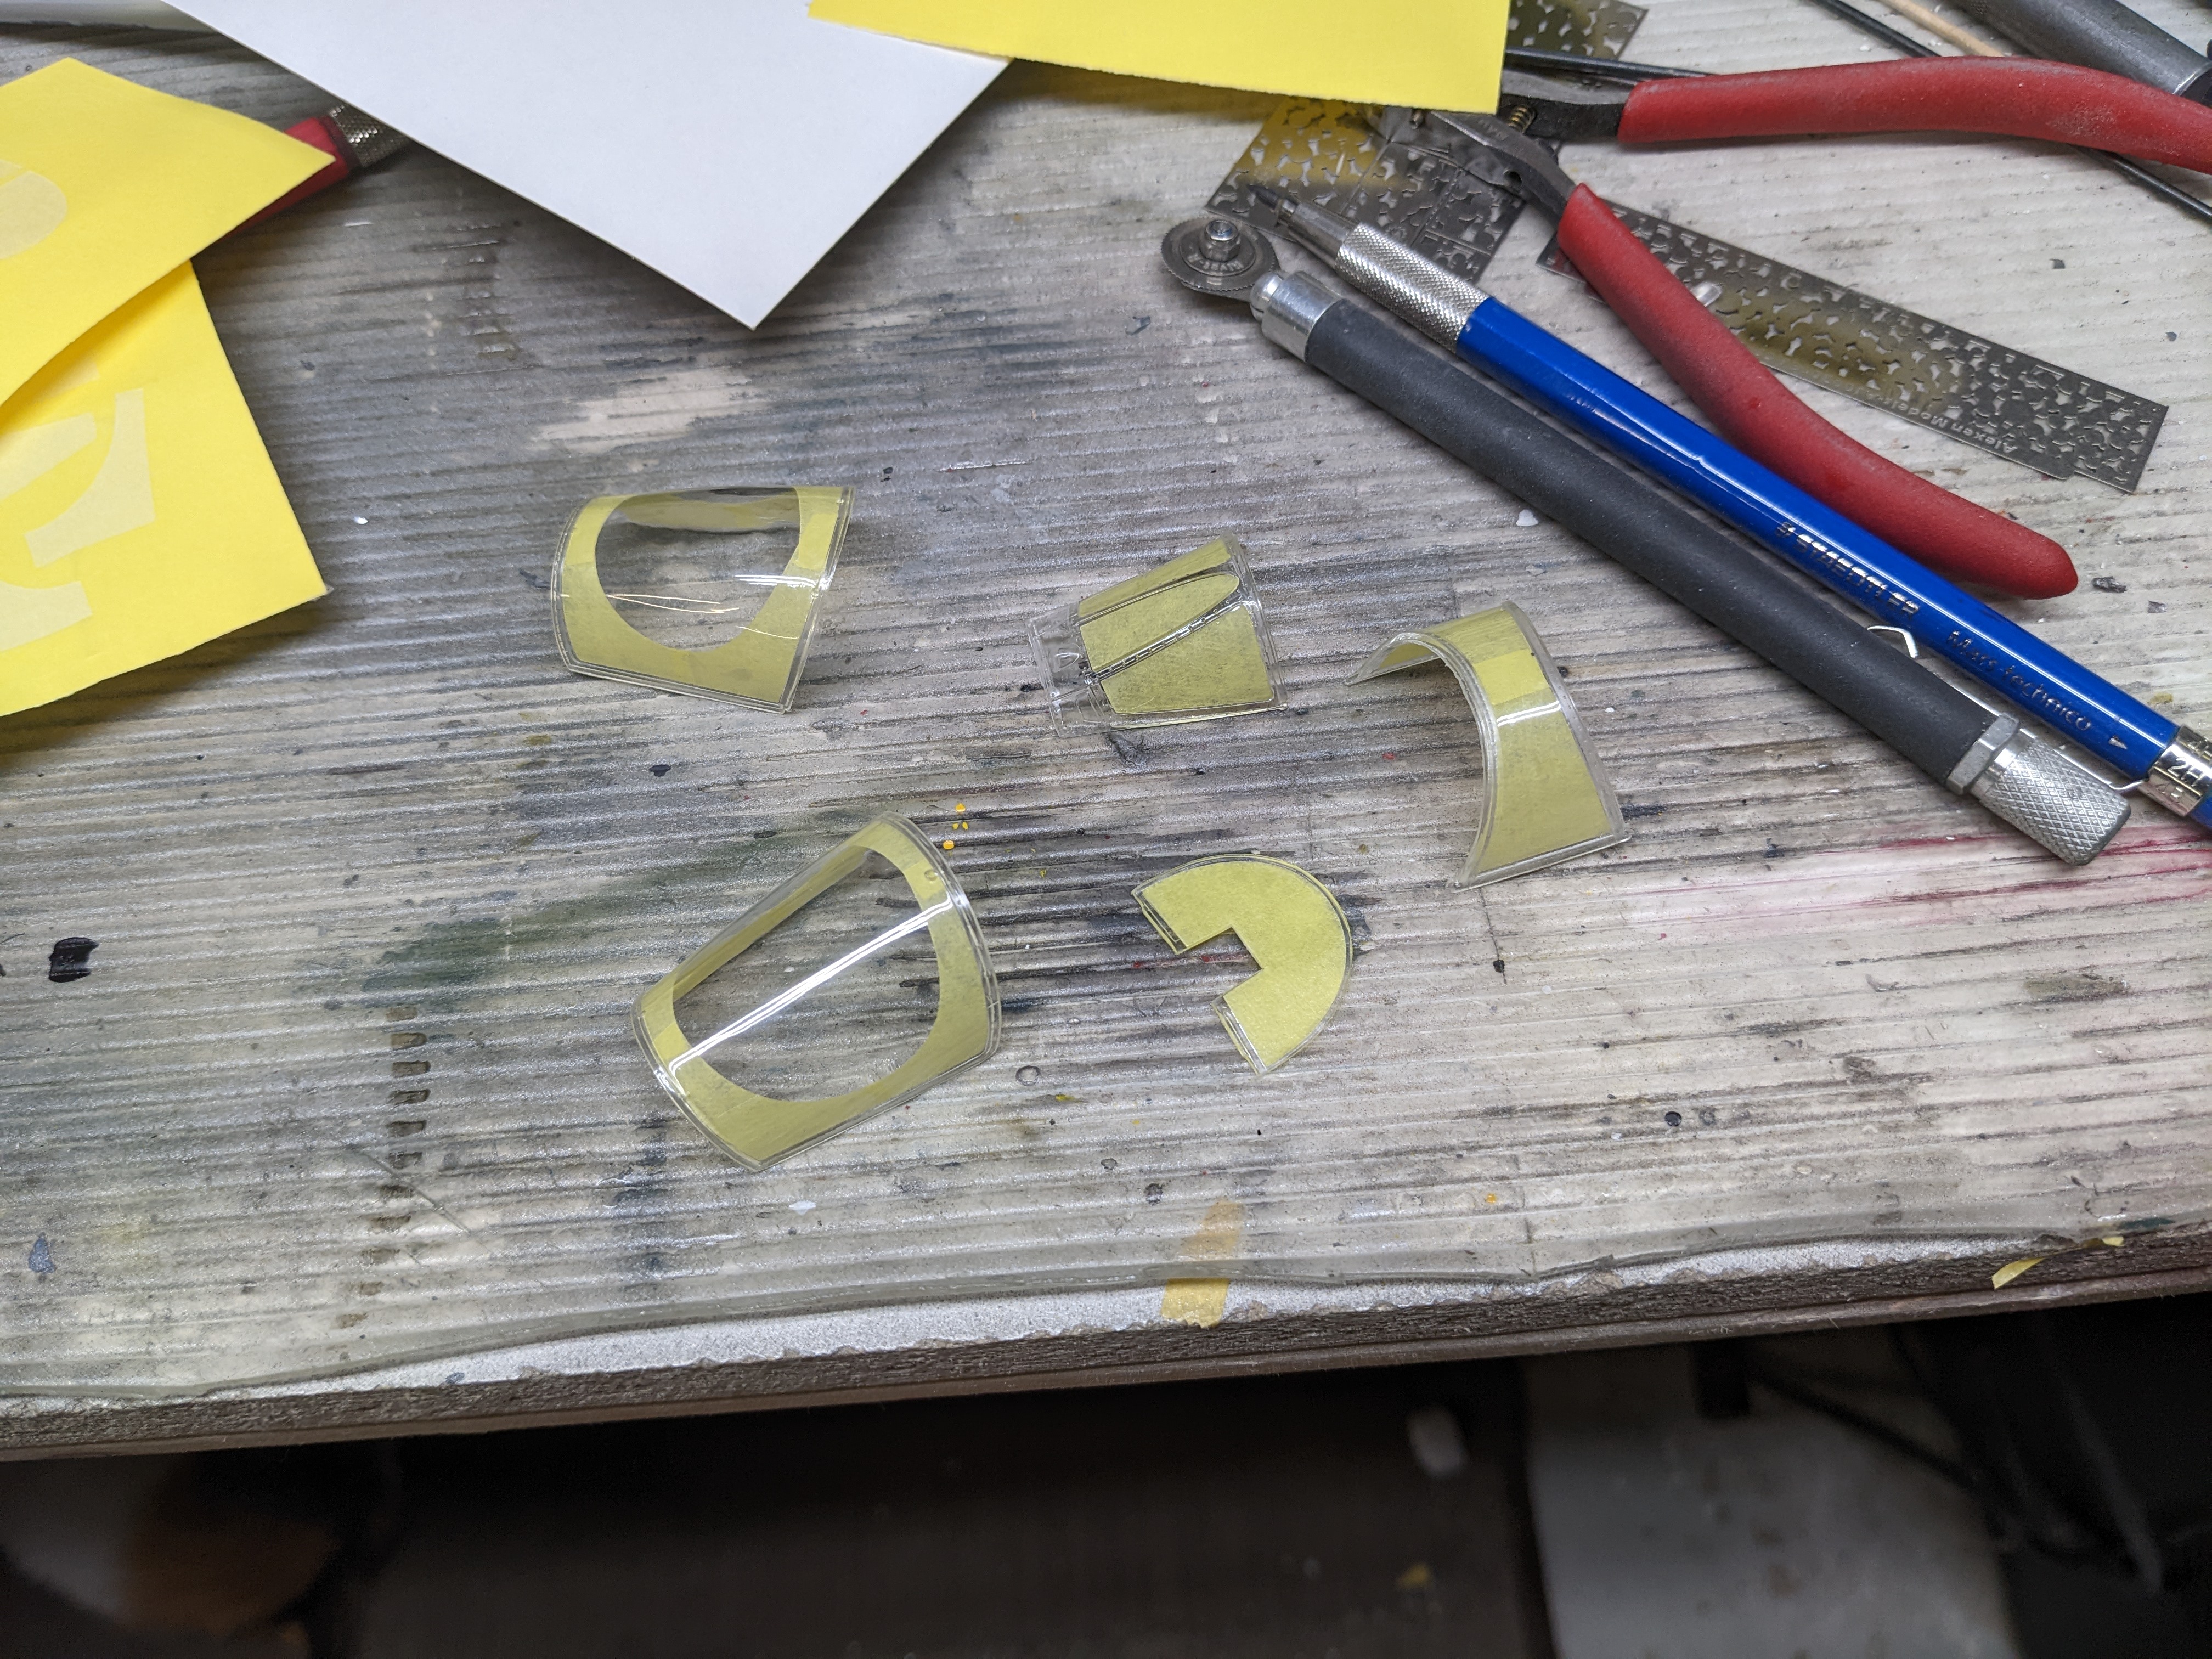
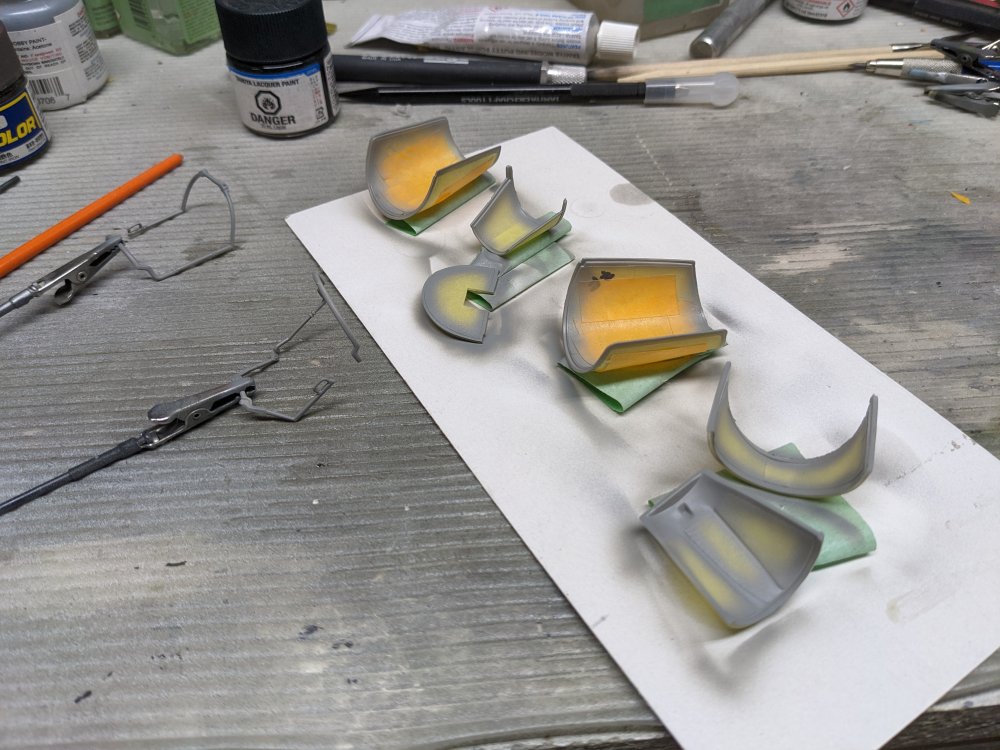
Time for another small update. I started work on the canopies. There was surprisingly a fair bit of flash on the parts. The moulds are fairly new so wasn't expecting that. The other thing is the clear plastic had a rubbery sort of feel to them. Not the hard brittleness one usually associates with clear parts. Which is probably a good thing. I'm using an Eduard TFace masking set. It does both the interior and exterior of the canopies. Here they are with the Dark gull grey started. Now off to my cousin's wedding.
-
The fit continues to look excellent. The sink marks don't look too bad in your pic. Maybe you can use Mr Surfacer to fill them? Save on excess filler getting every where. Carl
-
Lucky Models has the kit up for preorder at $52.99. Squadron does too but they're asking $100 with free shipping. Since it's supposed to come out next month it shouldn't be long before some sprue shots start showing up.
-
Nice build there. When someone of your calibre says a kit is challenging, it makes me pause for thought. Carl
-
Great work Gary and it's good to hear that the parts fit is excellent too. I'm still resisting. But getting weaker....
-
What is on your bench right now ? Share a picture :)
BlrwestSiR replied to Martinnfb's topic in Modelling Discussion
Looks really good there Rob. Carl -
Rog, sorry about that. I didn't know that Reskit was making burner cans until you posted it. Which means I'm not sure about their size either but hopefully they're correct. Carl
-
Rog, that's quite the Phantom haul there, regardless of scale. I have some GT Resin stuff that has a similar texture issue. I'm not sure if it's the resin not curing properly or a worn out mould. One was on his NSI F-16 intake. I ended up getting the KASL one which is absolutely superb and worth the money. When I asked Gary about the swirled colours in the resin, he said that was the dye not having mixed properly but that the parts would be fine otherwise. So far they've been fine to use. If Reskit is doing F-4 cans, I'd definitely consider them. As for postage costs, I think Canada Post has USPS beat in terms of being expensive. That quote I got you on the same F-4 kit was bonkers. Carl
-
An Ekranoplane! Cool!
-
Revell Me262 B-1a/U-1 Nachtjäger "Red 12"
BlrwestSiR replied to CANicoll's topic in LSM 1/35 and Larger Work In Progress
Having fun is the biggest part of the hobby I'd say, at least for me. Your Me262 is looking great. I'd be more than happy with that mottling. Carl -
Good luck Martin. I had eye surgery about 5 years ago to correct my severe astigmatism. Now I just have to worry about glaucoma which runs in the family. Carl
-
Nice interior there Phil. Half tracks always looked kind of cool to me. Carl
-
Me too. Oh wait, I need to get the box first.
-
Well, I just ordered mine directly from Kotare. $22 for shipping from NZ to Canada is the same as if I ordered from Sprue Brothers. I suspect there won't be any discounting on this kit. Hannants isn't offering their usual 10% off on preorders. Carl
-
CF-104D Triple Sick
BlrwestSiR replied to BlrwestSiR's topic in LSM 1/35 and Larger Work In Progress
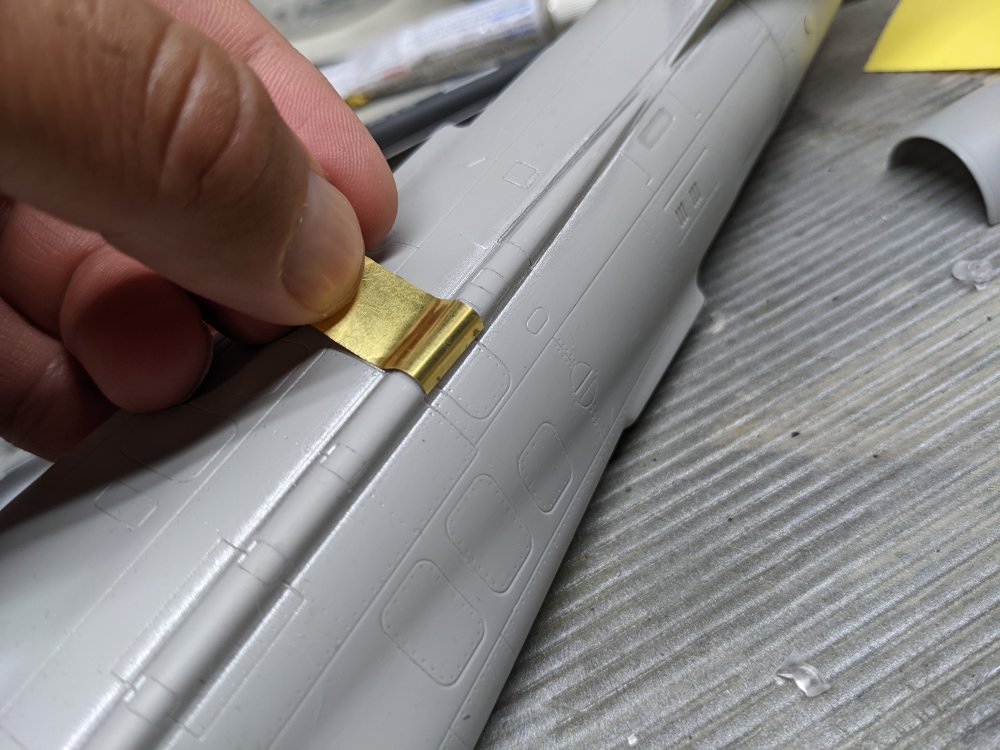
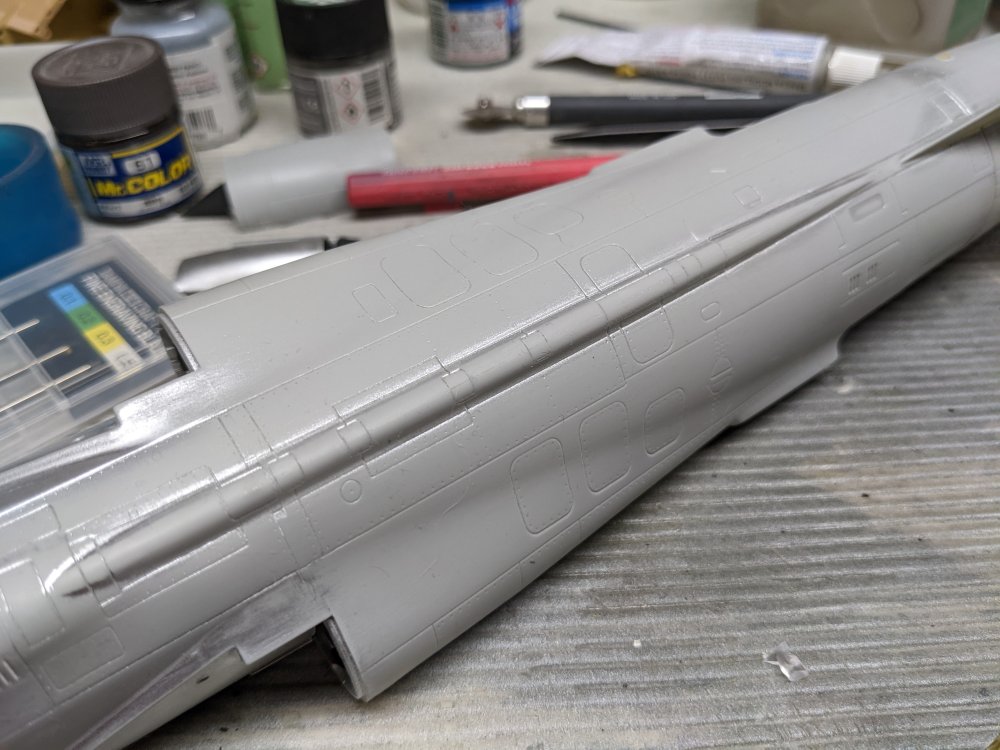
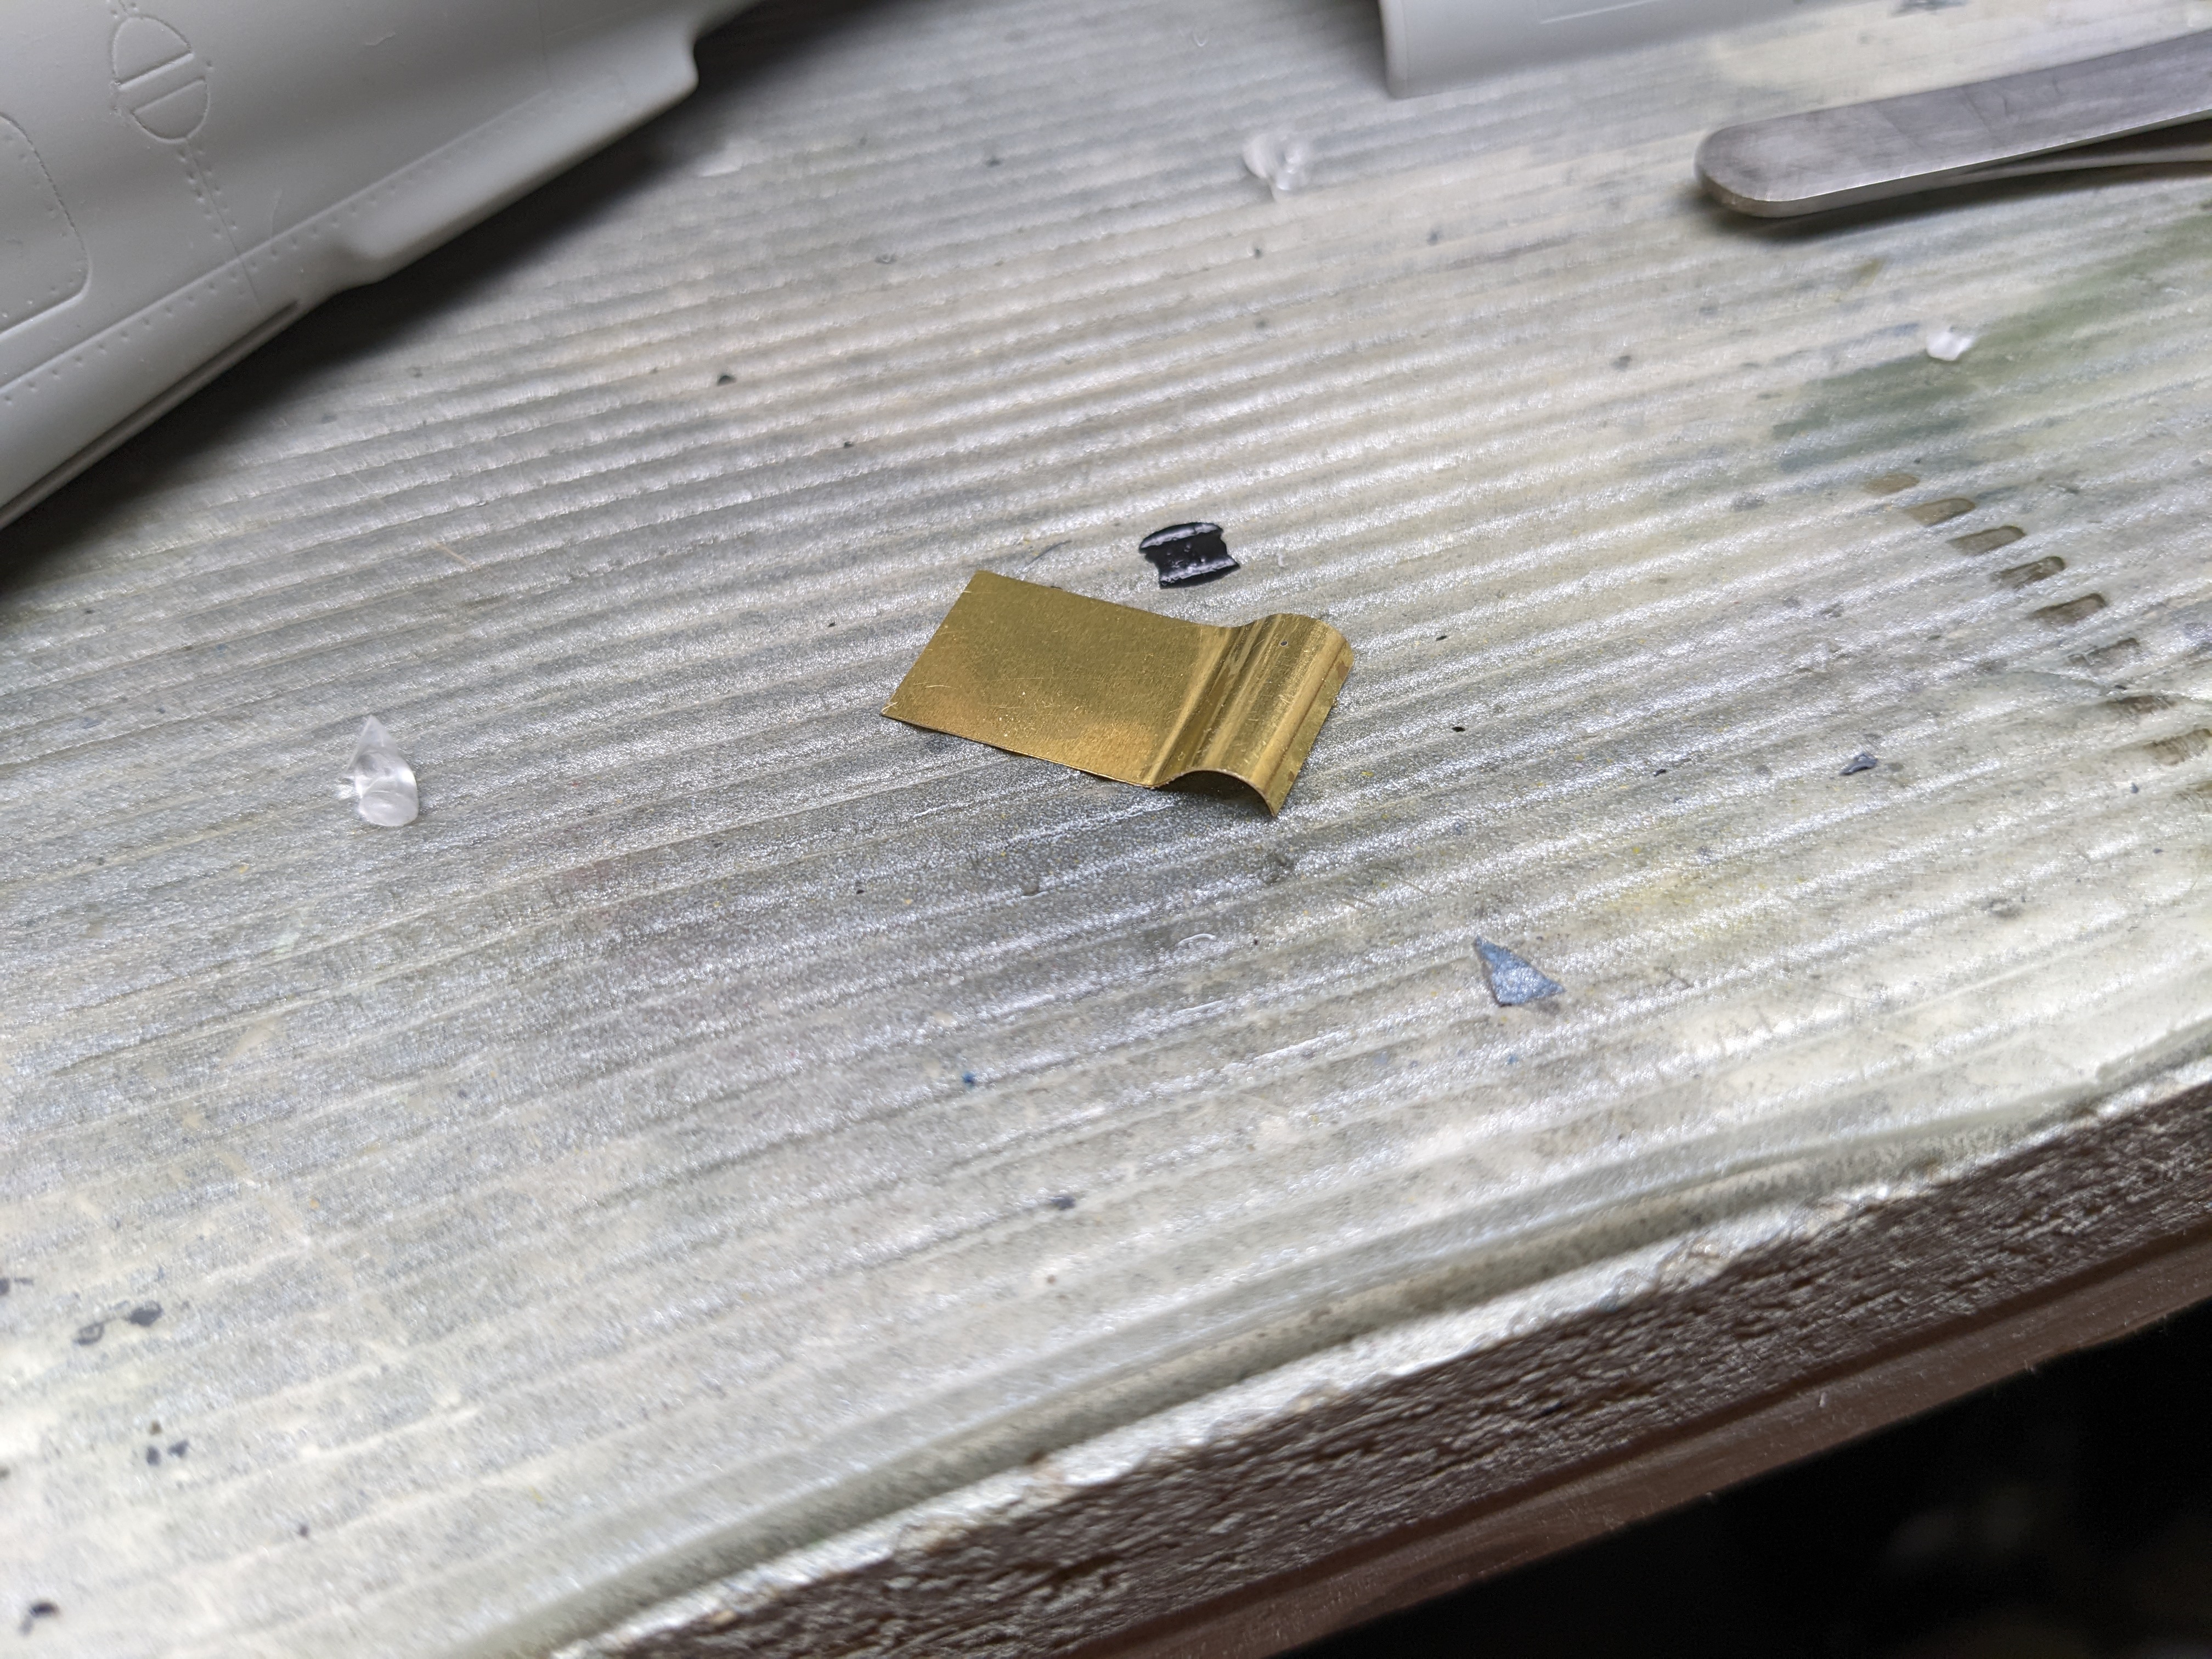
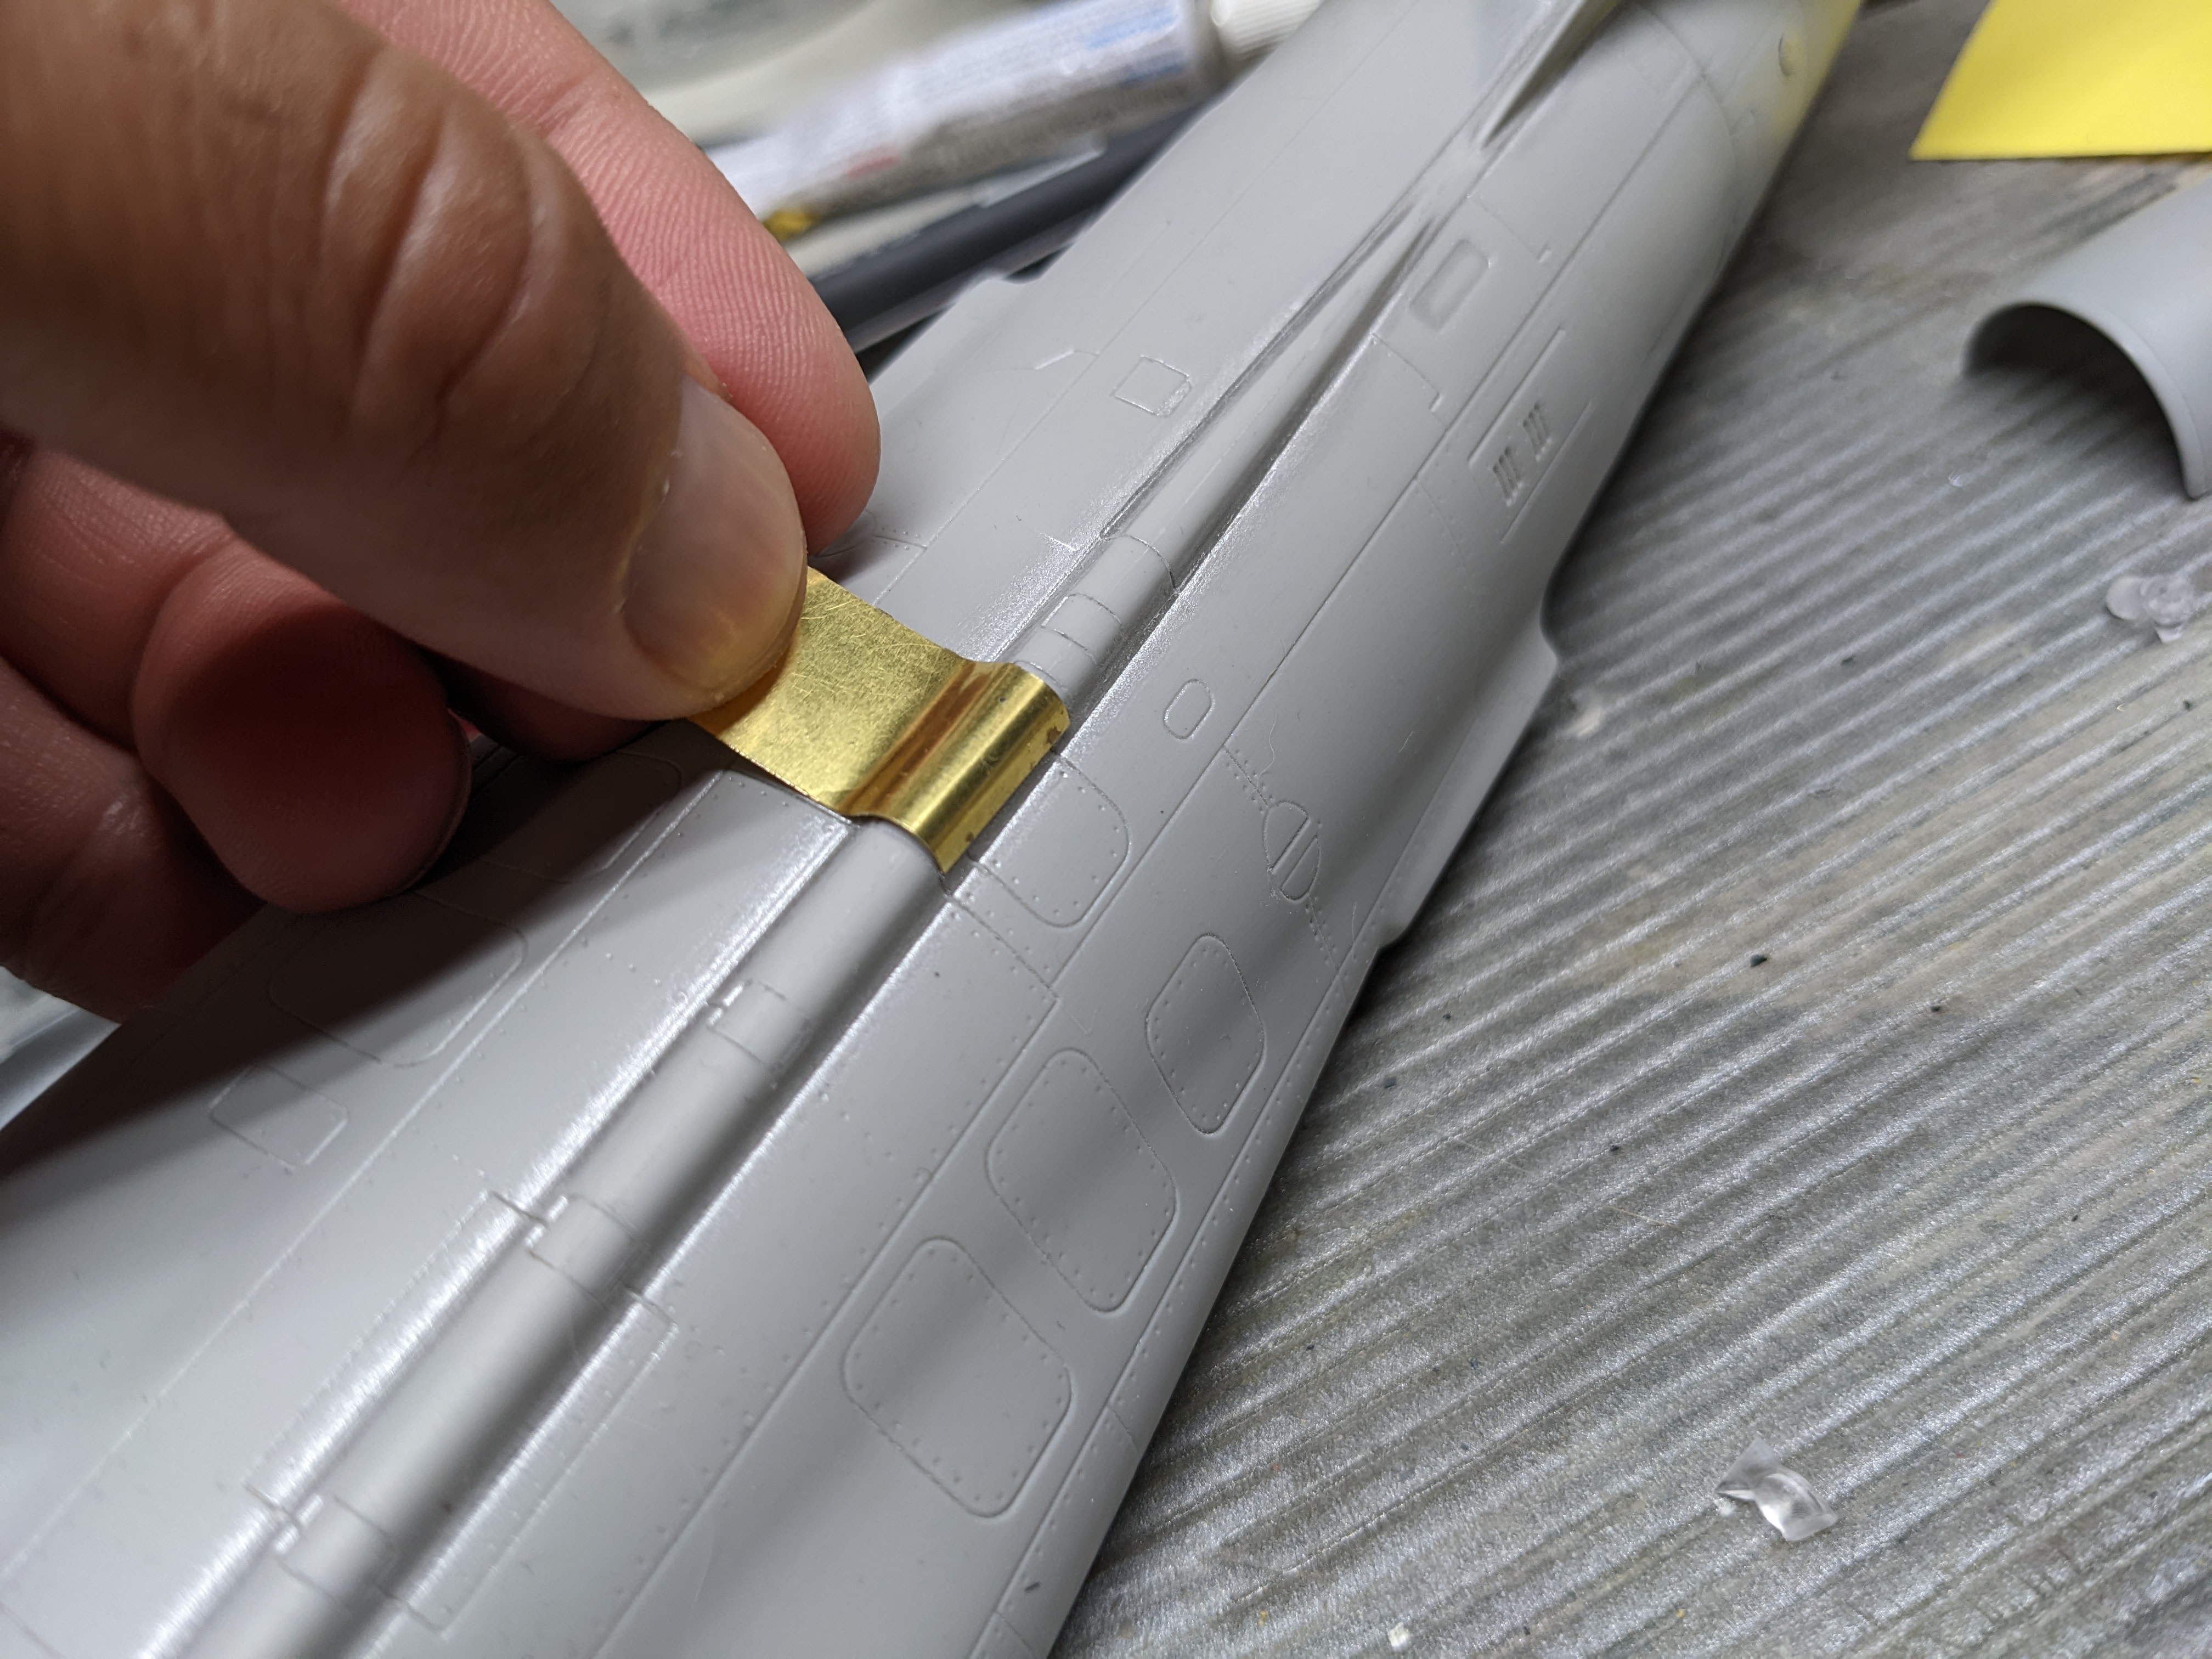
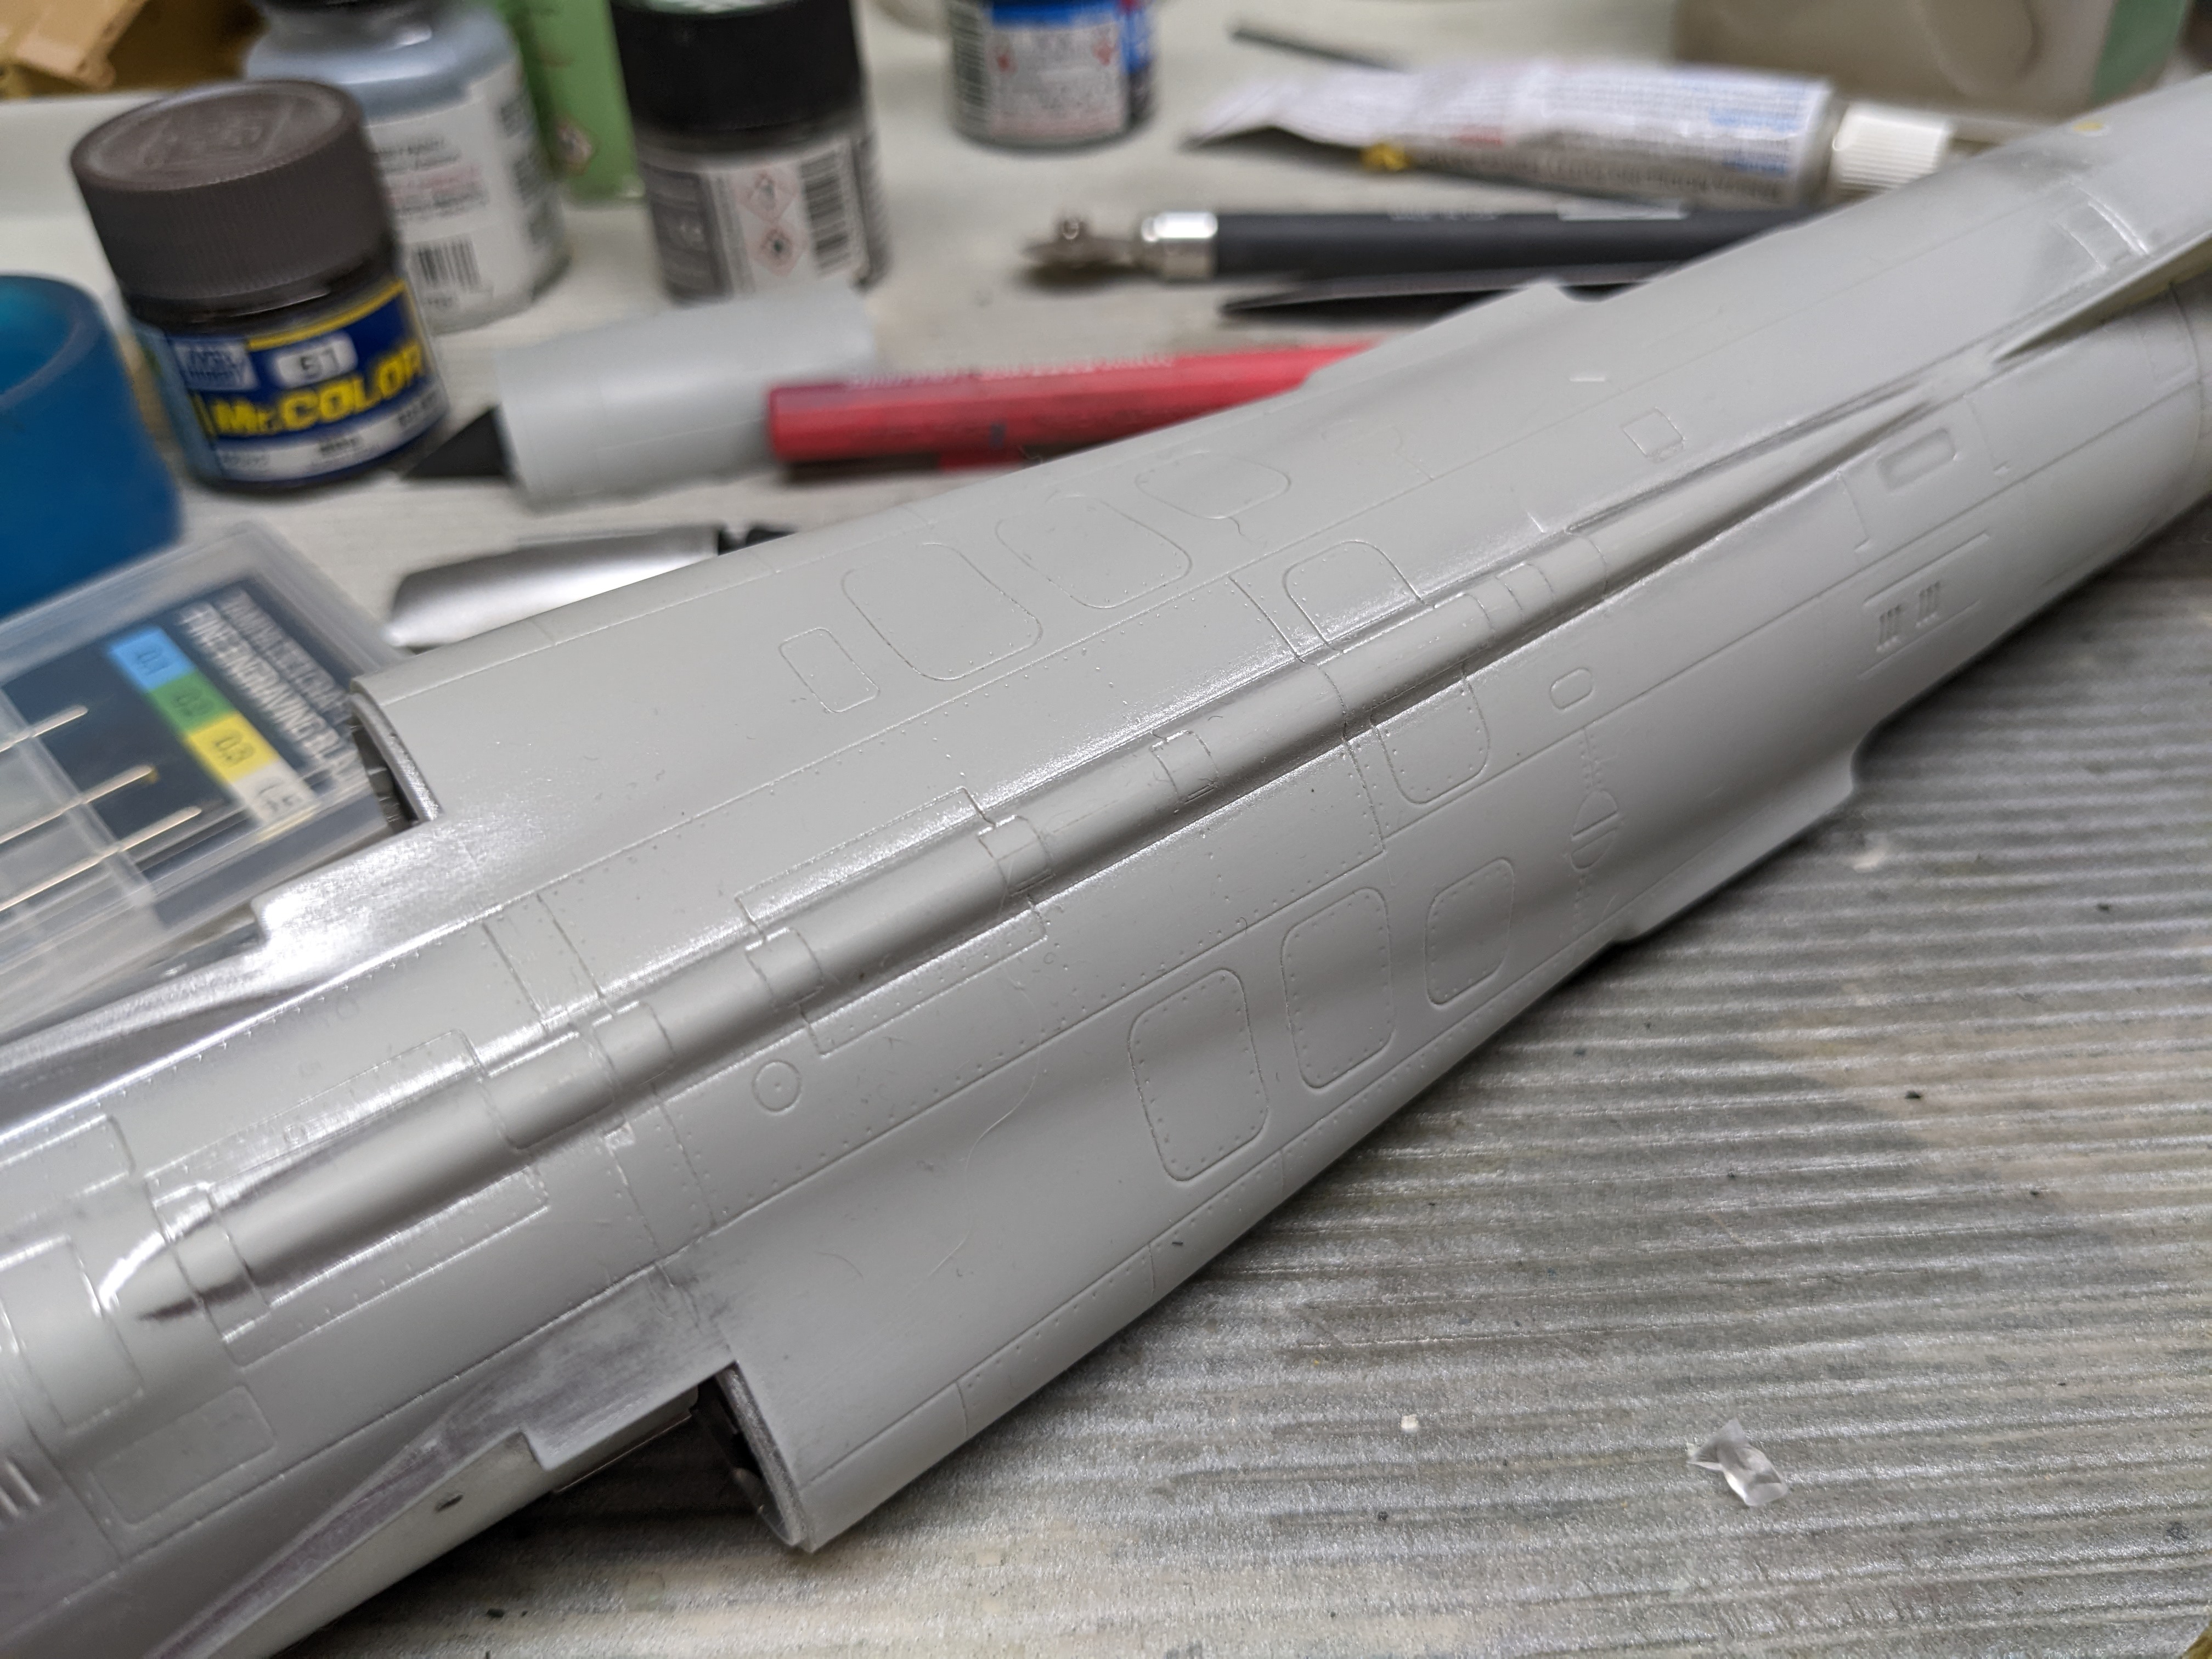
It's really just apiece of brass I bent to follow the contours of the spine. Like so. And the end result. Having another F-104 in the stash this will be handy when I get to that build.