BlrwestSiR
-
Posts
9,183 -
Joined
-
Last visited
Content Type
Profiles
Forums
Events
Gallery
Everything posted by BlrwestSiR
-
Looks great to me. Nice amount of drap to it too.
-
Looks sat on, then crushed to be sure and finally drop kicked to your door. I think the only package I've ever had look that bad was one sent surface mail from Lucky Model. They've since switched the way surface mail packages get to Canada which is better but sometimes slower. Glad to hear the plastic is ok though.
-
Stay safe and dry John. No hurricanes up here thankfully. The last one that did make it to Toronto was Hazel in the '50s and it caught everyone off guard. Carl
-

Scammell tractor/trailer with M3 Grant
BlrwestSiR replied to BlrwestSiR's topic in LSM 1/35 and Larger Work In Progress
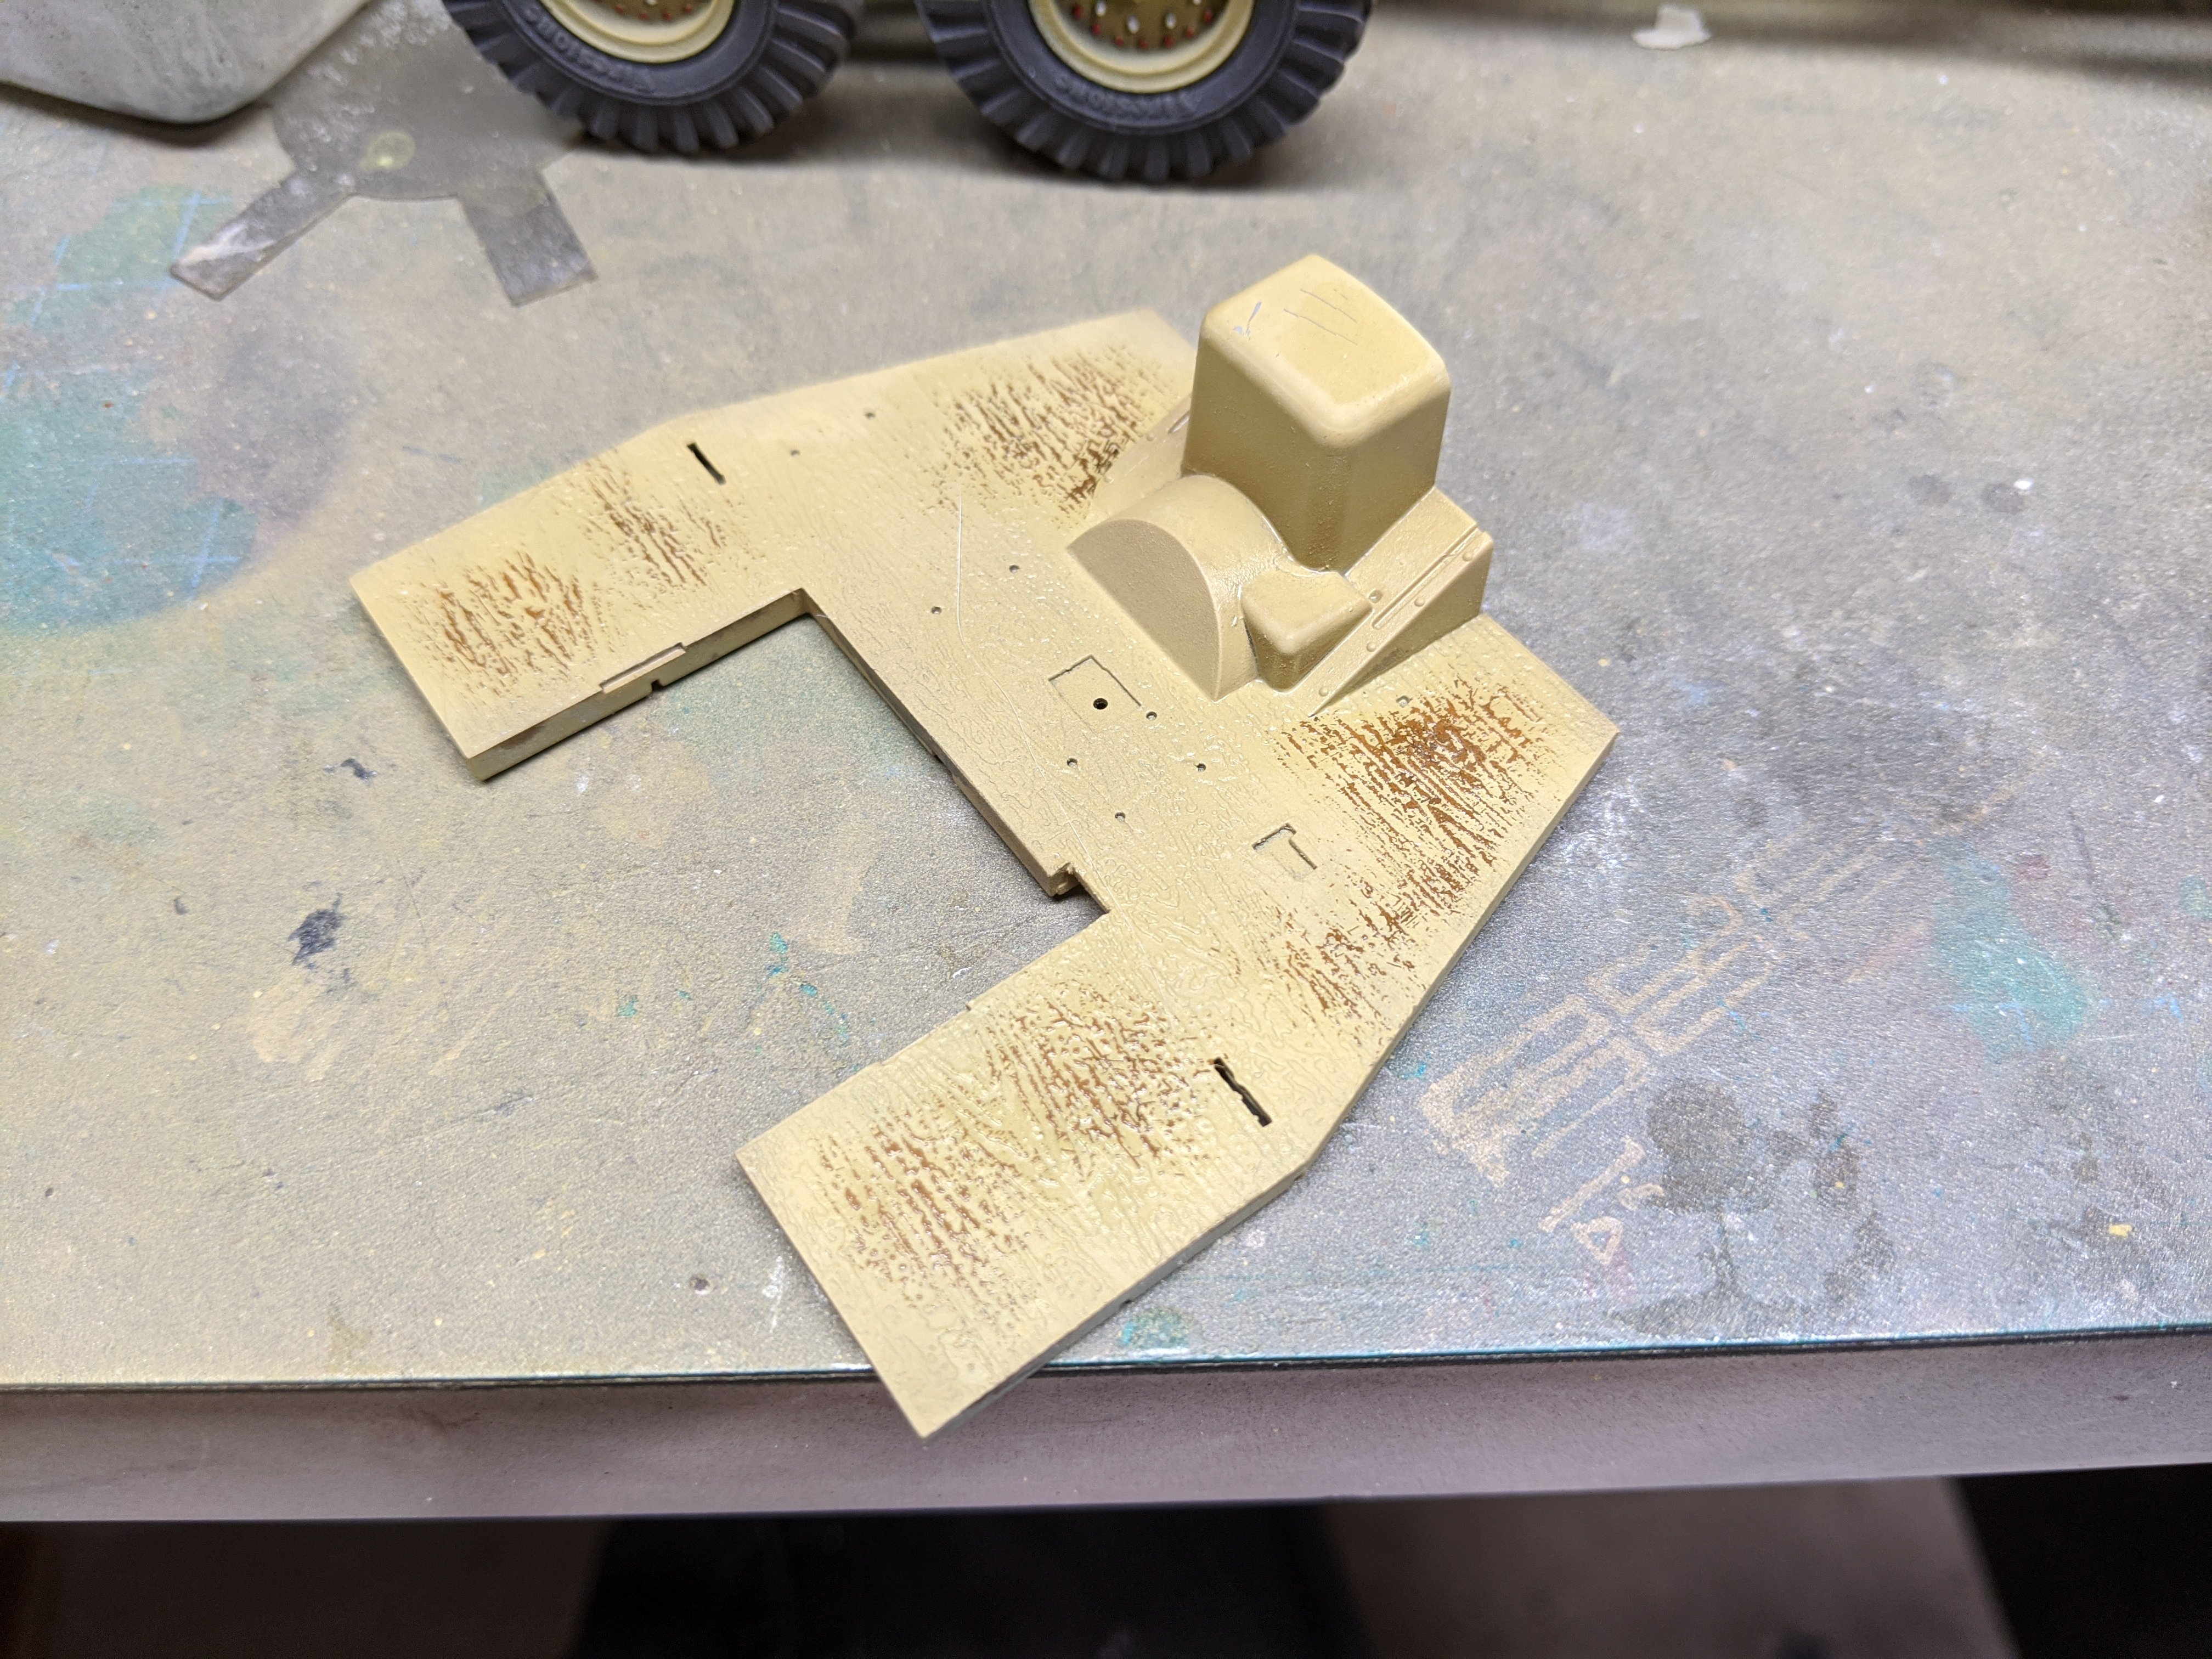
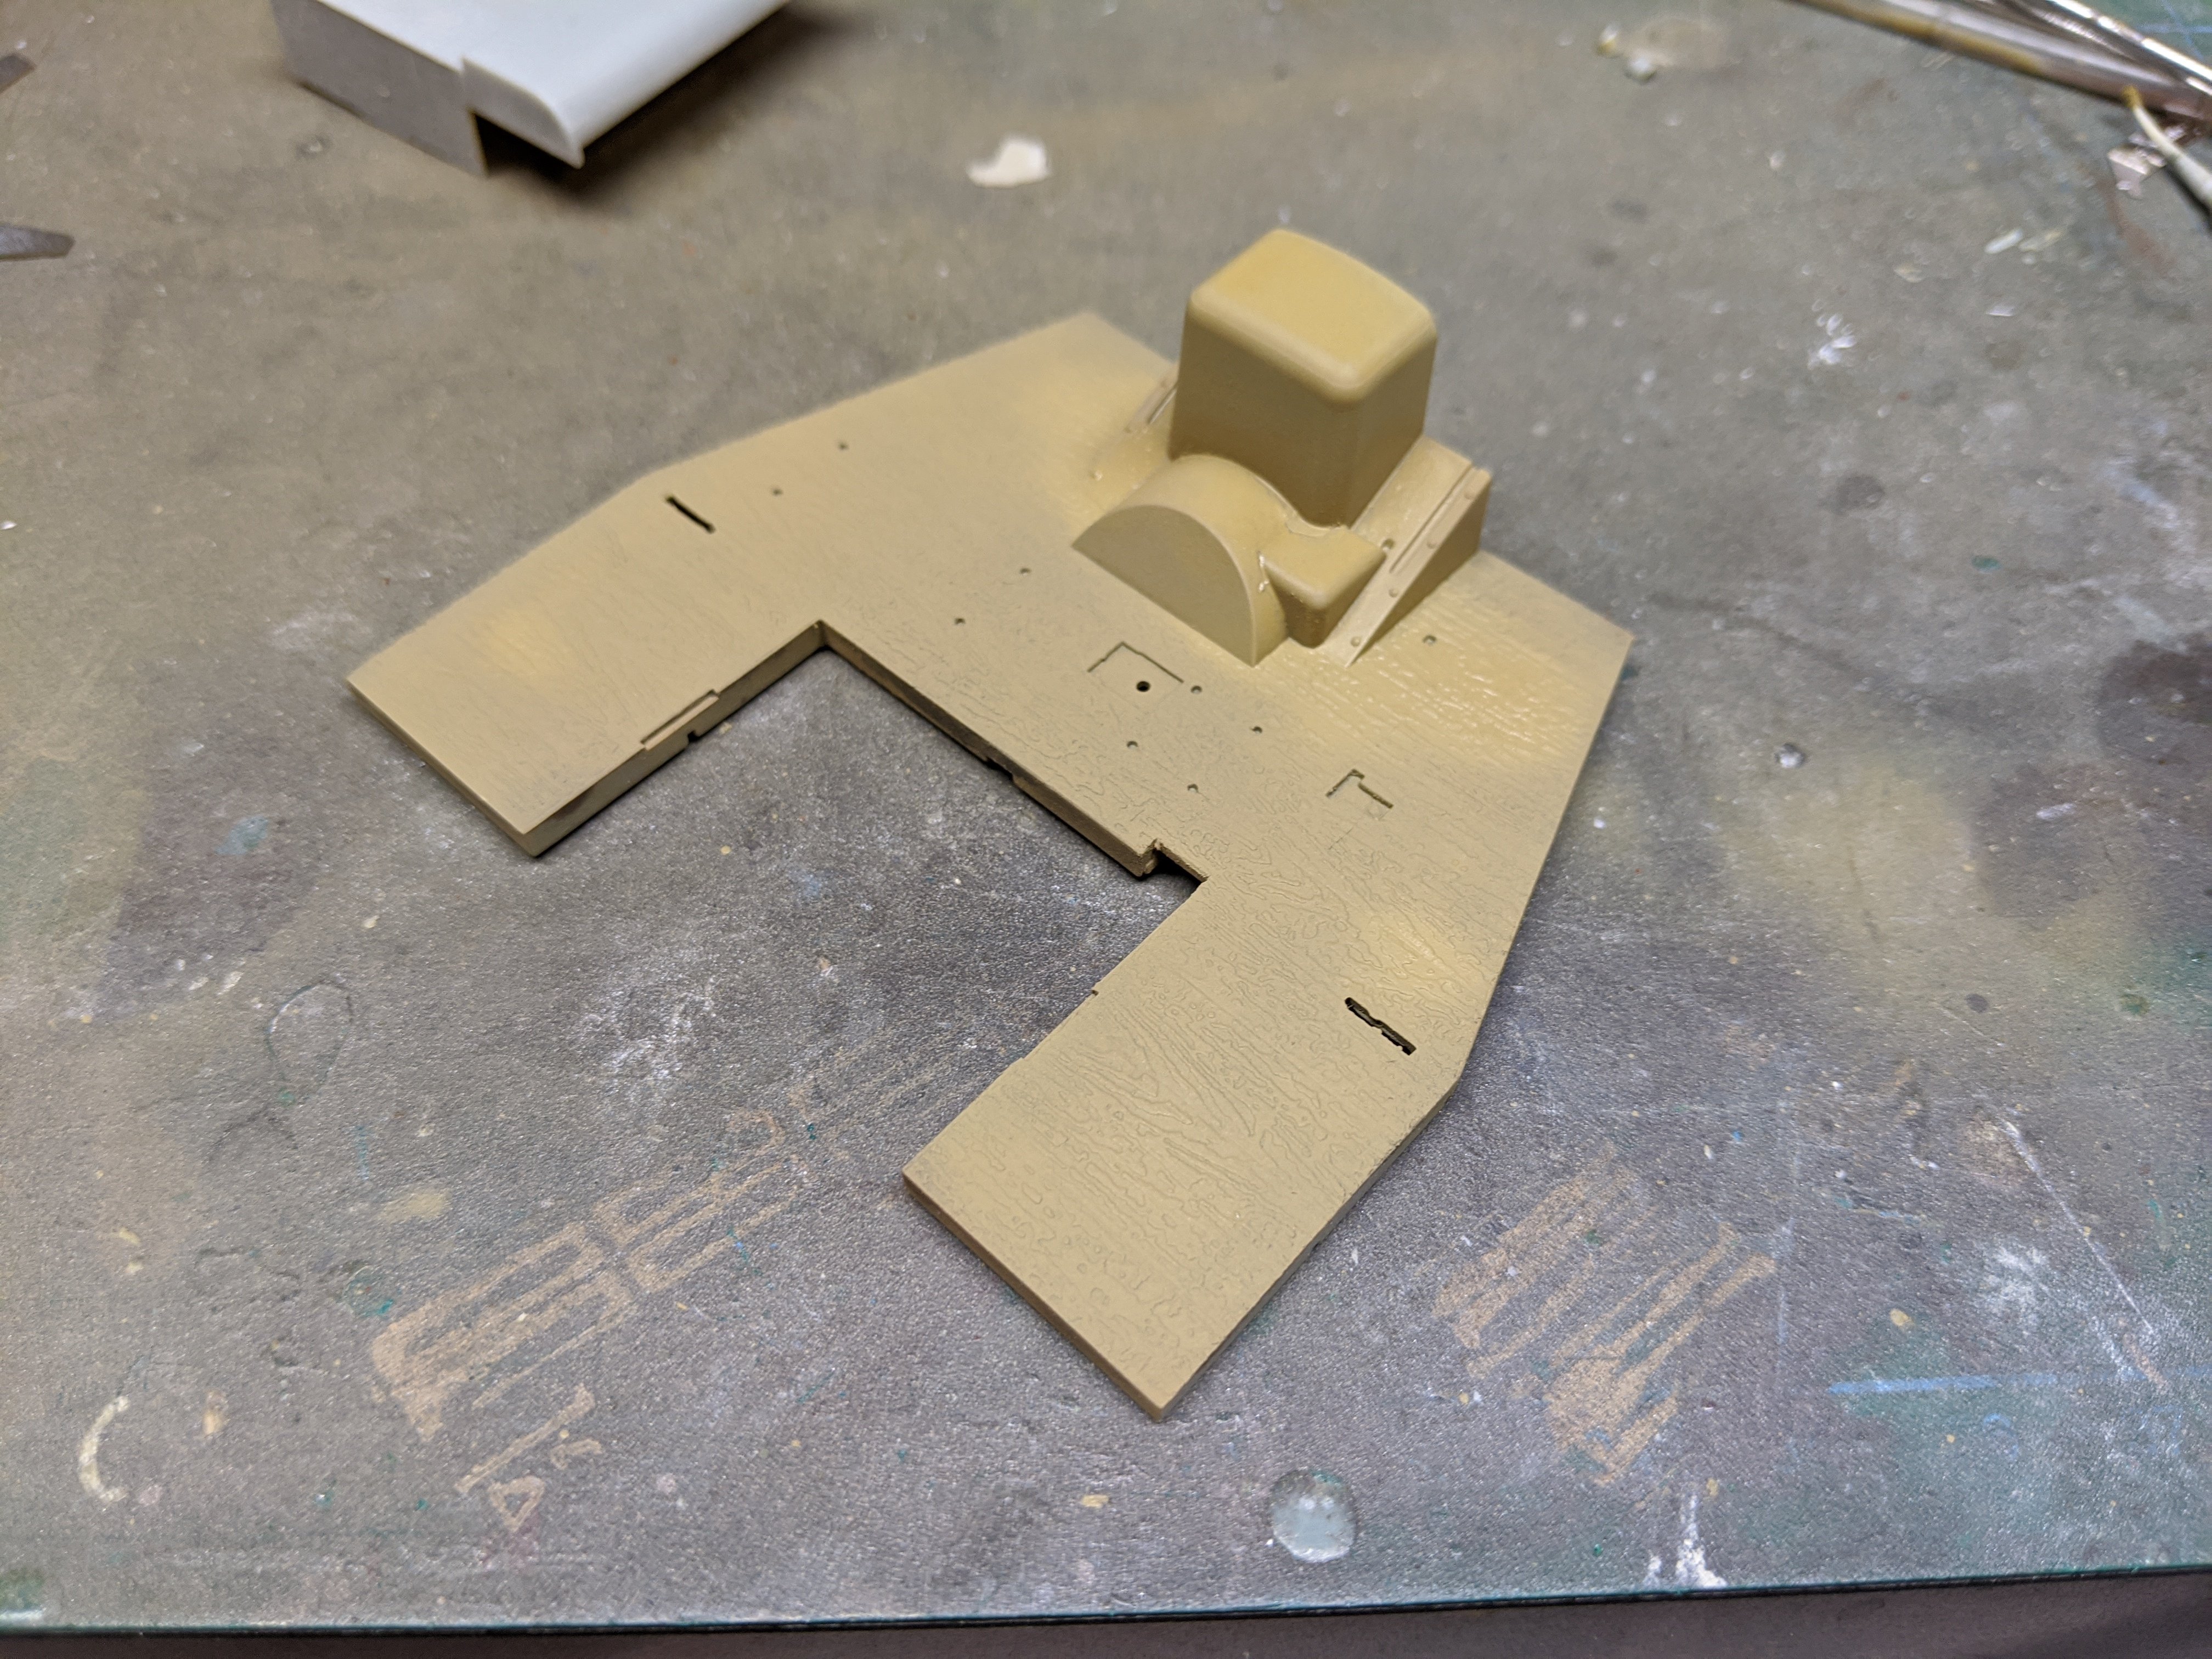
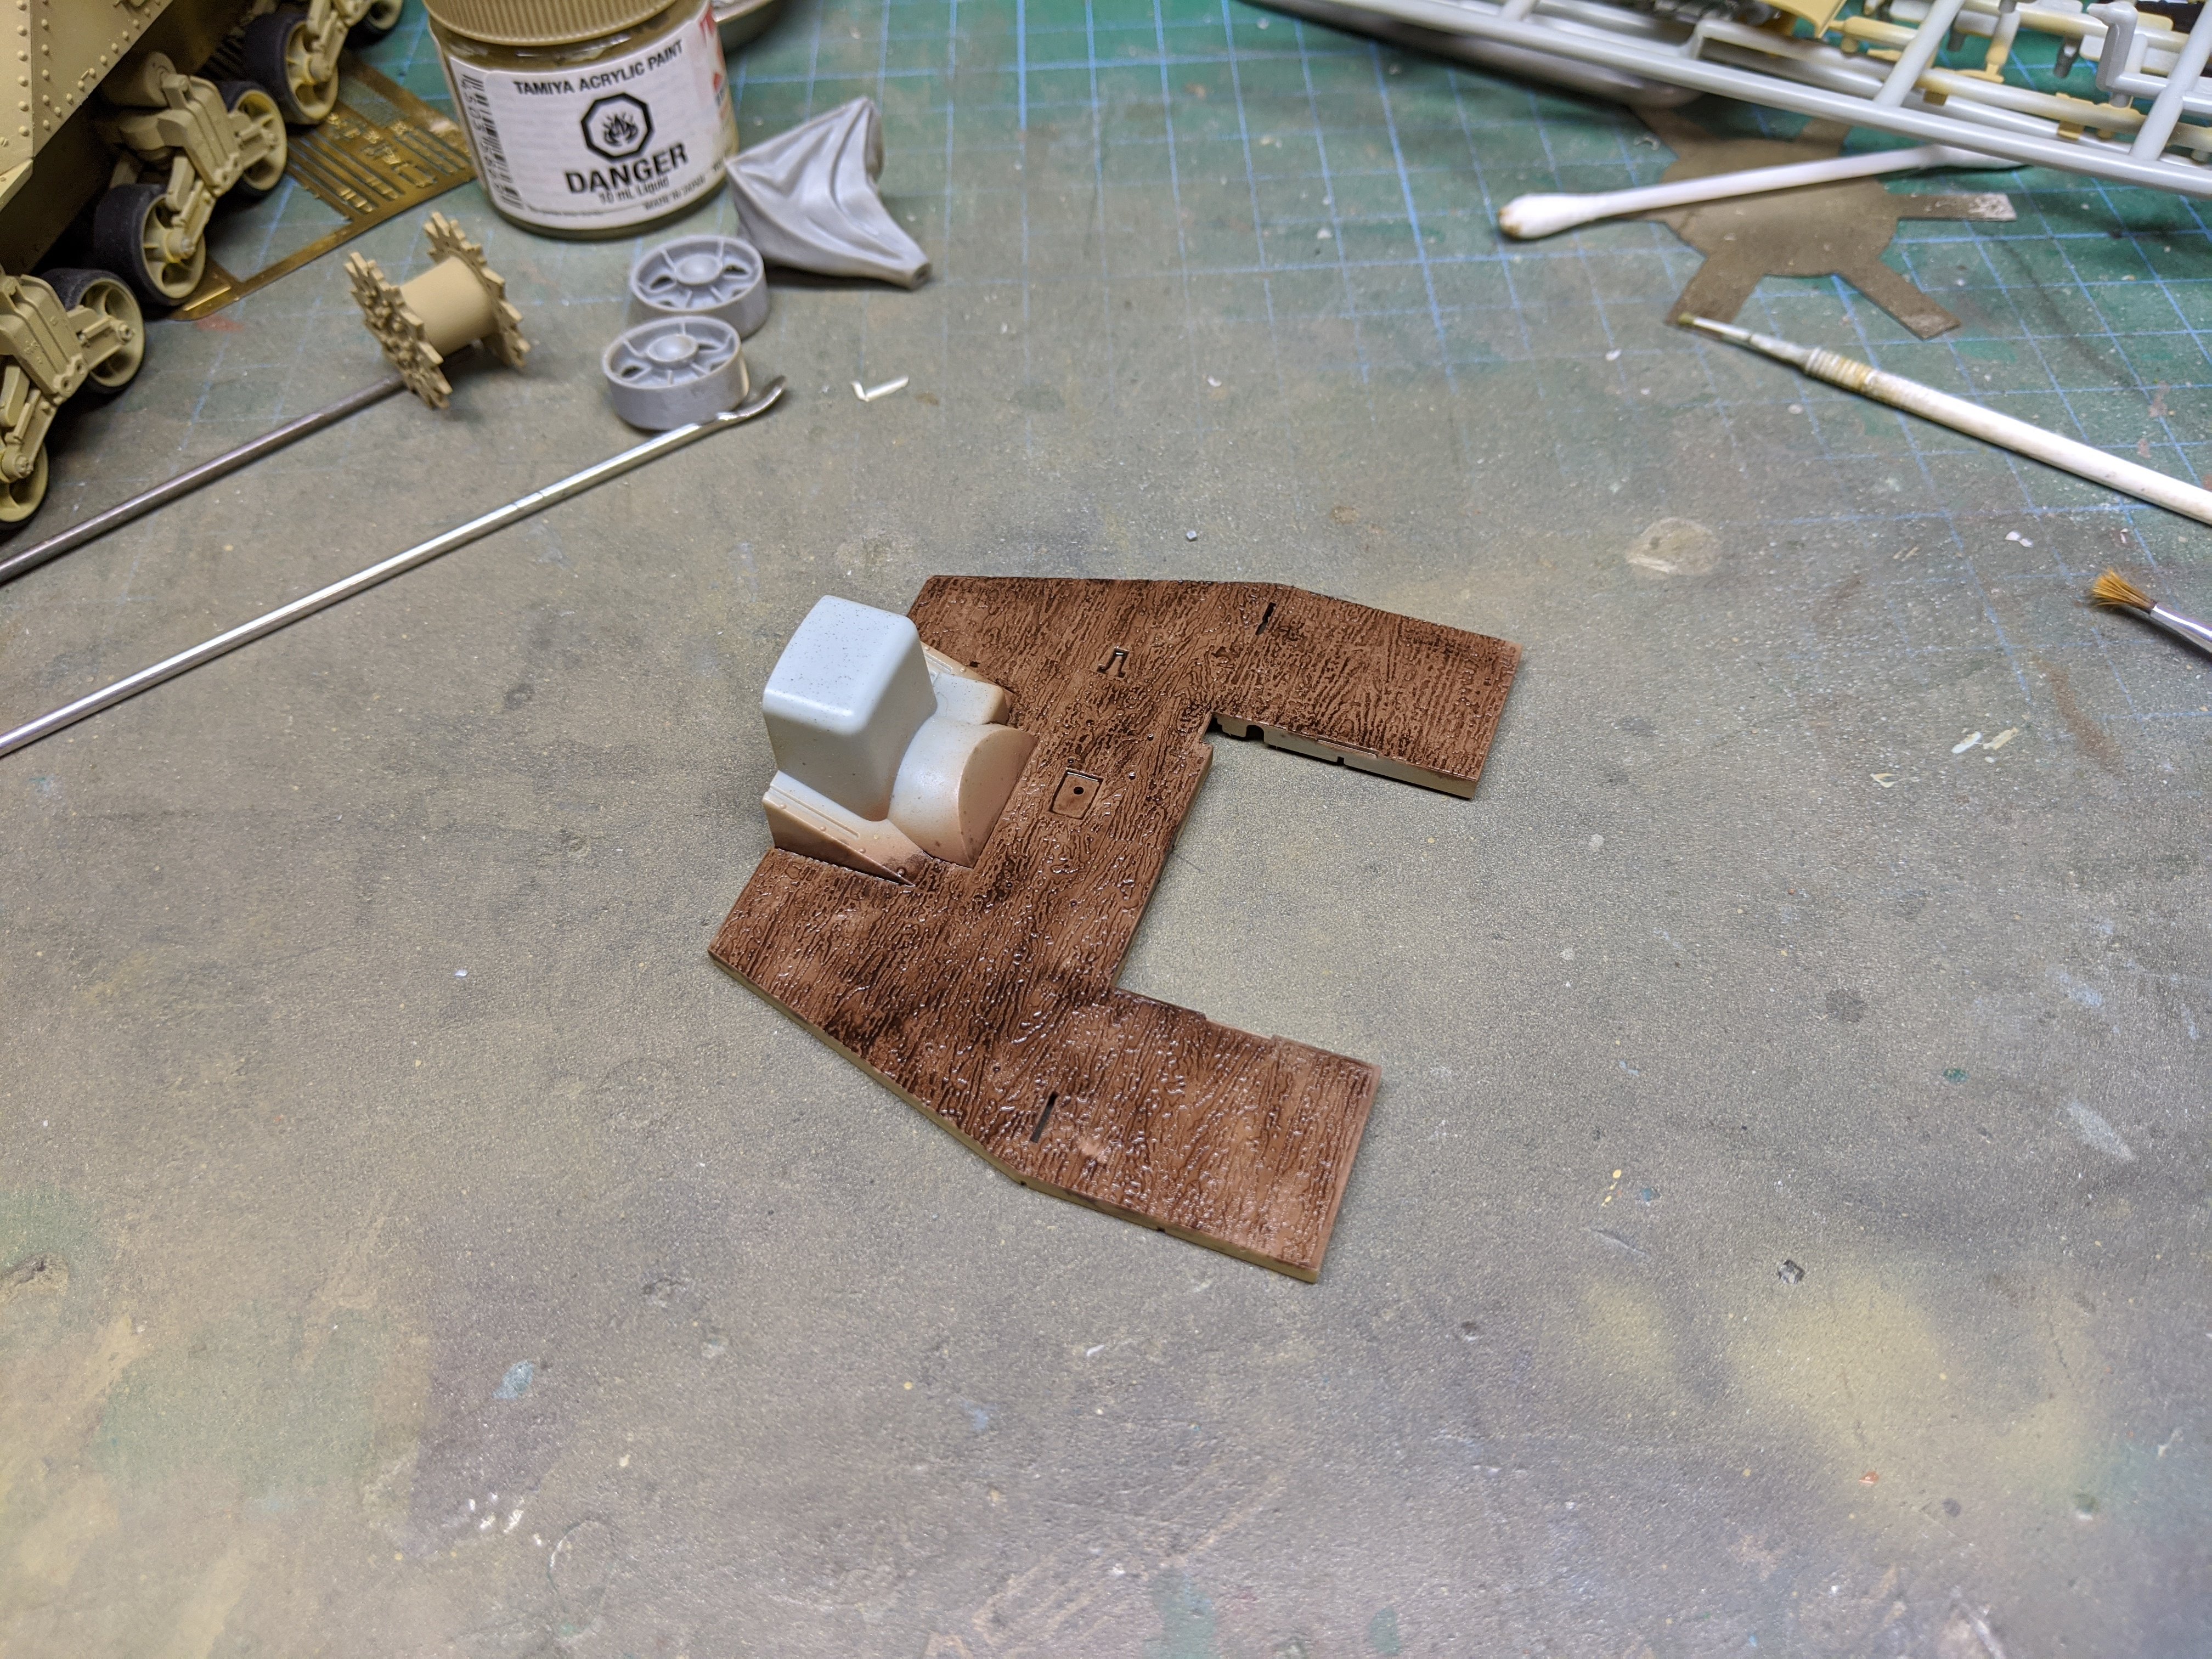
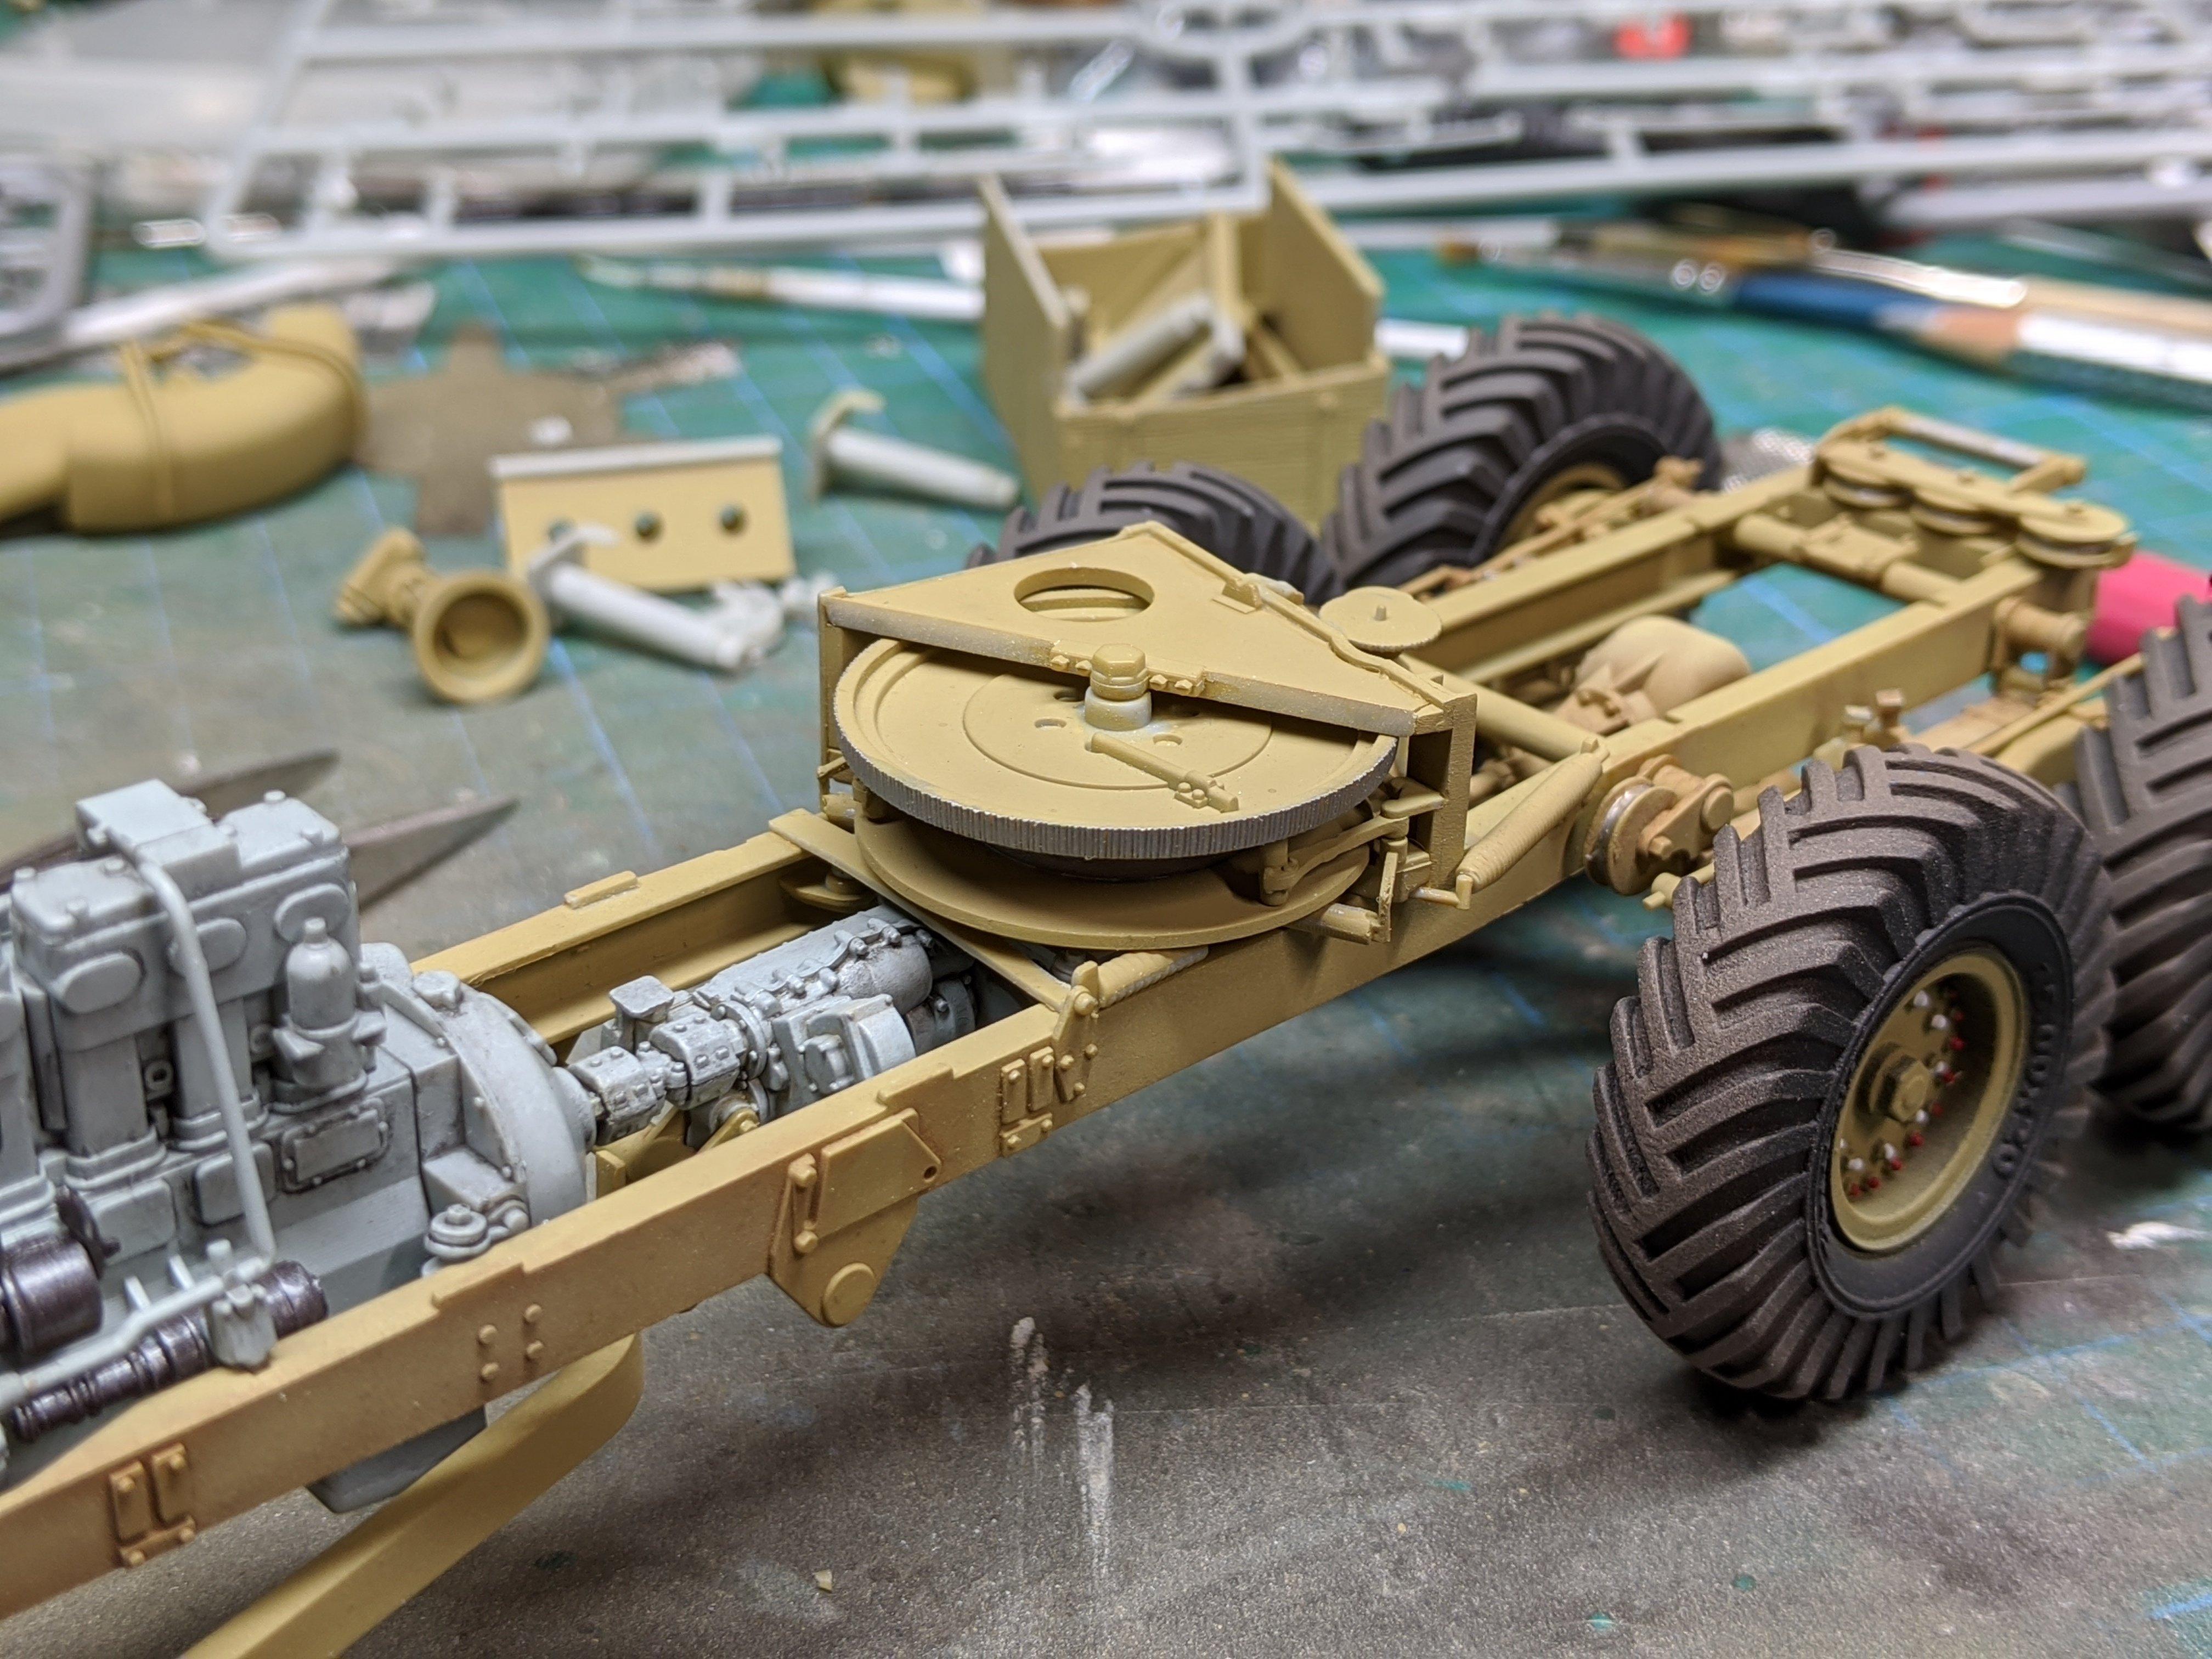
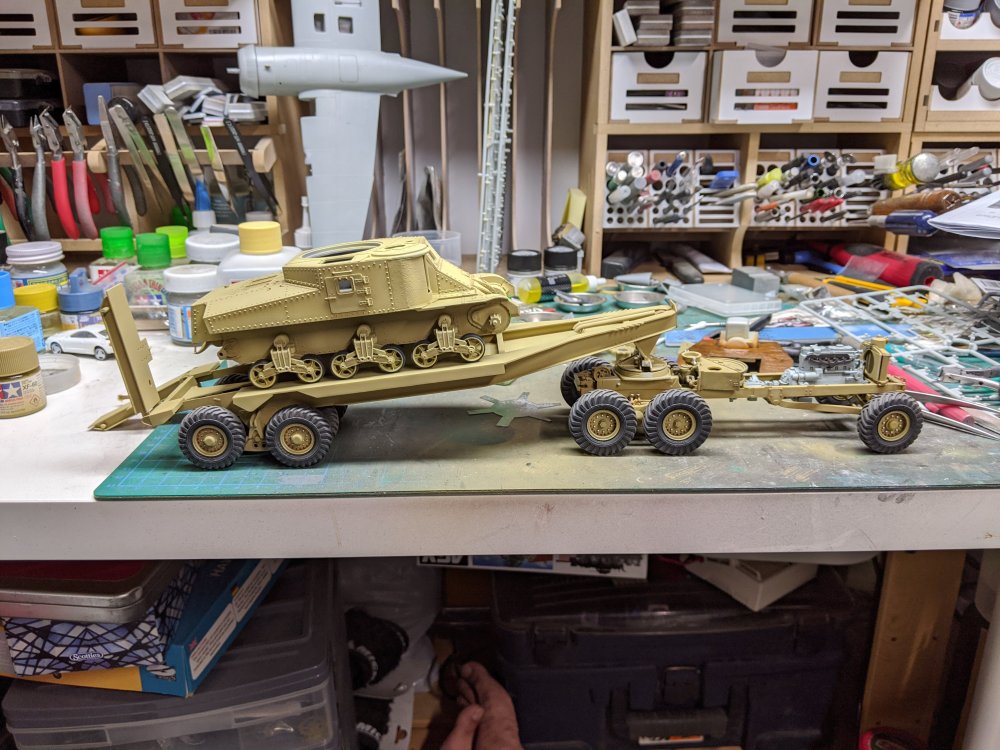
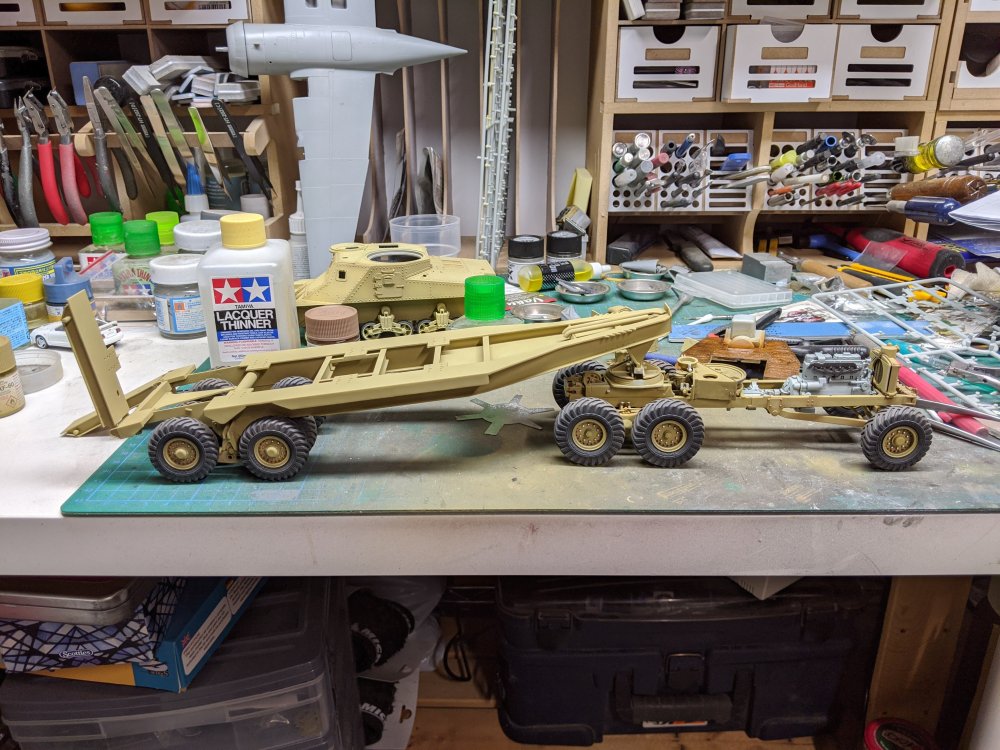
I applied some chipping fluid to the cabin floor, gave it a coat of desert yellow and then scrubbed away. I think it turned out ok. Next up was the really guide pulley and the base for the hitch. I couldn't help it and decided to see what it might look like finished. With the Grant loaded. I'm going to try and find a suitably sized pice of brass tubes to replace the plastic rod on the hitch. I think it'll be more durable in the long run.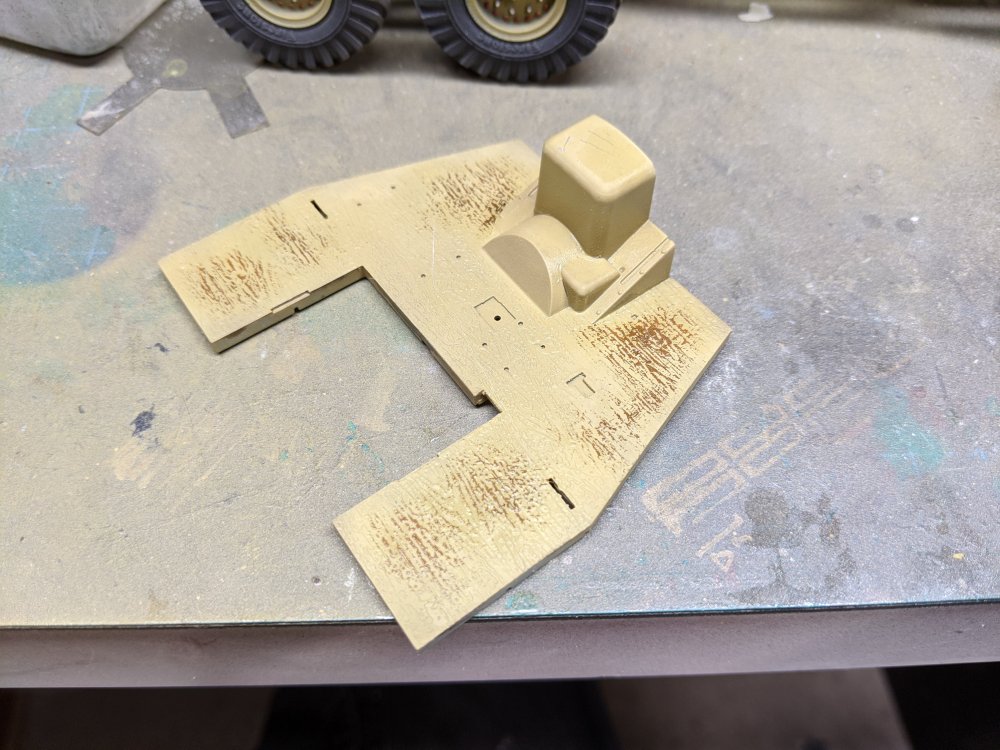


-
Scammell tractor/trailer with M3 Grant
BlrwestSiR replied to BlrwestSiR's topic in LSM 1/35 and Larger Work In Progress
I'm planning to add a bit. Makes sense with all the pulleys and rollers. -
That's a cool looking template. No wonder it's easy for you to make your own tape.
-
Nice progress on the model. Great idea on the magnets too. You may want to get Aizu tape. It's the same kabuki tape that Tamiya uses only you can get it in various widths. Anywhere from 2mm up. Might save you some time on your paint work.
-
It's a Japanese artist. I can't recall his website but he's done several takes on planes and battleships. Here's his versions of the Mustang and Spitfire.
-
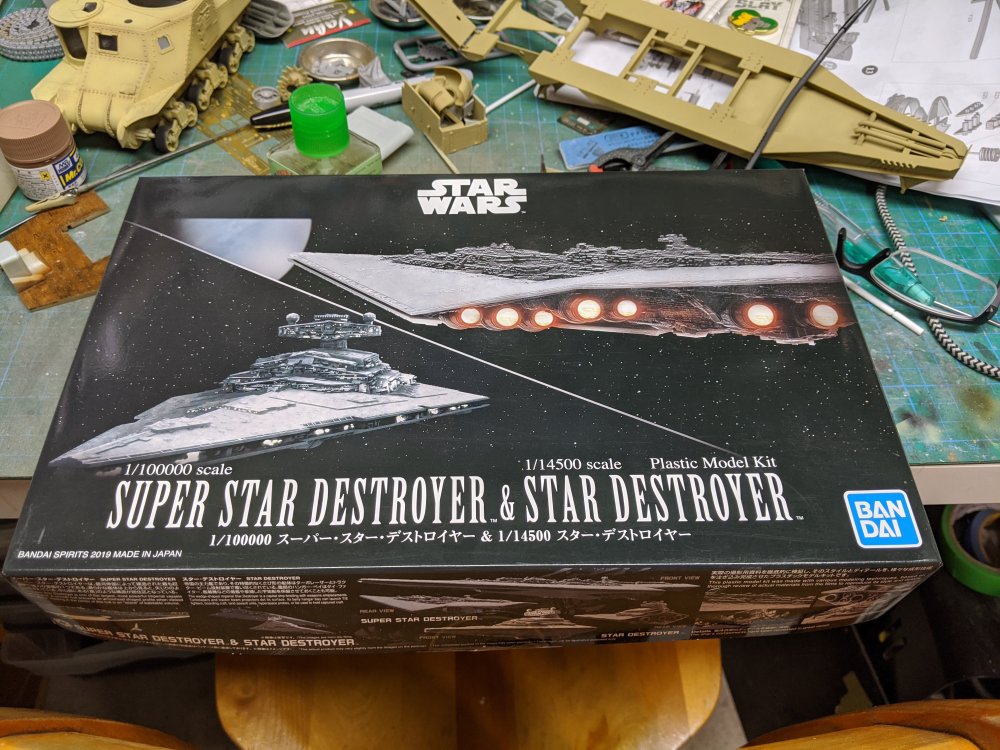
Actually I just realized I have something in 1/100,000. So if 1/72 is Braille scale, what's this called?
-
Das Kamel - Hansa Brandenburg W.12
BlrwestSiR replied to DocRob's topic in LSM 1/35 and Larger Work In Progress
Maybe trim the HGW part just above the triangular bracket and then overlap the excess so it has a bit of strength? -
Great Hobbies in Canada had a few left as well. The Camels are gone though. If Ernie needs a couple more Felixstowes, they have 7 or 8 of them. Carl
-
Das Kamel - Hansa Brandenburg W.12
BlrwestSiR replied to DocRob's topic in LSM 1/35 and Larger Work In Progress
The floats look great Rob. Nice start to your build. Carl -
Scammell tractor/trailer with M3 Grant
BlrwestSiR replied to BlrwestSiR's topic in LSM 1/35 and Larger Work In Progress
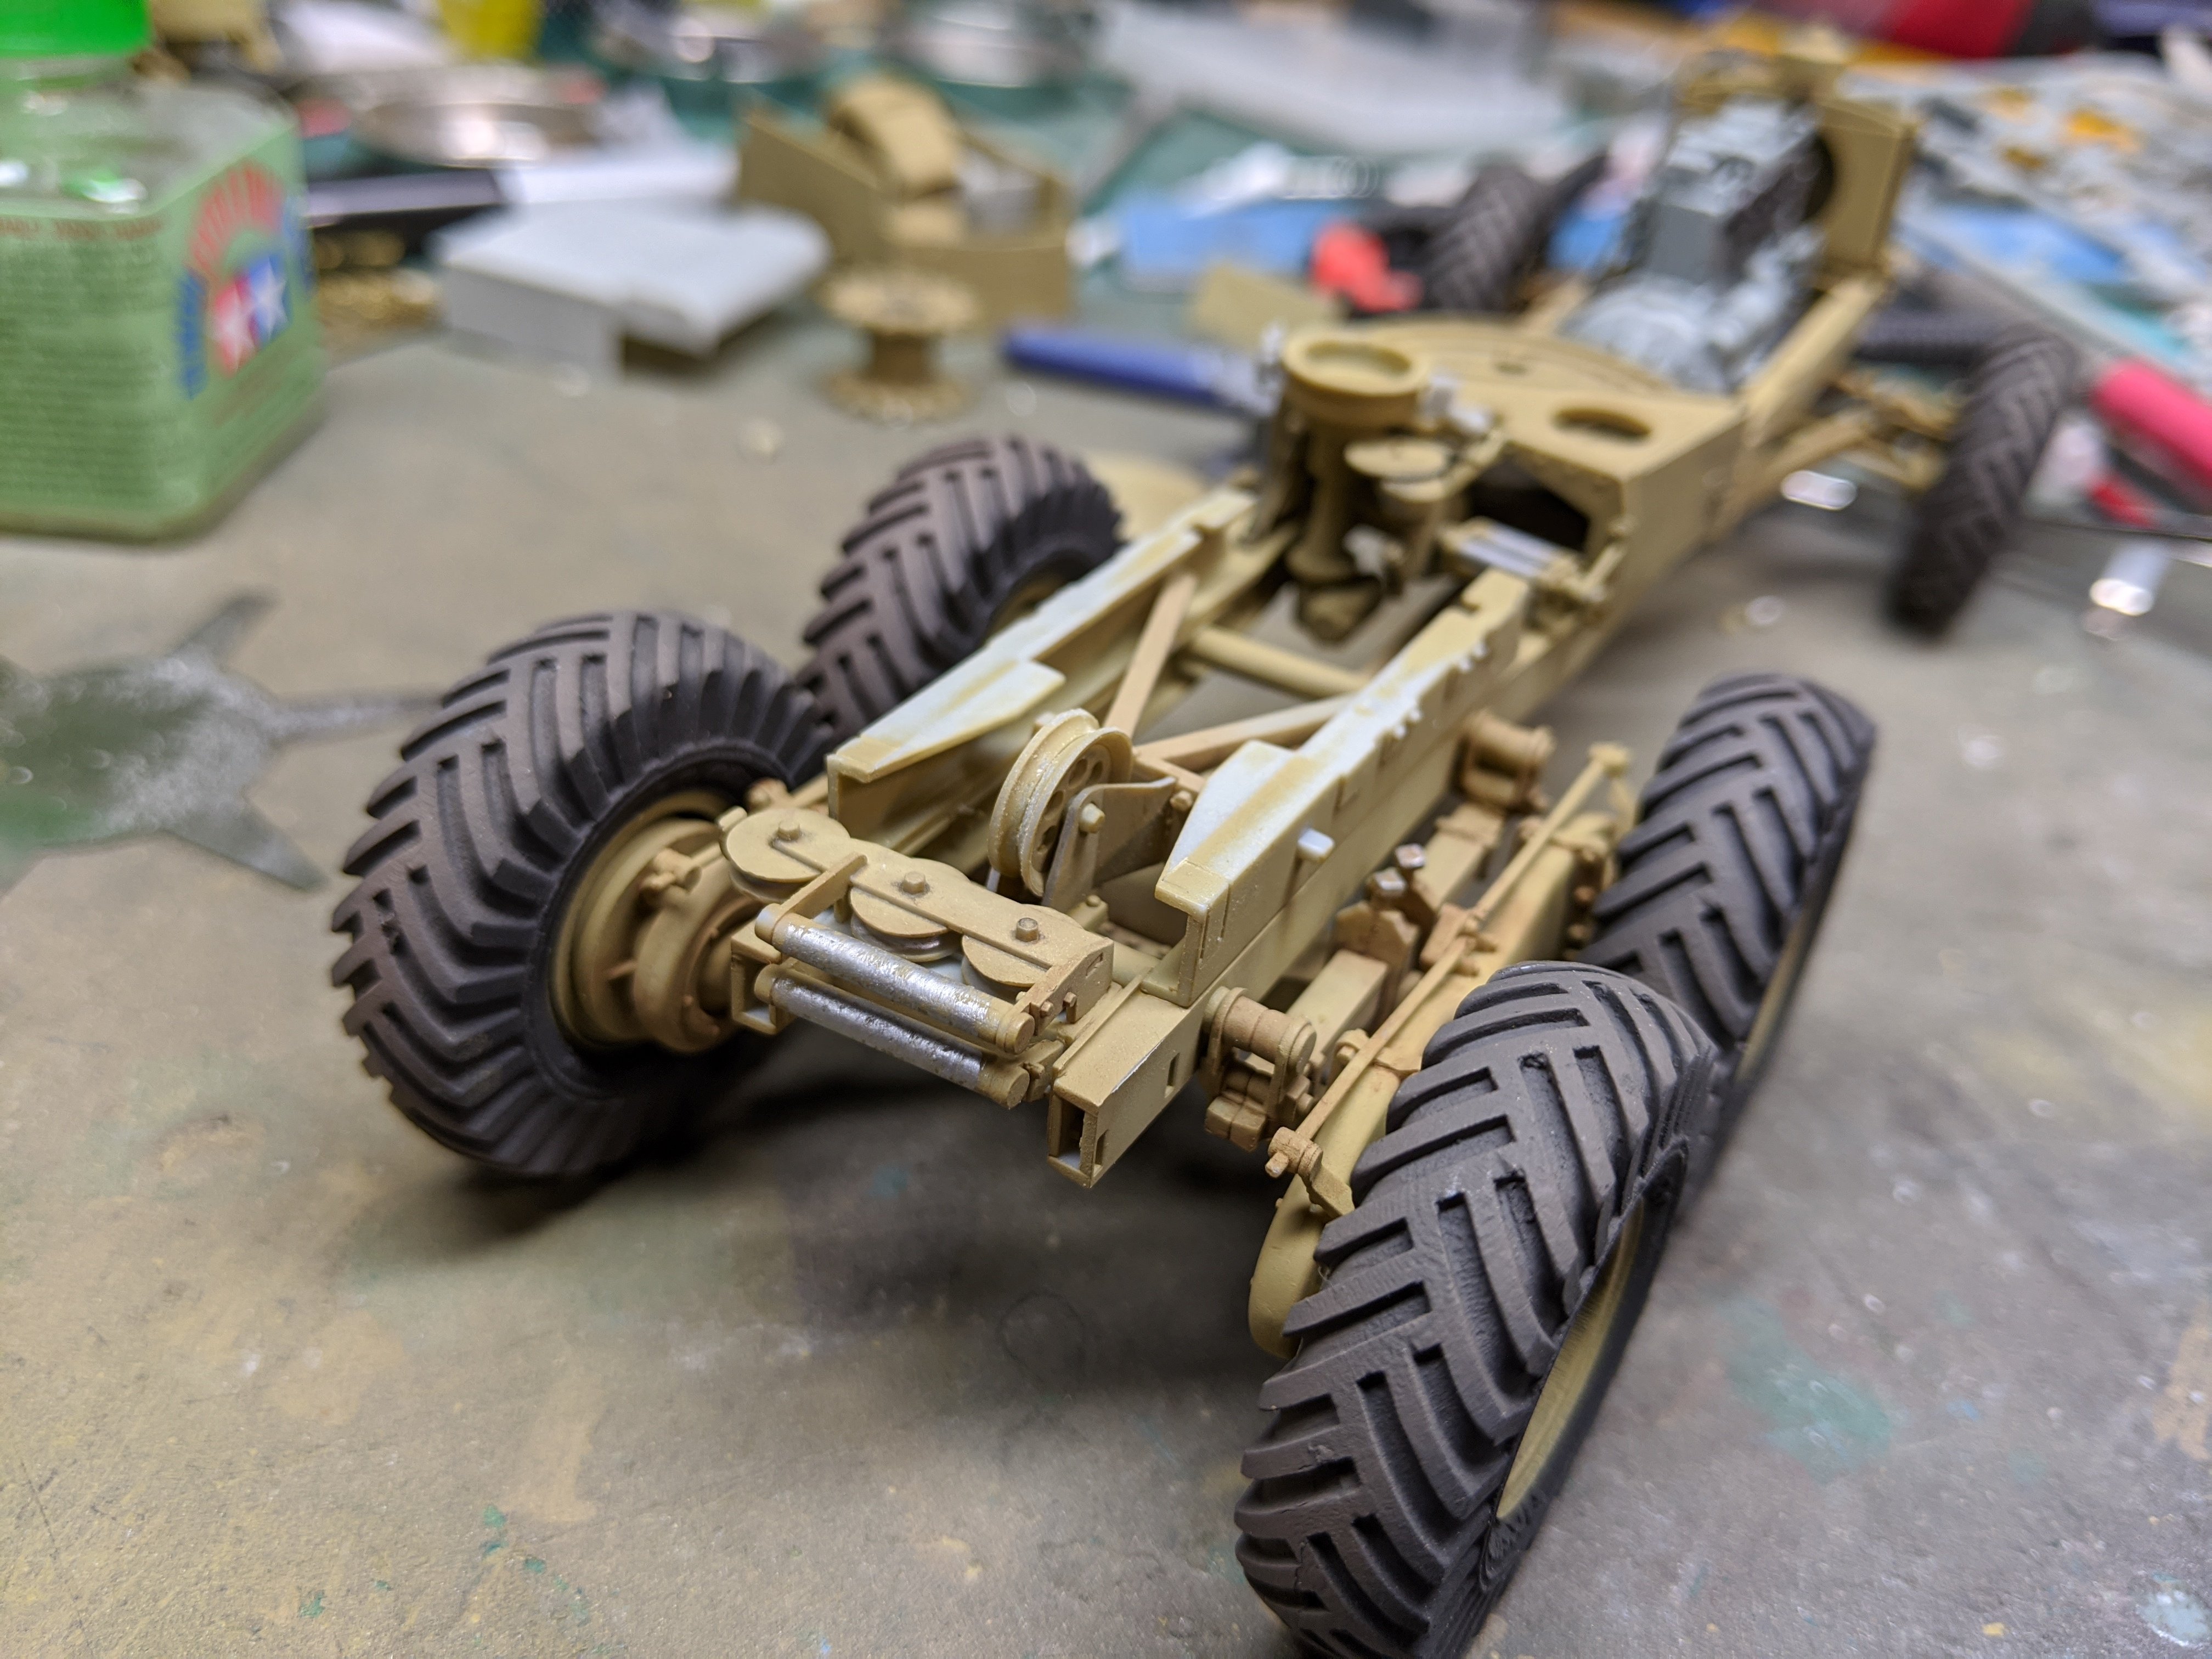
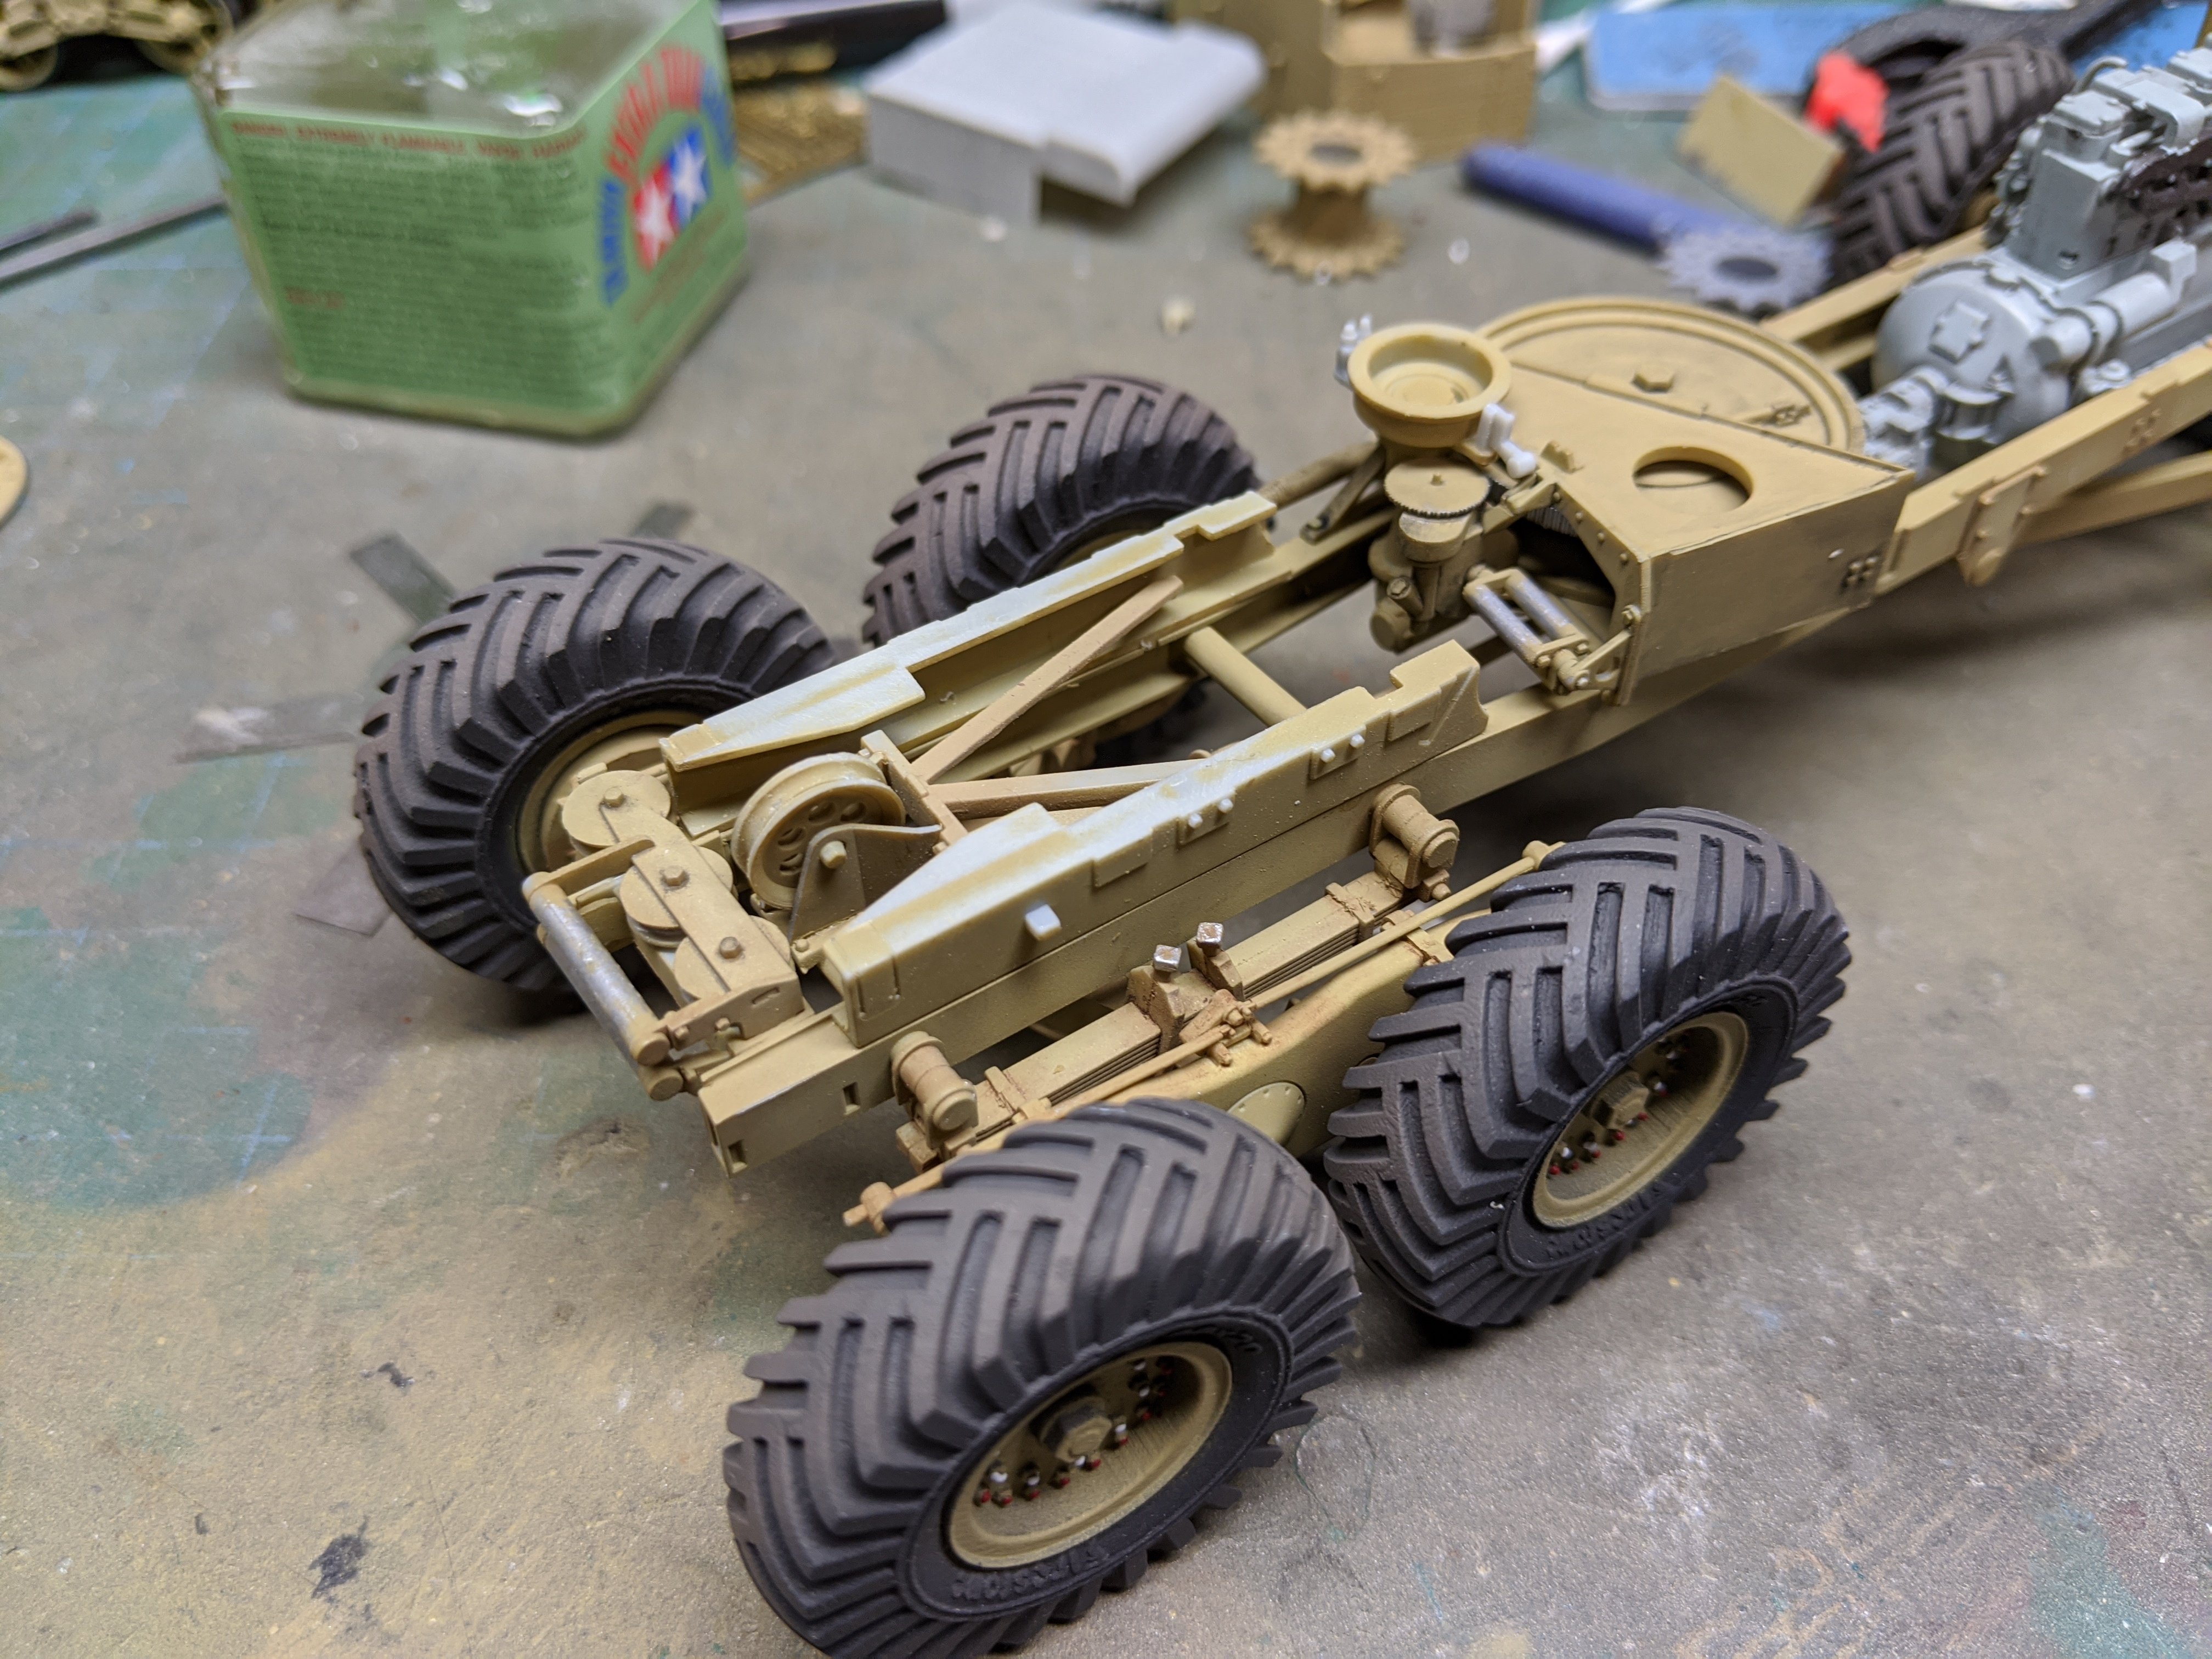
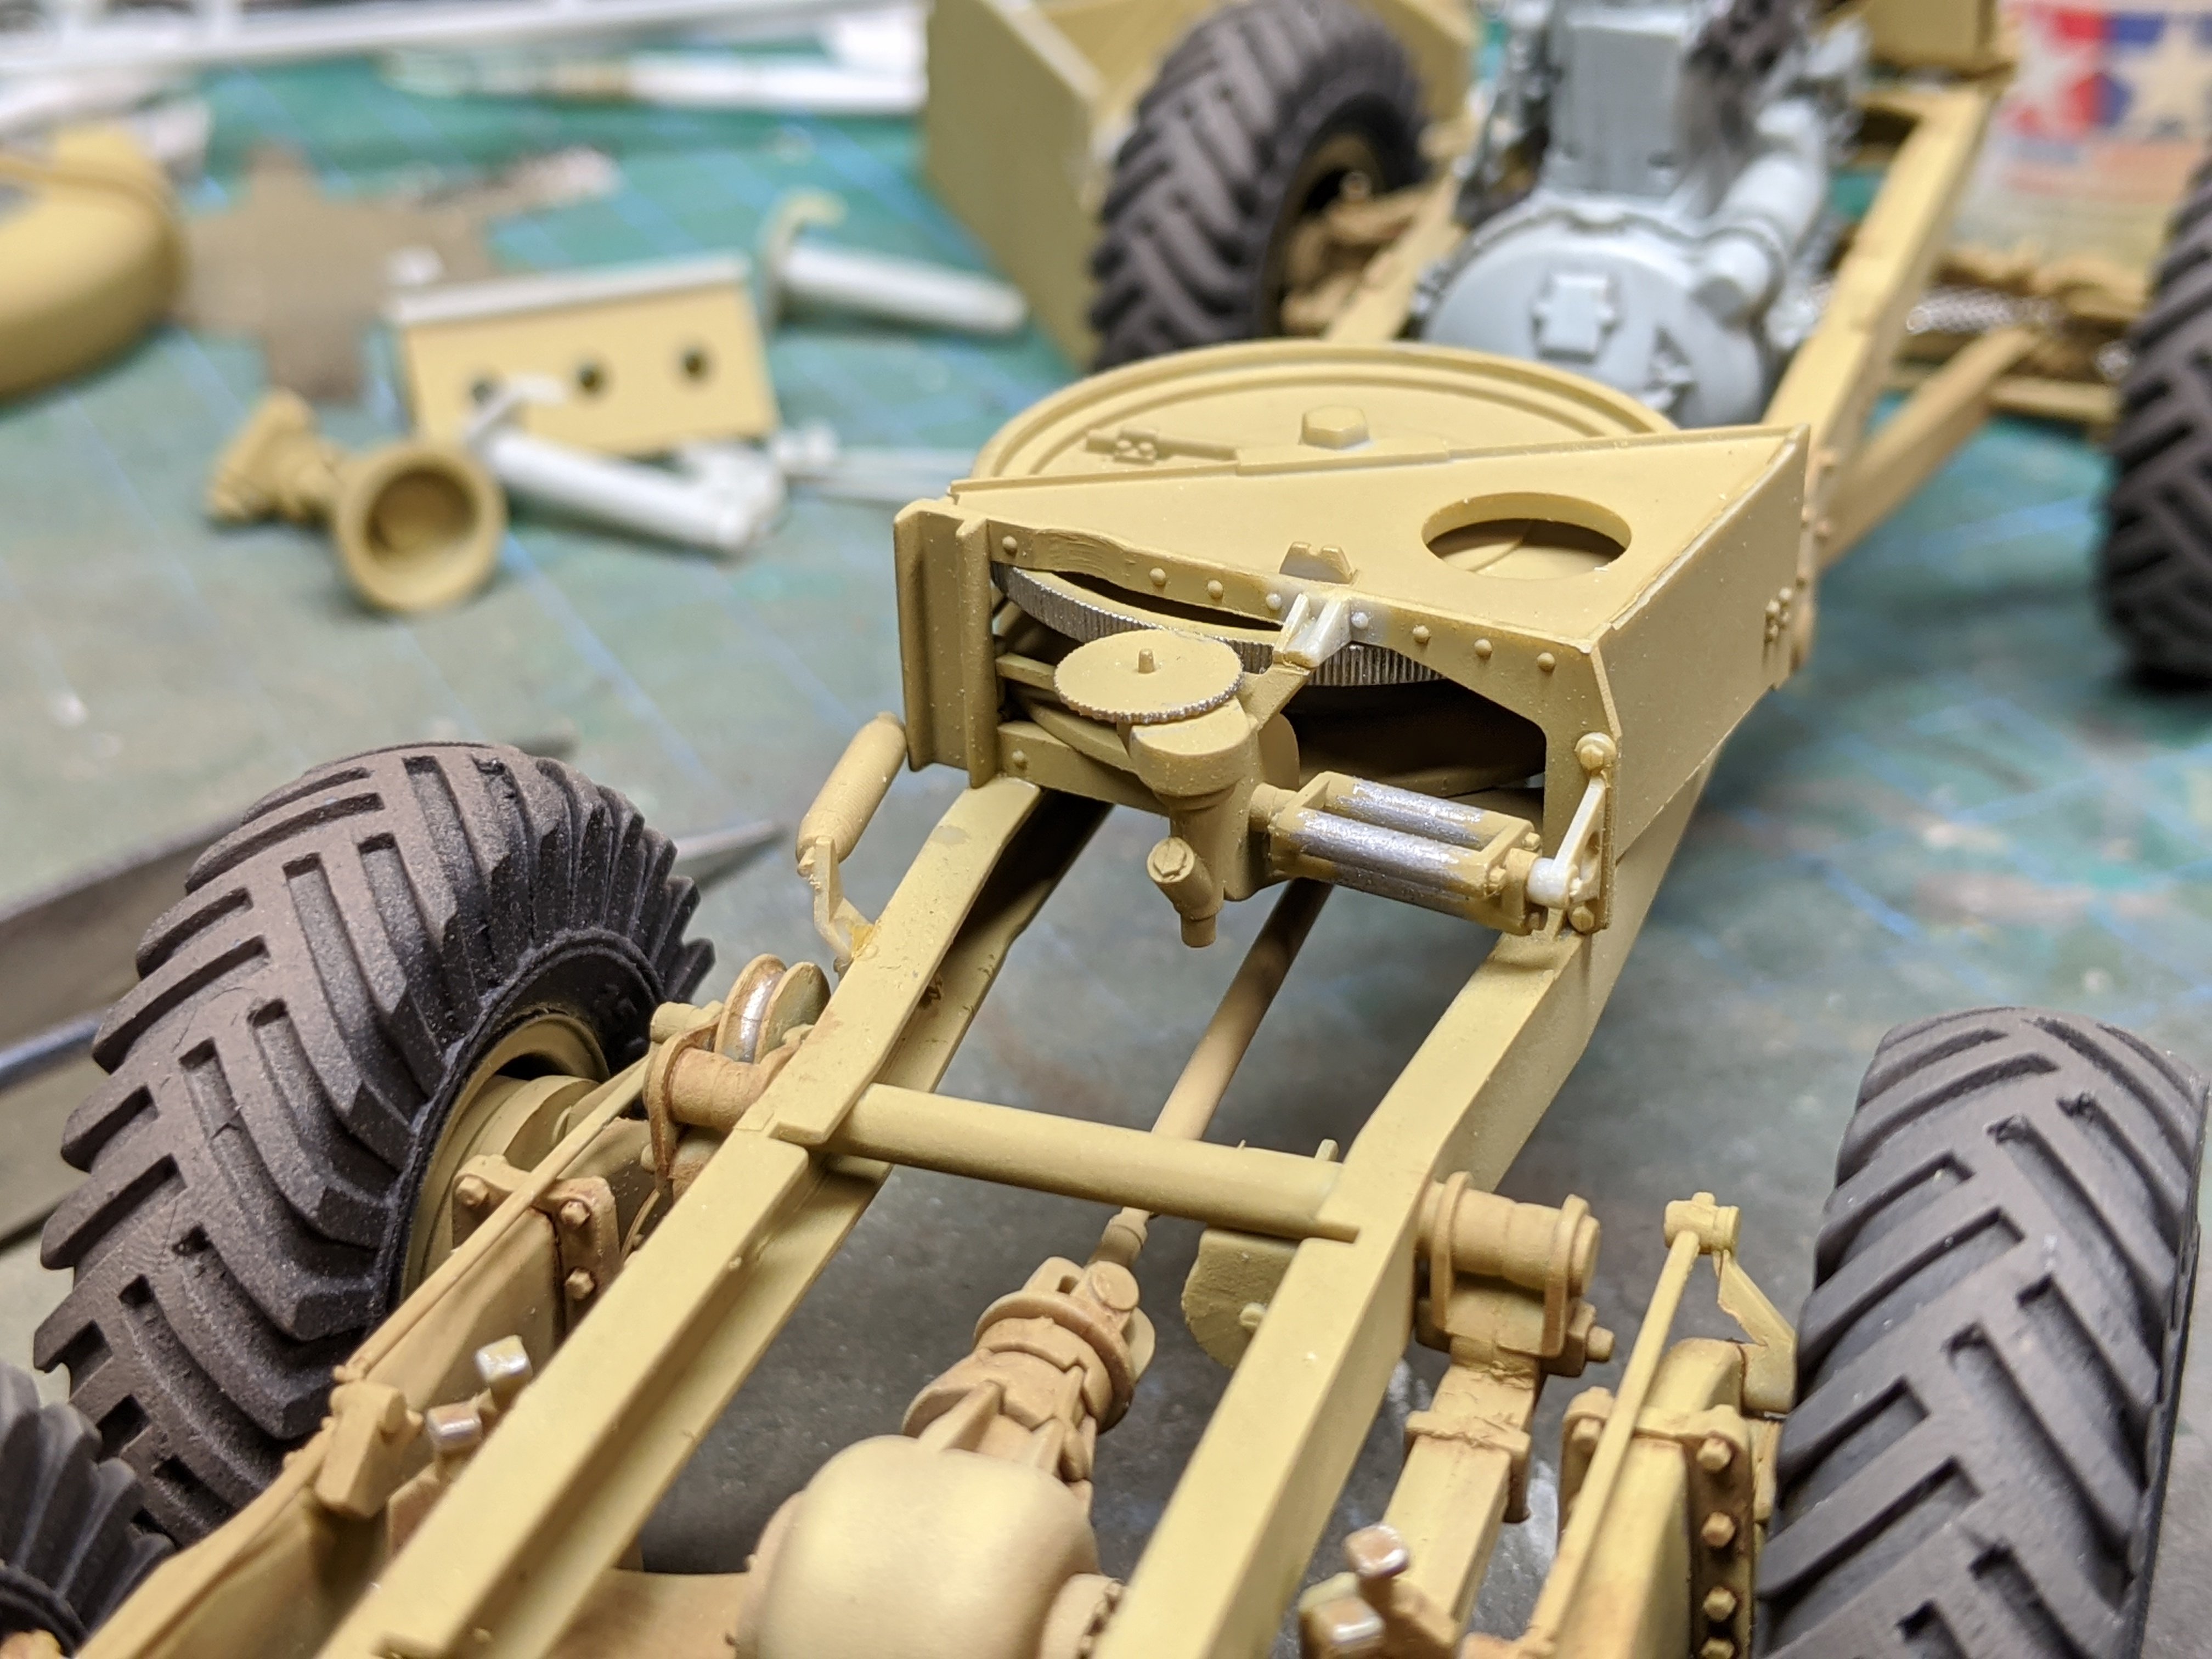
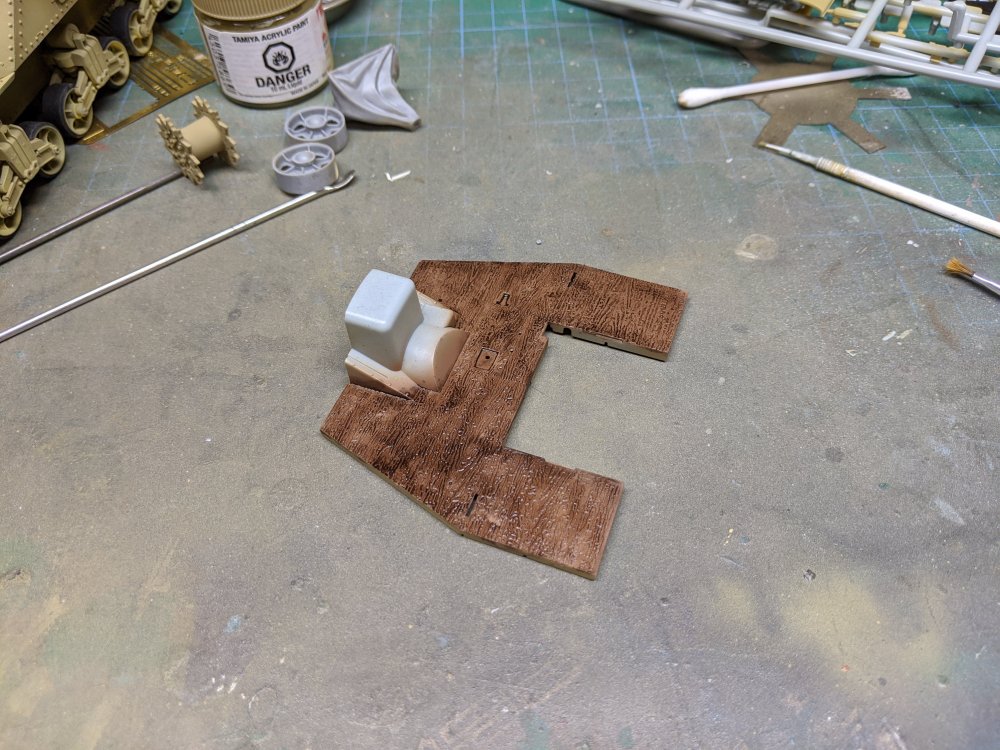
The next bit is where things got a bit fiddly. I had to assemble the winch and then install it. There's a lot of small parts here and some have to go on in a certain order. For example, the spool is placed into position in halves, then some guides are added and then the top of the spool. The other bit was getting the position correct on the frame. I didn't do myself any favours by accidently sanding off the locating tabs. But before that, I installed the driveshaft. And painted the cabin floor and gave it a wash. The floor will then get painted in the cabin colour and then worn to show the wood effect. I hope. Back to the winch, here it is installed. I didn't grab any pics while assembling it as I wanted to make sure it all fit together correctly. There's some touch up needed in a couple places and then some weathering.


-
Scammell tractor/trailer with M3 Grant
BlrwestSiR replied to BlrwestSiR's topic in LSM 1/35 and Larger Work In Progress
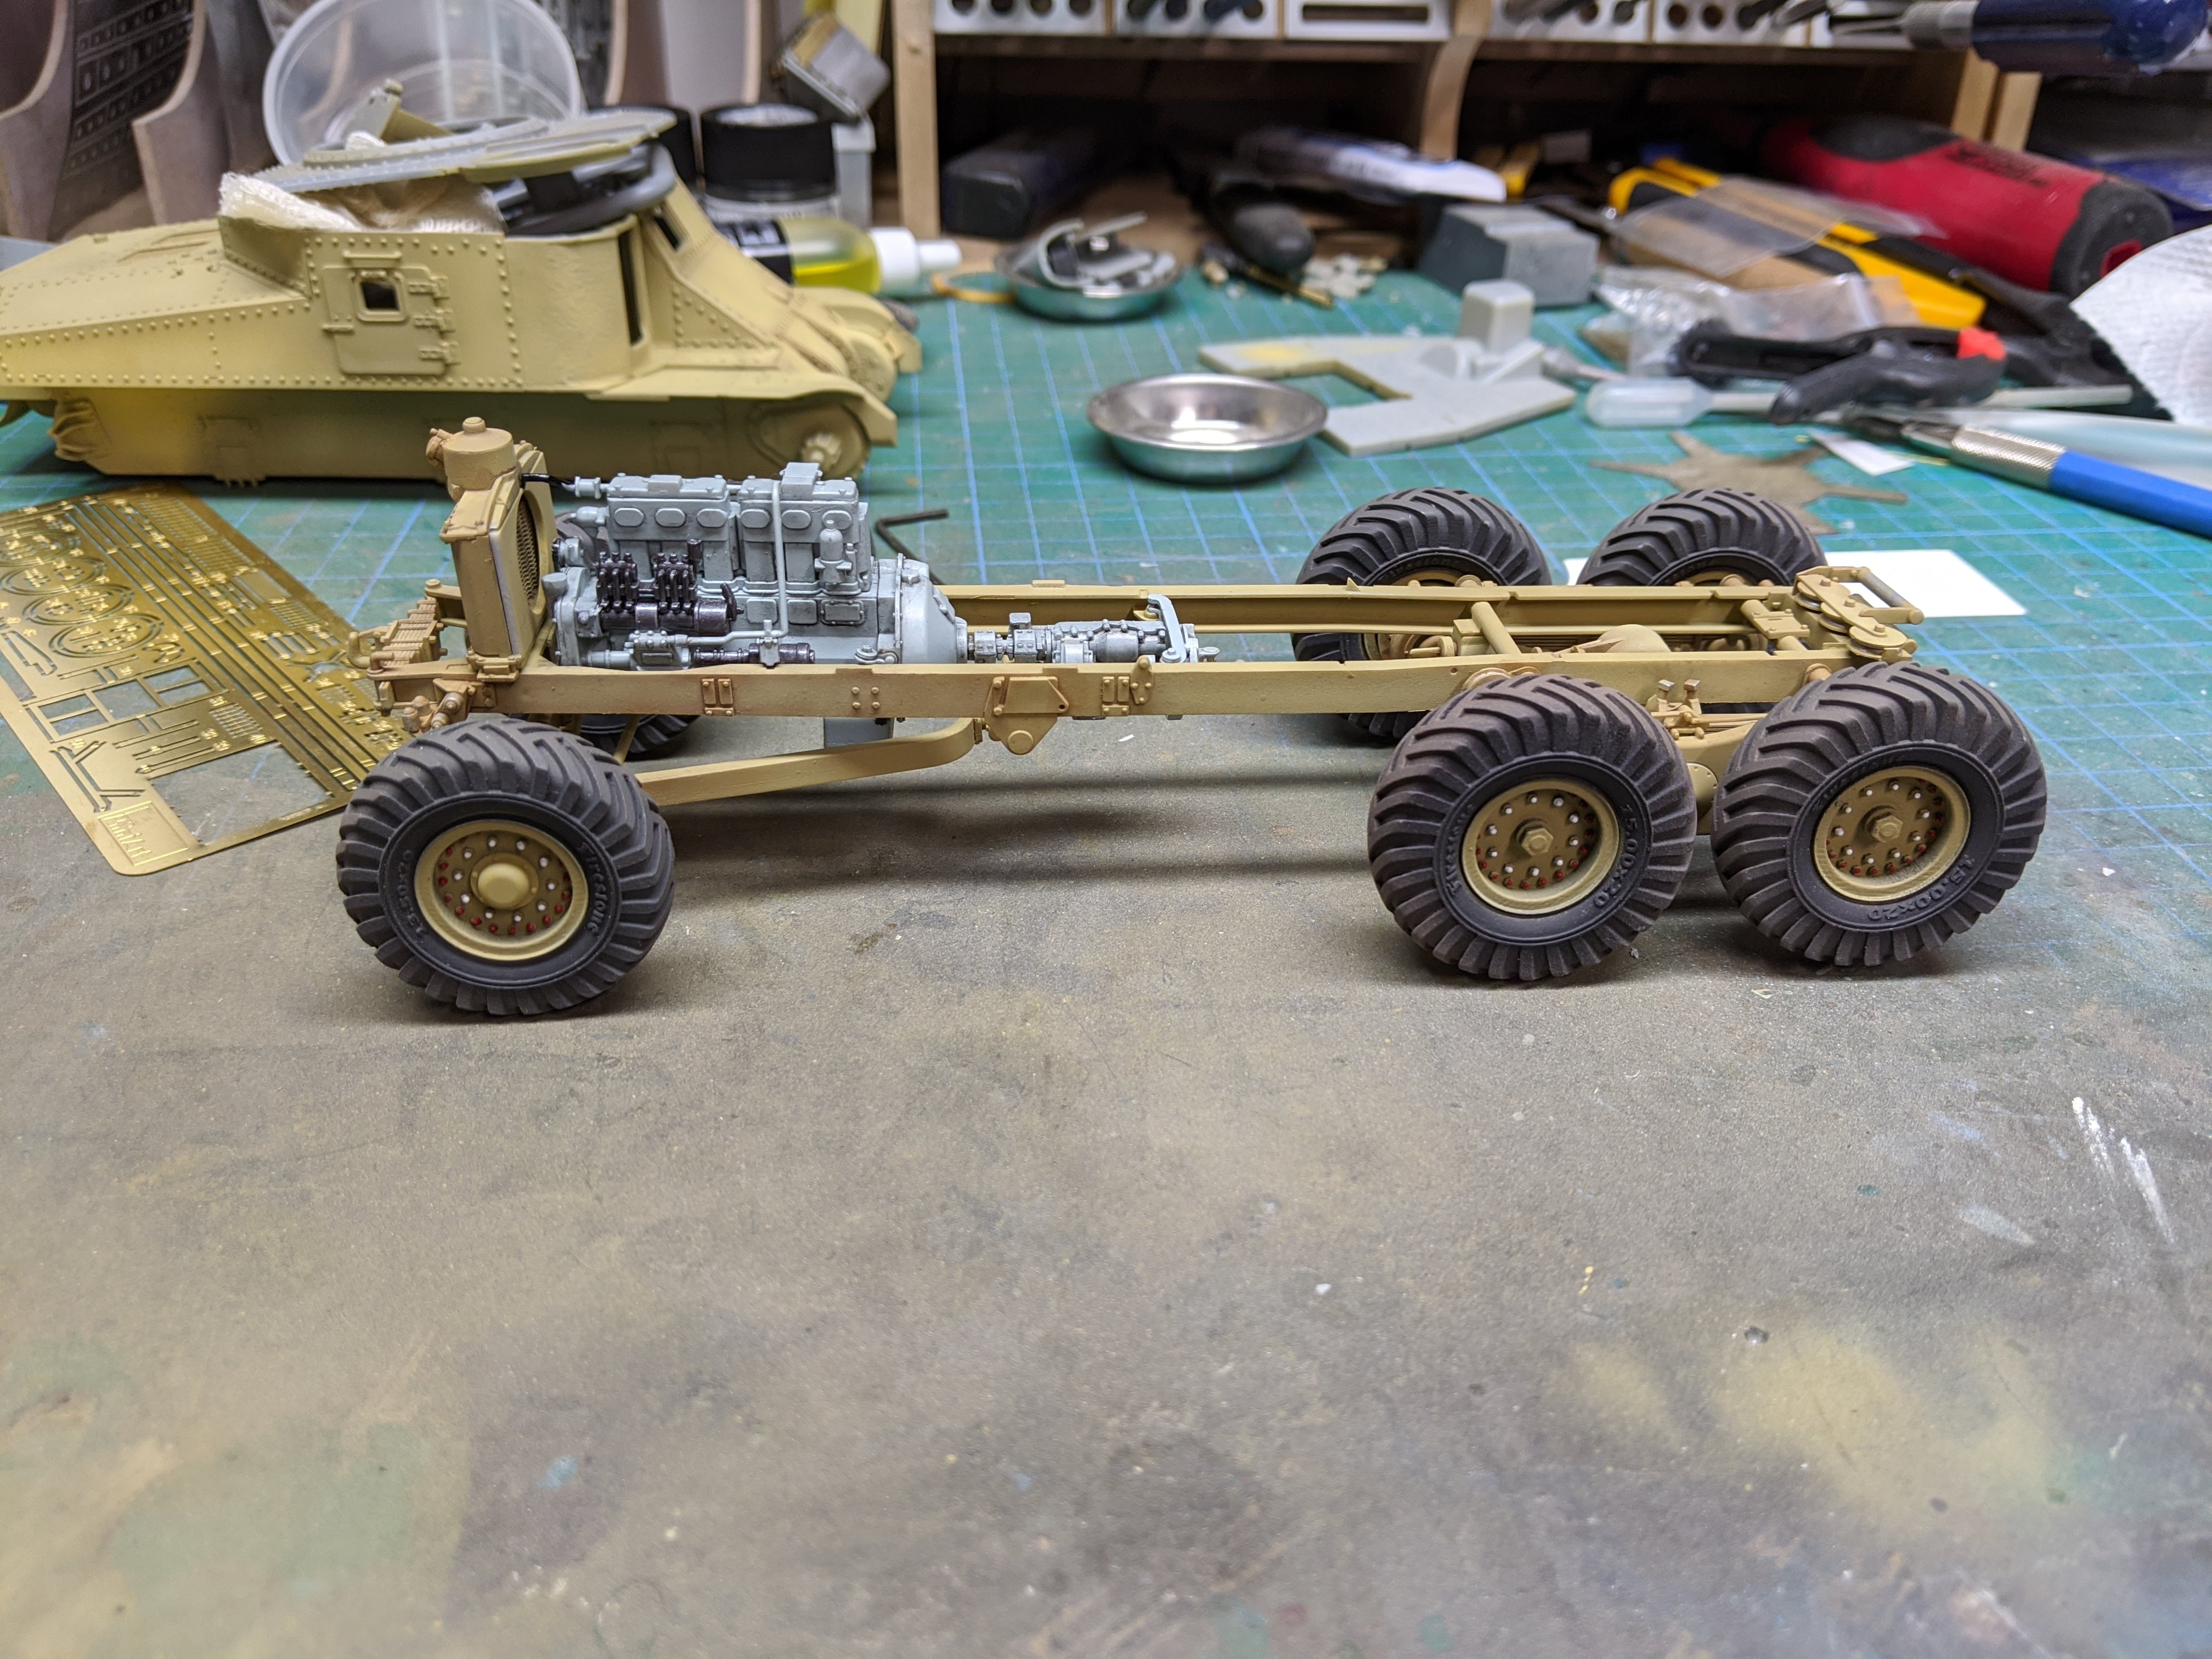
Thanks Jeff! The instructions say the engine was either the grey I did mine or the same as the chassis colour. I decided on the grey to break things up a bit. Thanks Gaz! Thanks Harv! -
Scammell tractor/trailer with M3 Grant
BlrwestSiR replied to BlrwestSiR's topic in LSM 1/35 and Larger Work In Progress
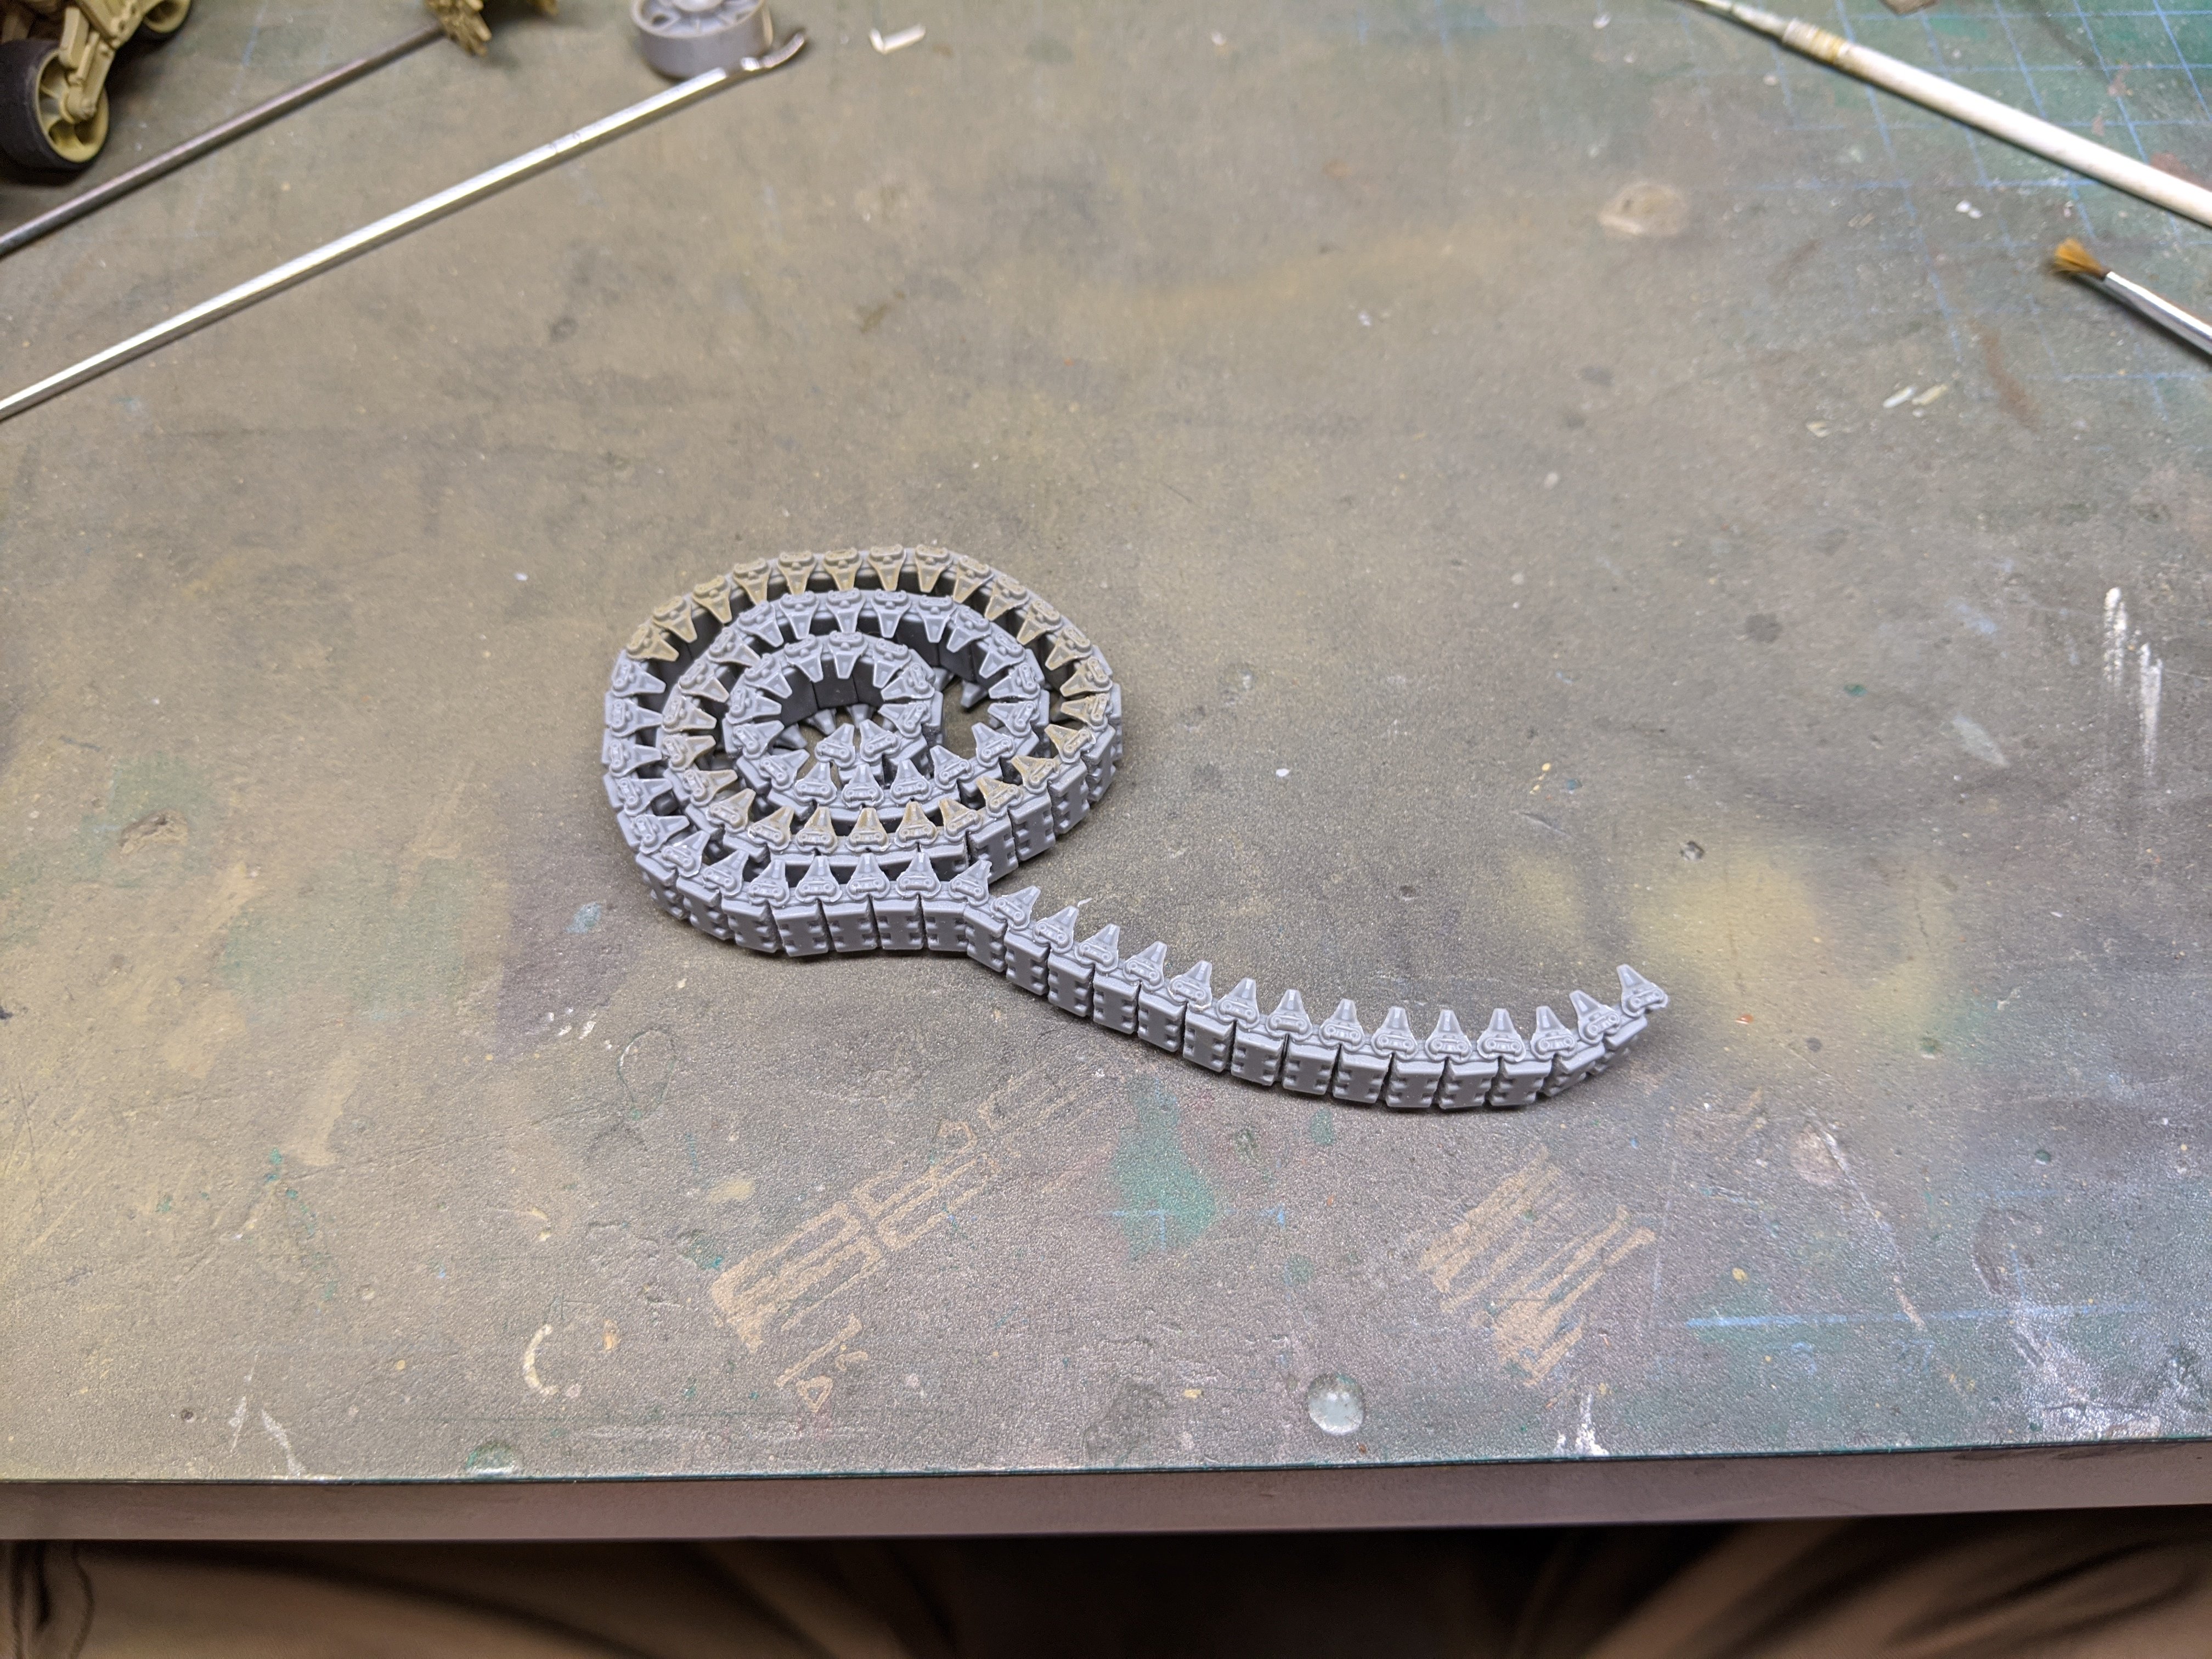
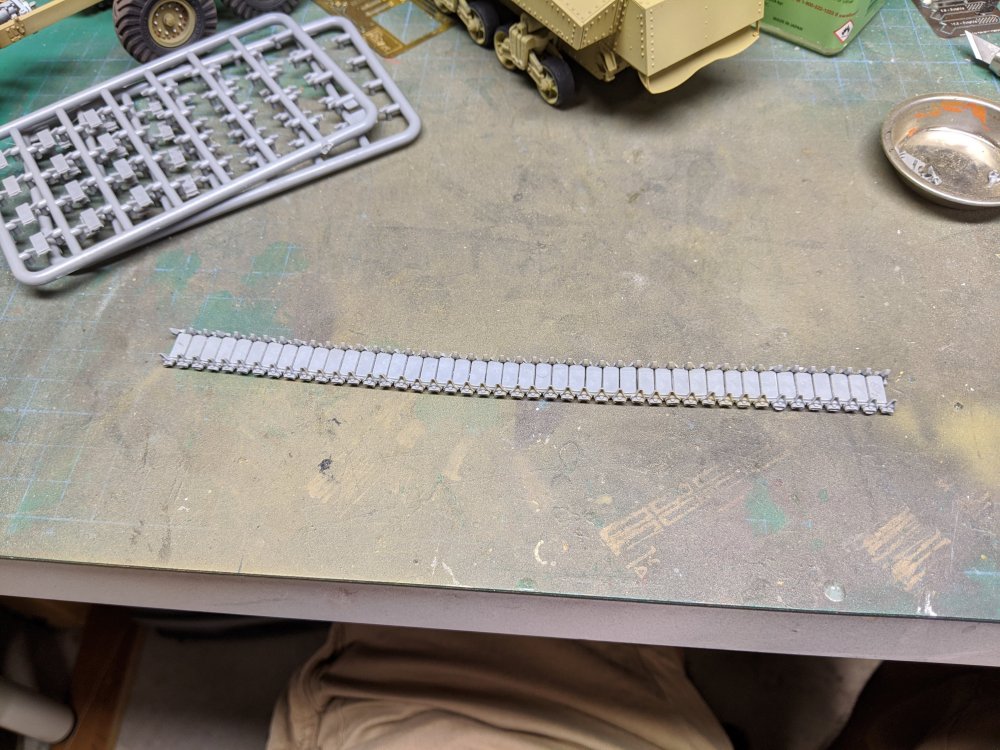
And....finished one set of tracks. I think it took about 2 hours all together. Maybe 3.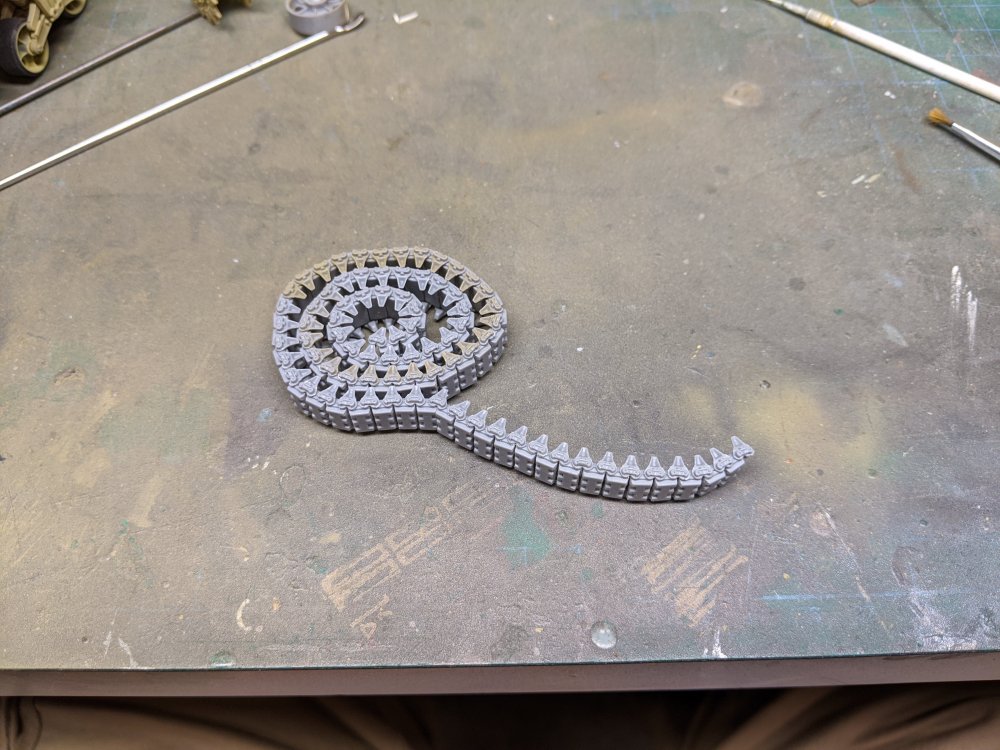
-
But we do! This one:
-
What is on your bench right now ? Share a picture :)
BlrwestSiR replied to Martinnfb's topic in Modelling Discussion
Something a bit different. 1/14 Tamiya Monster Beetle Trail. 4WD with locked diffs and portal axles. Can't turn for crap but on the other hand, I can just drive over the obstacles. Even if they're my sons' RC cars....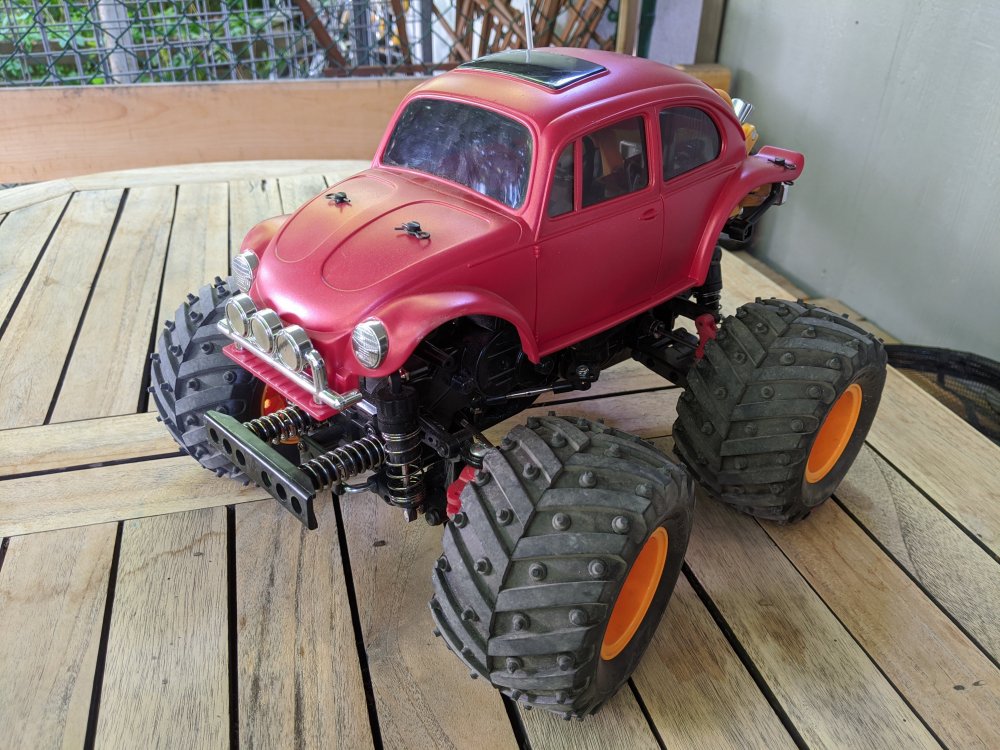
-
Scammell tractor/trailer with M3 Grant
BlrwestSiR replied to BlrwestSiR's topic in LSM 1/35 and Larger Work In Progress
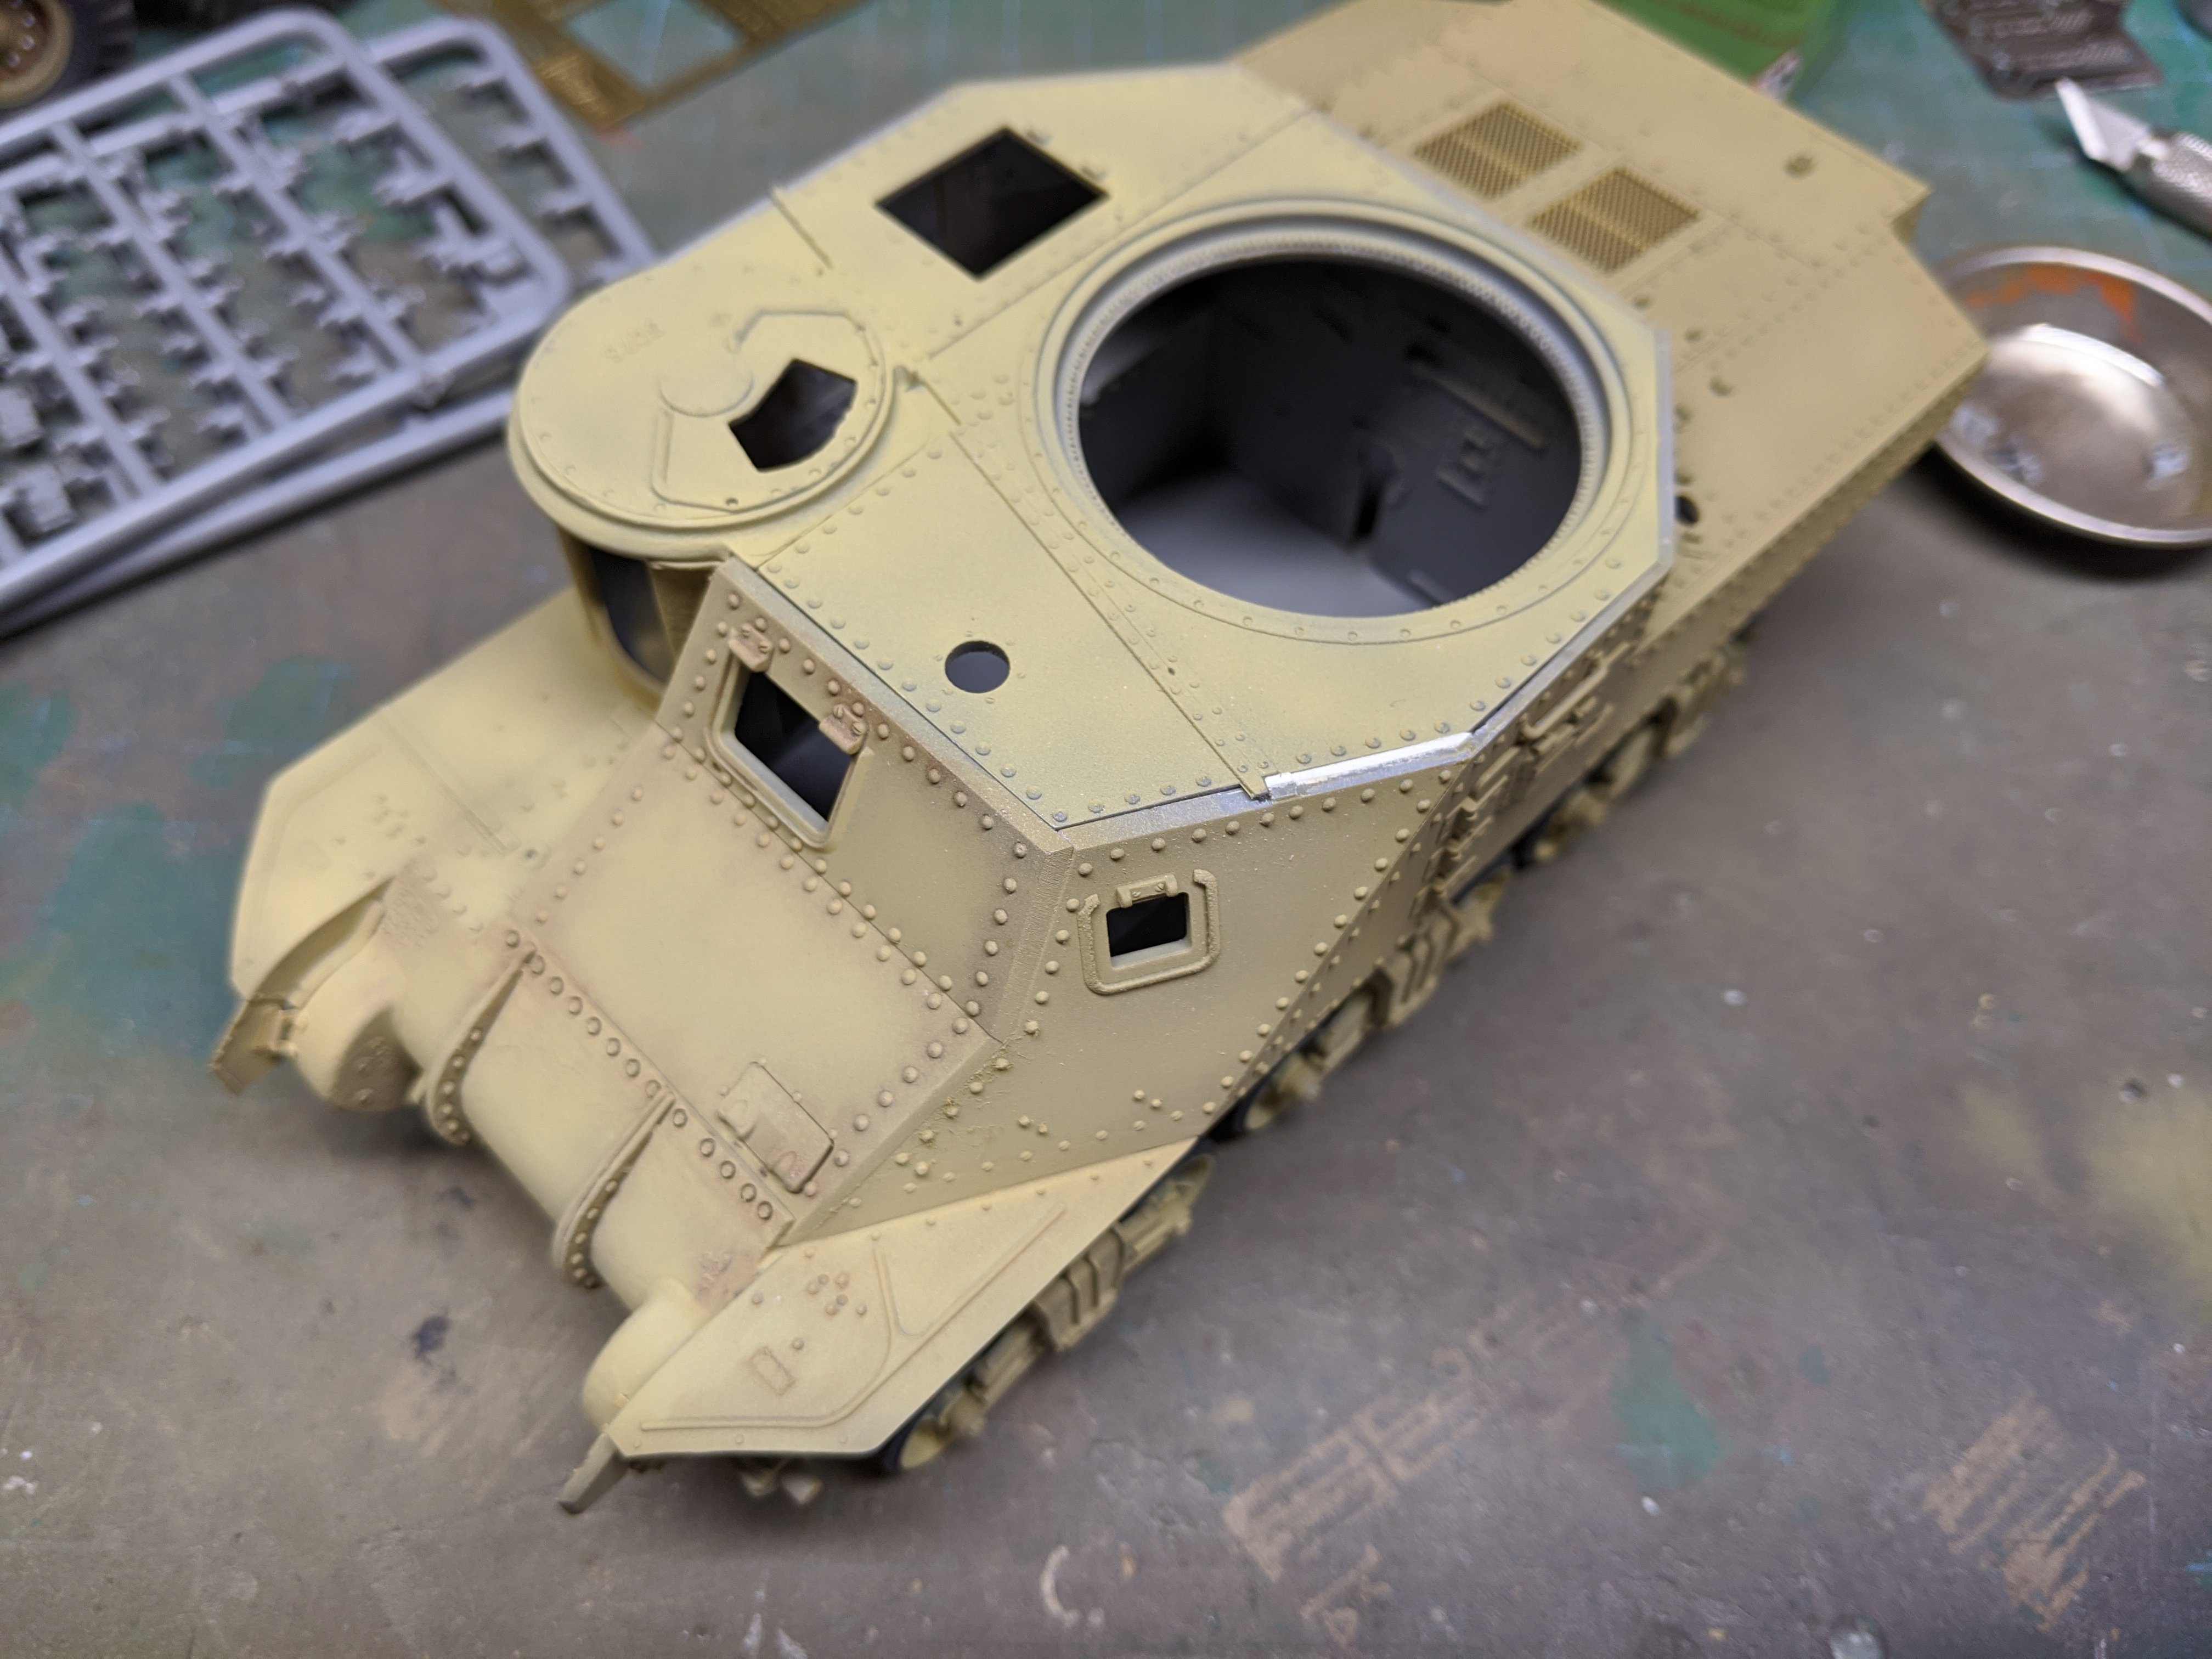
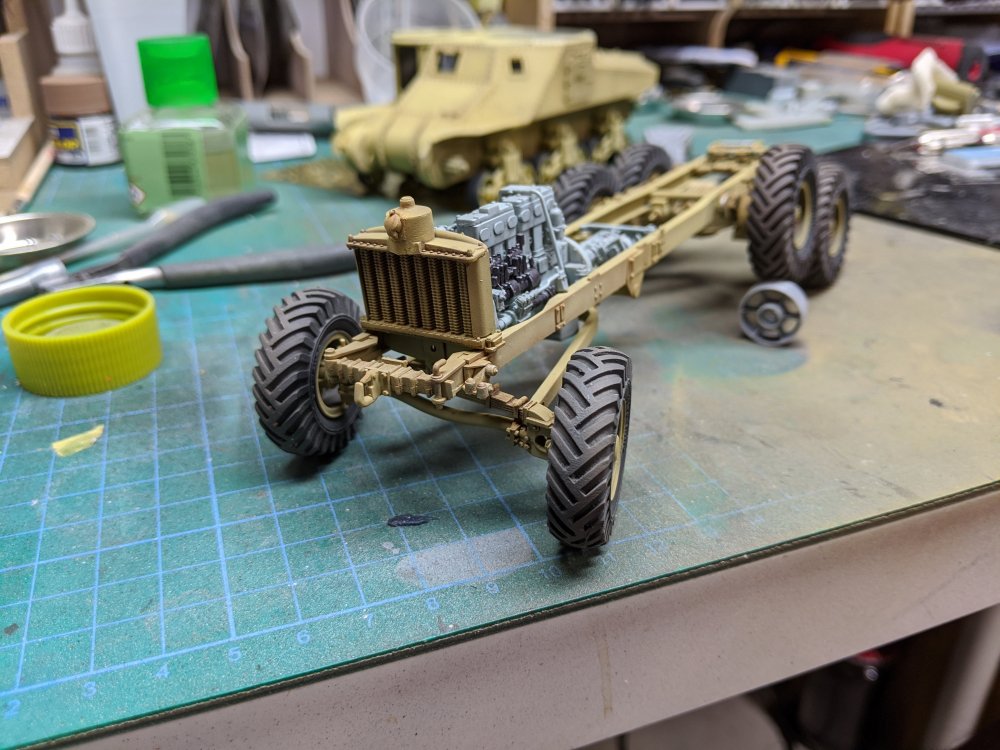
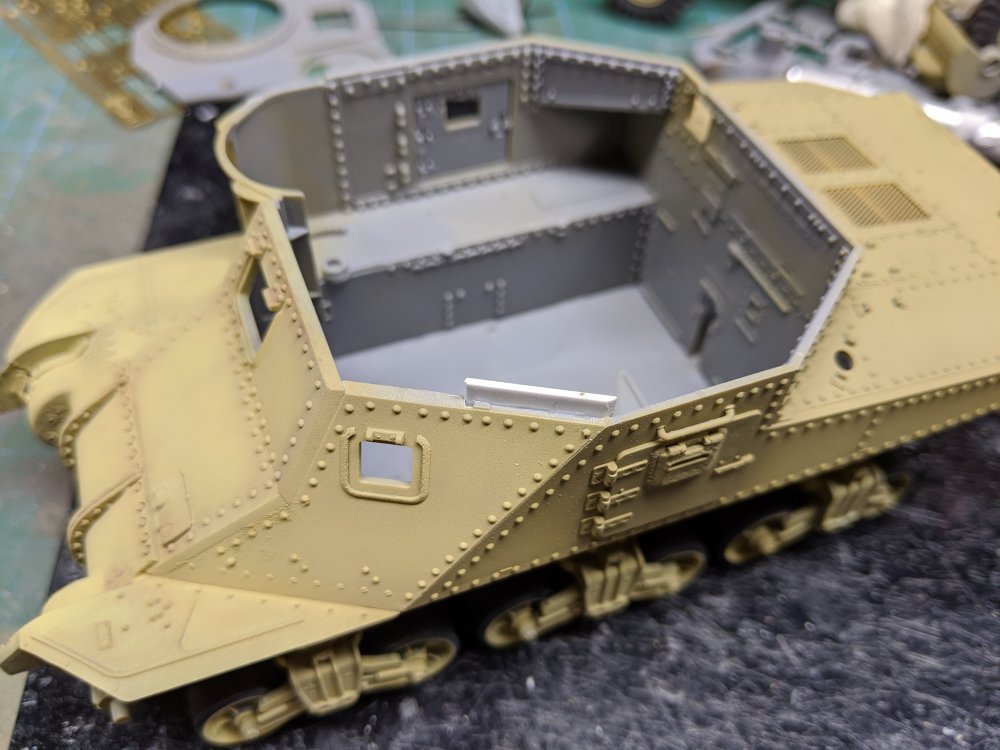
Time for an update. I decided to go ahead and install the rear tires on the tractor. The suspension still has its full articulation which is kind of cool. On the Grant, I was test fitting the hull roof and thought I'd run into a bit of a fit issue. I ended up scrapping off part of the hull plate to "fix" the fit. Turned out I was wrong and had to replace the material I removed. With the roof dry fitted after the repair. I'm also up to 43 links of track together. So I'm just over half done on one track.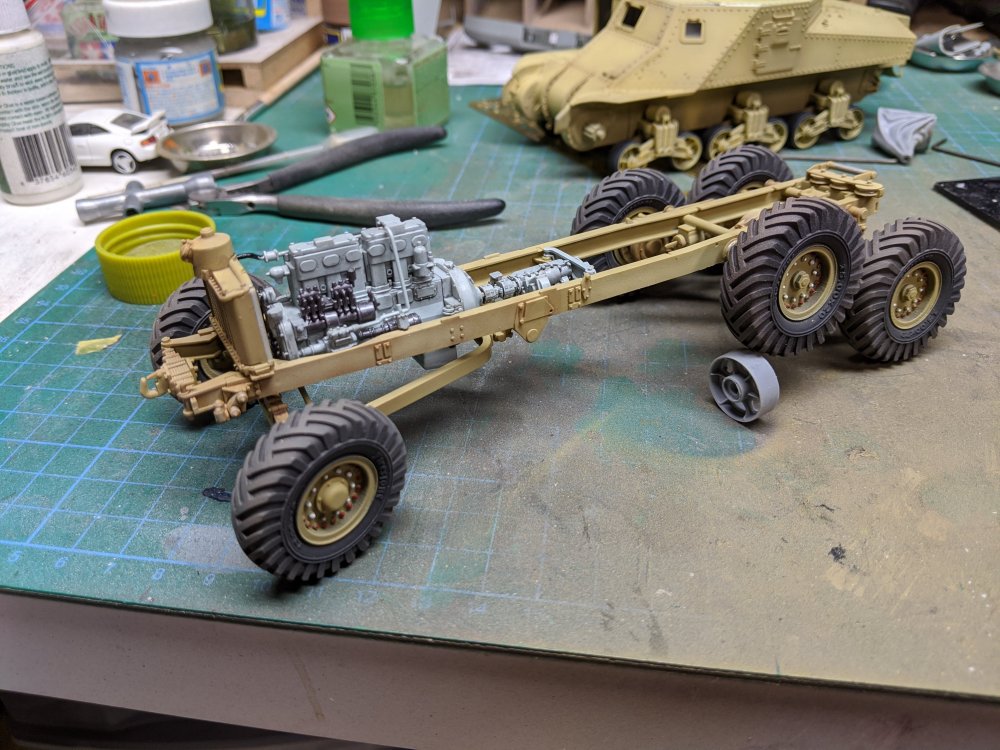


-
Well I guess I'd better 'fess up too. I've recently bought a 1/144 kit and have another on preorder. The one I bought is the Firefox Mig-31 and is the only IM kit available of that plane. Does that get me a pass? The other is a F-15J Kai, also a fictional subject. Carl
-
I've got the same set of wheels for my Scammell. They're nicely done except for the odd small pinhole.

-
Nice work on the seatbelt Harv. Fussy little things aren't they?
-
Looks good there Harv. Interesting that the Eduard panels are so different from each other.
-
Happy belated birthday John! Carl
-
What is on your bench right now ? Share a picture :)
BlrwestSiR replied to Martinnfb's topic in Modelling Discussion
My outdoor one does. But I'm only allowed to work on food and drinks at it. Keeps the cross contamination down. Don't want anybody eating an important piece of PE or something.
-
The R32 GT-R is on my bucket list of 10 cars to buy if I ever win the lottery. Along with an Impreza 22B, Lancia Stratos and a Ford RS200. I like my homologation specials. Carl
- 2,036 replies
-
- 4
-

-
- car related stuff
- anything about cars
- (and 6 more)