BlrwestSiR
-
Posts
9,183 -
Joined
-
Last visited
Content Type
Profiles
Forums
Events
Gallery
Everything posted by BlrwestSiR
-
Thanks for the lead Mike. Just need to find a 3D printer and go from there.
-
Gus, fat bikes aren't the only option for winter riding. You can get studded tires for you bike too. In fact there used to be a race every Feb 14 in the inner harbour provided the ice was thick enough. Studded tires were a must, be it production ones or homemade versions. It was run on a figure 8 course and was called the St Valentine's Day massacre for obvious reasons. Lots of fun.
-

Das Kamel - Hansa Brandenburg W.12
BlrwestSiR replied to DocRob's topic in LSM 1/35 and Larger Work In Progress
Looks great. I might have to try the shading effect you've presented here Rob. -
RR Spey powered RAF Phantom conversion
BlrwestSiR replied to Wingco57's topic in LSM 1/35 and Larger Work In Progress
I don't have still around but here's the kit on Scalemates. https://www.scalemates.com/kits/revell-4706-f-4j-phantom-ii-mcdonnel-douglas--194170 The instructions show the split lower fuselage and nose gear bay. This is for the J but it was the same on the E.- 414 replies
-
- 4
-

-
- conversion
- phantom
- (and 1 more)
-
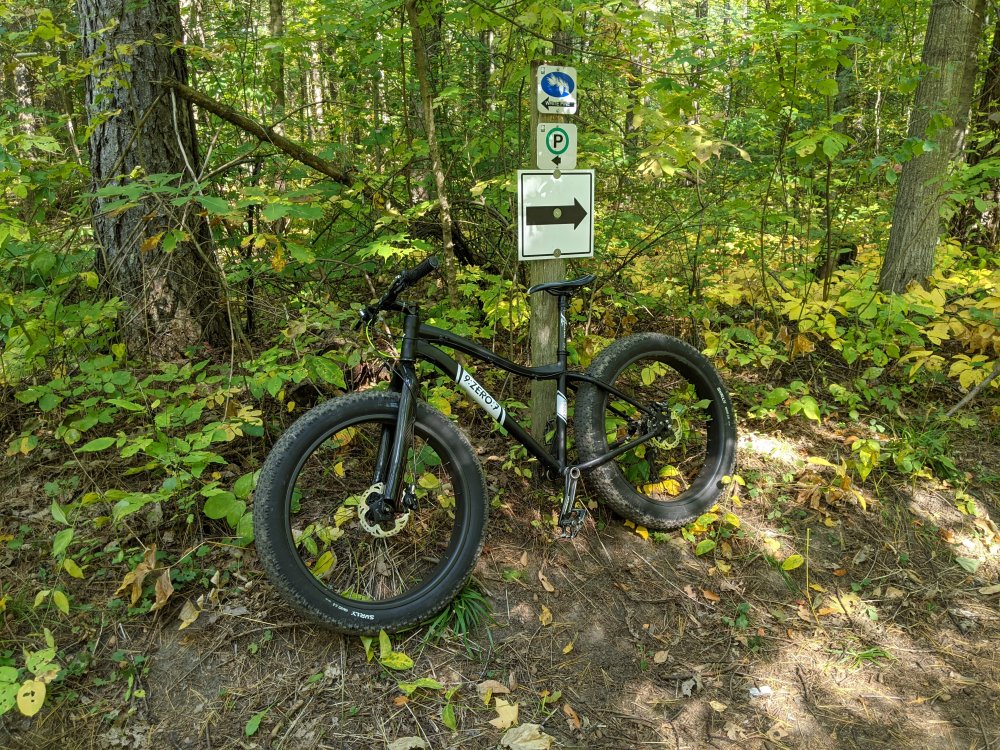
I was out in our garage and decided that maybe 6 bikes is a bit too many. My bike quiver (don't know they don't call it a stash) consists of: - a full suspension carbon fibre bike - a fully rigid titanium single speed mountain bike (my 40th gift from Sue) - a fat bike - another full suspension bike full of nostalgia and memories. - a sought after collector's hard tail - a bastard build cyclocross bike on a one off frame. So after going through them, I decided the fat bike was the least likely to be ridden with the minimum emotional attachment. Mostly because after my triple bypass last year I've found I'm much more sensitive to the cold. And fat bikes are meant to primarily be a winter bike. I put up an ad for it on me of the bike forums and got an offer. Turns out the guy lived near the trail we were going to ride this morning. So I took it instead of my usual bike and went for one last rip. Man, it was fun and a blast riding something with no suspension that just put the power down. The trails were the perfect terrain for a fat bike out of season. Then I got to meet up with the new owner and hand it over. I couldn't think of a better send off. Now, what to replace it with?
-
I plead the 5th....
-
I think Microscale designed their bottle that way on purpose. Get you to buy more of it...
-
Should be salvageable no? Any cats involved this time?
-
What is on your bench right now ? Share a picture :)
BlrwestSiR replied to Martinnfb's topic in Modelling Discussion
I wasn't sure at first about my paint scheme on the body for my truck but with it installed I'm liking it. The drivetrain is sorted now so hopefully today if tomorrow I'll give her a maiden drive. The shop has warned me to find a really big space so I might try to find a parking lot or vacant lot to play it safe.
-
What is on your bench right now ? Share a picture :)
BlrwestSiR replied to Martinnfb's topic in Modelling Discussion
That's a really neat kit Rob. The figure is impressive too. -
What is on your bench right now ? Share a picture :)
BlrwestSiR replied to Martinnfb's topic in Modelling Discussion
And after 5 minutes of throwing stickers at it. I might dig out a few more stickers from the stash and fill in some of the blanks.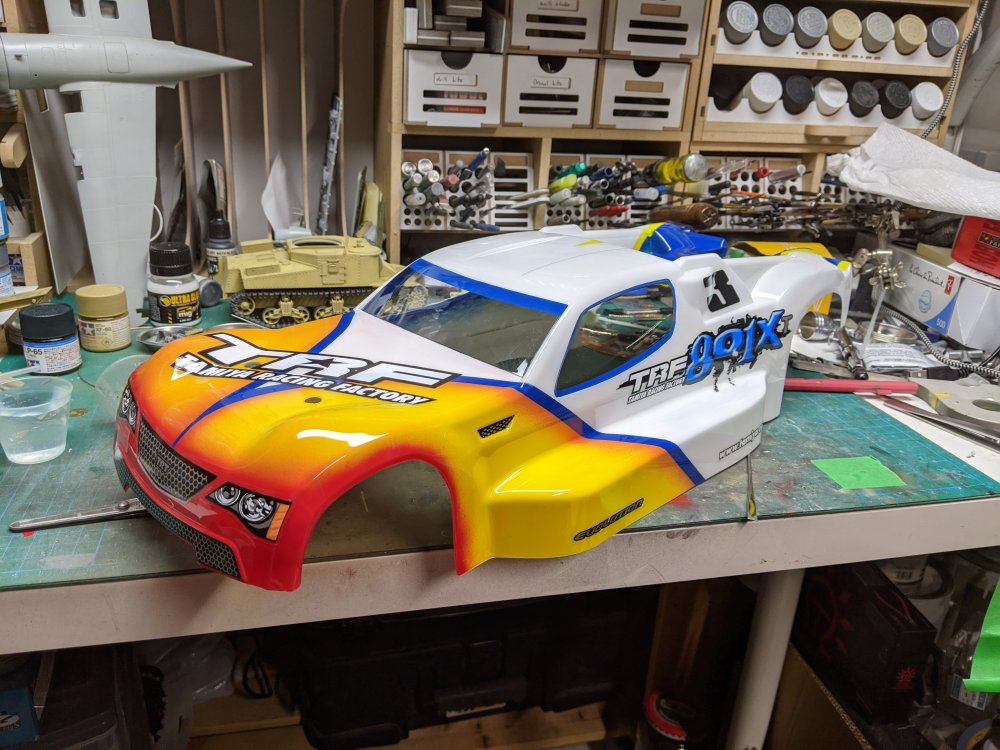
-
What is on your bench right now ? Share a picture :)
BlrwestSiR replied to Martinnfb's topic in Modelling Discussion
Not my best RC car paint job but I'm still happy enough with it. It probably won't be this shiny after a minute of running though.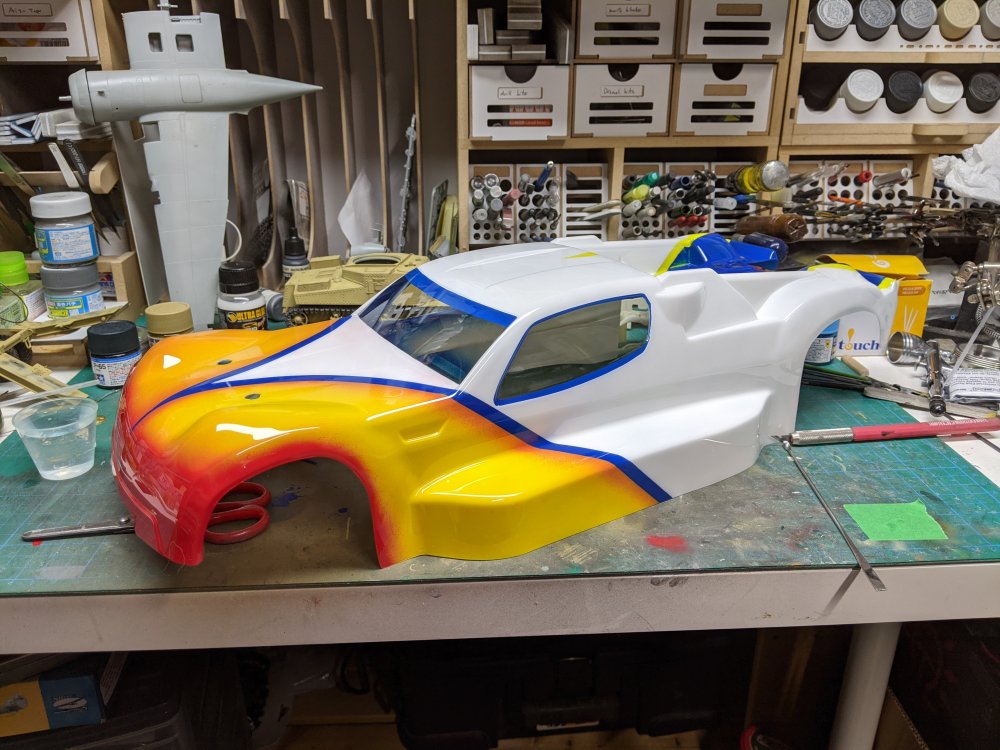
-
Looks very nice to me. Can't wait to see some paint on it.
-
RR Spey powered RAF Phantom conversion
BlrwestSiR replied to Wingco57's topic in LSM 1/35 and Larger Work In Progress
The earlier Revell kits have nothing in common with the '90s vintage kit. You can tell by the way they split the lower wing down the middle and through the nose gear bay. Cruelly, they were at one point reboxed by Tamiya in the early '80s and I fell for it back then.- 414 replies
-
- 2
-
-
- conversion
- phantom
- (and 1 more)
-
We did...
-
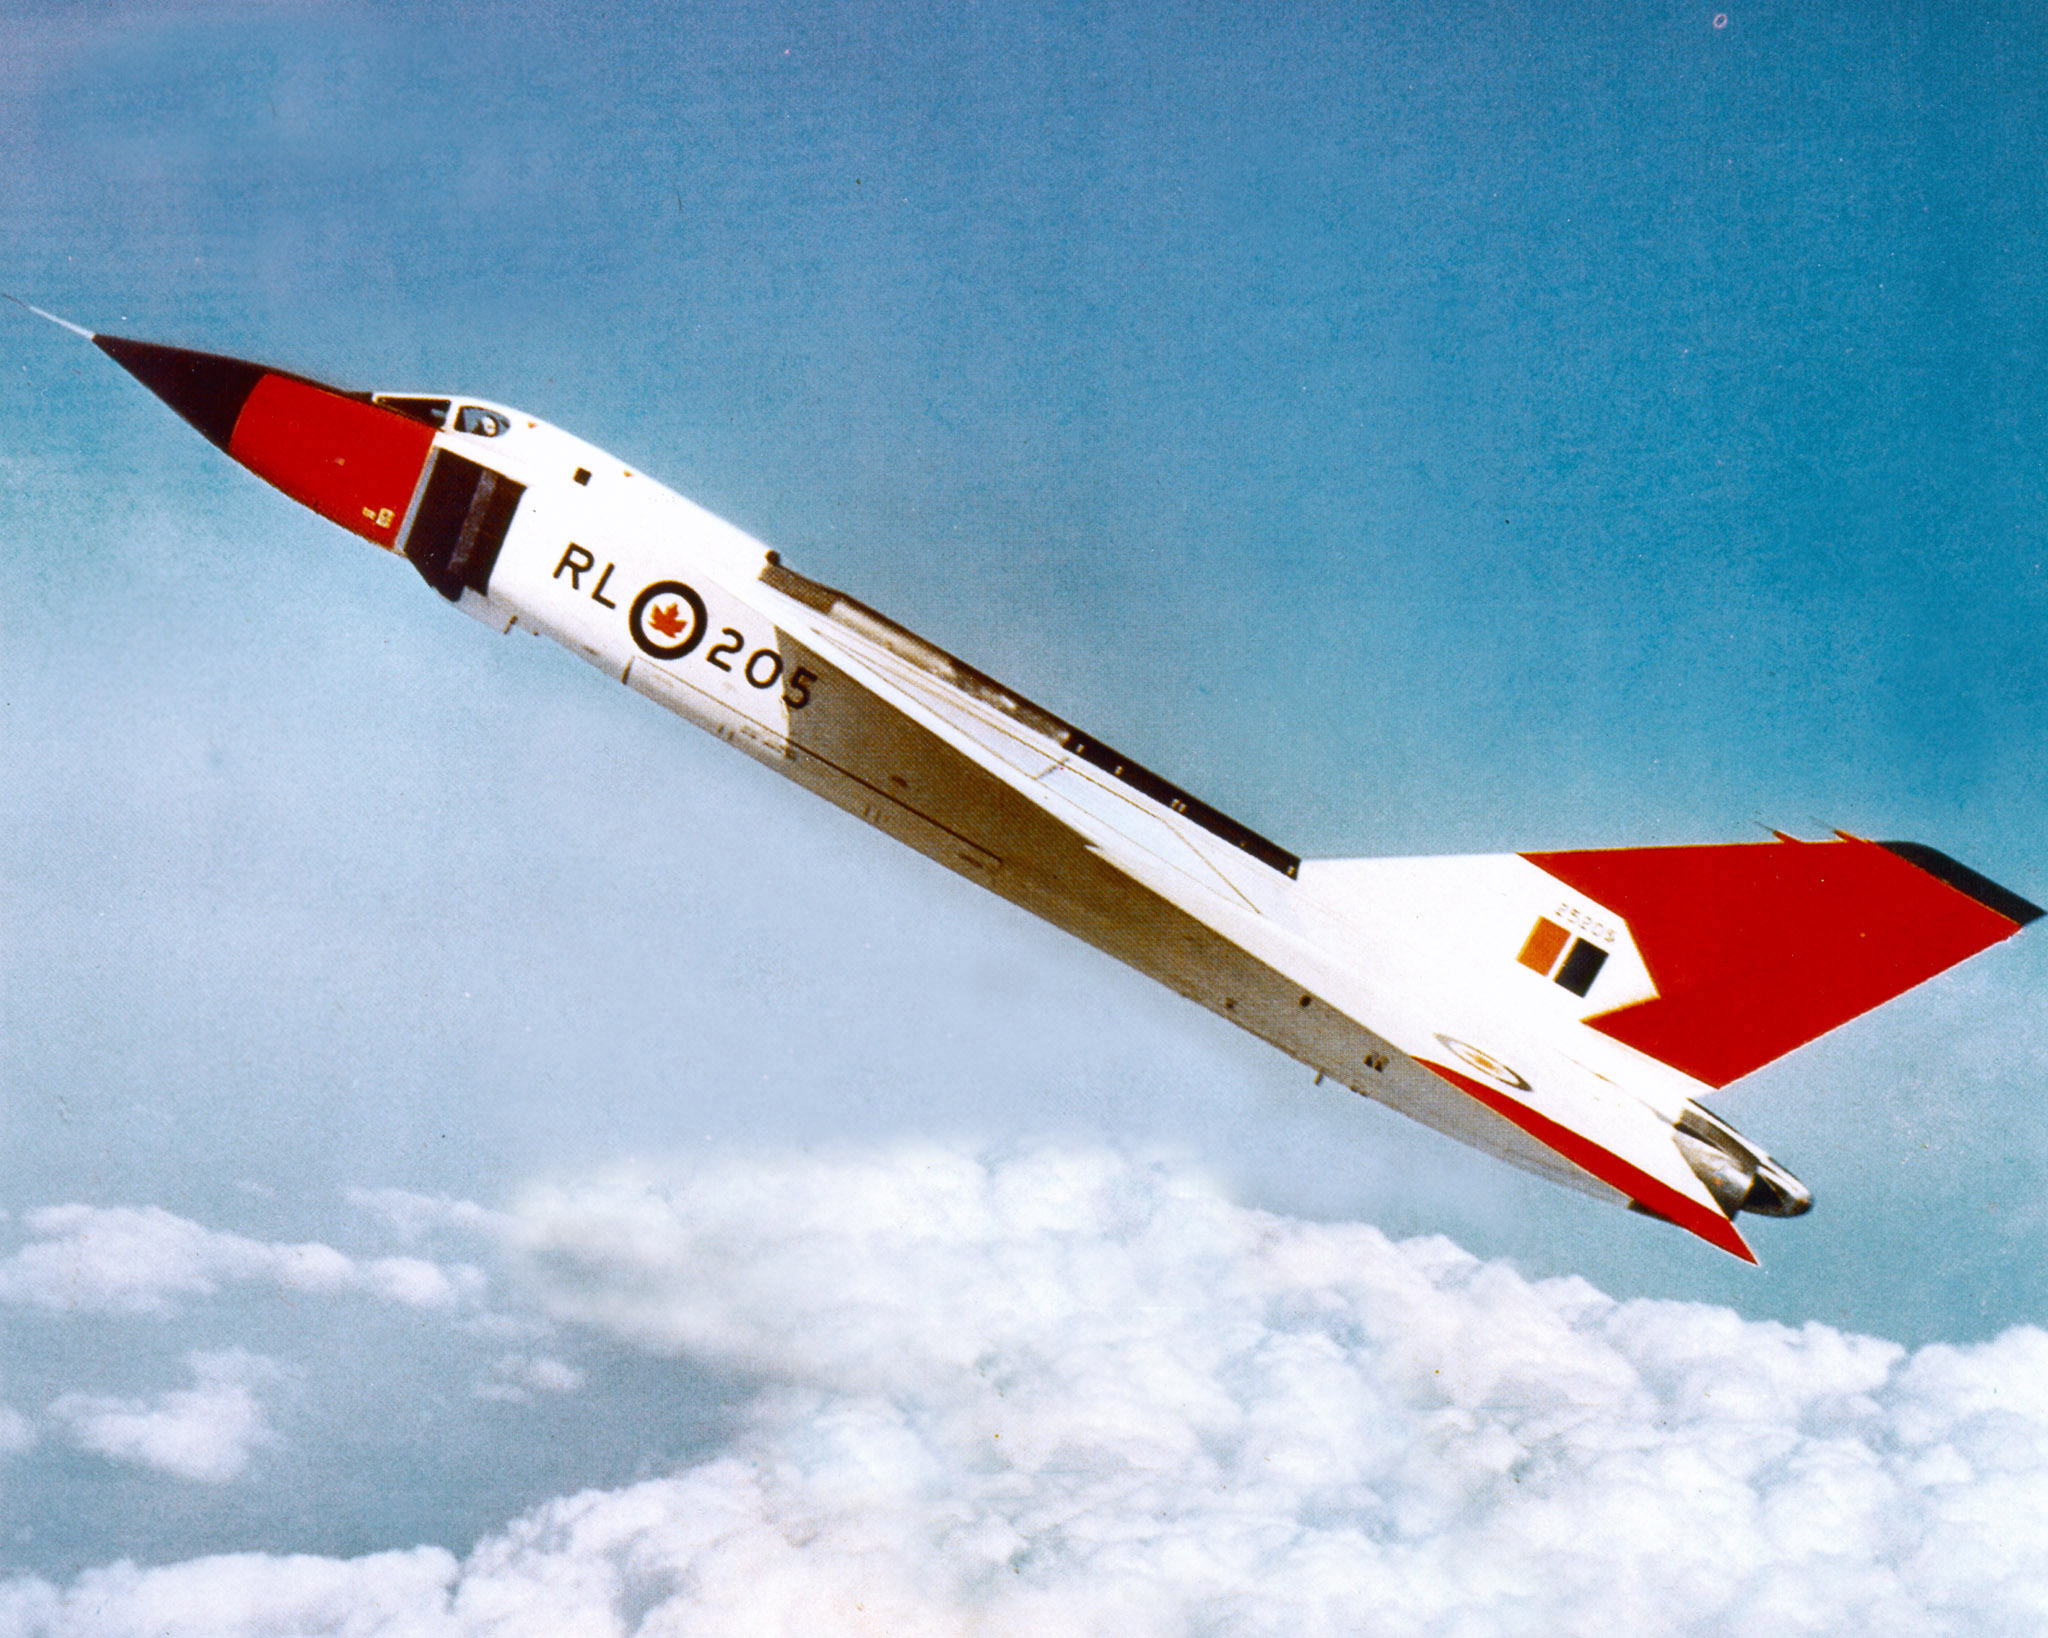
I guess they set the precedent for the Gimli Glider then.
-
Seems that way. I was wondering where the things along the bottom of my screen came from. Glad it wasn't just me seeing things.
-
This is a great sort of wake up call. Where do i line up again? Carl
-
Scammell tractor/trailer with M3 Grant
BlrwestSiR replied to BlrwestSiR's topic in LSM 1/35 and Larger Work In Progress
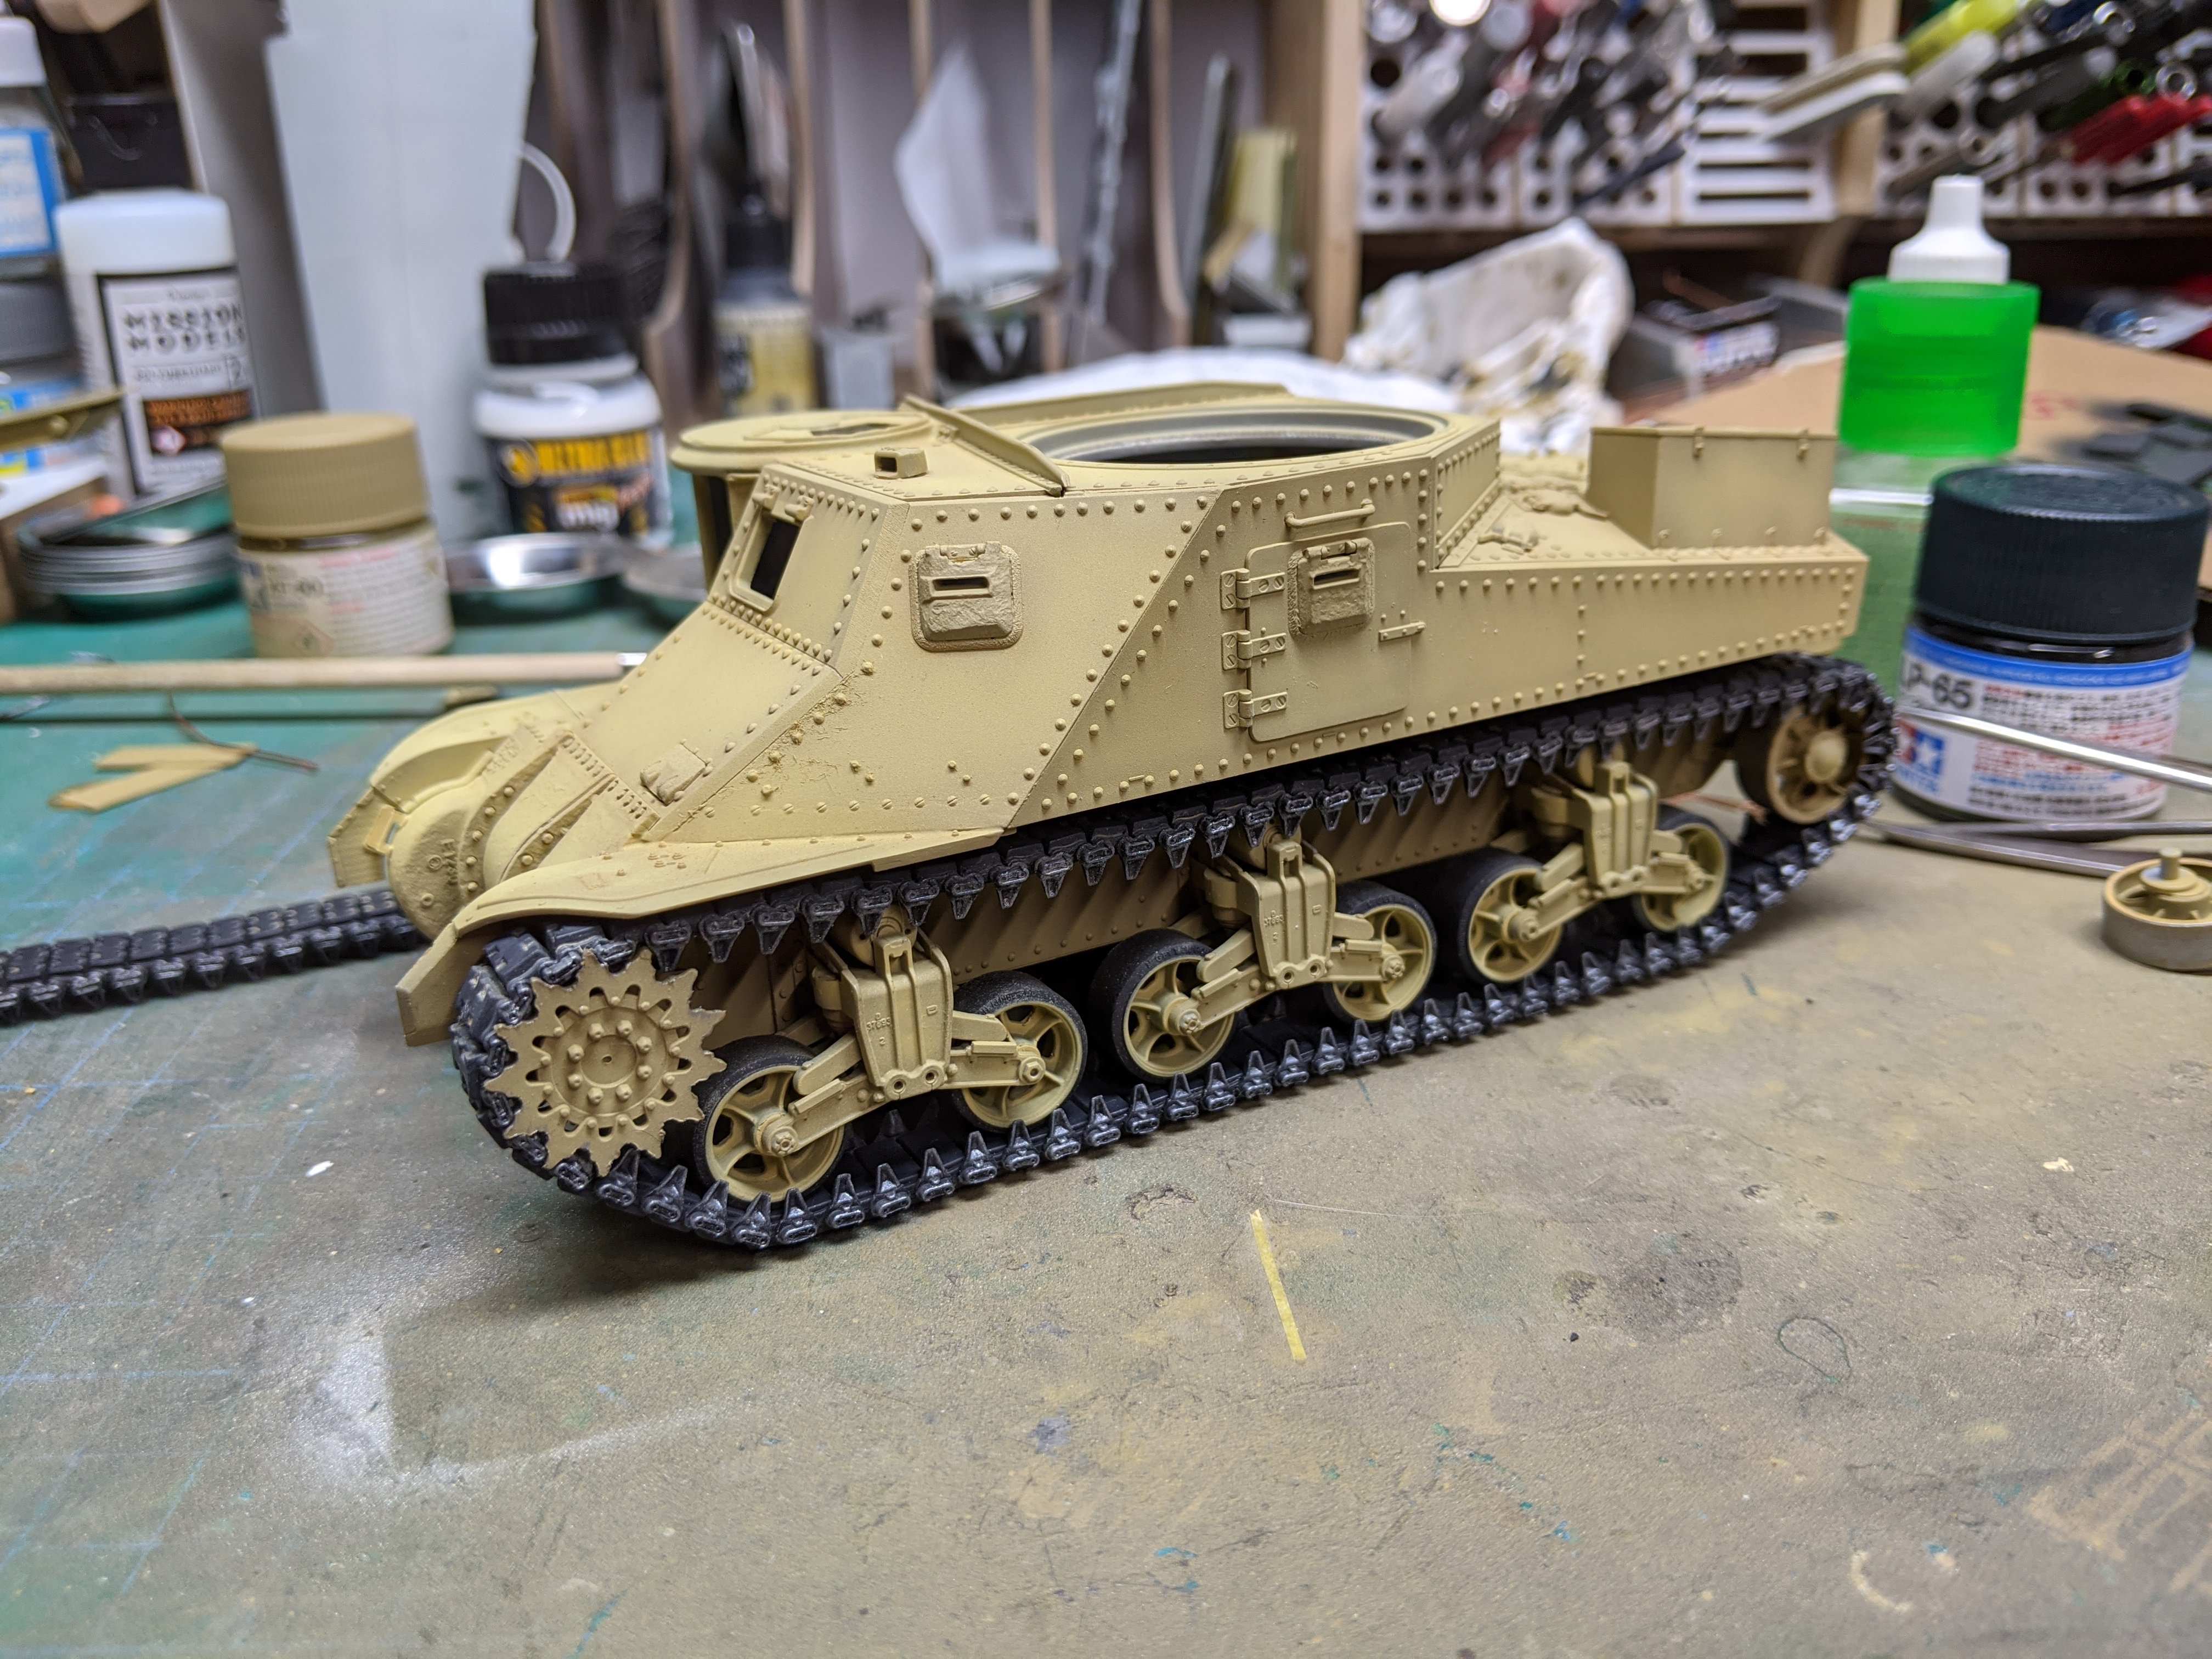
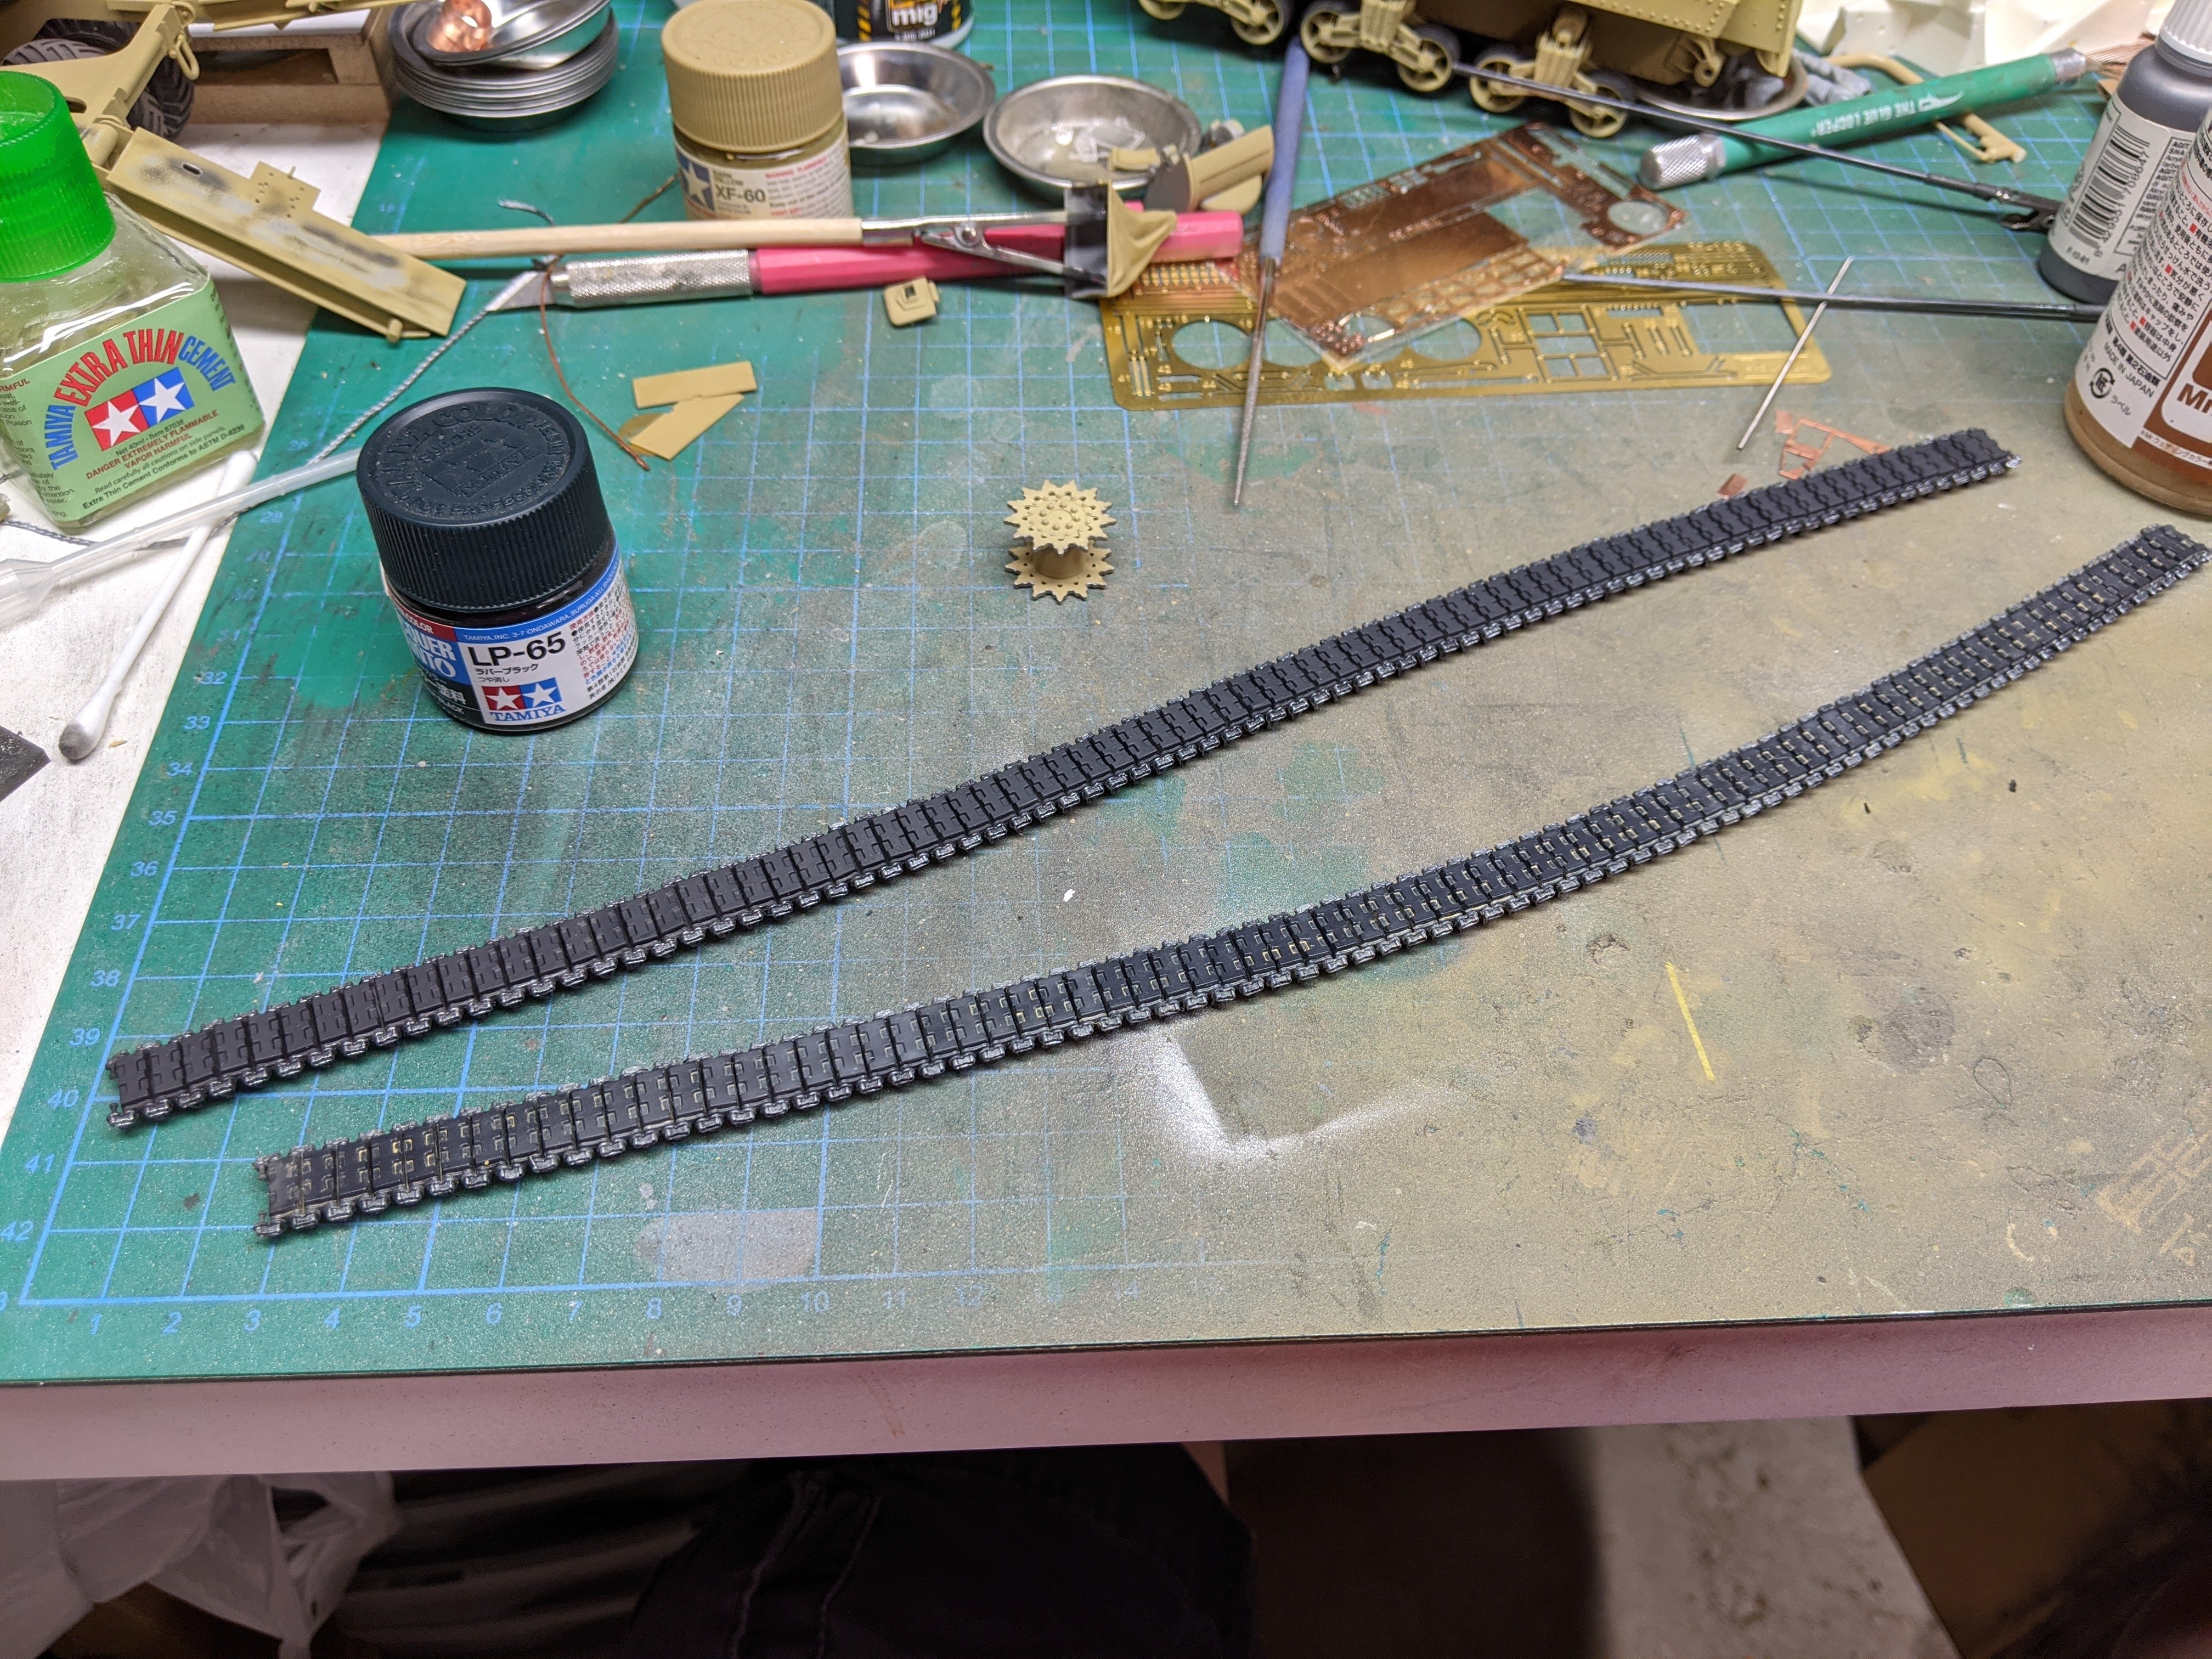
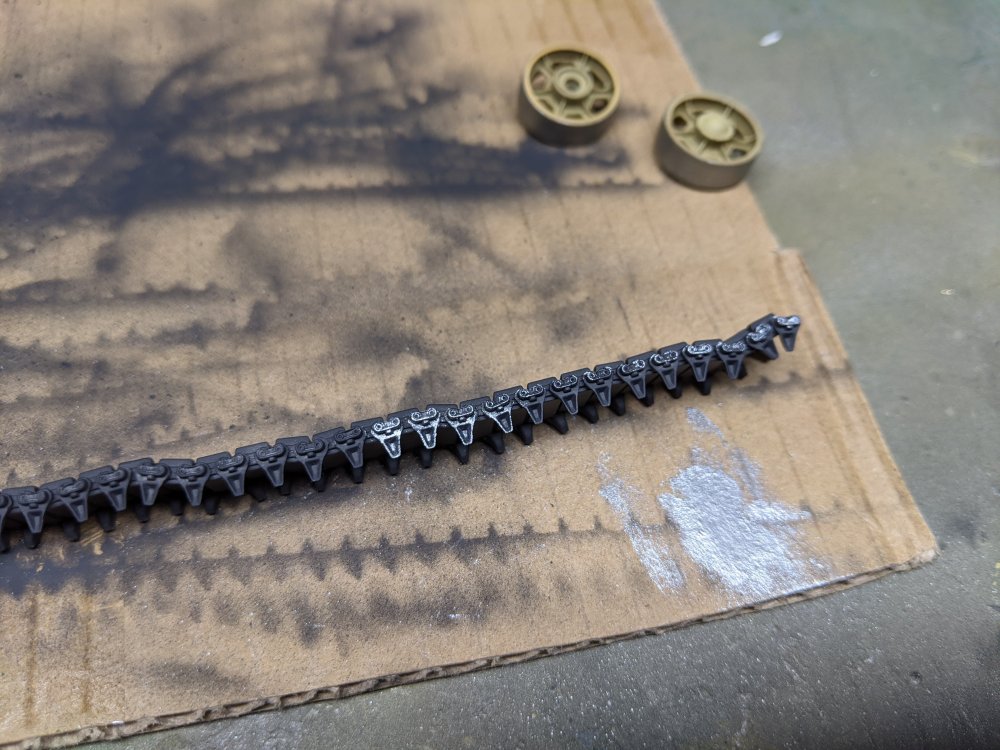
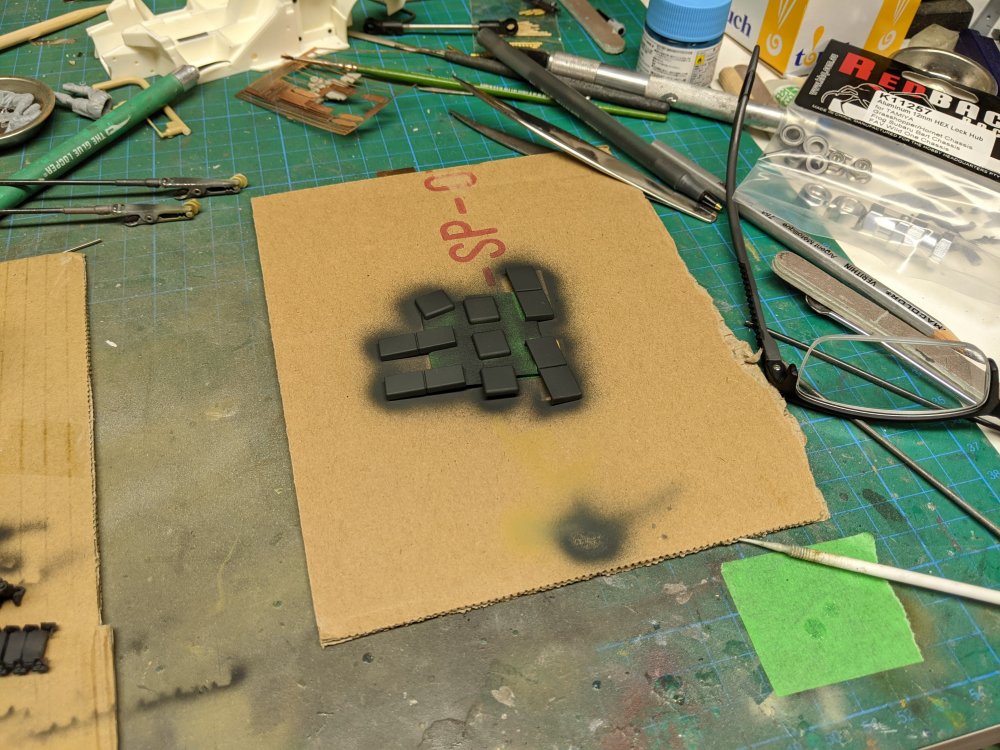
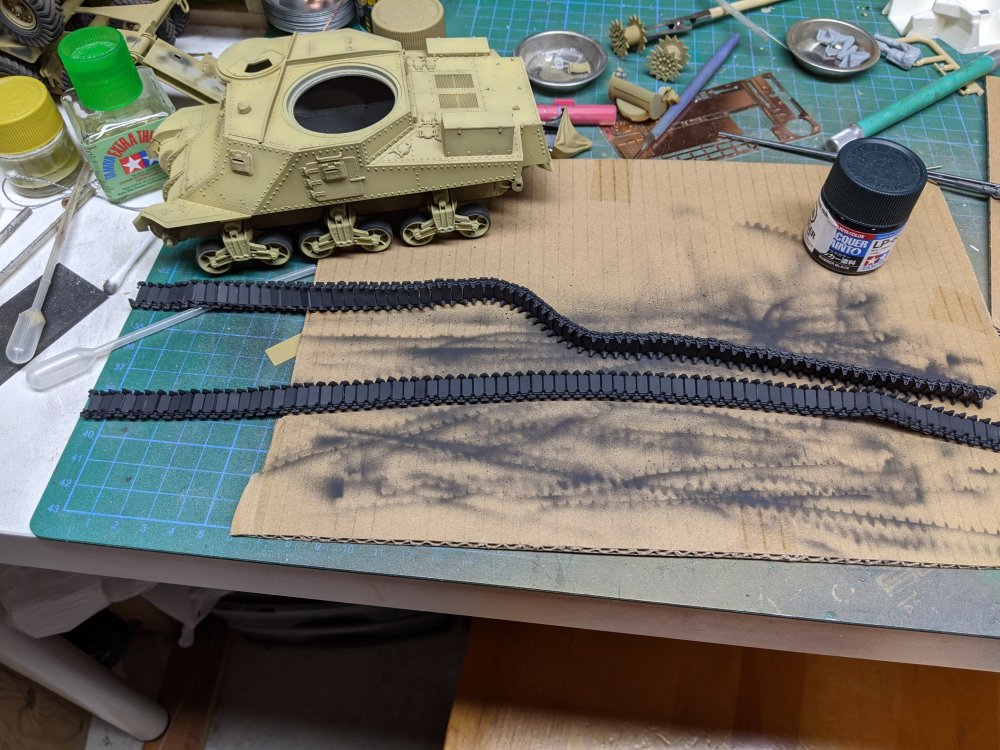
I've been working on the Grant a bit. It wasn't until after I'd started assembling the tracks that I found out the W210 track has rubber pads. I thought it was similar to the all metal dry pin track that the Canadian version used. Had I known that I would have painted them prior to assembly. With the tracks assembled I decided to airbrush the whole track in rubber black and then mask the rubber pads and paint the end links in steel. At this point, I was getting ready to mask the pads off when I realized I could just dry brush the end links. I figured with a subsequent wash and weathering, it wouldn't be noticed that the end links were perfectly painted. It worked out nicely and took less time that the masking would have. The finished tracks were given a wash with Gunze Sunday wash(that's what it says on the bottle). Next was to install them. Here's the first side done A close up of the track. At the same time, I painted the seat cushions for the Scammell.


-
HK Models Do-335 A-12
BlrwestSiR replied to JeroenPeters's topic in LSM 1/35 and Larger Work In Progress
Fantastic! Jeroen, do you know how the kit compares to the ZM version? -
Neat looking tank there Rob. The masking pen sounds like a neat approach to the camo scheme. Carl
-
My youngest is absolutely determined to get an aquarium. I've at least steered him away from a marine setup like your wife's. For the time being anyways... Any suggestions for a first timer? He's 7 so I'm thinking a simple filter on the back of the tank. I used to have a 400 liter tank with a big Tiger Oscar but that was at least 20 years ago. Not sure how much things have changed. Carl
-
I think that's the part I hate the most too. That and having to solder electrical connections when needed.
- 9 replies
-
- 5
-

-
-
- monster truck
- 4x4x4
- (and 1 more)
-
Bill, it almost feels that way. I wanted to get one about 5 years ago but ended up getting a different truck.
- 9 replies
-
- 2
-
-
- monster truck
- 4x4x4
- (and 1 more)
-
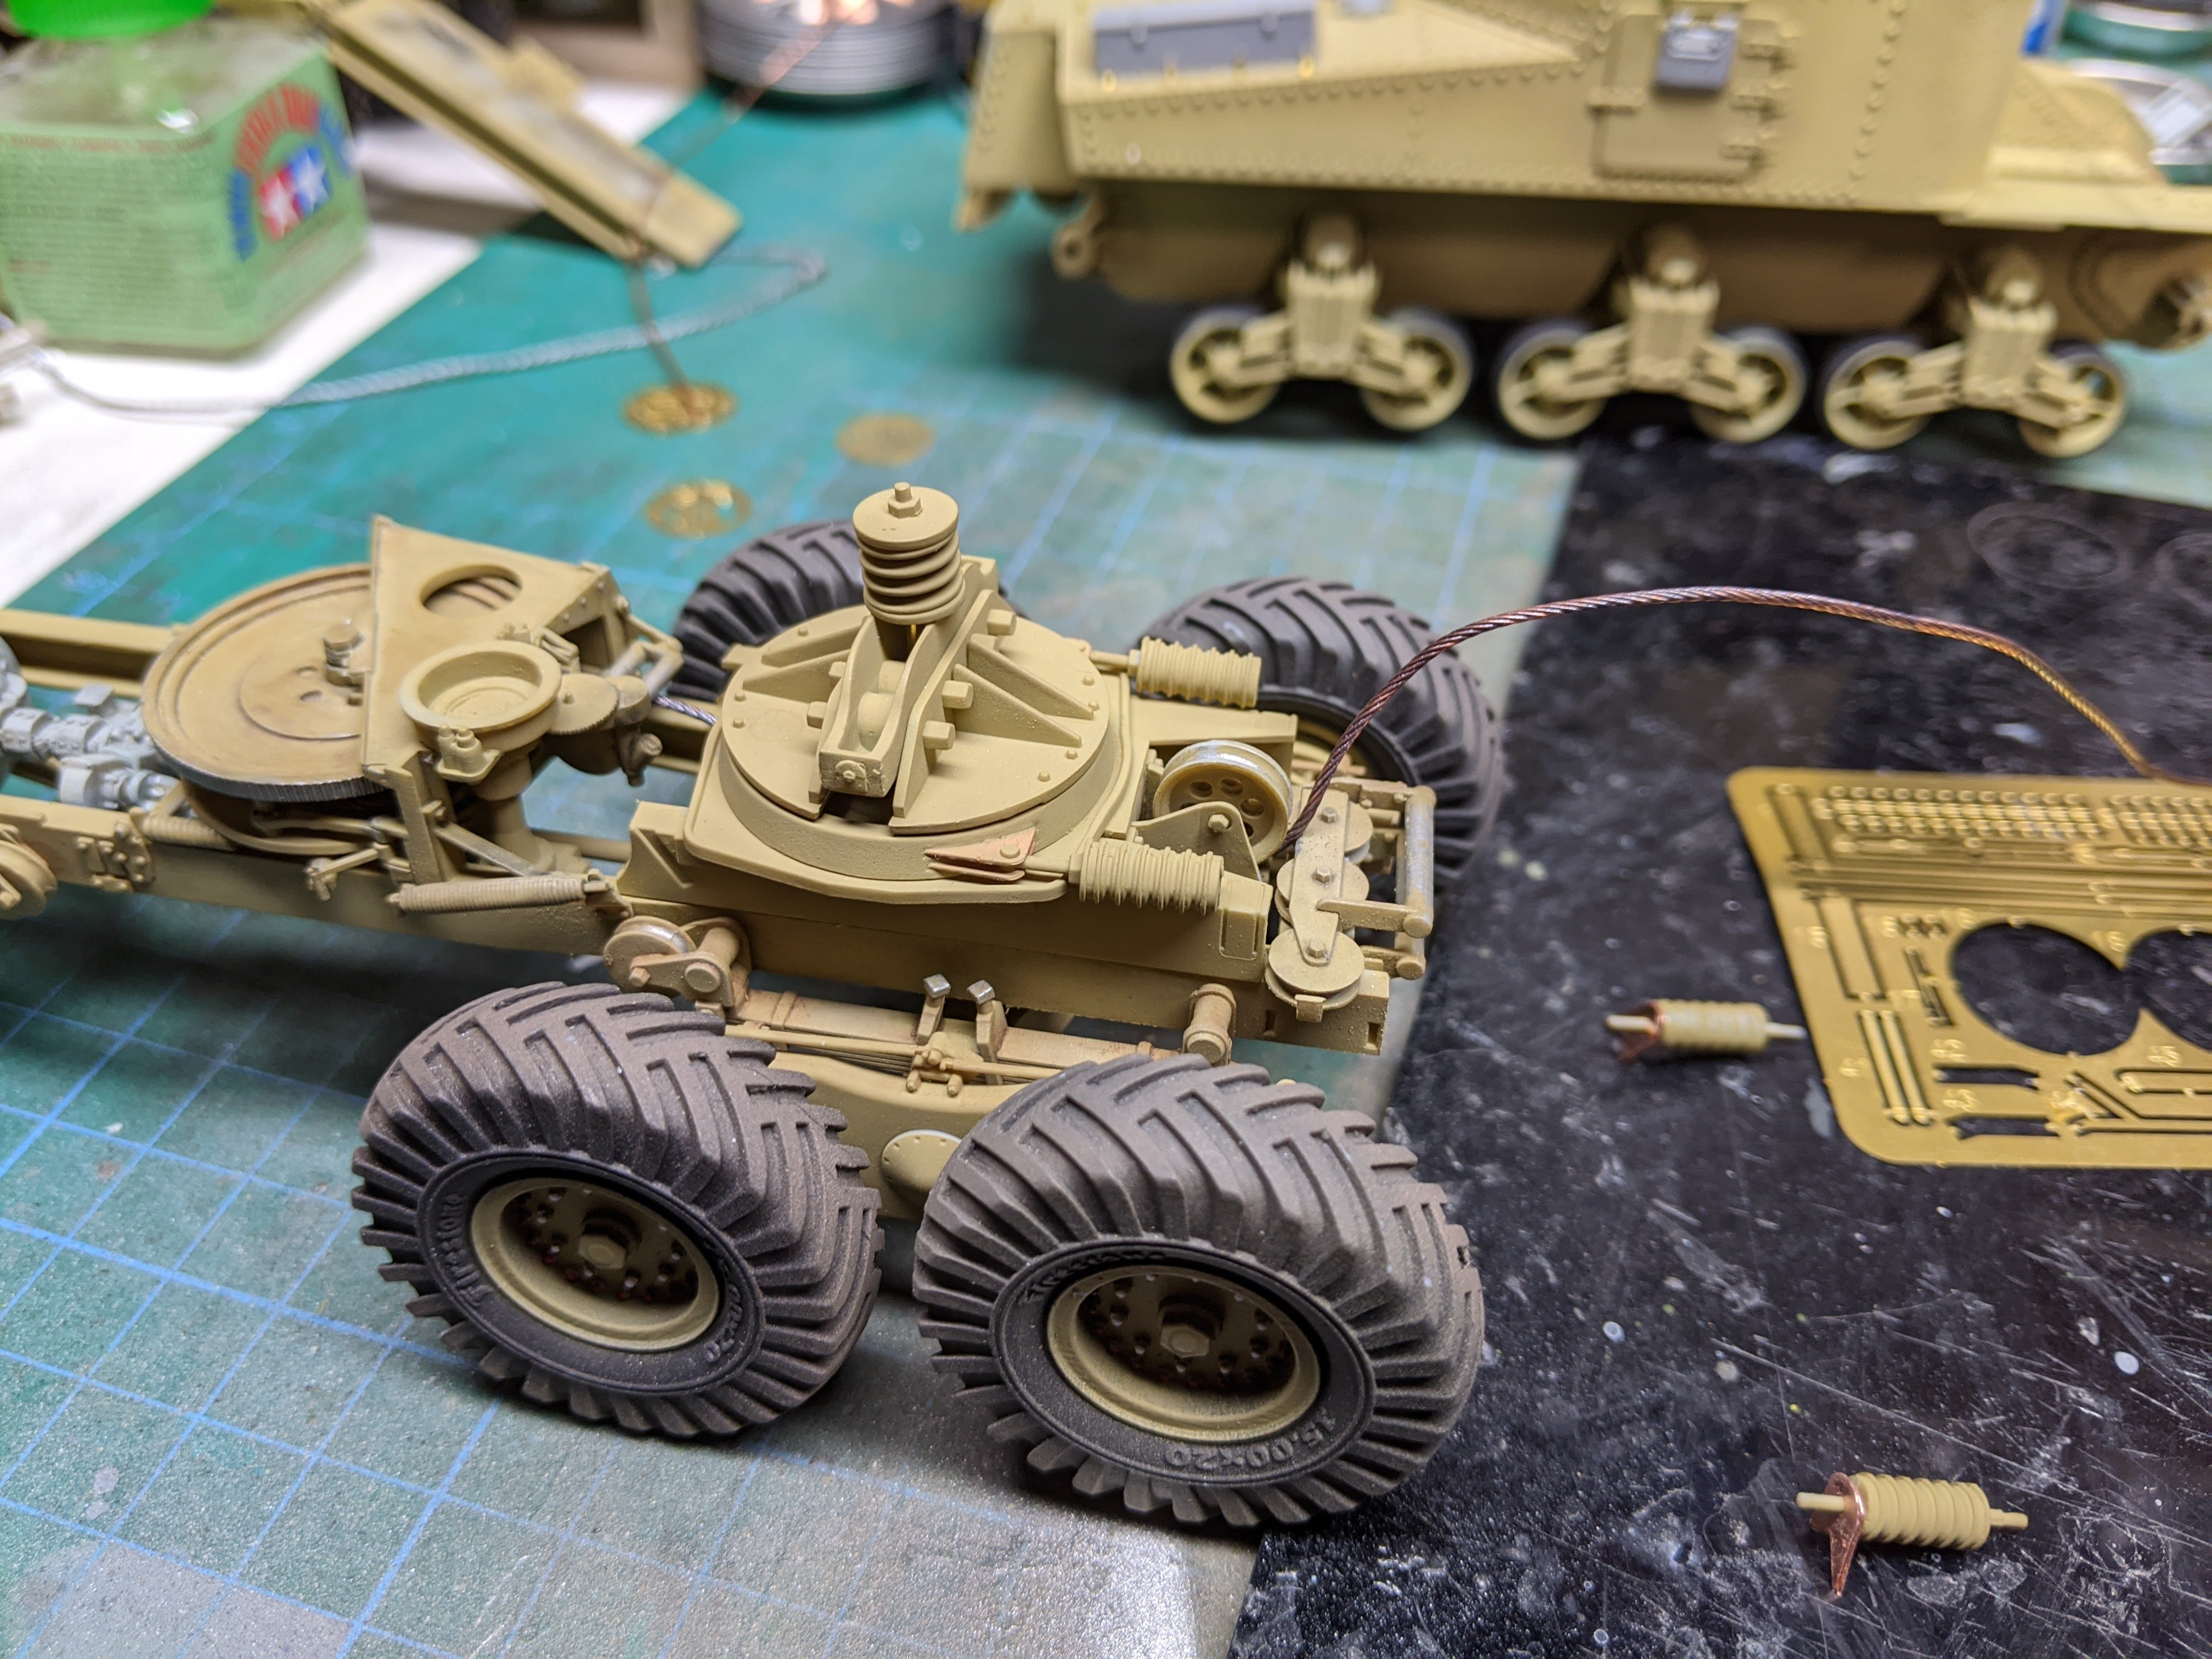
Scammell tractor/trailer with M3 Grant
BlrwestSiR replied to BlrwestSiR's topic in LSM 1/35 and Larger Work In Progress
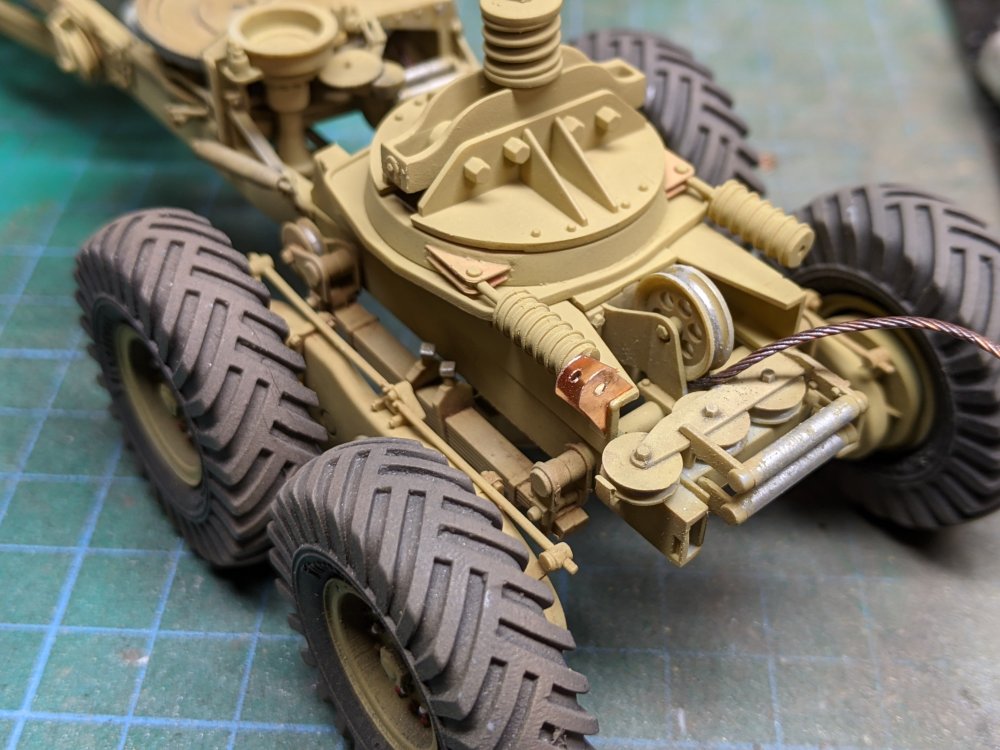
A small update. The trailer hitch is now on. The bellows shaped thingys have a pair of PE brackets that hold them in place on the frame. Good thing I only lost two of them. I used the survivors as templates and cut out new ones from leftover brass on the fret. I then installed the brackets and the other half of the thingys.